Last week we published an article, “12 Tips for Preventing Swirls”. We enjoyed writing that article because it focused on many mistakes that companies make when not focused on the details or beginners who are still learning the ropes. Well, I wanted to write a follow up article that focused more on what you should be doing rather than what you shouldn’t.
1) Touch the Paint – A skilled technician is going to go around the car and inspect the paint by looking deeply at it and touching it to get a good feel. We once had an old beautiful Rolls Royce in our shop for paint correction; however, after inspection we noticed that the primer was already peeping through the paint. This means that it had been polished too many times and another correcting job would only hurt it. This is something that you’ll need to experience and you’ll understand more with the more cars you do.
2) Choosing the Correct Polish and Pad – When you first approach the car you need to decide what you’re going to do. Is it light swirls that you may only need a glaze with light abrasives? Or are you going to need to be doing heavy correcting and a correcting polish and aggressive pad are necessary? Depending on whether or not you’re cutting or glazing will be the key step in choosing the correct products and tools.
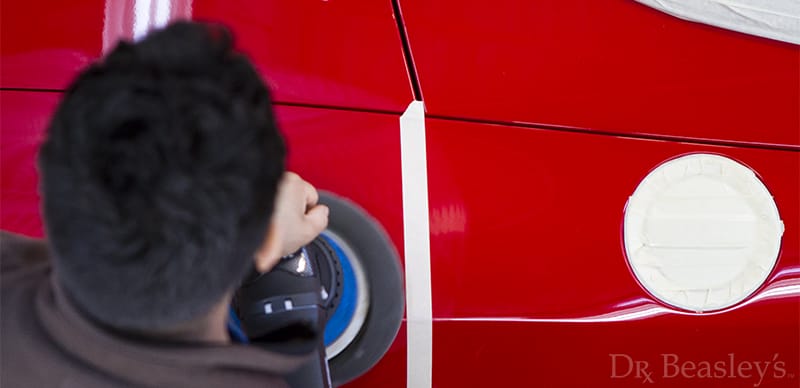
3) Get a Good Dual Action Polisher – Years ago it was hard to find a good powerful dual action polisher. But Rupes makes great D/A polishers now that work great to prevent swirls while you work. That’s what we use, but there are plenty of other good D/A polishers out there.
4) Get Quality Products – It goes without saying that if you skimp on the products you’re likely to achieve less than desired results. Some companies that provide “affordable” products are doing nothing more than repackaging bulk products from some warehouse. You’ll quality products from a company that takes the time to do the research and the testing to get the right results.
5) Learn Your Products – I may be wrong, but I feel that there are many people who don’t fully understand their products. This is vital as it really tells you the capabilities of the products so you don’t try and do too much with a particular product. And vice versa, you don’t try and do something and end up overdoing the job.
6) Have Patience and Get Comfortable – Because there’s only so much clear coat on a car, you don’t want to cut away more than you have to. That’s why it’s good to assess the damage and then start of conservatively (maybe more so than you think you should). Inspect the results and then decide if you need to go over the panel again and if you need a more aggressive chemical. This adds time but rest assured, you’re going to be saving the clear coat and saving yourself from potentially damaging the finish.
7) Get a Good Light – We use LED lights to inspect everywhere that we work. Without the right light, you’ll have a tough time seeing just how well you’re doing. Sometimes I’ll see detailers trying to examine the paint and they’re getting super close or bending around every which way to see the marks in the paint. A simple LED light will solve that problem and help you achieve even better results.
8) Do it Until You Get it Right – This goes back to number 5, but good results go a long way. The difference between a good job and an OK job are night and day and you’ll appreciate the difference too. If you’re working in the service industry, then a happy customer will speak highly about you and refer their friends.
9) Take it Outside – Going back to number 6; once you’re done, taking the car outside in the natural sun light will give you the best opportunity to really inspect the vehicle and decide if there’s anything else that needs to be done.
EXTRA TIPS
10) Always Wash – Extremely important that you wash the car before polishing. Polishing an unwashed car is the first step in getting swirls as dust and contaminants on the surface get caught in the paint and the pad and get dragged around the finish.
11) Always Clay – Claying the car before polishing is necessary as it removes all the contaminants in the surface. Again, like washing the car, these contaminants will get caught in the pad and get dragged around the finish causing scratches and swirls behind you. Mind you that claying itself is abrasive, so be sure to use proper lubrication and technique while claying.
12) Controlled Environment – Never polish a car outside. Even if you washed it, the pollen, the dust, the dirt will land on the surface and again you’ll get imperfections while polishing. Being inside a garage or maybe even an enclosed tent is a hundred times better.
Hopefully this is a good start to get you going in polishing. We plan to have a more in depth article on step by steps for each type of job. So look forward to that. As always, if you have any thoughts, comments, additions, feel free to add them to the comments below.


Awesome article, thanks for the tips.