

Half of what makes a skilled detailer is being prepared for the task at hand, and part of that preparation means knowing how to mask a car with tape. Skip this step and you could end up wasting your time, or worse, damaging the vehicle. So in this blog, we’ll go over why you should tape off sensitive features, when it’s appropriate, what to tape off and general taping best practices.
Why To Mask With Tape
So why am I taping in the first place? In a nutshell, it’s to protect the rest of your car from being contaminated, stained or damaged by whatever detailing process you’re carrying out. But let’s get more specific:
Buffer Damage
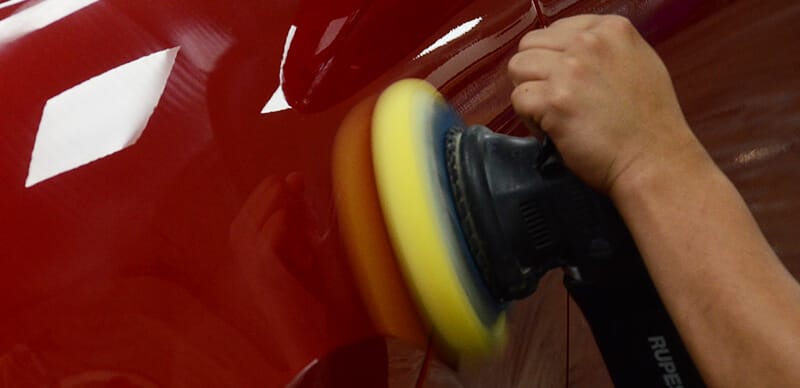
Let’s say you’re polishing some paintwork with a machine buffer. You veer towards some adjacent plastic trim, trying to get the entire panel, and you accidentally drift onto the trim. Oops! If the buffer didn’t mar up the plastic, then some polish or compound definitely did. It’ll likely come off, sure, but it’ll eat up a chunk of your time that could be better spent working on the rest the vehicle. Best to just tape off that trim ahead of time! This goes for any products applied with a machine buffer, too—no matter what’s on the pad, you want to avoid hitting surrounding surfaces you’re not applying to. Burning is another kind of buffer damage that can be prevented with taping. Since panel edges on a vehicle are often thinly coated, taking a buffer to them could burn right through the paint. It’s rare, but it can happen—tape down before hand and you’ll have better peace of mind.
Gunked-Up Crevices
Here’s another scenario: you’re inspecting your work after buffing out some micro-marring. The paint looks great, sure, but what’s this gunk stuck between the panel gap? It’s dried polish, and it’s going to take some time and effort to get it out. Avoid this and tape off any panel gaps or crevices beforehand!
Cross-Contamination

We touched on this briefly in the buffer damage section, but it deserves some elaboration. Contaminating a nearby surface with overspray or sling can be a massive headache, both visually and chemically. It’s often a pain to get off, runs the risk of discoloring the surface, and if not removed, can interfere with other products you apply down the line. Take applying ceramic coatings as an example. Let’s say you accidentally apply something like Nano-Resin to part of a headlight while coating the paint on your fender. It won’t necessarily make your headlights look weird, but that little bit of over application could interfere with a headlight coating you apply down the road, resulting in a sub-par bond and poor durability.
When Taping Is Appropriate
In what situations is it necessary to tape? Ask yourself this: “Does the detailing I’m about to do run the risk of damaging, contaminating or altering the appearance of a nearby surface?” If the answer is “yes”, get to taping that nearby surface. If the answer is “no”, then continue on without taping.
What You Should Mask Off
So what exactly needs to be taped off? Again, any nearby surface you don’t want to damage, contaminate or alter the appearance of. What are the most common things you’ll want to protect? Take a look through this gallery:
[ngg_images source=”galleries” container_ids=”26″ display_type=”photocrati-nextgen_basic_imagebrowser” ajax_pagination=”1″ order_by=”sortorder” order_direction=”ASC” returns=”included” maximum_entity_count=”500″]These are just examples, however—like I mentioned above, the best way to know what to tape off is to ask yourself what exactly you don’t want to touch with your buffer/applicator and then tape over its perimeter.
The How of Taping
Now that we’ve covered exactly why you should tape off, it’s time we get into the how. Taping may seem as simple as a kindergarten arts & crafts project, but there are some finer points to it that are important to go over. Let’s take a look:
Using The Right Tape
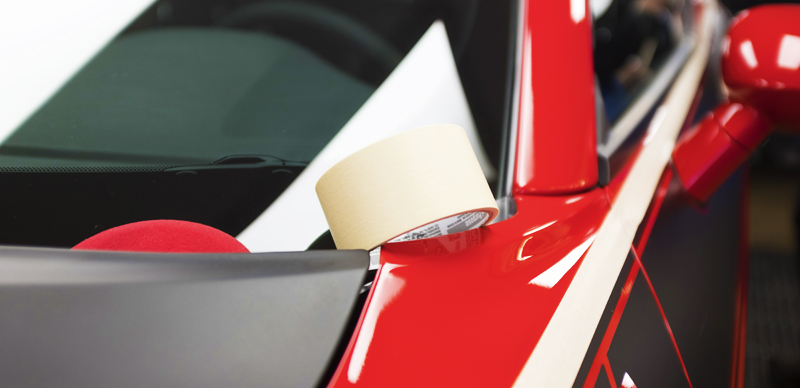
Sorry guys, but that flimsy transparent tape in your kitchen drawer won’t cut it here. You need masking tape for cars (AKA automotive masking tape). If you don’t have that on hand, painter’s tape or beige masking tape should work fine.
Taping As You Go
If you’re planning to work on several panels over an extended detailing session, it’s best to tape off features as you move from panel to panel rather than doing it all at once. Why’s that? Well, painter’s tape and regular masking tape tend to lose their adhesion after a little while, so if you taped off your entire car before getting to work, that tape could very well be peeling off by the time you get to it. Best to just go section by section to avoid that possibility. Side note: You should also remove the previous section’s tape before moving to your next section—leave tape on for too long and you could be looking at some adhesive residue that can be tough to get off.
Getting Inside The Crevices
When taping off a feature, you really want to make sure you’re taping the inside walls. Take a look at this Mini Cooper’s tail light for an example of what I’m talking about:
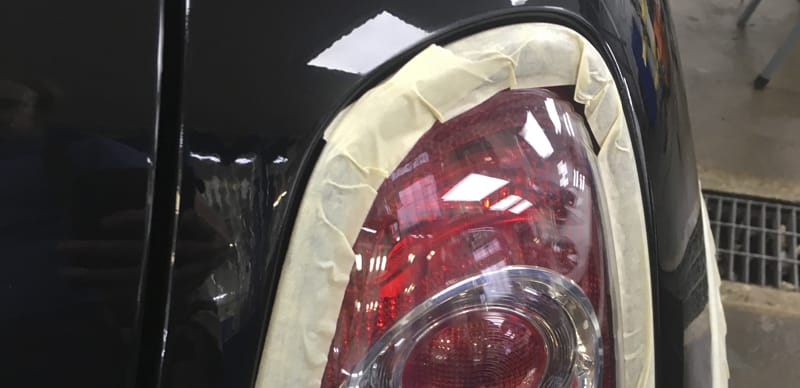
See how the detailer made sure the inside walls of the light were taped off? That ensures the entirety of the feature is masked, not just the surface. It has the added benefit of blocking product from entering the crevices, too. That basically covers it, no pun intended. Masking for detailing, at the end of the day, comes down to your own judgement. “What do I need to protect?” should be the question you always ask yourself before picking up the buffer. Got any additional tips and tricks when it comes to masking off sensitive features? Comment below!
This will be the next topic of my blog for sure. Really great share.
Thanks man!