


Last Updated July 2, 2024
“Wet sanding” is a term you may come across in the world of automotive paint polishing. You may have heard it’s an incredibly effective way to remove scratches and defects from a car’s paint. You may even be wondering if wet sanding is something you should do to your own car’s paint.
The fact is, wet sanding is an incredibly aggressive method for removing defects from a car’s paint and should only be undertaken by an experienced professional under specific circumstances. In this article, I’ll explain what wet sanding is, why it’s done and when it’s an appropriate method for defect removal on automotive paint.
What is Wet Sanding?
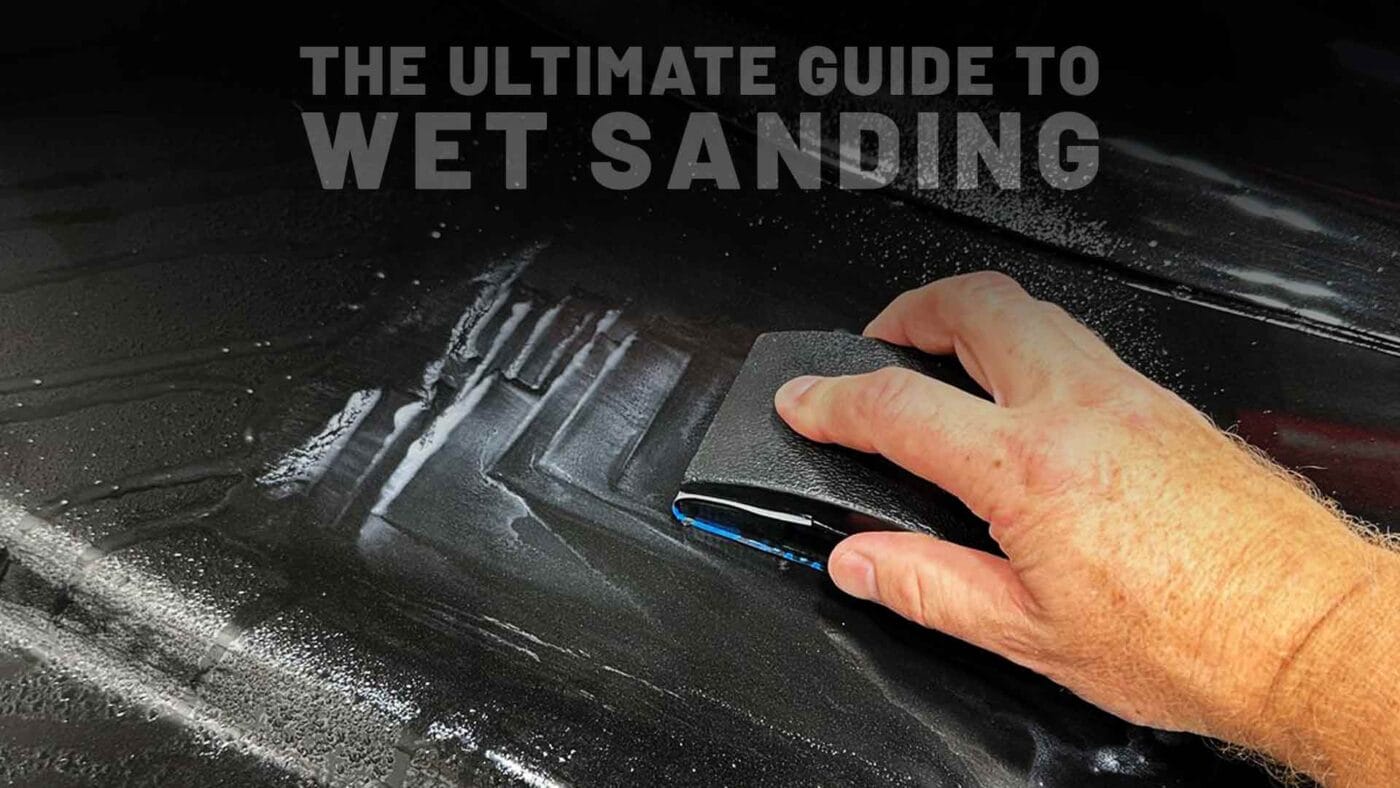
Wet sanding is a term to describe sanding automotive paints with some brand of automotive wet/dry sandpaper using water as a lubricant to smooth out the sanding action against the paint surface.
It’s commonly used to remove deep scratches and paint texture like orange peel from custom paintwork and is seldom done on normal, OEM factory paint. I’ll get into the “why” for this later.

What Does Wet Sanding Do to a Car’s Paint?
Wet sanding creates a more beautiful finish by removing paint defects like orange peel, mottling, unwanted surface texture, DIP (Dirt in Paint) plus runs and sags.
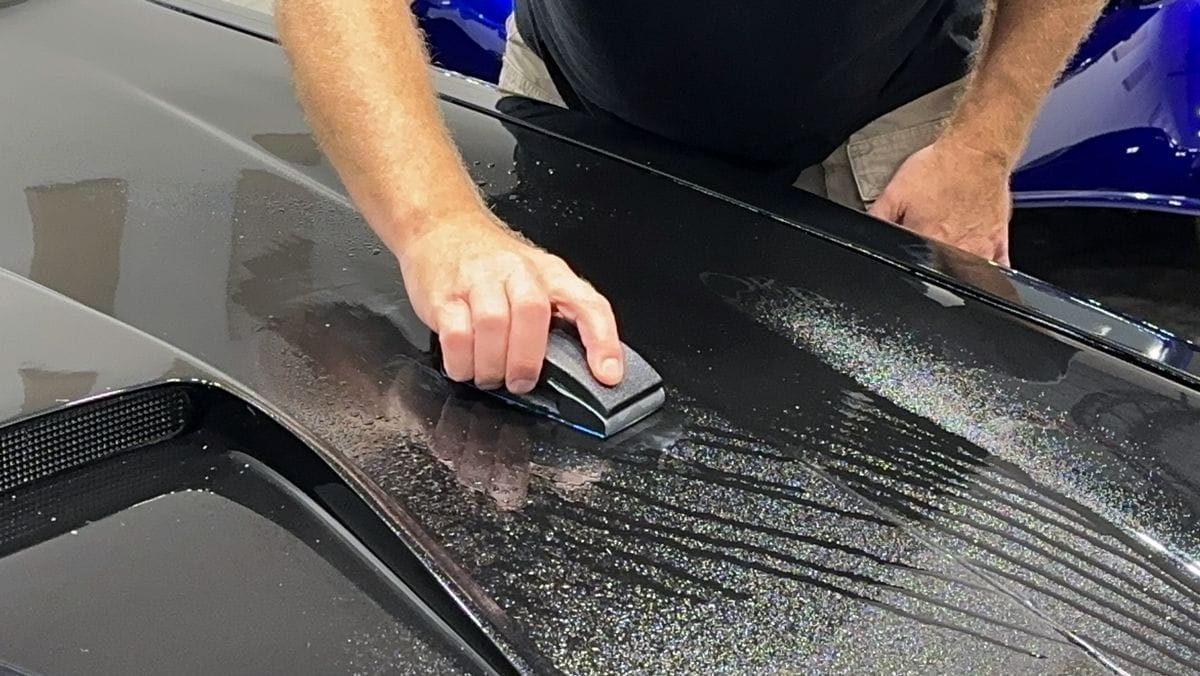
Sandpaper engineered to be used with water as a lubricant is moved over the surface in back-and-forth straight lines. As the sandpaper is moved over the paint surface, the highest points of the paint are removed, leveling the surface to make it flat. Once the sanding marks left behind by wet sanding are polished out, the paint will exhibit a high level of shine with little to no texture visible.
Why Does Wet Sanding Use Water?
Water (along with a little soap or detergent) is used in wet sanding for a number of reasons:
- Lubricating the sandpaper so it can be easily moved over the paint
- Keeping the sandpaper from clogging with particles
- Important — embedded particles can cause deep sanding scratches called “tracers”
- Keeping the surface cool under heavy friction
- Reducing abrasion for smoother sanding mark pattern (easier to buff out)
When Should You Wet Sand Car Paint?
You should wet sand anytime you want to improve the appearance of the paint on a car to create a show car or mirror finish beyond what is possible with polishing. That being said, it’s important to understand the type of paint that should be wet sanded. Not every type of paint is a good candidate for wet sanding, and you should almost never wet sand factory clear coat paint.
Most of the time when we’re talking about wet sanding, it’s in the context of sanding fresh, custom paint — not the factory paint on a daily driver.
The two primary places where fresh paint is sprayed onto cars is either at a collision shop (also called a body shop) after a car has been in an accident, or at a custom car building shop.
- To match orange peel texture on a repainted panel
- In a collision shop (also called a body shop) the majority of work is to replace and/or repair any body panels damaged in an accident or collision. In these situations, the entire car is NOT being repainted, just the repaired or replaced body panels. After painting, some shops will lightly sand the freshly painted areas to reduce, but not totally eliminate, orange peel and other surface texture so the repainted areas will better match the factory orange peel.
- To remove orange peel texture on a custom paint panel
- In custom shops — shops focused on restoring or modifying (hot rodding) classic cars, muscle cars, exotics, custom builds — after all the mechanical aspects of the project are finished, the vehicle will at some point receive a custom paint job. Because the goal for most of this type of work is to create the most beautiful looking paint possible, all the paint is put through a series of wet sanding procedures to completely remove orange peel and flatten out the paint surface.
Does Wet Sanding Remove Orange Peel?
Yes, wet sanding can remove orange peel. When talking about a “show car” finish, another term used is “mirror” finish. When paint has orange peel — a texture resembling the skin of an orange that arises during the paint process — it visually disrupts a perfect mirror reflection. That is, instead of being completely flat like a mirror or a glass window, the paint surface is mottled, with millions of tiny mounds or hills and valleys.
To put it a different way: the goal when wet sanding a custom paint job is to maximize the “D.O.I.” The term D.O.I. stands for “Distinction of Image”. A mirror has 100% D.O.I. So the goal when wet sanding a custom paint job is to get as close to 100% D.O.I. as possible, and a lot of the time that means removing orange peel texture.
When it comes to a custom paint job, the owners of these vehicles tend to be perfectionists that won’t accept orange peeled paint. Because of this, the painter will typically spray extra paint onto the car knowing it will be wet sanded to remove the orange peel, thereby ensuring there’s plenty of paint for the wet sander to work with.
Does Wet Sanding Remove Scratches?
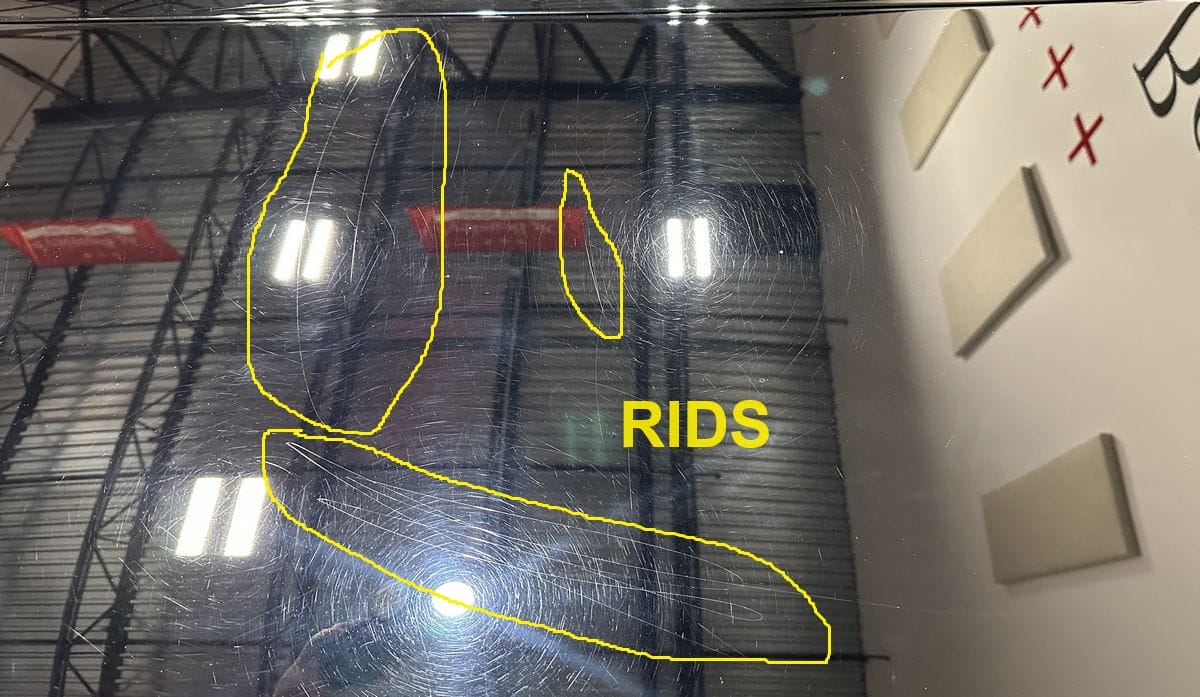
Yes, wet sanding can remove scratches, especially deeper ones that can’t be removed through conventional polishing. These deeper scratches are called RIDS — random, isolated deeper scratches.
Unlike swirls — the millions of tiny, shallow scratches in the paint that build-up in a very UNIFORM manner — RIDS are scratches that are put into the car paint from random incidents like keying, fingernail scrapes or setting something on the hood or trunk lid and then dragging it over the paint when removing it. Here’s an example of RIDS in the trunk lid of a 1955 Chevy Delray I detailed.
Wet sanding is a good way to remove these types of scratches, as they’re deeper than swirls and require aggressive material removal in order to be leveled. With an aggressive procedure like this, however, you need to be careful when working on factory paint.
The key thing to remember when working on the FACTORY paint, is the factory paint is THIN. So a good rule of thumb when trying to remove random isolated deeper scratches from the factory finish in your car’s paint is sometimes it’s better or safer to only improve the scratch, don’t try to completely remove the scratch.
Can You Wet Sand Factory Paint?
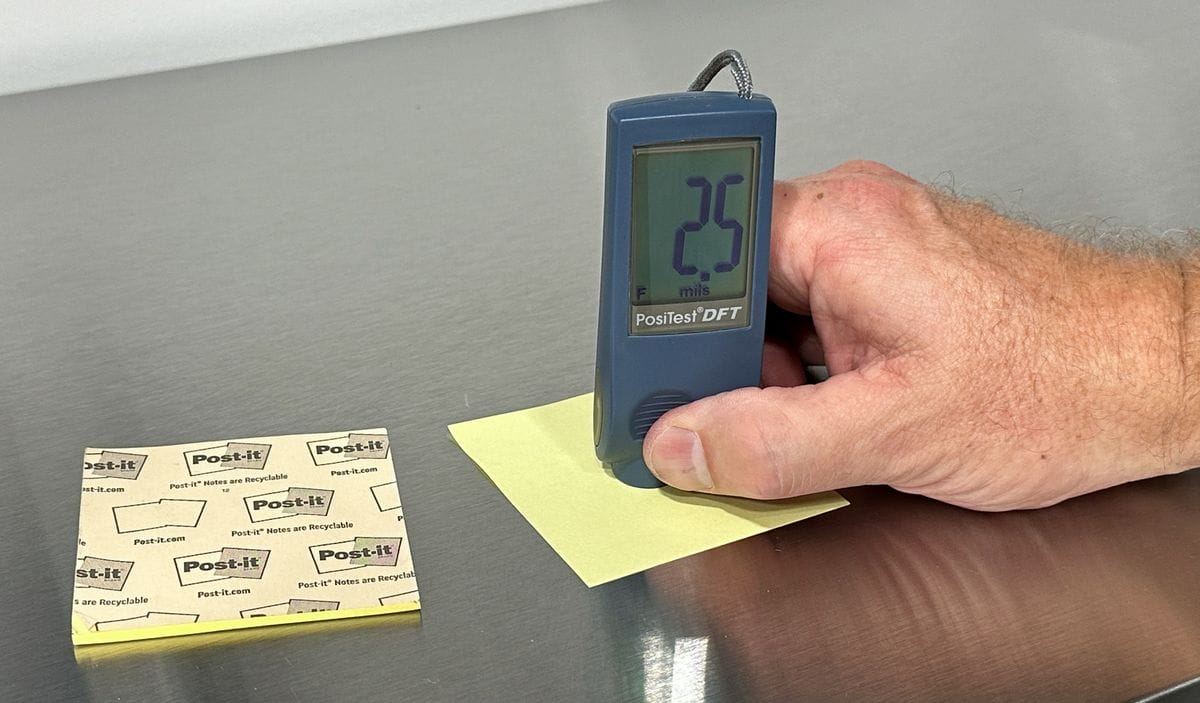
This is normally a really bad idea. Why? Because factory paint jobs are very, very THIN. Most new cars have what is called a basecoat/clearcoat paint job. In this case, it is the clear coat layer that you would be doing the wet sanding to.
From the factory, the clear coat layer is around 2 mils thin. Take a sticky note and hold it between your thumb and index finger. A sticky note measures around 2.5-3 mils thin. The factory paint on your car is 2 mils or thinner. That’s right — the factory paint on your car is thinner than a sticky note.
Follow this logic:
- Wet sanding removes paint.
- Compounding to remove the wet sanding scratches removes paint.
- Polishing to refine after compounding removes paint.
So, if you try to wet sand factory paint, chances are high that at some point you’re going to sand or machine buff through the clear coat layer of paint and expose the underlying base coat layer of paint — the pigmented or colored layer of paint that defines the color of the car.
The ONLY way to fix this kind of problem is to repaint the affected area or repaint the entire body panel where you sanded or buffed through the paint.
Recommendation — Avoid Wet Sanding Factory Paint
If you’re thinking about sanding on factory paint, here’s my strong recommendation: stop by any local body shop and ask them how much it would cost to repaint the hood or whatever body panel you’re thinking about sanding — door, fender, trunk lid, etc. I’m pretty confident you’re going to be sticker-shocked. That’s what you’re going to have to pay if you accidentally burn through the clear coat while wet sanding.
But what if you’re super careful and don’t burn through the clear coat? Here’s the thing — even though you were able to sand, compound and polish without burning through to the base coat, you are now left with an incredibly thin amount of clear coat. That’s bad news for the car.
With paint this thin, normal exposure to the elements (UV rays from the sun and repeated exposure to rain/water) plus everyday wear-and-tear from driving will likely cause premature clear coat failure on any and all panels that were wet sanded. The only way to fix this is to repaint the car. Otherwise, your vehicle will rust and oxidize without clear coat protection. Again, stop by any local body shop and ask for an estimate to repaint your car. You will be sticker shocked, and sticker shocked enough that you’ll no longer want to learn how to wet sand on your car.

What Happens If I Burn Through The Clear Coat While Wet Sanding?
Let’s say you’ve wet sanded and buffed to remove a scratch, but the paint looks dull after you’ve finished. This is what often happens when a person tries to 100% remove a scratch out of their car’s finish.
First they sand until they can no longer see the scratch. At this point, the area being sanded is dull from the sanding marks. Because of this dullness, it can be impossible to see if the sanding removed the clear coat down to the base coat because the area sanded is dull. It’s possible sanding didn’t go all the way through the clear, it’s just hard to tell because the sanding marks make the area look dull or matte.
The next step is to remove the sanding marks. As you remove the dullness by removing the sanding marks, you restore CLARITY to the surface and if you did in fact sand through the clear, OR buffed through super thin clear that wasn’t sanded through this is when “it” shows up.
The “it” is a dull spot, usually in the shape of a circle or oval. The paint surrounding this spot is glossy and shiny, but the middle of where you sanded is dull or matte. What this means is that you either sanded or buffed through the clear coat layer of paint and exposed the base coat layer of paint.
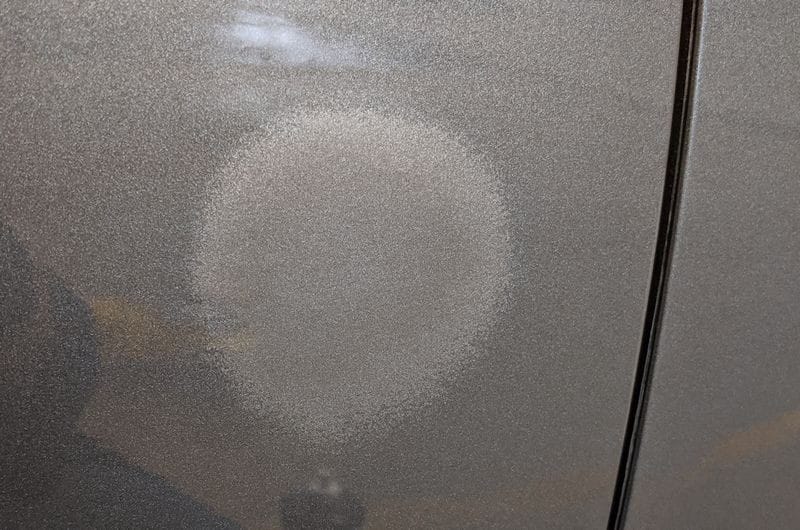
Exposed Base Coat
Most people don’t know this, but the base coat portion or the pigmented or colored portion of a base coat/clear coat paint system, is naturally dull. The base coat layer gets its gloss from the clear coat layer of paint. When you sand and/or buff through the clearcoat, you expose this dull paint.
And now when you look at the area you sanded and buffed, with all your noble intentions for removing the scratch, there’s this round or oval spot that’s dull. And guess what? There’s no way to recover from this type of mistake. More and more buffing will not make the dull spot go away, it will just make it grow.
How Do I Fix Clear Coat Failure From Wet Sanding?
The only way to fix the area that you sanded and/or buffed through the clearcoat is to take the car to a body shop and have the area or the entire body panel repainted.
This is why I recommend, if you’re thinking of wet sanding isolated scratches or even other isolated defects like bird dropping etchings or bug splatter etchings, or perhaps your car was egged and now there are imprint scratches from where the egg shell impacted the paint, BEFORE sanding, take your car to a local body shop and ask for an general idea or estimate for how much it will cost to get any specific body panel repainted. The dollar amount will shock you.
The net effect from this sticker shock will make my point that instead of trying to completely remove a scratch or any below surface defect in the paint via wet sanding, take a more cautious approach and do your best to improve the scratch or other paint defect, not fully remove it.
What’s Better — Wet Sanding or Dry Sanding?
When it comes to sanding paint, there are two options: wet sanding and dry sanding. Wet sanding uses water in conjunction with sanding papers while dry sanding does not use water. Which style of sanding you choose is in part personal preference, but there are also a number of reasons why wet sanding is usually a better option.
Using water while sanding, as shared above, provides lubrication. The water makes it easier to move in smooth straight lines over the paint as you’re pushing a hand sanding pad with rough sandpaper wrapped around it over the surface.
Hand sanding dry will work, but the face of your sandpaper will tend to clog-up with paint particles very quickly. When this happens, the paint particles form as a layer of paint on the surface of the sandpaper and dramatically reduces the sanding or abrasive action of the sandpaper. This means you’re not doing anything.
As the paint builds-up on the sandpaper, this layer or clumps of paint particles can also trap tiny abrasive sanding particles that wear-off the sandpaper in this layer and this leads to uneven sanding marks in the paint. It can also lead to gouging the paint and more commonly, leaving tracers behind in the paint.
Tracers are unwanted deeper scratches in the paint surrounded by uniform depth scratches, which is what you want. When you go to buff out the sanding marks, the uniform sanding marks, because they are shallow, buff out quicker and easier. When you wipe off the compound what you’ll see left behind are random, deeper scratches called tracers and this will be dramatically more difficult to remove as well as more time consuming to remove.
Trying to remove tracers out of a painted body panel will tend to require more time and more pressure applied to the polisher. More time and pressure increases heat and raises the temperature of the paint. This can and will lead to burning through the paint. If you burn through the paint from excessive pressure and time, the only way to fix the damage is to repaint the panel or the affected area.
Wet sanding is typically less expensive for a number of reasons.
1: Your sandpapers will last longer which means you can sand more surface area before the sandpaper is worn-out via the lubrication provided by a little water with a few drops of soap in the water.
2: Automotive grade, wet/dry sandpaper tends to be easier to find locally.
3: Sandpapers designed to be used dry can include what is called anti-clogging technology and this tends to increase the price of the sandpaper.
What is “Sanding Slurry”?
The term sanding slurry refers to the water on the surface of your work area that suspends particles of paint removed off the surface from the abrading action of your sanding paper or sanding disc.
If you’re wet sanding a modern clearcoat paint finish, the water slurry will be a milky, whitish color. The reason the slurry looks like milky water is because anytime you sand something clear, the material being sanded turns opaque, (from the abrasion or sanding effect). An example of this is if you were to scratch glass, the scratch normally appears whitish or opaque.
As you sand a clearcoat paint finish, the clean water source becomes filled with tiny particles of abraded paint and the effect is a milky, whitish color to the water, which is called sanding slurry.
What is “Color Sanding”?
The term color sanding is an old term for wet sanding used before 1980 when cars were painted with single stage, solvent-evaporation paints like lacquers and enamels. Because there’s no clear layer of paint over the color coat, when you sand on a single stage paint system, the sanding slurry turns the color of the paint being sanded off the car.
If you’re sanding a car with single stage blue lacquer, the sanding slurry will appear as blue water. If you’re sanding a single stage red enamel, the sanding slurry will appear as red water. As such when you sanded a car in the old days, you would see the color of the paint coming off the car, thus the term “color sanding”. If you ever hear this term, remember that it’s interchangeable with “wet sanding”.
What Tools Do I Need to Wet Sand a Car’s Paint?
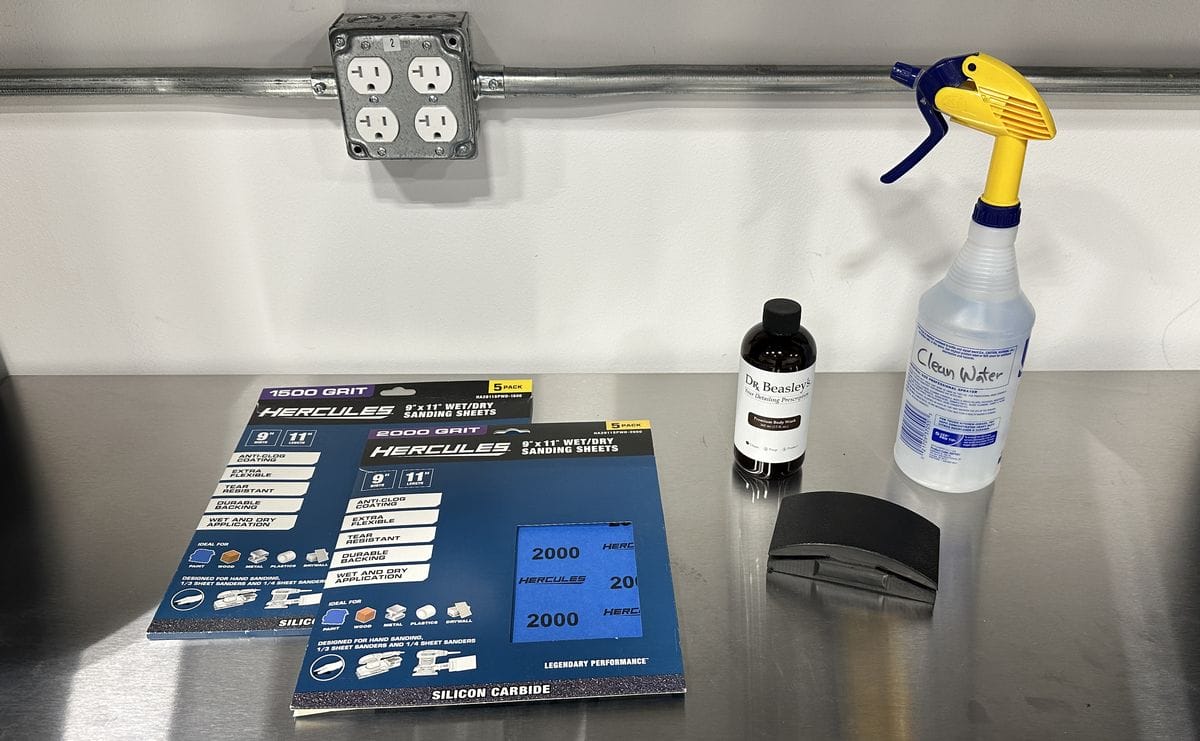
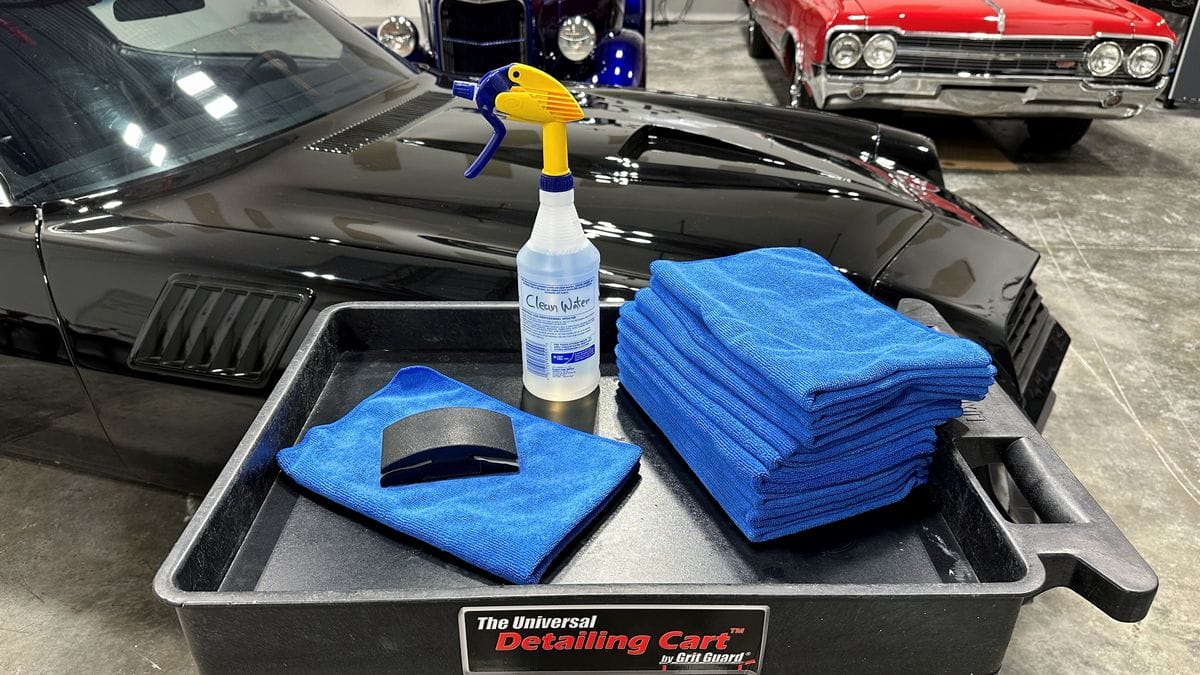
Supplies Needed for Wet Sanding:
- Wet/Dry Sanding Paper
- Hand Sanding Backing Pad
- Clean Water Source
- pH balanced, quality car wash soap
- Rotary polisher
- Wool pad
- Cutting compound
- Orbital Polisher
- Foam polishing pad
- Polish
- Wax, Synthetic Paint Sealant or Ceramic Coating
- Lots of clean, uncontaminated microfiber towels
Technically to wet sand paint you only need the first 4 items. If you want to remove the sanding scratches and polish to a glossy finish, however, you’ll need all the other items. So should you decide to do some wet sanding, keep in mind ALL the supplies you’ll need do the job correctly.
Is Wet Sanding Paper Different Than Normal Sandpaper?
Wet sanding paper is a type of sandpaper that is designed and engineered to be used wet with water without falling apart or disintegrating due to the water softening the paper component of the sandpaper.
Most automotive sandpaper is generically referred to as wet/dry sandpaper. This type of sandpaper is engineered to be used wet or dry. This is an important distinction because if the sandpaper is not designed to be used wet, then the paper backing will tend to soften as it becomes wet and it can and will dissolve and even fall apart.
This is why you should ONLY use sandpaper that clearly states it can be used with water for wet sanding. If you tried to use dry sandpaper (like those common in the woodworking industry) with water, it wouldn’t hold up for very long before falling apart.
Can Wet Sanding Paper Be Used Dry?
Automotive grade sandpaper is normally designed to be used either wet or dry. Here’s the deal, if a paper is designed to be used wet, it can also be used dry. This isn’t the case with sandpaper designed to be used dry. So be sure to research any sanding papers you’re considering and make sure the manufacturer states clearly their paper is designed for wet sanding.
What Grit Sandpaper Should I Use for Wet Sanding?
Wet sanding papers or sheets are available in a variety of different levels of grit or abrasive cutting performance. Normally for wet sanding automotive paints to remove orange peel, there is a range of 600 grit to 3000 grit. The lower the grit rating, the more aggressive the sanding or abrading action. The higher the grit level, the less aggressive the sanding action.
A good rule of thumb is to sand out to the highest grit your budget will allow because this will make removing the sanding scratches faster and easier and with less risk of burning or buffing through the paint.
What Are The Best Affordable Wet/Dry Sanding Sheets?
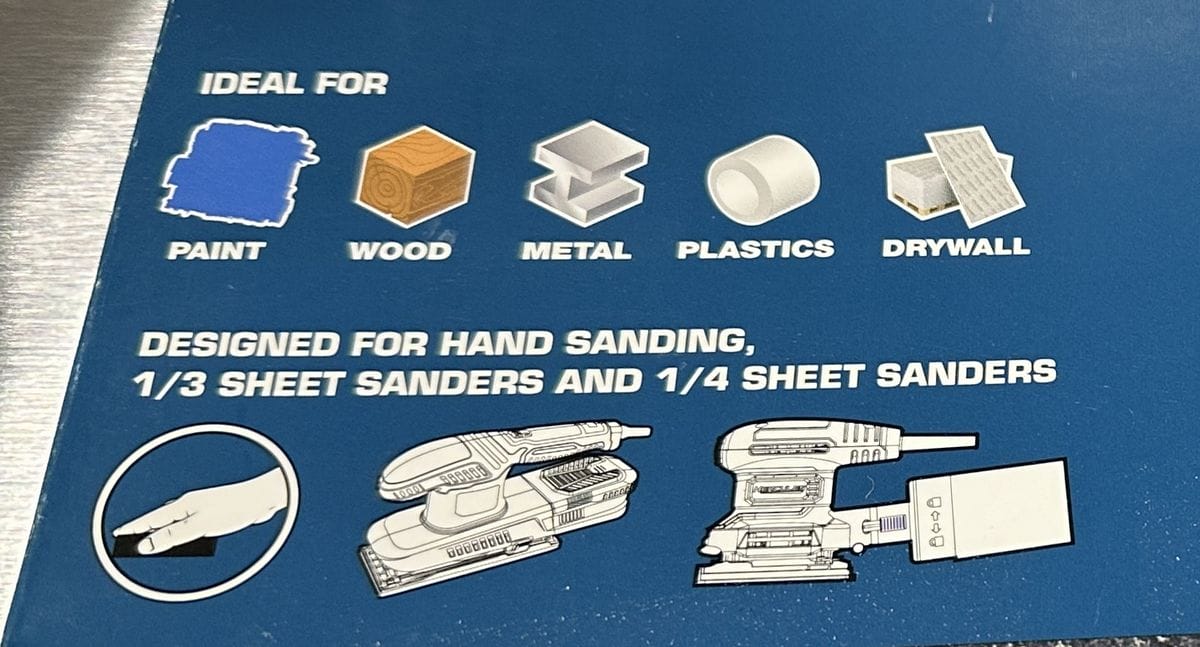
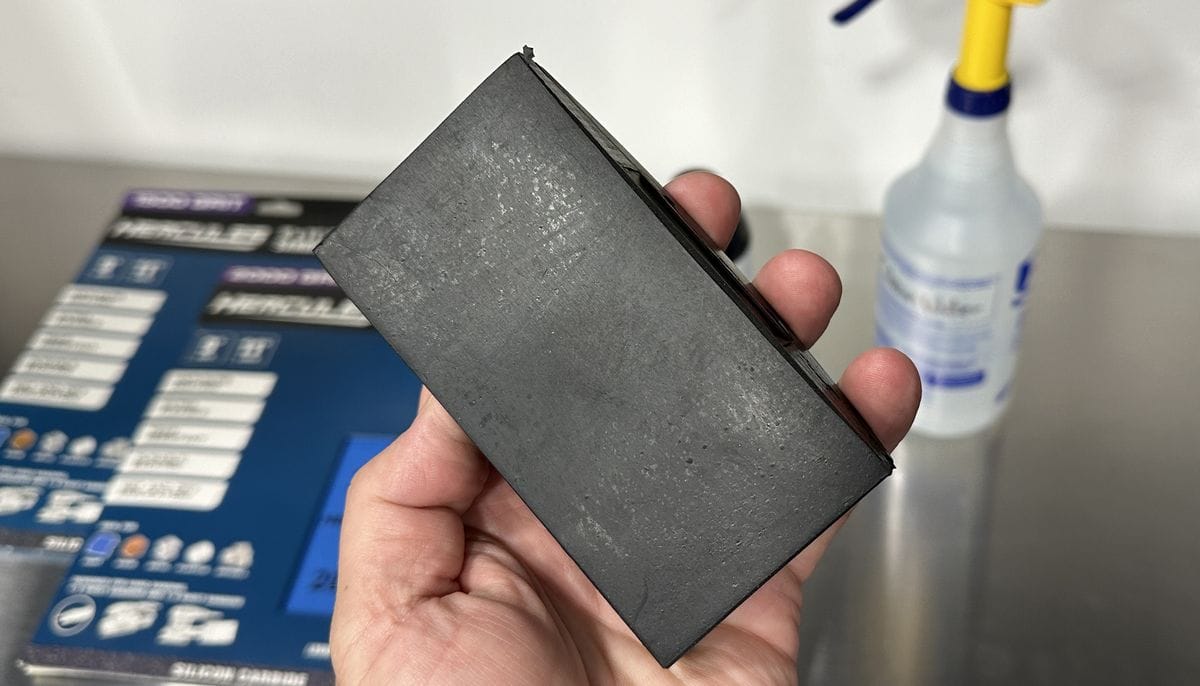
Recently, Harbor Freight introduced a sanding system that includes a variety of different grit sanding sheets and a basic hard block, backing pad.
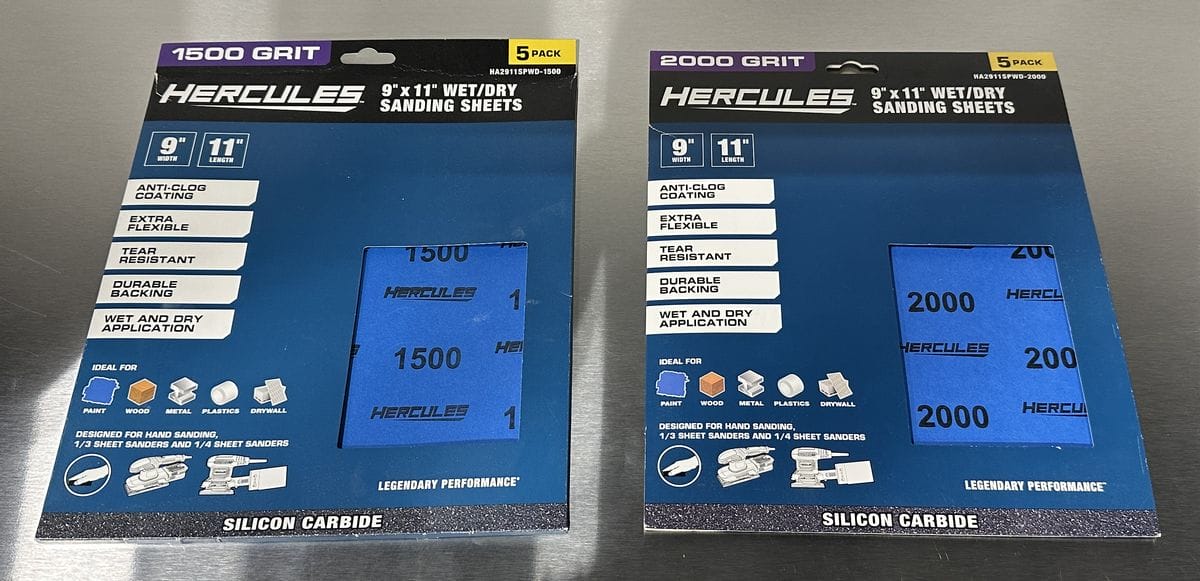
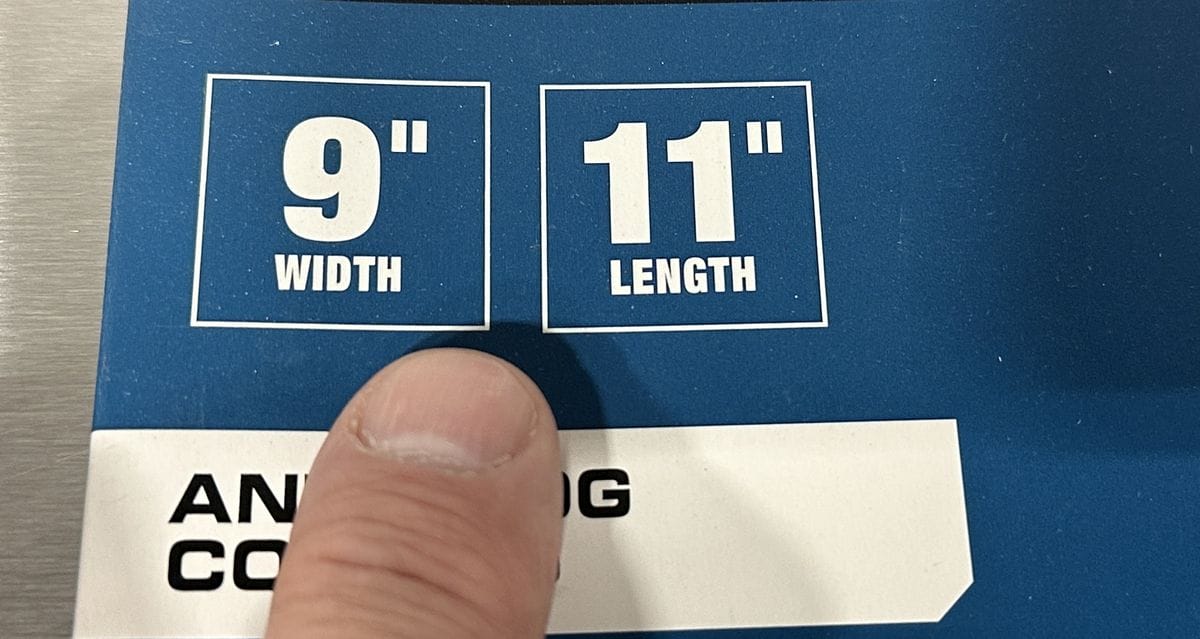
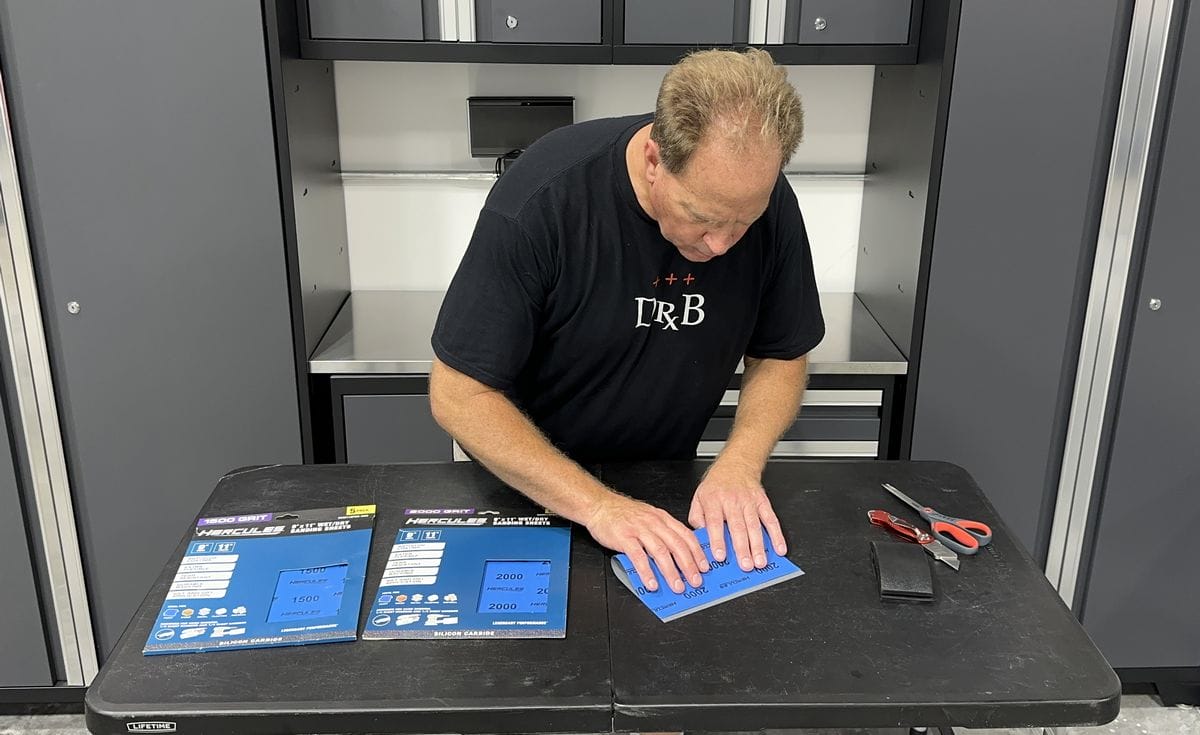
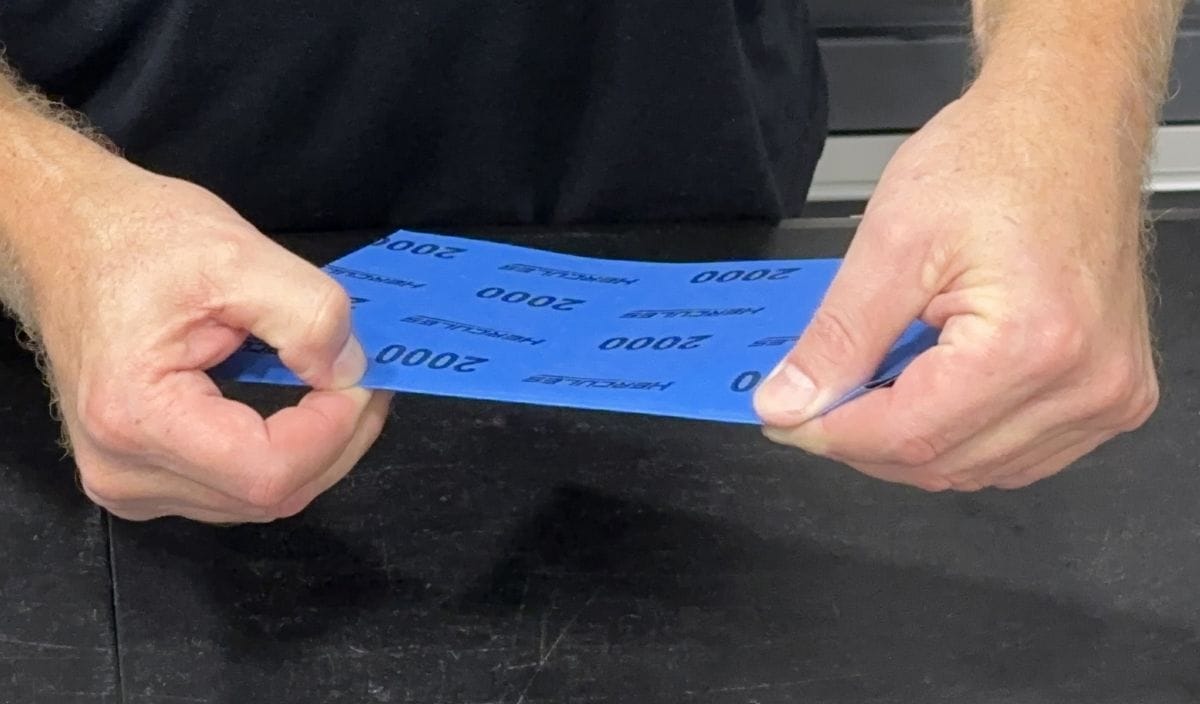
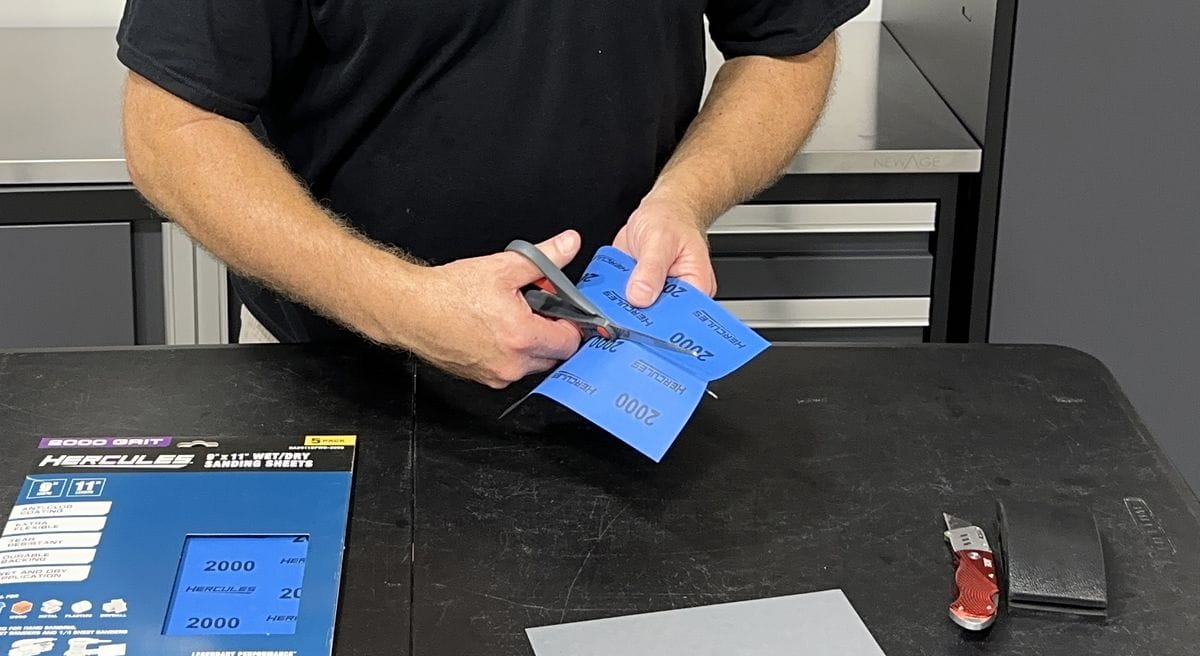
9” x 11” sanding sheets are the industry standard with the idea being you can cut the sheet to fit your method of sanding.
As mentioned previously, some sand paper includes anti-clogging technology to help prevent removed paint from building-up on the face of the sandpaper, both when sanding wet or dry.
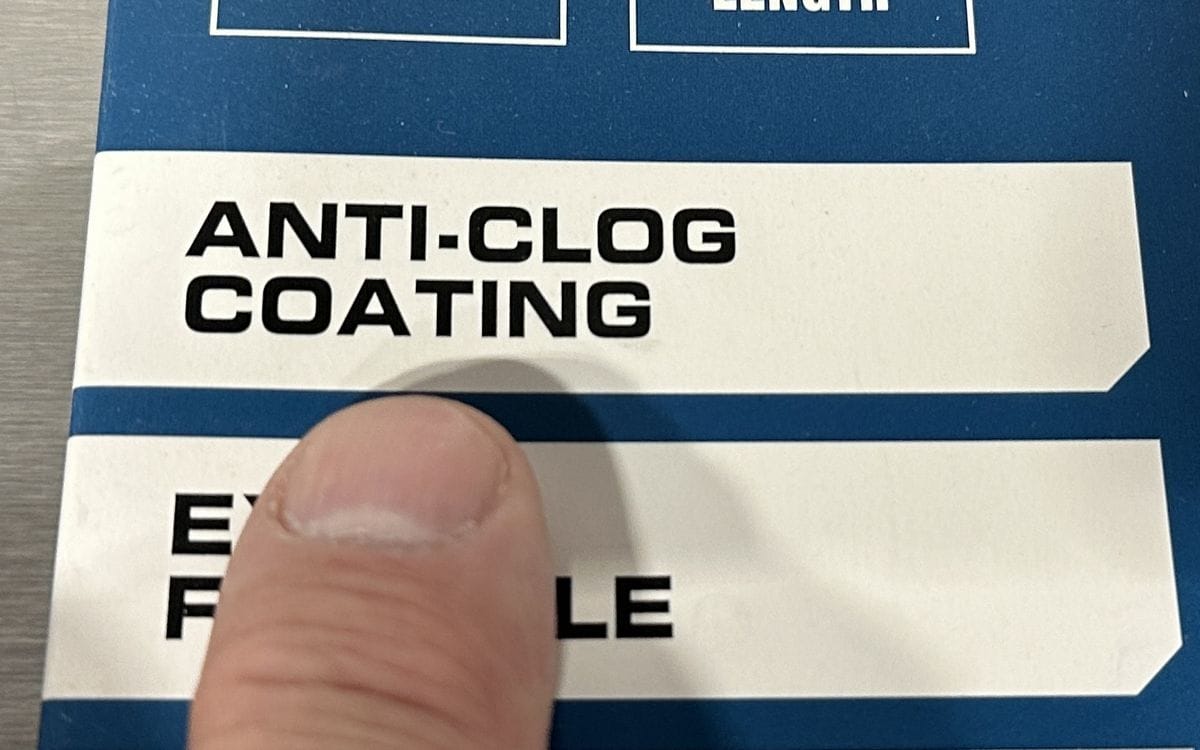
The Harbor Freight Sanding Sheets are engineered to resist breaking down when used wet.
These Harbor Freight sandpapers can be used either wet or dry.
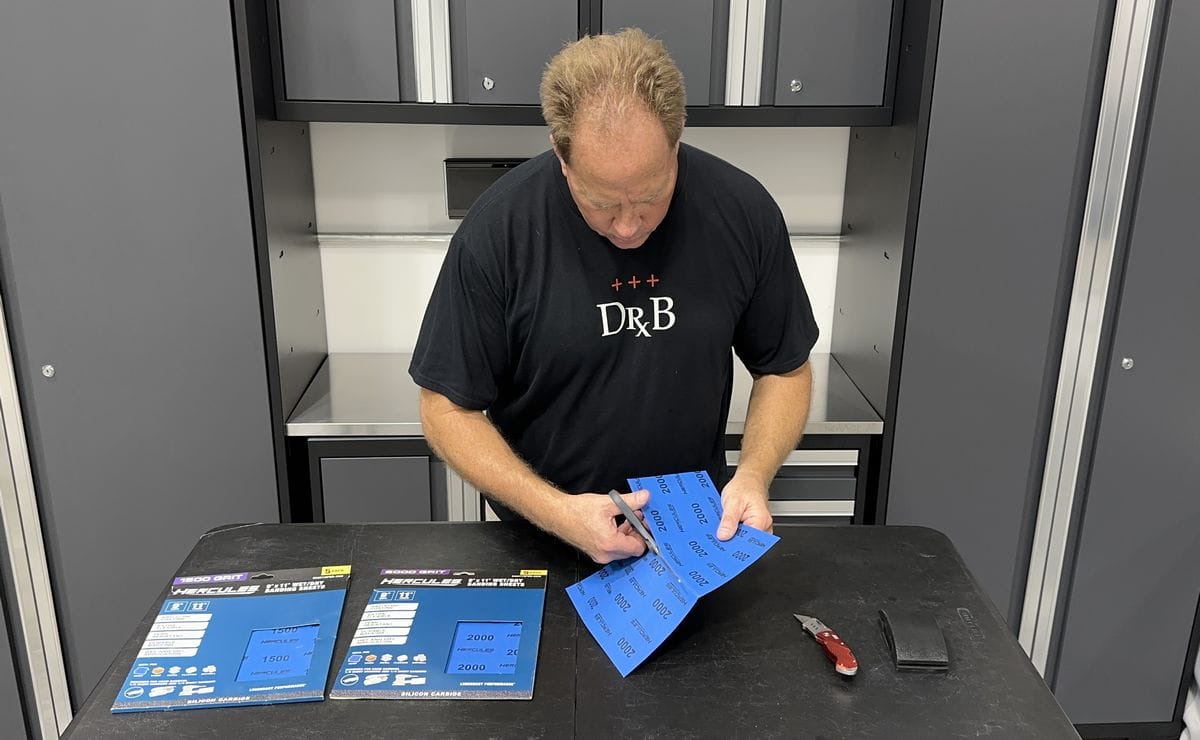
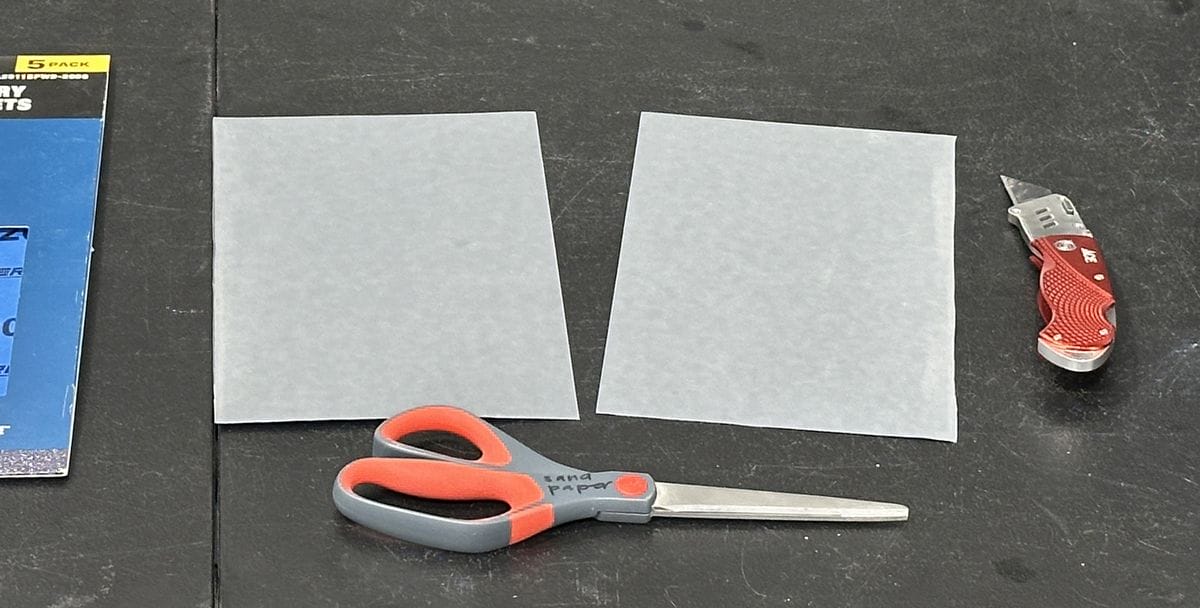
You can cut the full size sandpaper sheets to fit whichever way you choose to sand by hand or machine.
What’s The Best Hand Backing Pad for Wet Sanding?
Besides the sandpaper, you’ll also need some type of hand backing pad. Hand backing pads come in a variety of densities with some being super hard, like acrylic blocks at one extreme, and some being soft, spongy rubber on the other end of the spectrum. And of course, there are lots of options in-between these two extremes.
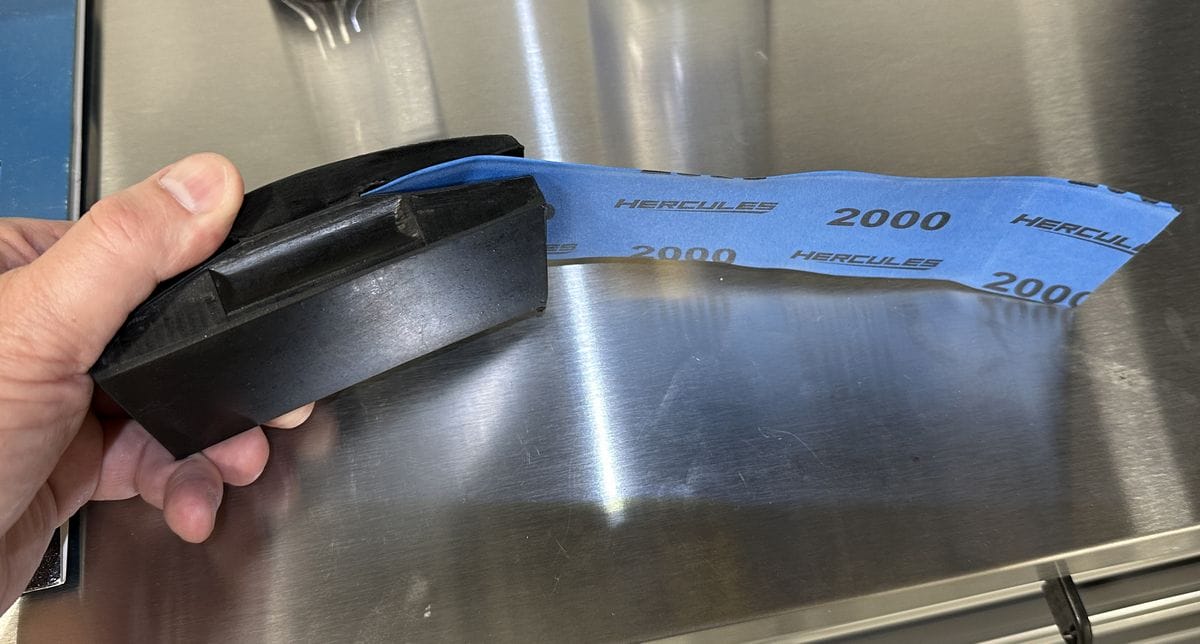
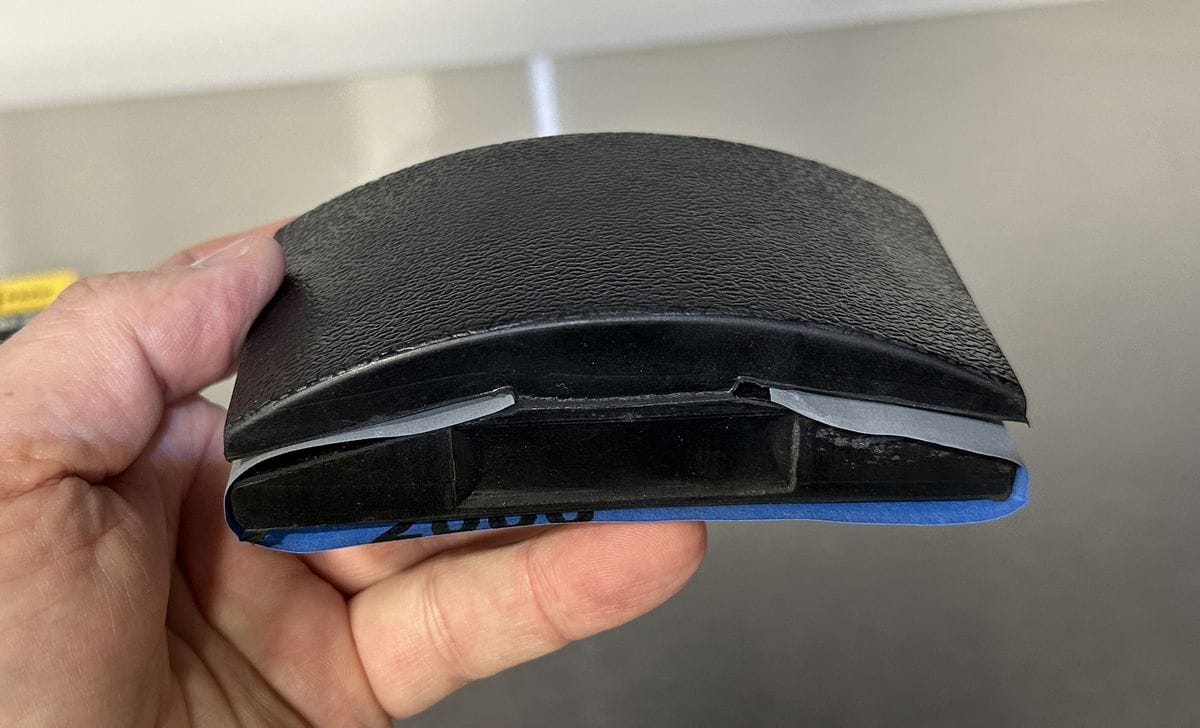
The Harbor Freight hand sanding pad is what is referred to as a HARD BLOCK. The idea being that the rubber material used to make the block is hard or stiff and the side where the sandpaper will fit against is flat. The hard, flat design is preferred for sanding orange peel and other surface texture because it keeps all the sanding action on the highest points of the surface being sanded.
The top of the sanding block is curved to fit your hand and make gripping it easy. There’s also thumb indents on both sides.
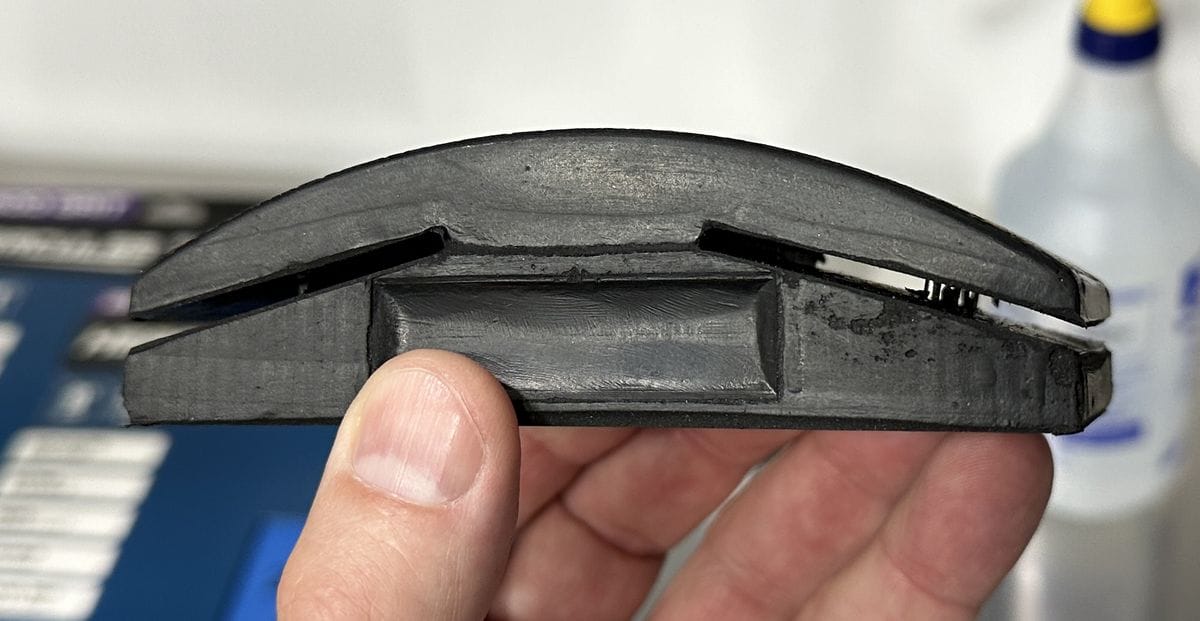
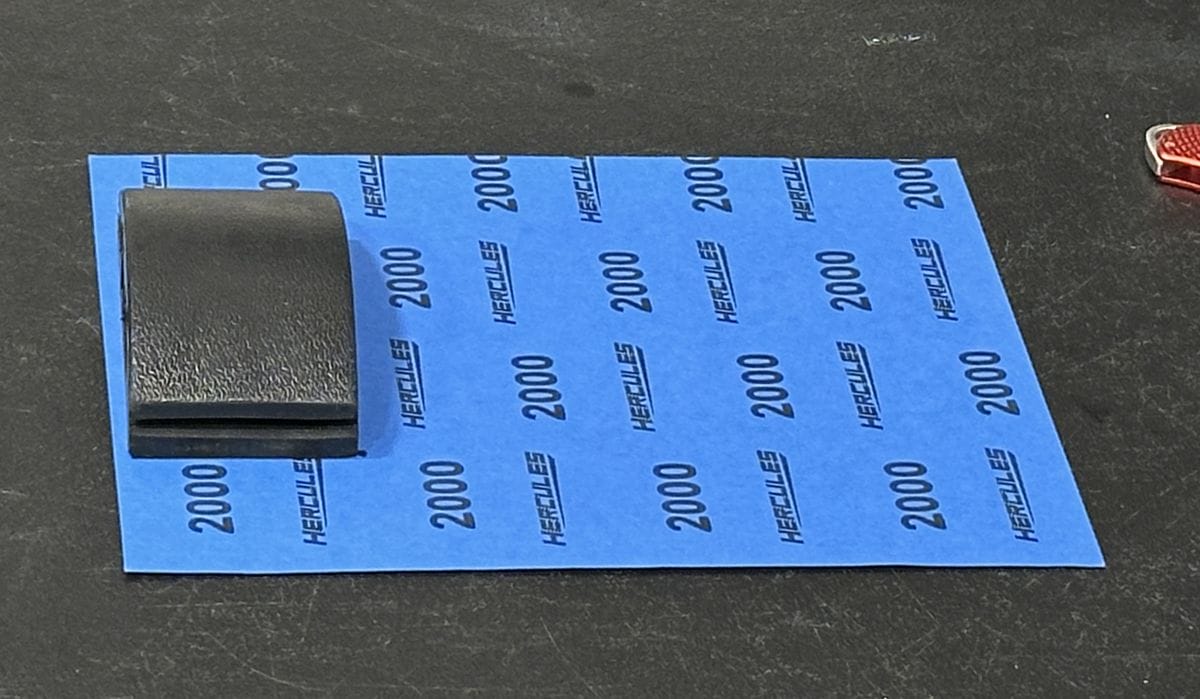
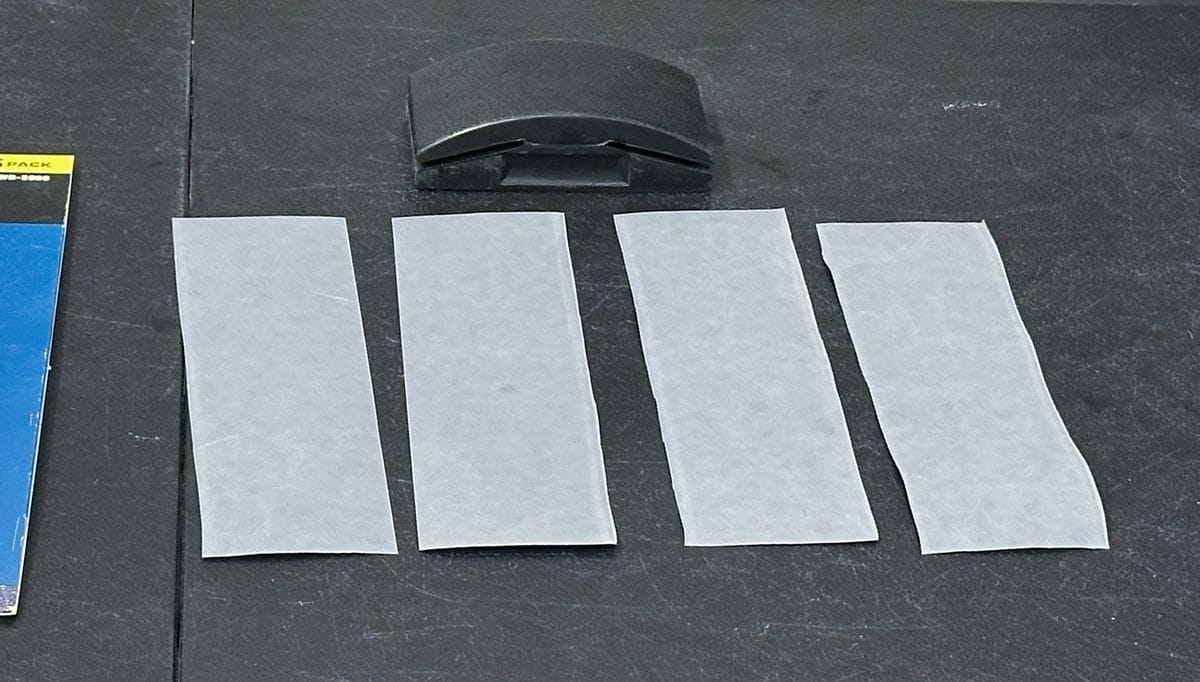
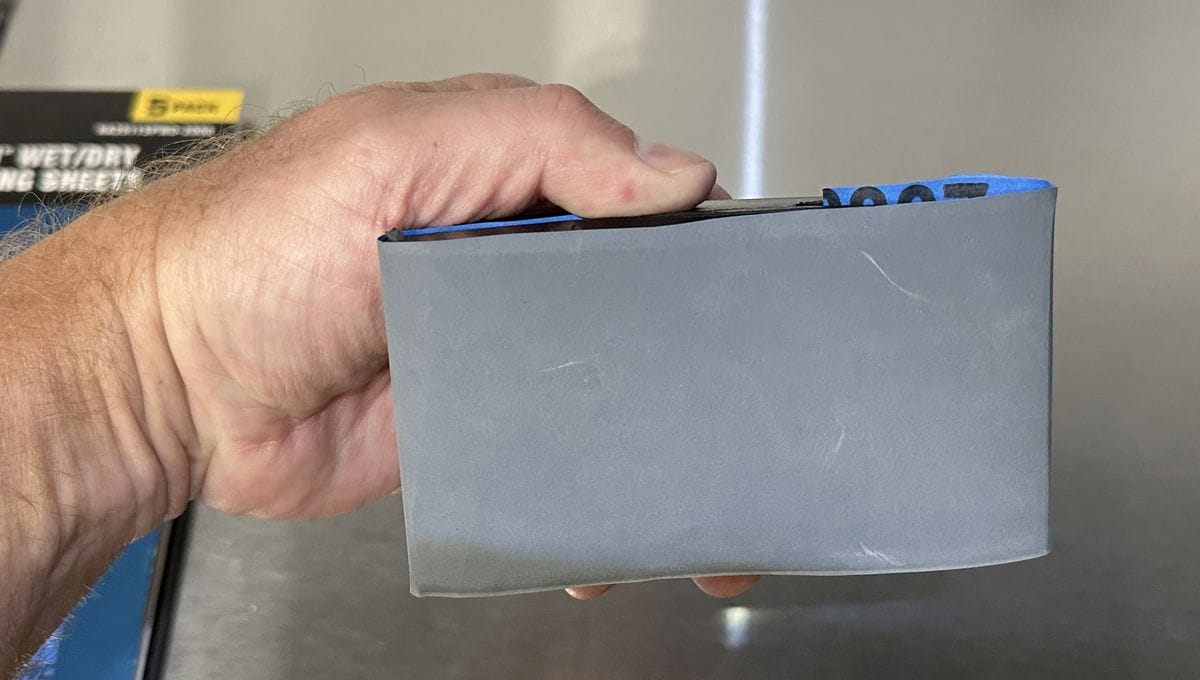
The working side is flat and approximately 2.5” wide and then the idea being with a 9” x 11” sheet of paper, you but the sheet into 4 equal strips.

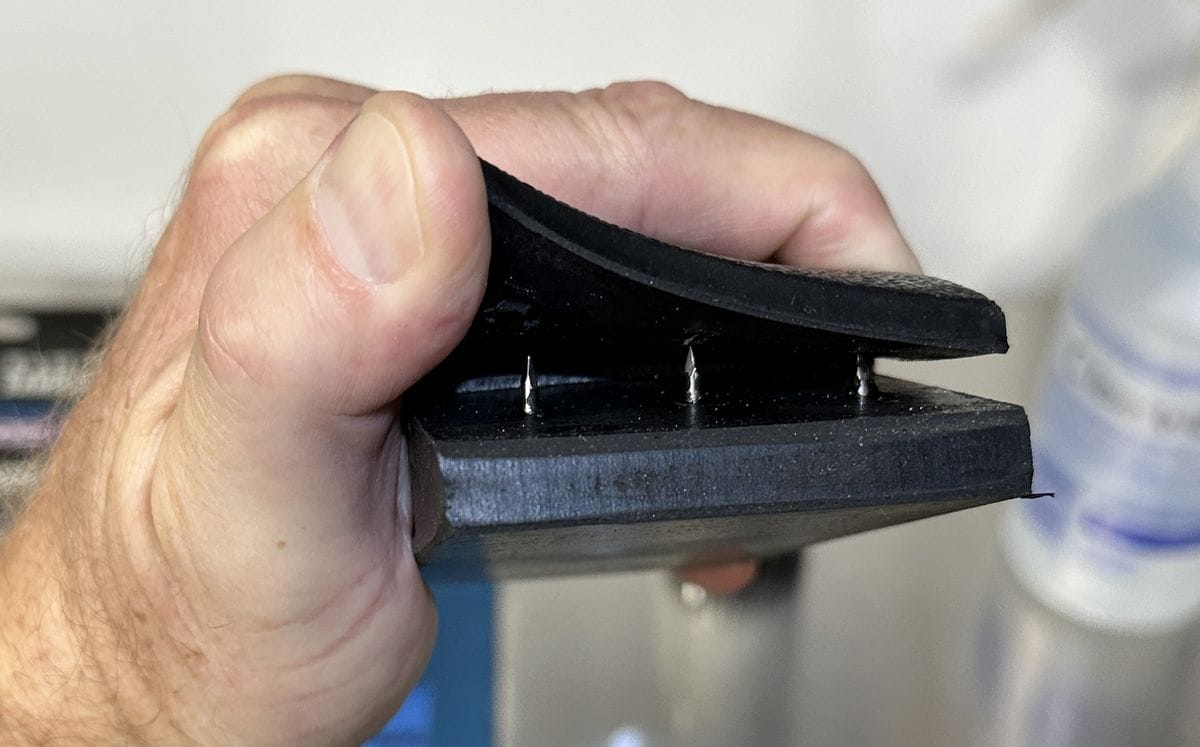
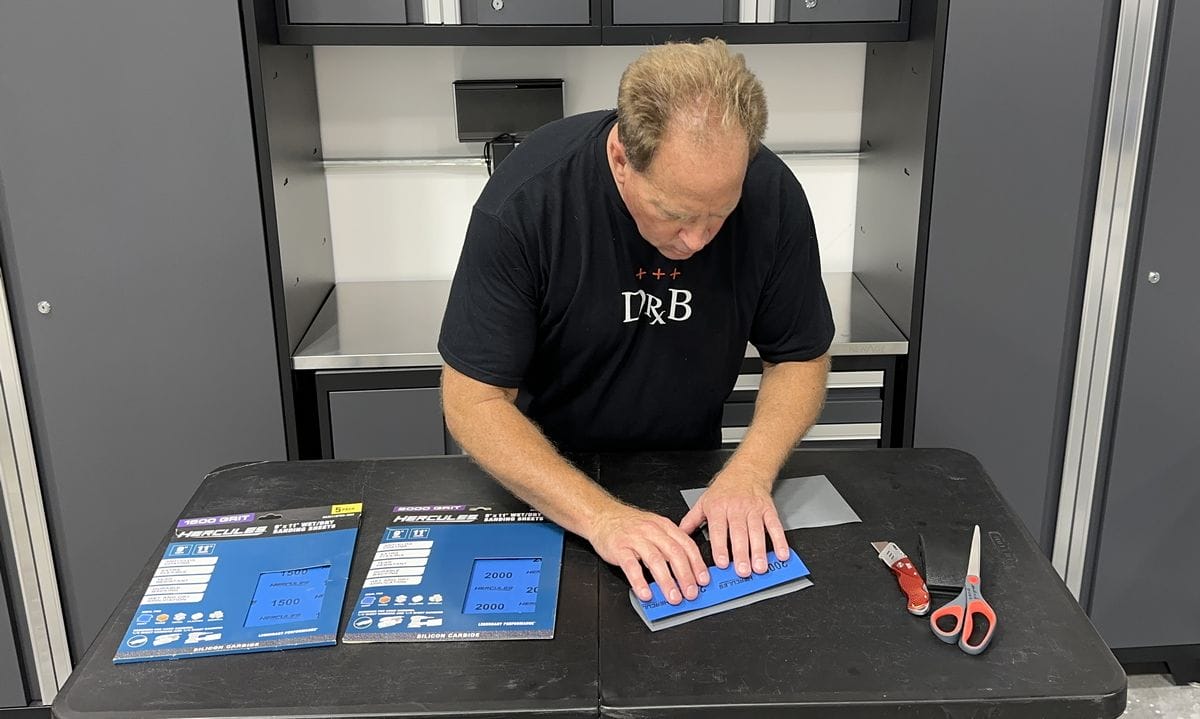
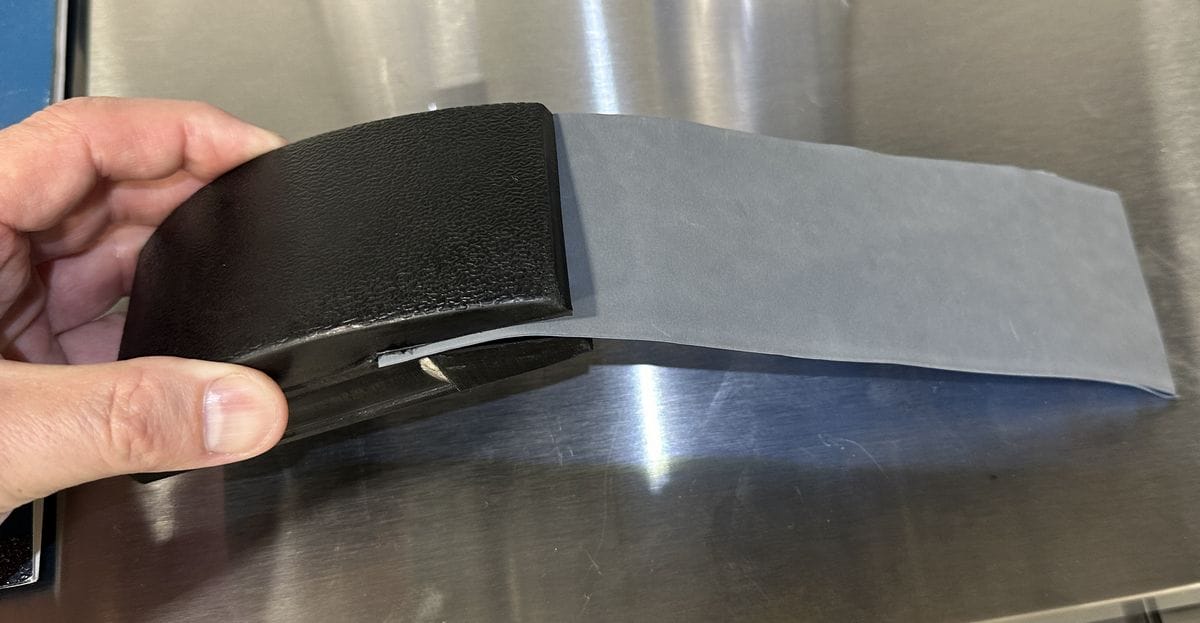
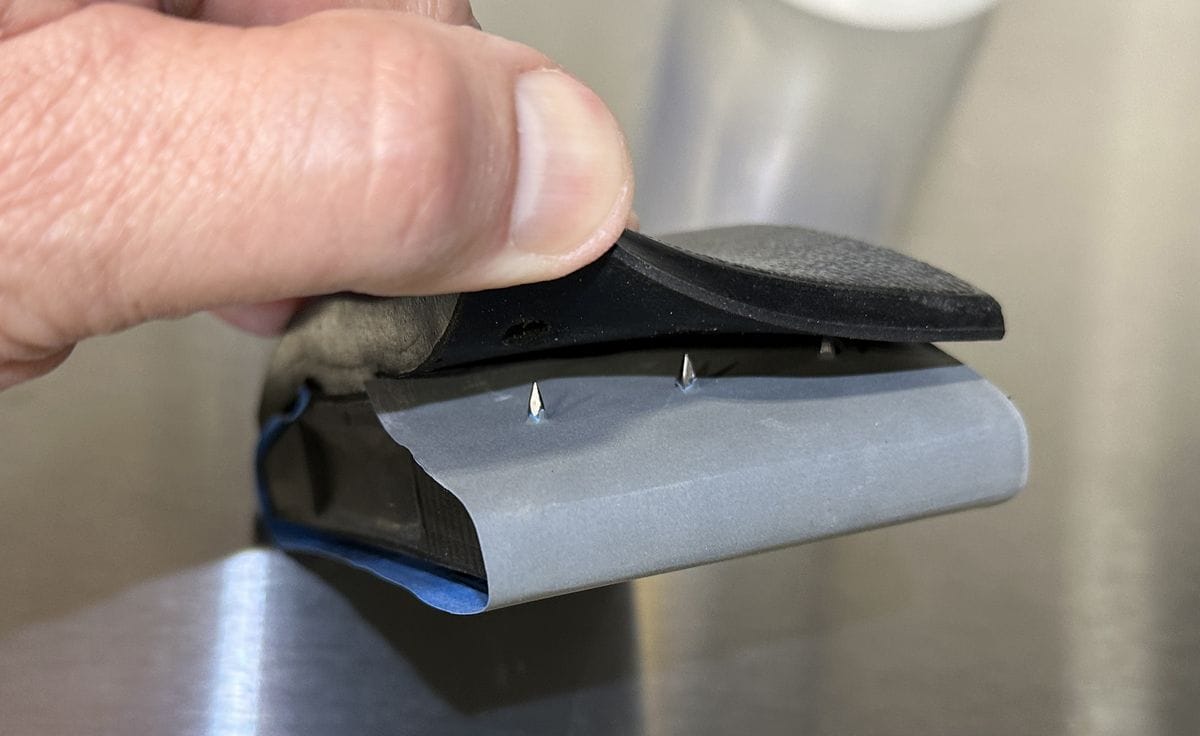
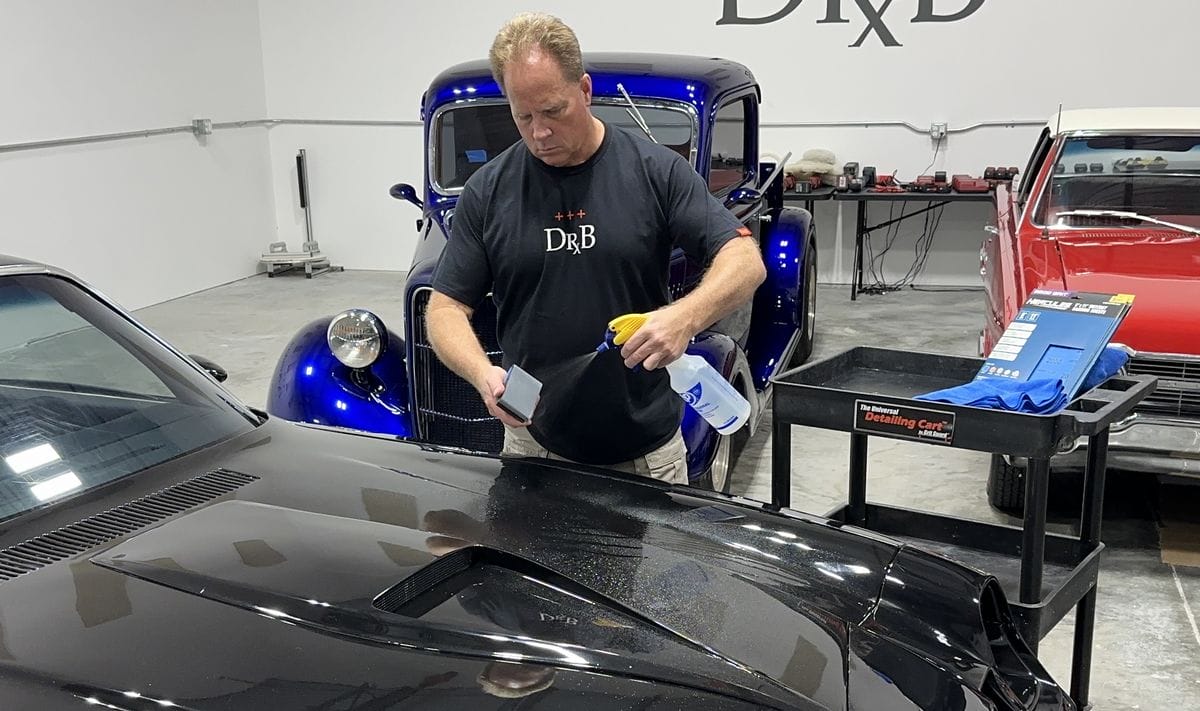
There are 3 steel barbs under a rubber flap on each side of the hard block. You pull the flap back, stick one end of the strip of sandpaper into one side of the hard block and then release the flap and it will trap the strip of sandpaper in place. Then repeat to the other side.
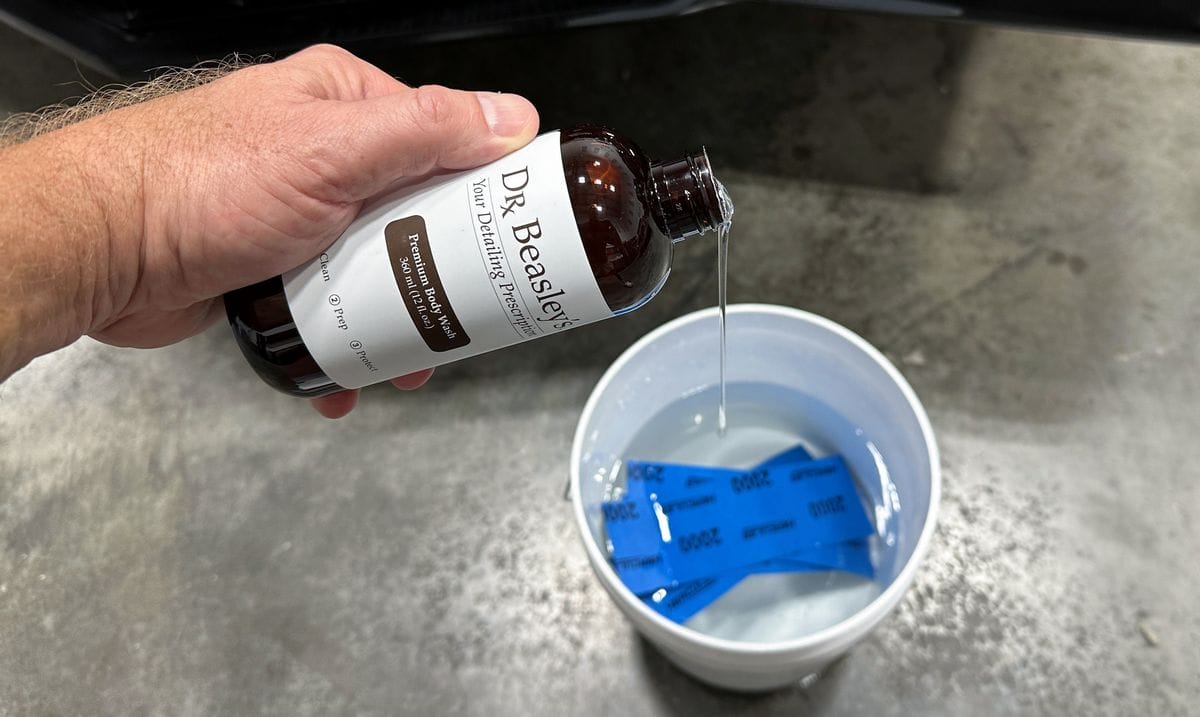
What Kind of Water Should I Use for Wet Sanding?
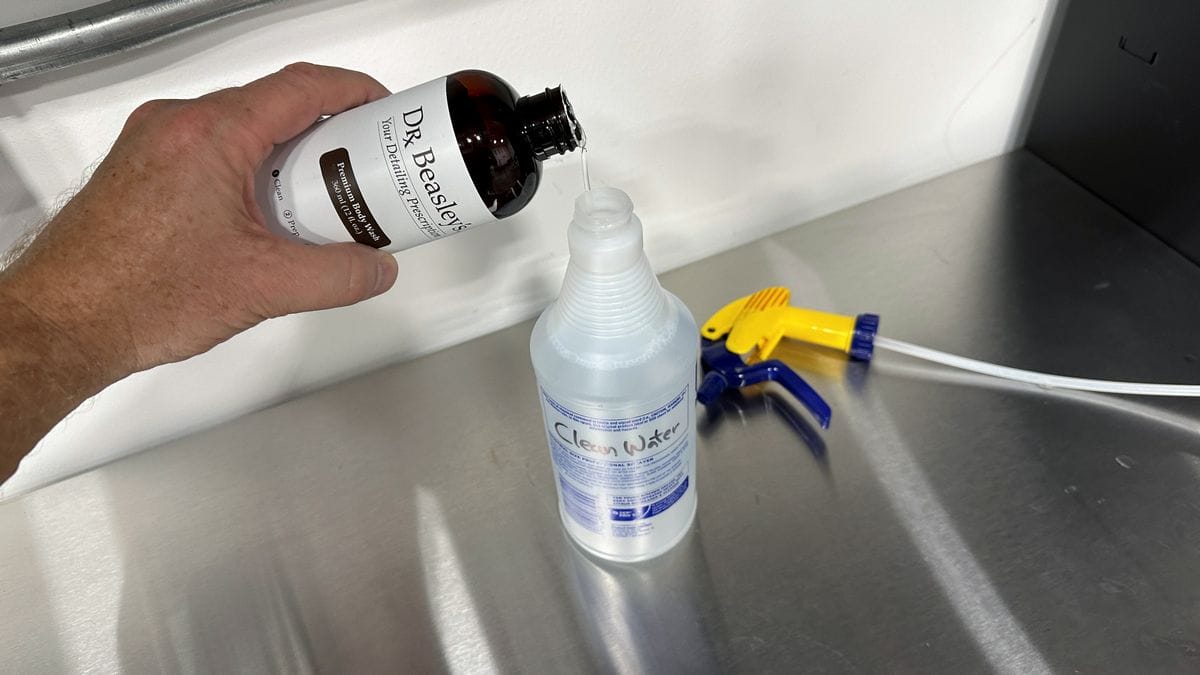
You should use a clean source of water for wet sanding. Most people use a spray bottle with tap water.
TIP: Add Car Wash Soap to Your Wet Sanding Water
For wet sanding, it’s a good idea to add a few drops of car wash soap. A few drops of car wash soap in a spray bottle filled with clean water provides these two benefits,
1: The car wash soap lubricates the surface to make it easier to physically push the sandpaper and backing pad over the surface when making sanding strokes.
2: The car wash soap helps to prevent removed paint particles from sticking to the sandpaper clogging it up with paint.
How Do I Remove the Slurry While Wet Sanding?
After sanding a section of paint, you’ll want to remove the slurry to visually inspect the surface and gauge the level or orange peel removal and/or other defect removal. Medium and soft rubber hand backing pads can be used to squeegee the slurry off the sanded section, but even so, you’ll still need to wipe the area with a clean microfiber towel before moving onto the next section of paint to be sanded.
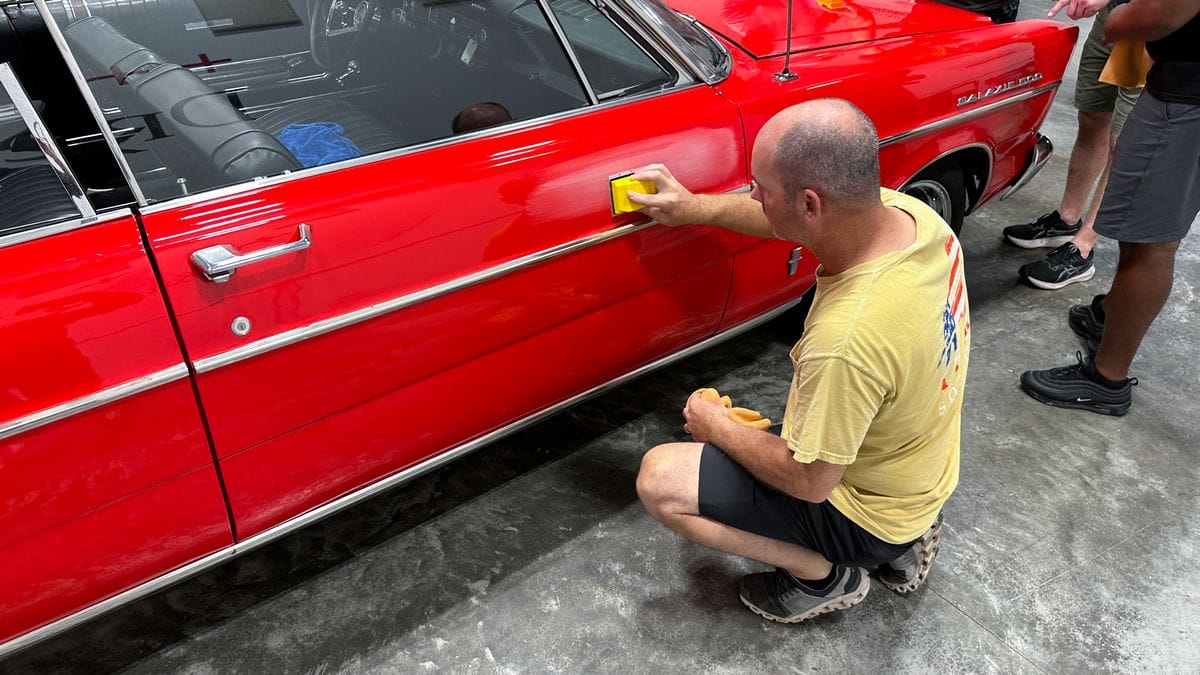
How To Wet Sand By Hand
This is just a primer to give you an idea and a head start in case you’re chomping at the bits to get sanding. Behind the scenes, I’m sanding down a car to make a full-fledged how-to article and matching video. The best way to find out when this is released is to sign-up for the Dr. Beasley’s Newsletter
> Click here to sign-up for the Dr. Beasley’s Newsletter <
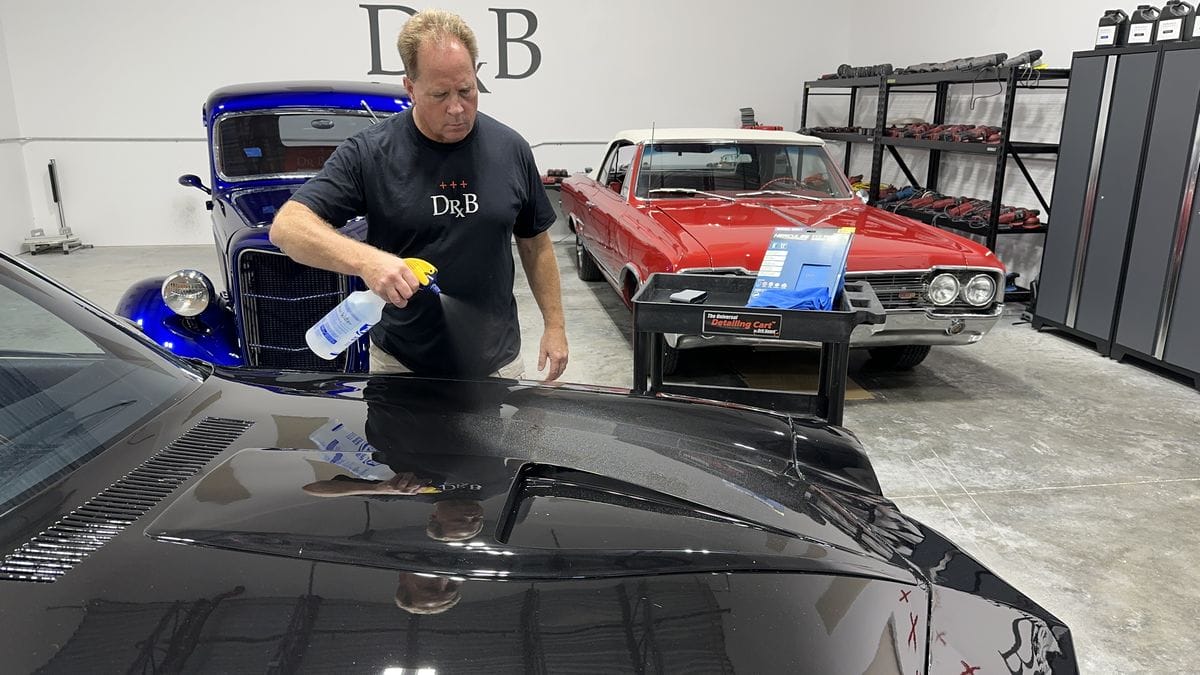
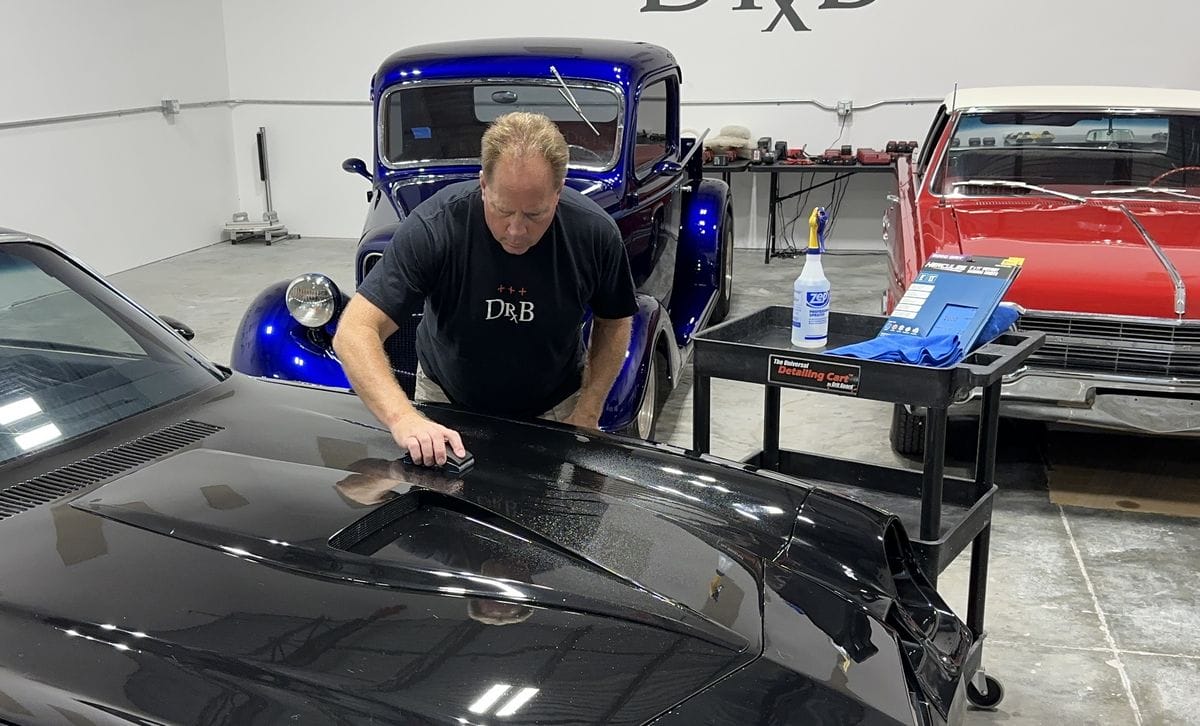
Step 1: Spray the area to be wet sanded with an ample amount of water.
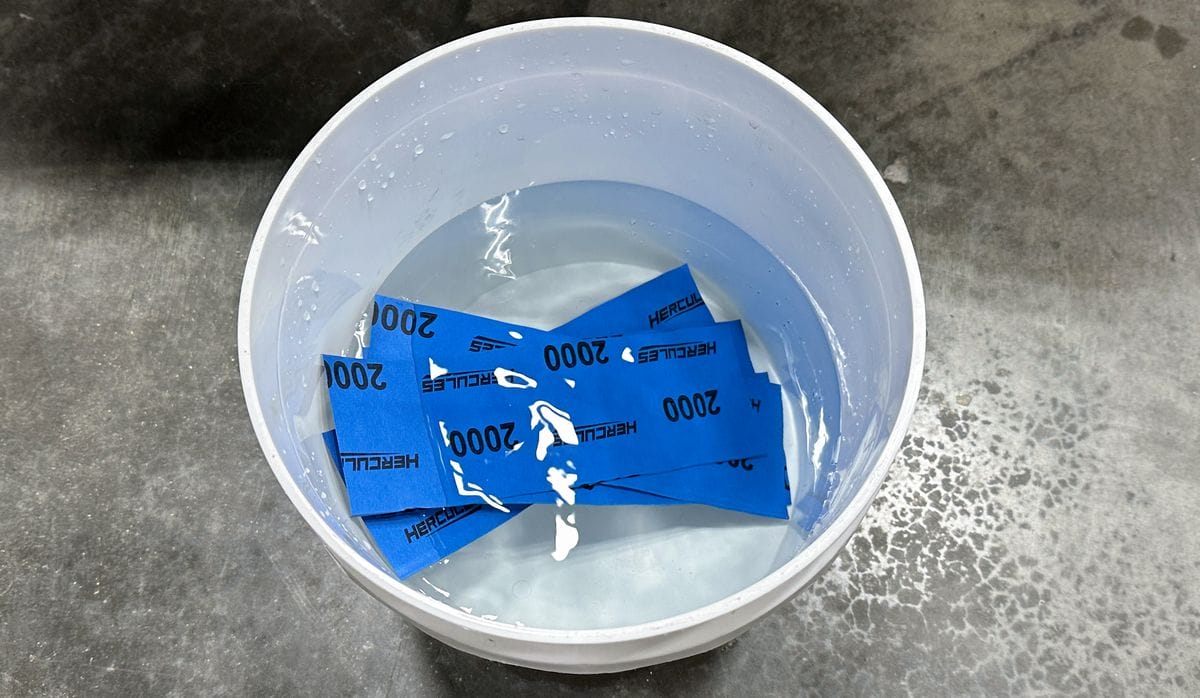
Step 2: Mist a little water onto the face of the sandpaper when first starting out. As an option, you can also soak the strips of sandpaper in a bucket of water, just be cautious of leaving sand paper in water for too long as it may break down, even though it’s designed to resist breaking down in water. Whether the sandpaper breaks down and the paper backing dissolves depends on how long you leave it in the water.
Step 3: Sand a manageable size using back-and-forth, straight-line motions. A good average size to tackle at one time is about the size of the average microfiber towel. Sand for about 8-12 strokes and then stop so you can inspect the results and gauge your progress. The idea is to only sand enough to flatten out the paint by removing any orange peel, surface texture, graininess, mottling, fisheyes, dirt-in-paint, and/or solvent pop.

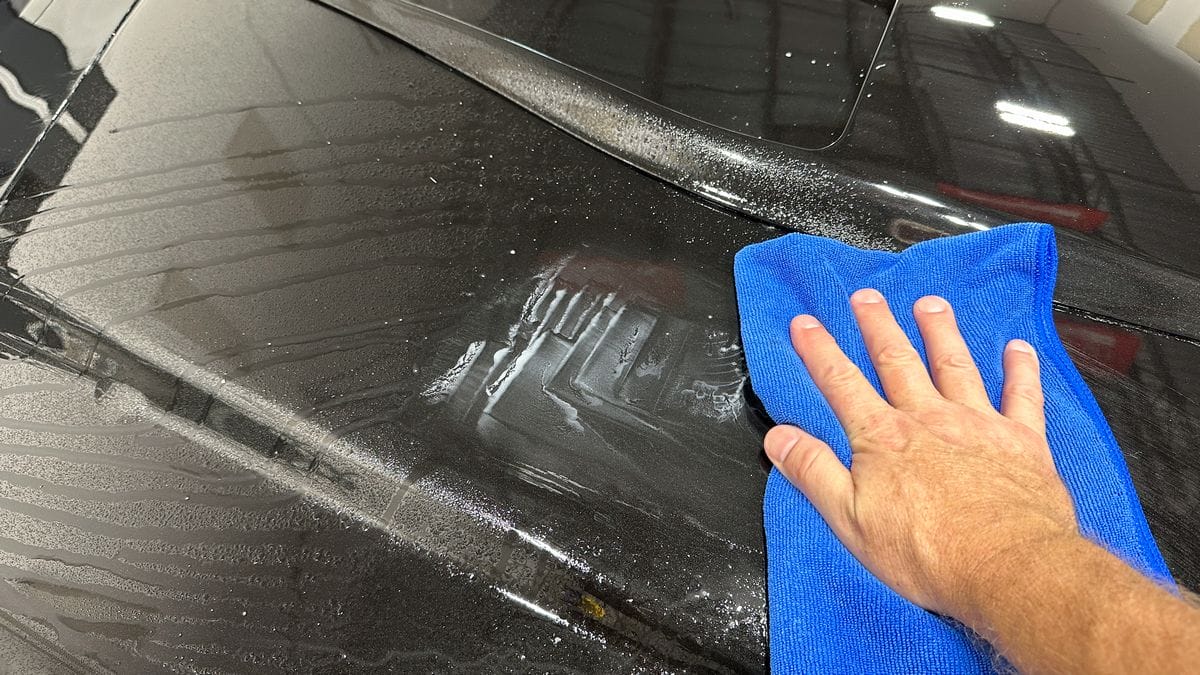
Step 4: Wipe the area to remove any sanding slurry and allow the section to dry to make it easier to inspect the results.
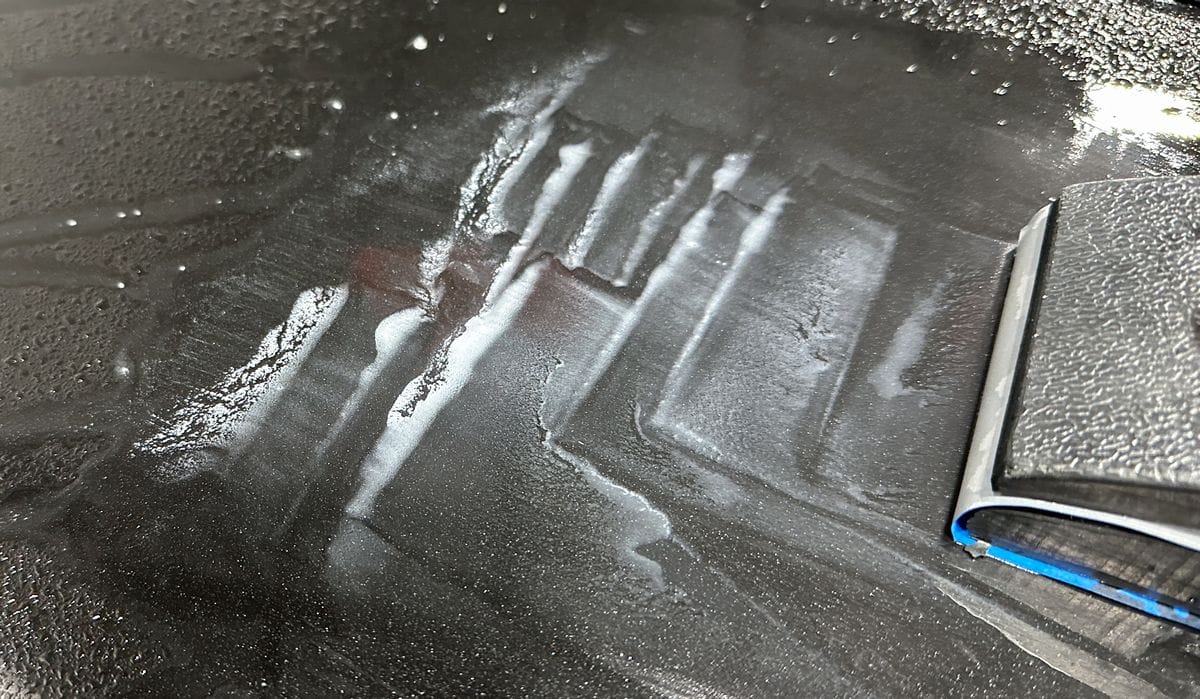
Results
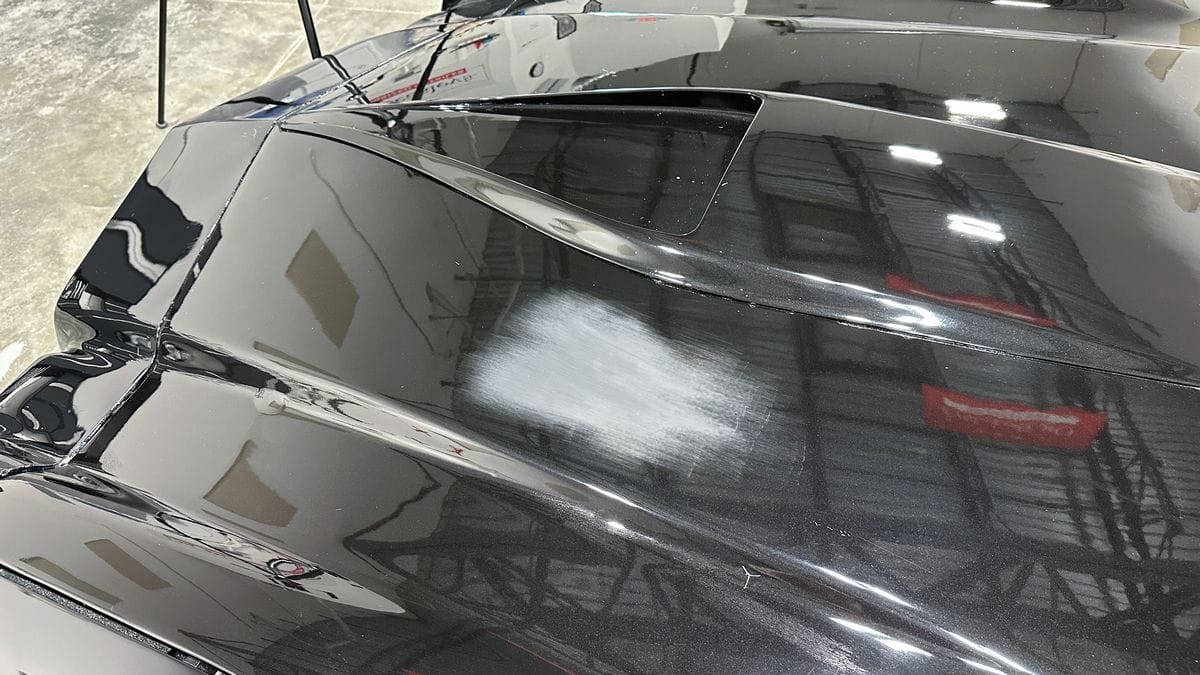
In the section below, I made approximately 8 back-and-forth strokes and purposefully stopped so my camera can pick up the subtle differences in sanded paint and partially sanded paint and this way you can see the orange peel, graininess, and/or surface texture.


You can also see a little sanding slurry on the face of the sandpaper but what you don’t see is paint clogging.

Then of course, continue sanding section by section, panel by panel.

Summary
Anytime you hear or read about wet sanding, or any type of sanding, for example dry sanding or damp sanding, keep in mind, the MAJORITY of all sanding is performed on fresh or custom paint.
Wet sanding is performed at body or collision shops to any area or body panel that has been repainted after the car was in an accident. The shop my wet sand the fresh paint they spray to minimize orange peel so that it matches, or looks like, the paint on surrounding body panels.
For custom car builds, after the car gets a custom paint job, and this means the painter, knowing the car is going to be sanded, sprays EXTRA layers of paint onto the car, in this context, a technician will be putting the paint through a series of sanding step to completely flatten out the paint and thus remove any orange peel and/or surface texture to create a mirror finish.
Would You Like to Learn How To Wet Sand a Custom Paint Job?
Here at the Dr. Beasley’s O.R., (Operating Room), in sunny Stuart, Florida, we teach the most hands-on car and boat detailing classes on planet Earth. And we prove it too. You can find write-ups on the Dr. Beasley’s Blog that photo-documents just how hands-on our classes are plus you’ll see the kinds of cars and boats you’ll be training on.
Click the link below to find the dates, locations, topics, and prices for all upcoming detailing classes.
Upcoming Detailing Classes – Prices – Info – Topics – Locations
And if you ever have any questions, always feel free to reach out to me personally via text, phone call or email.
I hope to see you in a future detailing class!
Sincerely,
Mike Phillips
Chief Education Officer for Dr. Beasley’s
760-515-0444
Hi
I have cracks about an inch long that run horizontally along the swage line of my van. I don’t know if there is filler underneath. I’m assuming I can sand back to fresh and touch this up – would you suggest I try this or should I spend the big money on getting a paint shop to look at it?
Hi Ben,
A crack in the paint, means a defect that runs THROUGHOUT the layer of paint. This means, as you sand, instead of removing the crack you’ll just remove perfectly good paint surrounding the crack and expose the deeper portions of the crack.
If this is custom paint, which would mean the paint is thicker than factory paint, then there’s a chance you can IMPROVE the appearance of the crack with a little light sanding. I would suggest trying the 3M Trizact #3000 grit by hand or using a DA Polisher.
Thanks for reading and commenting.
-Mike Phillips