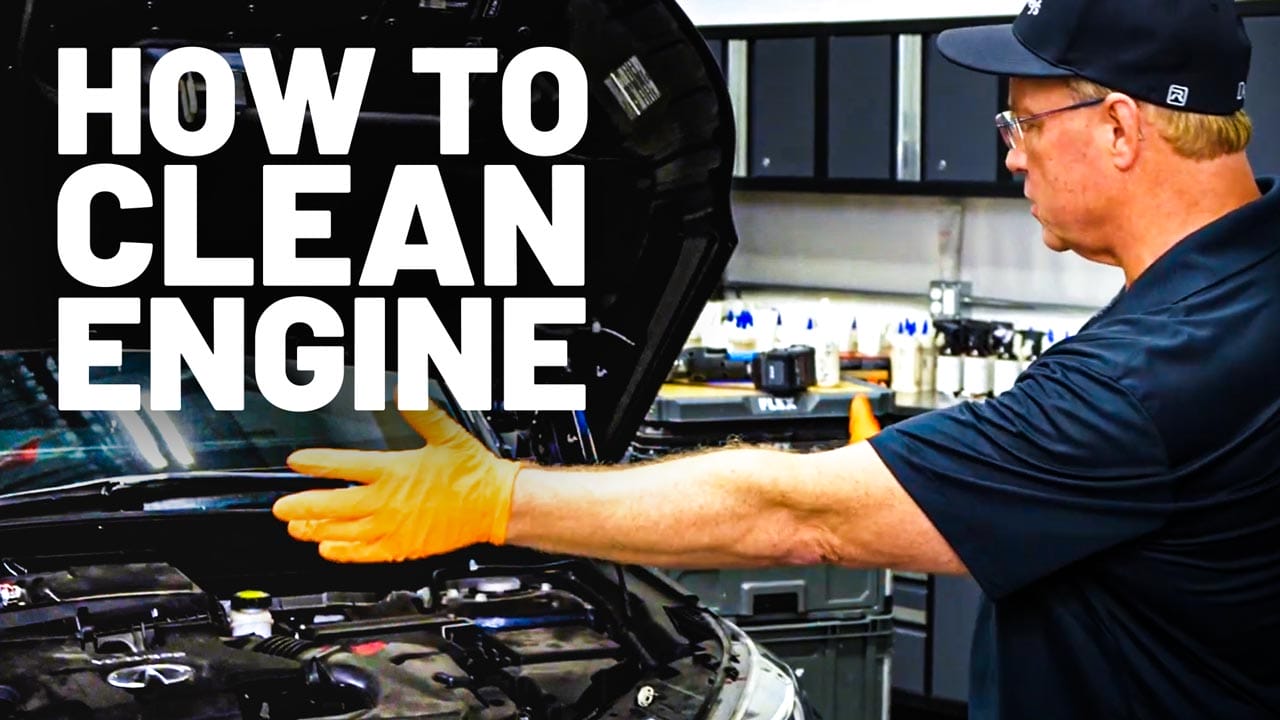
When is the last time you cleaned your engine and engine compartment? In fact, when’s the last time you even opened the hood? Let me share five reasons to clean your own engine compartment. One, it’s actually easy and there’s no special tools required. Two, a clean engine compartment actually increases trade-in value or resale value. Three, mechanics actually have more respect for the car and the owner when the engine compartment is clean. A clean engine bay actually makes it faster and easier to find new problems like oil leaks. And five, a clean engine compartment helps to keep engine compartment temperatures lower and that extends engine life. Let me show you how.
Safety Gear and Products to Use
So, what really helps is to have a variety of different brushes. And what these are going to do is they’re going to help you to work the cleaner and also the protectant into the nooks and crannies because a lot of times engine compartments, like on a modern car, tend to be a little bit complicated in their design.
Now, besides a variety of different brushes, it’s also a good idea to have some nitrile gloves, okay? Just to make sure all the chemicals you’re going to use don’t get on your skin, even though the stuff we’re using is very safe. I’m wearing prescription glasses, but if you don’t have glasses, it’s also a good idea to wear a set of safety glasses just to protect your vision.
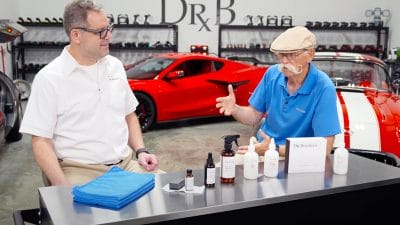
And then as far as chemical goes, we’re going to use the Dr. Beasley’s Opti-Surface Cleanser for cleaning. We are going to apply the Dr. Beasley’s Plastic Sealant to dress up and protect all the plastic surfaces. And then because we’re going to clean the underneath of the hood where there’s a lot of color-matching paint, we’re going to use the Final Finish just to add a little shine and protection to the painted surfaces. And of course, you’re also going to need some form of compressed air, and some applicator pads come in handy for both applying the cleaner and also the protectant.
Blow Out Loose Debris First
So, the first thing you want to do with a cosmetic engine detail is you want to blow out all the loose debris, all the loose dirt. Now, you can do that with a corded blower like this one from MetroVac, compressed air with something like the Tornado blowout gun, but my favorite way to do it is using the Ego leaf blower. This thing will really pretty much clean everything out and clean it out quickly.
And one of the problems, or one of the ways you get all these leaves—if you think about it, when you park in a parking lot, a lot of times they put trees in the parking lot to make the store, whatever it is, look more beautiful. But then you go and park there and of course they drop all their leaves and pine needles and things like that into your engine compartment. But this would be the first step. Just this simple.
And then, as long as this is still intact, it’s not tearing up—this is a heat or sound-deadening mat—then I’d go ahead and blow it out, too.
And you’ll always find some of these leaves are kind of wedged into the components or surfaces there. And just pick those out by hand. And then of course I always just give it one more quick blow. You know, if you like this video, subscribe to our YouTube channel. That way you’ll be notified when the next video comes out.
Work in Sections to Prevent Drying
Now, the next thing we’re going to do is I’m going to go ahead, we’re going to clean the engine compartment. And I got a tip that helps me out and it’ll help you out, too. Whenever you’re looking at your engine compartment, if it’s really dirty like this one is, what you want to do is you want to kind of divide it up into its natural sections and clean one section at a time.
For this next step, the first thing I want to do is I want to go ahead and just put my gloves on. And then I’m going to take a look at the engine compartment and see where the natural breaks are. And then I’m going to do like one section at a time. And the reason you want to do this is if I spray the Opti-Surface Cleaner over the entire engine compartment, while I’m agitating it in one place, it might be drying in another place. So I’m just going to work section by section.
Agitate With Brushes, Wipe With Microfiber
So here’s our product. We’re going to be using the Dr. Beasley’s Opti-Surface Cleaner, which is safe not only on the engine compartment, but also inside of the car. And then we’re going to agitate with a brush.
So, I’m just going to start right here in the middle. Wet this down with the cleanser. And this is where I was saying it’s helpful to have a variety of different shape and size brushes. And that way you can come in here and just kind of agitate all this grime. Then we’ll come back and wipe it clean with a clean microfiber towel.
And this is also another area where you kind of want to break this up into sections. You don’t want to try to do the whole thing at one time if you’re by yourself because then all the sludge and grime you’ve loosened up will actually start to dry. So take your microfiber towel and then just give this a solid wipe. And later I’m going to share a tip to make this faster and easier to clean in the future.
And always be careful around things like this. This is a gasket right here—rubber gasket that’s attached to some clips. And it’s on there fairly well, but you don’t want to knock it off because a lot of times it’ll tear the rubber.
Move Methodically Side to Side
Okay, so I’ve got this part clean. Next, I’m going to go ahead and jump over to the driver’s side. And same idea, wet everything down. Come back, agitate with a brush.
This is actually a brush we sell on Dr. Beasley’s. It’s a wheel face brush, but it works great for doing interior cleaning. And as you can see here, engine compartment cleaning. And the reason why is it’s got these really long bristles, but they’re real flexible. So again, it’s always helpful to have a variety of different size and shape brushes to make this job faster and easier.
Clean the Hood’s Insulation Mat Carefully
So, after you’ve cleaned all the color-matching painted portions on the underneath of the hood, next thing I’m going to do is I’m going to show you how to carefully clean this insulation mat. Now, this is usually a fabric and it’s kind of sensitive. It doesn’t like a stiff brush. So, one of the things you can do if it’s really dirty is take a gentle brush like this horsehair brush and just lightly kind of agitate it. This is going to loosen up a lot of the loose dirt that’s just kind of stuck on there.
You don’t ever really want to take and get this wet. You don’t want to be spraying this with water or even liquid chemical cleaners. You know, it falls apart rather easily, especially as it gets older.
Okay, so after you’ve given it a good brush with something like a horsehair brush, ‘cause these bristles aren’t real stiff and pokey, that’s why. Then what you want to do is I got down here, these are just a couple of washcloths, and I’ve already got them wet with just water, so they’re just damp. And then just take and give it a nice soft wipe.
Now that you’ve loosened everything with the brush, what the cloth is going to do is it’s going to come back and kind of gather up anything that didn’t fall down on the engine compartment. And this will kind of give it that new factory fresh look. And you can see all the dirt that’s coming off of there. So, I’ll flip to this clean side and show you the same thing.
Section-by-Section Engine Bay Cleaning
So once you’ve cleaned the underneath of the hood, the next thing to do is to clean the engine compartment. Now, all engine compartments are kind of different, so they’re going to be different to clean. But when I look at this, what I see is a natural break back there where the shock tower is, the very back section of the middle of the hood. Then we got a section over here where the battery is kept and another shock tower. There’s kind of the middle section, then this front section and the side.
So, I just tackle one section at a time and I’m going to clean it. This is where a couple of brushes comes in handy just to agitate it. Then I’ll wipe it dry. And for the areas I can’t really get in there and wipe, I’m going to blow them out.
While I’m cleaning this, I just want to share something from a personal experience that I’ve noticed over the years. And what that is is when you keep your engine compartment clean and then you take it in for service, the mechanics and the staff there, I just think they’ll give your car a little bit more respect. You know, since it’s coming in clean, they’ll be clean. If you take them your car and it’s just a dirty mess and the engine part’s mess, you know, they’re just not going to give it as much respect as they would knowing that you as the owner actually put some effort into keeping things clean. So, it kind of helps you on that end. And it’s always nice to have your mechanics take good care of your car.
And here’s a section that’s really common right here. This is corrugated vinyl is what this is. It’s an air passage for the air cleaner. And this is where you need a brush just to get down in there and loosen up that dirt.
Use Air to Clear Tight Areas
So for tight areas like this, you know, it’s really tedious to try to take a section of your towel and get down inside there and get all that stuff you’ve loosened out. So what I do is I do the best I can with my towel. Then I go back to my leaf blower and I just blow all that stuff out like this.
Then, as long as you move the blower around and kind of attack those tight areas from different angles, you can pretty much blow everything out.
Okay, so now that we’ve got everything clean, we got the underneath of the hood, we got the insulation mat, all the plastic and different areas and components have all been wiped clean. The next thing we want to do is we want to go ahead and put our plastic sealant on there. Now, this is going to do two things. It’s going to bring back that factory fresh look. It’s also going to protect it and make it easier to clean into the future.
Dress and Protect Plastics
For that, we’re going to use the Dr. Beasley’s Sealant. I got a couple techniques for this. One is I got an applicator pad here. These work good for the big flat areas, but to get into some of these tight areas, I’m just going to put some in this little dish here. Take a little brush, agitate them, and then probably blow them out, too. Let’s start with the applicator pad, though. Okay.
Okay. So, you want to apply this just like you’re putting, um, hand lotion on dry skin. You want to kind of massage it in. Try to get as many surfaces as you can. Just work it in really good. And then we’ll come back and we’ll wipe off any excess with a clean microfiber towel. And then I’ll show you my little brush technique for those hard-to-reach areas where you can’t actually get an applicator pad into.
Applicator Pad vs. Brush Technique
Okay. So, now that I’ve kind of hit some of these large flat areas that are actually easy to wipe, I’m just going to take and put some of this into my little dog dish here. I use this for a lot of different detailing tasks. This is just a cheapy staining brush. Now I can bring this down and actually just kind of get into all those places that I could never actually get my hand with an applicator pad. Then we’ll come back with these areas and use that high-power leaf blower to kind of blow them out, too, so you don’t have a bunch of product just sitting in there. But it will definitely make it look like that factory finish we’re all looking for.
Same thing as we get over here. You got a lot of the complicated areas. You can’t really get your hand with an applicator pad in there, but a paintbrush works great.
And of course, when you’re done, you can take this over to the sink, wash it out with some soap and water, save it for a future detailing project.
Then, last but not least, you know, you usually have these rubber gaskets back here, and it’s a good idea to condition and protect them, and also the plastic fascia that goes between the windshield and the wiper arms. That’ll help to keep it black, looking factory fresh. Remember this one up here? Little rubber gasket right there.
Final Wipe and Blowout
Okay. Then next up, what I’m going to do is I’m going to wipe all the excess off the best I can. And then the places I can’t reach, I’m going to go ahead and blow those out. So, I mentioned earlier there’s a lot of really tight areas that’s hard to get a towel into. You could get some Q-tips, and I do have Q-tips here, but what I do is I just take and blow them really good. That’ll usually blow out any excess. And then of course you can come back, because it’s going to throw some stuff off to the side that you’ve already wiped, and then kind of give it a final wipe. That is looking good.
Finish the Painted Surfaces
So once you’ve cleaned and protected all the plastic, vinyl, and rubber surfaces, the last step is to go ahead and let’s treat all the color-matching painted portions underneath the hood. For this, I’m using the Dr. Beasley’s Final Finish. And this not only cleans, it also leaves behind a layer of protection. But instead of spraying it here, which would end up getting overspray all over down below, I’m just going to take and dampen my towel really well with this. And then I’ll bring it up here and apply it to all the painted sections. This will be the finishing touch. It’ll make this stay cleaner longer, and of course, it’ll make it look better, too.
Maintenance Going Forward
As you can see, it isn’t very hard to do a cosmetic engine detail, and it doesn’t take very long, and it’s completely safe. Now, moving forward, the best way to keep this clean is to stay on top of it. Even if you just did it like twice a year, it’s probably been well over a couple years since I cleaned the engine bay on this SUV, so it was pretty dirty. But moving forward, frequent maintenance is easy maintenance. Always remember that.
And if you could, in the comments down below, why don’t you share with me the tips, the products, the tools you use to do a cosmetic engine detail. And also, if you’ve ever found anything weird in the engine compartment—one time I found a rat’s nest. It was actually way up into the corner here on a small little Chevy car, and I pulled the whole thing out. Luckily, there wasn’t a rat there.
You can find links for all the products down below. And make sure you subscribe to this YouTube channel if you thought this was interesting. How to do a cosmetic engine detail. You’ll want to be notified when I show you how to do a traditional wet wash engine detail.


Questions? Comments?
Email Us