


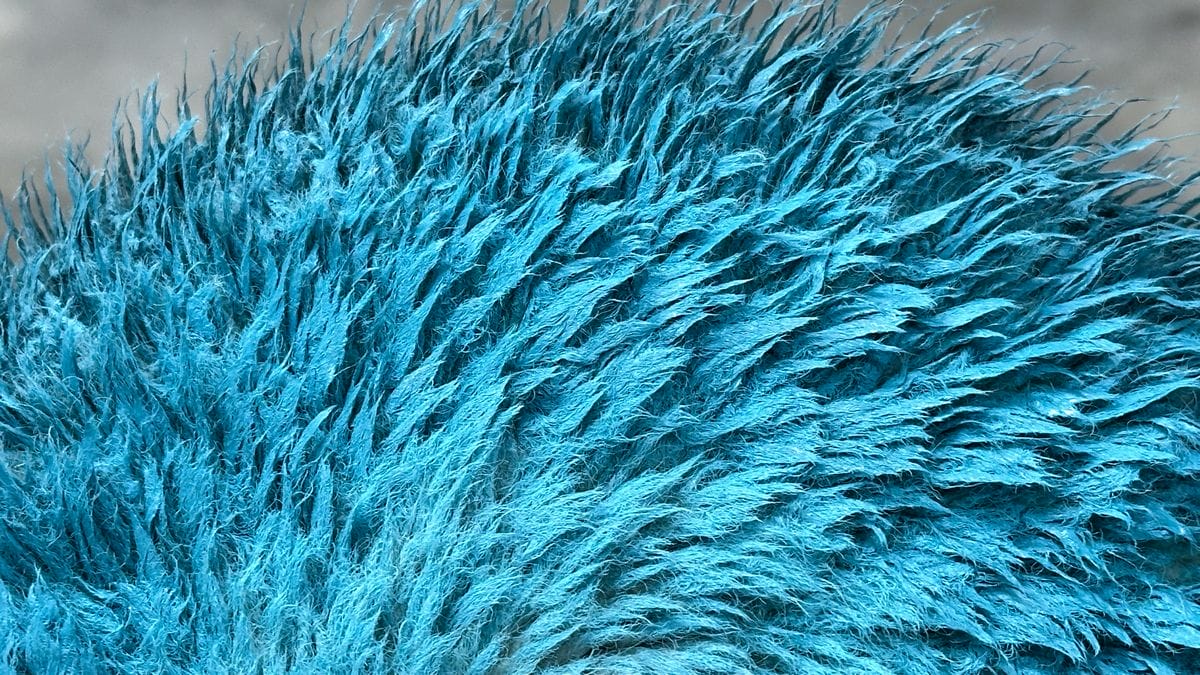
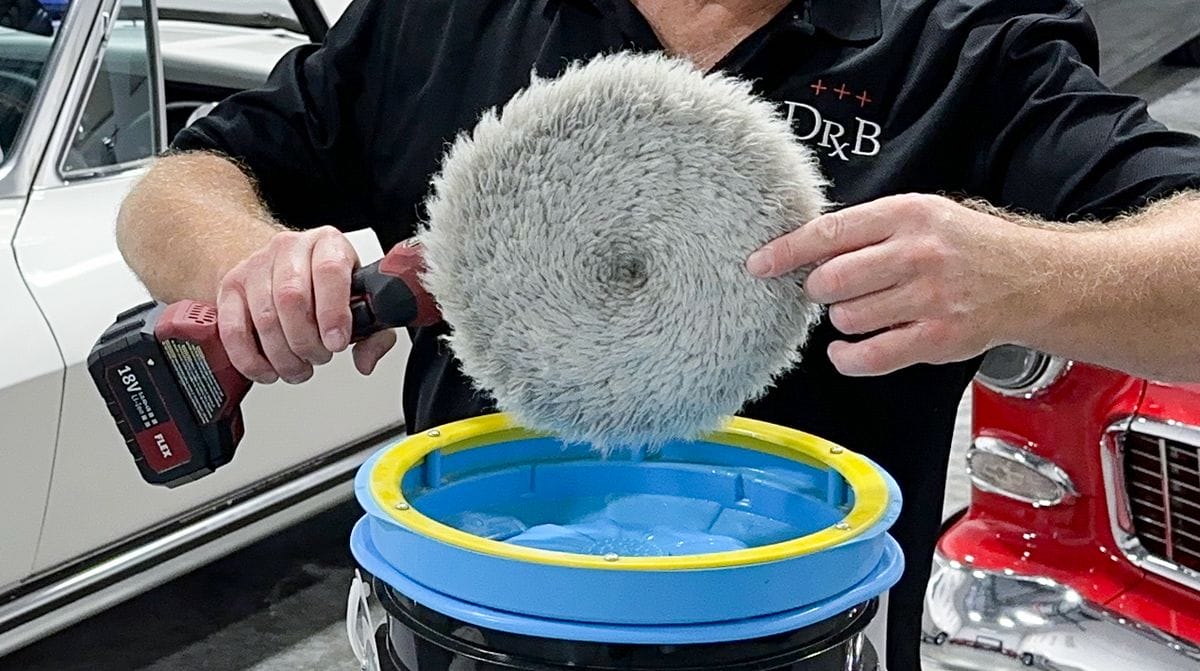
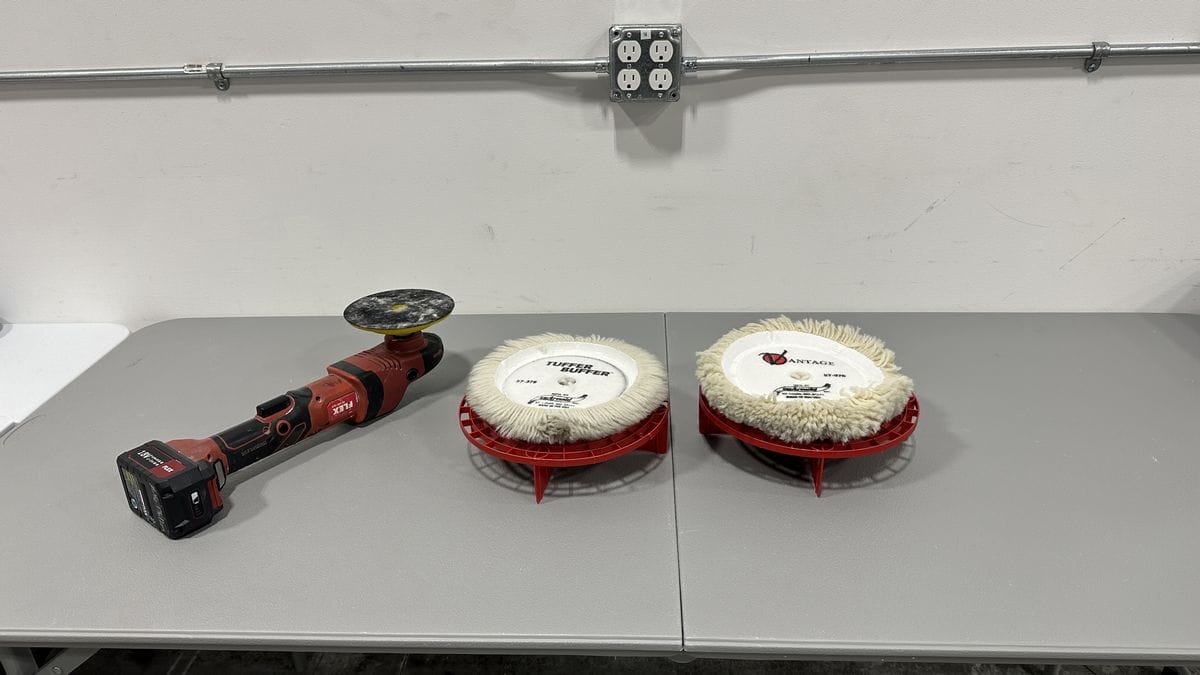
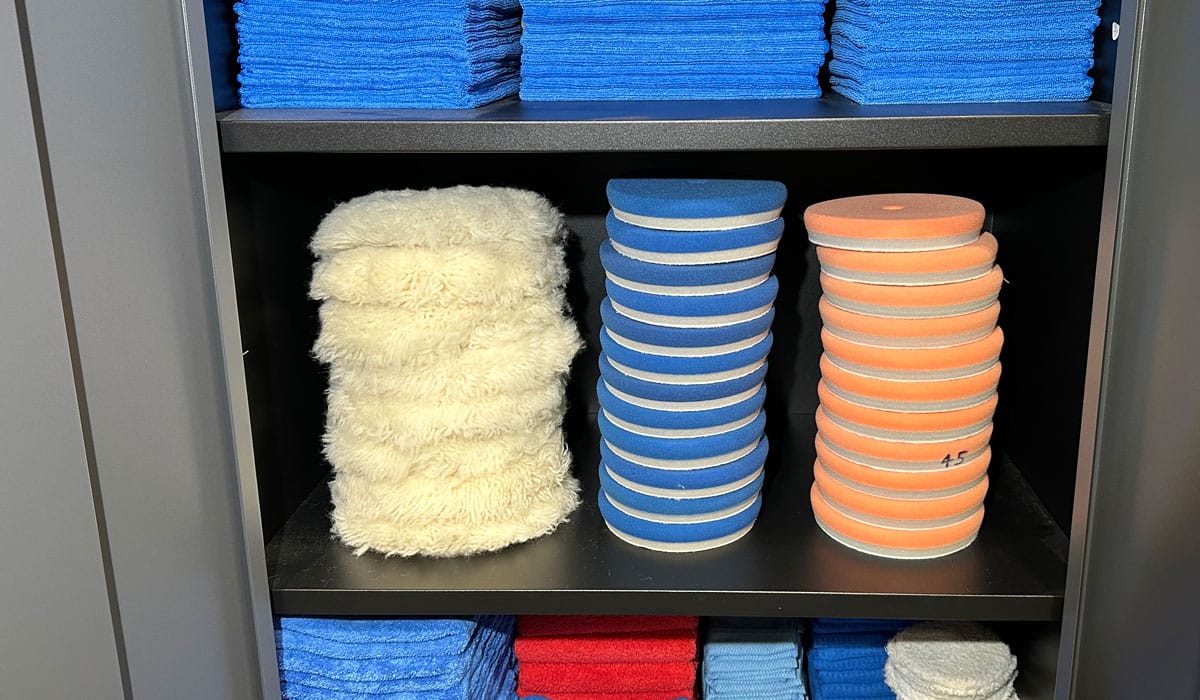
Wool pads are round buffing pads made from long fibers (typically lambswool) designed to remove deep scratches, heavy oxidation, severe water spots and sanding marks on automotive paints like single stage paints, basecoat/clearcoat paints and marine boat gelcoats.
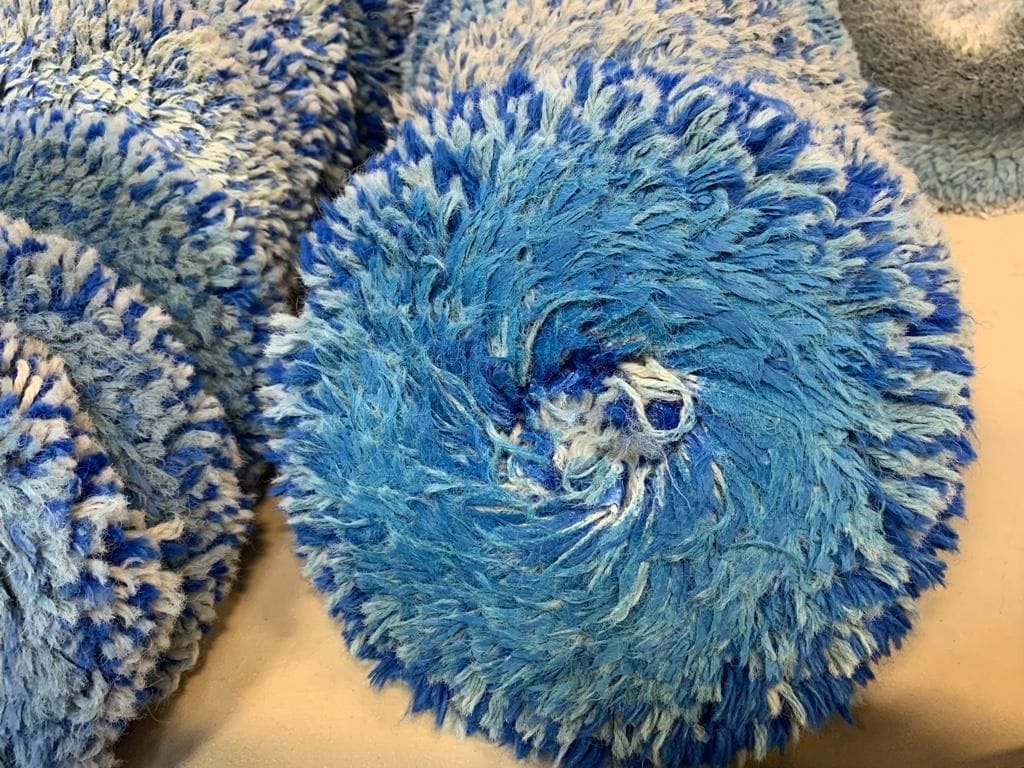
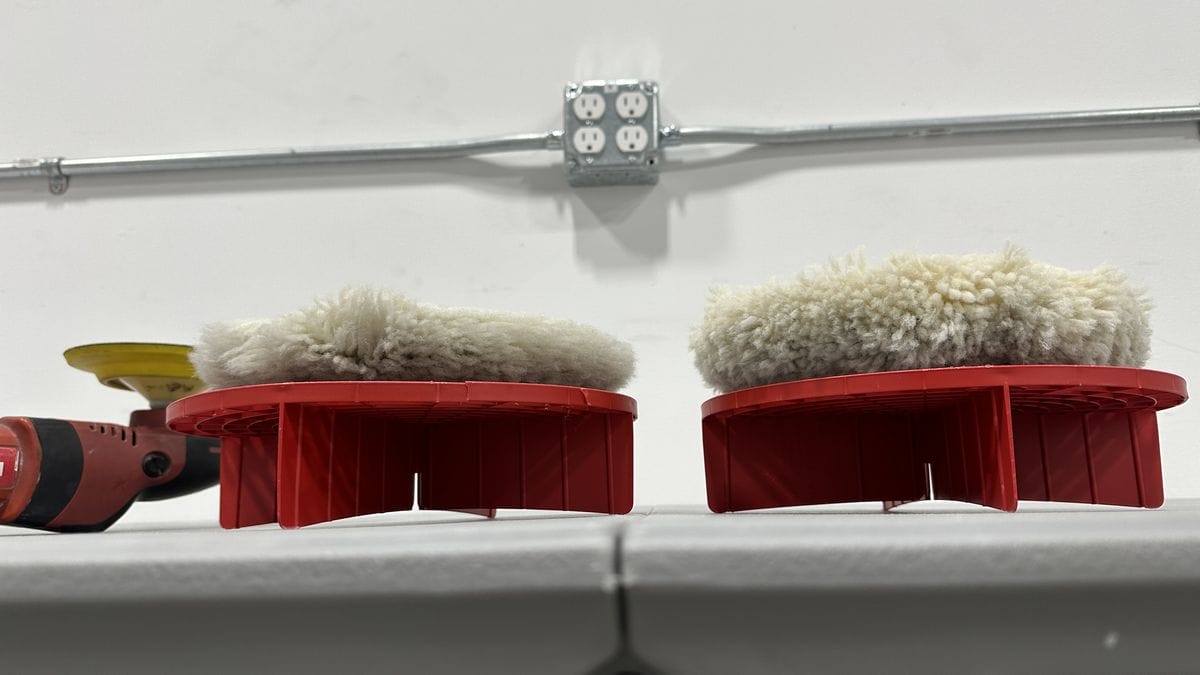
While they’re great for quickly removing heavy paint defects, their long fibers easily trap spent product and removed paint material within the pad. All of that grime building up on the pad scours the paint as you compound, scratching the paint and forcing you to spend more time refining the finish during the polishing step. Below is a traditional 4-ply twisted wool cutting pad with a long fiber length.
That’s why it’s so essential to keep wool buffing pads clean. Below we’ll take an in-depth look at how wool buffing pads get dirty and the best practices for cleaning and maintaining your tools of the trade.
Why Should You Clean Wool Buffing Pads?
Because dirty wool buffing pads scratch paint, and scratching paint means more time polishing! But how do wool buffing pads get dirty in the first place?
How Wool Buffing Pads Get Dirty
As you buff, you have two substances building up on the fibers of the wool pad:
- Spent Product: Each time you start buffing, you add product to the face of the buffing pad or the surface to be buffed. With a wool pad this is usually a compound, but it can also be a polish or even an AIO. As you work the product with the polisher it eventually wears out and becomes less effective at abrading the surface, leaving a residue trapped inside the fibers. That residue is called “spent product”.
- Removed Material: As you buff and abrade the surface, whatever the material you’re buffing is made of — paint, gelcoat, glass, whatever — comes off the surface and builds-up on the face of the buffing pad. This is called “removed material”.
These two substances make up the majority of the grime you’ll see on a pad after buffing.
Why Dirty Wool Buffing Pads Are Bad
There are two major reasons you want to remove the spent product and removed material frequently.
- Adding fresh product to spent product dilutes and pollutes the fresh product, making it less effective at removing defects from the surface.
- The accumulation of spent product and removed material and fresh product will tend to be more difficult to work with and more difficult to wipe off. Over time this will tax your muscles and make the job more difficult as well as make the job take longer.
- The grime from removed material and spent product scours the paint, inflicting scratches that will need to be removed during the polishing step.
The Benefits of Keeping Wool Buffing Pads Clean
There are numerous benefits to keeping your wool buffing pads clean:
- Cleaning the pad often to remove spent product and removed material maintains maximum cutting and buffing performance.
- Cleaning the pad often reduces the scouring that can increase from using a dirty wool pad or wool pad that becomes saturated with spent product and removed material.
- Cleaning the pad often makes buffing faster and easier on you.
How to Clean Wool Pads
There are two types of methods for cleaning wool pads — wet and dry. Which type you choose will depend on what tools you have available and what’s most efficient for your paintwork correction workflow.
How to Clean Wool Pads — Dry Methods
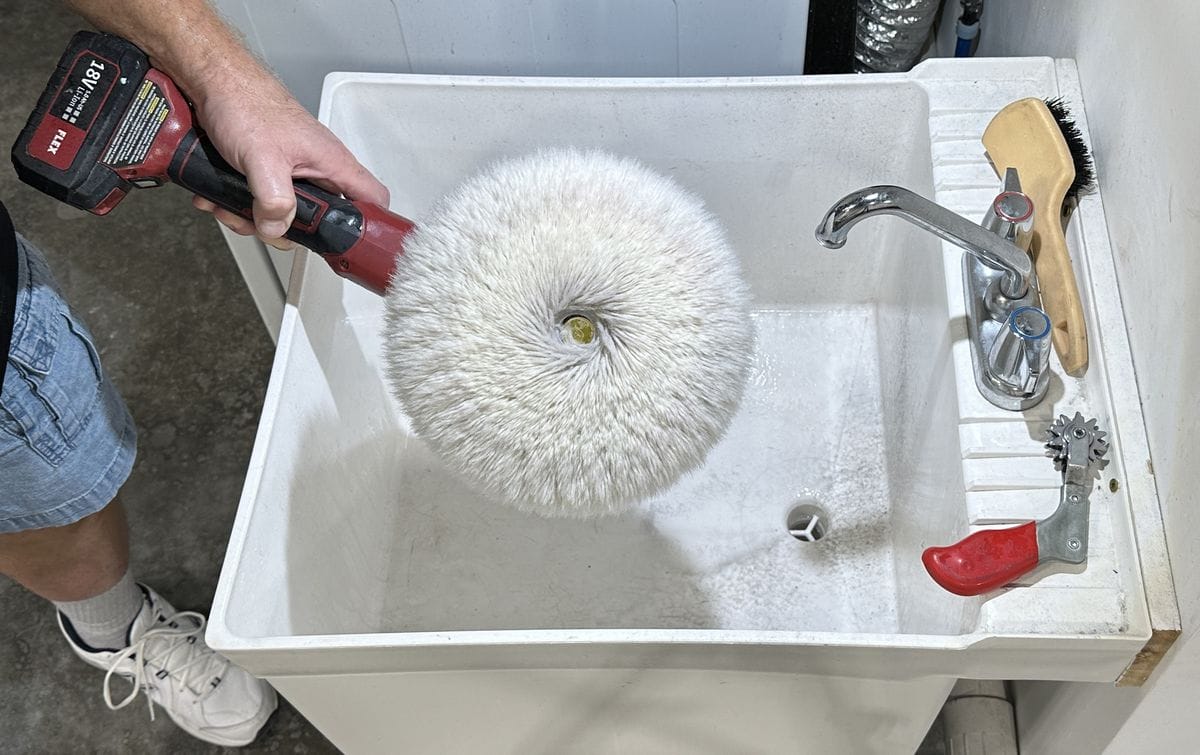
Dry cleaning a wool pad refers to the tools you use to clean the pad as it is on the polisher. This can include a pad cleaning spur, compressed air, or a stiff, short bristle nylon brush, like a tire cleaning brush. With this approach, you are not getting the pad wet with any type of pad cleaner or pad cleaning solution. Nor are you using any type of water to clean the pad be it via running water in a utility sink, a pad washer or a clothes washing machine.
Method #1: Metal Spur
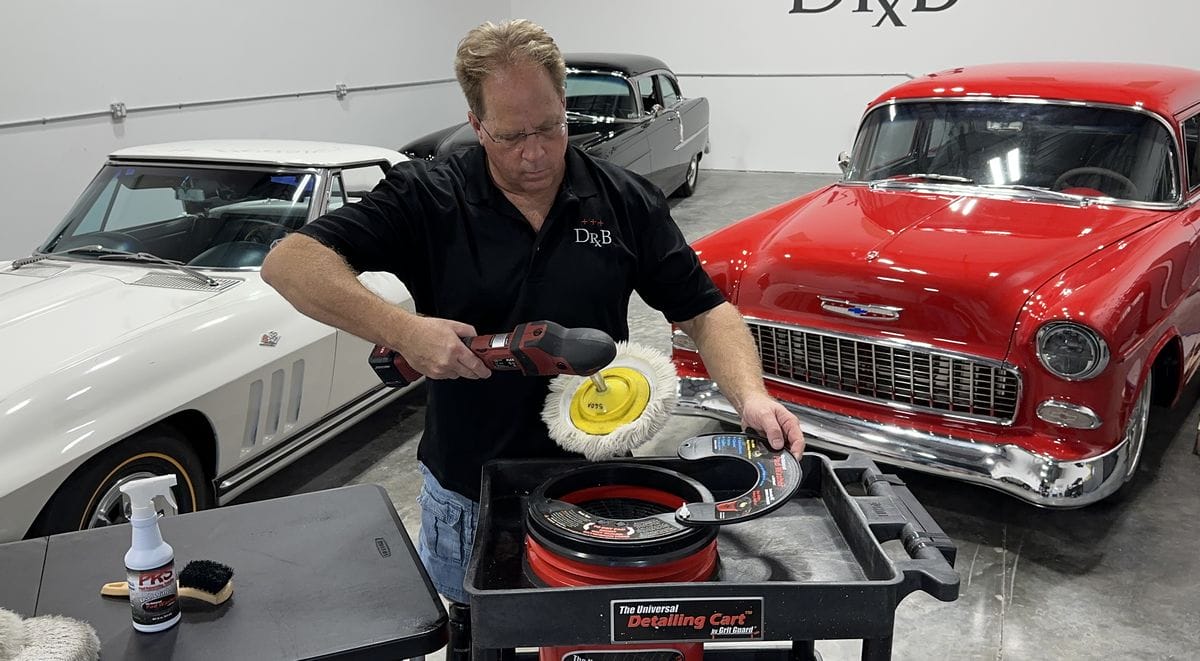
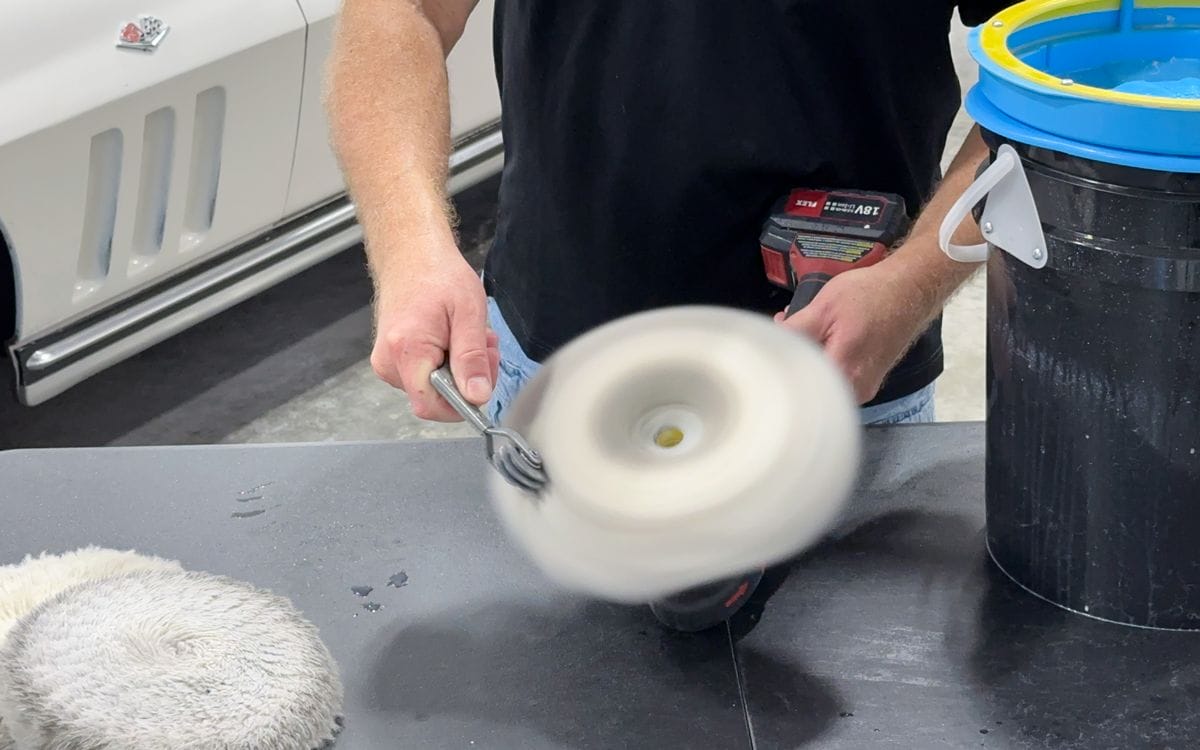
One method you can use to clean a wool pad involves the use of a metal spur, like those you would see on a cowboy boot. Here’s how to clean a wool buffing pad using a spur:
- Turn the polisher upside down and rest the head of the polisher against your left knee, or place the back of the polisher flat on the ground or a work bench.
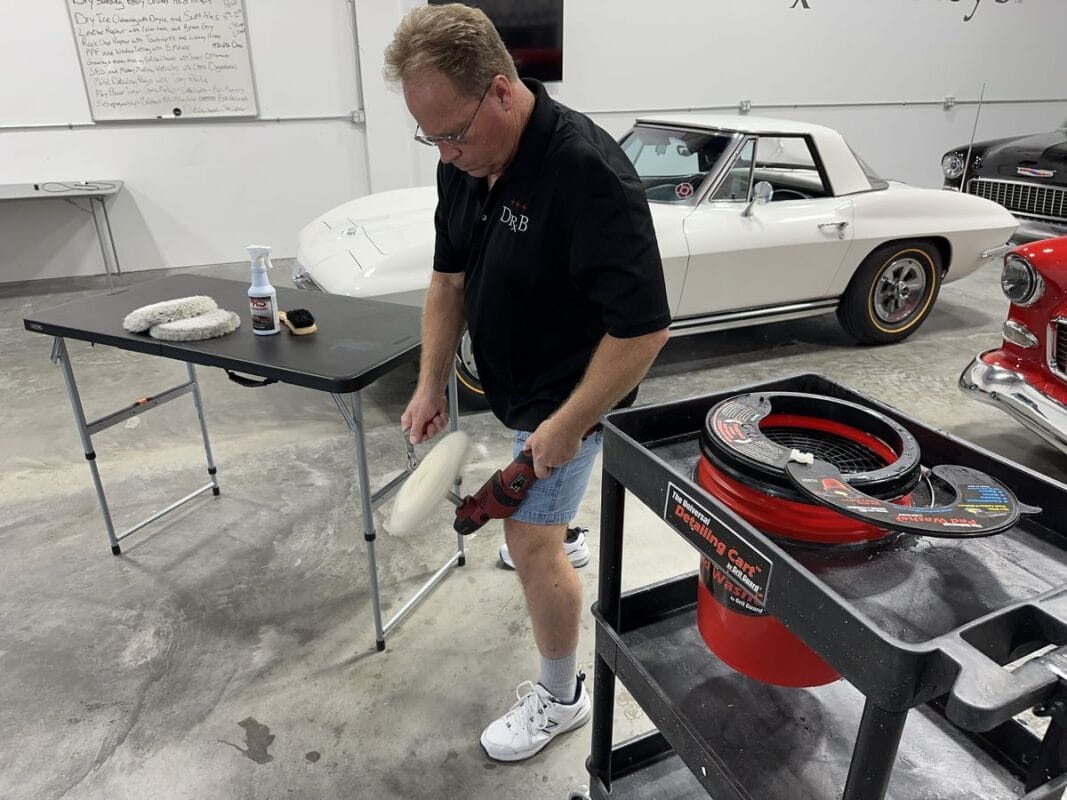
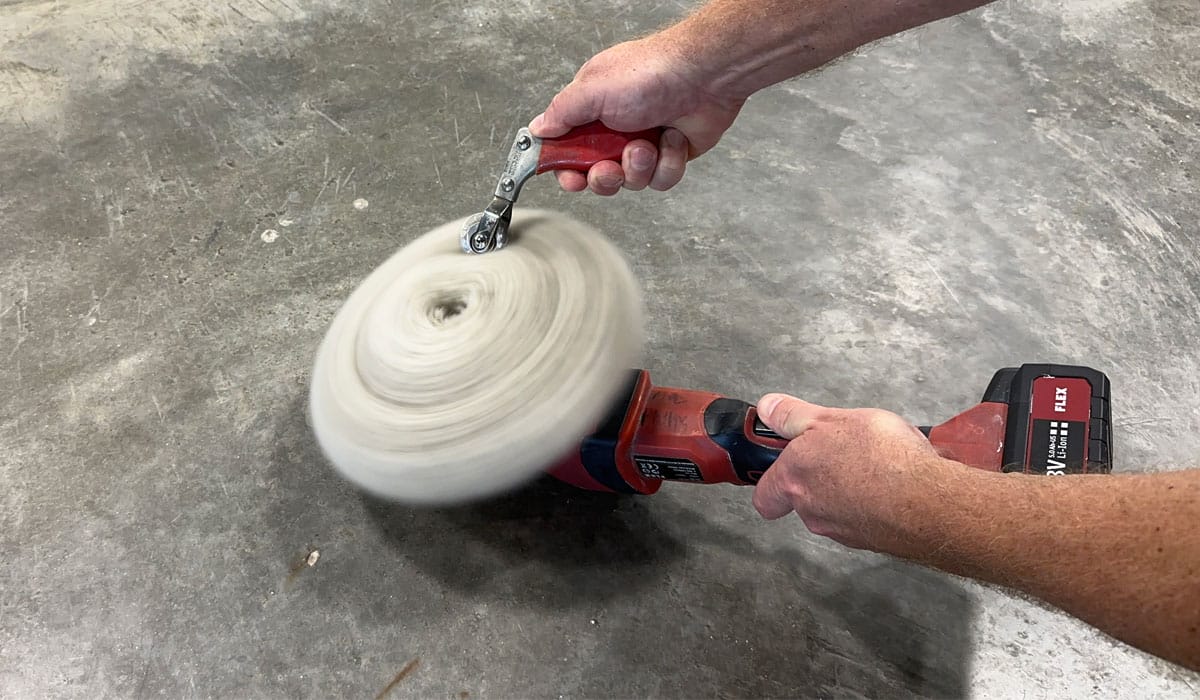
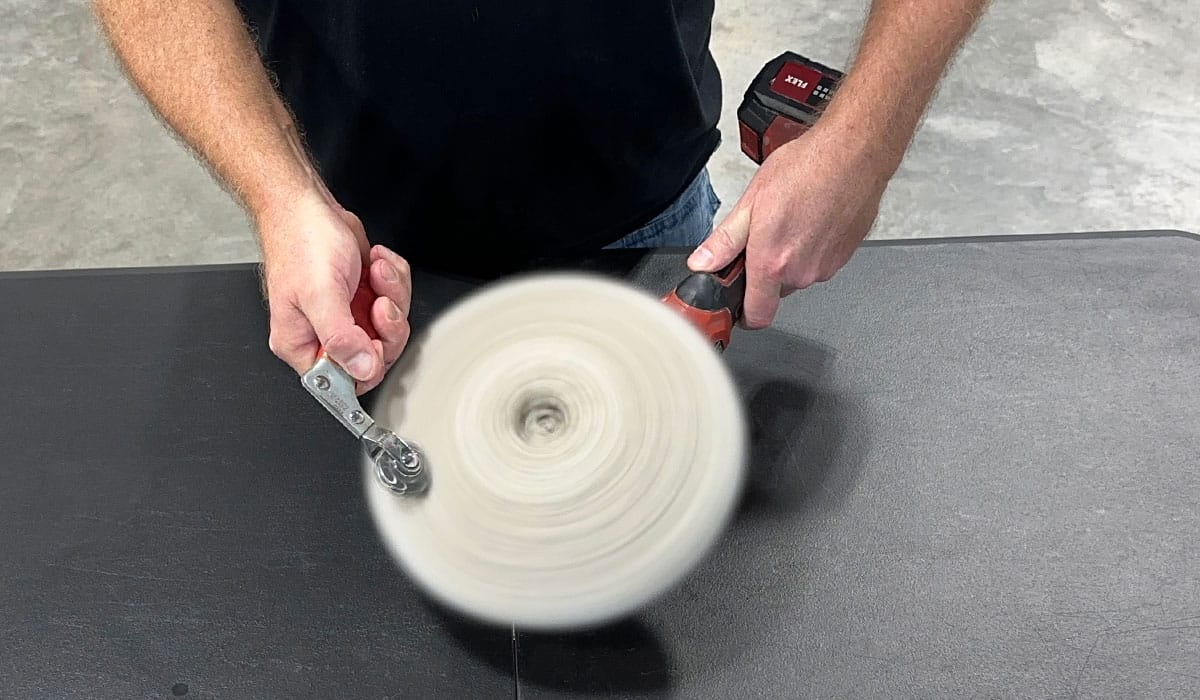
- Hold the spur over the middle of the pad face, pressing the teeth gently against the fibers.
- Turn the buffer on and set to a medium speed.
- Guide the spur out from the middle towards the edge of the pad. Repeat this motion back and forth until pad is clean.
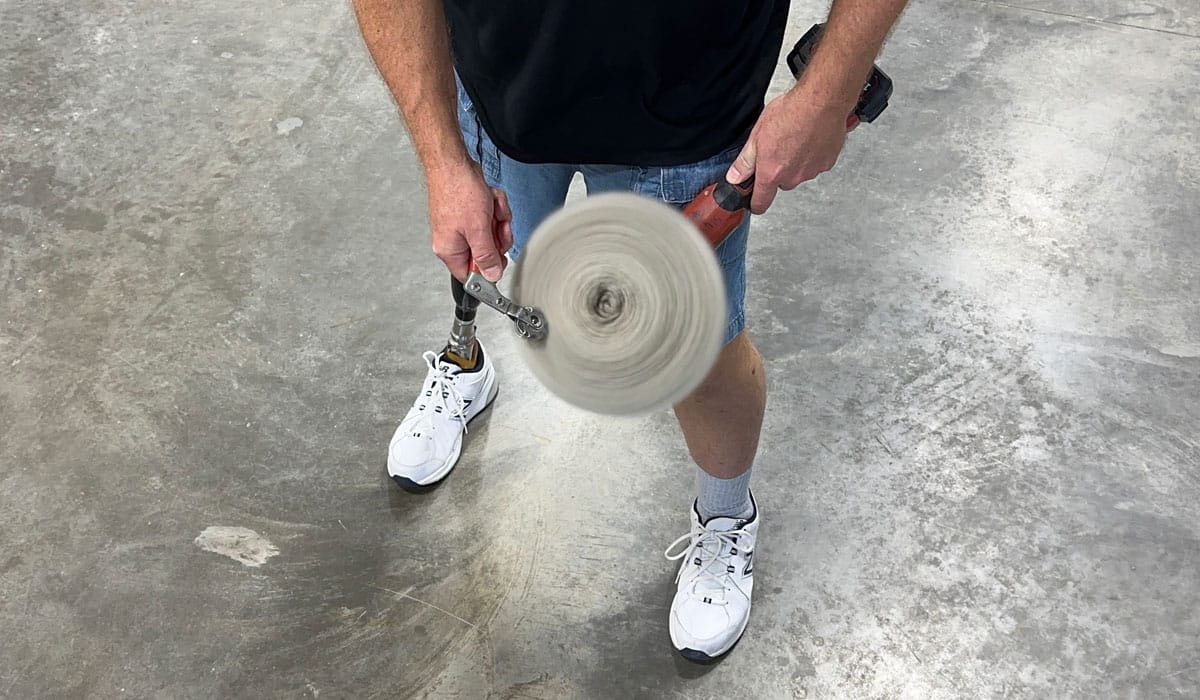
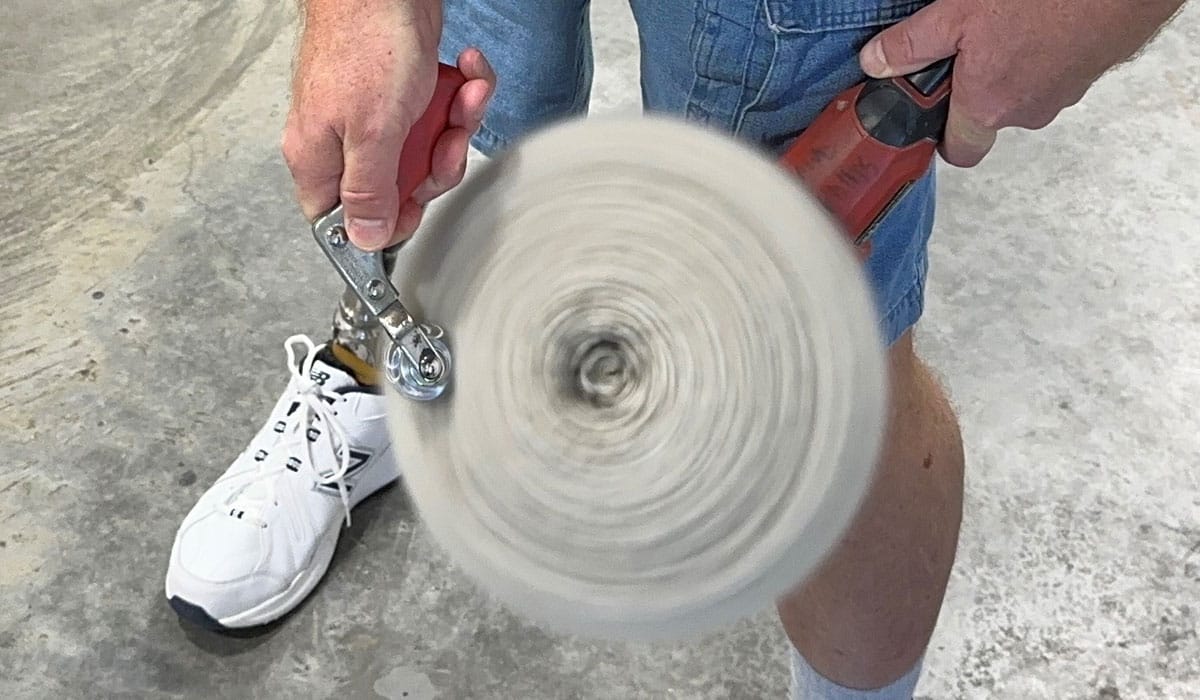
NOTE: This method will make fibers fly everywhere — try to do this outside if possible.
Method #2: Compressed Air
The other popular method for cleaning a wool pad is to use a compressed air blow gun. Here’s how to clean a wool buffing pad using compressed air:
- Turn the polisher upside down and rest the head of the polisher against your left knee or place the back of the polisher flat on the ground or a work bench.
- Aim the compressed air gun at the center of the pad’s face.
- Engage the gun and blast the fibers over the face of the pad, guiding the gun out from the center towards the edge of the pad.
NOTE: This method will make the removed material and spent product embedded in the fibers fly everywhere — avoid getting it on the vehicle.
How to Clean Wool Pads Used on Clear Coat Paint, Single Stage Paint and Marine Gelcoat
Whether your wool pads were used on clear coat paint, single stage paint or marine gelcoat, they can all be cleaned the same way and don’t require special methods for each.
What makes single stage paint different is that you’re buffing on the actual pigments that provide the color for the paint. When removed single stage paint material builds up on a wool pad, it dyes the wool fibers the color of the paint. This is VERY visual, and it easily reveals to you that you need to clean off this build-up of pigmented single stage paint after buffing each new section of paint.
Why does this matter? With single stage paint, the color transfer onto the wool pad makes it obvious that you need to clean the pad. When buffing on clearcoat paint, you don’t see the color transfer, making it less obvious that a cleaning is required. You need to remember that even though you can’t see the clearcoat paint on the pad, you still need to clean the pad often just like you would clean a wool buffing pad where you can visually see the paint build-up due to the color of the pigmentation.
Marine gelcoat is similar to single stage paint. With single stage paint, you have a mixture of resin, (that’s the paint portion), and pigment, that’s the portion of the mixture that provides color. And of course there are other ingredients like slow, medium, or fast evaporation solvents called reducers. When it comes to marine gelcoat, instead of a urethane resin, you’re normally working with a polyester resin with pigment added to provide color.
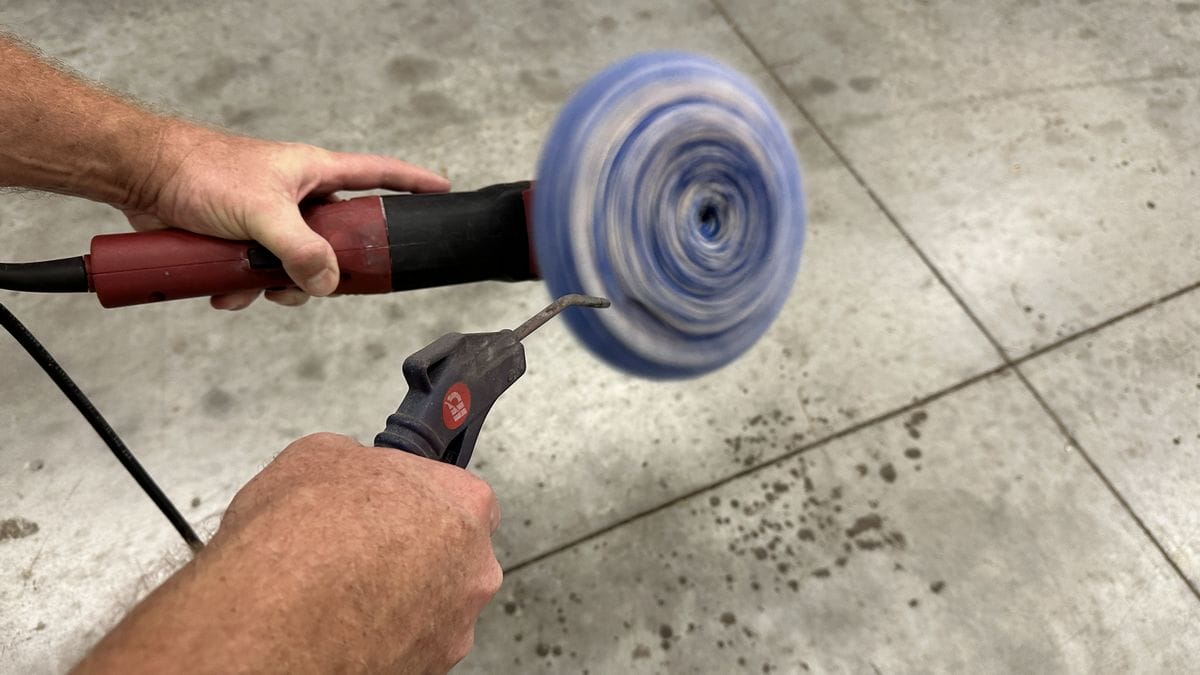
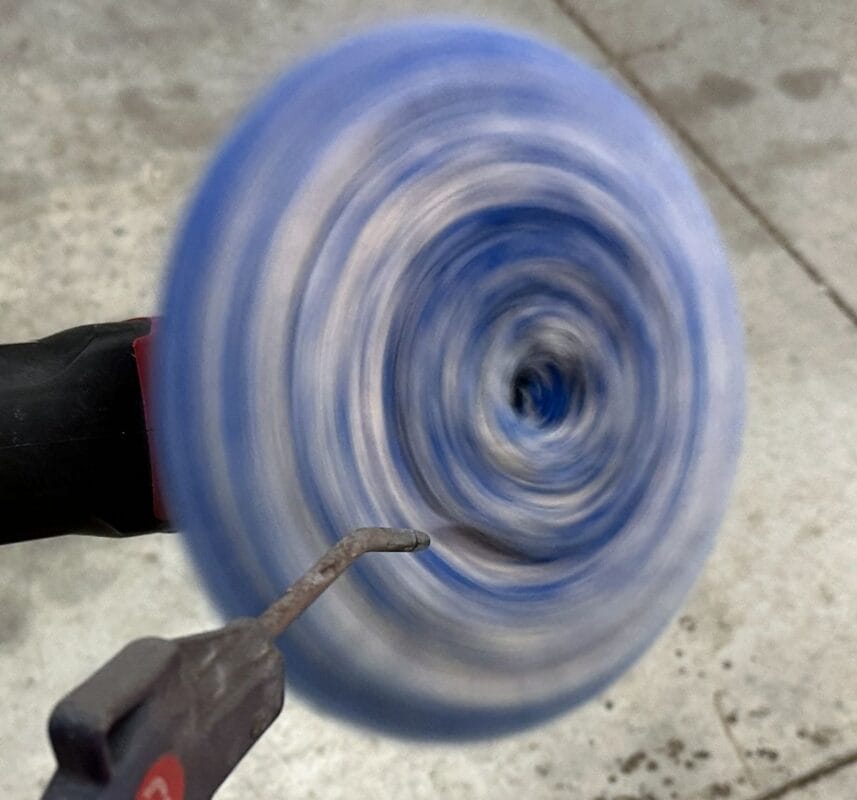
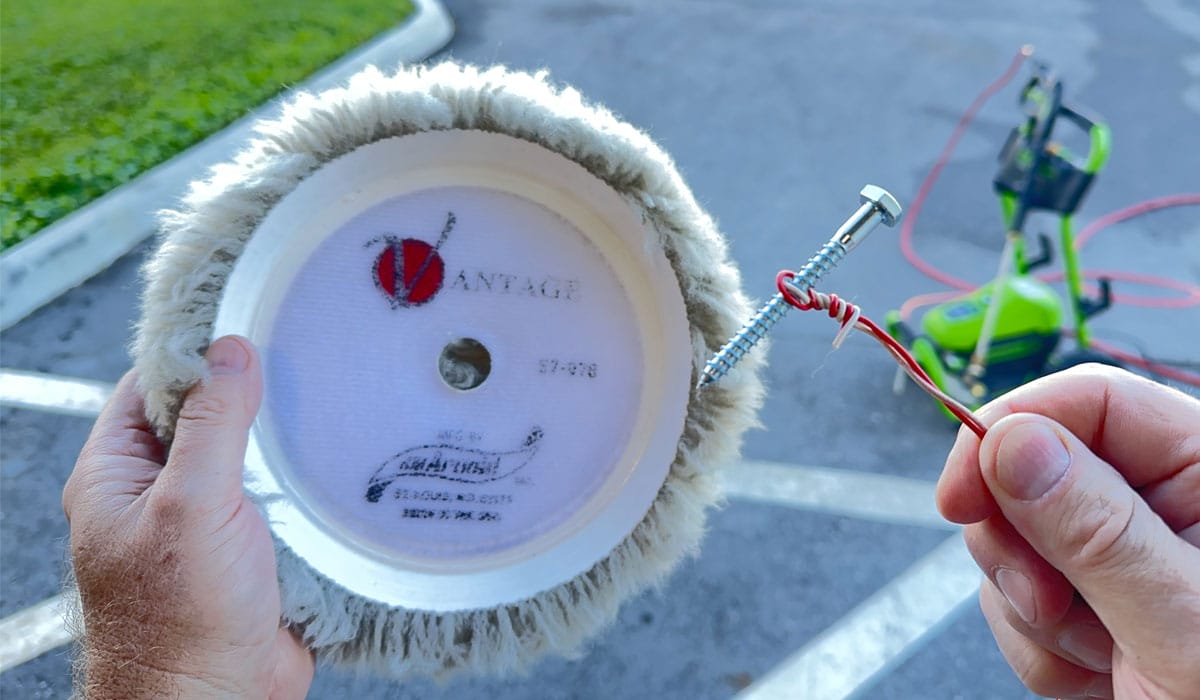
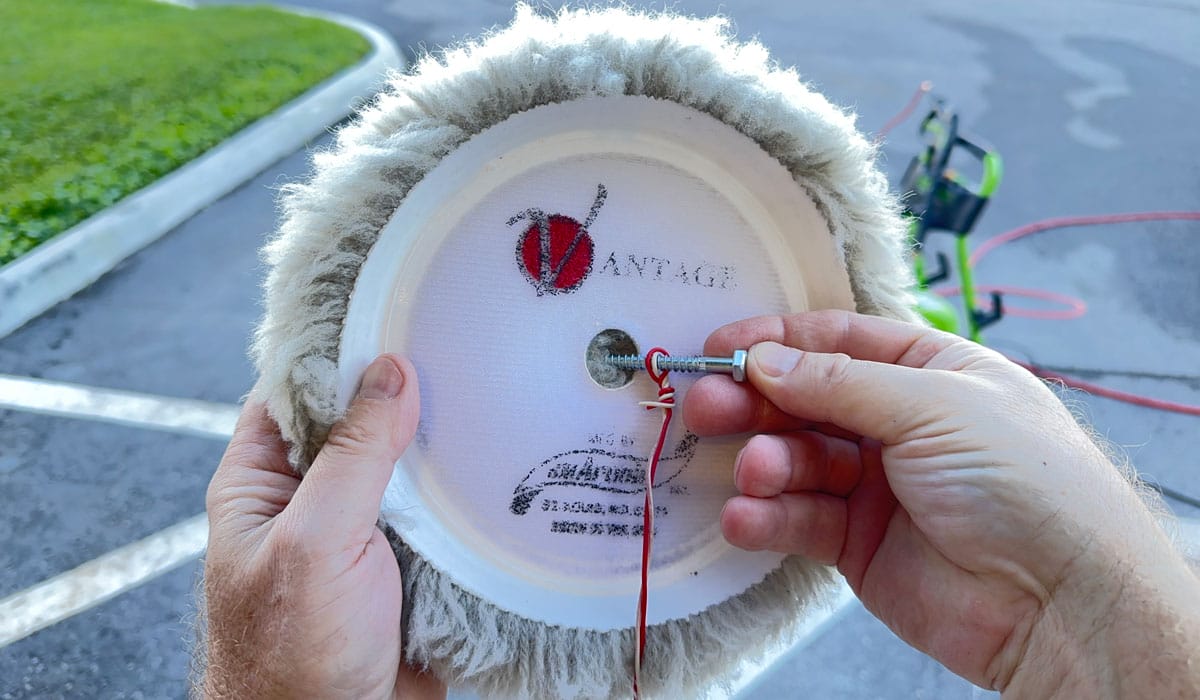
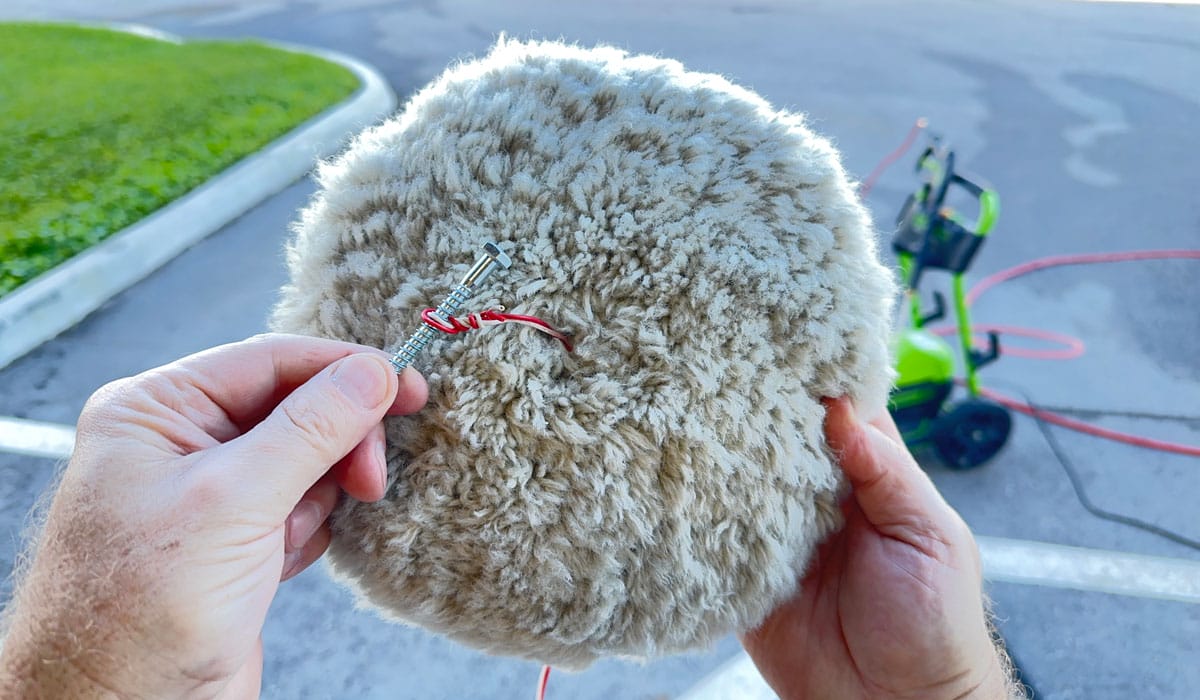
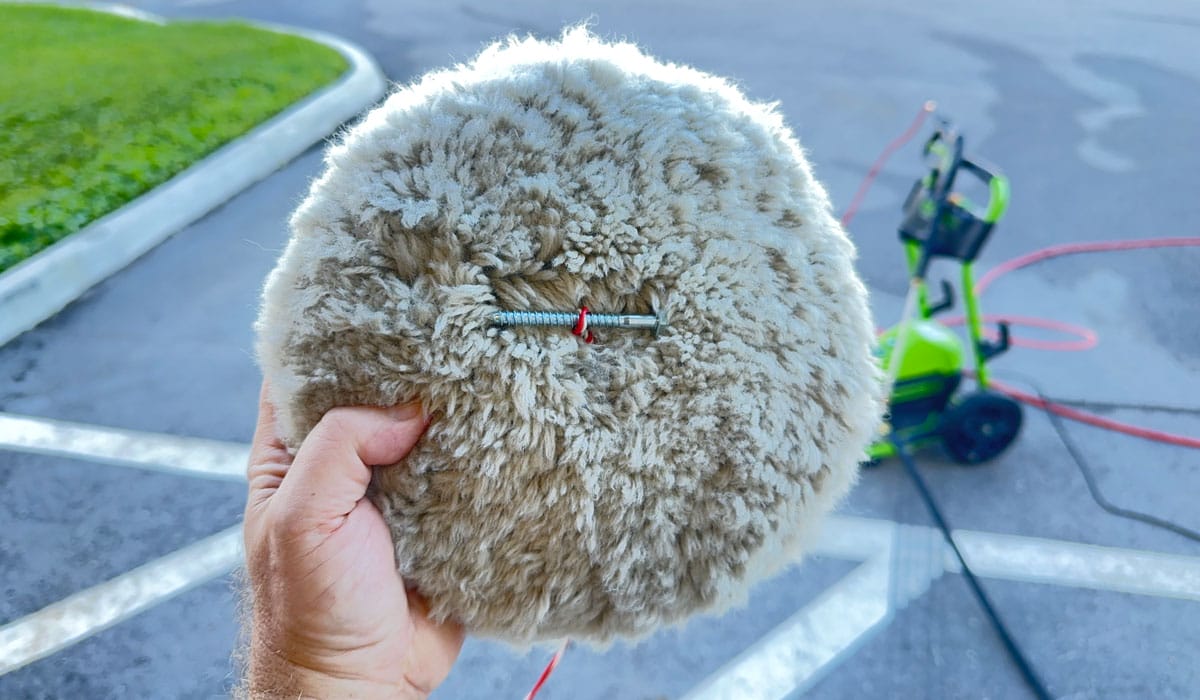
Can I Use a Screwdriver to Clean Wool Pads?
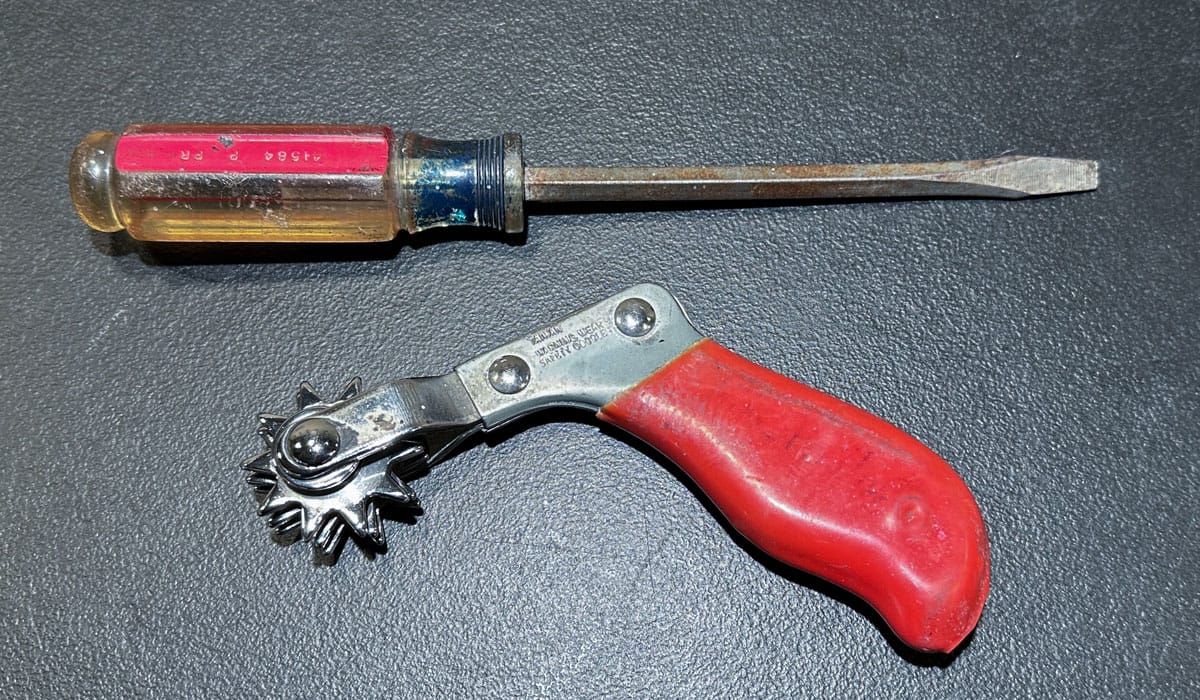
It’s a fact that a lot of detailers and paint correction technicians will use a screwdriver or some other similar type of sharp tool — like a large, long nail (yikes) — to clean a wool buffing pad if a pad cleaning spur is not available. While yes, this will work, it will also tear-up and shred the fibers making the pad more coarse to buff with as well as wear out the wool buffing pad prematurely.
If that’s all you have, then it’s better to use the screwdriver and clean the pad as opposed to not cleaning the pad at all. That being said, if you’re serious about your work, invest in an actual pad cleaning spur. A real pad cleaning spur will clean all the built-up gunk off the face of the wool buffing pad while also fluffing up the fibers to restore a cleaner, safer pad surface.
How to Clean Wool Pads — Wet Methods
Wet cleaning a wool pad refers to using some type of pad cleaner solution, agitating with a brush then rinsing using running water under a faucet in a utility sink. You can also clean wool pads with a washing machine using a pad cleaning detergent. The option I recommend, however, is a dedicated pad washing machine like the Lake Country 4000 Pad Washer or the Grit Guard Pad Washer. I will cover both methods below, along with specific instructions for the pad washers mentioned above.
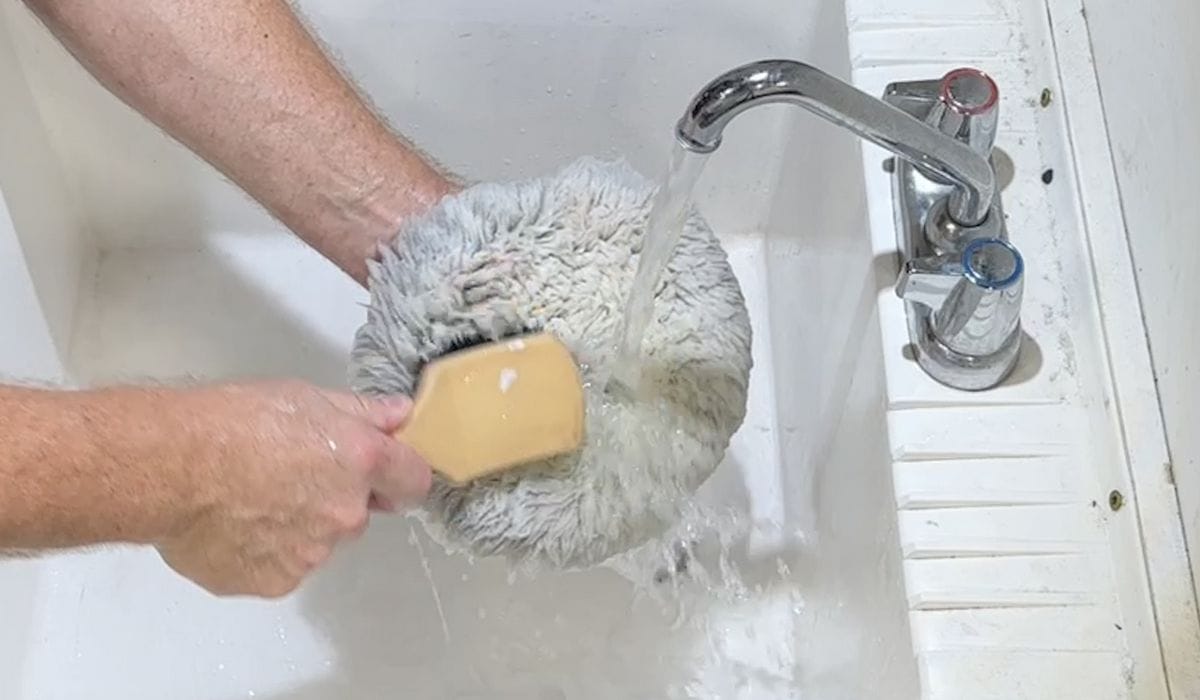
Method #1: How to Clean Wool Pads in the Sink
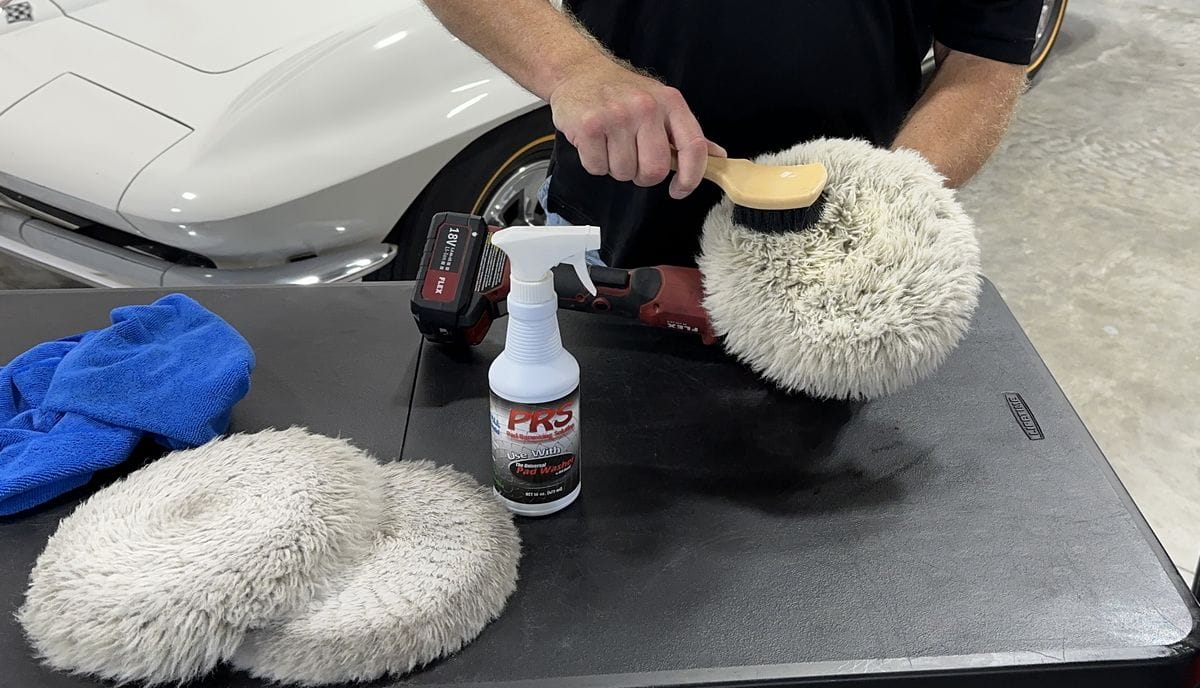
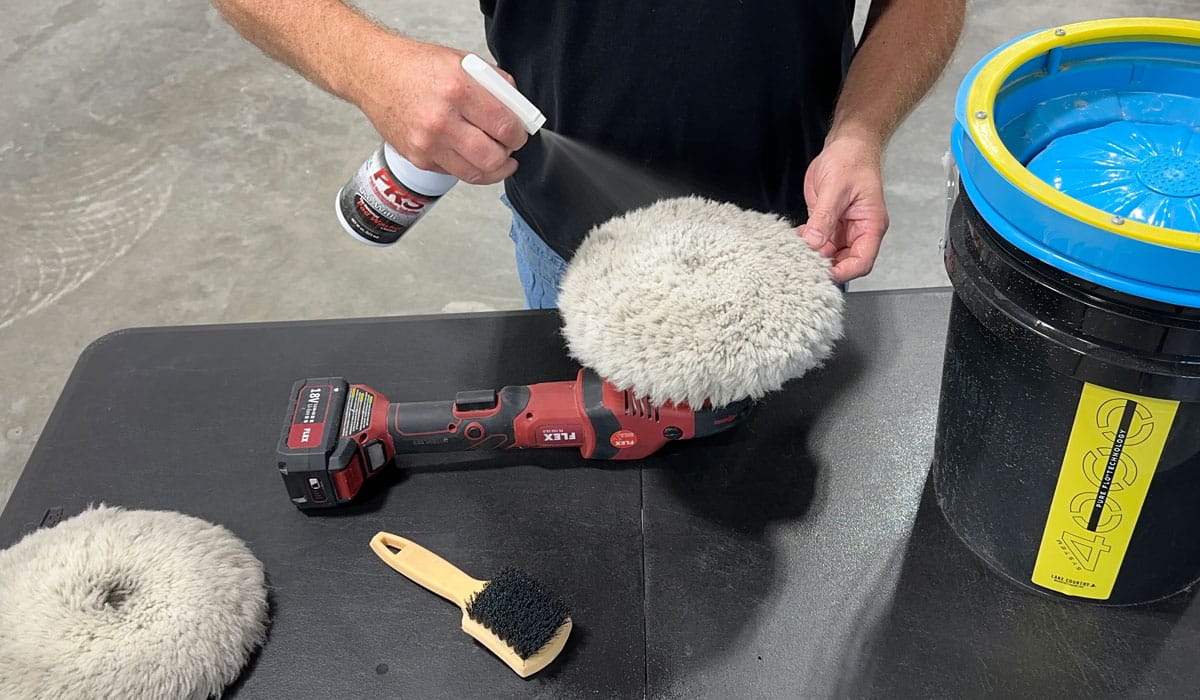
To clean wool pads without a pad washer, you’ll need a pad cleaning solution, a nylon brush and running water. There are a number of different pad cleaning solutions on the market, and you could probably even make your own at home. Myself? I like to use the Grit Guard Pad Renewal Solution (PRS) as I’ve found it’s the most effective.
1. Spray the PRS onto the face of the pad and allow the product to penetrate and dwell for 30 seconds.

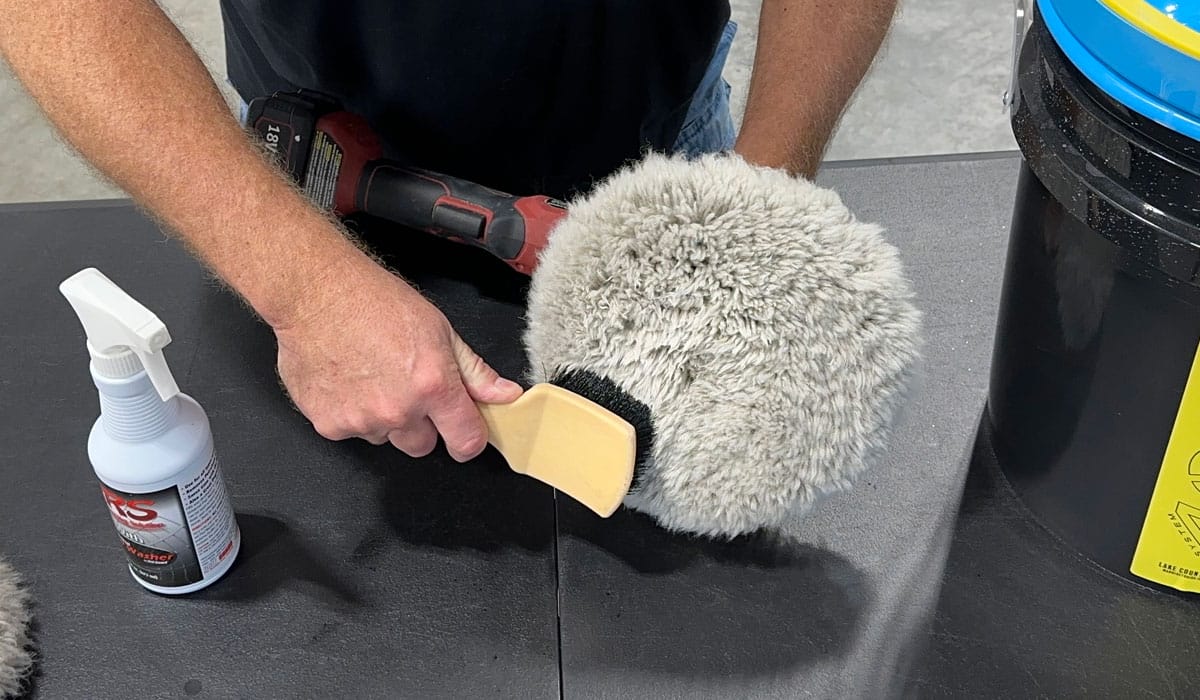
2. Next, agitate the fibers using a stiff, short bristle nylon brush, or even your hand while wearing protective nitrile gloves.
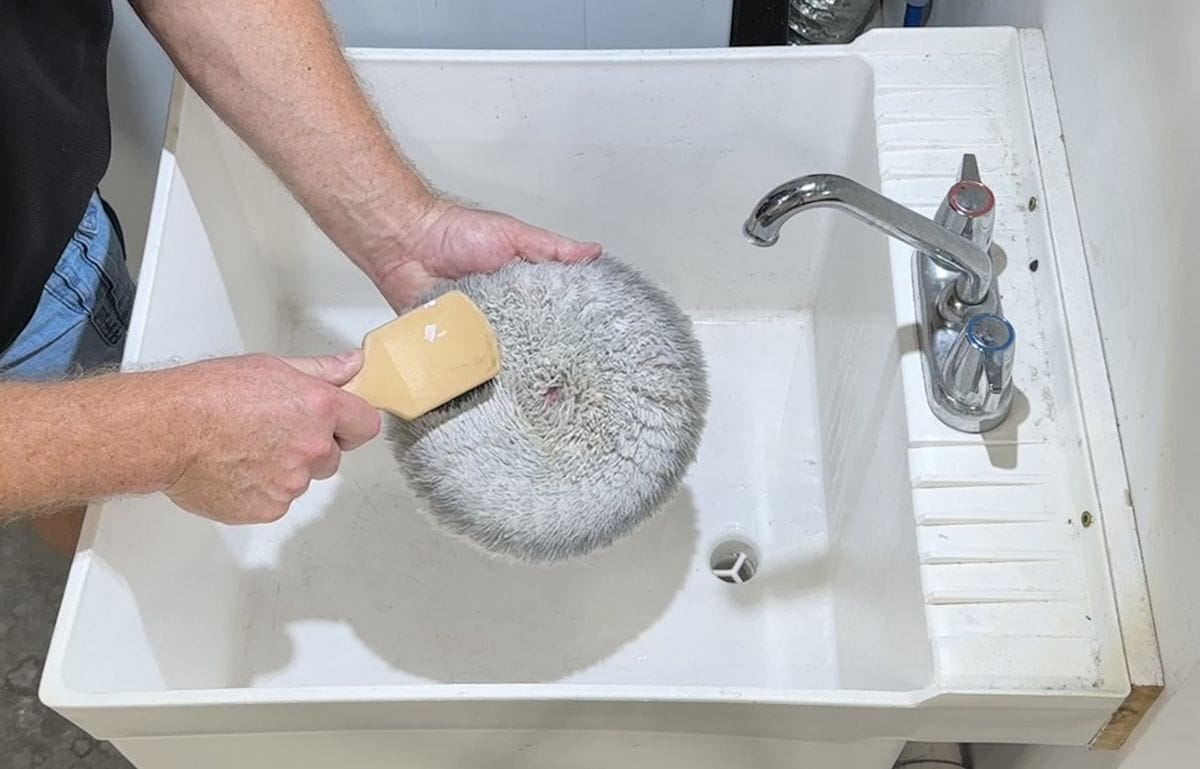
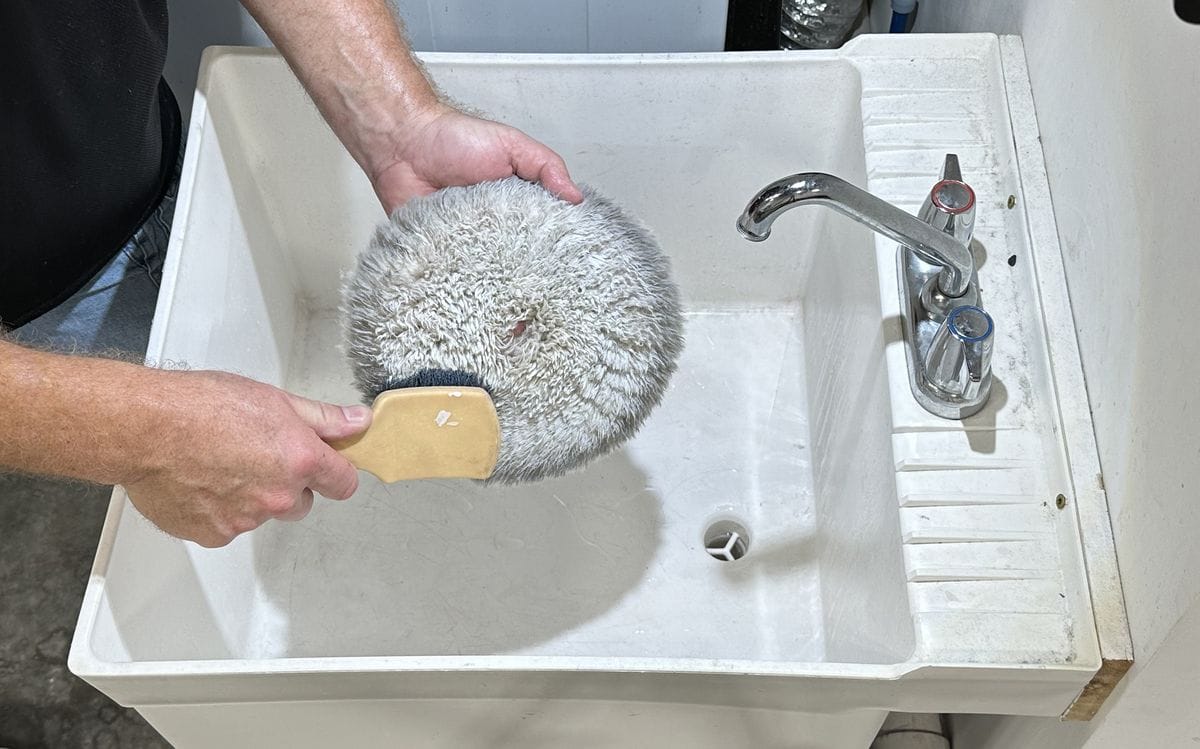
3. Thoroughly rinse the pad under running water until the rinse water runs clear.
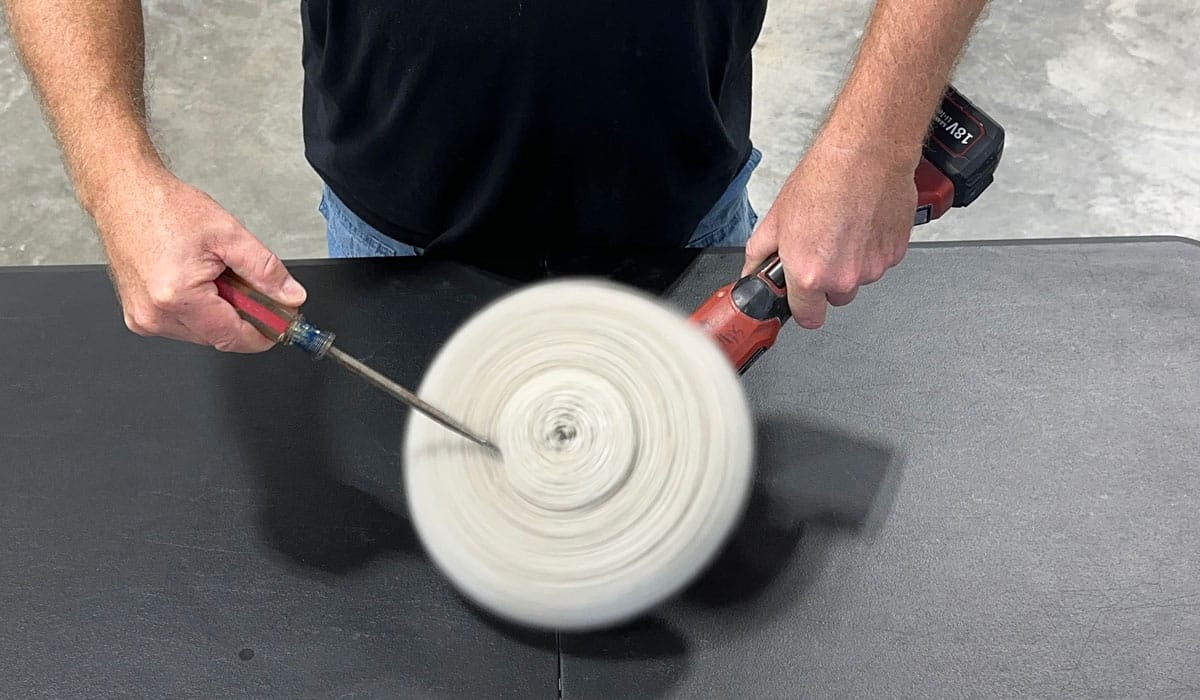
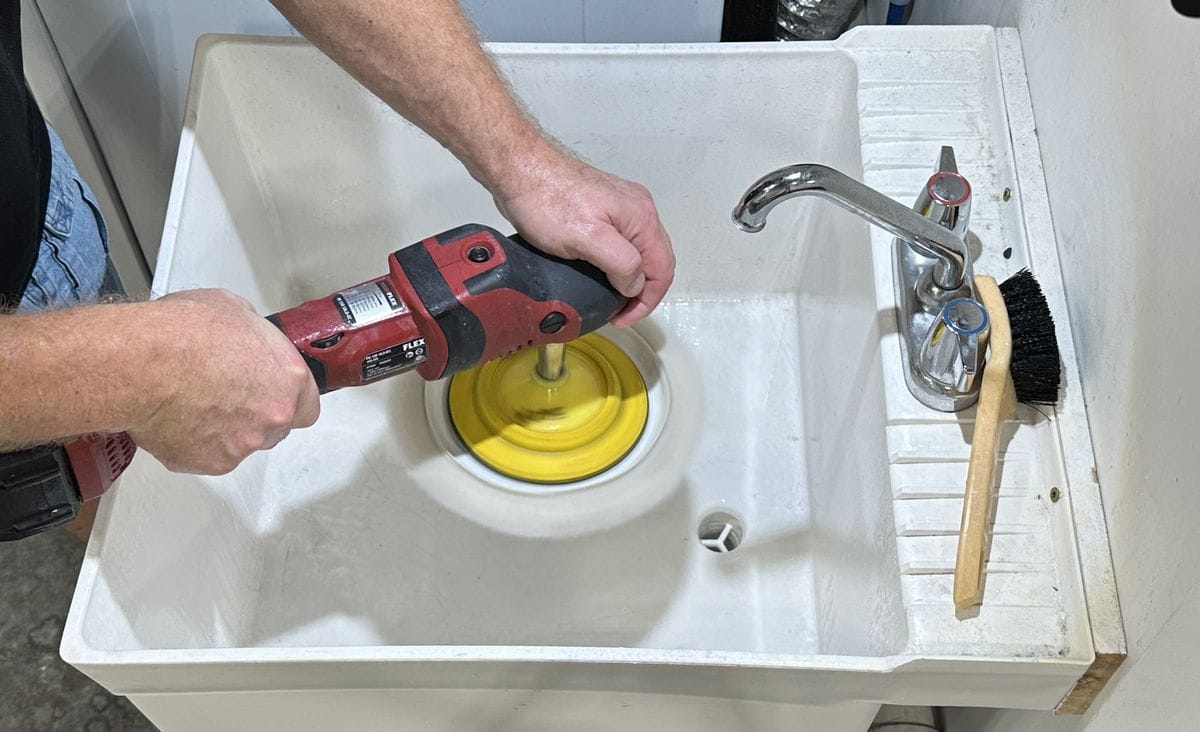
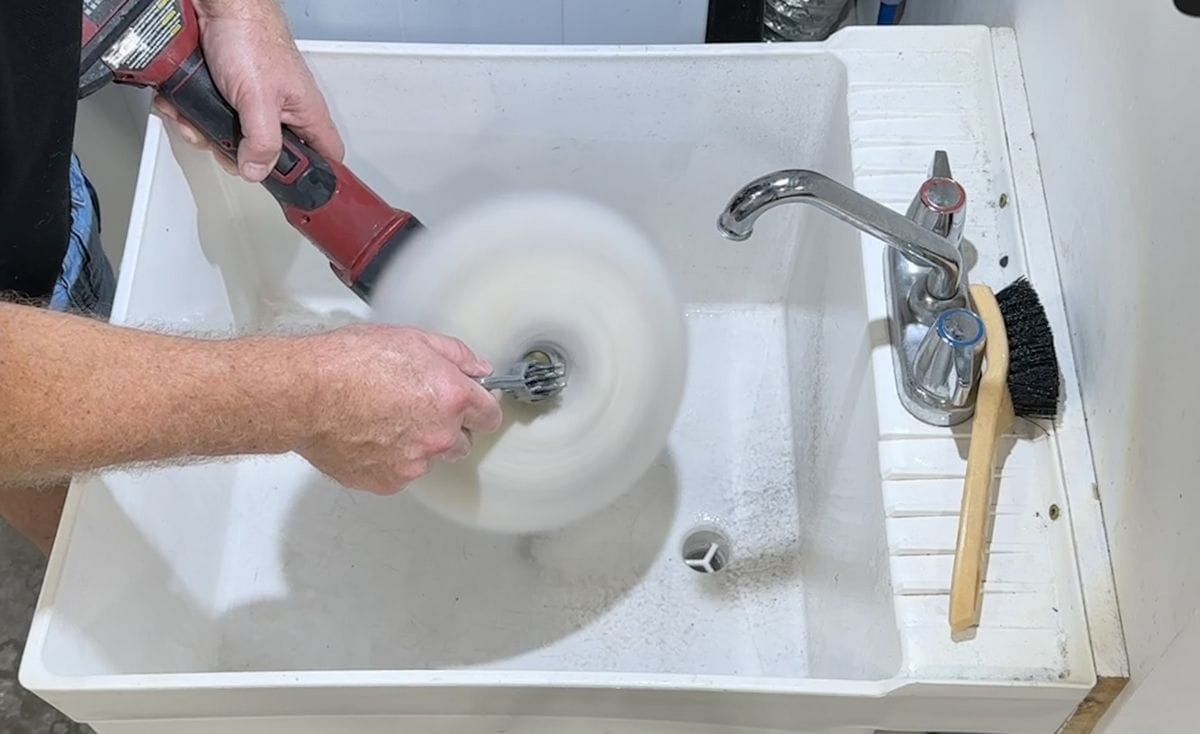
4. Next, use your polisher to remove excess water. While holding the polisher inside the wash basin, bring the polisher up to high speed and run for about a minute. Centrifugal force will cause most of the water to sling out so the pad will dry faster or you can put the pad back into service.
Optional: Spur the pad after slinging out the majority of water. Be sure to run the spur from the center of the pad all the way to the outer edge of the pad.
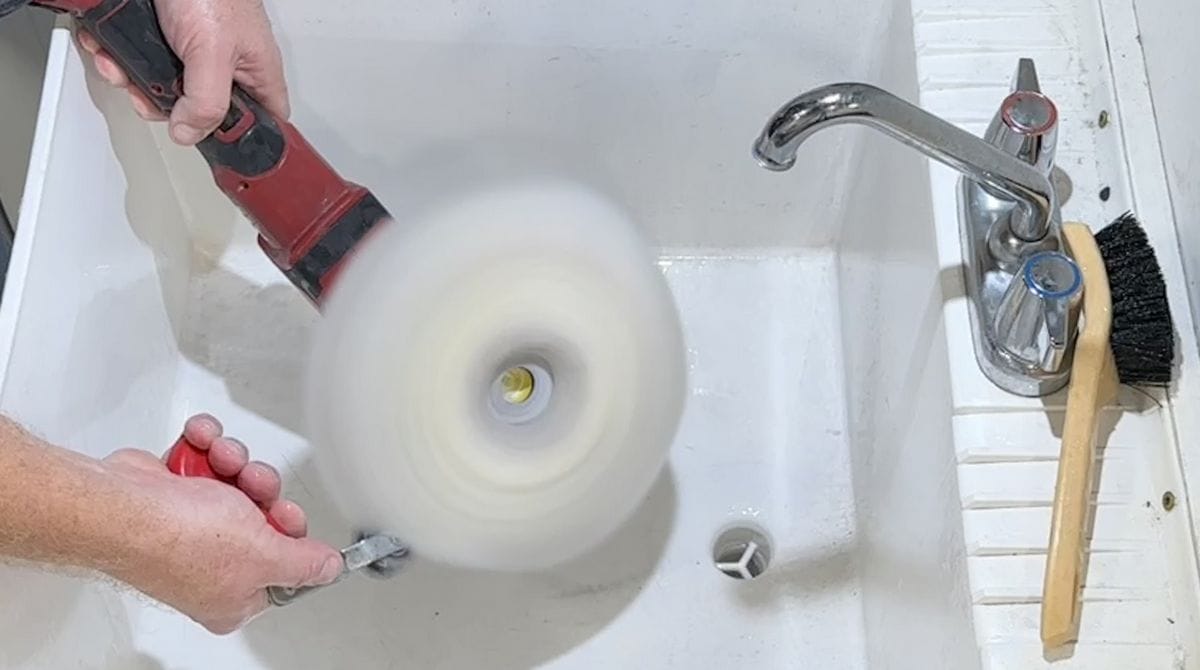
Spurring the pad after hand washing, rinsing and spinning dry will further dry the pad and also fluff-up the individual fibers.
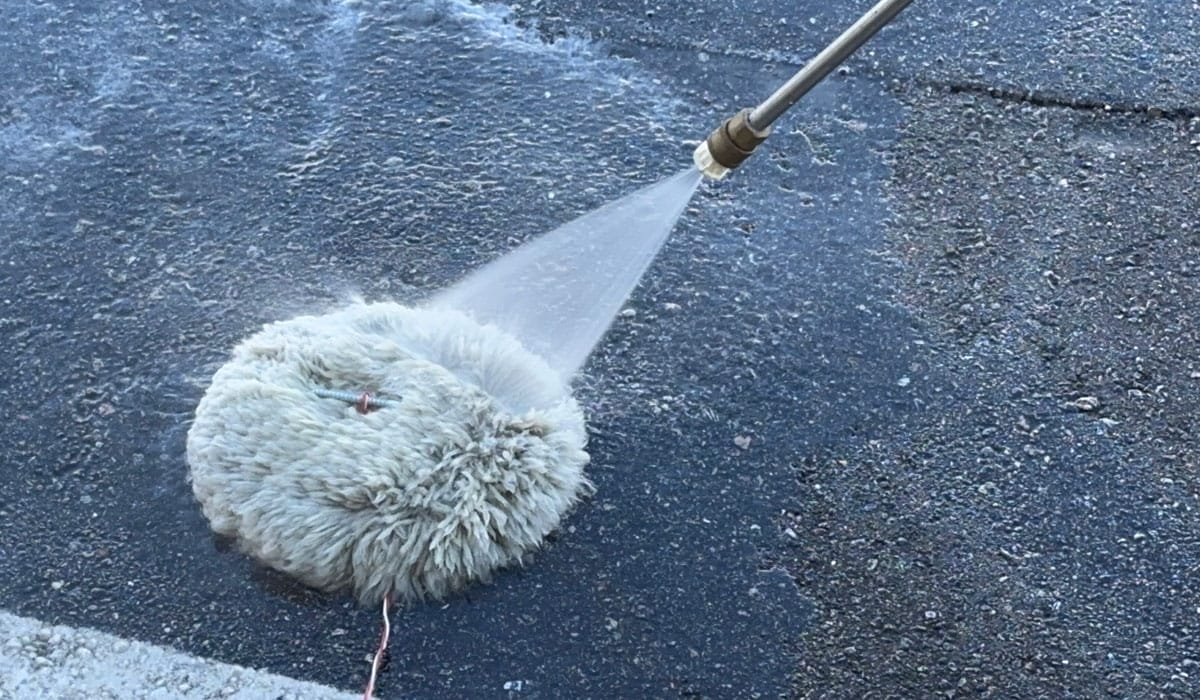
Method #2: How to Clean Wool Pads with a Pressure Washer
Because a pressure washer offers a power blast of water, it works great for blasting out any spent product and removed paint. To use a Pressure Washer to clean your pads or as the final rinse process after hand scrubbing and rinsing, place the pad face-up on a clean section of concrete and then spray with your pressure washer.
Tip for Holding Your Wool Pad in Place While Cleaning
Sometimes the powerful blast from a pressure washer can blow you pad away. Here’s a simple technique to keep your pad from blowing away while cleaning and/or rinsing it with a pressure washer.
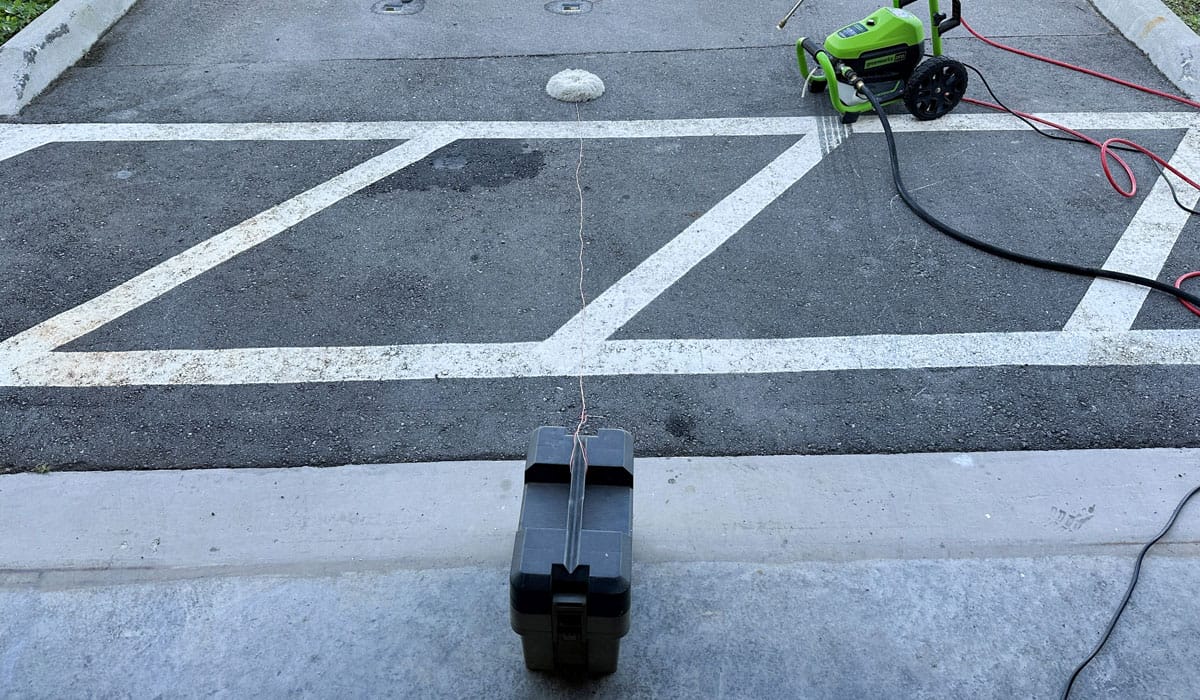
After using a pressure washer to clean and rinse your wool buffing pad, re-attach the pad to a backing plate on a rotary polisher and sling out any remaining water via centrifugal force.
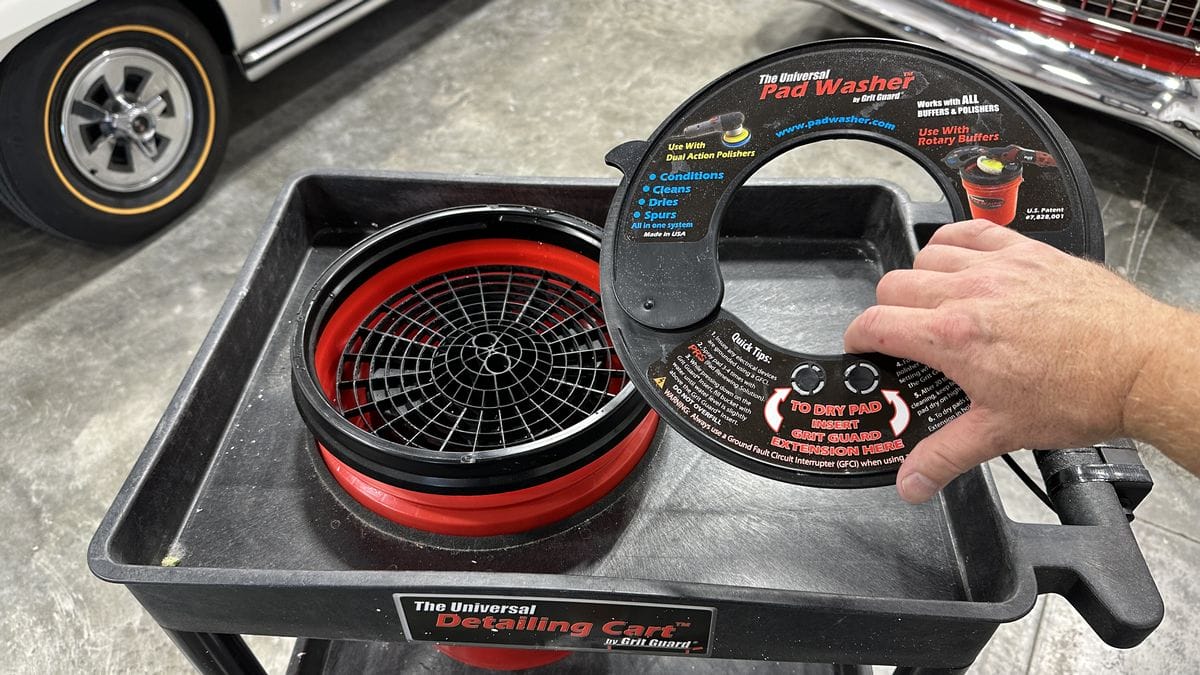
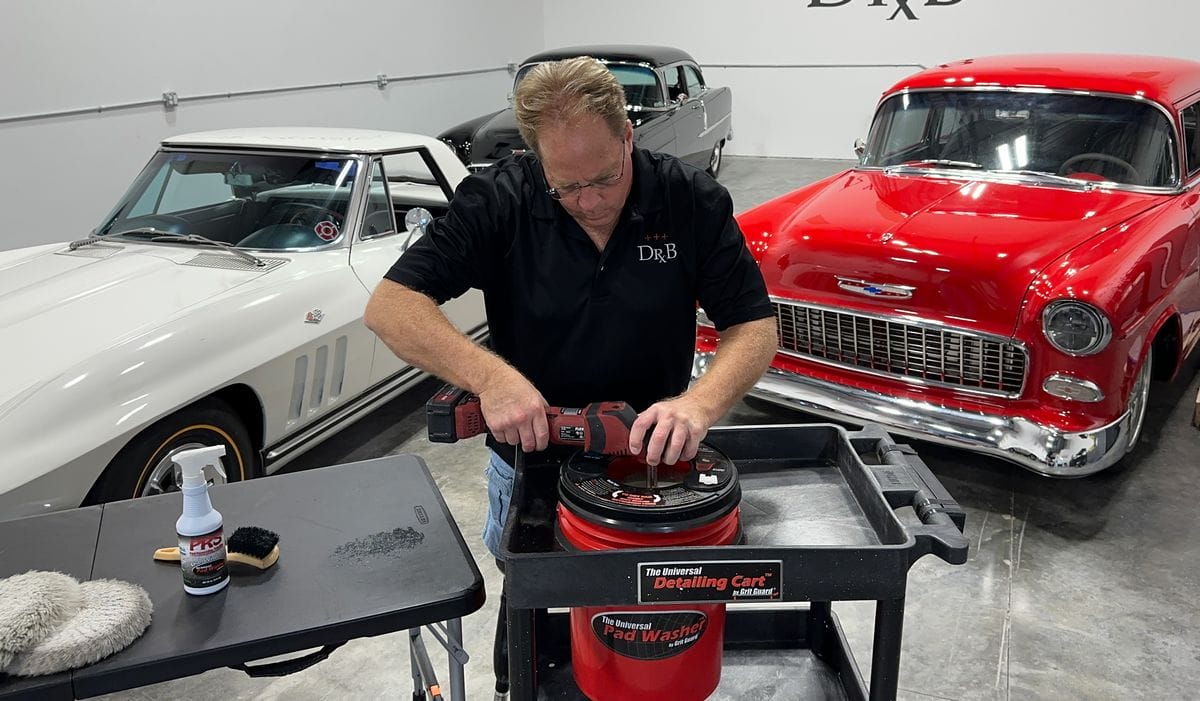
Method #3: How to Clean Wool Pads With a Pad Washer
There are a few different pad washing machines on the market right now, but the two most respected brands in the car and boat detailing industry are the Grit Guard Universal Pad Washer and the Lake Country System 4000 Pad Washer. I’ve used both extensively and will provide instructions for both below.
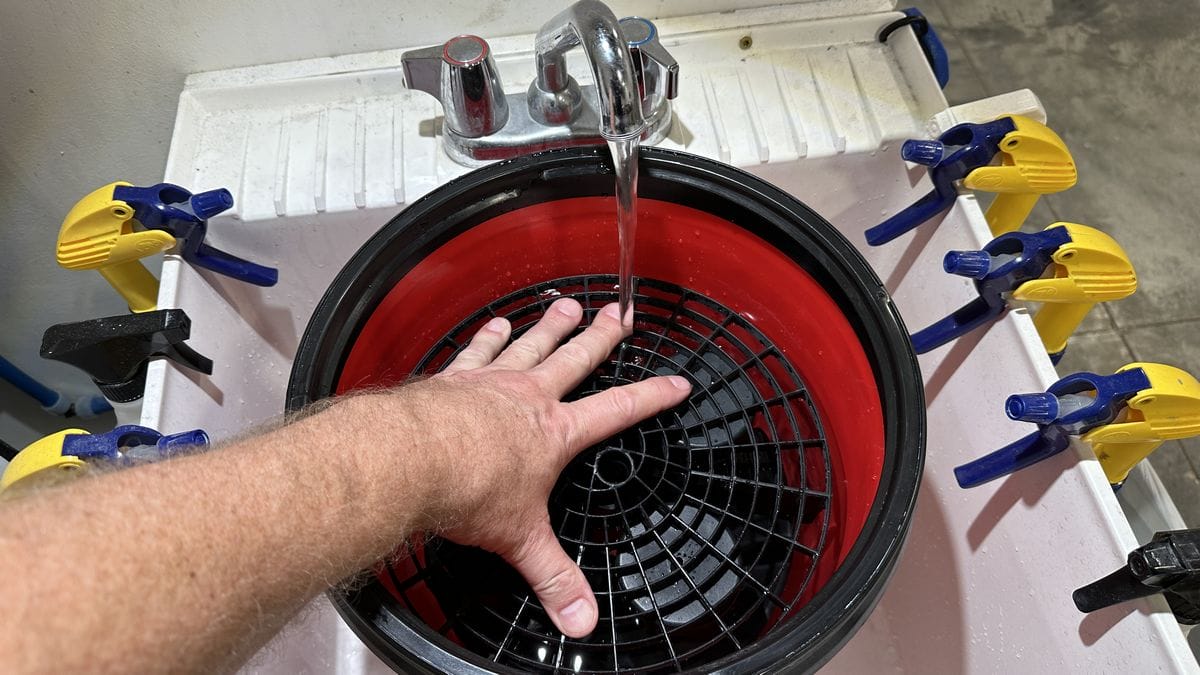
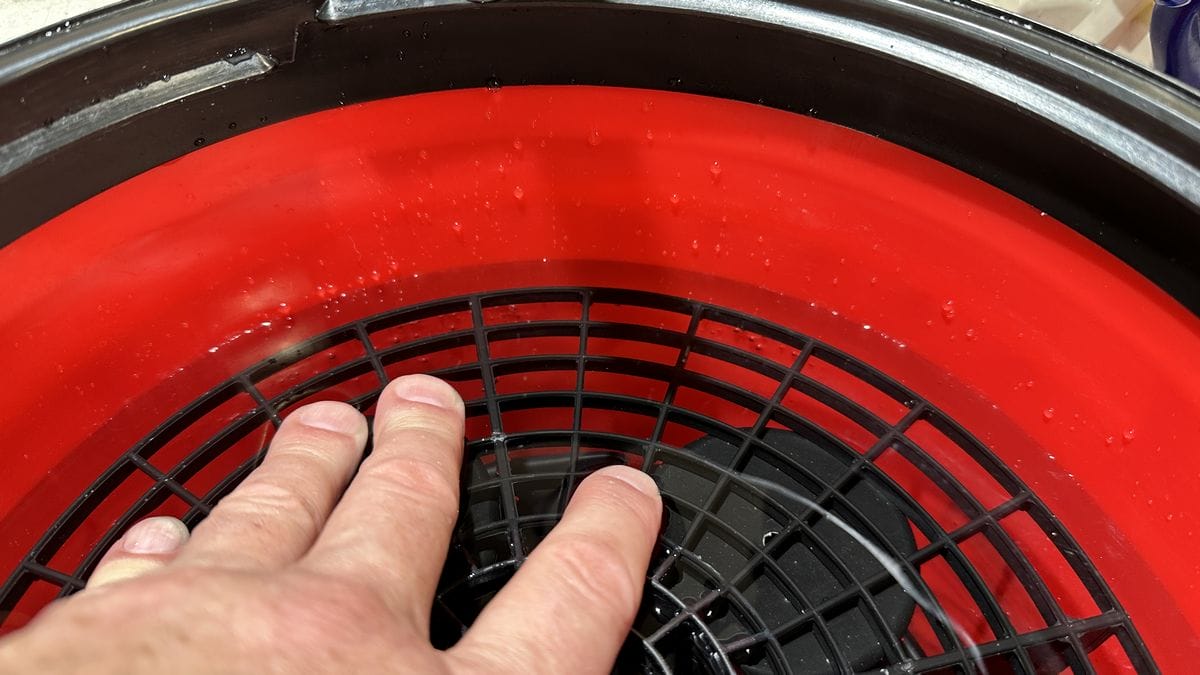
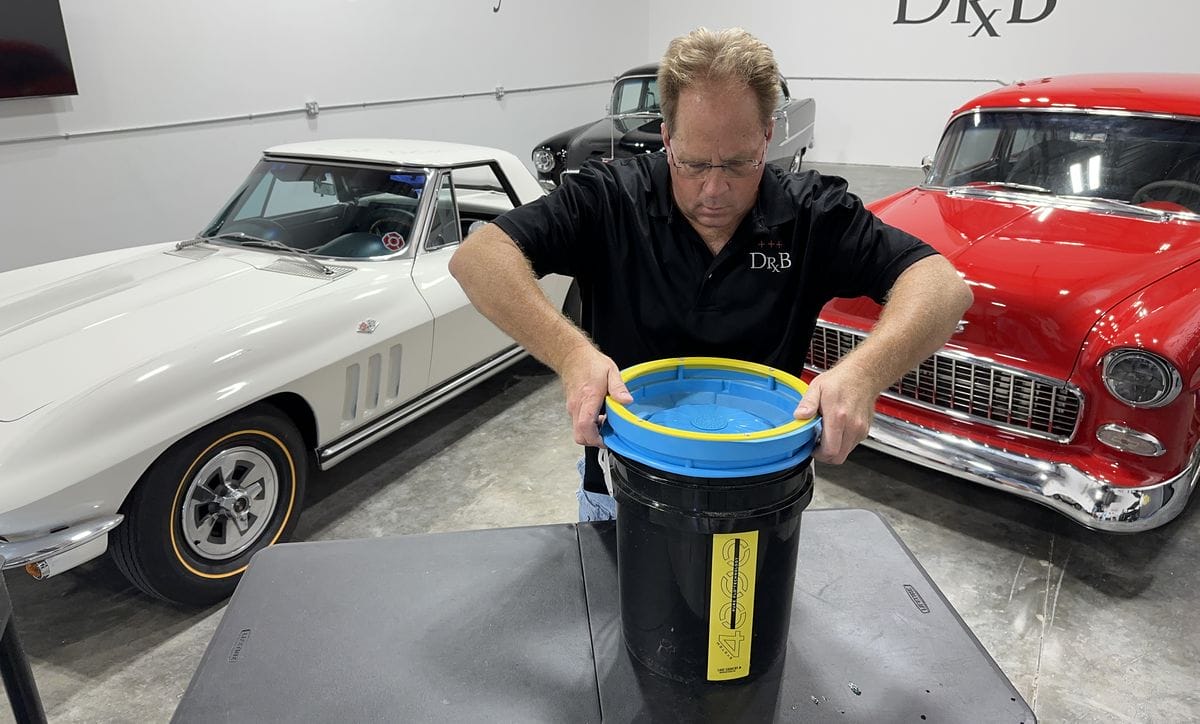
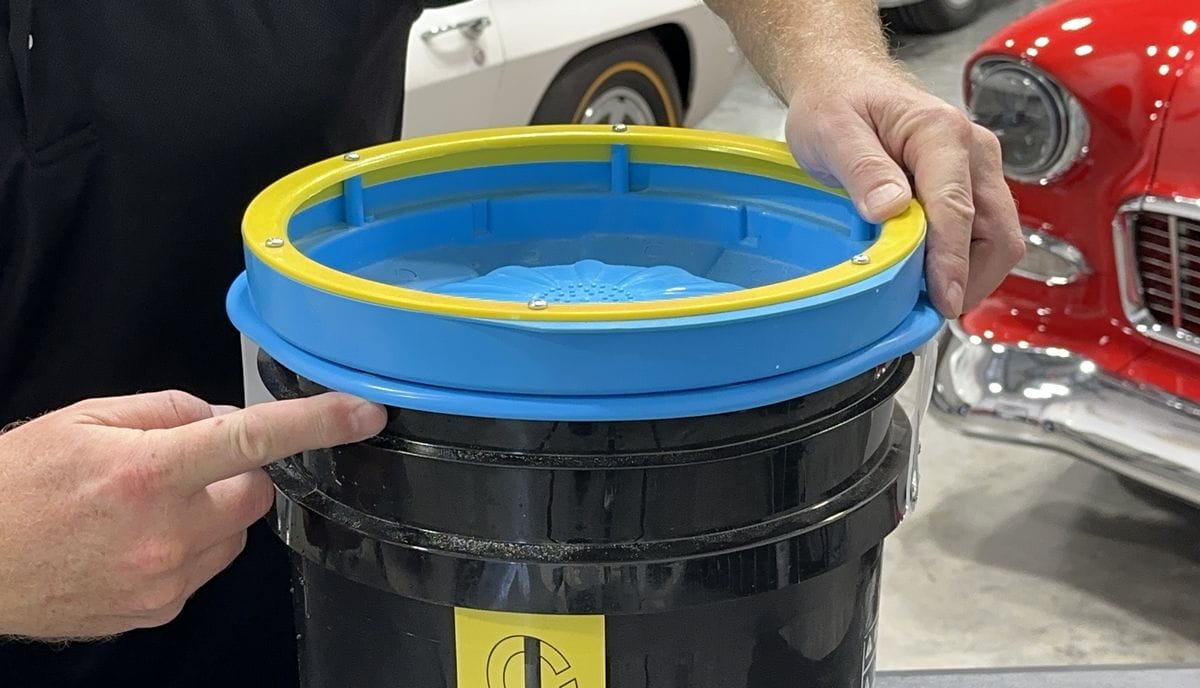
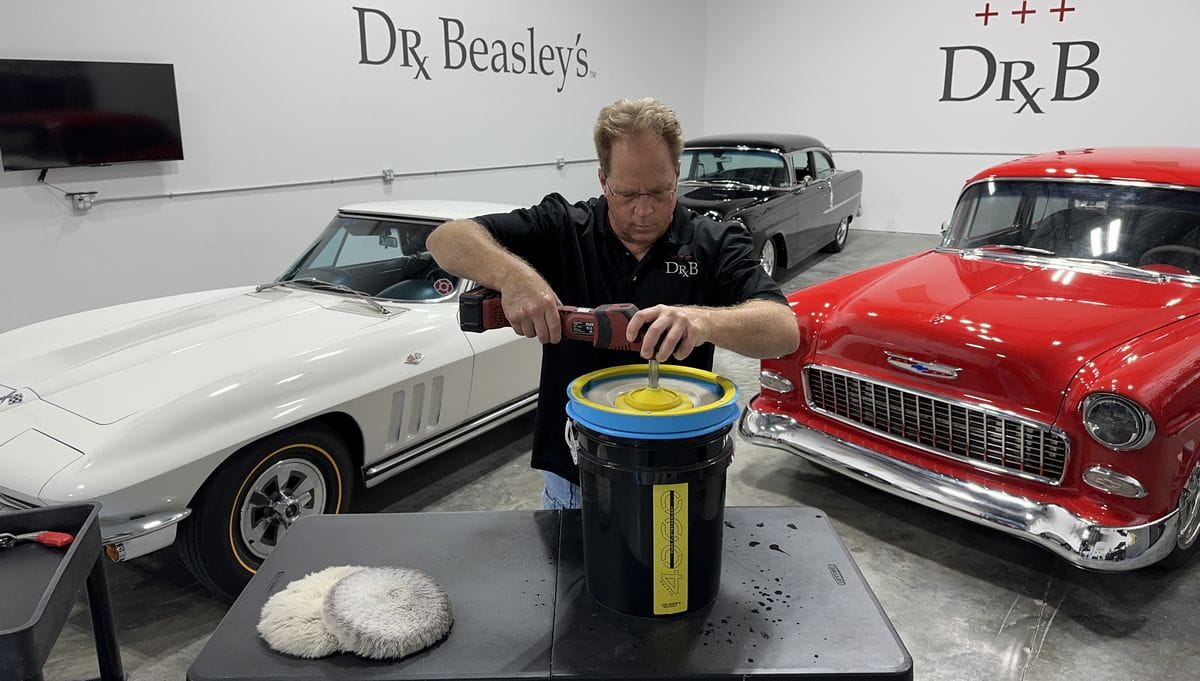
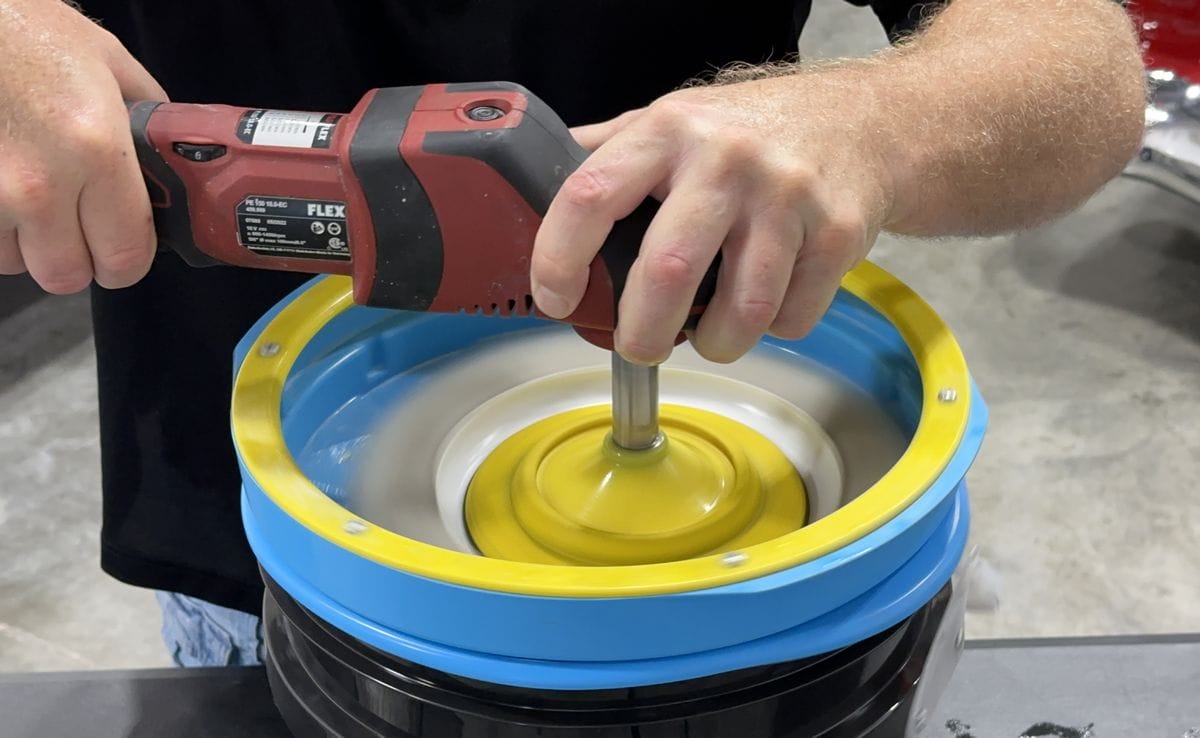
How to Use the Grit Guard Universal Pad Washer
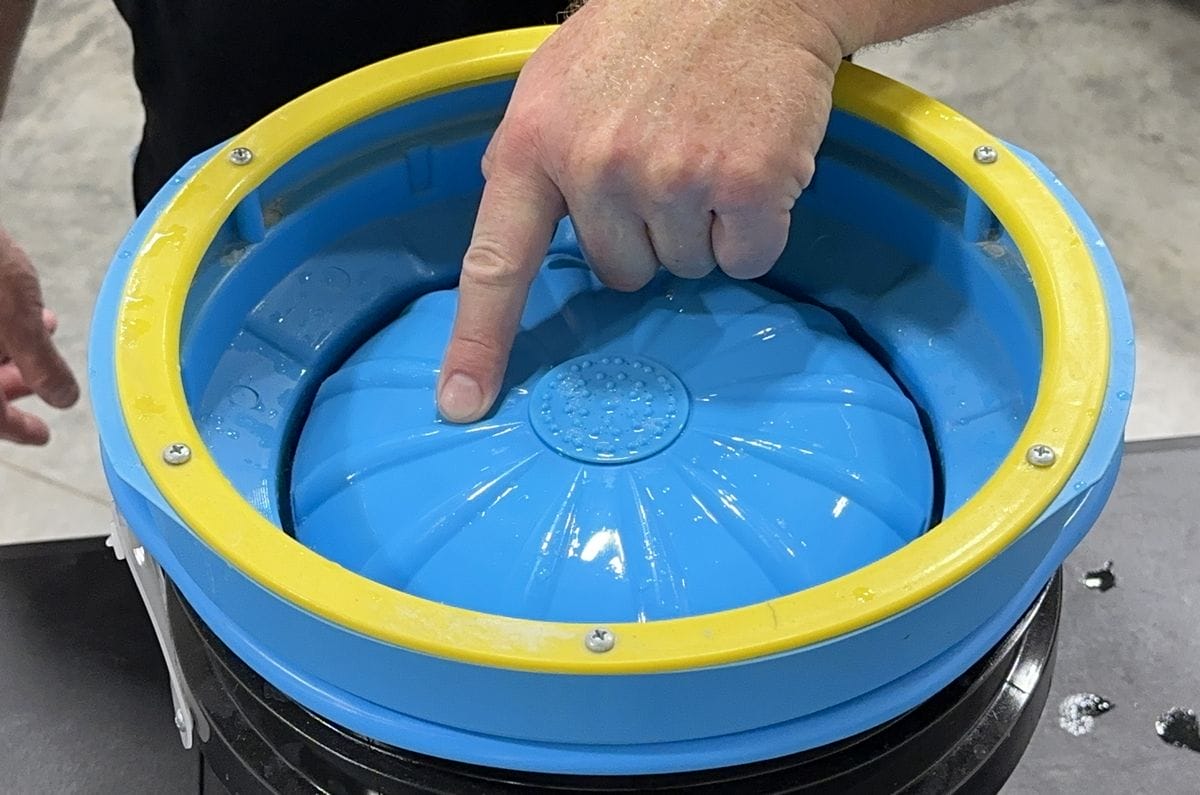
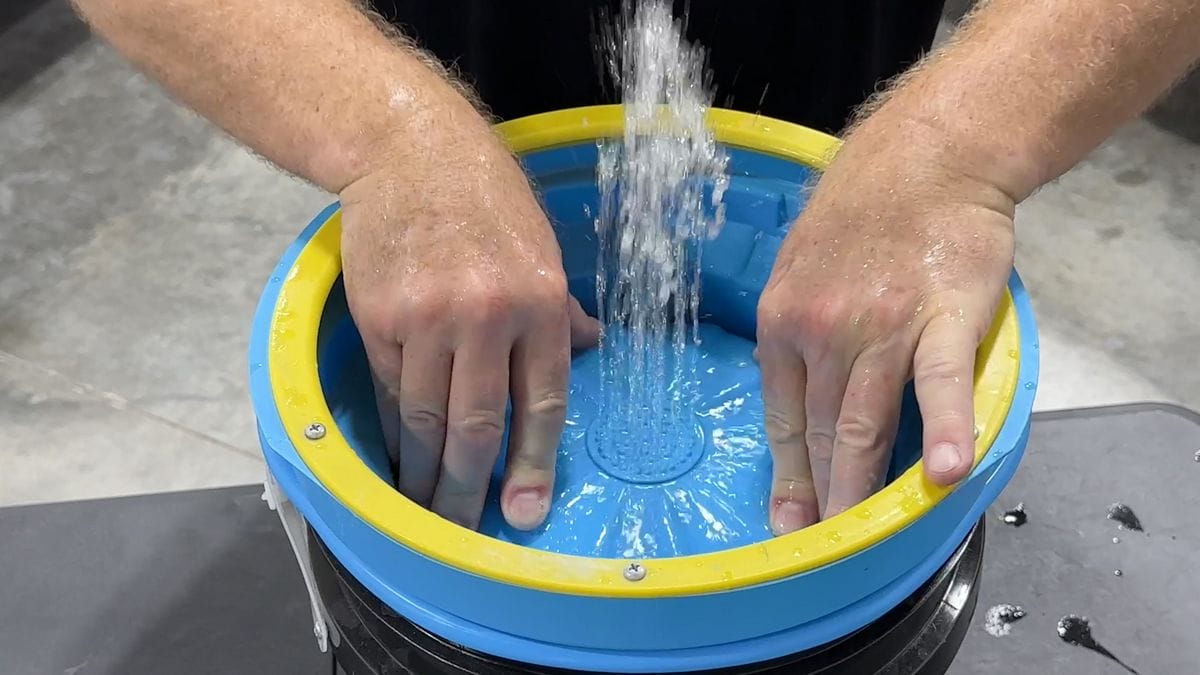
The Grit Guard Universal Pad Washer uses a pumping action that forces the spring-loaded pumps under the Splash Guard Lid to inject water into the face of the spinning pad. The dual action of water injection while the pad is spinning against the Grit Guard Insert, creates a squeegee effect and will loosen, remove and rinse the face of the wool buffing pad clean.
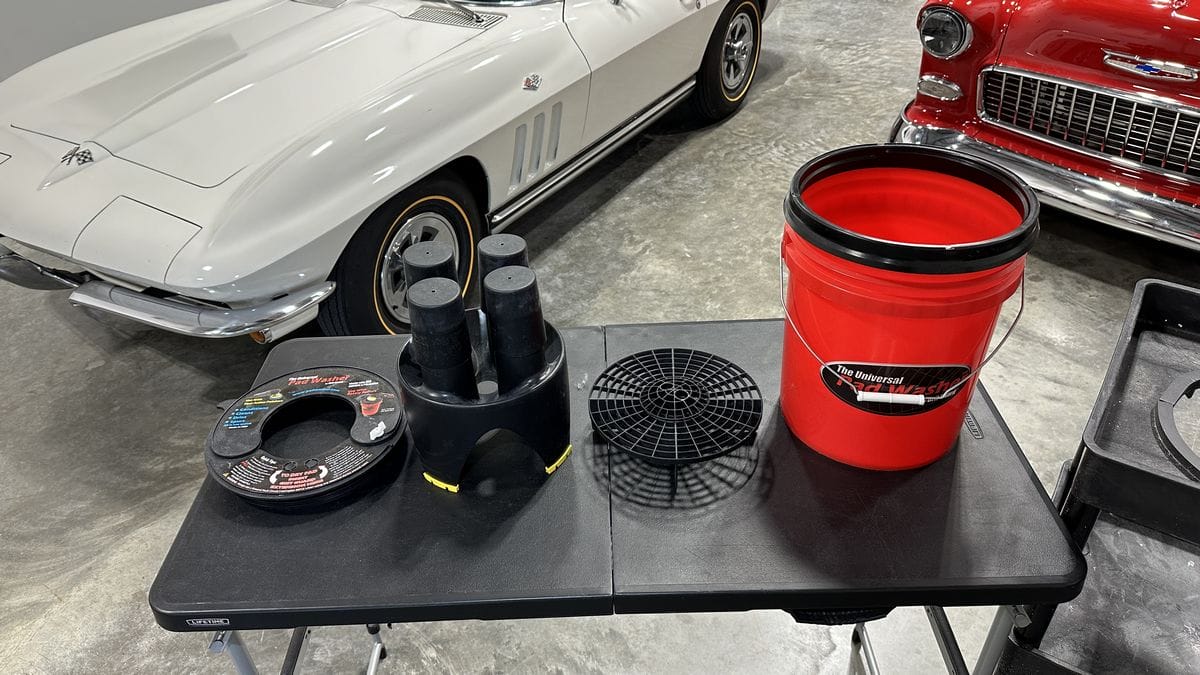
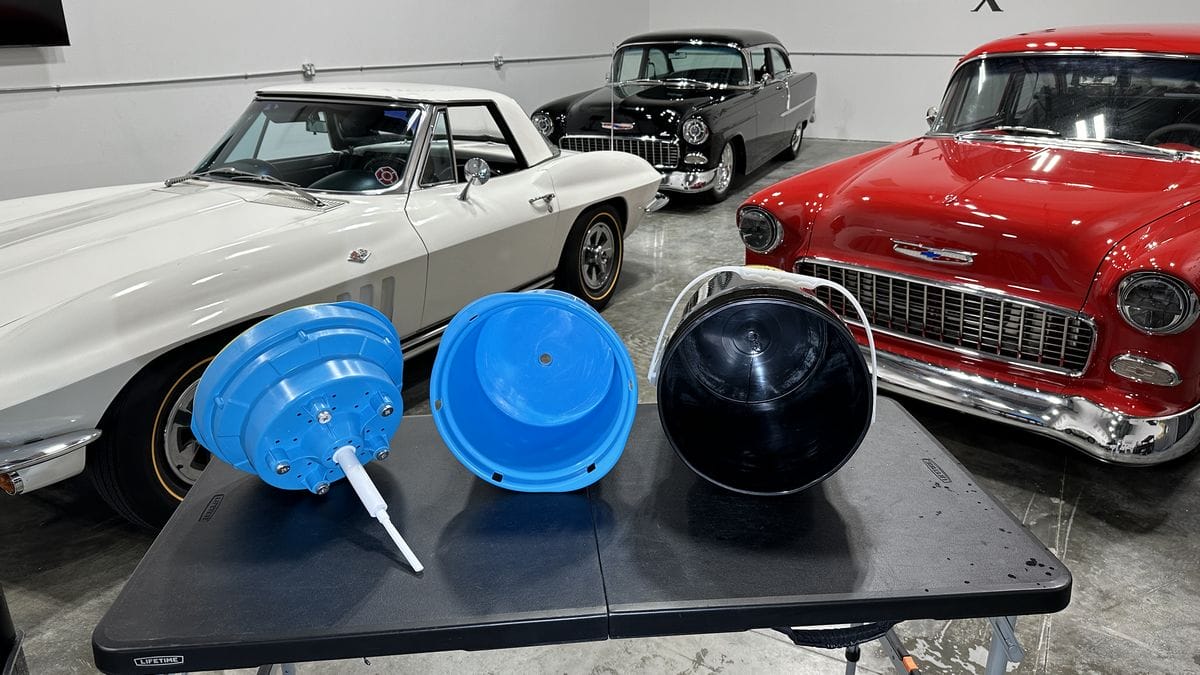
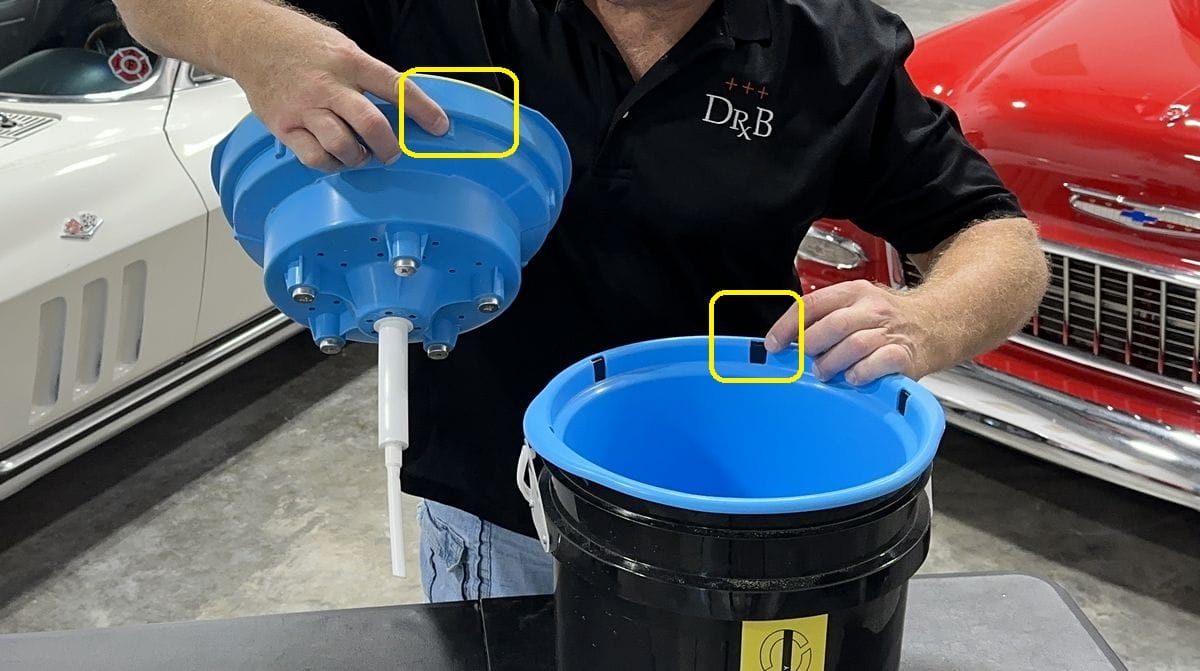
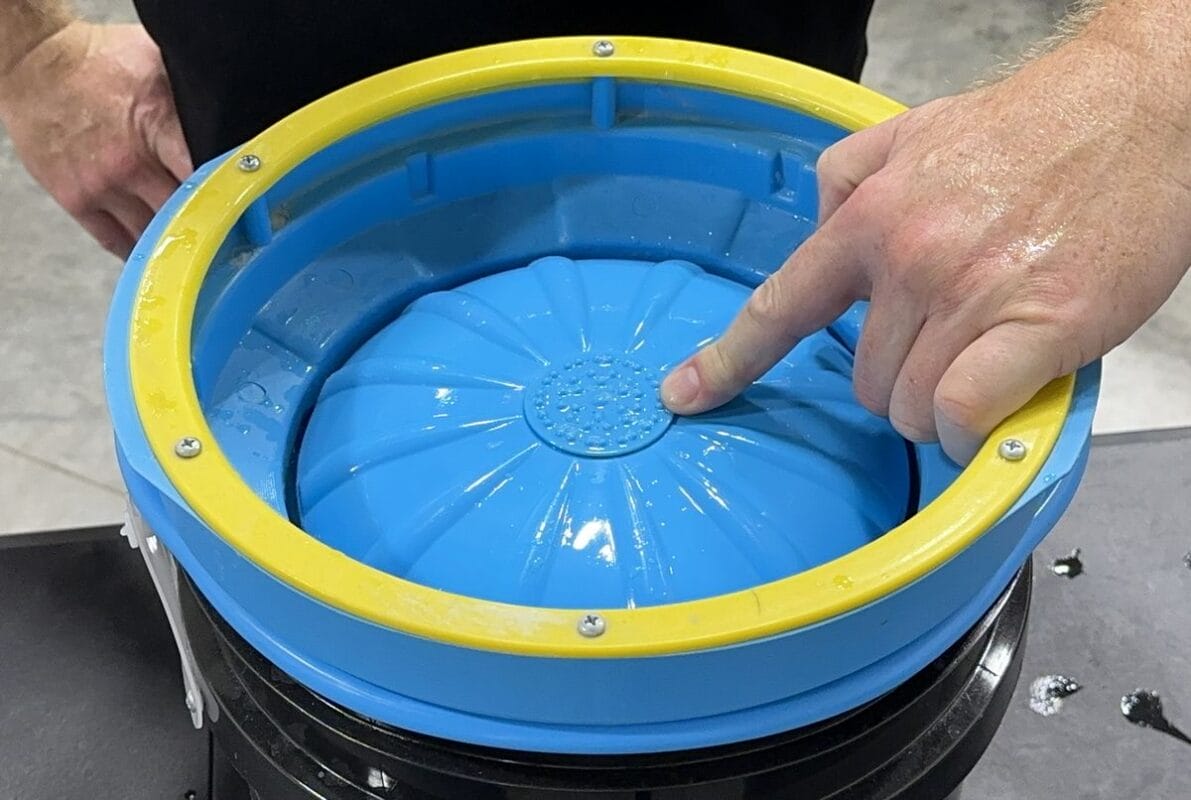
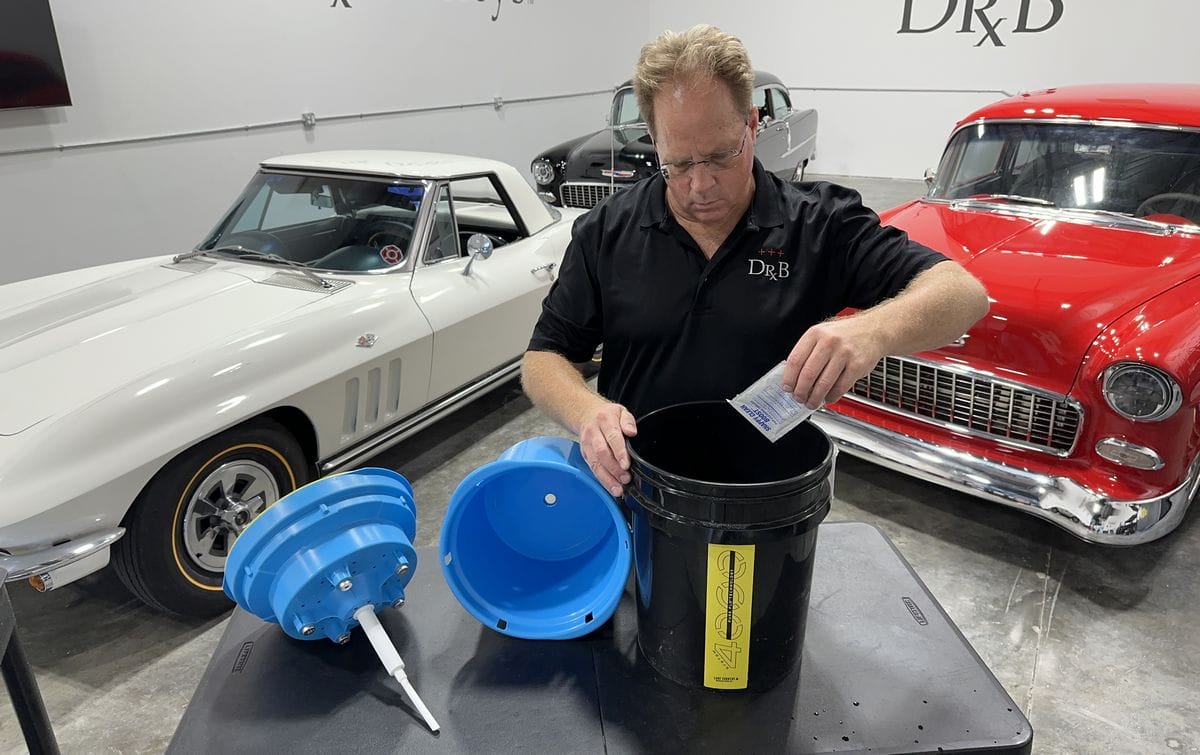
Below is a disassembled Grit Guard Universal Pad Washer showcasing the individual components, including, the splash guard lid, the vortex base, the spring-loaded pumping cups, the large and small Grit Guard Inserts and the Grit Guard 5-gallon bucket. Note the small Grit Guard Insert is attached on top center of the large Grit Guard Insert and aids in cleaning the center of a pad. You can also move it to the outer part of the Grit Guard Insert if you so choose for more focused squeegee/cleaning for different types or sizes of pad.
Here’s how to use it:
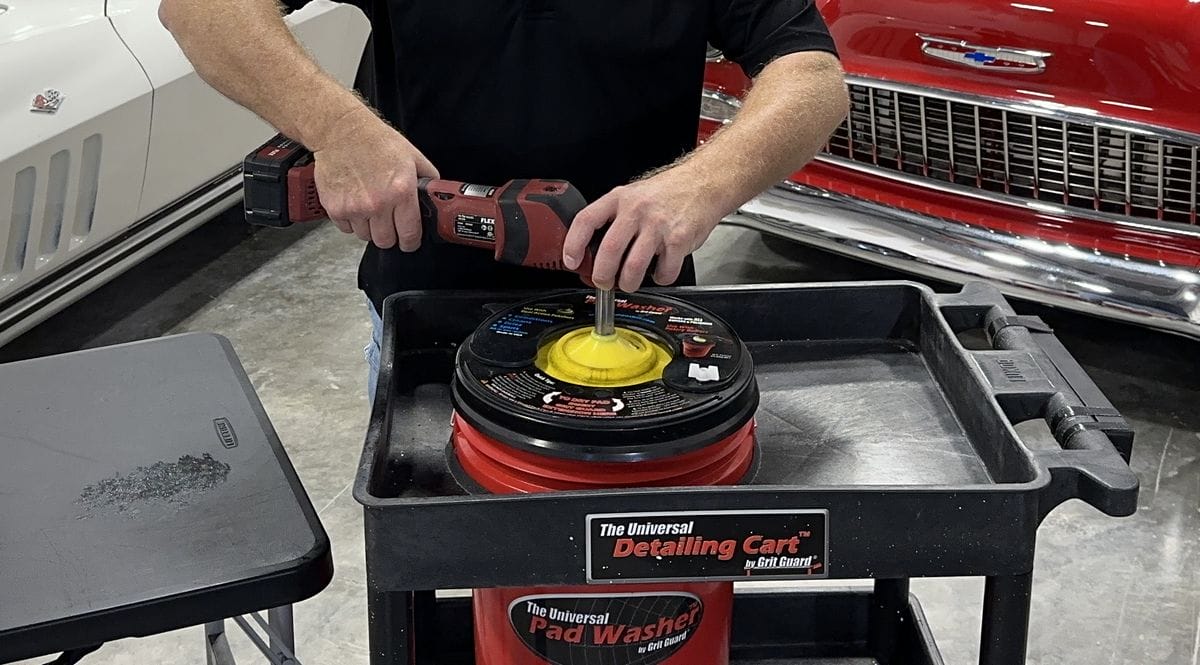
1. Fill the Grit Guard Pad Universal Pad Washer with the recommended amount of water.
2. Press the Grit Guard Insert downward into the bucket. The water in the bucket should cover the top of the insert about a 1/8 of an inch.
3. After filling the bucket with water to the recommended level, attach the splash guard lid.
4. Spray the Grit Guard PRS onto the face of the wool buffing pad and allow the PRS penetrate and dwell for about 30 seconds.

5. Work the pad cleaner into and over the fibers by hand or with a brush.
6. Open the swing-away portion of the splash guard lid and place the face of the pad against the grit guard insert. Close the swing-away portion of the splash guard lid and attach the vertical dowel.
7. Turn the polisher to a low speed and move up and down against the Grit Guard insert for one minute.
8. Lift the spinning pad from the Grit Guard insert and increase polisher to maximum speed to allow rinse water to escape via centrifugal force.
9. Turn polisher off, open splash guard lid and remove wool buffing pad.

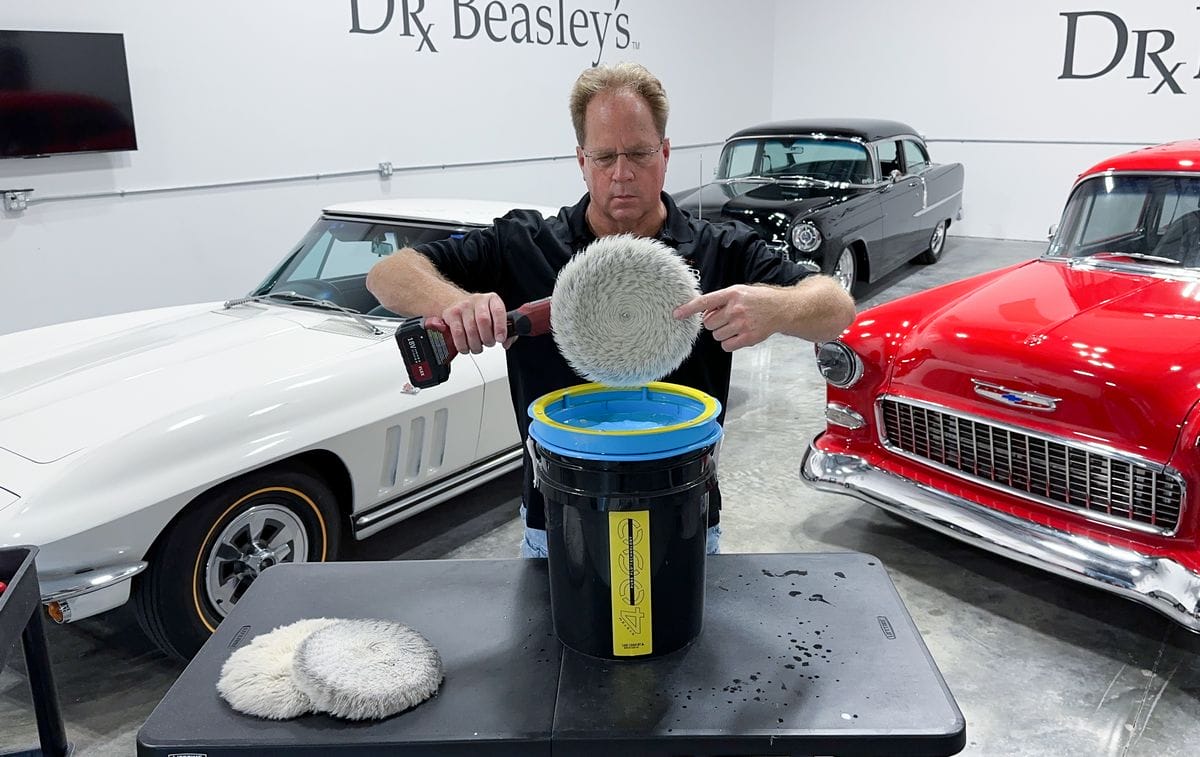
Optional Last Step: Fluff Fibers with Pad Cleaning Spur
After spinning the wool buffing pad at a high speed inside the Grit Guard Pad Washer, turn the polisher over and rest the head of the polisher against your left knee, or place the back of the polisher flat on the ground or a work bench. Run a pad cleaning spur over the face of the pad from the center of the pad outward to the outer edge or side of the wool buffing pad. This will dramatically help to fluff up all the individual fibers that make up a wool buffing pad and also help the pad to dry faster if not putting the pad back into use.
How to Use the Lake Country System 4000 Pad Washer
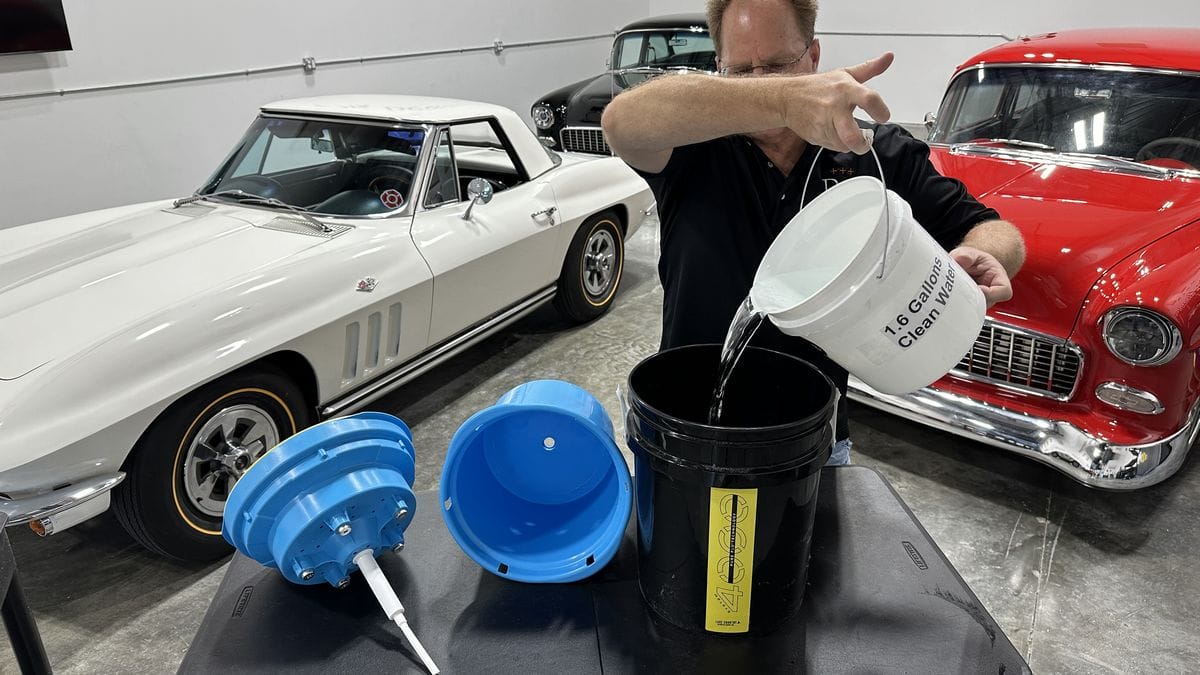
The Lake Country System 4000 Pad Washer uses a dual bucket design that separates the clean water from the dirty water by pumping the clean water from the lower bucket where the clean water is stored into the face of the spinning buffing pad. As this fresh clean water becomes dirty it flows into the secondary bucket called the Catch Basin, preventing dirty, used water from mixing with the fresh clean water. This dual bucket water system ensures you’re never flushing dirty water from a previous pad cleaning onto the next pad. Here’s how to use it:
1. Fill the Lake Country System 4000 Pad Washer outer bucket with the recommended 1.6 gallons of water.
2. Reassemble the pad washer by inserting the inner bucket (also called the Catch Basin) into the outer bucket.
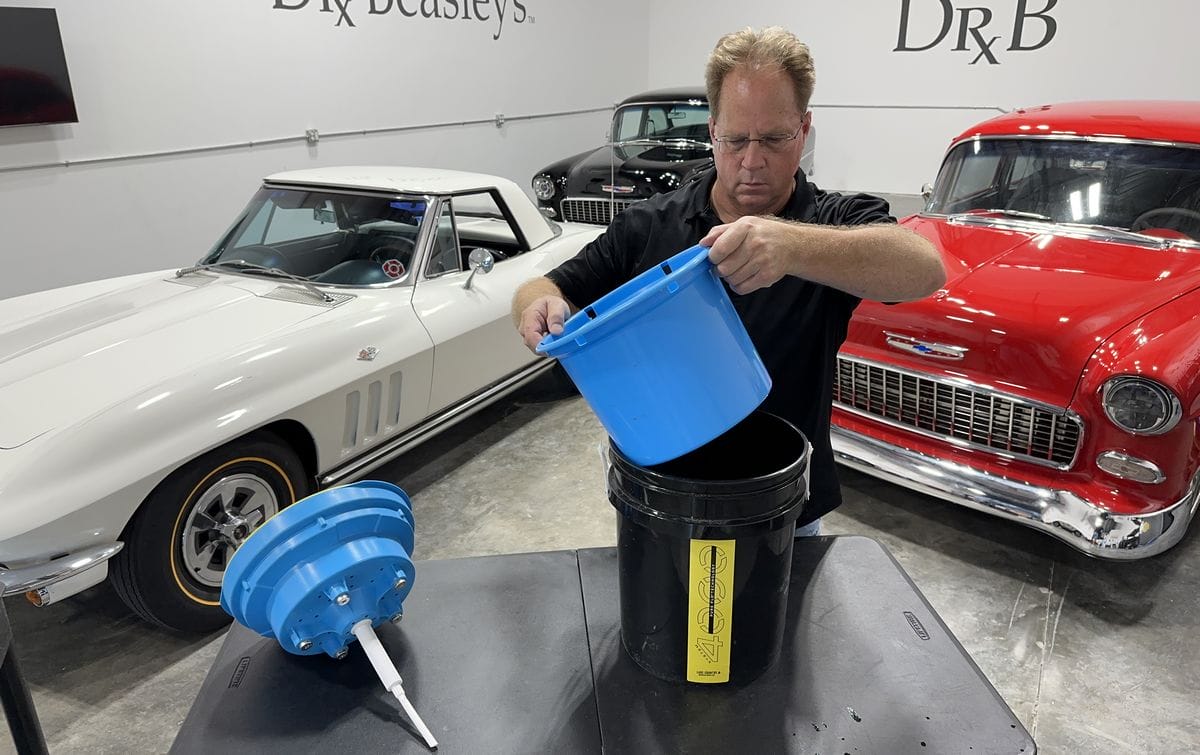
3. Place the Spring Loaded Ribbed Wash Plate inside of the Catch Basin and the Lake Country System 4000 Pad Washer is ready to use.
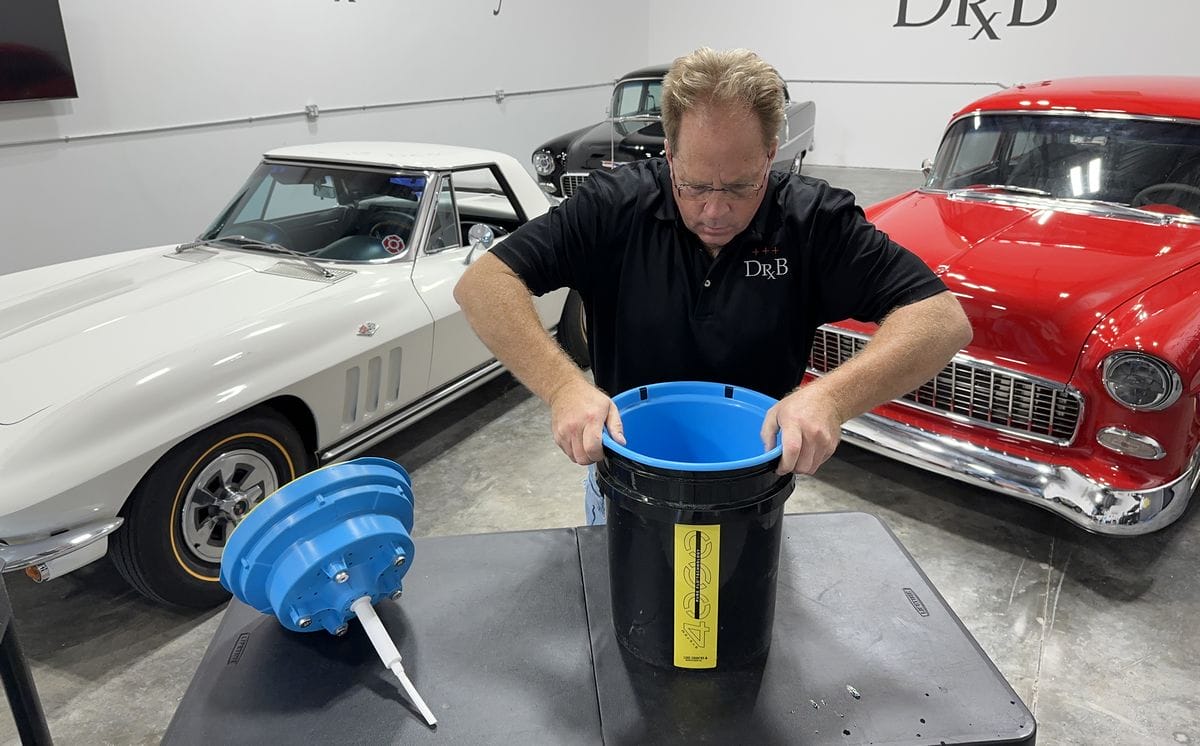
When inserting the Spring Loaded Ribbed Wash Plate inside the Catch Basin, be sure to align the locking tabs to the locking tab slots.
The Catch Basin and the Spring Loaded Ribbed Wash Plate should be pressed down firmly so that each component is flush with the outer bucket.
The Lake Country System 4000 Pad Washer works by gently squeezing grime out of the pad as the spinning polisher moves it over the Spring-Loaded Ribbed Wash basin.
In the center of the face of the Spring Loaded Ribbed Wash Basin is where the clean water injection pump is located.
When you press the spinning buffing pad against the Spring-Loaded Ribbed Wash Basin, the downward motion forces the pump to inject the clean water and/or water mixed with the Lake Country Snapy Clean Boos Pad Cleaning Powder onto the face of the buffing pad as it’s spinning. This dual action of the pad being sprayed with pad cleaner as the fibers are moved over the ribs acts to clean the pad. The resulting dirty water is then trapped inside the inner Catch Basin so it’s never re-introduced to pads during the cleaning operation.
4. Optional: Spray a pad cleaning solution onto the face of the wool buffing pad and allow the pad cleaner to penetrate and dwell for about 30 seconds.
5. Work the pad cleaner into and over the fibers by hand or with a brush.
6. Place the face of the wool buffing pad against the ribbed wash plate and pump the buffing pad up and down against the ribbed wash plate to inject water into the pad.

7. Turn the polisher on and move the wool buffing pad over the ribbed wash plate, occasionally pumping the pad up and down as the pad is spinning.
8. After about a minute, stop the pumping action and lightly hold the wool buffing pad against the ribbed wash plate and bring the speed of the polisher up to allow rinse water to escape from the pad via centrifugal force.
9. This high-speed spinning action will remove the majority of the excess water out of the pad and you can now remove the pad from the pad washer.
The pad is now clean and ready to either put back into use or set aside to dry.
Optional Last Step: Fluff Fibers with Pad Cleaning Spur
After spinning the wool buffing pad at a high speed inside the Lake Country Pad Washer 4000, turn the polisher over and rest the head of the polisher against your left knee, or place the back of the polisher flat on the ground or a work bench. Run a pad cleaning spur over the face of the pad from the center of the pad outward to the outer edge or side of the wool buffing pad. This will dramatically help to fluff up all the individual fibers that make up a wool buffing pad and also help the pad to dry faster if not putting the pad back into use.
Optional: Add the Lake Country Snappy Clean pad cleaner to the fresh water and mix well.
Lake Country also offers a solution called Snappy Clean Boost that can be added to the freshwater bucket instead of spraying the pad directly with a pad cleaning solution. With this approach you can skip spraying a dedicated pad cleaner onto the face of the buffing pad and agitating by hand or brush.
How to Dry Wool Pads After Cleaning
To dry wool pads after cleaning, place the pad face down in a well-ventilated location. Wire grill storage racks work great or anything that allows for the flow of fresh air to aid in water evaporation. If you own Grit Guard Inserts for your washing buckets, these work great for drying racks.

How to Store Wool Pads After Cleaning
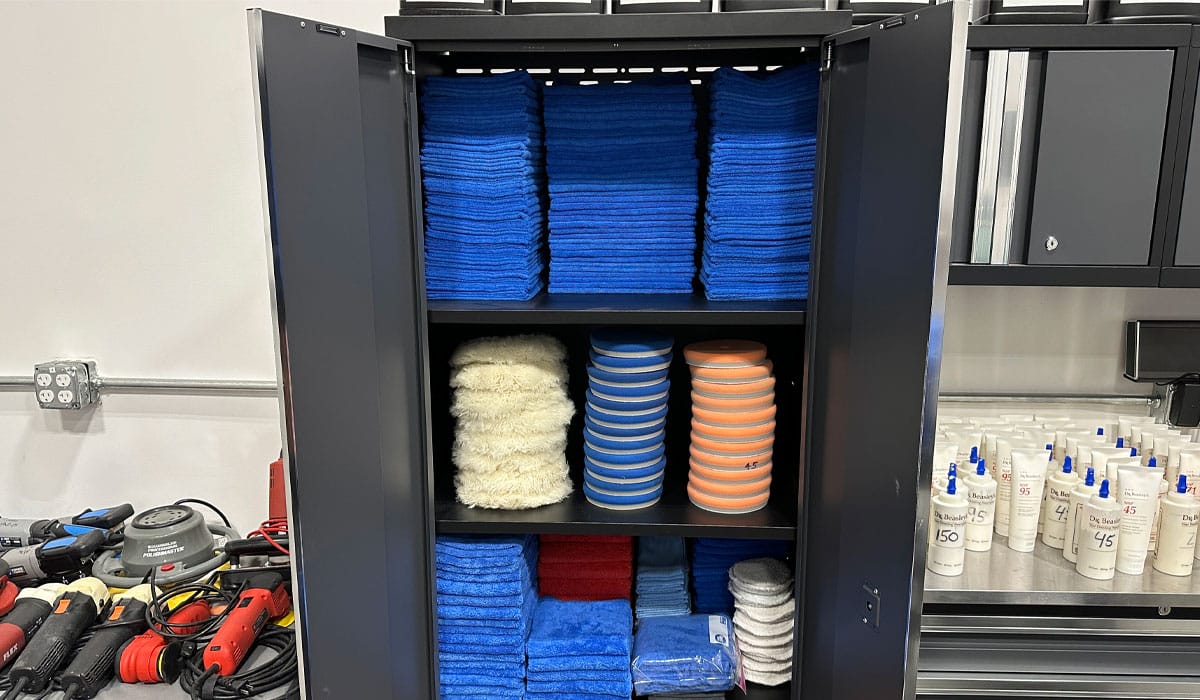
The best way to store pads after cleaning is to stack them in an enclosed cabinet so airborne dirt and dust cannot land on the face of the wool pads.
When Should I Replace My Wool Pads?
The best way to know when a wool pad should be replaced is to visually inspect the face of the pad for excess wear. When you start to see worn areas, like ruts or troughs in the pad from improperly using a screwdriver to clean the pad, it’s probably a good time to replace the pad.
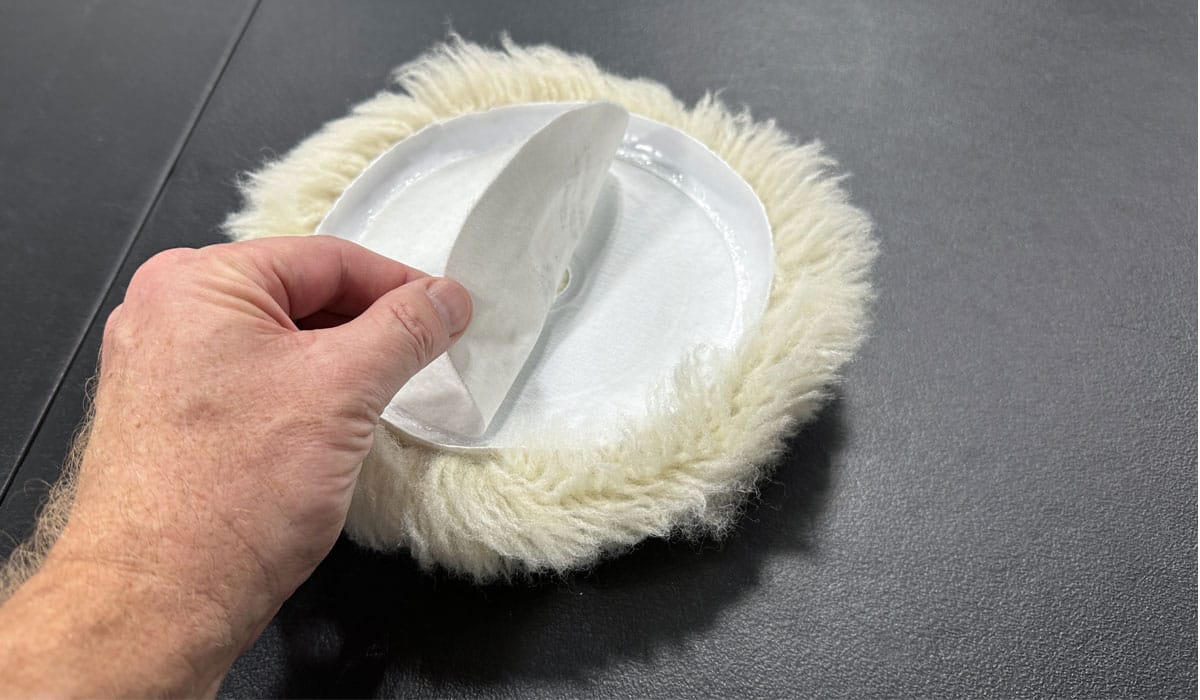
You should also inspect the back of the pad for velcro or adhesive failure. While the wool material is incredibly stout and durable, the velcro and adhesive are less so. In all likelihood the velcro loop will wear out first, or the adhesive that secures the cloth velcro loop to the backing material of the wool pad will give up and come off the back of the pad. This is a definite sign you should replace the pad in question.
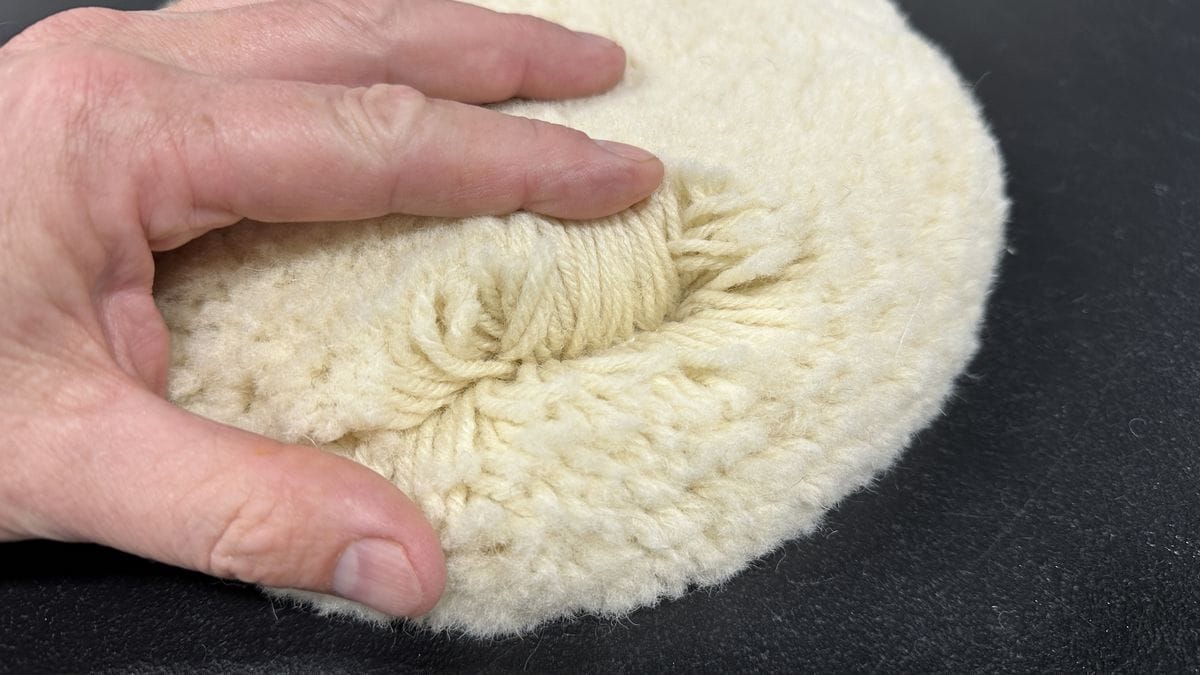
Here’s an example of the velcro backing wearing out before the pad has worn out. When the velcro loosens like you see below, it’s probably a good idea to stop using this pad and replace with a new pad.
There’s an old saying:
“Use the right tool for the job.”
Wool pads offer fast, aggressive cutting power when working on extremely neglected surfaces like severely oxidized gelcoat boats or after sanding custom paint jobs to remove excessive orange peel. That being said, they do get dirty very easily! If you want to keep that fast, aggressive cutting power, you need to keep those pads clean.
At Dr. Beasley’s Future of Detailing car and boat detailing classes, we cover the topic of how to use wool buffing pads for serious paint correction or extreme boat detailing. If you are interested in taking your knowledge and skills to a higher level, check out the dates and locations for upcoming classes here:
Dr. Beasley’s Future of Detailing Classes Schedule
If you have any questions about wool pads, pad cleaners or any other related topic, please post your questions in the comments section below.
Mike Phillips
Chief Education Officer for Dr. Beasley’s
[email protected]
760-515-0444