


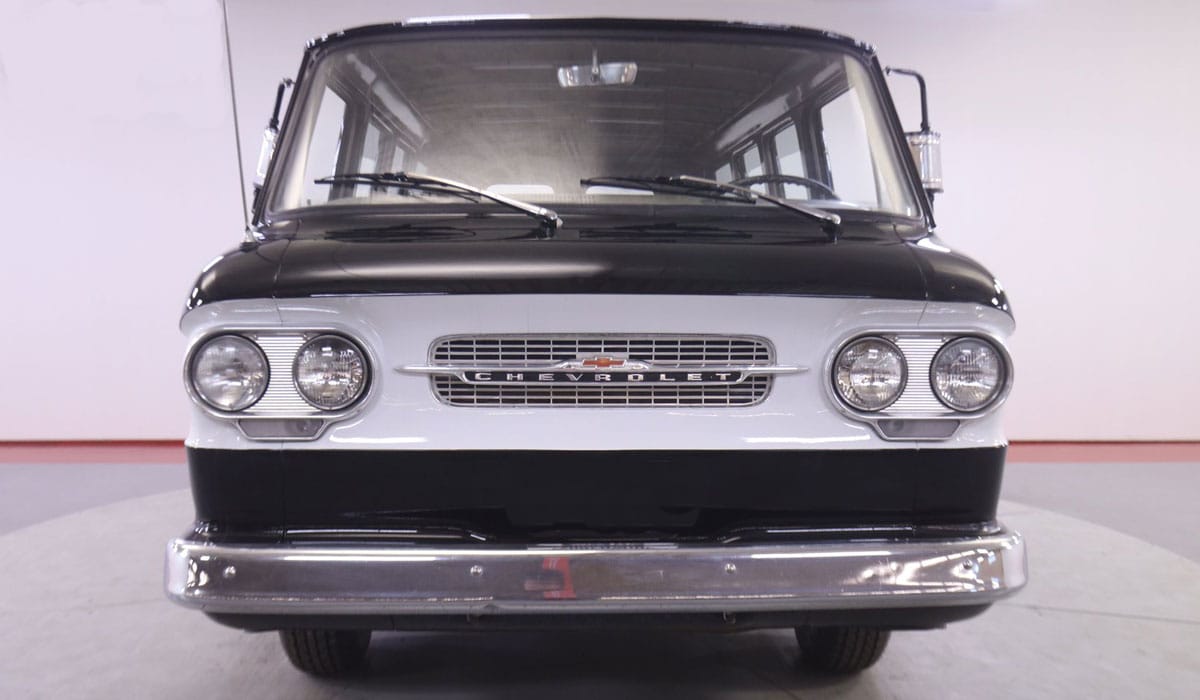
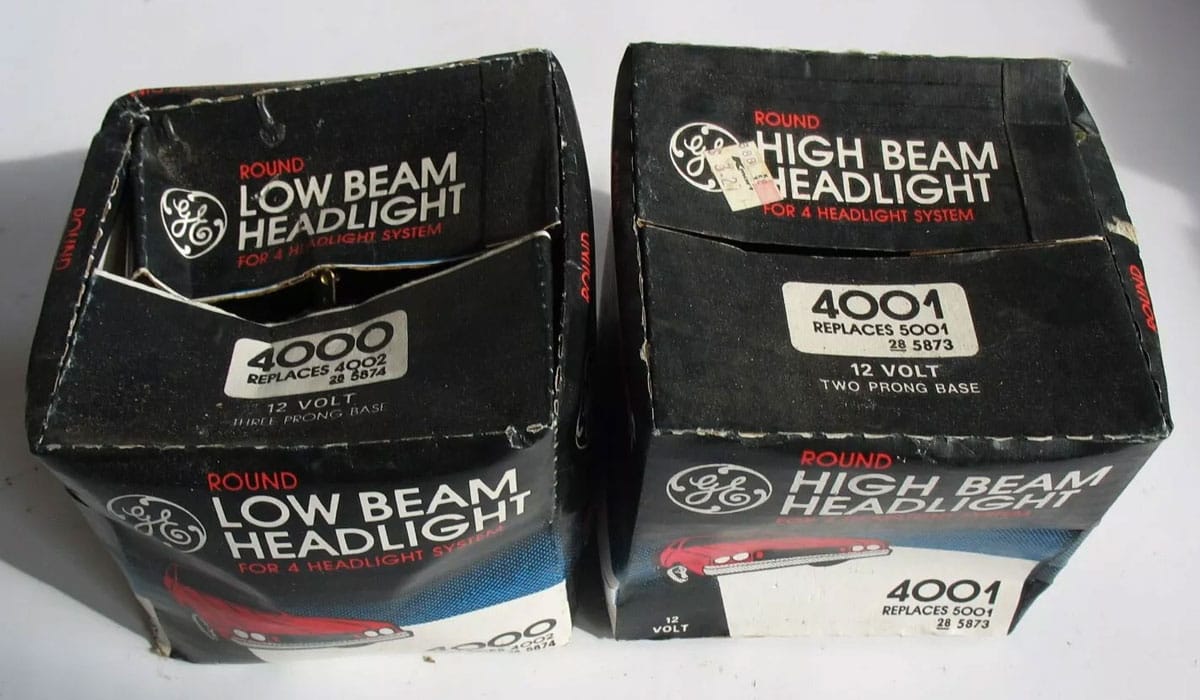
The downside? They were limited by the technology used to make them to provide super bright light like modern plastic headlights, common to all modern cars, trucks and SUVs. Because they were glass, they were also prone to breaking, or cracking when hit by flying rocks from cars driving in front of you or other debris.
Modern headlights, on the other hand, emit massive candlepower to really light up the road for safe driving. Another cool thing about modern headlights is how they are incorporated into the design of the car to create a unique look for styling reasons.
The downside is, when modern headlights break, it costs a lot more than $5.00 and a simple screwdriver to replace them. In fact, with some car designs, in order to replace the headlight, the fender, front bumper and even grill must be removed and this increases the total cost of the replacement.
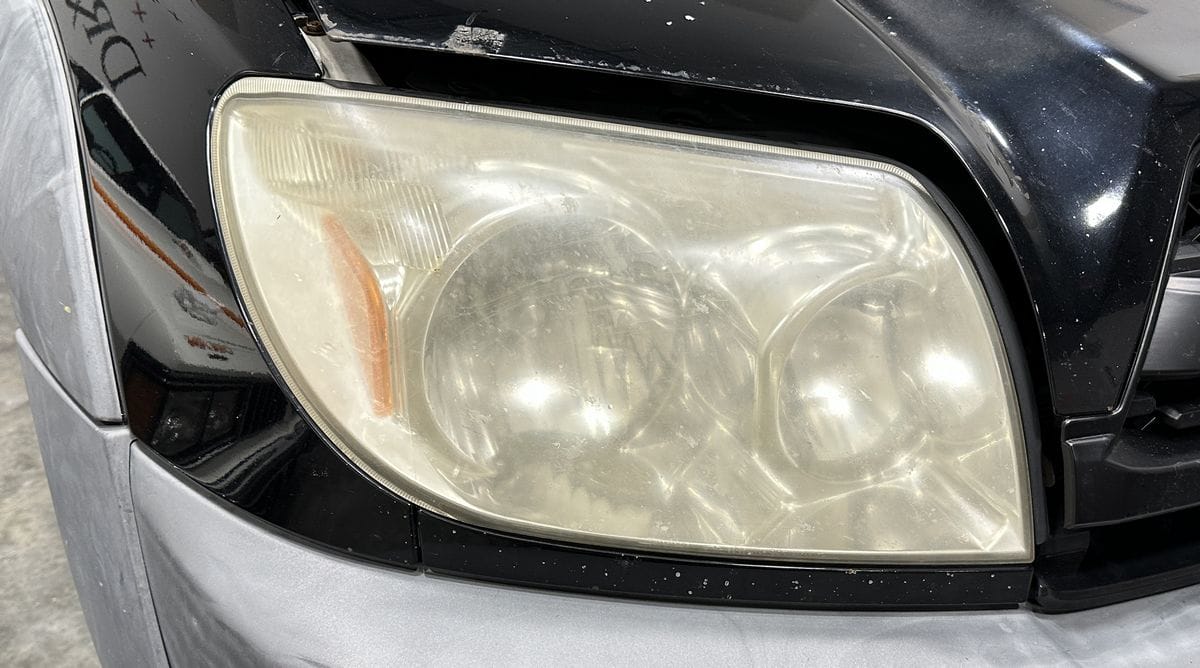
The other downside: modern headlight plastic will fade, yellow and oxidize over time with exposure to UV rays from the sun and even repeated exposure to inclement weather.
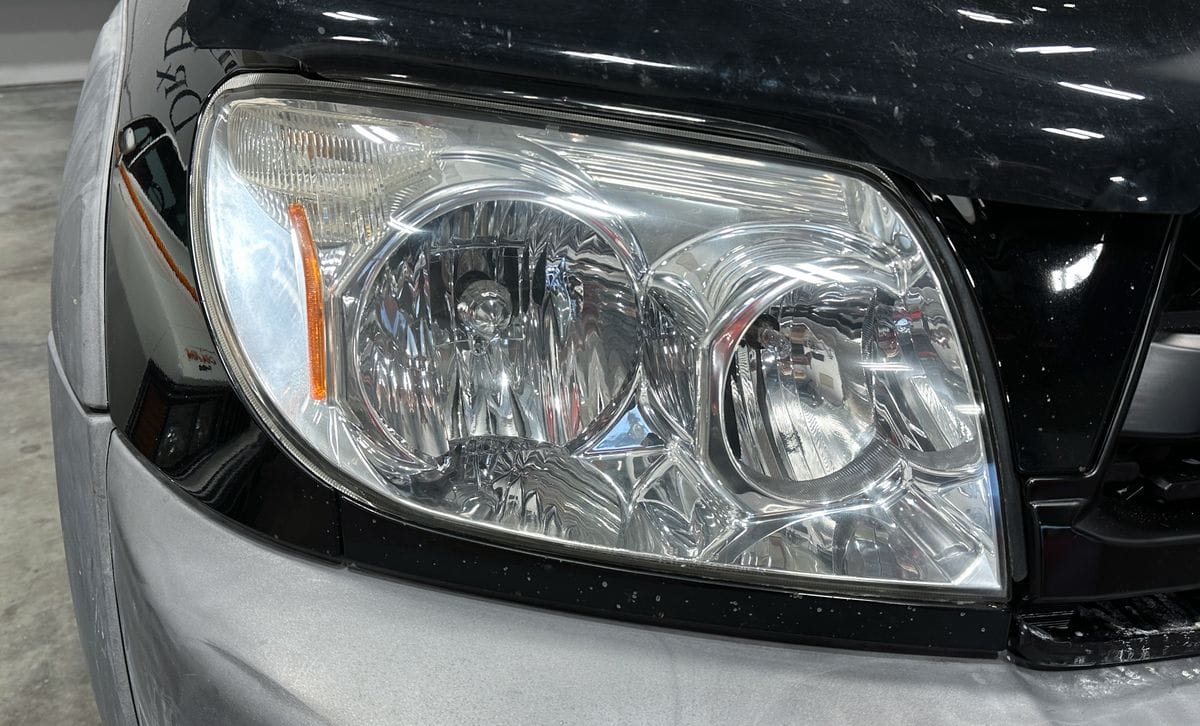
Thankfully any fading, yellowing or oxidizing can be removed to restore a crystal clear headlight appearance. There are two options for this: by hand or by machine. This article will focus on how to restore headlights by hand to provide a more “DIY” approach.
Before You Start — Are Your Headlights Clearcoated?
In the car manufacturing industry, there are two types of plastic headlights: OEM clearcoated and bare plastic. Knowing which kind your car has will affect how aggressive you need to get to remove the oxidation.
OEM Clearcoated Headlights: Requires Sanding
Generally speaking, OEM clearcoated headlights are found on more expensive, upscale vehicles. This type of headlight comes from the manufacturer with a clear, protective and hard coating over the outside of the plastic.
This extra layer of protection dramatically resists oxidation, fading and yellowing. That said, over time and with repeated exposure to the sun and elements, the coating breaks down and disintegrates. This disintegration looks very much like clearcoat failure on the horizontal panels of cars, trucks and suvs.
Here’s a neglected headlight on an older Ford F150 Pickup that is suffering from OEM Clearcoat Failure.

Here’s a close-up to make it easier to see what you’re looking for are irregular, jagged edges that separate the underlying base plastic from the OEM Clearcoating.

Why OEM Clearcoated Headlights Require Sanding
Once the coating gets to the point where it’s disintegrating or peeling off the underlying plastic, the headlight will look like it has a bad rash. The only way to repair the headlight to remove 100% of the coating and restore a uniform looking plastic surface is to completely remove what’s left of the coating.
Due to the hardness of the coating and the strength of the lamination bond of the coating to the plastic, these coatings are difficult to remove. In most cases, these coatings cannot be buffed off but instead must be sanded off. And due to the hardness of these coatings, you usually have to start with very aggressive grit levels of sandpaper.
“Naked” or Bare Plastic Headlights: Can Be Polished
Generally speaking, naked or bare plastic headlights are found on lower cost, entry level vehicles, but there’s really no way of knowing until you see either visible signs of normal oxidation or visible signs of disintegration of the OEM clearcoat. This type of headlight is pure plastic, that is, there’s no coating applied to the outside of the headlight lens, it’s simply pure plastic inside and outside.
Why Bare Plastic Headlights Can Be Polished
Naked or bare plastic headlights tend to be much easier to repair as the plastic material will tend to be much softer than the OEM clearcoat. If the level of oxidation, cloudiness and/or yellowing isn’t too severe, this type of headlight can be fixed by simply polishing to remove the dead, oxidized plastic surface.
For this type of headlight that has been neglected for longer periods of time and now has severe oxidation, yellowing and cloudiness, sanding first and then buffing will be a faster and more effective approach for restoring a crystal clear, factory condition.
This article and accompanying video will show how to hand sand neglected headlights as a part of the restoration process. Hand sanding is a good option for most do-it-yourselfers as the process is as easy as rubbing a series of different grit sandpapers over the plastic surface by hand.
Machine sanding requires more skill and experience in machine sanding and will require you to own some type of orbital or rotary polisher to do the sanding. If you are interested in how to machine sand headlights, you can find my article and video for the procedure by clicking the link below.
How to Restore Headlights By Hand: Step-by-Step Sanding Tutorial
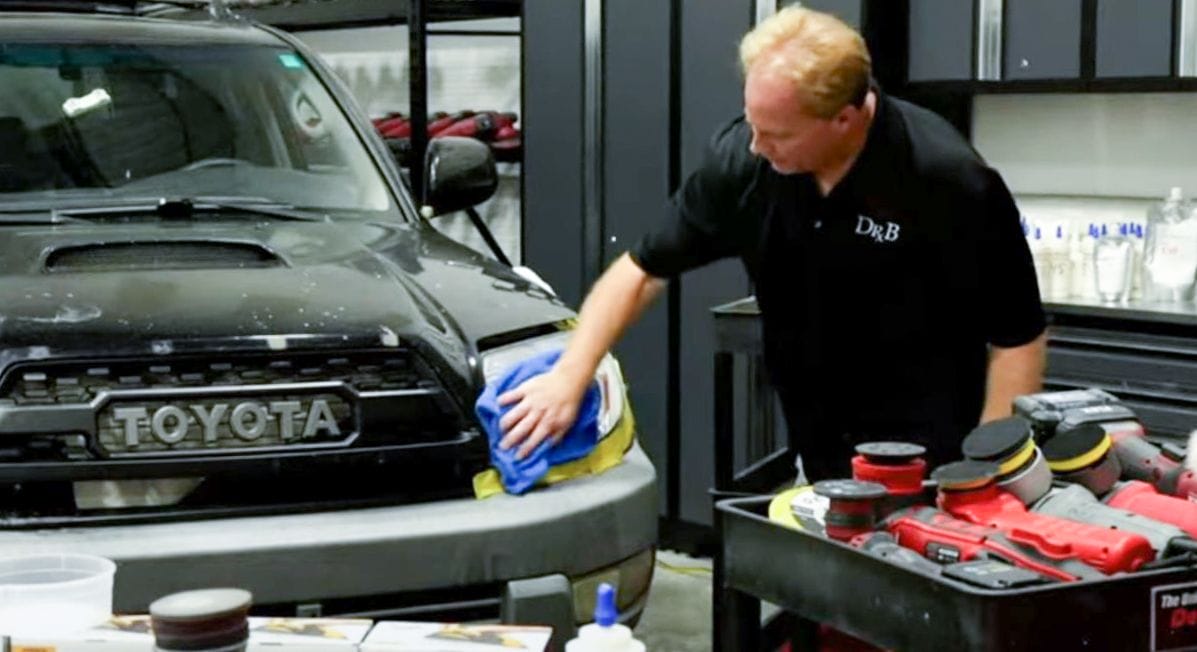
Before you start, it’s a good idea to gather all the supplies you’ll need in order to complete the job from start to finish. Below is a list of the tools and supplies I used for the passenger side headlight on this 2003 Toyota 4Runner with 300,000 miles on the odometer and still running strong.
Note: These supplies are just an example, you can swap out other brands that can do the same thing.
Supplies Needed:
- Wet/Dry sandpaper in a variety of grits – more about this below
- Flexible hand sanding backing pad – Meguiar’s E-7200 – available on Amazon
- Wide painter’s tape
- Clean water source with a few drops of dish washing soap for lubrication
- Microfiber towels
Wet/Dry Sandpaper in a Variety of Grits
Sanding plastic is easy, the tricky part is removing 100% of the sanding marks for a factory new appearance. While the plastic used for headlights will buff easily, you still want to finish out at the highest grit sandpaper you can obtain and/or fits within your budget.
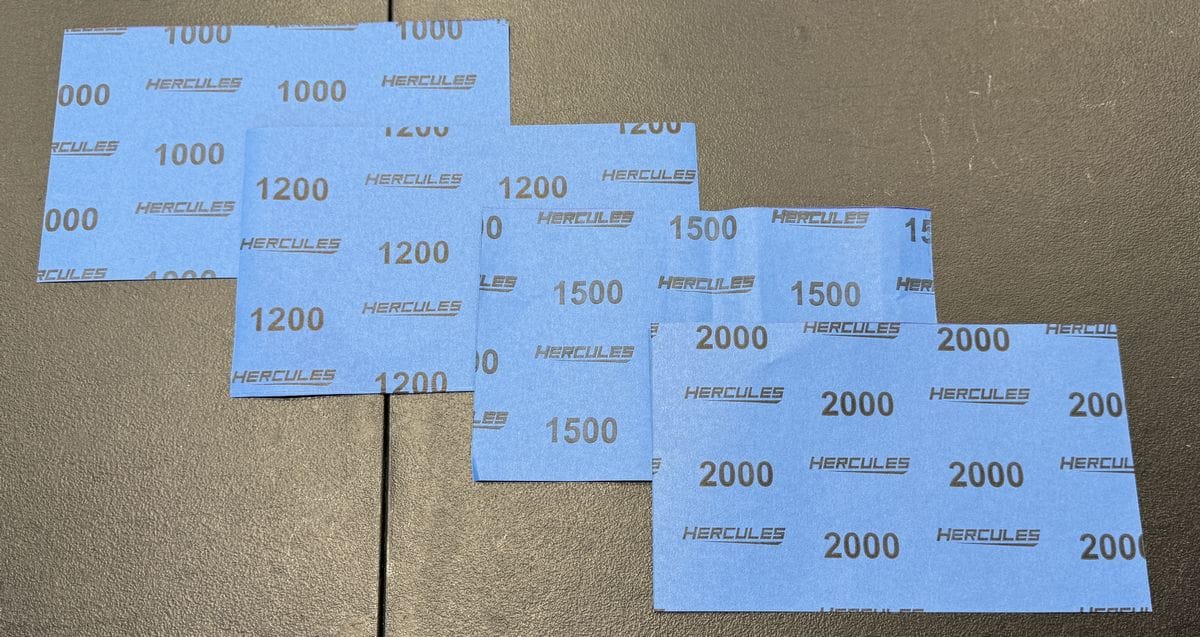
For headlights WITHOUT an OEM clearcoat, you can usually accomplish the sanding using only a few grits: 800, 1000, 1200, 1500, and 2000 grit.
For headlights WITH an OEM clearcoat, because of the hardness of the clearcoat material and the strong lamination bond to the plastic, my experience is, you better had some very low grit papers to start with and then finish out with high grit sandpapers. Here’s a good range of sandpapers to have on hand if you’re trying to remove an OEM clearcoating:
- 320
- 400
- 600
- 1000
- 1200
- 1500
- 2000
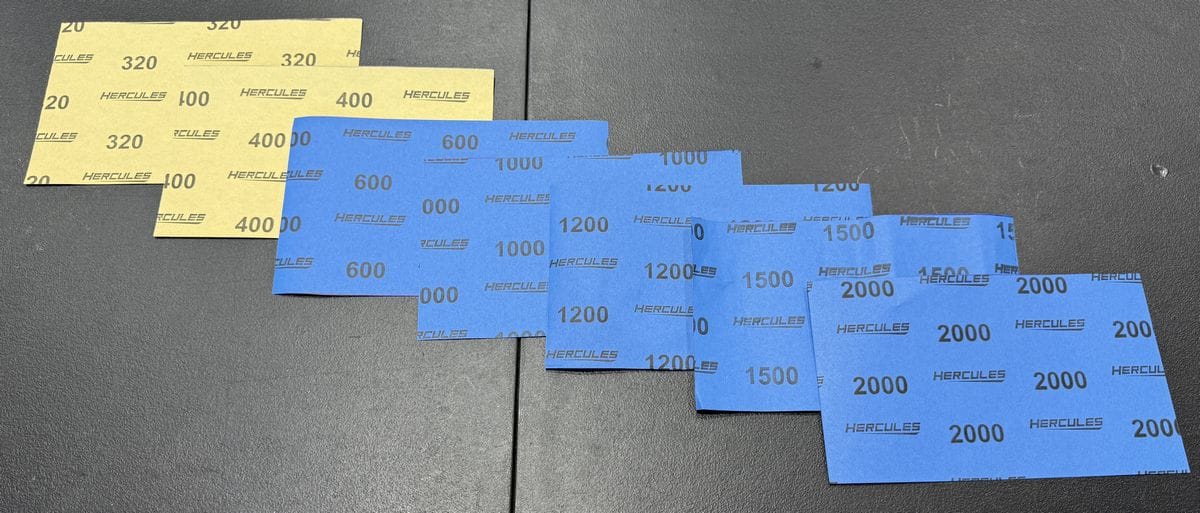
The good news is, Harbor Freight has introduced a fairly comprehensive range of wet/dry sandpapers that includes all of the above. Harbor Freight sells 5-pack sleeves of 9” by 11” sheets of sandpaper and I was able to pick up a sleeve of all of the above for under $50.00 and I’ll have plenty of leftover sandpaper for future projects.
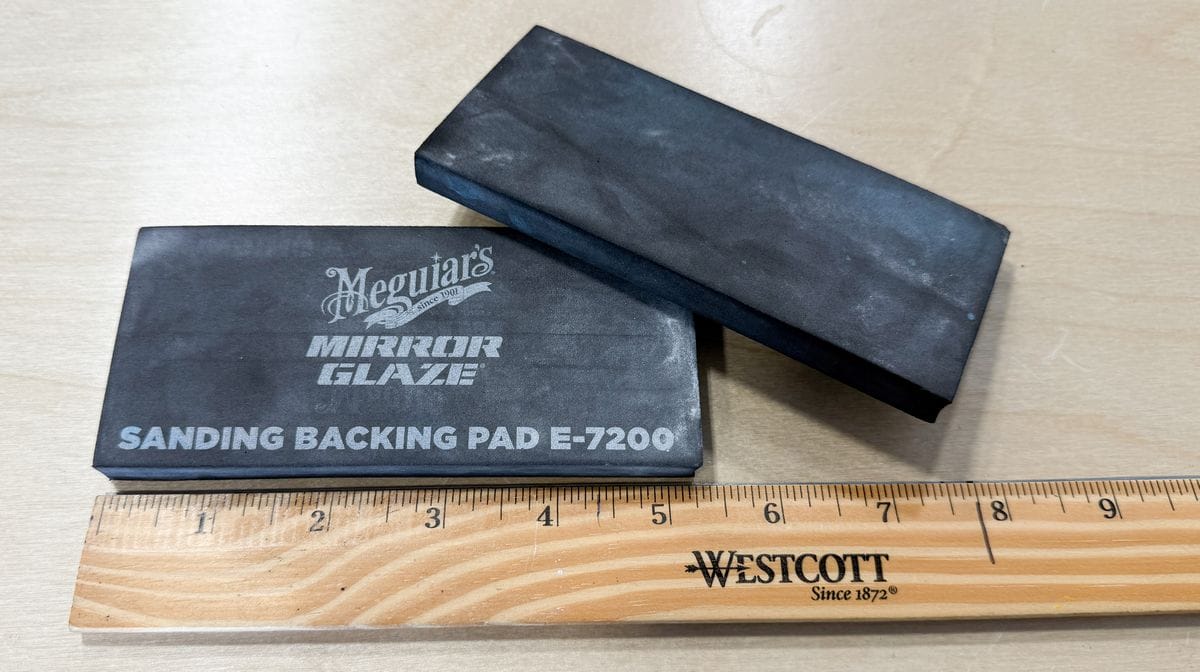
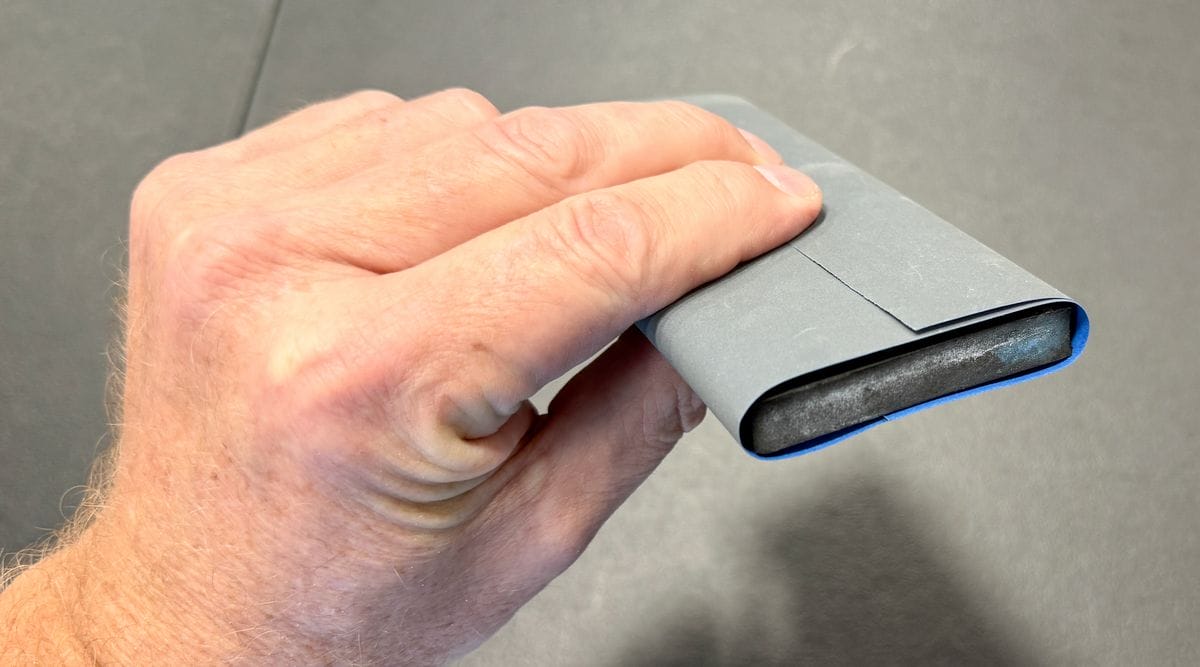
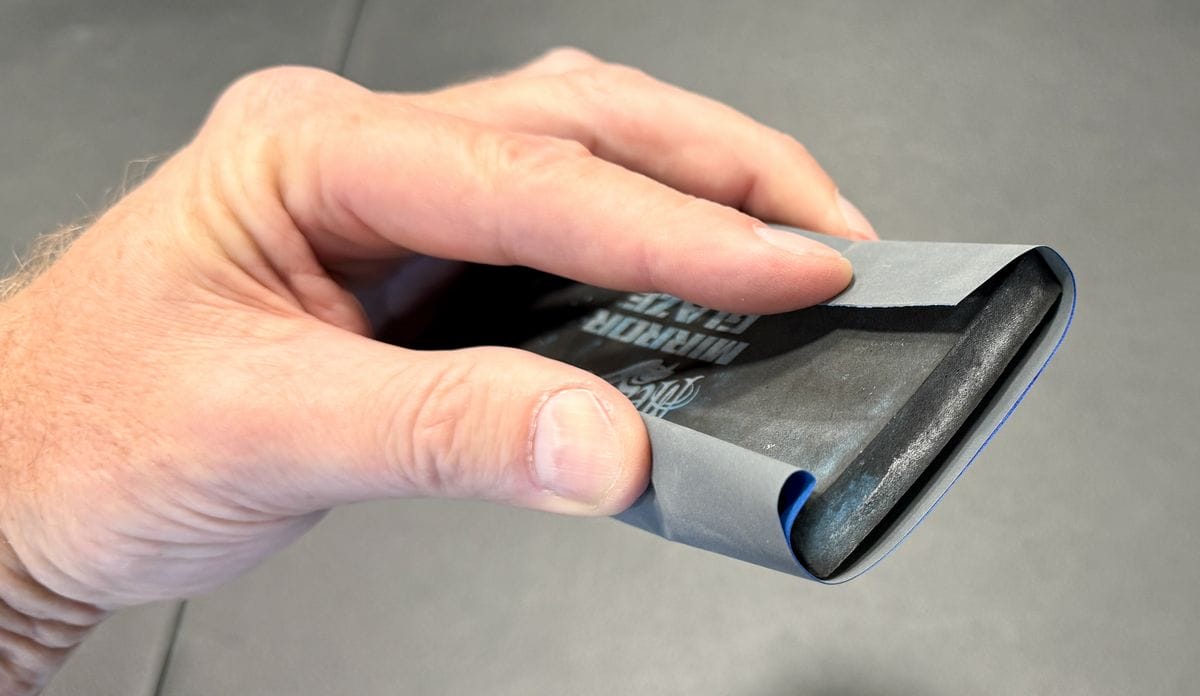
Flexible Hand Sanding Back Pad
The flexible hand sanding backing pad I like is made by Meguiar’s and can be had for under $5.00 on Amazon. This backing pad is made from a dense, but flexible closed-cell foam which will evenly distribute hand pressure across the face of finishing paper for a perfect and even finish on flat or curved surfaces. The length of this backing pad is 5 ½”. In order to use the 9” x 11” sheets of sandpaper, you cut a sheet in half and then it will fit over the entire face of the backing pad.
Other brands for a hand sanding backing pad similar to this one can be had by 3M and Durablock – all on Amazon.
Wide Painters Tape
Before doing any sanding, you want to place at least 2 layers of wide painter’s tape on any painted, plastic or chrome surface adjacent to the headlight. This is to protect the surface in case you accidentally rub the sand paper over it.
While not a huge problem when you do this with higher grits, if you do this using lower grit sandpapers, you risk sanding and/or buffing through the top clearcoat layer of paint, (on body panels), and then you’ll need to repaint the area or the entire panel.
If you accidentally sand on plastic trim or chrome, like the grill, there’s no easy way to undo the damage. This is true for both hand and machine sanding. Keep in mind, the factory clearcoat on modern vehicles is less than 2 mils thin. Always take the time to tape-off surrounding surfaces.
Sensitive Surface Tapes
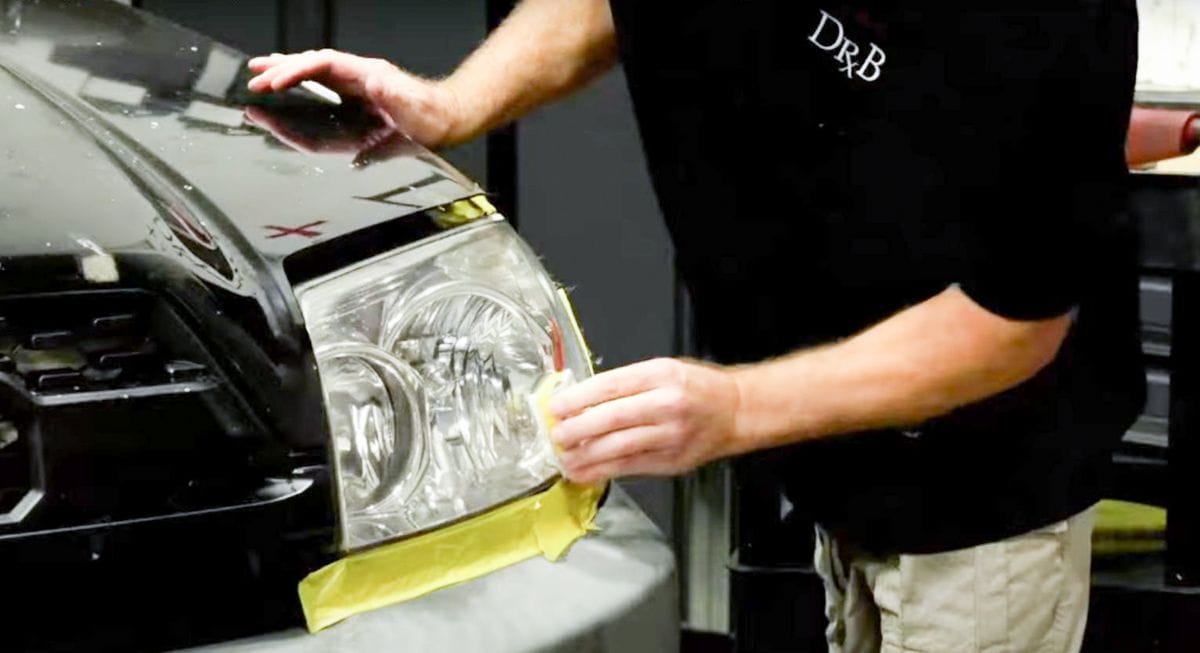
If you want to be super careful, I would strongly recommend getting a sensitive surface tape by either Scotch brand or Frog Brand. In the article and video, you’ll see me using the yellow 1.88 inch Frog tape, which is also available in 1.41 niche widths.
The reason to use a sensitive surface tape is they offer less adhesion than other tapes and this reduces the risk of accidentally pulling any paint off the car when removing the tape. This is not normally a problem with FACTORY paint, but anytime you’re working on refinishing paint, there’s always the risk of poor adhesion between the paint and primer and you won’t know if there’s an adhesion problem until you remove the paint. If you do pull paint off your car when removing the tape, you’ll need to repaint the affected area.
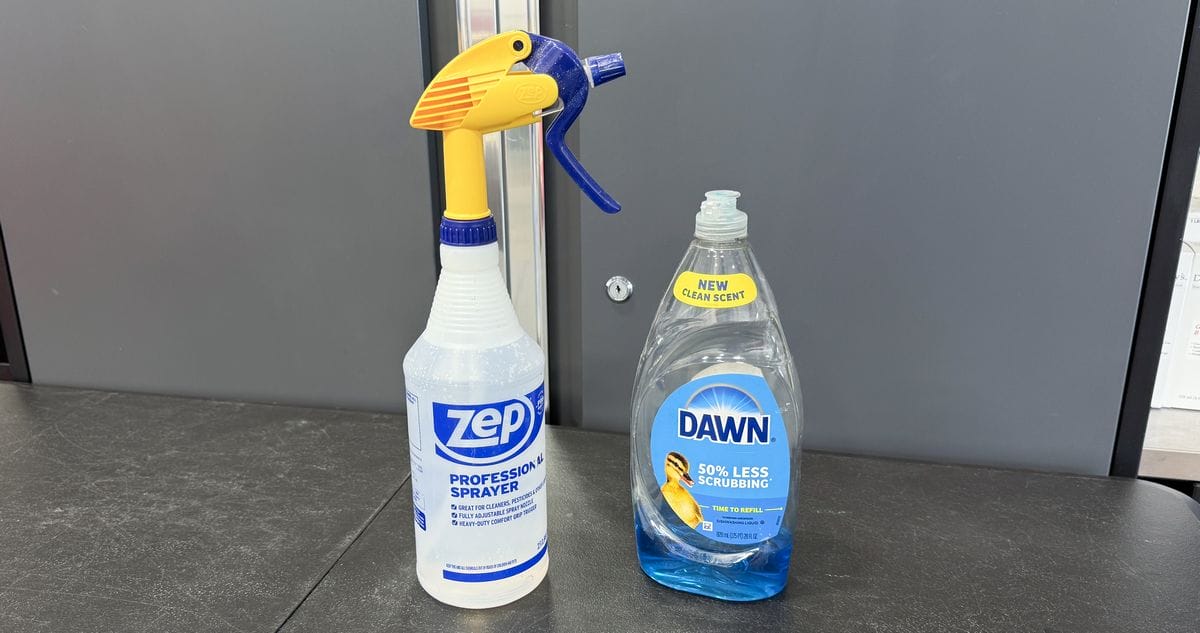
Clean Water Source with a Few Drops of Soap for Lubrication
With wet/dry sandpapers you can use them either wet or dry. The primary advantage to wet sanding is the water, (with a few drops of soap), lubricates the sanding action and makes it easier to rub the sandpaper over the headlight.
Sanding wet also helps to prevent the face of the sandpaper from loading or clogging with the plastic particles being removed as you sand. The only downside is it tends to be messy. The sanding water, called slurry, will tend to drip and run down the car, sometimes into cracks and crevices where it can be difficult to remove. This tends to be more of a problem when wet sanding an entire car and thus your sanding on higher body panels.
When wet sanding, fill a spray bottle with water and then add just a few drops of either a car wash soap or even a dish washing detergent. It doesn’t take much, so no need to over do it.
Dry sanding doesn’t create any slurry, but it does create dust. Dry sanding is not as messy as wet sanding, but because there’s no lubrication, you may notice the face of the sandpaper clogging with removed plastic particles.
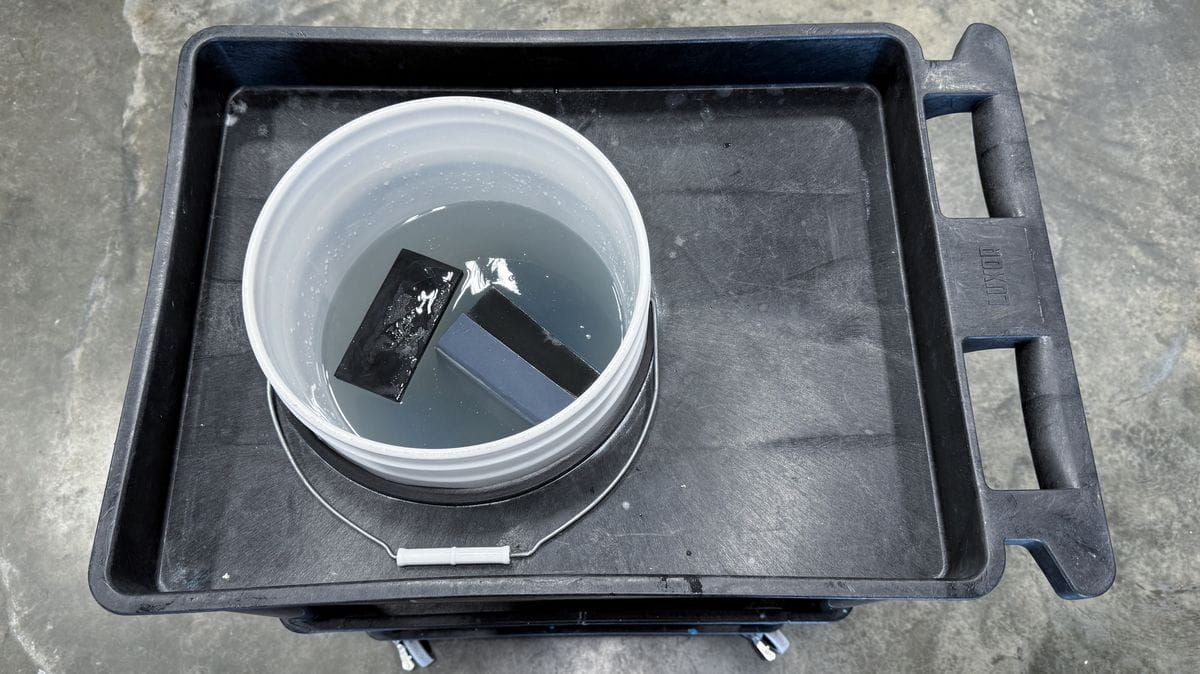
It’s also a good idea to have a clean bucket with some clean water handy to place your sanding papers and hand sanding backing pads into as you do this type of work.
Microfiber Towels
Kind of goes without saying that you’re going to need some towels to wipe the headlights clean in-between steps. My advice is to use your tatty microfiber towels, not your best towels as this type of work is less affected by the quality of the towel than for example, wiping off a polish or wax from the scratch-sensitive paint surface on major body panels.
Step-By-Step Process
Before starting, ensure the vehicle is clean and parked in a shaded area like your garage, shop or carport.
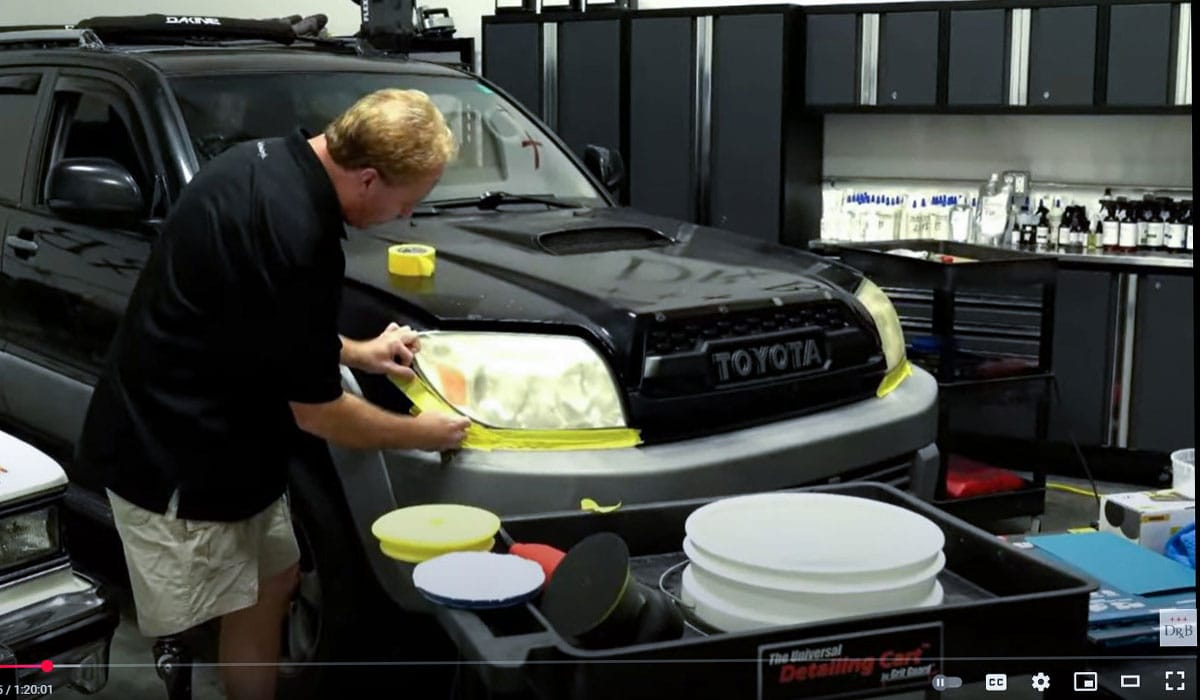
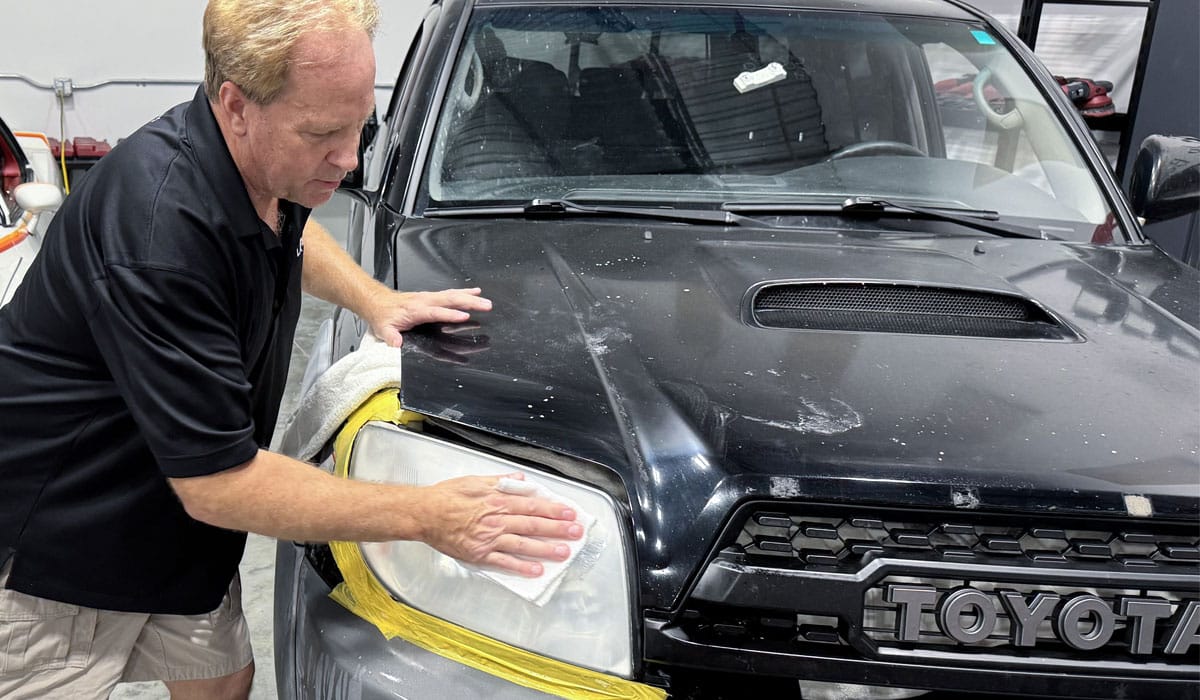
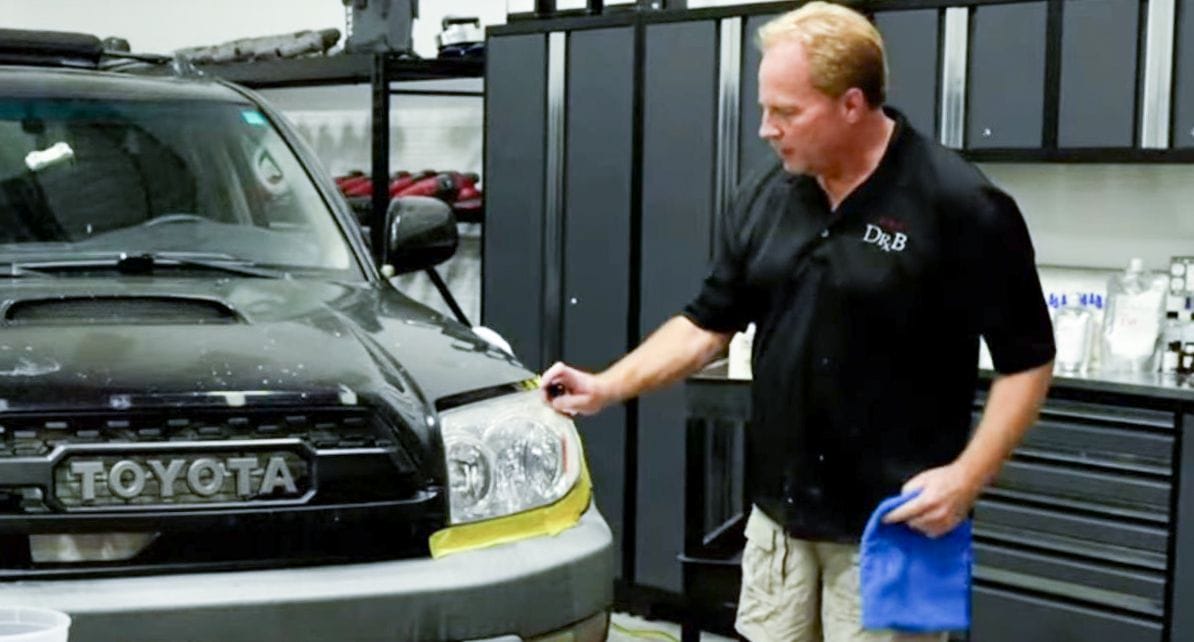
Step 1: Tape Off Adjacent Surfaces
Place at least 2 layers of tape around all adjacent surfaces to protect them from any accidental sanding. For some vehicles, you can pop the hood open, (just a few inches), and this will move the hood paint completely away from the sanding process. Be sure to also tape-off and protect any surrounding chrome, plastic, rubber or vinyl surfaces and/or gaskets.
Step 2: Test a Medium Grit Sandpaper
Test a medium grit sandpaper like 1000 grit and check to see if it is removing the dead, oxidized plastic fast and efficiently enough. If not, drop down to the next grit level and re-test. For non-OEM coated headlights, 1000 grit will usually get the job done. With OEM coated headlights, you’ll likely need more aggressive sandpaper to remove the coating.

Technique Tips for Hand Sanding
There are two ways to wrap a half sheet of sanding paper around a hand sanding backing pad:
Folding: With the folding technique, you simply fold the sand paper around the hand sanding backing pad and then sand using the side that has full coverage of sand paper on the face of the hand sanding backing pad.
Wrapping: With the wrapping technique, you fold a half sheet of sand paper in half, and then wrap this around the hand saddening backing pad and use the side that has full coverage of sand paper on the face of the hand sanding backing pad.
Step 3: Make First Sanding Step
After dialing-in the right grit level sanding process to sand the headlight, sand the entire headlight while trying to use uniform pressure against the hand backing pad. This helps to ensure all the sanding marks are the same depth and will make refining to a higher grit faster.

Step 4: Continue Refining to 2000 Grit
Resand to refine the previous sanding scratches to more shallow sanding scratches. Repeat this process until you finish out with 2000 grit sandpaper.
IMPORTANT: Work Longer on 2nd, 3rd and 4th Sanding Steps
The most common problem people have when sanding headlights is they don’t completely or adequately sand for enough time when moving from one grit to the next grit to thoroughly replace the deeper scratches with more shallow scratches. A good rule of thumb is to sand twice as long with second, third, and fourth sanding steps after the first sanding step.
WARNING: Make Sure to Fully Refine Scratches Before Proceeding to Next Grit
If you don’t sufficiently refine the sanding scratches from one grit level to the next grit level, later when you buff the headlights, the shallow scratches will buff out completely, but the deeper scratches will remain and the best way to remove the deeper scratches is to re-sand.
Step 4: Remove Sanding Marks
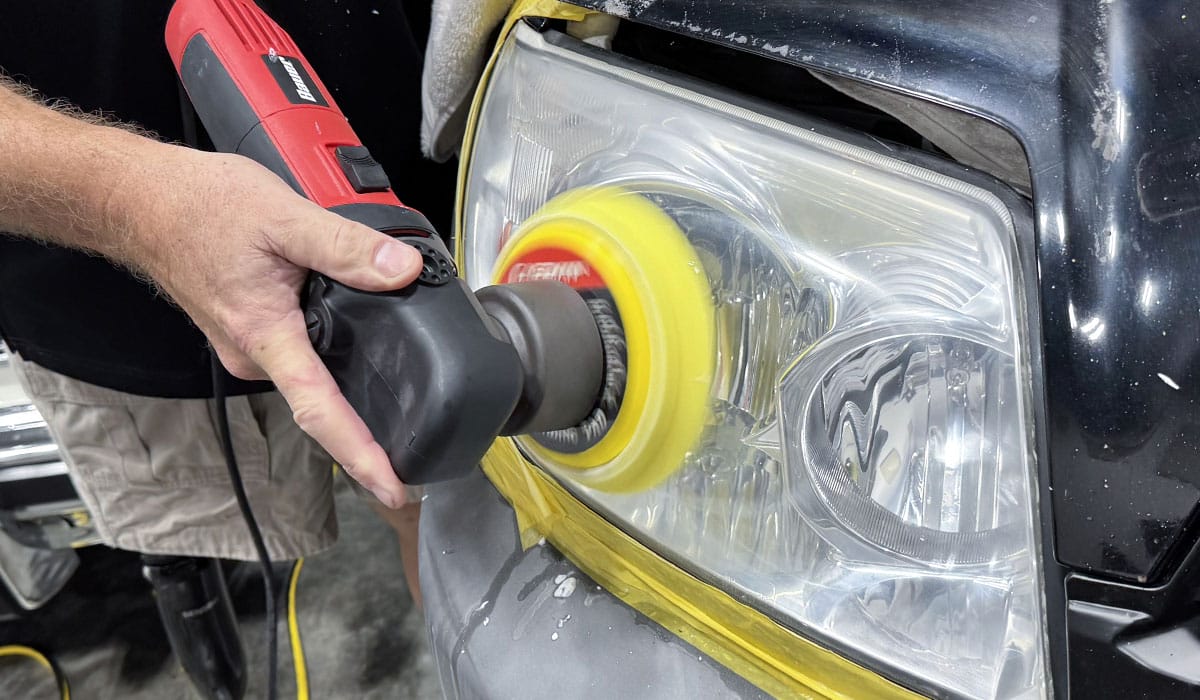
Remove sanding marks. The fastest way to do this is with a traditional wool pad on a rotary polisher using a quality compound. If you don’t have a rotary polisher, you can also use an orbital polisher, either a gear-driven, forced rotation orbital like the FLEX XC 3401 VRG, or any free spinning random orbital polisher.
A Note About Rotary/Gear Driven vs. Free Spinning Random Orbital Polishers
The rotary polisher and any brand of gear-driven orbital polisher will work the fastest to remove sanding marks as there’s zero pad stalling like you have with free spinning random orbital polisher.
If you plan to remove sanding marks via a free spinning, random orbital polisher, it will be faster and easier to sand out to a high grit like 3000, 4000, 5000 and/or 8000 grit. Also, when using an orbital polisher, a microfiber or microwool pad will remove sanding marks faster than a foam pad.
Like shown in the video, I’m using an entry level Harbor Freight 6” DA Orbital Polisher with a Buff and Shine Microfiber Cutting Pad.
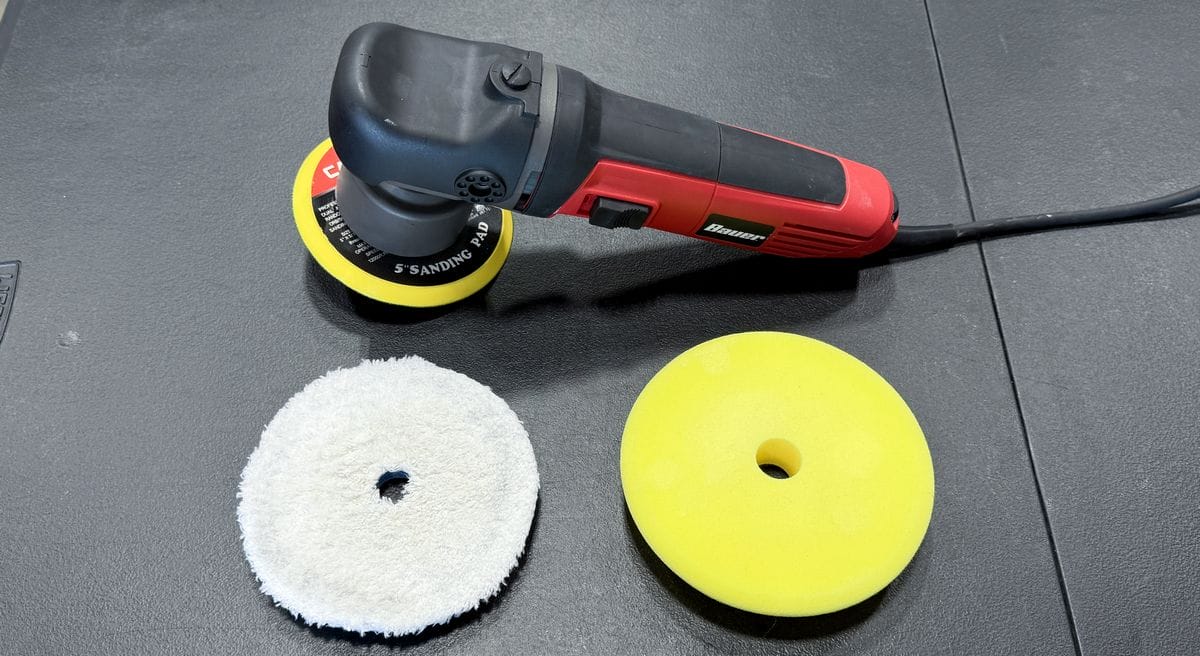
When you need extra cutting power to remove sanding marks and you’re using a free spinning random orbital polisher like the Harbor Freight 6” DA Polisher, a microfiber pad will work best. When trying to maximize gloss and clarity after the sanding marks have been removed, a foam polishing pad works best.
For this video and article, we used the 5” Buff and Shine White Microfiber pads for cutting and the Buff and Shine 5” yellow foam polishing pad for the final polishing step. Note these are 5” pads because I’m using a 5” backing plate on the Harbor Freight 6” DA Polisher. The factory backing plate is 6” and you can get these same Buff and Shine pads in 6” if you’re using the factory 6” backing plate.
Can I Remove the Sanding Marks by Hand?
The answer is yes, but it will require a LOT of Elbow Grease. To remove sanding marks out of plastic headlights it will help to sand all the way out to 3000, 4000, 5000 and/or 8000 grit. The finer or the more shallow the sanding marks, the easier they will be to buff out by hand and of course this holds true when working by any type of machine.
If you watch the video, you will see I did in fact demonstrate how to remove sanding marks by hand using a small cotton, terrycloth towel. Working by hand means applying 10-15 pounds of pressure while moving your hand fast in a back and forth motion.
Step 5: Polish to Clarity
After removing the sanding marks, re-polish the headlights using any orbital polisher with a foam polishing pad and a medium to fine cut polish like the Dr. Beasley’s NSP 150 or NSP 95.
Re-polishing the headlights using a foam polishing pad and a polish will remove any holograms left by a rotary polisher, or haziness or micromarring left by an orbital polisher. The goal is to maximize clarity before applying a headlight ceramic coating.


Protecting Headlights with Ceramic Coating
Sanding headlight polycarbonate to remove oxidation removes whatever UV protection the headlight still had. This UV protection is what helps inhibit oxidation so headlights don’t get cloudy as quickly.

So once you’re done sanding the headlight, you need to replace the UV protection with a ceramic coating designed to protect headlight polycarbonate. For the purposes of this demonstration, we’ll be applying 1-2 layers of Dr. Beasley’s Headlight Coating.
Step 6: Prep Headlight Surface for Coating
First wipe the headlight surface using the Headlight Coating Prep and a clean, dry microfiber towel.
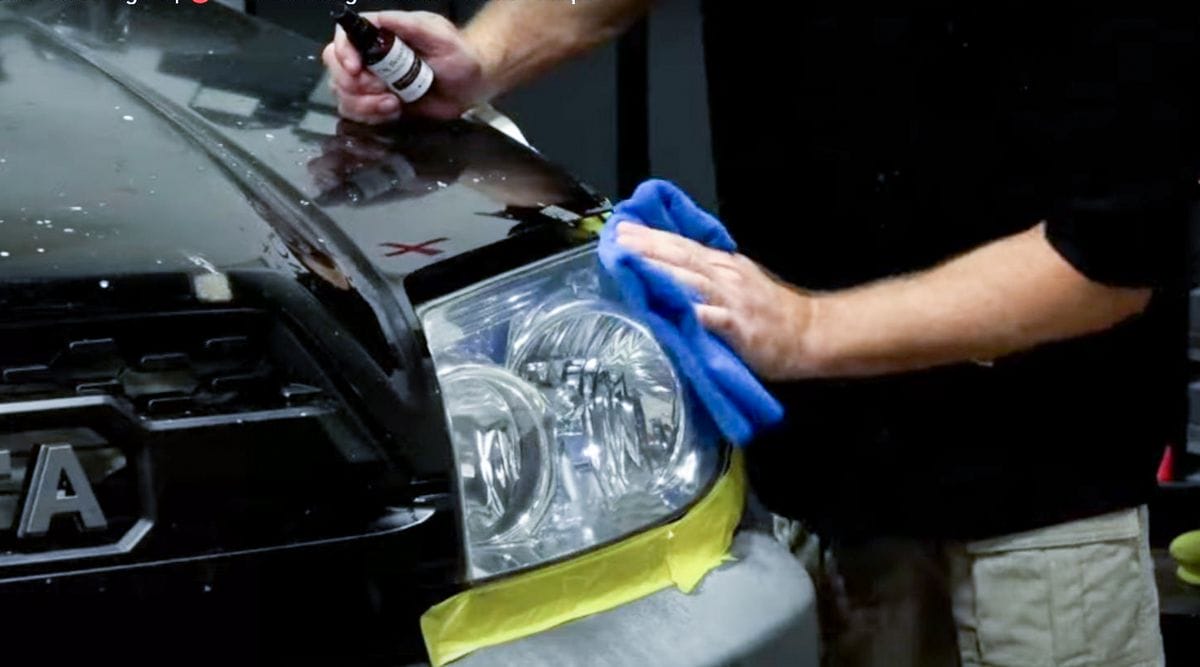
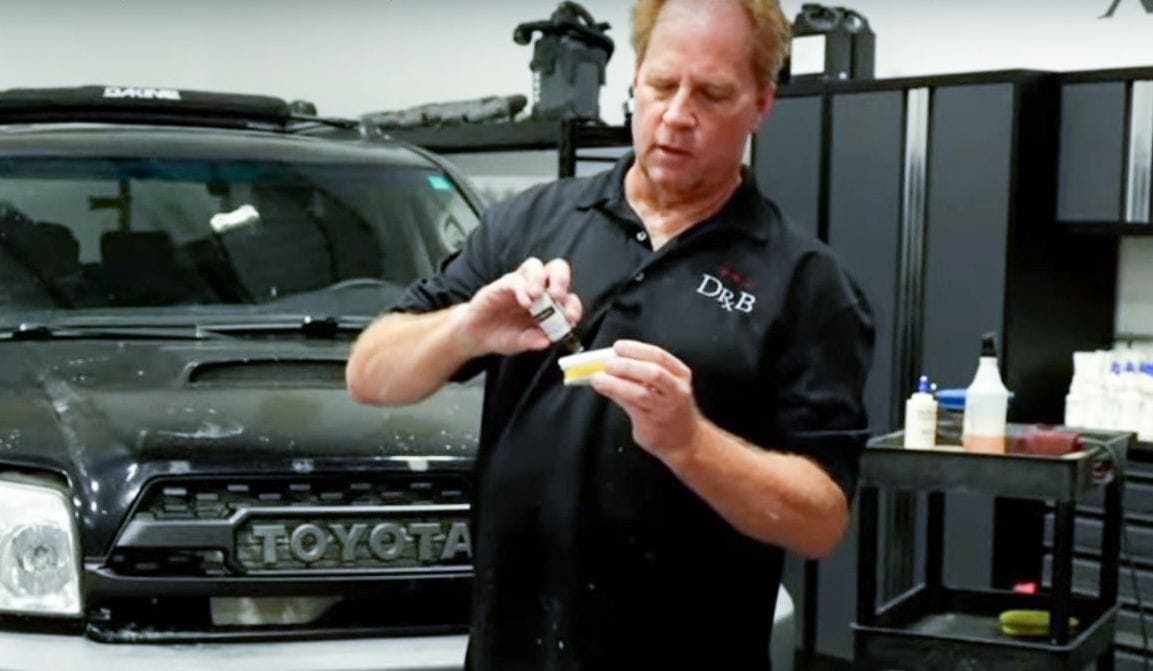
Step 7: Apply Headlight Coating
Next, apply a few drops of coating onto the provided coating applicator block.
Apply the coating to the headlight lens using an overlapping, crosshatch pattern to ensure full coverage.
Step 8: Level Coating & Remove Excess
Wait for a few minutes and then level the coating and remove any excess using a separate, clean dry microfiber towel.
Step 9: Allow Coating to Cure
Allow the headlight coating to cure for at least 30 minutes to 1 hour before putting the vehicle back into service. If you’d like to add an additional layer, wait at least an hour before applying. This product is designed to be hydrophilic rather than hydrophobic, so water will sheet off the surface instead of beading up. Avoid washing the vehicle for 7 days after application.
Final Results After Hand Sanding Headlights
Maintaining Your Restored Headlights
To maintain your newly restored and protected headlights, simply wash your car regularly and carefully, treating the coated headlights like the car paint. Always use clean, uncontaminated wash mitts and drying towels when washing.
How Long Will My Results Last?
Great question and everyone wants to hear an answer that states the results will last forever. But this is not reality.
Think about it, the headlights didn’t stay clear and perfect from the factory. So no, these results, as great as they look, will deteriorate over time and deteriorate fastest if the car in question is parked outside all the time exposed to UV rays from the sun.
Further Resources
Extreme Headlight Restoration Via Machine Sanding
If after watching the video and reading this article and you’re interested in how to machine sand headlights instead of hand sanding headlights, click the above link to go to that video and article.
My Personal Offer to Help
I’ve been answering car detailing questions professionally since 2002 and moving forward, if after reading this article you have any questions about polishing and waxing, or how to use an AIO, my contact information is below, reach out to me, I’m always happy to help.
Would You Like to Learn How to Machine Polish Like a Pro?
- Would you like to take your detailing skills to a higher level?
- Do you find you learn better by doing versus sitting in a chair looking at a PowerPoint presentation about car detailing?
Here at Dr. Beasley’s O.R., (Operating Room), in sunny Stuart, Florida, we teach the most hands-on car and boat detailing classes on planet Earth. And we prove it too. You can find write-ups on the Dr. Beasley’s Blog that photo-documents just how hands-on our classes are plus you’ll see the kinds of cars and boats you’ll be training on.
Click the link below to find the dates, locations, topics, and prices for all upcoming detailing classes.
Upcoming Detailing Classes – Prices – Info – Topics – Locations
And if you ever have any questions, always feel free to reach out to me personally via text, phone call or email.
I hope to see you in a future detailing class!
Sincerely,
Mike Phillips
Chief Education Officer for Dr. Beasley’s
760-515-0444