


Taking good photos of a car while you’re also detailing it is a challenge. It’s hard to figure it out on the fly, especially when you’re in the middle of an intensive process like paint correction. So when it comes to sharing pictures of any cars, trucks, vans or SUVs you detail, here’s a few tips to help you to correctly showcase the car as well as your work.
The Best Camera for Detailing Photography
In the photography world there’s a saying: “The best camera is the one you have with you”. That goes for detailing photography as well. The fact is, most phone cameras are so good now they rival professional DSLR and mirrorless cameras, especially when it comes to detailing photography. It’s still a good idea to invest in a good camera and learn the basics of photography, but if you don’t have the budget or skills, don’t worry — your iPhone or Android will be more than enough.
The Most Important Rule of Detailing Photography – CLEAN THE LENS!
Whether you’re using a professional DSLR or mirrorless camera or your smart phone camera, before you start snapping pictures, take a few moments to clean the lens and ensure there are no fingerprint smudges, which is real common on smart phone camera lenses because you’re constantly holding it in your hands.
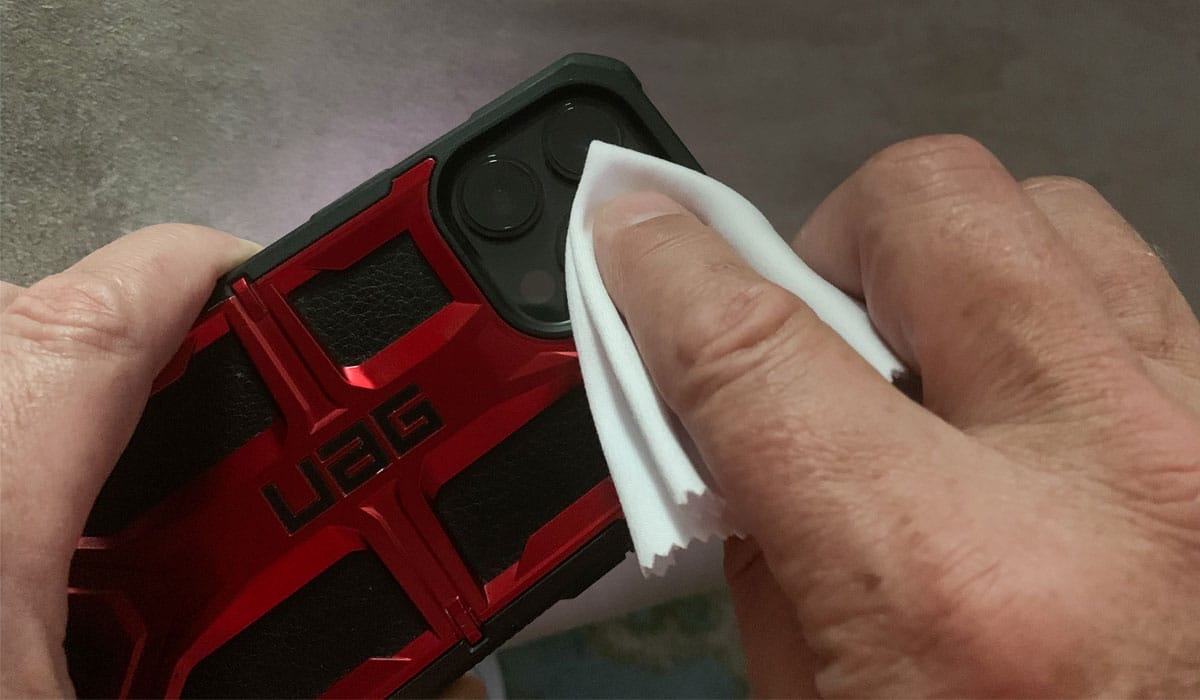
When you clean the lens, be sure to use a soft lens cleaning cloth like the one shown above so you don’t scratch the lens. If you’re using a DSLR or a mirrorless camera, cleaning the sensor with a dedicated sensor swab can also improve your image quality.
Suggestion: Enable Camera Grid Lines
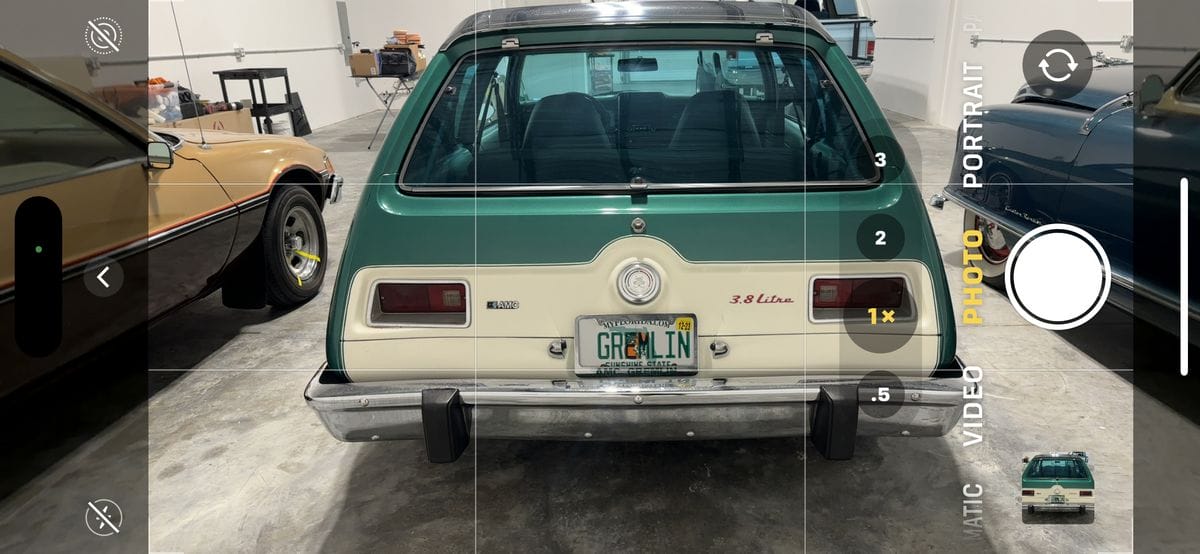
If your camera or smart phone camera has the option to enable grid lines in the view finder, turn this to [on]. Use the grid lines to help you center up photos as well as hold the camera straight or perpendicular to the vehicle or portion of the vehicle you’re shooting. Grid lines will also help you match the framing between before and after shots.

(Optional) Use a Tripod for Detailing Photography
If you’ve got shaky hands, don’t worry. A tripod will help steady your shot so you can get the sharpest possible image of a swirled hood or an isolated scratch, making the after shot more impactful. Tripods are also great for matching framing as you can position the camera with more precision as opposed to having to extend your arms for a long period of time trying to match the original framing.
The Three Categories of Detailing Photography: Before, During & After
There are 3 general categories of pictures you want to take for any detailing project, including cars, trucks, boats, motorcycles, motorcoaches and even aircraft. These are before, during and after shots.
How to Get Before and After Shots For Detailing
The before and after shots are typically the same shots, just sharing the before condition followed by the after results. Of course, you can include some stylistic pictures for the after results, but you should include at a minimum, the same shots used for the before pictures.
To get the best before and after photos for detailing a car, make sure you have the car in the same location, same light, etc. Also, hold the camera in the same location as you did when taking the before shots. Matching the two shots as much as possible will make the difference easier to see and more dramatic.

If you’re having trouble lining up the after shot to match the before shot, have the before shot on hand so you can visually match the framing. This can be done by have the picture open on your phone or by printing the picture out.
Best Angles for Capturing Detailing Before and After Shots
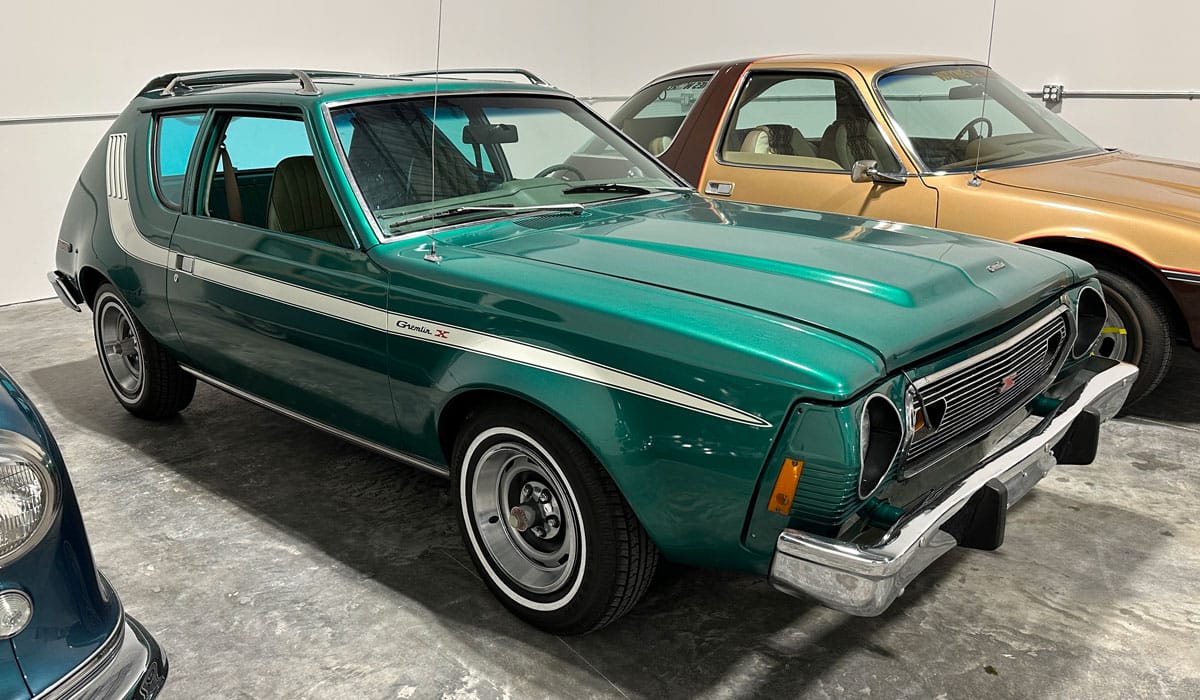
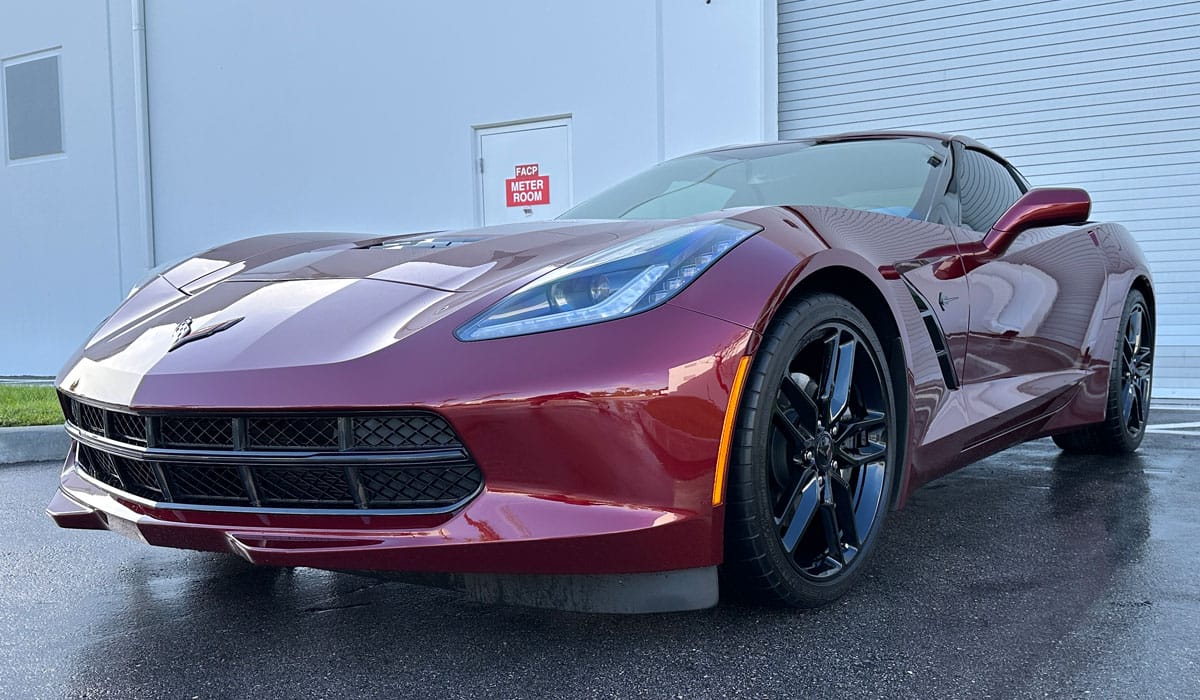
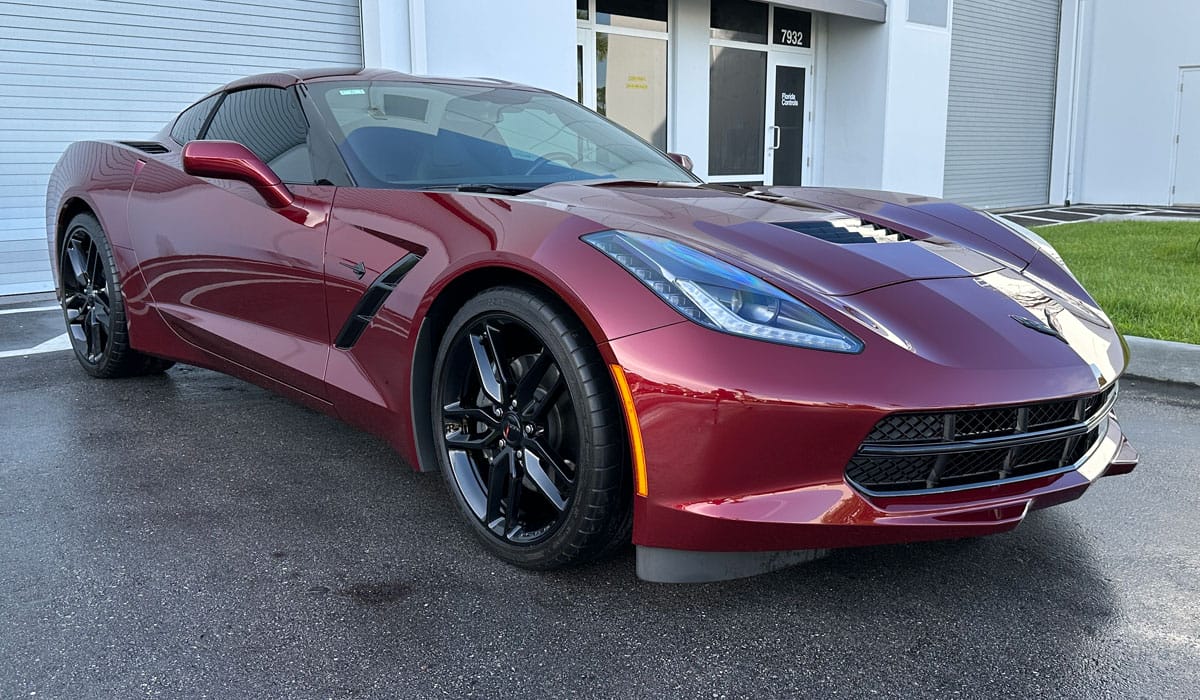
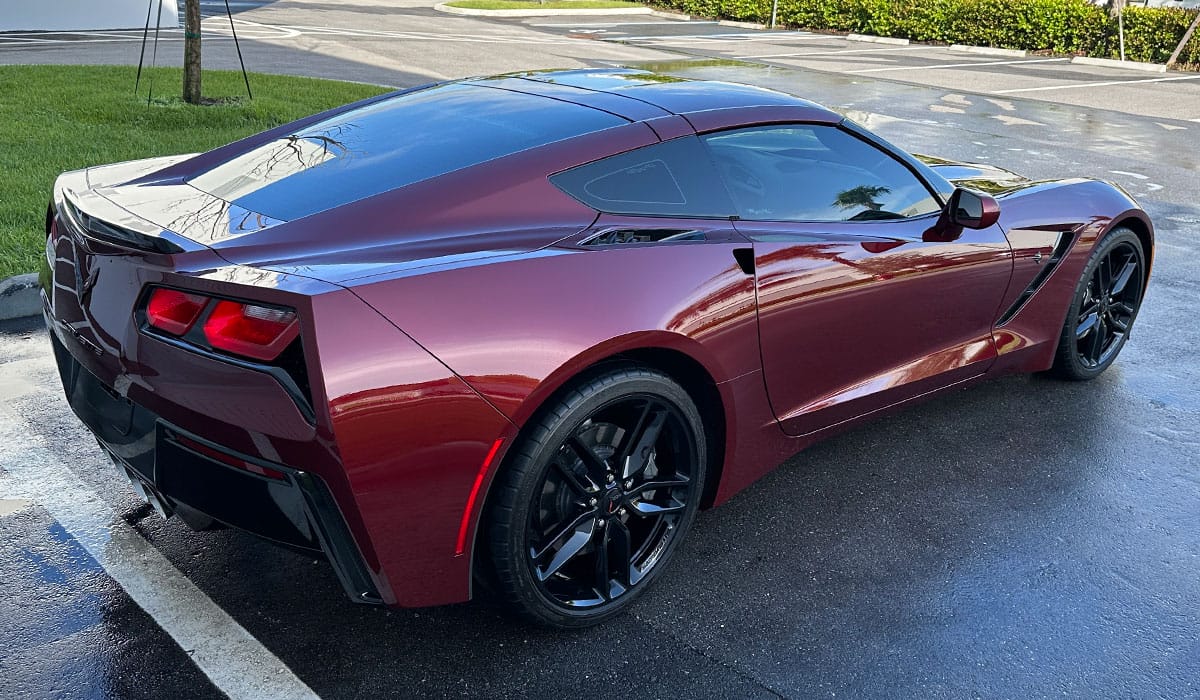
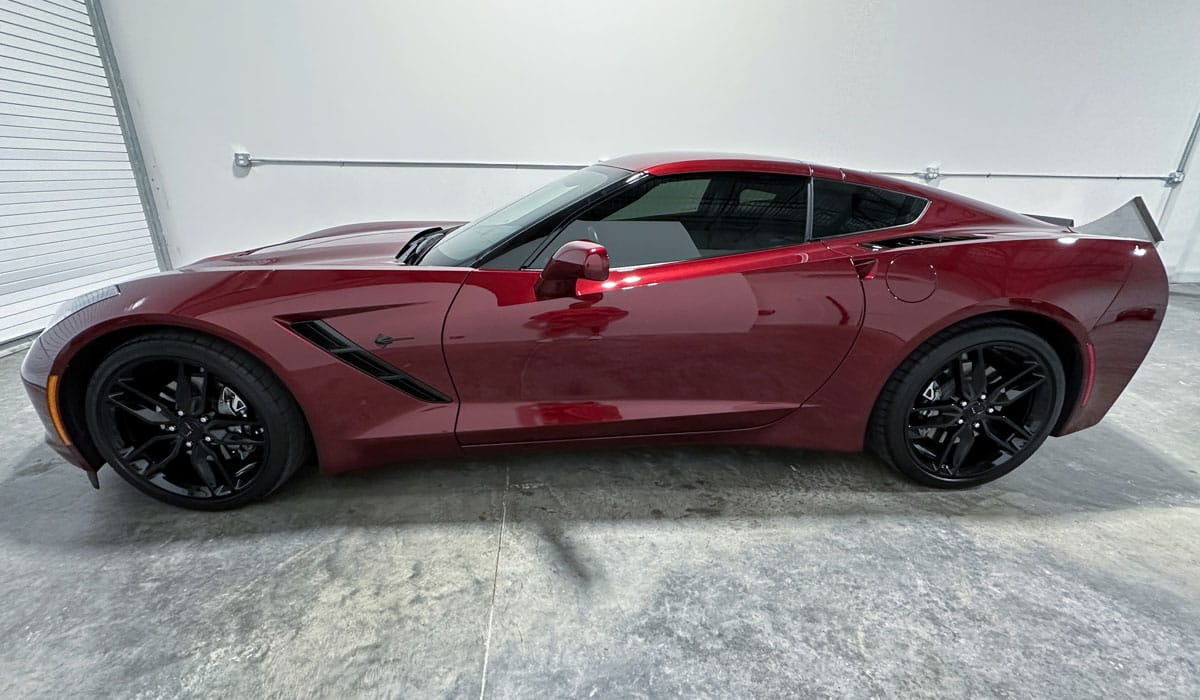
The Most Important Shot: The Front Side Angle Shot – Both Sides
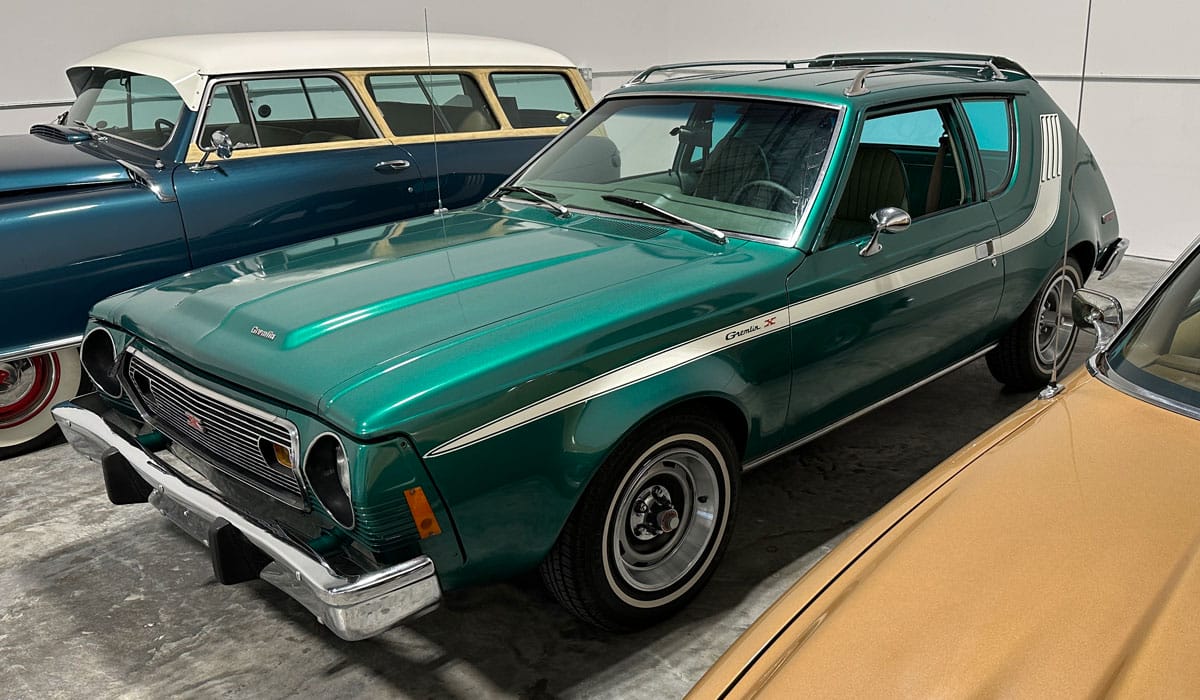
In my opinion and experience, these are the two most important shots because they show you the complete picture, or the complete car. Note how the entire car is in the shot, no portion of the car is left out. By standing to the front side of the car, even with an entry level camera or smart phone camera, you can usually back up enough for the entire car to fit inside the the picture frame. This type of shot also gives the viewer a perfect example of what the car actually looks like.
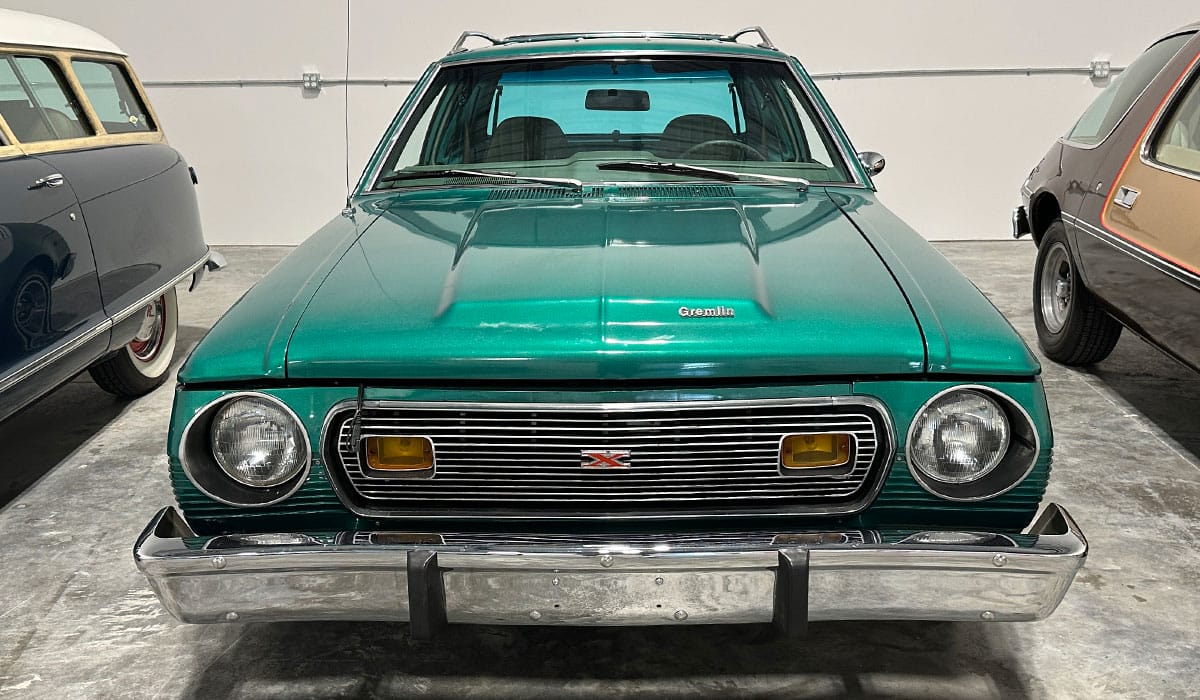
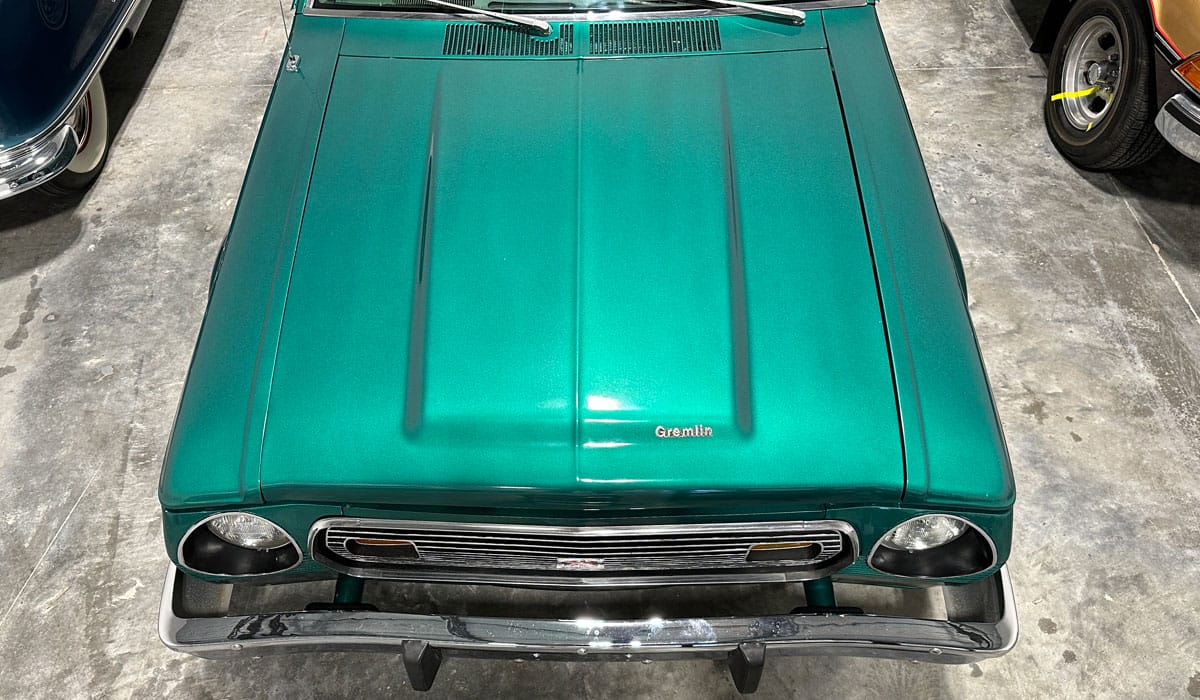
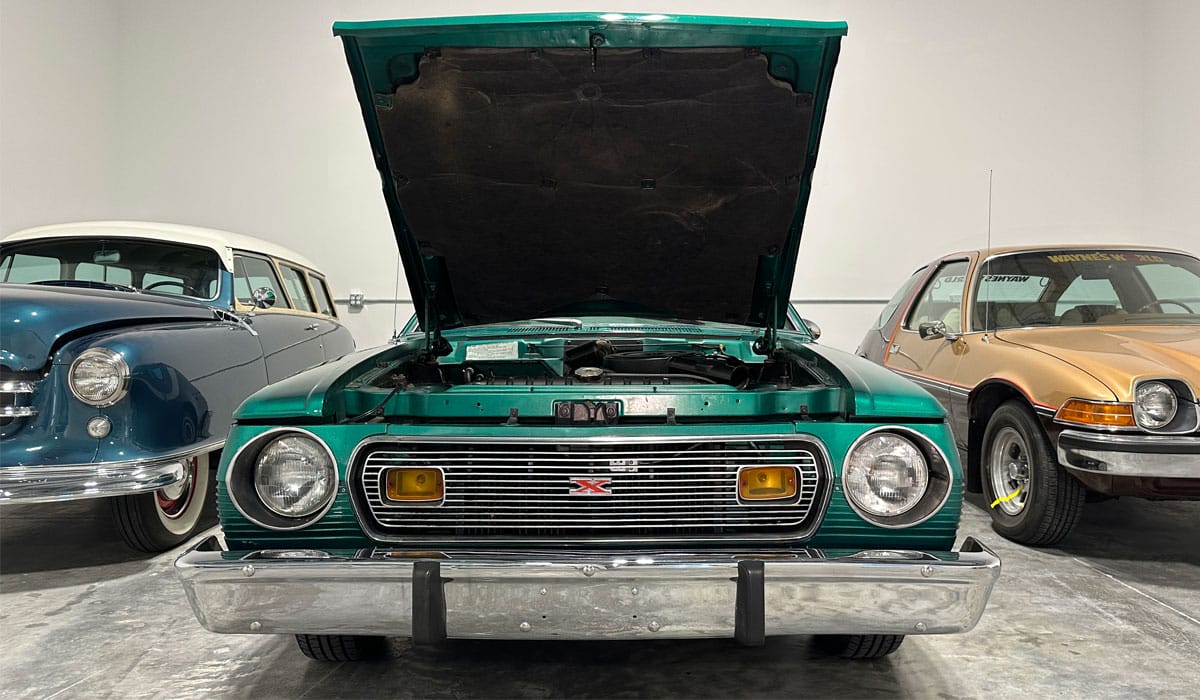
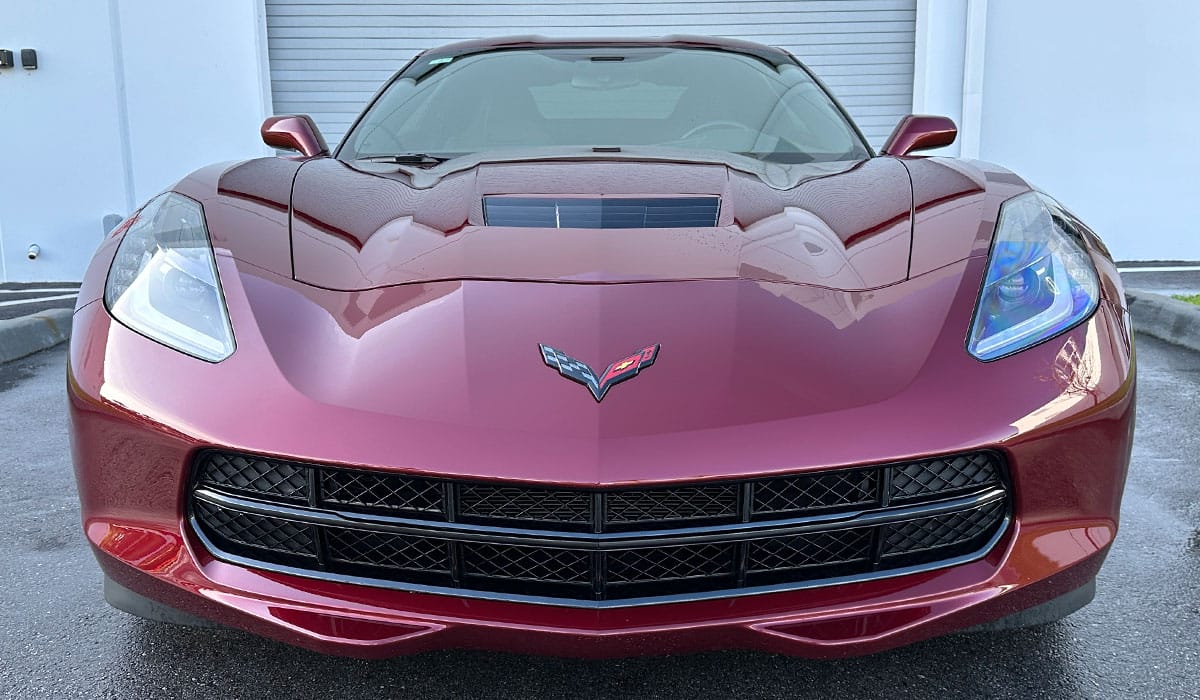
The Front Grill Shot
The front shot primarily showcases how the front of any particular car looks and the shape, size and style of the grill is usually the key identifying aspect for any specific year, make and model. My tip for capturing this shot, like the front side angle shots, is to include the entire car in the shot. Leave a little space around the car so no part of the car is left out including the sides, roof and lowest portion of the front bumper, bumper covers, or where the tires touch the ground.
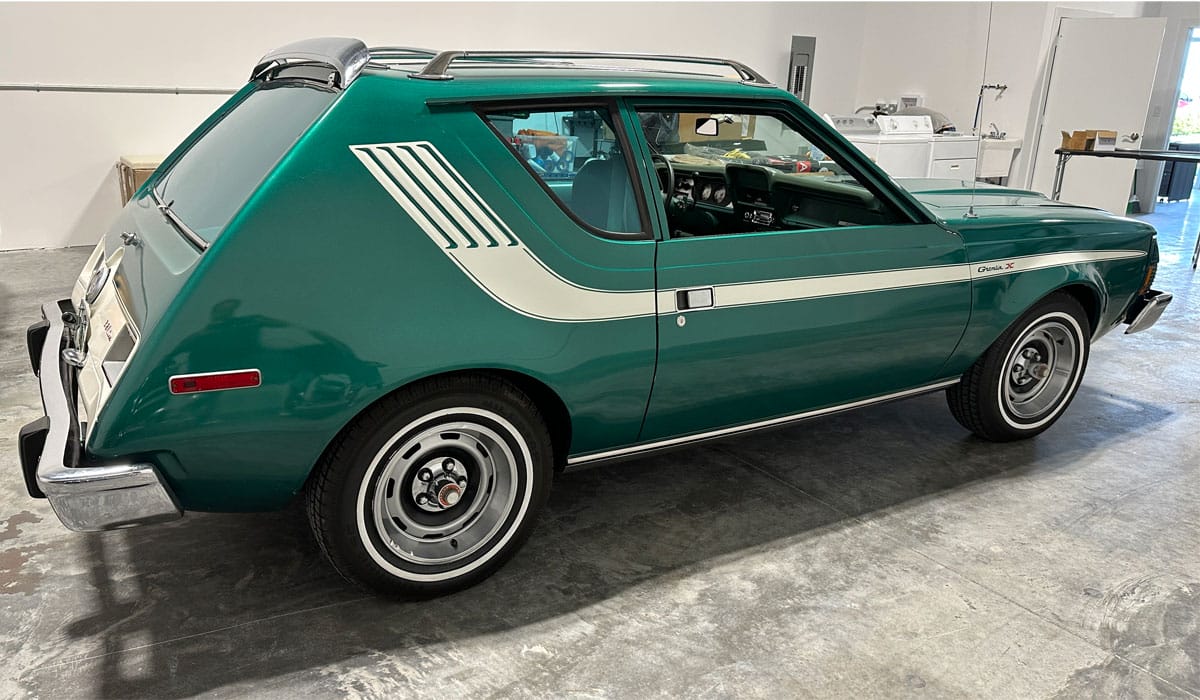
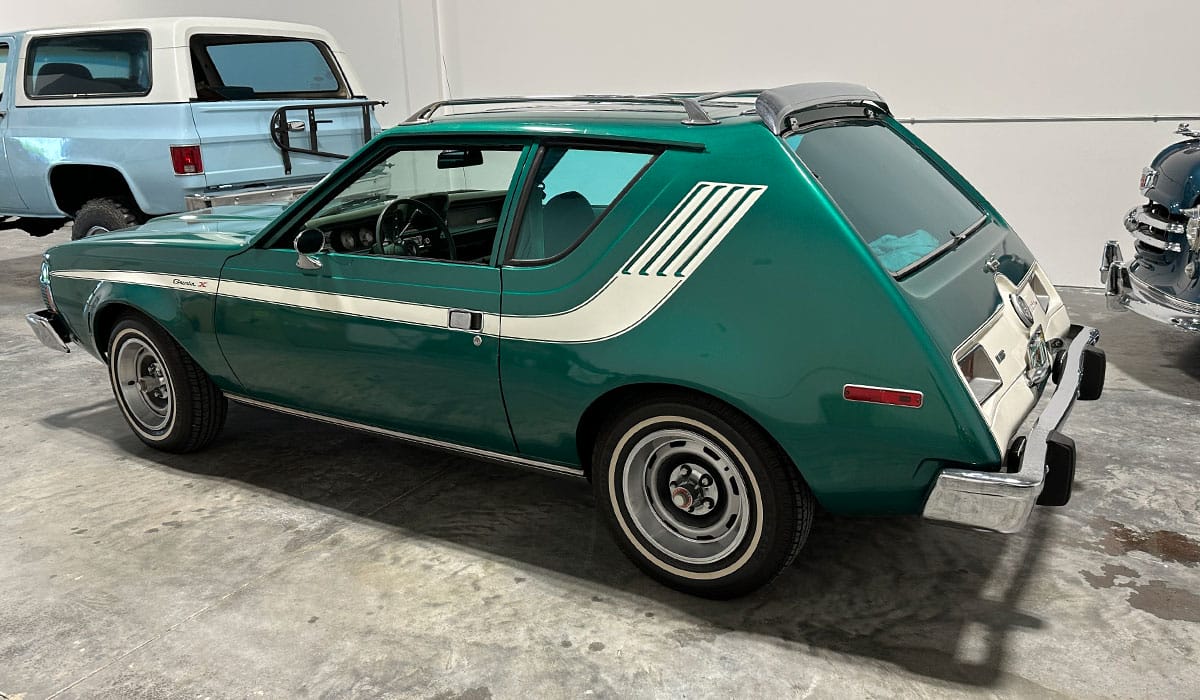
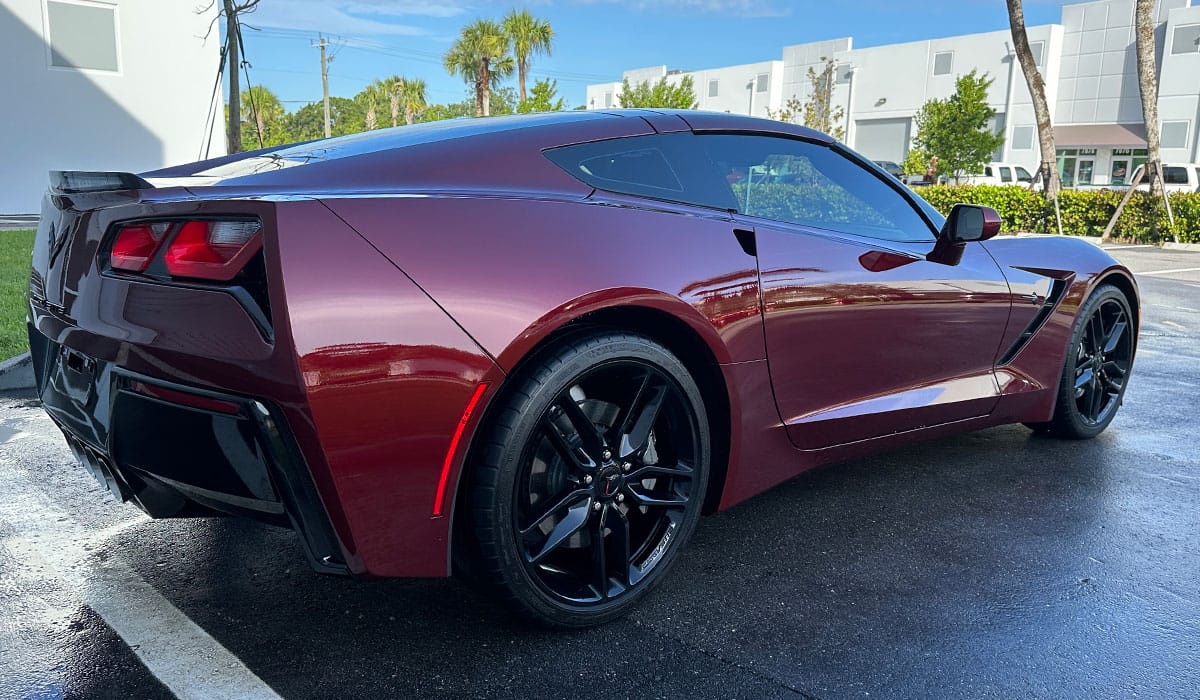
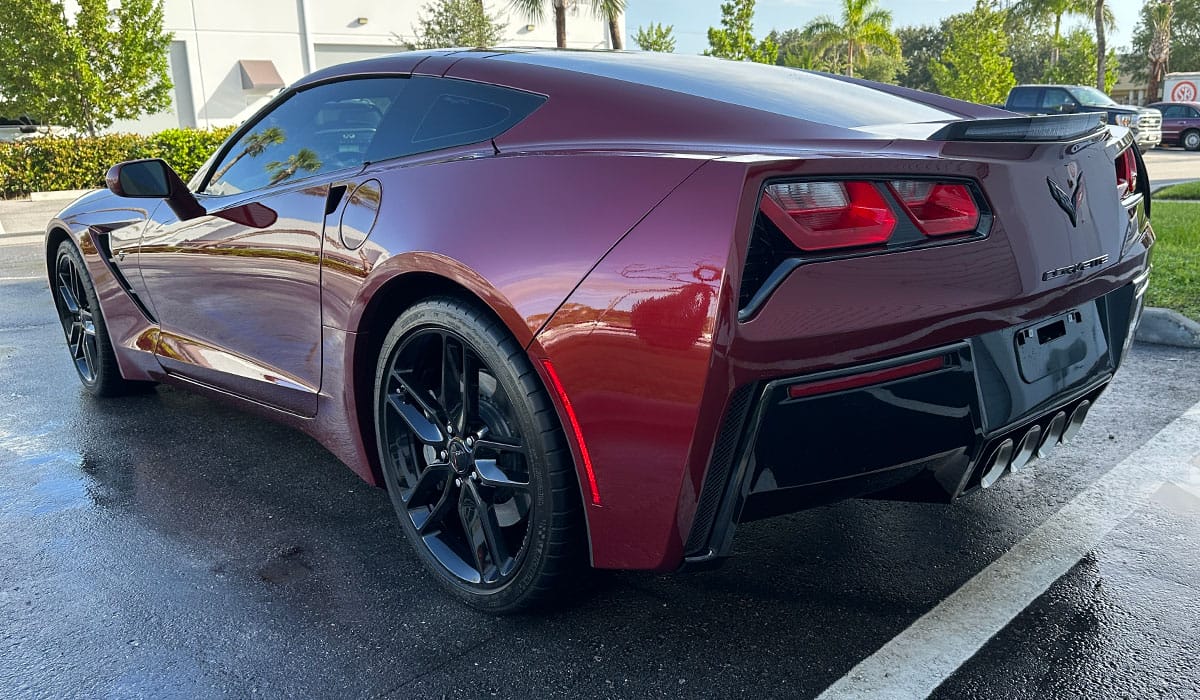
The Rear Side Angle Shot – Both Sides
The idea for this shot is the same for the front side angle shots, again, be sure to stand back far enough so that for your camera, the entire car is captured in the picture.
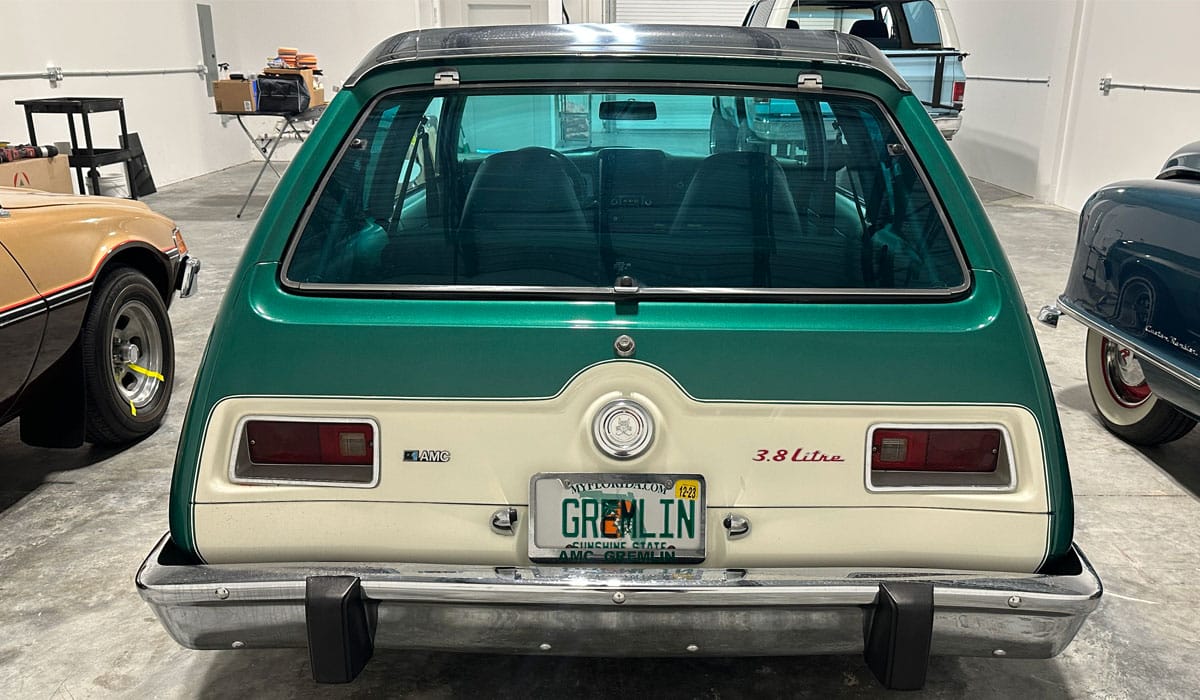
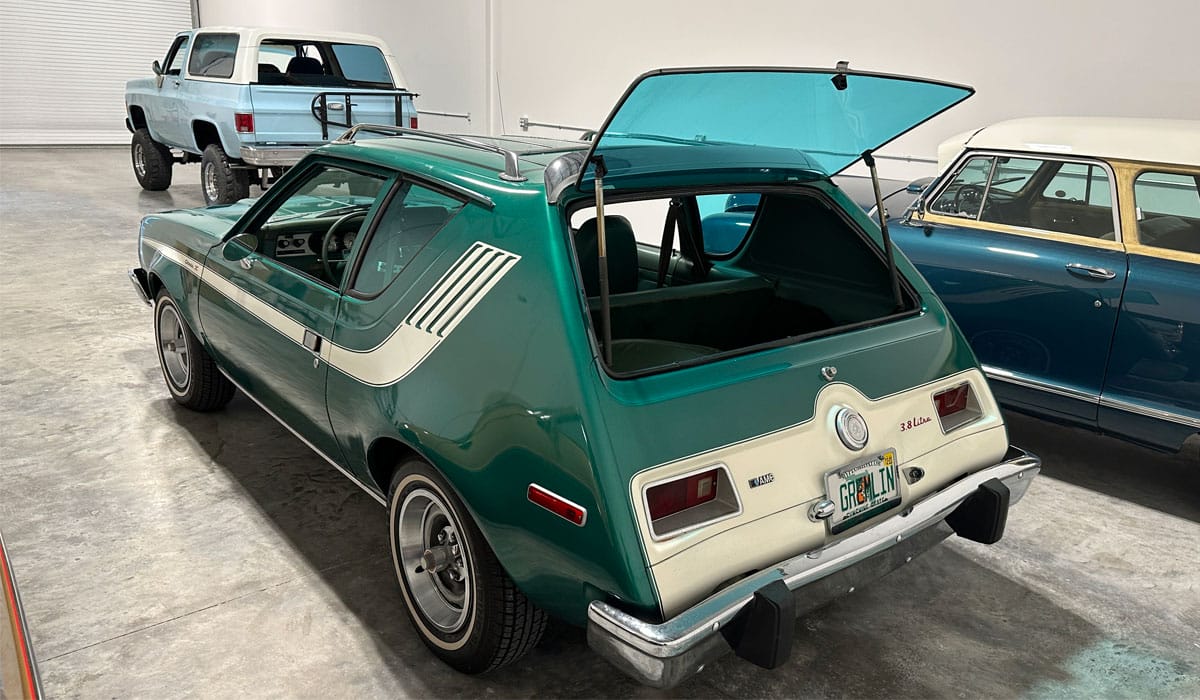
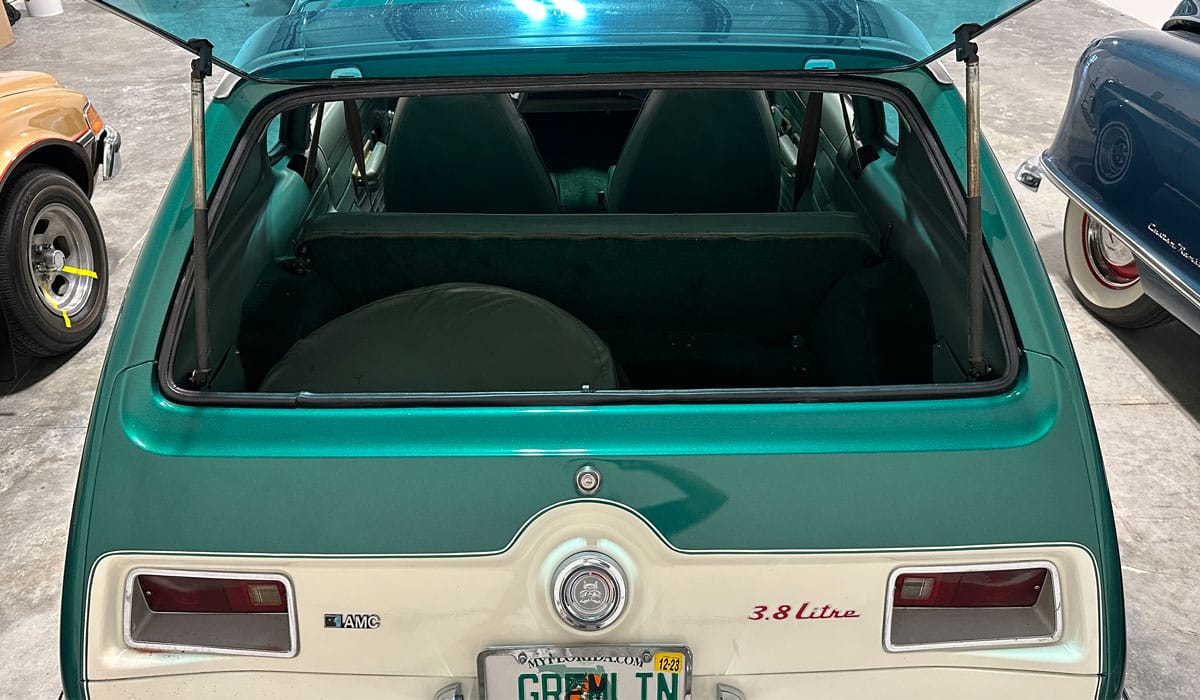
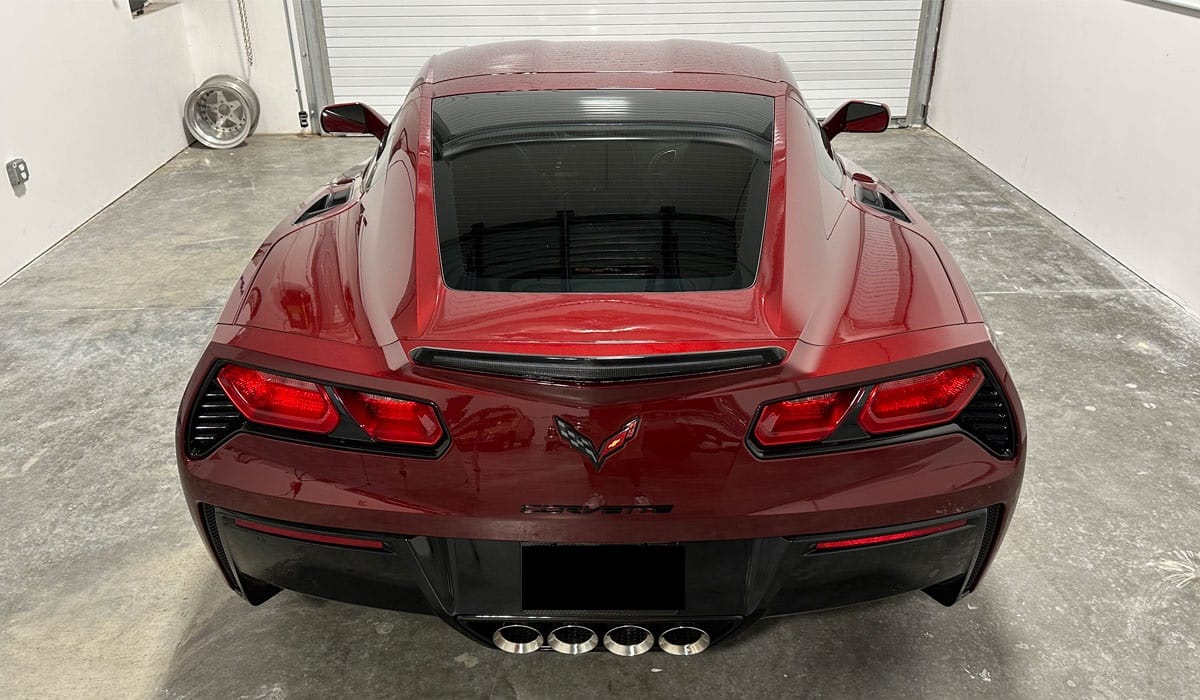
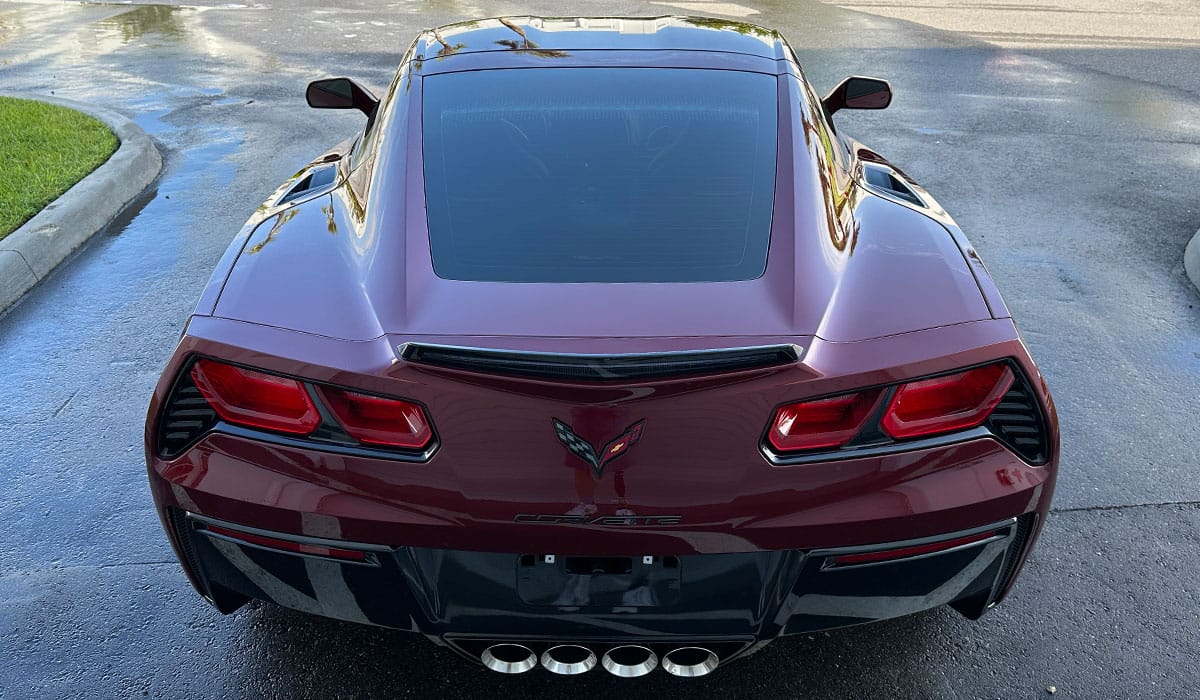
The Back of Car Shot
This tends to be the most boring shot and unless the car I’m detailing and thus photographing is unique or exotic in the shape and design, I sometimes skip this shot for the detailing project. Some cars, trucks, vans, boats, etc., do however offer value in capturing the before and after results as well as to complete the picture for what any specific type of car looks like. For example, a lot of people might not know what the back of a Gremlin looks like, so I included it for this article and also for my write-up for detailing this car.
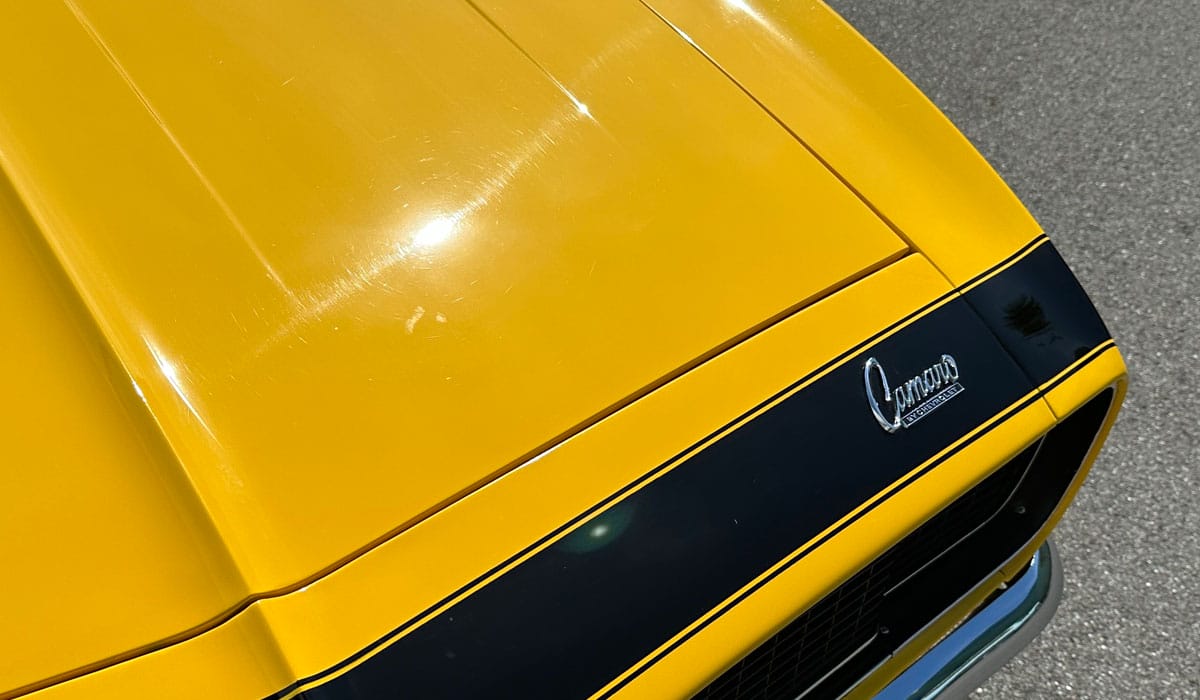
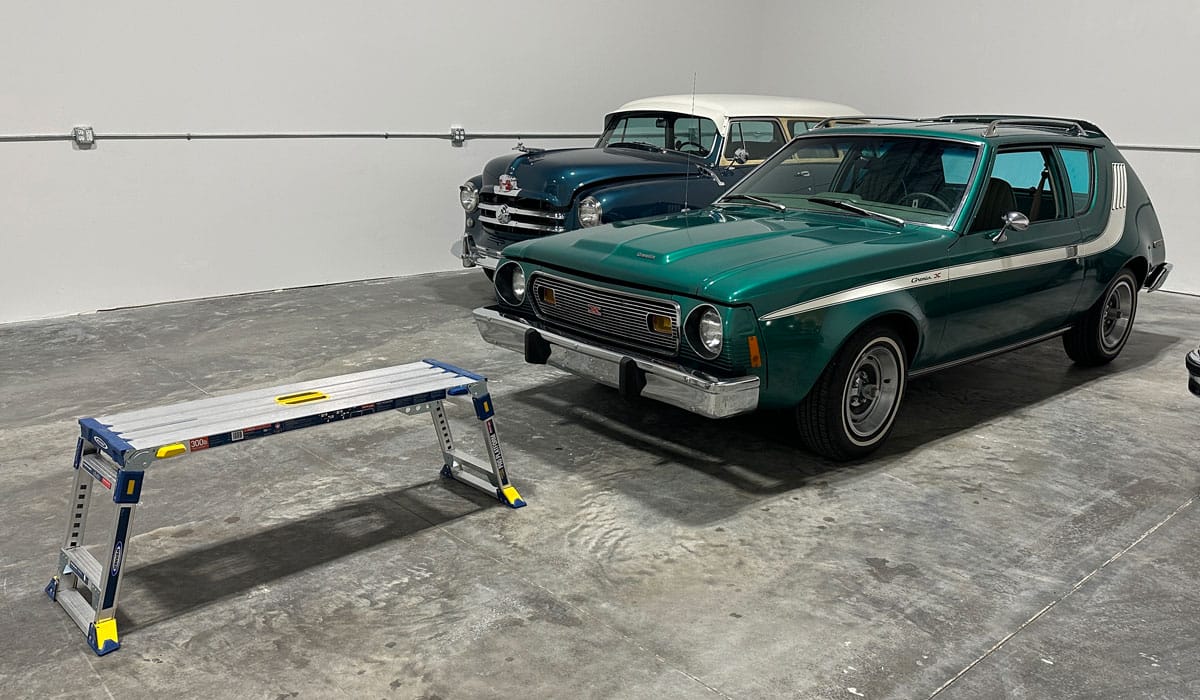
The High Overhead Hood Shot
This is normally a show-off shot showing off the before and after results using the primary panel of any car, truck or SUV. It usually helps to use a step ladder or work platform so you can get high enough over the car to properly frame-up the shot. And like all the other shots, include the entire hood with some space around all sides.
A step stool, ladder or work platform comes in handy for taking the high overhead hood shot.
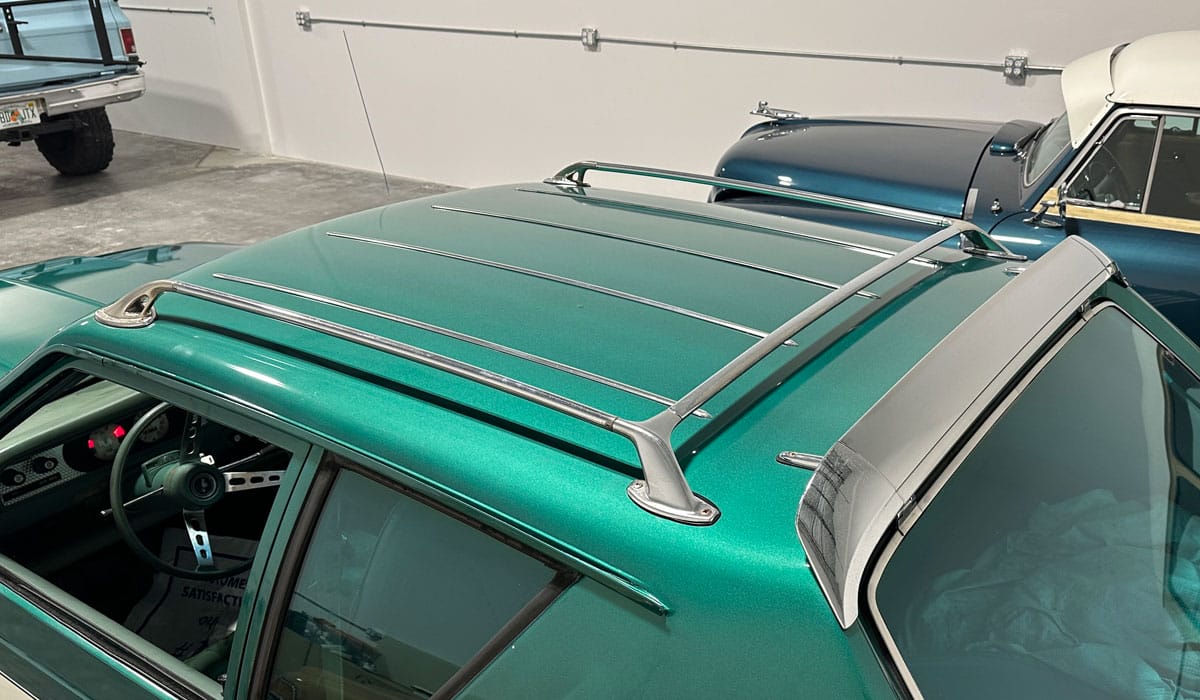
The Roof Shot
This is an optional shot, you can use your own judgement as to whether the vehicles you’re detailing offers any thing interesting to see.
It is an important shot when detailing convertibles as you should capture great before and after shots for both vinyl and cloth convertible tops. I will usually include a side-by-side before and after shot if the car has a dark colored vinyl top. This type of shot can be captured on cloth tops but it’s a lot more difficult to capture the subtle before and after differences simply because cloth tops don’t present as well as vinyl tops before and after applying the protectant.
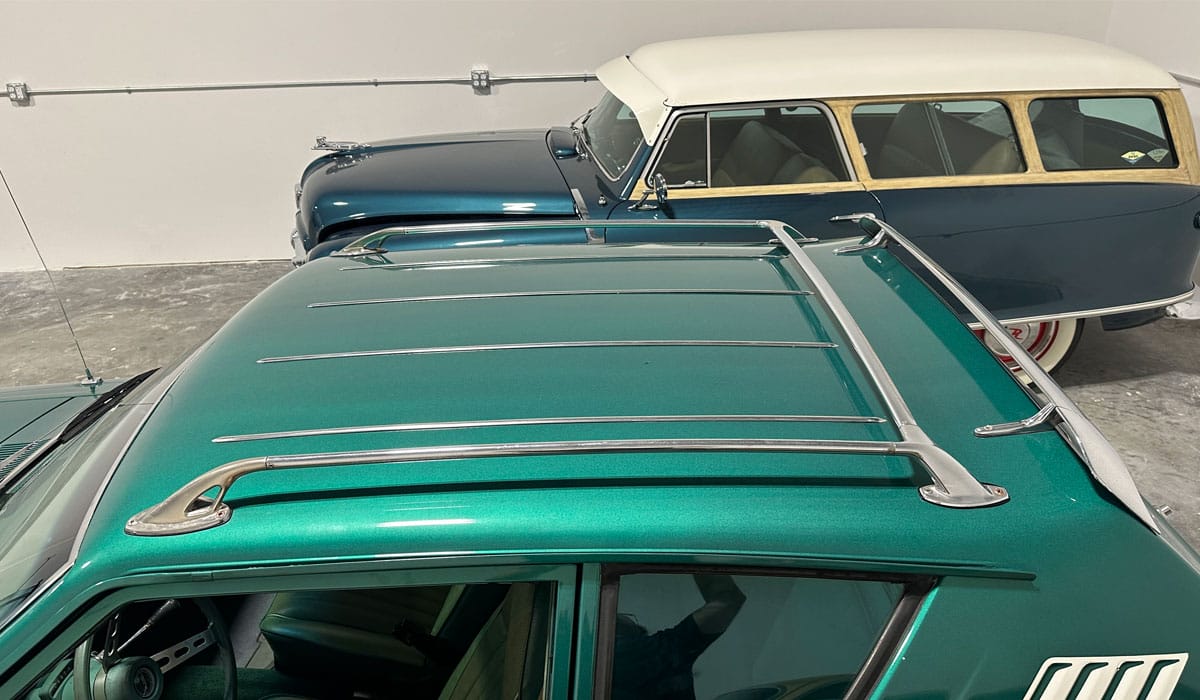
For this particular car, the chrome sporty looking roof rack is an interesting looking option for the car as is the chrome rear wind deflector.
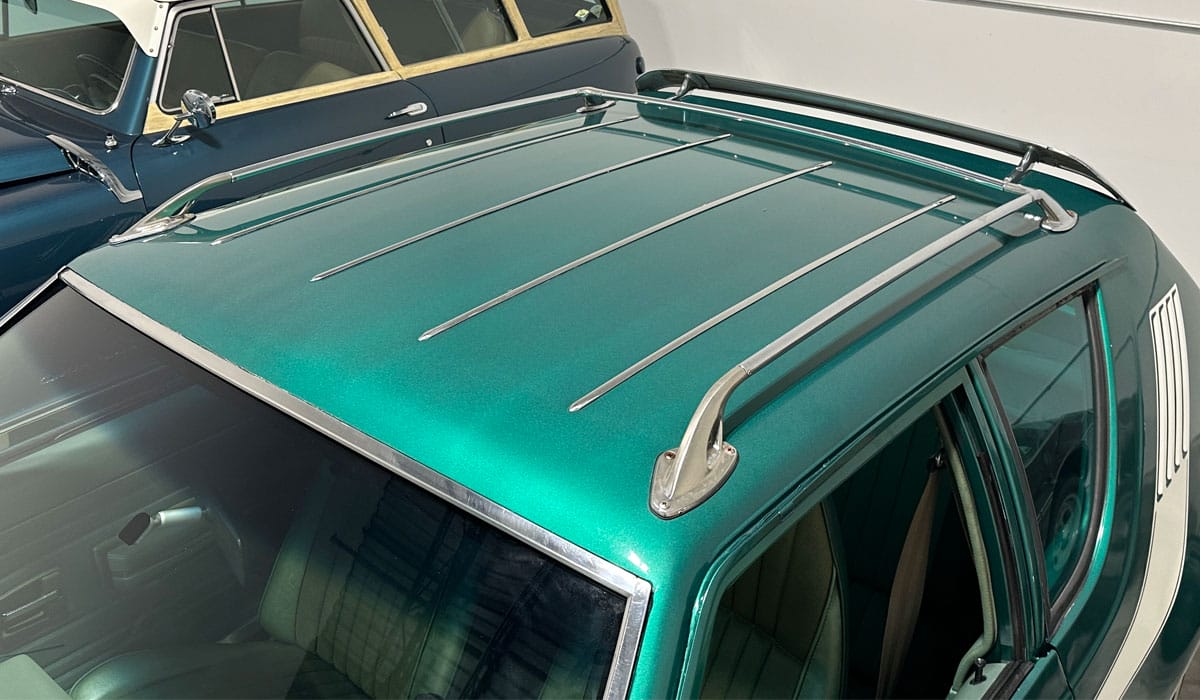
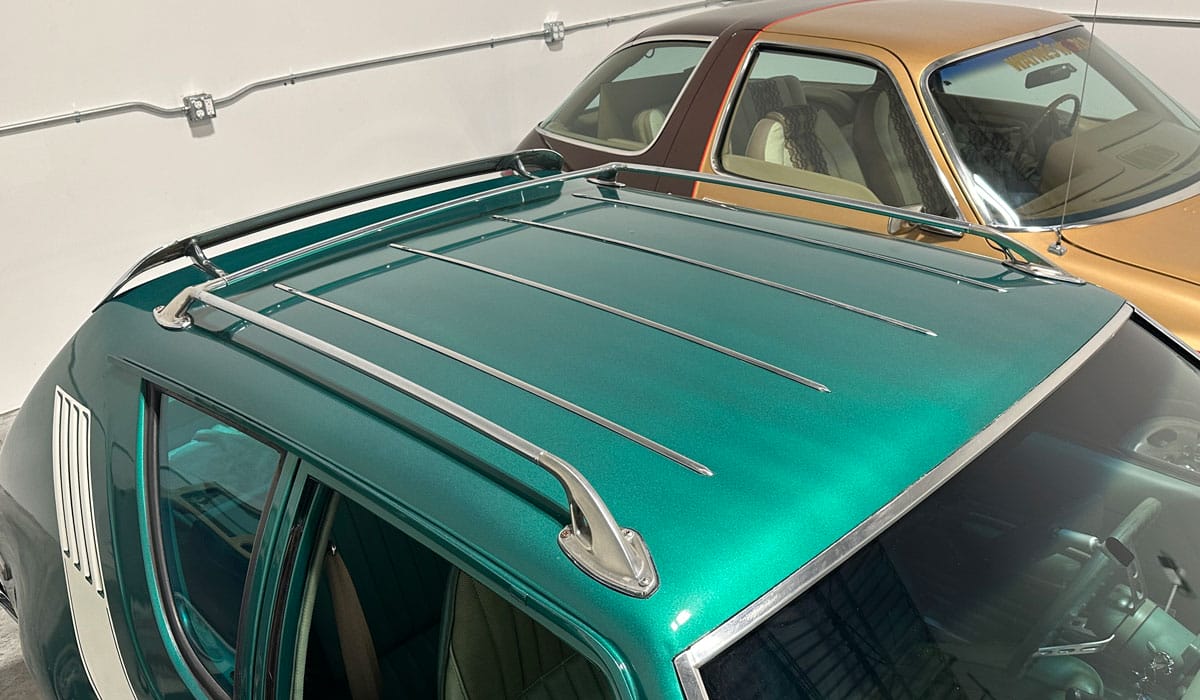
There are two types of roof shots, there’s the squared-up shot like you see below. This is where you center-up and square-up the shot for both sides. I’m not a fan of this type of shot, if I’m going to showcase the before and after to a roof I like the diagonal or “cattywampus” shot.
Squared-up roof shot
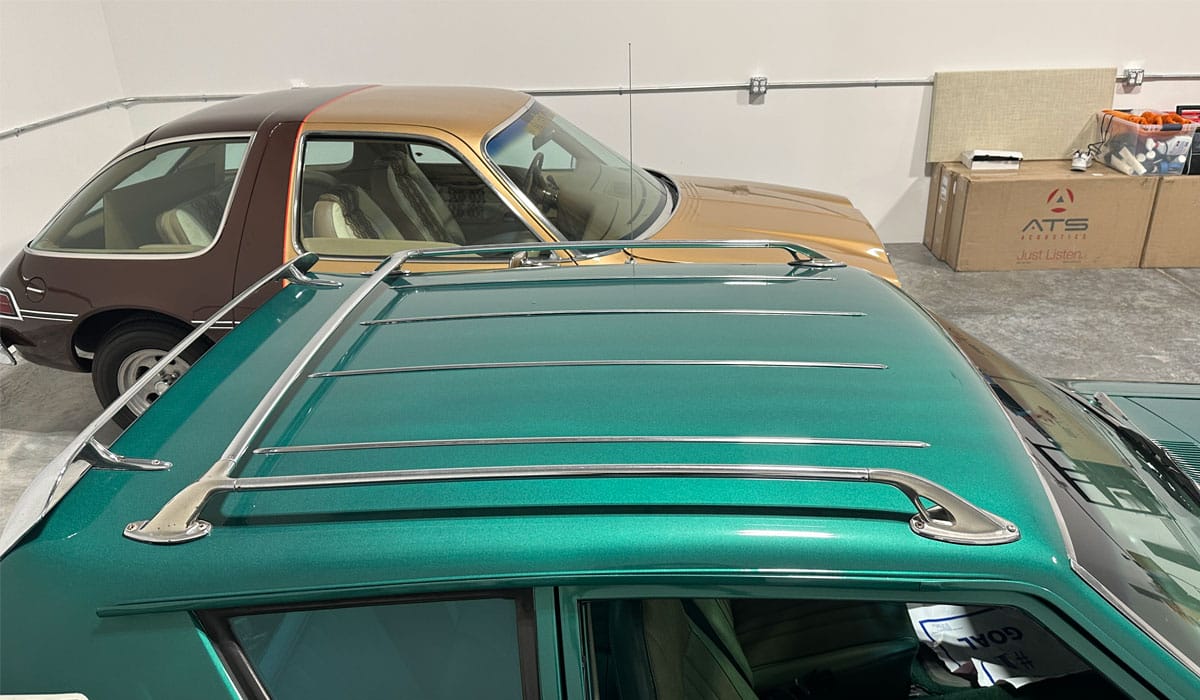
Diagonal/”Cattywampus” roof shot
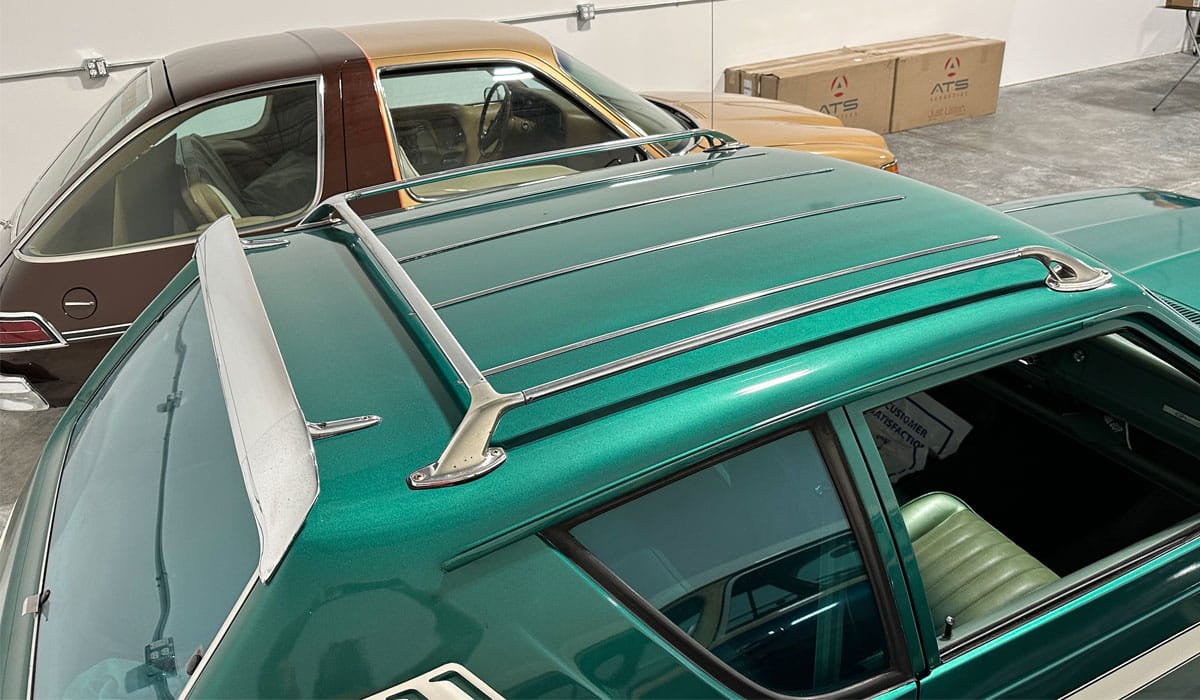
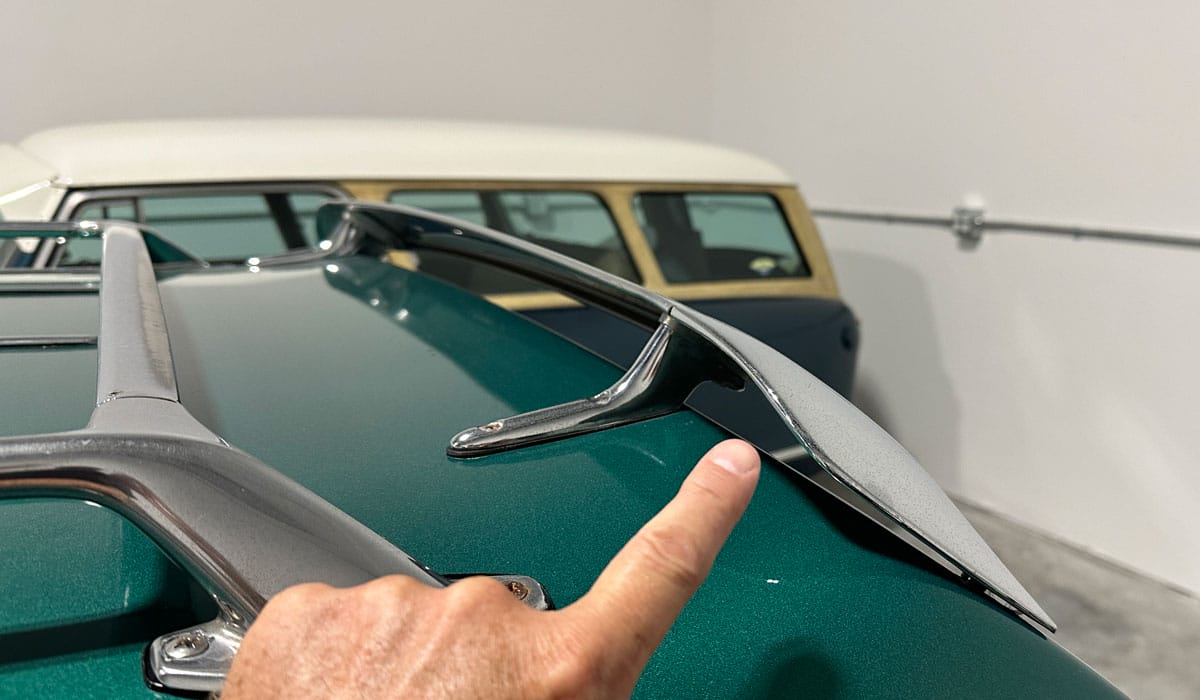
Interesting or Unique Feature Shots
Some vehicles you’ll work on will have interesting or unique features that are uncommon to normal daily drivers, it never hurts to share these with your reader as it adds uniqueness to your project. For example, the AMC Gremlins had a unique chrome wind deflector mounted to the back of the roof to deflect wind passing over the roof downward over the back window, which helped to keep it cleaner longer. Later in the evolution of the automobile, rear window wipers were invented.
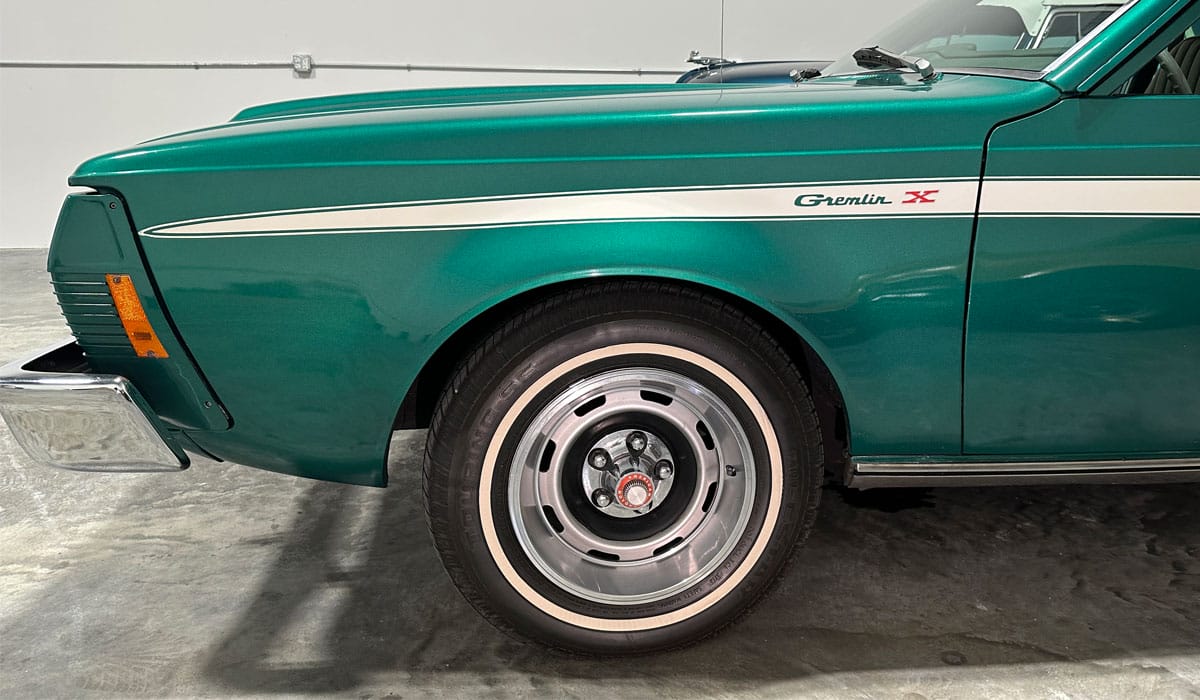
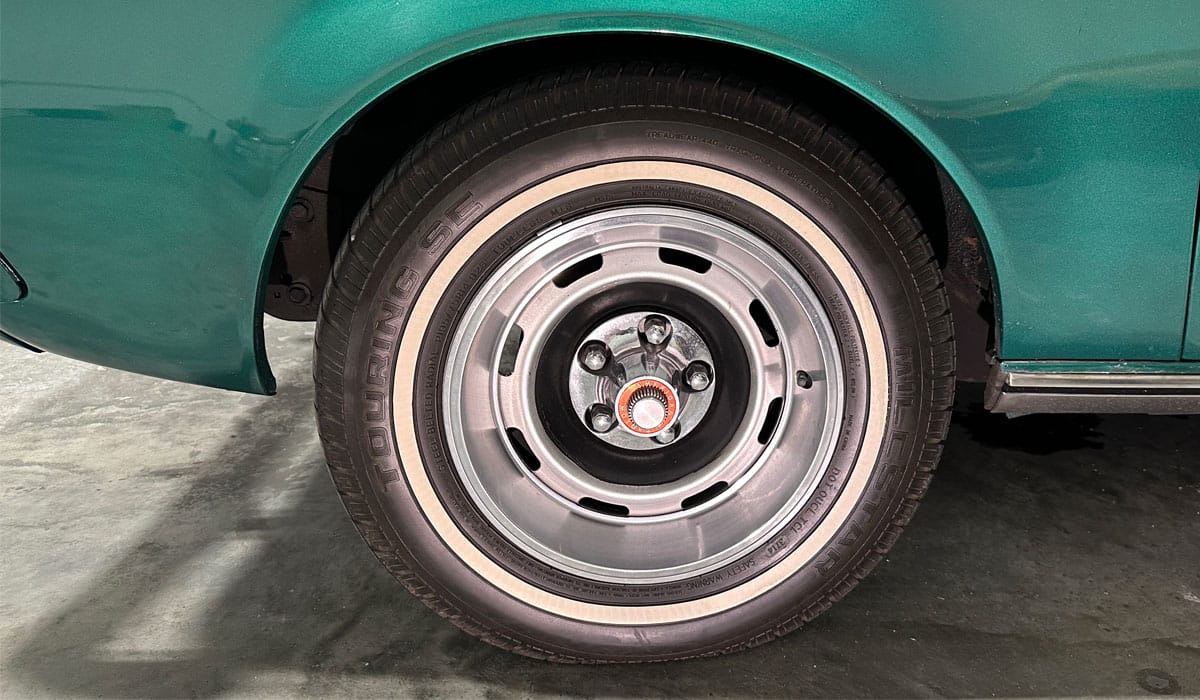
Wheels, Tires and Wheel Well Shots
Cleaning the wheels, the wheel wells and also cleaning and dressing the tires is normal part of any professional detail job. The way you do this is to first center up the front or rear fender as this creates context, or where you’re looking at on the car. Next, zoom in a little and capture just the wheel and tire. I tend to also include a little bit of the fender lip.
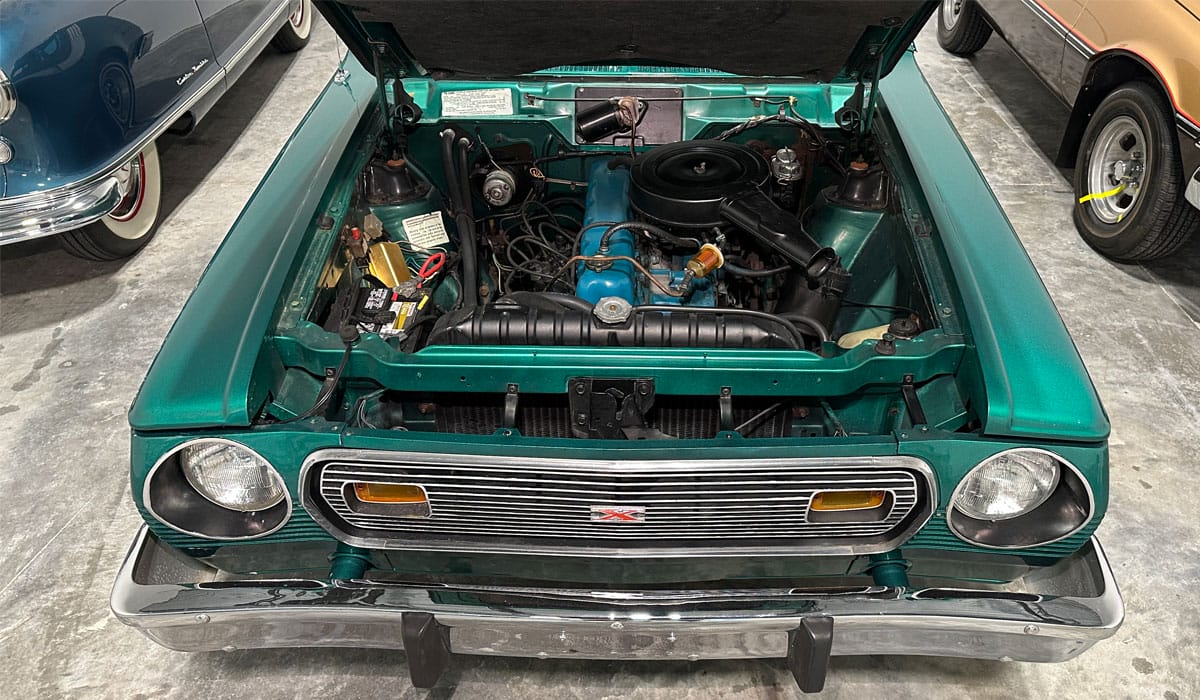
Engine Compartment Shots
Anytime you detail a dirty, grimy looking engine compartment, it goes without saying to get great before shots. Open the hood and center up the vehicle in your first shot to show the engine compartment and also the sides of the fenders and even the front portion of the car. This provides visual context of the location of the engine. Keep in mind, come cars are rear-engine and some are even mid-engine, so context helps your reader to know where on the car the engine is located.
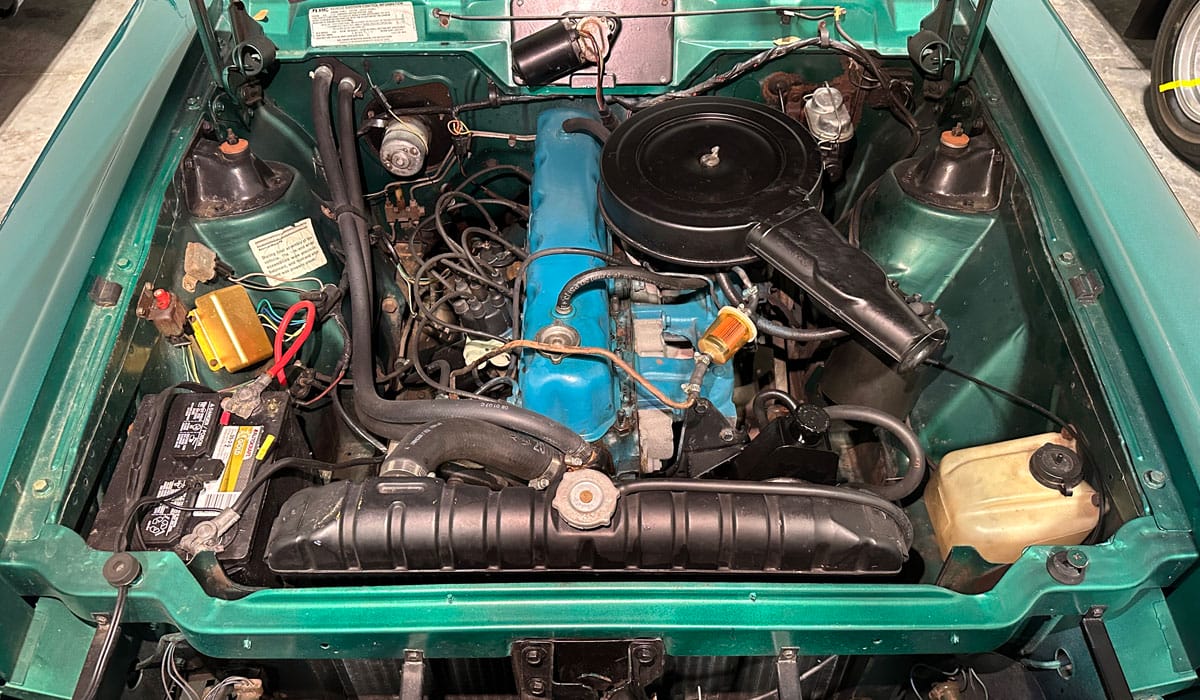
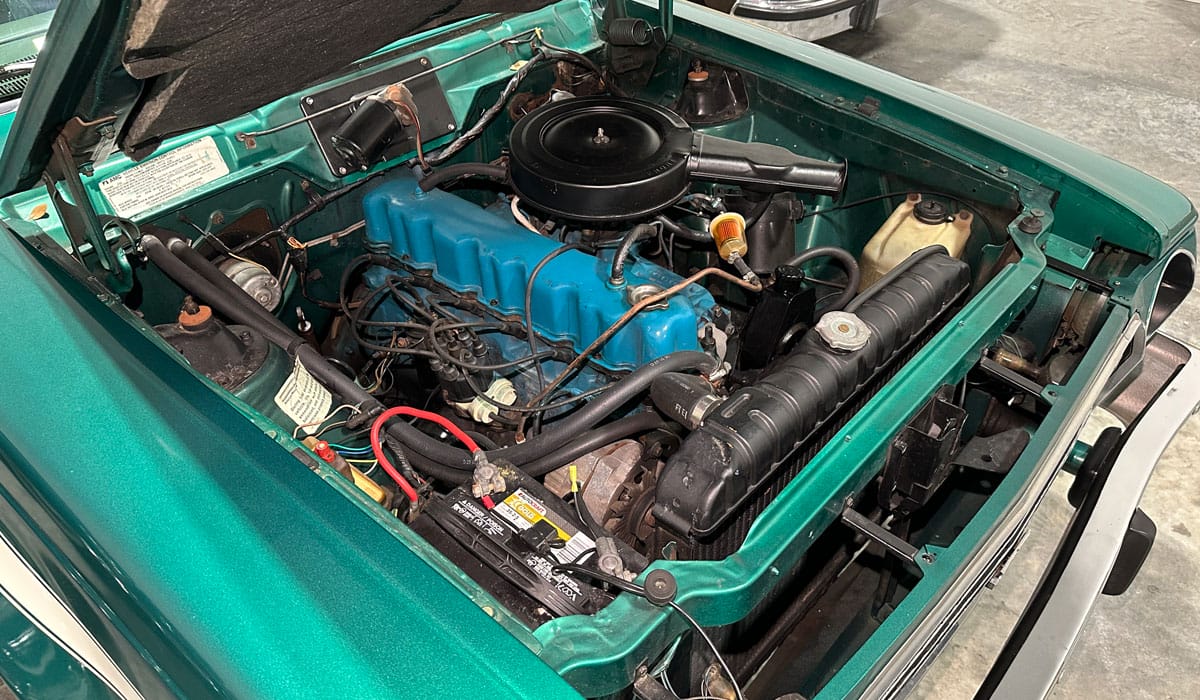
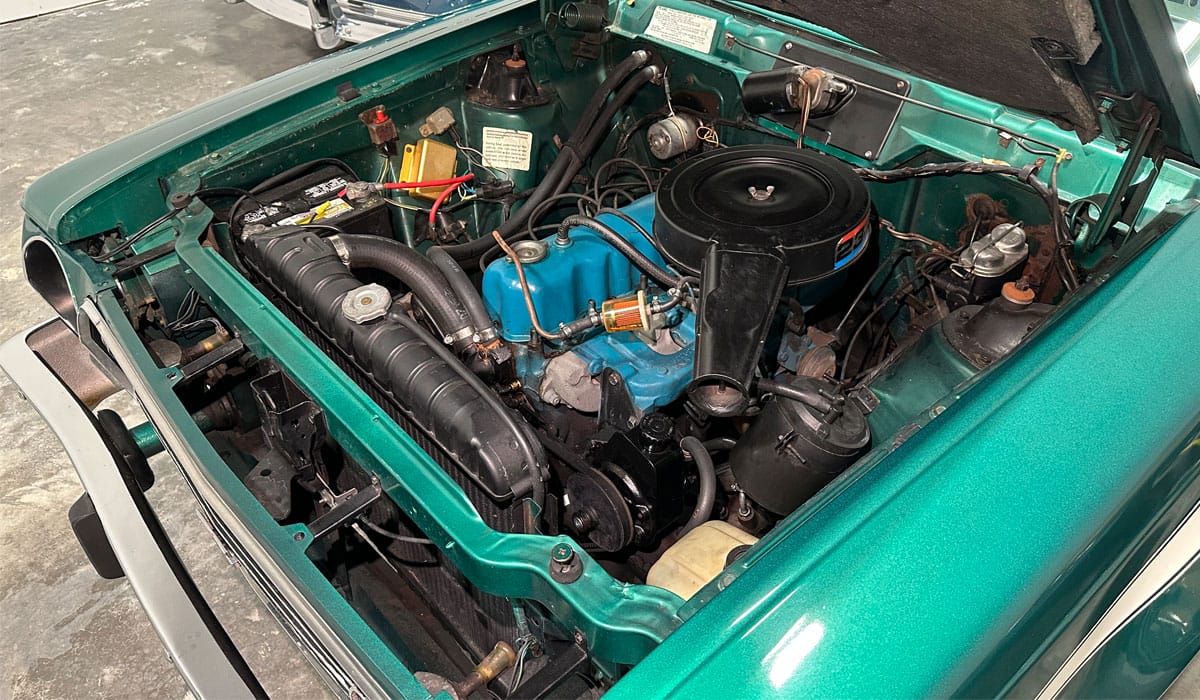
Next, tighten up your shot of the engine and engine compartment. Take a well framed up shot looking direction onto the engine compartment and also a couple of side angle shots.
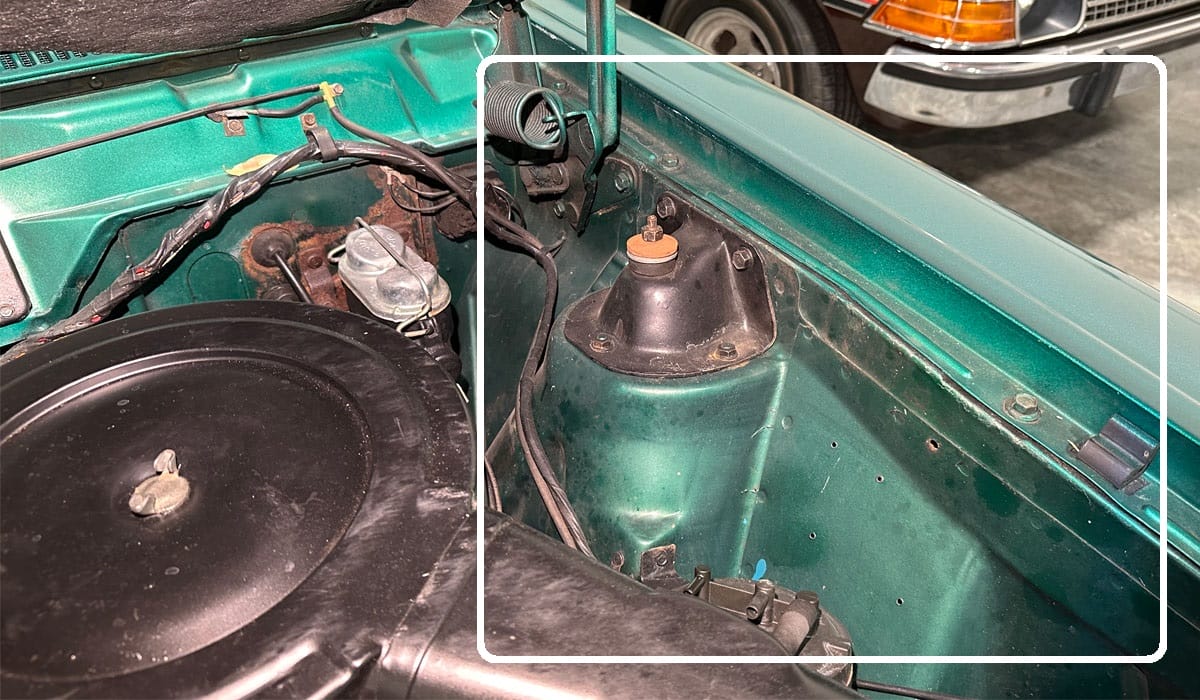
Before Shot Tip: Capture the Ugly
If there are areas inside the engine compartment that really show the dirt and grime level for your before shots, capture these areas like you see below. This is especially true if the inner panels have color-matching paint to the outside of the car. After cleaning the engine compartment, I will use a one-step product to hand polish the paint in these areas to create a cleaner looking engine compartment and more dramatic before and after pictures.
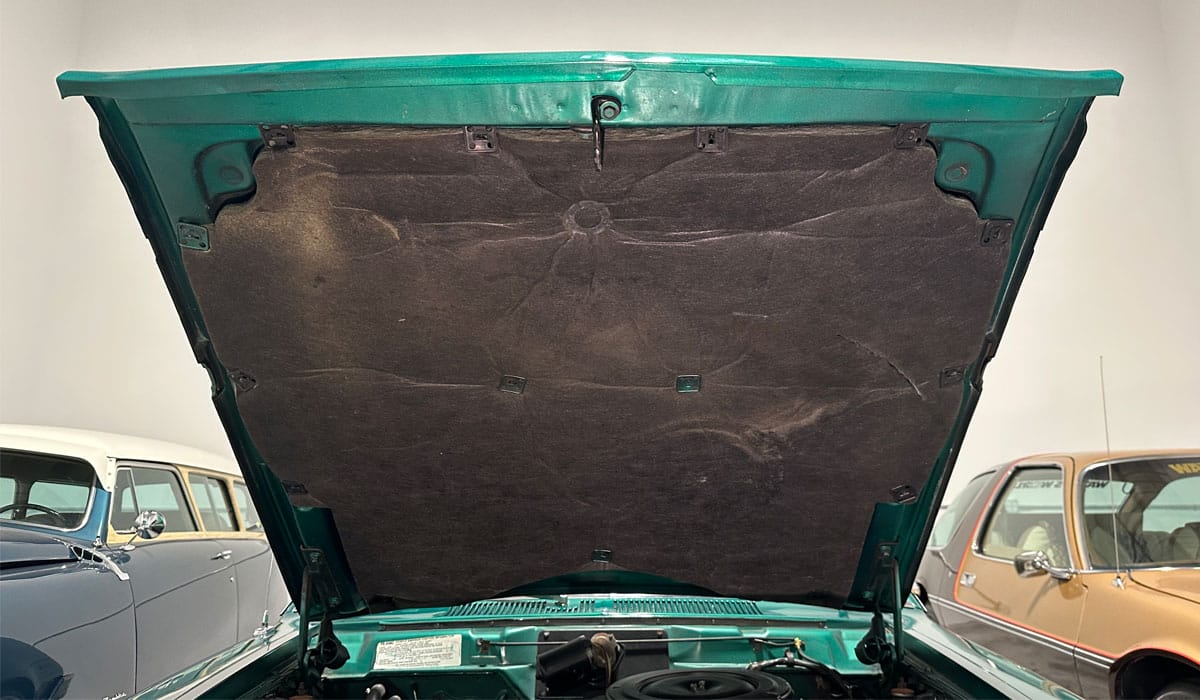
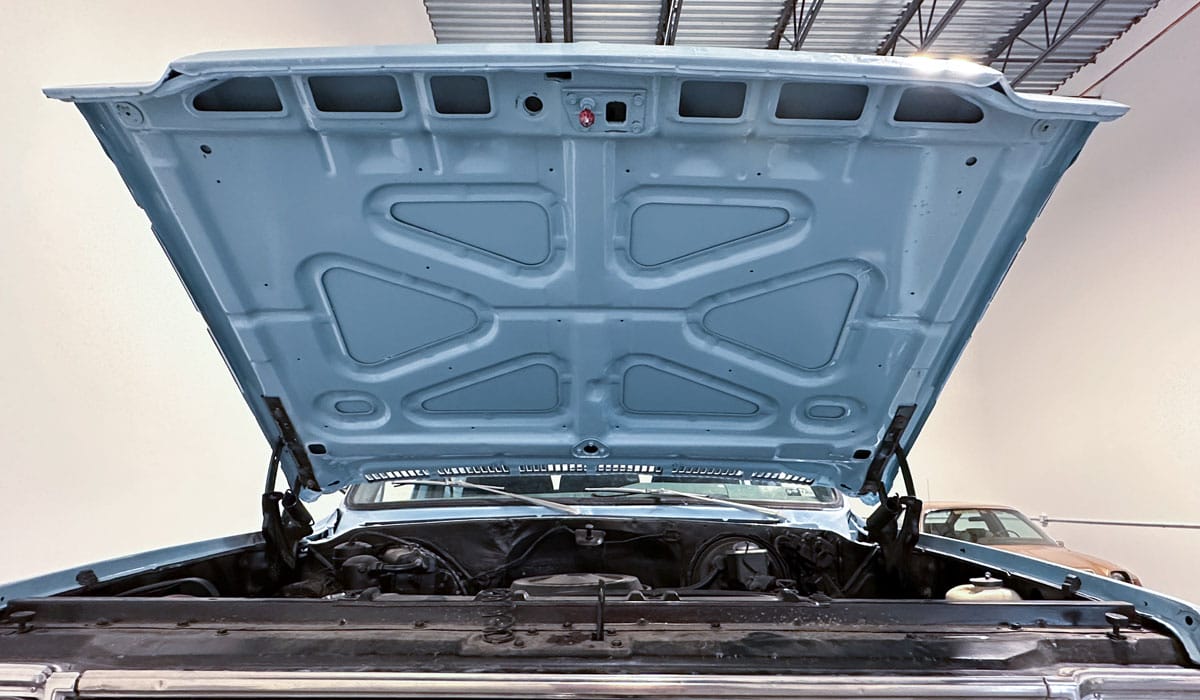
The Under Hood Shot – Insulation Mats
Some cars have a insulation mat affixed to the underneath of the hood to reduce heat off the engine from transferring to the hood and thus the paint. These insulation mats also help to sound proof the vehicle by absorbing engine noise. The insulation mat tends to be somewhat fragile but you can usually clean it by lightly wiping the surface with a water-dampened microfiber towel.
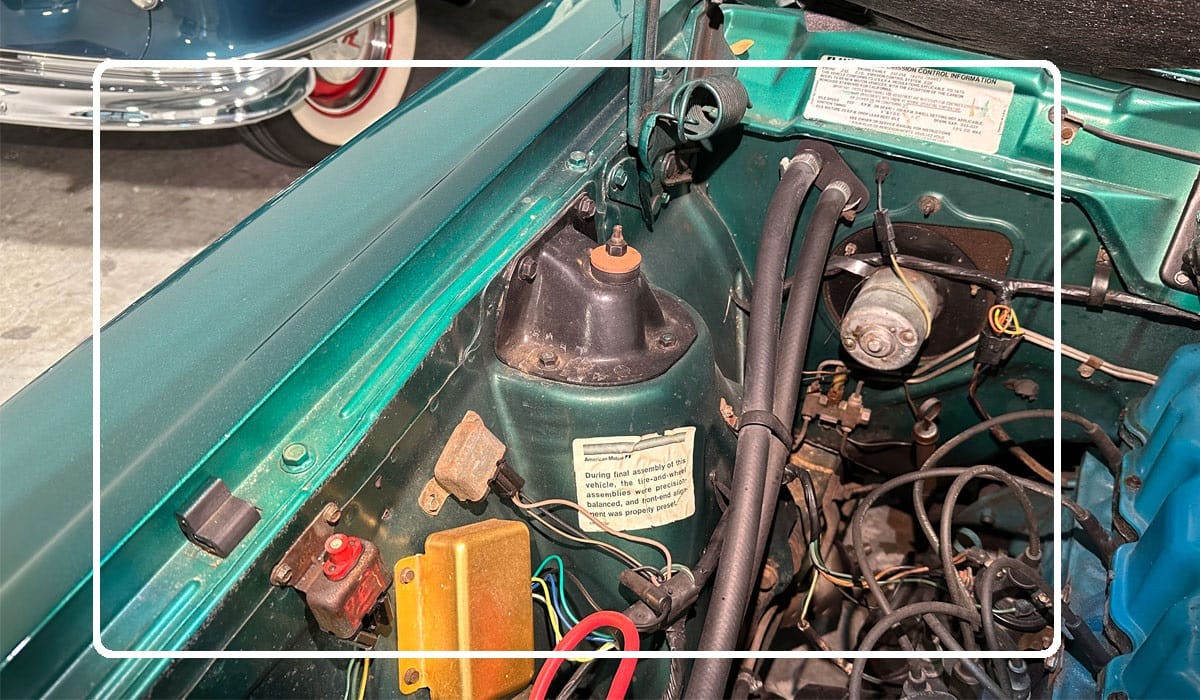
Under Hood Shot – Color Matching Paint
For other vehicles, the underneath of the hood is painted with color matching paint. For these types of hoods, you can wash, clean like normal paint and capture great before and after pictures to showcase your skills and attention to detail. This is another area where I will use a one-step product to hand polish the paint under the hood to create a cleaner looking engine compartment and more dramatic before and after pictures.
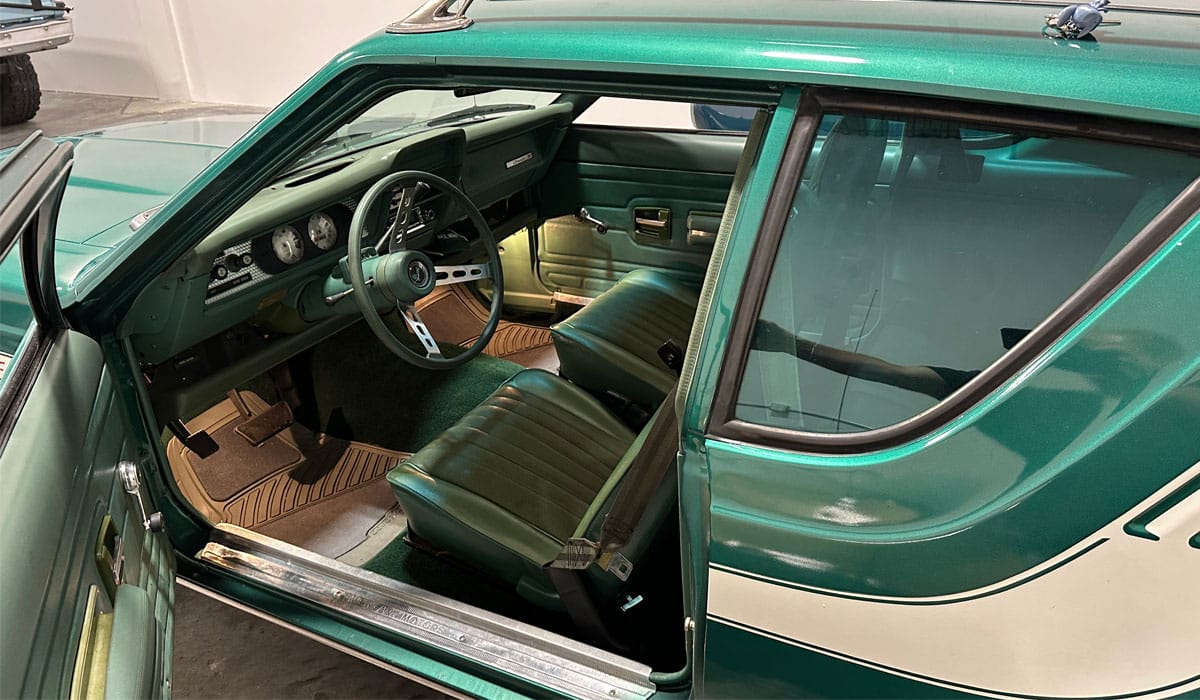
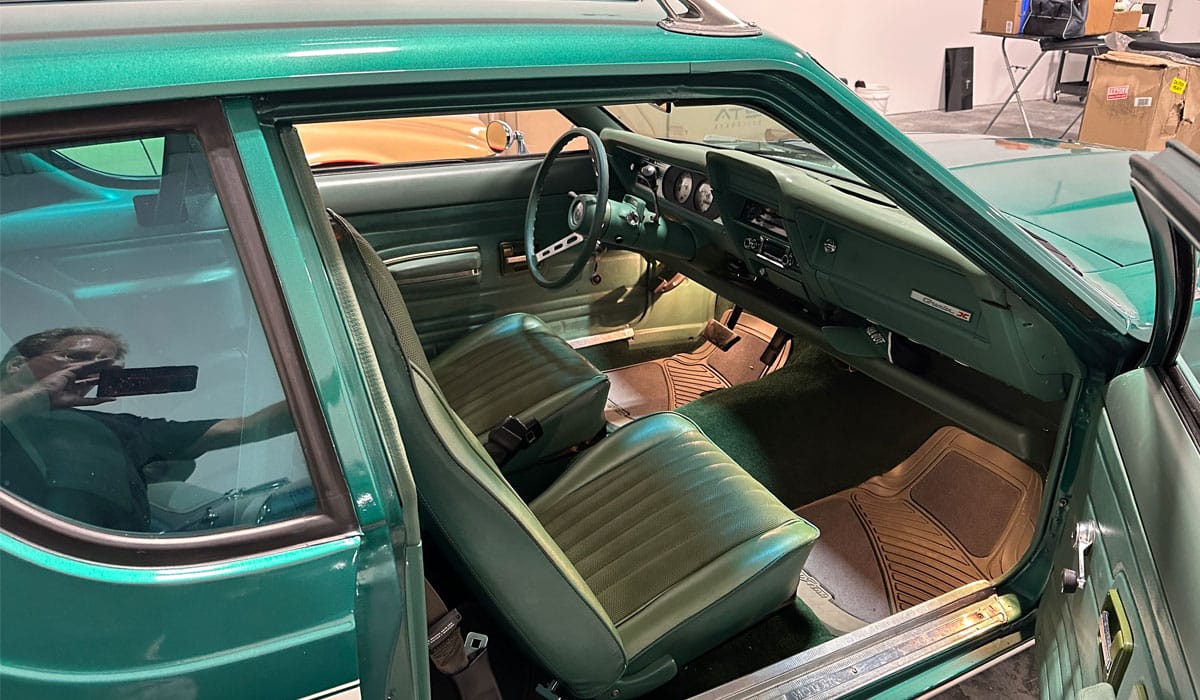
Interior Shots
Capturing great before and after shots for interiors can be a little tricky. It helps if the interior is darker versus lighter. For example dark or black colored carpets, door panels, dashes and seats will show before and after results better than lighter colors. It never hurts to capture the before shots in-case you need them.
For these types of pictures, I like to frame-up the shot on both sides and include a portion of the roof line, the lower portion of the body and the front and rear portions of the door opening like you see in the below pictures.
How to Photograph Different Kinds of Cars for Detailing
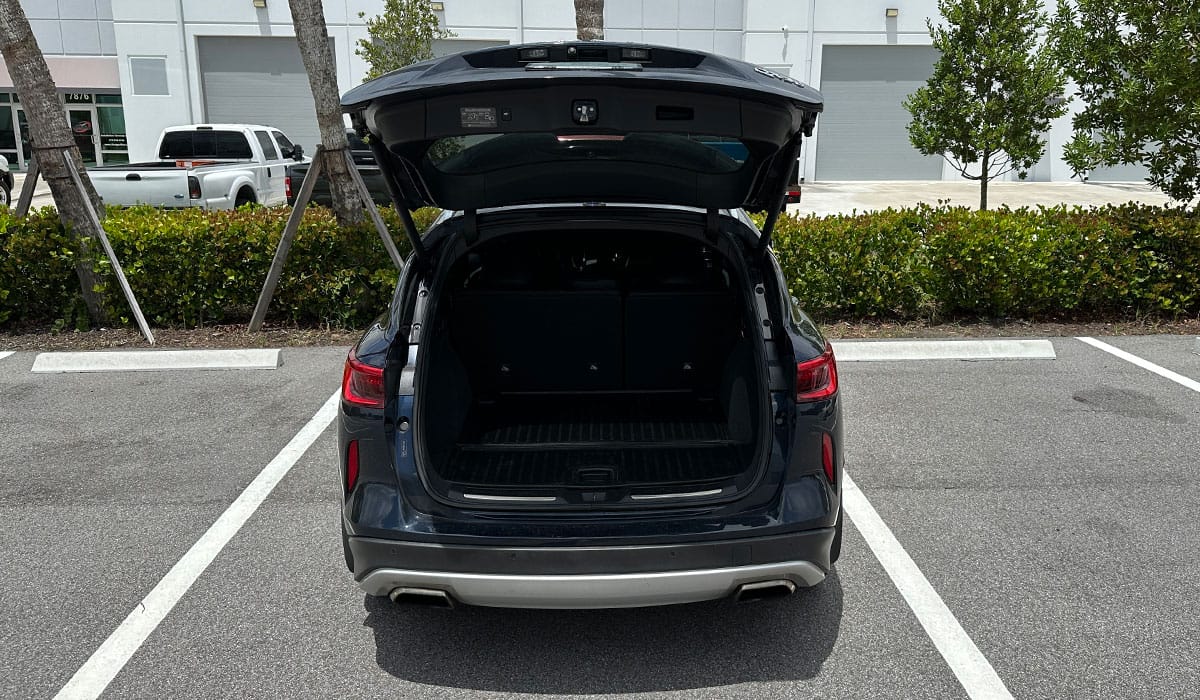
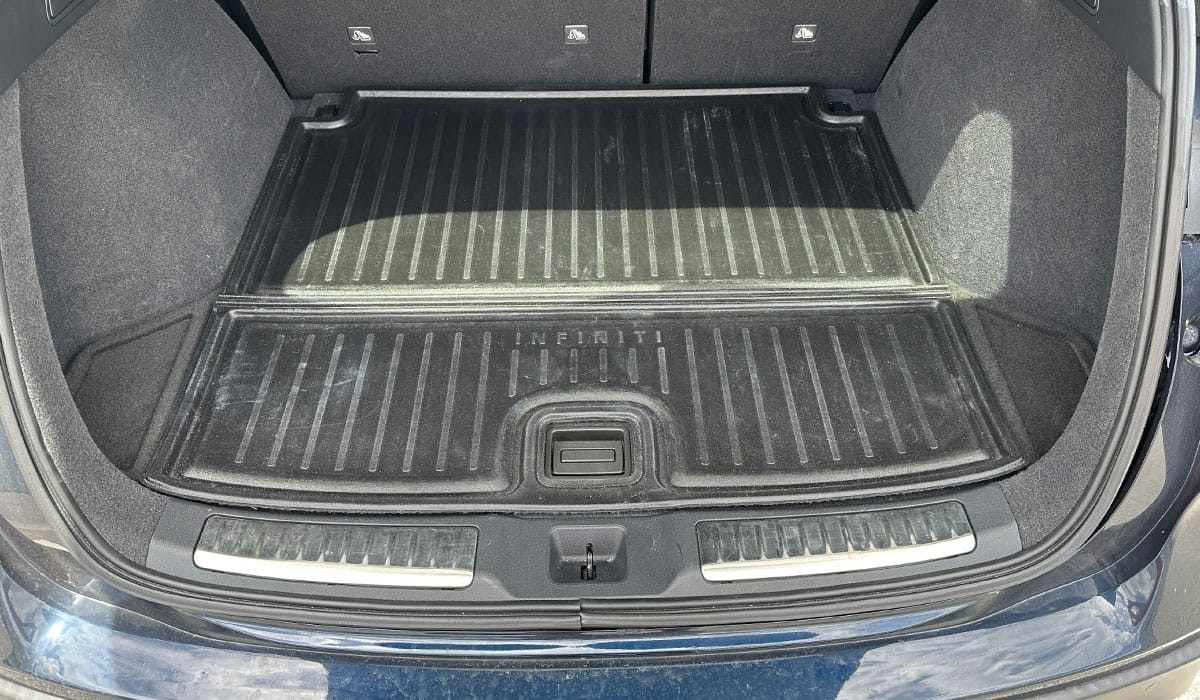
Trucks/SUVs
The passenger car is going the way of the dinosaur, that is, purchasing habits are changing and many people are opting for trucks and sports utility vehicles. SUVs will ted to have large cargo areas, often times with carpet or protective rubber mats and both carpet and rubber mats lend themselves well to great before and after pictures. Simply square-up your shots for photographing these areas. This Gremlin is an early design hatchback with a very small cargo area, basically larger enough to hold a spare tire and a few bags of groceries.
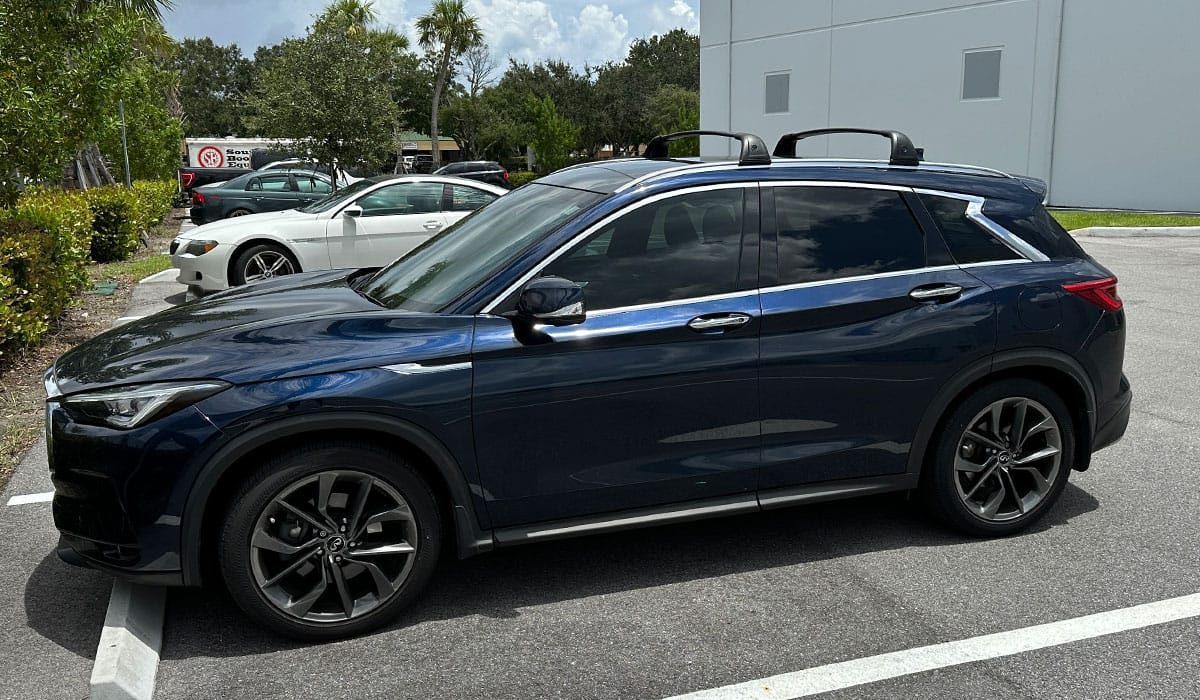
Modern SUVs
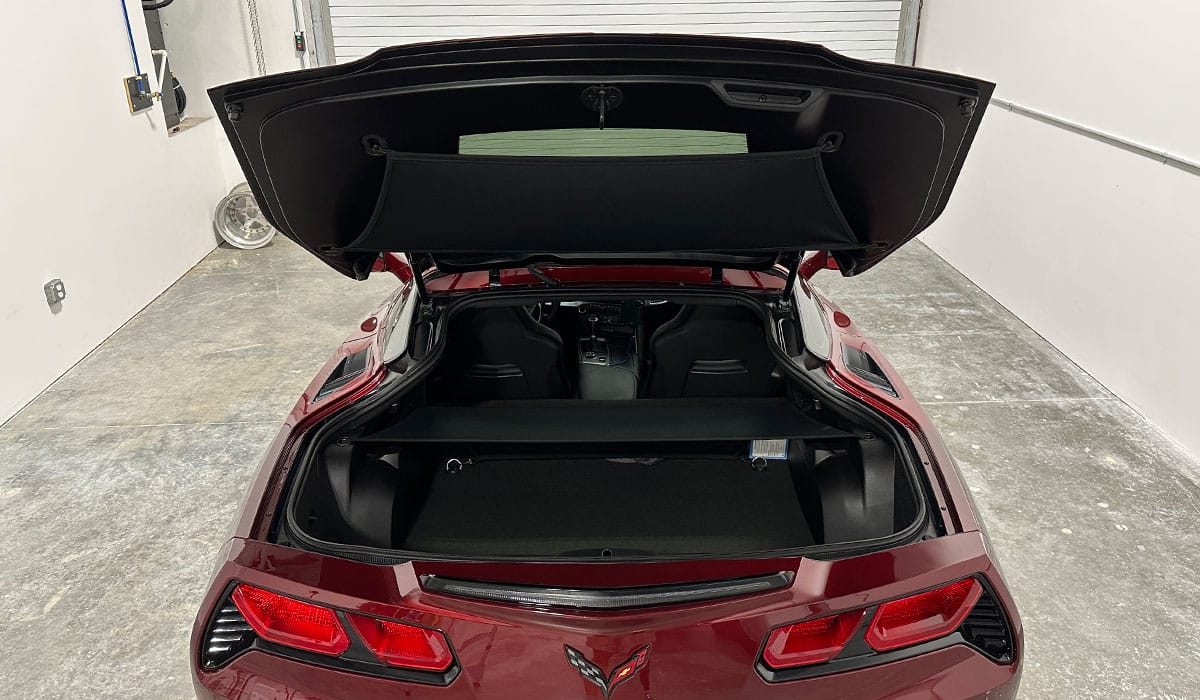
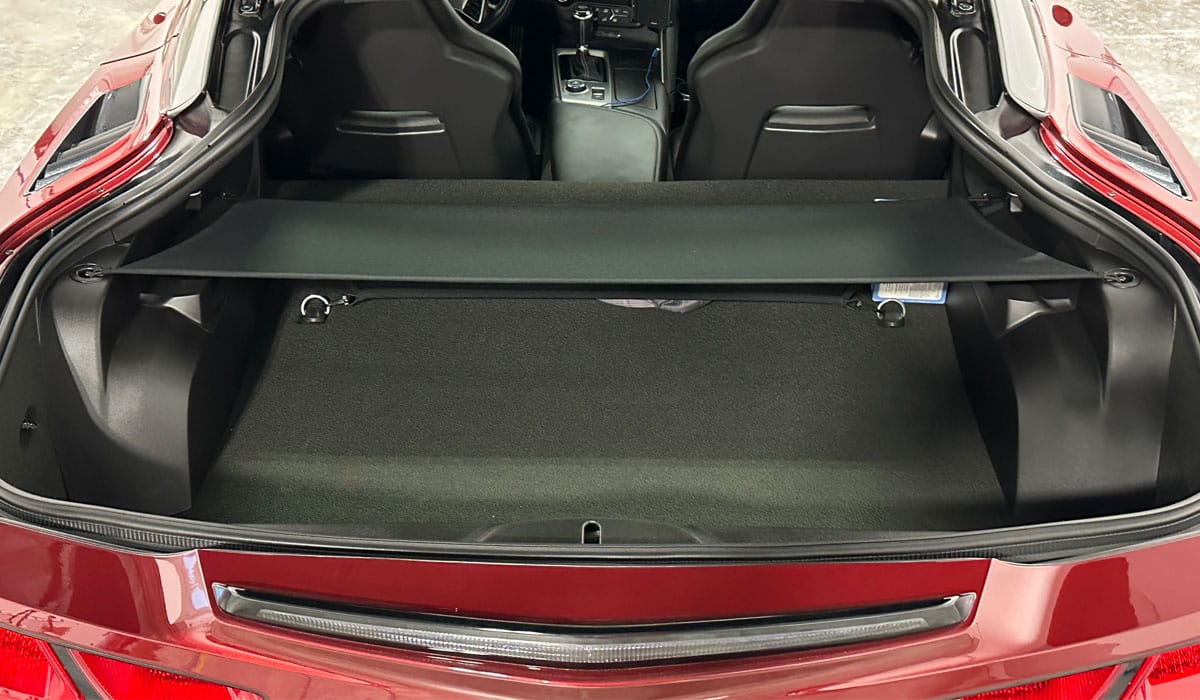
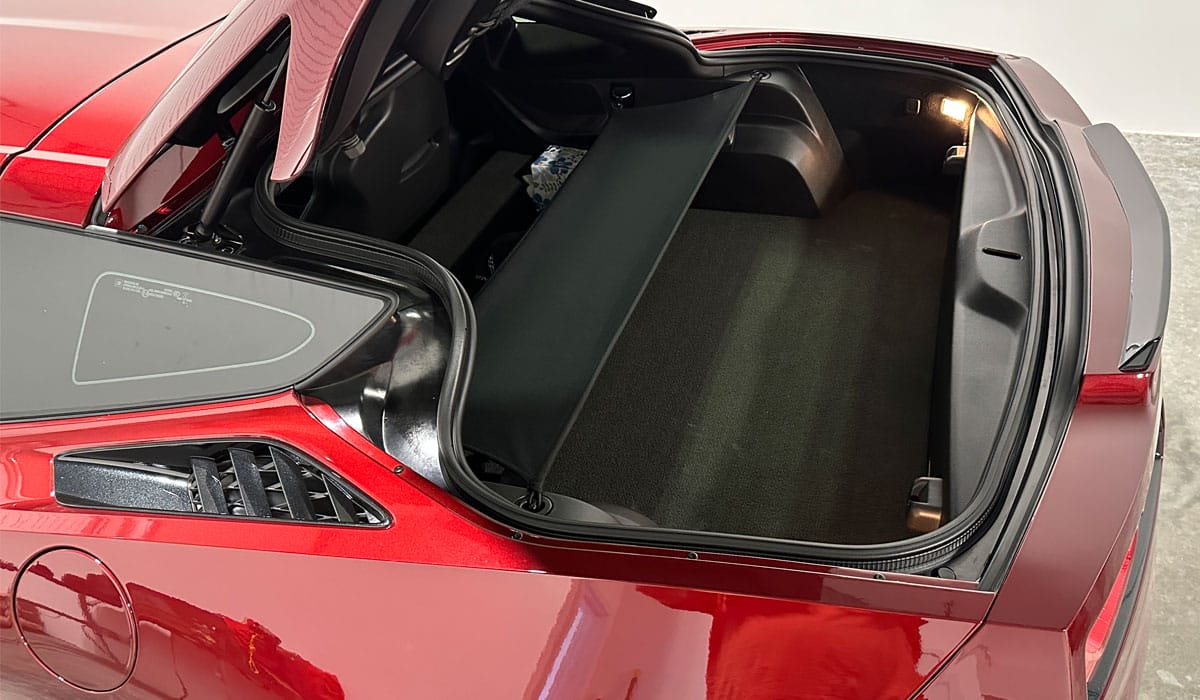
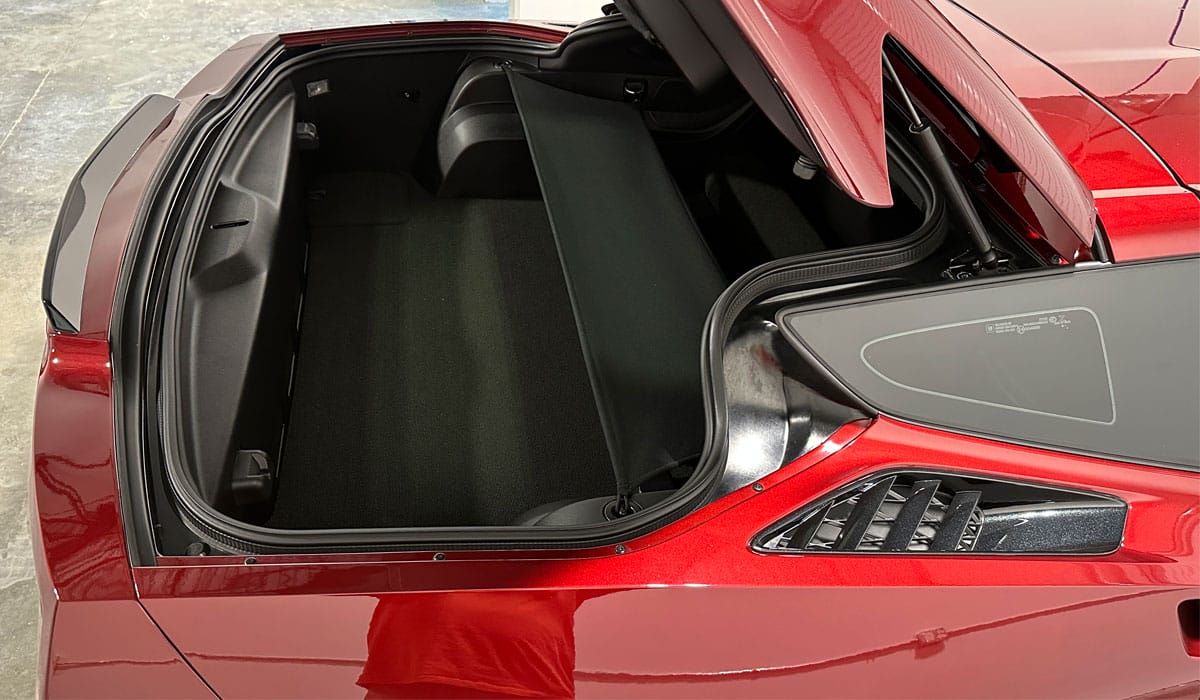
Sports Cars
Some sports cars have a trunk in the front and some in the back, the one thing they have in common are they tend to be small compartments. To photograph before and after pictures for these types of cars simply frame-up your shots like shown above. Sometimes it will help to take the before and after picture from the side of the car.
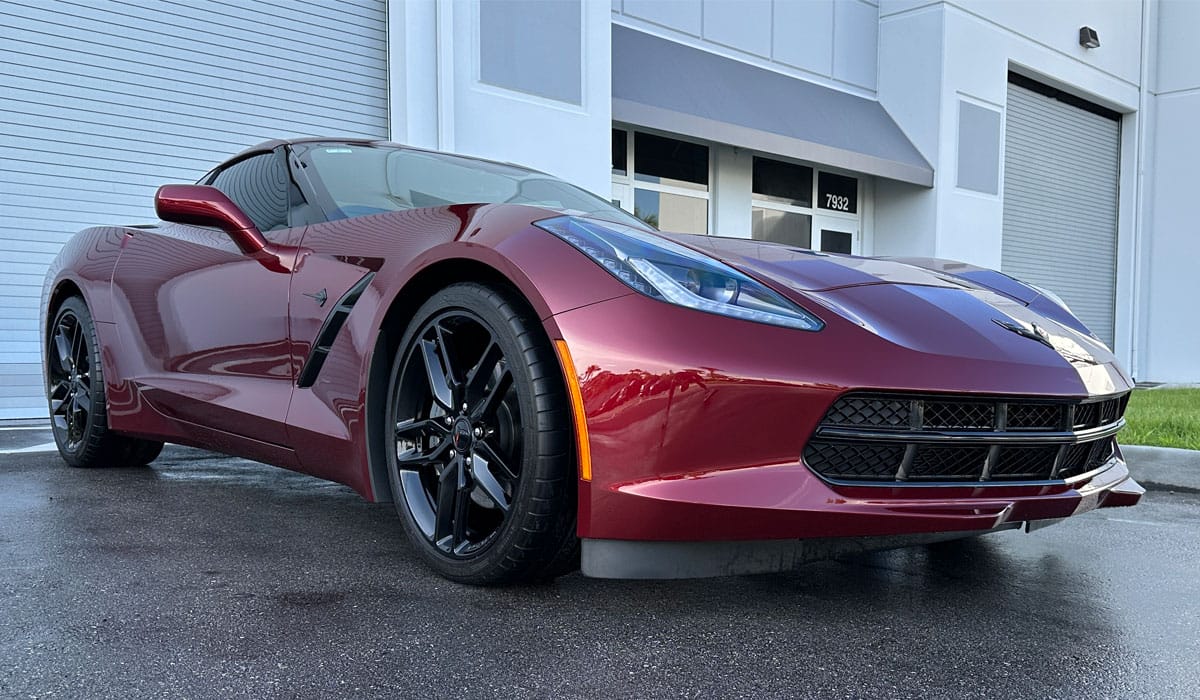
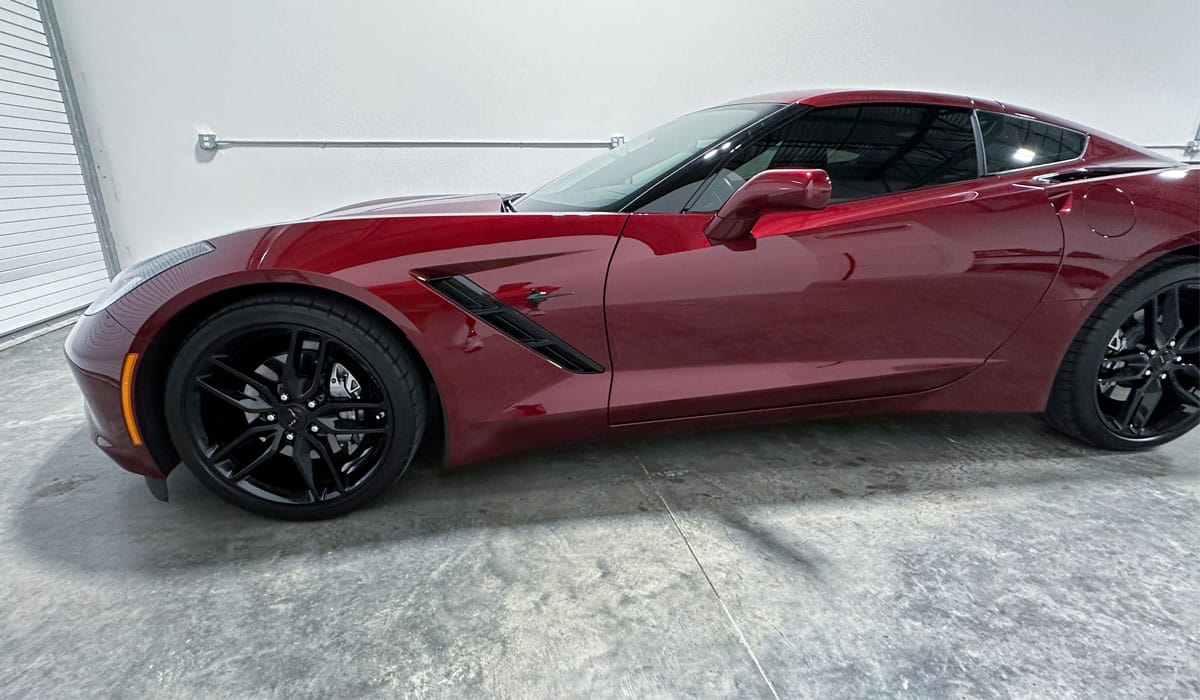
Glamour Shots: The Stylistic or Sexy Shots!
After all the hard work is done, every inch of the car has been polished to perfection, now it’s time to take the stylistic or sexy shots as I like to call them. These types of shots are to show off not only the body styling of the car, but your talent. Note how the perspective is from low to the ground. In a few shots, I’m even sitting on the ground to frame-up and capture the sexy! Have fun taking these pictures, it’s the best part of the detail job.

Remember – Capture the Whole Car!
Avoid the most common mistake – cutting out a portion of the car.
Getting great before and after shots means slowing down, frame-up your shot and then take the picture. The most common mistake I see is when taking a shot, a portion of the car is out of frame.
Do this…
Don’t do this…
We cover car detailing photography in all our classes!
Our Future of Detailing Clinics are the most exhaustive car and boat detailing classes on planet Earth and they all include tips and techniques for how to correctly photograph the cars and boats you detail. To get more information on upcoming classes, click the link below.
See upcoming detailing classes
What are you working on?
Besides detailing cars professionally, teaching classes on both car and boat detailing and writing articles and making videos sharing tips and techniques on these topics, I also love answering questions and helping others to success for their projects in their shop or garage. If you have any car or boat detailing questions, as well as glass polishing questions, feel free to reach out and I’ll do my best to help.
Mike Phillips – 760-515-0444 – Mike@DrBeasleys.com
The amount of times Ive forgotten to clean the lense first! Thanks for the great article
Hi Jack,
I agree. I’m taking pictures and videos almost every day using my iPhone and because it’s only natural to have the phone in my hands, about 99.9% of the time when I inspect the lenses, sure enough, there are fingerprint smudges.
Always inspect the lens.
Thank you for commenting.
Mike Phillips