


Last Updated July 22, 2024
Most modern cars have some amount of black plastic trim as function of the body design or for beauty accents. Over time, with exposure to the sun and inclement weather, these black plastic trim components will fade, oxidize, and lose their original factory appearance.
Besides aging from exposure to the sun and the elements, the normal wear-n-tear from driving a car means the car is continually exposed to dirt, dust, airborne pollutants and traffic film. All of these forms of contamination degrade and corrode the black plastic trim on your car.
In the old days, cars were made from steel, glass, and chrome. Nowadays, plastic is one of the primary materials used to build a car. Over 50% of a modern car’s body and parts are made from plastic.
In this article, we’ll share the best tips and techniques as well as the correct products to both clean, restore and protect exterior black plastic trim.
Why Does Black Plastic Trim Fade?
Most exterior plastic trim components are made from either polyoxymethylene, polypropylene, polyethylene, polystyrene, and/or thermoplastic olefin. These various types of raw plastic materials are easily molded into a variety of shapes and comparatively speaking, provide long lasting, durable trim components inside and outside of a modern vehicle. However, like many other surfaces, this type of plastic is susceptible to UV damage in the form of color fading.
When black or gray plastic trim is exposed to UV radiation, the energy from the UV light can break the chemical bonds in the polymer chains that make up the plastic material. This process is known as photo-oxidation, and it primarily affects polymers that are susceptible to UV degradation, such as polyethylene and polypropylene. When the polymer chains start to break down, the black or gray color begins to fade.
Does Plastic Trim Oxidize?
Here’s the thing about oxidation on plastic trim — it’s not actually the plastic that’s oxidizing. Rather, it is the impurities in the plastic that degrade and oxidize. Once oxidation starts it cannot be stopped. It can be slowed down, masked, camouflaged, etc. but not stopped.

Why Are There Stripes on My Car’s Plastic Trim?
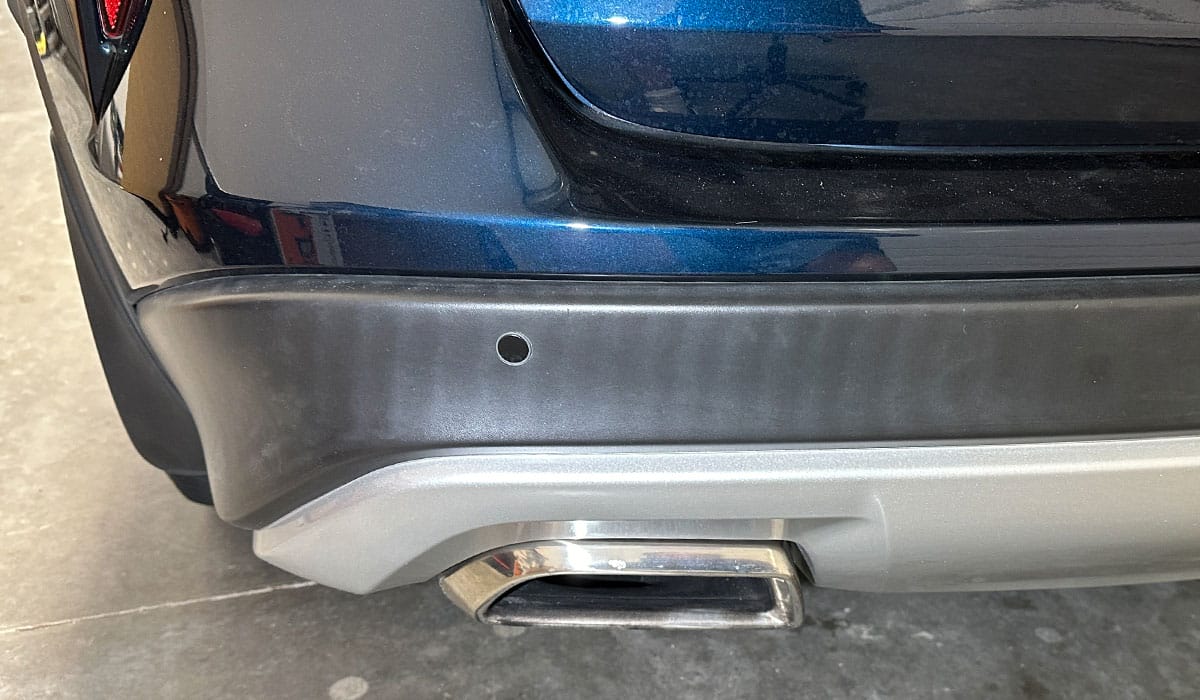
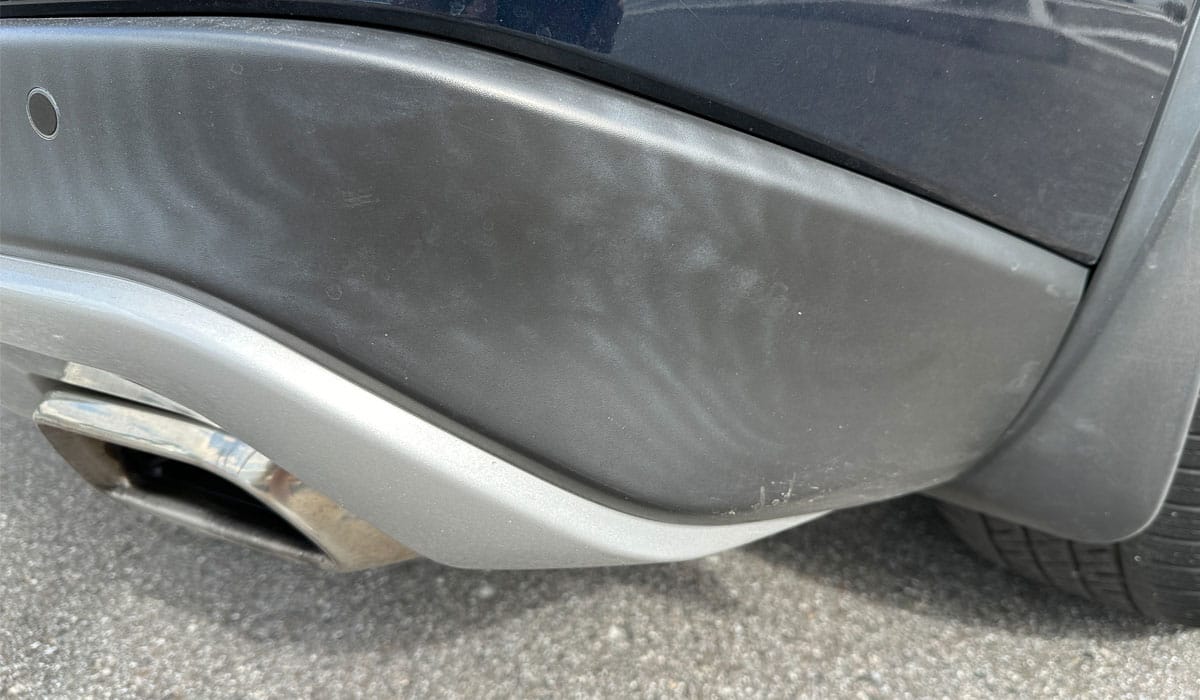
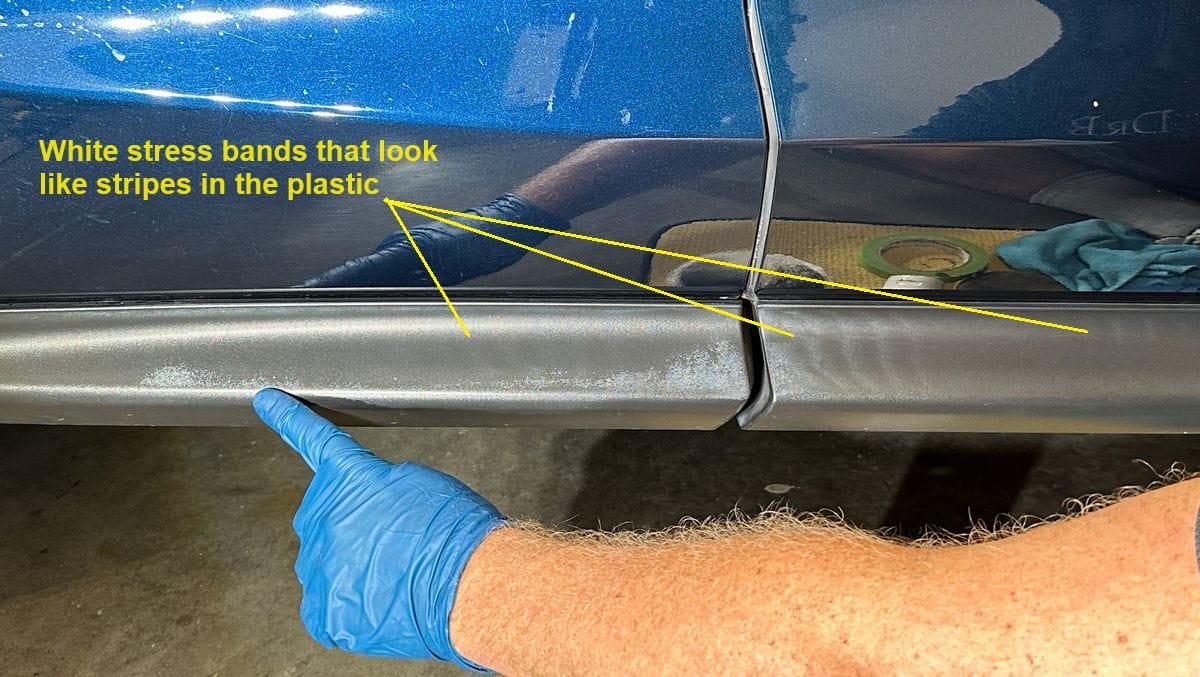
Sometimes you’ll see white stripes resembling those of a zebra on black or gray plastic trim. Those white stripes correspond with the location of stress bands in the plastic material. These bands are how the molecules band or join together to form a uniform matrix of plastic material. Over time, the plastic surrounding the stress bands will also turn white.
Here’s why it happens. When plastic comes out of a mold, brand new, the components are uniform in color. Over time, as a plastic component expands and contracts due to temperature fluctuations, the weakest portions of the plastic, the stress bands, break down first.
The physical molecules that make up the plastic to push the PBk6 Carbon out of the plastic matrix, resulting in a white-ish color where the stress bands were located..
PBk6 Carbon is a form of Carbon Black used to give automotive exterior plastic trim components a range of color from a deep, dark black to various shades of gray. As the PBk6 Carbon is removed from the plastic component, the area where the PbK6 is now missing appears as a whitish color. The results from this UV degradation is the lines you see in the plastic have become the weakest points in the component. The first visual indicator that the plastic on your car is degrading are the white lines or Zebra Stripes.
To avoid zebra stripes, protect your plastic trim early on. Anytime you purchase a new vehicle, start right then and there to pro-actively apply some type of protective dressing or trim protectant.
How to Clean & Restore Faded Black Plastic Trim on Cars
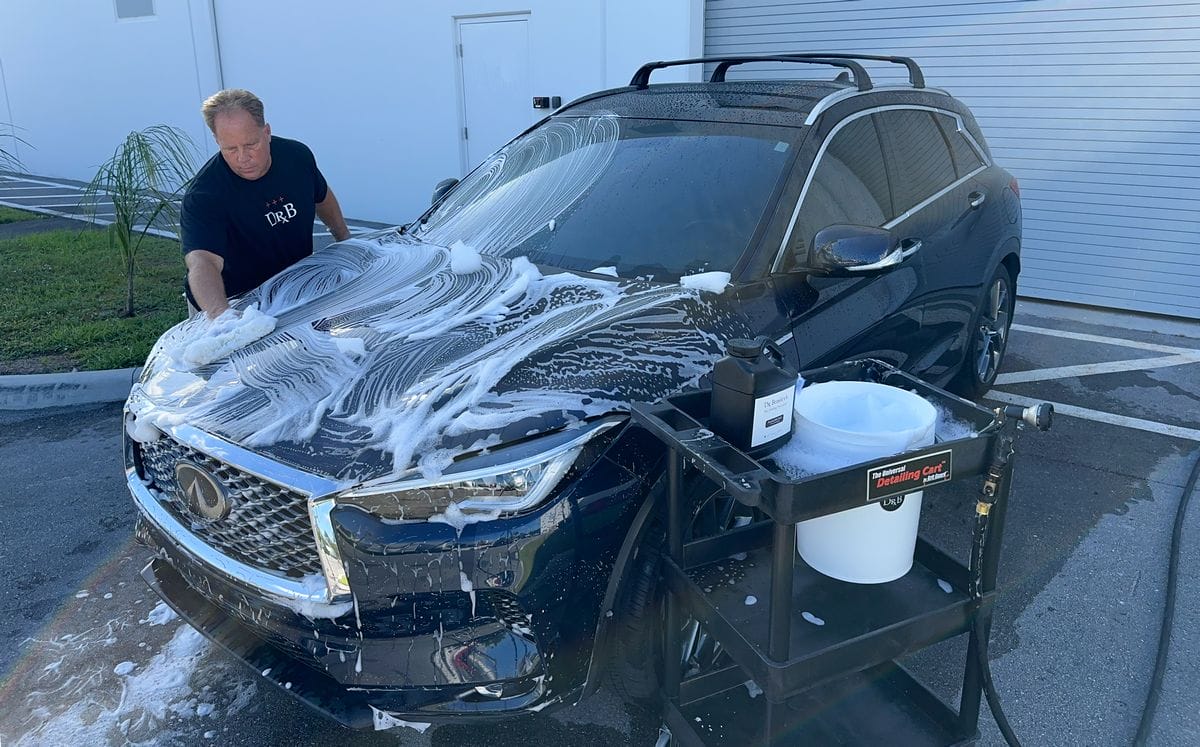
Washing your car often or as needed using a quality pH balanced car wash soap and a quality car wash mitt is a completely adequate way to clean black plastic trim in new or like-new condition.
For extremely neglected black plastic trim, if you’re cleaning the trim to treat it with the product I’m going to share below or any type of plastic trim dressing or protectant, then it’s a good idea to scrub the plastic with a medium bristle brush and an all-purpose-cleaner.
A Note on Restoring Faded Color
While there are a number of products on the market that can dye faded black or gray plastic to restore a factory new finish, it is my personal experience after detailing thousands of cars and also teaching thousands of car detailing classes, that the best dye-type product on the market is the Solution Finish Black Trim Restorer by Solution Finish.
It’s important to note that Solution Finish is NOT a protectant, it’s a dye and after applying and then removing any excess product, you need to next apply a quality plastic trim dressing or sealant. The Solution Finish will restore the factory original color and the trim protectant or trim dressing acts to seal the surface of the plastic to lock in the Solution Finish and lock out Mother Nature.
Step by Step Instructions
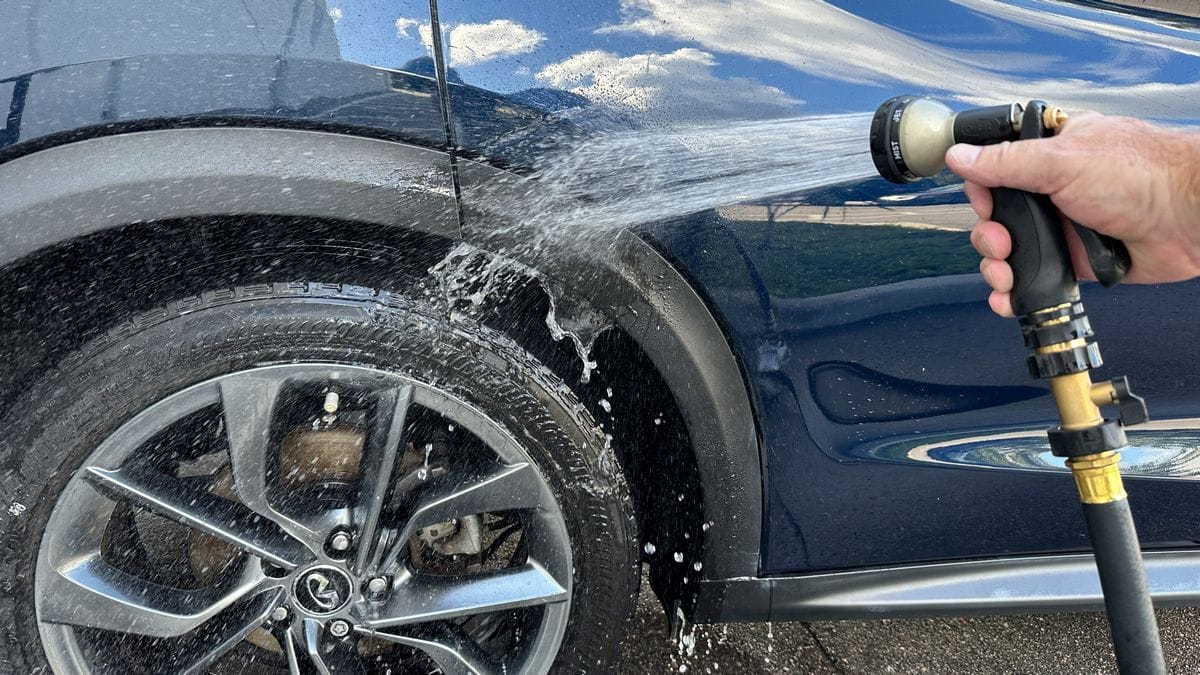
Step 1: Wash and dry car.
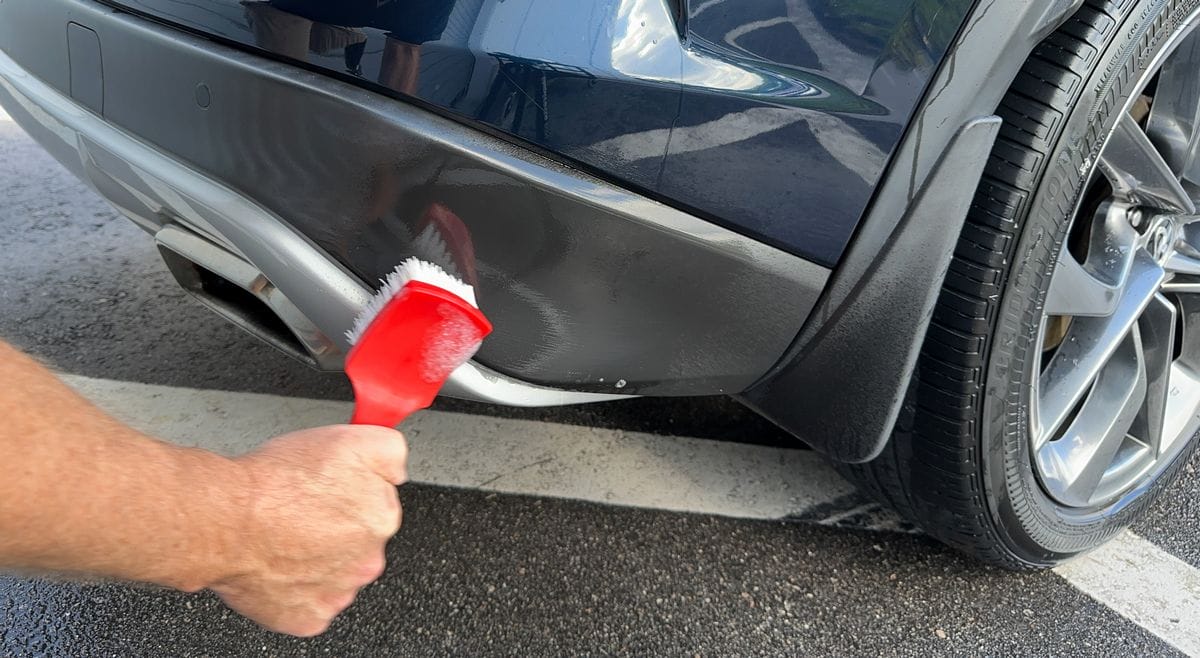
Step 2: Use a dedicated cleaner and brush to scrub neglected trim
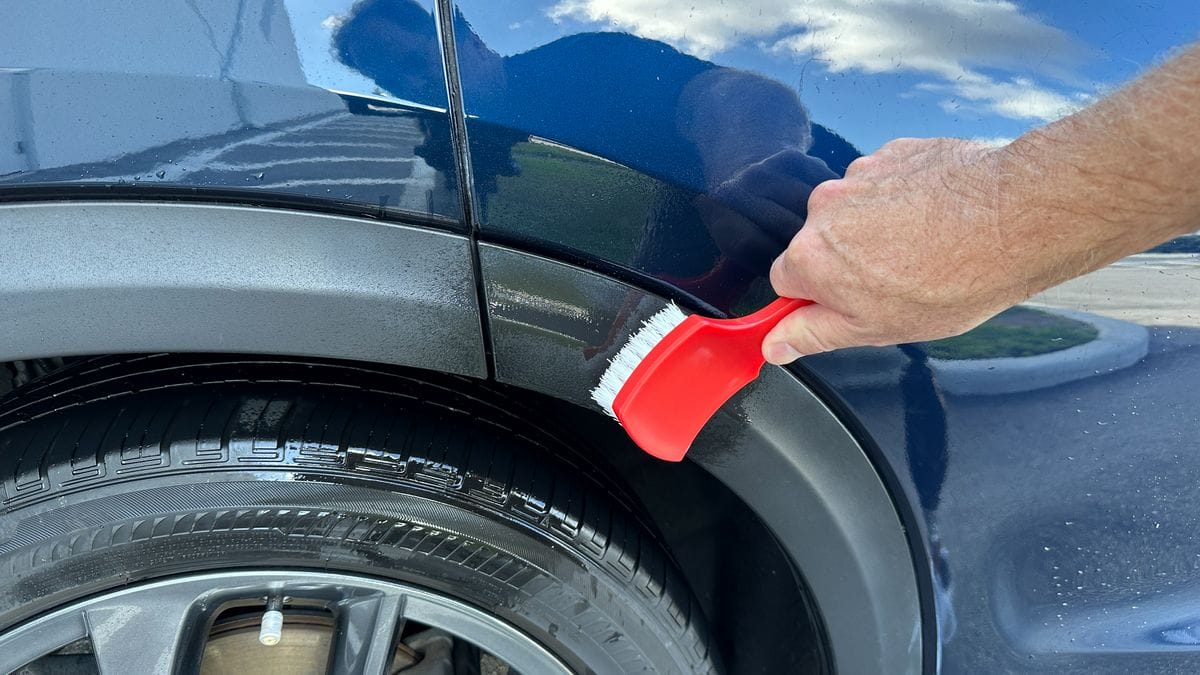
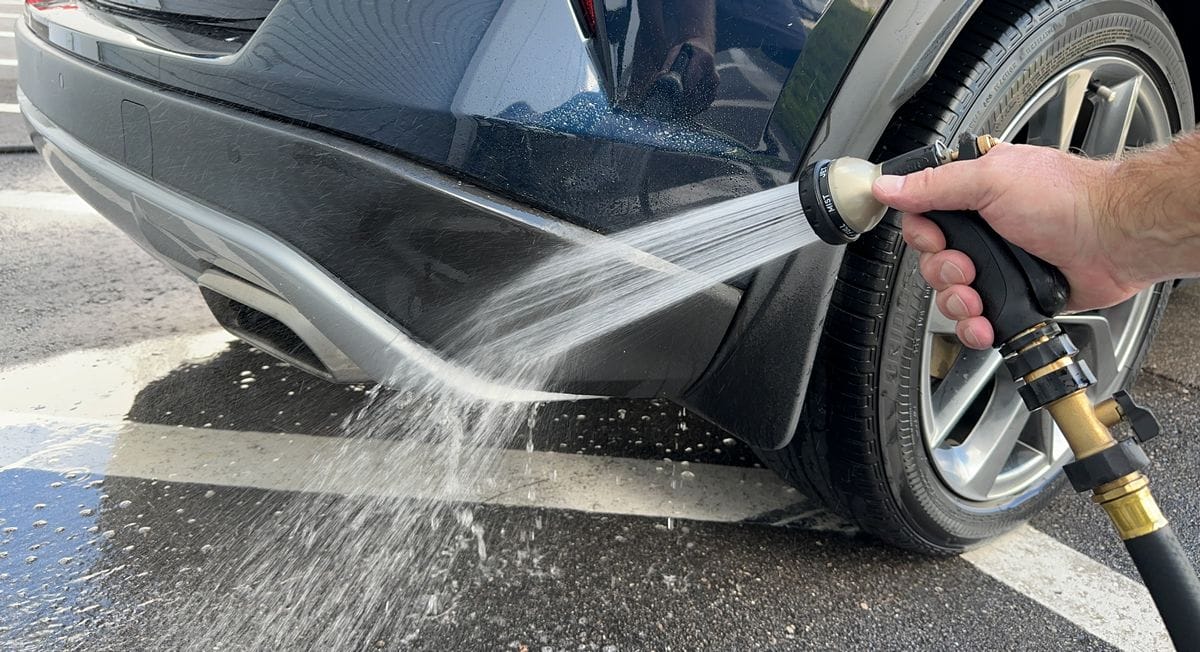
For severely neglected and faded exterior black plastic trim, agitate the trim surface with a medium bristle brush and a quality cleaning spray. Scrub thoroughly and then give the trim a final rinse.
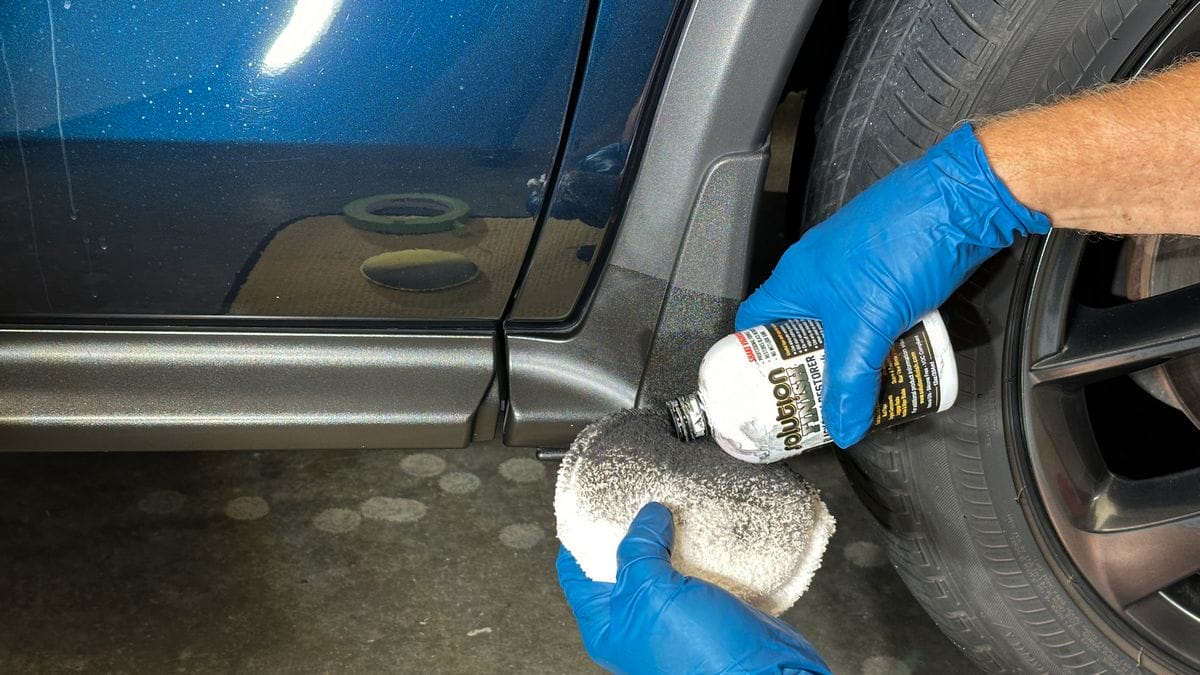
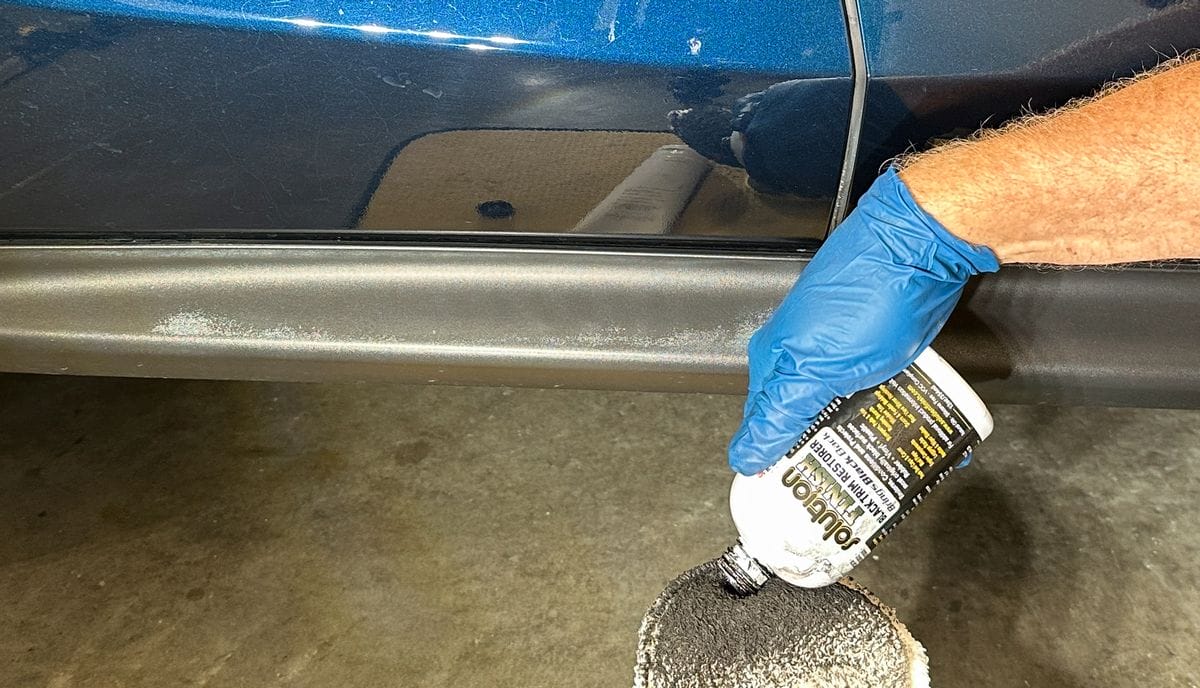
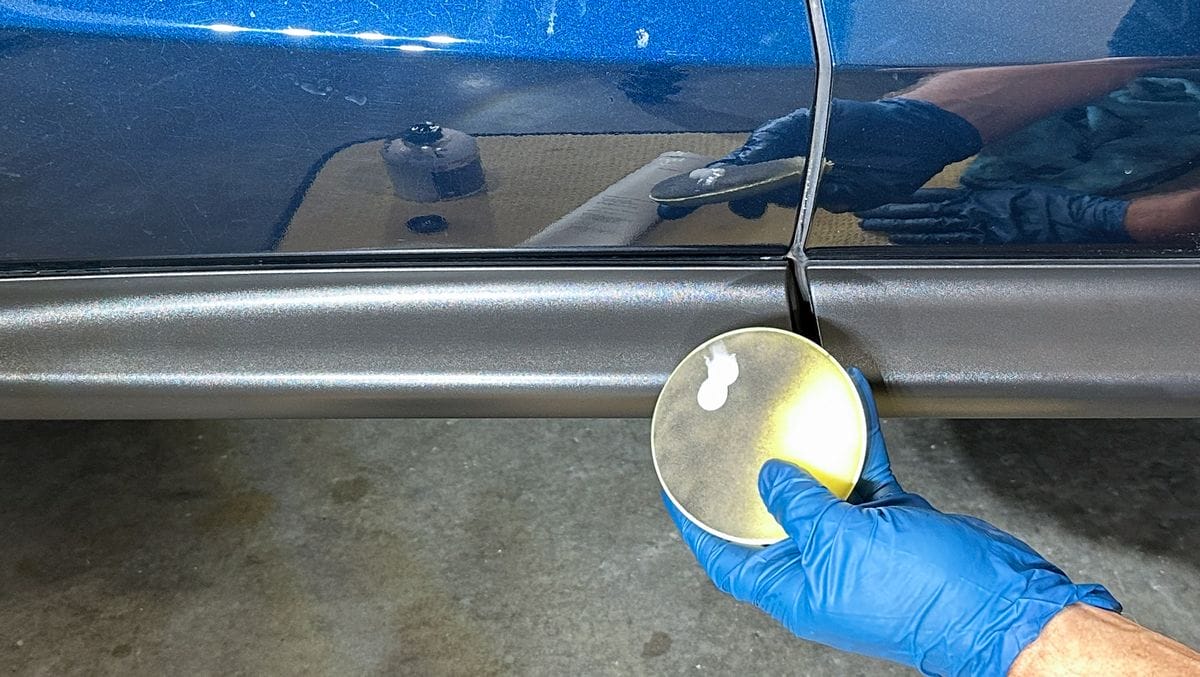
Step 3: Apply Solution Finish to all exterior plastic trim
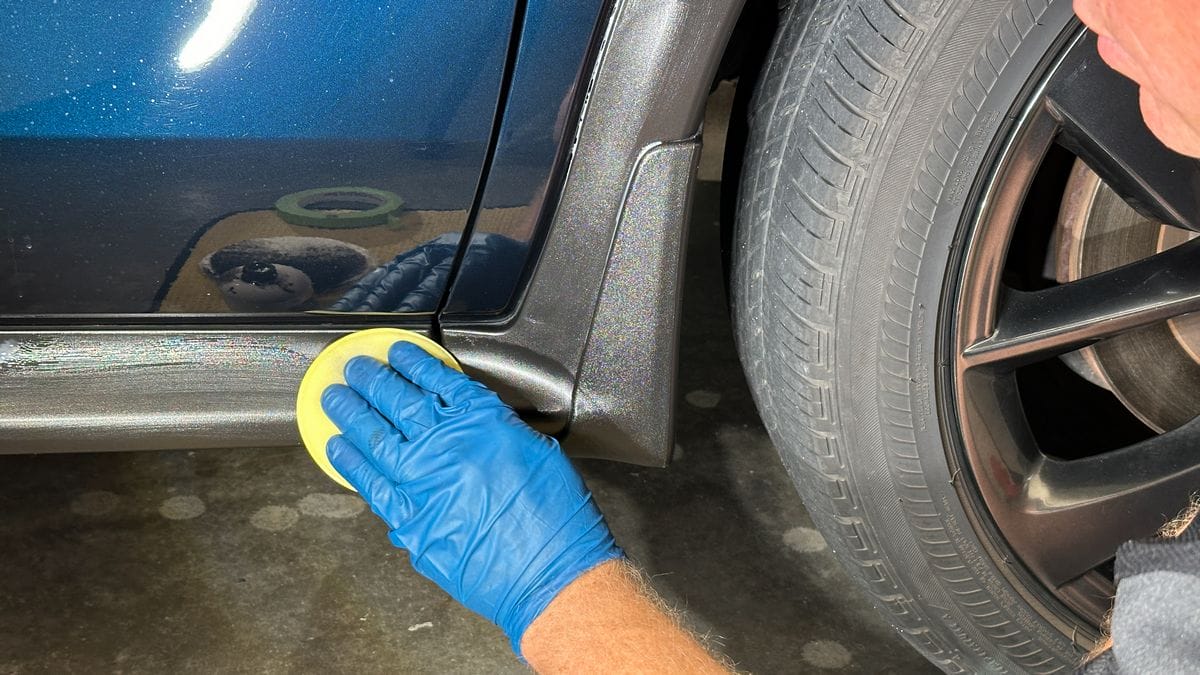
To apply Solution Finish, use a clean foam, microfiber, and/or cotton applicator pad. Any of these will work fine. Note that the Solution Finish is going to forever dye this applicator pad. You can wash it by hand and reuse it in the future or discard it. Massage the Solution Finish over the surface of the faded black plastic trim. Work the product in thoroughly. Allow 30 to 45 seconds for the Solution Finish to adequately penetrate into the plastic.
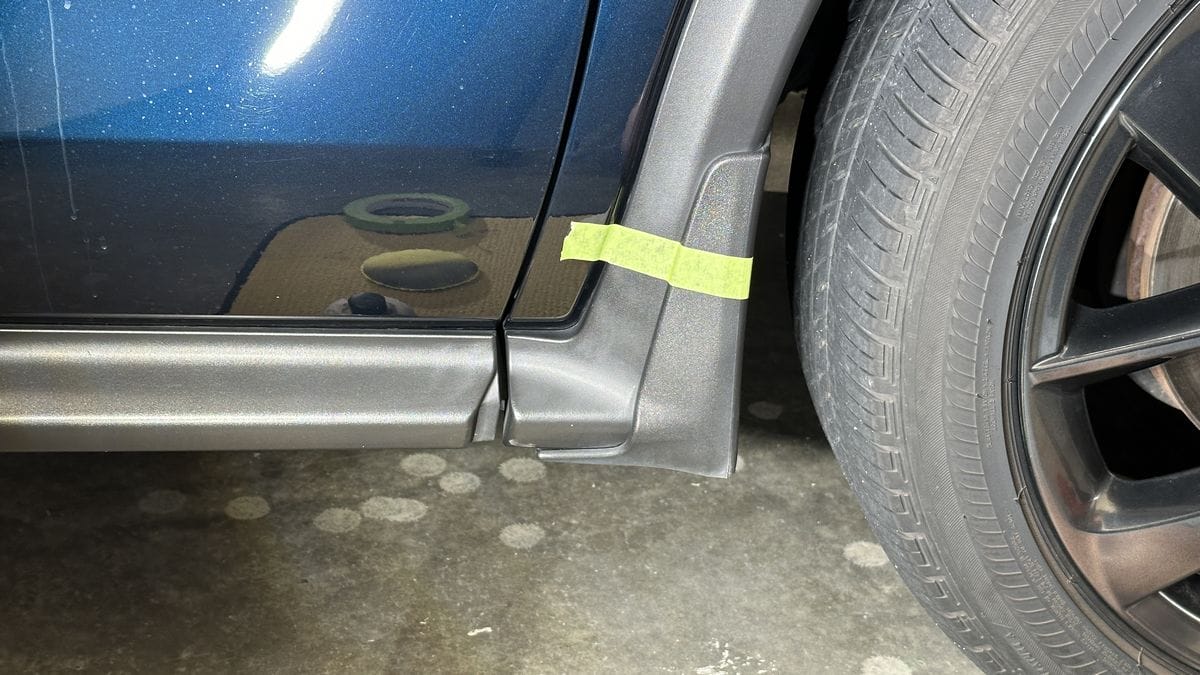
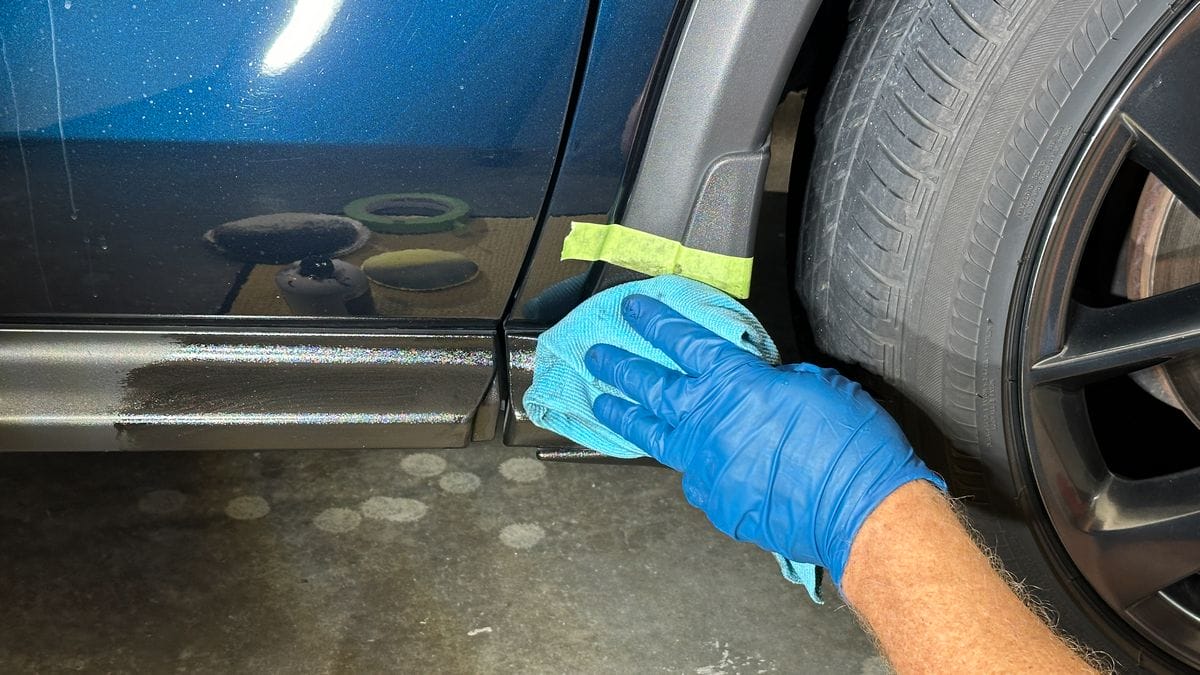
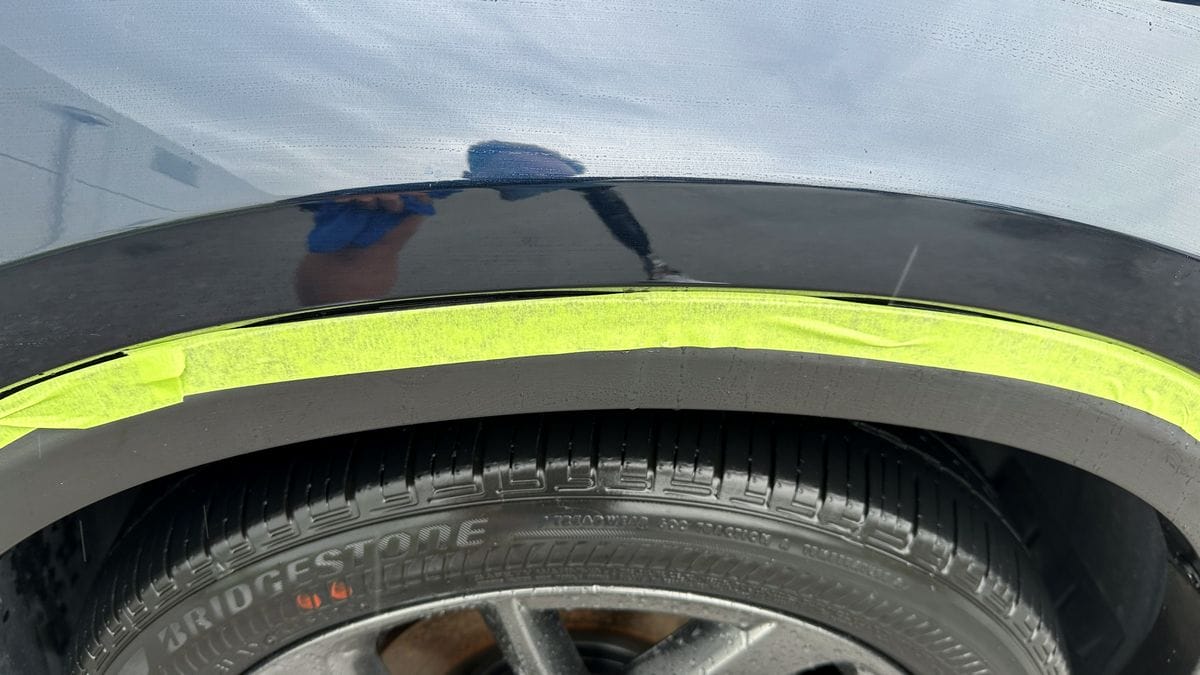
NOTE: In the below photos, I’ll use a strip of painter’s tape to tape-off a before and after section so you can see the dramatic difference between faded plastic with Zebra Stripes and treated plastic with Solution Finish.

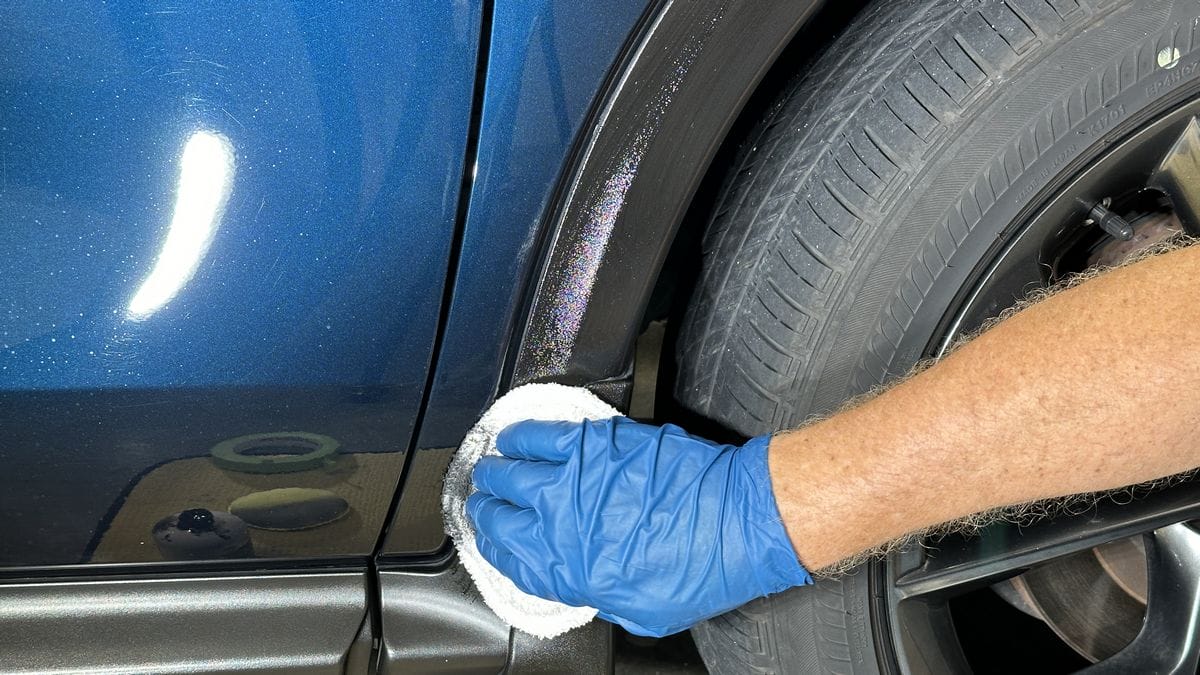
Step 4: Remove excess product
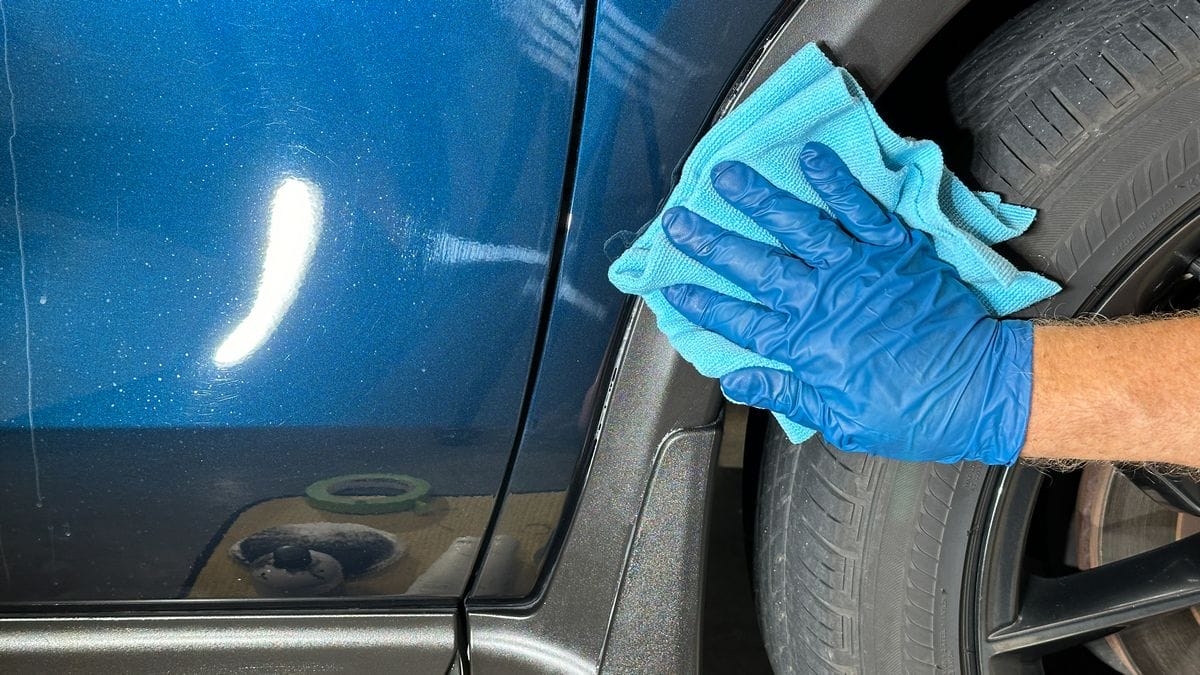
After massaging Solution Finish over and into the plastic trim, allow for 30 to 45 seconds for the product to penetrate and then wipe the surface using a clean microfiber towel to remove any excess.
Step 5: Protect plastic trim
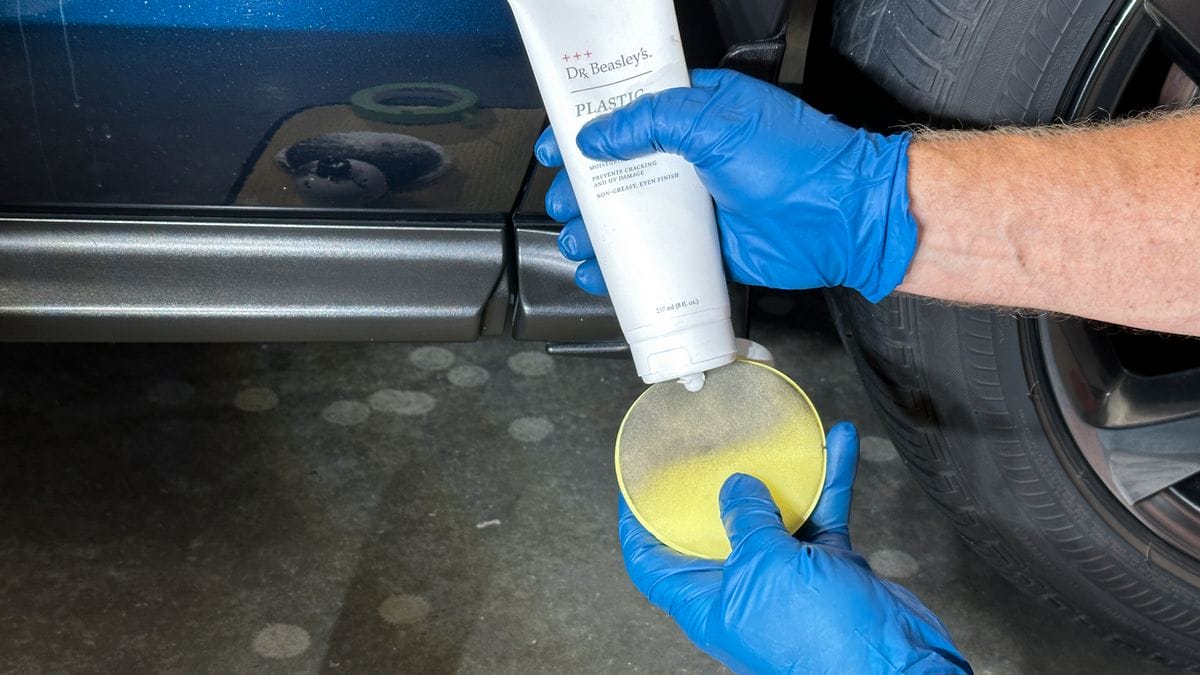
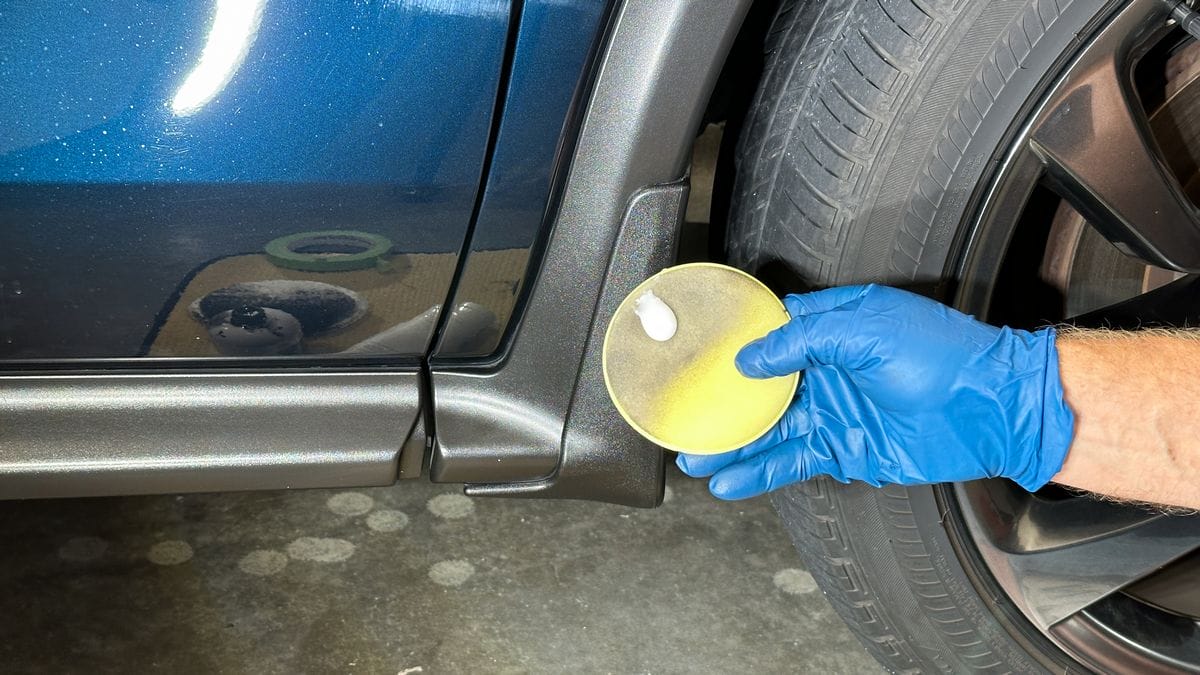
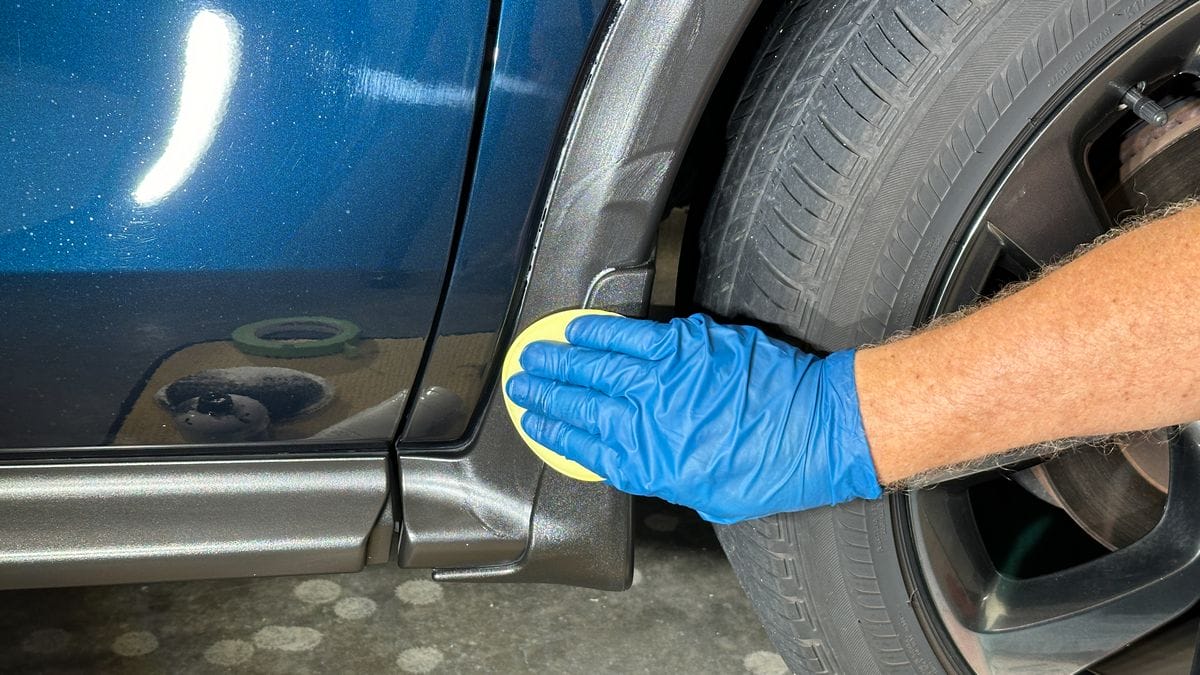
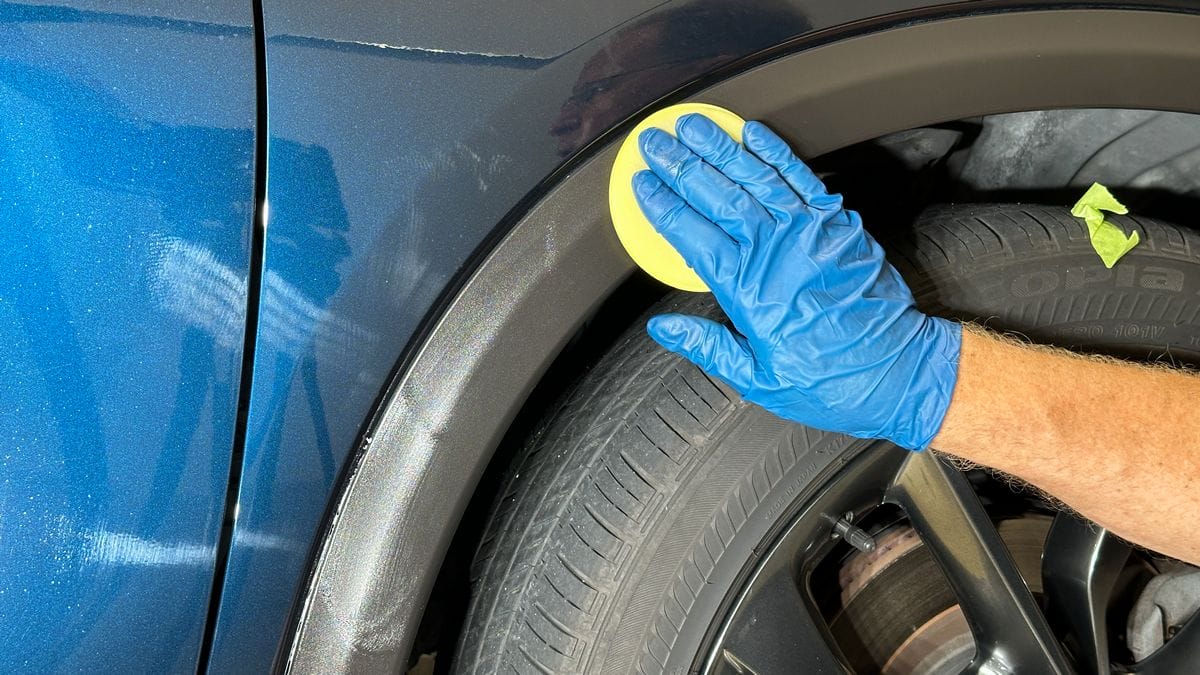
After treating all plastic surfaces with Solution Finish, next apply a plastic trim protectant. Apply using a clean foam or microfiber applicator pad, or even a fine bristle brush. Thoroughly massage over all treated surfaces.
Step 6: Remove excess protectant
Allow 10 to 20 seconds to pass and then remove any excess with a clean, microfiber towel. As mentioned above about the applicator pad used with Solution Finish, any towel you use to wipe-off excess protectant will also become permanently stained, so don’t use your best towels.
How Do I Prevent Black Plastic Trim From Fading?
The best practice is to protect and preserve brand new plastic while it’s brand new to stave off oxidation in the first place. This means preventative maintenance. Most people, after buying a new vehicle because it’s new, the exterior plastic trim looks GREAT. Therefore, the average owner doesn’t do anything, or doesn’t do any preventive maintenance.
After a few years go by, the owner, when looking at or more closely inspecting their now older car, notices all the plastic trim and cladding is now faded and ugly. Now this person is in repair mode, not preventative maintenance mode. It’s too late to prevent fading.
Is there a way to prevent Zebra Stripes when a car is still brand new?
Anytime you purchase a new vehicle, start right then and there to pro-actively apply some type of protective dressing or trim protectant.
How Do I Remove Wax, Polish or Overspray Paint from Plastic Trim?
Removing overspray paint or any type of stain, like removing compound, polish or wax residues off of black plastic trim can be challenging. One of the reasons why is because most exterior black plastic trim has a pebble texture to it instead of a smooth texture.
This pebbled texture to the surface means contaminants like overspray paint or wax and polish residue impacts into the tiny voids created by the pebble textured surface and gets stuck with a strong bond that’s hard to break or loosen.
Due to the pebble textured finish on most black plastic trim, you are limited in what you can do physically to remove overspray or wax and polish residue. Use a strong degreaser to break down the residue chemically, then agitate with a brush to mechanically break down the residue so it can be easily removed from the texture.
What if I Can’t Remove the Overspray/Residue?
Because removal can be difficult, the next best thing is to mask or camouflage the overspray or stains. While not the perfect repair, besides this option, the only other option is to replace the black plastic trim or component.
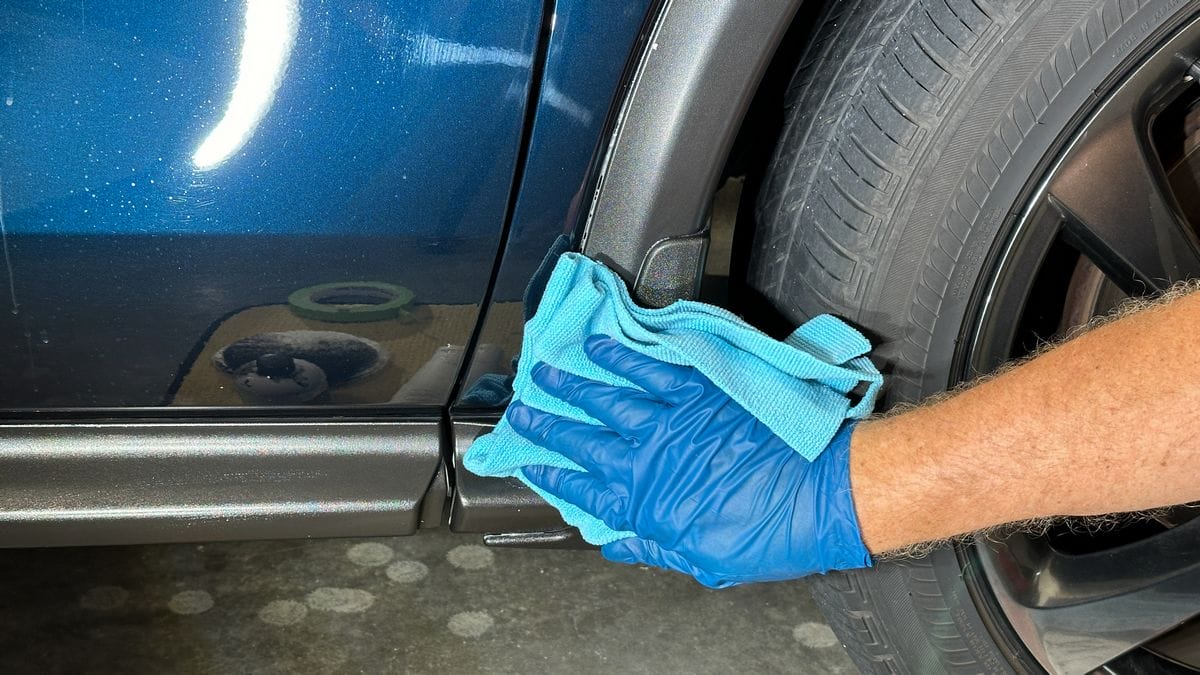
The process for masking stains you cannot fully remove is the same as restoring faded black plastic trim. Start by washing and scrubbing the affected plastic trim to the best of your ability.
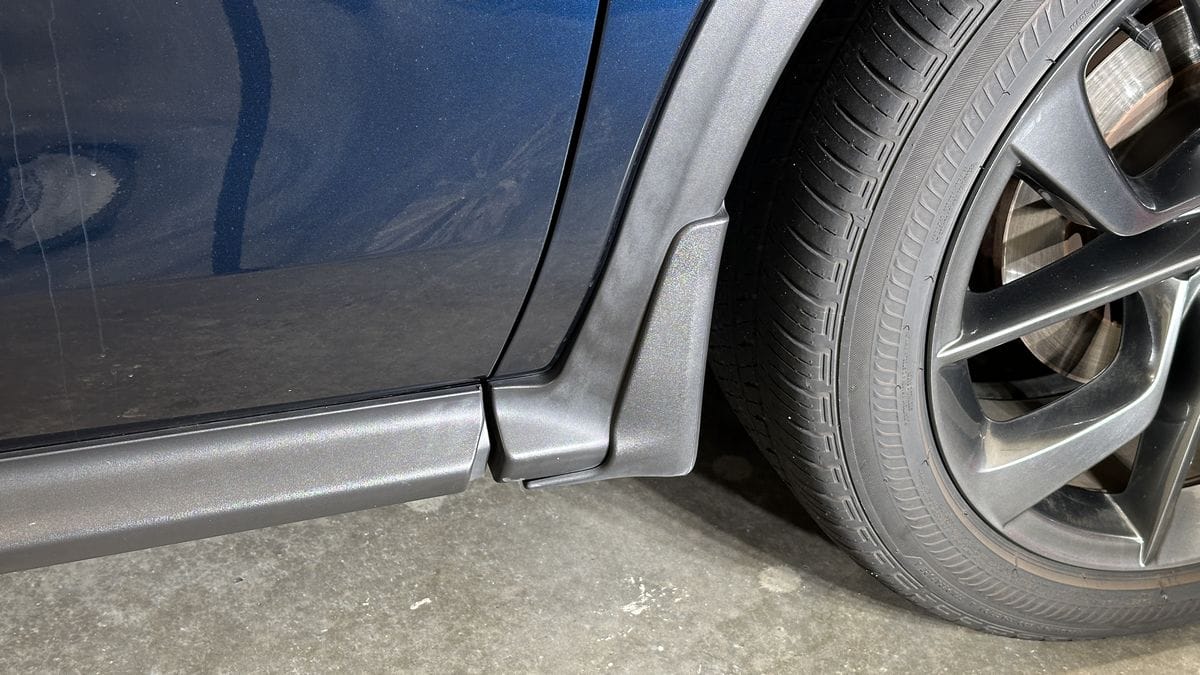
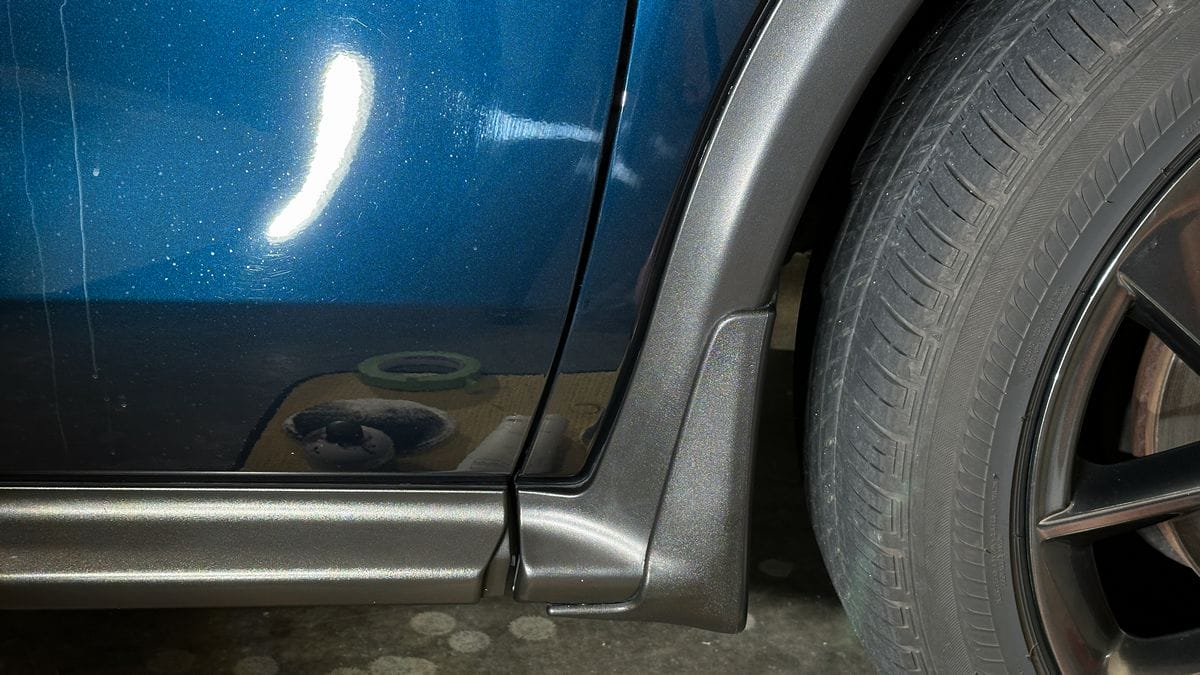
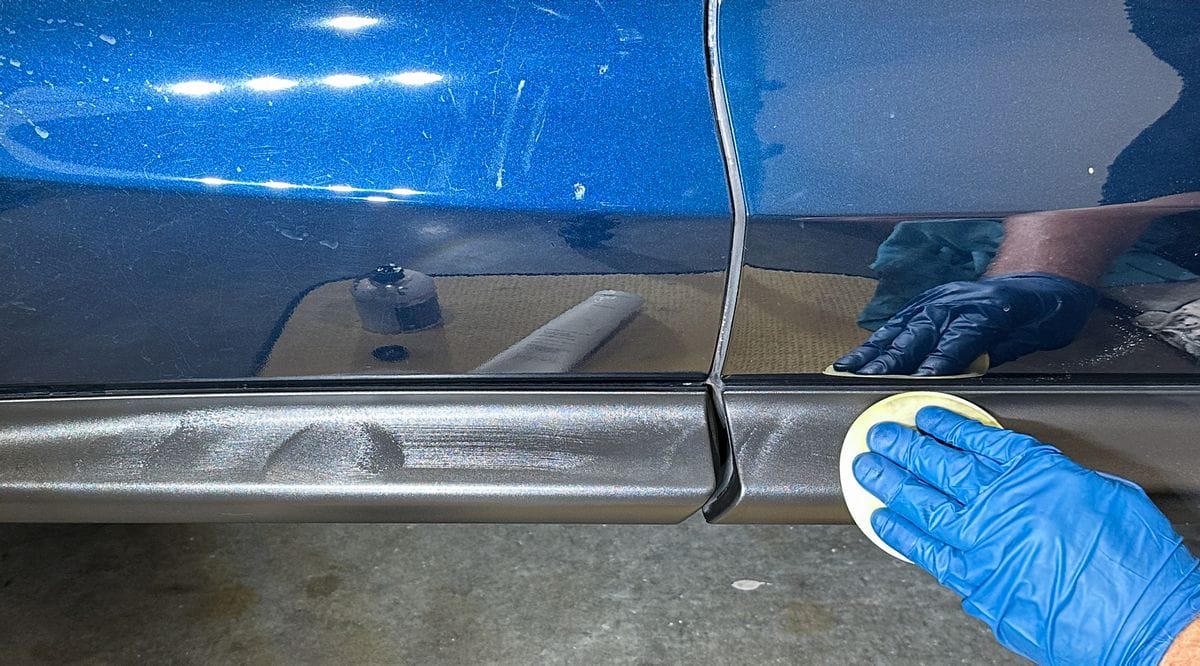
In the pictures below, you can see wax residue stuck in the pebble textured surface of black plastic trim that runs along the bottom of most cars and SUVs. This is AFTER washing and scrubbing with a brush and an all-purpose cleaner.
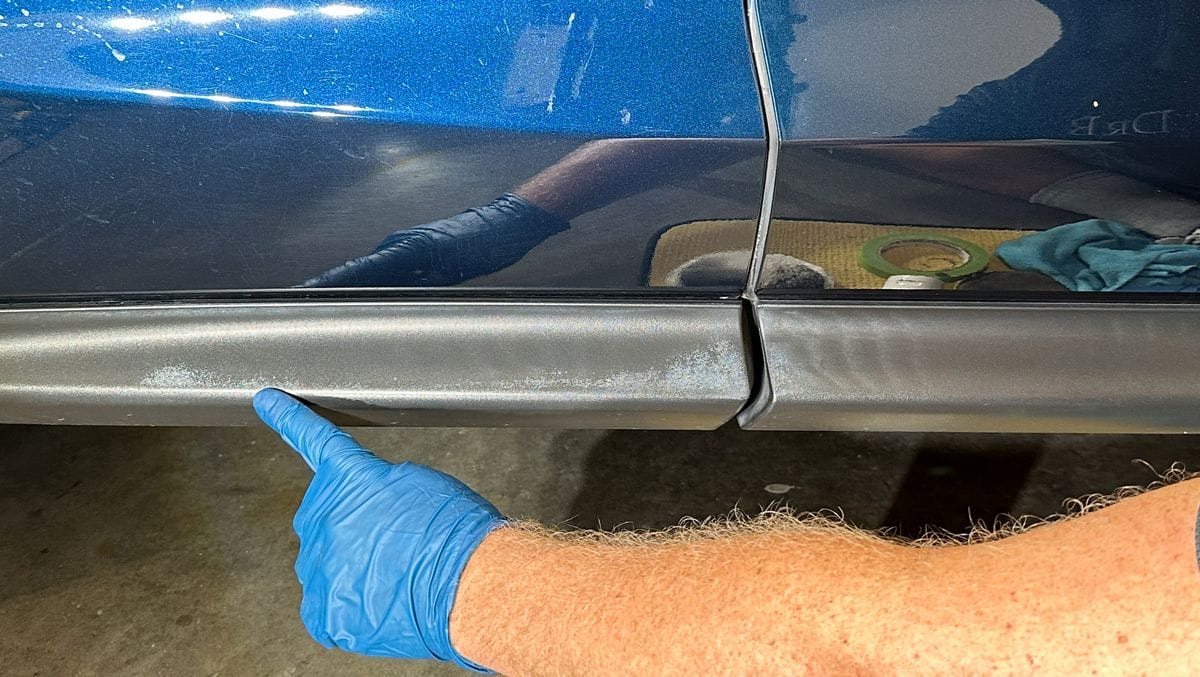
Besides the wax stains, you can also see stripes in the black plastic trim.
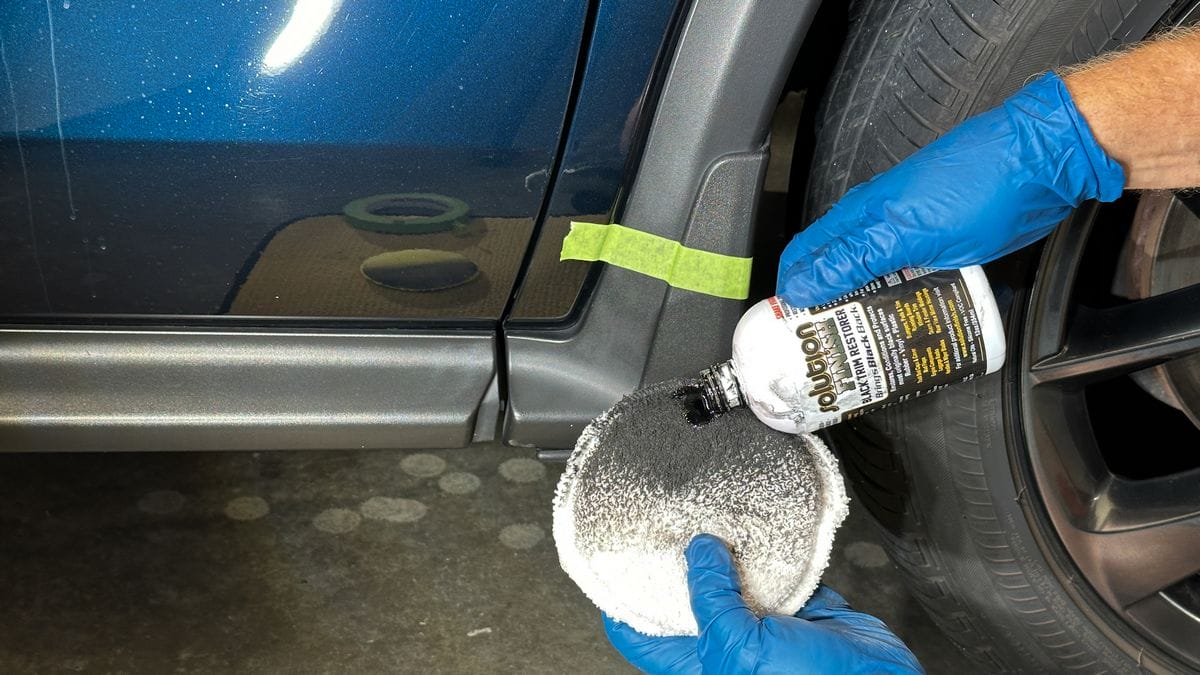
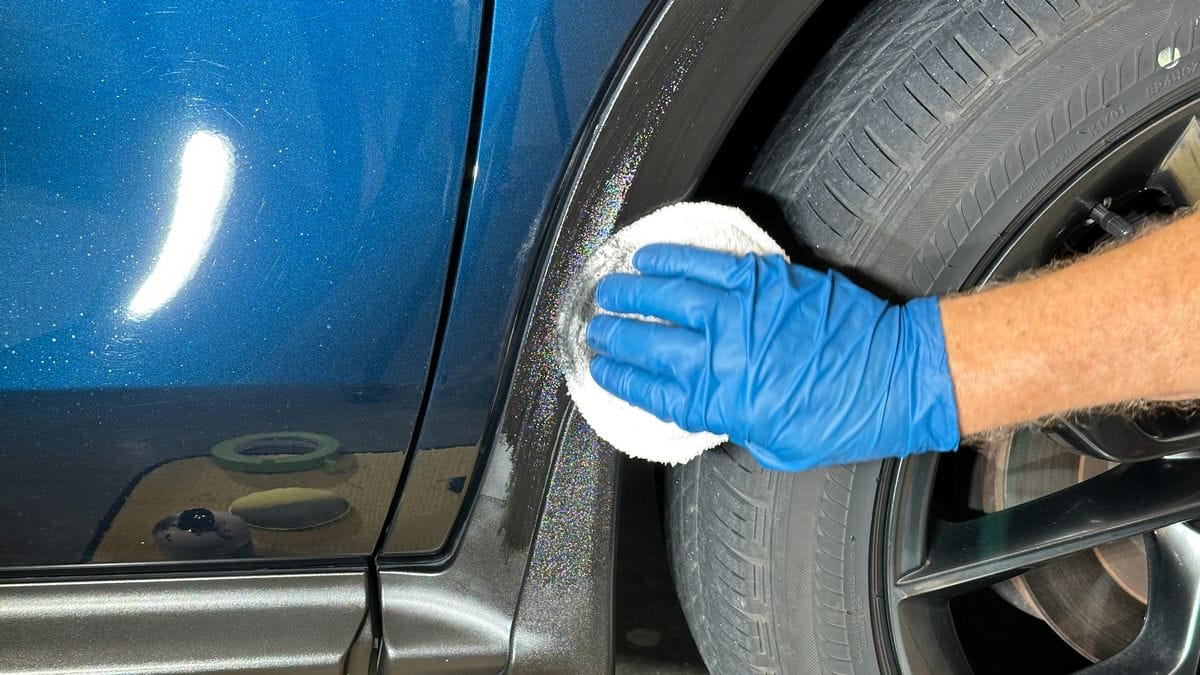
Step 1: Apply Solution Finish
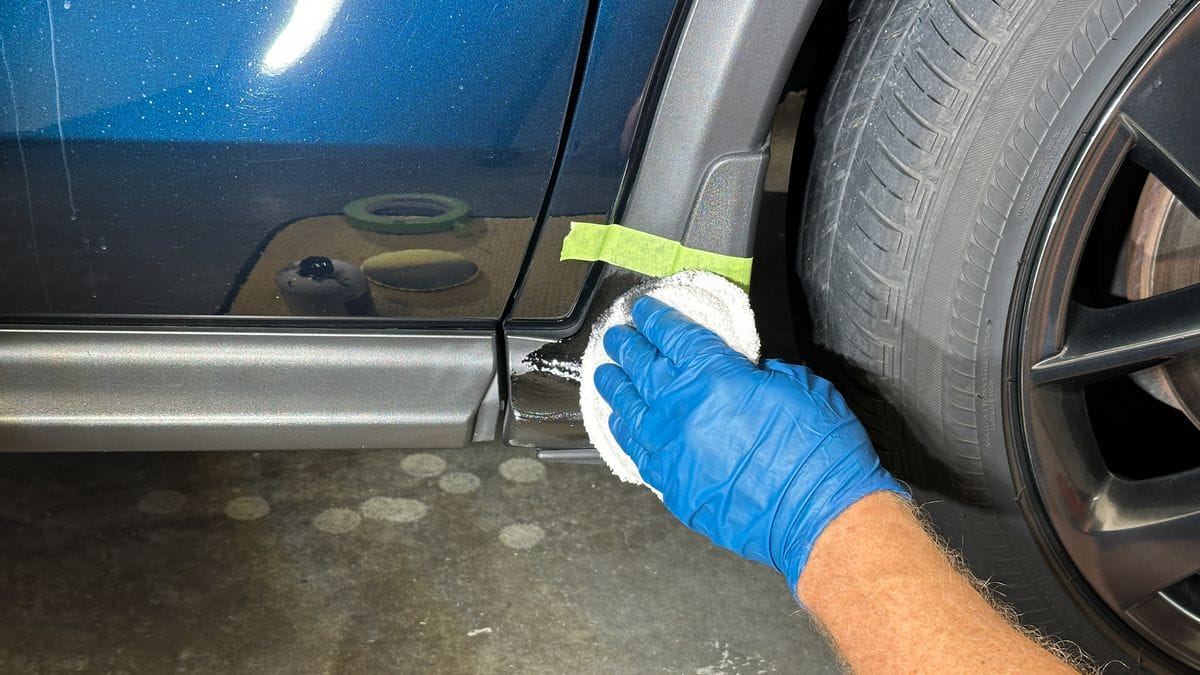
After washing, scrubbing the stained plastic trim to the best of your ability, next apply Solution Finish to the entire piece of black plastic trim. Thoroughly massage the product over and into the trim piece with emphasis on any stained areas.
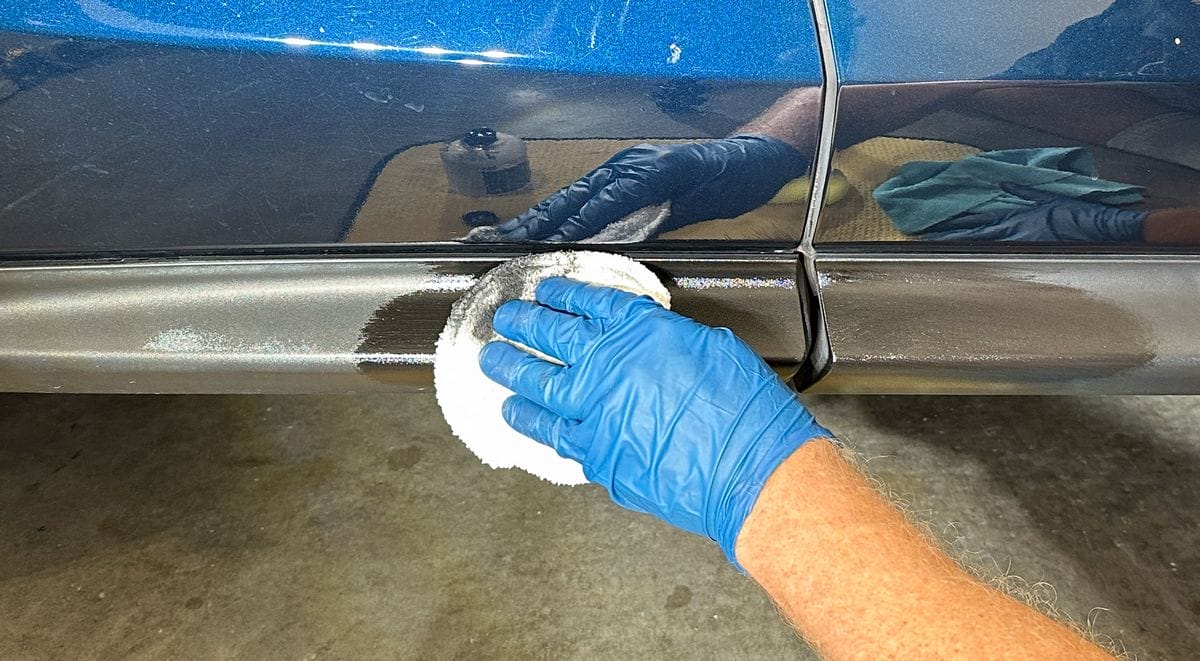
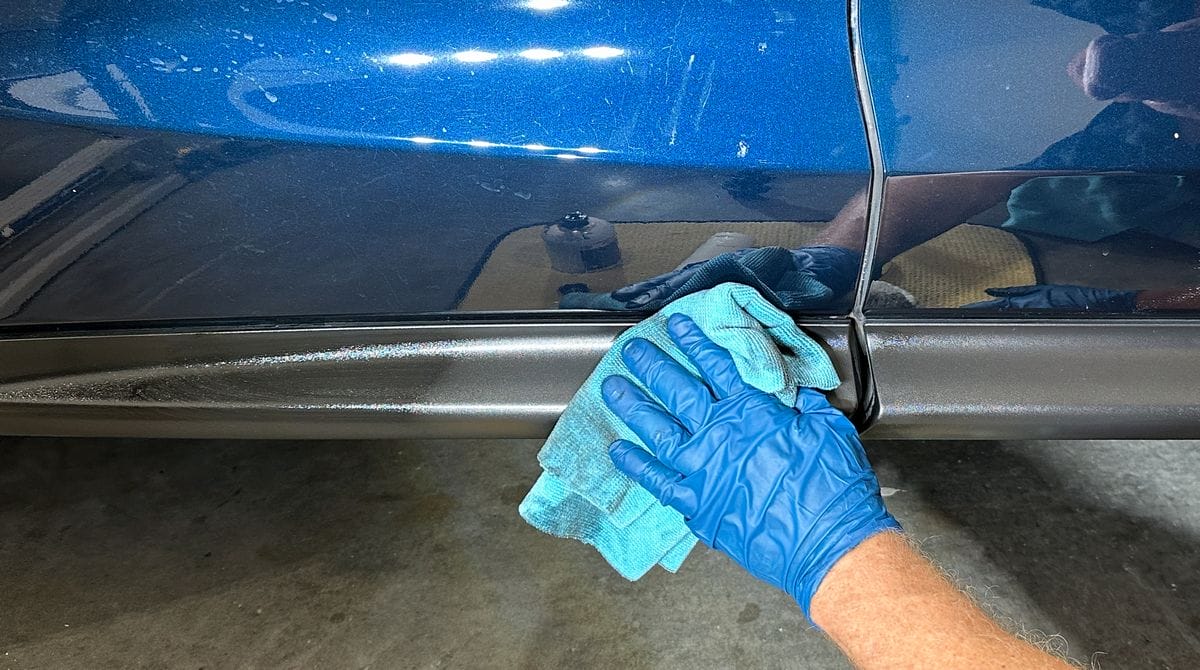

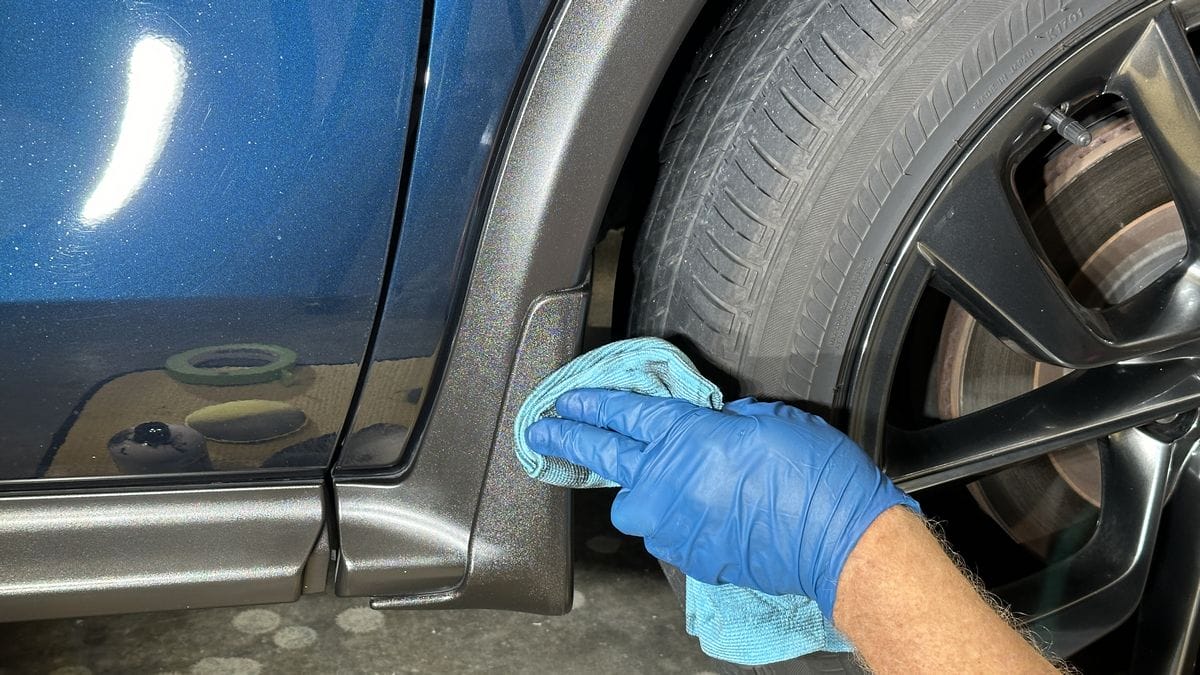
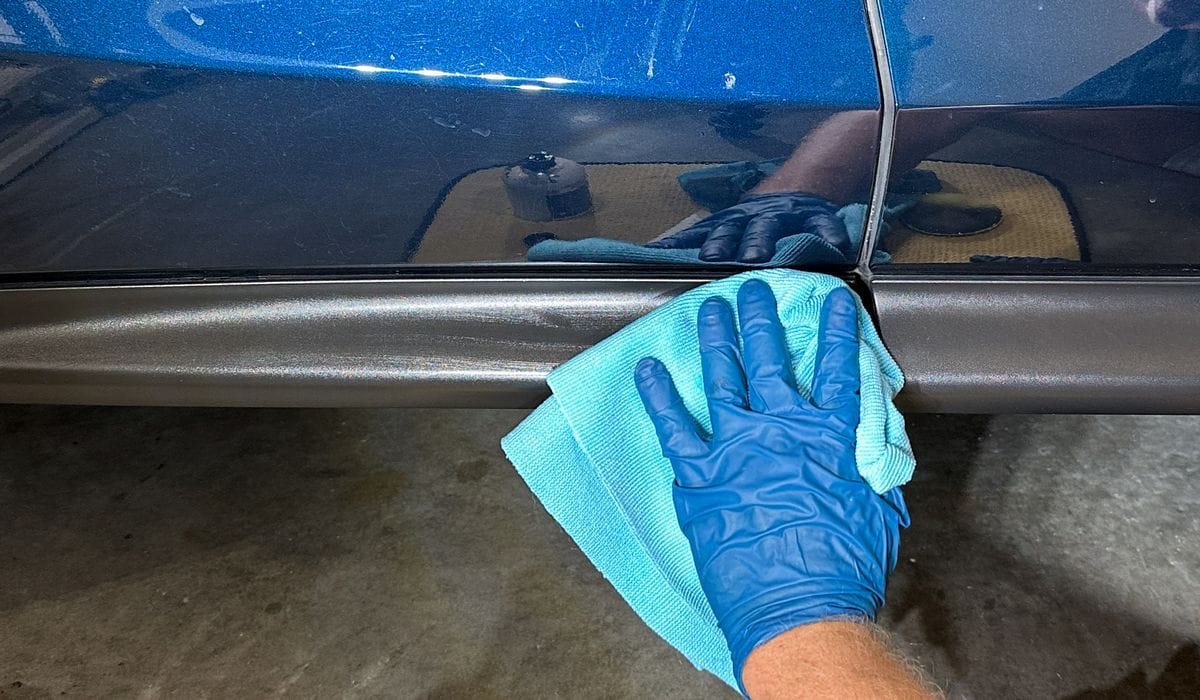
Step 2: Remove any excess Solution Finish
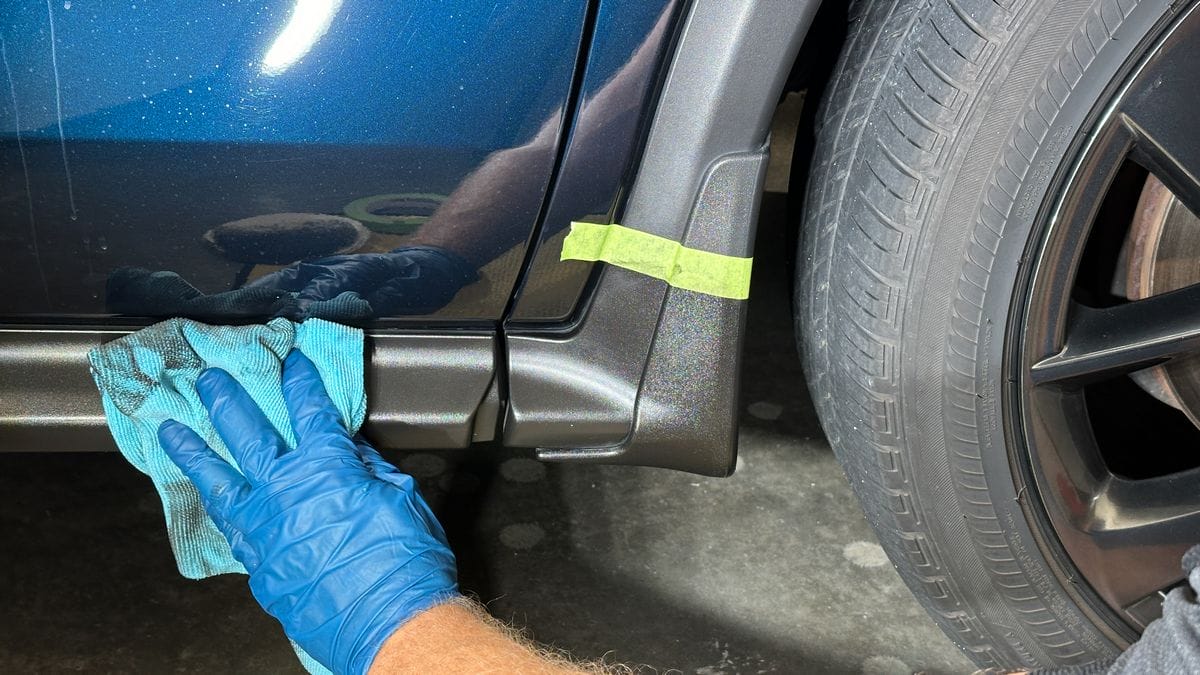
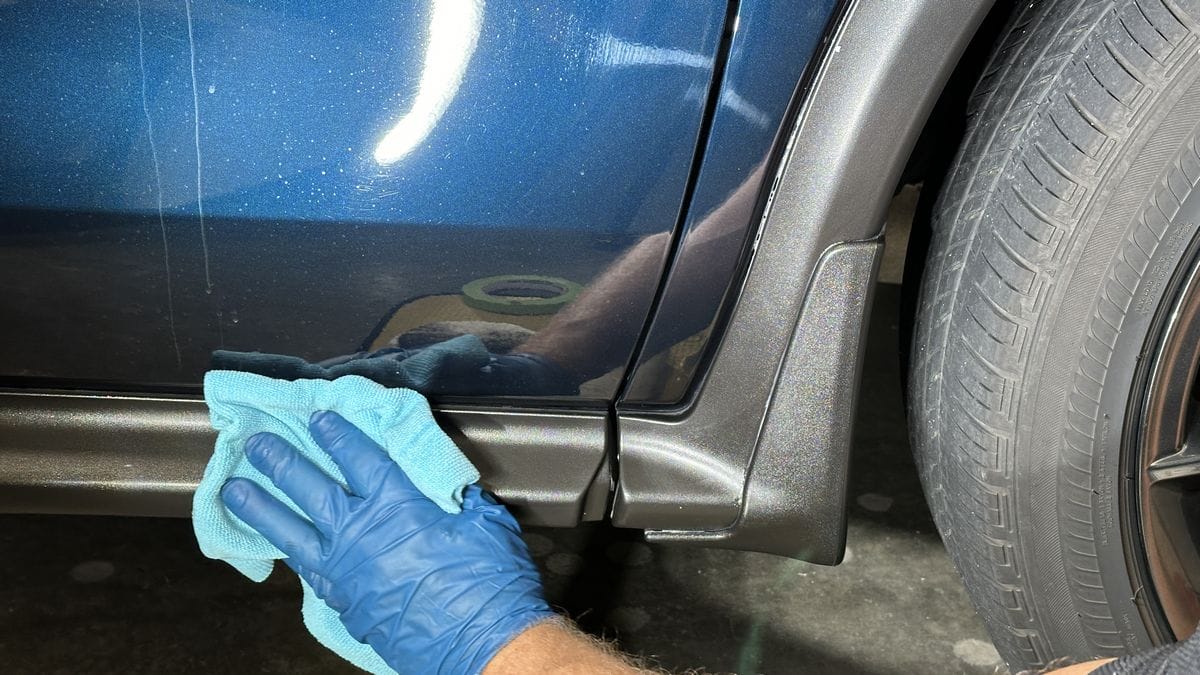
After allowing the Solution Finish to penetrate into the plastic, remove any excess product using a microfiber towel.
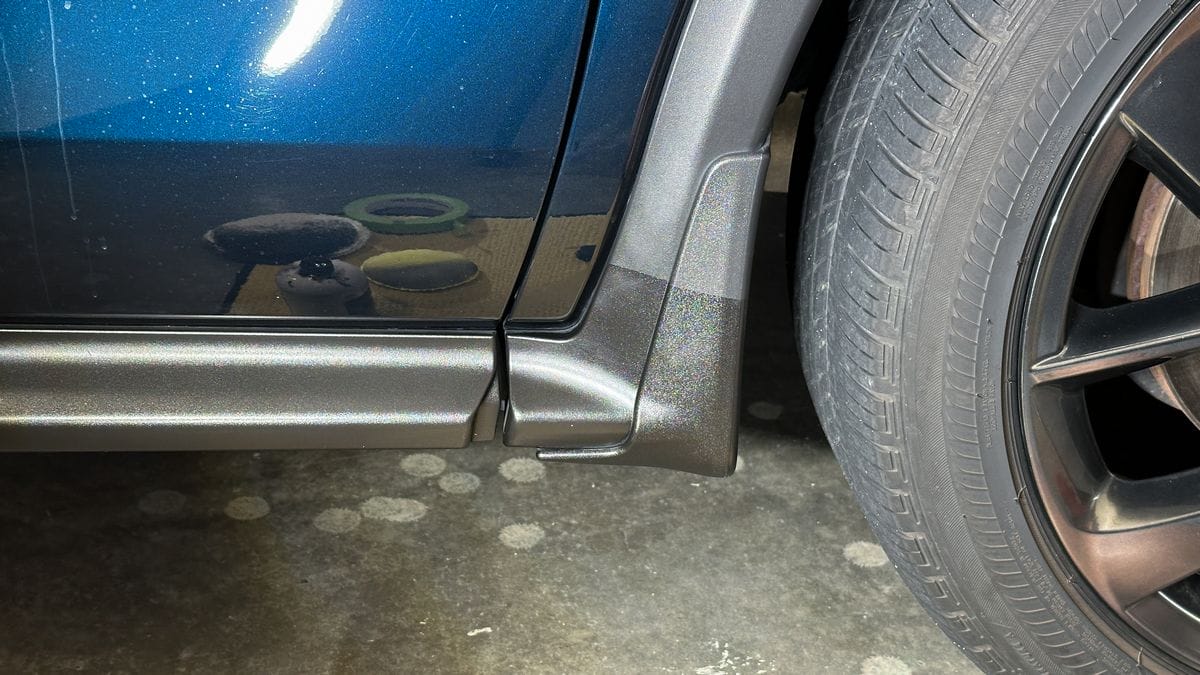
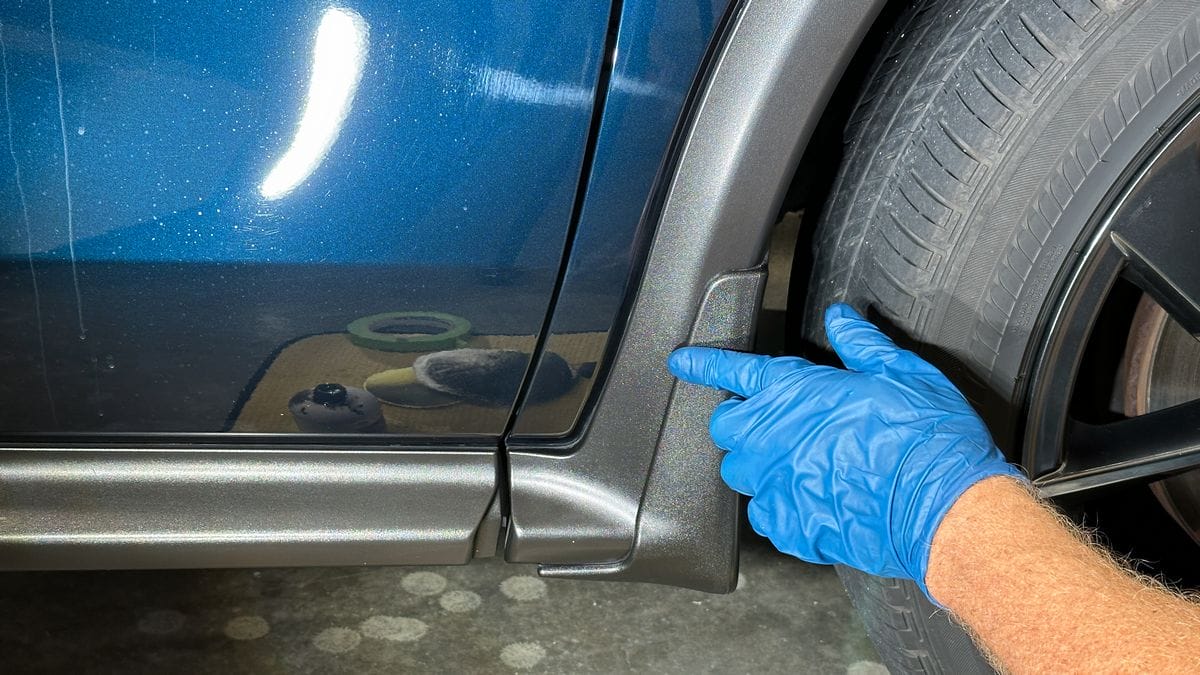
Here you can see I have successfully restored a factory new looking black finish by masking the wax stained areas and restoring a black color to the white striped areas.
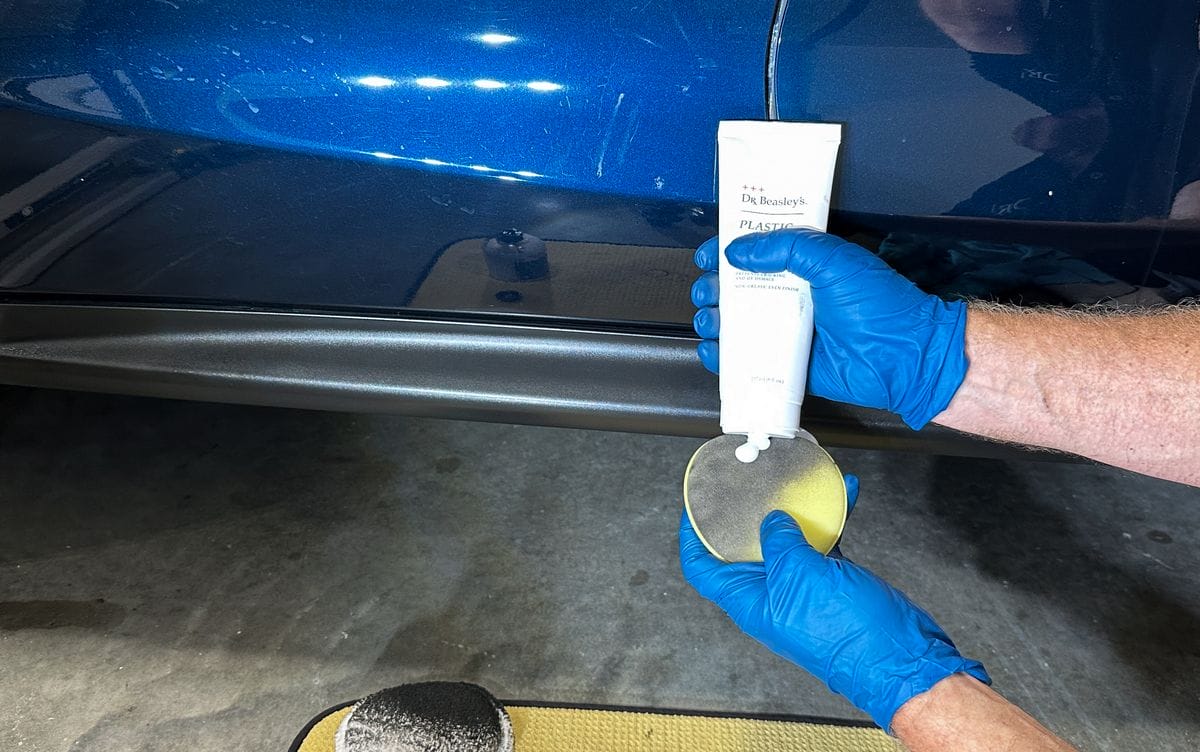
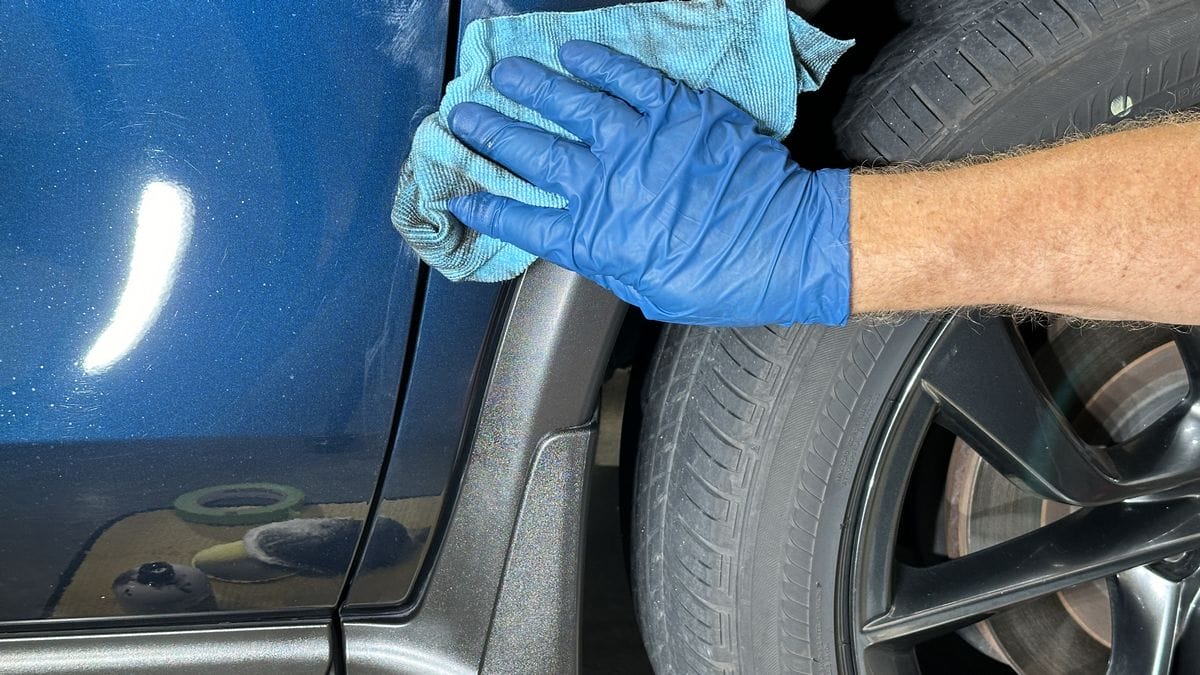
Step 3: Seal the plastic surface with protectant
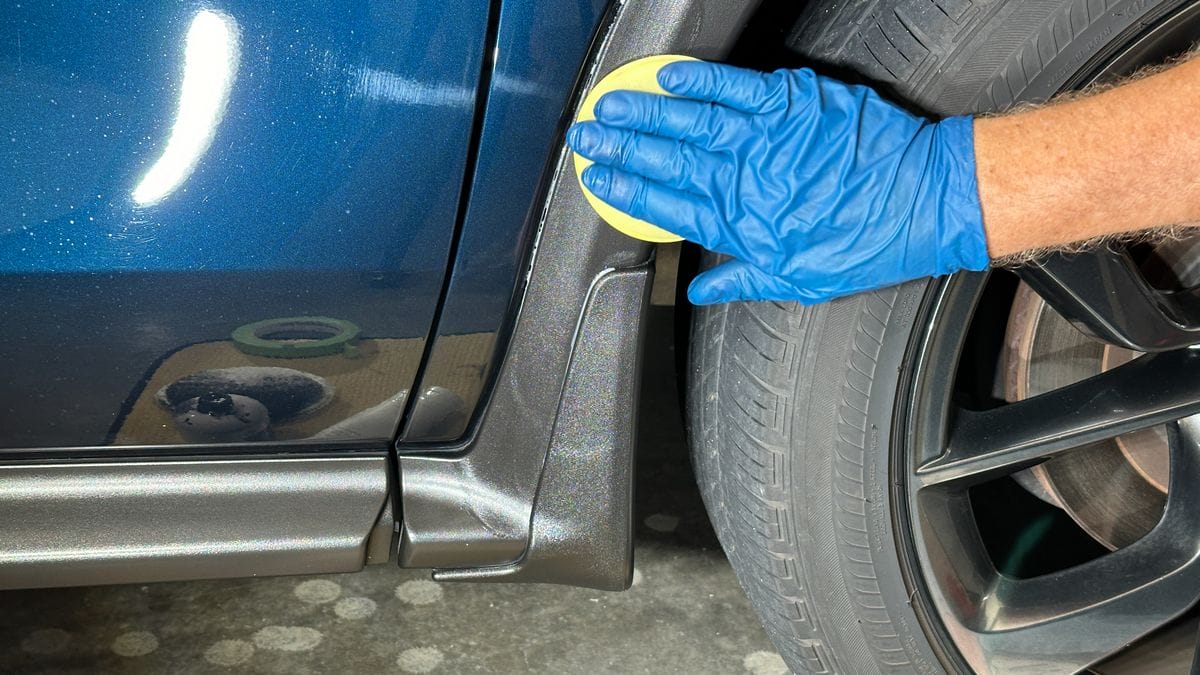
Next apply and massage the protectant over and into the black plastic trim.
Step 4: Remove any excess protectant
Using a clean, microfiber towels, remove any excess protectant so the plastic is dry to the touch.
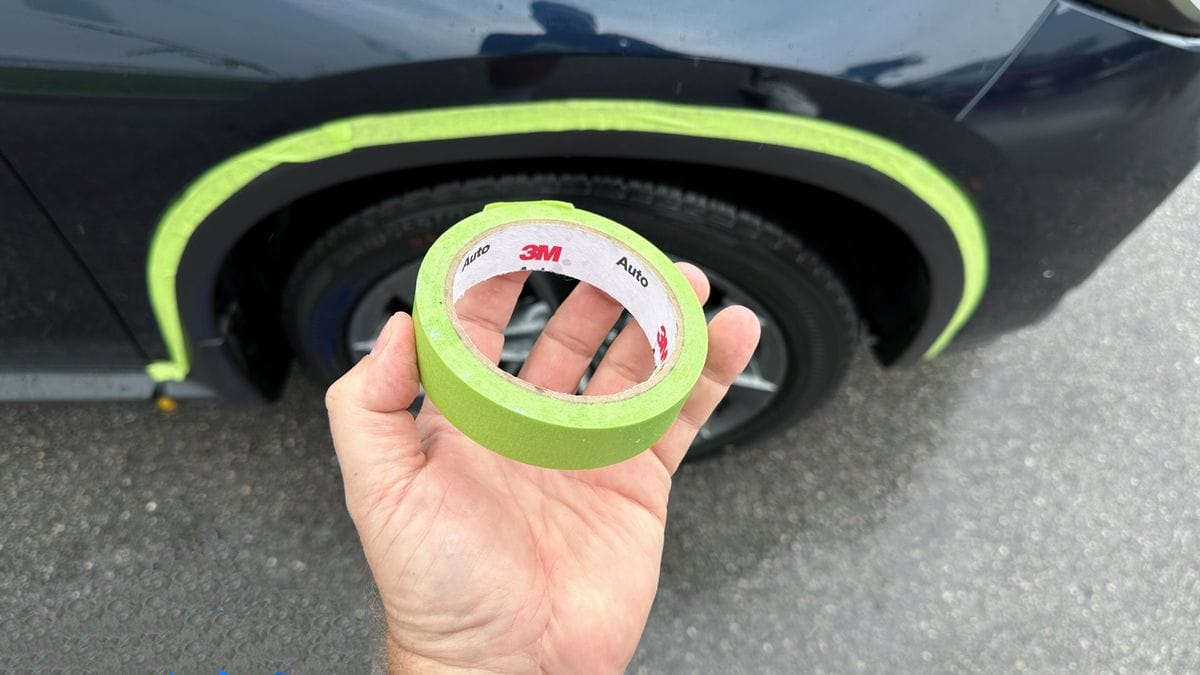
Pro Technique Tip: Mask to Avoid Staining Plastic Trim
To avoid staining black or gray plastic trim when doing any paint correction, first cover and protect all plastic trim near painted body panels with a quality automotive painter’s tape. While this takes a few minutes at the beginning of any detailing session, it saves a lot of time at the end of the detailing process and you can completely avoid the staining of the trim.
The best thing you can do if you own a vehicle with exterior black plastic trim or cladding, is to be proactive in the care and maintenance for these surfaces and components. Find a trim restorer and a trim protectant or dressing that you like and use it 2-3 times a year.
If the plastic trim is neglected and currently looks dull and faded, then thoroughly clean the plastic trim using a quality all-purpose-cleaner, followed by normal washing. Next apply a plastic trim dye like Solution Finish. After applying and removing any excess Solution Finish, seal the plastic surface to protect it using Dr. Beasley’s Plastic Sealant.
If you discover any compound, polish or wax stains, clean the area as best as you can and then camouflage the affected areas with a quality plastic dye like Solution Finish. For overspray paint, test out some products formulated specifically for removing overspray paint off delicate surfaces.
The real secret to preventing exterior black plastic trim from fading and also maintaining black plastic trim in good condition always looking new is to regularly treat these materials with quality products.
Here To Help
If you have any questions, need help or guidance, I always make myself personally available to assist.
At Dr. Beasley’s Future of Detailing automotive and boat detailing classes, we cover many of the tools, techniques and products shared in this how-to article. If you are interested in taking your knowledge and skills to a higher level, check out the dates and locations for upcoming classes here:
Dr. Beasley’s Future of Detailing Classes Schedule
If you have any questions about clay bars, claying paint, or any other related topic, please post your questions in the comments section below.
Mike Phillips
Chief Education Officer for Dr. Beasley’s
[email protected]
760-515-0444
Excellent article to help out on the importance of masking the proper areas for protection. When preparing for paint correction.