


Polishing the paint on a car can take a long time, especially if you’re a beginner. If you’re working from start to finish — washing, decontaminating, polishing and protecting — it can pretty much take up an entire day, sometimes even longer.
Don’t believe me? Let’s tally up the time it takes to do a paint correction on an average neglected two-door passenger car, assuming the process will require claying, compounding and polishing.
| Process | Time required |
| Wash wheels and tires | 1 hour – 15 minutes per wheel & tire including setup for each wheel and tire. |
| Wash and dry entire car | 1 hour |
| Clay paint | 30 to 45 minutes |
| Do a Test Spot | 30 minutes |
| Paint Correction – Compound paint | 4-6 hours |
| Paint Correction – Polish paint | 2-4 hours |
| Install ceramic coating | 1-2 hours |
| Clean all exterior glass | 30 minutes |
| Dress any exterior plastic | 30 minutes |
| Dress tires | 30 minutes |
| Final inspection | 15 minutes |
| Total Time | Low Average: 12 hours High Average: 17 hours |
These times are based on real-world experience with a minimal lunch break. If you’re new to detailing, the amount of time necessary may shock you. But if you’re a professional, you know all too well how accurate these estimates are.
That being said, there is a lot beginners can be doing to speed up their process, reducing the amount of time required to correct the paint from start to finish while still maintaining professional results.
In this article, I’ll share 10 of my favorite tips for speeding up the paintwork correction process. I’m a bit of a speed freak when it comes to detailing because I am lazy and don’t want to work longer than I need to, so I’m pretty qualified to write this article!
Why Paint Correction Takes So Long
When looking at the above chart, the most time-consuming steps are the paint correction steps. There are a few reasons for this.
- You Can’t Polish the Whole Car at Once: When you’re doing paint correction, you can’t just start polishing the car front to back in one go. You need to divide the large panels into smaller, more manageable sections. This makes it easier to get consistent results and prevents product from drying on the surface as you work. This makes the process take longer, but it’s worth it for the results you get.
- You Can’t Move Your Polisher Faster: Generally speaking, you can’t just MOVE a polisher FASTER over the paint to speed up the process. It takes a certain amount of time to move a polisher over each section of paint to fully remove the defects. If you go too fast, you won’t get good results.
- Wipe Down & Inspection After Each Panel: To be sure you got the desired results, you have to wipe off the polish residue and inspect the panel with a powerful light source after each section is completed. If the results aren’t to your satisfaction, you’ll need to re-polish and inspect again. Thankfully, one of the tips I’ll provide (dialing-in your process with a good Test Spot) should ensure you won’t have to re-polish.
10 Tips for Speeding Up Your Paint Correction Process
So while you can’t really speed up the actual movement of the polisher, there are a lot of things you can do to speed up the process otherwise. Here are my top 10 tips and tricks I use while professionally detailing cars so I can get the work done as quickly as possible while still getting showcar results.
1. Always Do a Test Spot to Perfect Your Process Before You Start
A test spot is a method for determining the least aggressive product and pad combination necessary to remove the desired defects. Doing a proper Test Spot will speed up the paint correction process because it ensures your product and pad combination will remove all the desired defects BEFORE you tackle the whole vehicle.
If you don’t do a test spot, you’ll waste time re-polishing panels because whatever product and pad you tried wasn’t effective. Here are a few tips for doing a good test panel.
- Test on the Worst Condition Panel: If your process works on the worst-looking panels, it will also work on panels in better condition. For most daily drivers, the worst condition panels are the horizontal panels like the hood, roof, and trunk lid. This is because they take the brunt of damage from Mother Nature as well as day-to-day wear and tear.
- Test for Paint Hardness: The severity of scratches isn’t always the best way to tell how aggressive you’ll need to be on the paint. Some paints are soft, some paints are hard. On softer paints, you may only need a soft foam pad and a finishing polish to remove defects. Harder paints, on the other hand, might require a heavy cutting compound. Don’t just guess, test different combos of products and pads to understand how the paint responds to polishing.
- Test Your Polisher: While any polisher will get the job done, you want to test first to make sure it’s effective enough for the work you’re doing. Free-spinning random orbitals, for example, can stall on more curved paint surfaces, slowing you down.
- Test Your Technique: How you move the polisher across the paint (pressure, speed, maneuvering) will also determine what kind of results you get. Use the test spot as an opportunity to figure out the best technique for the car in question.
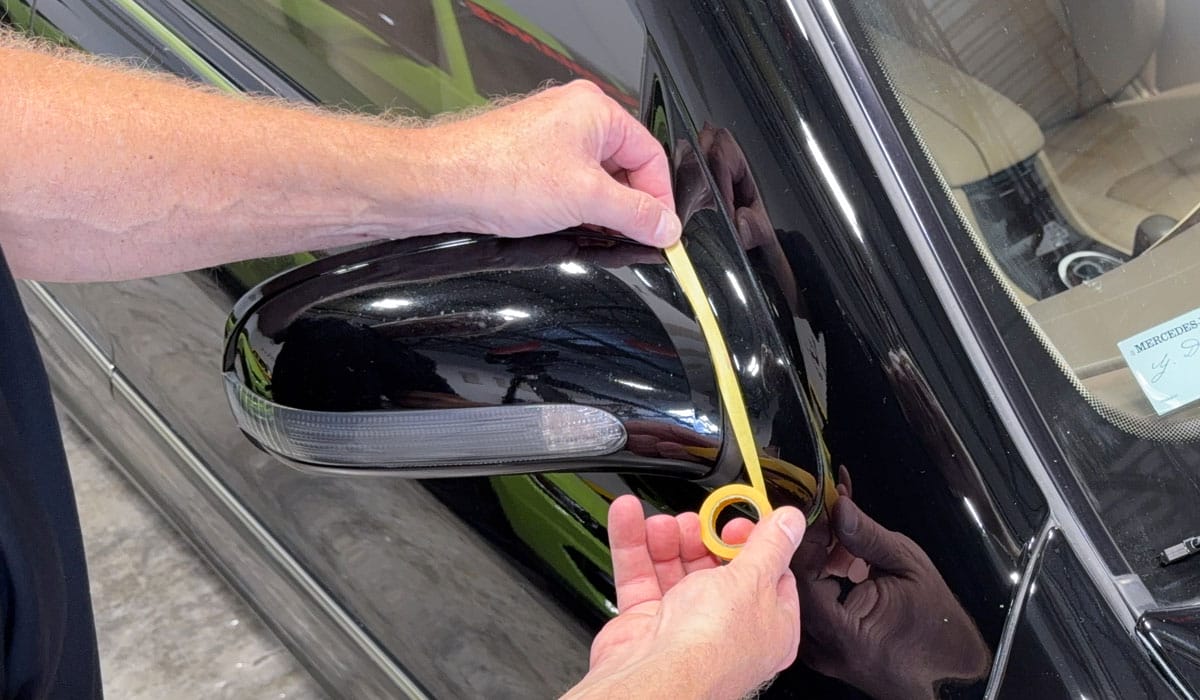
2. Tape-Off Exterior Plastic Trim (and Other Sensitive Surfaces) Before Polishing
I know most people are excited to get started buffing, but if you take a little bit of time to tape-off and protect any exterior black plastic trim BEFORE you start, you’ll save HOURS of time and headaches trying to remove splattered polish and compound after you finish the paint correction.
This is especially important for PEBBLE TEXTURED black plastic trim, as it can be dang near impossible to remove the staining 100%… the trim pieces will look horrible forever.
It only takes 15 to 30 minutes to tape-off all the exterior plastic trim. It can take HOURS to fully remove polish splatter. Save yourself time. Tape-off first.
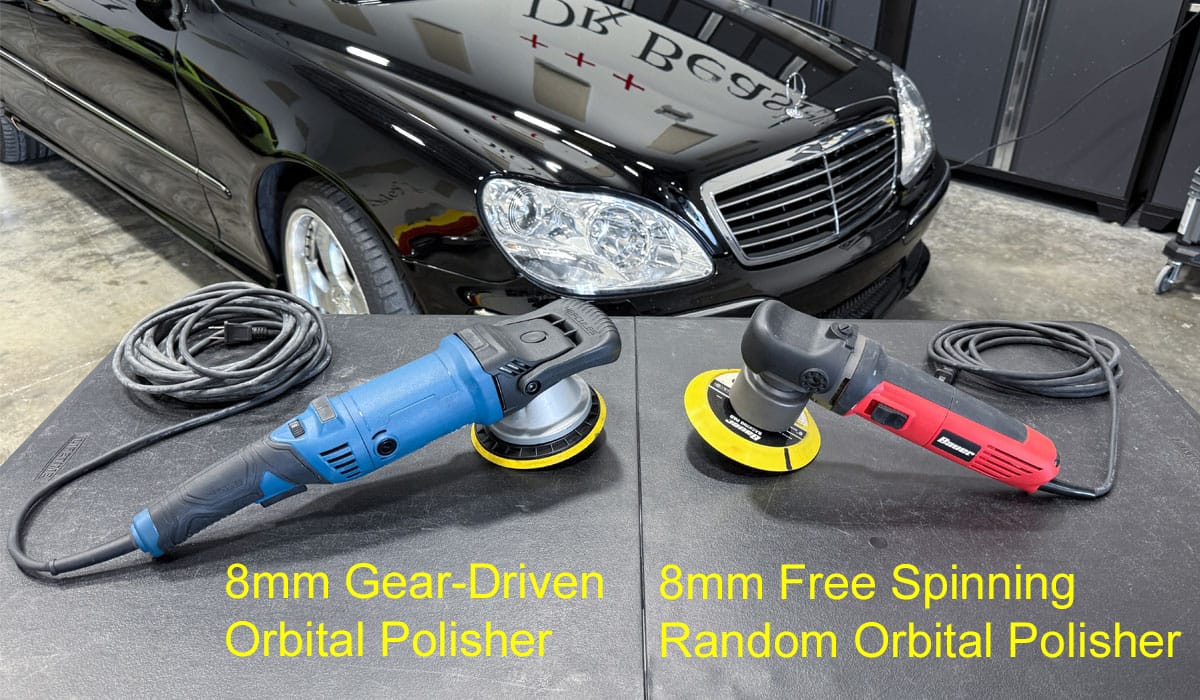
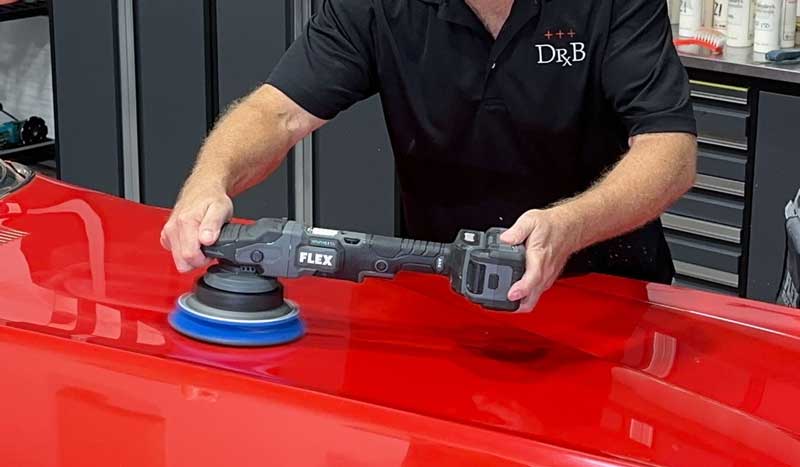
3. Use a Rotary Polisher or Gear-Driven Orbital Polisher Instead of a Free-Spinning Random Orbital
There are three different types of polishers – rotary, gear-driven orbital and free-spinning random orbital. Rotary and gear-driven polishers are forced to rotate via a gear inside the polisher.
Free-spinning random orbital polishers, however, spin freely based on the momentum of a counterweight. If you press too hard, the momentum stops and so does the pad oscillation. This is called pad stalling.
There is a lot of controversy on the topic of pad stalling and whether a lack of rotation/oscillation stops the polisher from actually polishing the paint. I’m of the opinion that pad stalling slows down the cutting action, making it take longer to remove swirls, scratches, water spots and oxidation.
From my decades of experience, I know that I can de-swirl a car faster with a gear-driven orbital versus a free-spinning random orbital polisher. The constant spinning with no stalling abrades the paint more, resulting in faster defect removal.
That being said, a lot of people like to use free-spinning random orbitals. I would never try to argue with someone and tell them not to use the tool they like to use and already own. This is just my real-world experience after using pretty much all the different types of polishers on the market, detailing thousands of cars/boats and teaching hundreds of detailing classes since the 1980s.
4. Count Your Section Passes Aloud
Some people think this tip is silly, but to me it’s a consistent time-saver.
When you’re polishing paint, it’s hard to know how long you should be polishing to get good results. To keep track, I divide my movements across the paint surface into section passes that I count aloud as I buff.
A section pass is when you move the polisher across the panel or section in one direction.
For example, you may start with a horizontal section pass, moving the polisher up and down in overlapping lines from left to right. This is ONE section pass. Then you do a vertical section pass, moving the polisher left to right in overlapping lines as you go from top to bottom. That’s TWO section passes.
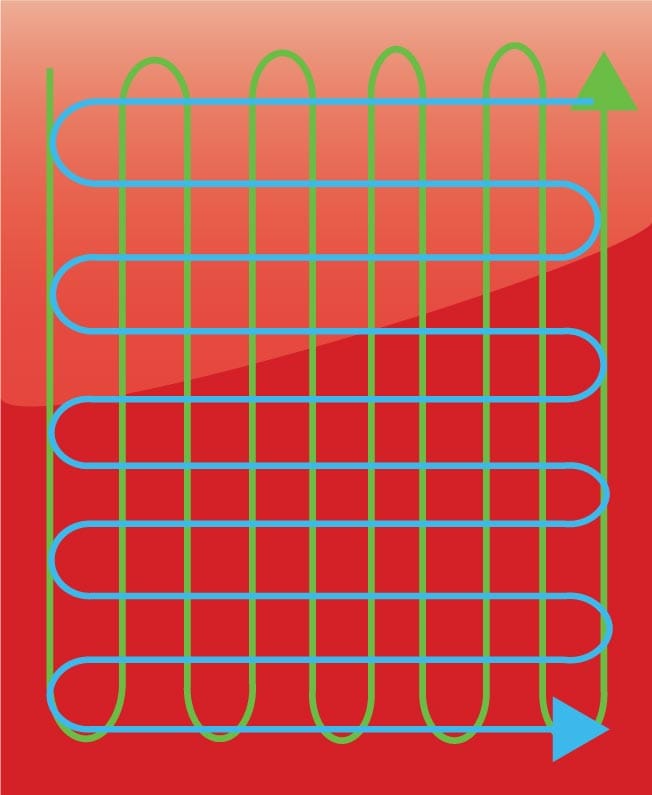
The number of section passes required is something you determine while doing your test spot. With softer paints or shallow defects, this can be as little as 2-4 section passes. On hard paints or severe defects, it can be as much as 8-10 section passes.
Then, as you work panel by panel or section by section across the vehicle, you count each section pass OUT LOUD until you reach the number determined by your test spot. That way you will never do more or less section passes than necessary.
This saves time because if you COUNT out loud your section passes, you will never forget what section pass you’re on. If you DON’T count your section passes aloud, you’ll FORGET what pass you’re on and accidentally do more, wasting valuable time.
Think about it: it’s only NATURAL to forget what pass you’re on if you’re not counting out loud. Our minds tend to wander during repetitive tasks – I often think about what I’m having for dinner that night – so counting out loud keeps us present and in the moment, aware of how long we’ve been buffing on the panel.
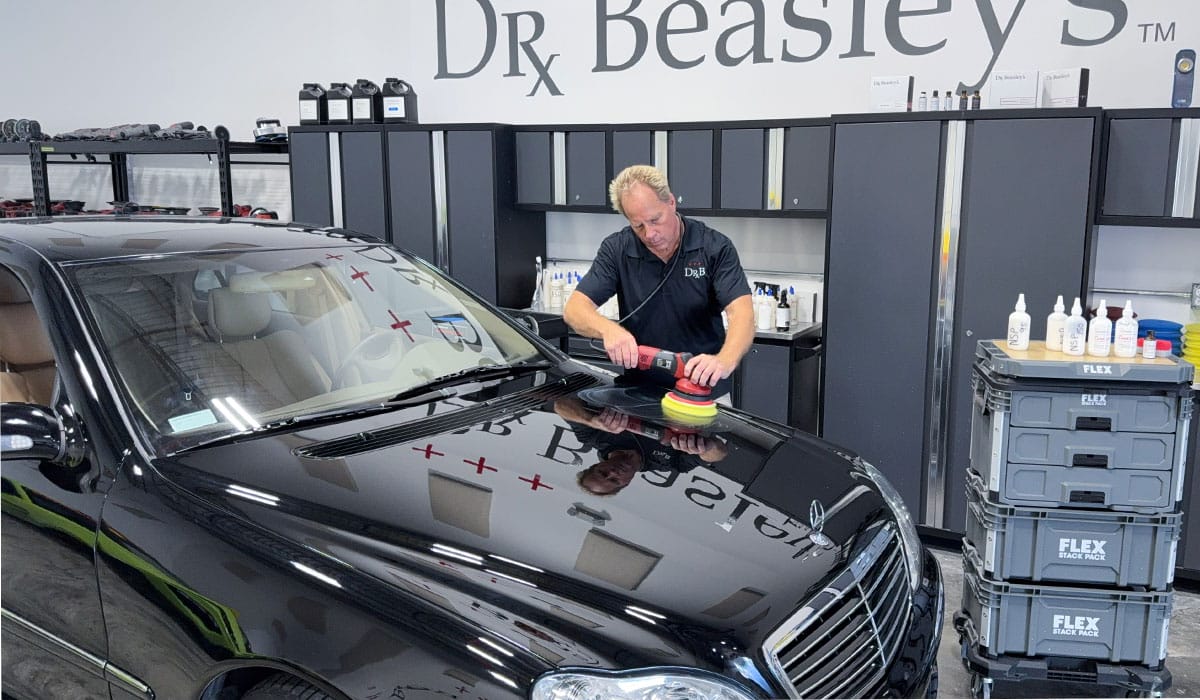
5. Start at the Highest Point and Work Your Way Down
This might seem like common sense, but sometimes common sense isn’t all too common.
The reason you want to start at the top and work your way down is because if you do the lower panels first and work your way up, you’ll accidentally sling product splatter onto the lower panels as you move upwards.
Then you have to RE-WIPE the panel and potentially even RE-POLISH if you scratched the paint while trying to remove the splatter. That can waste a lot of time.
Another variation on this technique that I always use: do your ENTIRE process to the roof before you do any work on the lower panels. I simply knock out the roof first from start to finish before moving onto all the other body panels.
This is important if you’re working on TALL vehicles like trucks and SUVs. In those cases, you’ll probably be using work platforms to reach the roof. If you do the roof all at once, you’ll only need to have the work platforms on the side of the car once.
That’s good because the work platforms can easily bump into the car and cause scratches. If you’re able to get the work platforms out of the way early, you won’t have to worry about them scratching the paint during the rest of the paintwork correction.
6. Start from the Middle and Work Your Way Out on Large Sections
When you’re buffing our larger panels like the hood or the roof, start in the MIDDLE of the panels and work your way outwards.
The reason?
If you start buffing on the outer edge and move to the center, you might accidentally drag the power cord over the paint you’ve already polished. This can cause scratches and will require you to re-polish, which can waste a lot of time.
7. Do Mechanical Decontamination (Clay Bar) DURING the Wash Process
Before you correct the paintwork on a car, you’ll typically need to decontaminate the paint in order to remove all the bonded contaminants that build up on the paint surface over time. This is typically done mechanically via clay bar.
People often clay the paint AFTER the wash process using a clay lubrication spray.
One way to speed this process up is to clay DURING the wash process, using the soapy water as your lubrication for the clay bar.
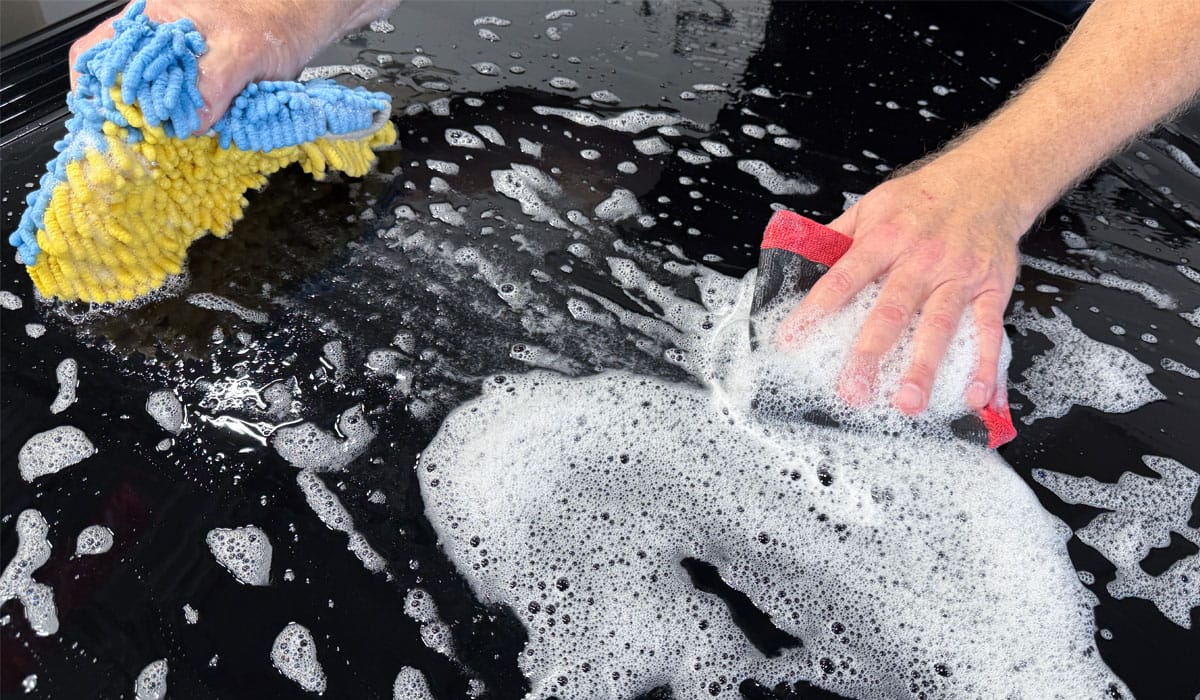
To do this properly, wash and rinse your vehicle like normal. Do this BEFORE you use the clay bar to remove any loose dirt and grime.
Then, while the car is still wet from the rinse, use a towel or wash mitt to squeeze some soapy wash water onto a panel and start claying. Once you’ve clayed all panels, give the car a final rinse and dry the paint.
8. Optimize Your Garage or Shop for Efficiency BEFORE Starting
If you have your workspace set-up before you start you’ll save a lot of time looking for the tools, accessories and products you need to get the job done. You also won’t have to navigate a messy environment which can also slow you down.
Here are my top recommendations for garage/shop efficiency.
- Work Clean: Clean off counters and carts. Sweep or blow-out the shop floor before you start. This helps avoid contaminating your pads and towels, which can result in scratches that slow down your process.
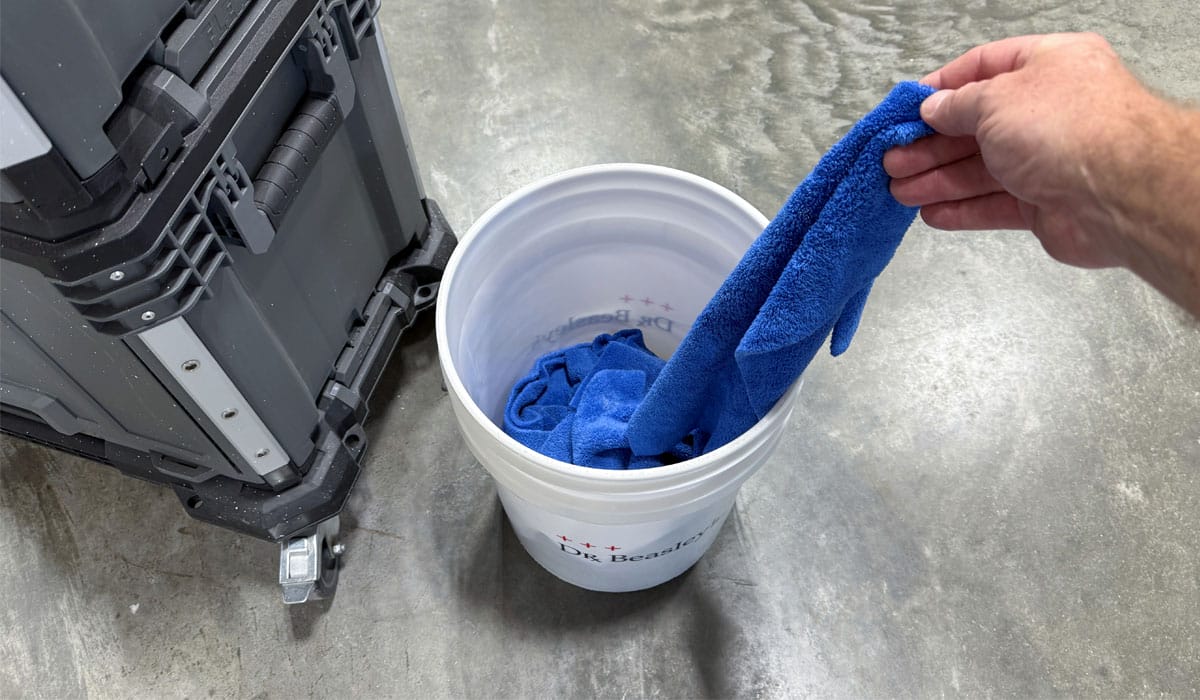
- Have Clean Microfiber Towels Ready: Clean and inspect your microfiber towels prior to starting your process and store them in a clean place off the floor or dirty surfaces. I like to use a clean, empty 5-gallon bucket so I can easily reach in for towels.
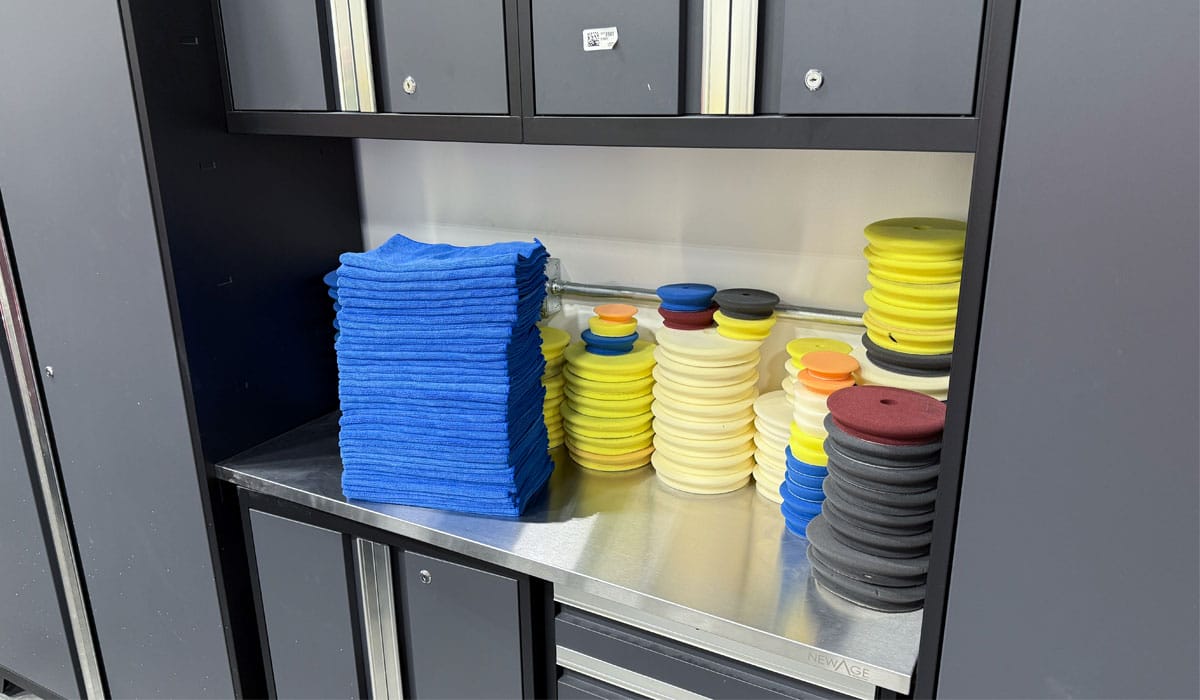
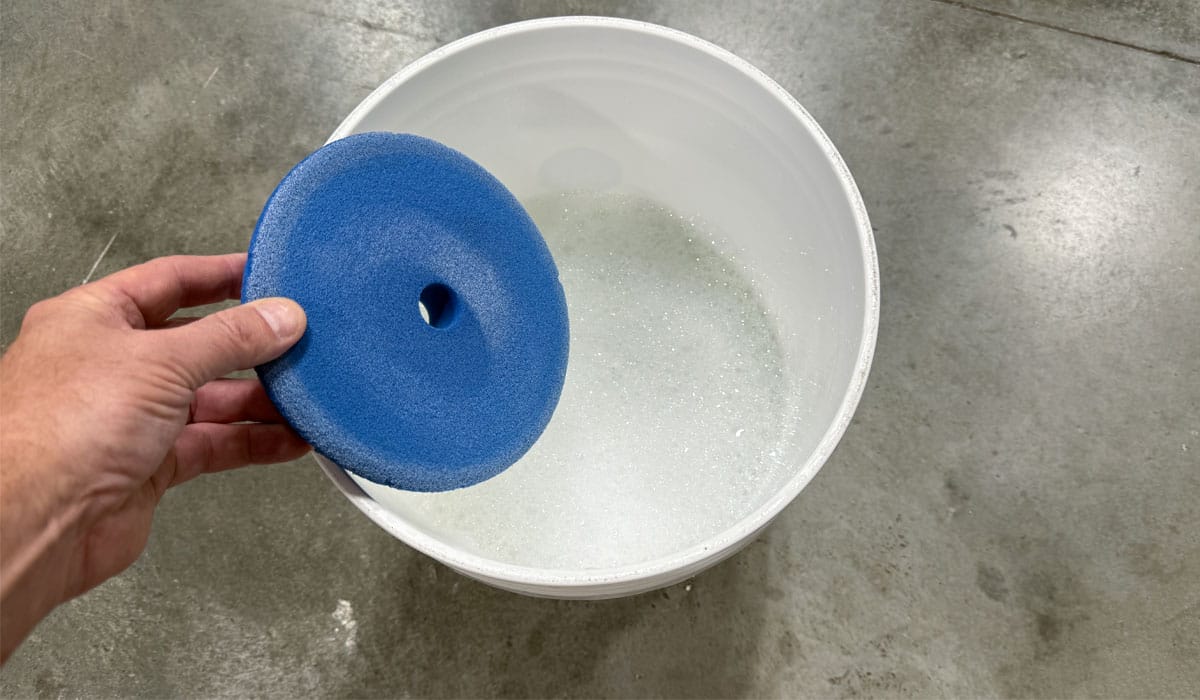
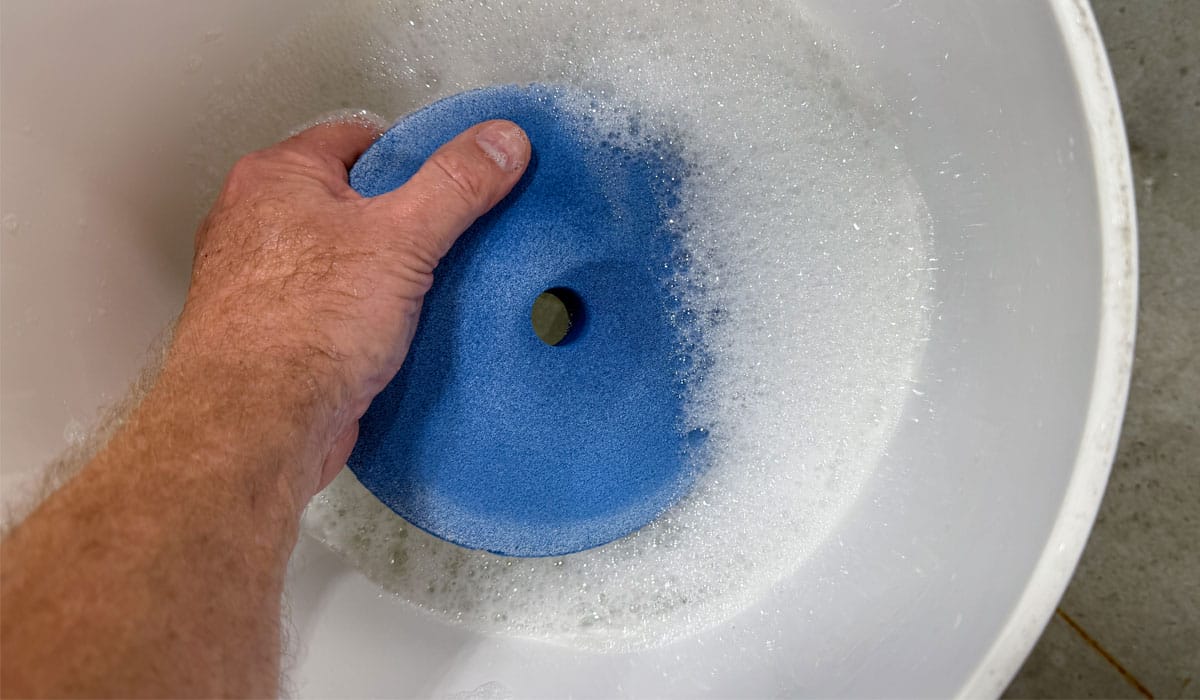
- Stack All Your Pads: Stack the pads you plan to use on a clean cart or table near your working area so you can easily swap out pads as you work. One other trick I like to use is to dunk spent pads into a soapy wash bucket before brushing off compound and paint residue with a nylon brush. Then, once the detail is complete, I can wash the pads while they’re still wet and not all dried out. Doing a little pre-cleaning as you go really saves time.
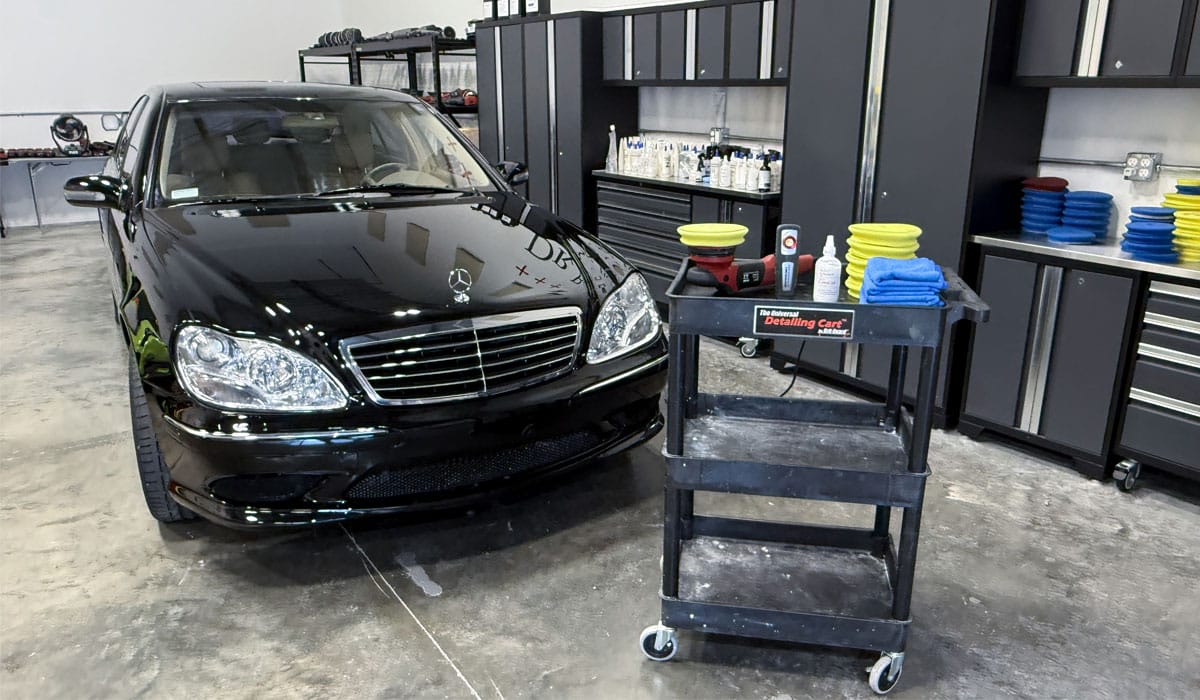
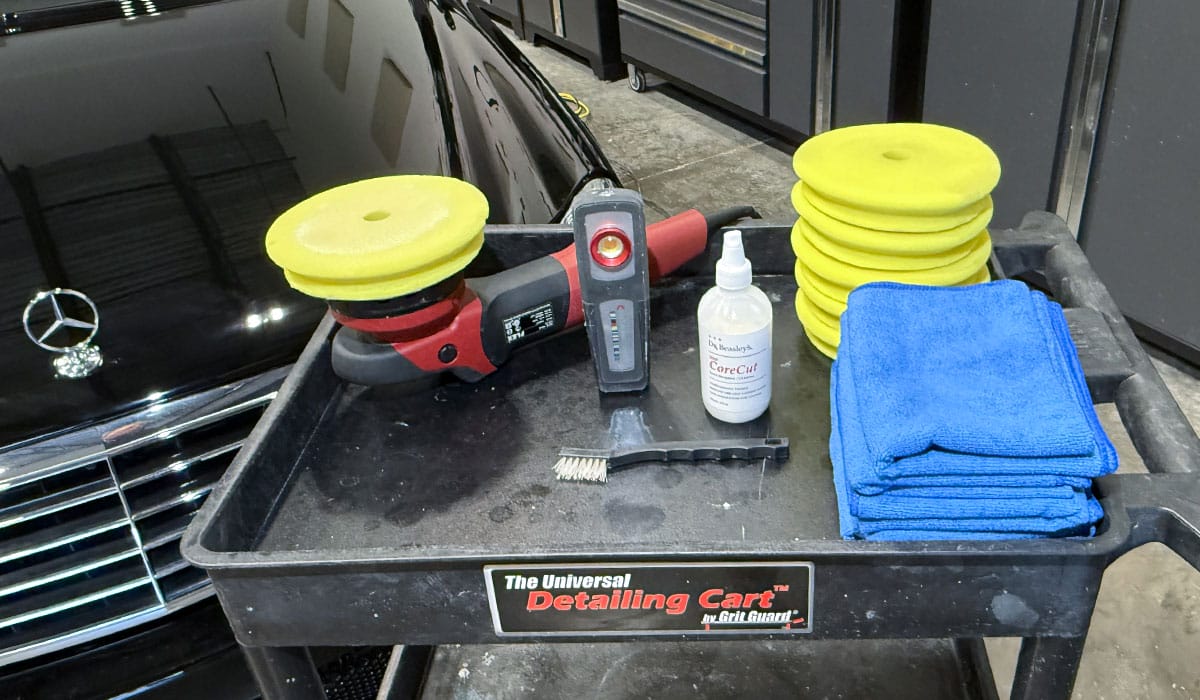
- Put Your Supplies on a Movable Cart: Another aspect of efficiency is cutting down how much time you need to walk around your garage or shop to access supplies in the various cabinets. Keep it all on a cart that you can wheel around as you make your way around the vehicle so it’s all close by.
9. Use a Powerful Light Source to Inspect Results — Don’t Rely on Overhead or Ambient Light
Anyone detailing cars, especially those doing machine polishing and ceramic coating work, MUST have a great hand-held inspection light, also called a “Swirl Finder”. This will help you know whether you got the results you wanted and whether re-polishing is necessary.

Do NOT rely on the garage or shop’s ambient or overhead lighting. This light is not close enough to the surface nor powerful enough to totally illuminate the paint surface. You will miss scratches and other defects if you don’t use an inspection light.
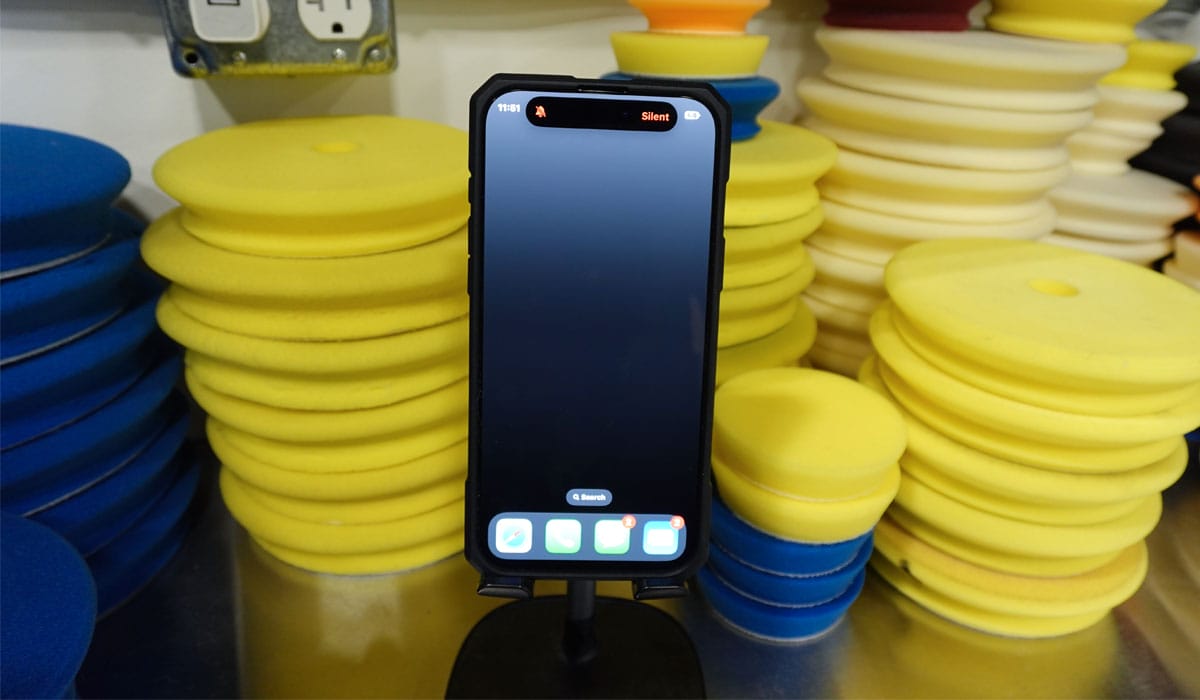
10. Turn Your Phone Off
This can be the hardest tip of all to follow considering how addicted to our phones we are these days. Whether you’re interacting on social media, watching YouTube videos or texting your friends, smart phones are HUGE time wasters. Turn the ringer off, place your phone in the charging dock and get to work. Don’t even give yourself the CHANCE to get distracted. You can always call or text people back later.
Final thoughts…
The above are actually very simple tips and tricks that help you to work faster and stay focused on the task at hand. It takes discipline to implement all of the above, but not implementing the simple tips and tricks shared above is guaranteed to cause you to work slower and increase the total time required to go from start to finish when detailing a car for either fun or profit.
Here at Dr. Beasley’s O.R., (Operating Room), in sunny Stuart, Florida, we teach the most hands-on car and boat detailing classes on planet Earth. And we prove it too. You can find write-ups on the Dr. Beasley’s Blog that photo-documents just how hands-on our classes are plus you’ll see the kinds of cars and boats you’ll be training on.
My Personal Offer to Help
I’ve been answering car detailing questions professionally since 2002 and moving forward, if after reading this article you have any questions about polishing and waxing, or how to use an AIO, my contact information is below, reach out to me, I’m always happy to help.
Would You Like to Learn How to Machine Polish Like a Pro?
- Would you like to take your detailing skills to a higher level?
- Do you find you learn better by doing versus sitting in a chair looking at a PowerPoint presentation about car detailing?
Here at Dr. Beasley’s O.R., (Operating Room), in sunny Stuart, Florida, we teach the most hands-on car and boat detailing classes on planet Earth. And we prove it too. You can find write-ups on the Dr. Beasley’s Blog that photo-documents just how hands-on our classes are plus you’ll see the kinds of cars and boats you’ll be training on.
Click the link below to find the dates, locations, topics, and prices for all upcoming detailing classes.
Upcoming Detailing Classes – Prices – Info – Topics – Locations
And if you ever have any questions, always feel free to reach out to me personally via text, phone call or email.
I hope to see you in a future detailing class!
Sincerely,
Mike Phillips
Chief Education Officer for Dr. Beasley’s
Mike@drbeasleys.com
760-515-0444
Dr. Beasley’s Contact Information
Questions via Email: MyTeam@DrBeasleys.com
Customer Care Hotline: 773-404-1600
Questions? Comments?
Email Us