


Here’s a Training Car Preview Video taken the night before class

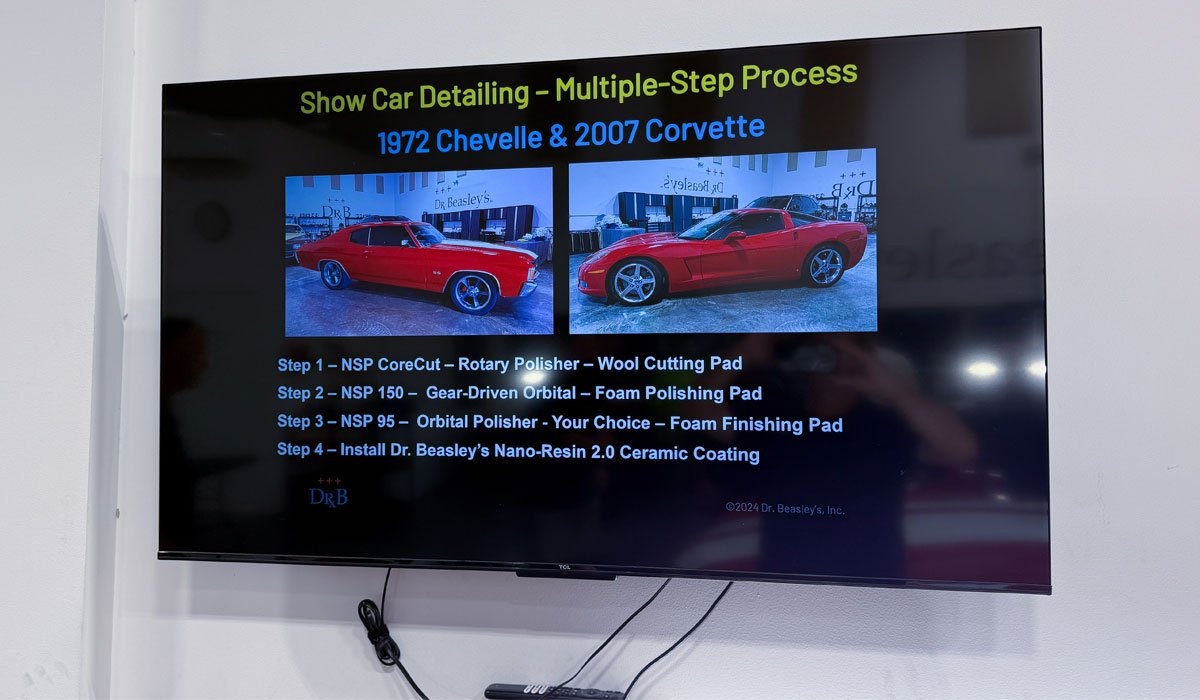
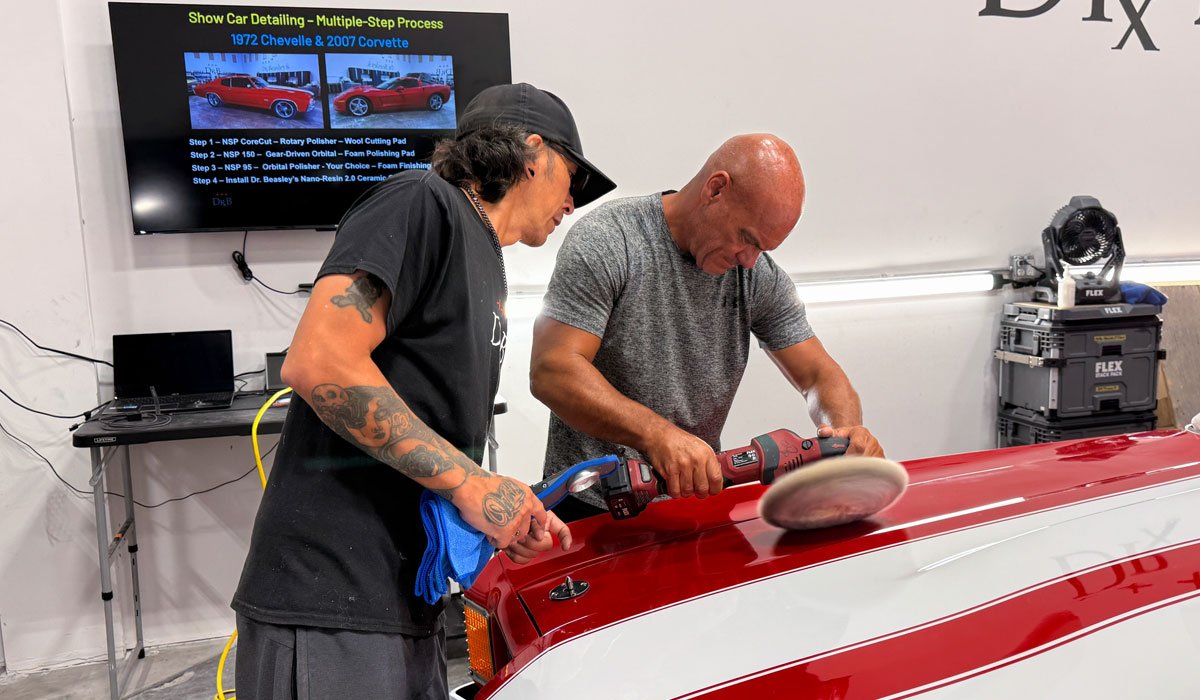
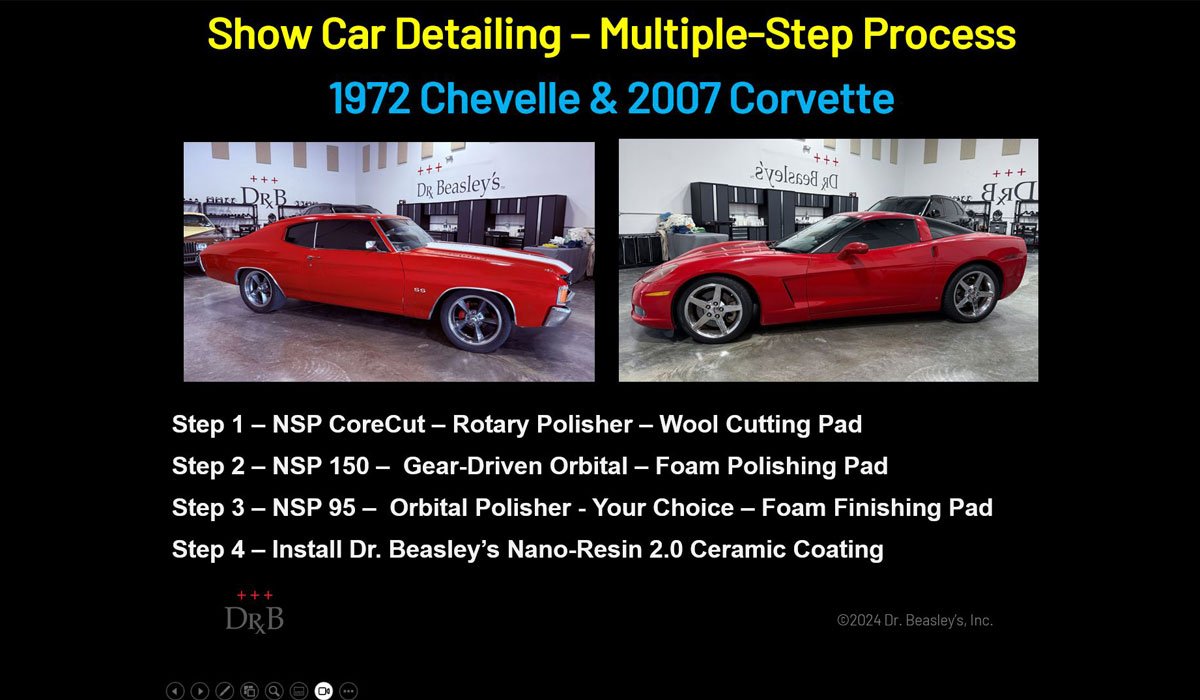
1972 Chevelle & 2007 Corvette – Show Car Detailing – Multiple-Step Process
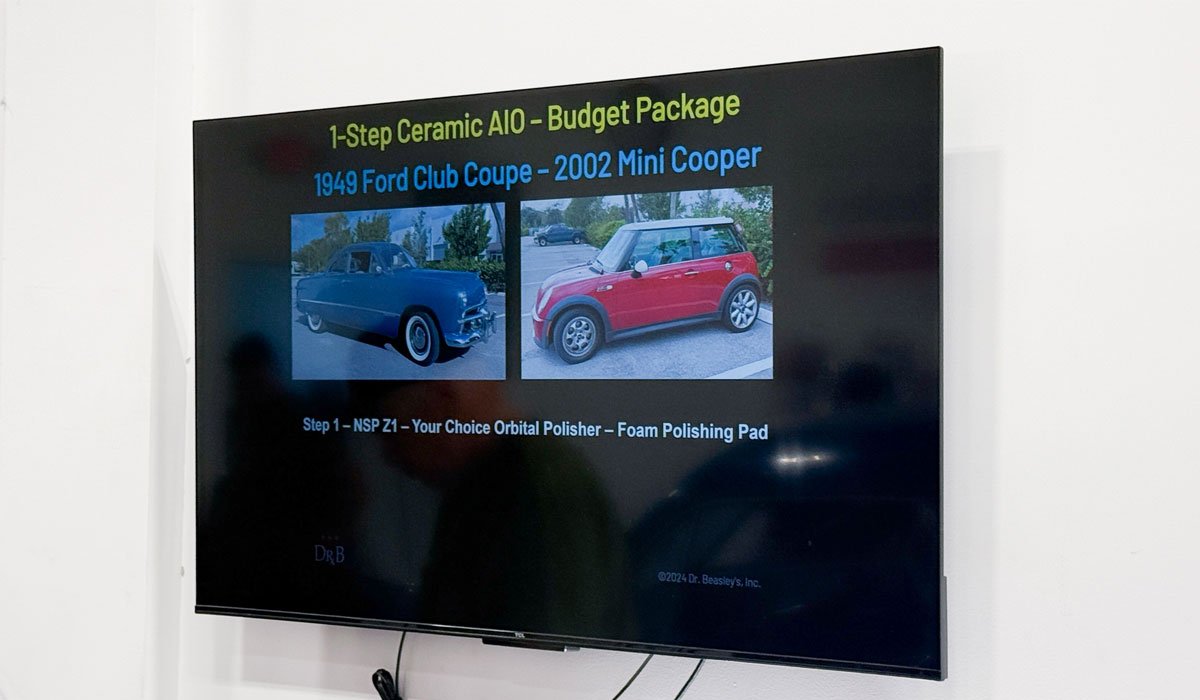
This is as deep as the PowerPoint presentation goes – 1 slide per each set of training cars.
Let’s Go! Time for the ACTION PICTURES!
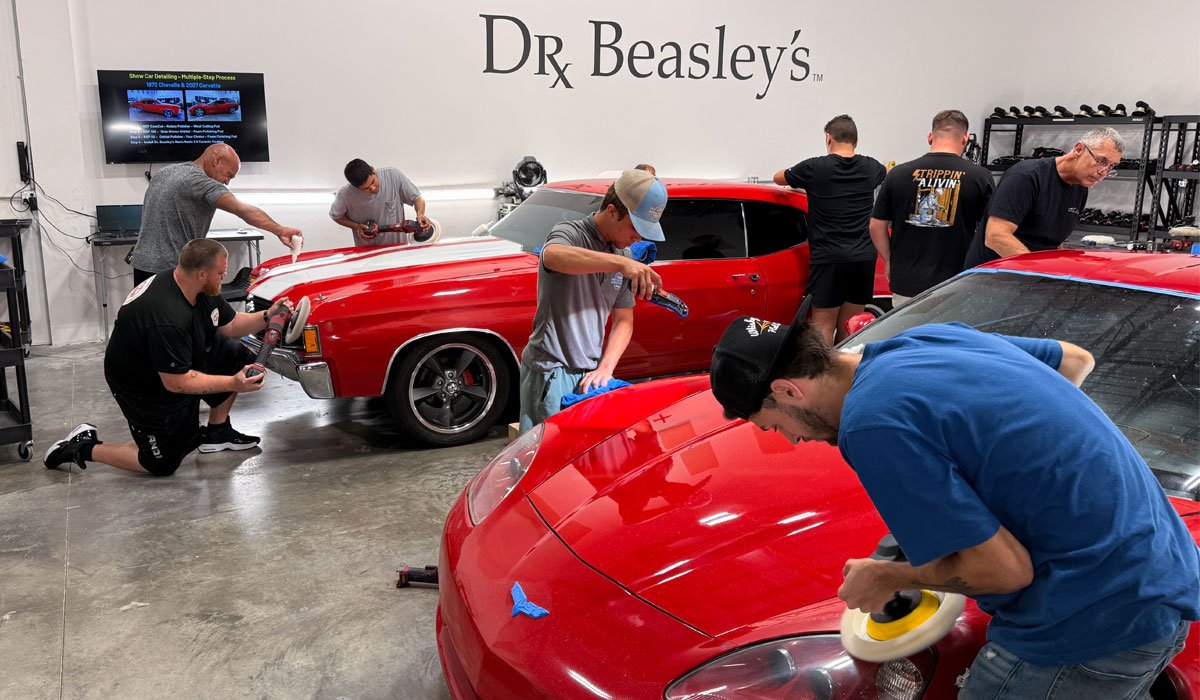
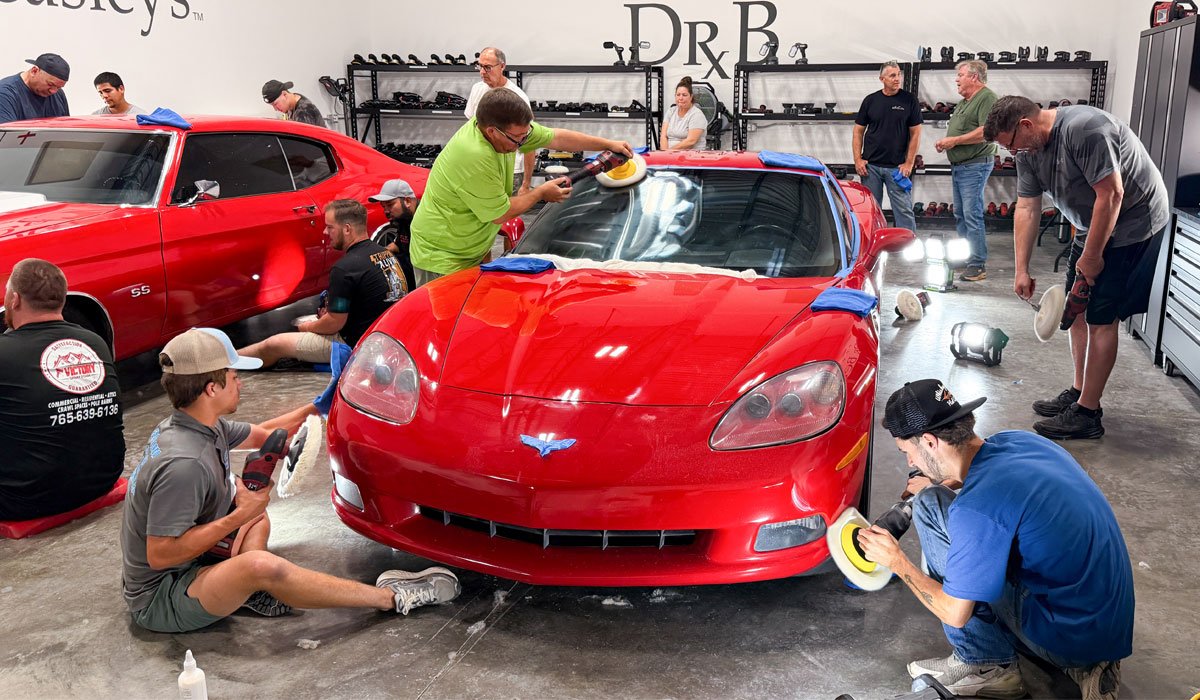
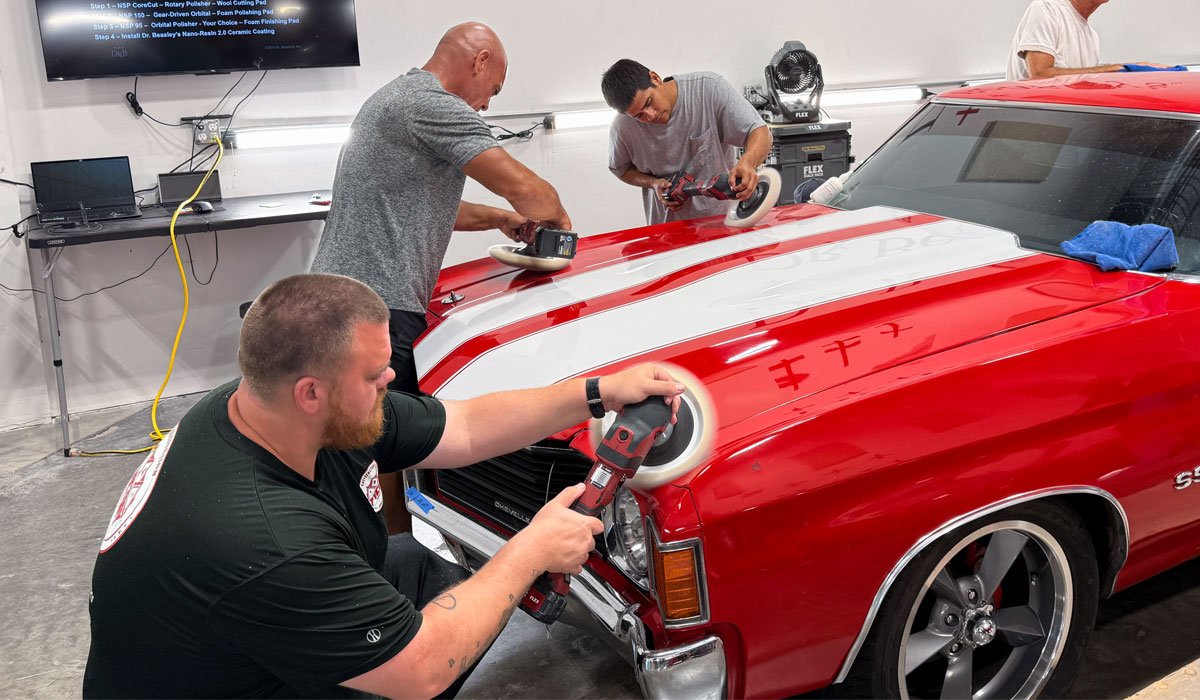
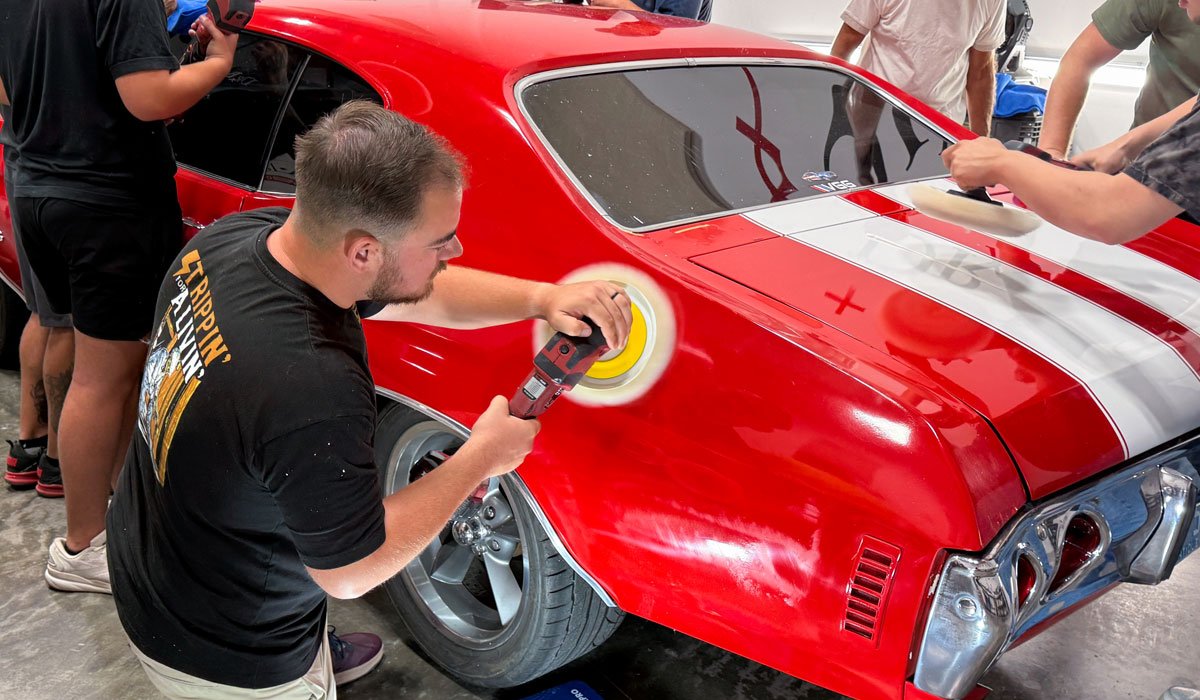
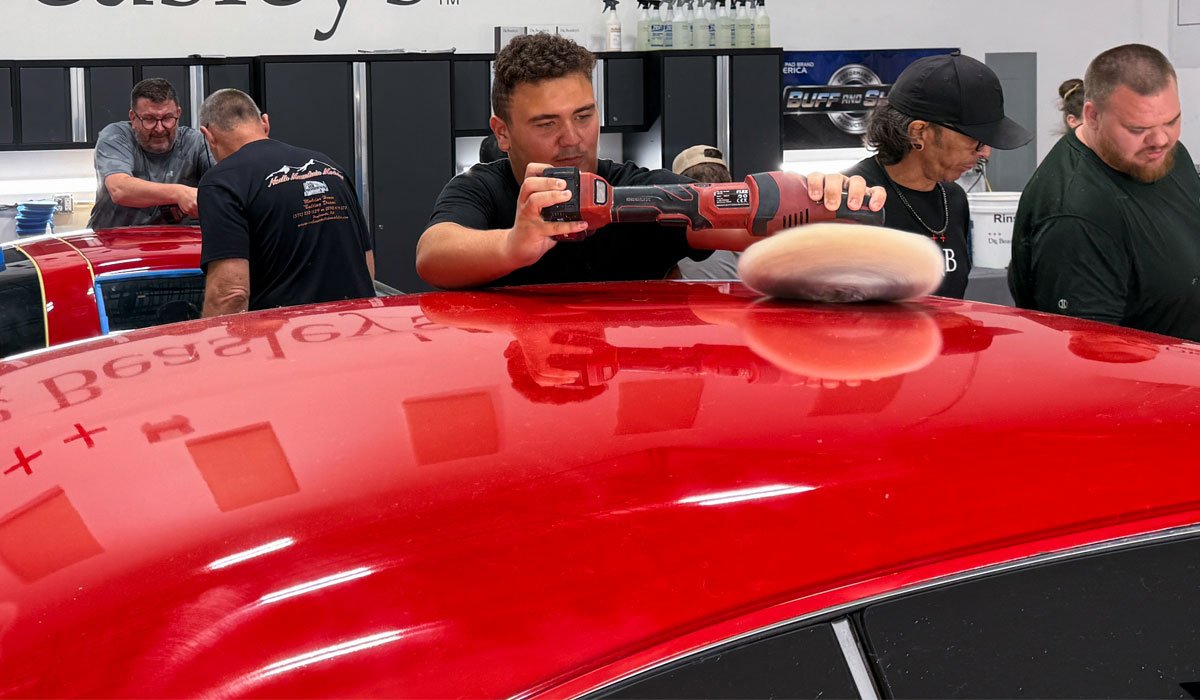
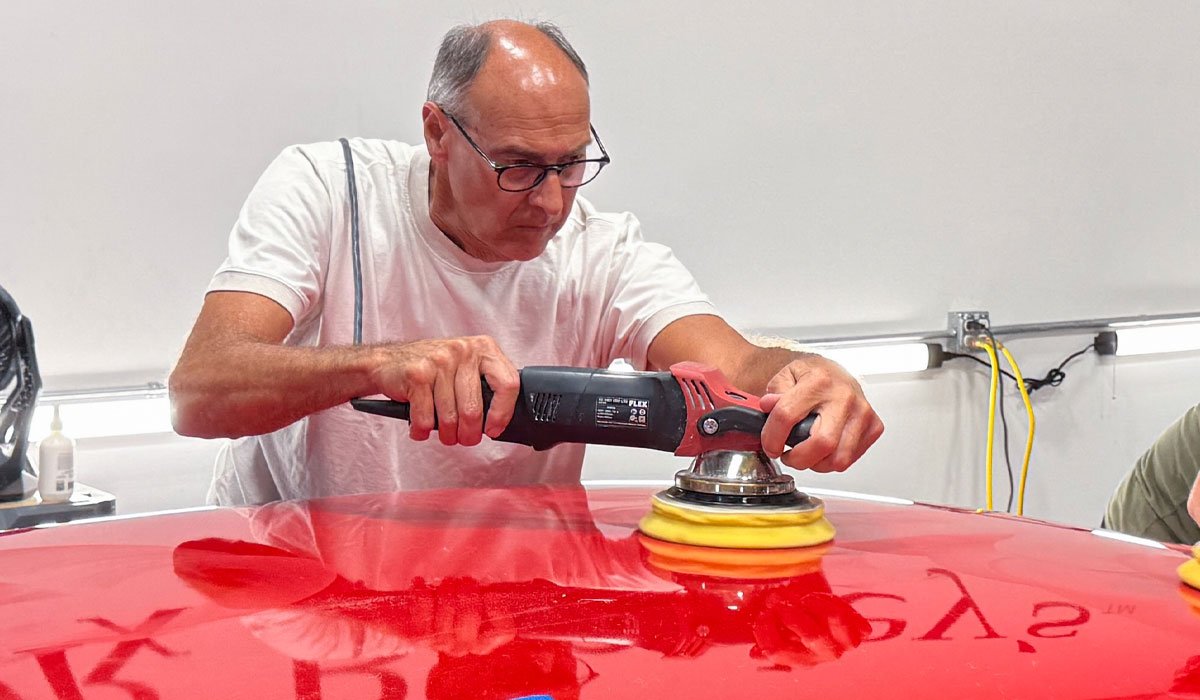
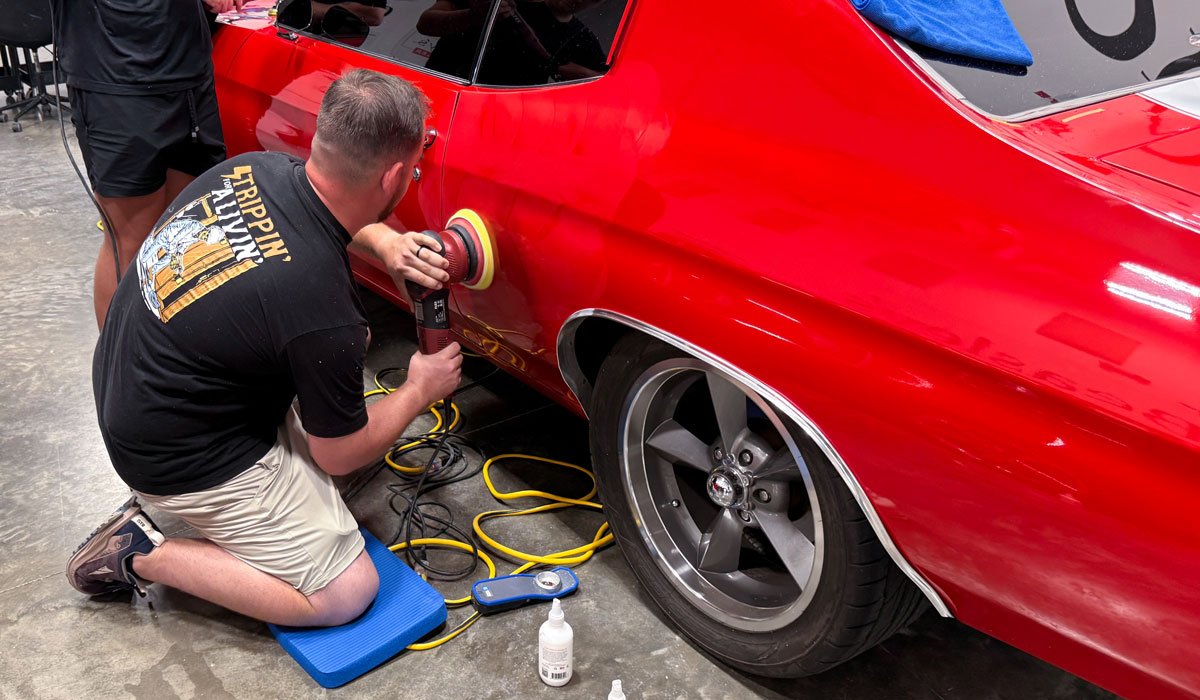
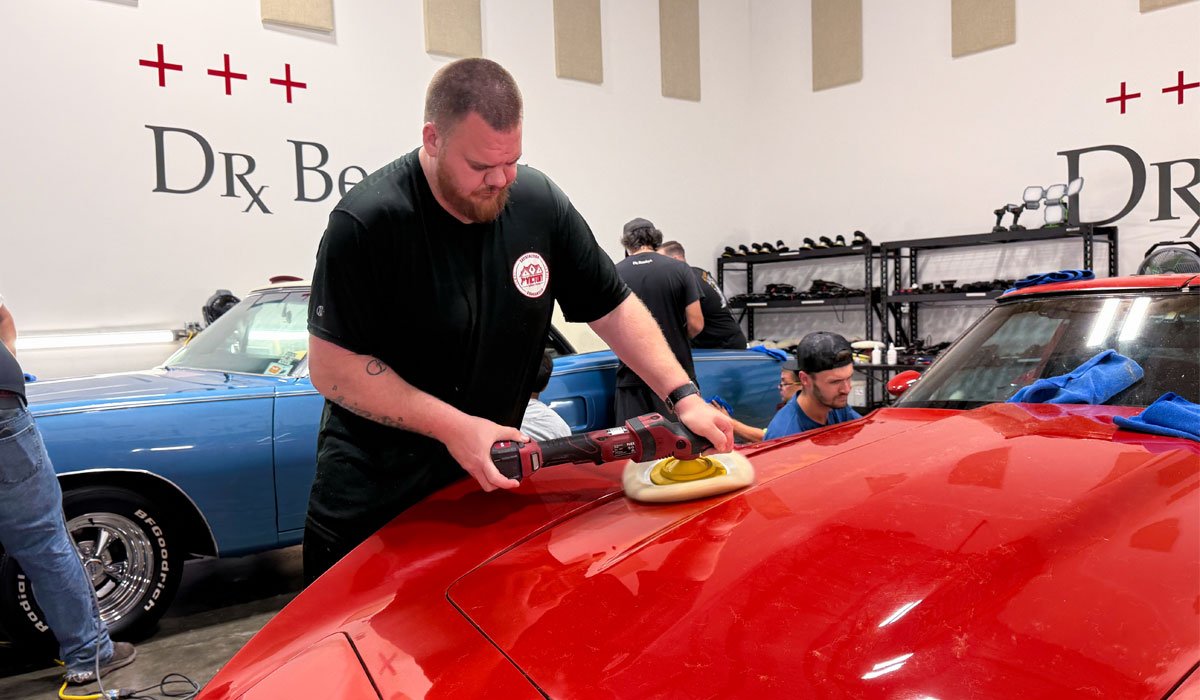
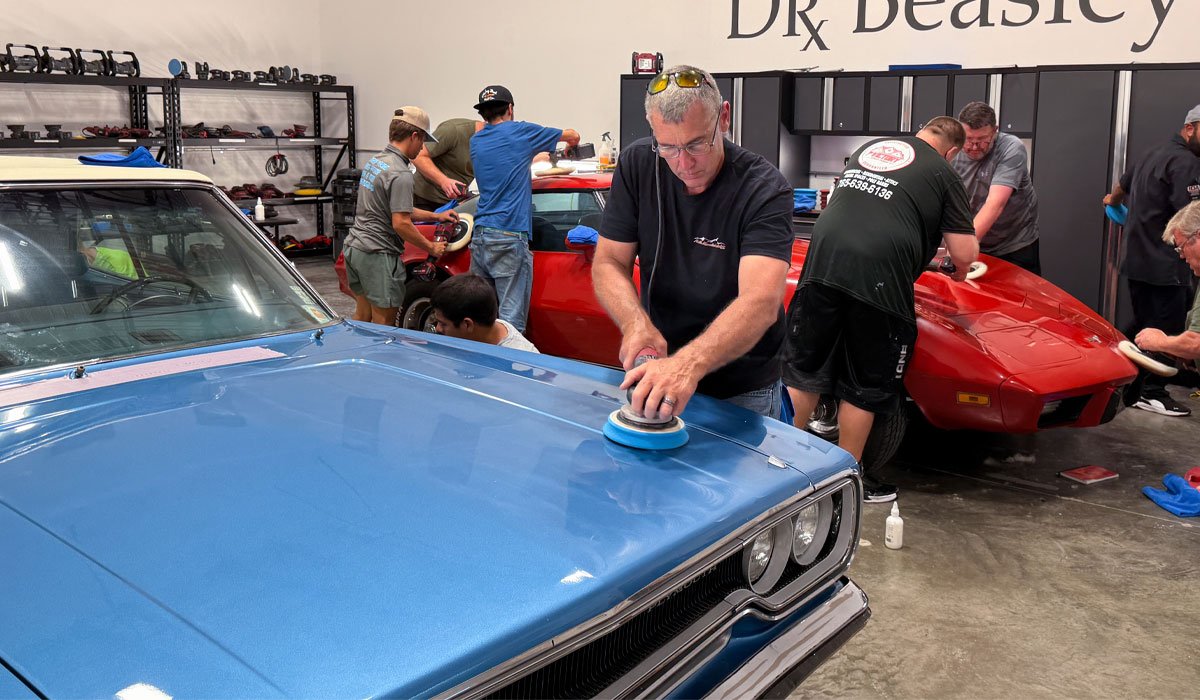
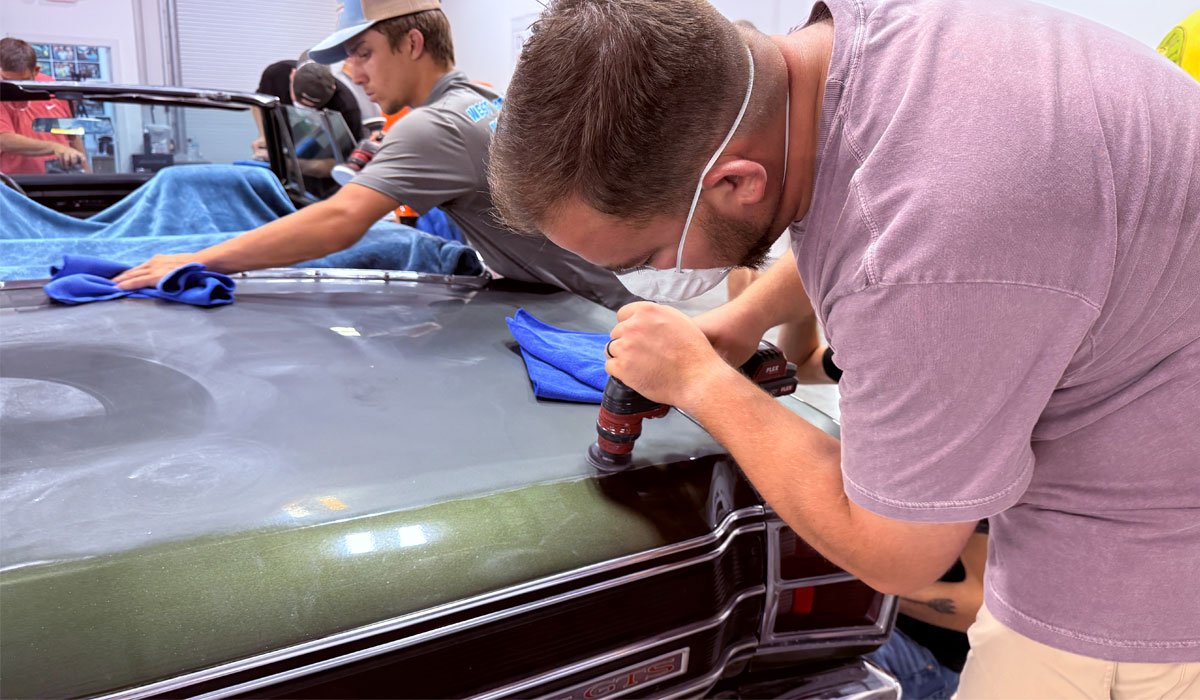
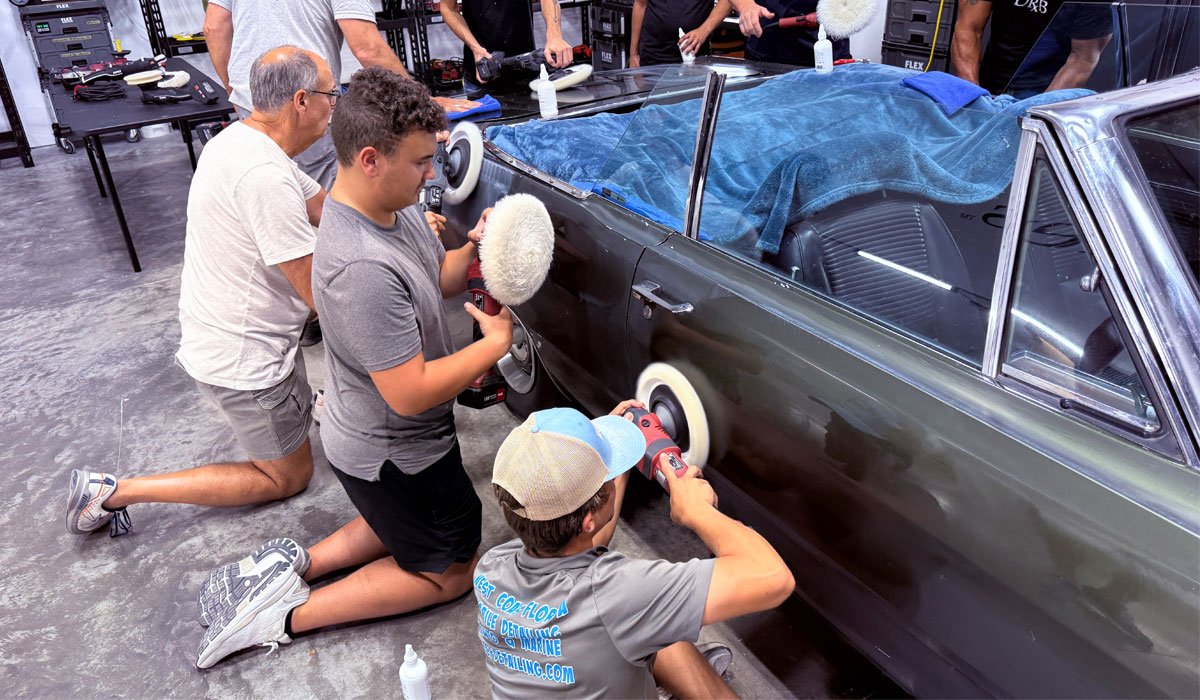
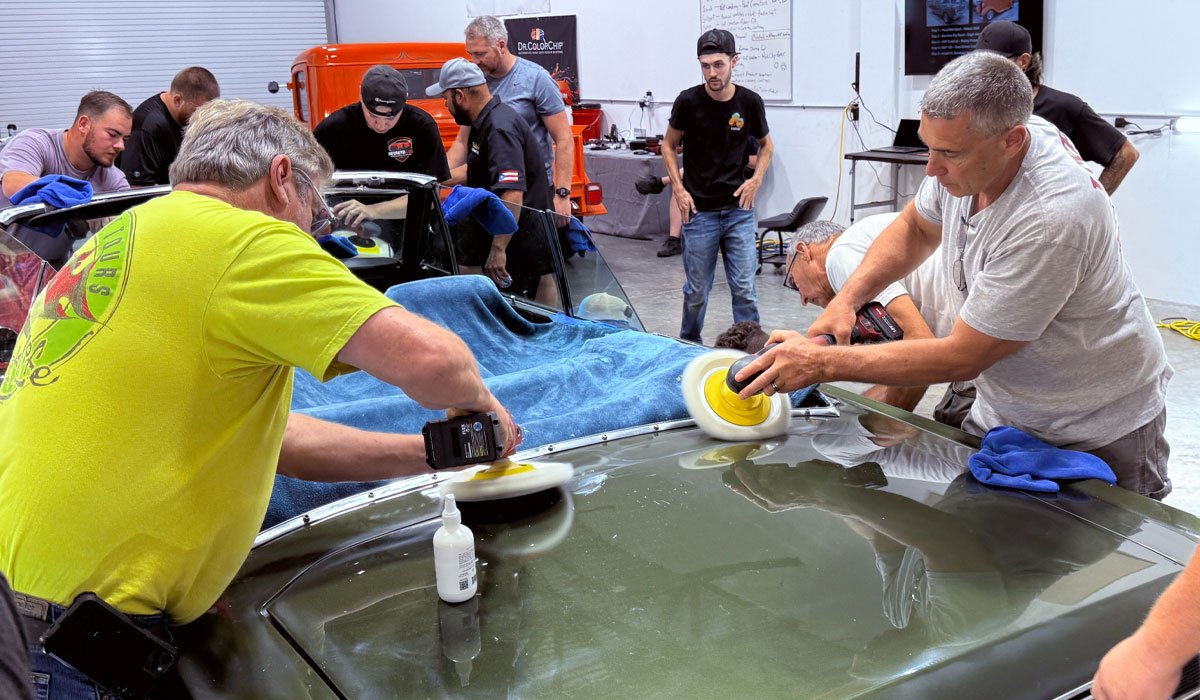
First up, the class did show car detailing, starting with large wool pads on rotary polishers also known as American Style rotary technique. For each primary topic we cover, there are two cars for the students to choose from to do the training.
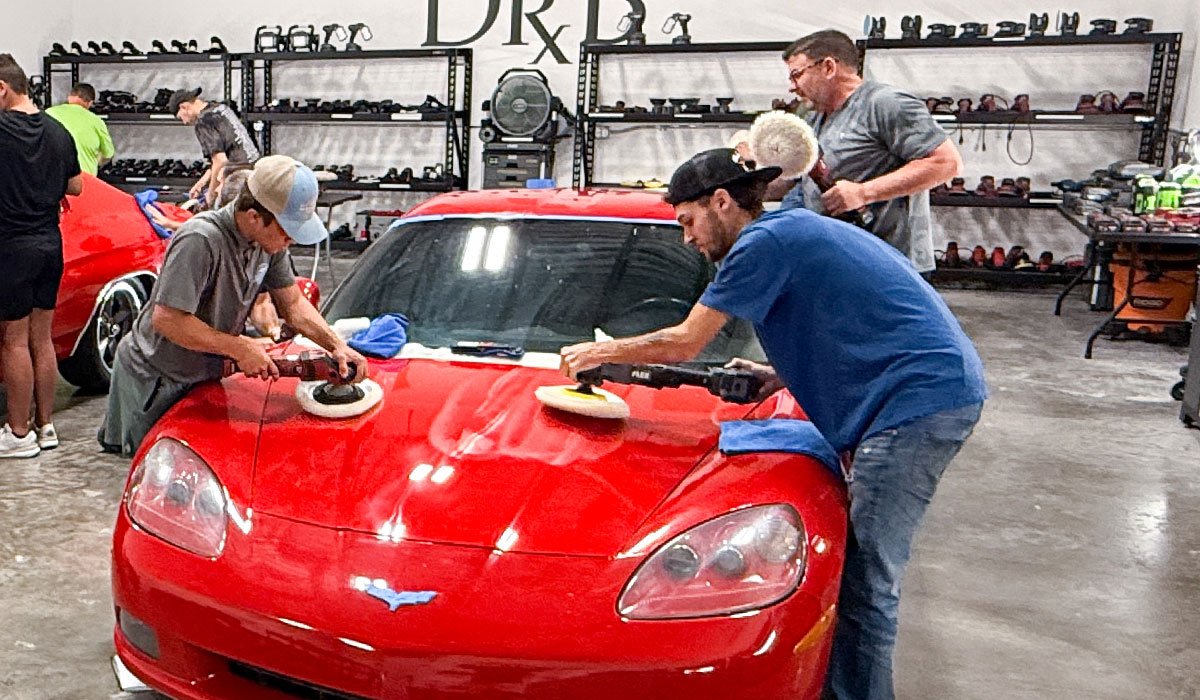
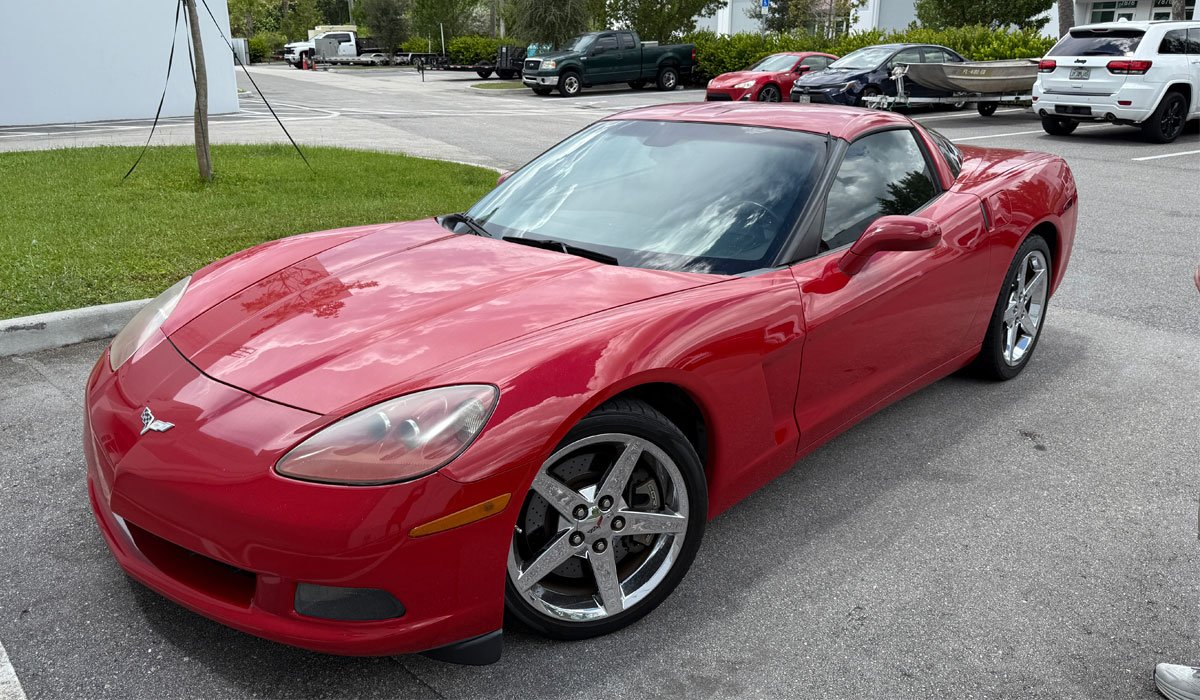
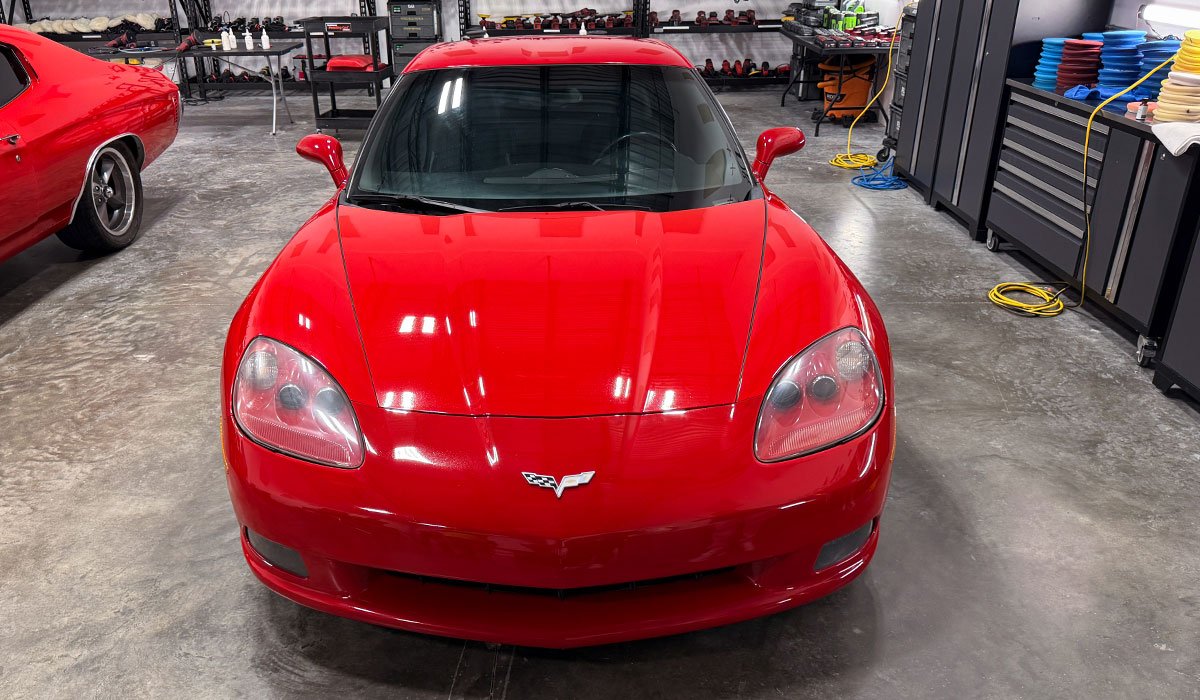
2007 Corvette Z51 – Show Car Detailing
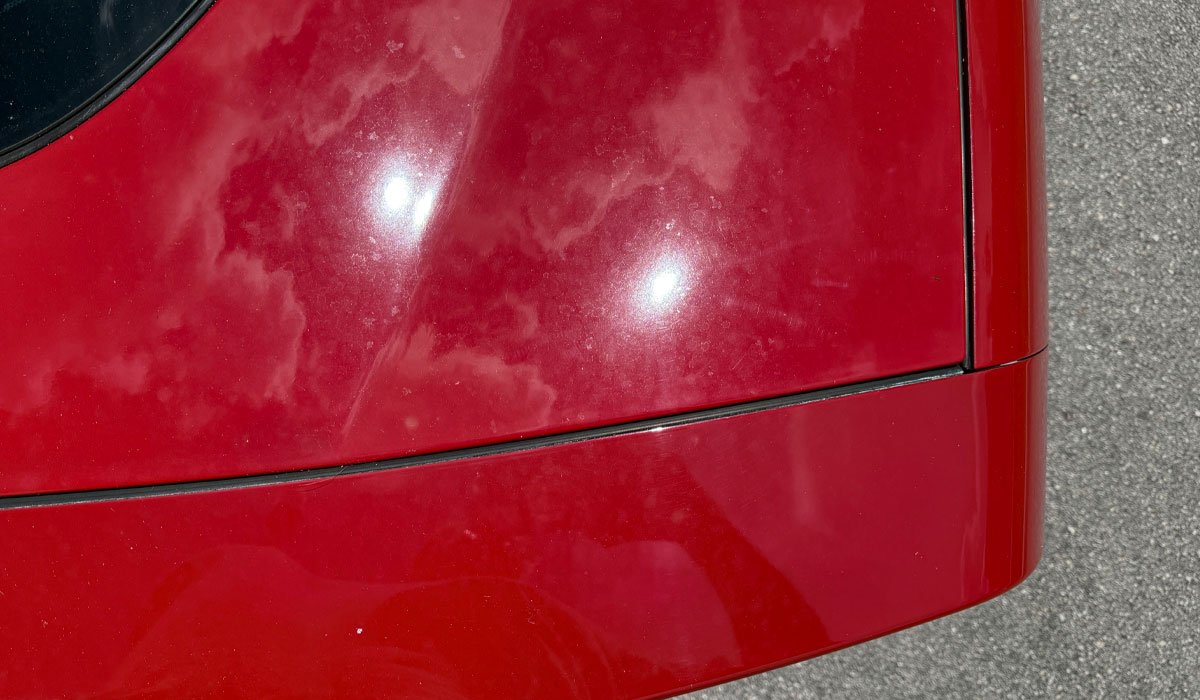
For this extremely neglected Corvette, after dialing-in the Test Spot, the class proceeded to,
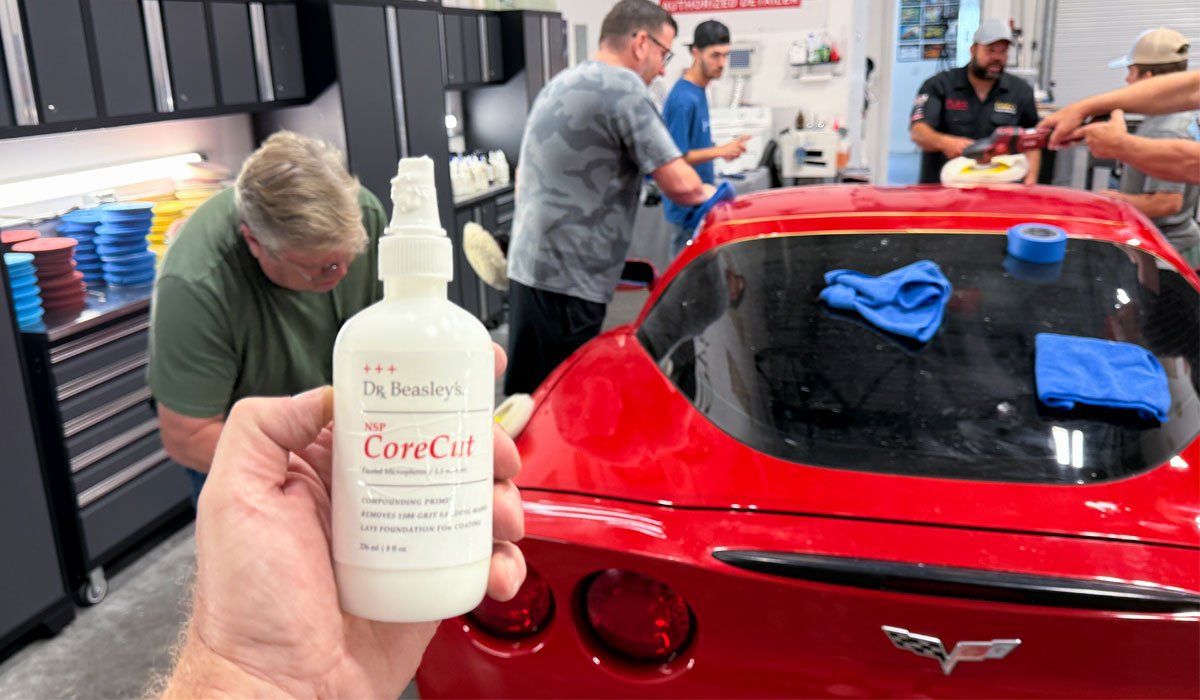
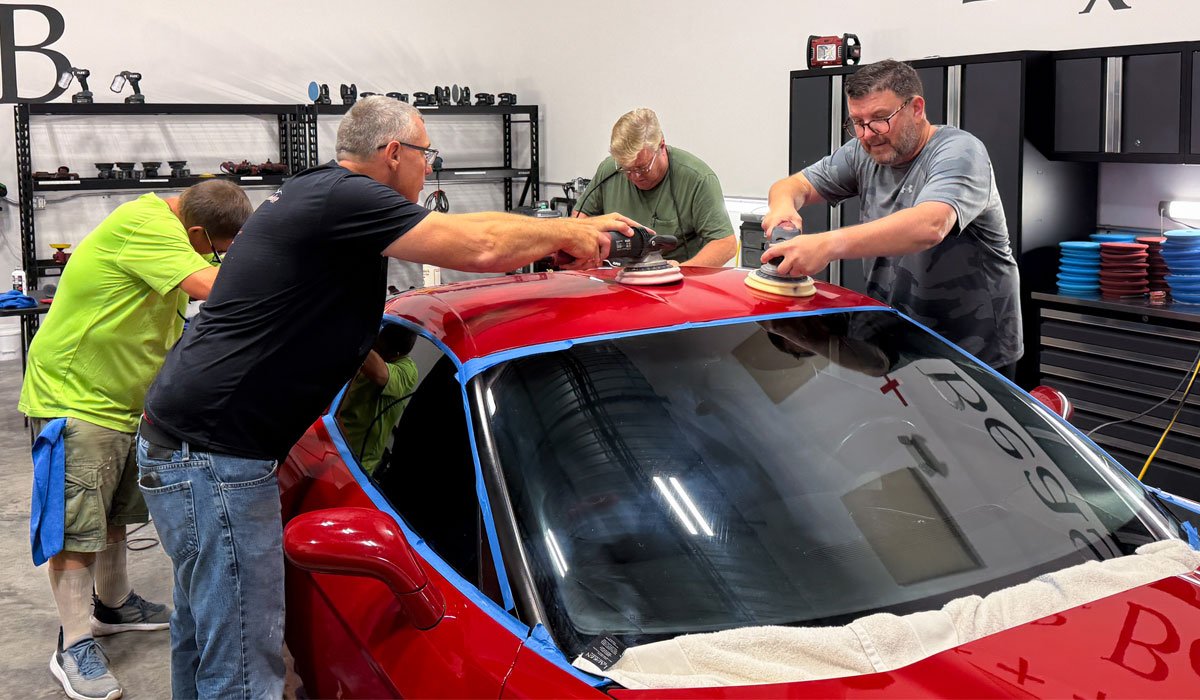
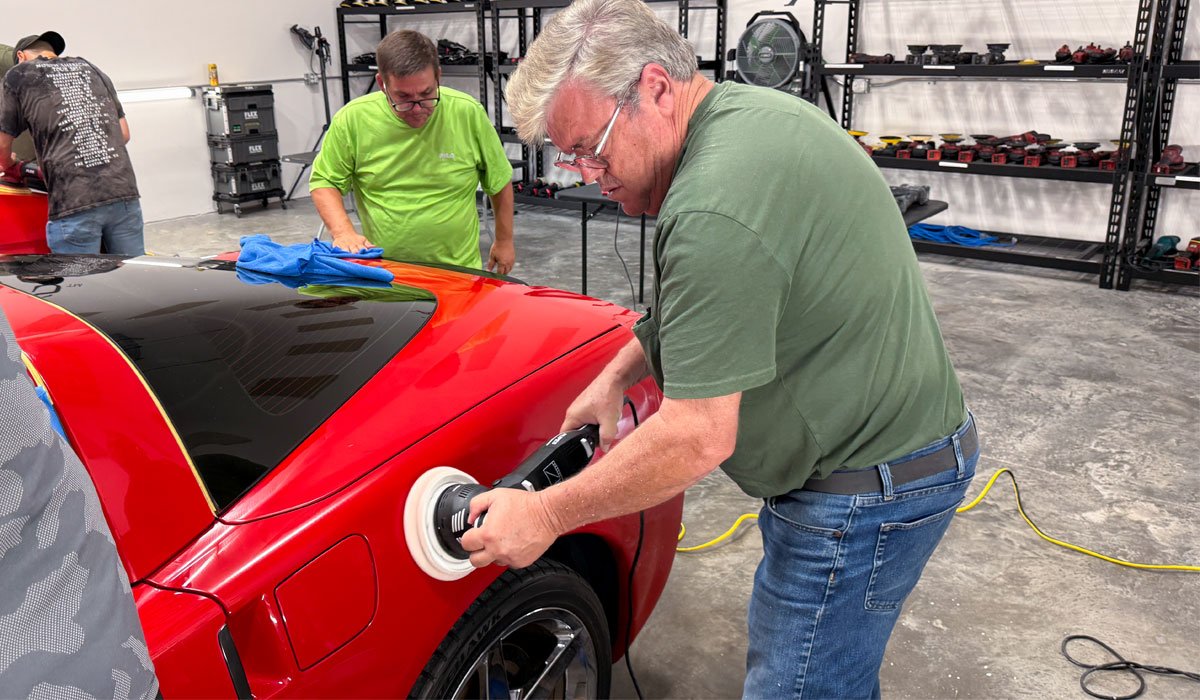
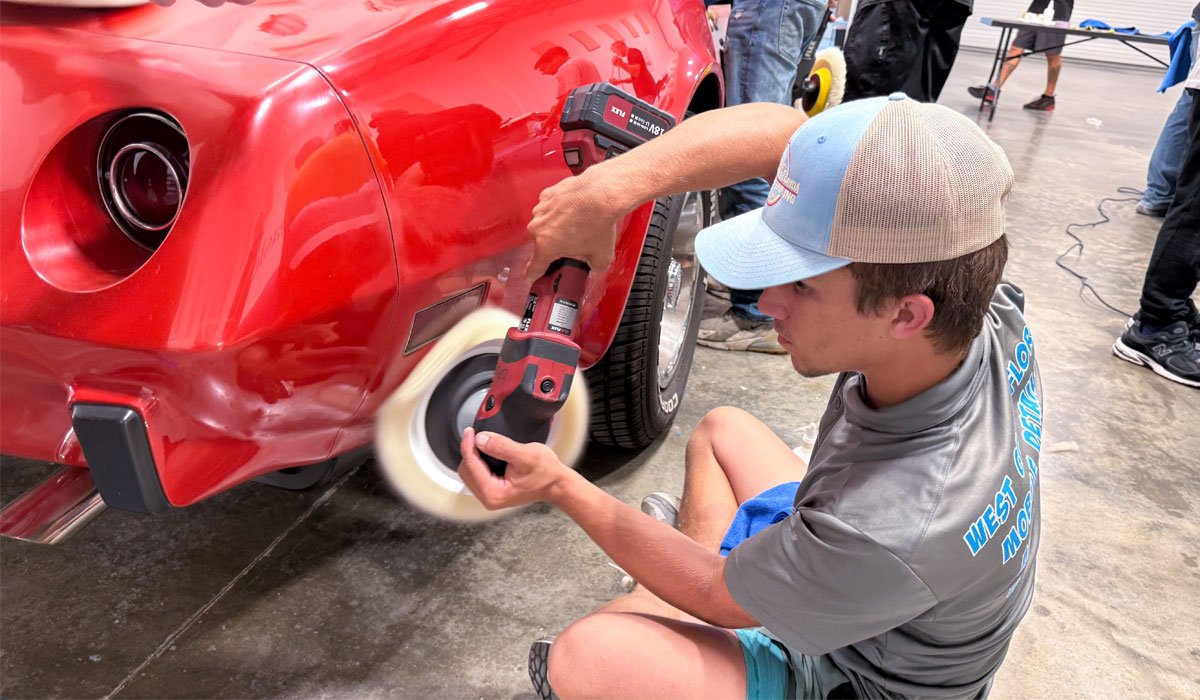
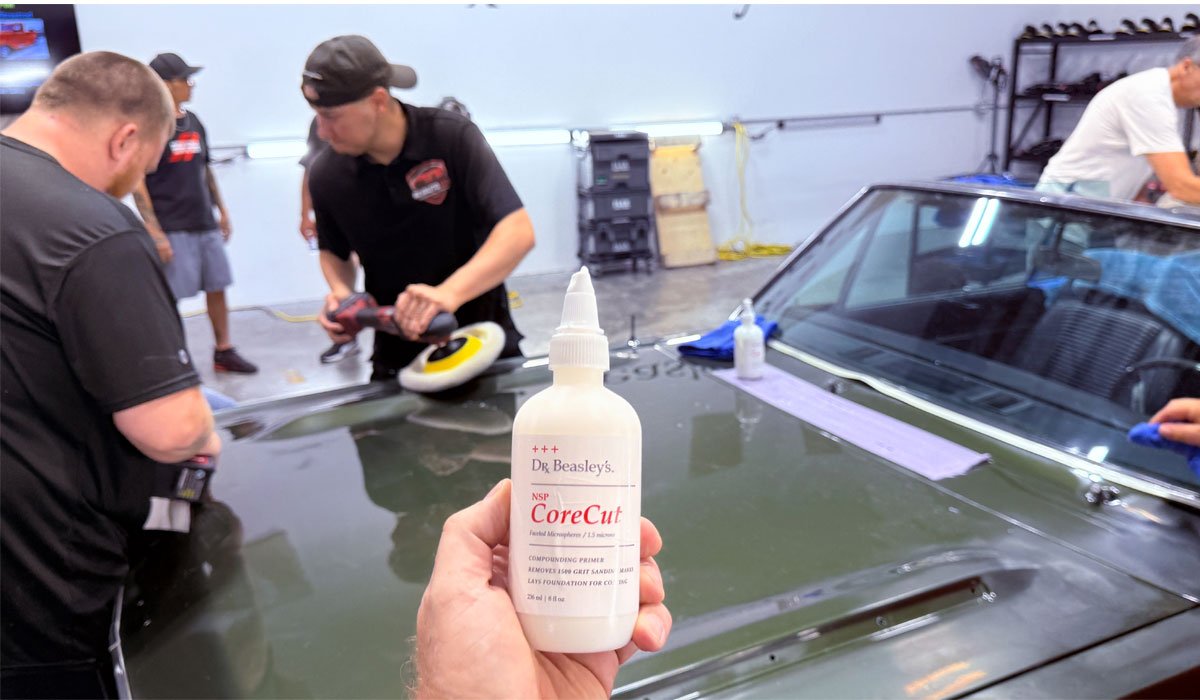
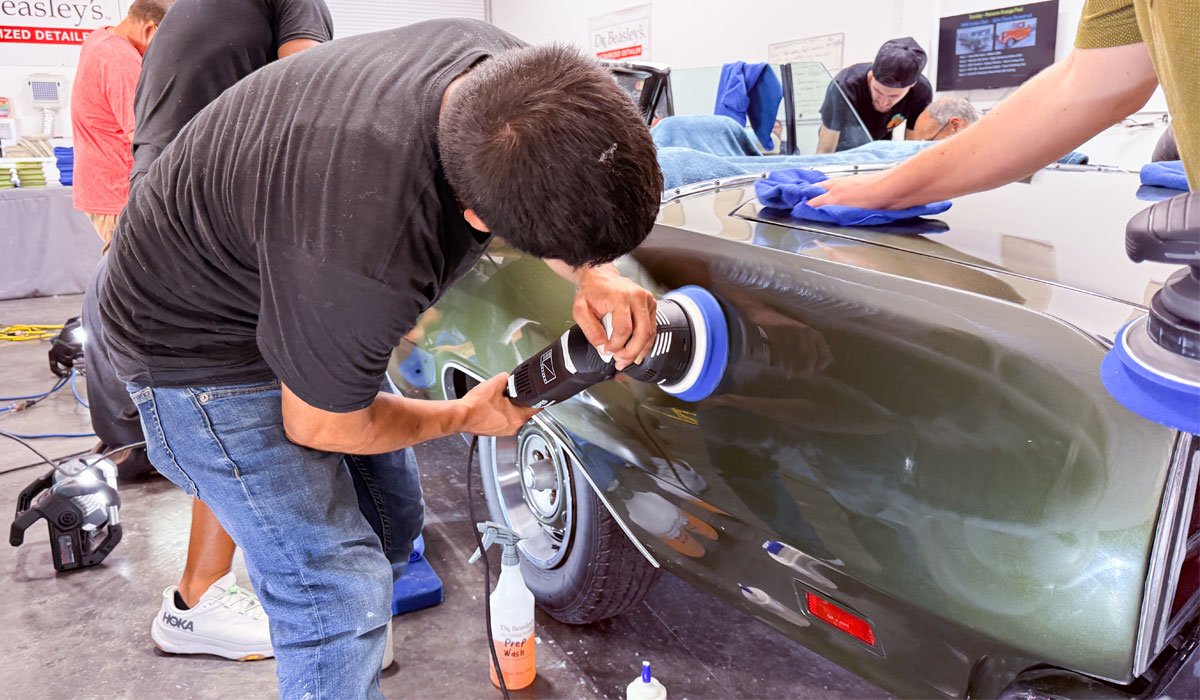
Step 1: Cut using Dr. Beasley’s CoreCut with Buff and Shine Wool Pads on Rotary Polishers.
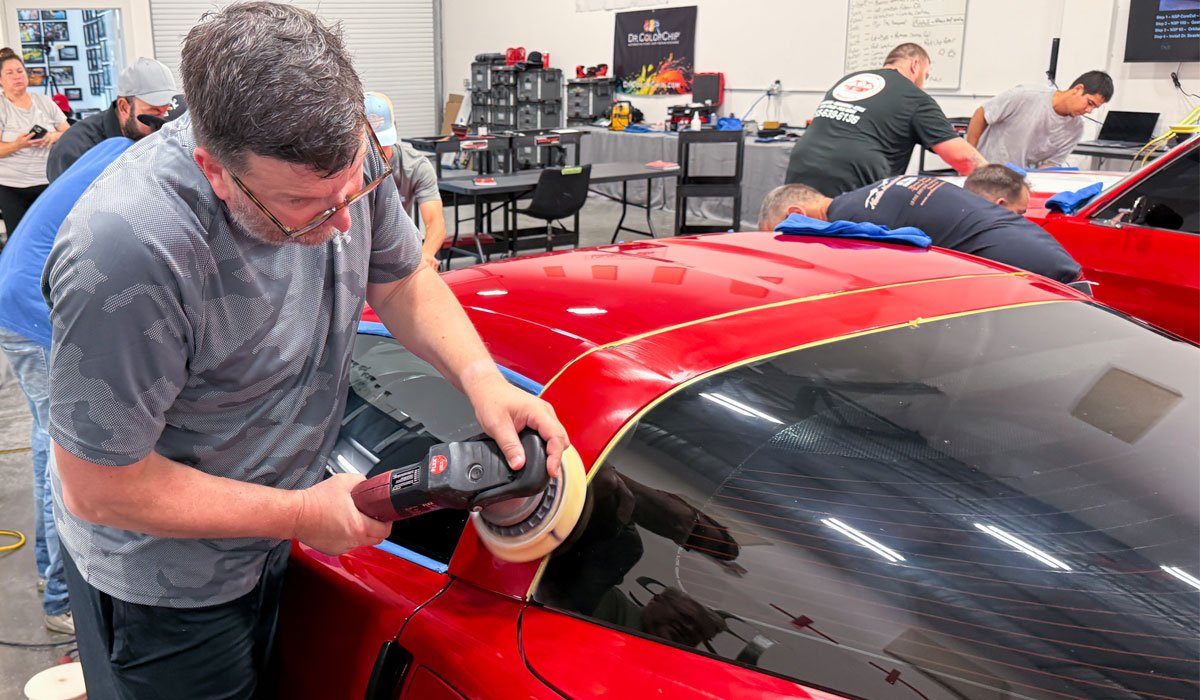
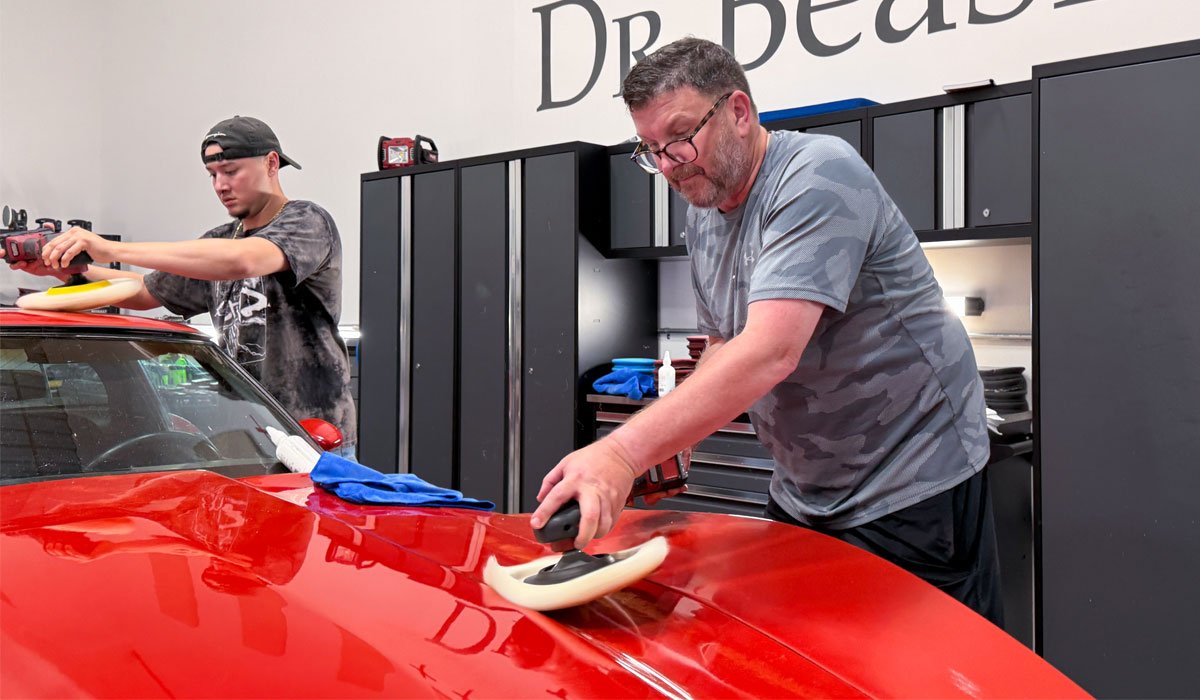
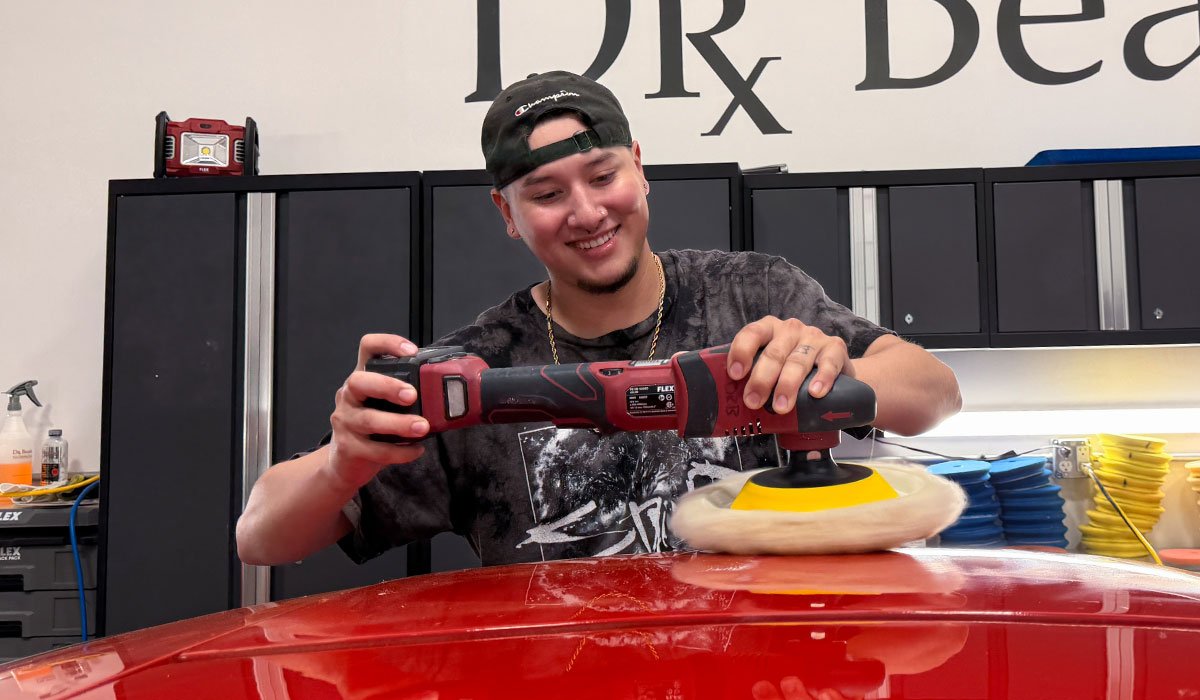
Step 2: Polish using Dr. Beasley’s NSP 150 with Buff and Shine EdgeGuard Foam Pads on Your Choice Gear-Driven Orbital Polishers.
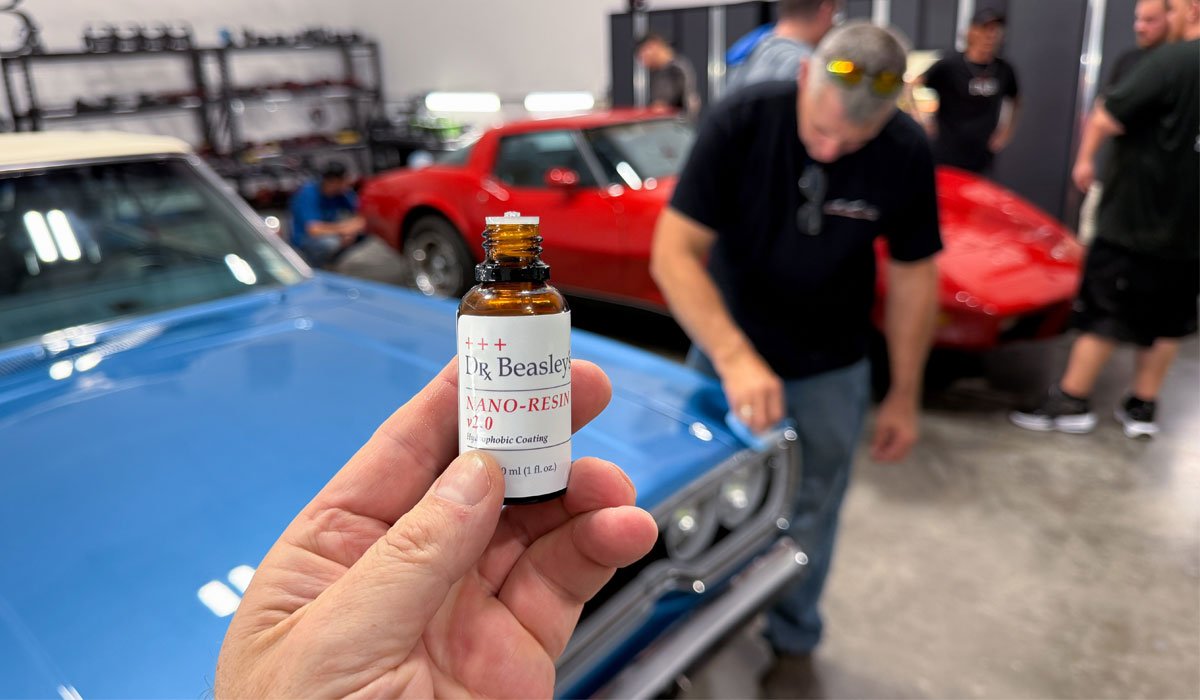
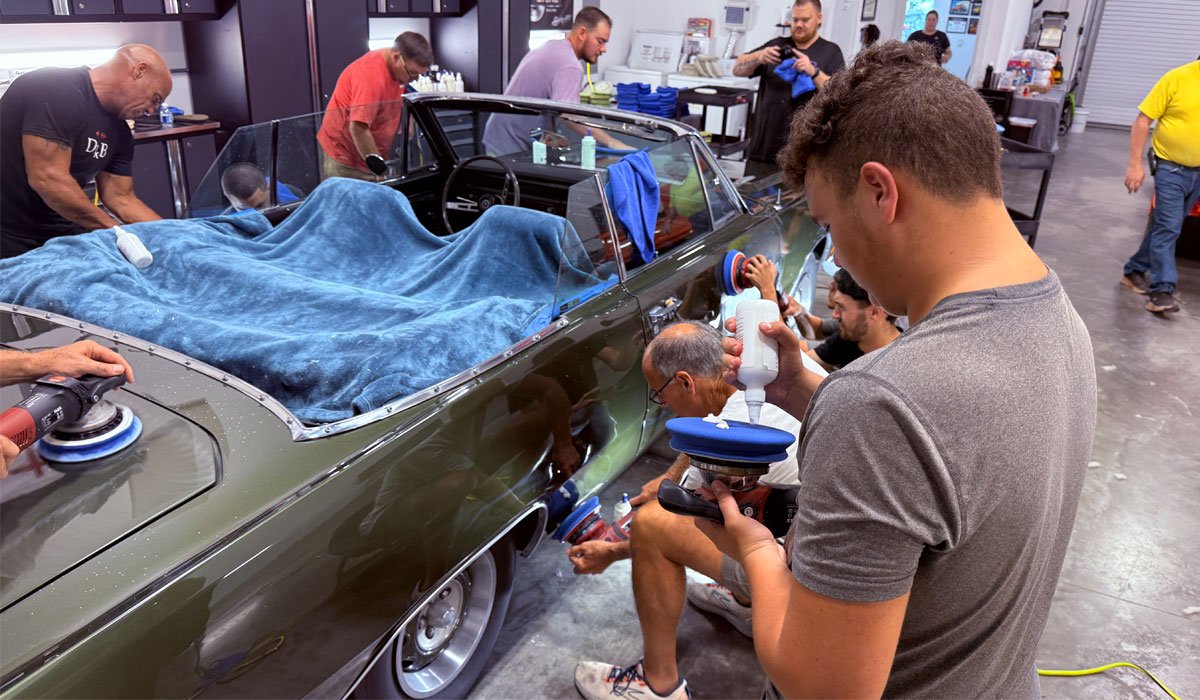
Step 3: Install Dr. Beasley’s Nano-Resin 2.0 Ceramic Coating
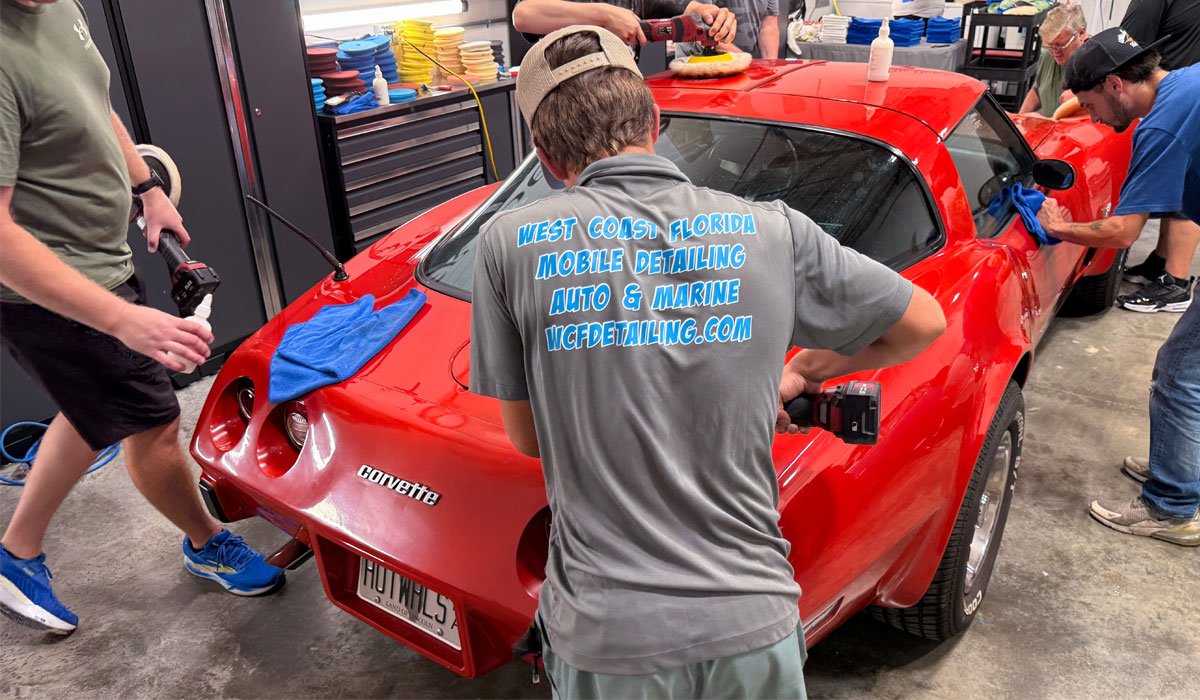
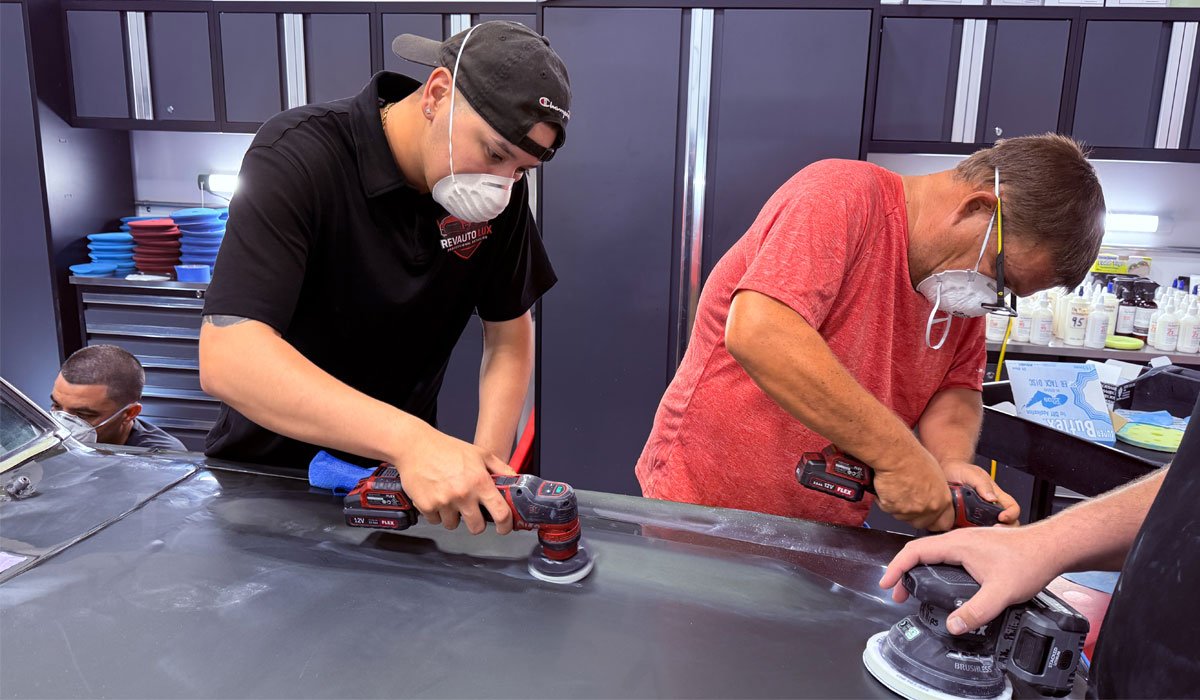
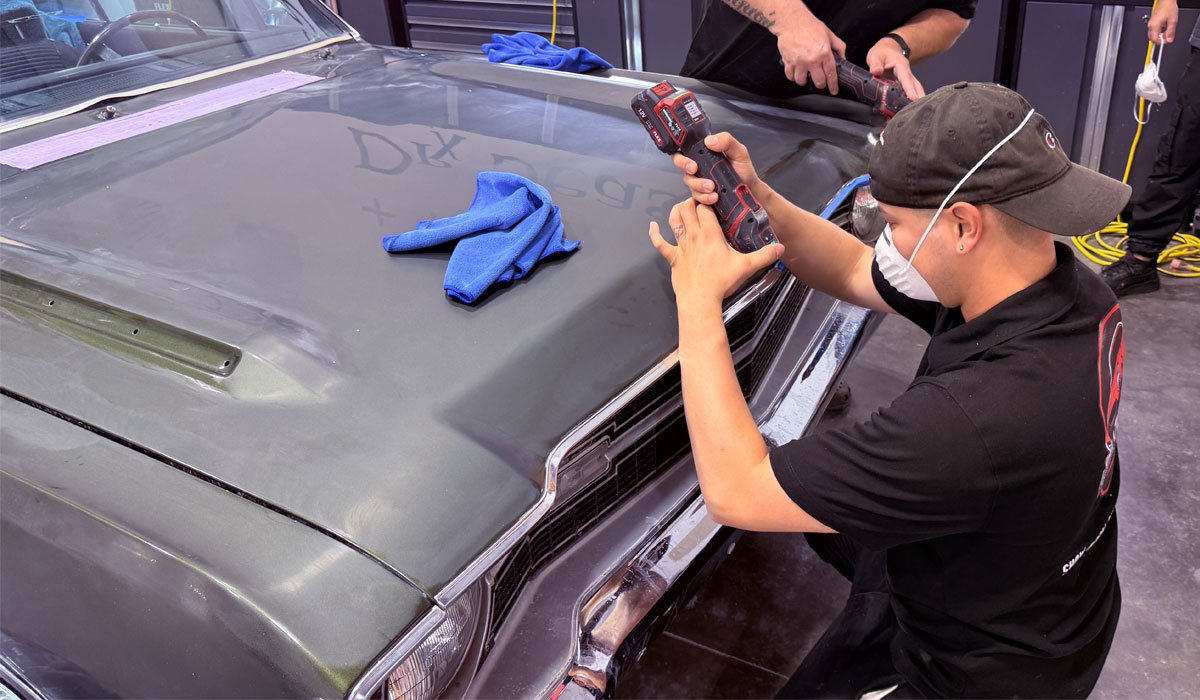
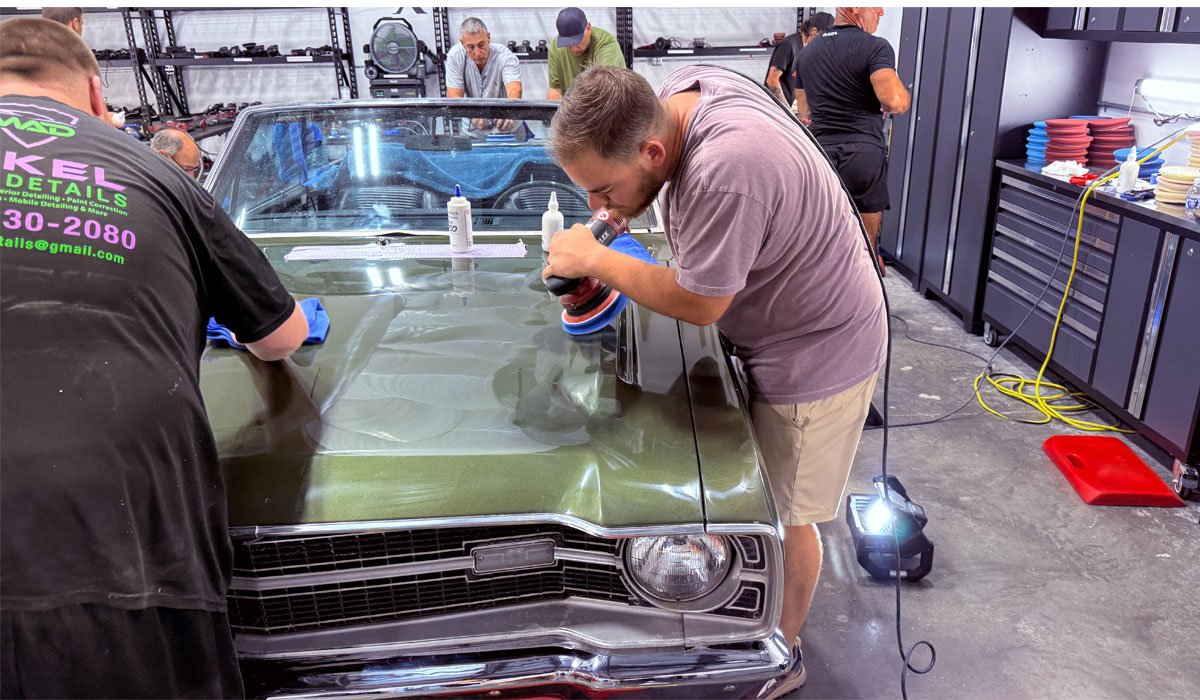
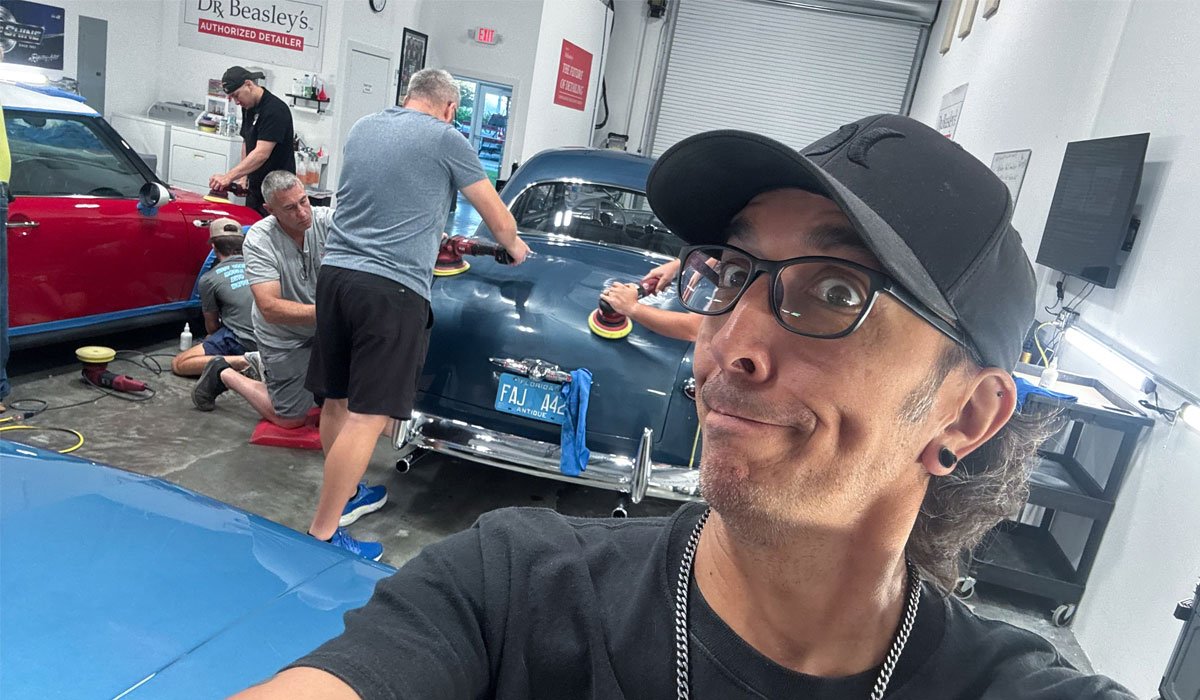
Here’s Josh and Evan tackling the front clip.
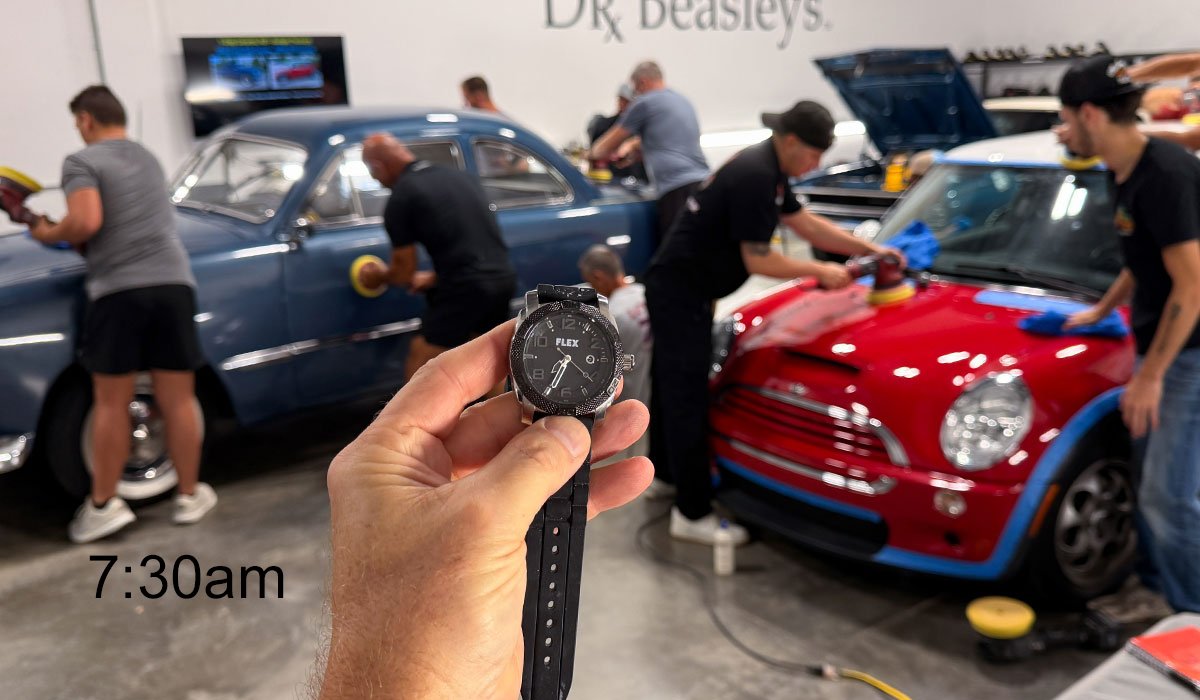
We Start Early
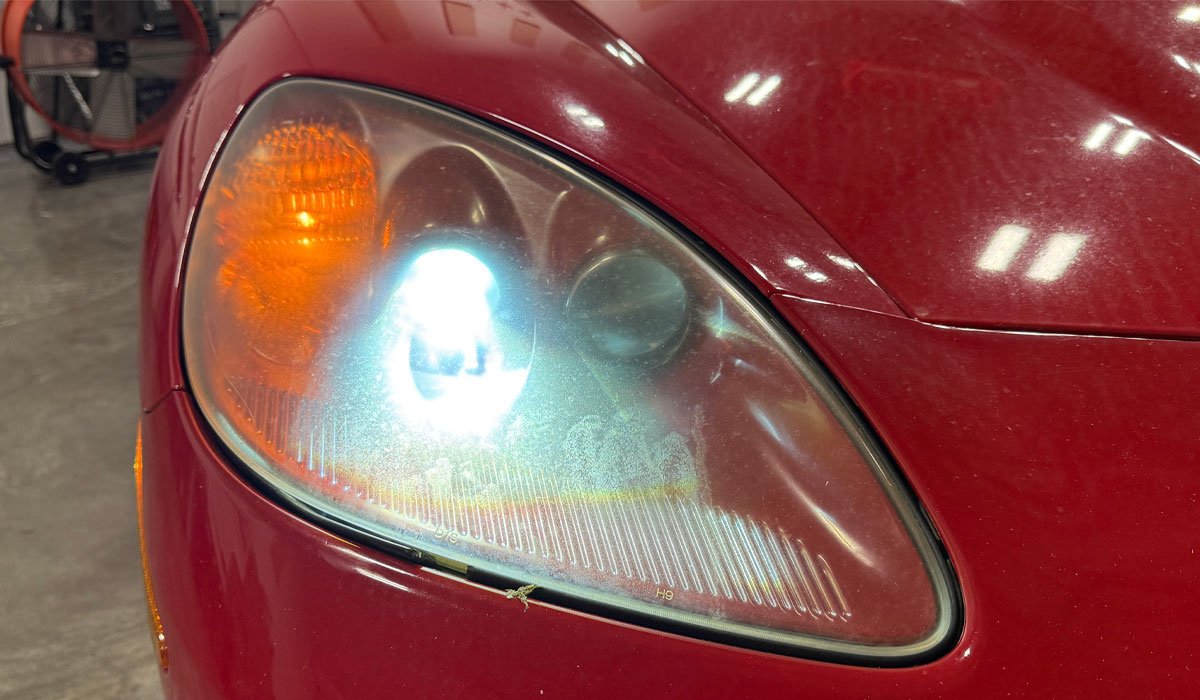
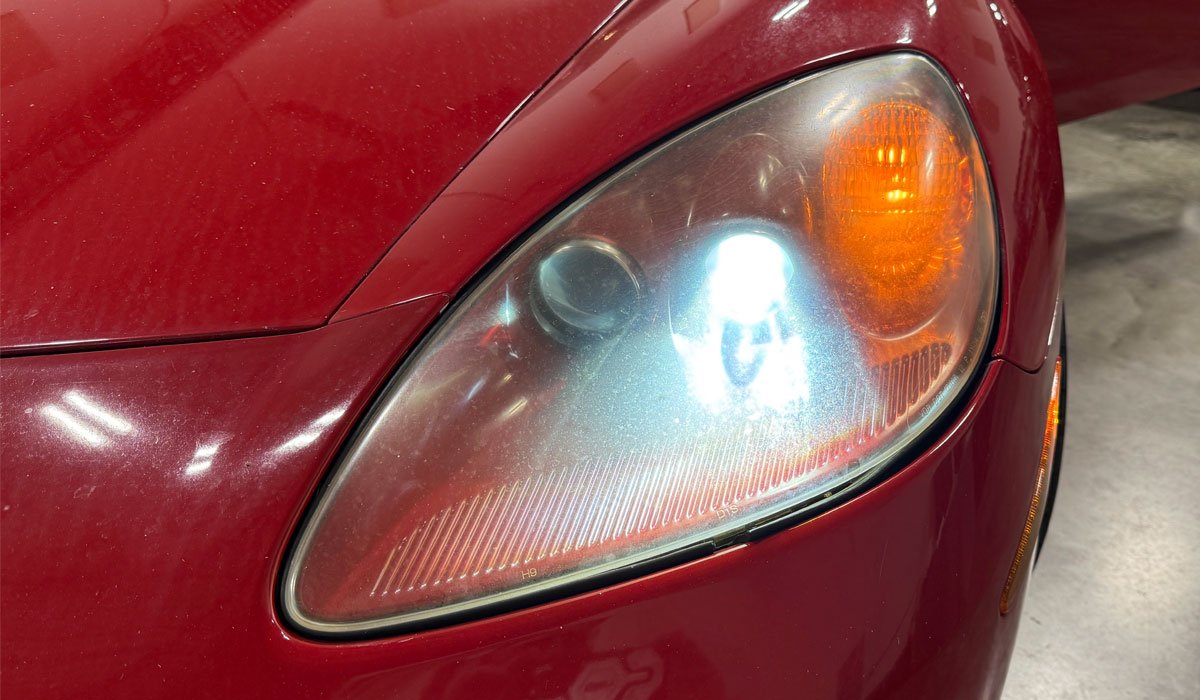
Our classes start earlier than any other class because we cover more topics, tools and techniques. We MUST start early in order to work through all the topics and all the cars. We actually started at 7:30am with machine sanding the headlights on this Corvette, pictures will be down below. Even so, by 9:00am, the class switched over to paint correction for the Corvette and the Chevelle.
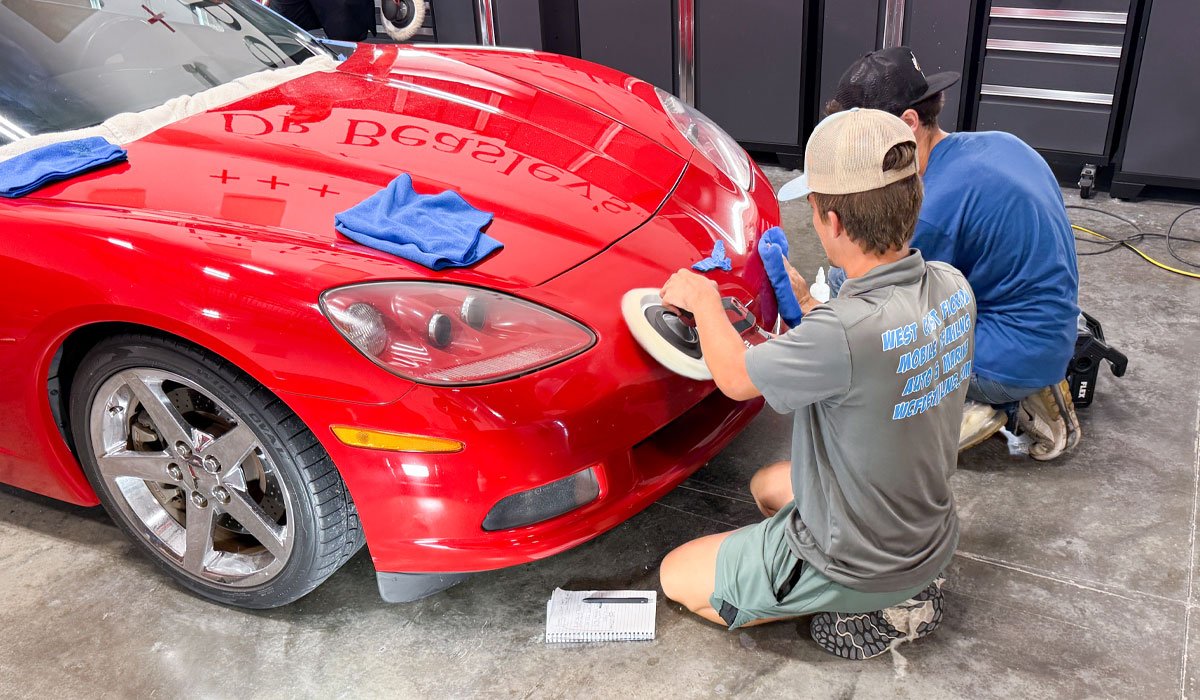
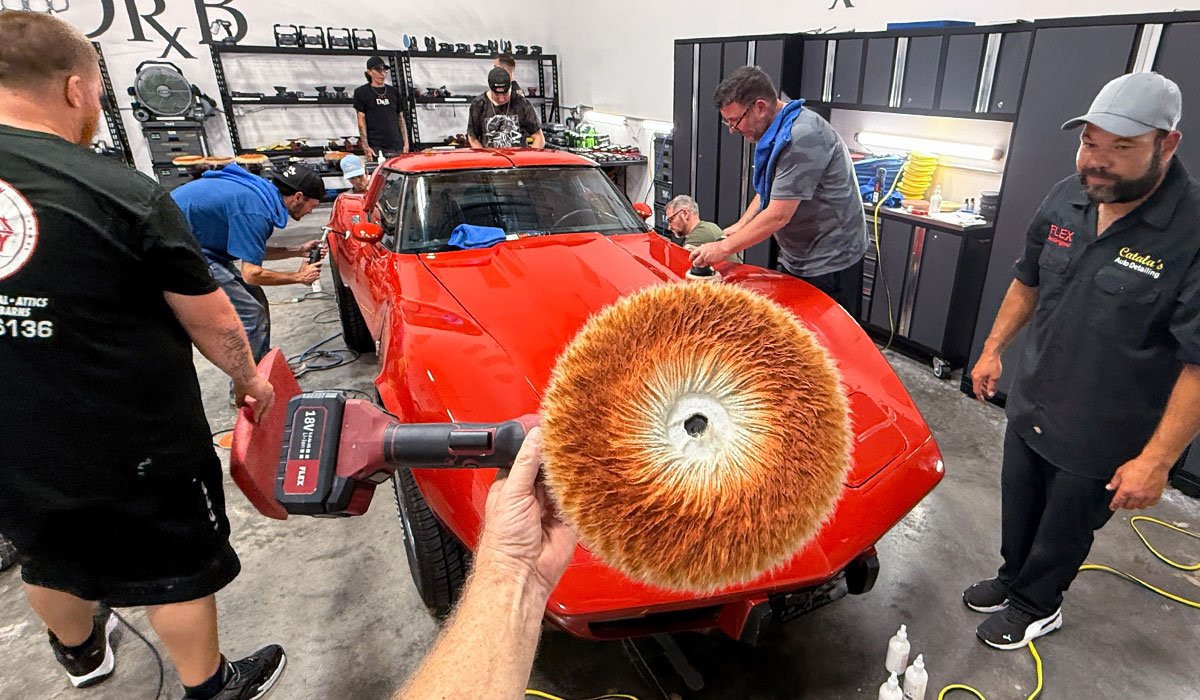
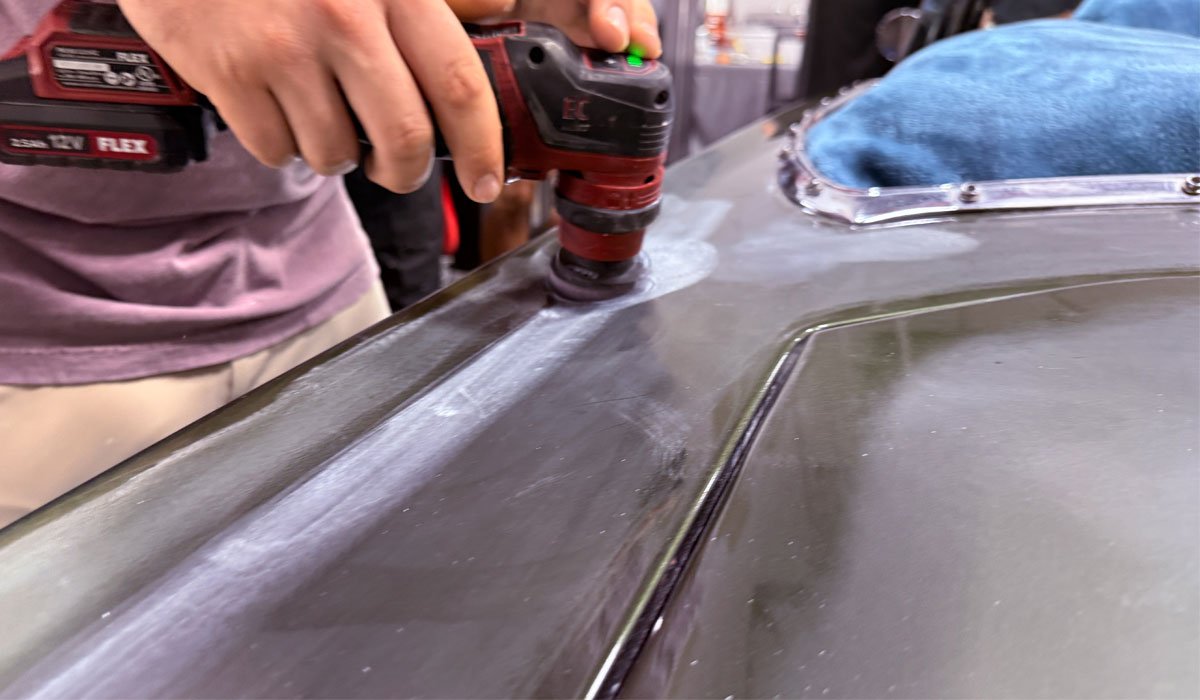
CoreCut had no problem removing years of neglected.
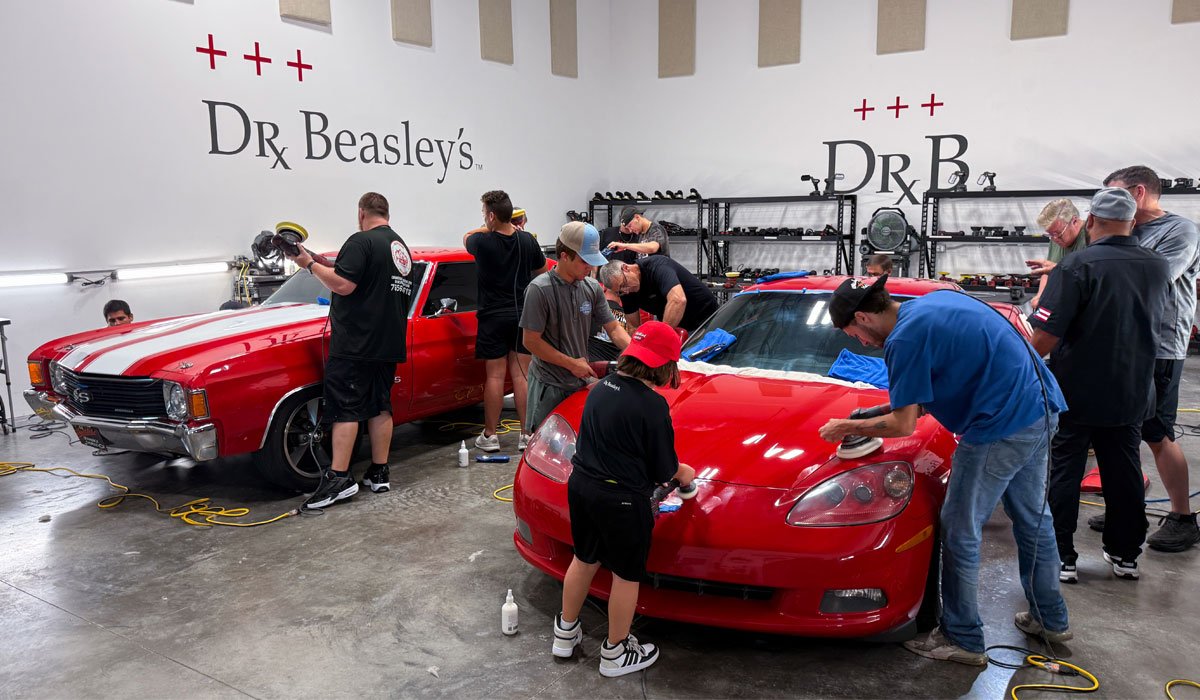
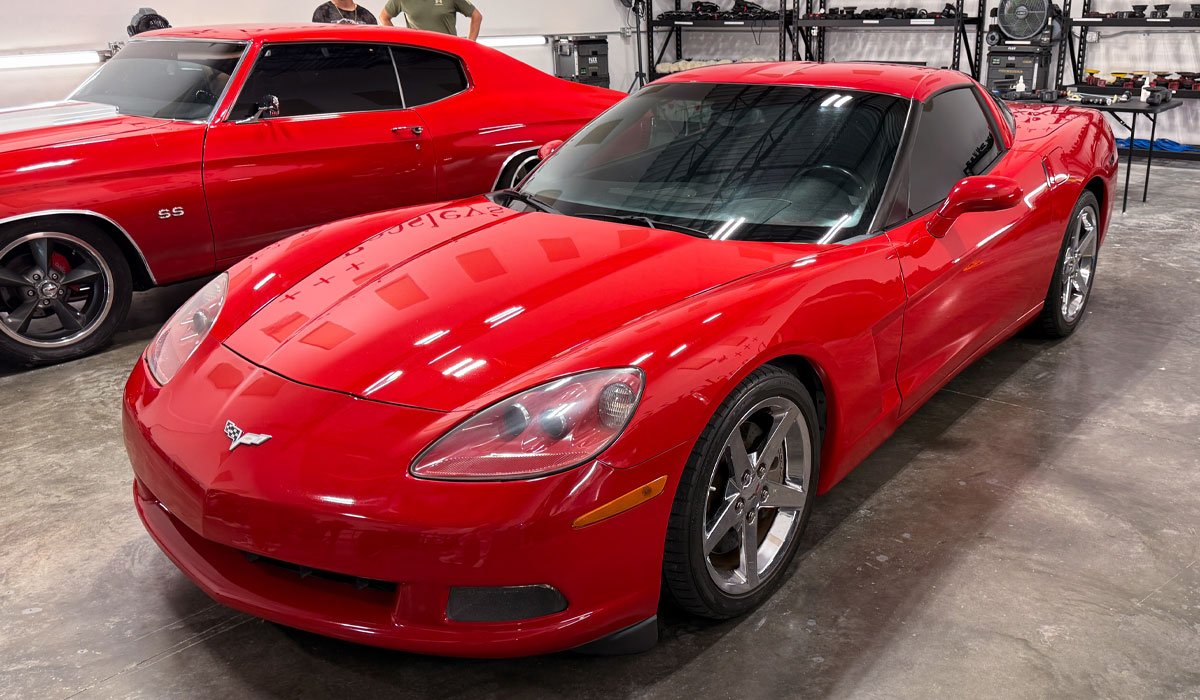
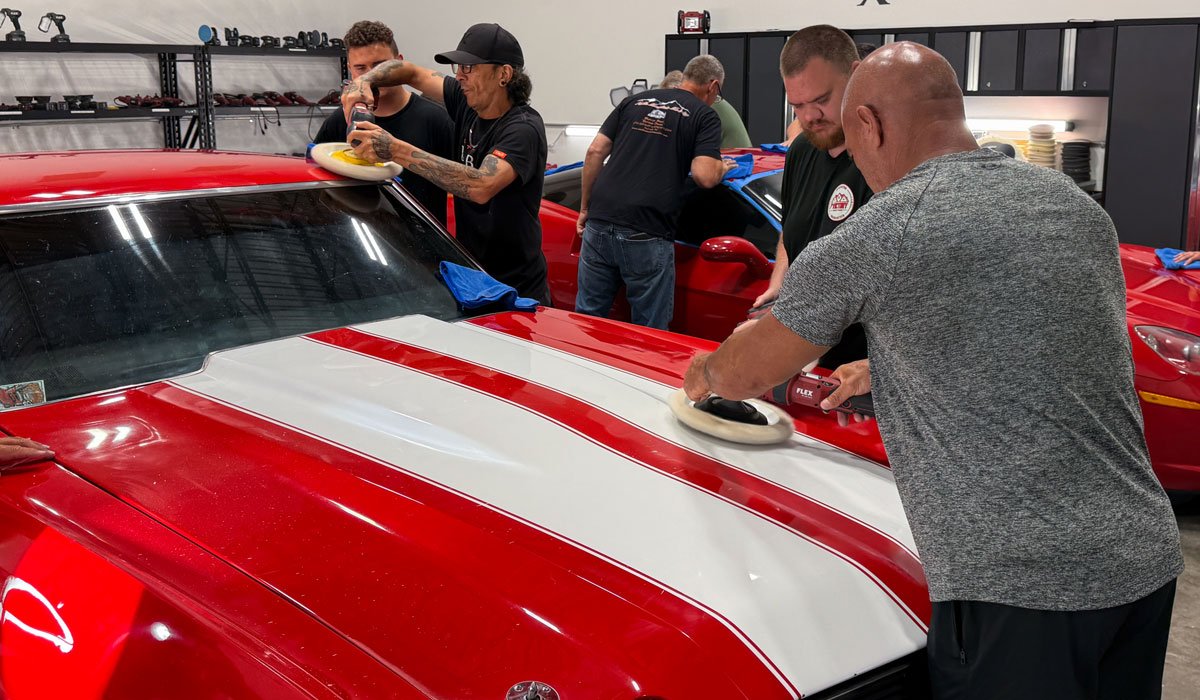
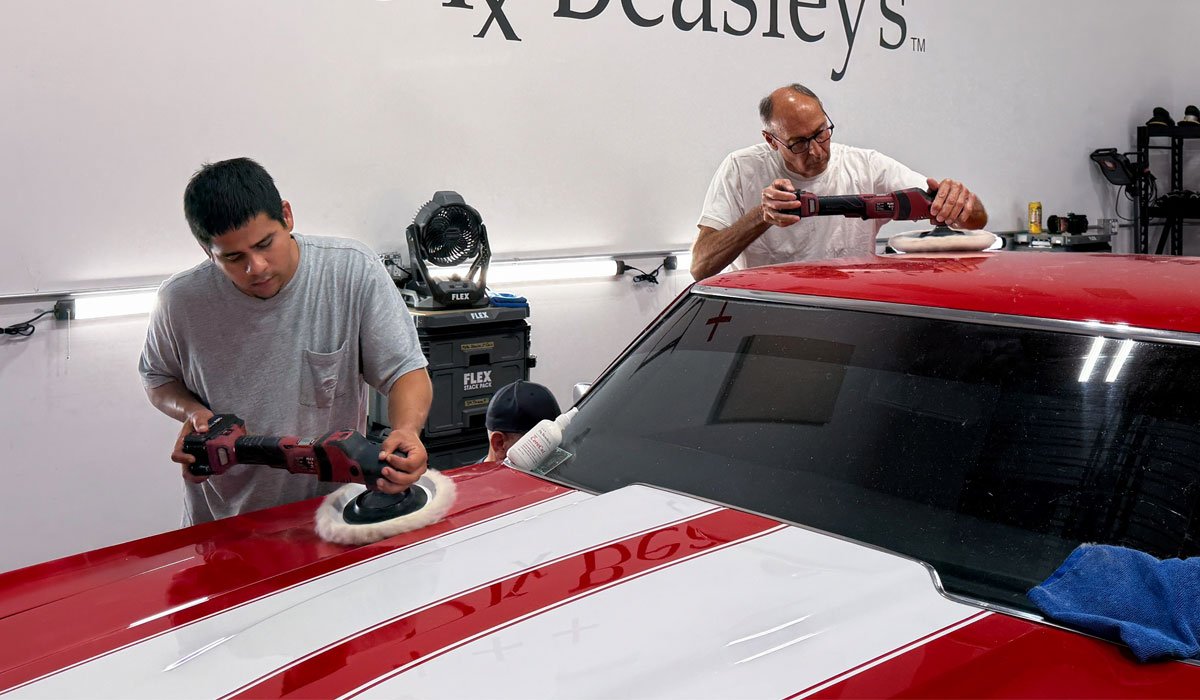
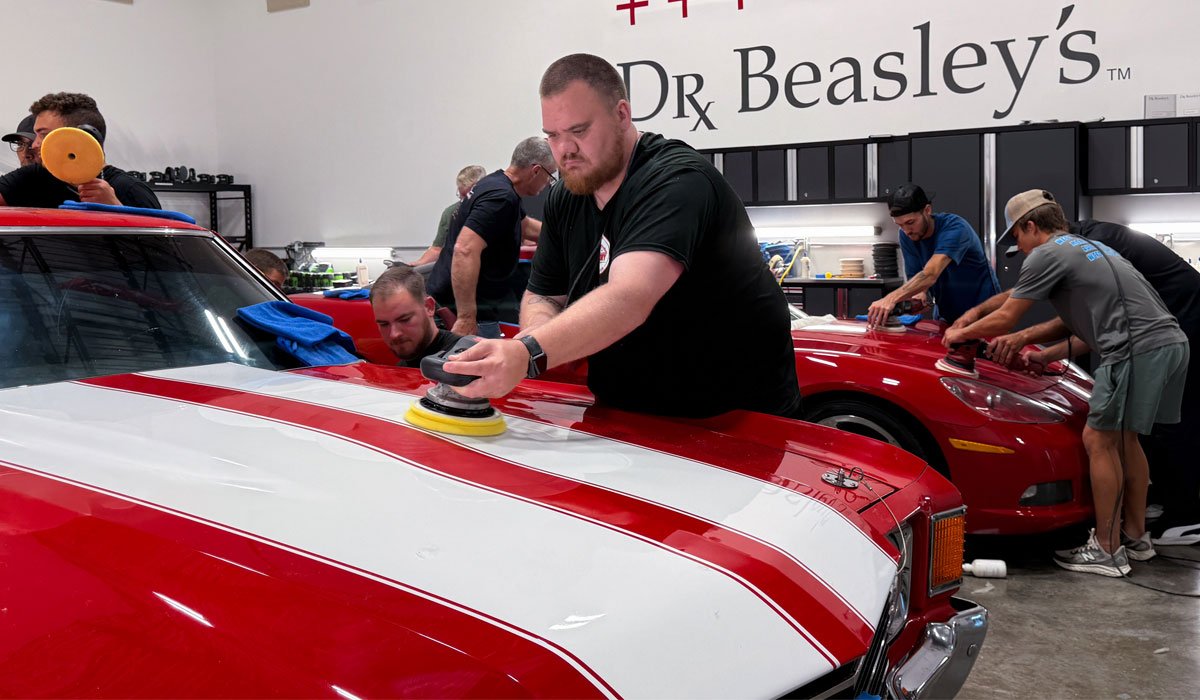
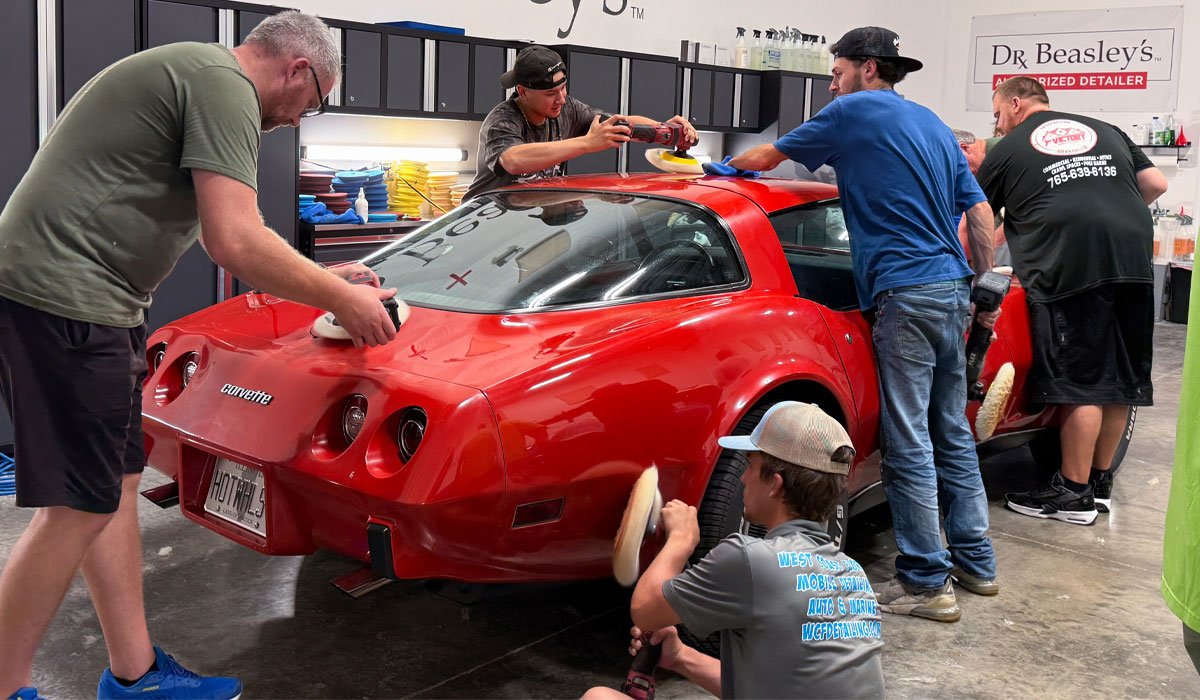
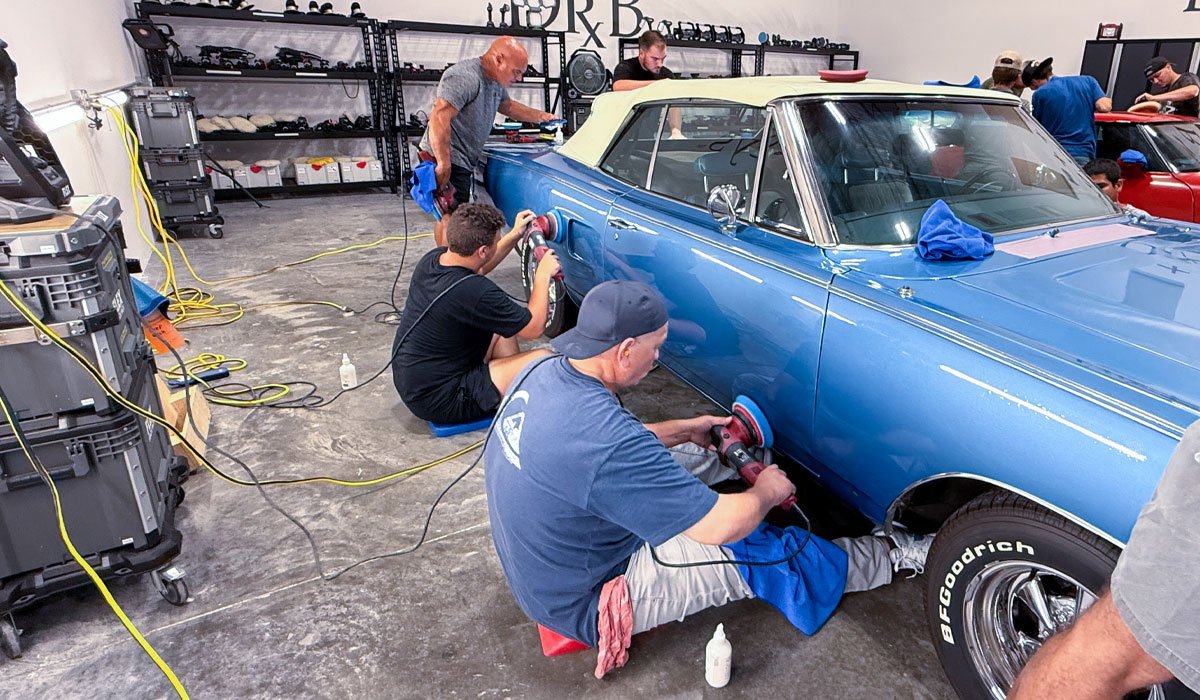
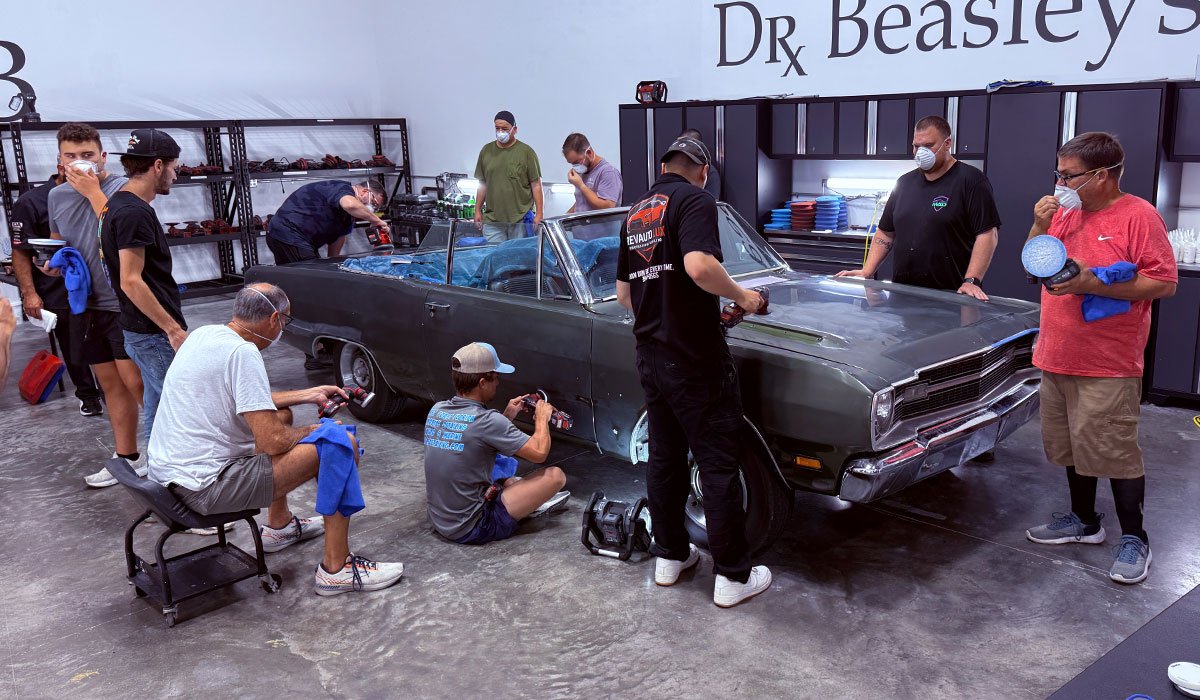
In the shot below, you can see two cars being used for training at the same time. The larger the class, it’s real simple. I bring in MORE CARS. Everyone has plenty of real-estate to train on.
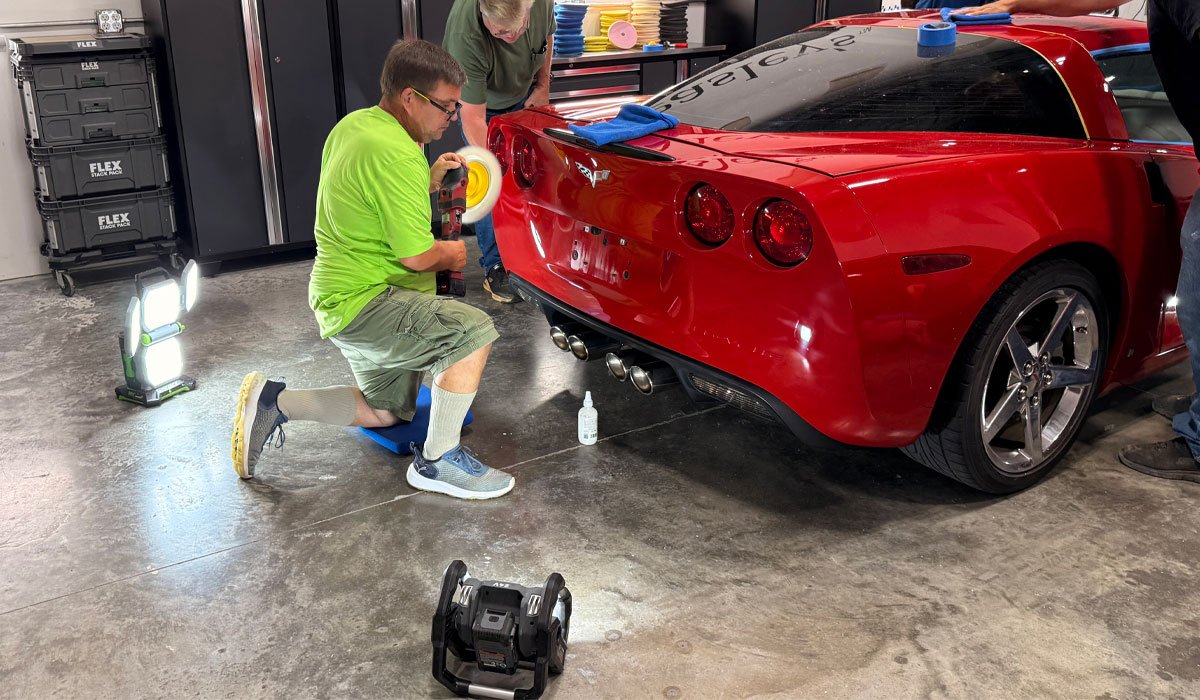
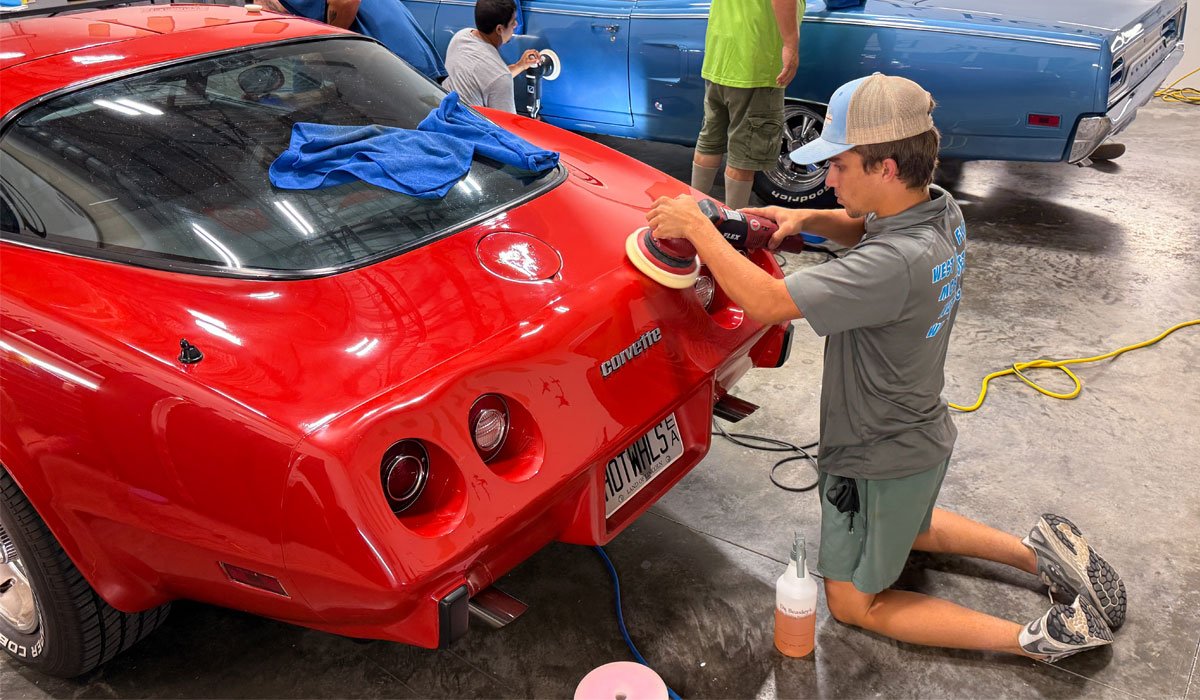
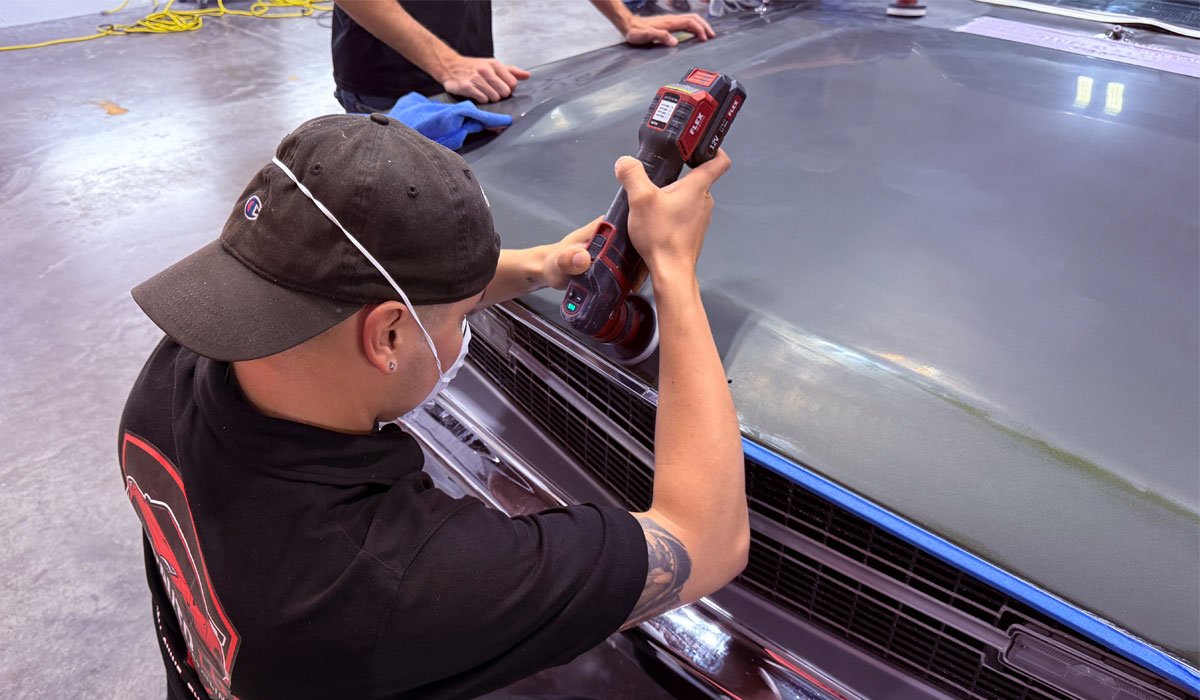
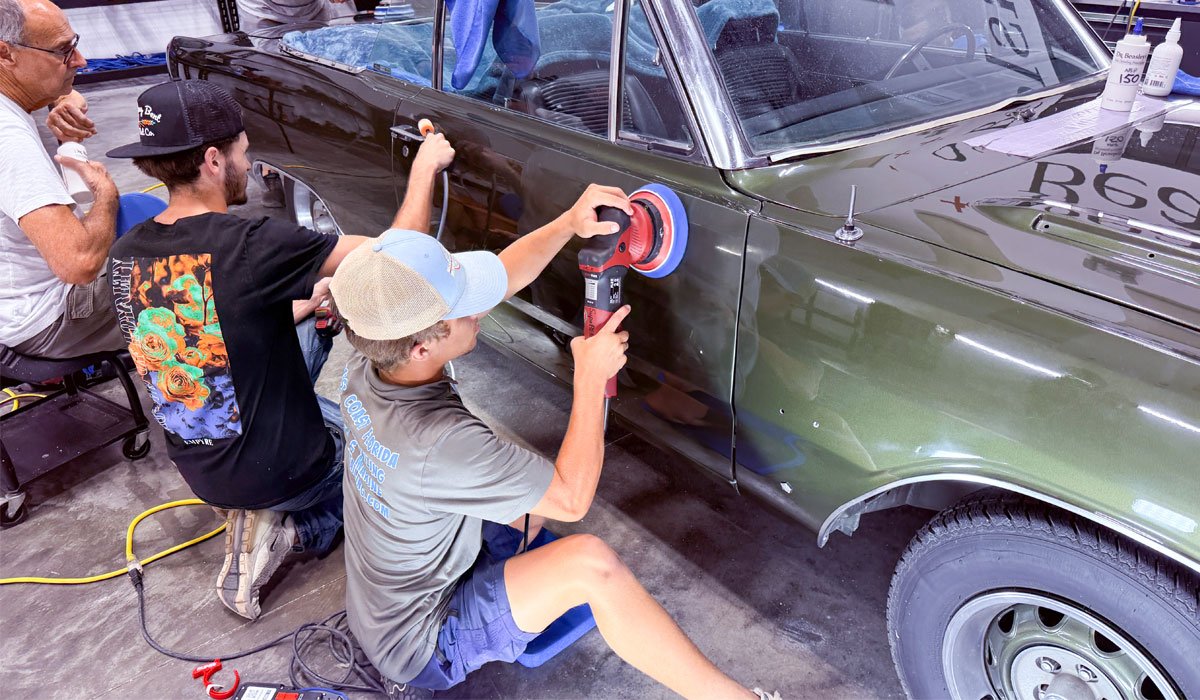
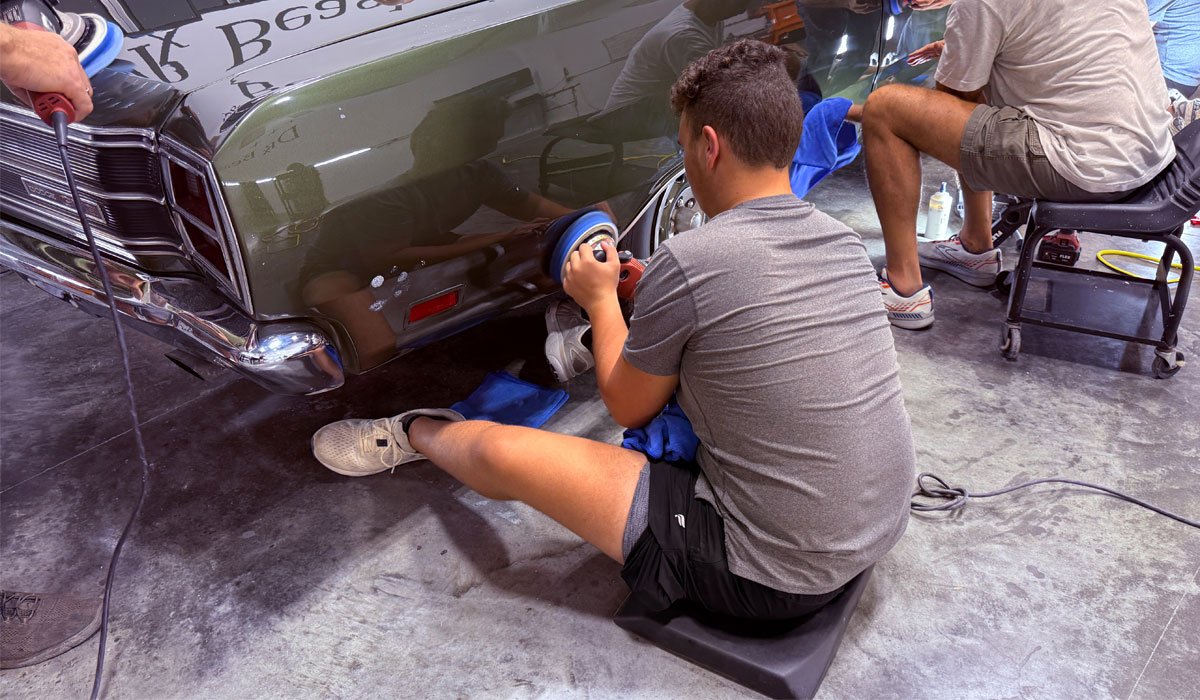
Here’s Jonathan tackling the back of the Corvette.
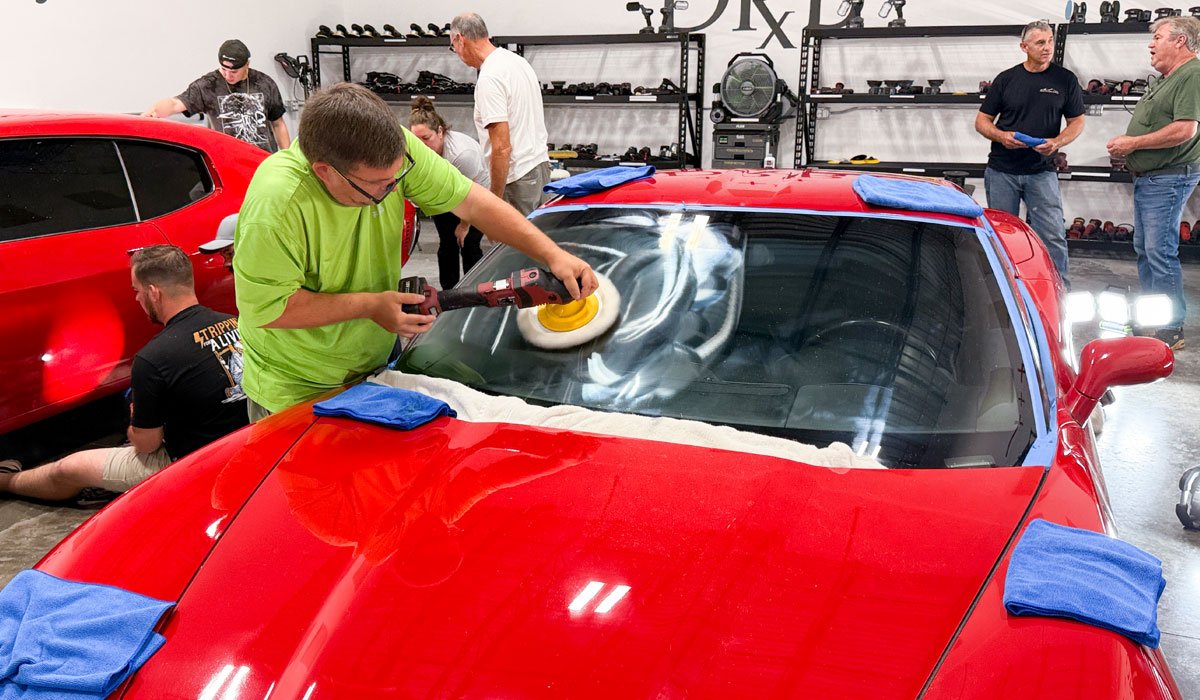
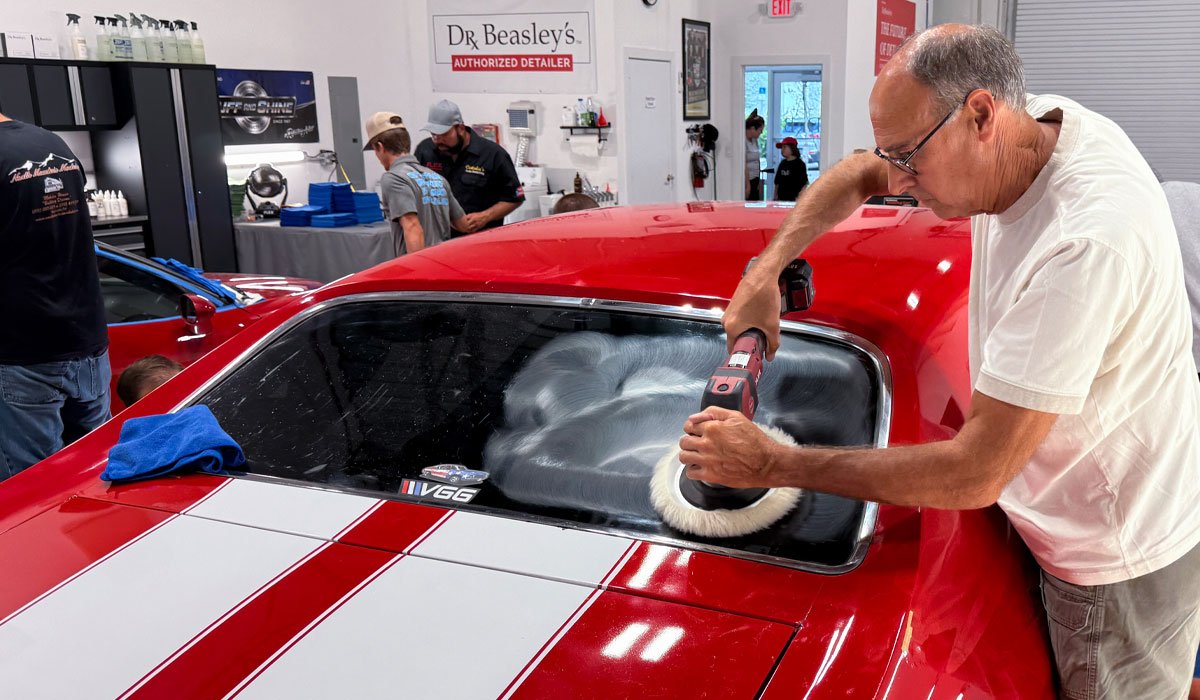
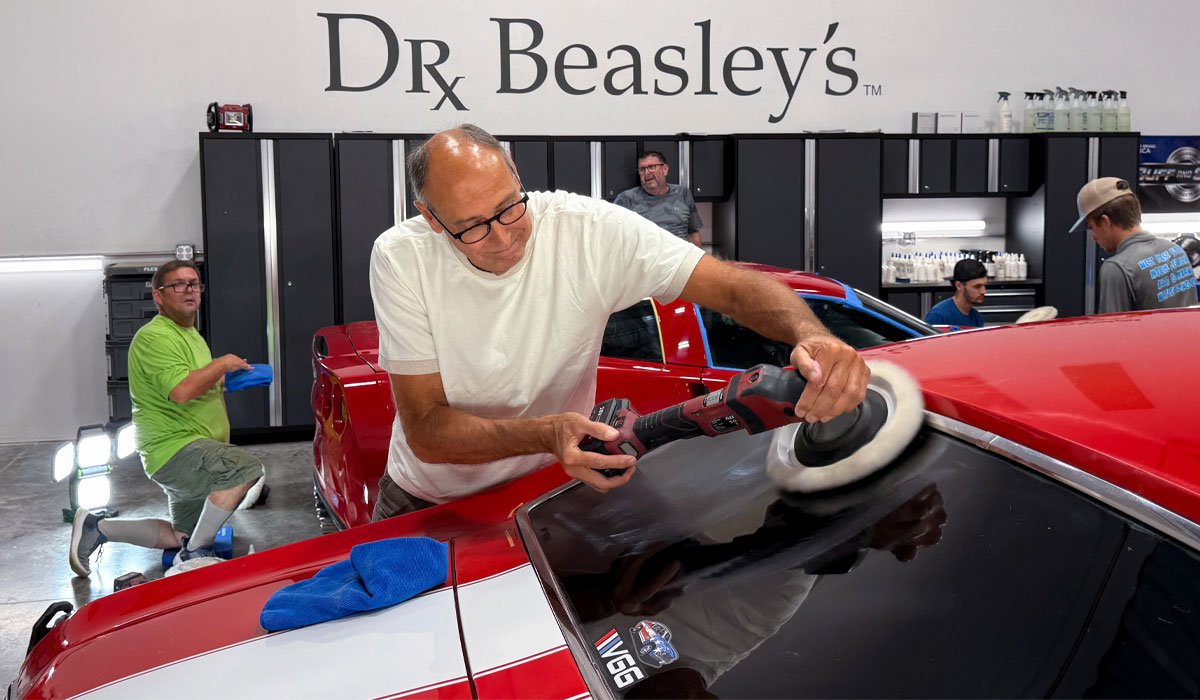
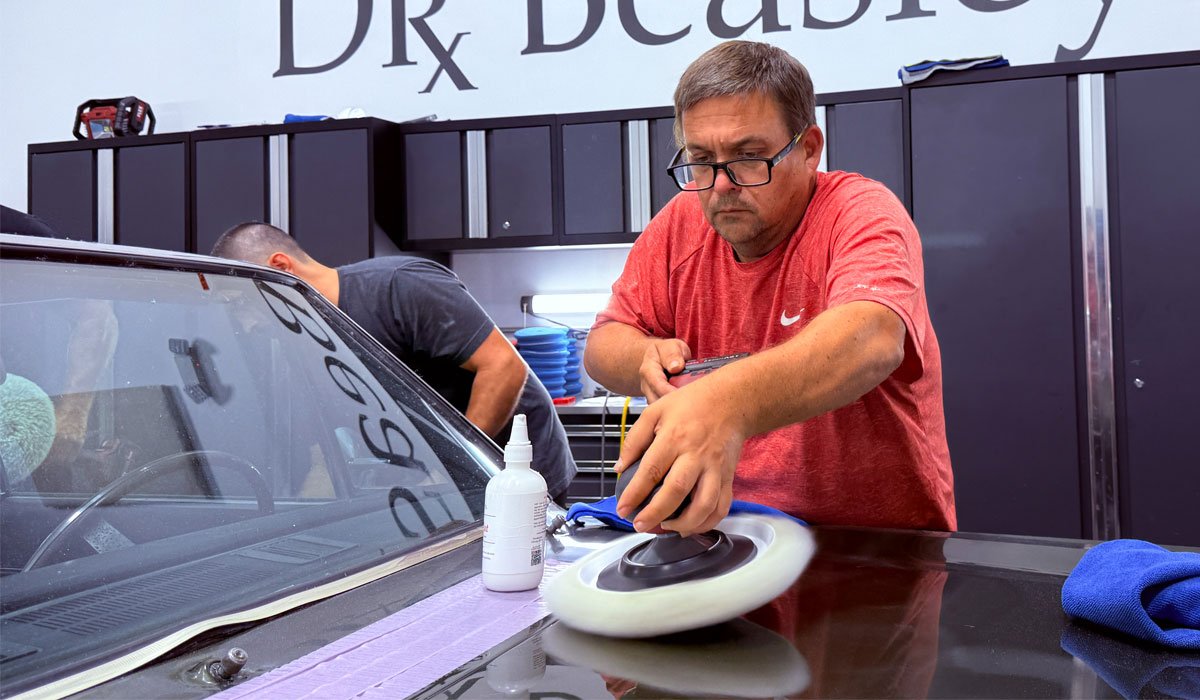
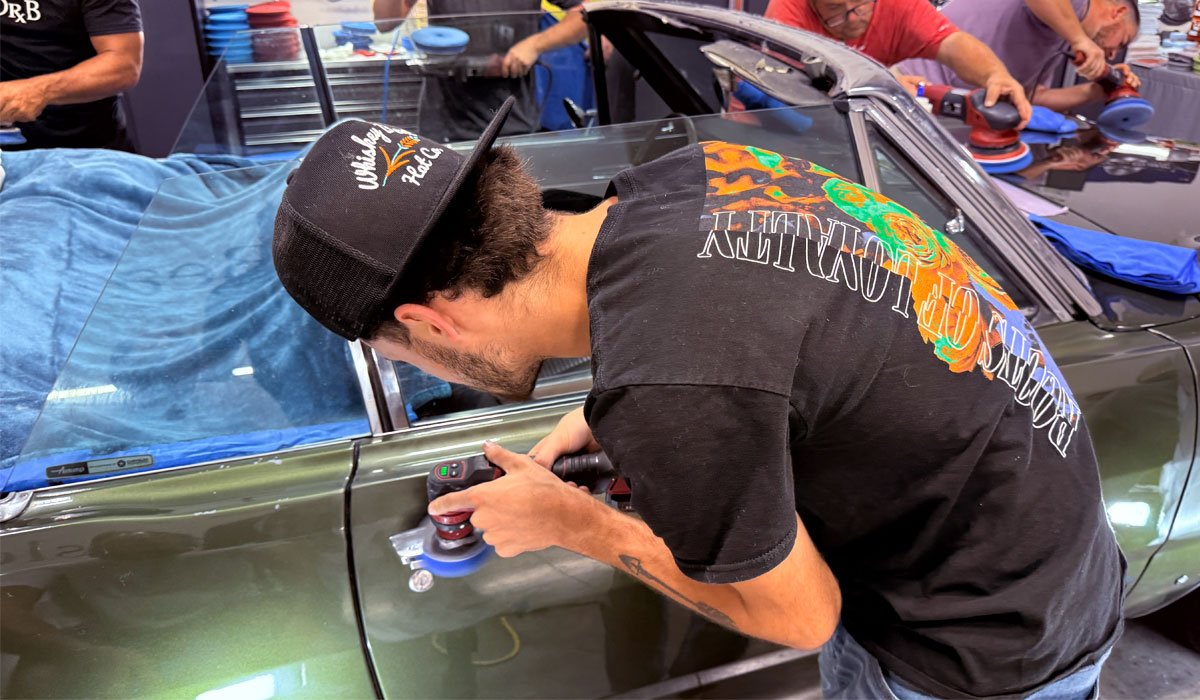
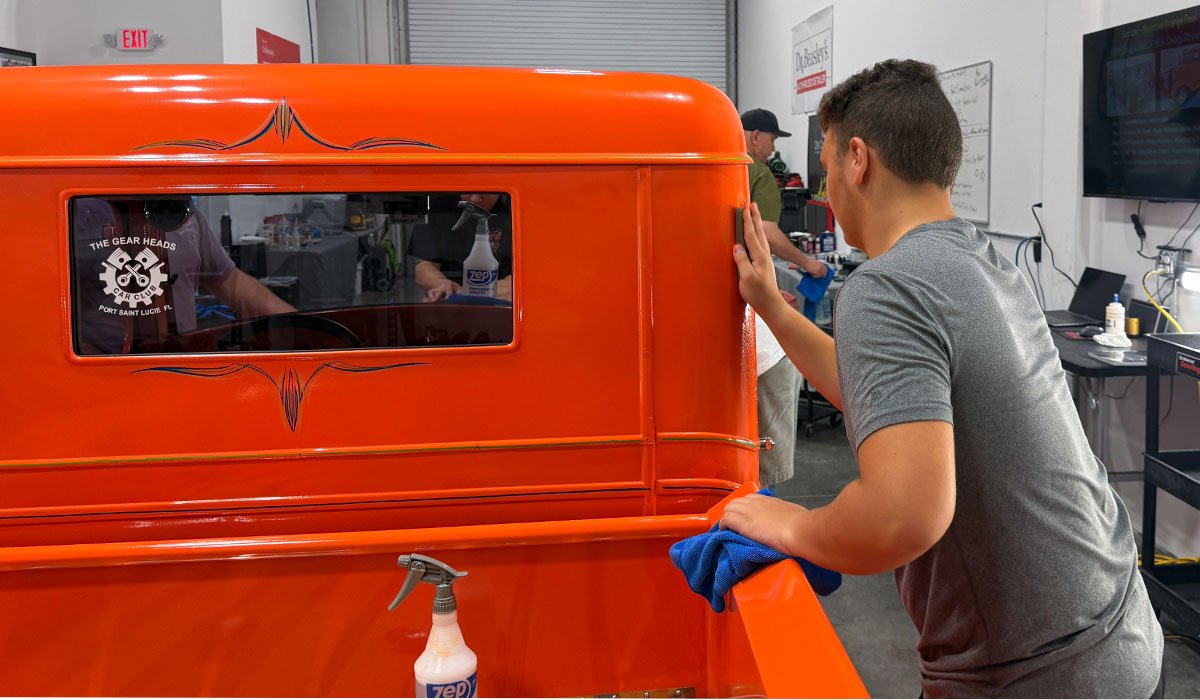
Topical Glass Polishing
All cars get Topical Glass Polishing as one of the normal topics we cover.
Here’s Jonathan removing years of water spots and traffic film off the windshield on the Corvette.
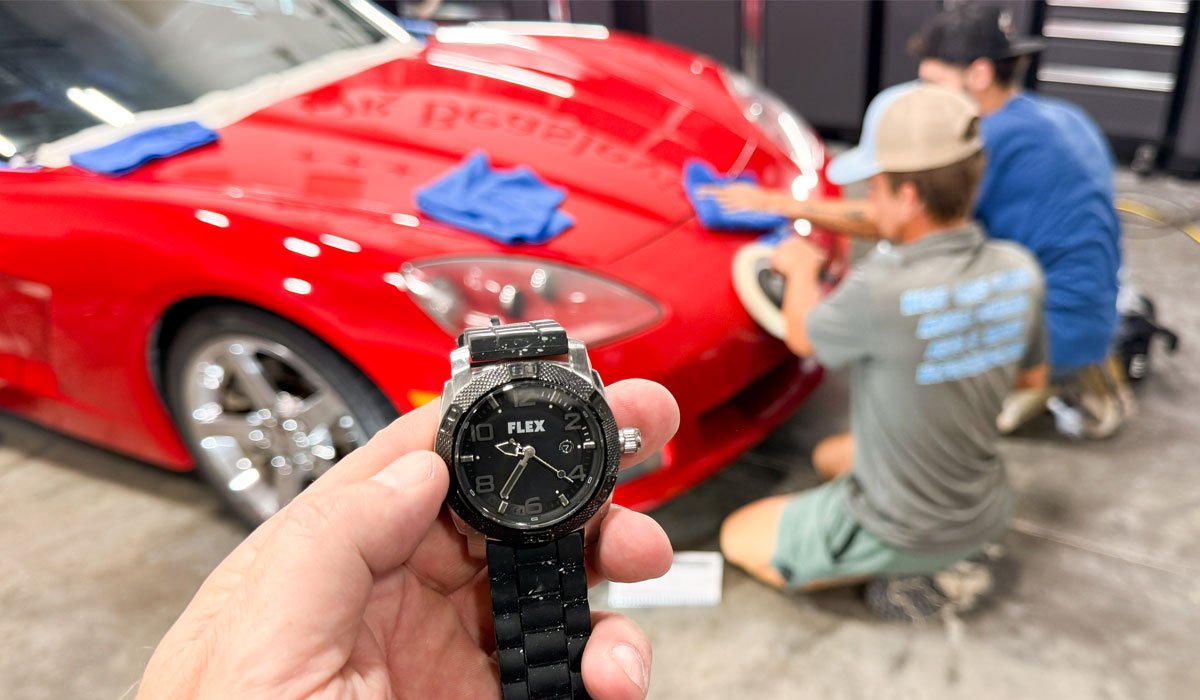
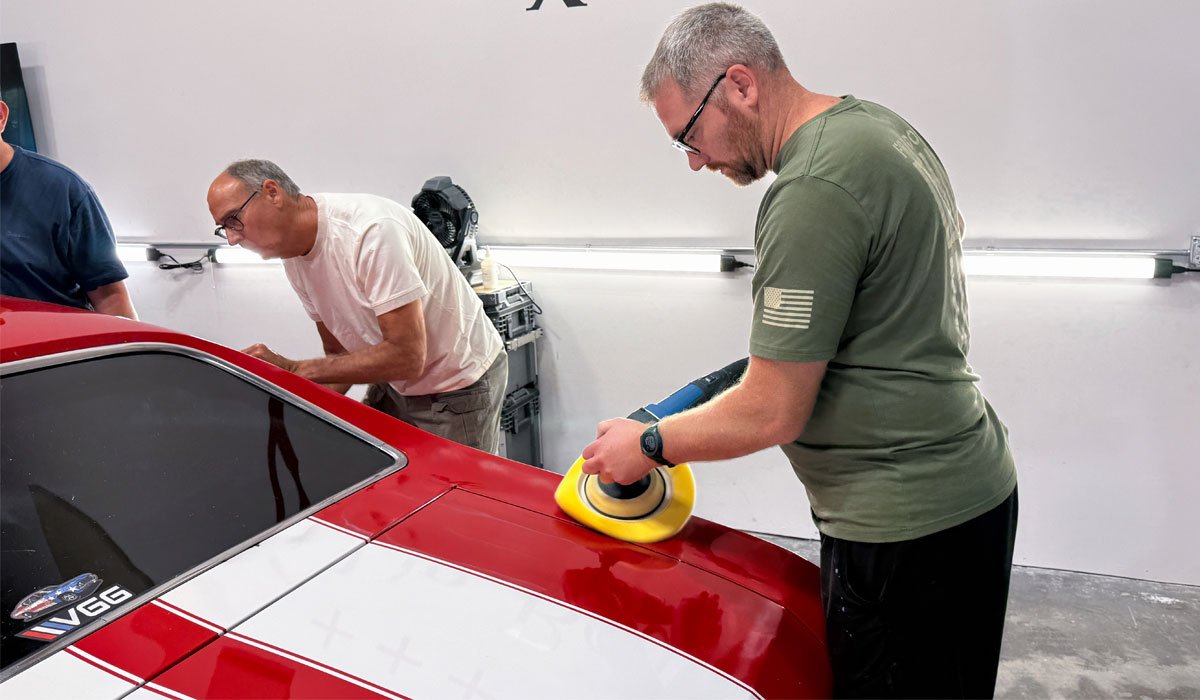
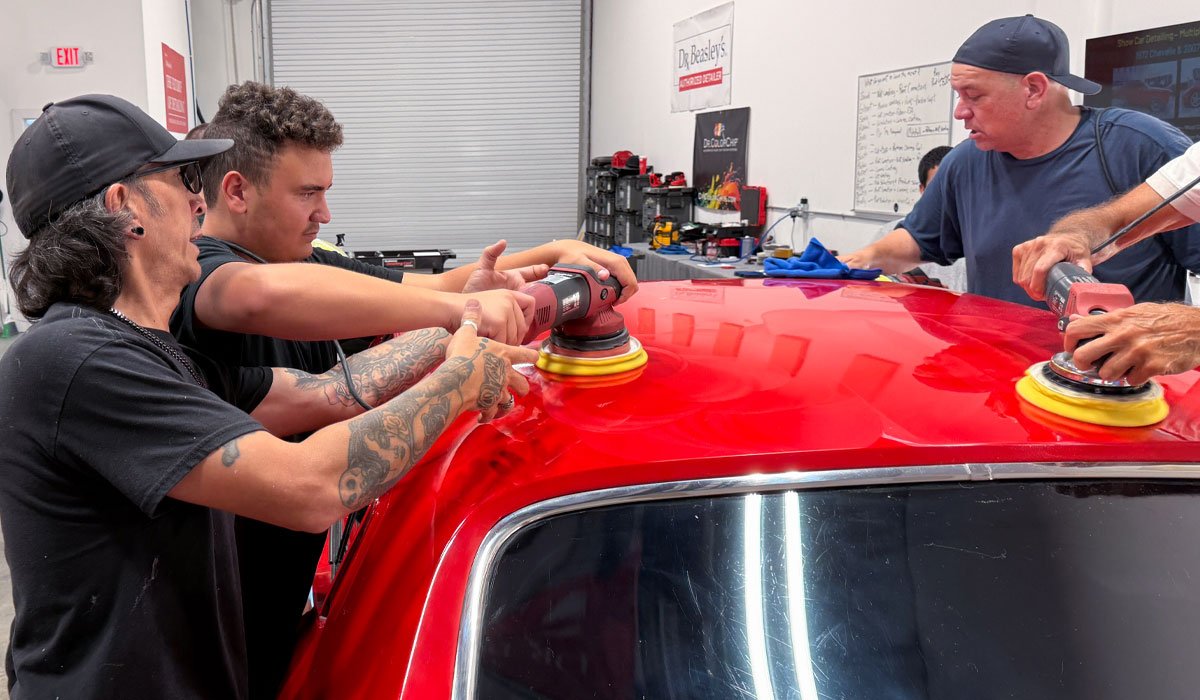
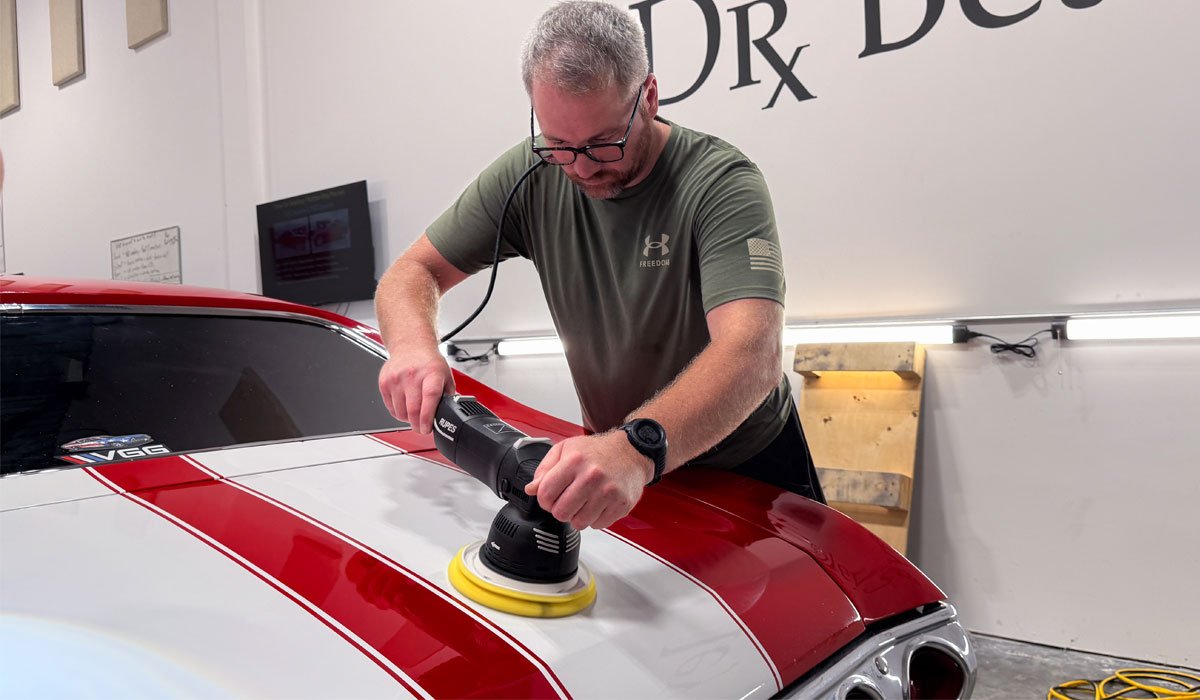
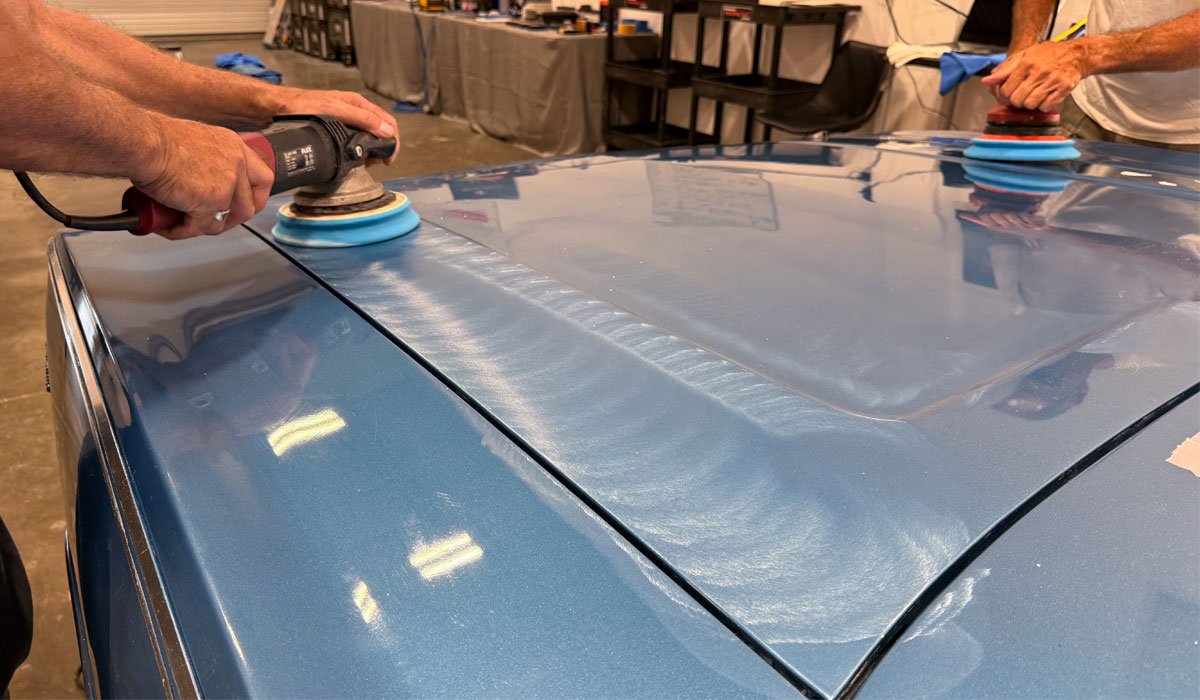
Gear-Driven Orbitals – FLEX – RUPES – Harbor Freight
After the rotary step, everyone switches over to gear-driven orbital polishers. Currently we have FLEX, RUPES and Harbor Freight for gear-driven orbitals.
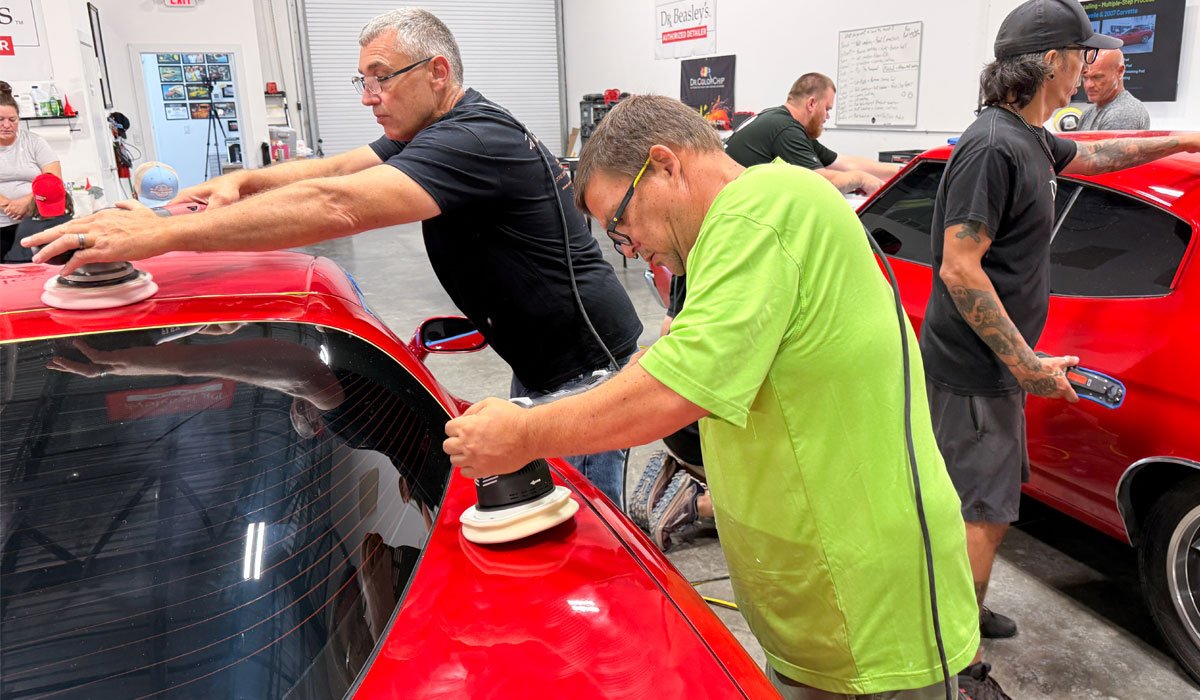
Willy Catala – Guest Instructor
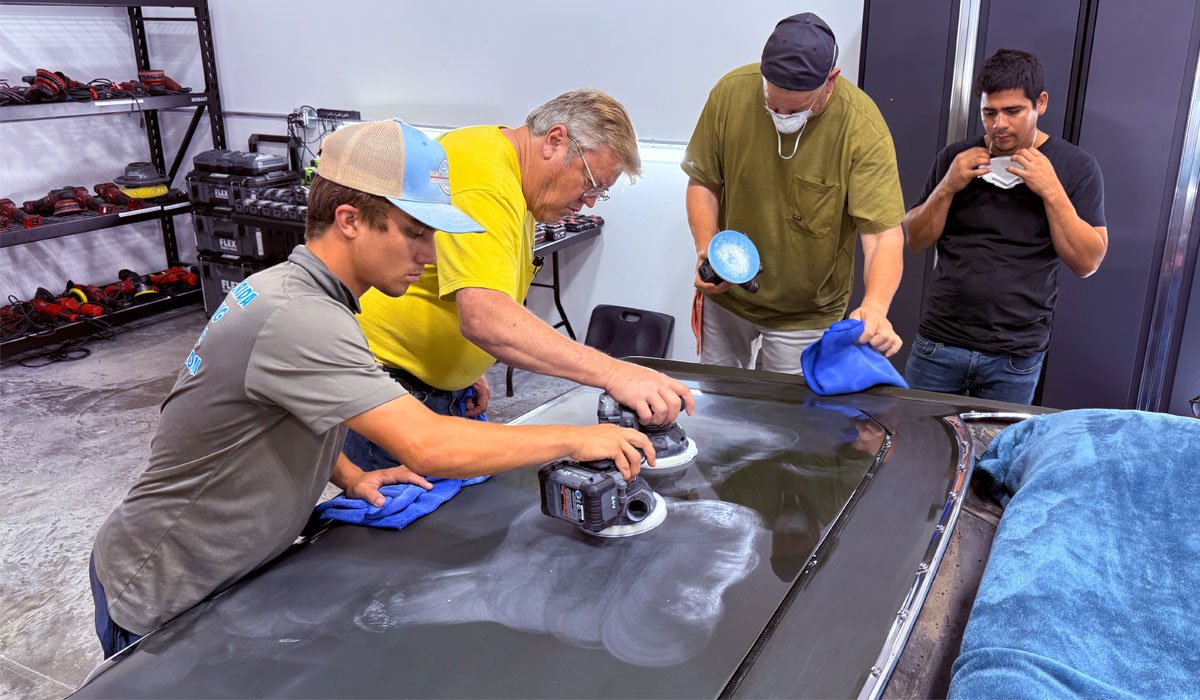
Here’s Will sharing tips and techniques with Evan an Josh.
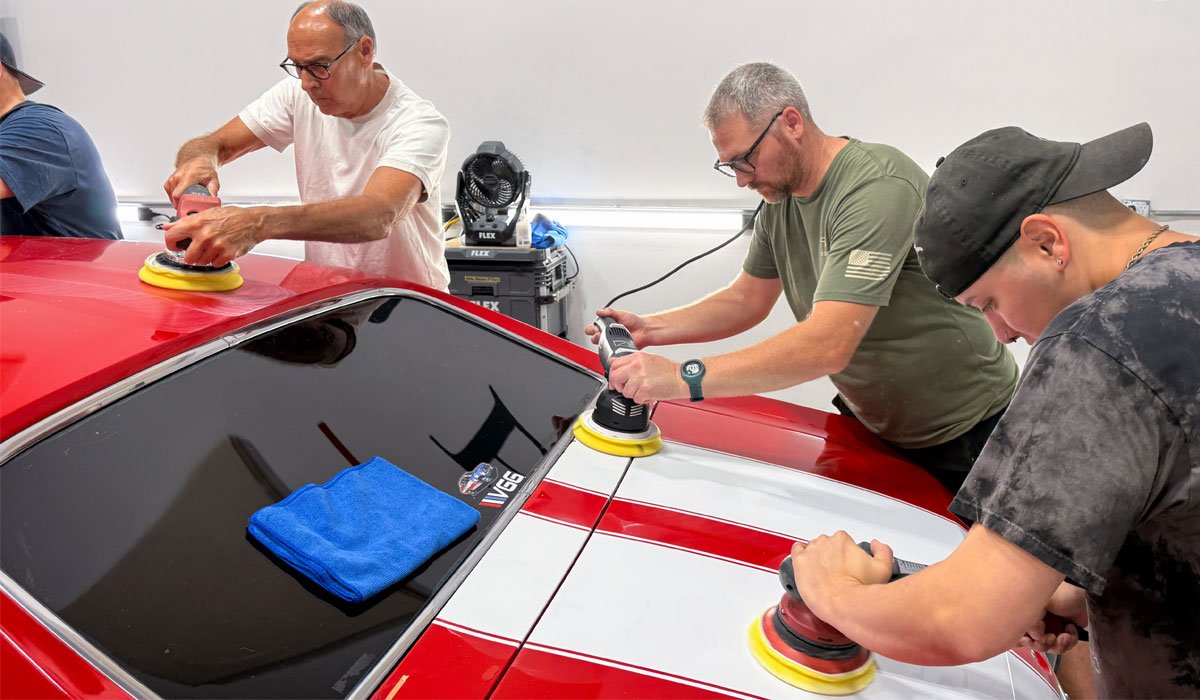
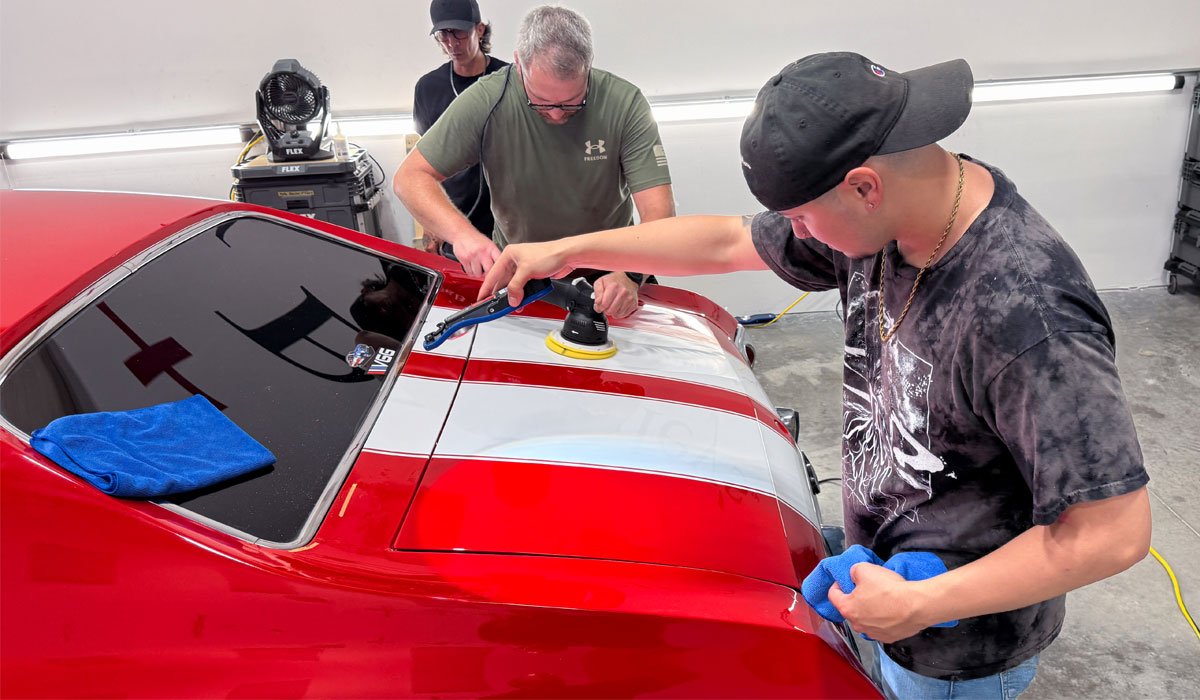
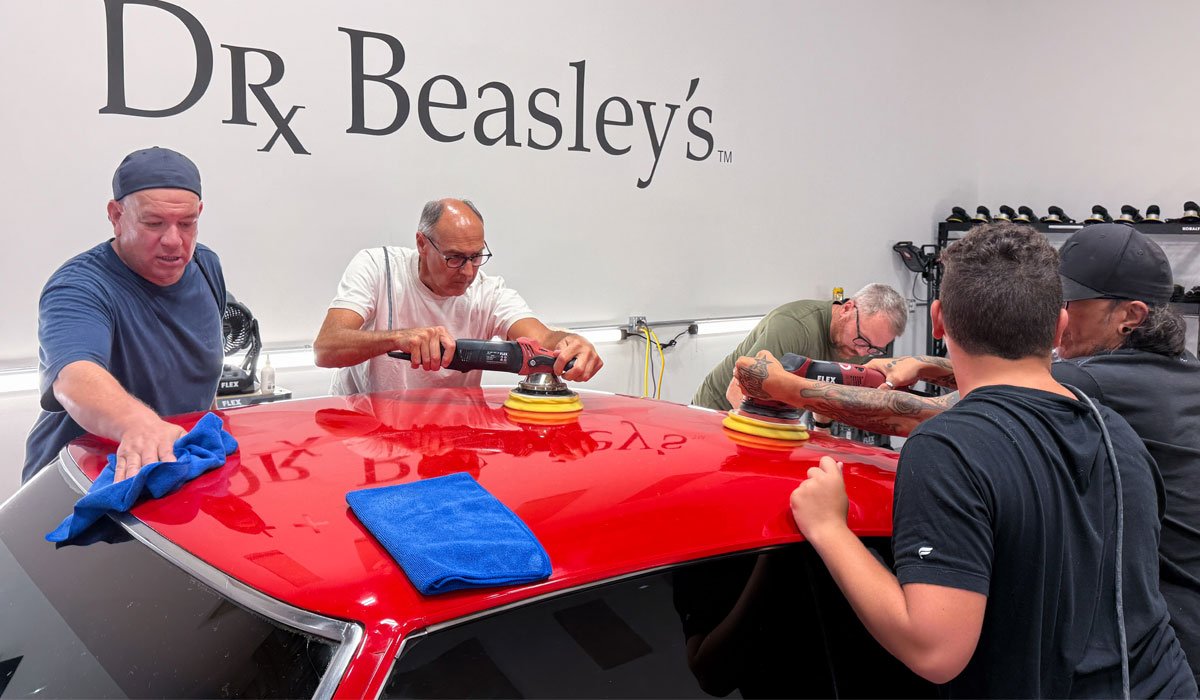
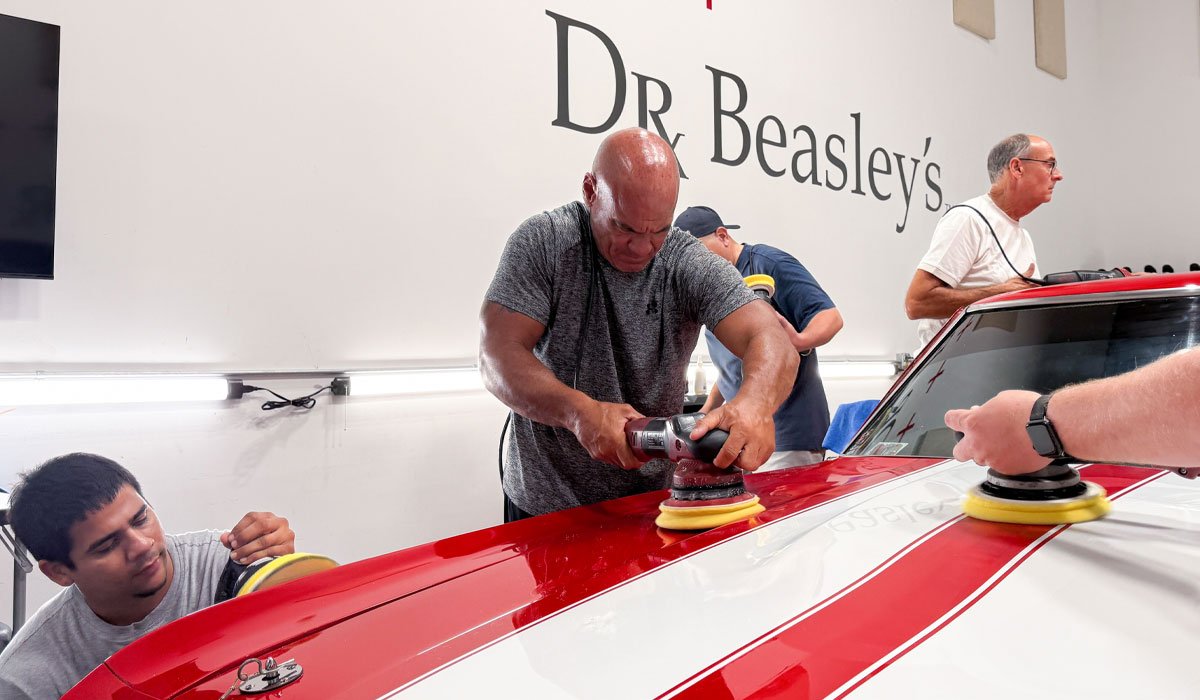
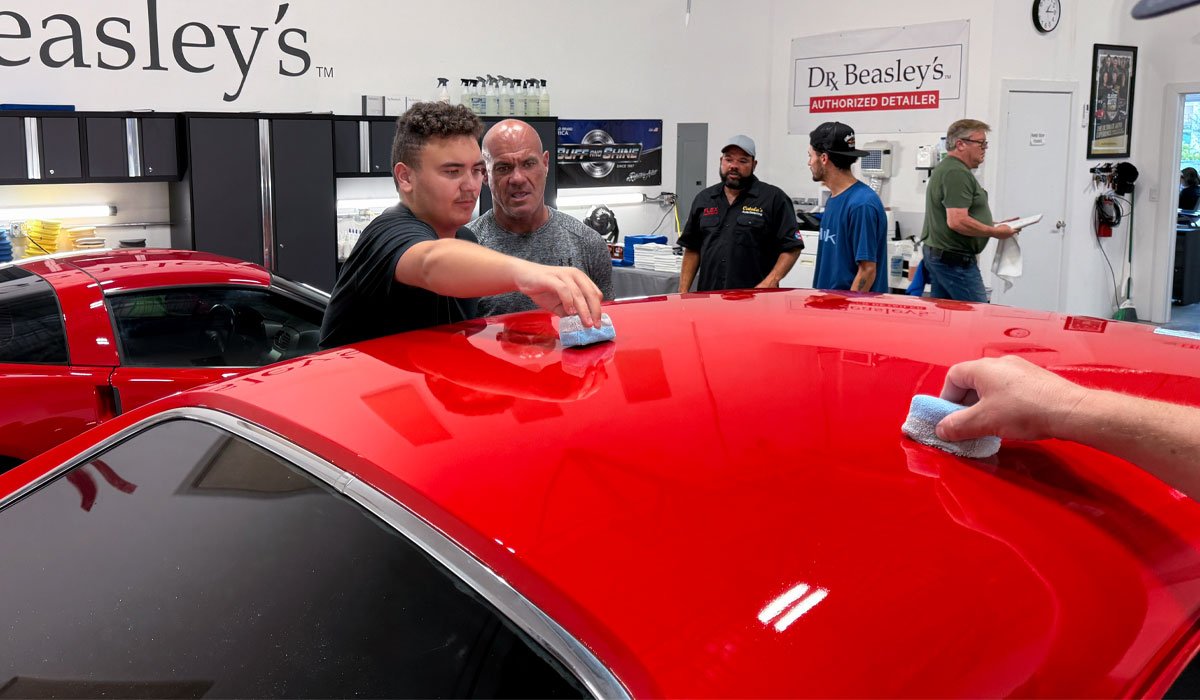
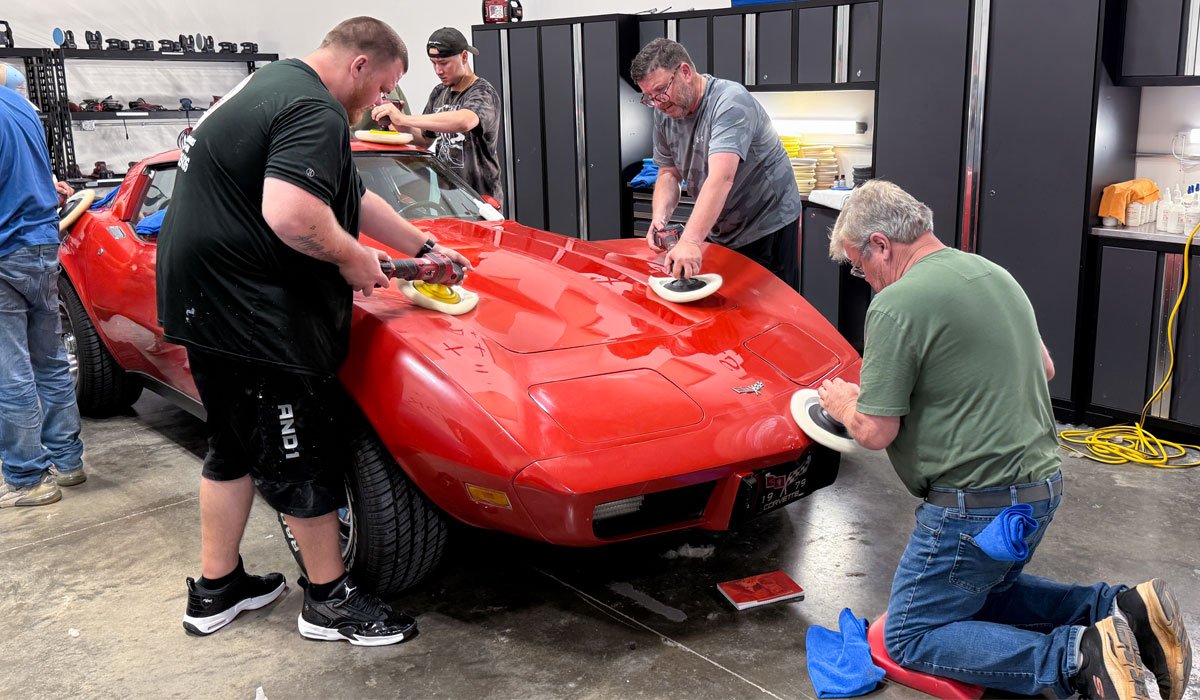
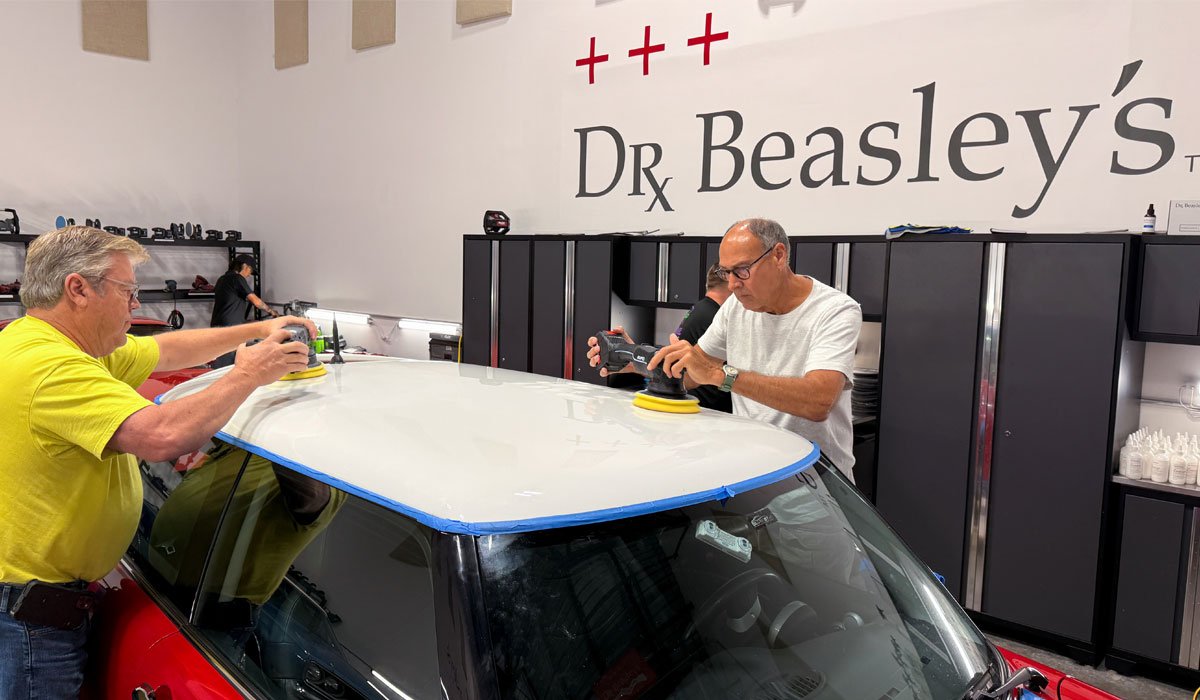
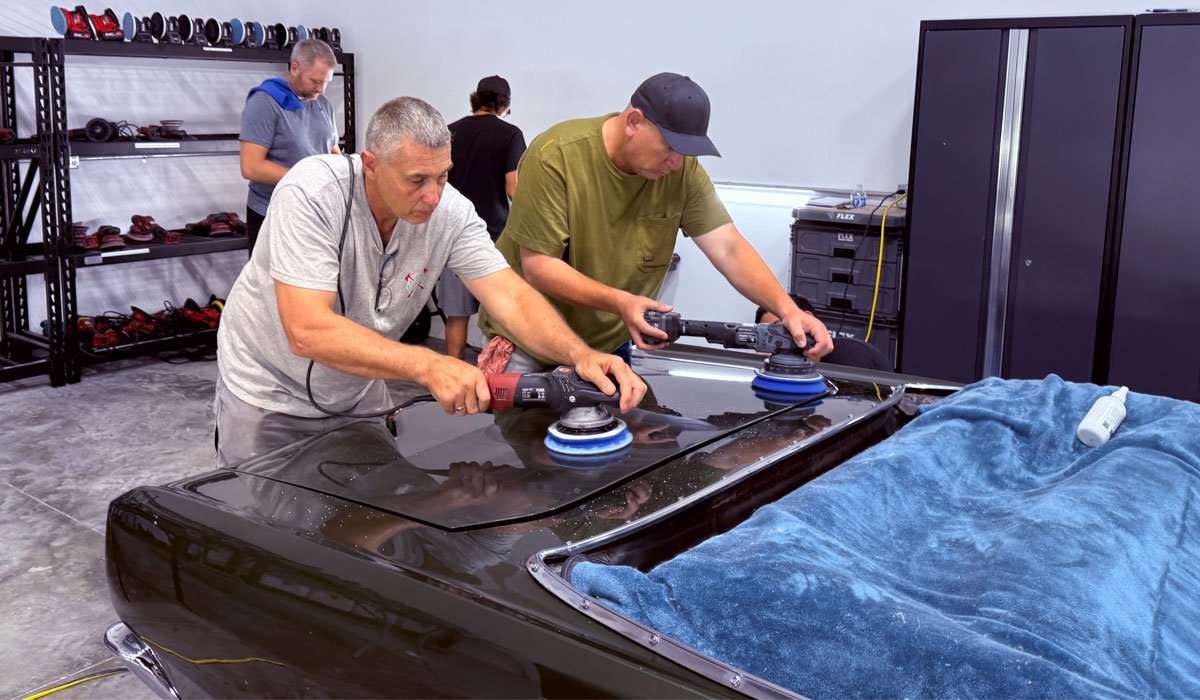
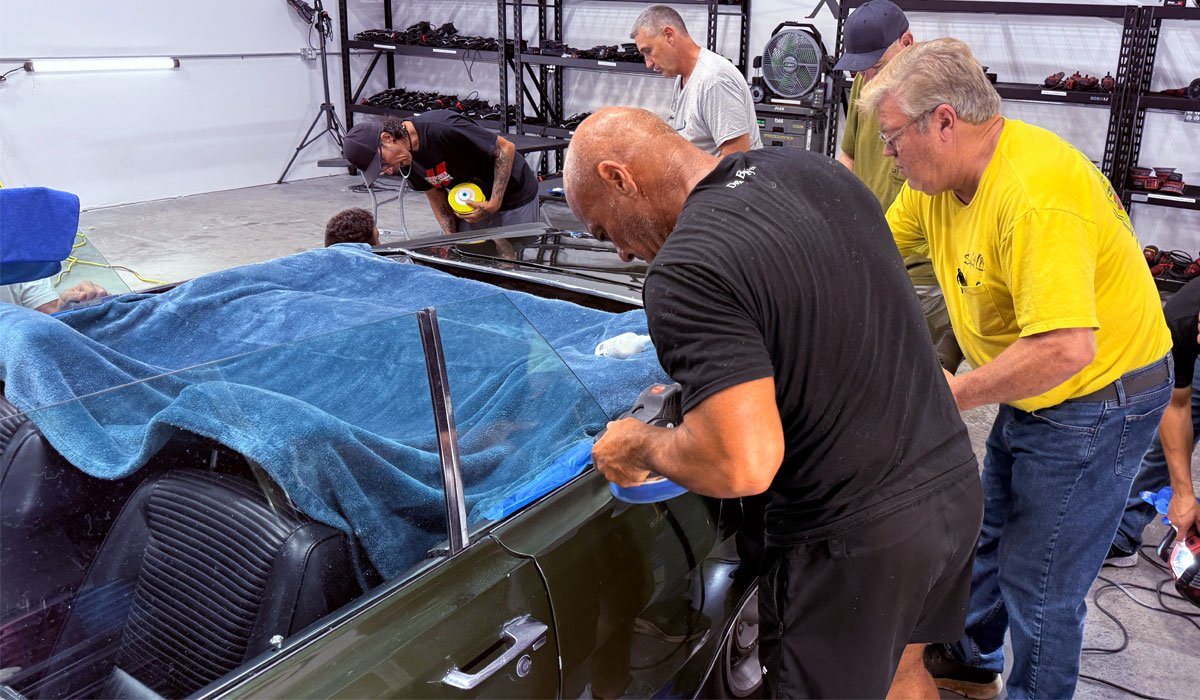
Here’s Ray and Mike working on the roof…
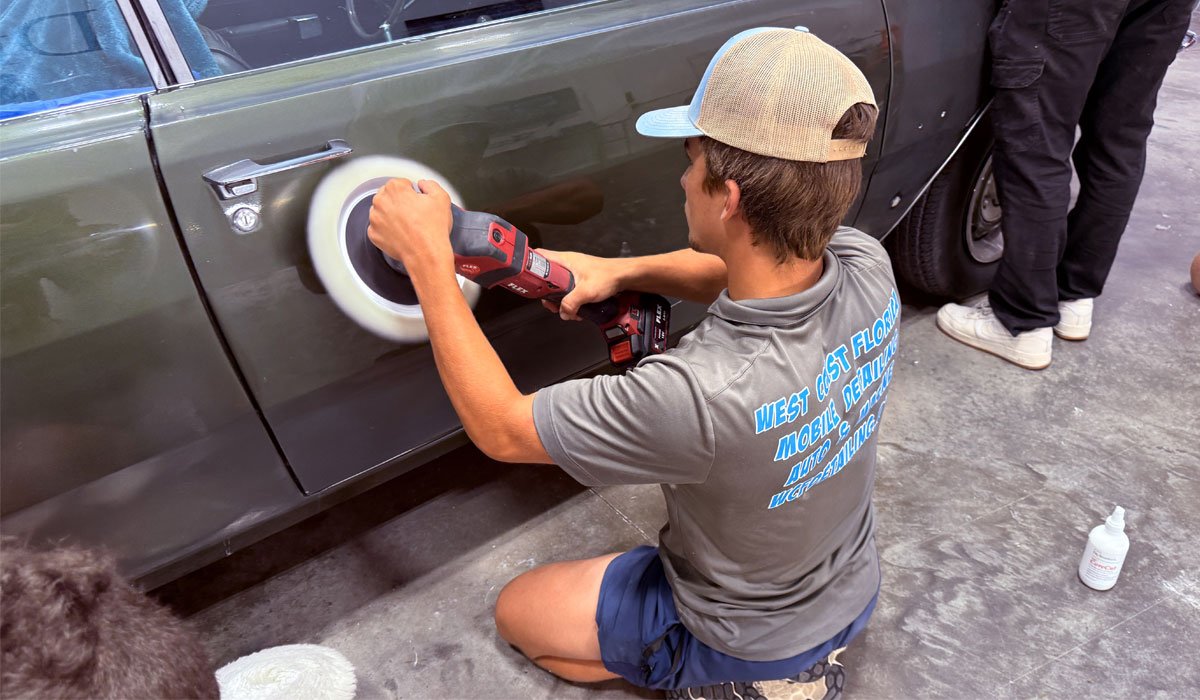
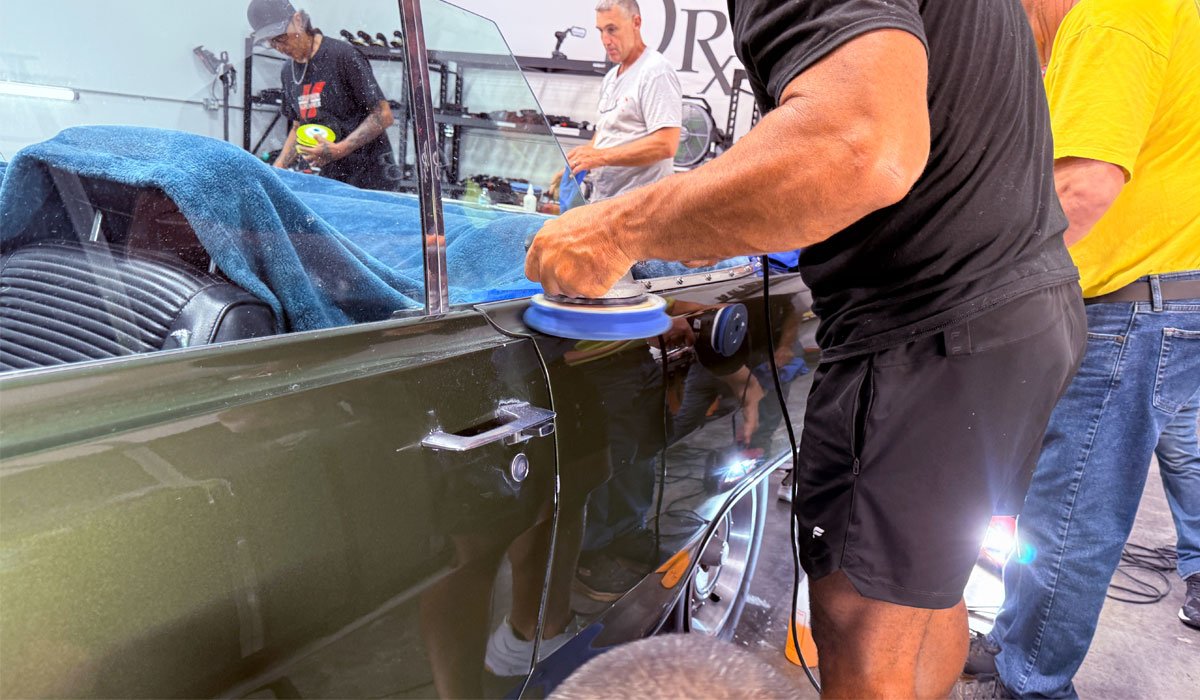
Here’s Mike working the driver’s side sail panel.
Super-Focused – Ethan
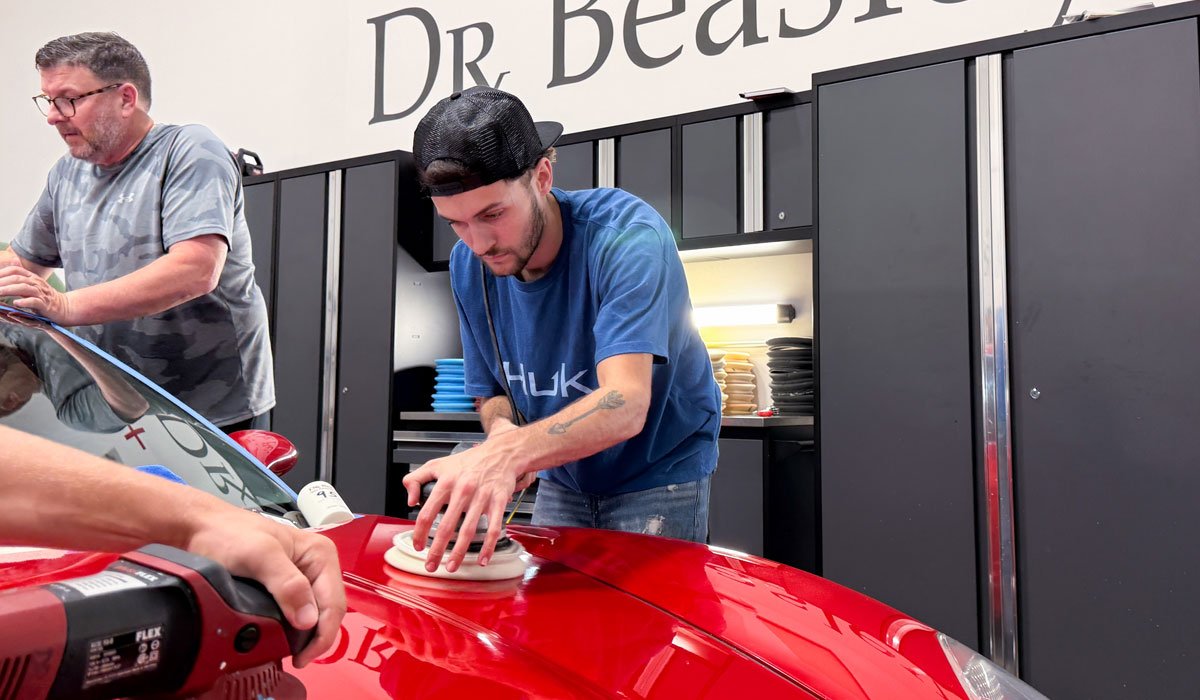
Super Focused – Josh
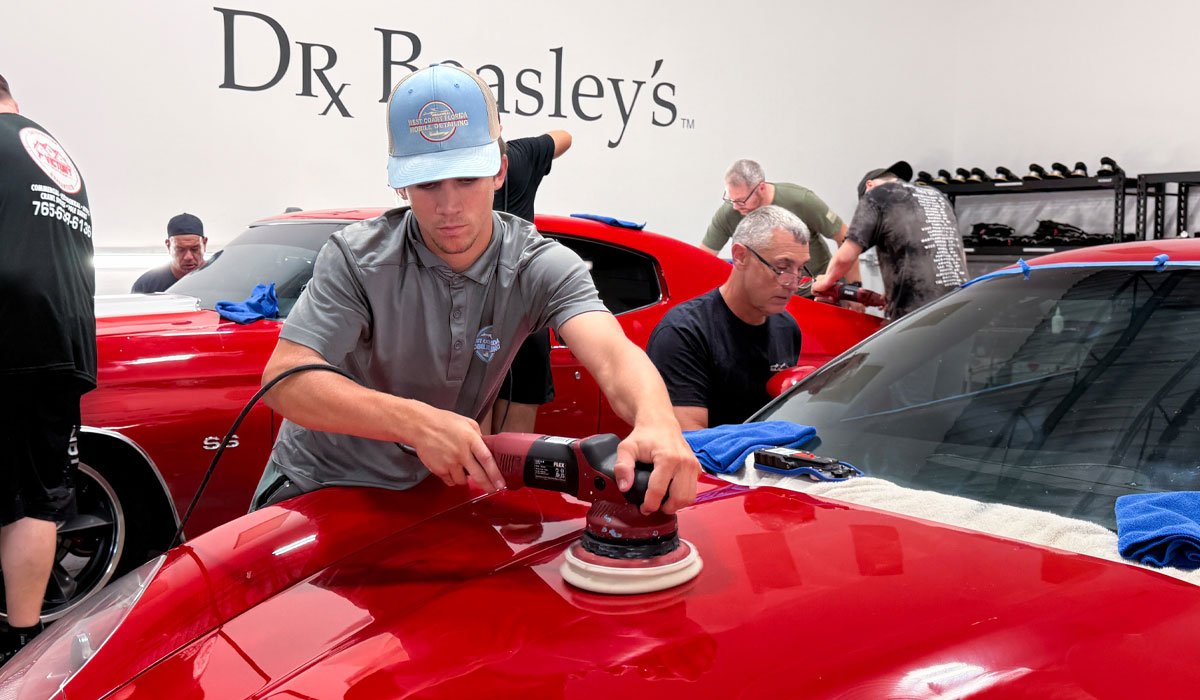
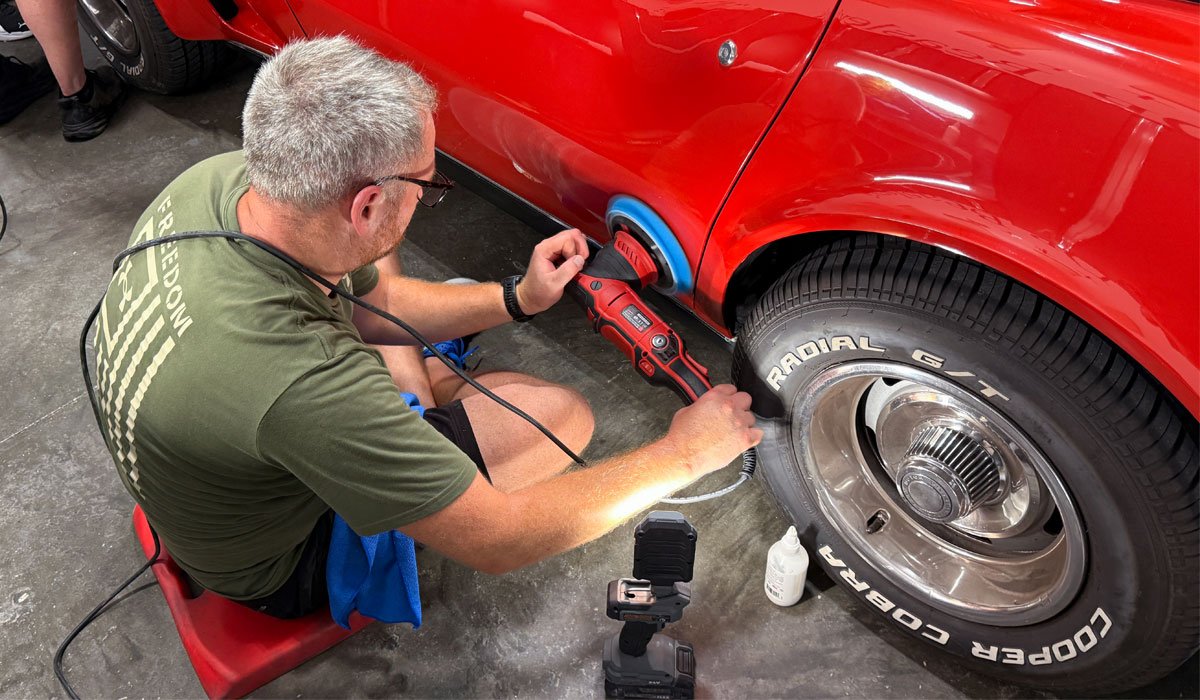
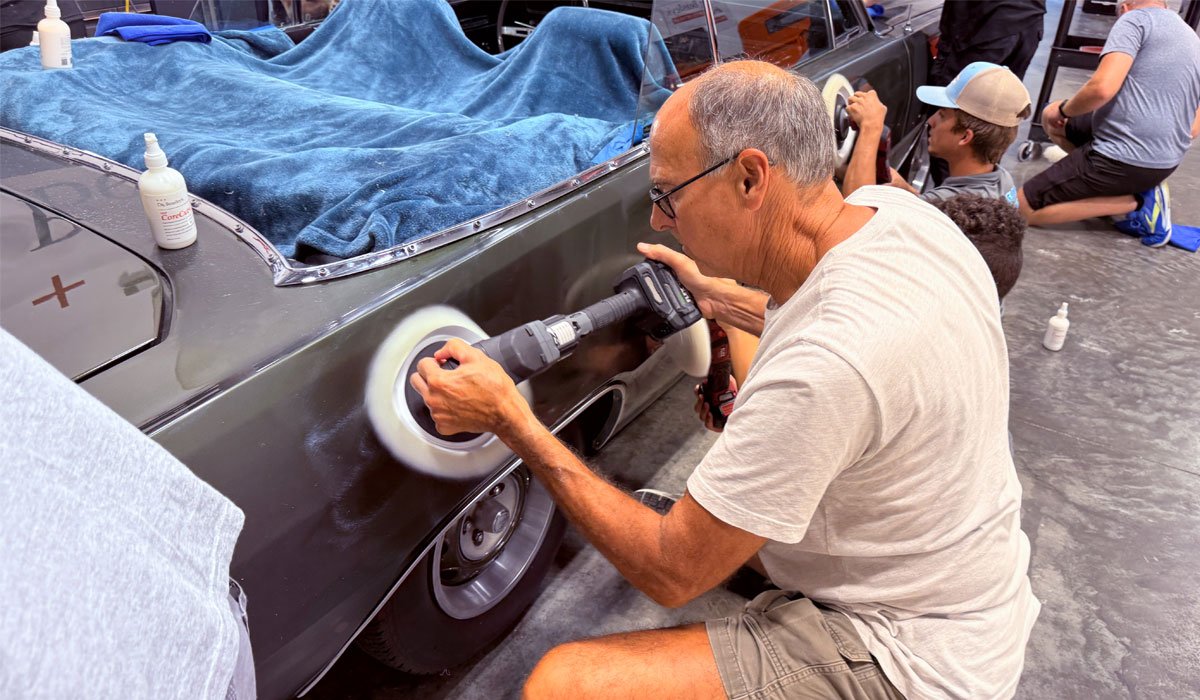
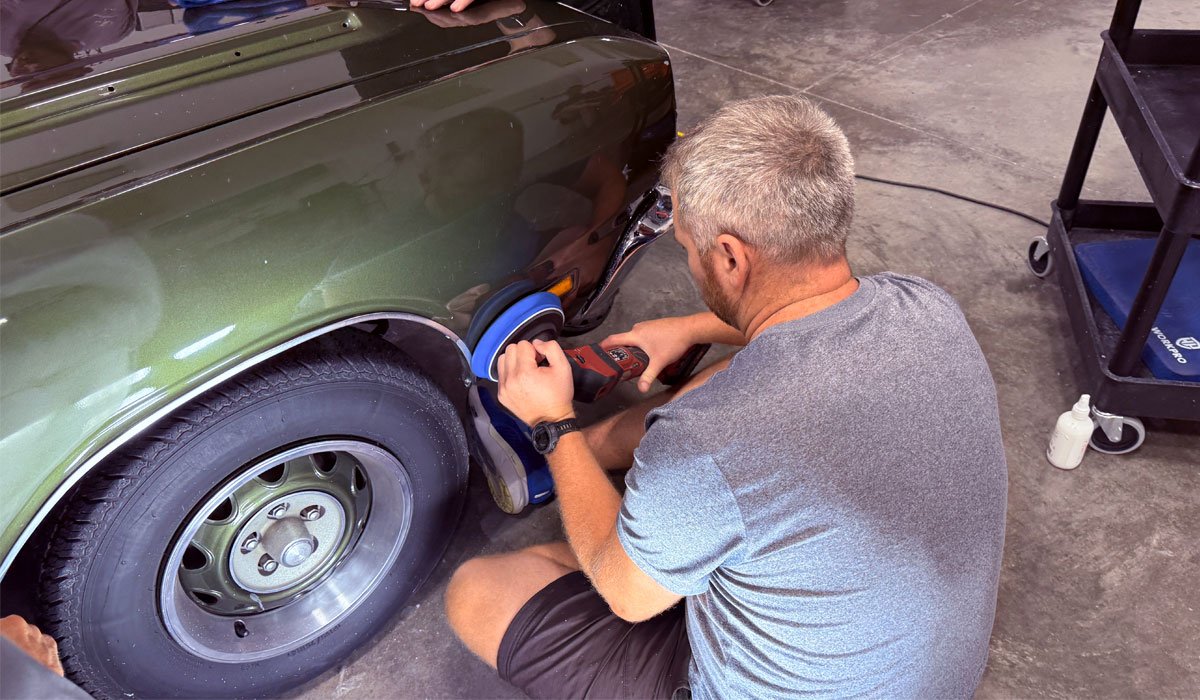
Here’s Scott polishing the driver’s side rear fender.
No chairs. Zero sitting. No PowerPoint.
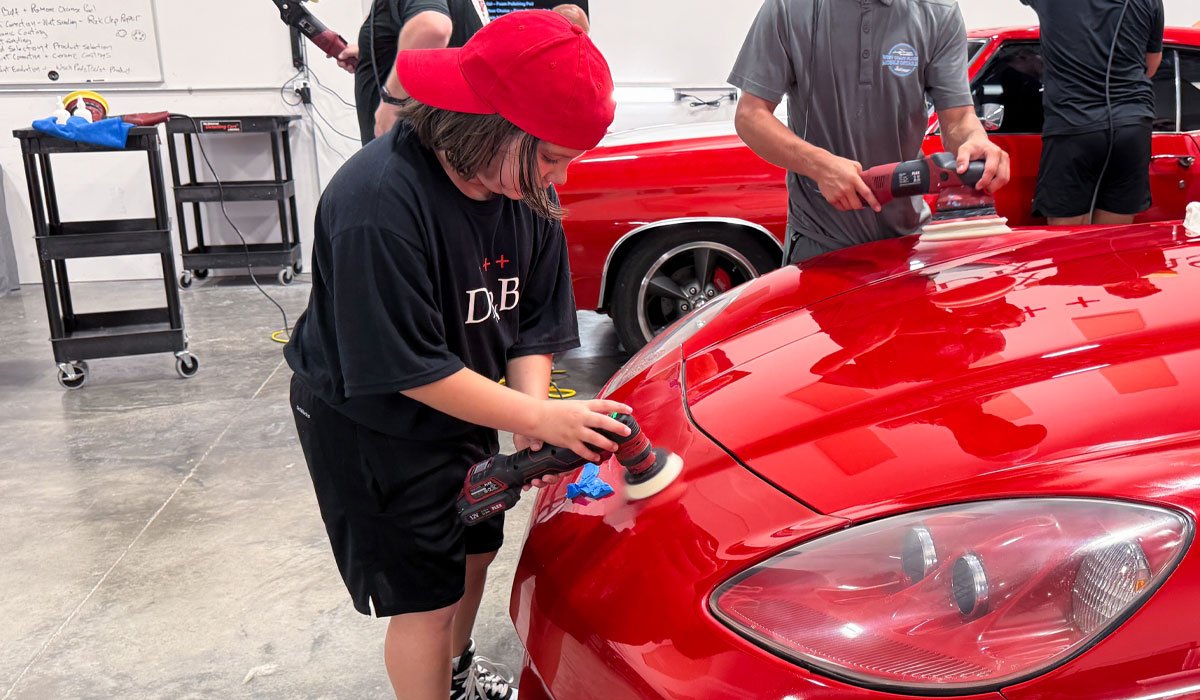
Here’s Willy’s son Matteo using the FLEX PXE-80 on the front clip.
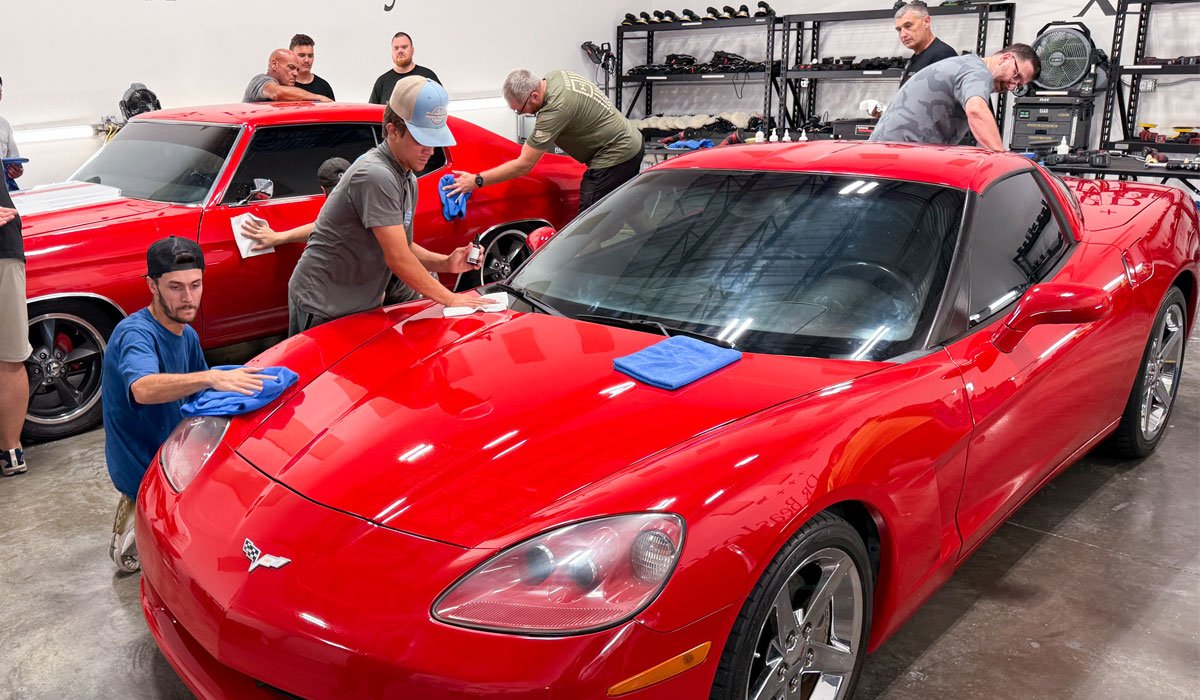
Applying, leveling and removing the ceramic coating.
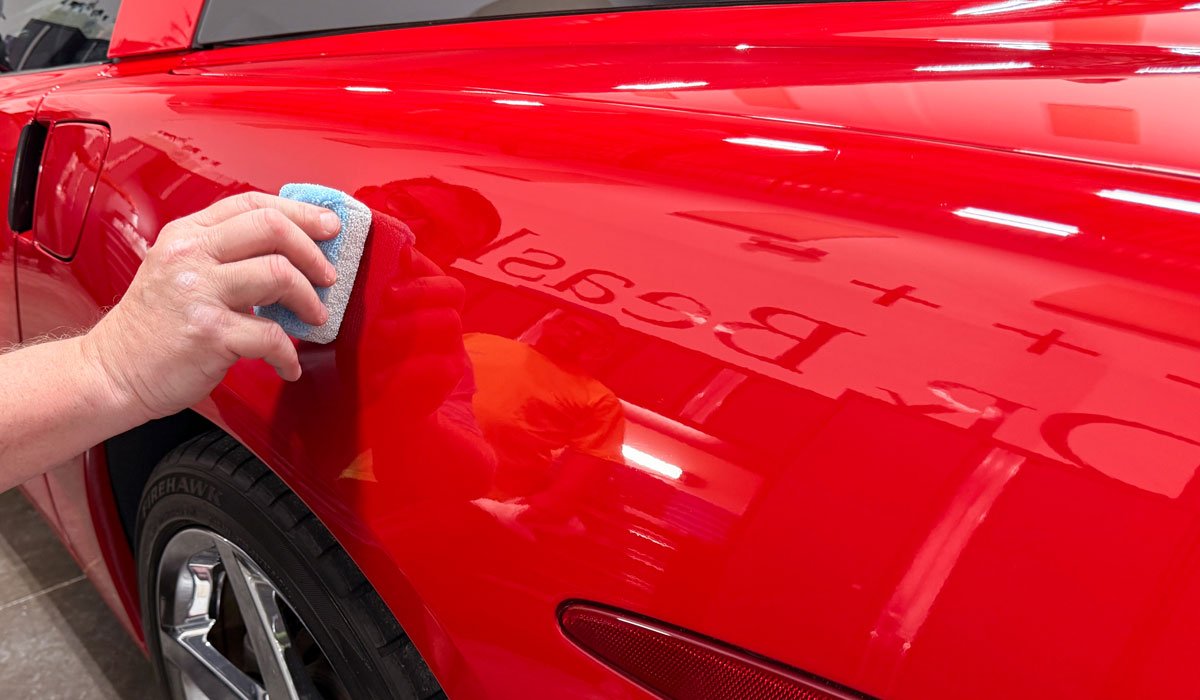
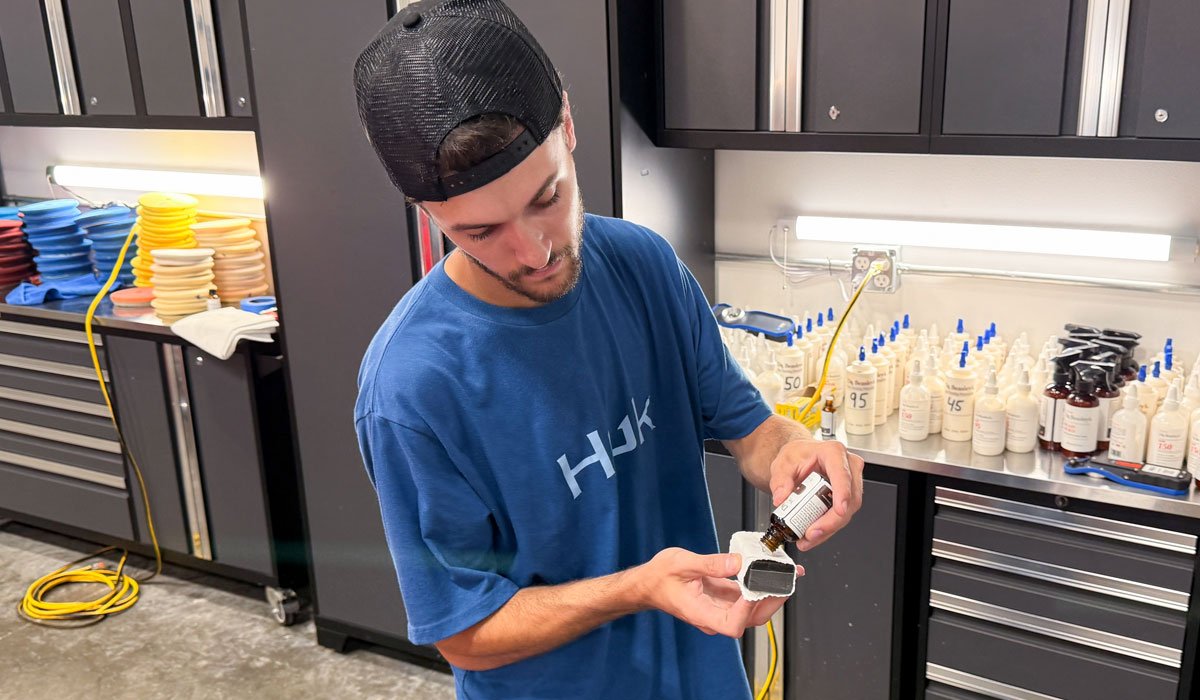
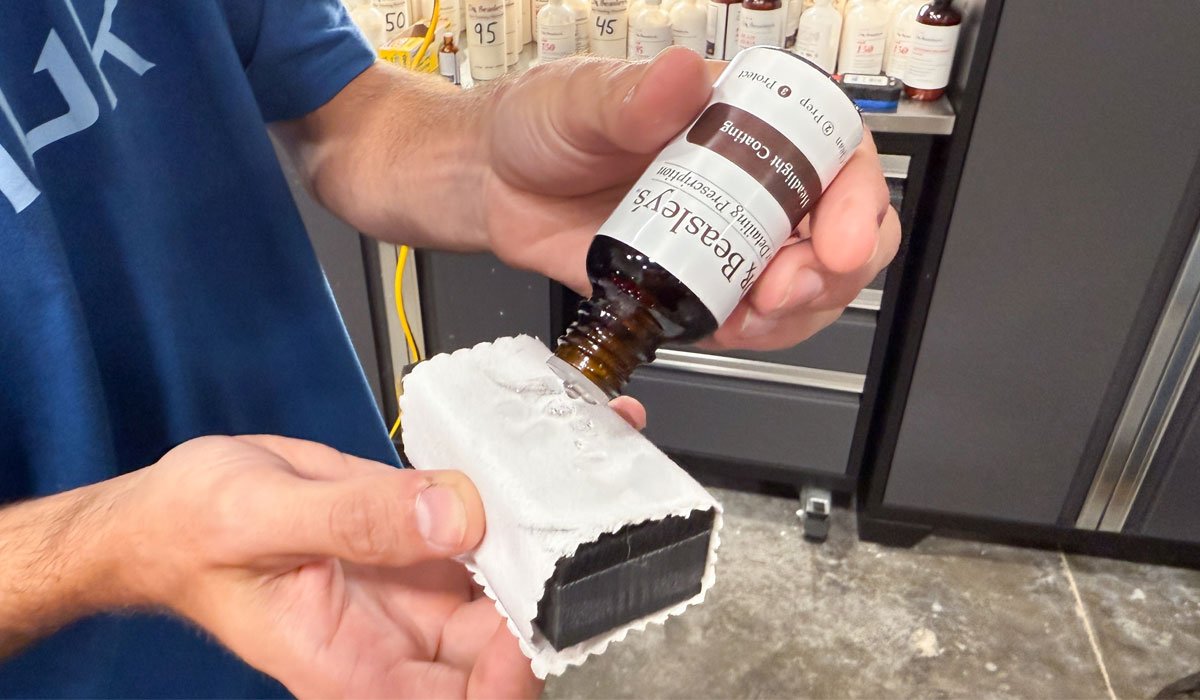
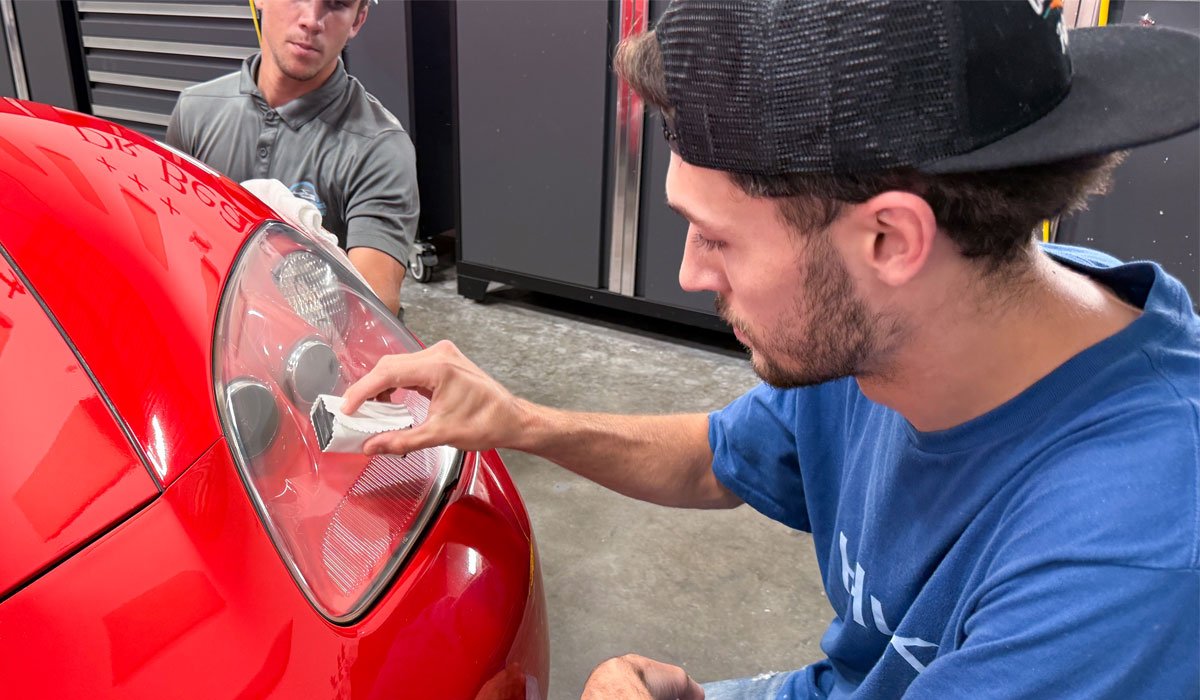
Headlight Ceramic Coating
The class machine sanded, then cut and polished the headlights and now as part of coating the paint, Ethan also coats the headlights.
Here’s the BEFORE videos for the 2007 Corvette Z51
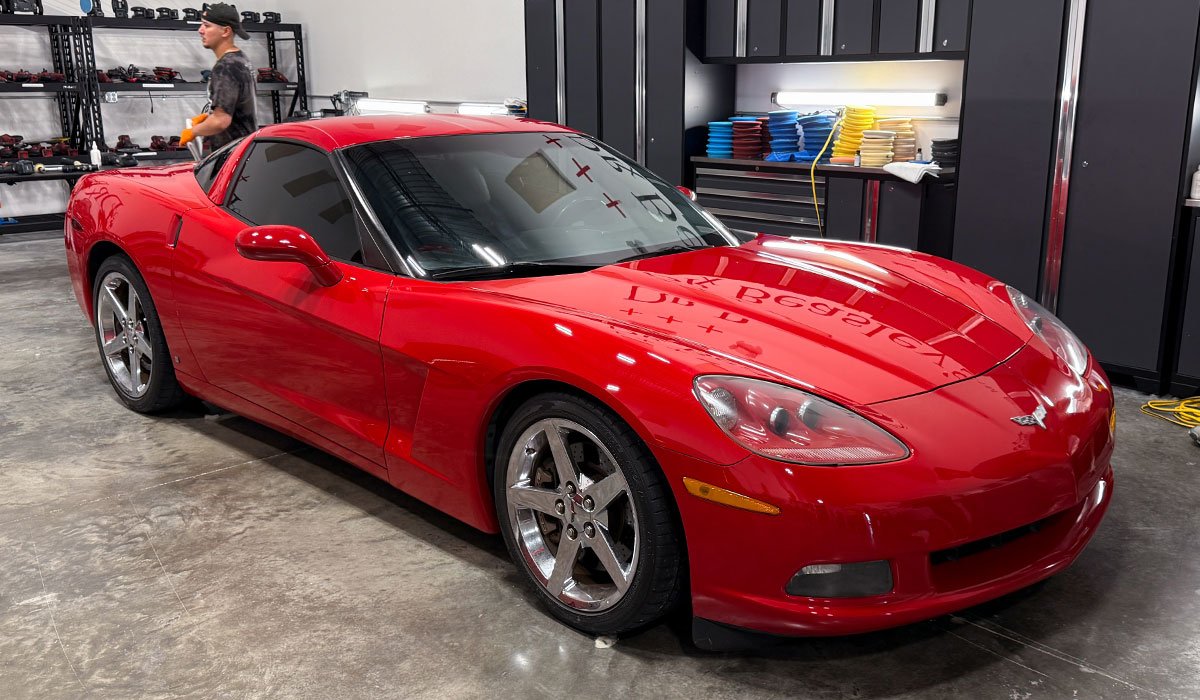
Arriving to our shop


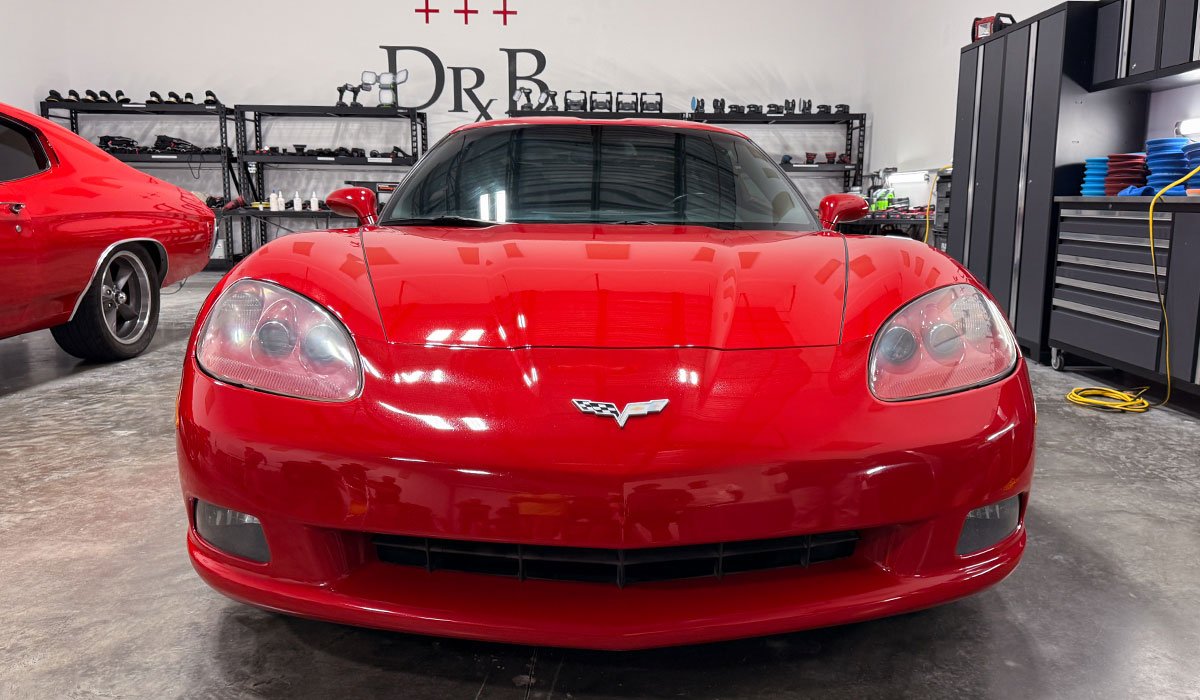
Here’s BEFORE pictures

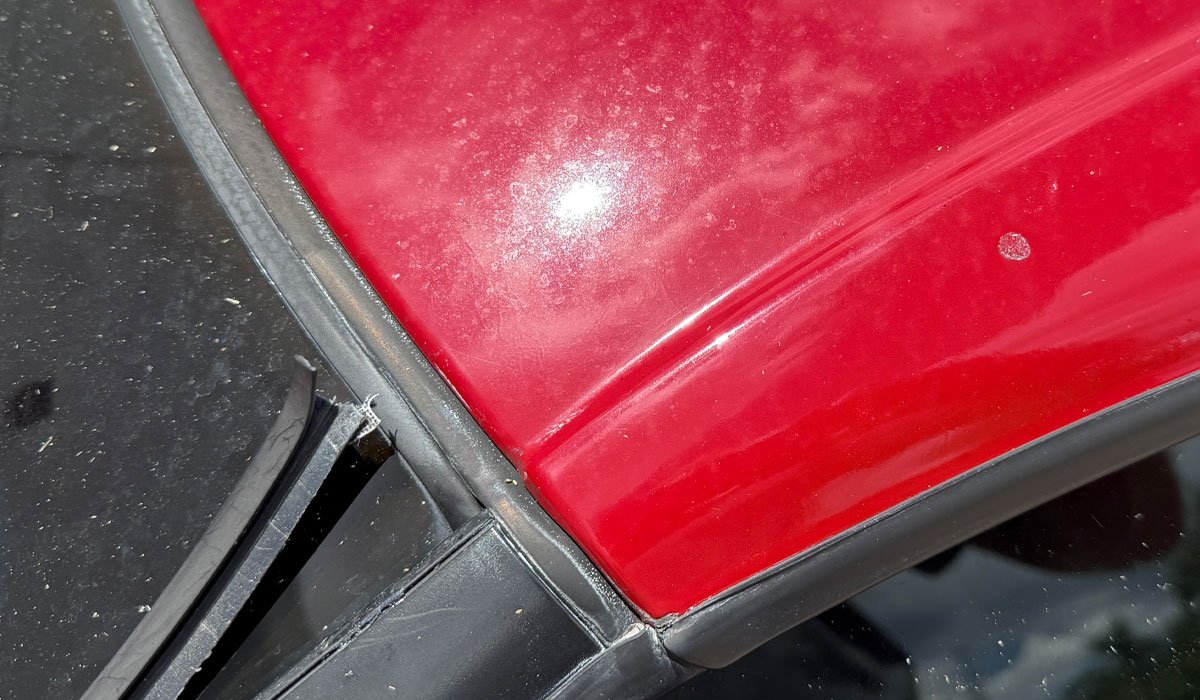
Headlights Before

Here’s the AFTER pictures for the 2007 Corvette Z51
Great job everyone!
First Tool You Learn How To Use – Rotary Polisher
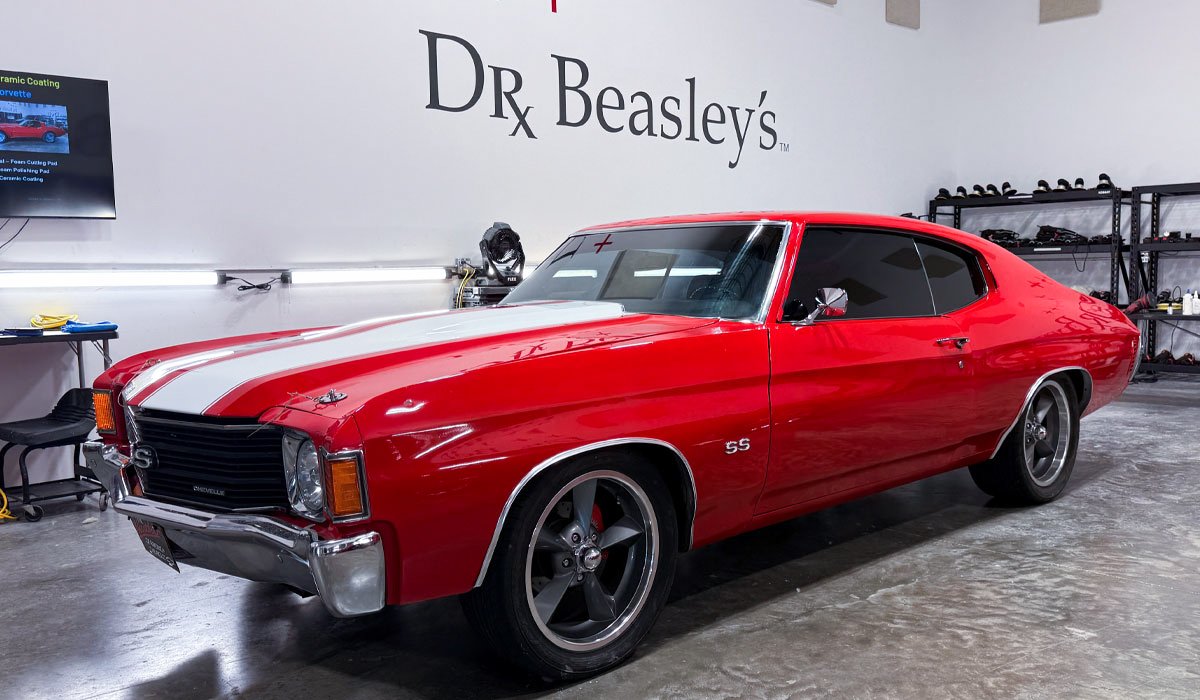
First up, the class did show car detailing, starting with large wool pads on rotary polishers also known as American Style rotary technique. For each primary topic we cover, there are two cars for the students to choose from to do the training. In the above pictures, you see the 2007 Corvette, but right next to the Corvette was this HAMMERED 1972 Chevell.
Here’s a short video showing the Chevelle as it arrived.

1972 Chevelle 486 Big Block 6-Speed Car – Show Car Detailing
For this extremely neglected Chevelle, after dialing-in the Test Spot, the class proceeded to,
Step 1: Cut using Dr. Beasley’s CoreCut with Buff and Shine Wool Pads on Rotary Polishers.
Step 2: Polish using Dr. Beasley’s NSP 150 with Buff and Shine EdgeGuard Foam Pads on Your Choice Gear-Driven Orbital Polishers.
Step 3: Install Dr. Beasley’s Nano-Resin 2.0 Ceramic Coating
Learning by doing, for most people that want to learn how to detail cars, this is the best way.
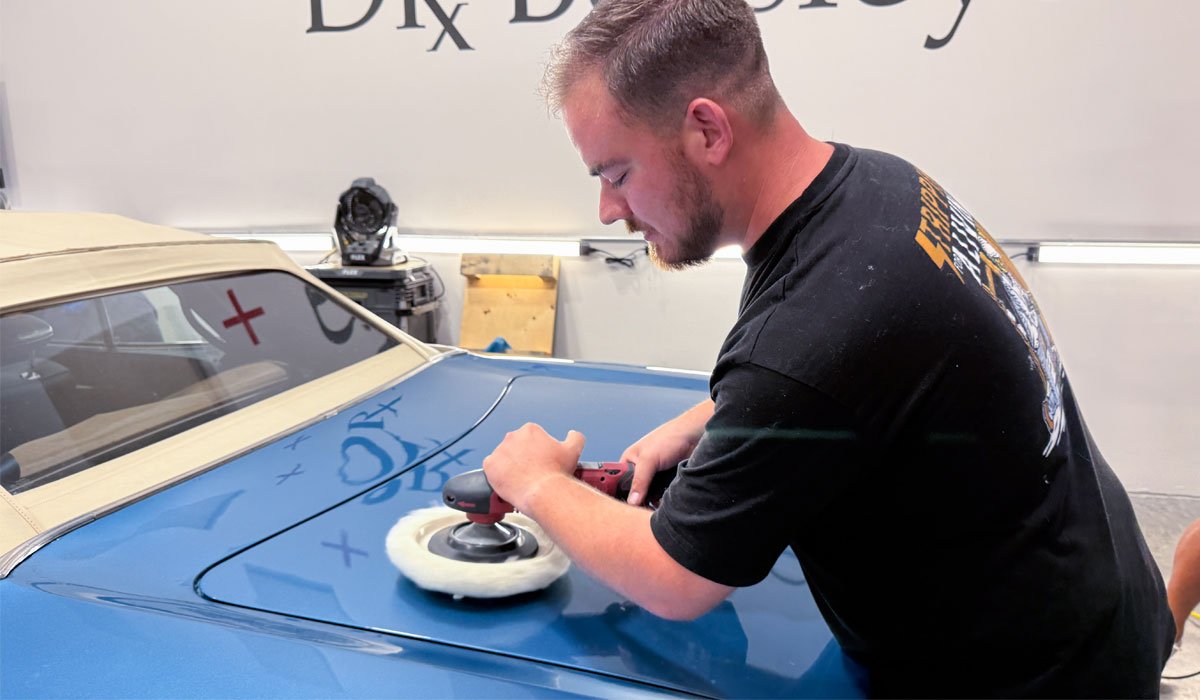
Here’s Mitchell running the FLEX Rotary Polisher like a BOSS!
Here’s Paden working the driver’s side rear fender.
Here’s Brad working the trunk lid.
Here’s Quintin working the other side of the trunk lid.
Here you can see Yancy giving Hunter a few tips on how to use the rotary polisher.
After a little coaching, Hunter looks like he’s been using the rotary for years!
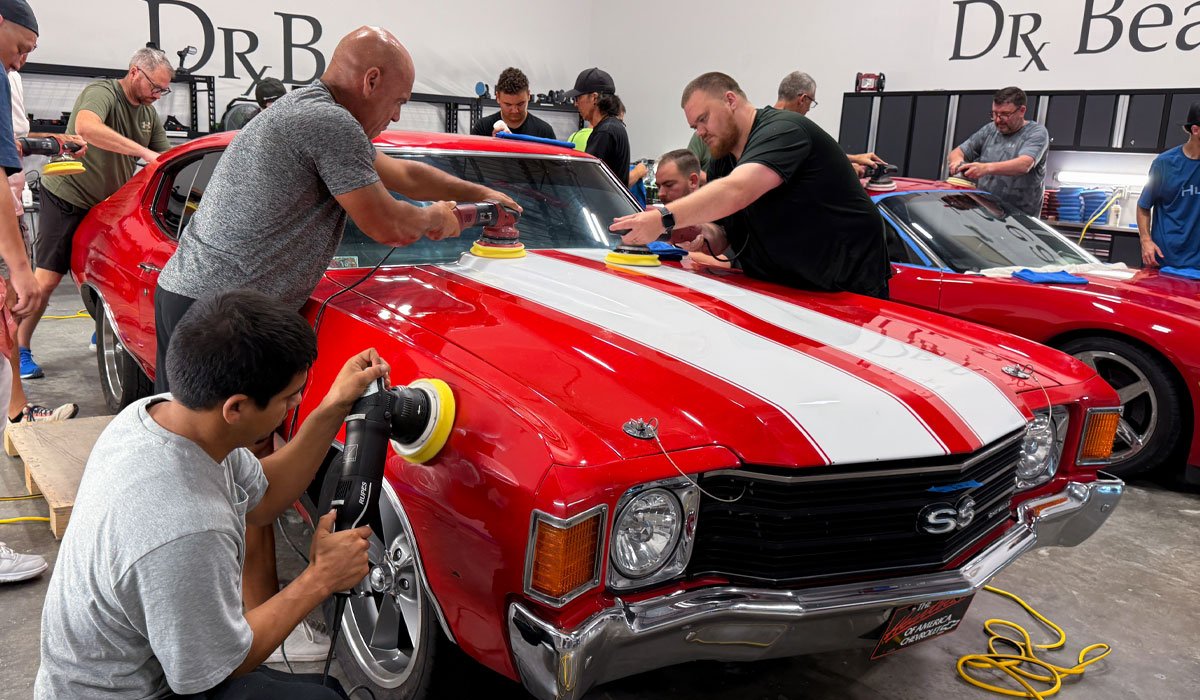
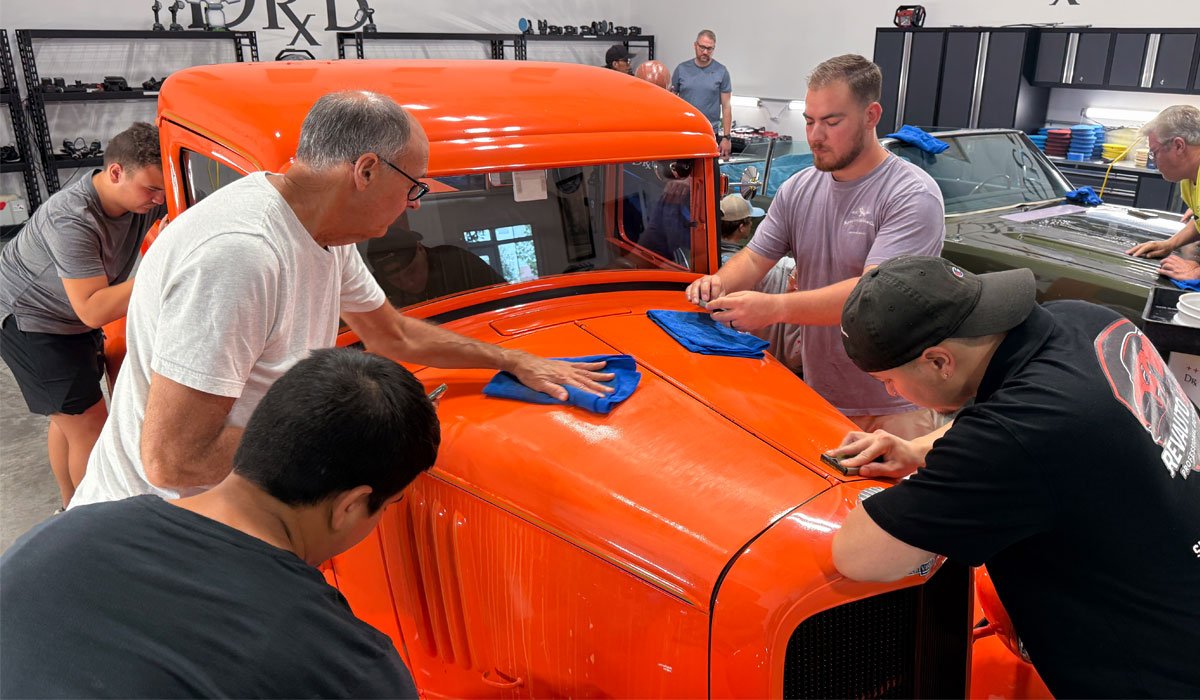
Here’s Gilberto working the passenger side of the hood.
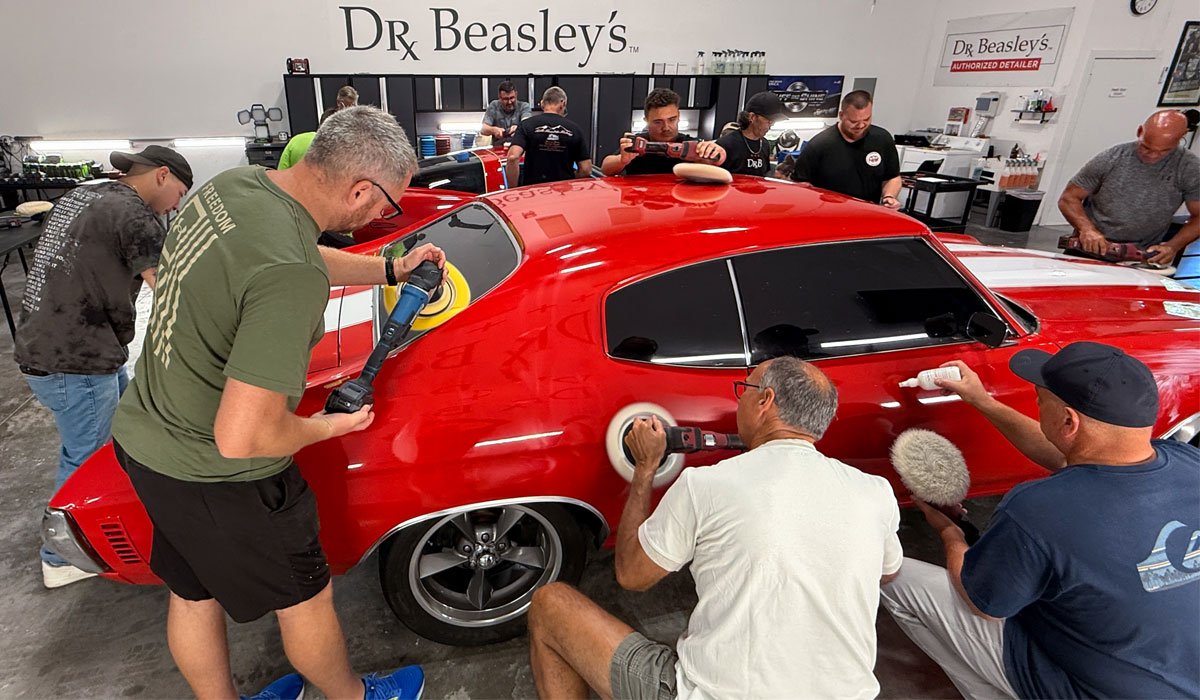
As the saying goes, all hands on deck!
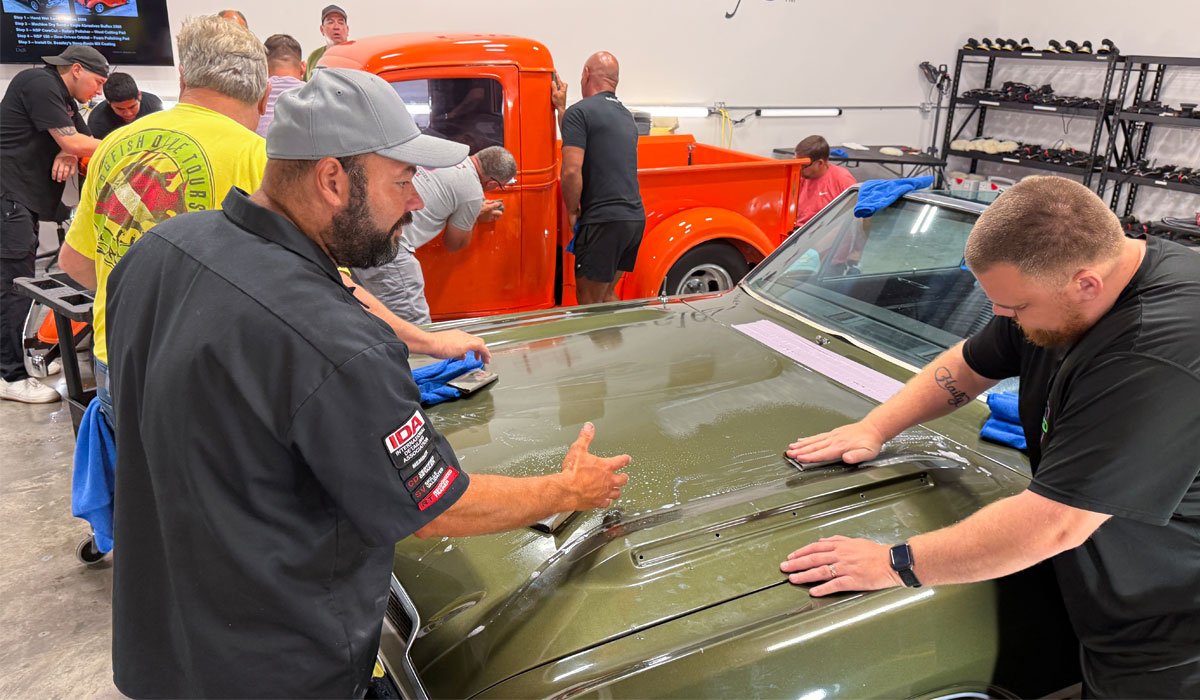
Minimal PowerPoint
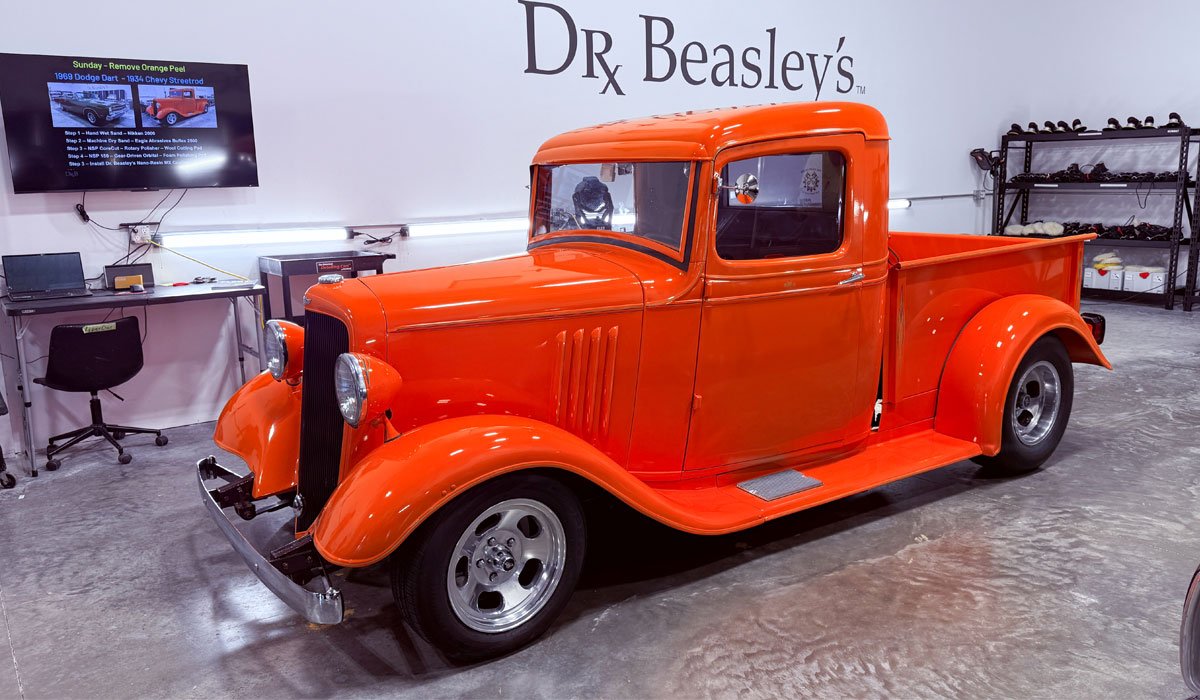
Yancy and Jared on the front clip. If you look on the back wall – this is as complicated as my PowerPoint gets, you see the same cars in the slide that the students are working on and the steps listed below the pictures of the cars.
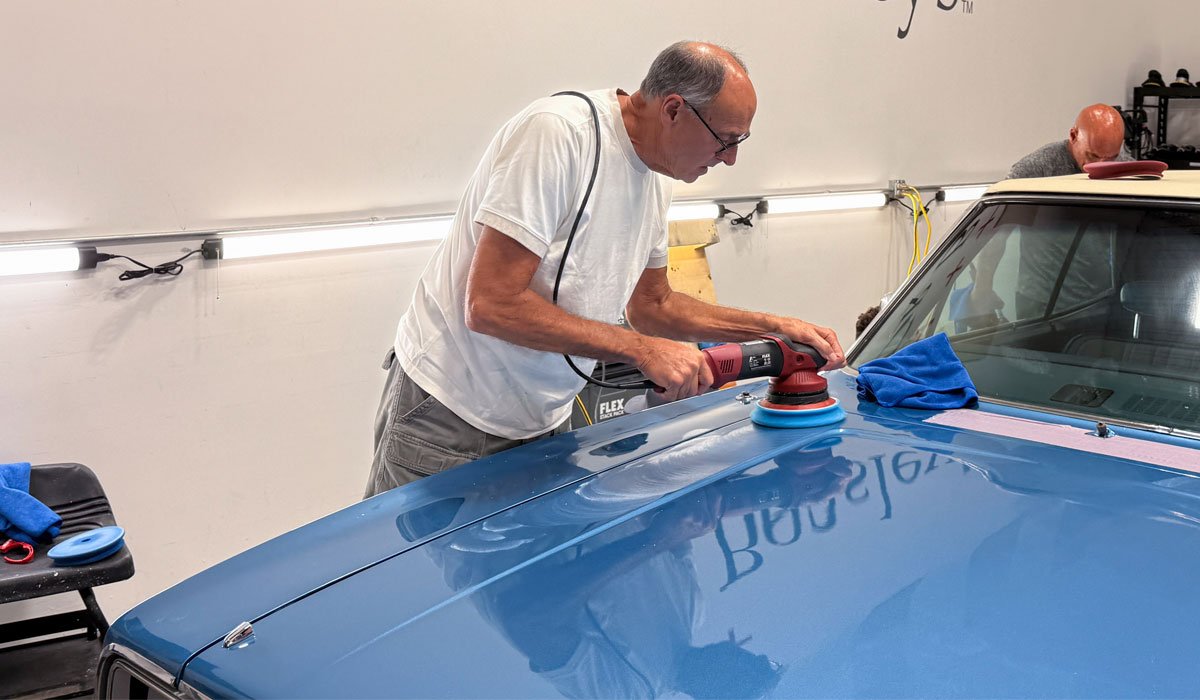
Here’s Roger doing Topical Glass Polishing to remove decades of water spots and traffic film.
Thanks Roger!
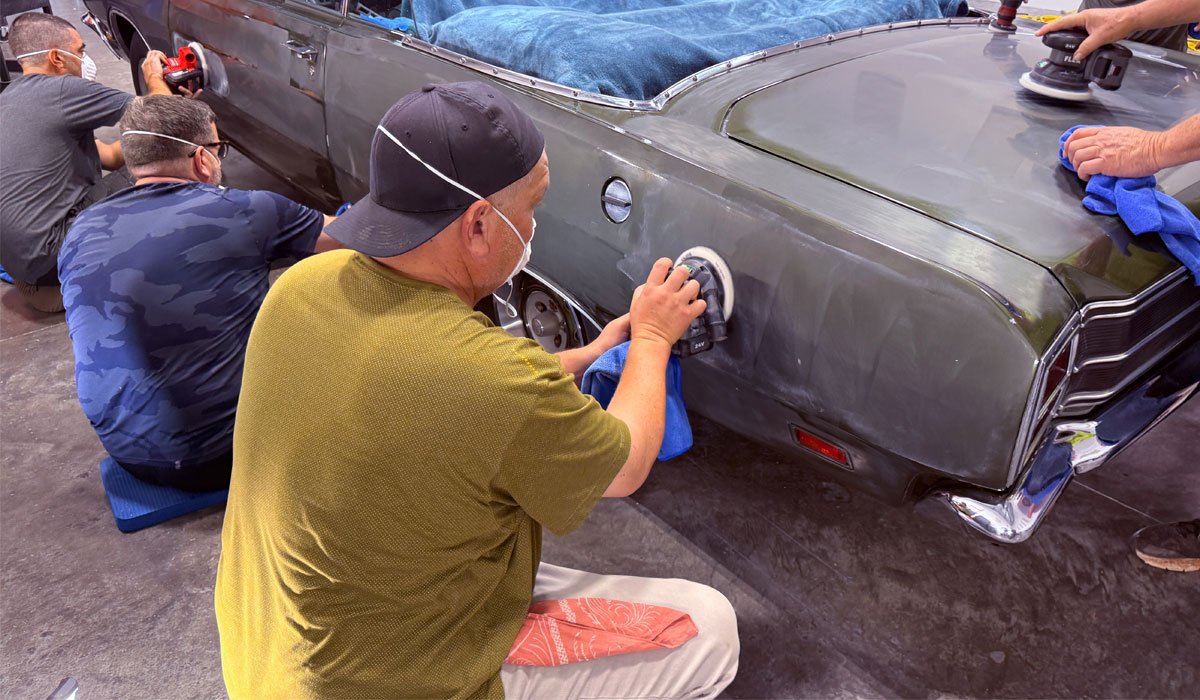
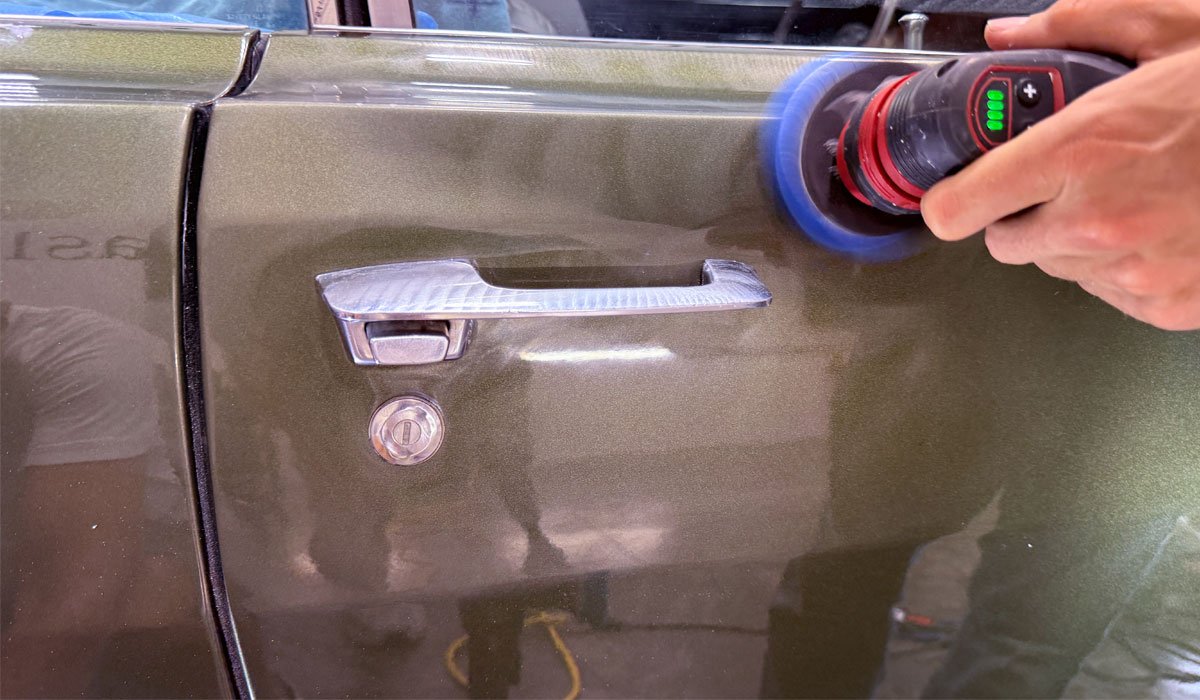
Chrome Polishing
Cool classic cars have CHROME bumpers and trim and, in most cases, the shine is dull from years of neglect and traffic film. In our classes you learn how to tackle EVERYTHING!
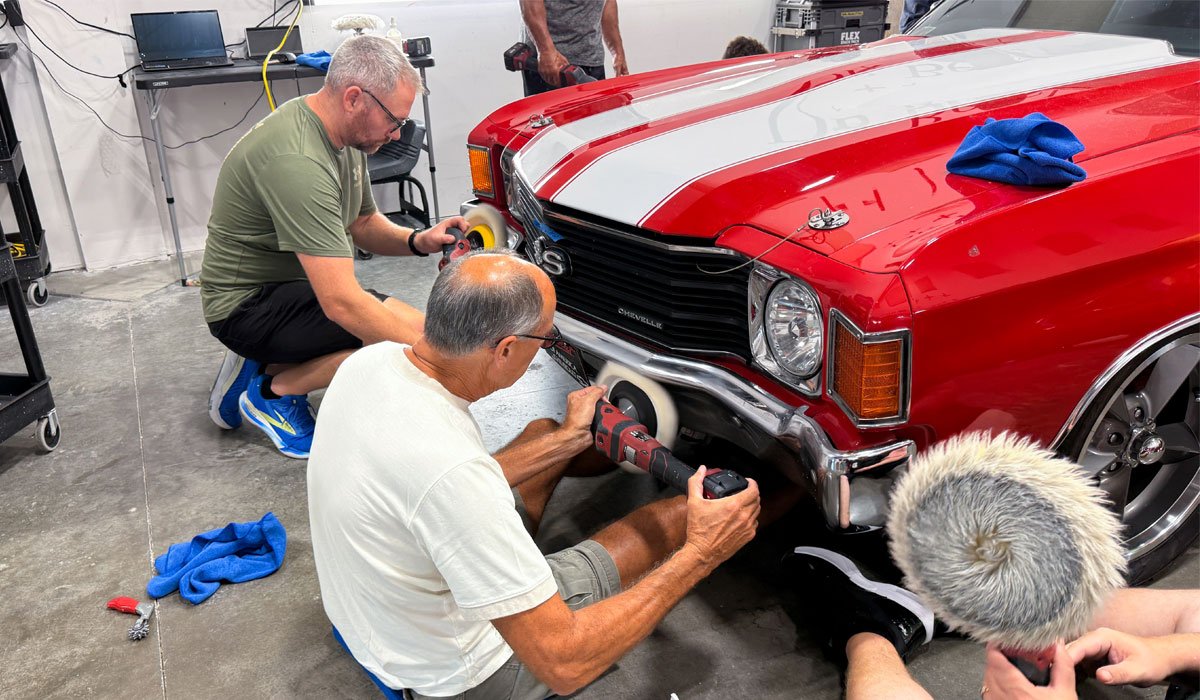
If it has paint, it gets polished!
This is my own philosophy and the name of an article I wrote years ago. Here’s Brad proving the point of the idea…

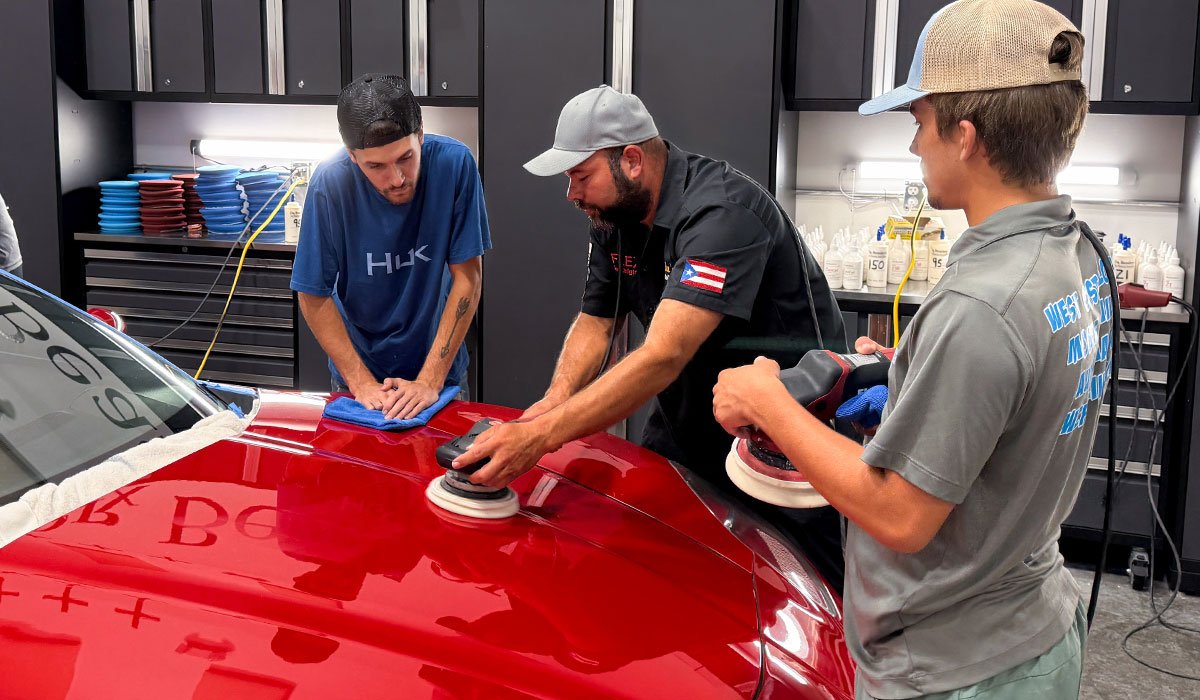
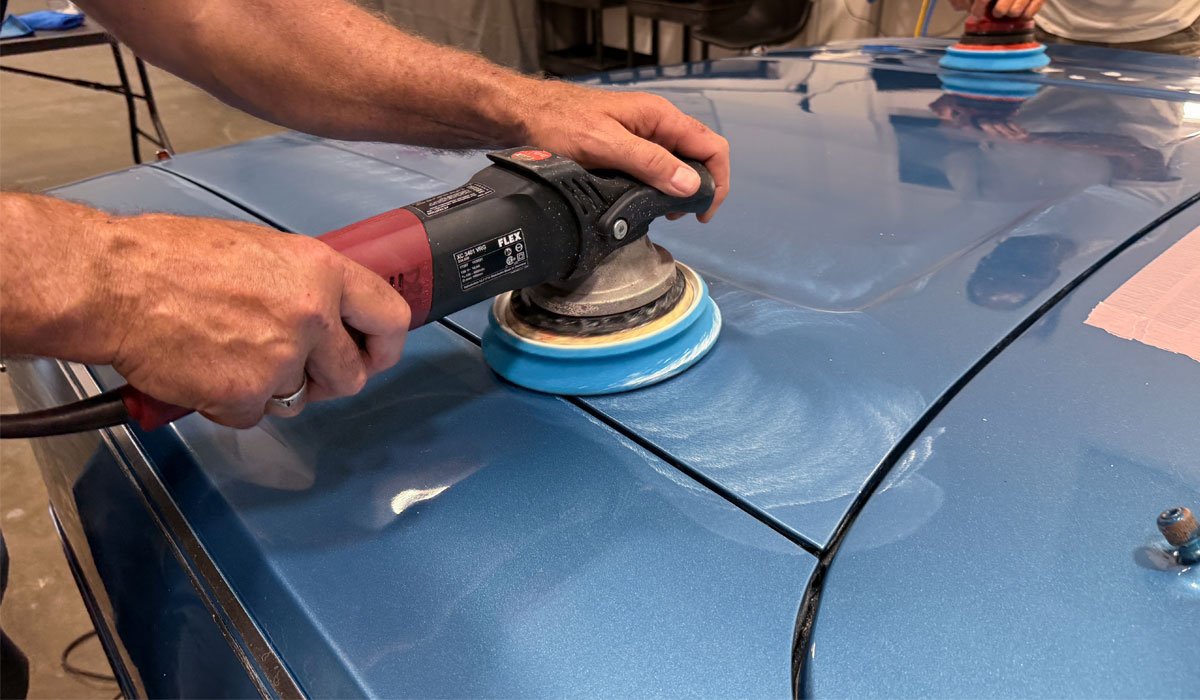
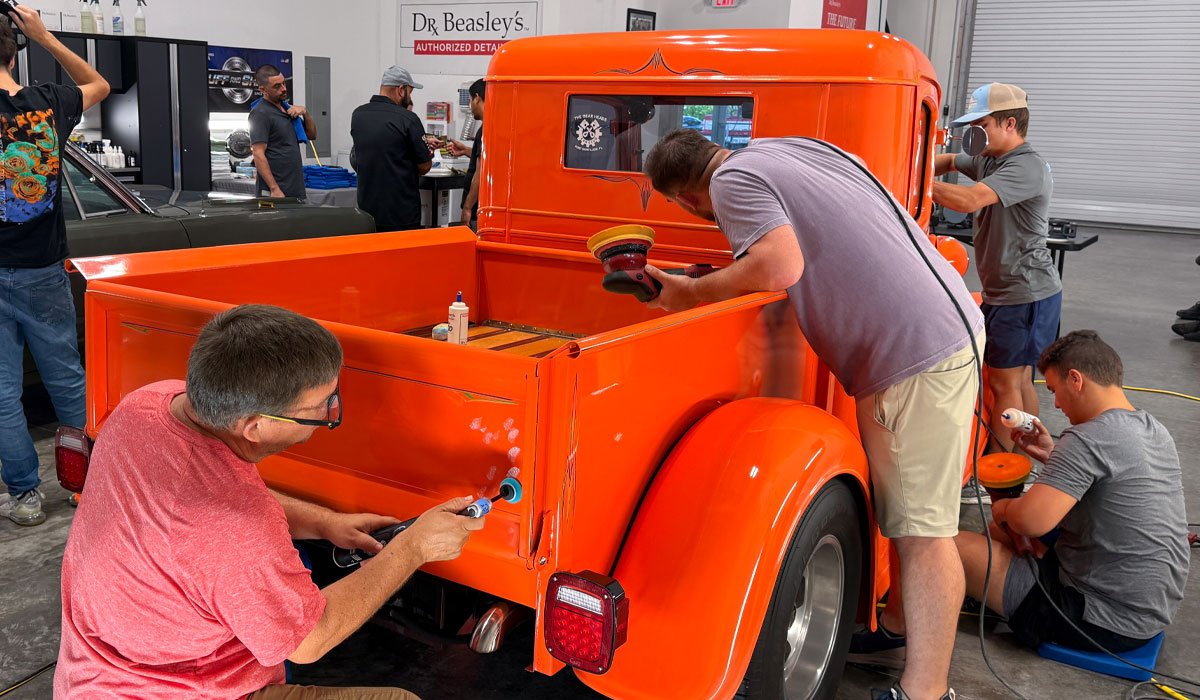
Step 2: Using Gear-Driven Orbital Polisher to remove any holograms to create a perfect, swirl-free finish.
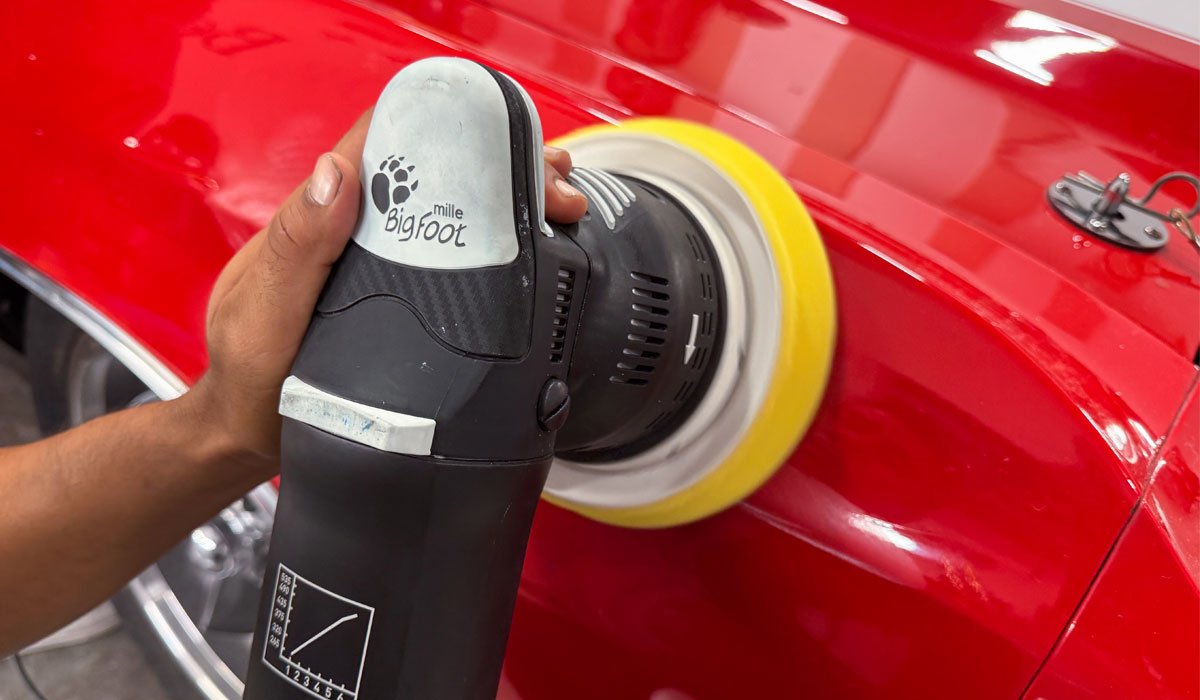
Gilberto using the RUPES Mille – this is a 5mm gear-driven, orbital polisher.
Yancy doing a little coaching on using the FLEX Supa BEAST, which is an 8mm Gear-Driven Orbital Polisher with Buff and Shine EdgeGuard foam polishing pads.
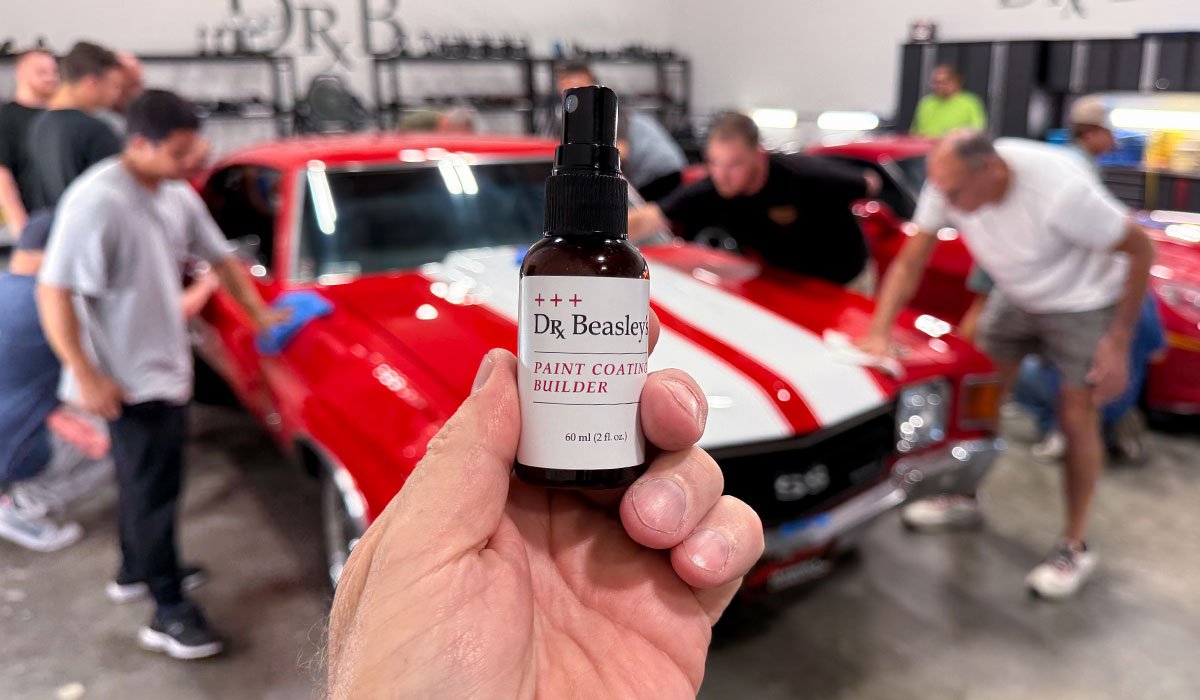
Installing the Dr. Beasley’s Nano-Resin Ceramic Coating

Great teamwork everyone!
Before and After Pictures
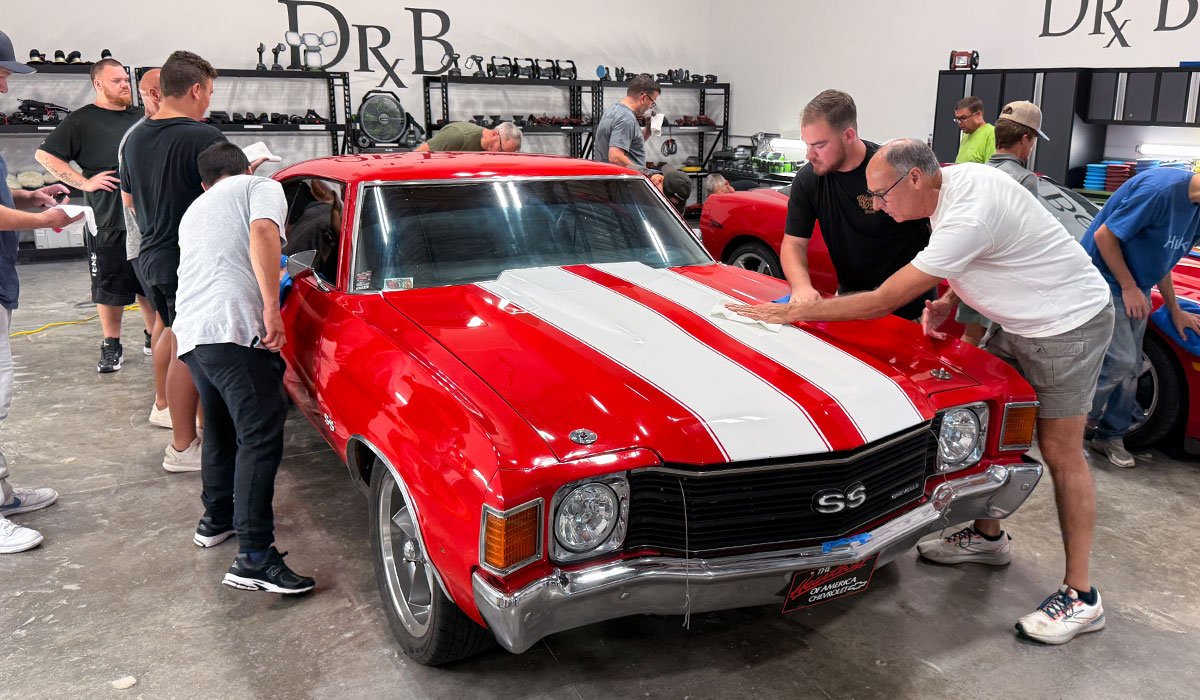
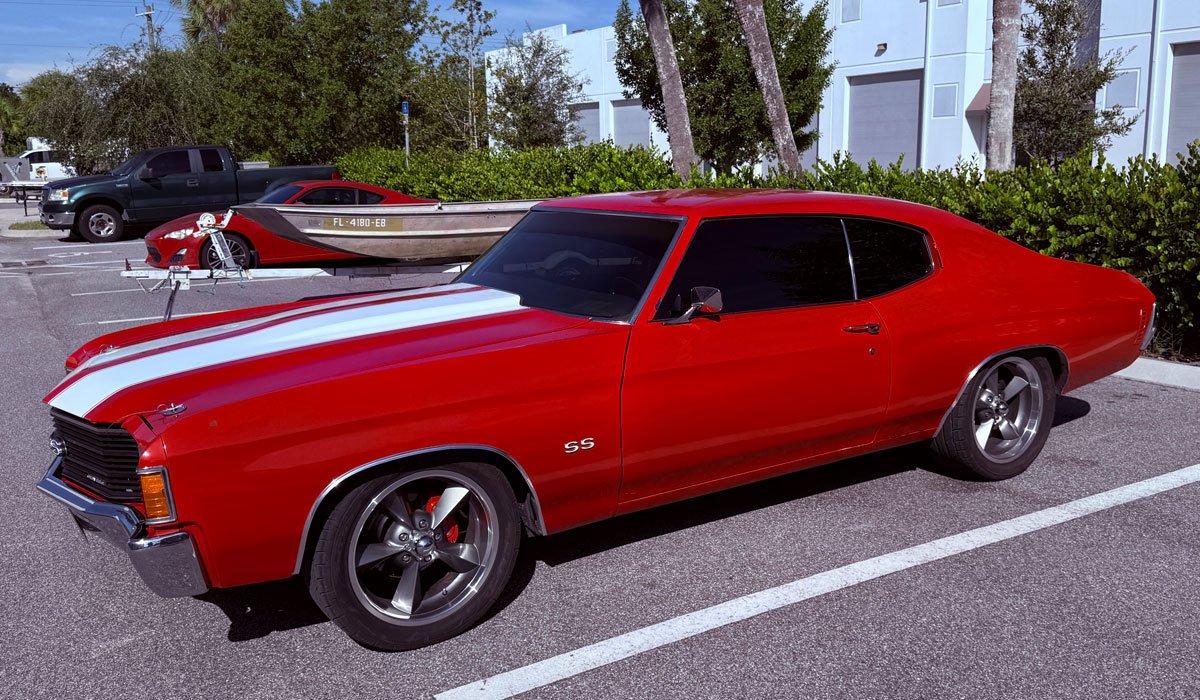
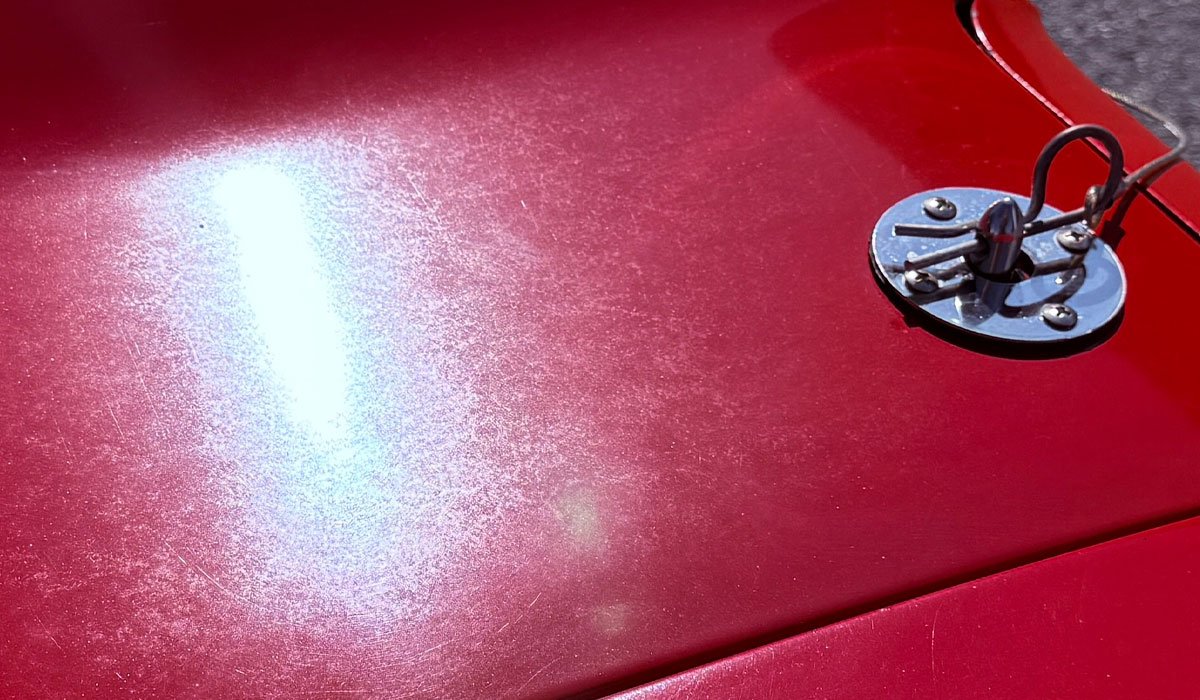
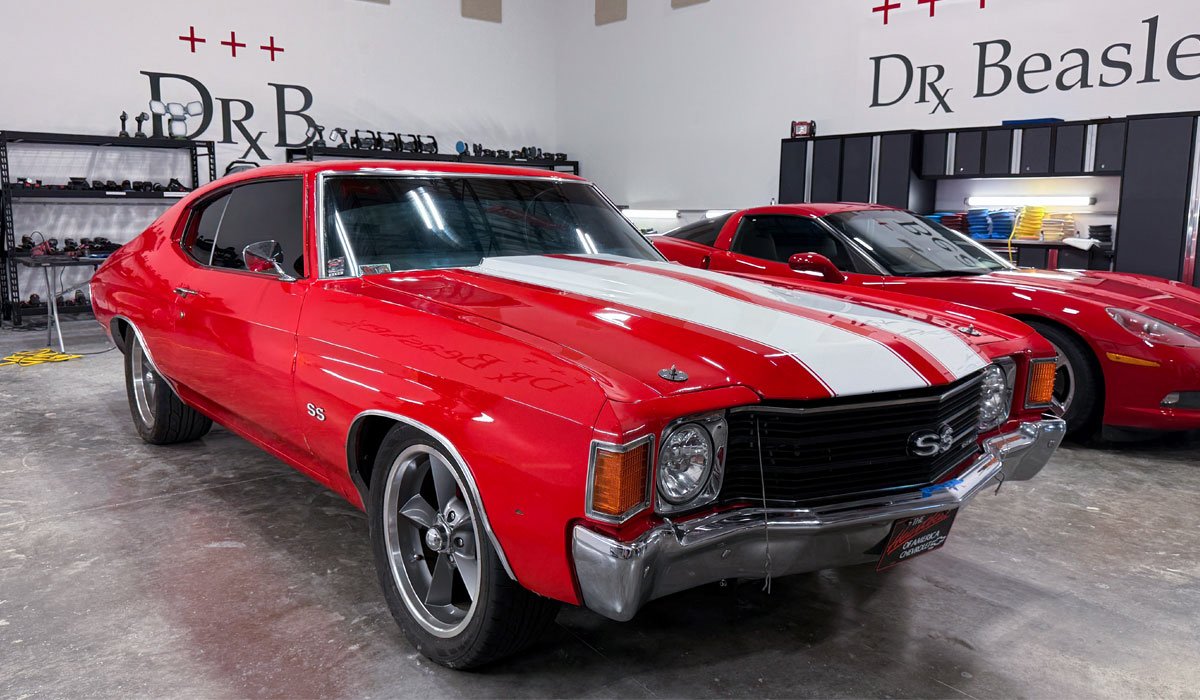
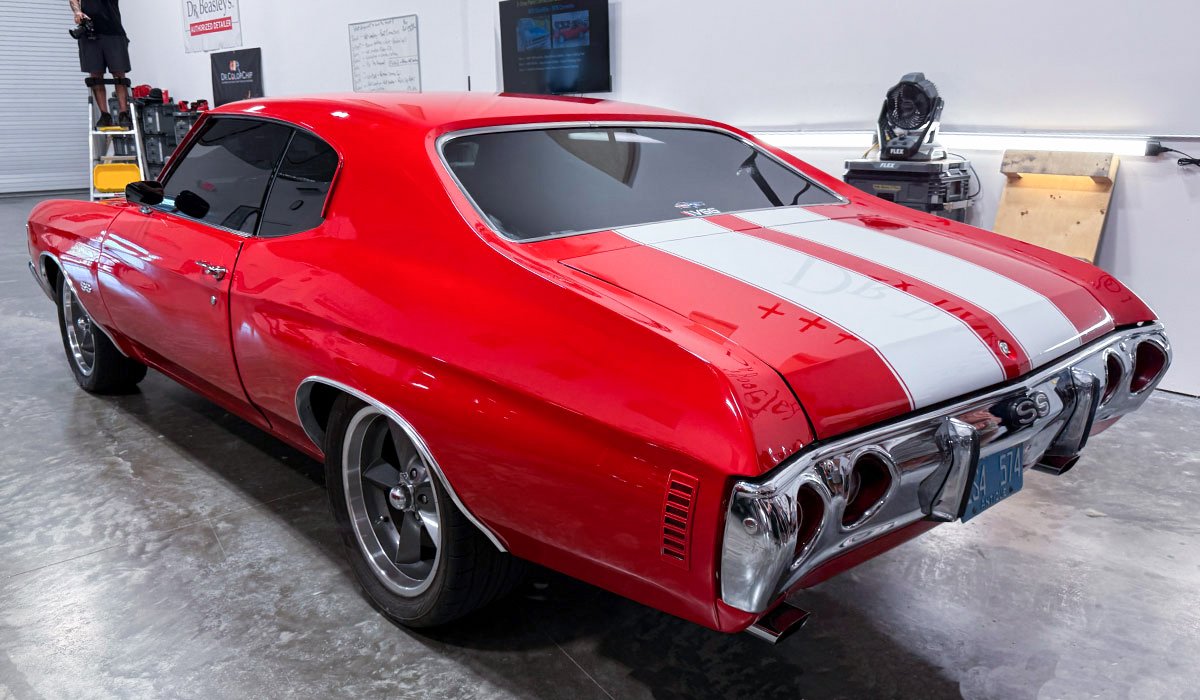
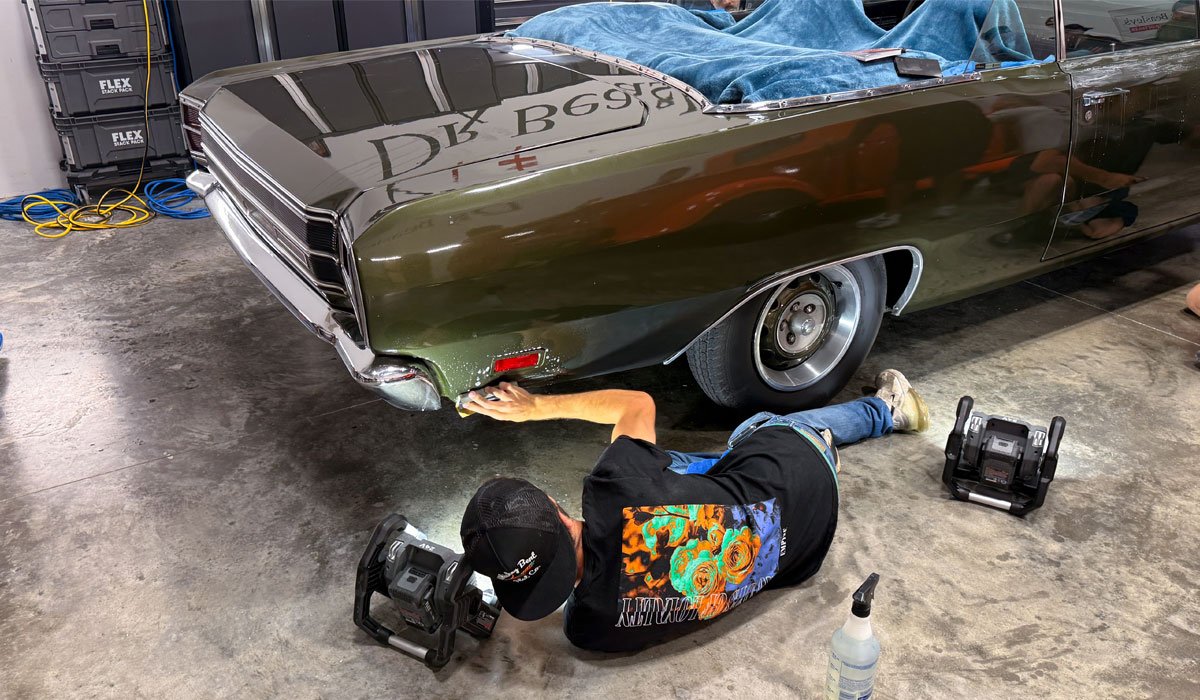
Here’s the Chevelle as she looked when she arrived at the Dr. Beasley’s Detailing Training Academy in Stuart, Florida.
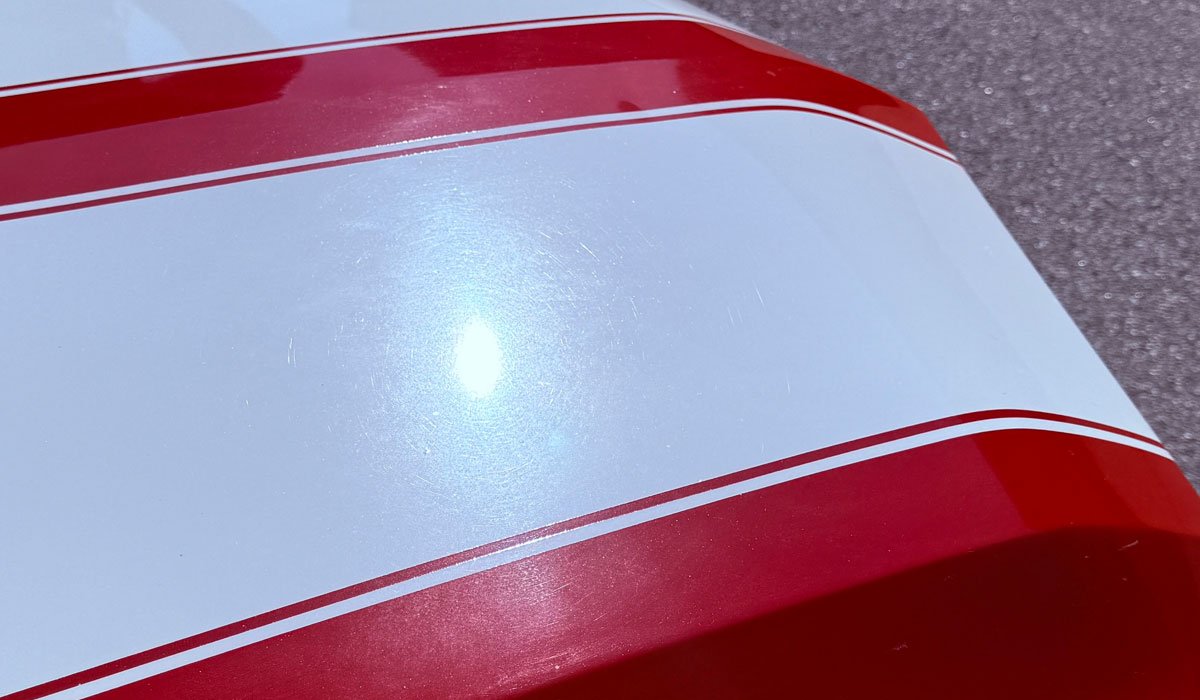
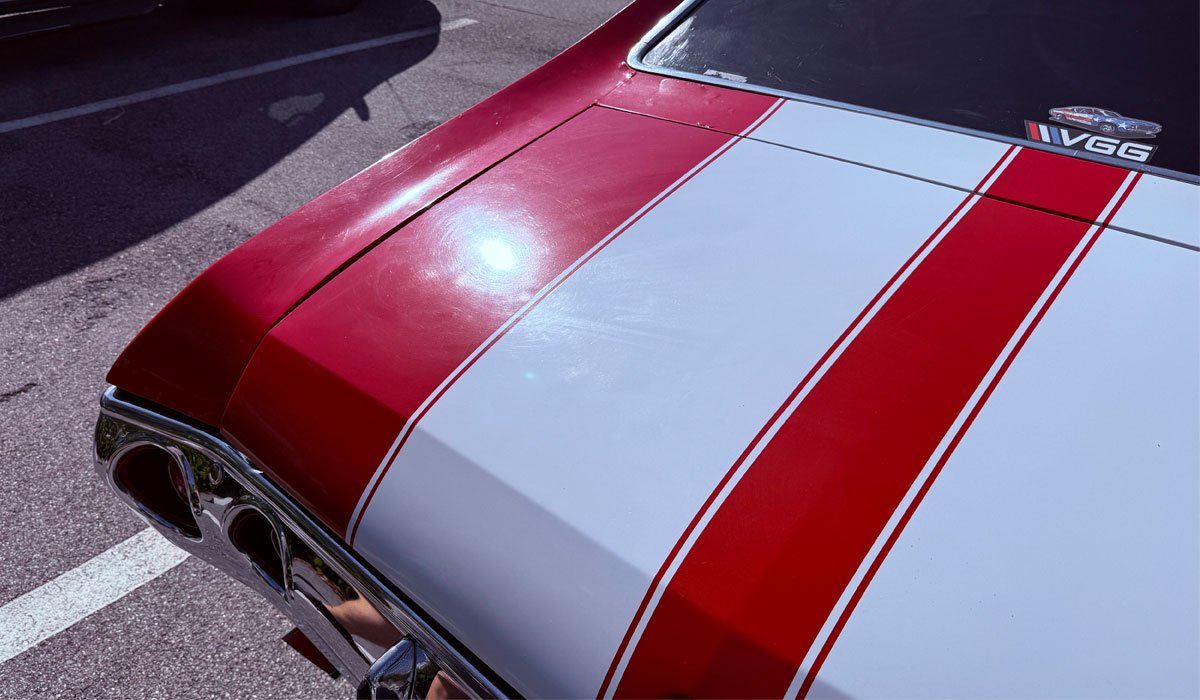
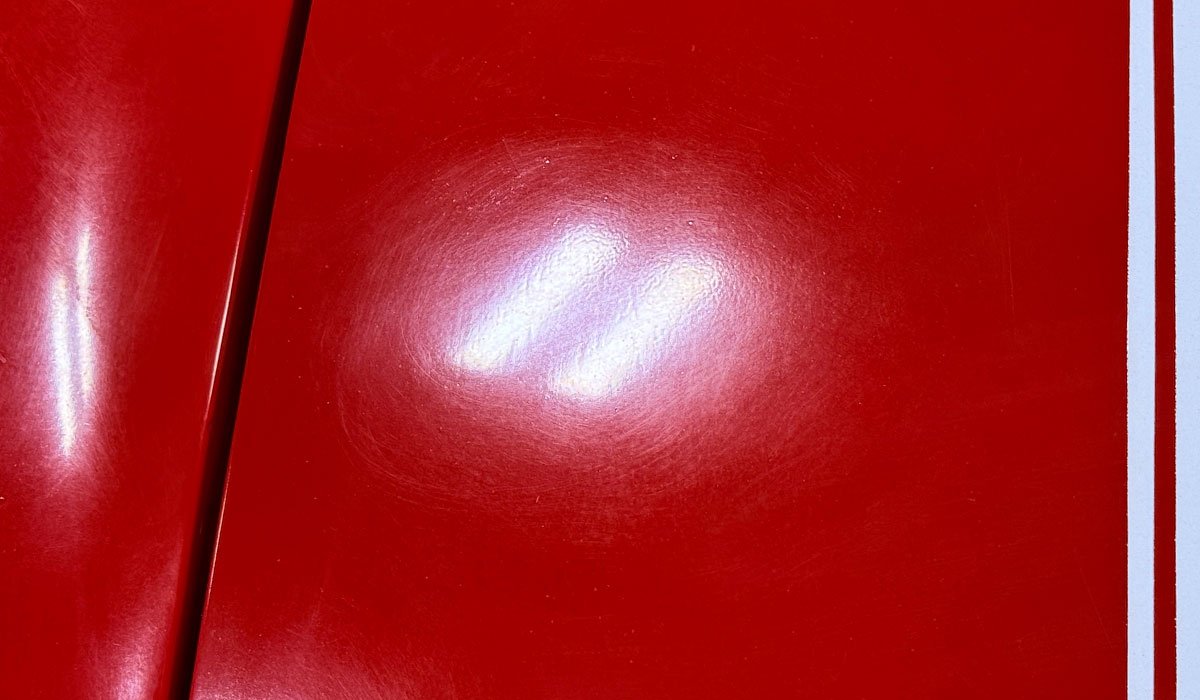
Here’s why I don’t use WHITE and LIGHT-colored vehicles as well as boats for our car and boat detailing classes. If you look closely, you can see the swirls and traffic film build-up on the white SS stripes on the hood of the Chevelle. They are really bad, they just don’t showcase well via pictures and videos – at least not like medium, dark and black cars.
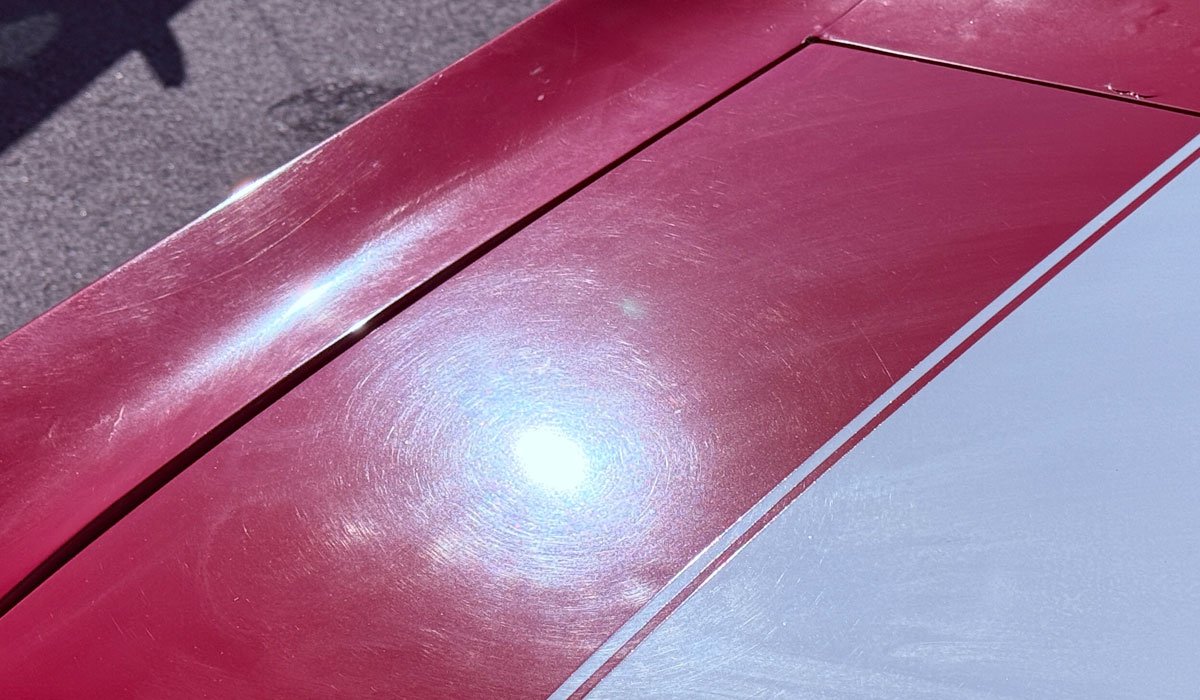
Now I’ve moved so the sun is reflecting down on the red portion of the fender. This is the exact same clearcoated paint, but now you can accurately see the true condition of the red paint under the clearcoat, which is also the same condition the white paint is under the clearcoat.
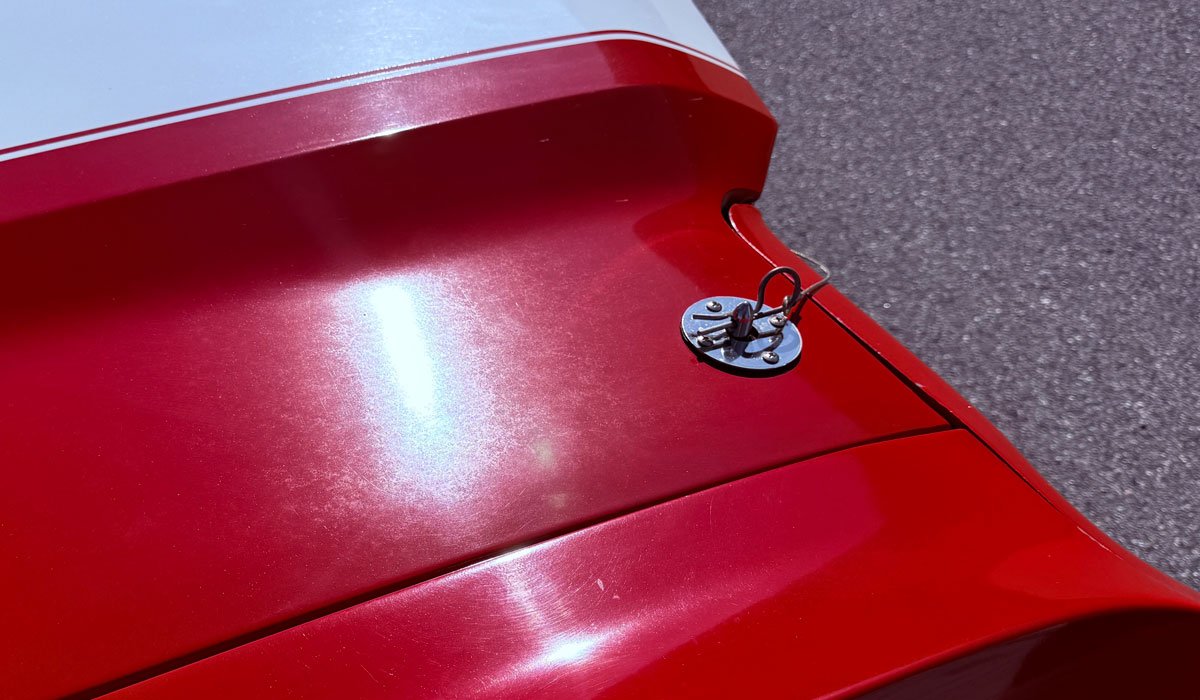
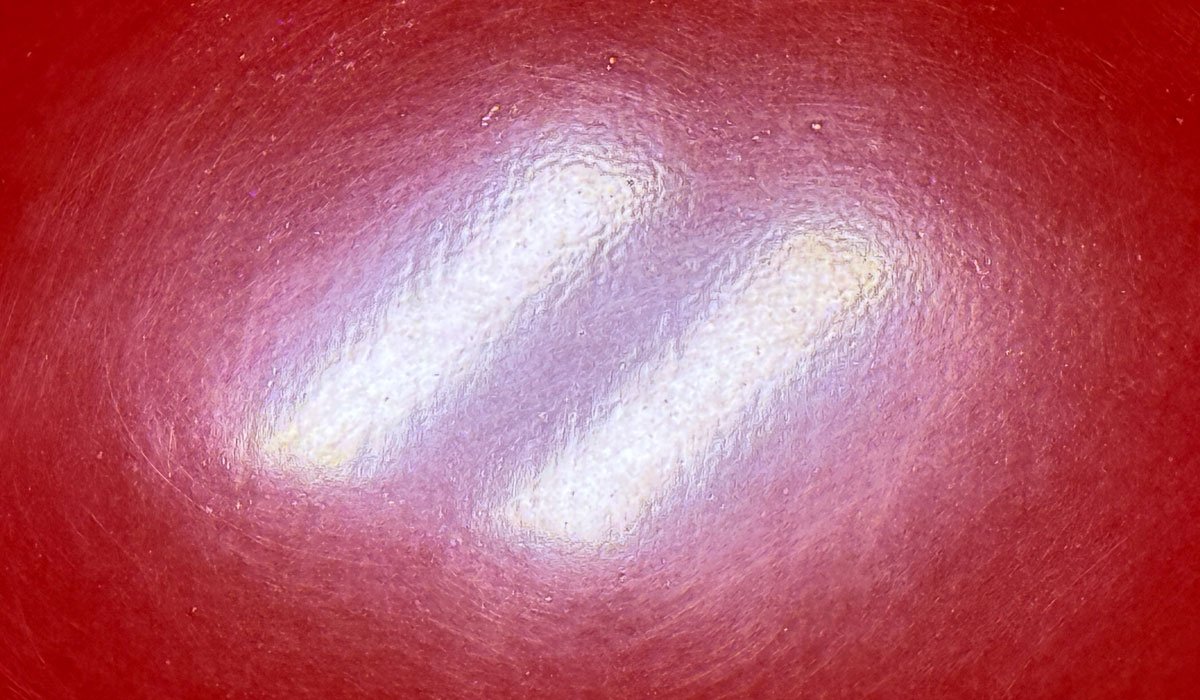
The below picture is the same picture as above, only I’ve cropped in much tighter.
Same condition paint all over the Chevelle

Inside Before Shots
I also document the before condition once the car is moved inside using both overhead LED lights and swirl finder lights.
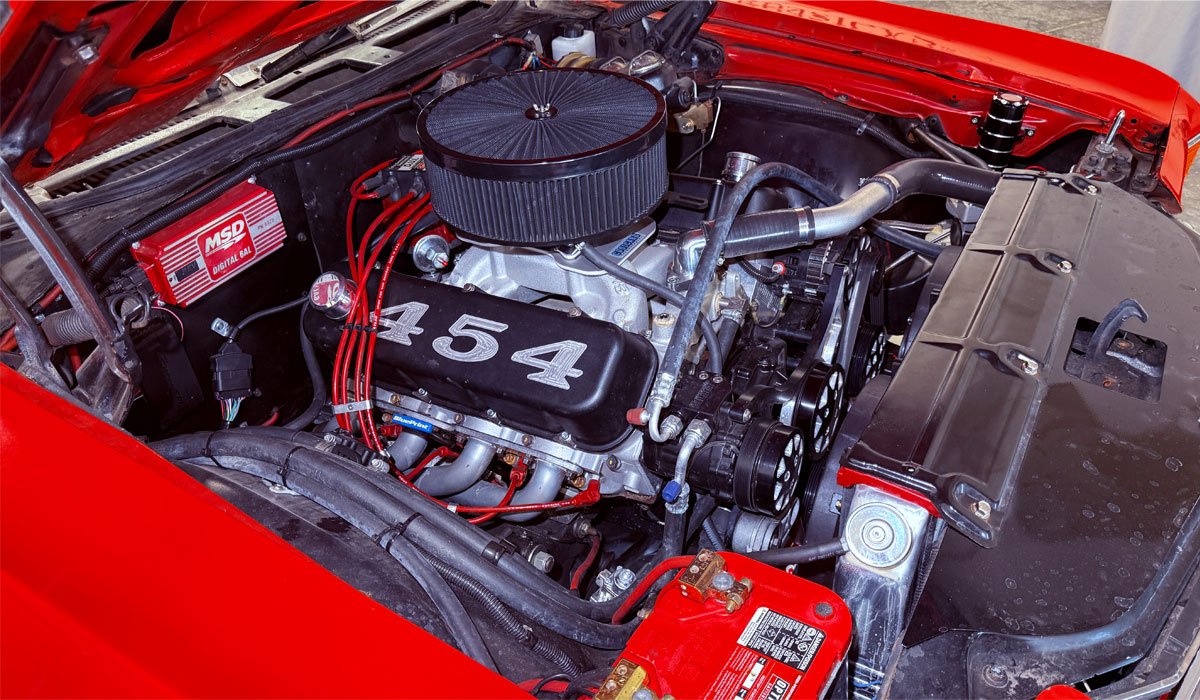
No pretty – at least not for a super cool Chevelle with a radical 496 Cubic Inch Big Block Chevy Engine
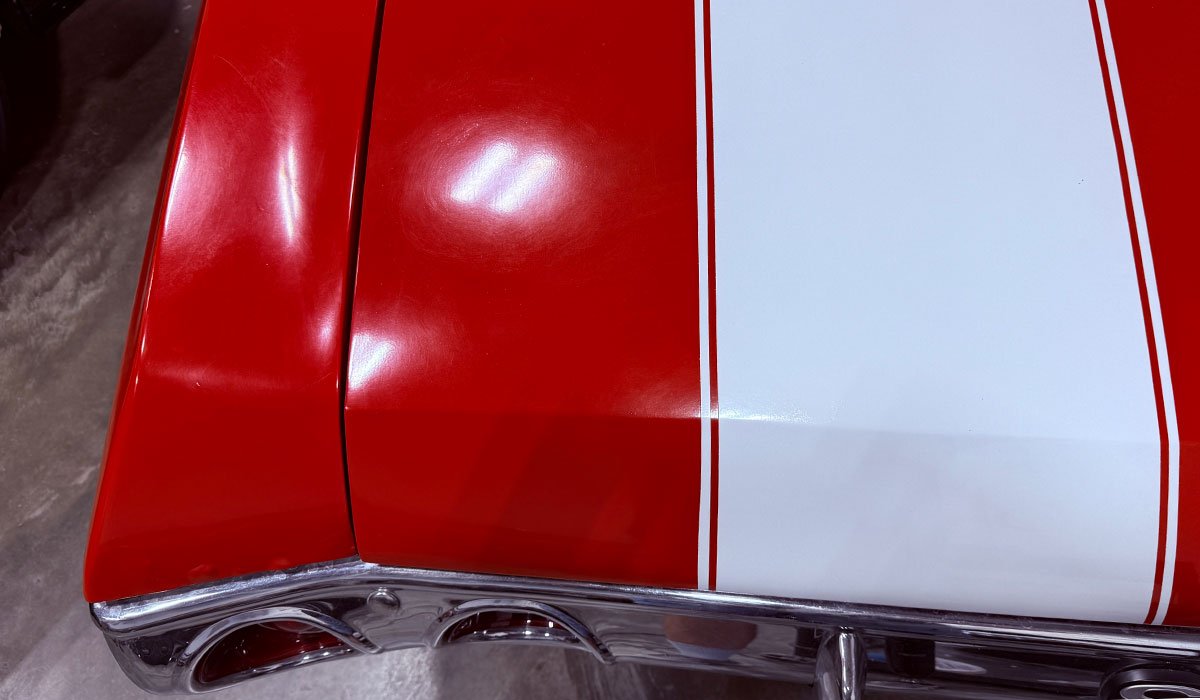
Here’s the AFTER pictures!

And this wraps up the photo-documentation for the first two cars this class detailed SHOW CAR STYLE!
Great job everyone!!!
Continued….
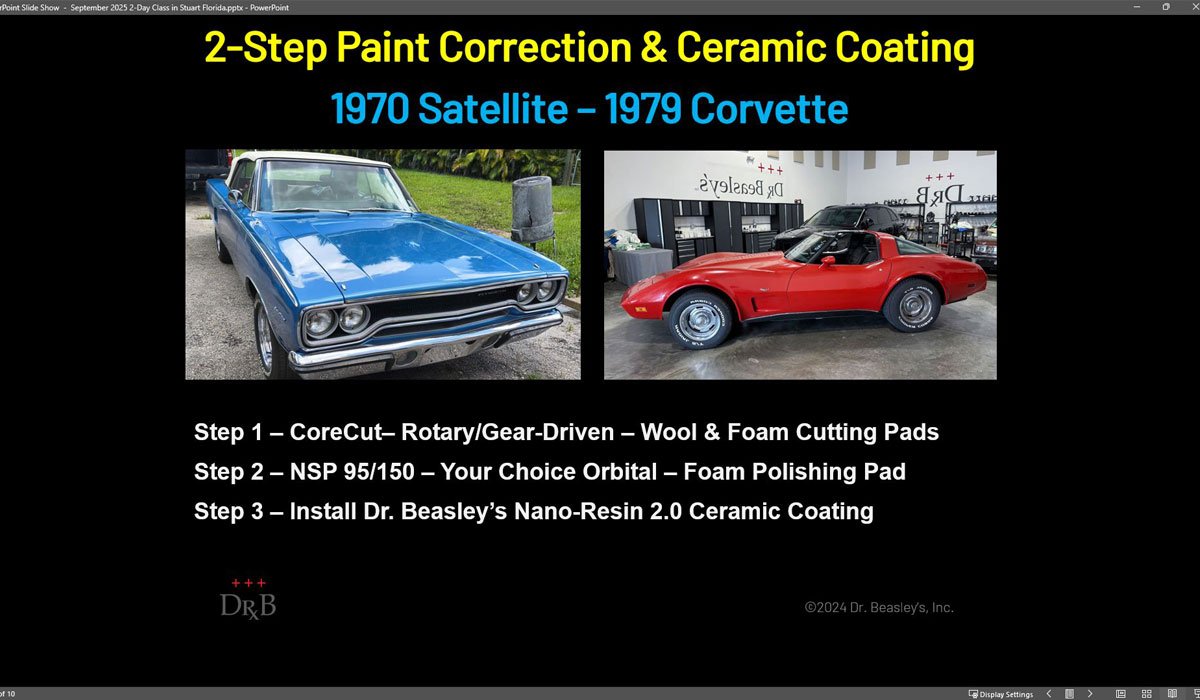
Next topic – 2-Step Paint Correction & Ceramic Coating
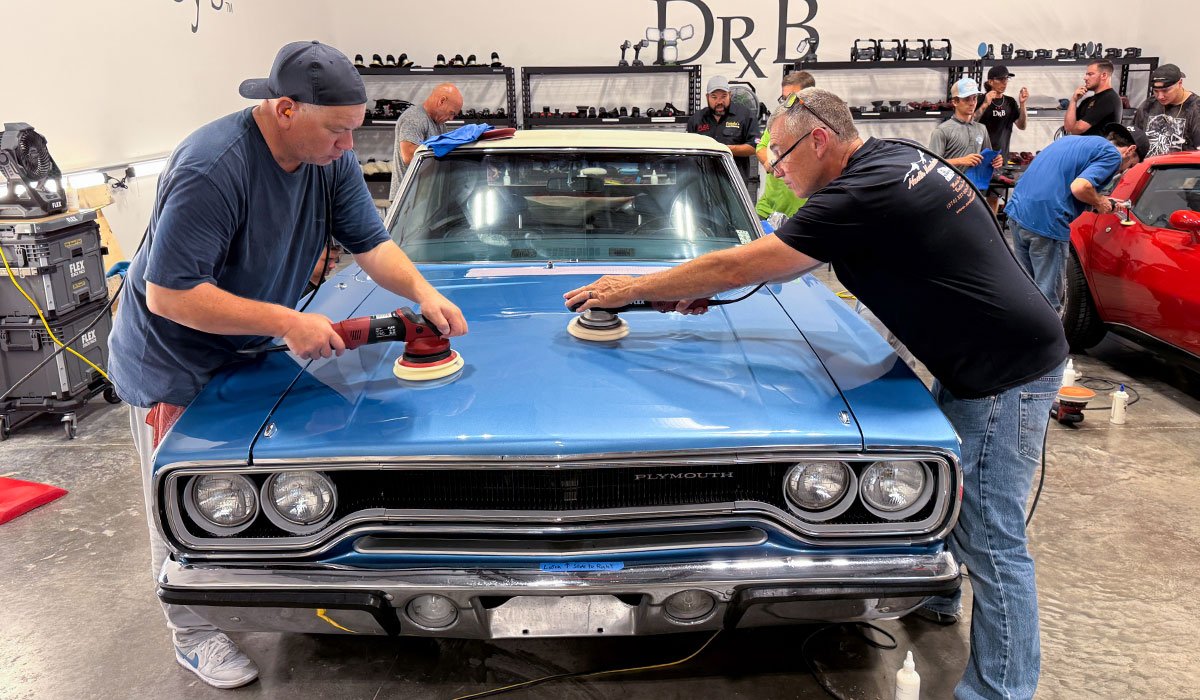
For this second topic, now that the class is fully warmed-up after buffing out the 1972 Chevelle and the 2007 Corvette, we move onto the 1979 Corvette, (with single stage paint), and the 1970 Plymouth Satellite with a modern basecoat/clearcoat paint job.
For this topic, the topic, the focus is on gear-driven orbital polishers, but any of the students are encouraged to use a wool pad on a rotary polisher if they see that it would be the right tool for the job.
First, here’s a couple of videos showing the before condition.


It’s GO TIME!
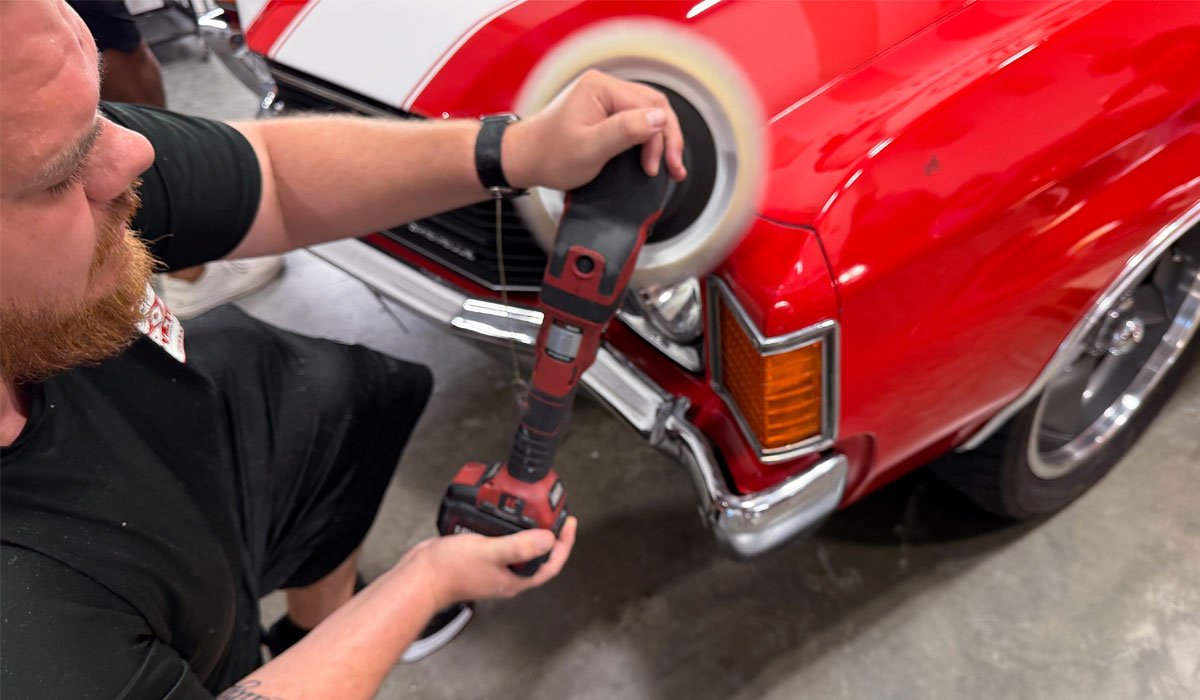
Here’s Mitchell starting out using the FLEX cordless PE-150 Rotary Polisher with a Buff and Shine wool cutting pad and Dr. Beasley’s CoreCut
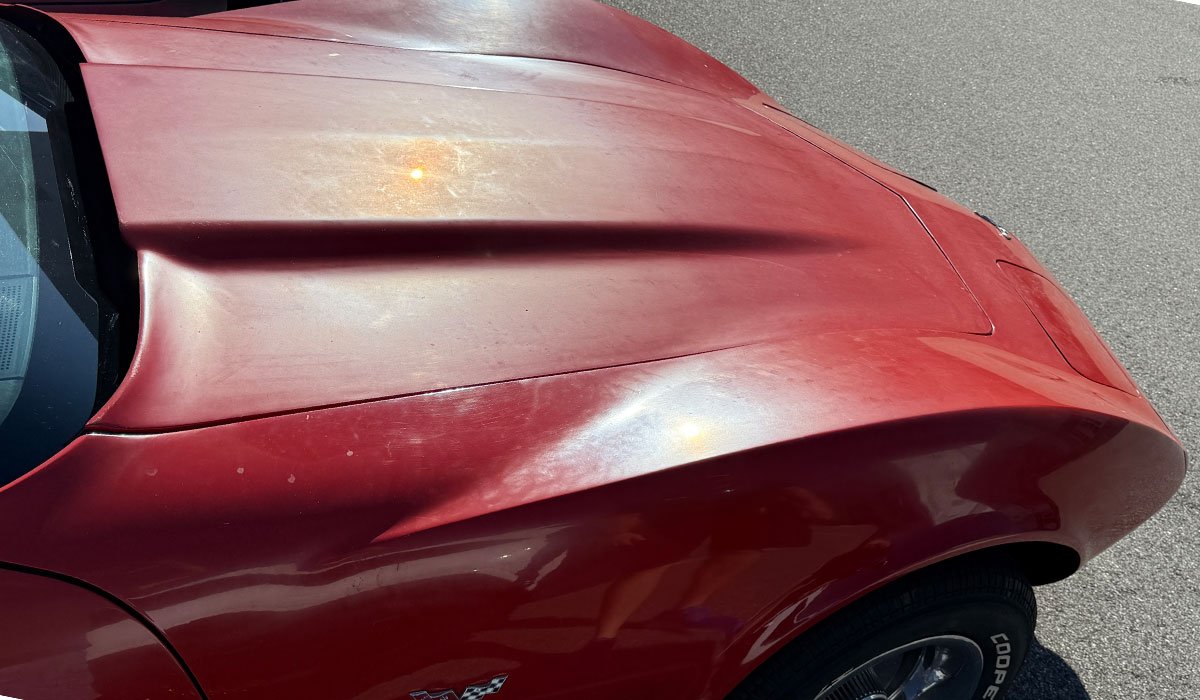
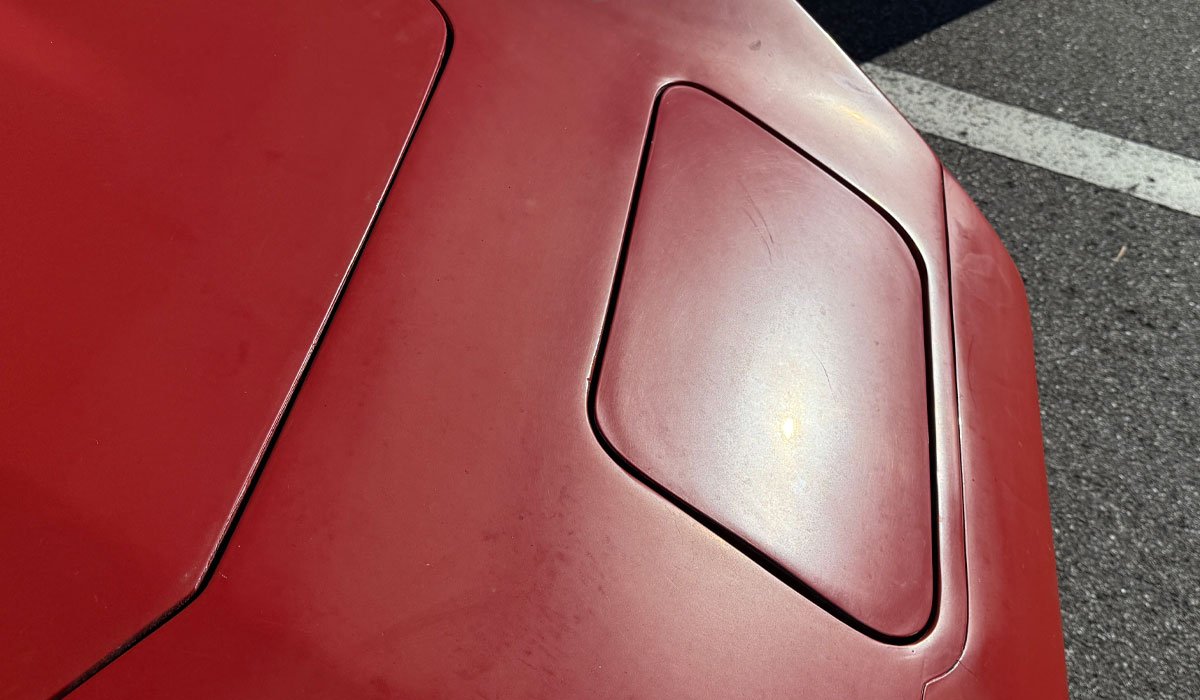
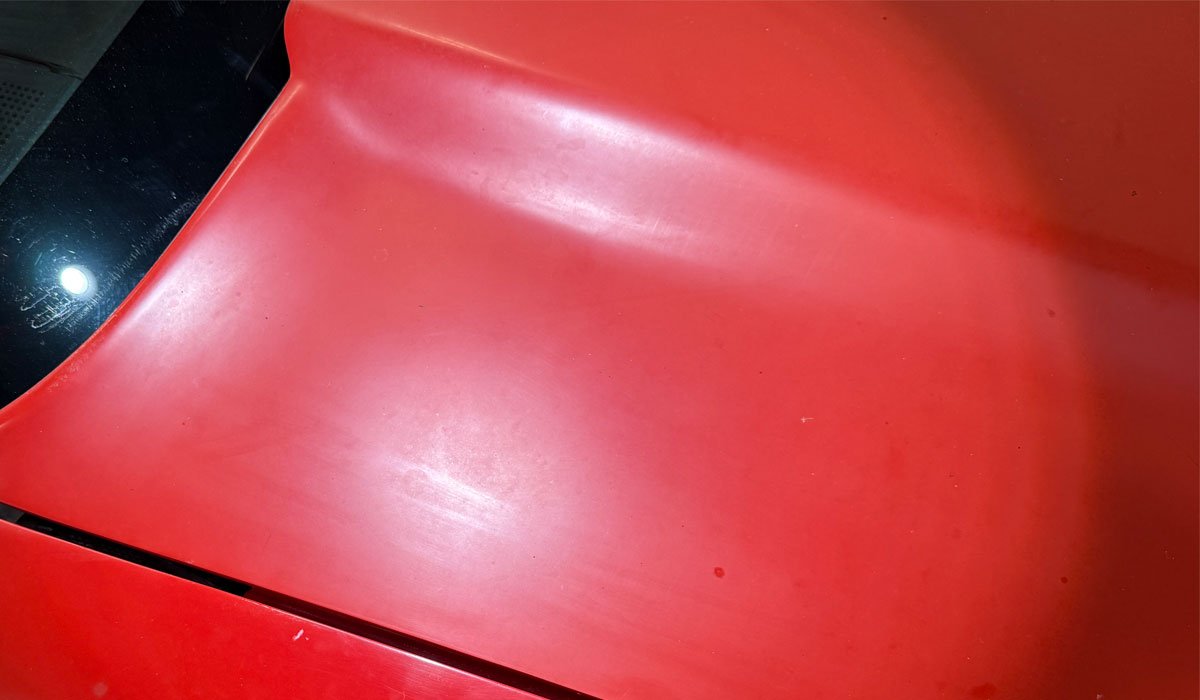
Single Stage Paint
If you’ve never buffed on single stage paint, what you see below is NORMAL. Single stage paint is resin plus pigment but no top coat of clearcoat paint. Thus when you buff on the paint you see the color of the pigment used to create the color for the paint.
Dead, Oxidized Paint
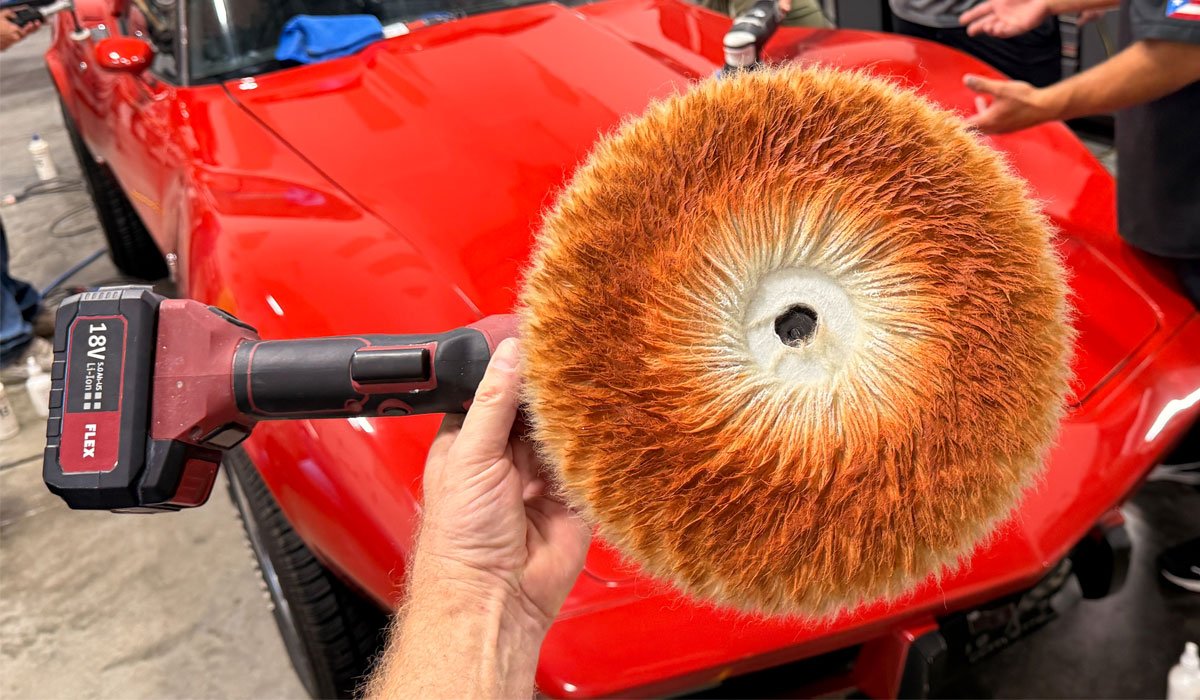
If you look at the Corvette in the background, you can see the paint is becoming very clear and glossy, with excellent richness-of-color. And if you look at the face of the pad you’ll see all the faded, oxidized paint that was removed off the body panels. And of course, the class learns the importance of cleaning their pads and cleaning them often.
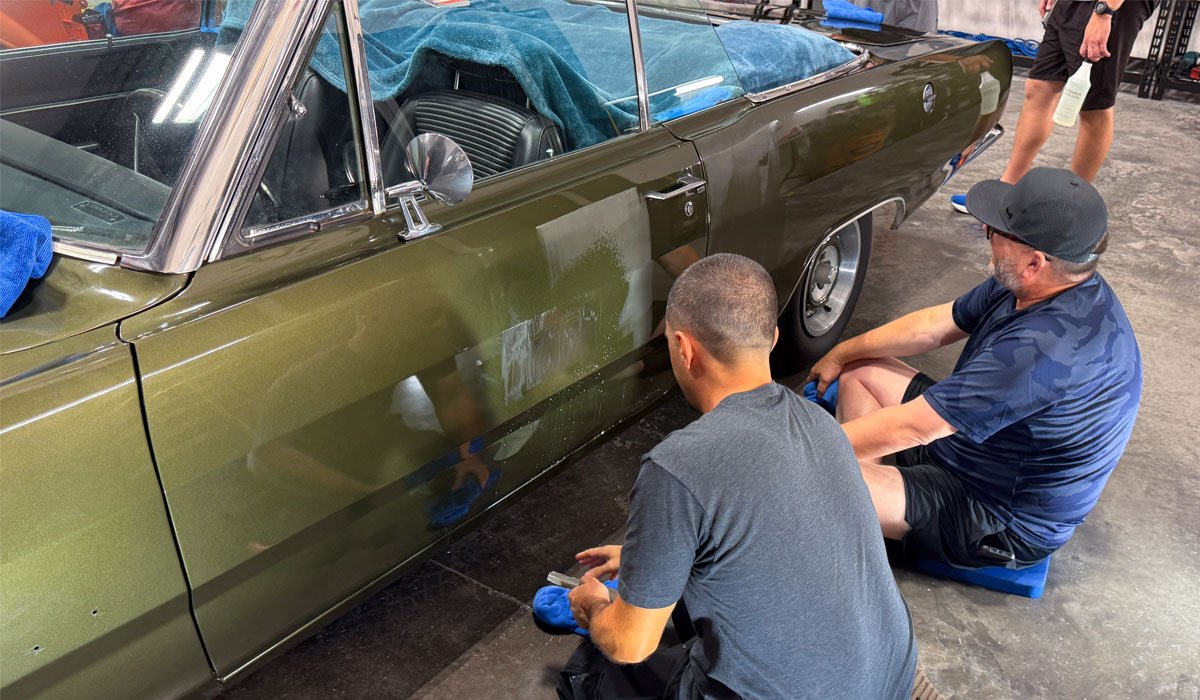
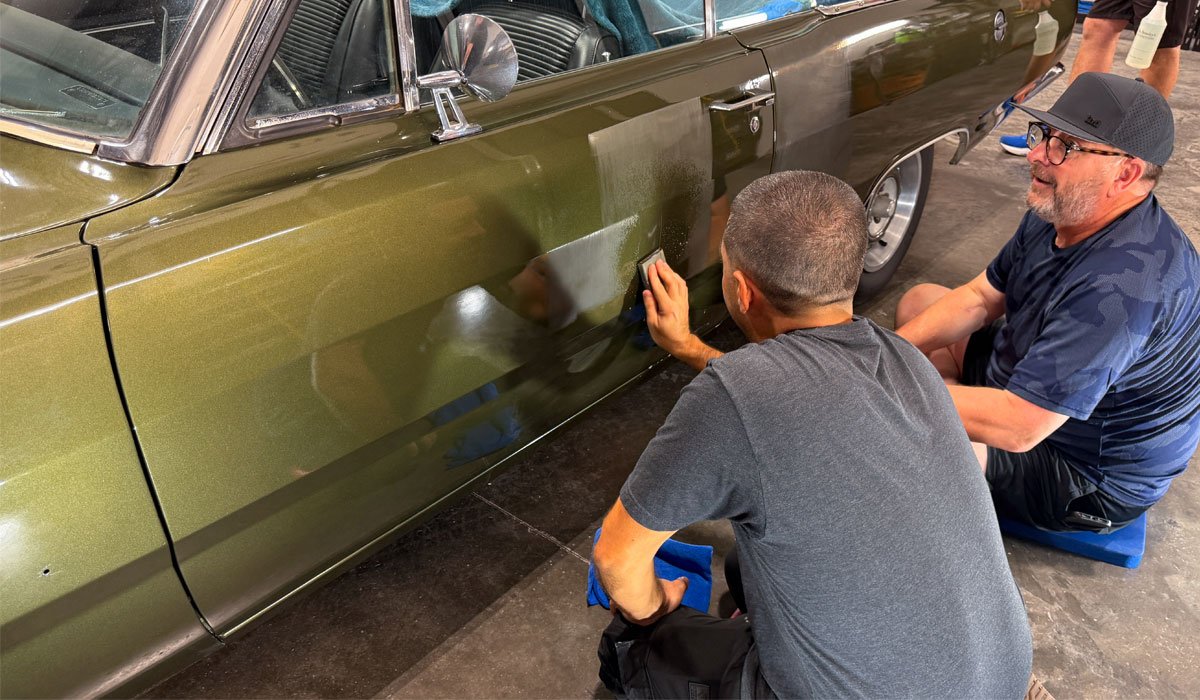
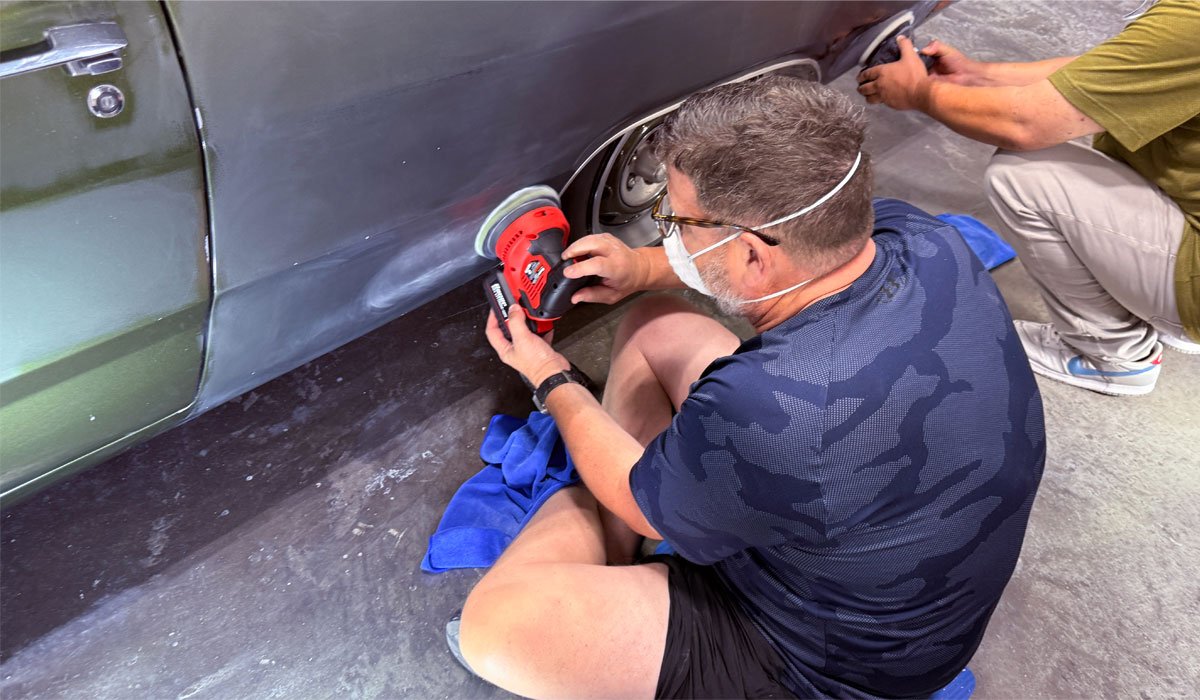
Here’s Quintin, Mike and Scott tackling the driver’s side of this super cool Corvette.

Correct Technique
Here you see Quintin and Mike holding the cordless rotary polishers in a way that the buffing pad is TILTED so that only a portion of the spinning wool pad is touching the surface. This is correcti technique. Others are free to disagree, but anytime someone tells me this is wrong technique – it tells me they’ve never buffed out a large boat.
Here’s Josh tackling the lower quarter panel…
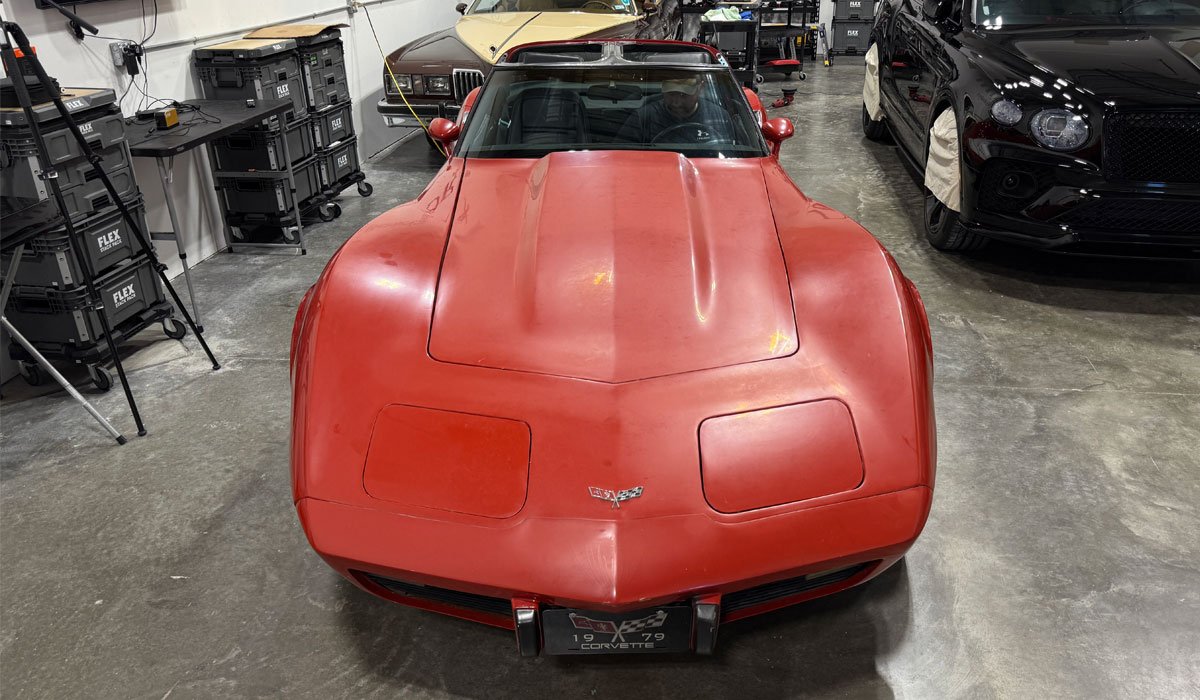
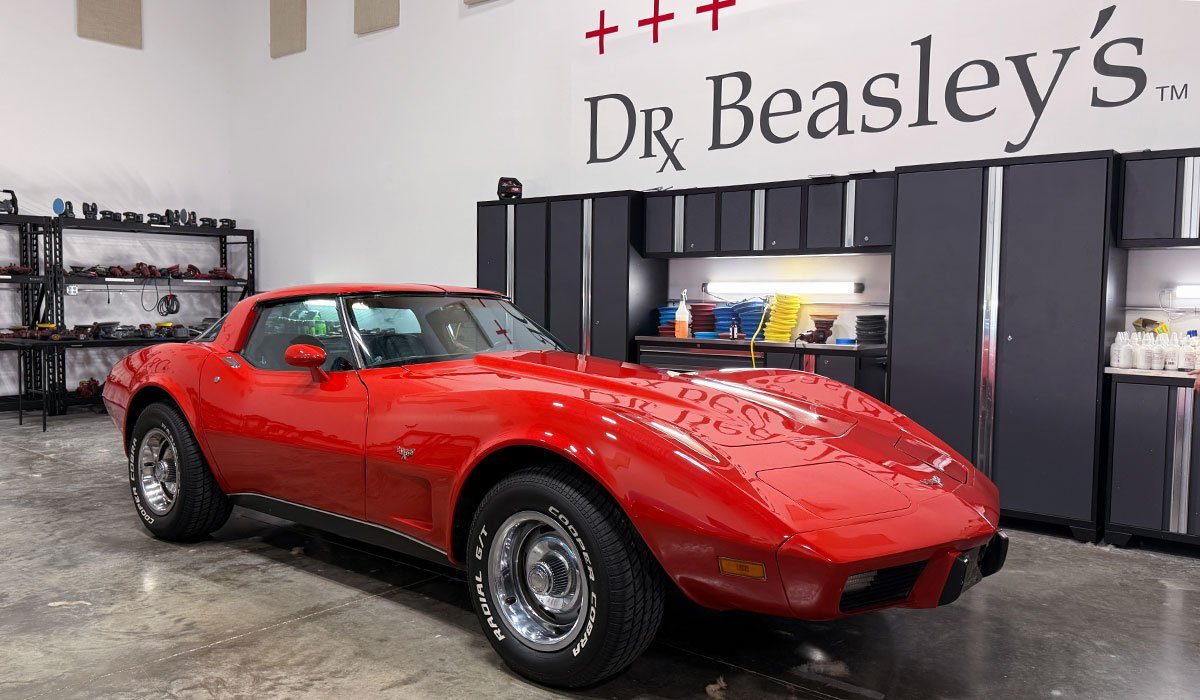
The gentleman on the left-hand side of the below picture is Brad, the owner of this 1979 Corvette. And yes, Brad purchased the Corvette as you see it in the before pictures. He was elated with the final results!
I agree with Quintin – I love using my cordless FLEX rotary polisher for heavy cutting.
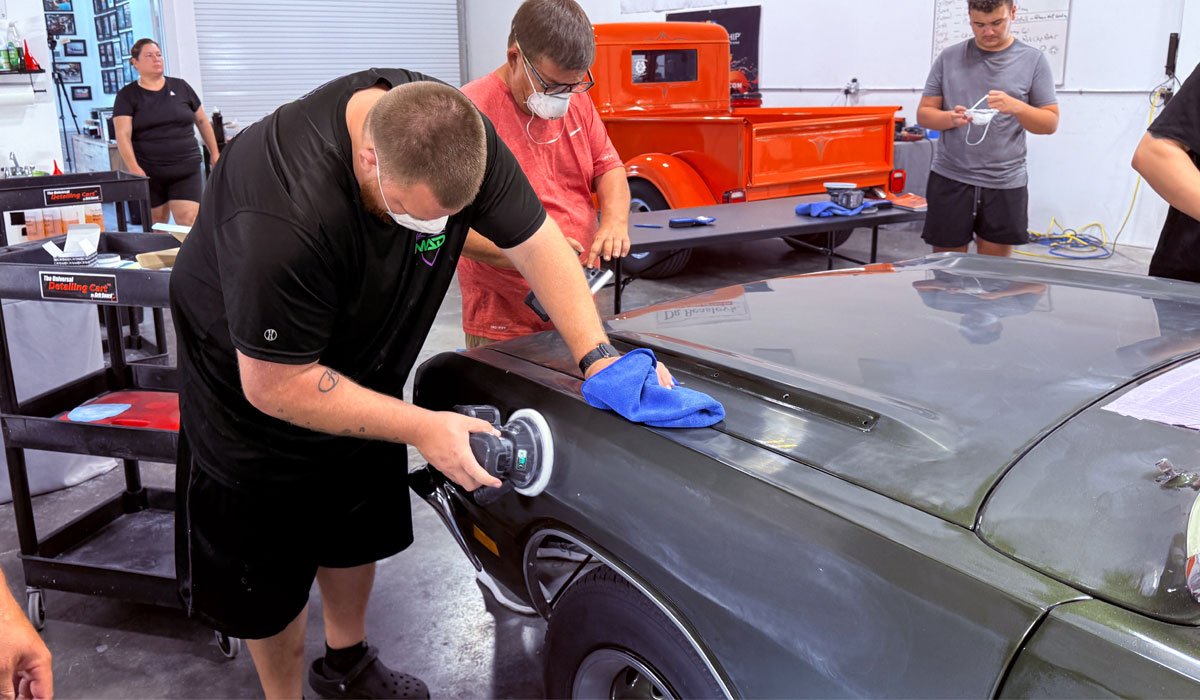
No Chairs. Zero Sitting
If you learn better by doing than sitting in a chair looking at a PowerPoint while someone drones on and on and on, then clear your schedule and get signed up for one of our future classes. With the cars change, the format is always the same. You’re on your feet with tools-in-hand, training on actual cars, and also super cool cars. Other classes? Normally what you get to train on are demo hoods, test panels and rental cars. That’s after sitting for hours.
Do-it-Yourselfers and Pro Detailers
Our classes are tailored for both absolute beginners to seasoned experts and Josh is here becoming an expert!
See the orange paint on the face of the buffing pad? The pigments show up on both wool pads and foam pads. Nothing to worry about.
Here’s Brad testing out the Griot’s Garage G9
This is a 9mm free spinning, random orbital polisher and as of the time and day I’m typing this, in my opinion and experience, this tool does the best job out of any other free spinning, random orbital polisher I’ve ever used. It is the tool in this category to beat. And this means both short stroke and long stroke options.
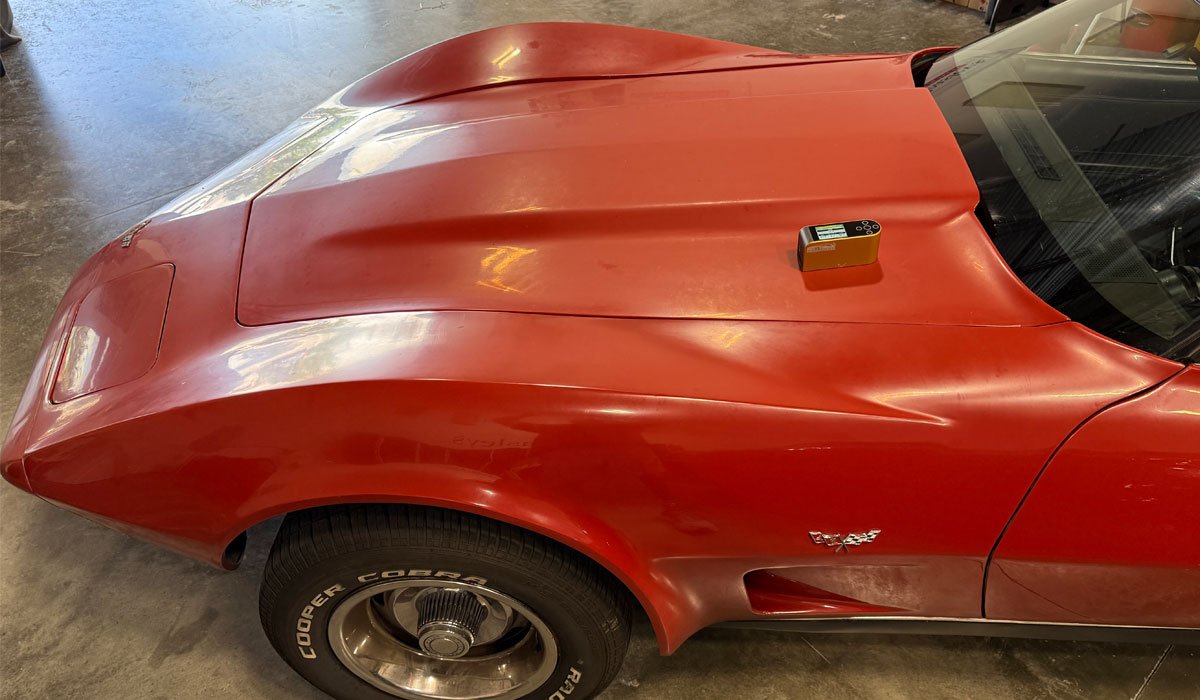
Here’s the BEFORE condition
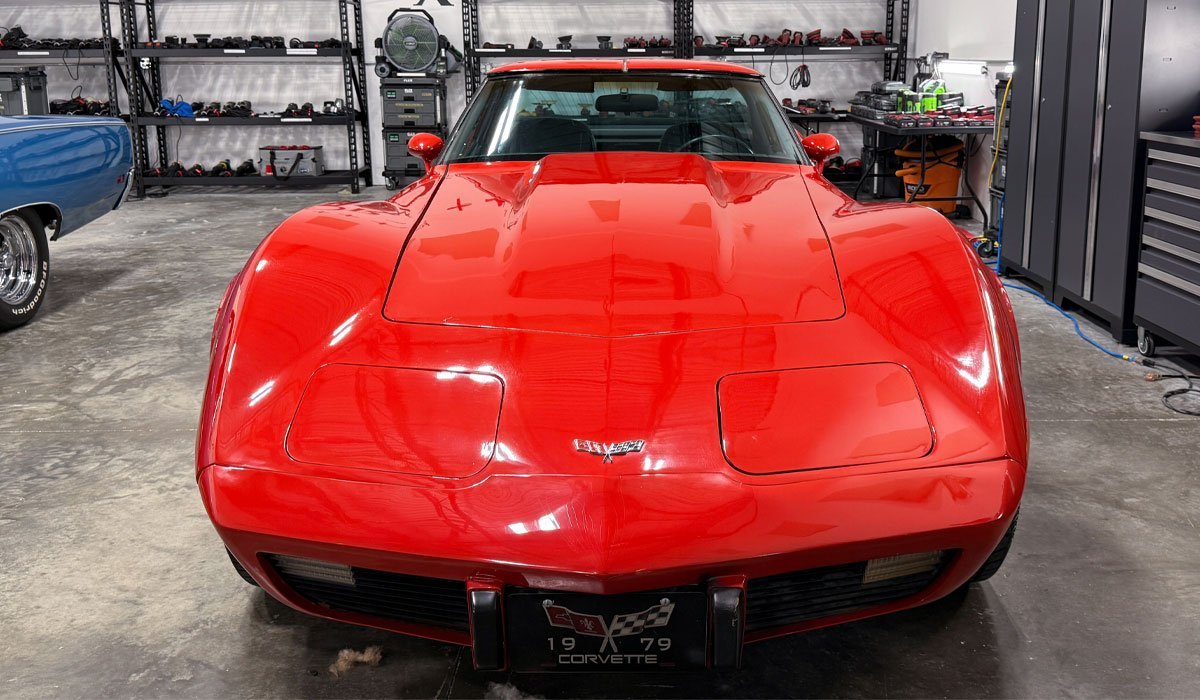
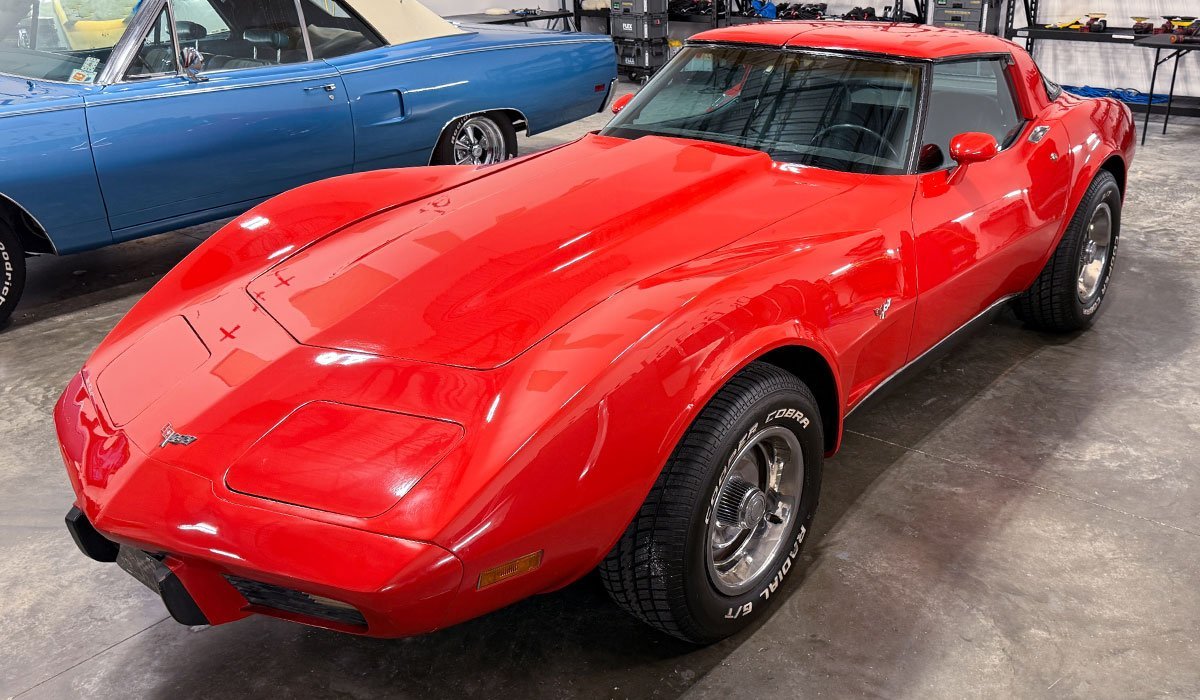
Here’s the final results!
Nice work everyone!
While both cars came out looking amazing, its the extreme transformation that you see with the paint on the 1979 Corvette that was freaking amazing!
Here’s the second set of cars and the primary topics covered.
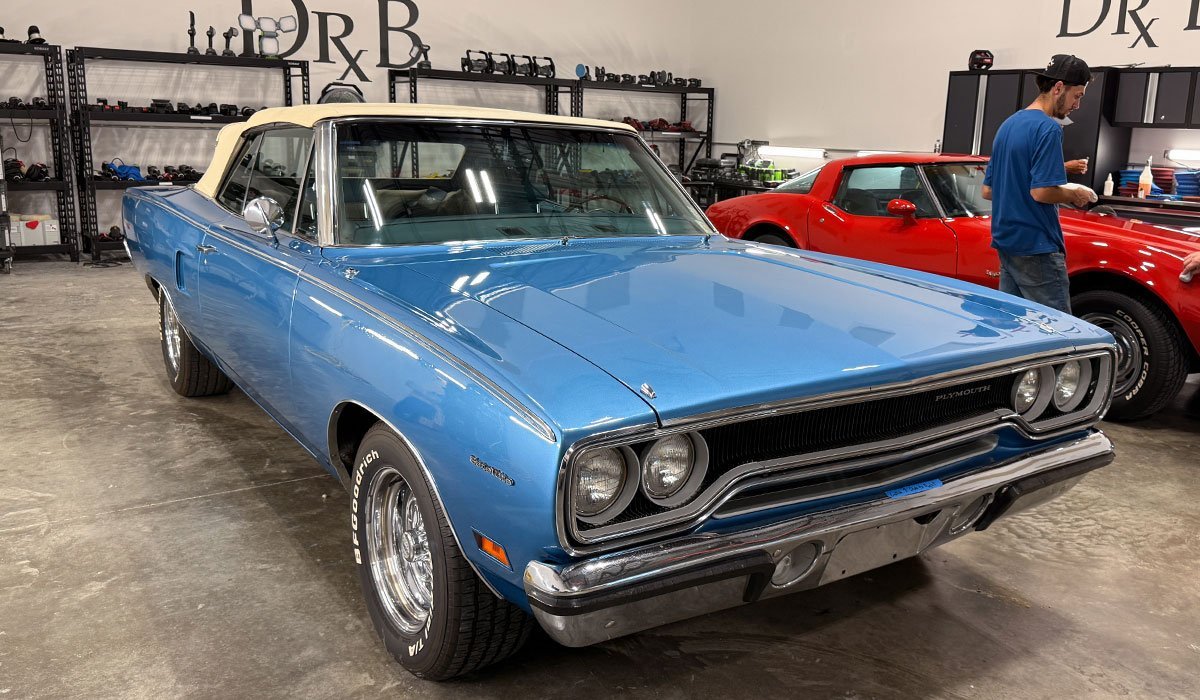
1970 Plymouth Satellite & 1969 Corvette – 2-Step Paint Correction & Ceramic Coating
1970 Plymouth Satellite
While half the class was training on the 1979 Corvette, the other half of the class is training on the 1970 Plymouth Satellite.
Here’s a short video for when the Satellite arrived…

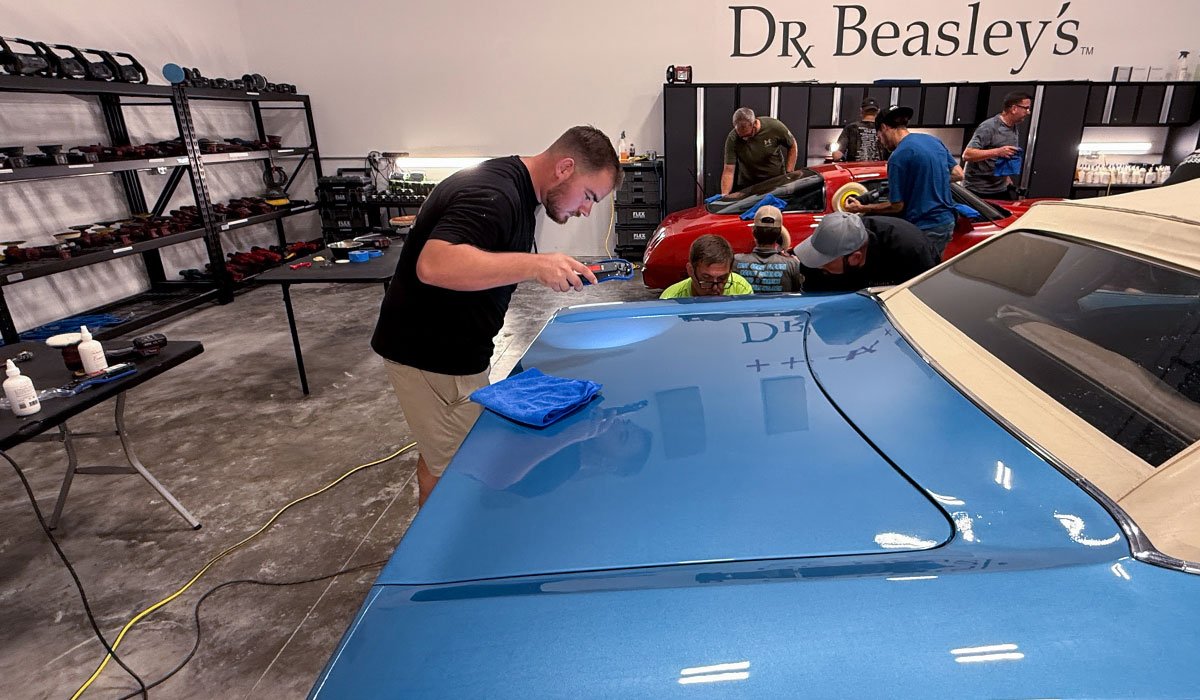
Here’s Ray using the original FLEX XC 3401 VRG aka the BEAST!
For the hard paint on the Satellite, the class is using the very aggressive Buff and Shine EdgeGuard blue foam cutting pads together with the Dr. Beasley’s CoreCut
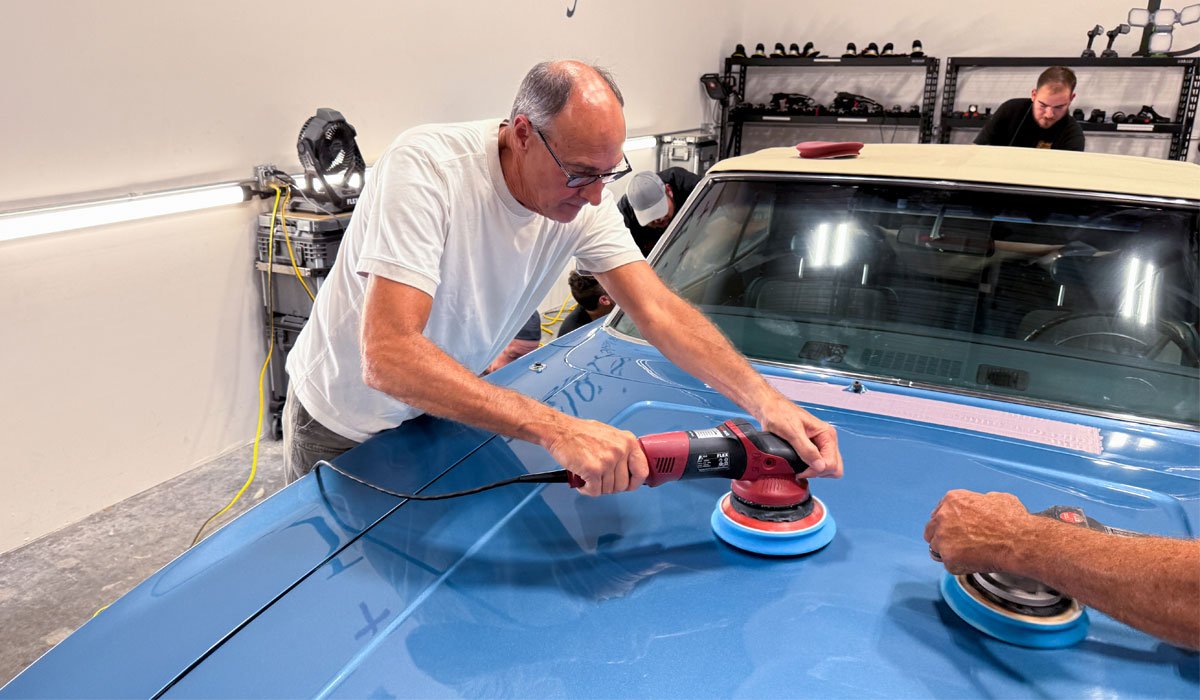
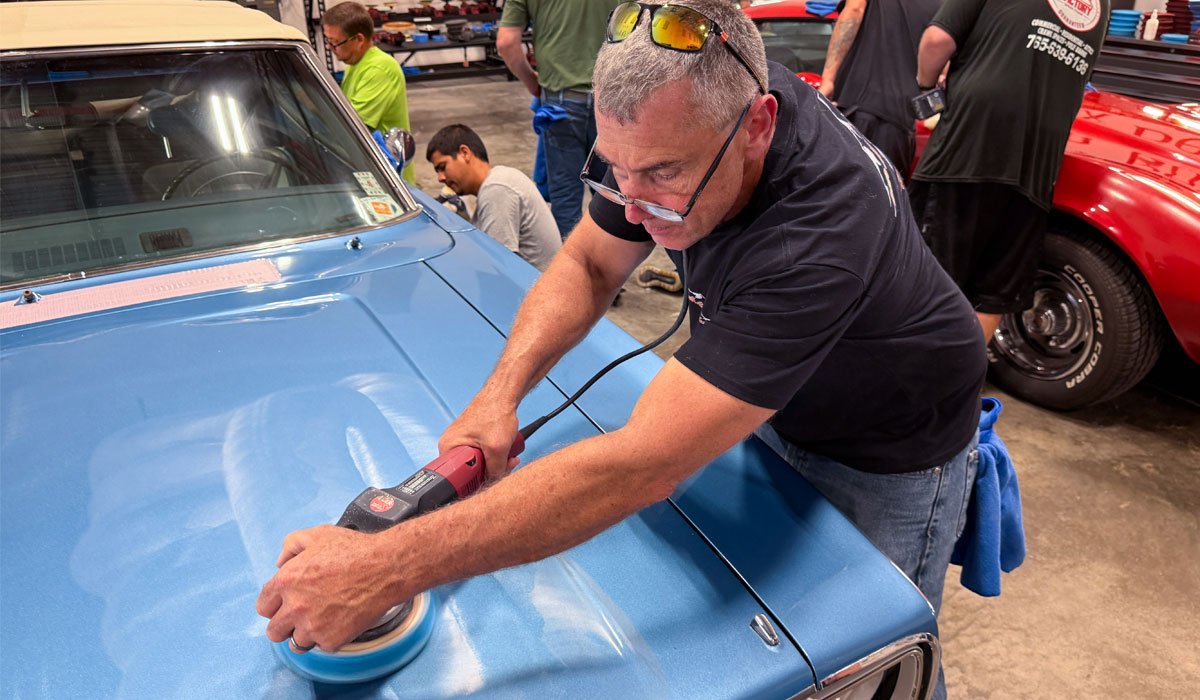
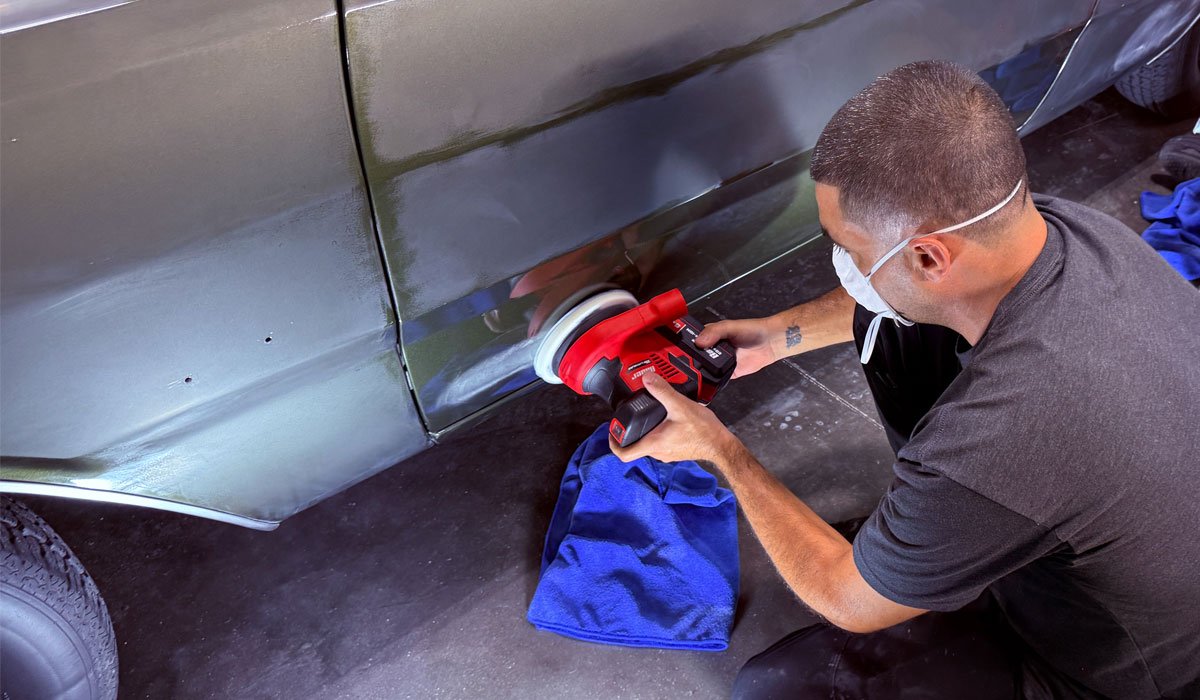
Here’s Roger showing correct technique and that’s having the cord placed over his shoulder, so it doesn’t rub against the fender.
Perfect Technique
Here you can see Roger tilting the gear-driven Supa BEAST to focus just a portion of the spinning buffing pad into the corner of the back of the hood. This technique enables you to remove the swirls in the small section of paint surrounded by to edges without buffing hard on the edges.
Here’s Jared, Hunter and Sean all tackling the passenger side.
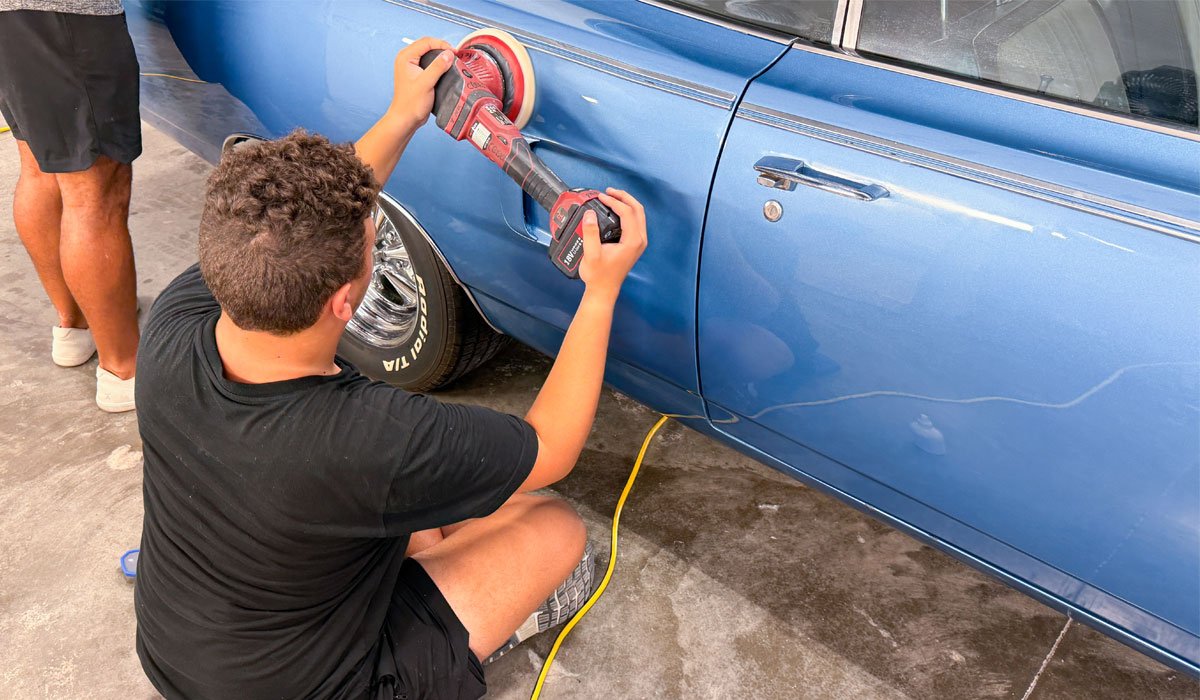
Paden travelled all the way from California to take this class!
Here’s Paden who has opted to do the heavy lifting using a rotary with a wool pad. Because the FIRST tool everyone learns and trains with in our classes here in Stuart, Florida is the rotary polisher, I know he has the confidence to know when to use a rotary and how to use a rotary. Nice work Paden!
Next Paden inspects to see if the defects are removed or if he needs to spend some more time buffing.
Here’s Roger and Ray tag-teaming the hood.
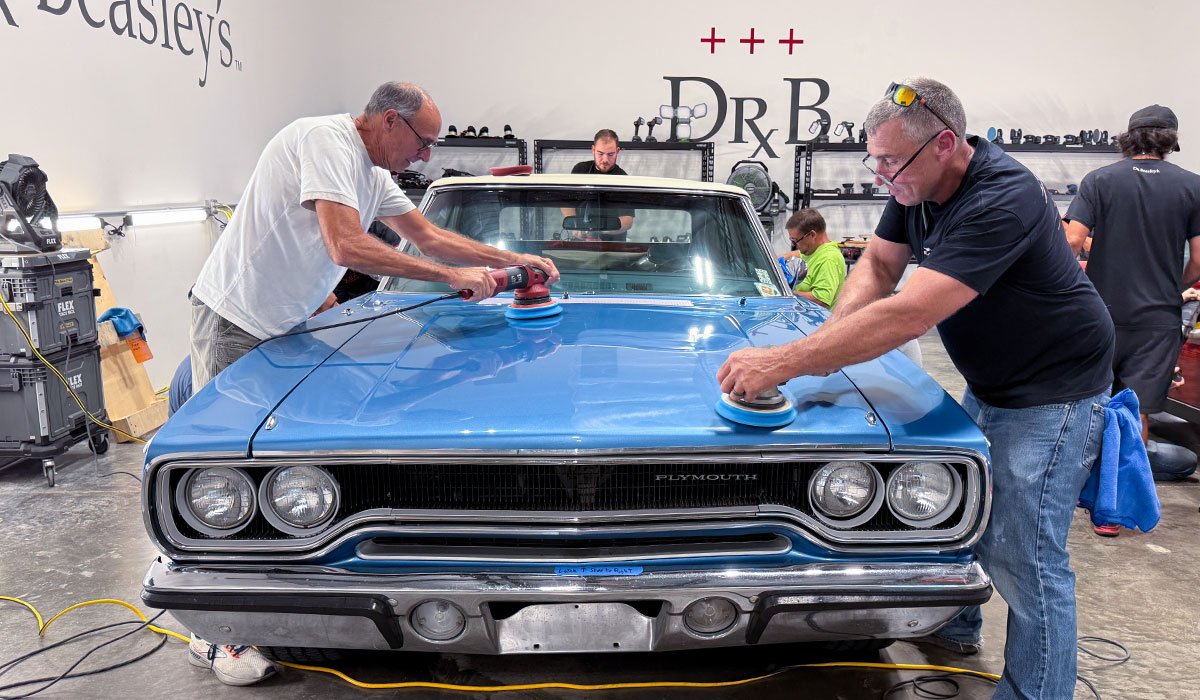
It’s common when first learning paint correction to forget to place the cord over your shoulder, but that’s what I’m here for, that is to gently remind people of correct technique.
Griot’s Garage GG9
On the back of the Satellite, Jonathan is testing out the Griot’s Garage G9 – which is a 9mm free spinning, random orbital polisher.

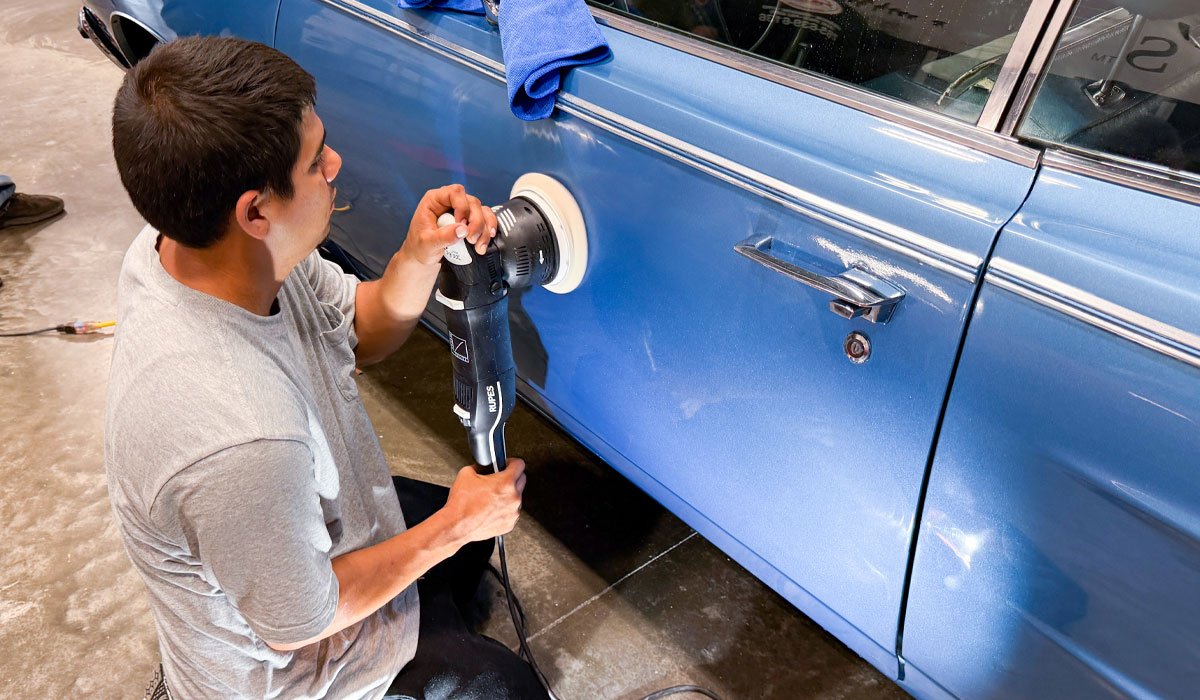
After the heavy cutting step, everyone is switching over to the white Buff and Shine EdgeGuard foam polishing pads and NSP 150.
The RUPES Mille!
Here’s Gilberto testing out the RUPES Mille, which is a 5mm gear-driven orbital polisher.
Here’s Hunter testing out the cordless BEAST aka the CBEAST!
After all the paint correction steps, the class then installs the Dr. Beasley’s Nano-Resin 2.0 Ceramic Coating to both training cars.
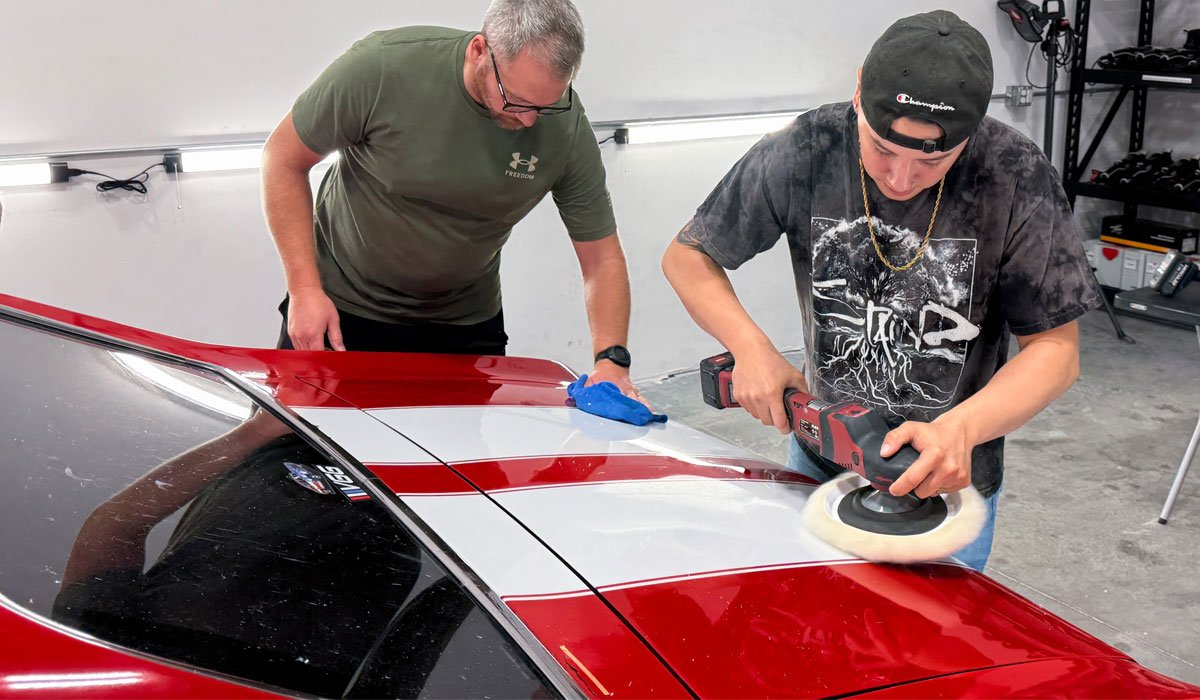
The Buddy System
I teach the Buddy System in our classes as simply a way to be time efficient. Here’s Ray installing the coating followed by Jonathan leveling the coating and removing any excess.
Ceramic Coating their FIRST 1970 Plymouth Satellite Convertible – A true Bucket List Car!
In this example Jared installed the coating followed by his son Hunter leveling and removing any excess.
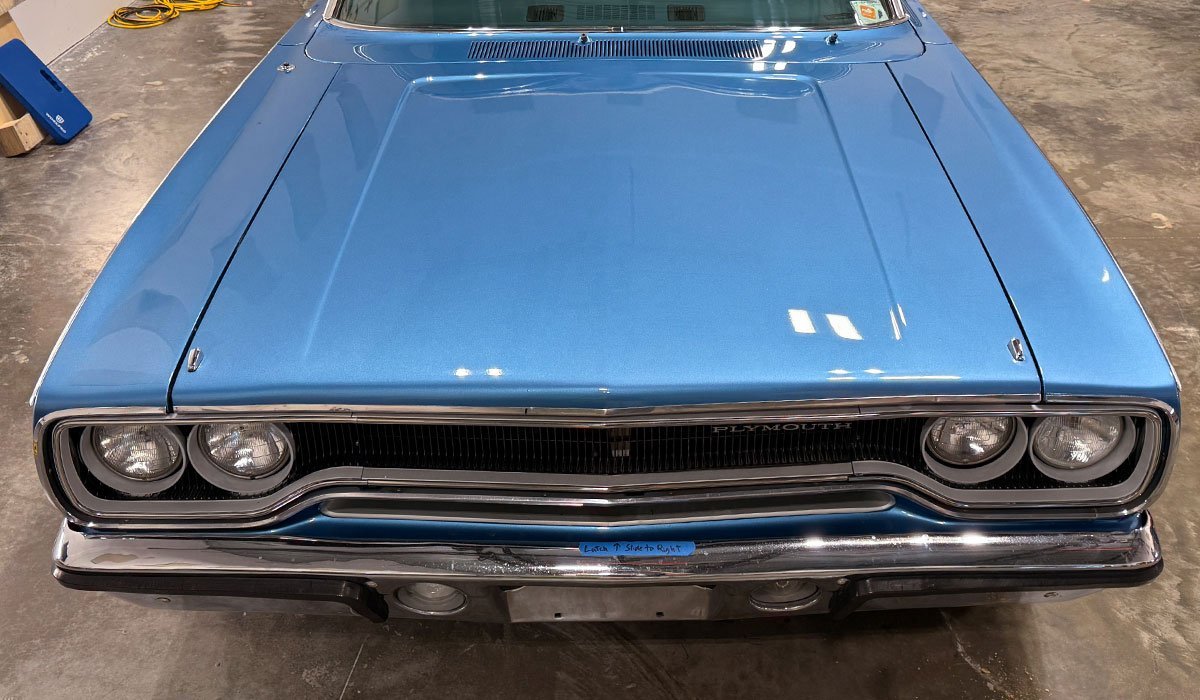
Here’s the BEFORE condition
Admittedly, the paint on this car is not the worst that I’ve ever had in a class, but the class found out the paint was on the HARD side and this makes doing the paint correction step a little more intense than when working on medium or soft paints.
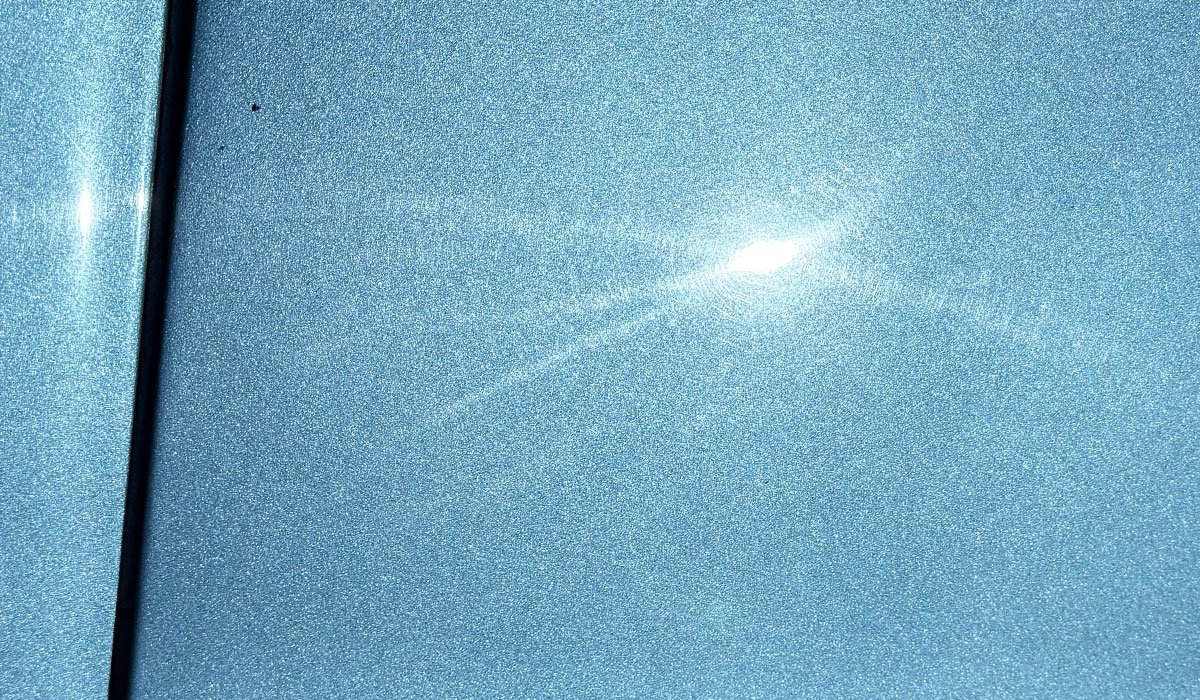
Holograms = Misuse of a Rotary Polisher
The wispy looking lines that show up with the sun high overhead are the tale-tale sign of hologram. This means the last person to buff out this car using ONLY a rotary polisher and probably a wool cutting pad. Nothing wrong with STARTING with a rotary polisher with a wool pad but you should never END with a rotary polisher and a wool pad.
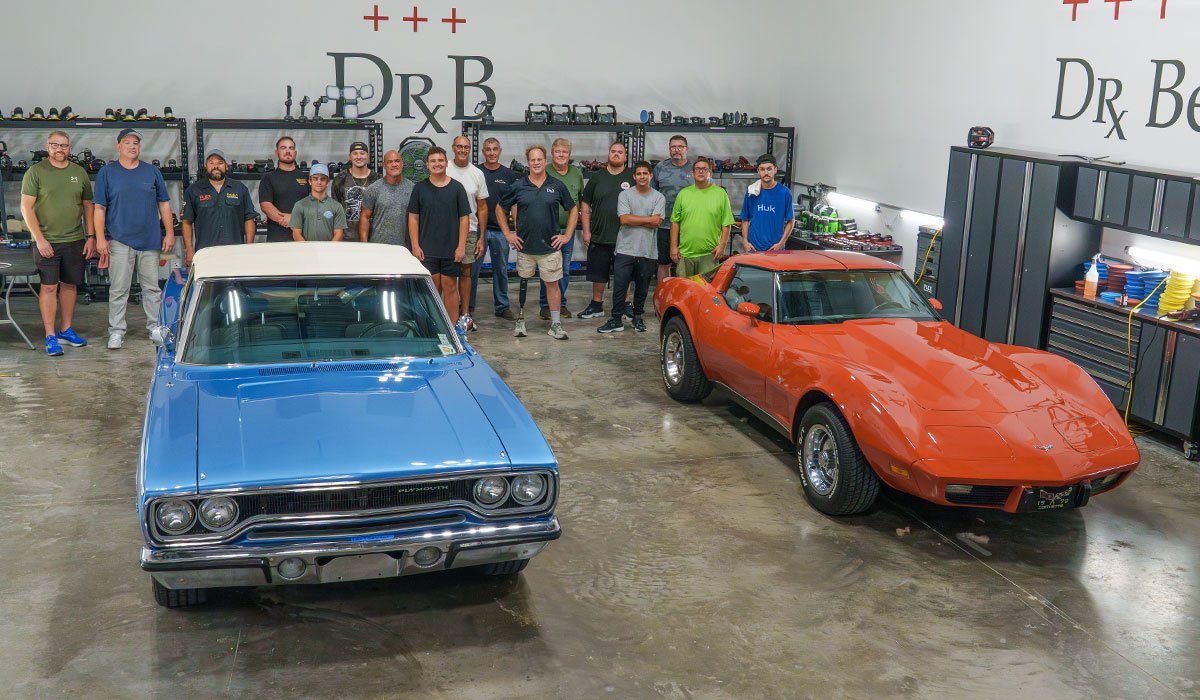
Here’s the FINAL results!
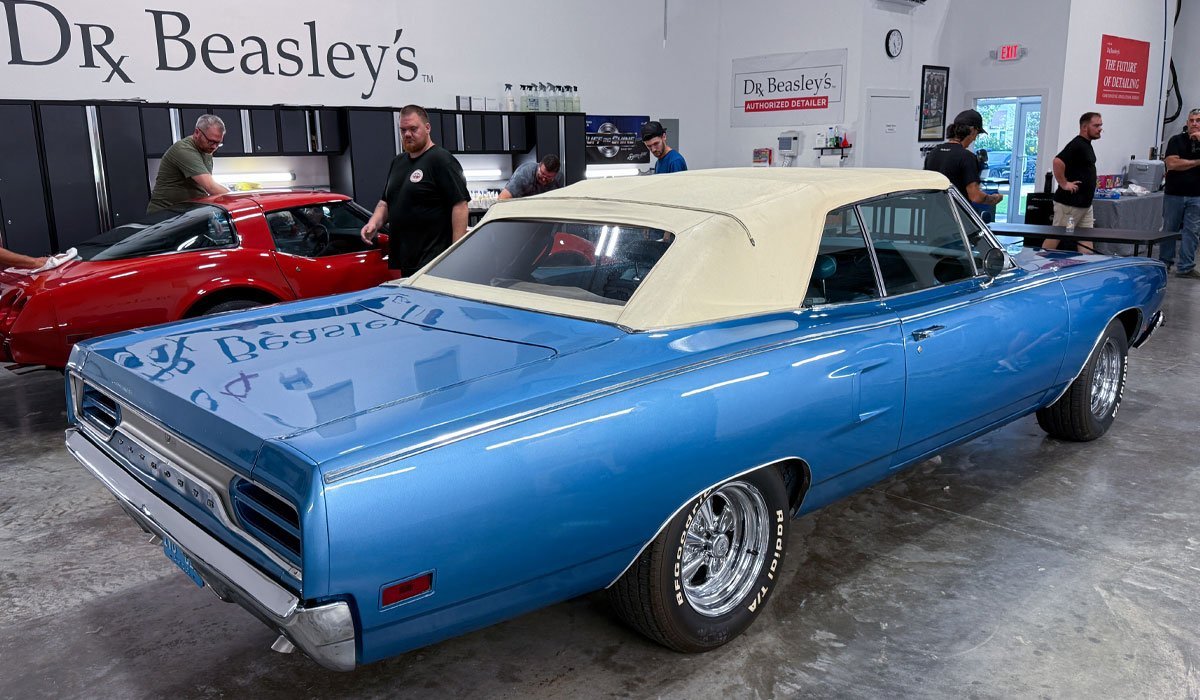
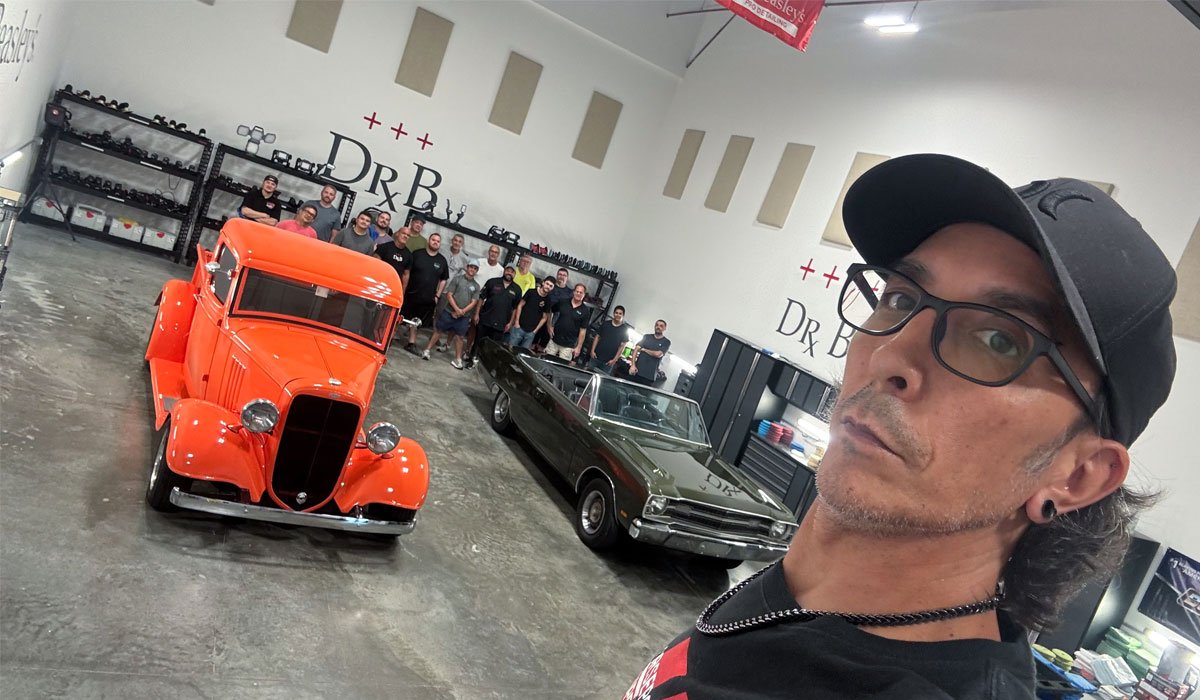
Here’s the team that made the magic happen!
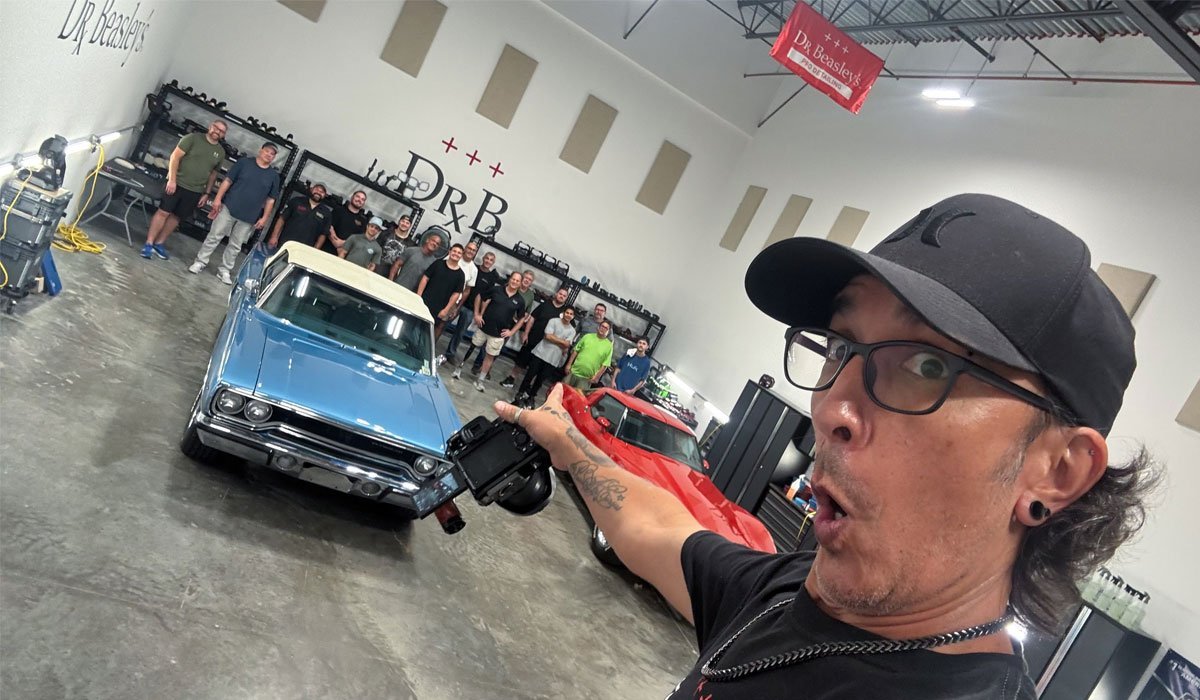
And a great selfie from Yancy!
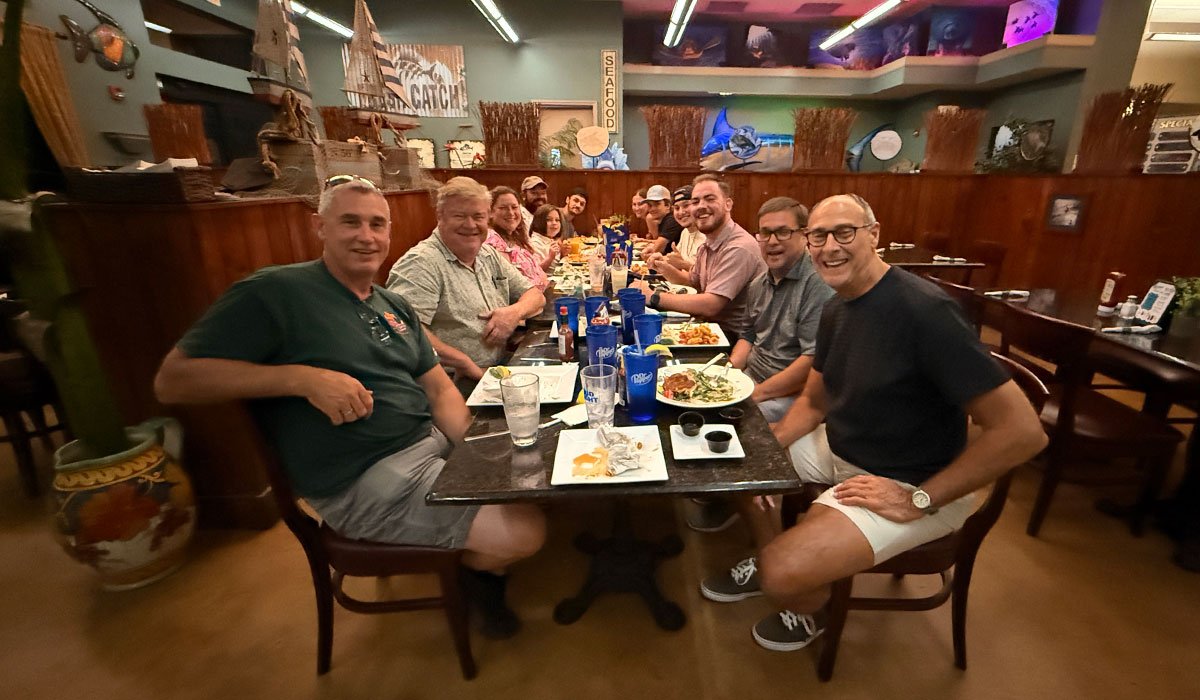
After completing the 1970 Plymouth Satellite and the 1979 Corvette, we wrapped up the class for the day and then we all met for awesome dinner provided by Dr. Beasley’s.
Meet & Greet at Fresh Catch!
Work hard, play hard, or in the example – EAT GREAT FOOD! After calling the class over on Saturday, later Dr. Beasley’s hosted a Meet & Greet at one of my favorite local seafood restaurants. Thank you to everyone that attended!
Landscape style for Facebook, blog articles and this forum – 1200 x 700 pixels
Next up…
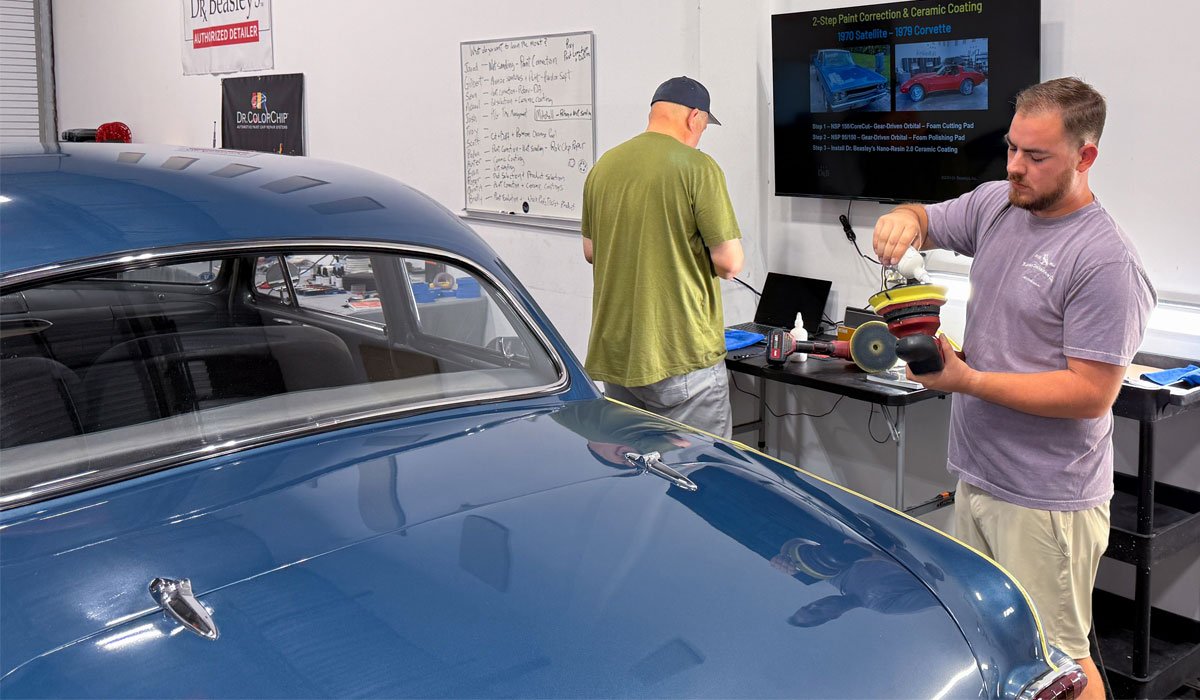
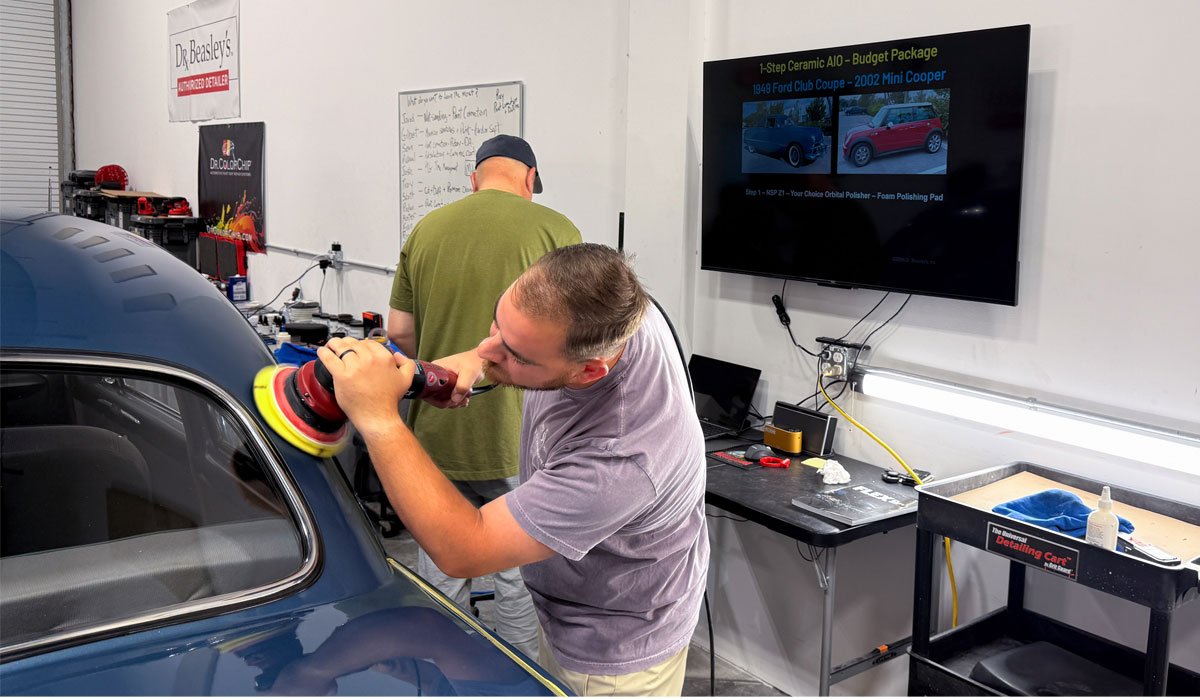
We get started at 7:30am SHARP! We left off Saturday, late afternoon, by finishing the 1970 Satellite and the 1979 Corvette. So, we pick back up covering the third of the three primary topics for the paint correction and ceramic coating class by learning how to do a 1-Step Ceramic AIO Paint Correction.
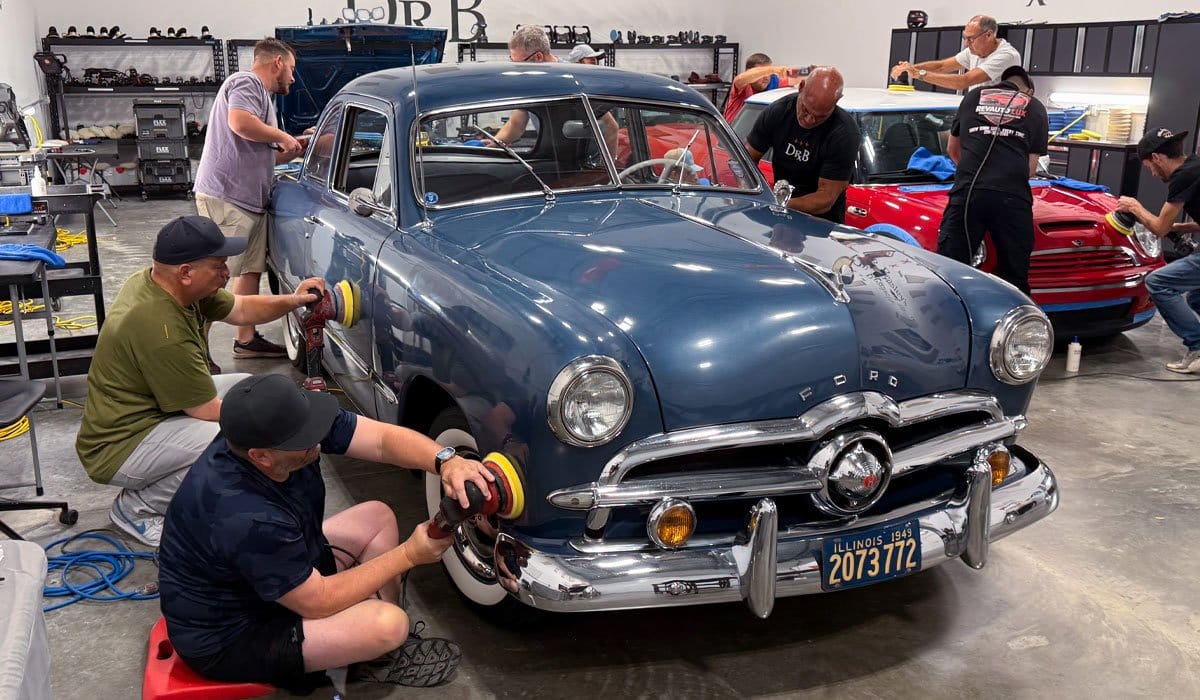
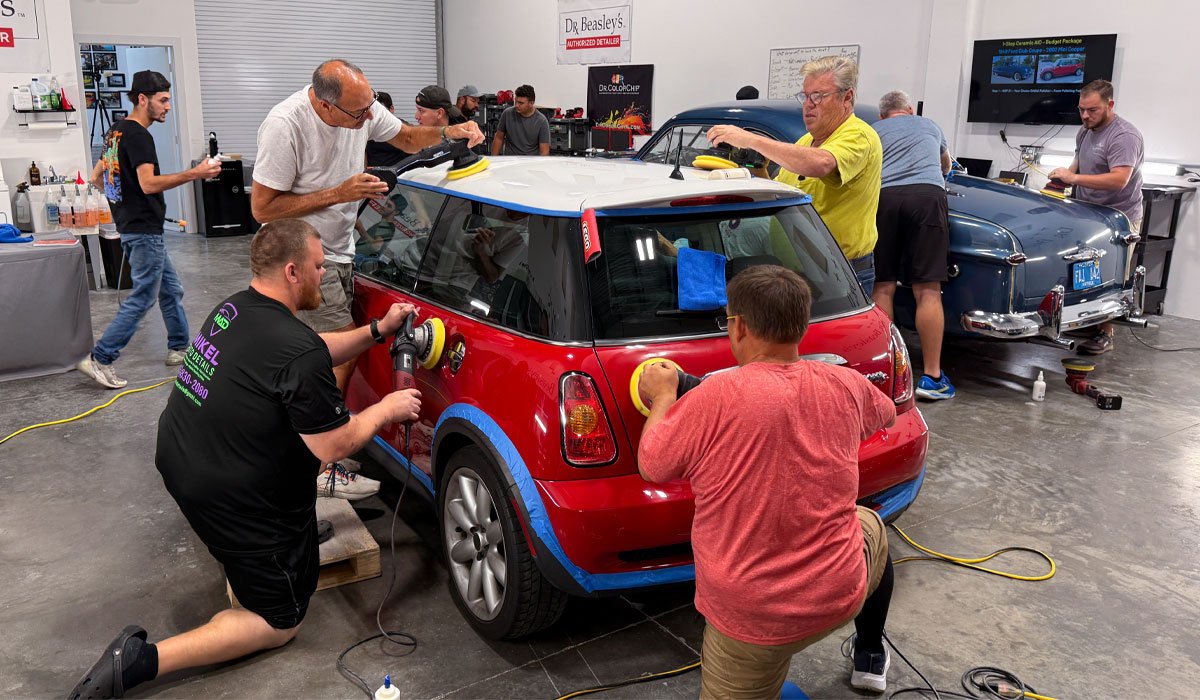
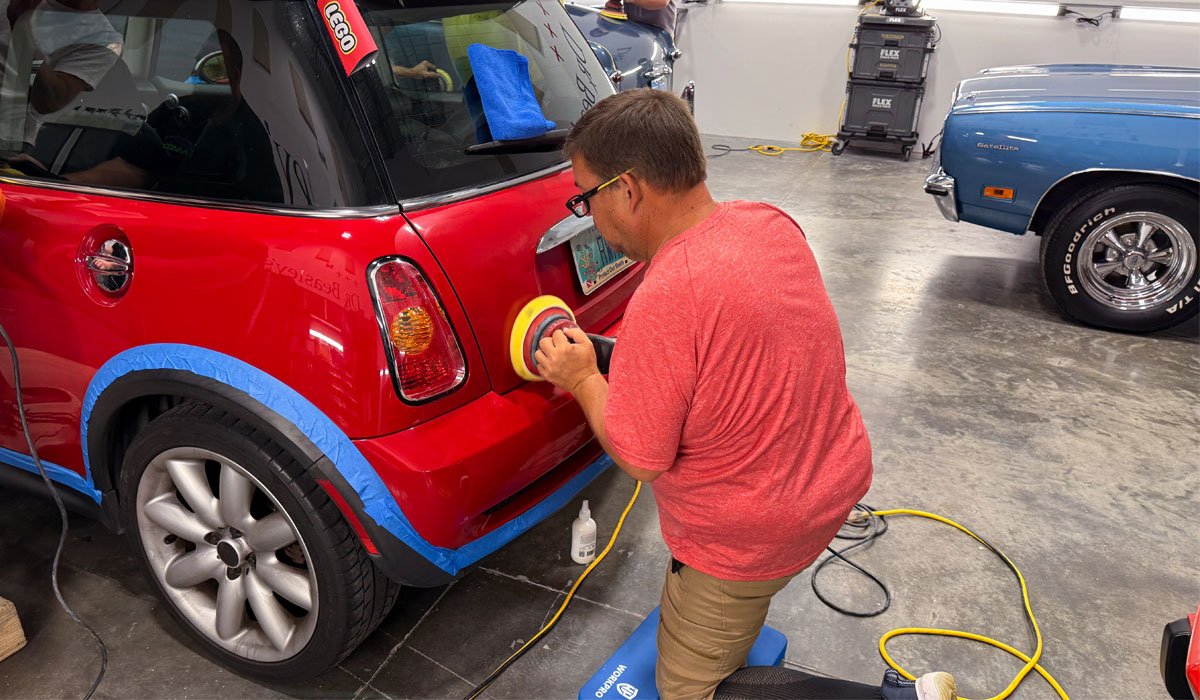
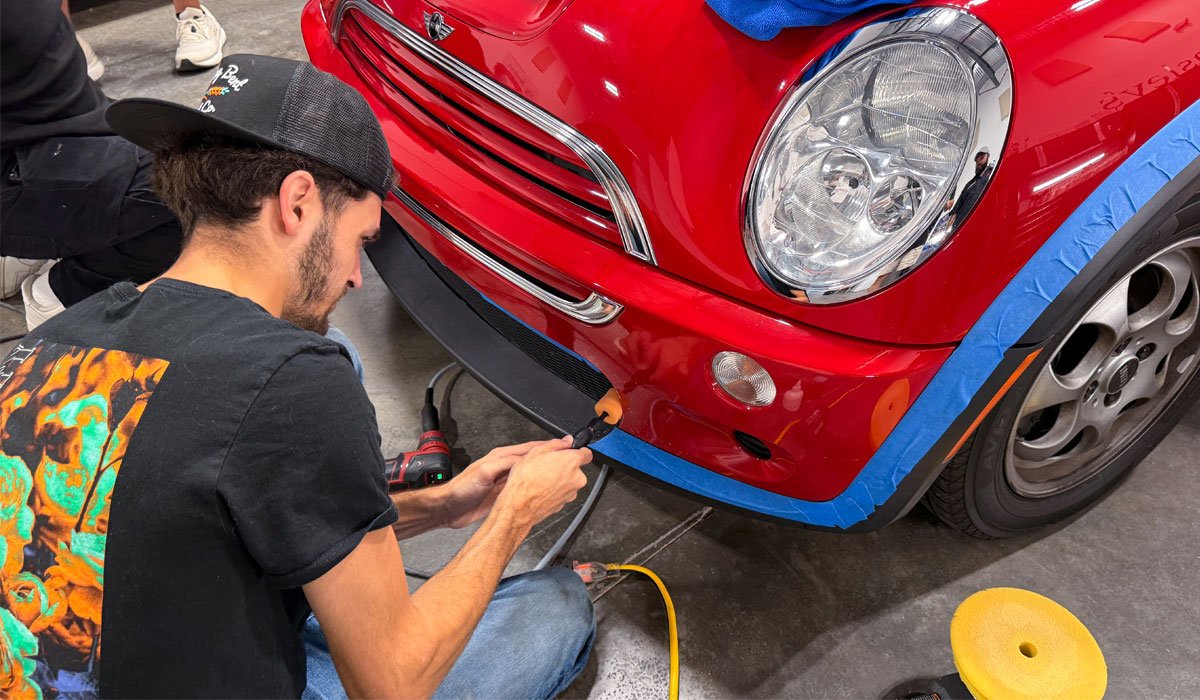
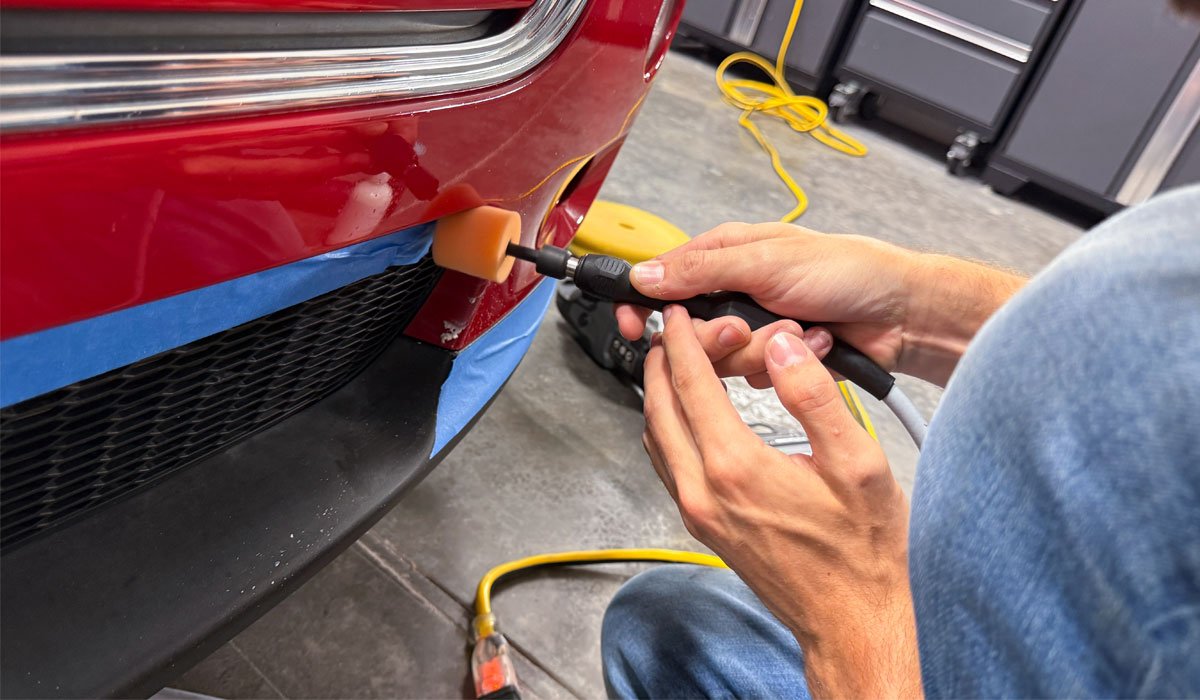
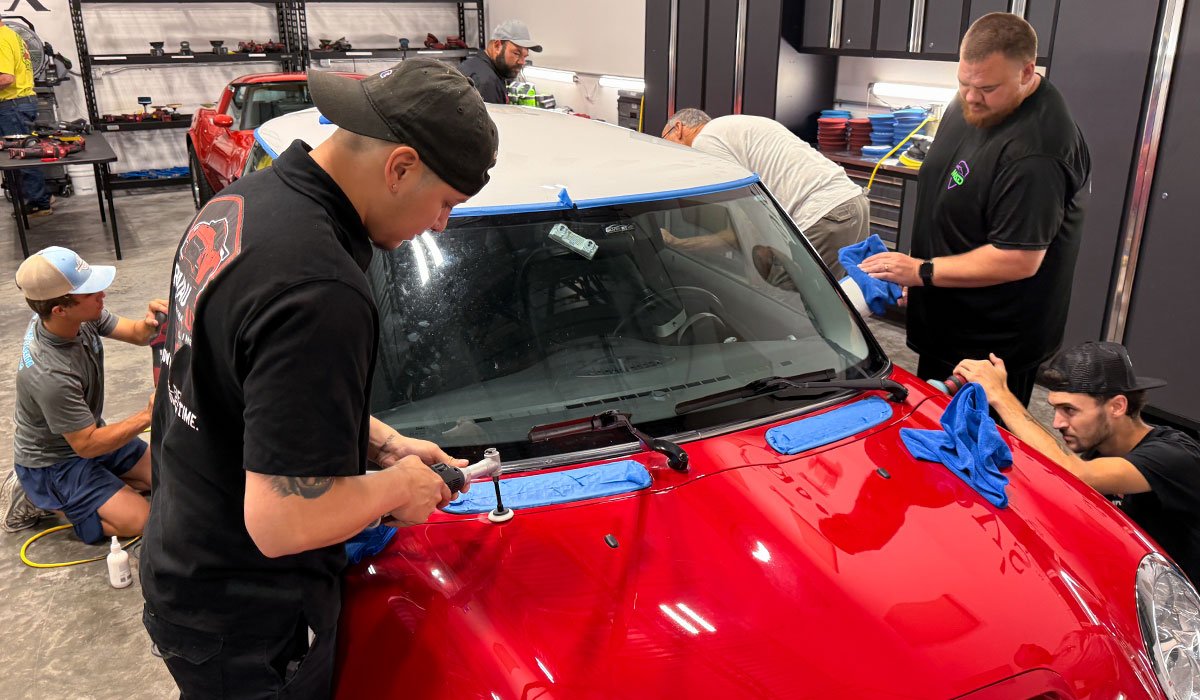
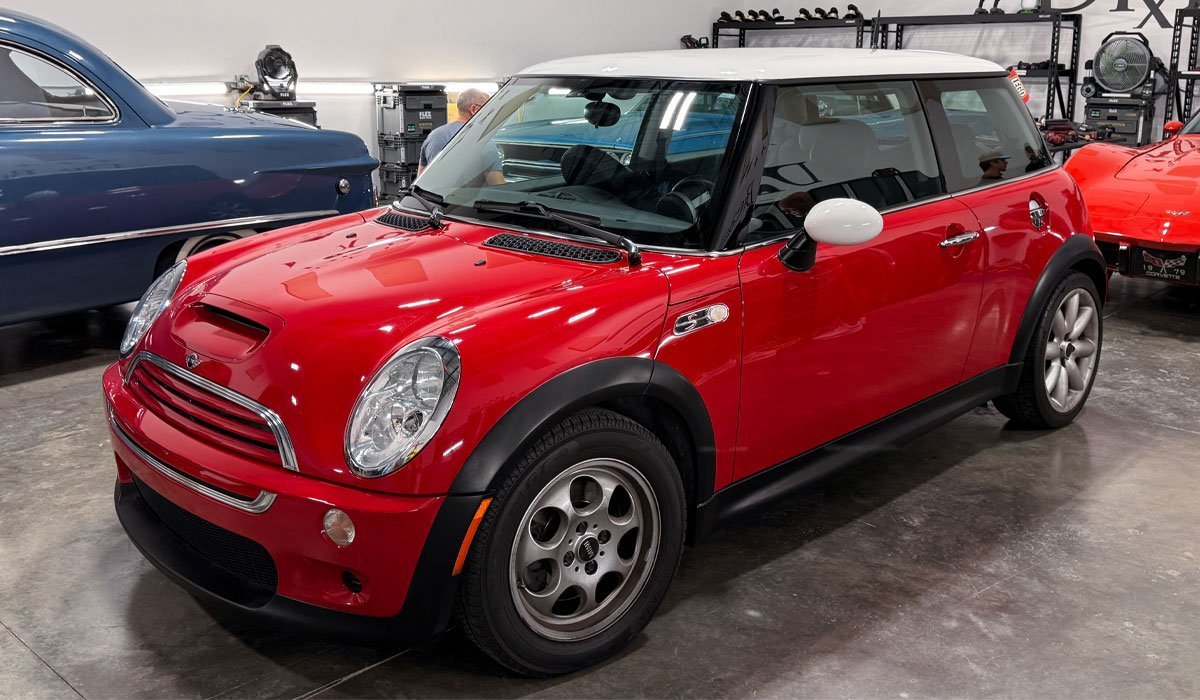
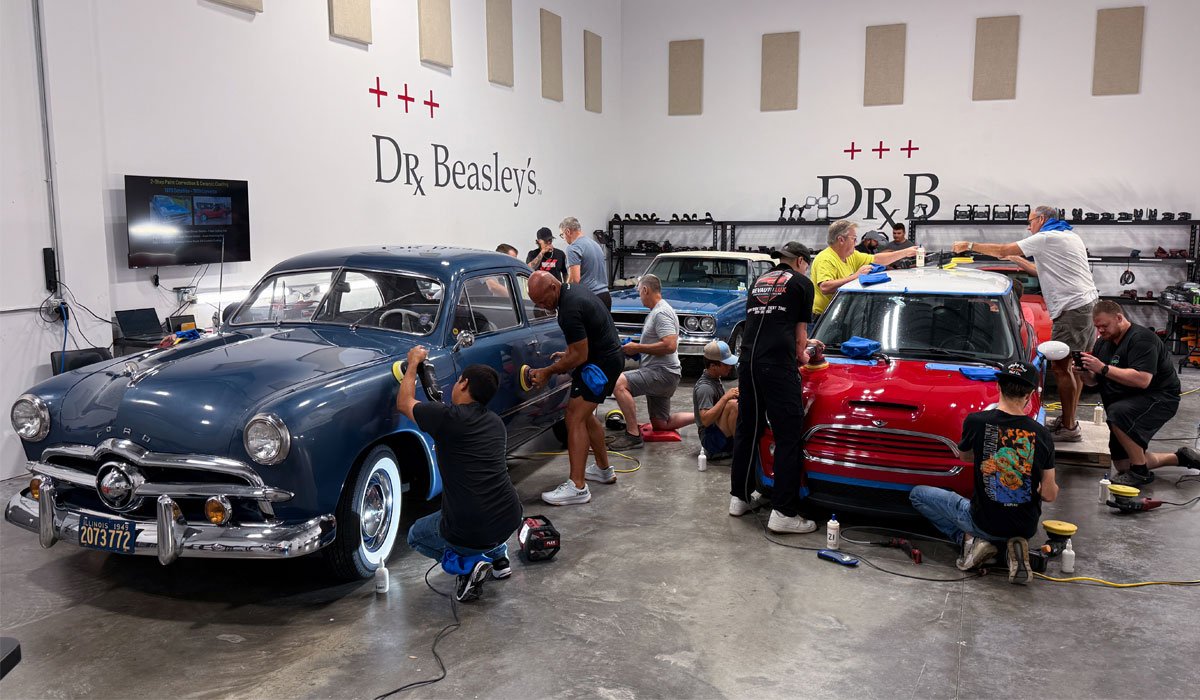
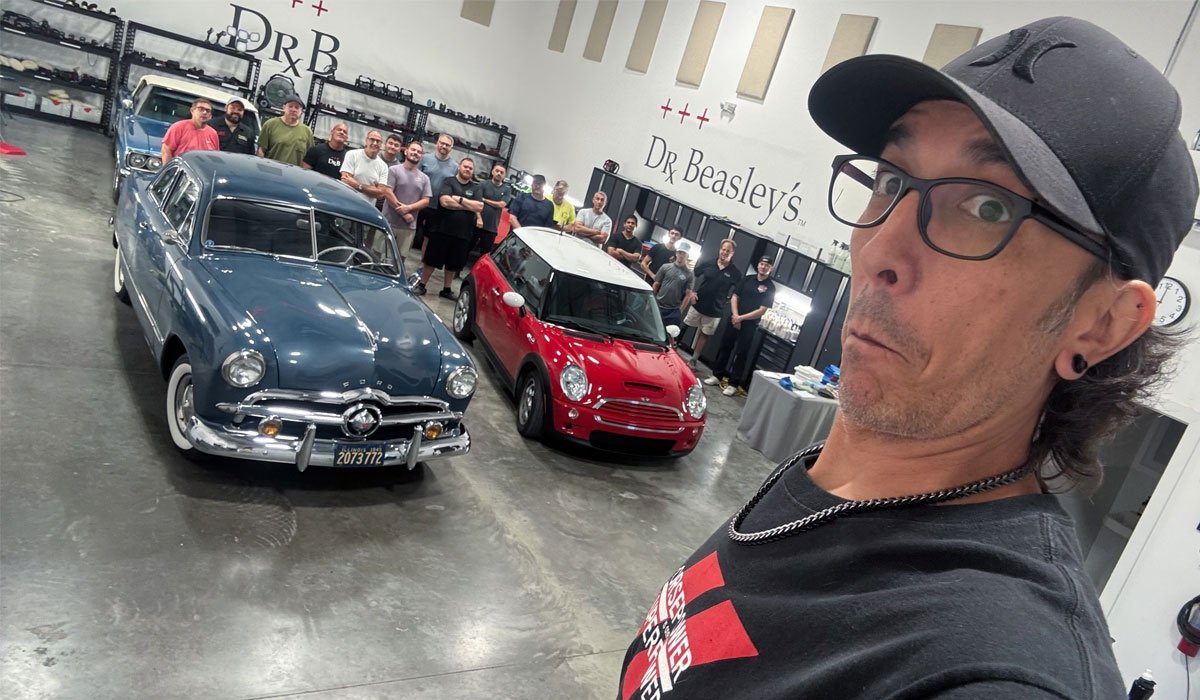
For this the class will be training on a 1949 Ford Club Coupe and a 2002 Mini Cooper.
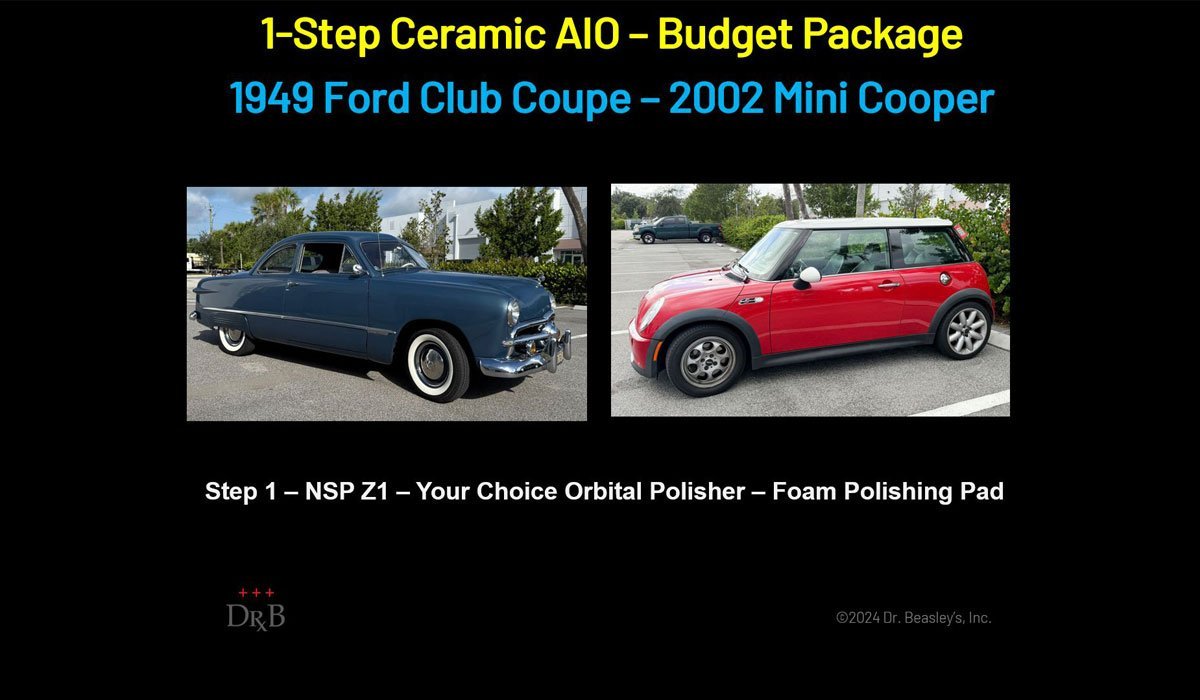
1-Step Ceramic AIO Paint Correction using Dr. Beasley’s Z1
Z1 is a one-step ceramic all in one, this means, it compounds, polishes and protects in a single step. For this type of detailing, I bring in cars that have problems, but their not near as bad as the first 4 cars this class detailed. And this is by DESIGN. But look at the after pictures and understand, these results were achieved doing a SINGLE PAINT POLISHING STEP to the paint. Pretty amazing.
First, here’s an arrival video that shows the before condition

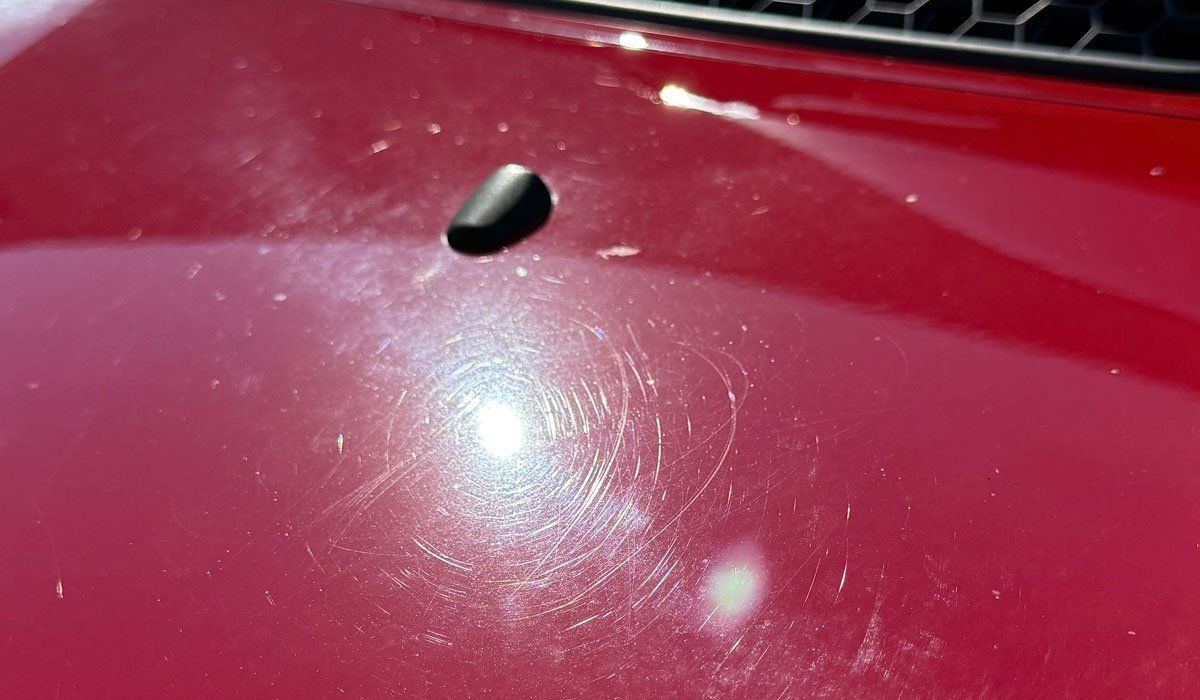
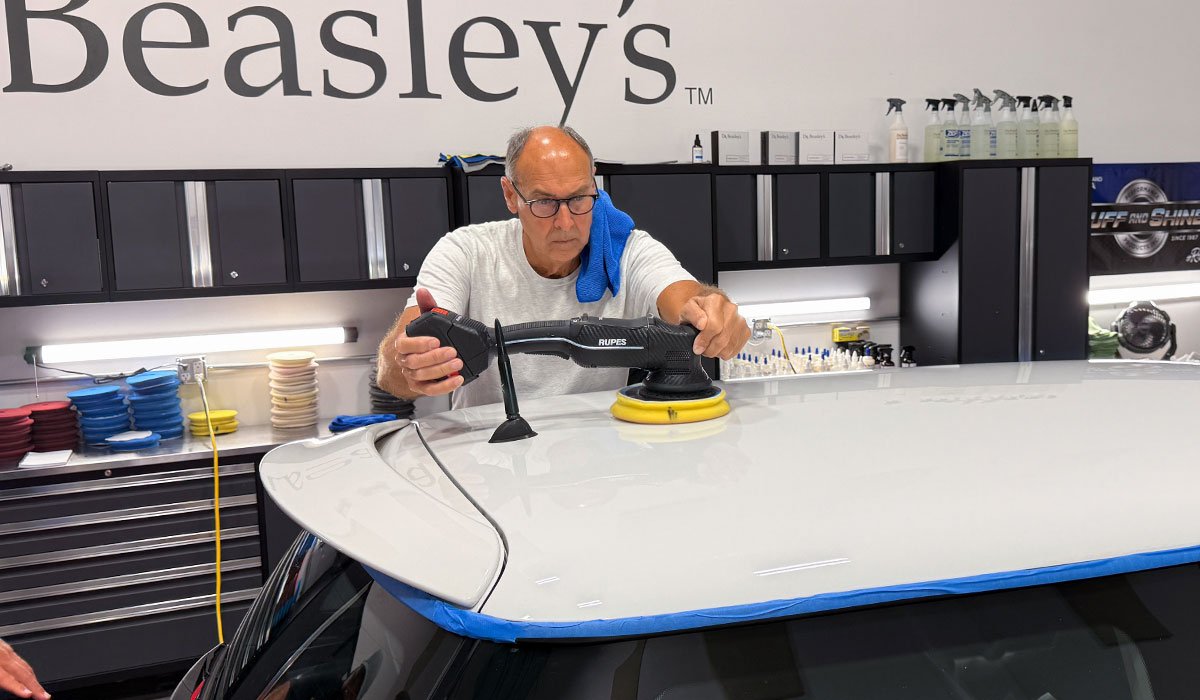
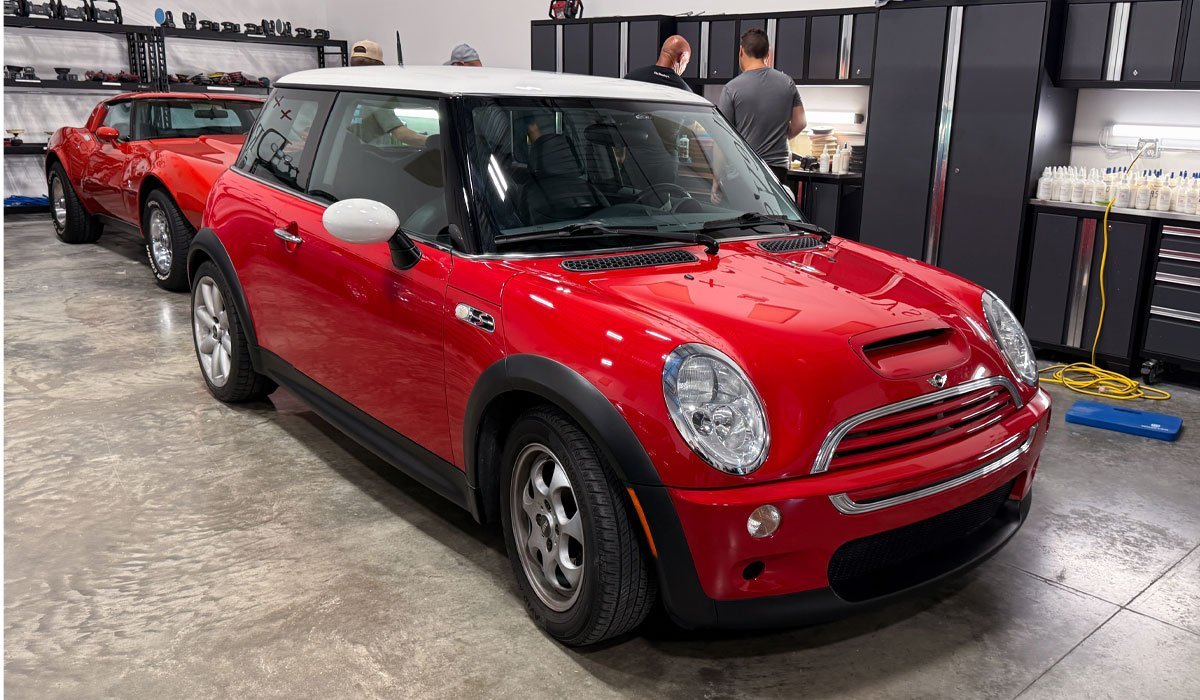
2002 Mini Cooper – Before Shots
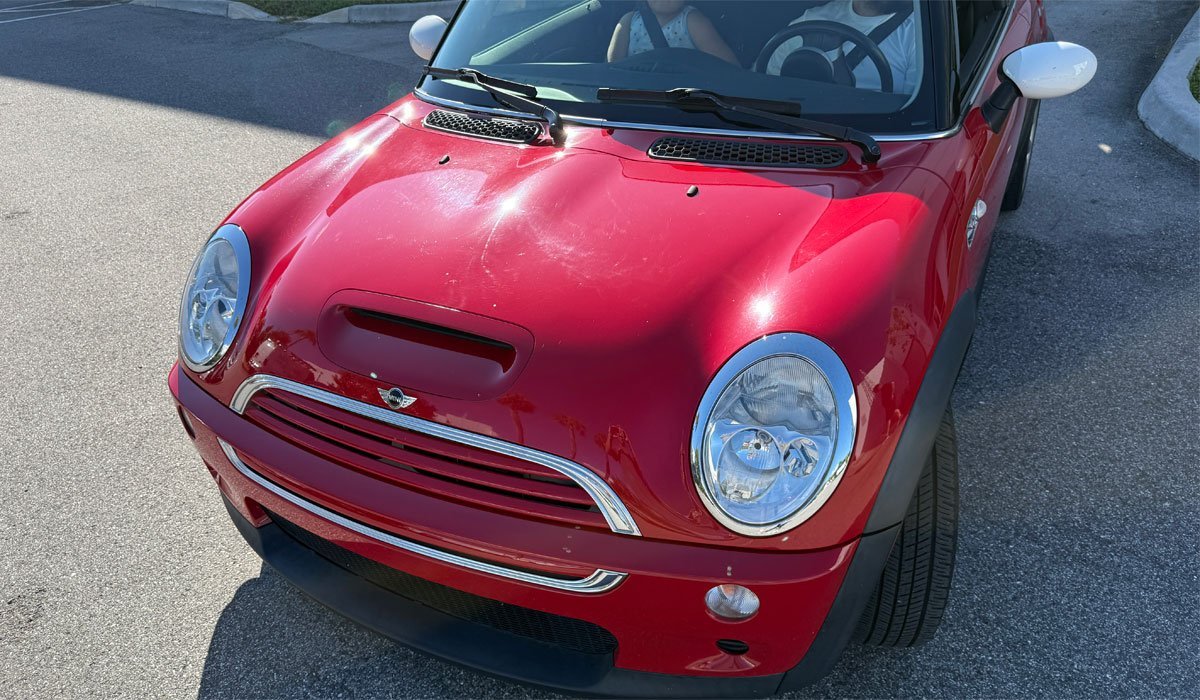
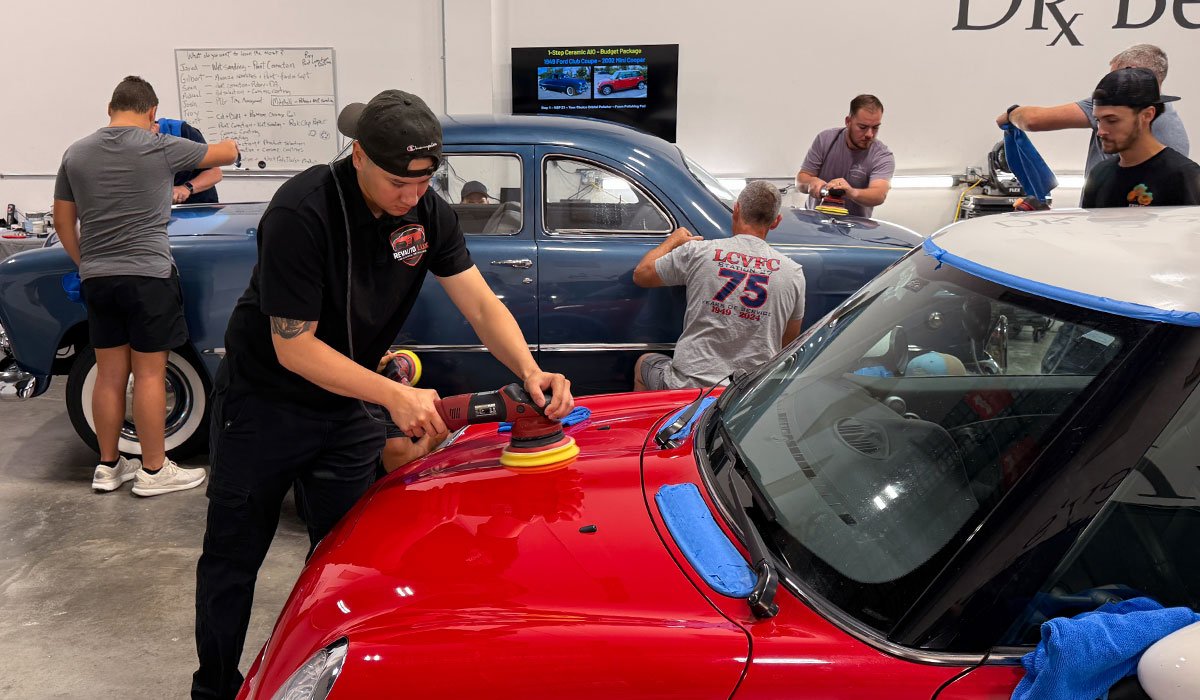
It’s GO TIME!
If you can’t get out of bed early for our class, might want to find a cushier class with chairs that starts at the crack of afternoon.

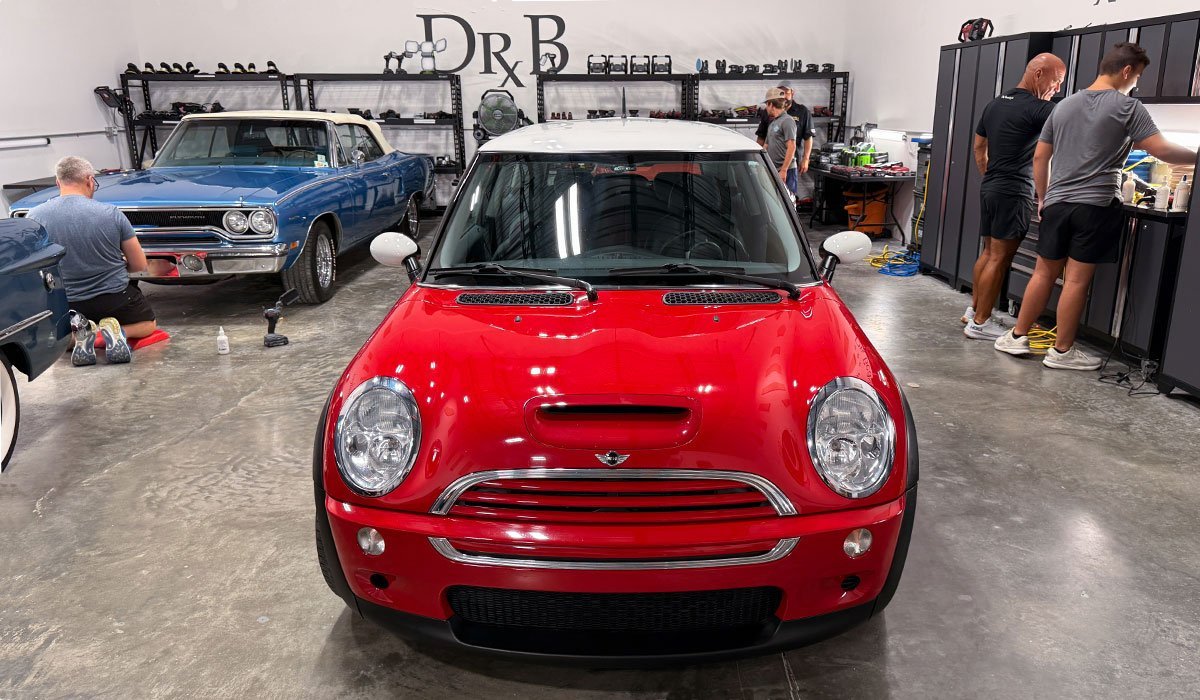
Here’s the final results!
Next…
1-Step Ceramic AIO Paint Correction using Dr. Beasley’s Z1
Z1 is a one-step ceramic all in one, this means, it compounds, polishes and protects in a single step. For this type of detailing, I bring in cars that have problems, but their not near as bad as the first 4 cars this class detailed. And this is by DESIGN. But look at the after pictures and understand, these results were achieved doing a SINGLE PAINT POLISHING STEP to the paint. Pretty amazing.
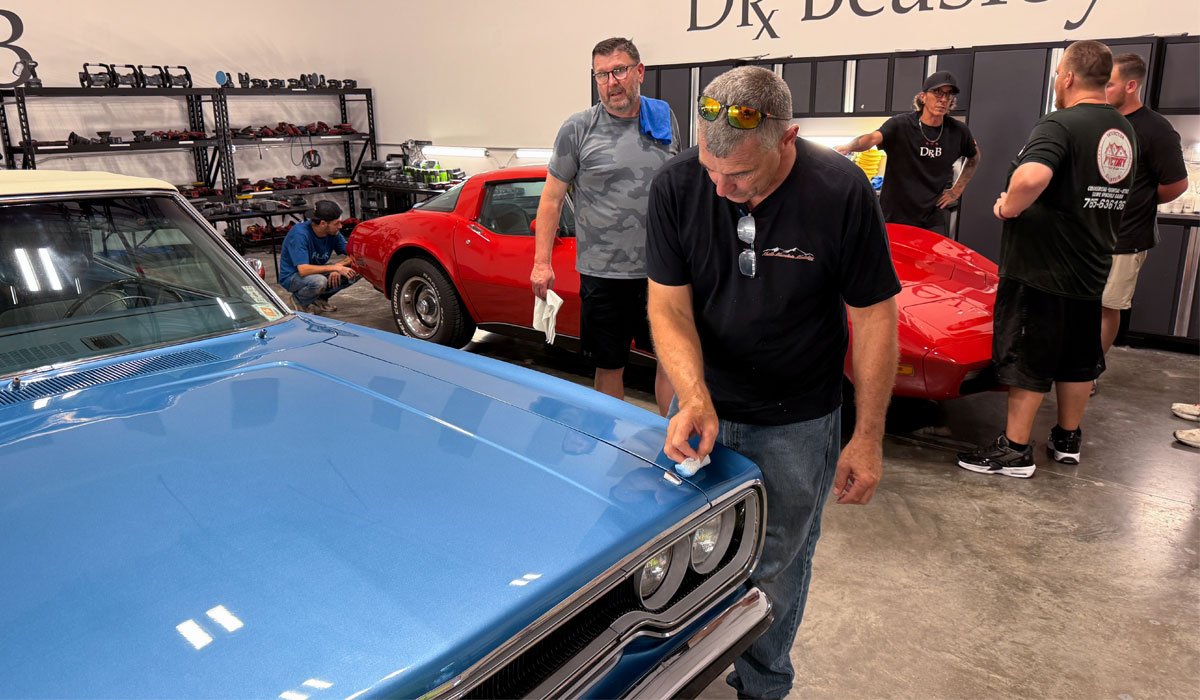
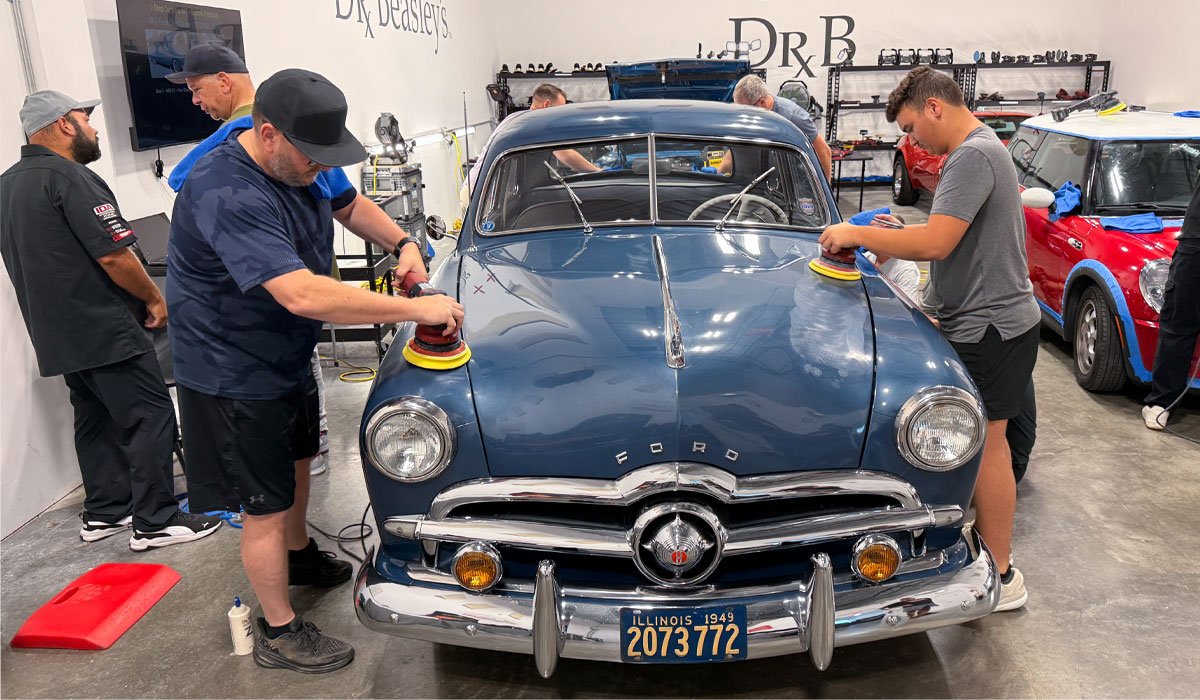
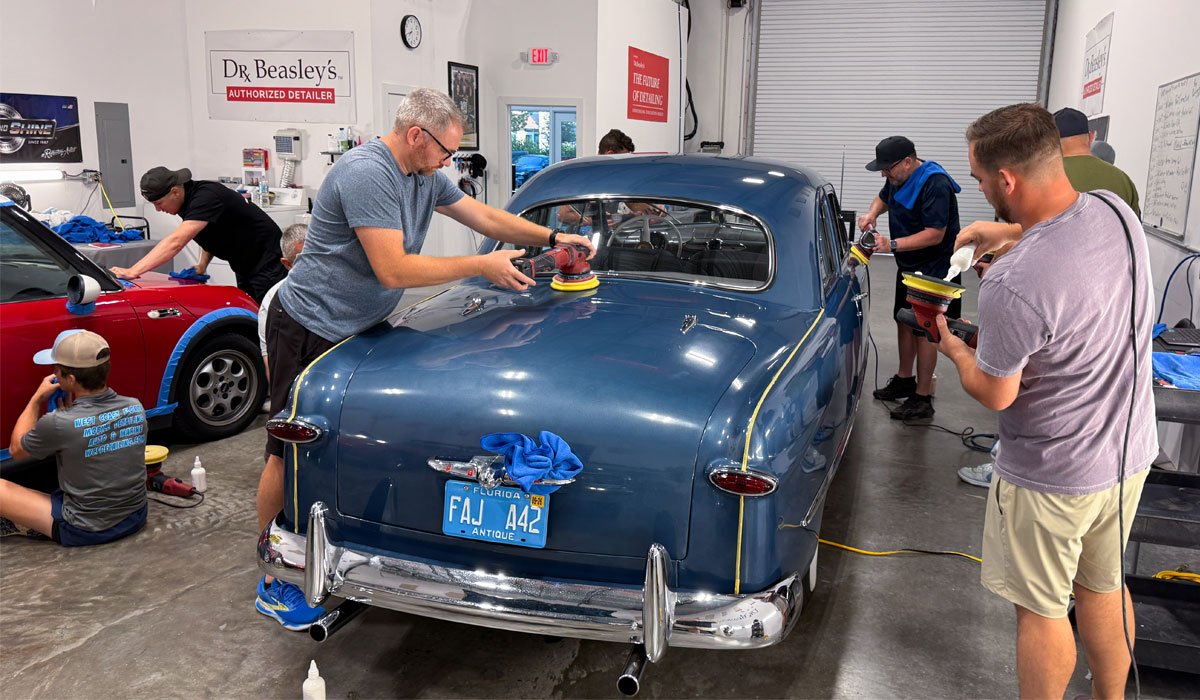
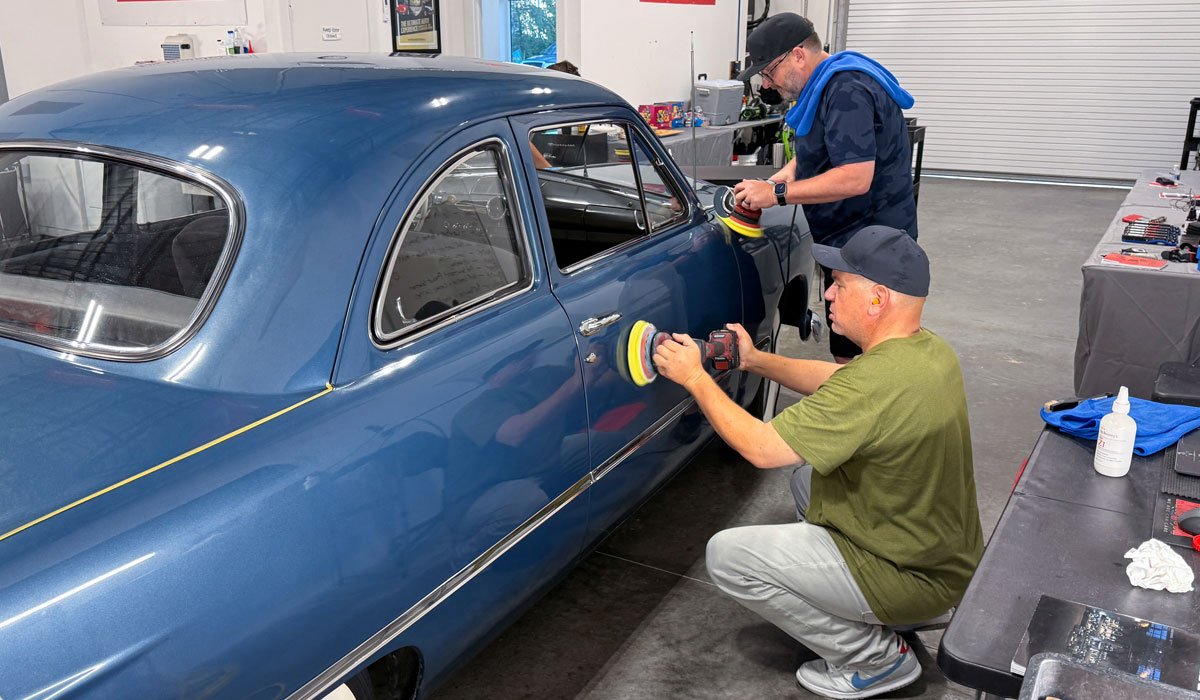
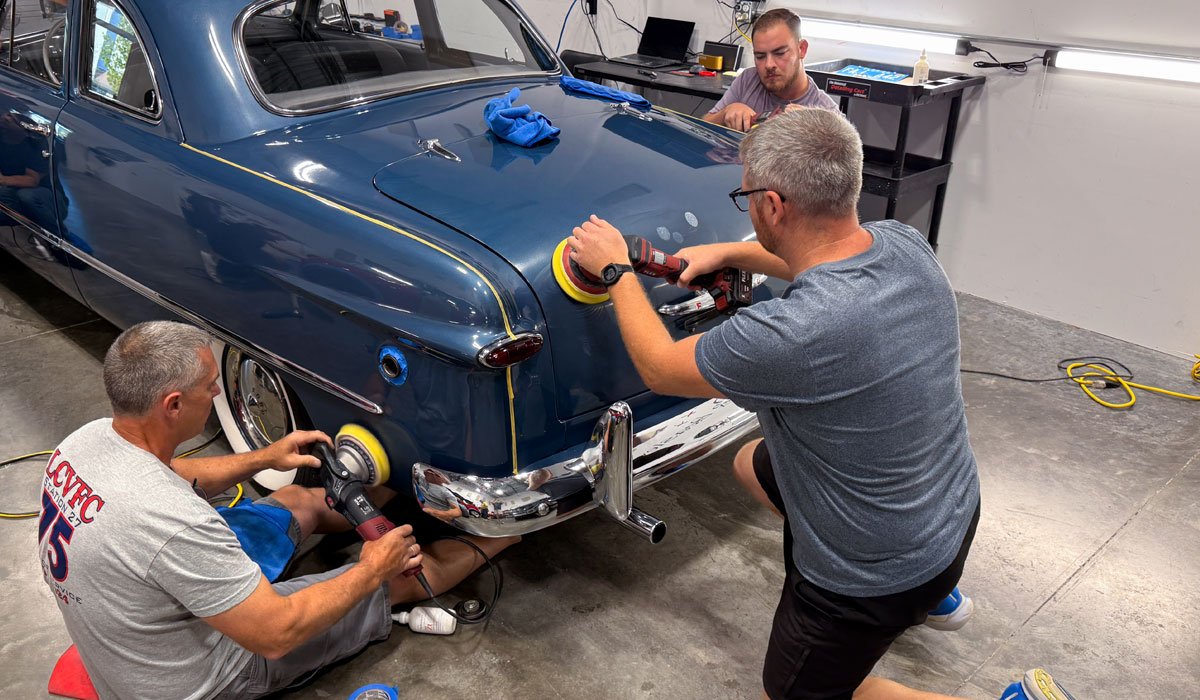
While one half of the class is working on the 2002 Mini Cooper, the other half of the class tackles the 1949 Ford Club Coupe.
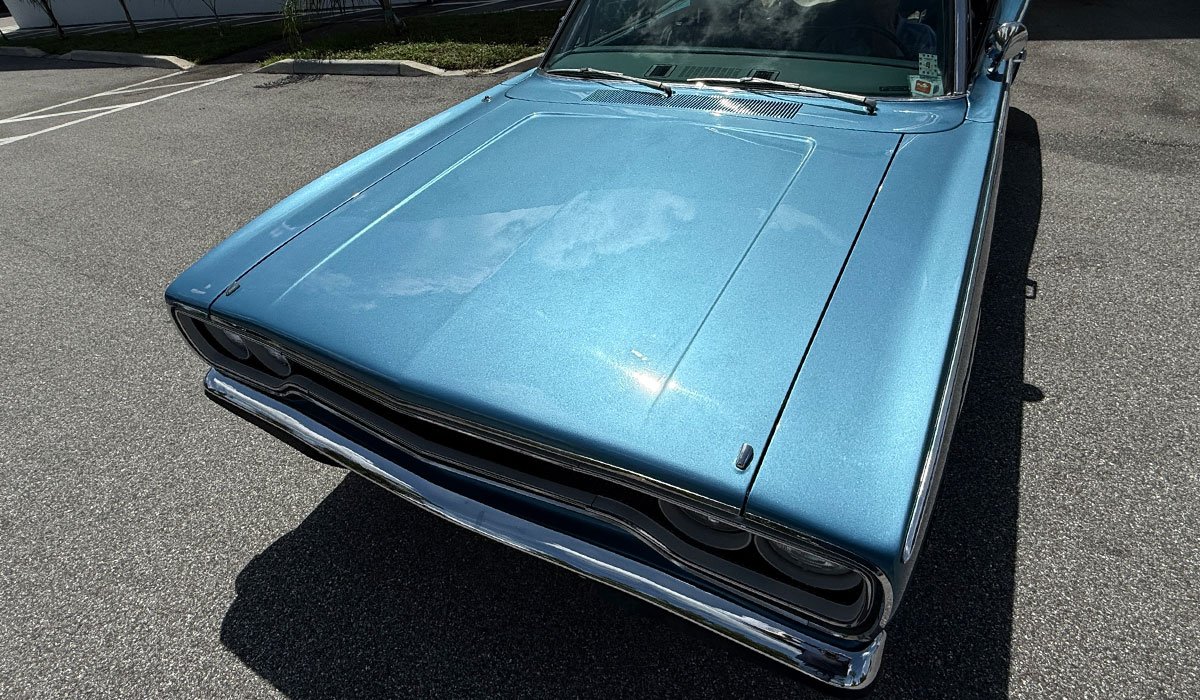
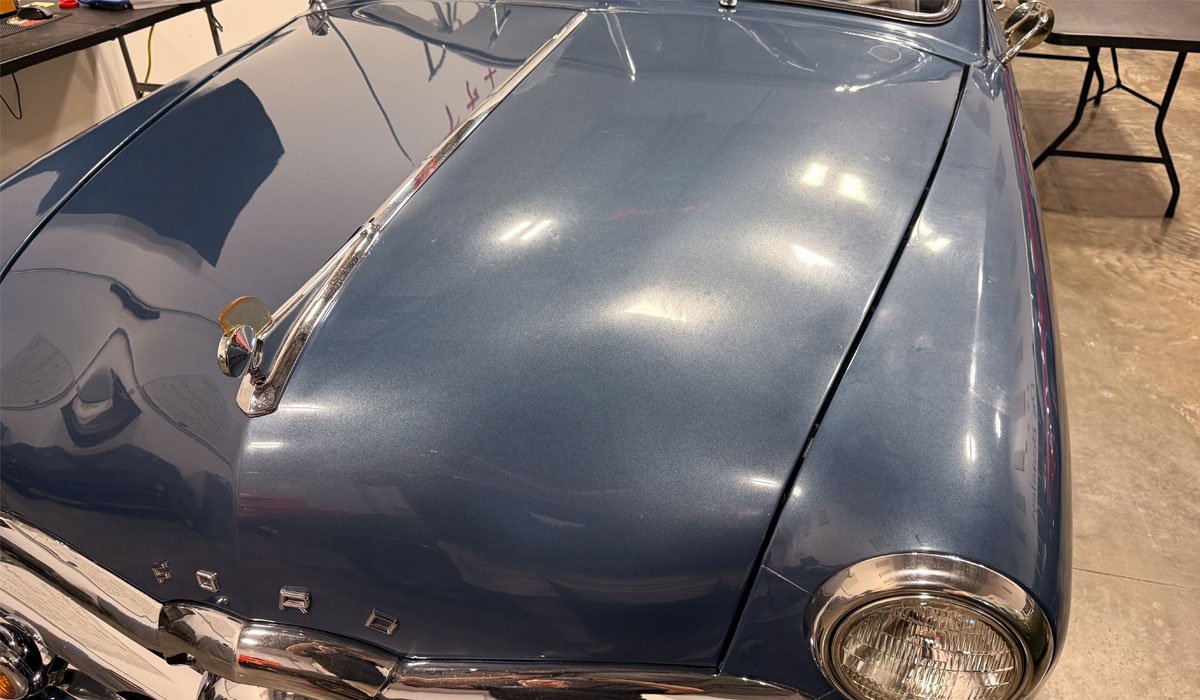
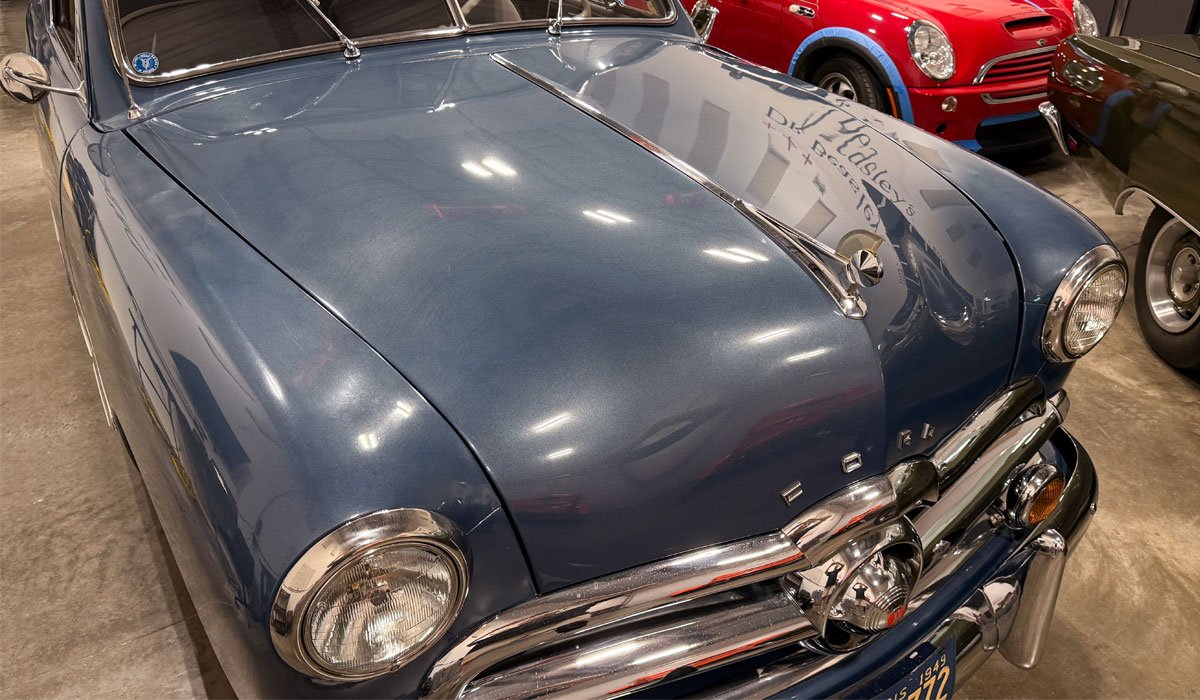
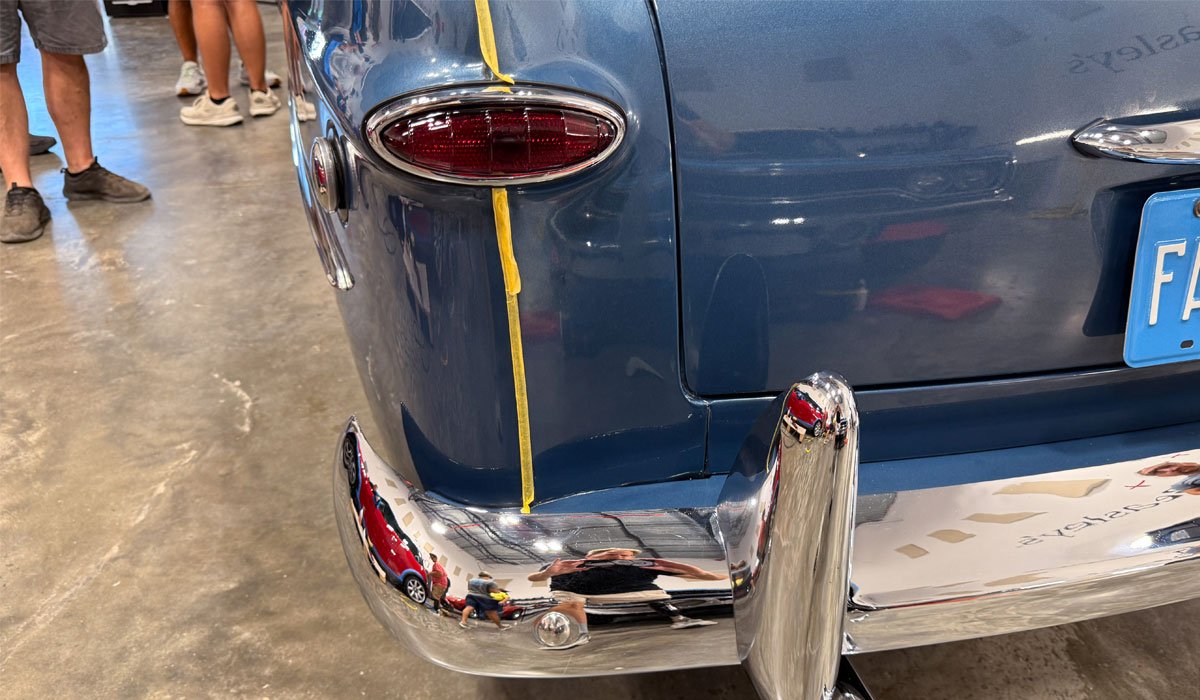
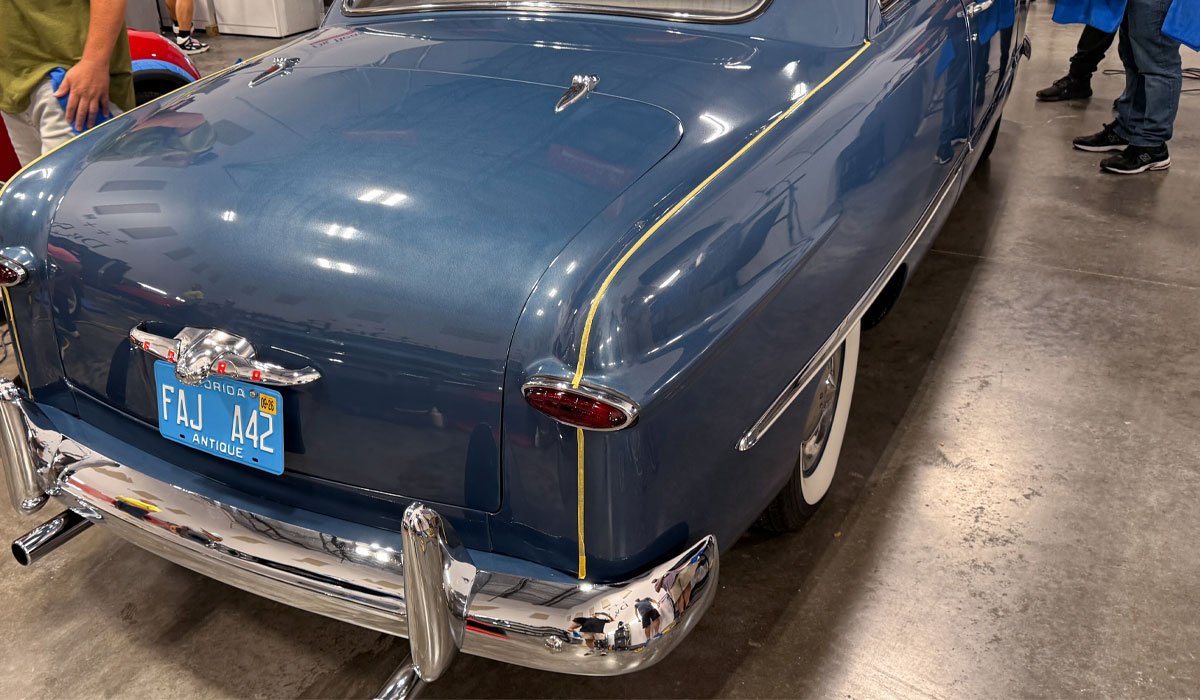
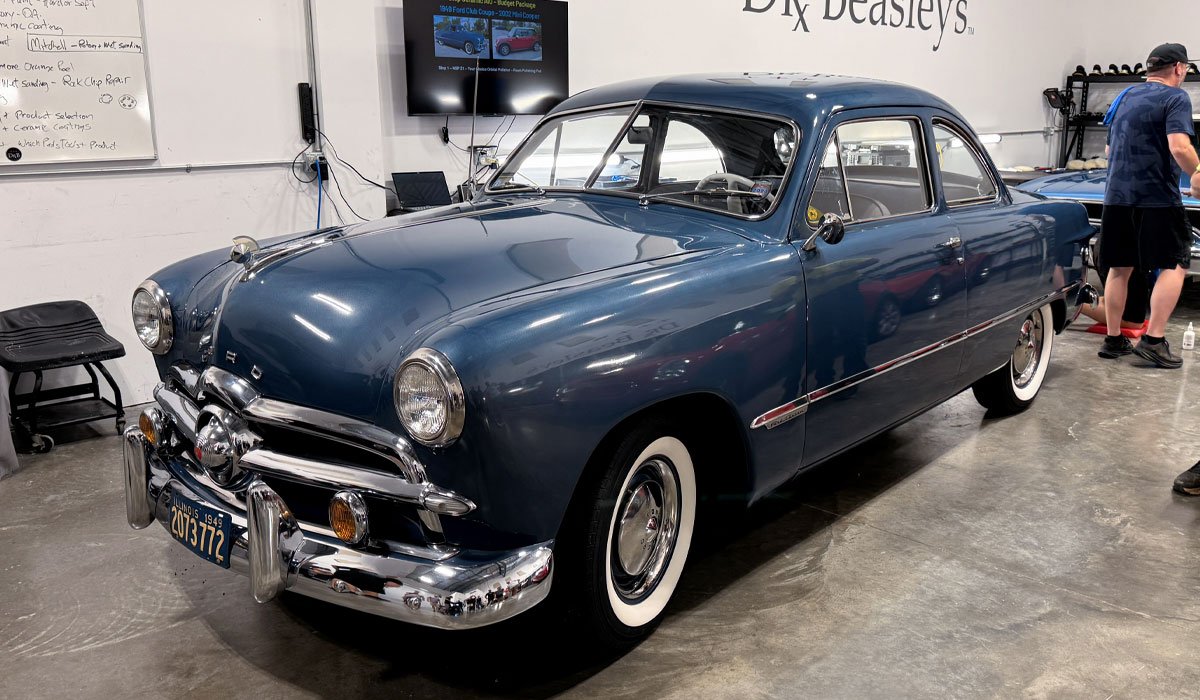
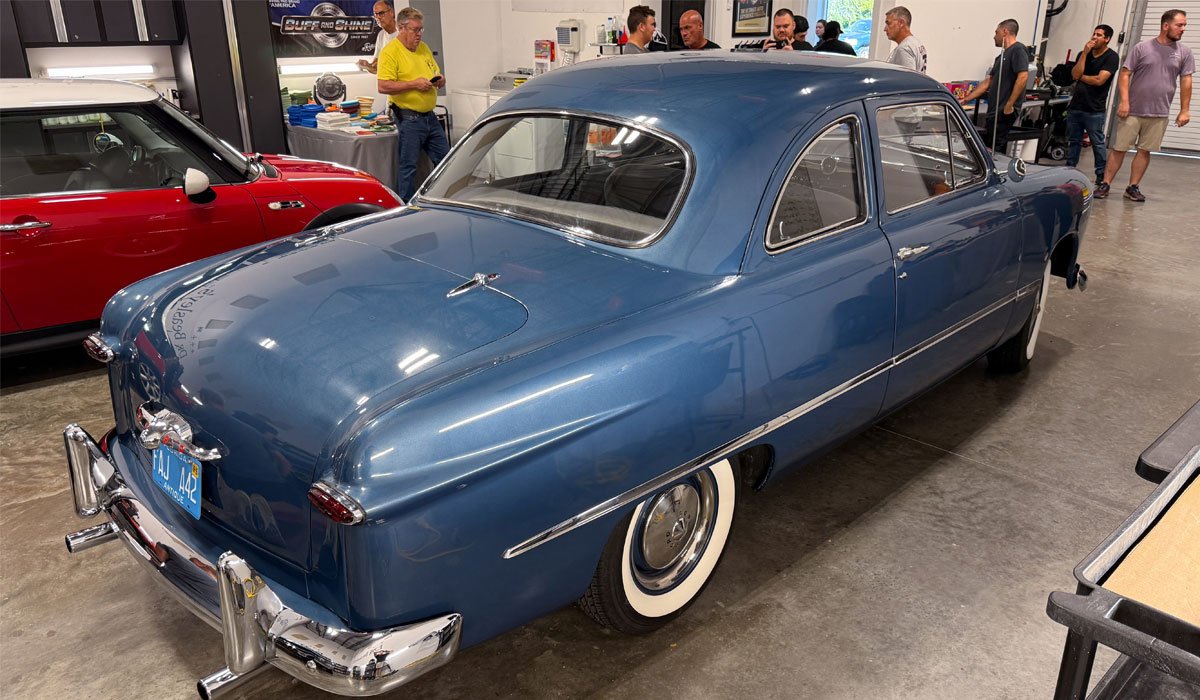
1949 Ford Club Coupe – BEFORE CONDITION
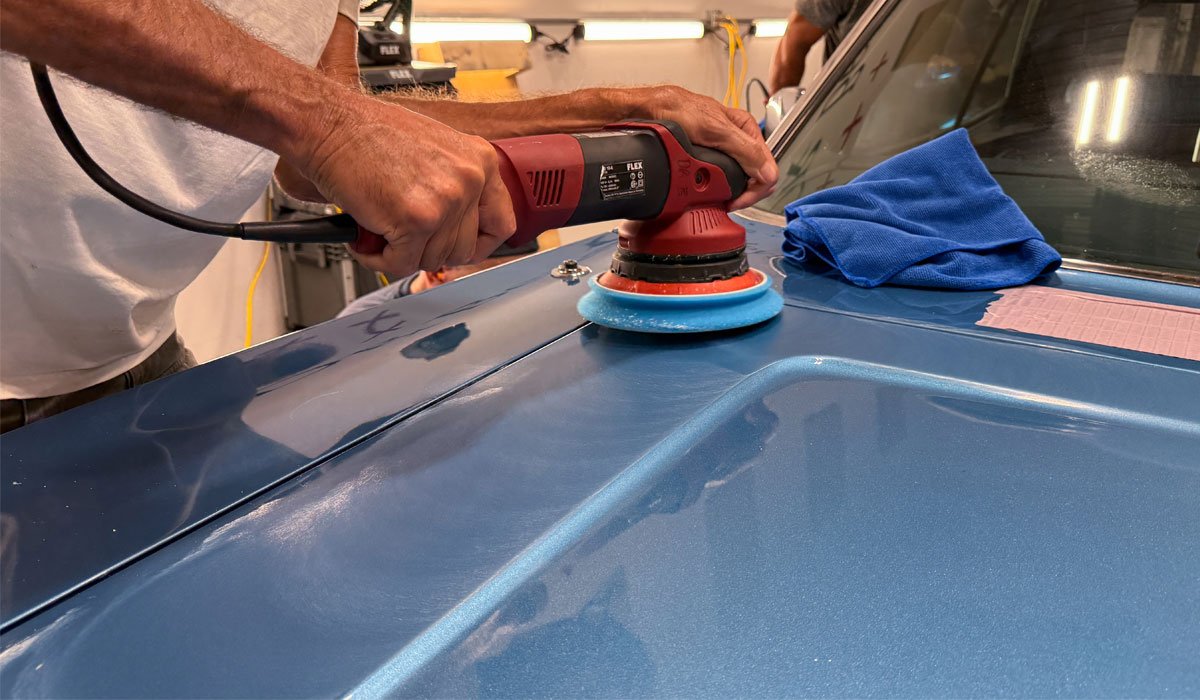
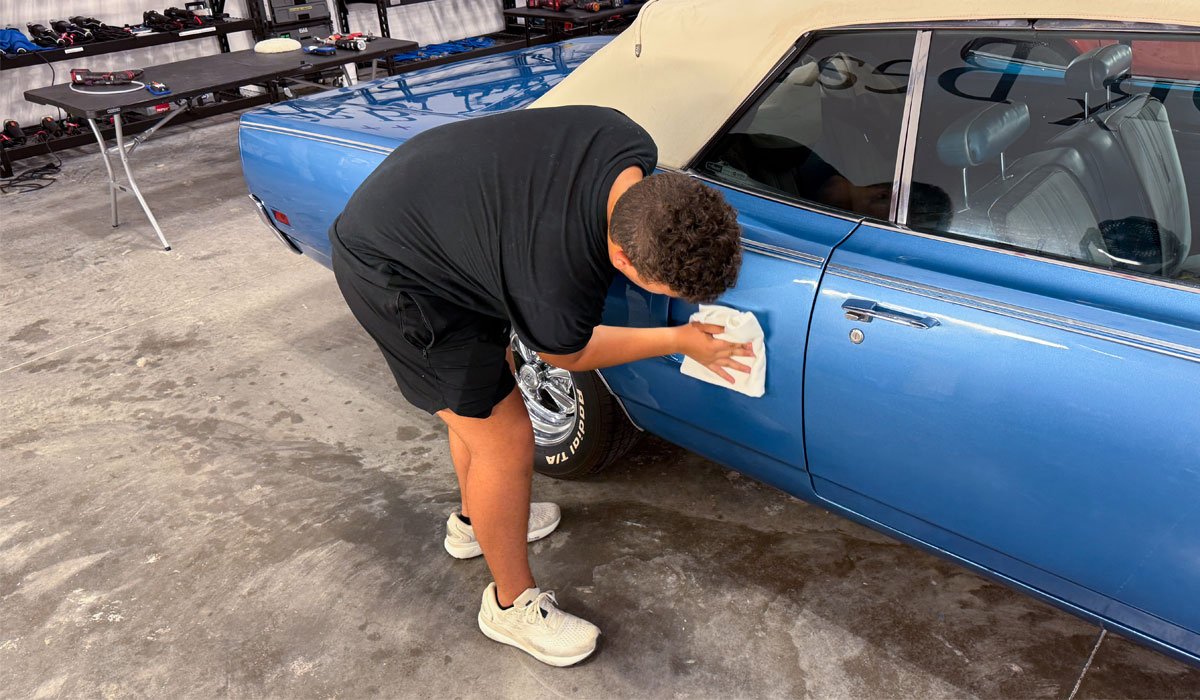
The paint on this car is single stage metallic blue. Over the year the paint has oxidized. The aluminum flake IN the paint has oxidized. There are water spots that have penetrated INTO the paint and what looks like a general stain or film over the entire car, possibly a wax build-up from over the years.
Test Spot – I did a Test Spot on the Dutchman Panel to show the before and after difference as well as to test and see if the paint could be saved using ONLY a 1-Step Ceramic AIO.


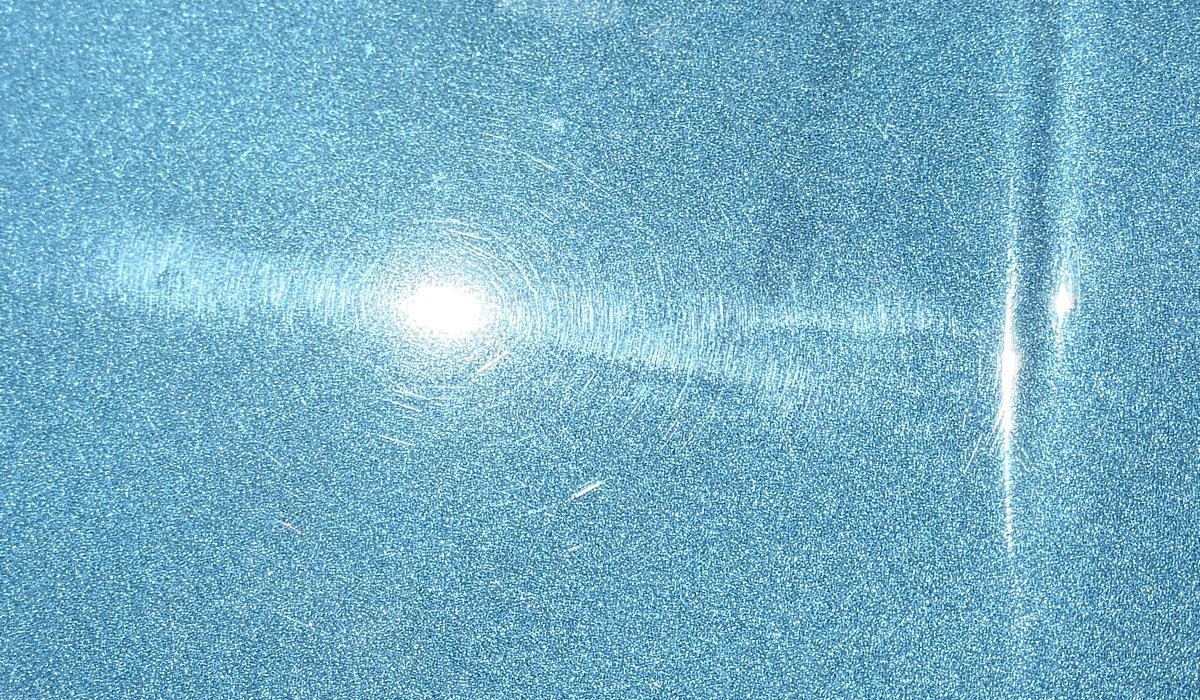
The below picture is a cropped out section from the picture above. See the darker colored spots?
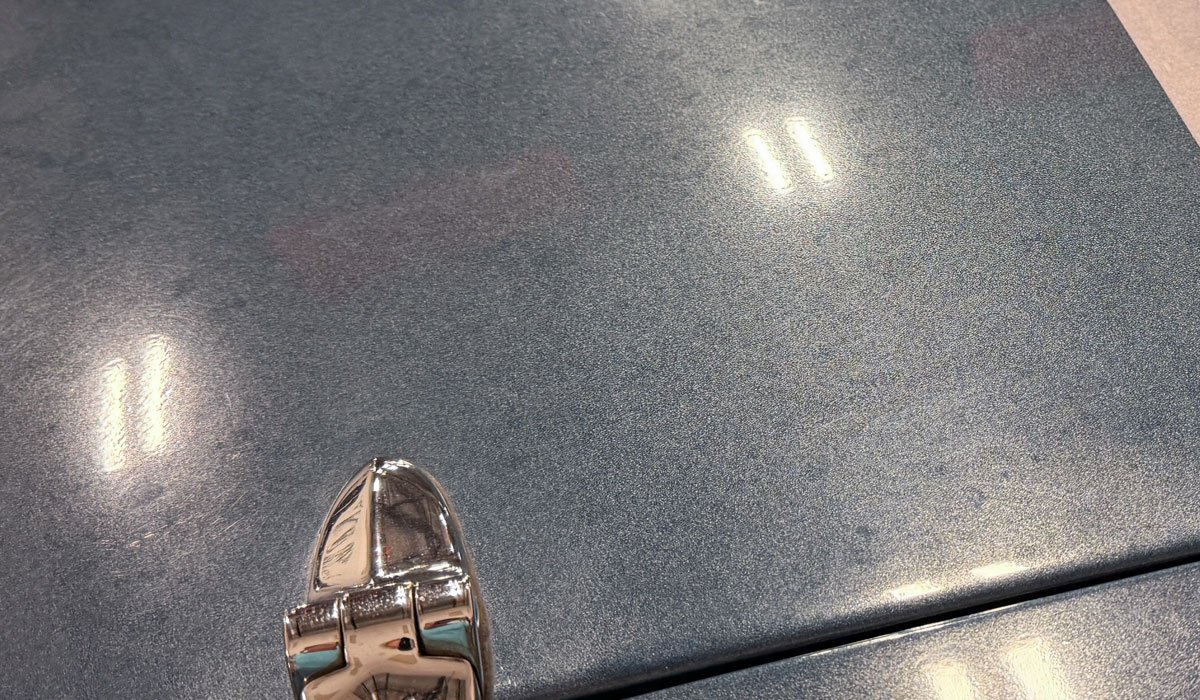
Here’s the results from the Test Spot
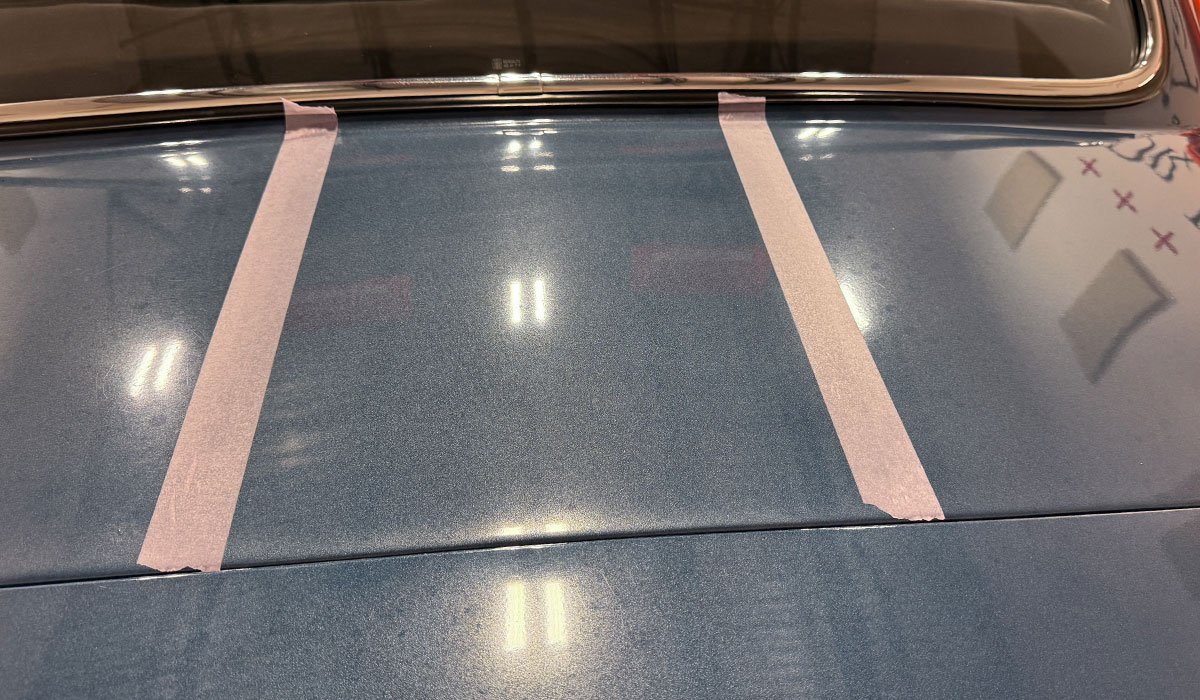
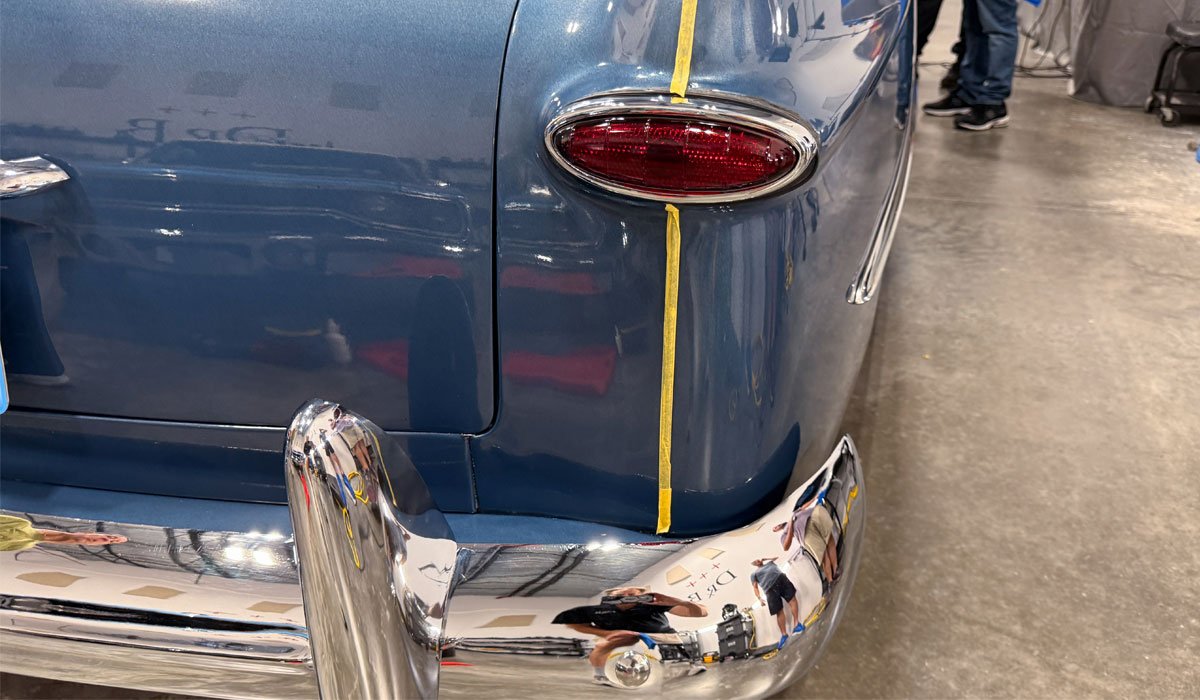
Welting – Lacquered Cloth Beaded Fender Welt
Back in the old days, car manufactures inserted lacquered cloth beaded fender welt in-between body panels to act as a sort of gasket. This created a more perfect attachment for body panels like fenders where they mount to the actual car body. Most welting is black, and you can see the grain of the cloth on the surface. If you buff on this, you will likely stain it, and you might even tear it up.
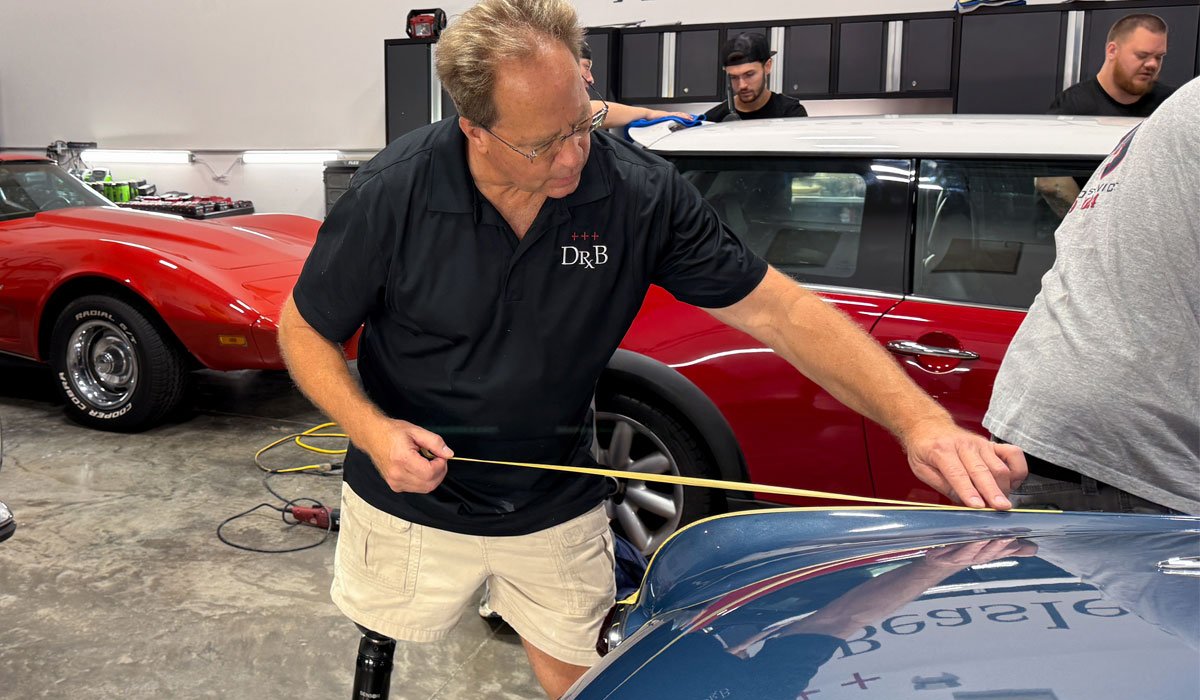
The welting on this car was painted using the same paint used on the body panels. The owner specifically asked me to be VERY CAREFUL so as not to ruin the painted welting. My big concern was accidently pulling the paint off the welting when we removed the tape. While I shared this with the classes, I took the responsibility to both apply the tape and remove the tape. That way, if anything went wrong, I would take the hit. Luckily, by pulling the tape off slow and at a low angle, there were not issues.

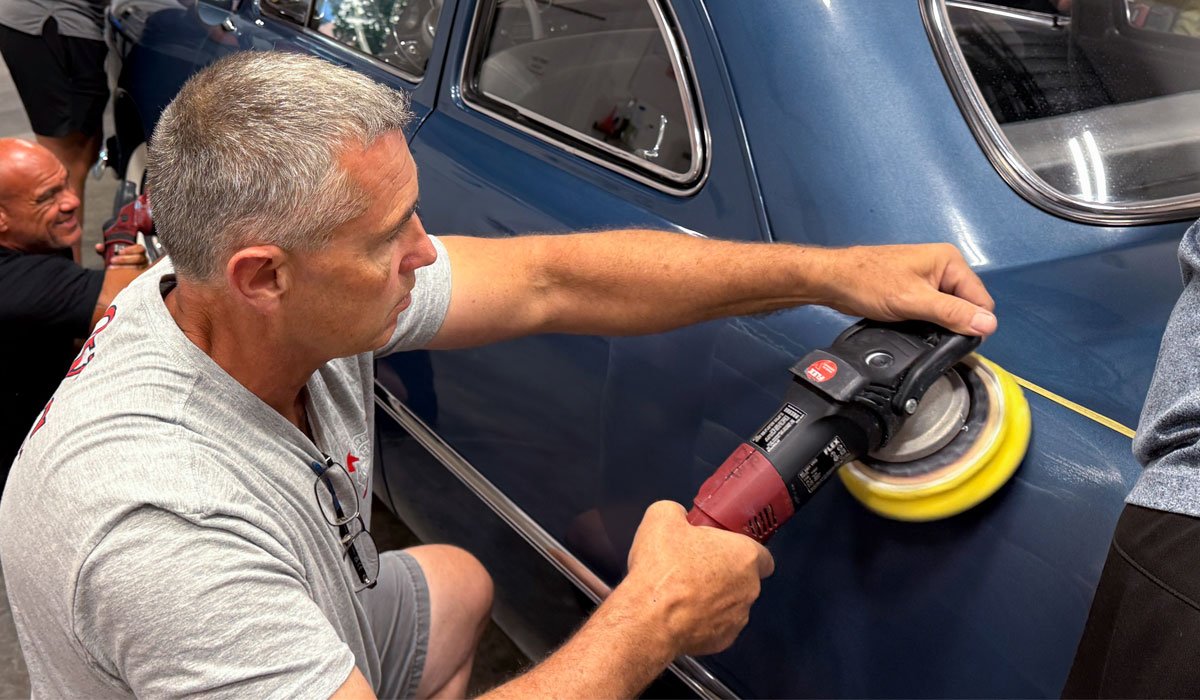
It’s GO TIME!
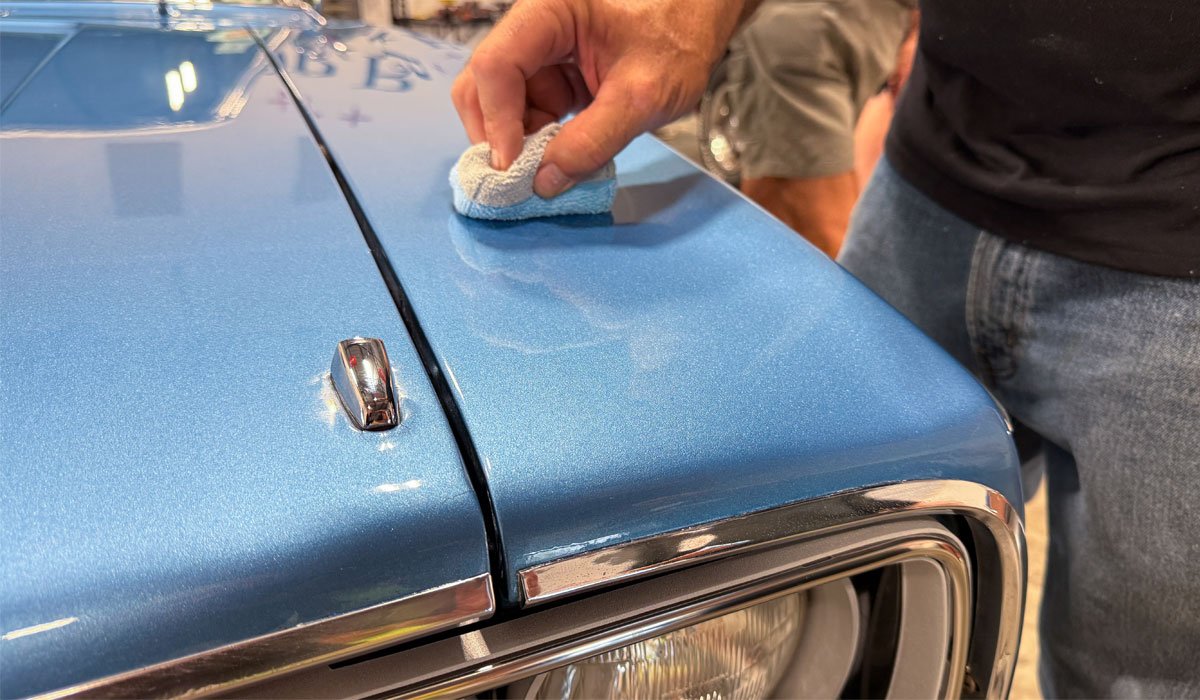
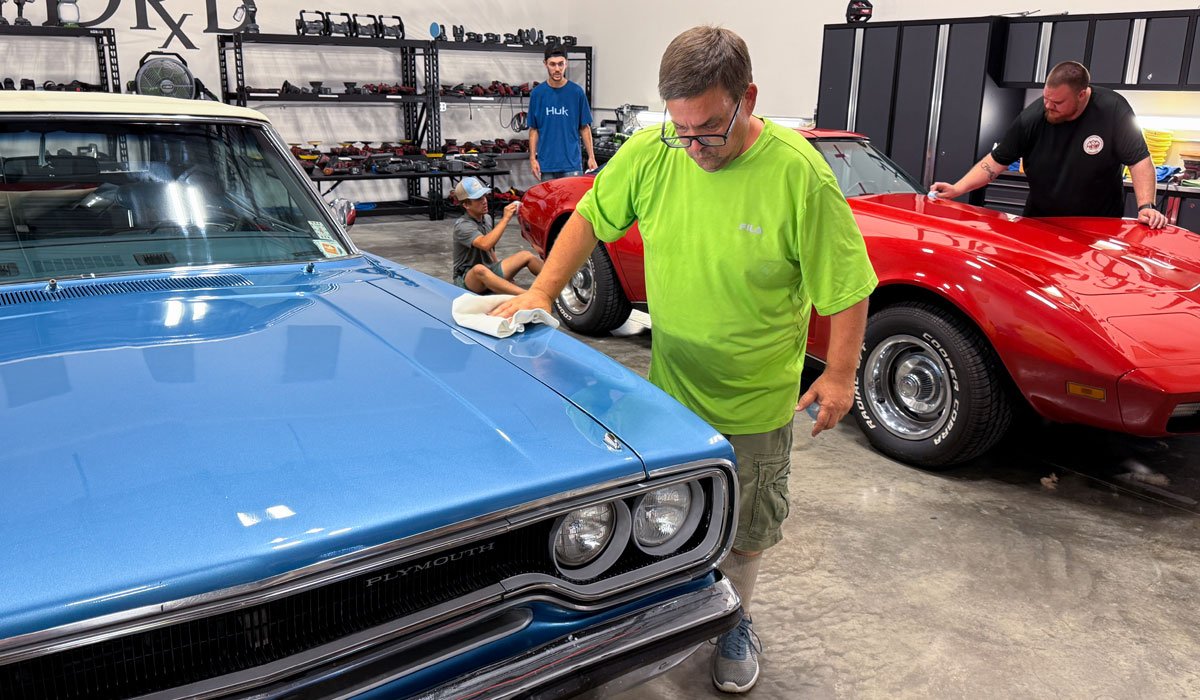
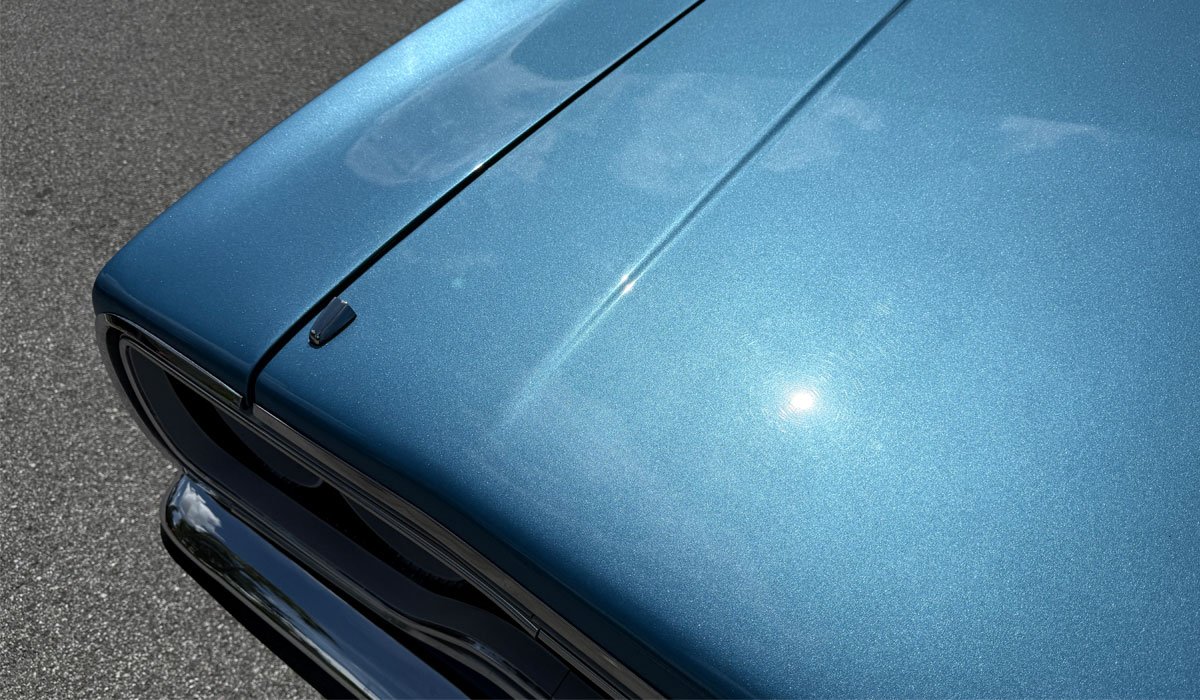
And just to note, while the level of oxidation on this 1949 Ford Club Coupe is not as bad as the oxidation that was on the 1979 Corvette – I did tell the class to LOOK carefully at the Ford BEFORE buffing it out because it’s about to go through a COLOR CHANGE! By this I mean, by removing the oxidation and the film that covered the car, the original vibrancy and richness-of-color would be restore making it look like we repainted the car.
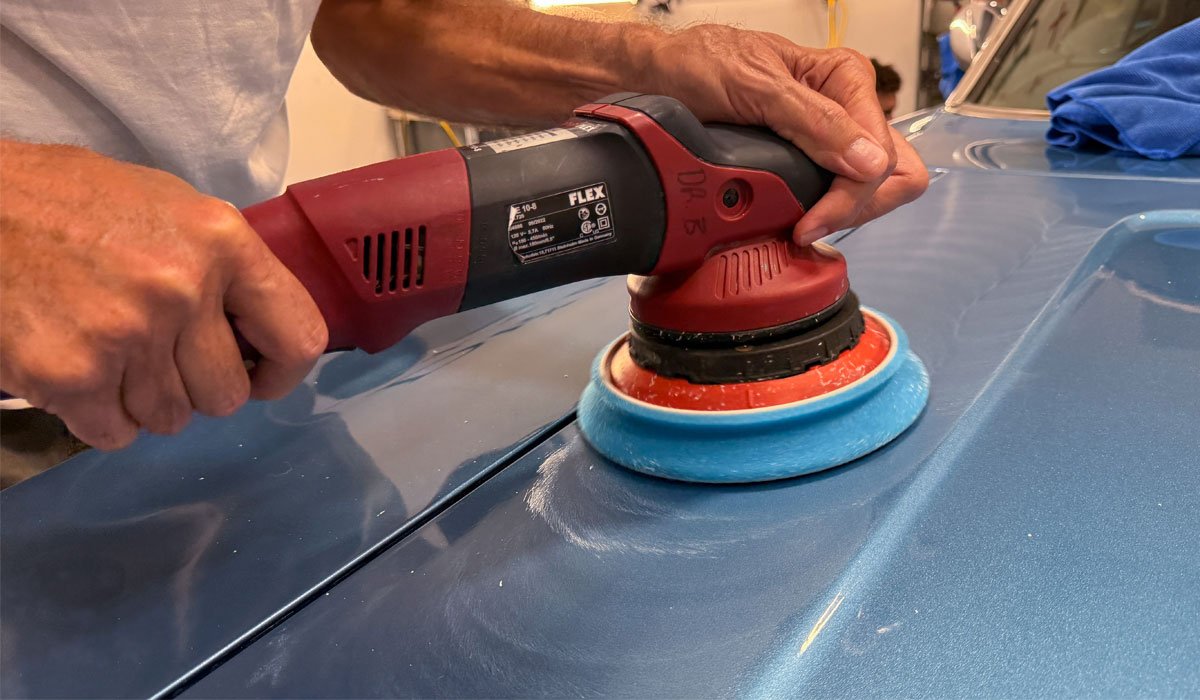
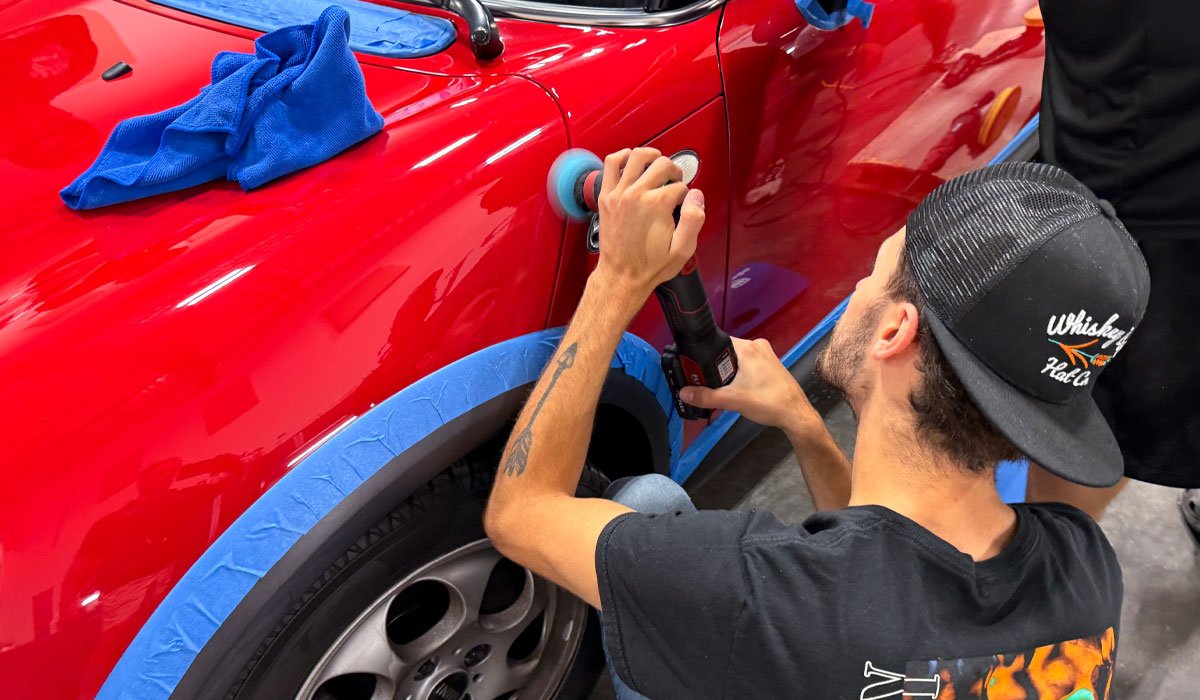
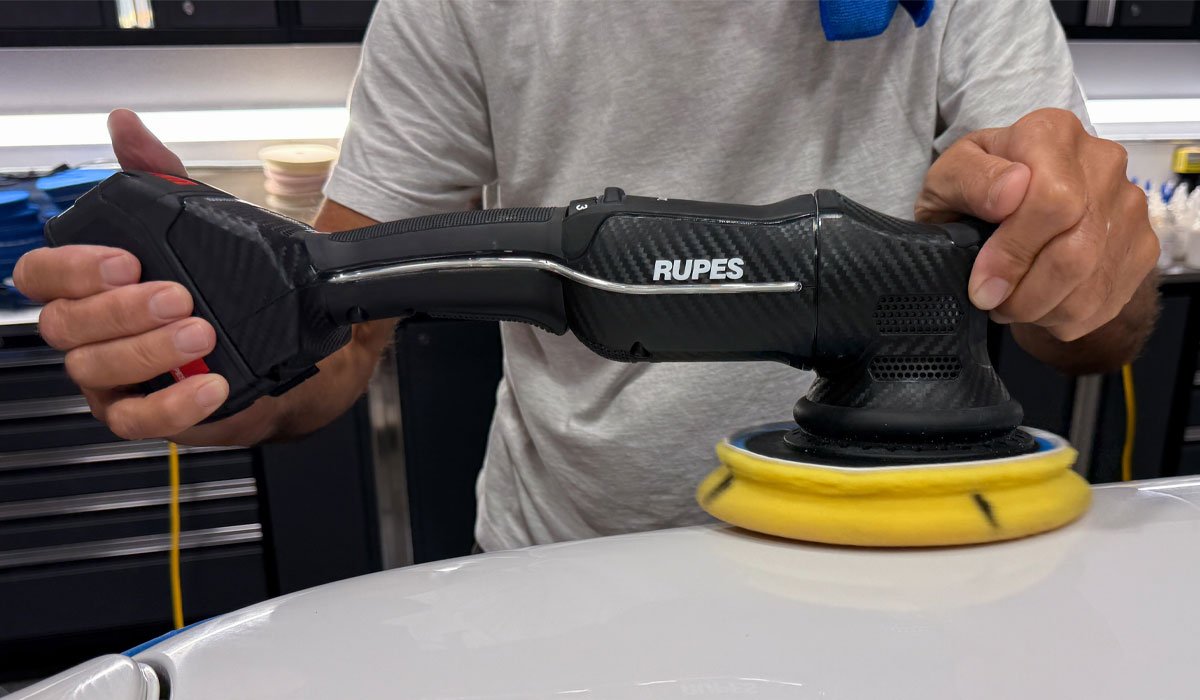
Here’s Hunter testing out the FLEX CBEAST – a Cordless 8mm Gear-Driven Orbital Polisher

Out back, we have Brand using a CBEAST and Paden using a Sua BEAST.
Here’s Sean using a CBEAST and behind him is Mike using a Supa BEAST
Here’s Ray using the most powerful version of the FLEX 8mm gear-driven orbitals the XC 3401 VRG aka THE BEAST!
Our classes sound like a HORNET’S NEST once everyone gets their polishers fired up!

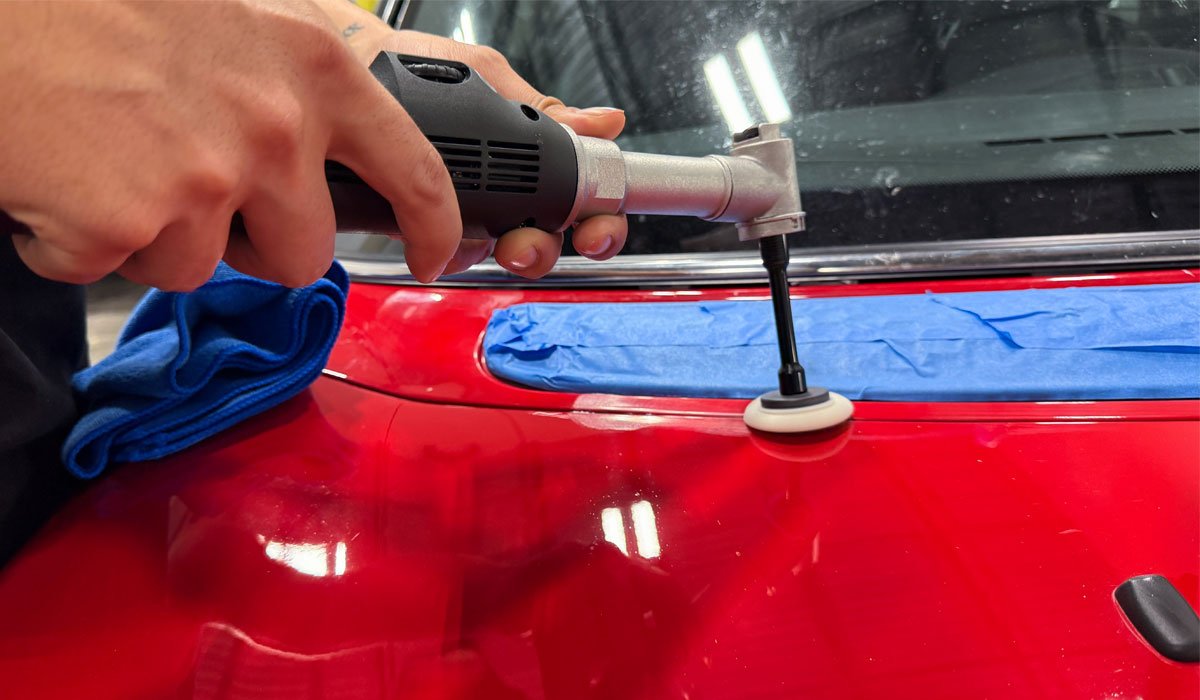
Here’s Hunter using the FLEX PXE-80 to do some paint correction in some tight areas.
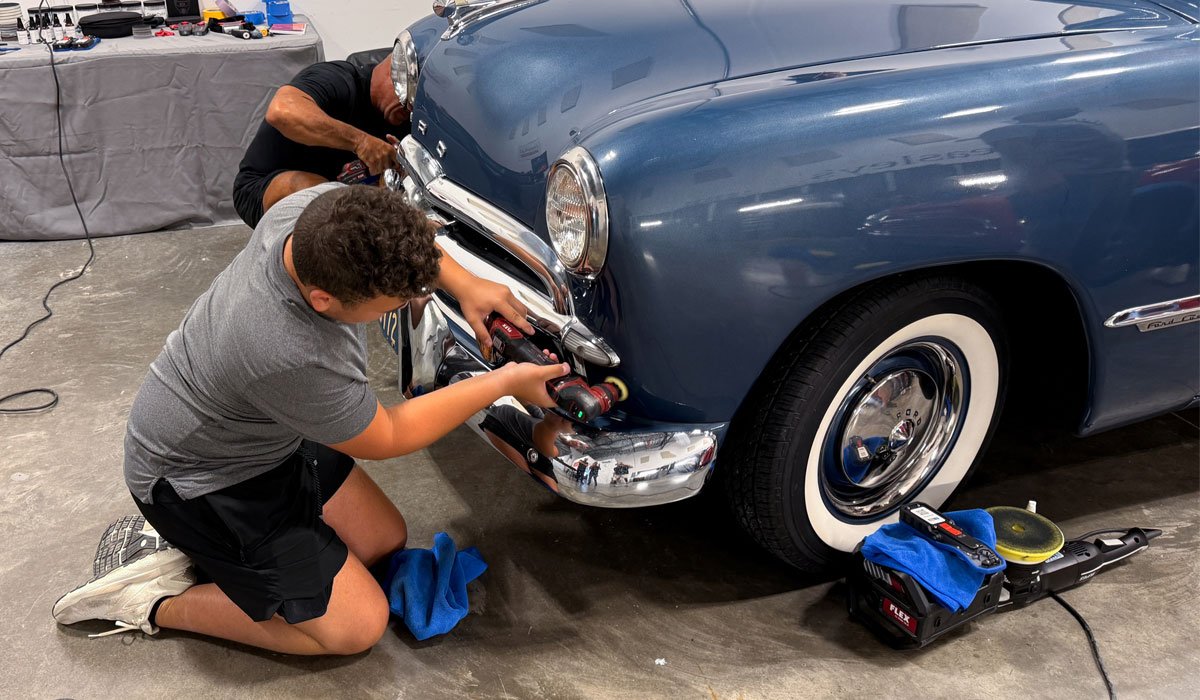

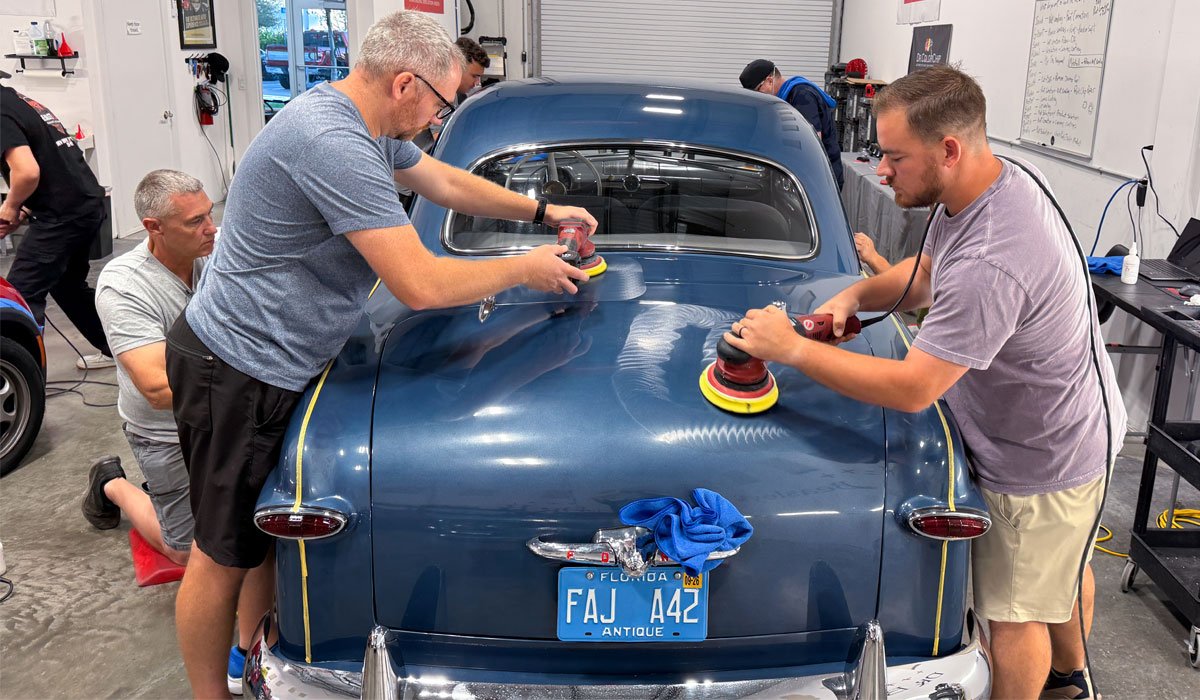
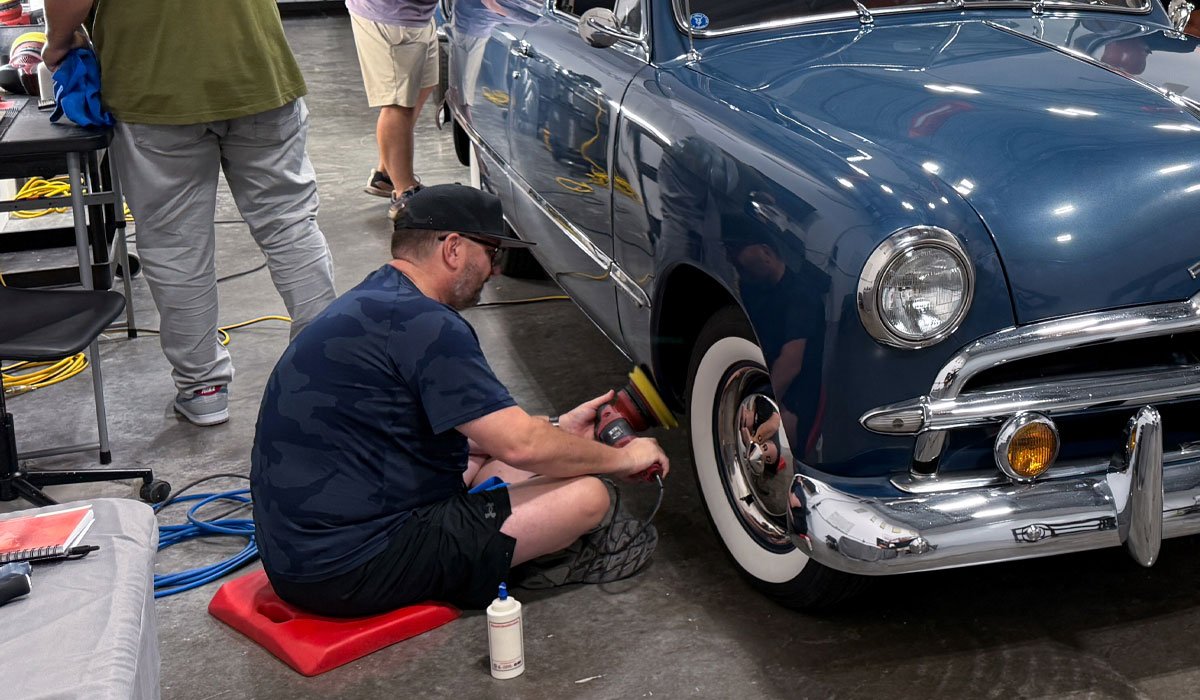
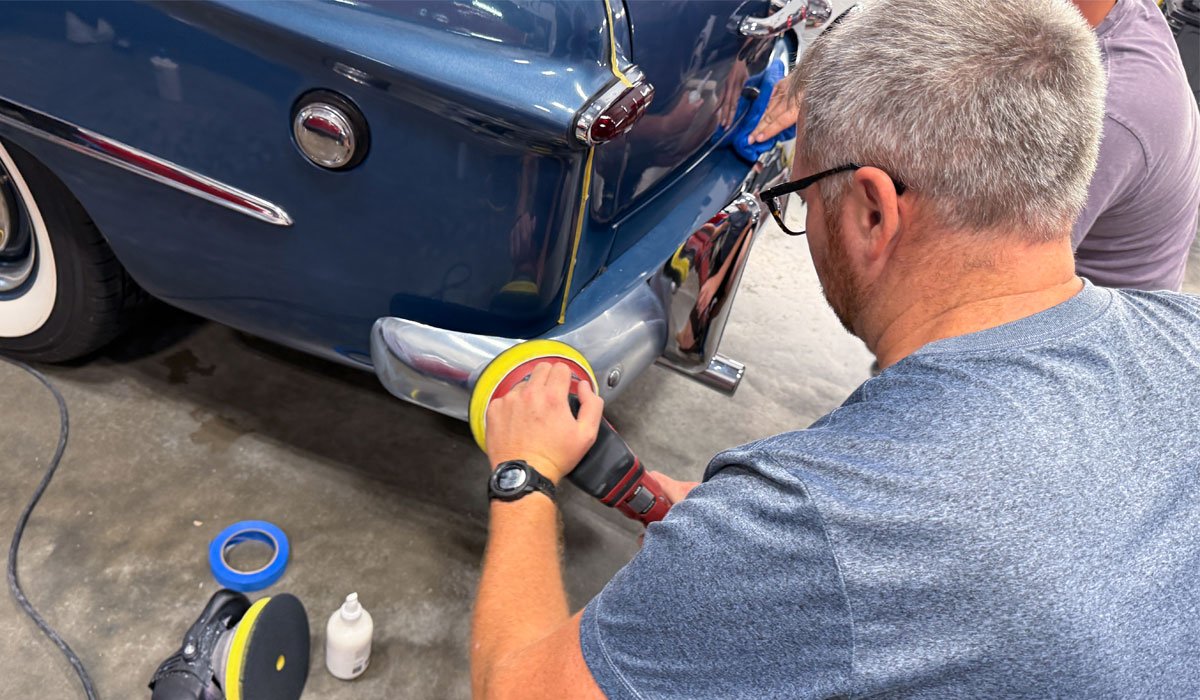
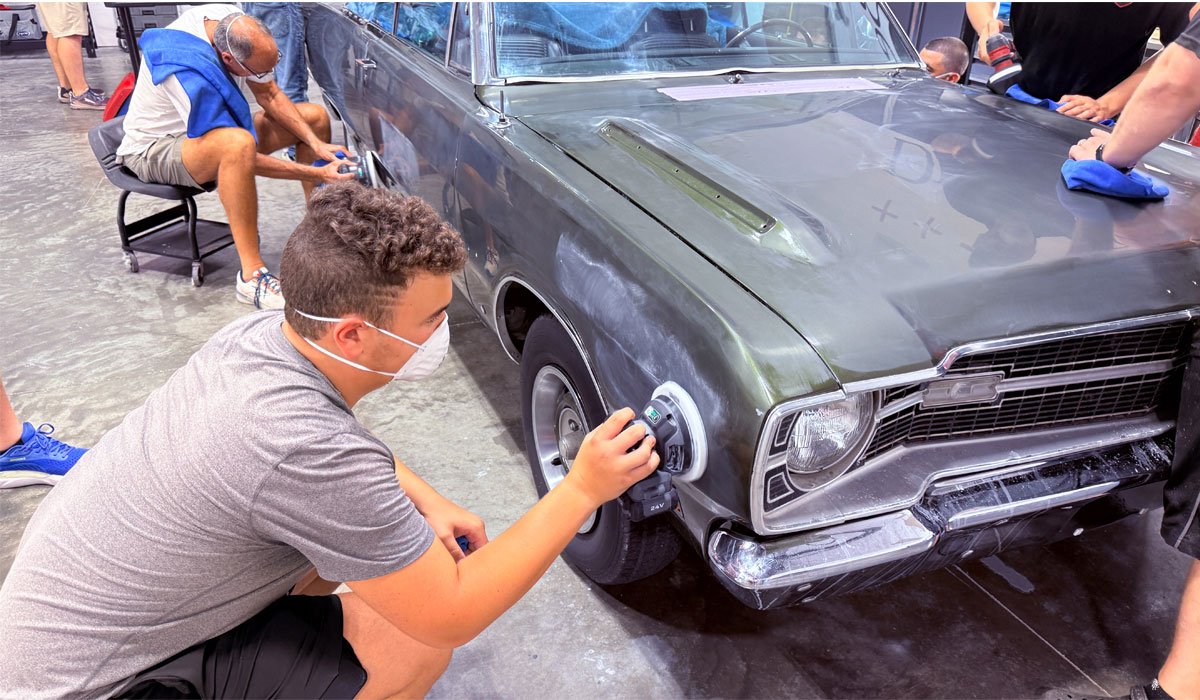
Chrome Polishing
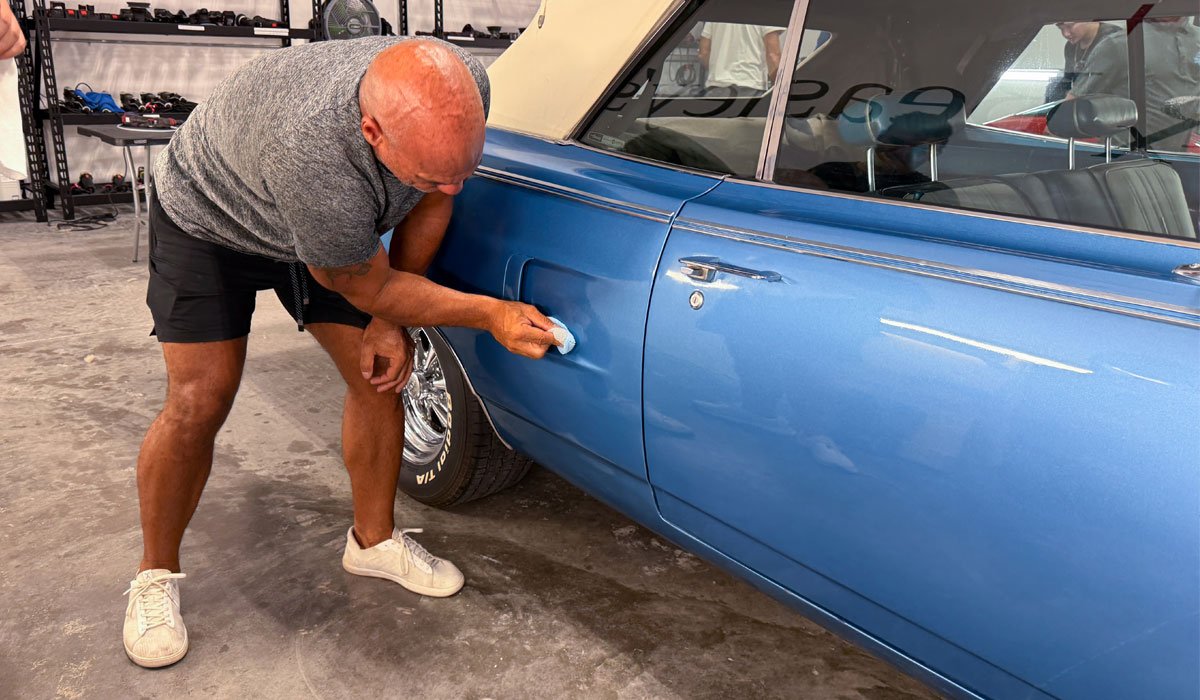
A number of the training cars had actual chrome-on-steel bumpers and trim and for this, they learned how to machine polish the chrome to restore a brilliant shine without causing any harm. Here’s Brad polishing the rear bumper.
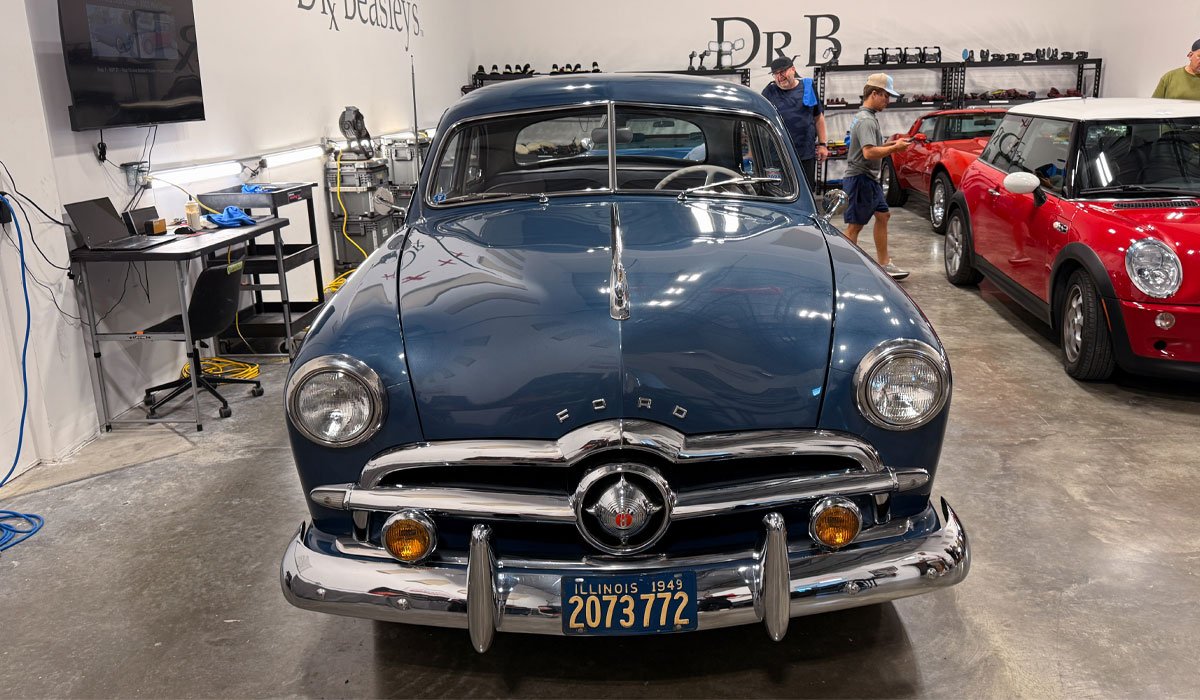
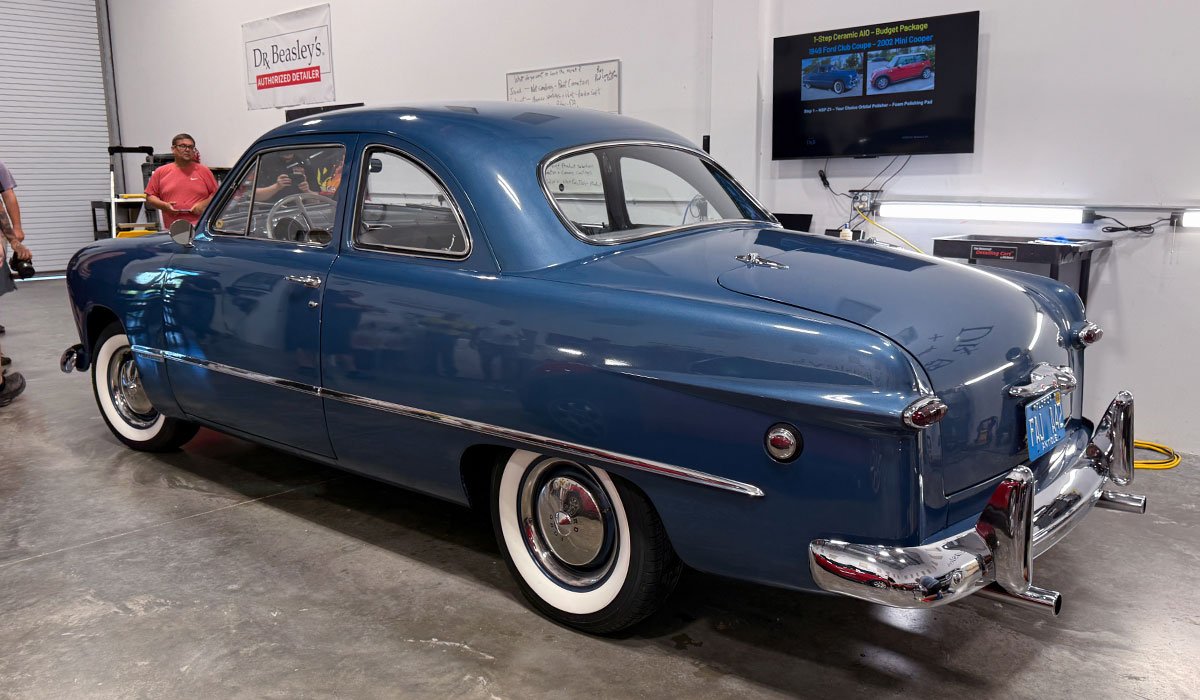
See it? See how much more vibrant and rich the blue color now looks?
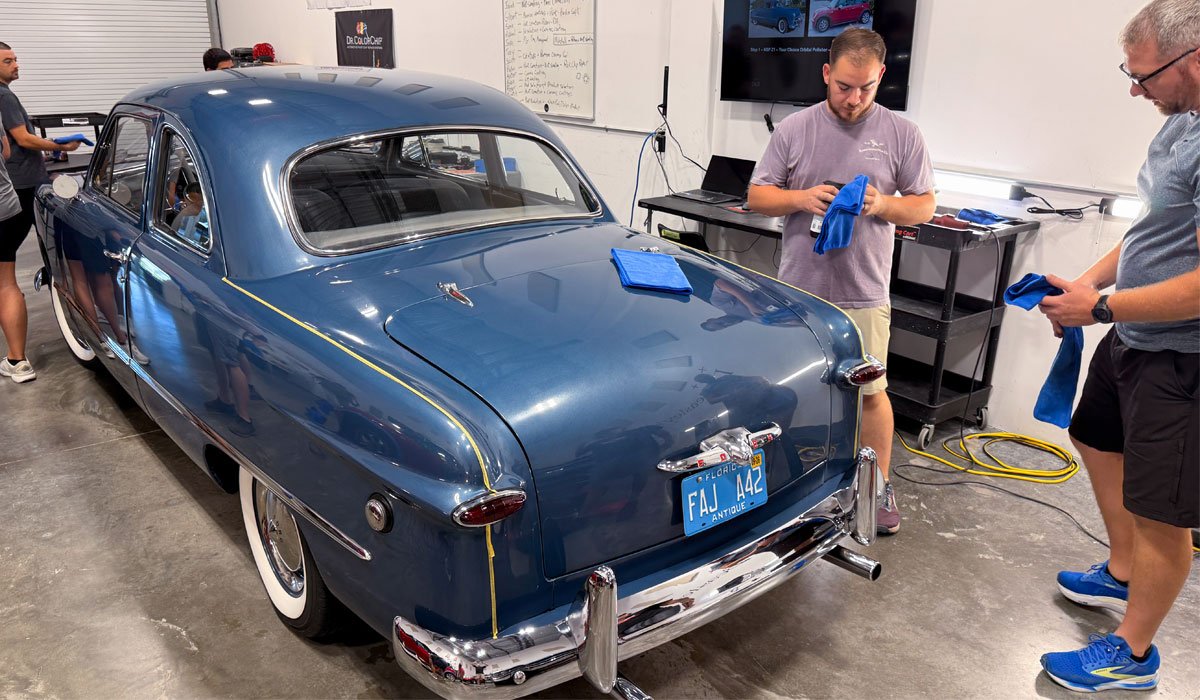
AFTER RESULTS
For what it’s worth, I predicted the paint would go through a dramatic change with the blue color becoming darker and richer and I think the pictures prove the point.

Here’s the group shot with Yancy taking a great shot!
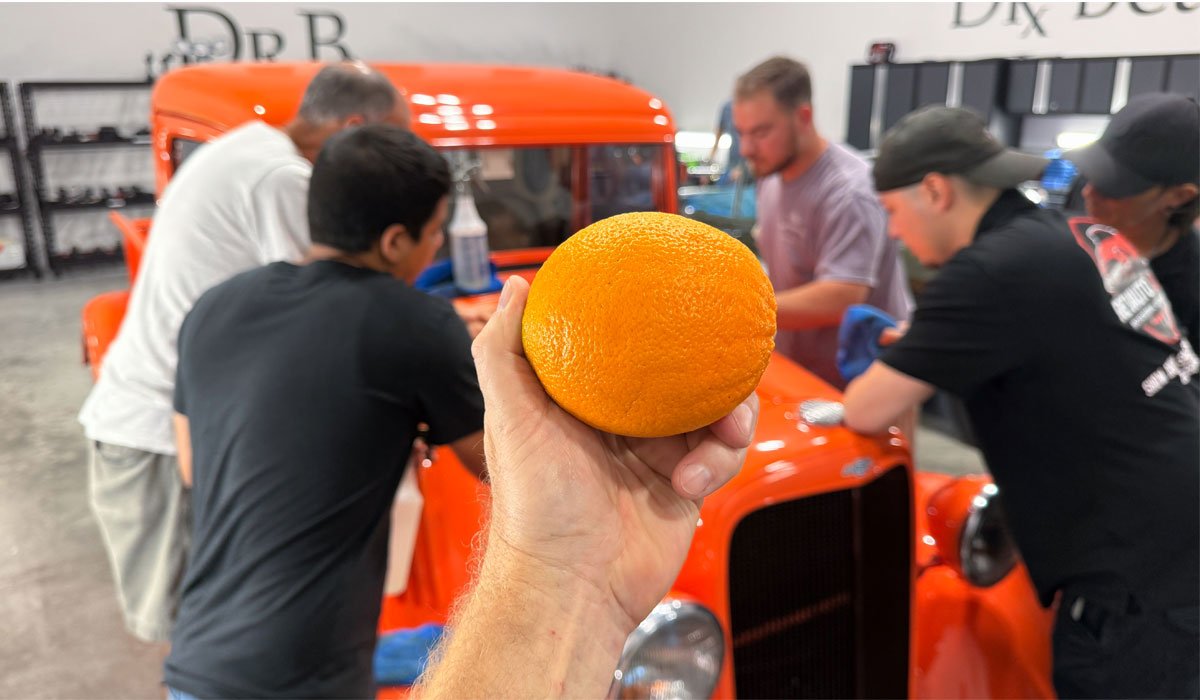
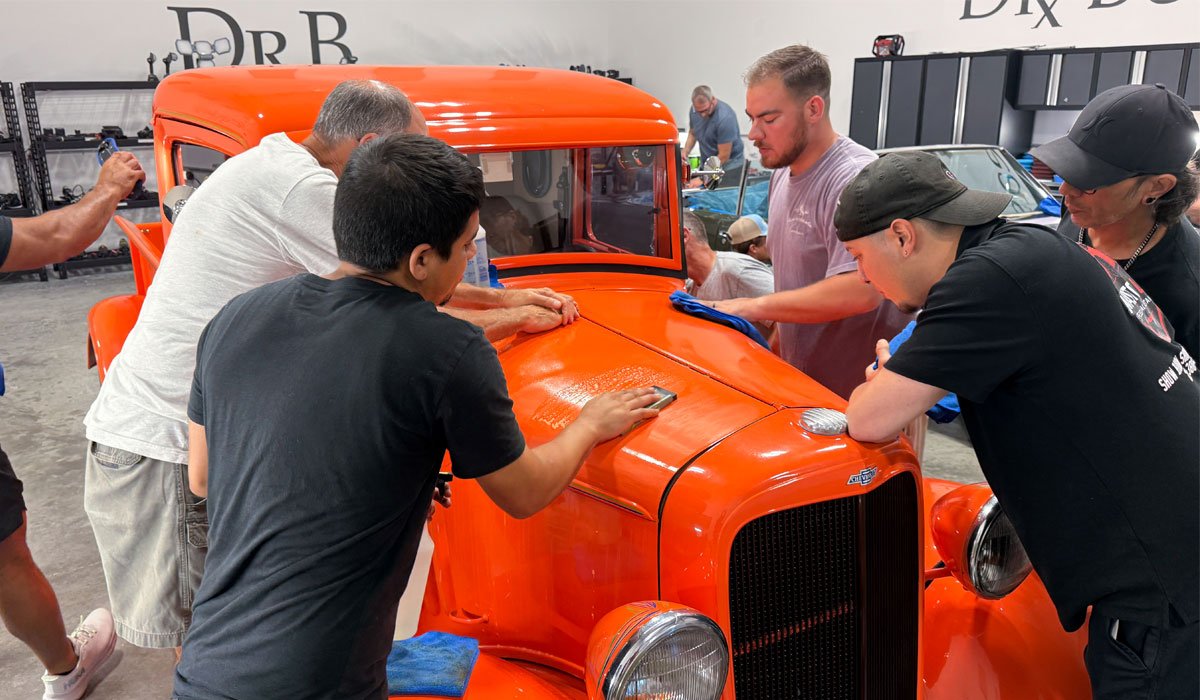
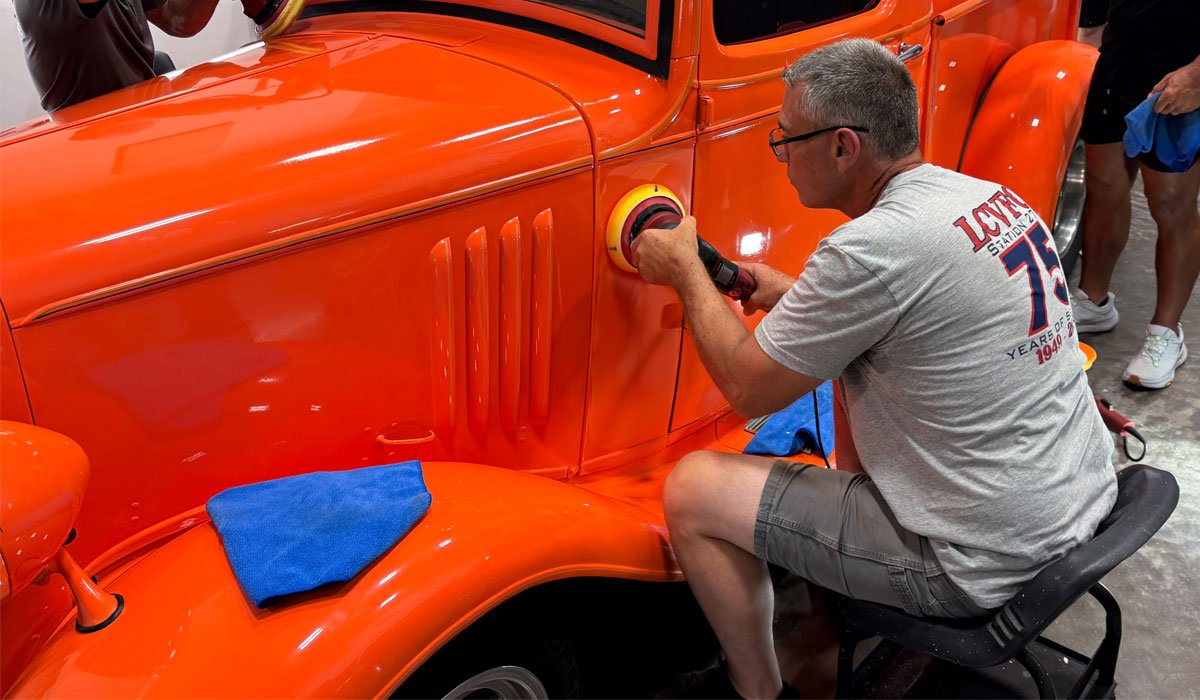
How To Remove Orange Peel via Sanding
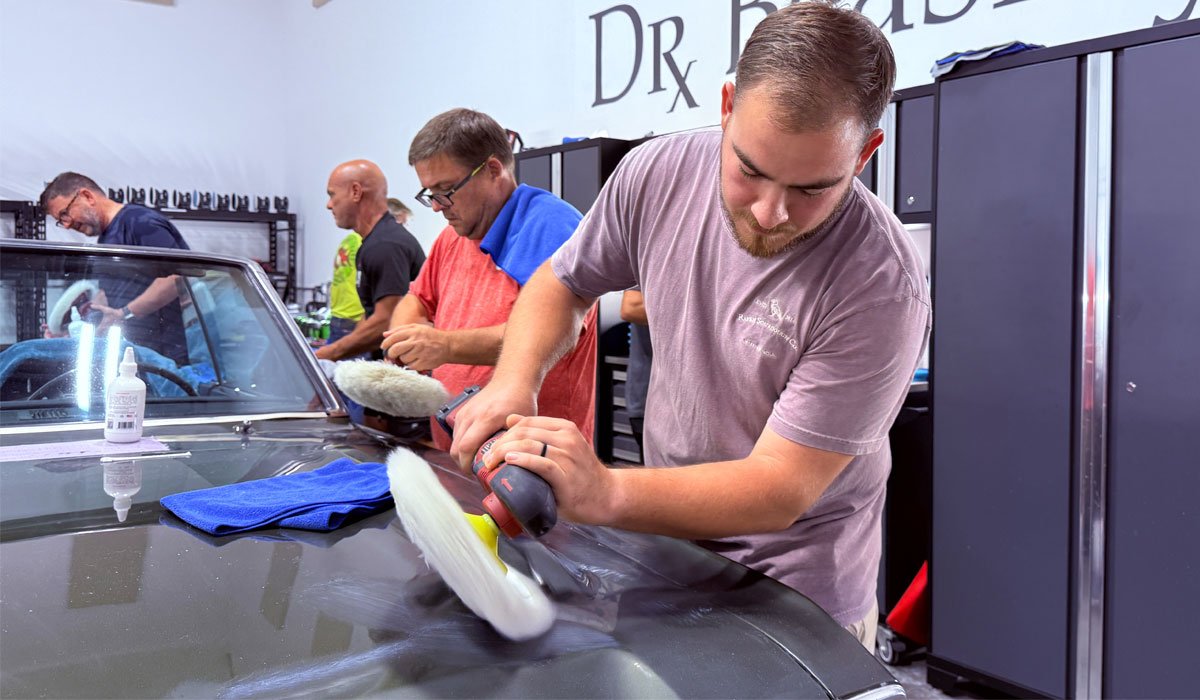
In our 2-day classes, the second day is where you get to learn the art of wet sanding to flatten the paint to remove orange peel. Besides learning how to wet sand by hand, you also will learn dry sand by machine.
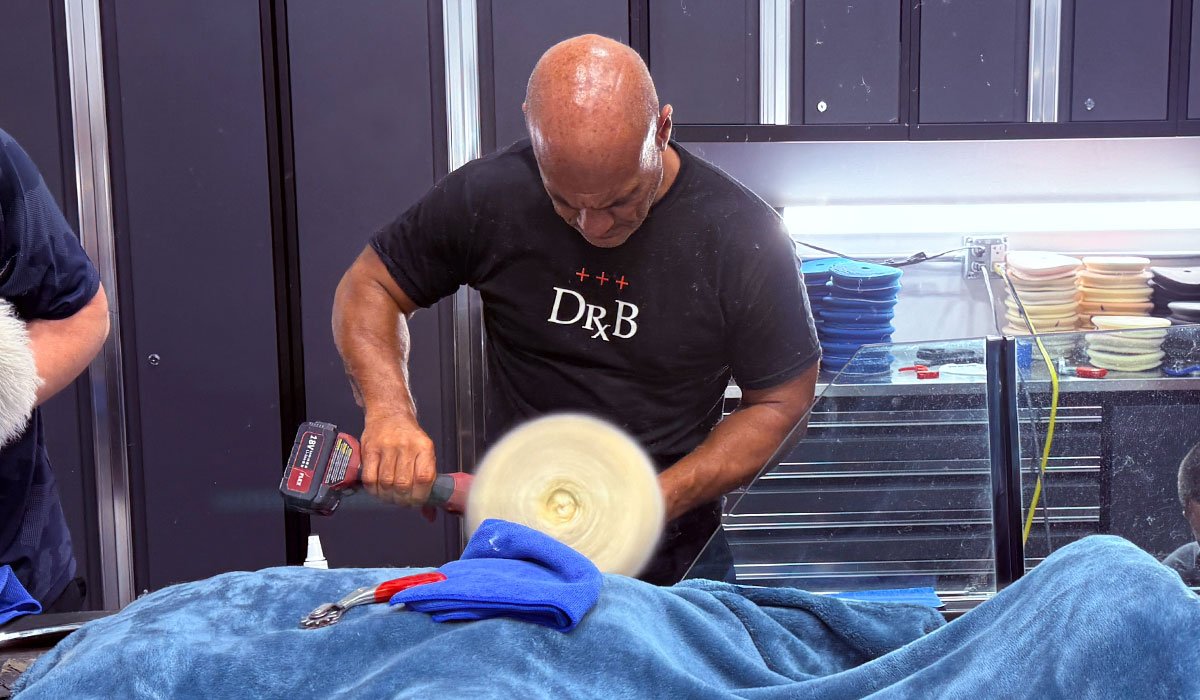
After the sanding steps, it’s time to go back to the rotary polisher with huge 8″ wool cutting pads to remove 100% of the sanding scratches. This is why the first tool you learn how to use on Saturday morning is the rotary polisher is because I need the class already comfortable with and confident as to using the rotary for this very complicated process.
After removing all the sanding marks using a rotary polisher, then it’s back to gear-driven orbital to remove any holograms while maximizing gloss, shine and clarity.
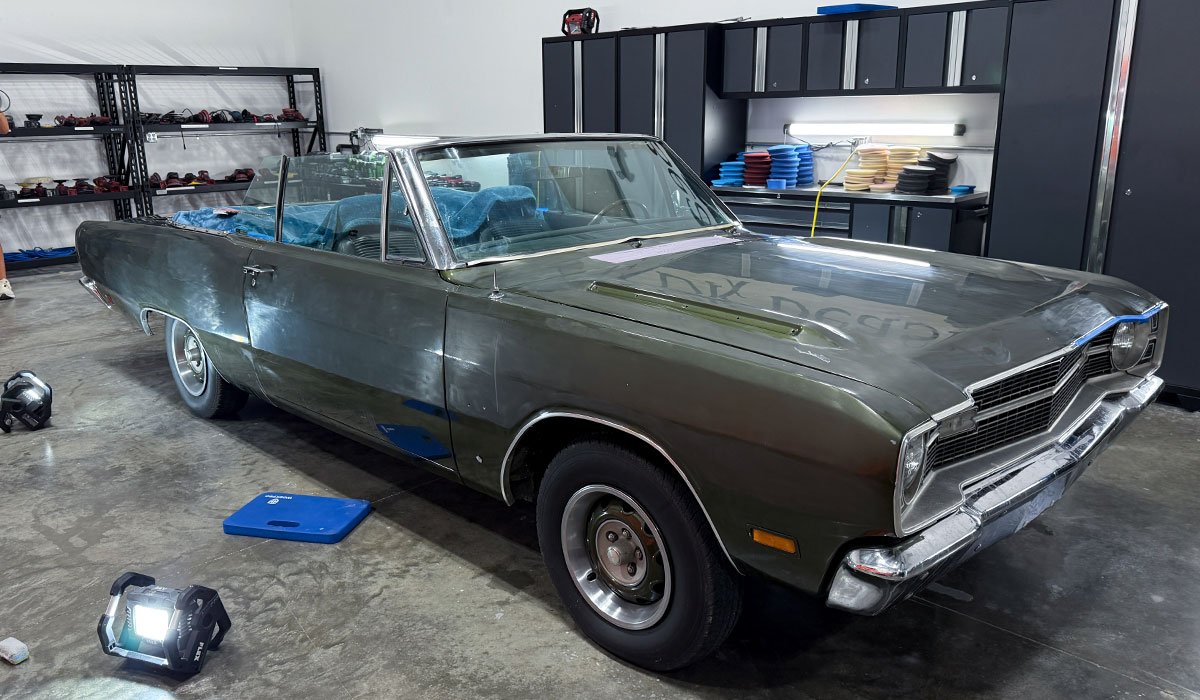
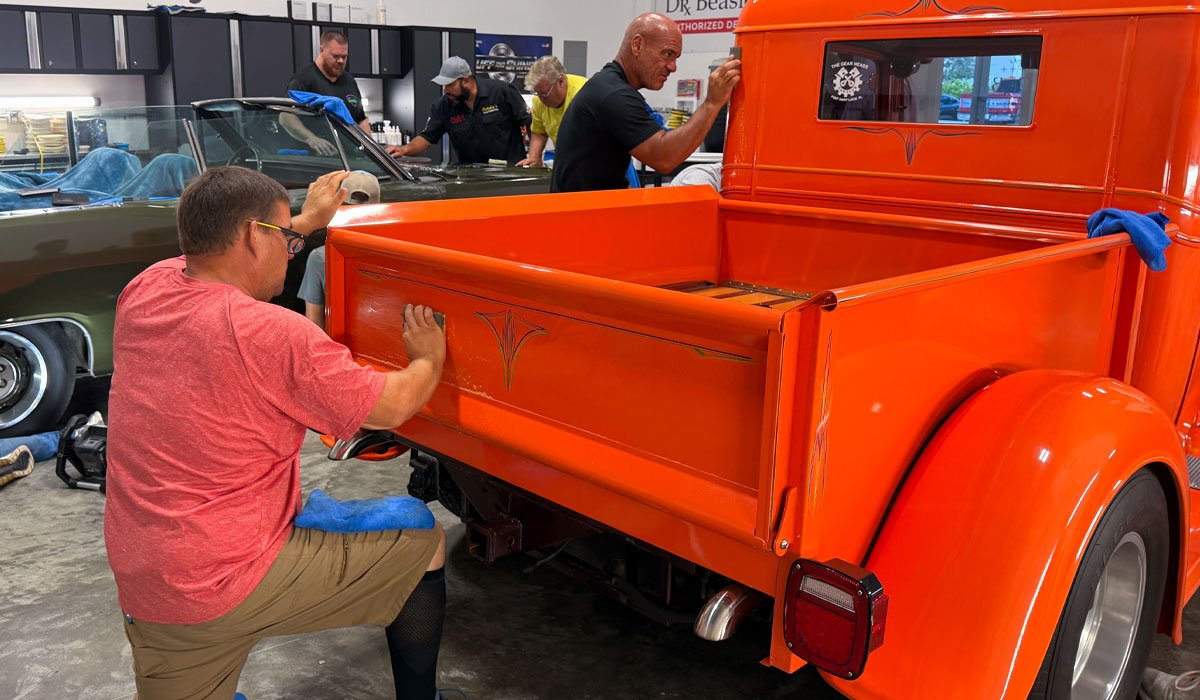
Training Cars – 1934 Chevy Pickup Streetrod & 1969 Dodge Dart GTS Convertible
One half of the class will be working on the Chevy while the other half works on the Dodge.
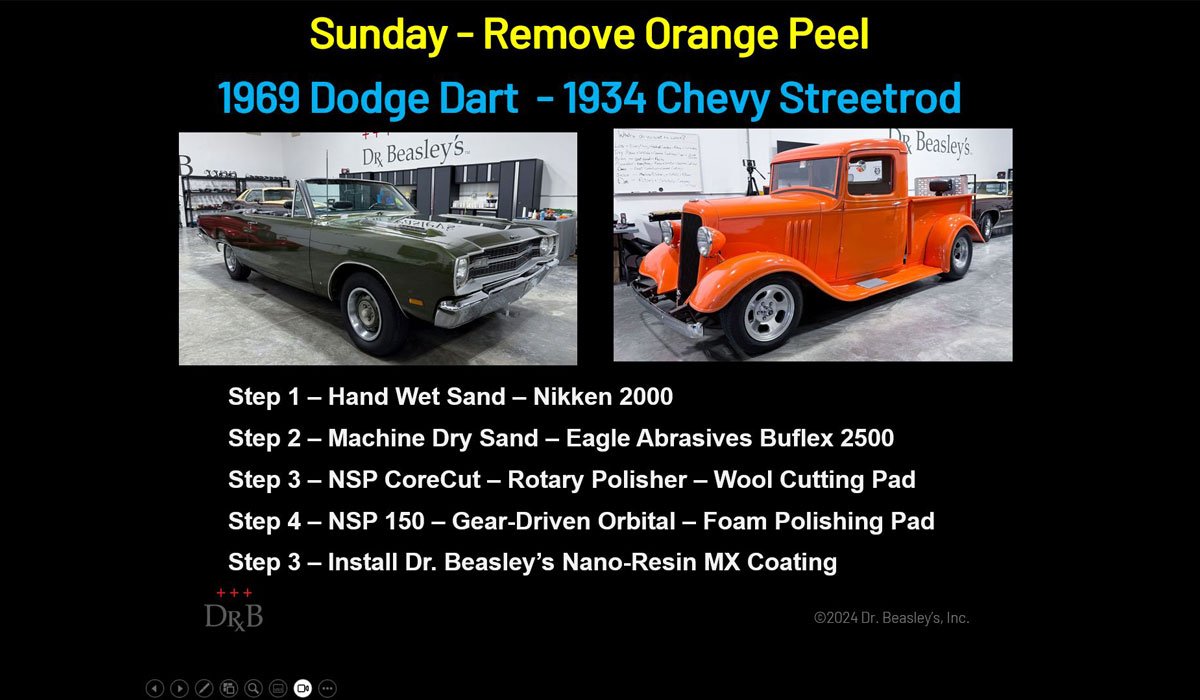
Process
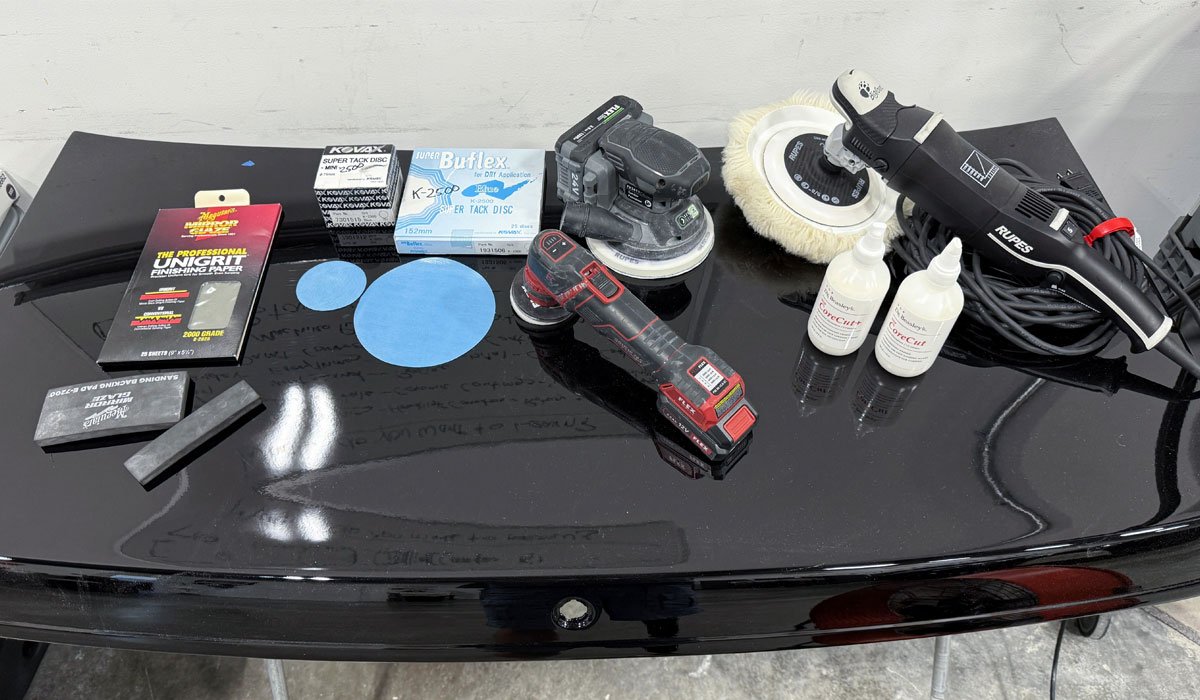
- Hand Wet Sand using Nikken 2000 Finishing Papers – E-7200 Backing Pads
- Machine Dry Sand using Eagle Abrasives by KOVAX Buflex K-2500 – FLEX FX3411 Cordless DA Sander and PXE-80 with 6mm drive unit
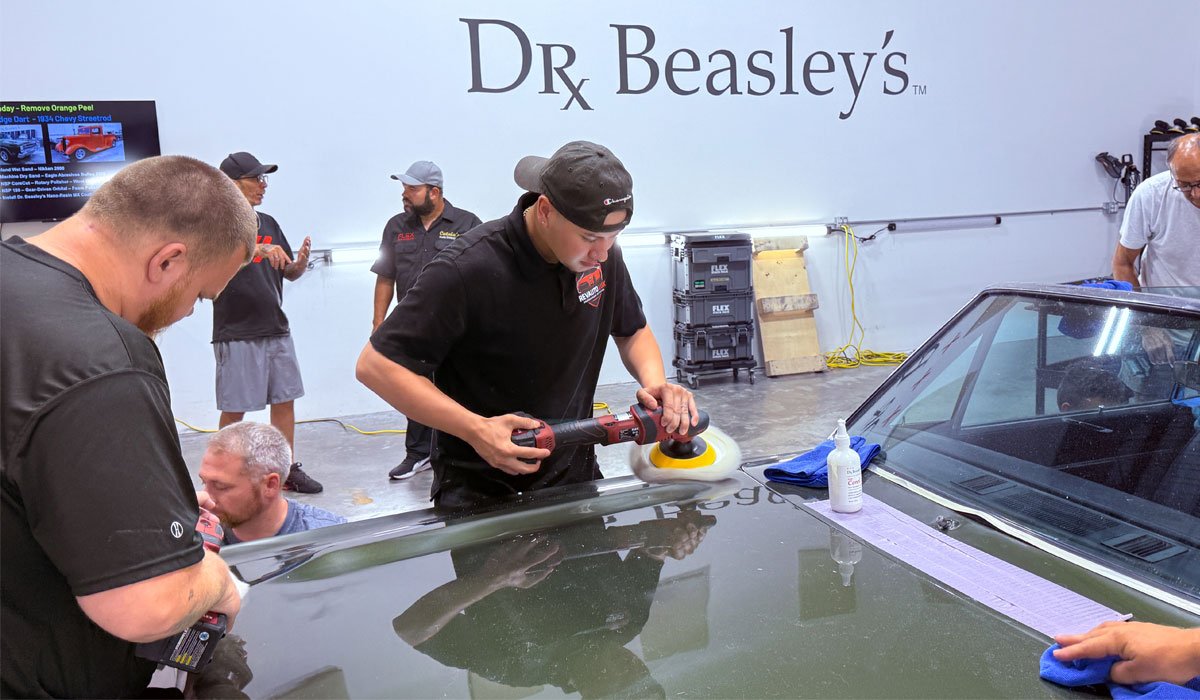
- Rotary Polishers with Buff and Shine 8″ Wool Cutting Pads with Dr. Beasley’s NSP CoreCut
- Gear-driven Orbital Polishers with Buff and Shine EdgeGuard Foam Pads with Dr. Beasley’s NSP 150
- Ceramic Coat using Dr. Beasley’s Nano-Resin 2.0
It’s GO TIME!
After going over the correct technique for hand wetsanding, I turn the class loose. As the class is sanding, my job is to walk around and watch each person and if they’re doing it right, I let them know. If I see an area to tweak their technique, then I gently share this info with the person. The goal is to get the finish flat, but the more important goal is for each person to leave this class knowing exactly what to do and how to do it when it comes to removing orange peel via hand wetsanding.
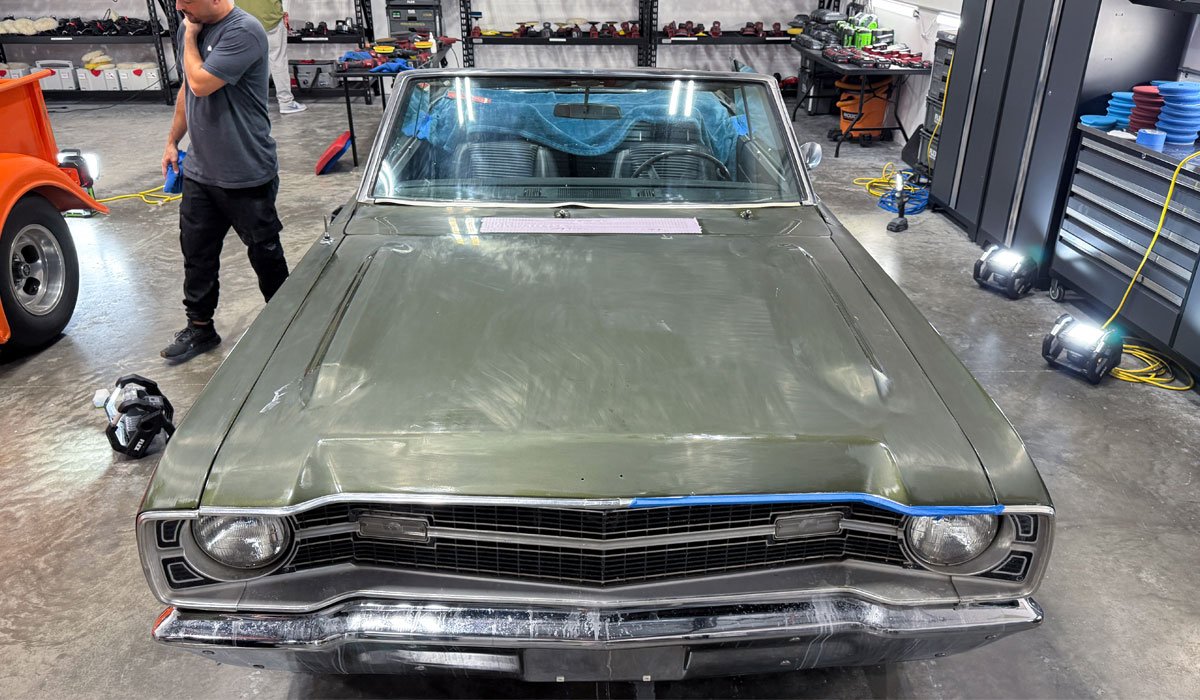
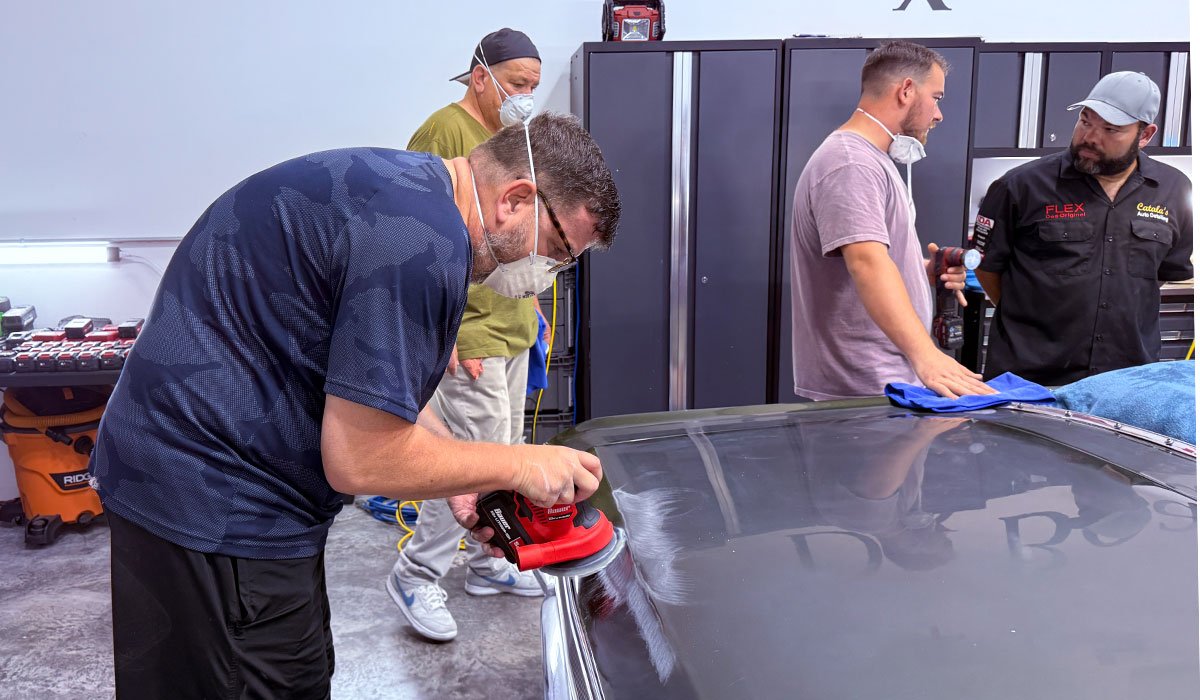
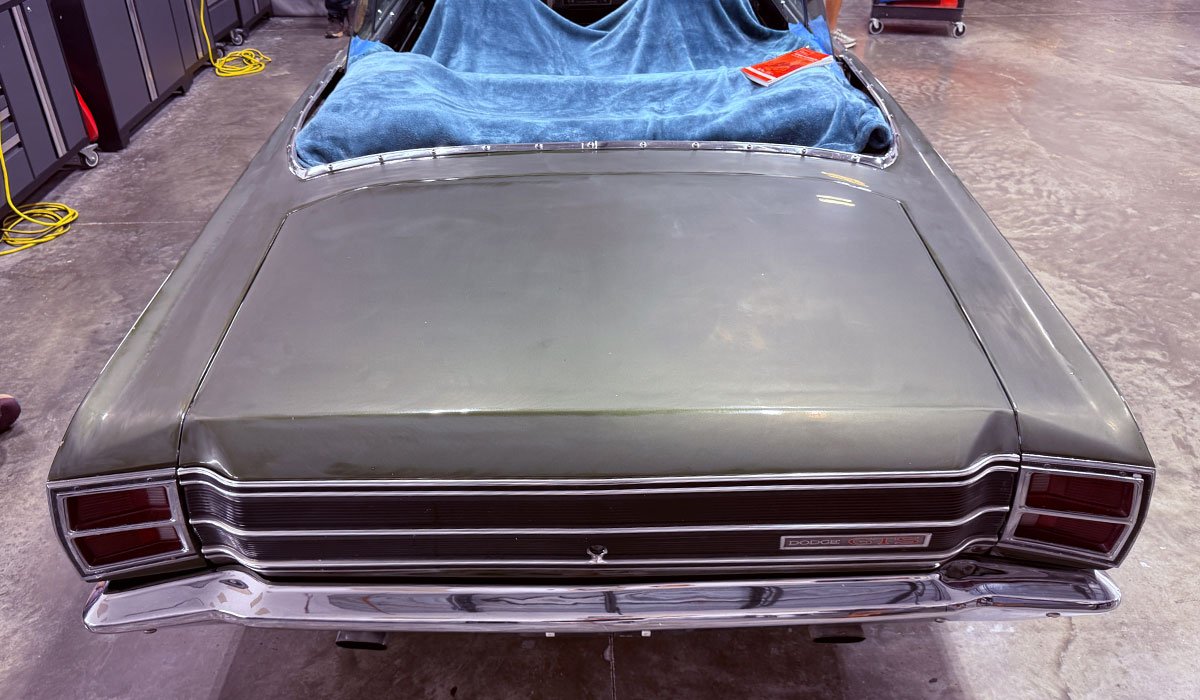
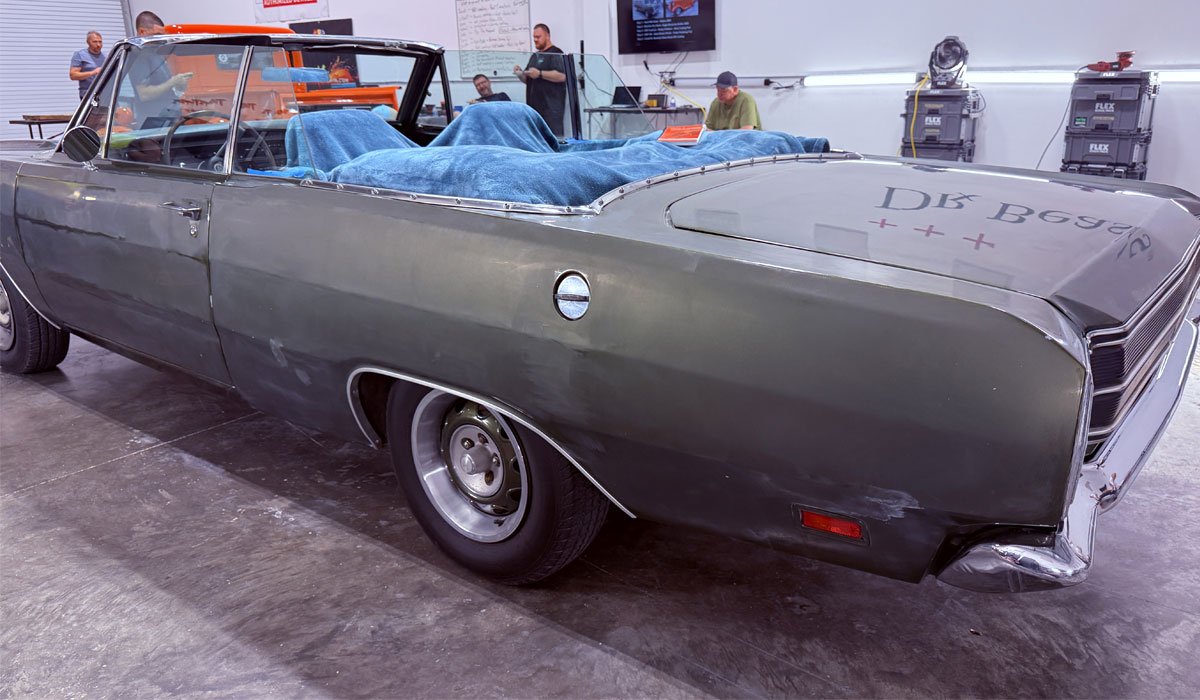
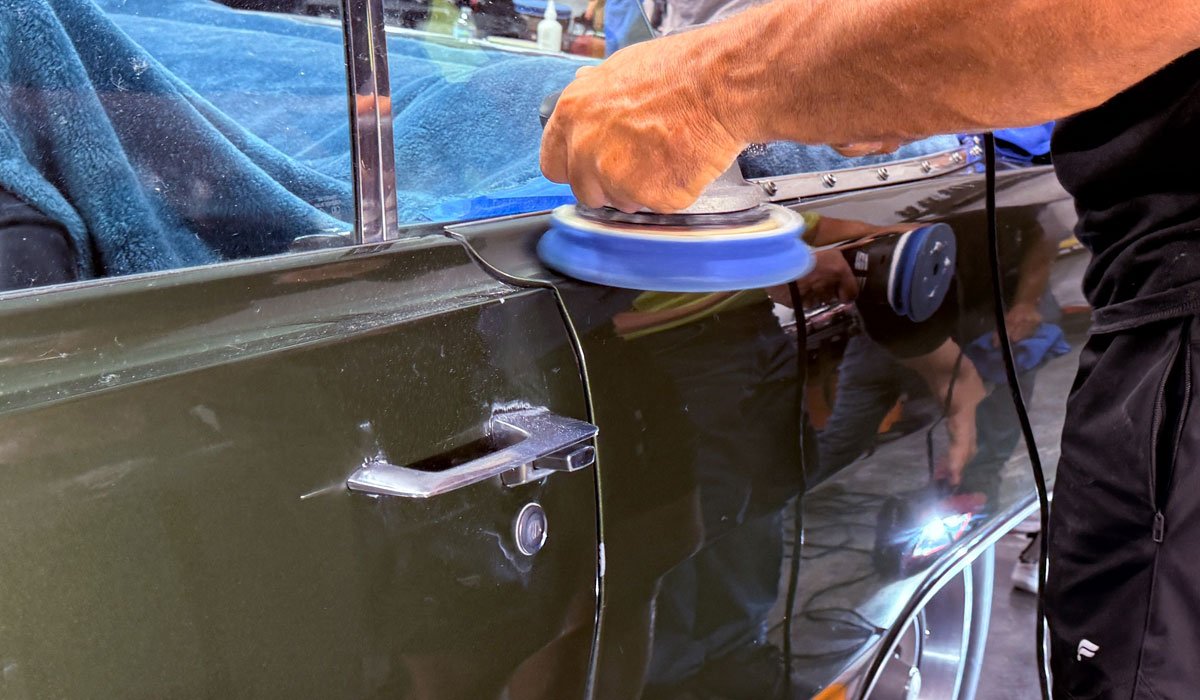
Hand Wetsanding the 1969 Dodge Dart GTS Convertible
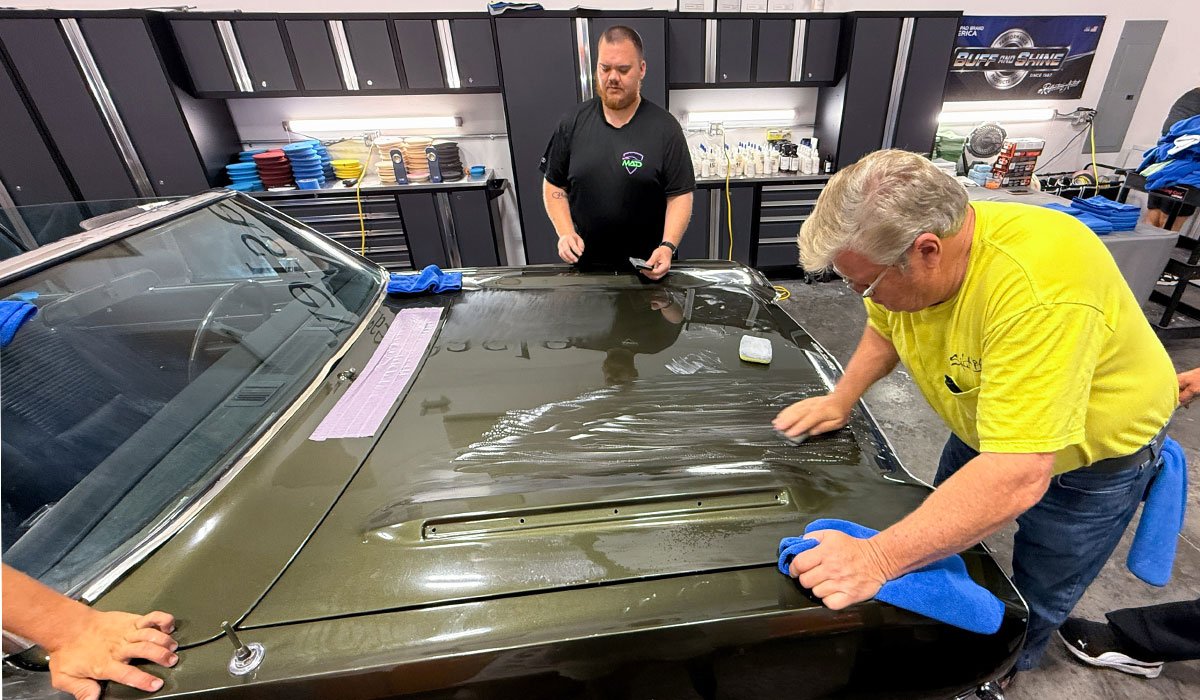
Here she is after hand wet sanding using Nikken 2000 grit Finishing Papers
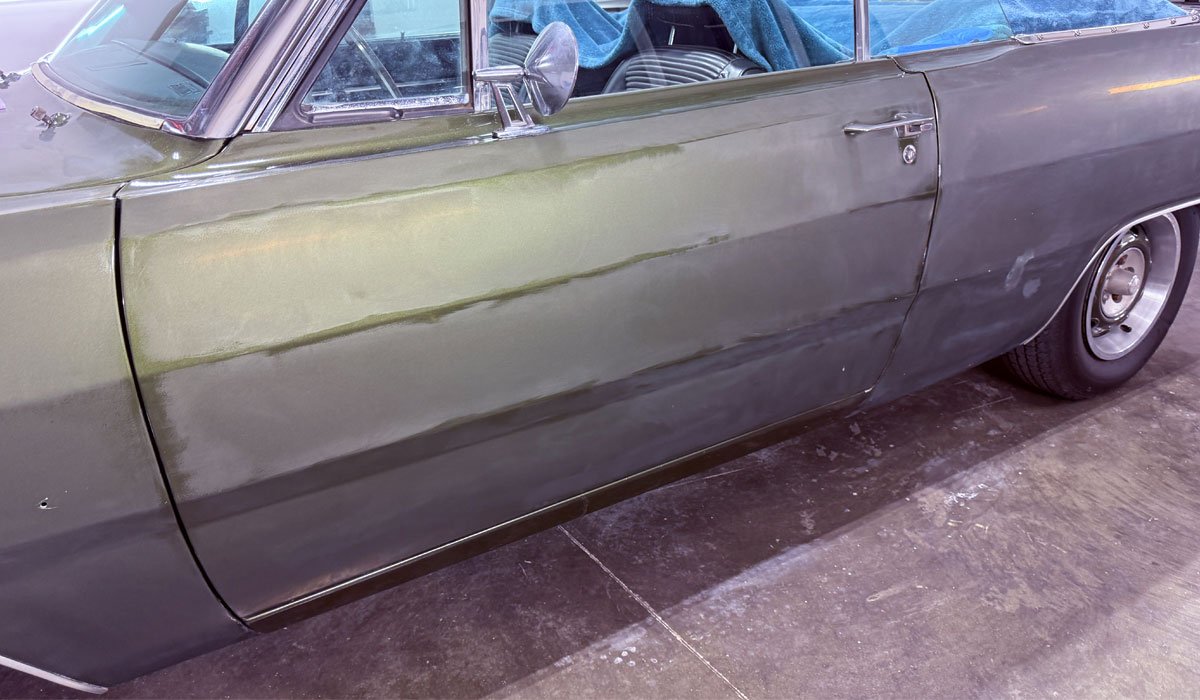
Machine Dry Sanding – Refining Hand Sanding Marks
After hand wet sanding, next the class will learn how to refine the 2000 grit sanding scratch pattern to a more uniform and shallower 2500 grit sanding mark pattern using FLEX Cordless DA Sanders and Eagle Abrasives by KOVAX Buflex 2500 Film Sanding Discs in 6″ and 3″.
Here’s Quintin and Jonathan sanding on the front clip
Out back we have Josh, Scott, Sean and Gilberto machine dry sanding.
Here’s Sean using the FLEX FX3411 DA Sander on the driver’s side rear fender. The FLEX FX3411 is a FINISHING sander with an orbit stroke of 1.6mm
Here’s Mitchell machine dry sanding the driver’s side front fender.
Here’s Paden using the FLEX PXE-80 with a custom cut 2″ sanding disc to carefully sand next to a raised body line.
No chairs
Our classes are 100% hands-on. These classes are best for people that learn by doing, not sitting in a chair looking at a PowerPoint while someone talks and talks and talks.
Paden machine dry sanding a small, concave curve with the PXE-80 outfitted with the OPTIONAL 6mm drive unit.

Looking good!

Quintin using a unique technique to sand next to the trim while being able to see exactly where the sanding disc is rotating and oscillating.
Here’s Josh doing a little careful sanding next to the fresh air intake grill.

TESTING – BAUER 20V Cordless, 5 in. Random Orbit Sander with Dust Bag
This was a large class with 16 people attending. I only had 11 FLEX FX3411 Cordless D.A. Sanders in my inventory plus 7 FLEX PXE-80s, which is more than enough for everyone to have their own cordless sander, but I also purchased to locally sourced cordless D.A. Sanders from Harbor Freight for the students to test out and compare to the FLEX units.
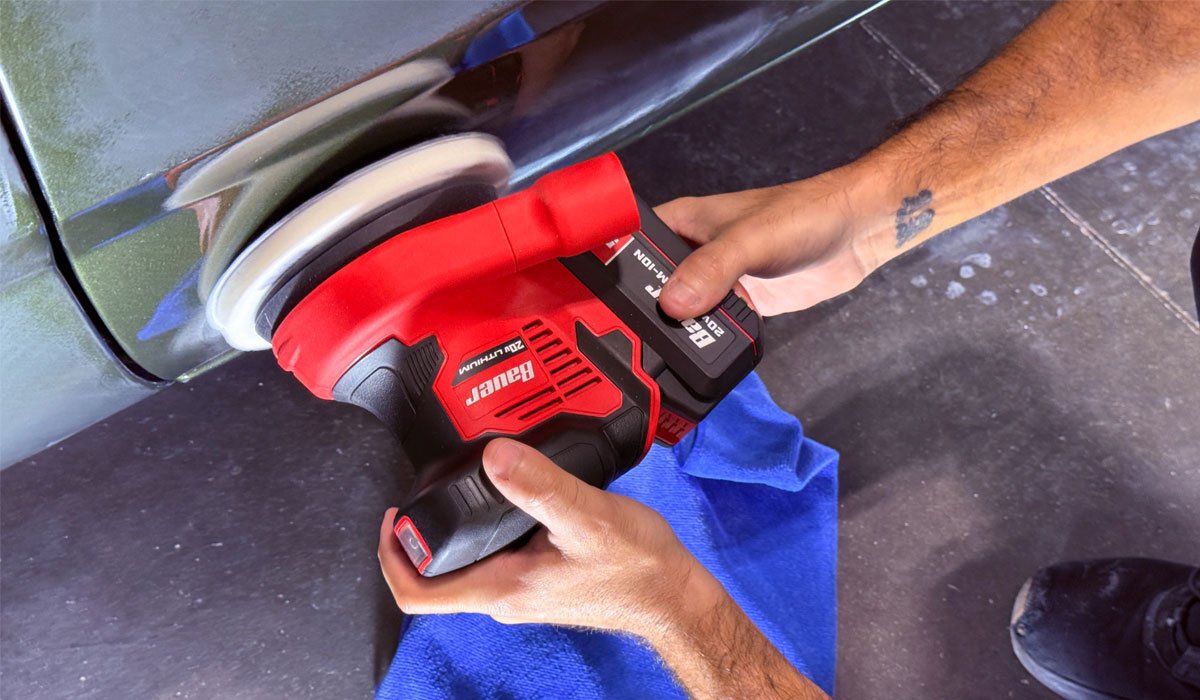
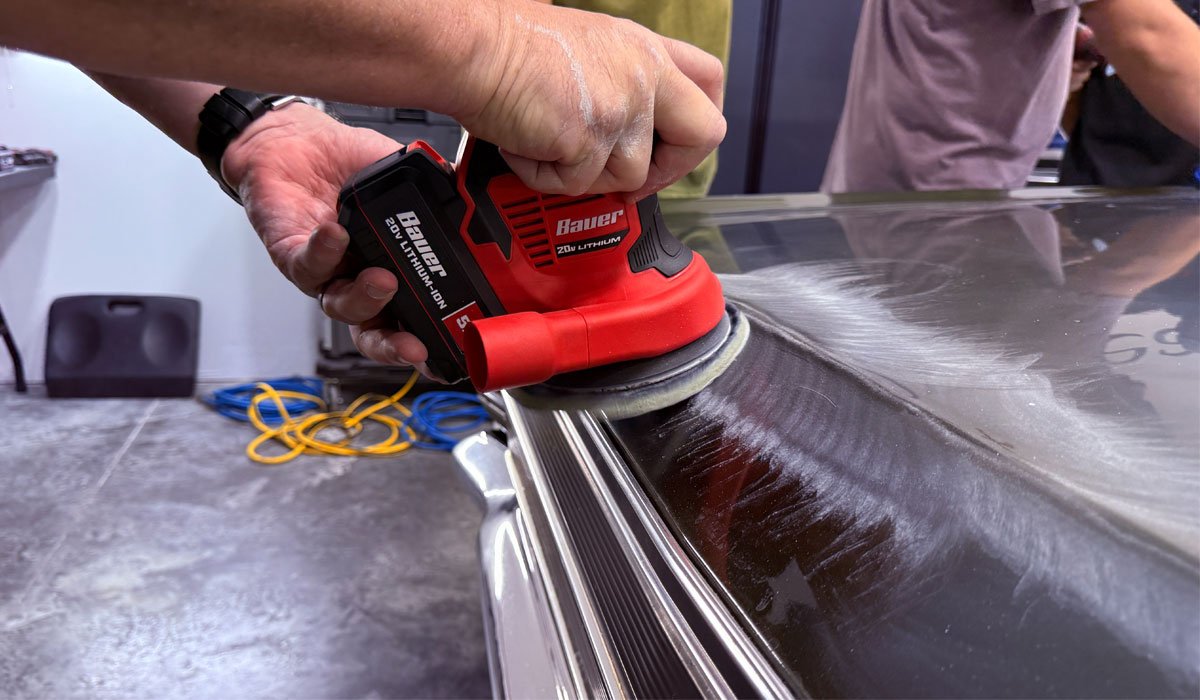
Review: BAUER 20V Cordless, 5 in. Random Orbit Sander with Dust Bag
Did the Harbor Freight 5″ Cordless DA Sander work? The answer is “yes”, but unlike the FLEX FX3411 there is no variable speed option with this tool, it’s either on or off. So, does it work? Yes, but for a few extra bucks I would opt for the FLEX FX3411 instead as it’s simply a better designed tool for this type of work.
Here’s the Dodge after Machine Dry Sanding

More…
How to Use a Rotary Polisher American Style!
Most people don’t know there’s a huge difference in how people use rotary polishers. There’s American style and everything else. American style is using the rotary like a Sledgehammer to cut FAST. And this is done using large 100% 4-ply, twisted wool cutting pads. These large pads with a quality compound and the right technique will make FAST work of removing 100% of the sanding marks not just on the easy to buff larger flat panels, but when buffing around edges, raised body lines, intricate areas and concave curves.
What’s the other style?
Great question. In other countries, they use smaller pads, like 5 and 6″ pads. Using smaller pads makes using the rotary polisher easier for newbies simply because there’s less total surface area to manage. But the smaller pads make the process slower. Both styles get the job done, but what we teach is the American style because it’s simply faster.
Here’s the deal, in the real world, if you are ever going to sand down an entire car and then buff it out, you’re not going to have a TEAM of people helping you. Chances are you’ll be by yourself. If you’re like me, the goal is to get the job done as fast as humanly possible while maintaining professional grade results. A larger 8″ wool cutting pads enables you to work fast and efficient and at the end of the day, that’s what it’s all about. If you’re not in a hurry, for example you’re sanding and buffing your own car, not doing this as a professional getting paid, then by all means, use any size and type of pad you like, but after decades of doing this type of buffing, I’m telling you straight-up, the American style is the skill to learn and perfect. As I like to say, you want to get in and get out.
Building on Rotary Training from Day 1
One of the REASONS we start our classes with learning how to correctly use a rotary polisher on the first day of class is so that by the time we get to buffing out all the sanding marks or sanding scratches is so that each person is COMFORTABLE with using the rotary polisher. I can’t make anyone an expert in a single class, but I can help to give them a FOUNDATION that they can then build on moving into the future.
Here’s Paden showing this cordless FLEX rotary who’s the BOSS!
Large Buff and Shine Wool Cutting pads make FAST WORK when it comes to removing all the sanding marks.
Here’s Roger using the latest version of the FLEX cordless rotary polisher.
Josh is a natural when it comes to any polisher, including the rotary polisher.
Here’s Jonathan working out the sanding scratches next to the back edge of the hood.
Making the Rotary Polisher Dance on Paint!
Here’s Jared holding the rotary in a way to buff out a concave curve where the vertical side meets the horizontal portion of the car body. This is CORRECT TECHNIQUE. Nice work Jared!
NSP CoreCut
Dr. Beasley’s CoreCut is a fast-cutting compound that like all our NSP Primers, uses Nanogel as a carrying agent. After use, there’s no need to use a panel wipe t chemically strip the paint before installing a ceramic coating.
Quintin has it down!
Here’s Ray going up-on-edge to remove all the sanding marks on the Dutchman Panel. Nice work Ray!
Scott and Ray tag-teaming the Dutchman Panel.
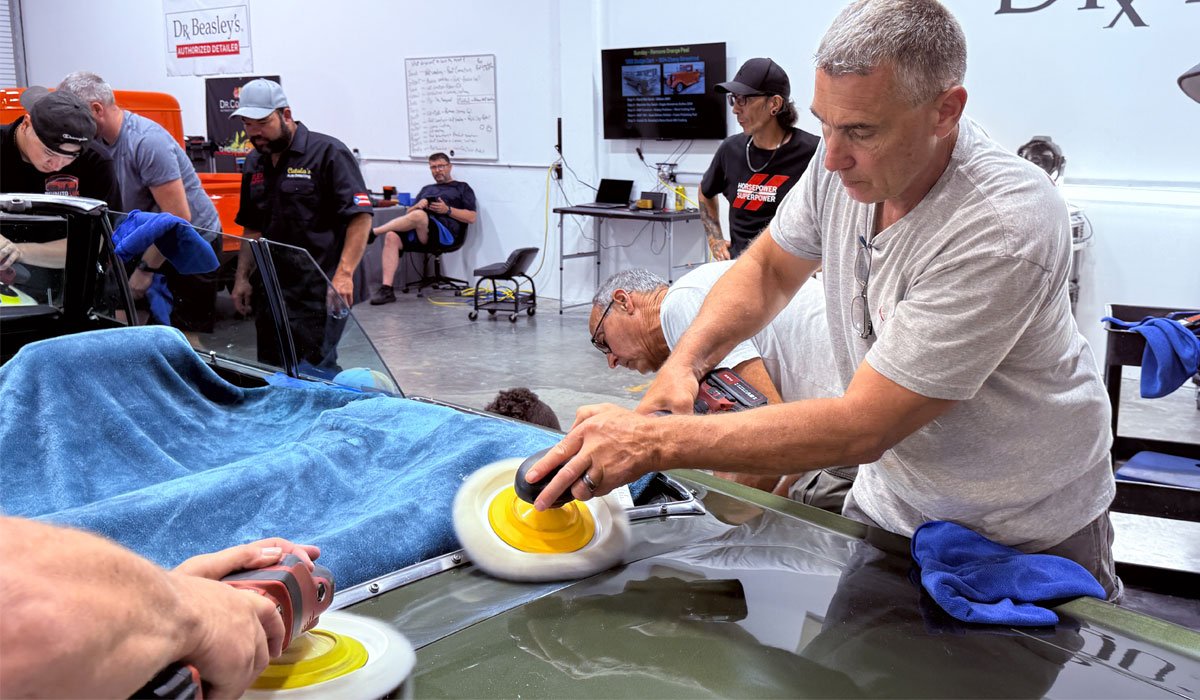
Buffing Flat or Going Up on Edge?
There are two schools of thought on the correct way to use a rotary polisher. I teach the technique for Going-Up-On-Edge. The reason why is simply because it’s MUCH EASIER to control and buff with this larger size pad. If you try to hold this type of pad FLAT to the surface, it will work at the start while the large wool pad is DRY. As soon as the wool fibers start to become wet with product, it will be impossible to hold the pad flat because the polisher will start jerking you around.
The reason the polisher jerks you around when trying to buff with a wet wool pad flat to the surface is because in one moment, a PORTION of the pad surface will GRAB the paint, and this shows up as pulling or jerking the polisher around in your hand. Then in another moment, a different portion of the pad surface will grab the paint and jerk you again. This will continue until you remove the wet pad and start over using a dry pad. So “yes”, you can switch to a clean, dry wool cutting pad often, but in the real world, it’s simply easier and more time-efficient to go-up-on-edge when buffing.
Using either technique will get the job done, it’s just the going-up-on-edge technique will be easier on you and when you consider you’re going to be running this wool pad around a car for HOURS – you’re going to need all the strength you can muster. So, pick your poison, but when someone tells me that buffing on edge is wrong, it just tells me this person has never buffed out a boat using a rotary polisher because it’s impossible to hold a large wool buffing pads against the angled side of a boat hull for hours once the pad becomes wet with product. And this same principal applies to buffing out cars.
The next time you buff using a large wool pad on a rotary polisher, test for yourself and I’m confident after about 30 minutes into buffing – it’s much easier to go-up-on-edge.
Machine Polishing to Remove Holograms for a Swirl-Free Show Car Finish
It’s VITALLY IMPORTANT to remove 100% of the sanding marks with the first step using a rotary with a wool pad. Can you remove leftover sanding marks using a foam pad on an orbital? Yes, but it will take more time and you risk overheating the paint and potentially burning through the topcoat of paint.
Holograms – Normal
If you’re new to detailing, and specifically new to using rotary polishers, here’s the deal. Anytime you use a rotary polisher with any type of FIBER pad, you’re going to leave holograms ini the paint. This is NORMAL. The BIG PICTURE idea is after using a fiber pad on a rotary polisher you don’t STOP – you do a follow-up step to remove the holograms. This means switching over to a foam pad on some type of orbital polisher.
Foam Pads = Uniform Surface Texture
Fiber pads are a form of abrasive and each of the millions of individual fibers that make up a fiber pad leave their own CUT in the paint. The reason a foam pad can remove these cuts is because a foam pad, (at least the foam pads we teach how to use), have a FLAT SURFACE and this flat surface is UNIFORM in texture and consistency. Used together with a quality polish on a dual action polisher, you have a combination that will cut the paint, that is cut out the holograms BUT leave a flat or hologram-free surface.
Buff and Shine EdgeGuard Foam Pads
We showcase the EdgeGuard buffing pads in our classes because the unique tapered design for the outer edge of the pad enables you to SHOVE the edge of these pads into tight areas when doing paint correction to hard-to-buff areas. Of course, this really only works when using a gear-driven orbital as trying to do this with a free spinning, random orbital polisher will be a waste of time as the pad will simply stall out.
The design of the EdgeGuard pads also prevents the backing plate from ever coming into contact with paint – a HUGE SAFETY benefit to the design of these pads.
Somehow we didn’t get any pictures showing the class installing the ceramic coating, but of course, this was a part of the complete process.
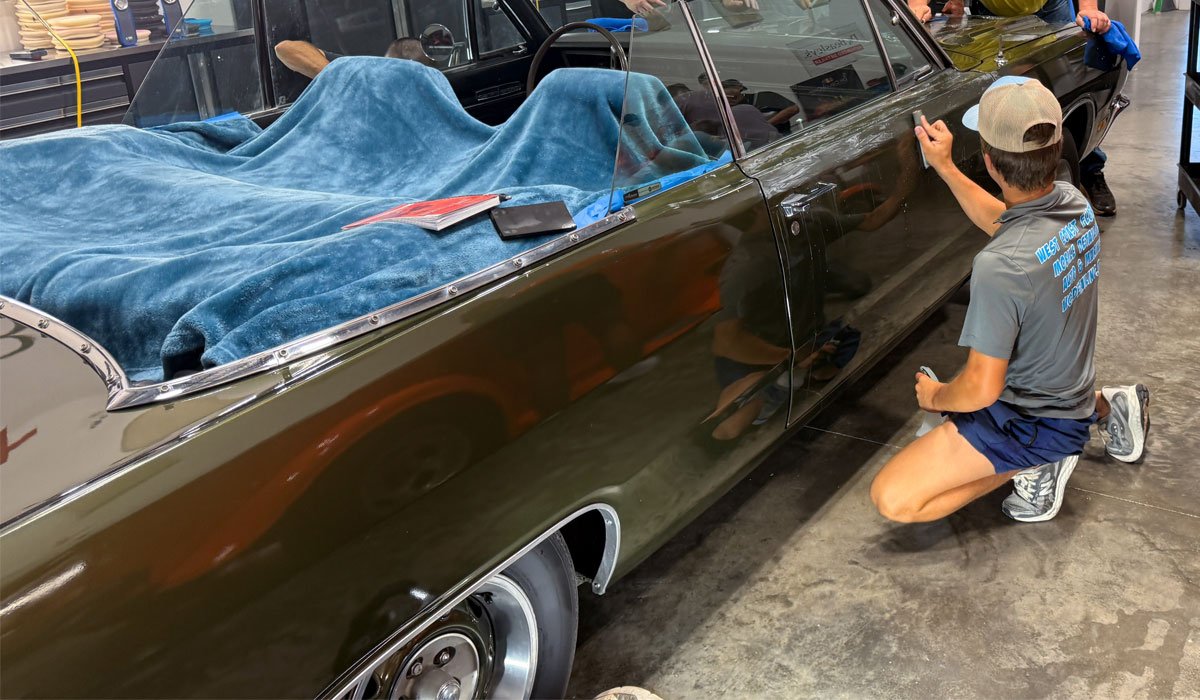
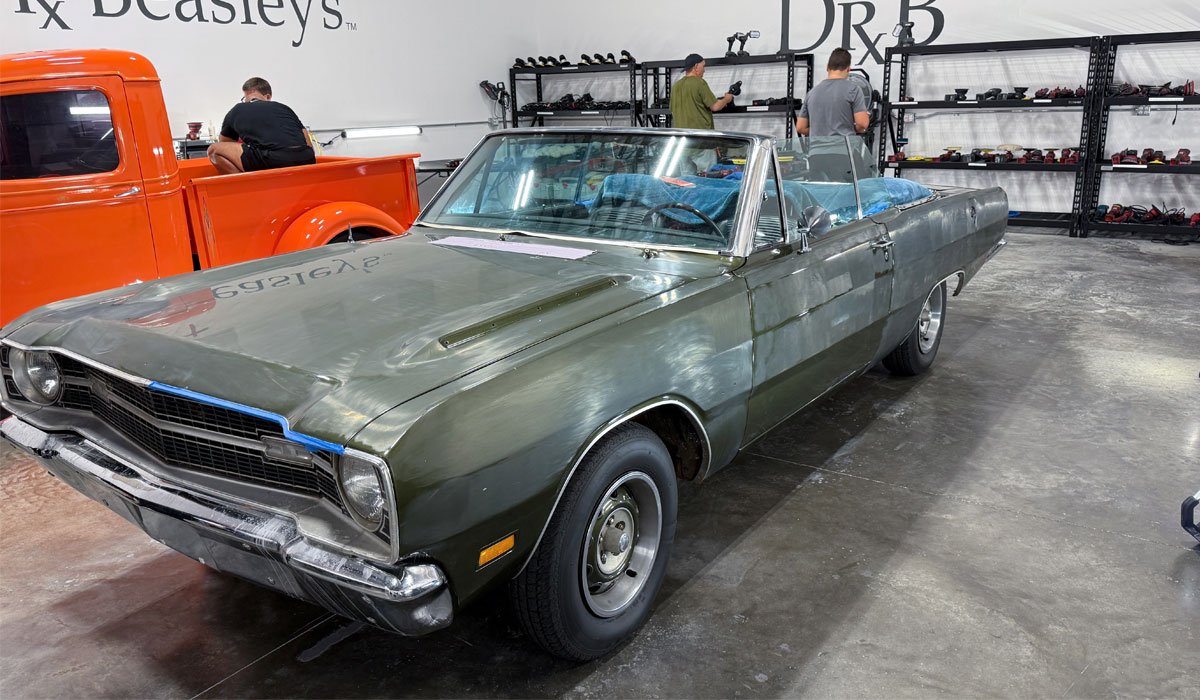
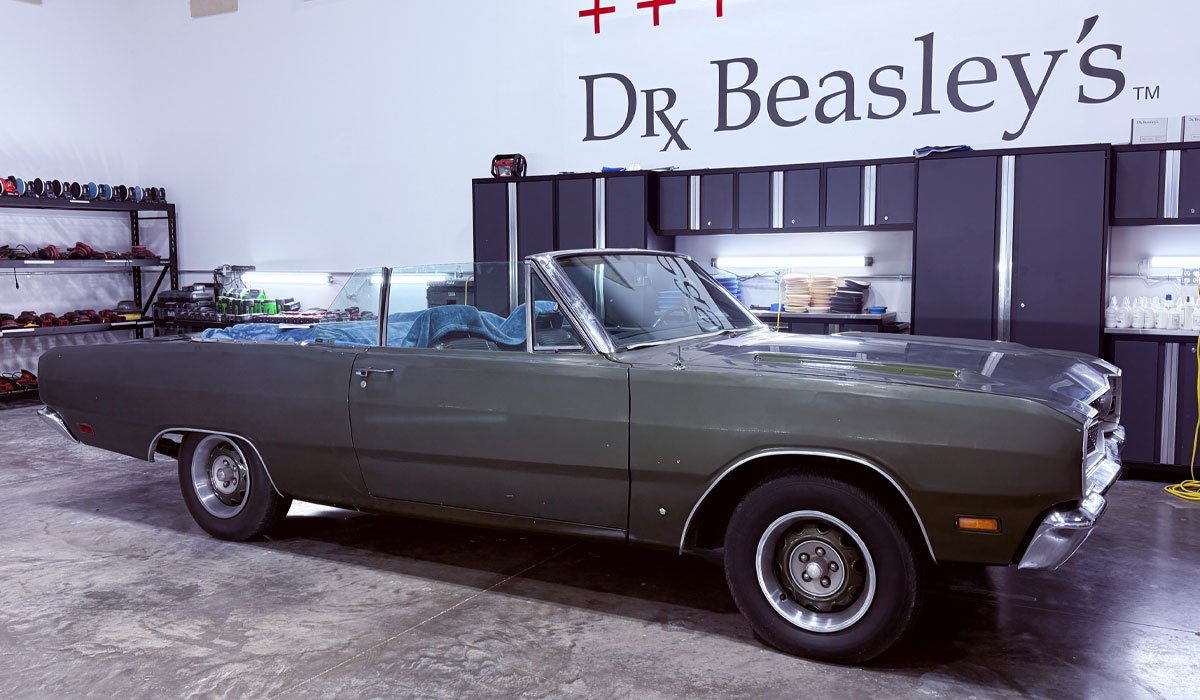
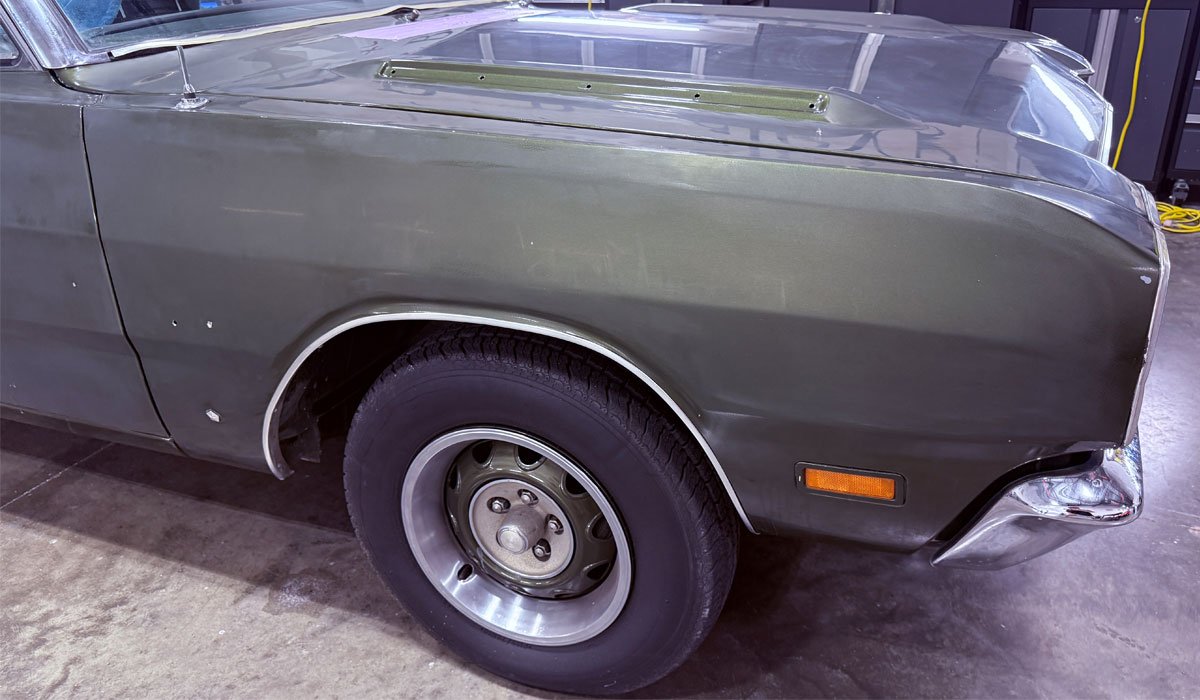
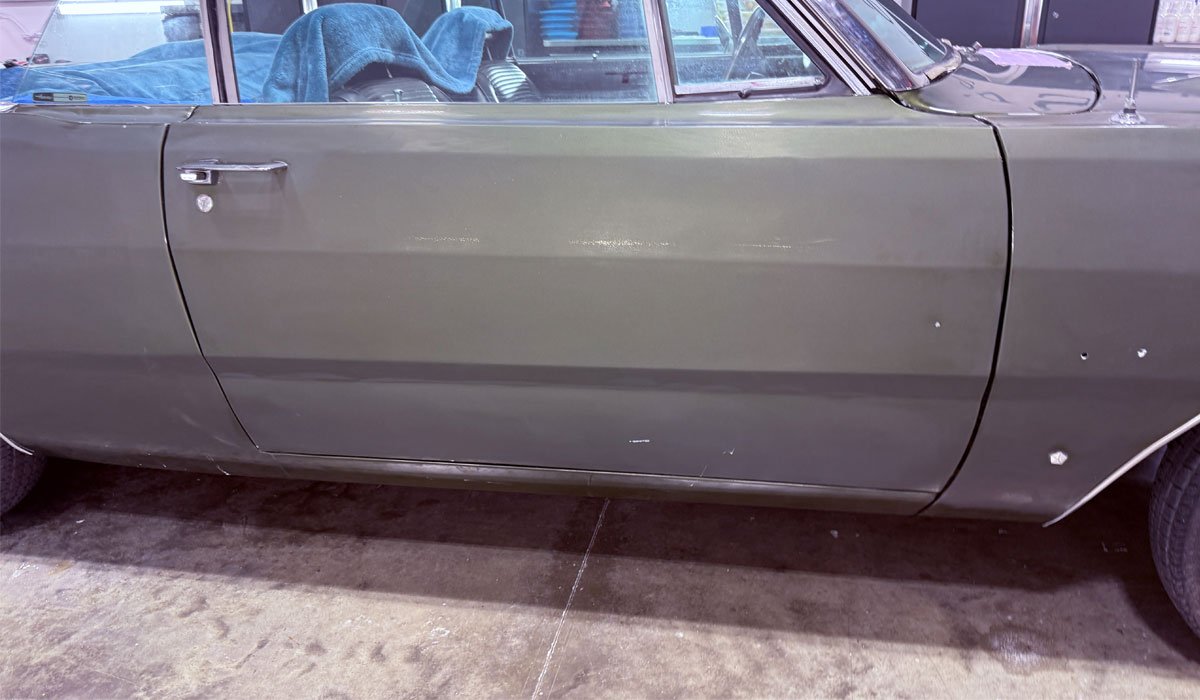
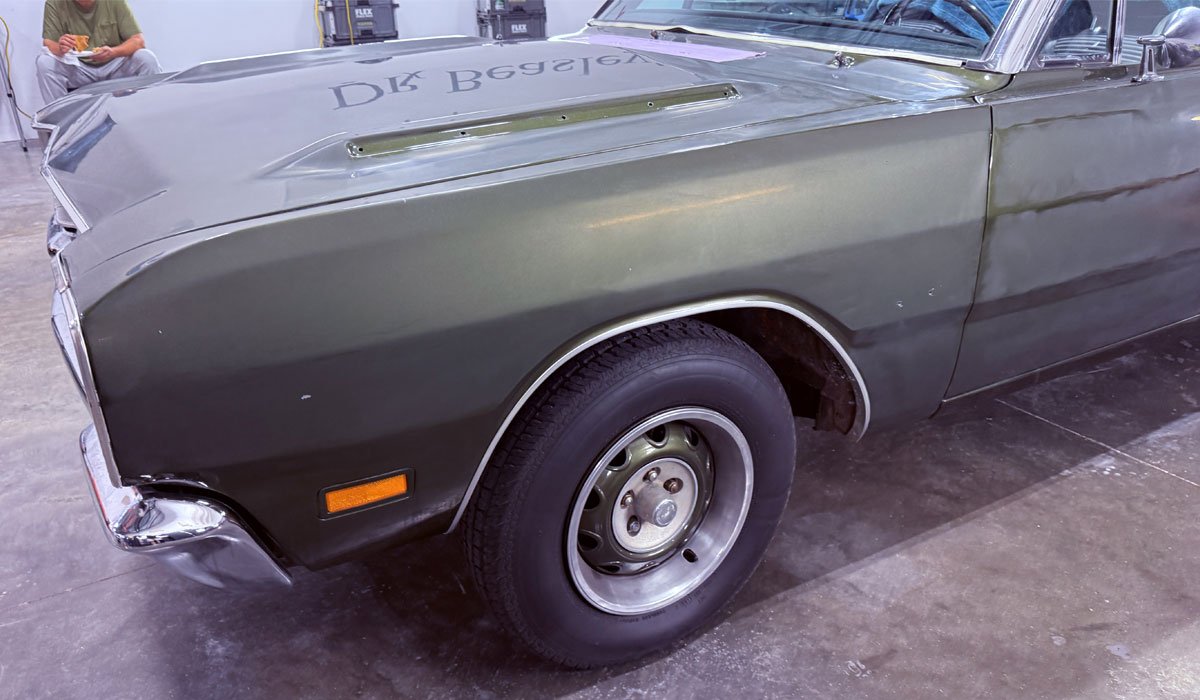
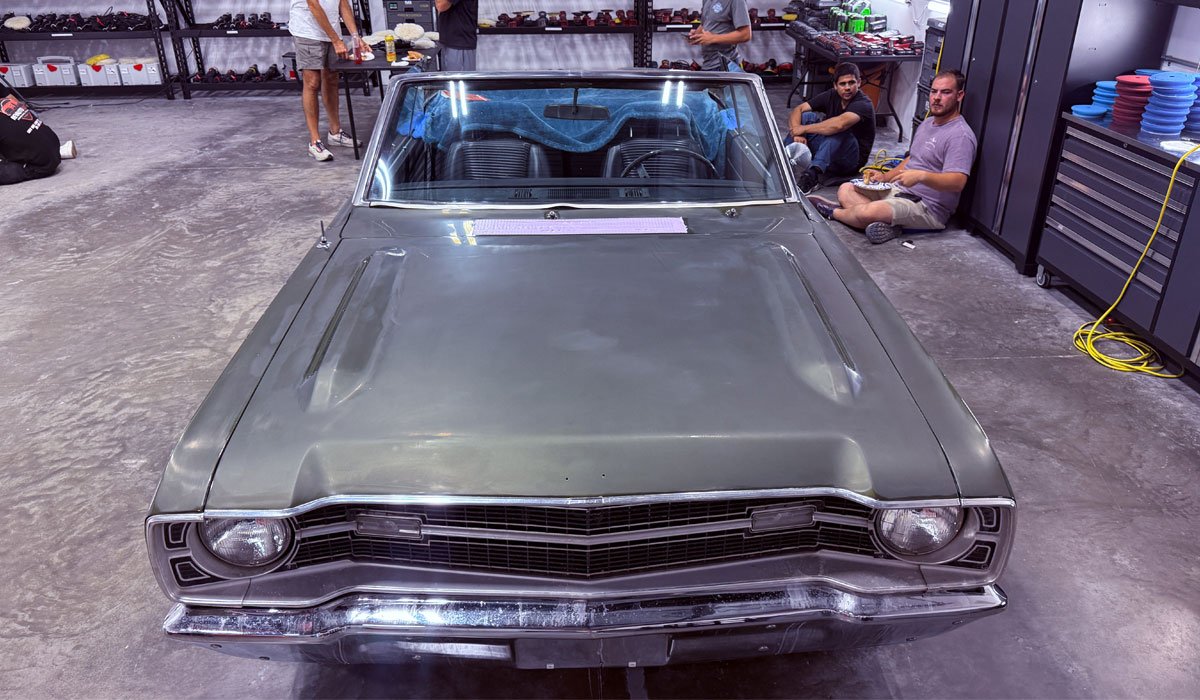
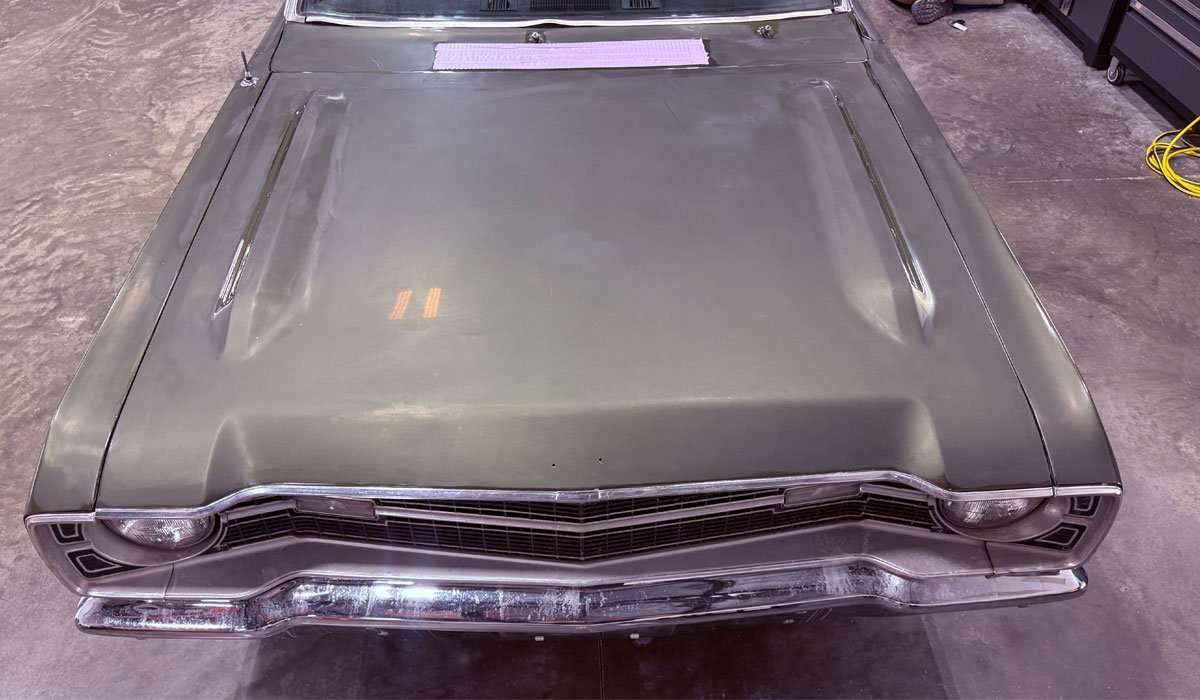
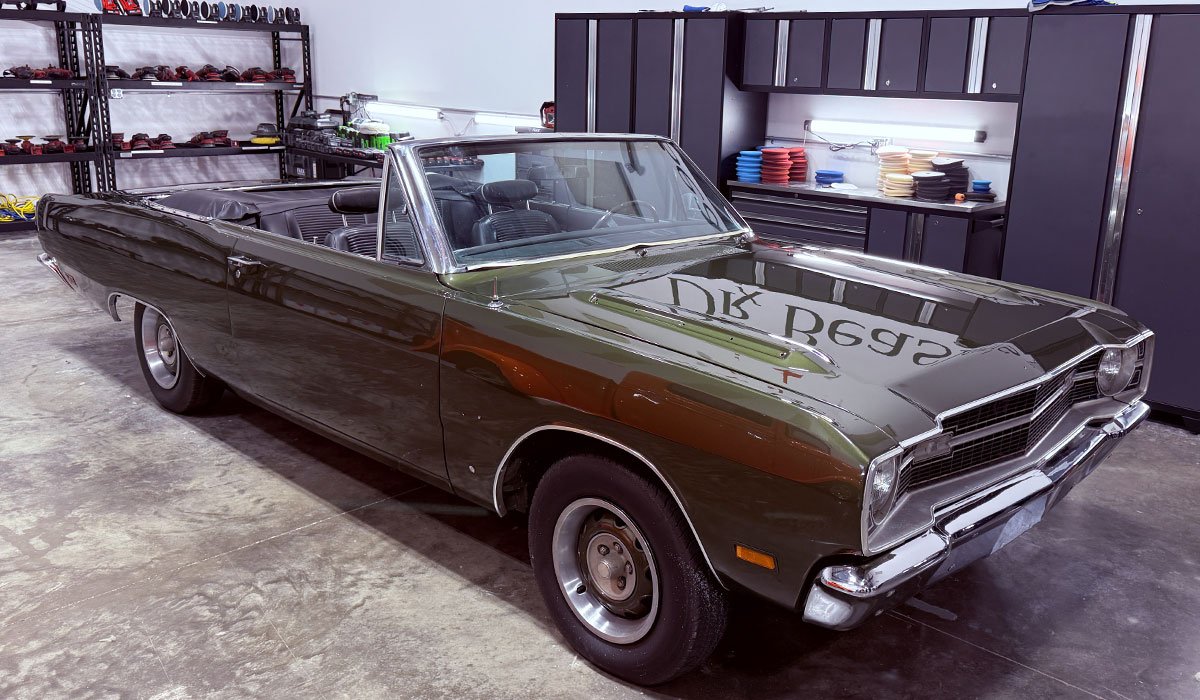
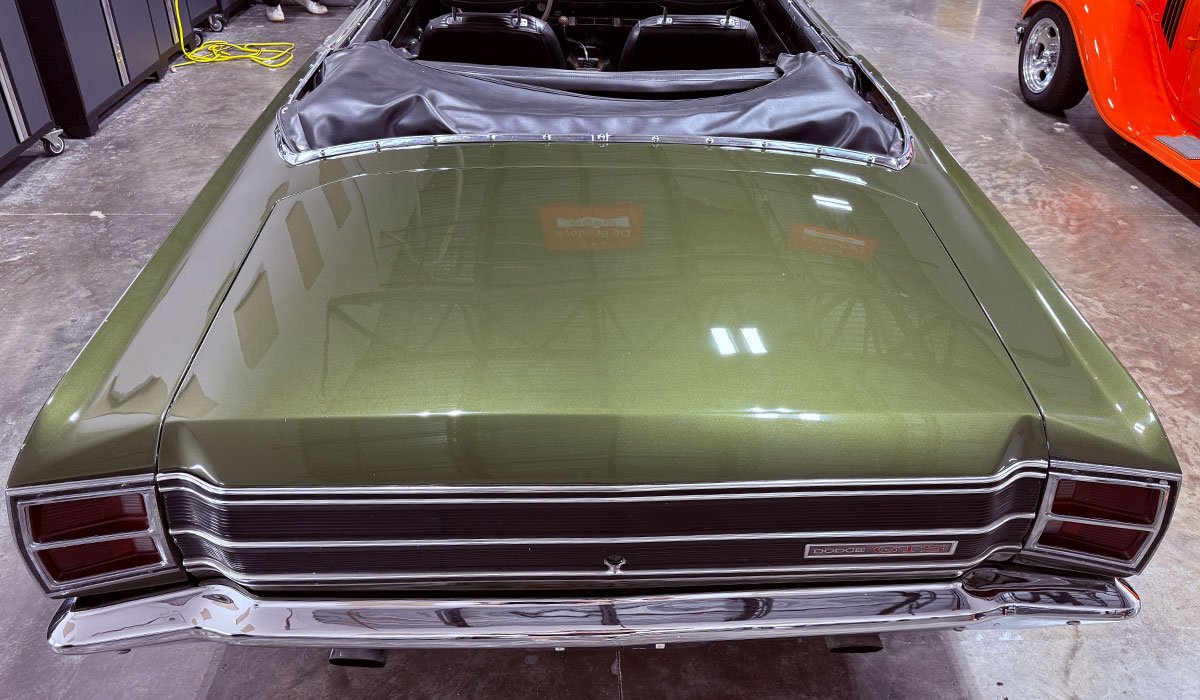
1969 Dodge Dart GTS – BEFORE CONDITION
In the below pictures, if you look closely at the reflected images, you can see the orange peel.


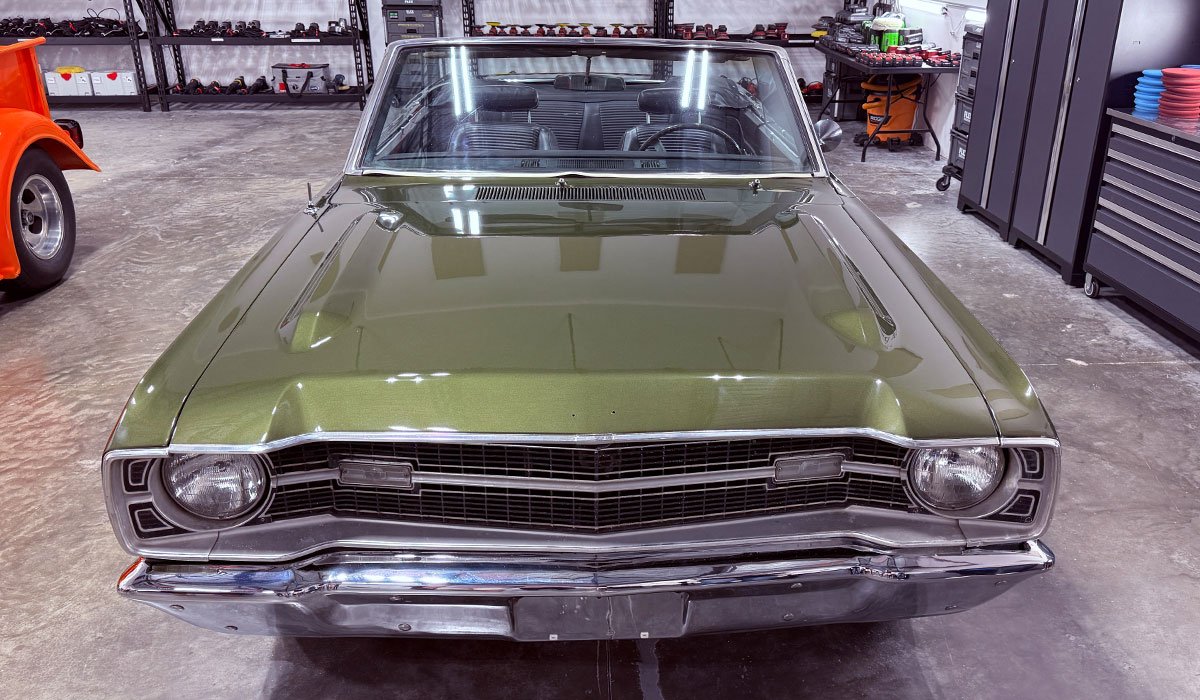
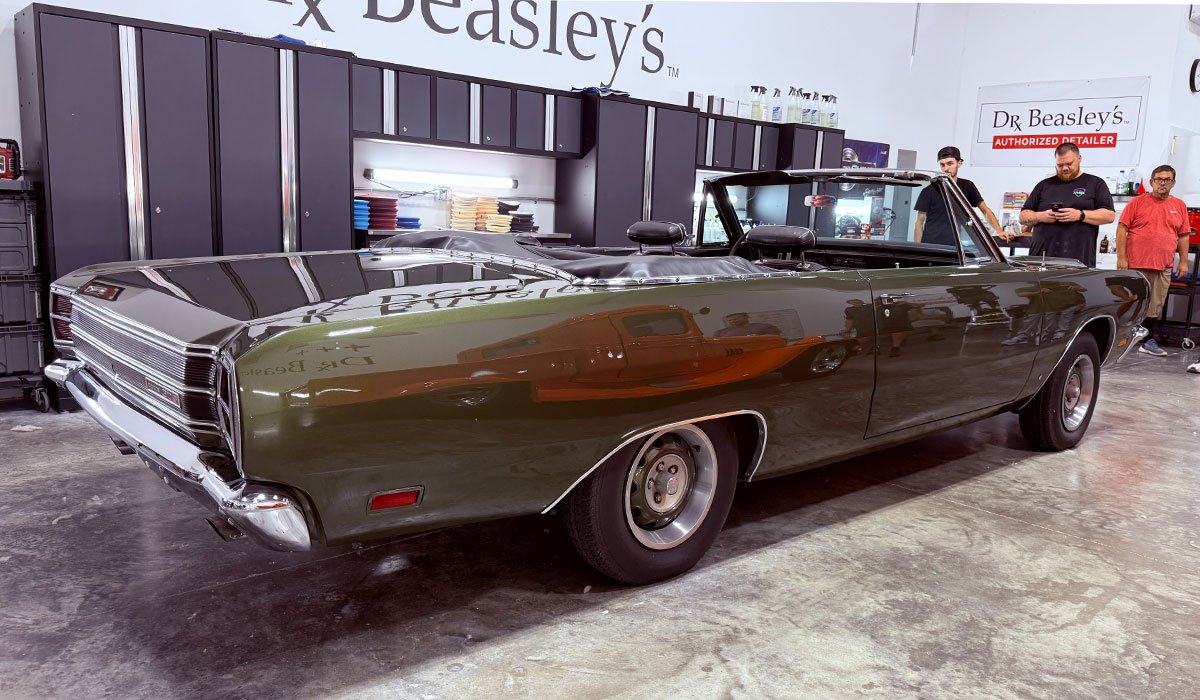
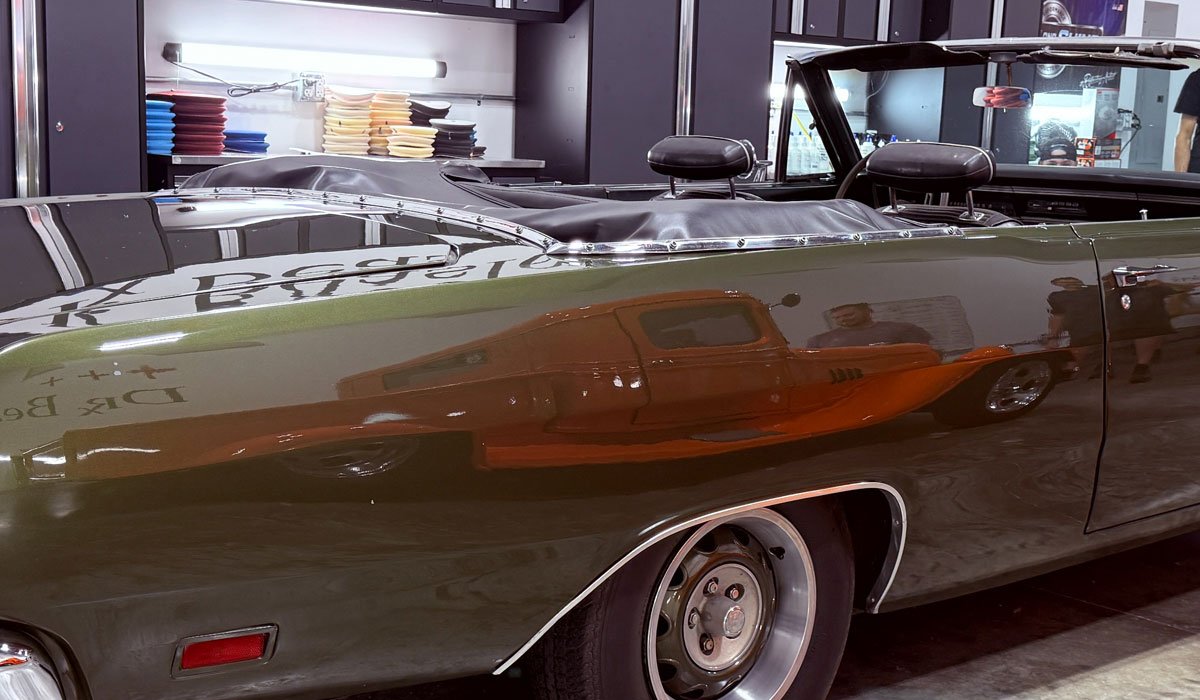
AFTER RESULTS
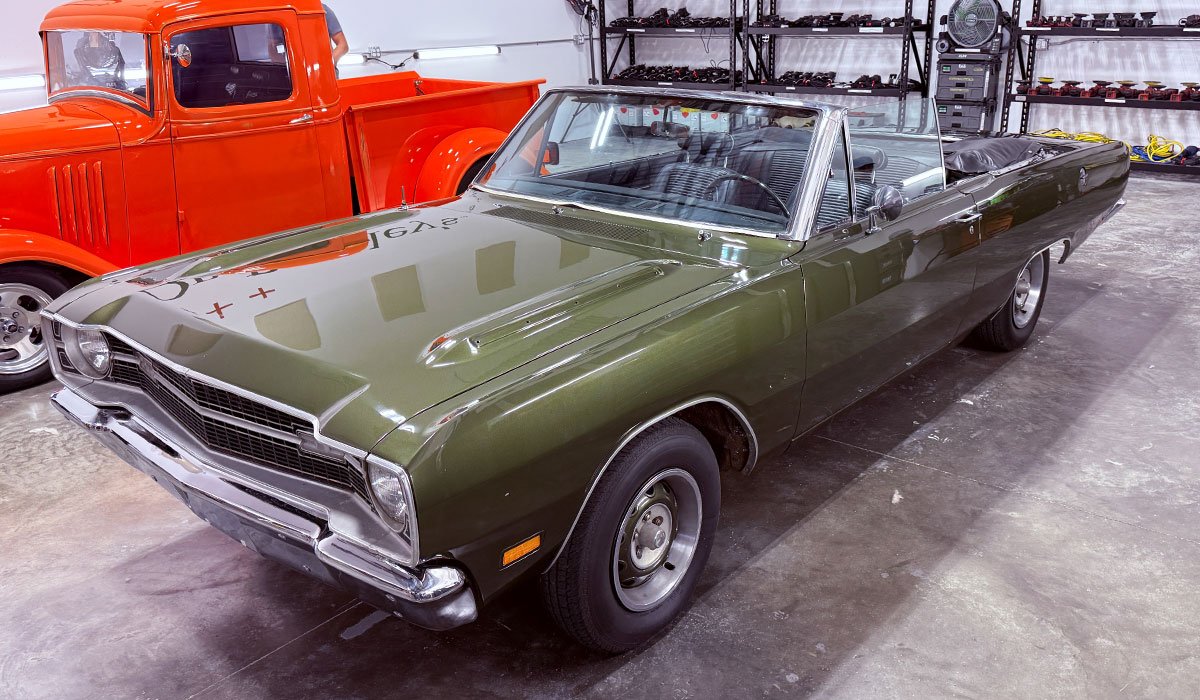
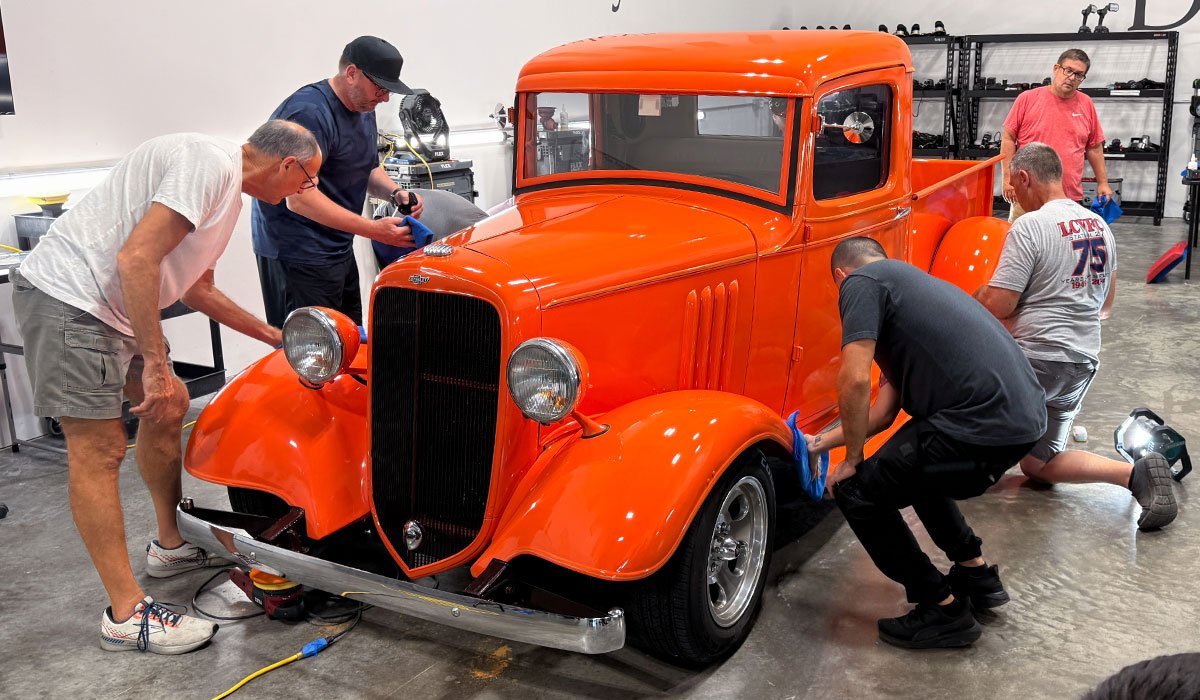
Oh oh – looks like there’s a 1934 Chevy Pickup growing out of the side of the Dodge Dart
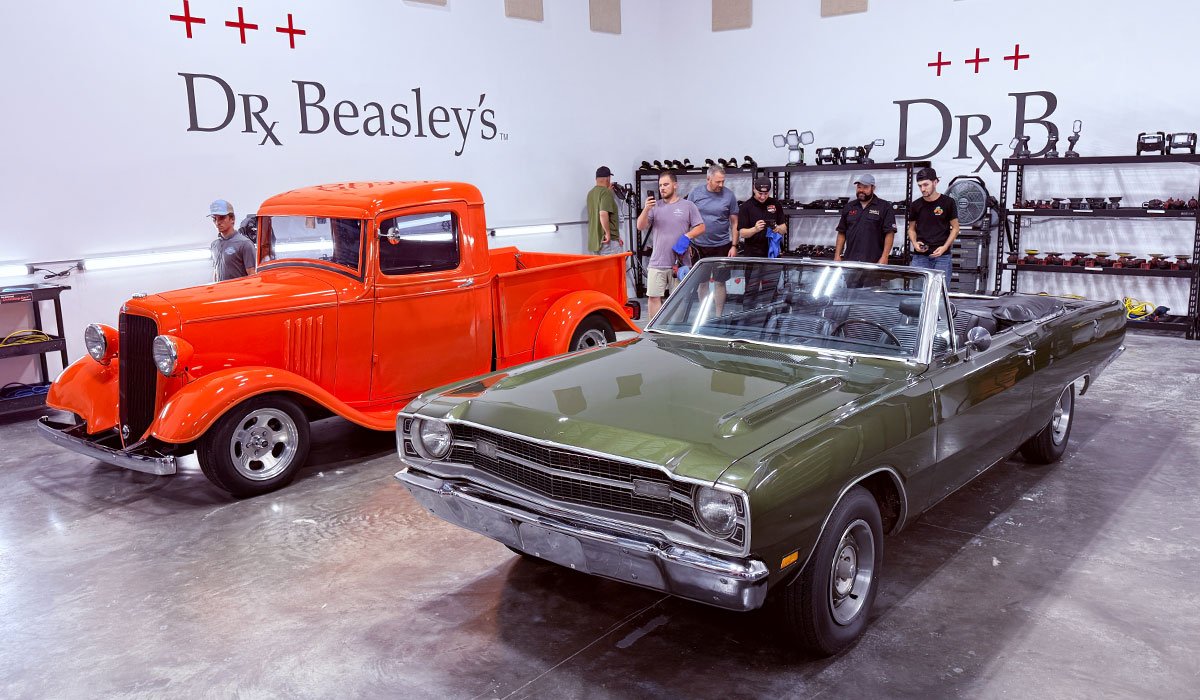
While one half of the class is working on the 1969 Dodge Dart GTS, the other half of the class is working on the 1934 Chevy Pickup Streetrod.
While one half of the class was working on the 1969 Dodge Dart the other half was working on the 1934 Chevy Pickup Streetrod.
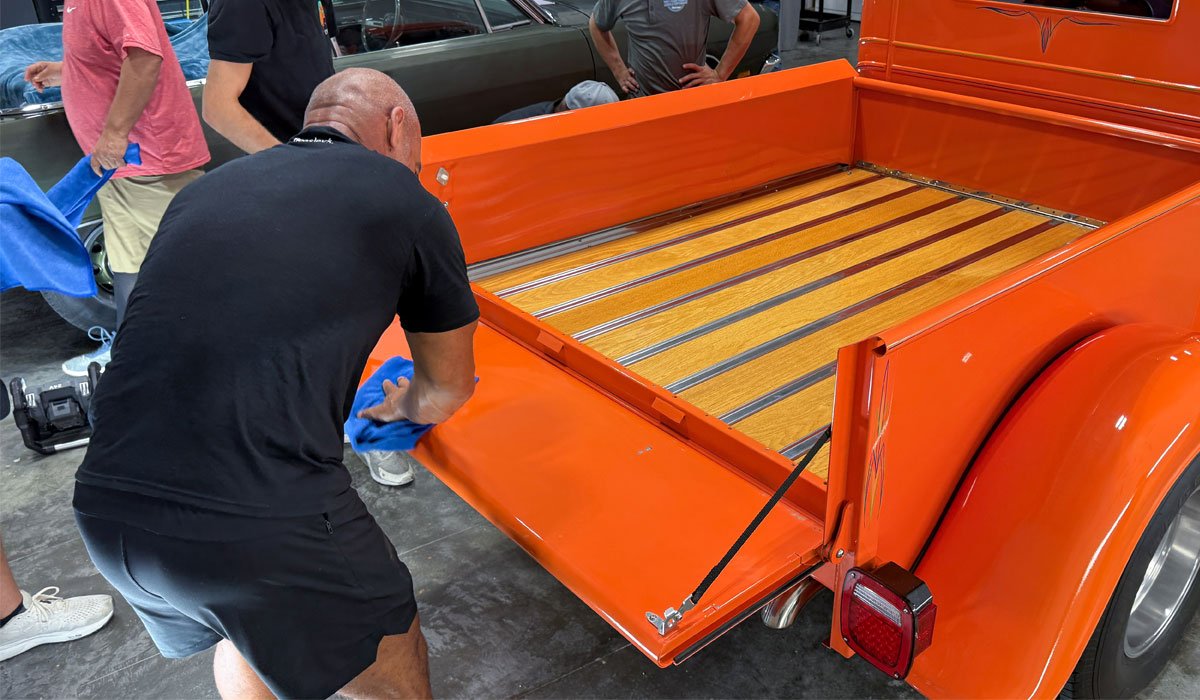
Thank you Jared!
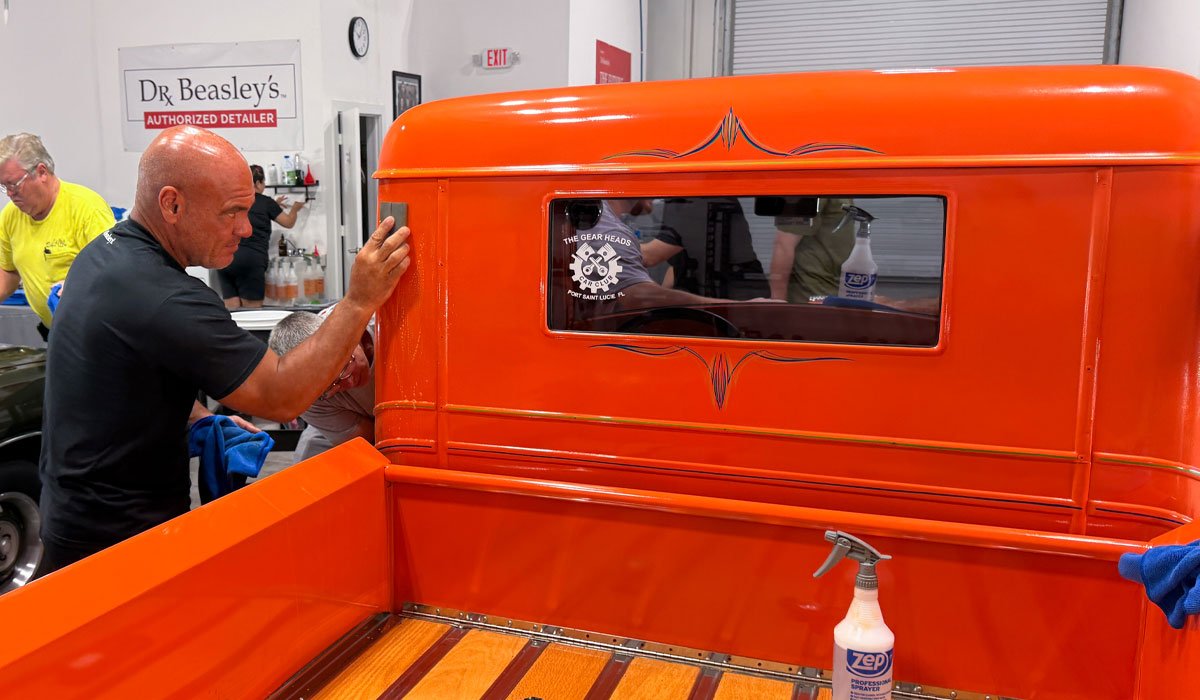
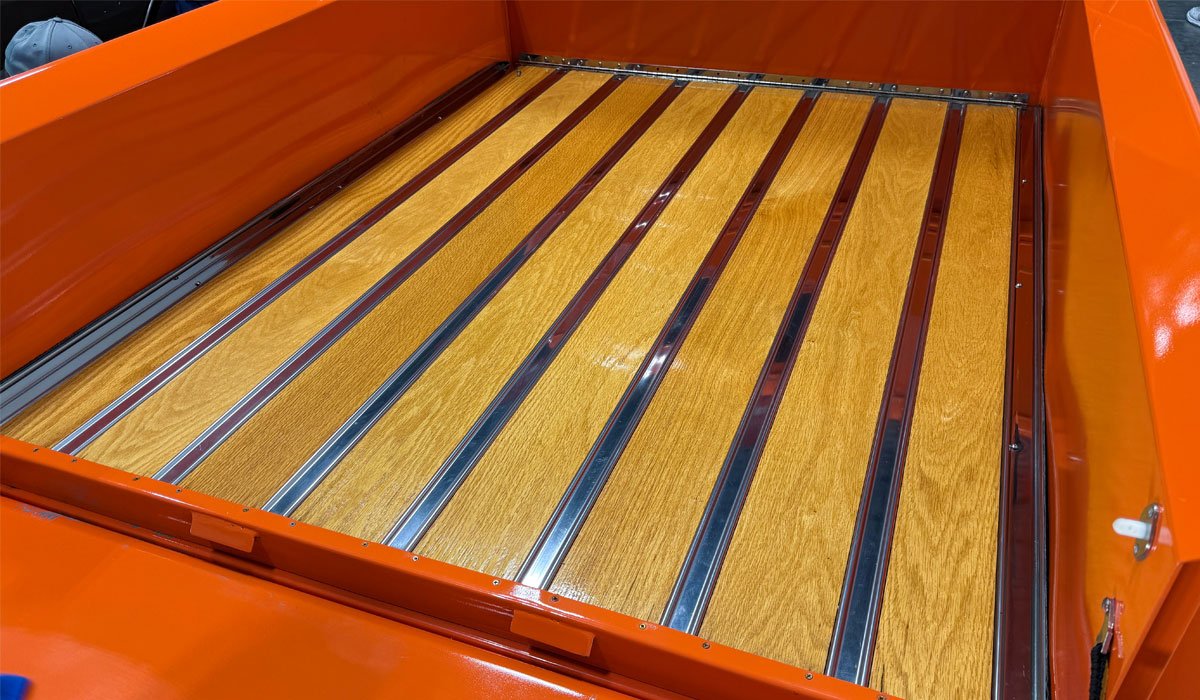
To complete the detail job, I asked Jared if he would treat the lacquered wood and chrome trim bed a treatment of Bead Hero. I’ve done these types of beds before and while it’s not hard, it is a matter of starting at the front of the bed and then working your way out the back so thank you Jared!
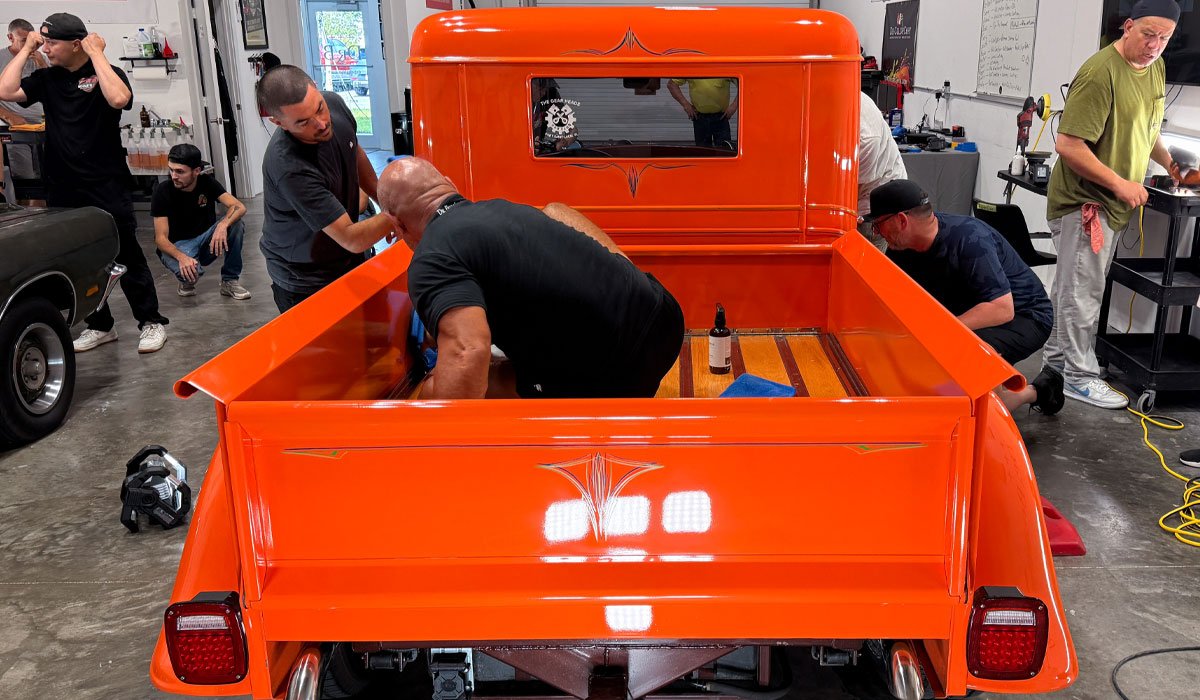
The Finishing Touches
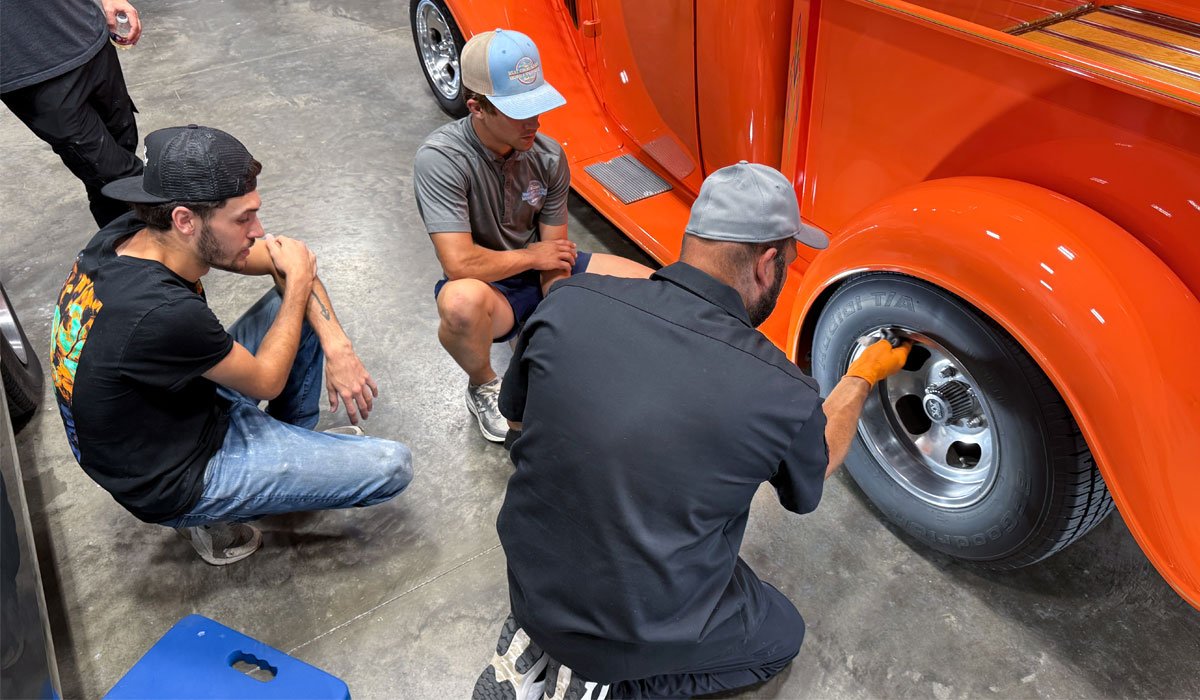
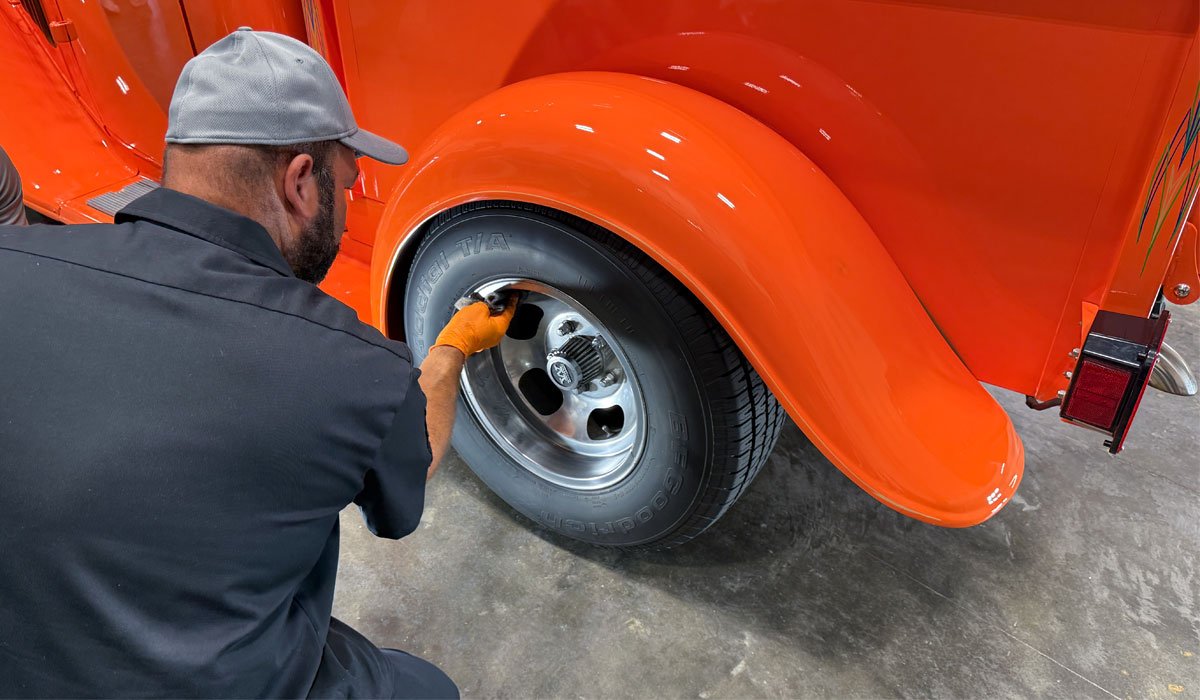
Here’s Willy going over hand polishing aluminum to remove oxidation and restore a brilliant shine.

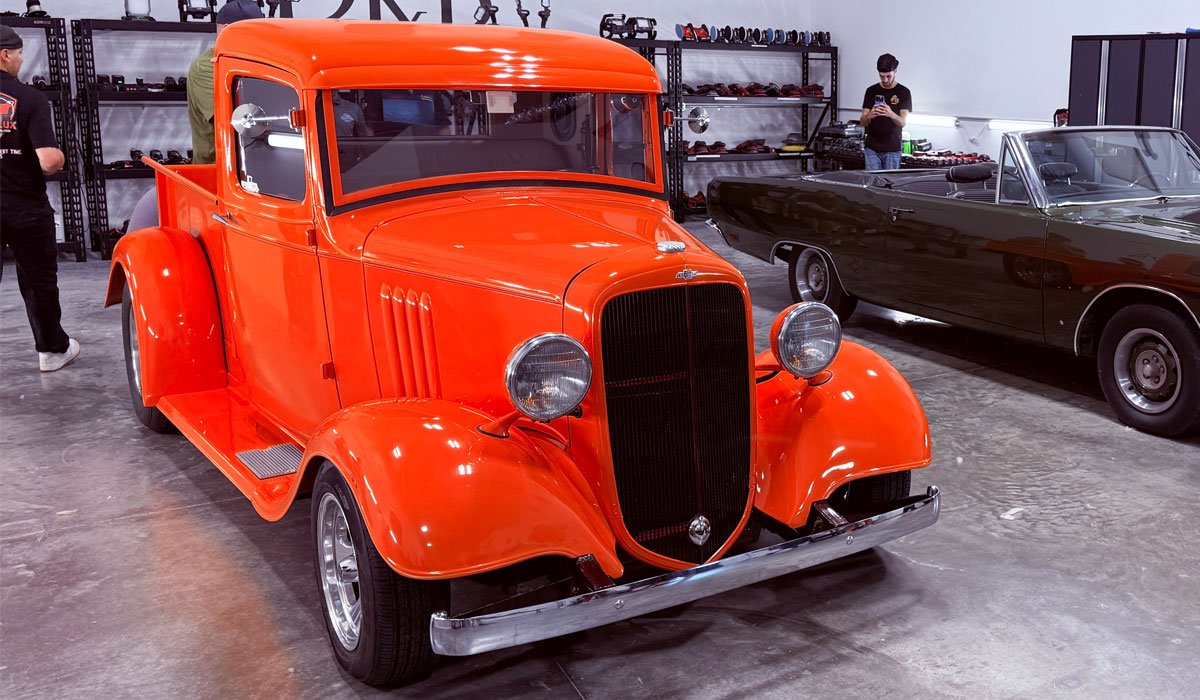
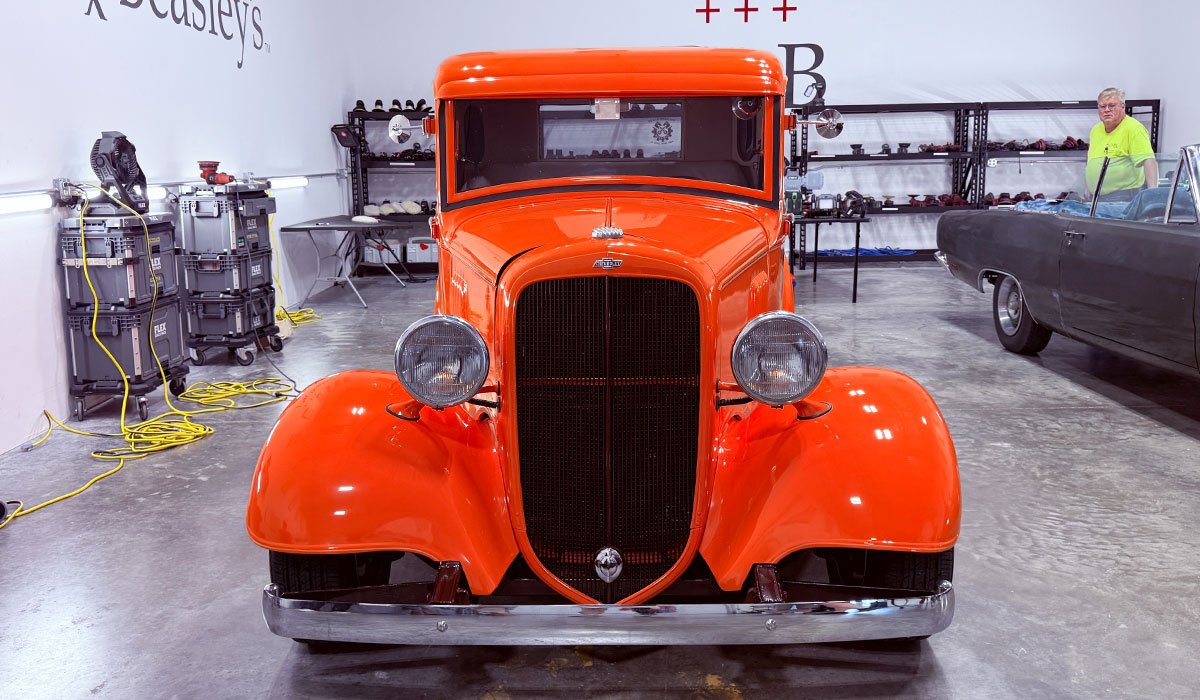
1934 Chevy Pickup Streetrod – BEFORE CONDITION
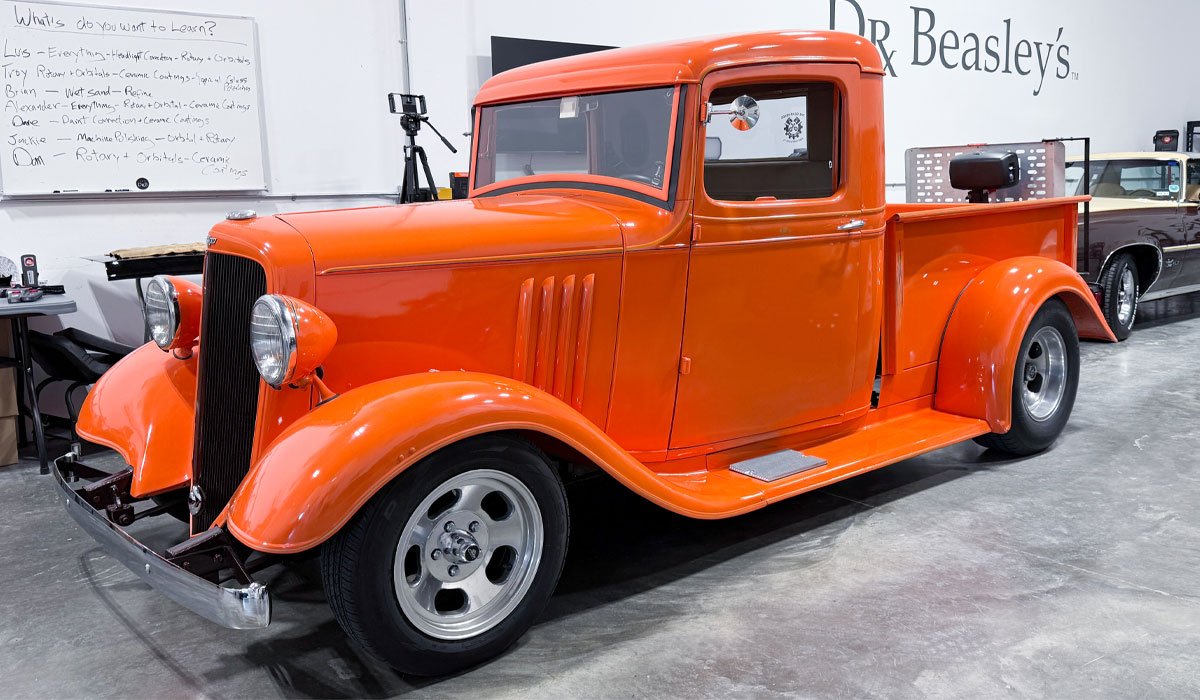
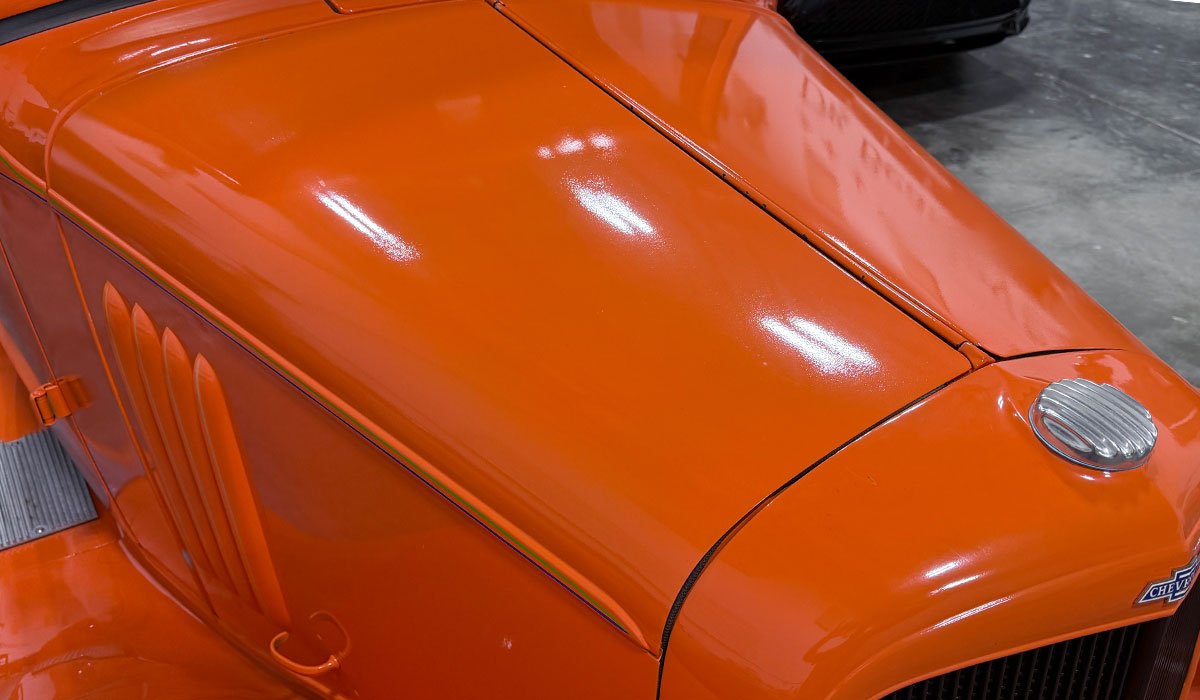
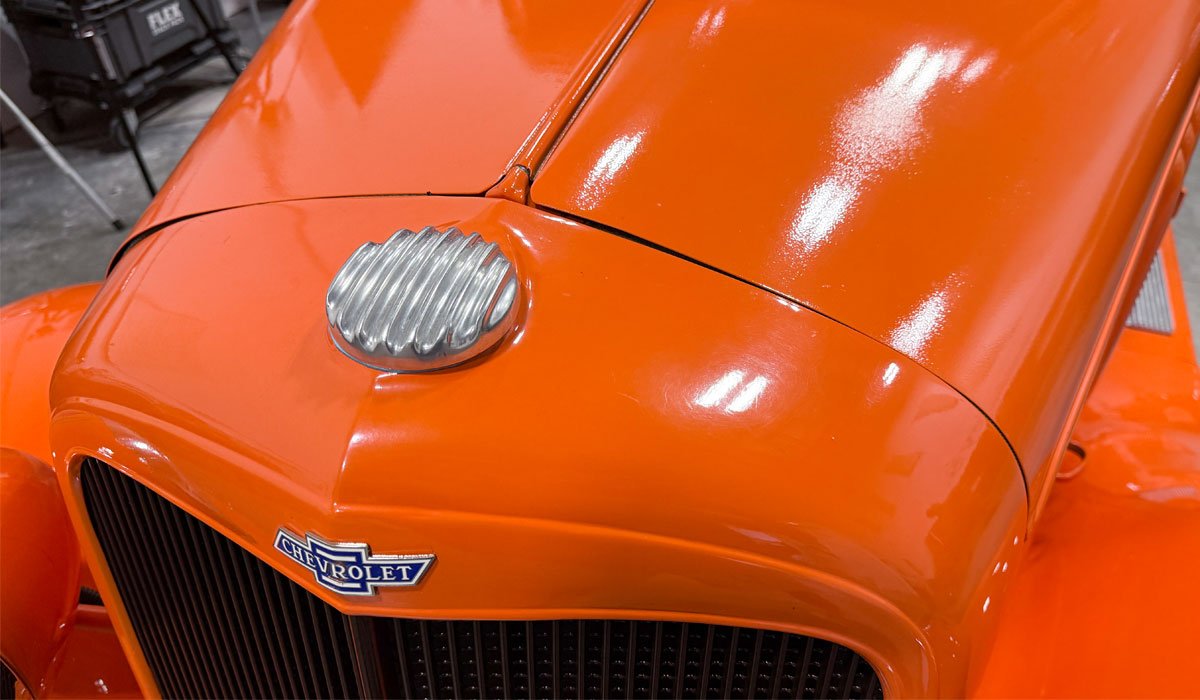
AFTER RESULTS
Great work everyone!
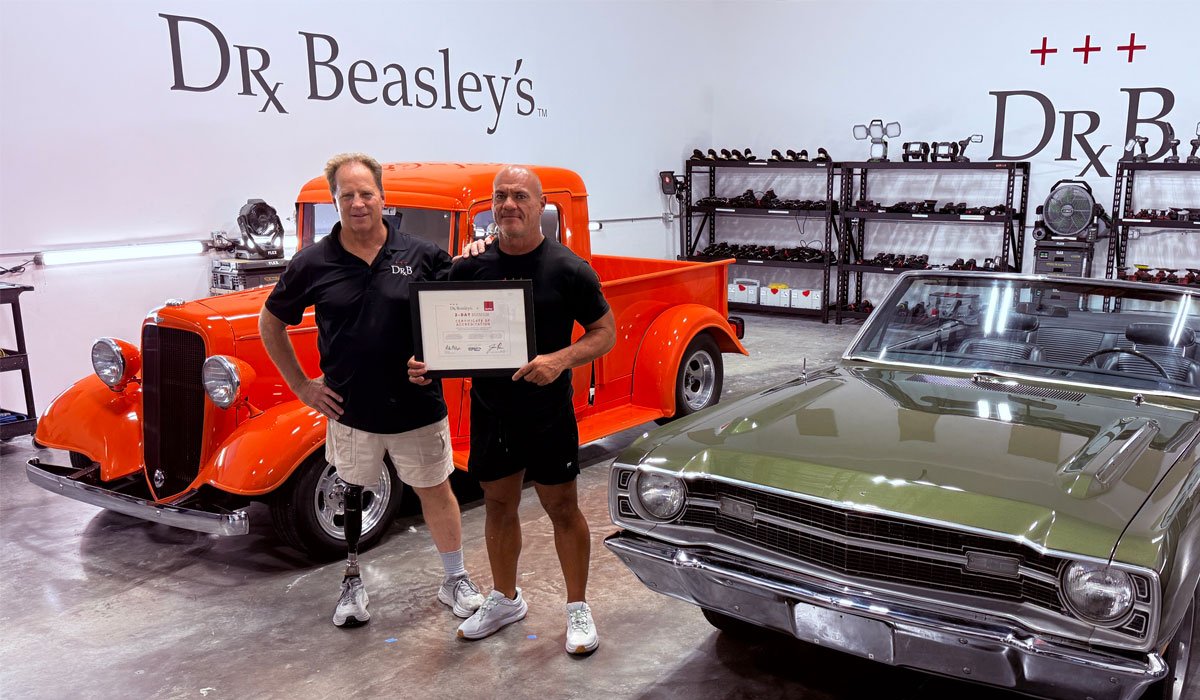
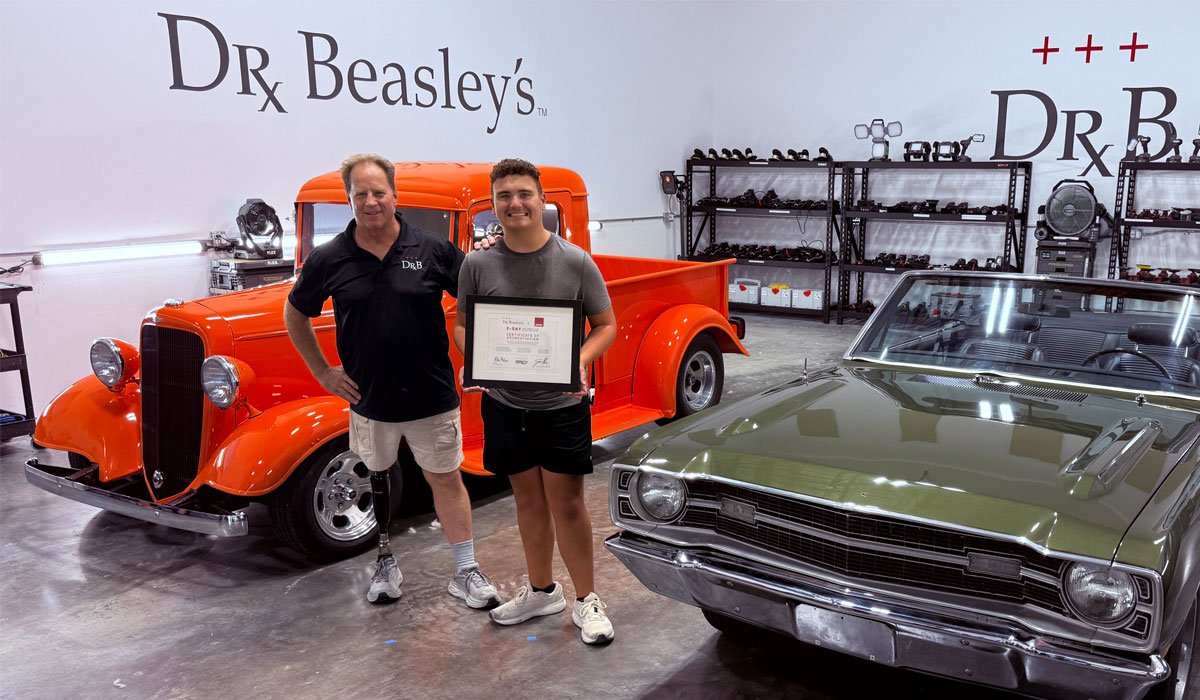
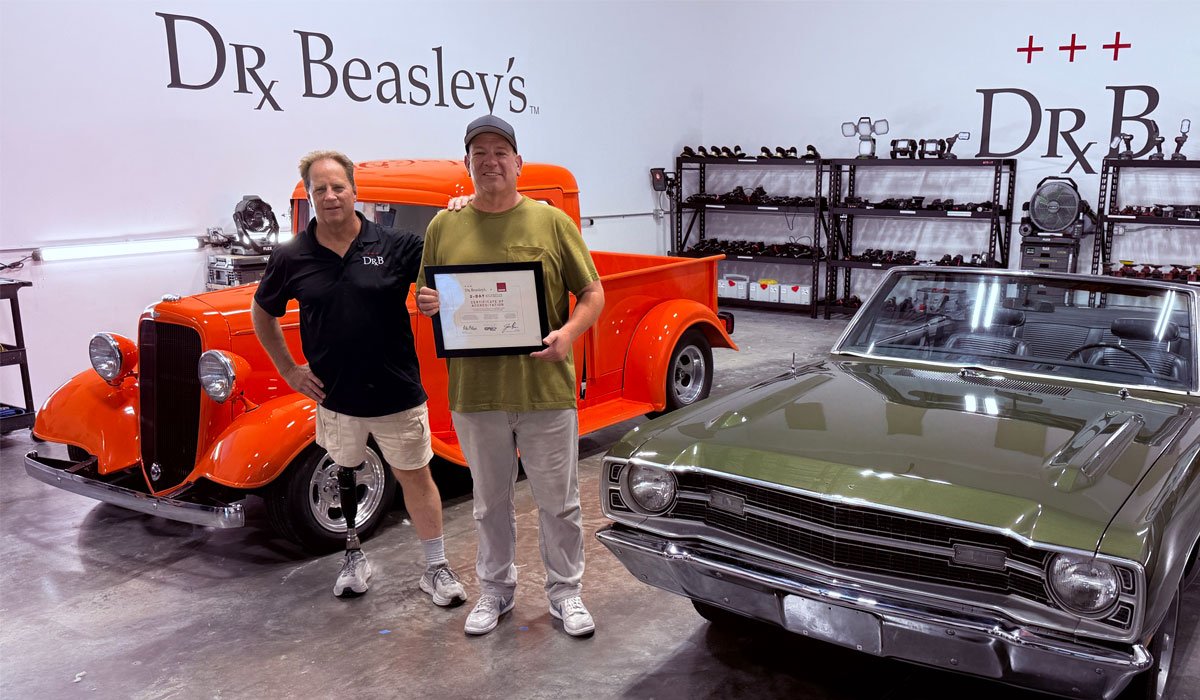
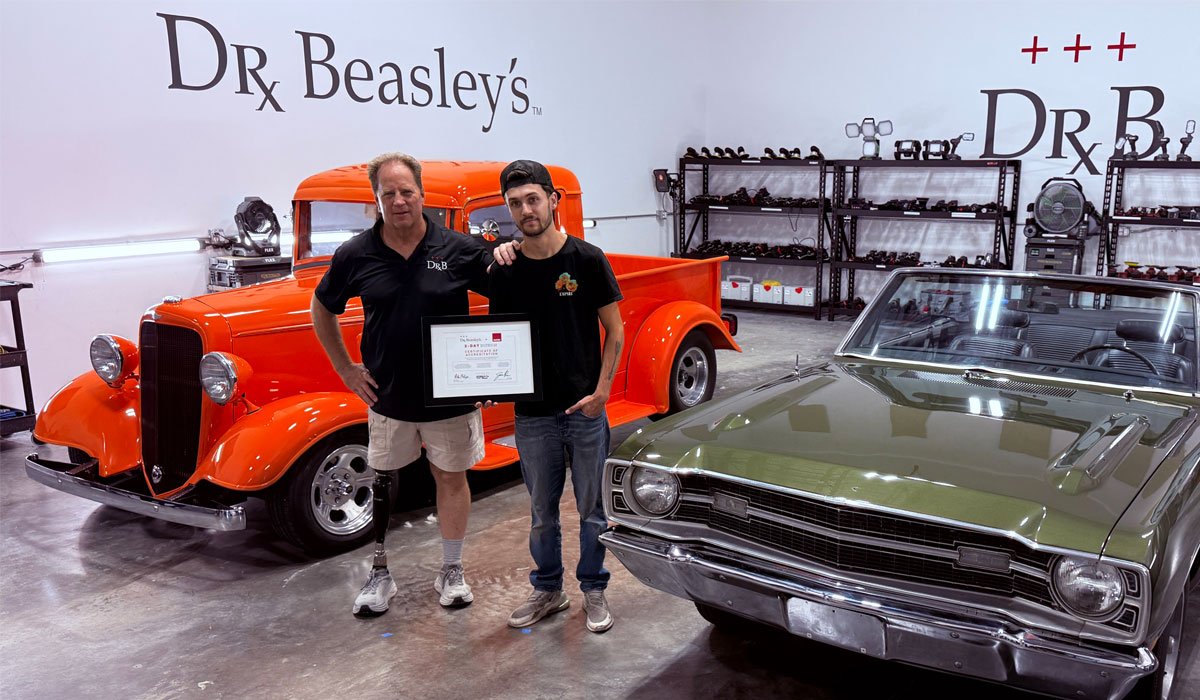
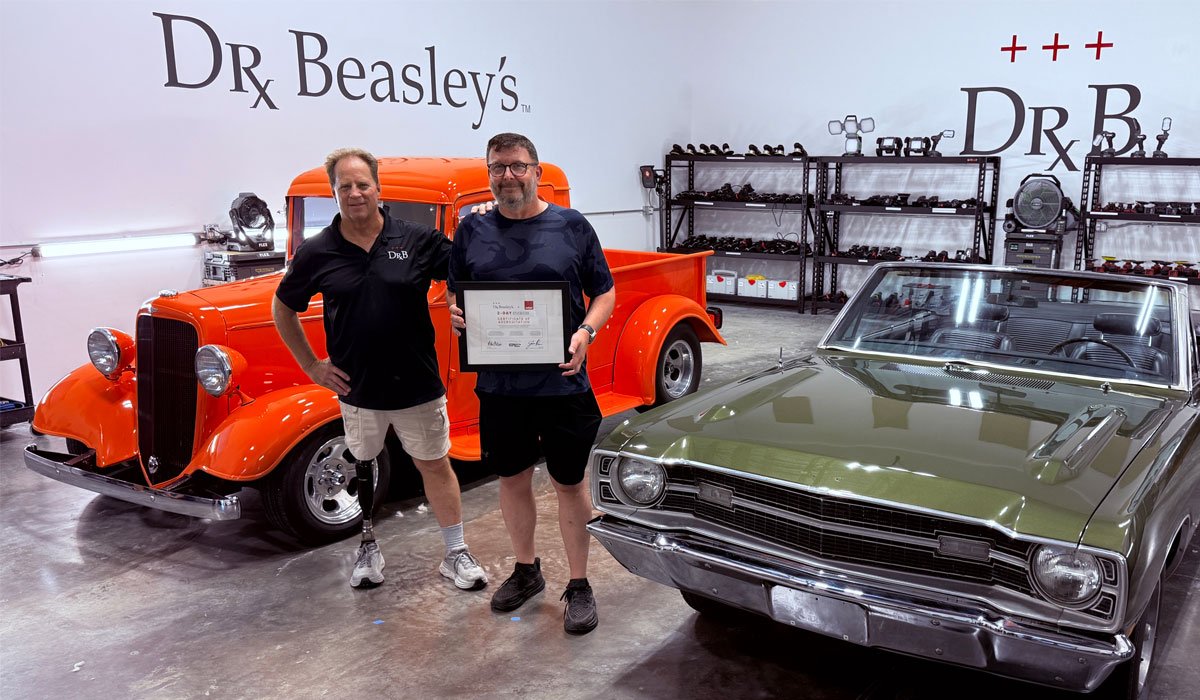
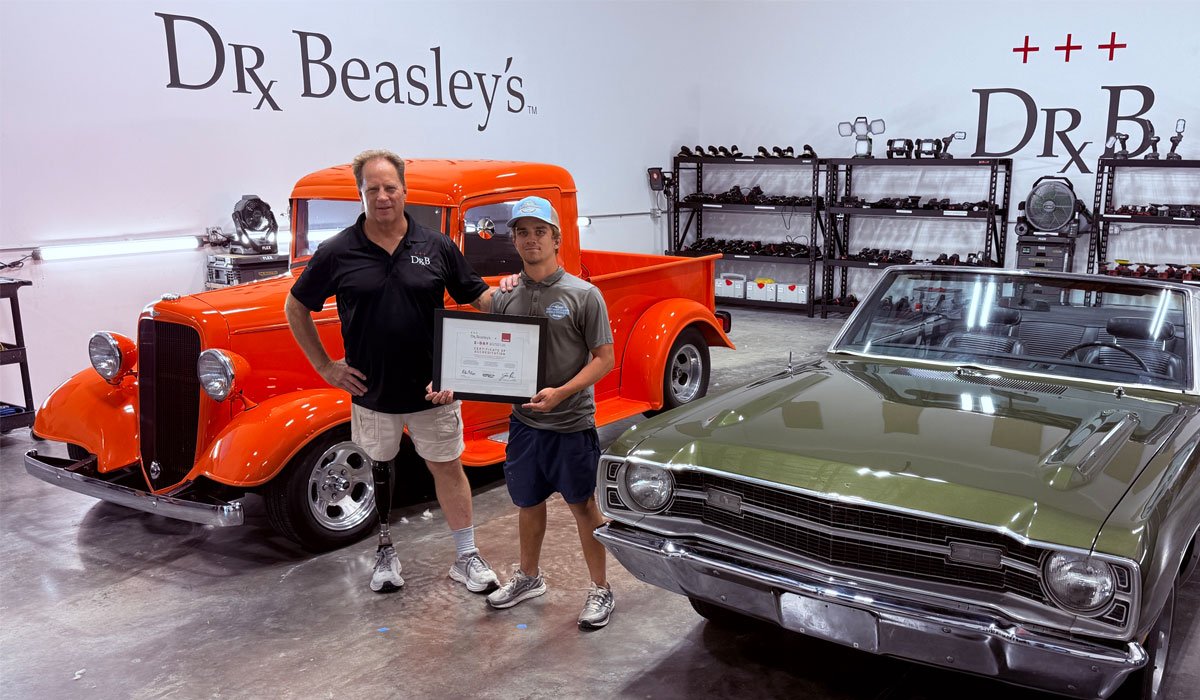
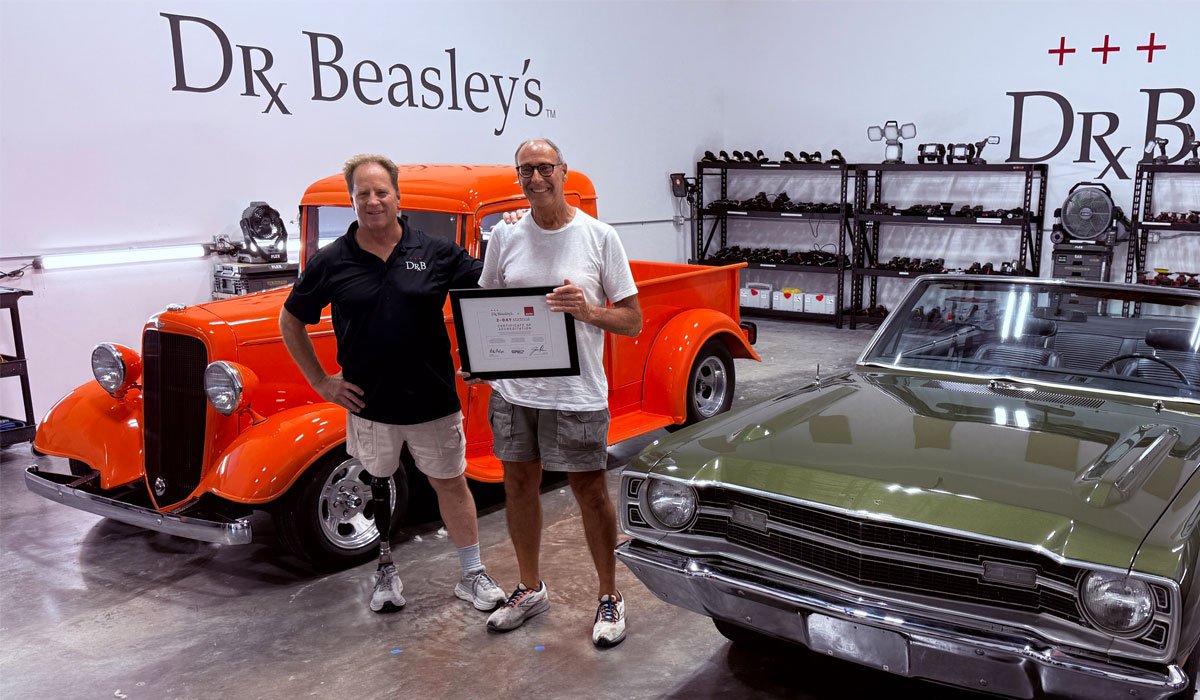
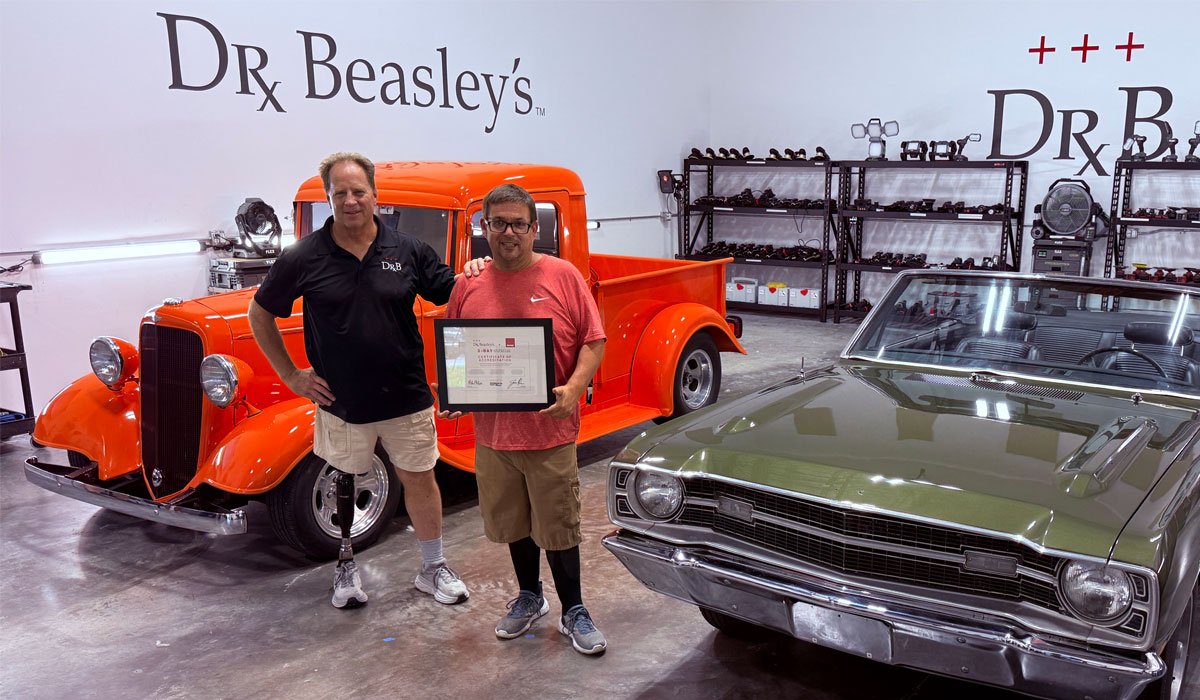
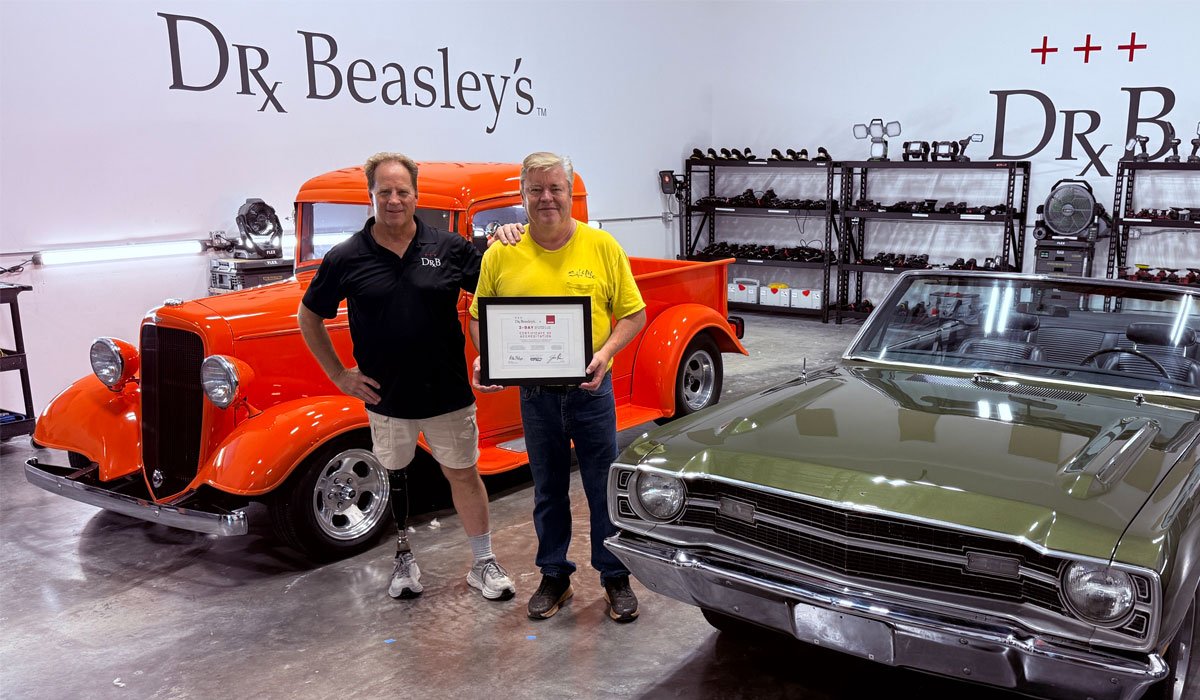
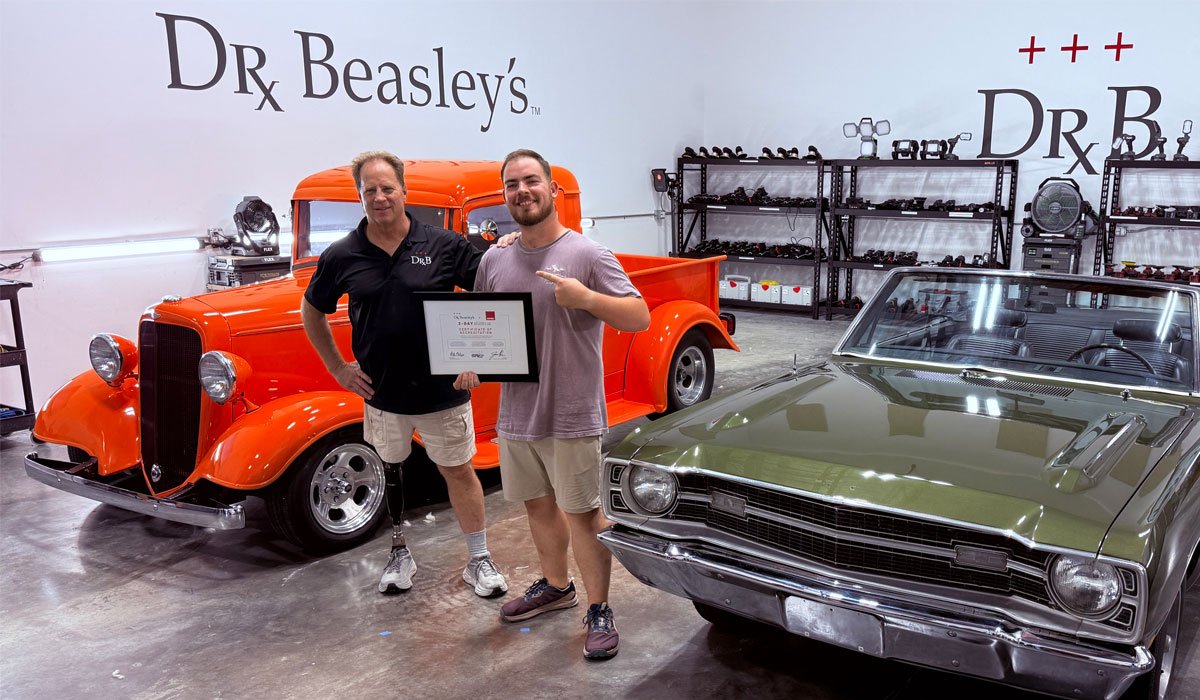
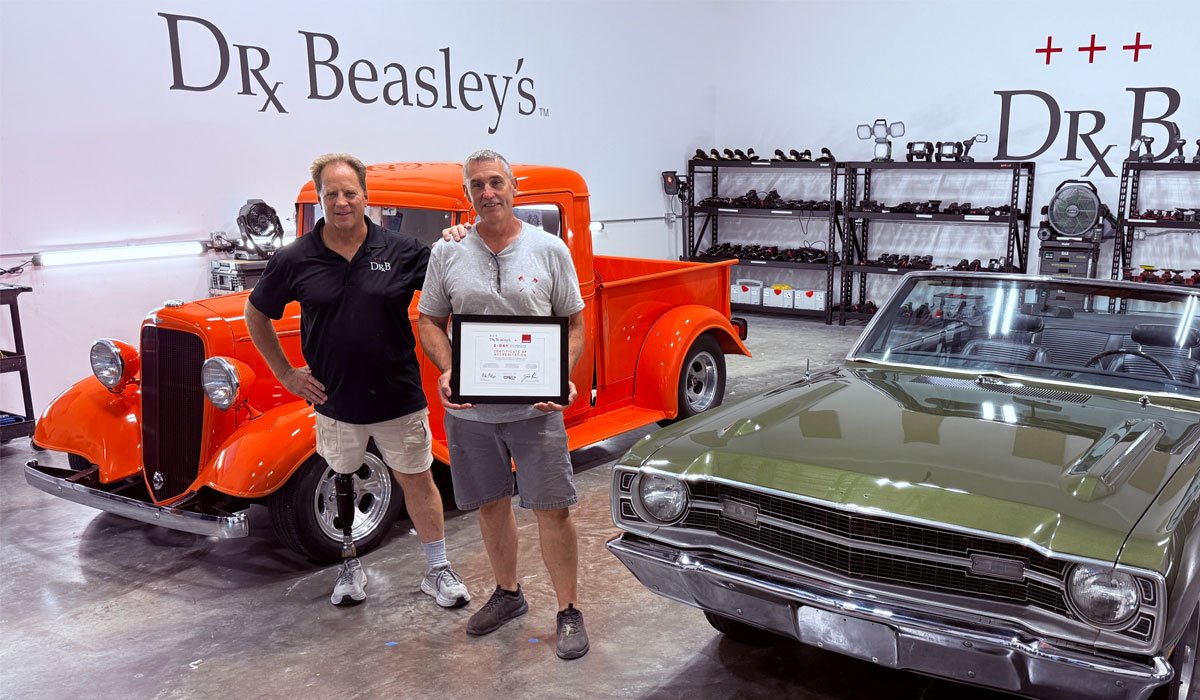
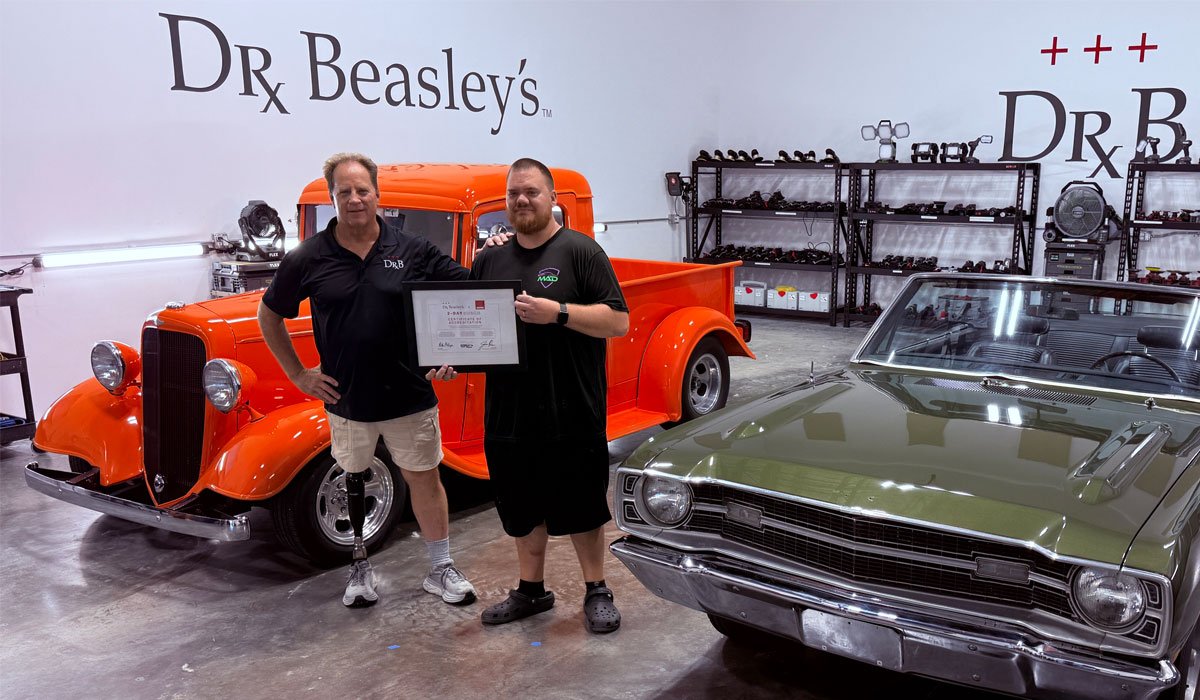
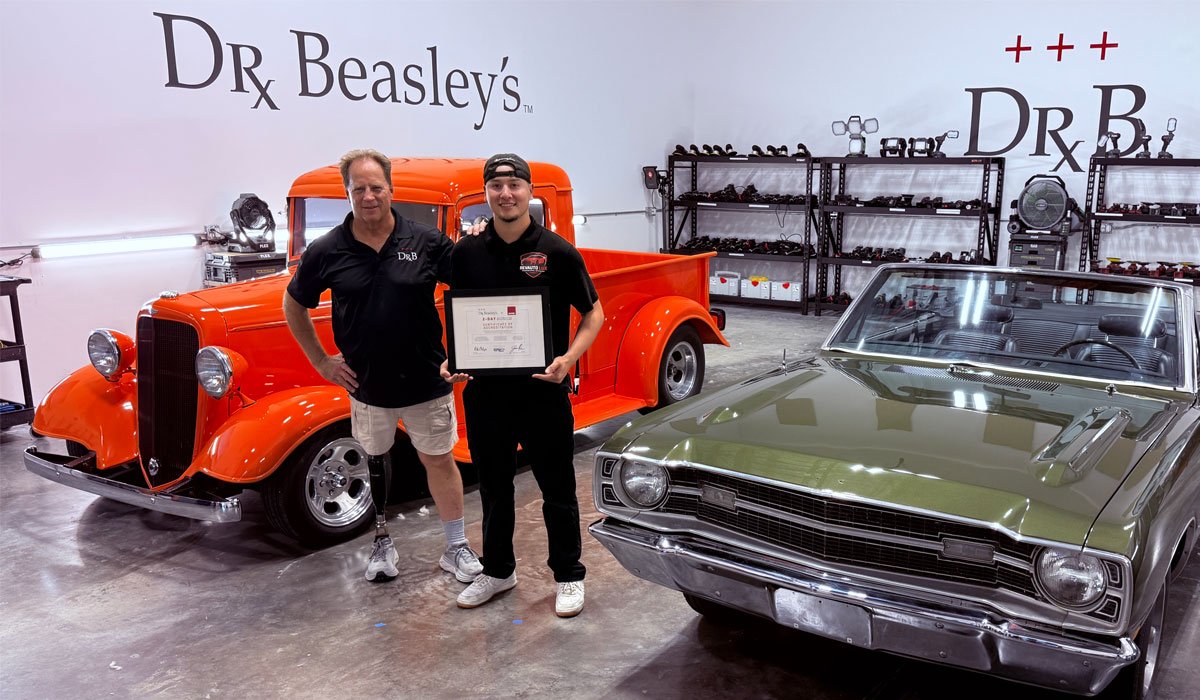
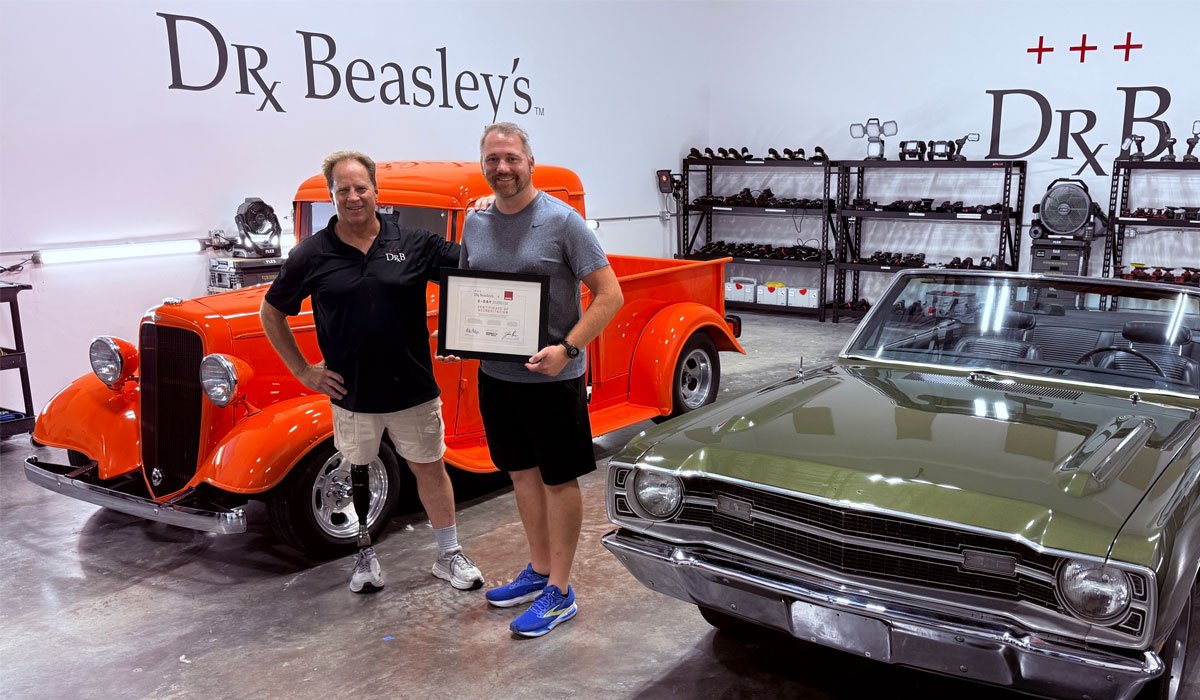
Certificate Award Ceremony
As you can see from all the pictures, these are very intense as well as hands-on training classes. Congratulations to everyone for taking and completing this class, you’ve earned your Certificate!
Thank you to all 16 people that took this class with 13 of these people travelling to Stuart, Florida from other States!
Jared – Alabama
Jared’s Review – Verified – I recommend this product
Best investment ever
I can’t say enough great things about Mike and this class. I learned so much from his many years of experience. The guy is a genius when it comes to detailing and an amazing teacher. He really has a gift for it. Hands on training 98% of your time in this class. Me and my son both went to the class and have talked about it daily since we’ve left. We enjoyed it that much. I’ve been detailing for about 30 years and in the used car business about 25 years. I highly recommend this class to anyone in the profession or just as a hobby. You’re thoroughly enjoy it and be glad you went. Worth every penny.
Hunter – Alabama
Gilberto – Florida

Sean – California
Evan – California
Evan’s Review – Verified – I recommend this product
Auto detailing class
This class was a great experience. I learned a lot in 2 days. Never thought I’d be working on 8 cars in 2 days, but we did. This class showed me how to become a better detailer and more. Mike is an amazing teacher and is definitely in my eyes one of the best in the industry. I highly recommend taking this class if you want to learn more about getting into automotive detailing or if you want to take your business to the next level.
Michael – Maryland
Michael’s Review – Verified – I recommend this product
AMAZING CLASS! The absolute best!
I recently completed the Dr. Beasley’s 2-Day Auto Detailing Course with Mike Phillips, and I cannot recommend it highly enough. From start to finish, the training was 100% hands-on, no long lectures, no sitting back. Every moment was spent actually detailing cars, learning real techniques including paint correction, polishing, tire/plastic/glass correction, and coating application.
Mike Phillips is not only a master of his craft, but also an incredible teacher. He broke everything down step-by-step, making even the most advanced techniques approachable. What really impressed me was his dedication after the course, approximately 10 days later, Mike personally followed up with a phone call to check in and see if I had any questions or needed clarification on anything we covered.
That kind of follow-through shows how much he truly cares about his students’ success. If you’re serious about detailing, whether as a professional or an enthusiast, this course is absolutely worth it. You walk away with real confidence, practical skills, and the reassurance that Mike and the Dr. Beasley’s team have your back even after the class ends.
Joshua – Florida
Josh’s Review – Verified – I recommend this product
Mike Phillip’s 2-Day Paint Correction Class
Mike’s two-day paint correction class was an outstanding experience. We worked on a wide range of vehicles and tackled different levels of correction, which gave me the opportunity to learn and apply new techniques. The class offered access to a broad selection of tools, and I gained valuable hands-on experience with each. The group included participants of all experience levels, and no matter where you started, questions were always welcomed and answered thoroughly. Both Mike and his assistant instructors provided excellent guidance and feedback throughout. I highly recommend this class to anyone looking to expand their skills in paint correction.
Roger- Ohio
Roger P. – Verified – I recommend this product
Comprehensive Paint Correction Instruction
No disappointments! This class was well organized and beneficial whether novice or expert. Mike Phillips provided start to finish hands on Instruction to automotive paint restoration. All steps… beginning with cleaning the paint substrate, sanding (wet/dry) coarse/fine cutting, polishing, to ceramic finish, Mike covers it all in detail and much more. A multitude of top name equipment is at your disposal to experience, along with personal technique instructions on each. The amount and level of knowledge provided in this class can’t be expressed in the limited space of this review. Whether beginner or a seasoned veteran, this knowledge and instruction is well worth the time and effort. And come well rested!
Thanks, Mike, for the well-rounded experience, I’m looking forward to buying some equipment and putting this training to use.
Jonathan – Georgia
Jonathan – Verified – I recommend this product
2 day class was Fabulous!!
This was an Awesome hands-on class! Mike is unbelievable teacher/guide, I felt like we were just working in the shop. Didn’t never feel like he was trying to be teacher looking down so to say. Just gives knowledge and techniques to get it done and fastest way to do so.
I have had few teachers in the past sitting on high horse. We were going all day long no sitting around. He taught us techniques, systems, processes and all about several different products / polishers. He wasn’t there to sell you something. He was there truly teaching detailing. I learned so much way more than I was expecting too!
So, I highly recommend taking Mike’s class regardless of your level of detailing experience. He just wants to see you succeed and be ready take on the world. He took my knowledge and confidence of wet sanding out the roof. So you will not regret taking his class the only regret I have about the class. Is that I didn’t take it sooner. Value of the class is much much higher then actual cost. Thanks so much !!Go head sign up!
Troy – Florida

Troy’s Review – Verified – I recommend this product
Absolutely recommend
This was my 2nd time taking Mikes class. Just like the 1st class, it was very informative, and very hands on. Now I am able to implement what I’ve learned and take it to the field, doesn’t get any better than that! Mike’s a great teacher and very passionate about what he does, which makes his classes a must take, couldn’t recommend more. Thank you Mike!
Scott – South Carolina
Scott’s Review – Verified – I recommend this product
You will leave this class with confidence
Great! I had never used a machine buffer in my life and in less than 30 minutes of first day of class was using one on a Corvette! I am 59 years old and enjoying taking classes and learning new things. I have taken courses on painting classic cars , custom fabrication etc., and unlike Instructors I had in the past, Mike teaches you like he has hired you and expects you to be able to work on your own in a couple of days. He puts the equipment in you’re hands and tells you to go to it , furthermore shows you how to get it done fast for maximum profit.
You don’t pass the tools around he has 20+ of every tool and the best ones in the Industry Flex Rupes etc., I left this class felling as if I wanted to open up a detail shop tomorrow! I have been given enough hands-on training and knowledge to do so.
Paden – California
Ray – Pennsylvania
Ray’s Review – Verified – I recommend this product
I arrived on Saturday morning and Mike went over all the equipment we were going to use over the 2-day period we were going to be in class, then it was off to work, starting with headlight sanding and polishing. Next we moved on to cutting and polishing, it was all hands on. Mike was a very good instructor, very informative and full of tips for the best end result. Yancy was Mikes assistant and was also very helpful, these guys were down to business but when the class was over, you walked away with new friendships.
I would highly recommend this class, weather you’re an enthusiast like myself or looking to go into the business professionally, these guys will teach you what you need to know to make that brilliant shine you and your customers are looking for.
Mitchell – Indiana
Quintin – California
Quintin’s Review – Verified – I recommend this product
110% RECOMMEND
Fairly new to the detailing world, extremely new to the paint correction portion. Mike’s class was filled with a lot of firsts for me. First time using a rotary and DA, first time ceramic coating, first time wet sanding and so much more. I went from having no idea where to begin before this class to now having the confidence, knowledge, and mechanical skills to begin this journey on my own.
I cannot stress this enough, whether you’ve never paint corrected or have been for years, TAKE THIS CLASS. The two 8 hour days of straight work with almost 0 downtime taught me more than I would’ve ever learned from the YouTube gurus. Thank you for offering this class Mike. Will be recommending this to anyone and everyone who is looking to further their paint correction skills!
Brad – Illinois
Brad’s Review – Verified – I recommend this product
110% RECOMMEND
Must have knowledge in your toolkit! Mike’s two-day class was fantastic. I was able to bring in my ‘79 Vette to learn on. As someone new to the detailing world and classic cars, I wanted to learn from the best so I could get my vehicle looking fantastic and maintain that protection and shine.
Primary Assistant Instructor – Yancy Martinez
Second Assistant Instructor – William Catala
Third Assistant Instructor – Matteo Catala
Not pictured – Caridad Escudero – Willy’s Wife (thank you for all your help)
Great class! Awesome people! Thank you for your trust in Dr. Beasley’s name as well as myself.
Would you like to take one of our classes?
If what you’ve seen in the pictures from this class represent the type of class you want to take, then click the link below for a schedule for all future classes.
Future Car & Boat Detailing Classes
Dr. Beasley’s Social Media Links
Be sure to check out the Dr. Beasley’s YouTube Channel – we make some pretty good, content-rich educational how-to videos.
Dr. Beasley’s LIVE Detailing Classes
Questions? Shoot me a text or give me a call: 760-515-0444
I hope to see you in a future detailing class!
Sincerely,
Mike Phillips
Chief Education Officer for Dr. Beasley’s
Mike@drbeasleys.com
Dr. Beasley’s Contact Information
Questions via Email: MyTeam@DrBeasleys.com
Customer Care Hotline: 773-404-1600
Questions? Comments?
Email Us