


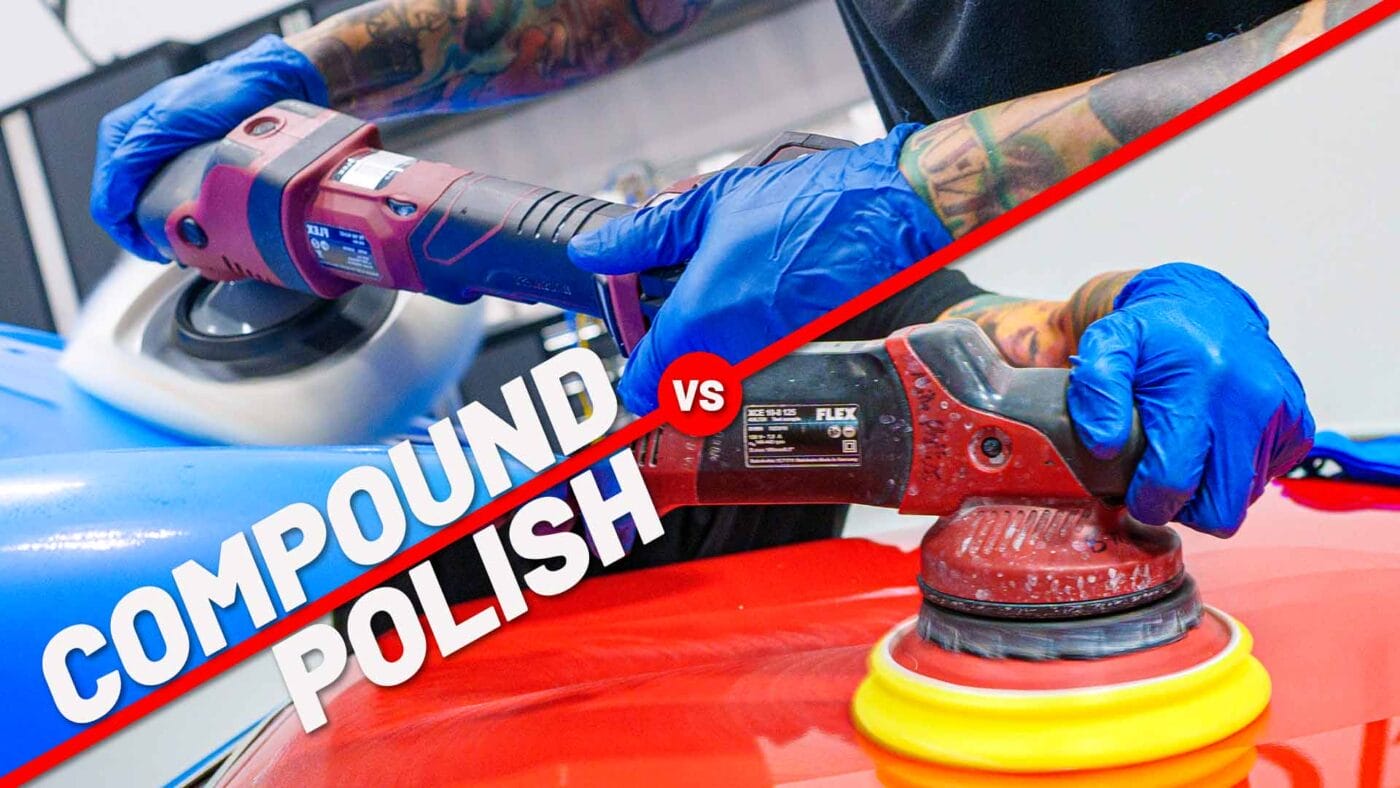
When it comes to paint correction on cars, people use the terms “compound” and “polish” interchangeably despite the fact that they refer to two completely different things.
That’s a big problem. When it comes to doing any type of paint correction, you need to know the difference between a polish and a compound. If you don’t know the difference, the job will either take much longer than necessary or you’ll damage the paint.
In this article, I’ll explain the big differences between compound and polish, what each term specifically means and in what situations you’d want to use one over the other.
What is a Compound?
A compound, sometimes referred to as a rubbing compound, is an aggressive cutting abrasive substance formulated to remove below-the-surface paint defects quickly. Compounds are typically designed to remove these types of paint defects:
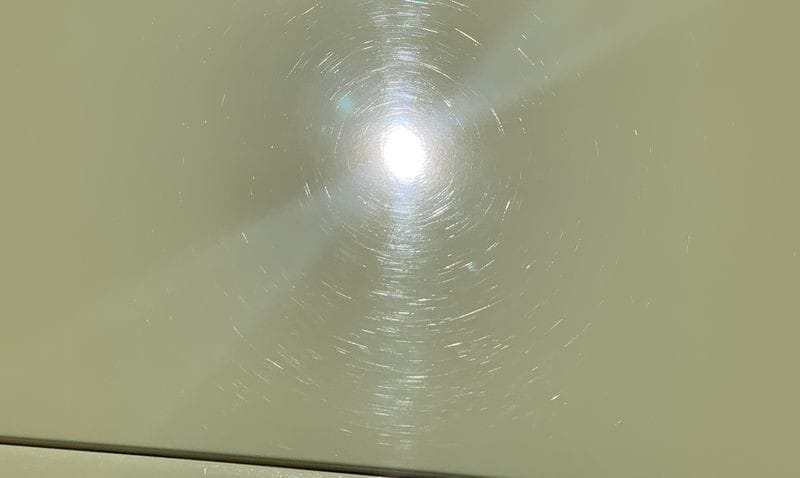
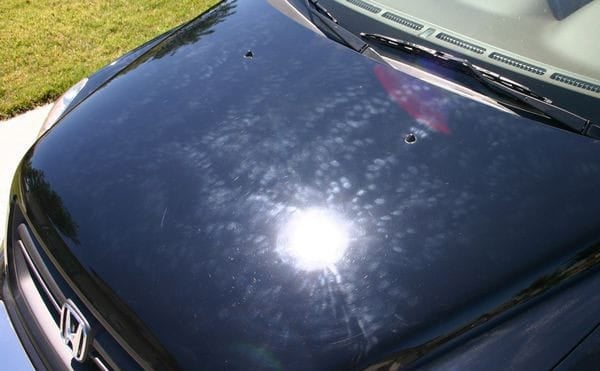
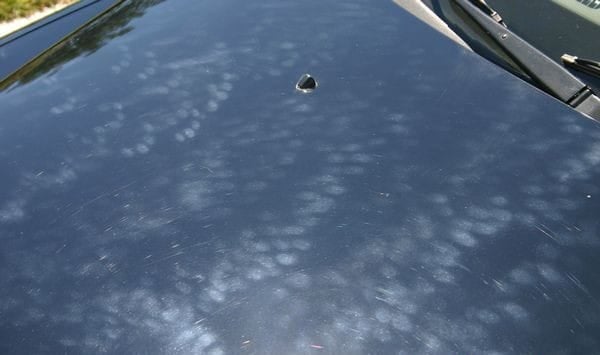
- Heavy Swirls: Scratches that appear circular when illuminated with a bright source of light. Typically the result of contaminated or abrasive washing and drying media like towels, mitts and brushes.
- Deep Scratches: Individual scratches, usually the result of an abrading object like a key or tree branch.
- Water Spots: Stains or etch marks left by rain water or sprinklers, typically due to mineral content in water left behind after evaporation.
- Oxidation: Dulling of the paint’s color caused by the sun’s UV rays.
- Water Stains: Stains under the paint surface caused by moisture trapped under inexpensive car covers.
- Sanding Scratches: Deep scratch marks caused by wet sanding to remove orange peel from a new paintjob.
What is a Polish?
A polish is a less aggressive abrasive substance that is formulated to remove medium to light shallow defects from automotive paint. Polishes are typically used to remove defects such as:
- Shallow Swirls: Light circular marks often caused by improper washing.
- Shallow Scratches: Minor surface-level scratches.
- Shallow Water Spots: Light mineral stains left behind by evaporated water.
- Light Oxidation: Slight dulling of the paint from sun exposure.
- Light or Shallow Water Stains: Mild staining from trapped moisture.
When Should You Use Compound? When Should You Use Polish?
Polishes and compounds can be used by themselves or as part of a paint correction process that refines results as you use increasingly less aggressive products. In a multi-step process, you would use the compound first to level out the defect, then refine the results with a polish to produce a brilliant shine.
Here’s when you’d want to use either type of abrasive product:
Compounds should be used if the paint you’re working on is severely neglected and shows signs of heavy or deep swirls, scratches, water spots and/or oxidation.
Polishes should be used whenever you need to remove moderate to light defects in the car’s paint, amplify shine or refine results from the compound step.
This is because polish is also used AFTER a compound to refine and improve the results created by the compound to maximize gloss, shine, clarity and reflectivity.
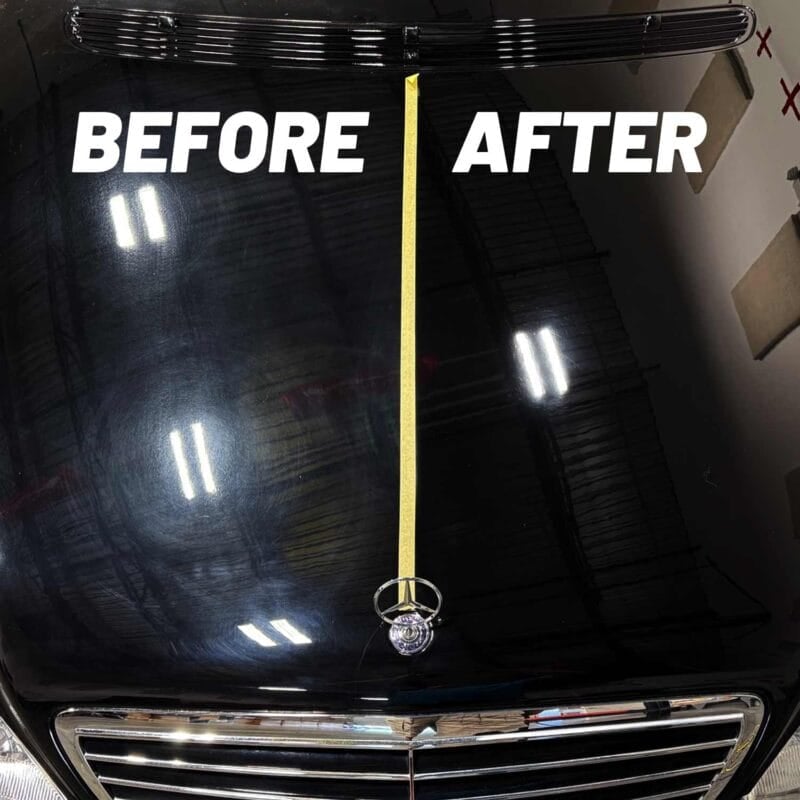
While it’s possible for a compound to finish out to a brilliant gloss in a single step, it’s normal for darker and black colors to require a polishing step after compounding. This is called a multiple-step process or show car detailing, with the idea being to create the most perfect mirror finish possible.
Don’t Know Whether to Use Polish or Compound? Do a Test Spot!
There’s an old saying in the car detailing world: “Use the least aggressive means to get the job done.” The idea here is that you want to remove the paint defects while preserving as much paint as possible.
This is because paint correction is a destructive process. You are literally shaving off part of the paint so you can level out whatever scratch or defect you want to remove.
Avoiding the Risk of Clear Coat Failure
In case you didn’t know, factory clear coats are extremely thin. If you are too aggressive in your paint correction you could risk burning straight through the clear coat or leaving the paint vulnerable to clear coat failure.
All of the UV protection for the entire paint system is in the clear coat layer of paint. The more paint you remove in the process of correcting defects, the greater the risk the little remaining clear coat will fail.
Clear coat failure is where the top clear layer of paint breaks down and disintegrates due to thin paint and repeated exposure to the sun, inclement weather, and repeated car washings.
Clear coat failure normally takes place to the horizontal body panels like the hood, roof and trunk lid as these horizontal panels take the brunt of damage from exposure over time.
This is why it’s vitally important to test the paint using the least aggressive product (polish) first before proceeding to more aggressive products (compound).
While a compound will almost always remove the defects at hand, it’s also possible a polish could have done the same job while removing less paint. So be sure to test first before you start with a compound!

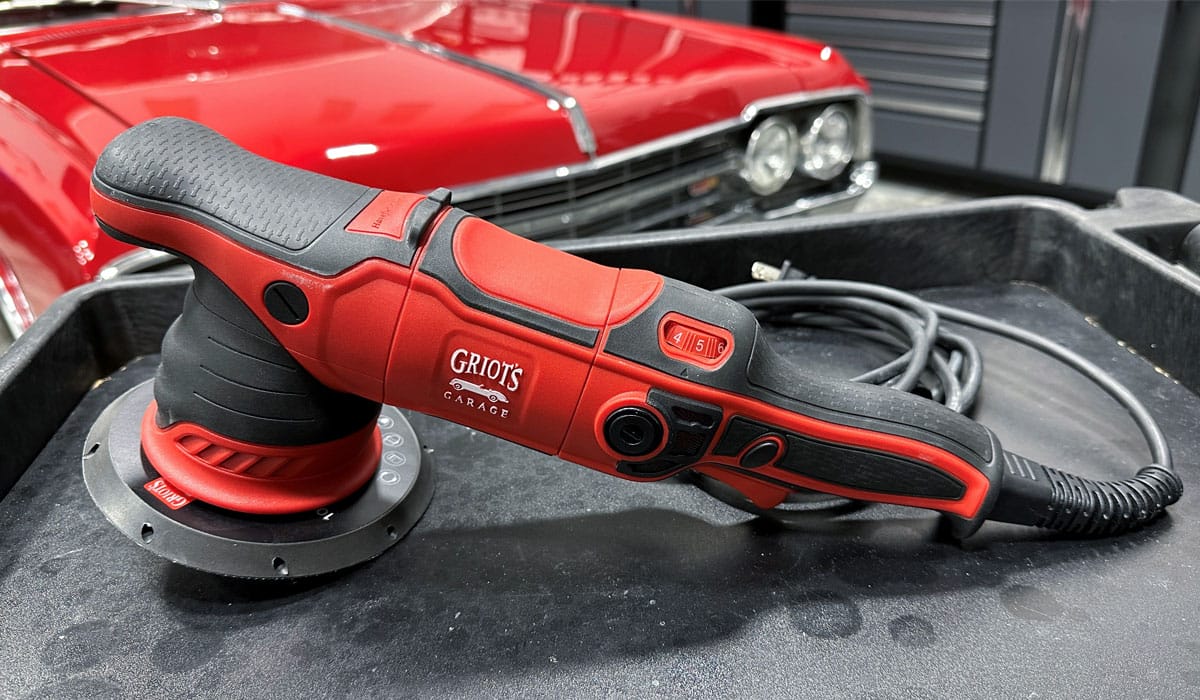
What Type of Machine Should I Use with a Compound?
You can technically apply a compound with any type of polisher, including:
- Rotary Polishers
- Gear-Driven Orbital Polishers
- Free-Spinning Random Orbital Polishers
Which polisher you choose depends on how fast you want to work and how comfortable you are handling a polisher. Here are some tips on using each type of polisher with compound.
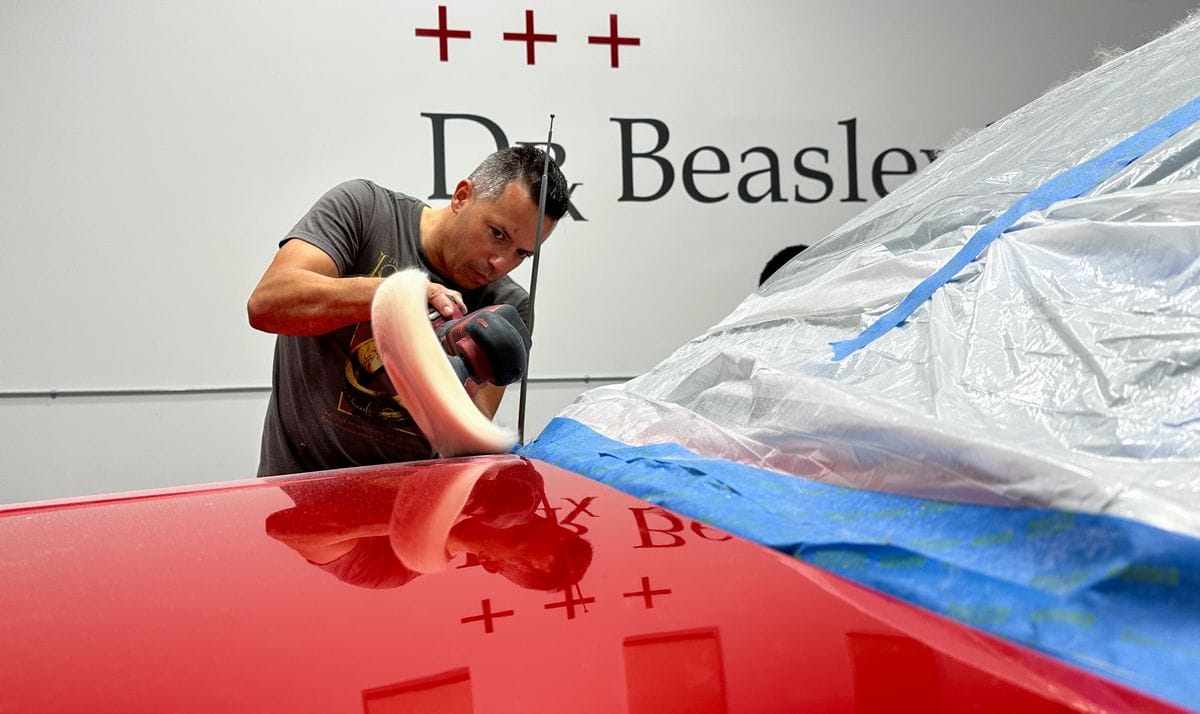
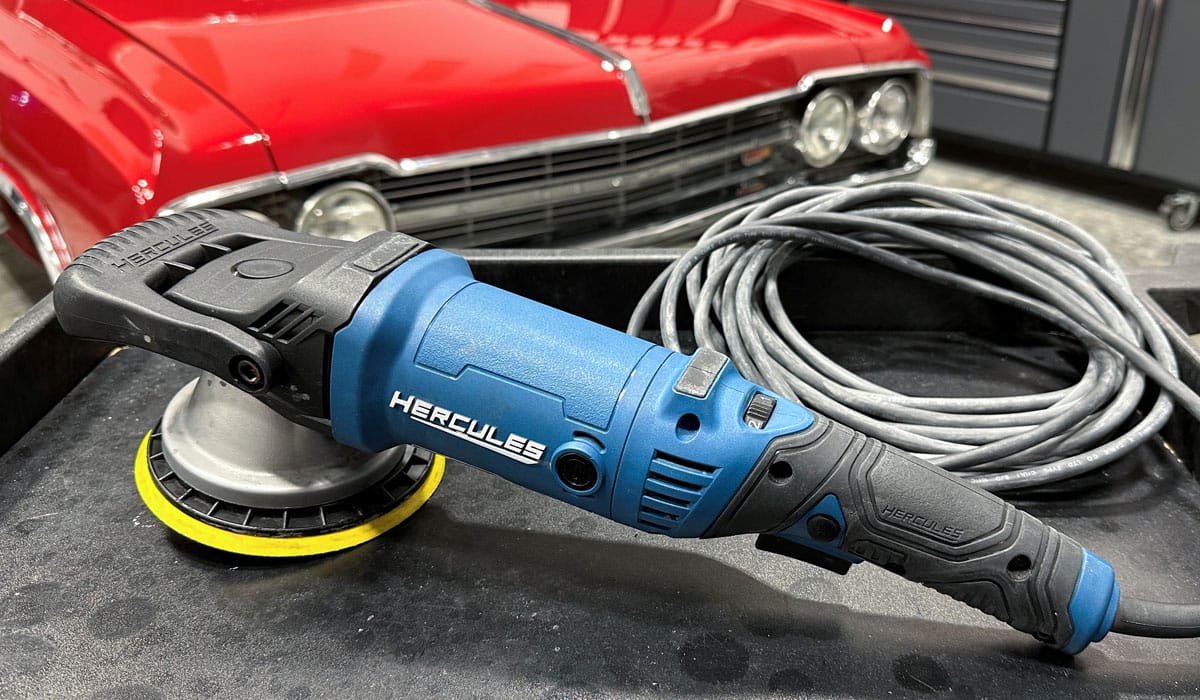
How to Apply Compound with a Rotary Polisher
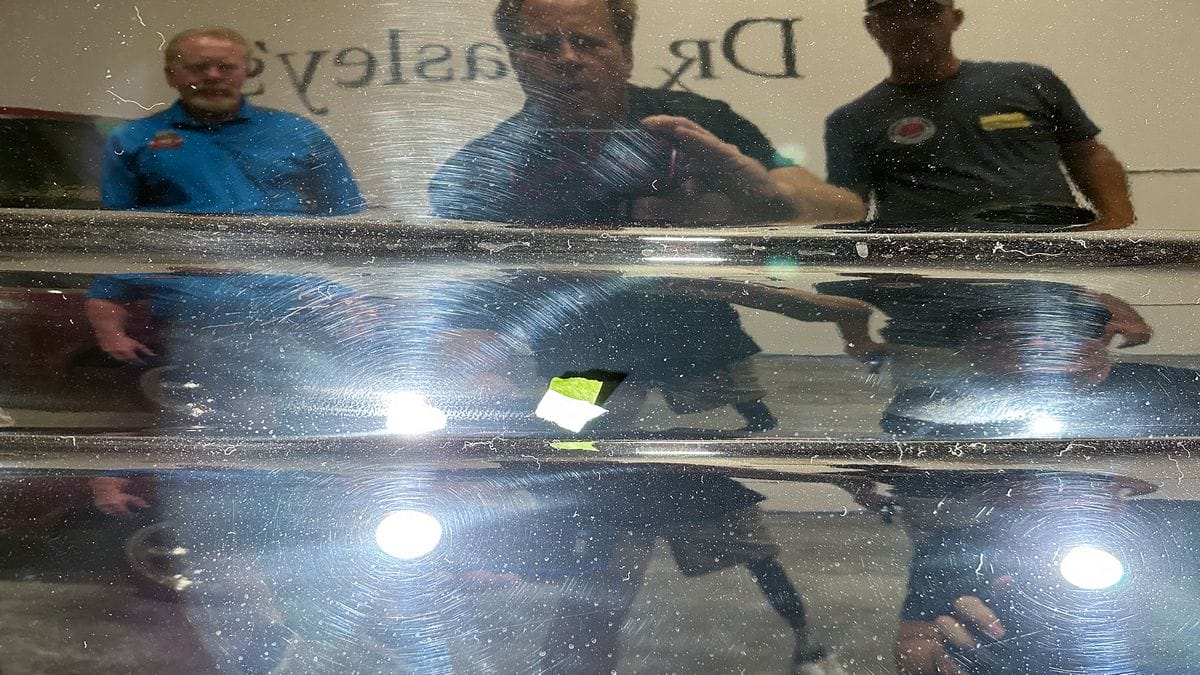
When it comes to the most severely neglected paintwork or custom paint you’ve aggressively wet sanded to remove orange peel, a rotary polisher paired with a wool buffing pad is the fastest and most efficient way to apply a compound.
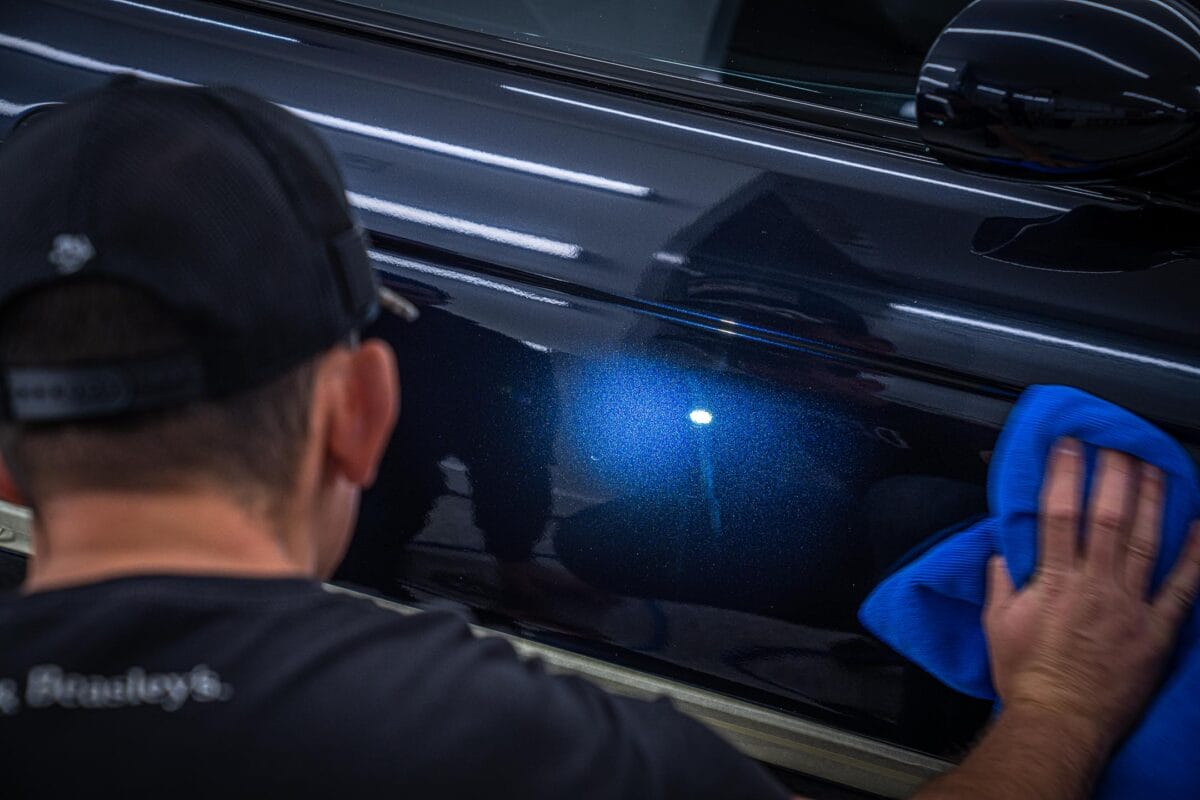
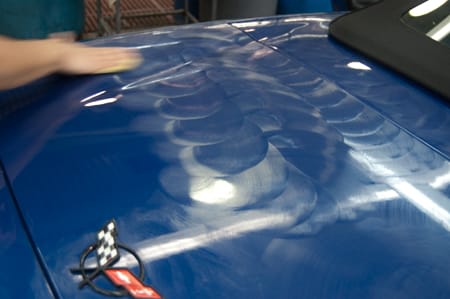
Because this combination is so aggressive, you’ll need to re-polish the entire car afterwards with a foam pad and polish. While this polisher/pad/product combo removes defects extremely well, it leaves behind its own scratch pattern called a “hologram” that needs to be refined with a polishing step.
The other concern with this combination’s aggression is the risk of burning through the clear coat. If you buff too hard, long or both in one spot, too much clear coat will be removed and a burn mark will appear.
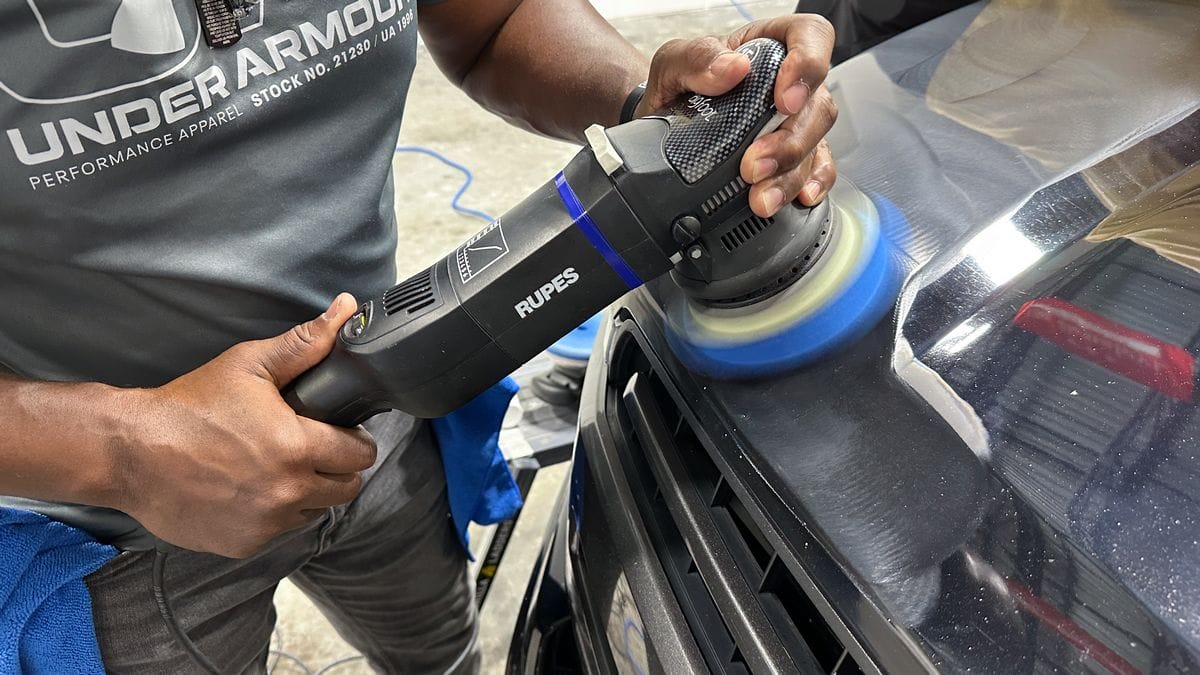
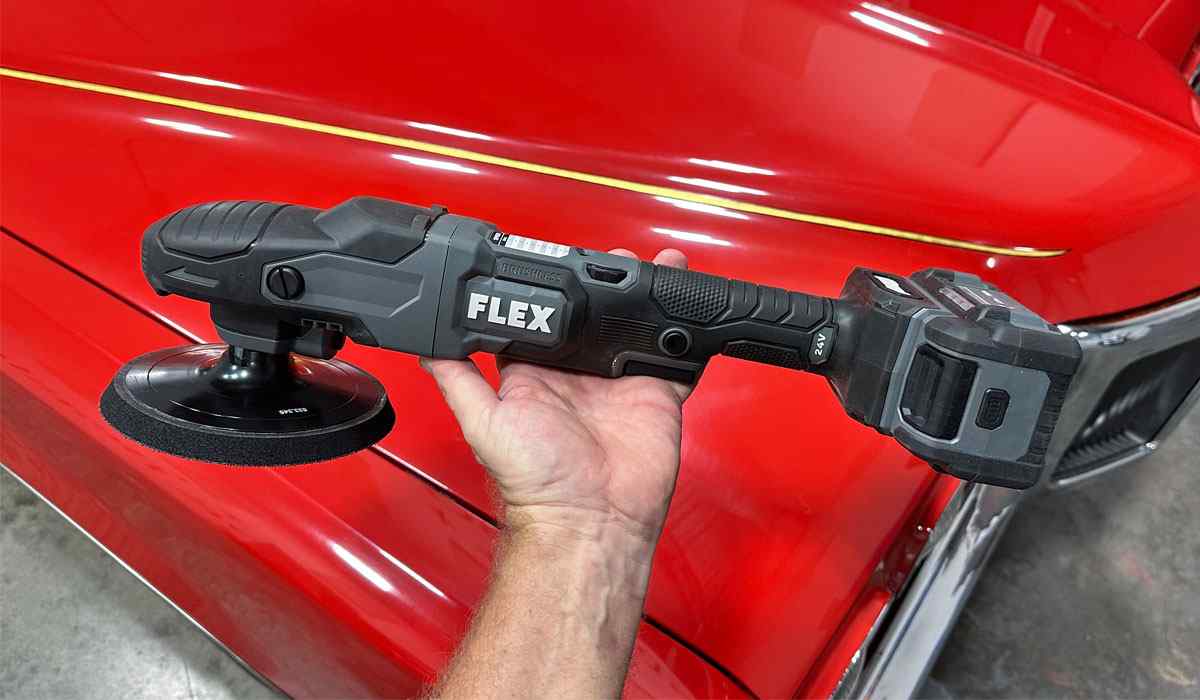
How to Apply Compound with a Gear-Driven Orbital Polisher
In terms of power, gear-driven orbital polishers rank second. While these machines have a dual-action orbit like other orbital polishers, they are forced to rotate, meaning they won’t stall if pressed too hard against the paint. This constantly rotating action makes them faster than a free-spinning random orbital but with the same safety of a dual action orbit.
Like a rotary polisher, however, you still want to follow your compounding step with a softer buffing pad and polish to refine the micro-marring left behind by the compound.
How to Apply Compound with a Free-Spinning Random Orbital Polisher (Short and Long Stroke)
Free-spinning random orbital polishers are the slowest way to apply a compound, but they work well and are the safest polisher you can use. That’s why these types of polishers are incredibly popular among DIYers and even professionals.
The free-spinning nature of the machine’s dual action orbit means the pad will stall if you press too hard against the paint. This makes it almost impossible to burn through the clear coat while using a random orbital polisher.
The other great thing about using a random orbital polisher with a compound is that sometimes the compound finishes out well enough that no polishing step is needed.
The only real downside with using a free-spinning random orbital to apply compound is how long it takes. The low aggression of the machine’s action combined with frequent pad stalling makes paint correction take much, much longer compared to gear-driven or rotary machines.
What Type of Machine Should I Use with a Polish?
Like compounds, polishes can be used with free-spinning random orbitals, gear-driven orbitals and rotary polishers. However, because polishes typically don’t require the kind of aggression provided by a rotary polisher, most people use an orbital machine when polishing.
Can I Apply Compound or Polish by Hand?
This may sound harsh, but the simple answer to this question is “No”.
Here’s why I don’t recommend applying compound or polish by hand.
Modern clear coats are too hard for a polish or compound to be effectively applied by hand. It’s incredibly difficult to achieve the level of abrasion necessary to level defects without a machine-powered action.
If you do try to apply compound or polish by hand, you could risk inflicting what are called “finger marks” into the paint. Finger marks result when you apply extra pressure with your fingertips while hand-applying a polish or compound.
What Polishes and Compounds Do You Recommend?
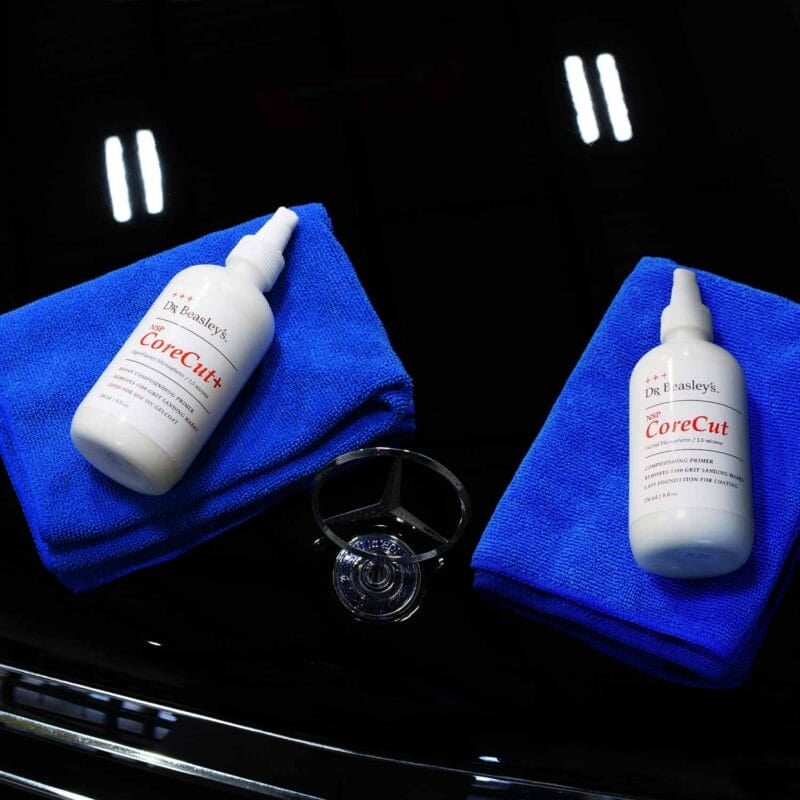
When it comes to recommending a polish or compound, I may be a little biased considering I am the Chief Education Officer for Dr. Beasley’s, a company that makes a line of polishes and compounds called “Nano Surface Primers”.
That being said, I was a fan of these products before I ever signed on with the Beasley’s team. I’ve always said the difference between a good polish and a bad polish is in the abrasive technology, and Nano Surface Primers have amazing abrasive technology.
They utilize microsphere abrasives that vary in size and texture to produce specific levels of cut in the safest way possible. This is important because size can affect how safe an abrasive is. Larger, more jagged abrasives pose a great risk of clear coat burn-through.
The NSPs keep their abrasive particles small, capping out at 1.5 microns. To get a more aggressive cut with the CoreCut compounds, the abrasive features a hyper faceted texture instead of a bigger particle size.
The other thing I really like beyond the safety is the ceramic foundation they provide. Instead of simply cutting away at the clear coat, NSPs actually restore the clear coat’s protection with a ceramic foundation laid down by the nanogel carrier, primed for bonding with the ceramic coating to follow after correction.
So, as far as compounds go, I would recommend either NSP CoreCut or CoreCut+, which are releasing soon.
For polishes, I’d recommend NSP 150, 95 or 45 depending on the level of aggression you need. For reference, the numbers refer to the abrasive particle size and therefore the aggression level. 150 corresponds to a 1.5 micron abrasive size, 95 to .95, etc.
You can find all the Nano Surface Primers on drbeasleys.com.
My Personal Offer to Help
I’ve been answering car detailing questions professionally since 2002 and moving forward, if after reading this article you have any questions about polishing and waxing, or how to use an AIO, my contact information is below, reach out to me, I’m always happy to help.
Would You Like to Learn How to Machine Polish Like a Pro?
- Would you like to take your detailing skills to a higher level?
- Do you find you learn better by doing versus sitting in a chair looking at a PowerPoint presentation about car detailing?
Here at Dr. Beasley’s O.R., (Operating Room), in sunny Stuart, Florida, we teach the most hands-on car and boat detailing classes on planet Earth. And we prove it too. You can find write-ups on the Dr. Beasley’s Blog that photo-documents just how hands-on our classes are plus you’ll see the kinds of cars and boats you’ll be training on.
Click the link below to find the dates, locations, topics, and prices for all upcoming detailing classes.
Upcoming Detailing Classes – Prices – Info – Topics – Locations
And if you ever have any questions, always feel free to reach out to me personally via text, phone call or email.
I hope to see you in a future detailing class!
Sincerely,
Mike Phillips
Chief Education Officer for Dr. Beasley’s
Mike@drbeasleys.com
760-515-0444
Dr. Beasley’s Contact Information
Questions via Email: MyTeam@DrBeasleys.com
Customer Care Hotline: 773-404-1600