


After over 22 years of owning a detail shop, I’ve seen what can happen when a car isn’t properly prepared for winter storage. Every April and May, prized Porsches, Ferraris, Corvettes and classic muscle cars come out of the garage needing more work than their owners expected.
One car I still think about is a 1964 Aston Martin DB5. The owner had it flatbedded to our shop in the fall, we detailed it to perfection, and it went home on a flatbed so it wouldn’t pick up any road dirt. When it came back the next spring, it had leaf stains in the paint and scratches across the finish.
It turned out he’d taken it out for a few final drives in wet weather, then parked it wet and dirty, put a poor-quality cover over it and left it in a shared garage. Everything we did that fall was undone over one winter.
That DB5 wasn’t unusual. Sometimes an owner assumes parking indoors is enough. Other times, the car has been detailed and protected, but a few final drives leave rainwater, road grime or leaves behind. A detail earlier in the season doesn’t tell you what’s on the car when you close the garage door.
So before you put your classic, convertible or weekend car away, watch for these seven winter storage mistakes. They can leave you with scratched paint, moisture stains, a musty interior or a car that won’t start when spring finally arrives.
1. Putting a car cover over a dirty car
I’m not just talking about bird droppings or caked-on mud. Light dust and grit are easy to overlook when the car is about to sit for months. After all, can’t you just clean them off next year?
With a cover on top, that dirt has plenty of opportunities to rub against the paint. Outdoors, wind can shift the fabric. Indoors, brushing past the car or pulling the cover on and off can do the same thing. Those small movements can leave a web of fine scratches by spring.
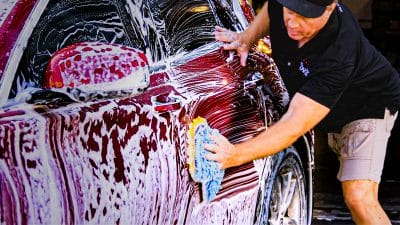
Finish those last fall drives, then clean the car before its final move into storage. Pay attention to lower panels, wheel wells and places where debris collects. If you’ve driven on salted roads, get the underside cleaned as well. Leave enough time for everything to dry.
After washing, inspect the paint for remaining deposits. Remove contamination with products suited to the finish before applying protection. On matte paint, don’t reach for a clay bar or try to polish away a stain. Abrasive treatment can permanently change its appearance.
Protect the finish you’ve prepared
You don’t have to turn winter preparation into a full paint correction project. But if the paint needs protection, choose something suited to the surface and the time you have.
For glossy paint, Nano-Resin provides ceramic protection and adds gloss. For matte or satin paint, Matte Paint Coating protects while preserving the existing sheen. Use protection intended for film, such as Matte Film Coating, on matte vinyl or matte paint protection film.
If you want a simpler spray-and-wipe option, Bead Hero adds hydrophobic protection to glossy finishes, while Matte Bead Hero maintains a matte appearance. If the car already has a healthy ceramic coating, winter storage alone isn’t a reason to apply another one.
Follow the product’s preparation, temperature and curing requirements. A coating won’t remove contamination or fix scratches underneath it, and applying one shouldn’t be the job you squeeze in just before pulling on the cover.
2. Leaving moisture trapped in crevices or under the cover
A dry hood doesn’t mean a dry car. Water can remain around mirrors, trim, door jambs and other recesses long after the visible paint looks ready.
This deserves particular attention on classic and restored cars. Our Chief Education Officer, Mike Phillips, avoids traditional hose-and-bucket washing on these vehicles whenever possible. Water can find its way into body channels, window felts, spot-welded seams and hidden restoration work where a drying towel cannot reach. Left behind, that moisture can contribute to rust.
Mike telling me about these problems was part of the reason I developed Prep Wash. He had been using my Glass Cleanser off-label to clean classic cars before paint correction, so I created a dedicated solution for paint.
That doesn’t mean you should wipe down a car covered in mud or heavy road grime. Reserve waterless cleaning for very light soil. If the car needs a rinse and hand wash, give it one, then make thorough drying part of the job.
Mike recommends blowers as one way to remove rinse water while reducing towel contact with the finish. Check for remaining drips and give any washed areas underneath time to dry before covering.
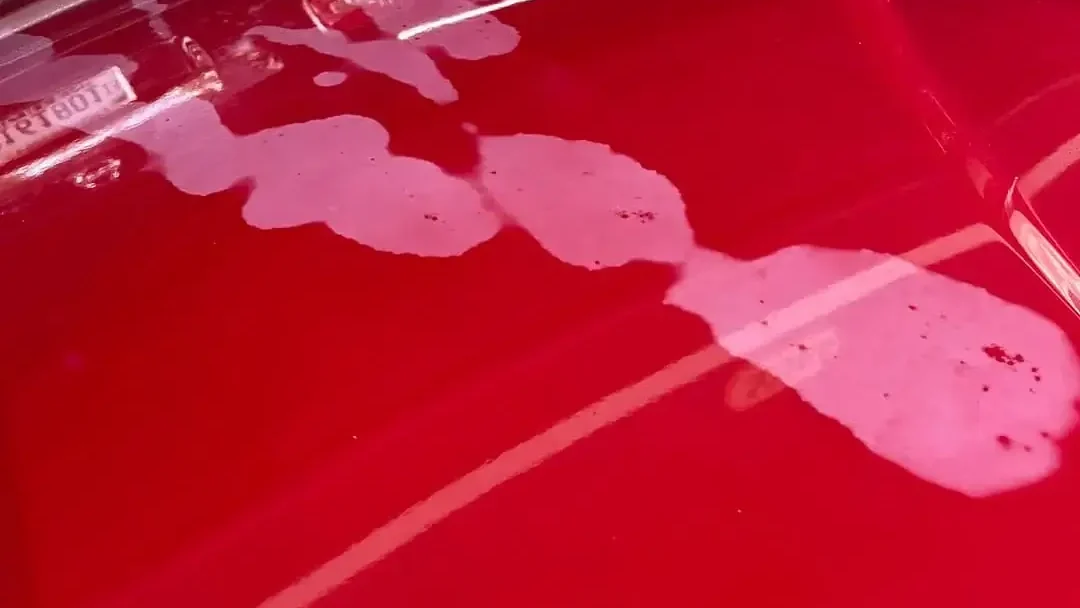
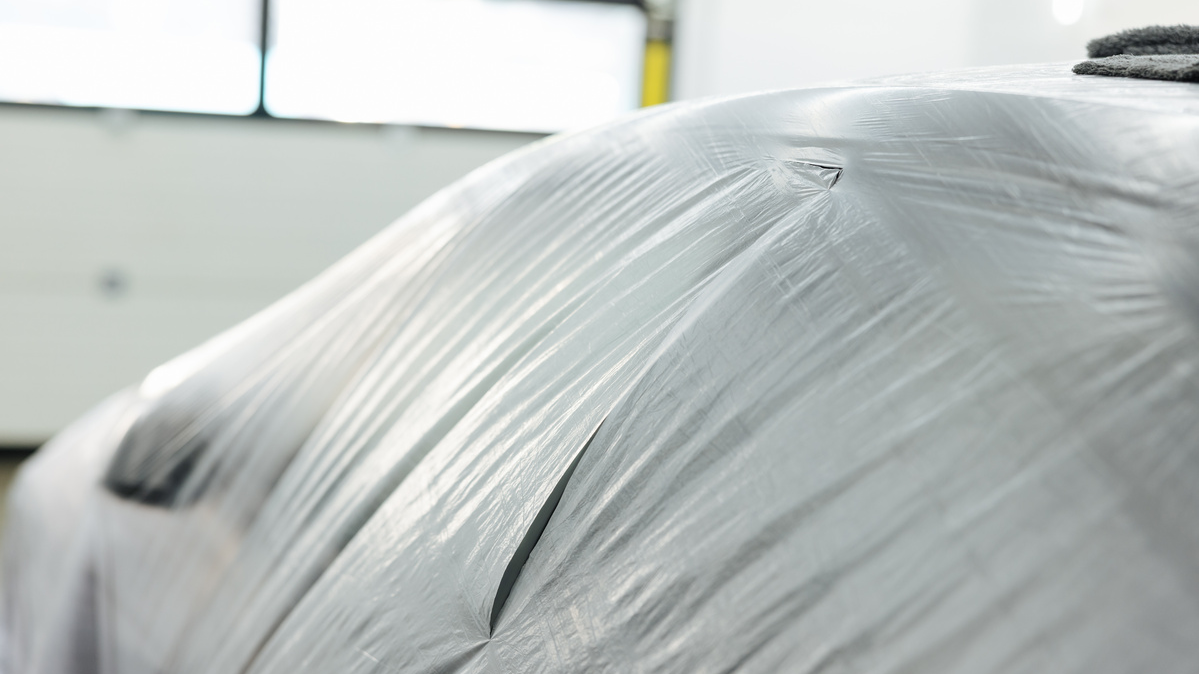
There’s another reason to take this seriously. Mike and I have both seen whitish clear coat staining associated with moisture trapped beneath car covers, plastic tarps and drop cloths.
Don’t assume that cloudiness calls for paint correction. For staining caused by trapped moisture, Mike recommends direct sunlight as a first approach: warming the paint can help the moisture evaporate. Identify the cause before reaching for a polisher. There’s no benefit in removing clear coat to solve a moisture problem.
3. Protecting clean paint with a dirty cover
Putting a dirty cover over clean paint can undo the preparation you just finished.
Mike once inspected scratches running across the roof of a 1956 Chevy. When he asked what the owner used to cover it, the owner pointed to a dirty car cover bunched up on the garage floor. Particles embedded in the fabric scratched the finish whenever he pulled it on or off.
Inspect your cover before using it and clean it according to its instructions. Give it a clean storage container, too. I recommend a plastic tote rather than the garage floor or a cluttered trunk.
Handle it carefully so it doesn’t drag across the finish. Once it’s on, avoid repeatedly removing and replacing it just to look at the car. Every unnecessary pass gives trapped grit another chance to move against the paint.
4. Treating indoor and outdoor storage as the same job
A garage roof doesn’t guarantee a dry car, and an indoor dust cover won’t turn a driveway into a garage. Match your preparation to the conditions.
Indoors, check for leaks, damp floors and condensation. Moisture can come through a slab or condense from humid air onto its cold surface. If dampness keeps returning, find the cause. A cover cannot fix the storage space.
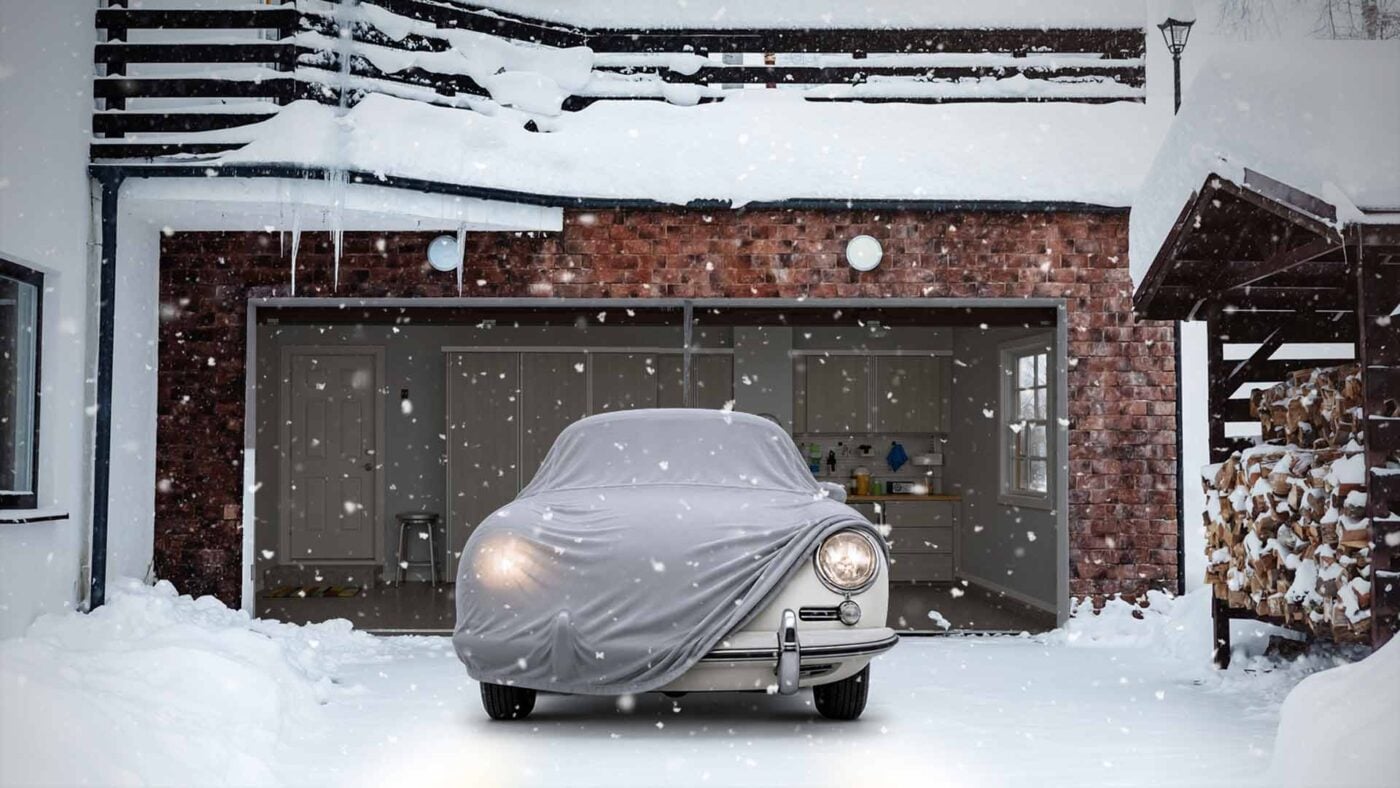
A properly fitted, breathable indoor cover helps keep dust off while letting moisture escape. Outdoors, the cover also needs to withstand rain, sunlight, snow and wind. Choose one rated for the conditions and secure it according to its instructions so the fabric doesn’t flap against the paint.
Check the specifications rather than assuming a heavy cover traps moisture or a thin one lets it escape. Some covers work both indoors and out; others don’t.
Outdoor storage also changes practical matters such as access to electricity for a battery maintainer and exposure to moisture rising from the ground. Plan around the actual space, then revisit it during winter to check for dampness, cover movement or signs of pests.
5. Forgetting the interior and the storage space
The mildew-y interiors we’ve dealt with are one reason I wouldn’t make storage preparation an exterior-only job.
Vacuum the cabin, moving the seats to reach underneath. Empty cup holders, door pockets and the glove box. Remove food wrappers and crumbs, and clean spills and soiled surfaces with products suited to the materials.
Lift the floor mats and check the carpeting beneath them. If you shampoo carpets or clean upholstery, let everything dry fully before storage. Wet carpeting or a musty smell deserves investigation. Cleaning alone won’t fix a leak that keeps letting water in.
Then look beyond the car. Remove nearby birdseed, pet food, grass seed and other pest attractants. Inspect garage door seals and gaps where animals can enter. A stored car provides shelter, and one winter is enough for nests, damaged upholstery or chewed wiring.
Set traps around the garage perimeter, away from children and pets, and check them regularly. Avoid poison bait near the vehicle. A rodent can eat it, crawl into the dashboard or HVAC system and die somewhere you cannot reach. You’ll find it by the smell.
Where suitable for the vehicle, removable barriers can help protect likely entry points. Clearly label every blocked opening and leave a reminder on the steering wheel so all barriers are removed before starting the engine.
When you check on the car, look for droppings, nesting material or chewed insulation. Address signs of pests promptly rather than waiting until spring.
6. Focusing on detailing and ignoring mechanical maintenance
Spotless paint won’t help much if the car won’t start in spring. Before putting it away, prepare the parts you can’t protect with a coating or cover.
Start with your owner’s manual’s long-term storage instructions, then address these four areas:
- Battery: Use a maintainer compatible with the battery and approved for extended use, following the vehicle’s connection instructions. Don’t assume disconnecting the battery is appropriate for every car. Letting a lead-acid battery remain discharged can cause lasting damage and make it more vulnerable to freezing.
- Fuel: For gasoline-powered cars, check the manufacturer’s recommendations for filling the tank and using a fuel stabilizer. Add stabilizer to fresh fuel and follow its directions for circulating it through the system before storage. It won’t restore fuel that has already deteriorated.
- Oil and coolant: Address an oil and filter change when required by the maintenance schedule or storage instructions. Check fluid levels and leaks, and make sure the coolant provides suitable freeze protection for the temperatures the car will experience.
- Tires: Check cold pressures against the vehicle’s recommendations and monitor them during storage. Leaving the car on underinflated tires increases the risk of flat spots. Recheck pressures before returning to the road.
One other thing: don’t assume a few minutes of idling each week will keep the engine healthy.
A short idle may leave moisture from combustion in the oil because the engine never stays hot long enough to drive it off. Follow the vehicle manufacturer’s storage instructions rather than assuming a brief startup will help.
7. Not protecting the undercarriage
Keeping your car off salted roads helps, but storing it indoors doesn’t eliminate the risk of corrosion. Damp conditions can still expose the underside to moisture, and road salt left behind adds another concern. Beautiful paint can hide a deteriorating chassis.
Inspect underneath before putting the car away. Remove accumulated grime and salt, allow everything to dry, and have existing rust assessed and addressed before applying protection.
For exposed undercarriage surfaces that need protection, Chassis Coating provides a ceramic barrier against water, salt and corrosion. It was developed for ICON’s custom vehicles, where resisting harsh conditions mattered just as much as preserving the chassis’s appearance. It dries clear rather than covering the underside with black undercoating, making it useful for restored classics and show cars.
Apply it only to clean, dry, compatible surfaces and follow the application and protective equipment instructions. If you cannot safely access the underside, have a qualified shop handle the work. A coating helps preserve sound surfaces; it doesn’t repair rust or replace a dry storage environment.
Before the cover goes on
Make one final walk around the car. Check for remaining contamination, water in recesses, damp interior materials and dirt inside the cover. Confirm that any protection has had its required curing time and that the mechanical storage preparations are complete.
Keep a short note of what you did and anything you must undo before driving. Check on the car and its storage space periodically through winter.
When I see these cars in April and May, I know their owners want to enjoy them. They don’t want their first outing delayed by mildew cleanup, paint work or a dead battery.
The first drive of spring should start with taking the cover off… not finding out what went wrong underneath it.
Questions? Comments?
Email Us