


It’s a dark, stormy night. You walk into the garage to check on your car, but it’s pitch black. The light switch is on the other side of the room.
You stumble around, looking for your inspection light.
You feel it on a shelf, grab it, and turn it on.
Then you see it.
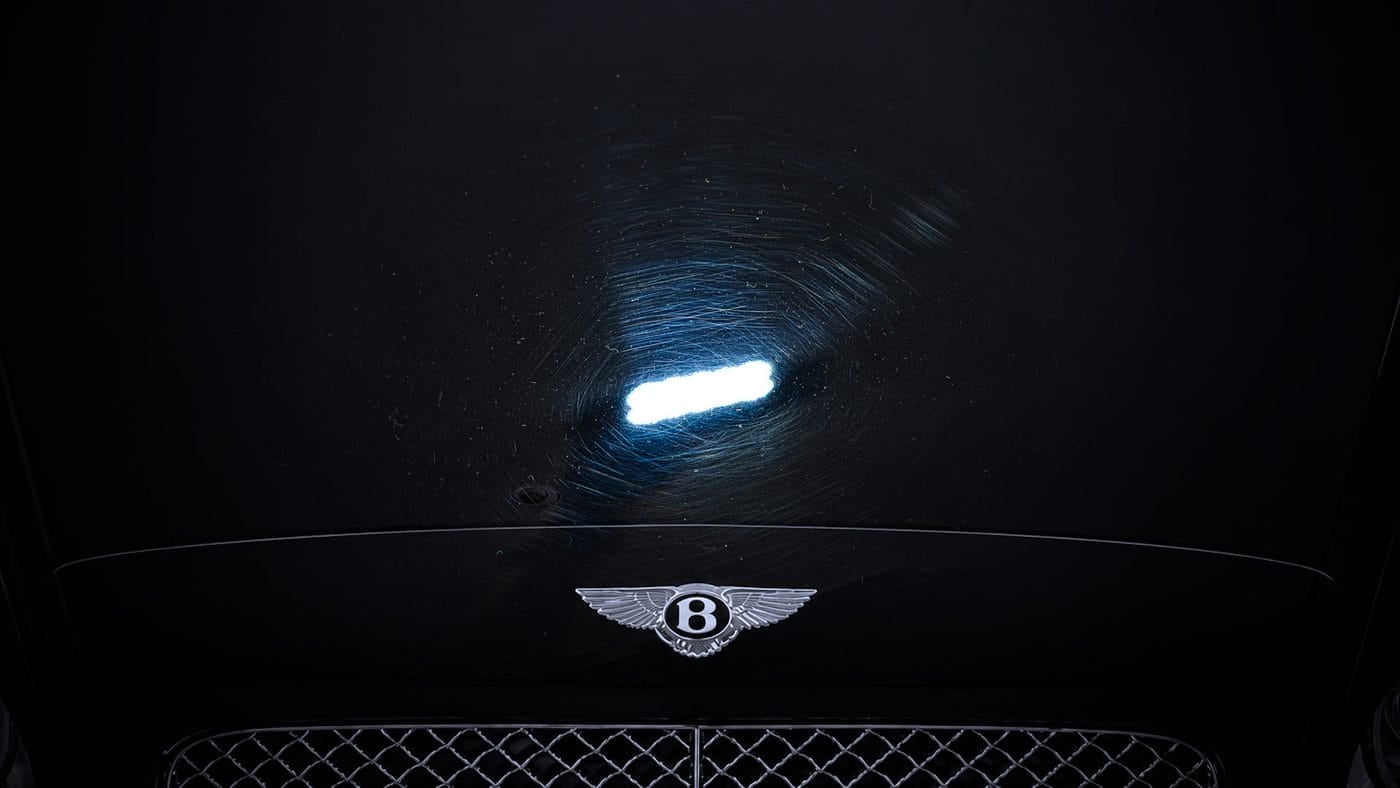
A gigantic spider web of swirls and scratches on your car’s hood!
It’s horrifying, to say the least.
But there’s no reason to be scared! In most cases, scratches like these are easy to remove. They’re even preventable, if you follow the right best practices when washing and drying. So how do you remove scratches on a car’s paint and keep them from re-appearing? I’ll explain how to remove scratches from car paint here.
Quick answer: Light swirls and shallow scratches in gloss paint can often be polished out. Deeper scratches can sometimes be improved, but complete removal should not be attempted. Scratches beyond the clear coat depth require touch-up or refinishing. Matte paint can’t be polished, so start by checking whether the mark is contamination that can be cleaned away. If it’s actual damage, repainting may be needed.
What About Matte?
Matte finishes can’t be polished to remove scratches, as polishing flattens the matte texture and creates a gloss. There are other ways to minimize the horror, however. Skip to the matte section if you have a matte finish car.
How to Remove Scratches from Car Paint
Step 1: Identify the Scratches
Not all scratches in car paint are the same. Some are shallow, some are deep. Some are localized to the protective clear coat, while others penetrate down to the primer. Knowing the difference will tell you whether the scratches can be polished out or not.
Start by washing and drying the area so you can see what’s actually there. Sometimes paint transfer, dried residue or other contamination can look like scratches. Clean first to be sure.
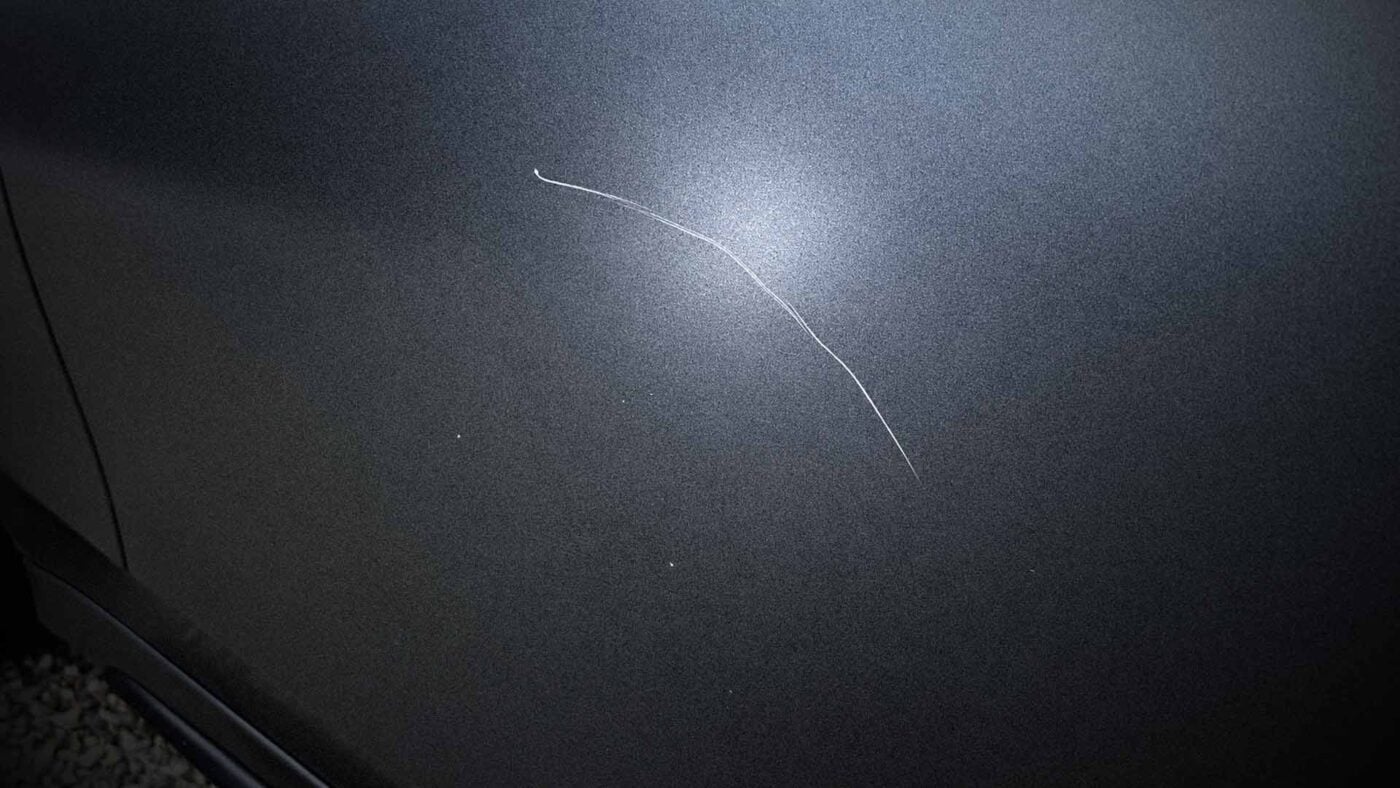
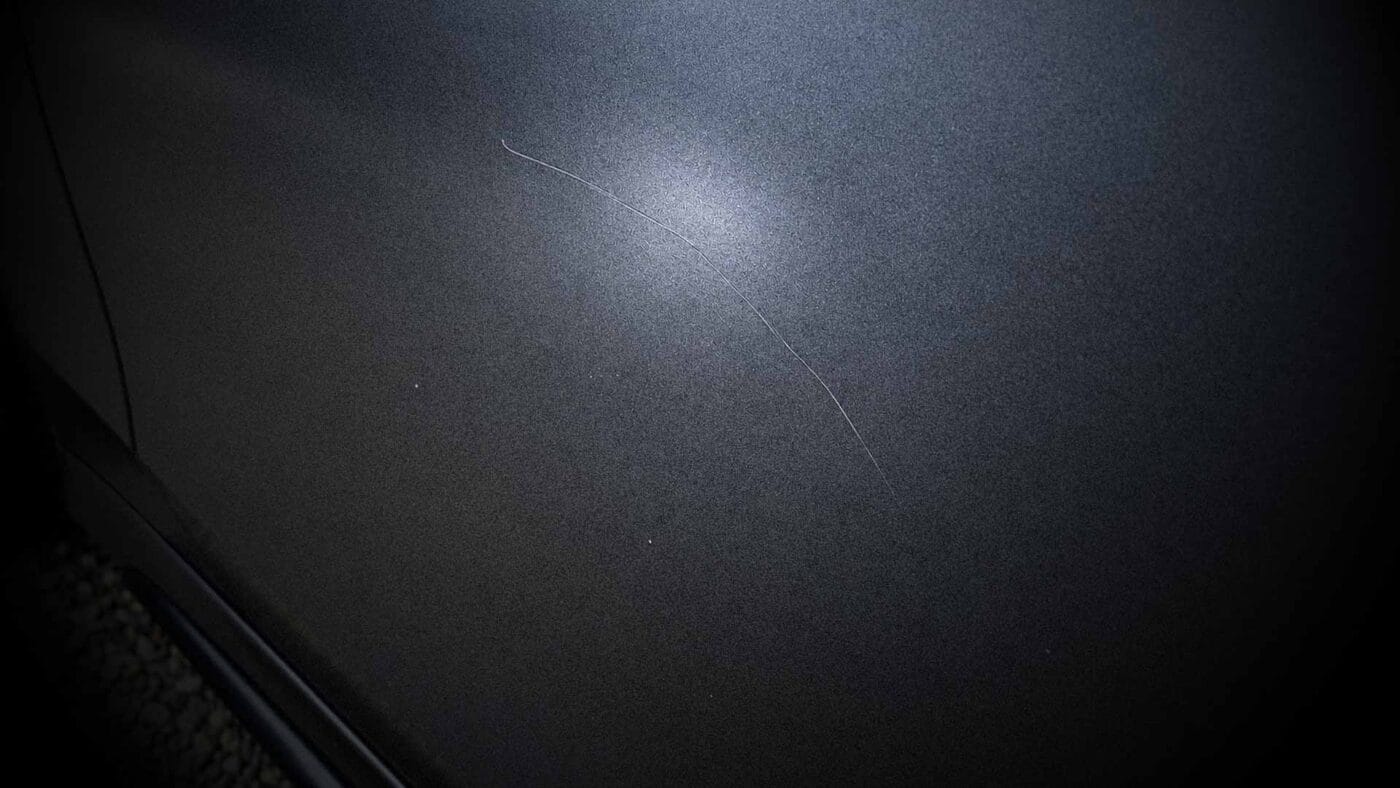
Next, inspect the clean paint under a strong inspection light or the sun. Swirls look like a cluster of fine scratches around the reflection of the light source. A single scratch that stands out from the surrounding swirls is an isolated scratch. It may be shallow or deep. Being on its own doesn’t tell you whether it can be polished out; the depth of the damage is what matters.
If you can see exposed primer or bare metal, polishing won’t work. The paint is no longer there, only repainting can fix the scratch. That being said, even a scratch that stays within the clear coat can be too deep to remove safely.
Our scratch identification article shows the different layers of damage and what each means for repair.

Step 2: Test a Polish & Pad
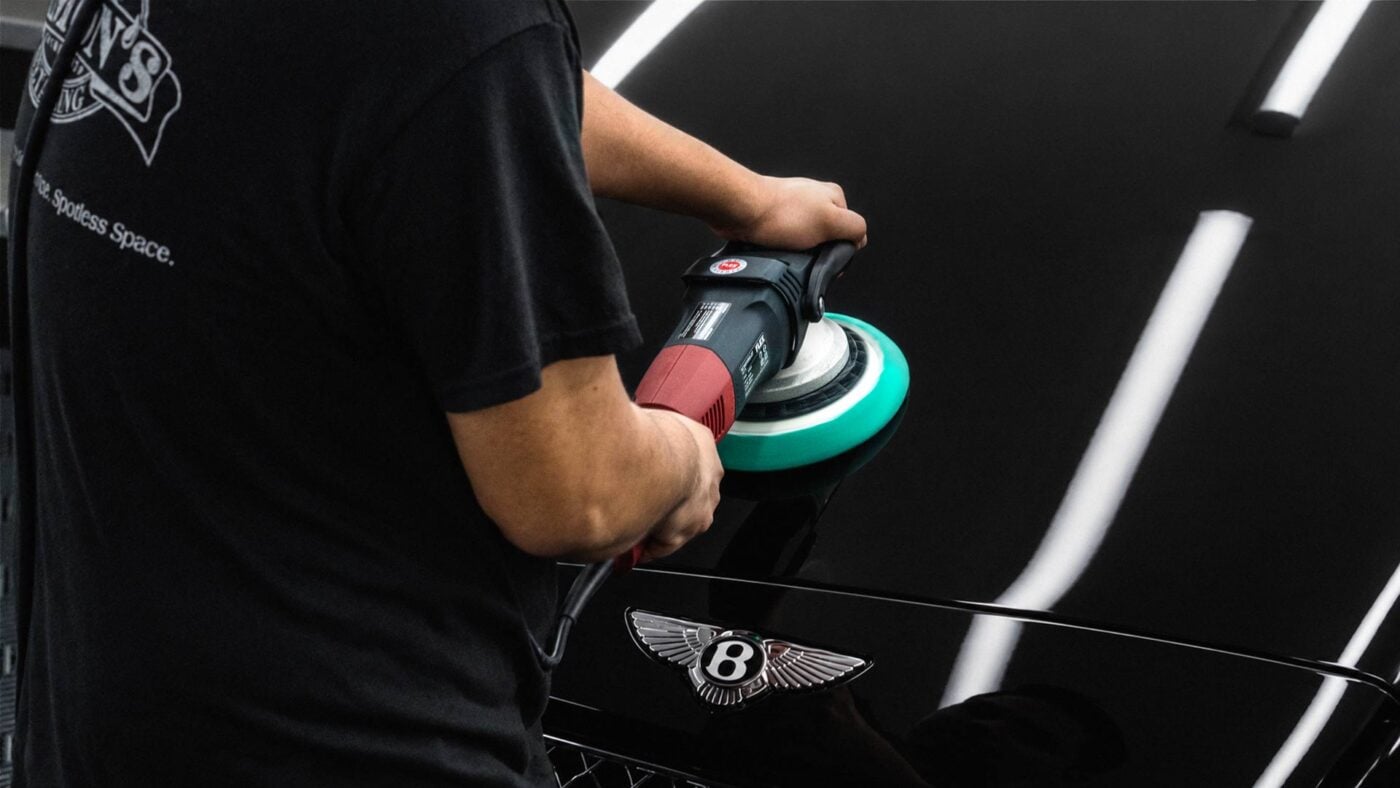
If the scratches are shallow, and you own a machine polisher you’re confident using, you can likely polish out the swirls and scratches on your own.
Before testing, wash and decontaminate the gloss paint as needed. Work on a cool surface in the shade. Start with a medium foam polishing pad and a light polish, such as NSP 45, rather than jumping straight to a heavy compound.
Choose a small section on the hood or another panel you can inspect easily, about the size of a 16-by-16-inch microfiber towel. Spread the polish, then work in overlapping passes, first horizontally, then vertically.
Covering the entire section once in one direction counts as one section pass. Covering it again in the perpendicular direction counts as a second. Continue alternating directions and count each complete coverage of the section as another pass.
For the initial test spot, Mike recommends starting with about four section passes, then inspecting the result. Start with fewer passes rather than doing more than you need. The goal is to find the least aggressive process that removes the defects while leaving as much paint on the car as possible.
Once you’ve completed your section passes, switch the machine off and let the pad stop spinning before lifting it off the paint. Wipe away the residue with a clean microfiber towel and inspect under your light.
Did the swirls come out? Does the finish look clear? If so, you’ve found your process. If not, reassess the pad, polish and technique before increasing the cut and starting a new test spot in a different area.
Mike demonstrates this process in our car polishing tutorial.
Step 3: Repeat Across Vehicle
Once you’ve found an effective pad and polish combination, repeat the process you defined during the test spot across the vehicle’s paint, starting from the top and working your way down and around.
Break large panels into smaller sections instead of trying to polish an entire hood at once. Give each section the same attention you gave the test spot, overlapping the edges so you don’t leave strips of uncorrected paint.
Inspect as you go. Different panels may respond differently, particularly if part of the vehicle has been repainted. If the results change, do another test spot rather than repeating a process that’s no longer working.
Keep the pad clean and change to a fresh, dry pad when it becomes loaded with spent product and paint residue. Use clean microfiber towels to remove residue, and check them before every wipe. There’s no sense removing scratches with the polisher only to put them back with a dirty towel.
Keep the pad flat where the panel allows, keep the machine moving, and take particular care around edges, raised body lines and trim. Stop and inspect any area you’re unsure about.
Step 4: Protect With a Ceramic Coating
Once you’ve finished polishing, the newly restored finish must be protected to ensure the paint remains in good condition going forward.
Choose a coating made for gloss paint and follow its preparation instructions. Some polishing products leave oils or residue that require a panel wipe before coating. If you’re using Nano Surface Primers, follow the NSP system’s coating preparation guidance instead of automatically adding that step.
Apply the coating to one manageable section at a time, using overlapping strokes for even coverage. Follow the coating’s directions for when to level it, then remove the excess with clean microfiber towels. Check the area under your inspection light before moving on. Missed excess can cure into visible high spots.
Keep the vehicle dry and allow the coating to cure for the period specified by the manufacturer. Application and cure times vary, so don’t substitute a general rule for your coating’s instructions.
Our ceramic coating application guide walks through applying, leveling and inspecting each section. Protection makes ongoing care easier, but it doesn’t make the paint scratch-proof.
How Do You Remove Random Isolated Deeper Scratches (R.I.D.S.)?
Sometimes the scariest scratches of all are isolated, deeper scratches that come from things like keys, rings or sharp particles embedded in towels or mitts.
These scratches are often too deep to polish out with conventional means and require more abrasive procedures like sanding that aren’t recommended for non-professionals.
The important thing to understand is that removing a scratch means leveling the surrounding paint down to its depth. A deeper scratch requires more material removal, and factory clear coat is thin. You don’t have much room to work with before the clear coat burns through.
That’s why an isolated deeper scratch that looks better after polishing may be worth leaving alone. You’ve improved the appearance without sacrificing more clear coat just to make one scratch disappear.
Don’t assume sanding is the next step because polishing didn’t remove it. Sanding removes even more paint, and the compounding and polishing needed to remove the sanding marks only take away more.
Remember: if the scratch goes through the clear coat, sanding won’t put the missing paint back. Touch-up or refinishing may be the only appropriate repair. For larger damage, get a body shop’s assessment before attempting more correction.
Mike explains the limits of sanding factory paint in our wet sanding article.
How Do You Remove Scratches on Matte Finishes?
Scratches on matte finishes can be harder to deal with because they can’t be polished out.
This is because polishing smoothes out the rough clear coat texture that scatters reflecting light to produce the dull matte sheen. If you were to polish a scratch on a matte finish, you’d see a hazy, semi-shiny spot start to develop in the paint.
So, when you see a scratch on a matte finish, the answer isn’t to polish. First, find out whether the mark is actual clear coat damage or just something sitting on top of the paint. Wash gently with a matte-safe car wash soap, then inspect the area again.
If identifiable residue remains, a targeted spot cleaner like Matte Paint Cleanser may help. Test an inconspicuous area first and work on cool paint in the shade. Apply the cleaner to a clean microfiber towel first and wipe gently. Don’t scrub or allow the product to dry.
Once the residue is gone, spray Matte Final Finish onto a fresh microfiber towel and wipe the area to neutralize any remaining cleaner. If you’re working on paint protected with Matte Paint Coating, follow the cleanser’s directions to rinse the area and reapply the coating afterward. The cleaner can remove some of that protection.
Cleaning can remove contamination that makes a scratch more noticeable. It cannot, however, repair a cut in the finish. If the damage remains, the options are to live with a minor mark, ask about suitable OEM matte touch-up paint, or consult a body shop experienced with matte finishes. Touch-up may reduce the contrast without producing an invisible repair. Larger damage may require repainting the panel.
Our matte scratch article explains these options in more detail. Once the area is clean or repaired, protect it with a matte-specific coating to make future contamination easier to remove.
How Do You Prevent Scratches on Car Paint?
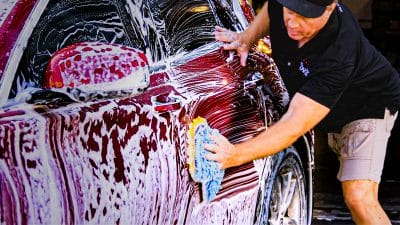
The horrors of scratched paint are thankfully largely preventable. It all comes down to how you touch the paint when washing, wiping and drying. Start by rinsing away loose dirt before touching the paint with a wash mitt. Use a car wash soap suited to the finish and keep your mitt clean as you work. Leave the dirtiest lower panels until last, and use separate tools for wheels and tires.
Inspect every towel, mitt and applicator before it touches the car. If you drop one on the ground, set it aside to be cleaned. Don’t shake off the dust and keep using it.
For stubborn contamination, use the appropriate cleaner and give it time to loosen the mess. Pressing harder with a towel can drag abrasive particles across the finish.
When drying, use clean air to remove most of the water, then finish with a soft, clean microfiber drying towel and a drying lubricant appropriate for your finish. Our leaf blower drying article explains how to reduce towel contact without leaving water behind to evaporate.
Maintain your paint protection, but keep using careful washing and drying techniques. A coating makes cleaning easier; dirty tools can still scratch coated paint.
Finding scratches under your inspection light isn’t a great way to end the night. But once you know what you’re looking at, you can choose a sensible way to deal with them.
For shallow defects in gloss paint, start with a test spot and use the least aggressive process that gives you the result you need. For deeper scratches, the most important thing is to know when to stop. And if the finish is matte? Don’t even think about touching the polisher.
Once you’ve addressed the scratches, pay attention to the tools and techniques that touch your paint. Use soft, clean, inspected materials and never dry wipe the finish. That way, you’ll never be hit with a jump scare when you look at your hood under the lights.
Questions? Comments?
Email Us