


Last Updated April 29, 2022
If you’re a DIY detailer, chances are you’ve heard about using some products from your home to detail your car. The Dr. Beasley’s team is here to tell you which products are safe for your car, and which to avoid. We’ll start by looking at some things that might appear to be logical for detailing, but when examined more closely, might be better to bypass.
Home products that seem to make sense for use on your car:
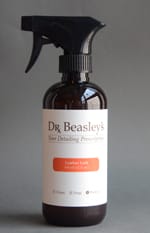
Fantastik Cleaning Spray: Fantastik is fantastic (sorry) for general in home cleaning but it doesn’t work the same way for your car. People have mentioned to us using Fantastik on their leather car seats. Yes, the chemical smell of the spray might make you feel like you’re really cleaning the seats but in reality you’re destroying the leather. Leather needs specialized cleaning and conditioning products to maintain its purity and to prevent damage. If you want to truly preserve the integrity of your leather, use a product like Leather Lock to add protection from liquid spills and stains. Windex on Windows: Windex sounds like a good idea to use on you car; cars have windows, windex cleans windows. Unfortunately, it’s not that simple. If your windows have any tints (many cars have at least some gradient of tint on their windows), the ammonia in Windex will obliterate the tint film and cause serious damage. Ammonia can change the color of tint or in some extreme cases, cause it to flake off. Use an ammonia free glass cleaner for best results.
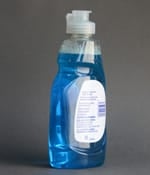
Dish Soap: When you’re washing dishes for an extended period of time, you’ll notice the skin on your hands feels dry and tight. This is due to the dish soap stripping your skin of its natural oils. The same process can occur if you wash your car with dish soap. Dish soap is intended as a degreaser, which is great for greasy dishes, but definitely not for waxed cars. Any degreaser, dish soap included, can strip wax. Also, paint has oils that are inherent in its makeup and using dish soap on your car’s paint can deplete those oils which can lead to cracking. Magic Eraser: A lot of detailers swear by the Magic Eraser. It looks like a regular little sponge but packs a powerful cleaning punch. At Dr. Beasley’s we’re definitely comfortable using the Magic Eraser on the interior of a vehicle to remove scuff marks and other blemishes, but we’re not all that excited about using it on the exterior of a vehicle to remove scuff marks. The little foam pad might seem gentle but it can create scratches on your glossy paint only visible after the car is dry and in the sun. Once you notice the scratches, you’ll have to buff and wax the car. If you have a matte painted car, scratch removal from the Magic Eraser becomes even more annoying because you can’t wax it. Keep the Magic Eraser inside your car but don’t touch your paint with it.
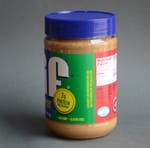
Peanut Butter: One of the more outlandish techniques of which we’ve heard is using creamy peanut butter to condition and restore the exterior plastic trim of a car. Logically, it sort of makes sense; peanut butter is incredibly oily and oil has a conditioning effect. Some people swear it makes their faded trim look shiny and black again when they apply it like a wax. Your plastic trim might look restored, but then your car smells like a peanut. Even if your plastic trim seems conditioned, peanut butter still isn’t a sealant. It doesn’t protect against UVs and it won’t last. The oil will come off in a matter of hours depending on weather and your trim will be back to faded. Most peanut butters contain some amount of sugar, meaning that if you use it on your plastic trim, bugs are going to go flock to it, which creates a whole other set of problems. Save the peanut butter for your PB&Js and invest in a plastic sealant to protect your trim and keep it looking fresh. Now that you know what you can’t do, let’s talk about what you CAN do!
Home products that actually make sense for use on your car:
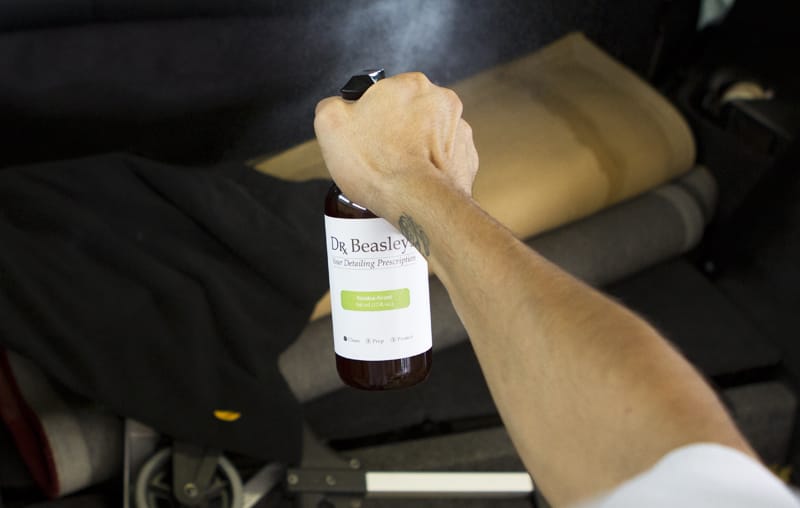
Rubbing Alcohol: After polishing but before waxing/sealing/coating your car, you need to use an Isopropyl Alcohol solution to really decontaminate your painted surface. Dilute the IPA by 15% to prep your paint for coatings. Additionally, if you happen to park under a particularly sappy tree and the sap ends up on your paint, you can use a rubbing alcohol saturated cotton ball to gently wipe off stubborn sap without damaging your car’s paint. Rubbing alcohol will also remove other surface contaminants like paint transfer and road tar. Baking Soda: If you have pets, small children, if you eat in your car, or if you drive frequently, chances are you will have some less than desirable lingering scents you want to remove. After you’ve cleaned your car, pouring a small amount of baking soda in your ashtray can help abolish any remaining smells. You can even sprinkle the baking soda directly on carpets and fabrics, as long as you remember to vacuum it up later. However, if you’re a regular smoker, you will definitely need something stronger than baking soda to eliminate the scent of cigarettes. For smoker’s car, the Dr. Beasley’s team has had great success with doing a deep cleaning, an Ozone Treatment, and then spraying Neutra Scent on fabrics. This three step method is sure to get extreme odors out of your car.
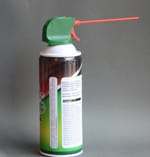
Keyboard Duster: It seems that the most crumbs always get stuck in the smallest crevices of your car. That one cracker you ate a week ago on your commute to work has left behind hundreds of tiny pieces that have embedded themselves into your carpet and seats. When you can’t fit a vacuum to get rid of crumbs, use keyboard duster. When properly aimed, it will propel the crumbs and dust to more accessible areas of your vehicle to be vacuumed up. Baby Wipes on Vinyl: A real simple solution. If your seats are vinyl and you spill something on them, wipe it up with baby wipes. Keep them in your car at all times for emergencies. Plastic Grocery Bag: After you’ve clayed your car and you’re convinced you’ve removed all contaminants, take a regular plastic grocery bag, place your hand inside, and gently and slowly pass your bag-covered hand over the recently clayed surface. The plastic allows you to notice little bumps of which you wouldn’t normally be aware. If you find something that doesn’t feel right, go back at it with the clay bar until you’re satisfied.
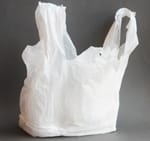
If you have a brand new car and want to polish it, use the grocery bag method to see if you need to clay at all. If the surface feels smooth, you’re ready to polish. If it feels a little bumpy (even just one bump), grab your clay bar and go for it. Latex Gloves: Of course you need to vacuum to get the dust and hair out of your car’s carpets. Make things a little easier on your vacuum by getting all the hair stuck in your carpets to stand straight up. Put a latex glove on and run your hand over all the carpeted areas of your car. The latex coming in contact with the carpet fibers will create static electricity, causing hair to stand up. Run a vacuum over the carpets and you’re good to go. If you happen to have a balloon floating around your house, that’ll work too.
Keep In Mind
Any time you’re home and want to try a new product on your car, make sure you proceed with caution. If you’re using home remedies for DIY detailing, do your research before embarking on your project. If you’re unsure of a product’s compatibility with a surface on your car, find a tiny area that no one really sees and try the product there. This goes not only for home products, but for any product, even those designed for car detailing. This way, if something doesn’t seem right, you’ve only touched a small area and no one will notice it. If you try something on a small area and it works out, then go for bigger spots. We know you love your car as much as we love ours, so taking these precautionary measures will definitely pay off.
Questions? Comments?
Email Us