


Transcript
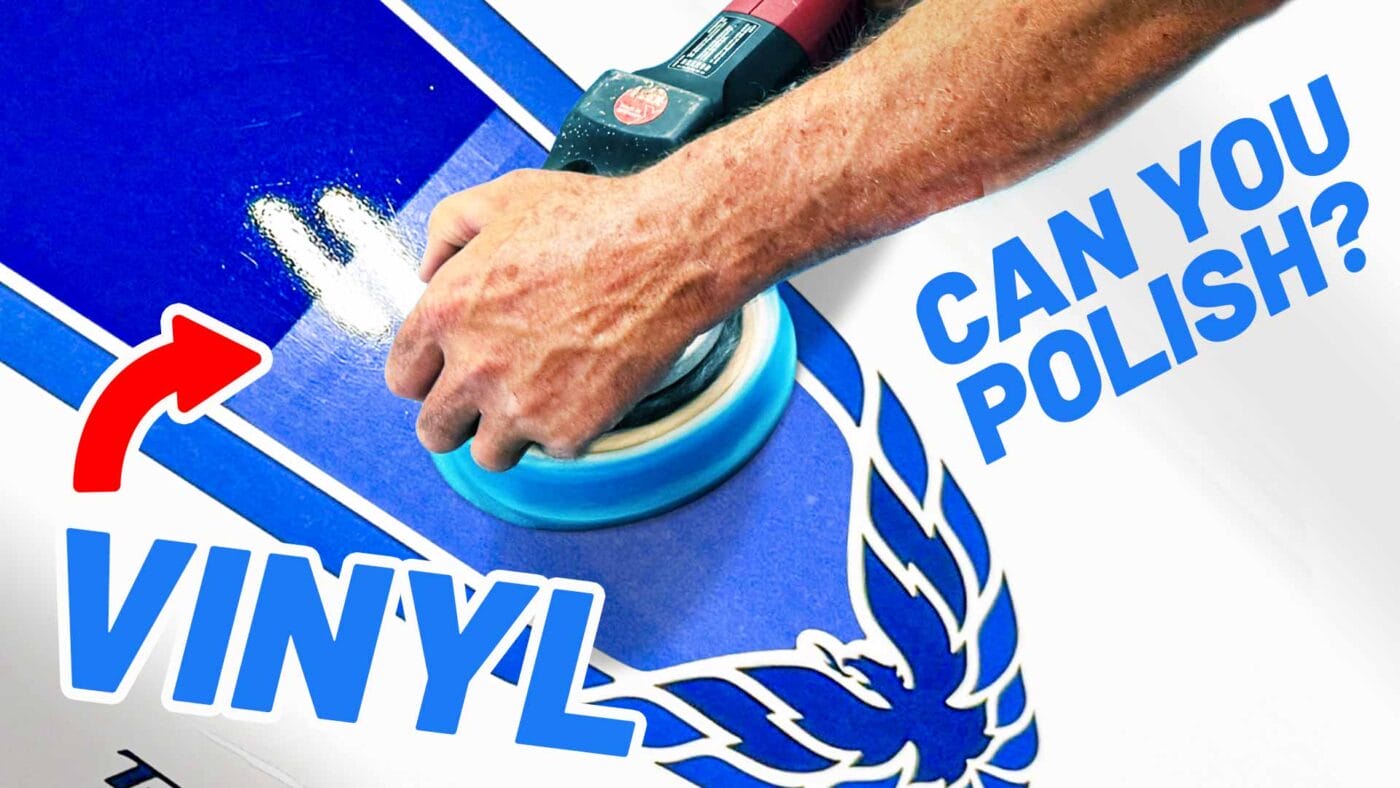
Have you ever wondered if you can polish vinyl graphics? Well, I’m here to tell you you can. And we just took a Detailometer reading of the vinyl graphics, the before. And what I’m going to do is I’m going to show you how to carefully restore graphics like these.
This is a 1999 Trans Am. This is the original paint and the original vinyl graphics. The last thing the collector wants to do is replace anything on the car, including the graphics.
Faded, Dull, No Clarity
But as you can see, they’re faded, they’re dull, and they just aren’t vibrant. There’s no clarity to them. So, I started out washing the car, and believe it or not, I gently clayed it using a fine-grade clay detailing towel ’cause the entire paint job was contaminated.
So, once I got that part done, the next thing to do is to go ahead and polish out the graphics. The most important factor when it comes to polishing anything is the abrasive technology.
Abrasive Technology Matters
Some compounds and polishes may work for this, but some may remove years of oxidation and fading, but they’ll leave their own scratch in at the same time. Then, how do you fix that? For doing this, you want to use a random orbital polisher.
Uh, to be honest, I’ve never tried a rotary. I wouldn’t. It’s just too aggressive of a tool for delicate work like this.
Tools: Random Orbital, Not Rotary
This is what I call the Super Beast. It’s the Flex. I forget the part numbers, so I give them nicknames. This is the Super Beast. It is a gear-driven 8 mm random orbital polisher.
If you don’t have one of these, then something like this, the Griot’s G9 or a Porter Cable or the Harbor Freight copy of the Porter Cable, the Harbor Freight 6-inch DA, they’ll all work. The most important thing is the abrasive technology.
Step 1: Yellow Foam Pad + NSP 150
Okay. Now, for this first step, I’m going to use a Buff and Shine yellow foam polishing pad. It has just a little bit of cut to it. And, uh, normally I would stick with just something even softer like this white—it’s called polishing/finishing—but I’ve already done all the stripes on this car except for this one, and I know how well this is going to work out.
So we’ll start out with the NSP 150. And I’m just going to make a series of section passes. These are very concentrated products, but because this is a dry pad, just like when I’m polishing car paint, I put a little extra on because the pad has some cut and I want to lubricate it.
Okay. So, let’s go time. Okay. Light pressure. I think this is five passes. Here’s six. And I’m going to lighten up on my downward pressure. I’m just barely holding this thing in place, basically to keep it from flapping around.
Step 2: Wipe and Refine with Polishing/Finishing Pad
Okay. So, after the yellow pad, let me go ahead and wipe off the NSP 150. I can already feel it’s getting smoother. Okay, but now we need to refine those results with something less aggressive.
So, I’m going to switch over. They call this the Buff and Shine Edge Guard, and it’s called a polishing/finishing. So, it’s not quite as soft as a finishing, but it’s not quite as aggressive as the polishing. So, just in case you’re new to machine detailing or polishing, you know, you need to understand what pads you’re using.
So now I’m using something called NSP 95. And just to give you reference, a human hair is about 90 microns in diameter. So this product here, the abrasive particle is about the diameter of a human hair. And I don’t have a lot of these to give up. So anytime I do this on video, it’s special.
NSP 95 Technique Notes
Okay, now we’re refining. I’m going to start out with just a little bit of pressure. Now I’m going to lighten my pressure up. That pad was still wet from me washing it overnight, so that’s why you saw a little bit of water sitting out there. That was my mistake. I should have checked all my pads instead of just grabbing them out of the cabinet.
Okay, so there was the NSP 95 and it’s looking even, even better than it was before. And now we’re going to switch over and go to something just incredibly non-aggressive.
Step 3: Black Finishing Pad + NSP 45
So, removing the polishing/finishing pad, I’m going to a pure black soft foam finishing pad and then we’ll hit it with the NSP 45. Okay. Now, then we’re going to come back with a Detailometer reading. We’re going to look at it visually and also let the tool tell us what happened.
Okay. Now, this is just going to be super light pressure. Just a few passes here. Just refining the results from the first two steps. It’s all that good.
Wipe Down and Visual Check
Okay. Wipe this off. Give it a final wipe. And I can even tell from here how beautiful this thing’s looking. But let’s look at the Detailometer.
Now, the Detailometer is a tool that takes five different measurements of surface quality. And I just want to kind of point out that although this is going to be dramatically better than where it was, I do want to point out we are not working on car paint and the graphic does have a lot more texture than car paint. So, it’s not going to look perfect.
Measuring With the Detailometer
Okay. So, let’s go ahead. We’ll try to put this in the exact same place. I’ll hold it very still. Measuring. And there are the results. So, there’s the before and after results from machine polishing.
But even more than what the tool is going to show you is just pan before—then pan down and show the before and the after—and it really completes the look of the car.
Why This Matters for Originals
I mean, the car is almost perfect for its age, but the graphics were so faded, I could not send it out of here without trying to do something to address it. So, if you’ve ever wondered if you can polish out vinyl graphics—and this would include PPF clear bras—and keep in mind, a lot of RVs have vinyl graphics, boats, even light aircraft, airplanes have vinyl graphics, and they’re going to fade.
So, here’s a way you can fix them, but you really need to have great abrasive technology to do it without screwing them up. Because if I were to screw this up, there is no way to fix this except to replace the sticker. And again, the owner wanted to keep this car 100% original.
Final Results and Realistic Expectations
Thanks for watching. Here are the final results. And I’m just going to kind of pan using the overhead LED lights up and down this stripe. The other stripe looks the same. And I just want to make a comment. You know, there are some deeper scratches and some water spots that there’s no way to get them out.
It’s just vinyl graphics aren’t like paint. You don’t have a lot of film build there to work with. So, just keep that in mind. You can usually get really good for something this old—I mean, this car is 27 years old—but you oftentimes can’t get perfect. But really good compared to how this thing started out, that’s a good deal.
Questions? Comments?
Email Us