


Last Updated August 25, 2023
“The most difficult paint correction job for any detailer is taking a finish that already looks good to an even higher level.”
Abrasive Technology – the MOST important factor
In the car detailing world, it’s both common and easy to take a severely neglected finish, do the necessary paint correction and show DRAMATIC before/after pictures and videos. The most difficult detailing job (besides doing a complete wet or dry sanding procedure) is to take a finish that already looks great to a higher level. In order to do this type of ultra high-end paint correction, there can be nothing left to chance. The MOST important factor is abrasive technology. Abrasive technology includes the categories compounds, polishes and all-in-one products.
In the case of Dr. Beasley’s line, this would be our NSPs (Nano Surface Primers), which use our exclusive microsphere abrasive technology suspended in an inorganic nanogel. Because our NSPs are a completely different and dramatically more advanced technology, it would be unfair and inaccurate to lump them together with all the other conventional, old-school categories of products such as compounds, polishes and all-in-ones type products. Thus the reason we differentiate our products as “Primers”.
And as the word implies, besides removing paint defects and leveling the surface to make it smooth and shiny, the Dr. Beasley’s NSP 150 and 95 also create a completely inorganic surface with a foundation of ceramic solids, which are in fact anchor points for either final polishing with NSP 45 and/or Z1, as you continue with the paint correction and finally, the application of a ceramic coating.
It is this advanced abrasive technology that enables a person to take a finish that already looks great to an even higher level. It’s something you have to see in person to believe and fully appreciate, something that words in an article simply cannot convey.
This is also why I say, when it comes to polishing paint, the MOST important factor is the abrasive technology. I know some detailers think it’s either themselves, their choice of tool or the pad, but it is the abrasive technology that is first coming into contact with the paint itself and thus the most important factor to determine the final results.
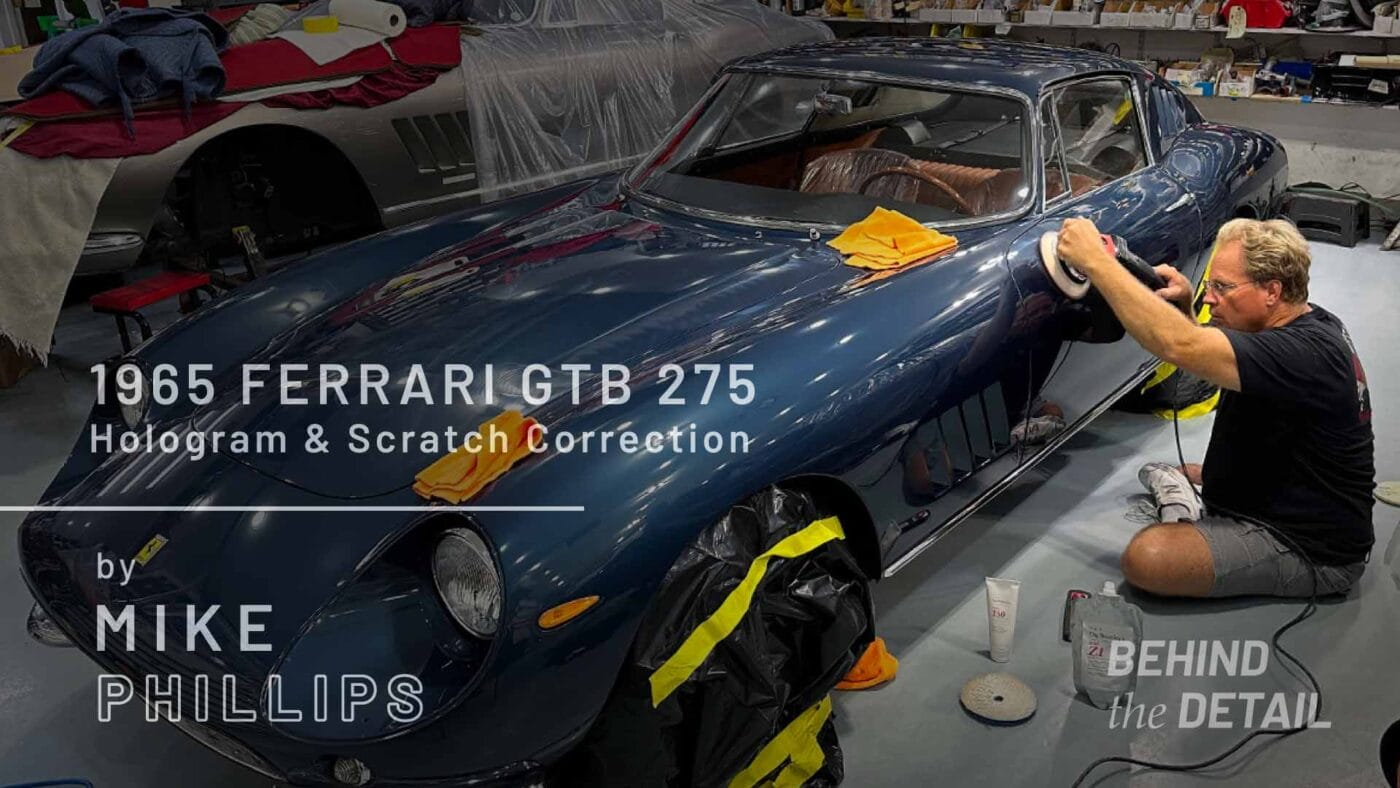
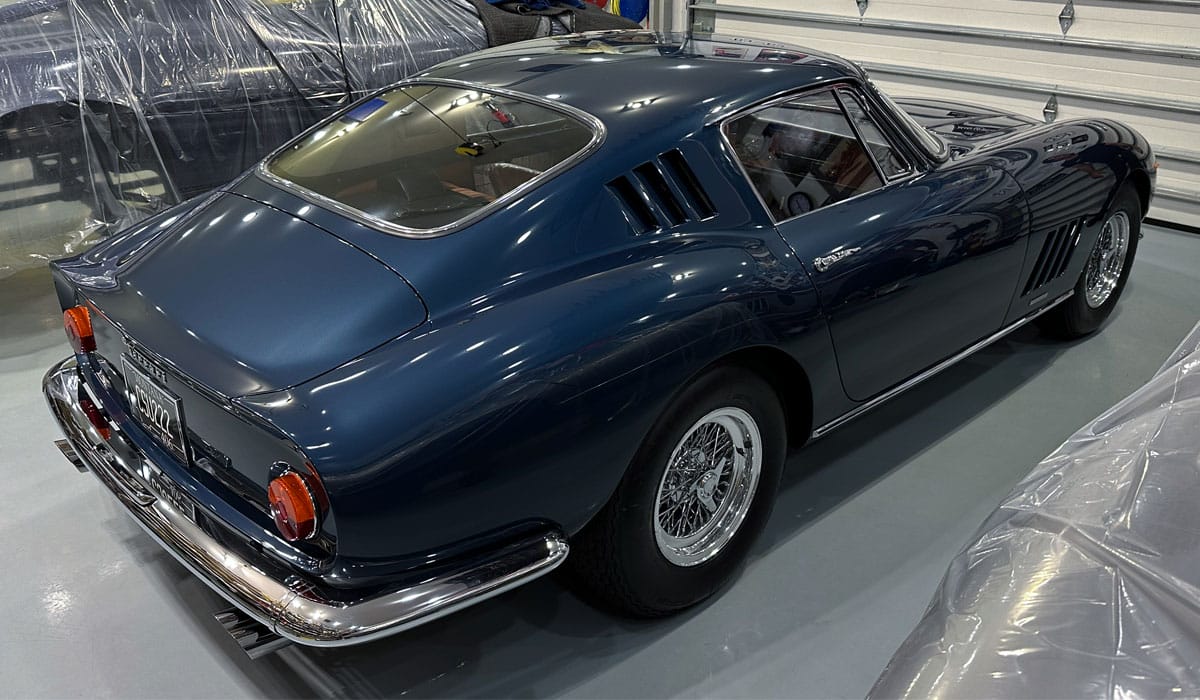
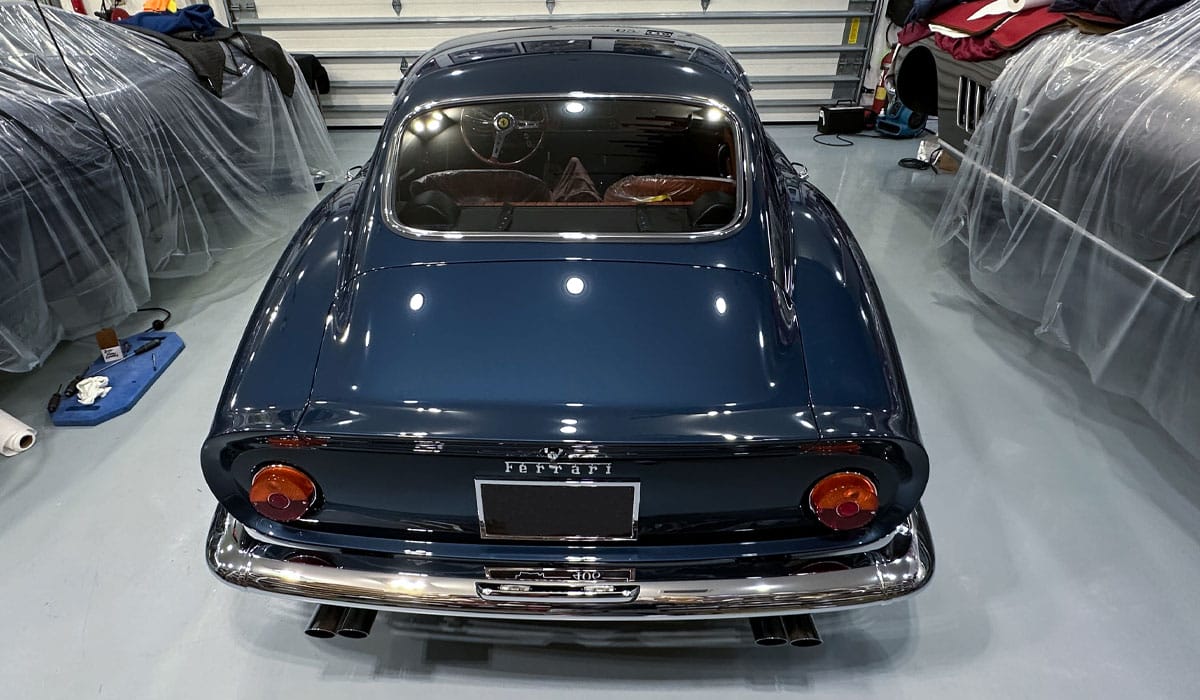
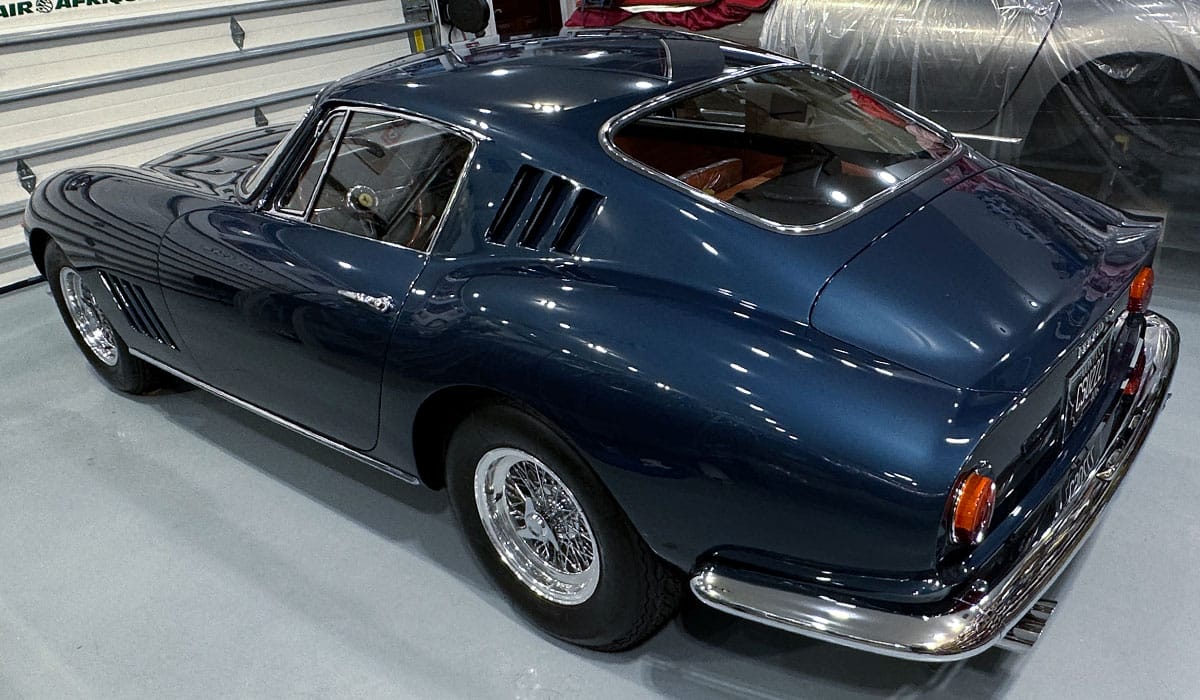
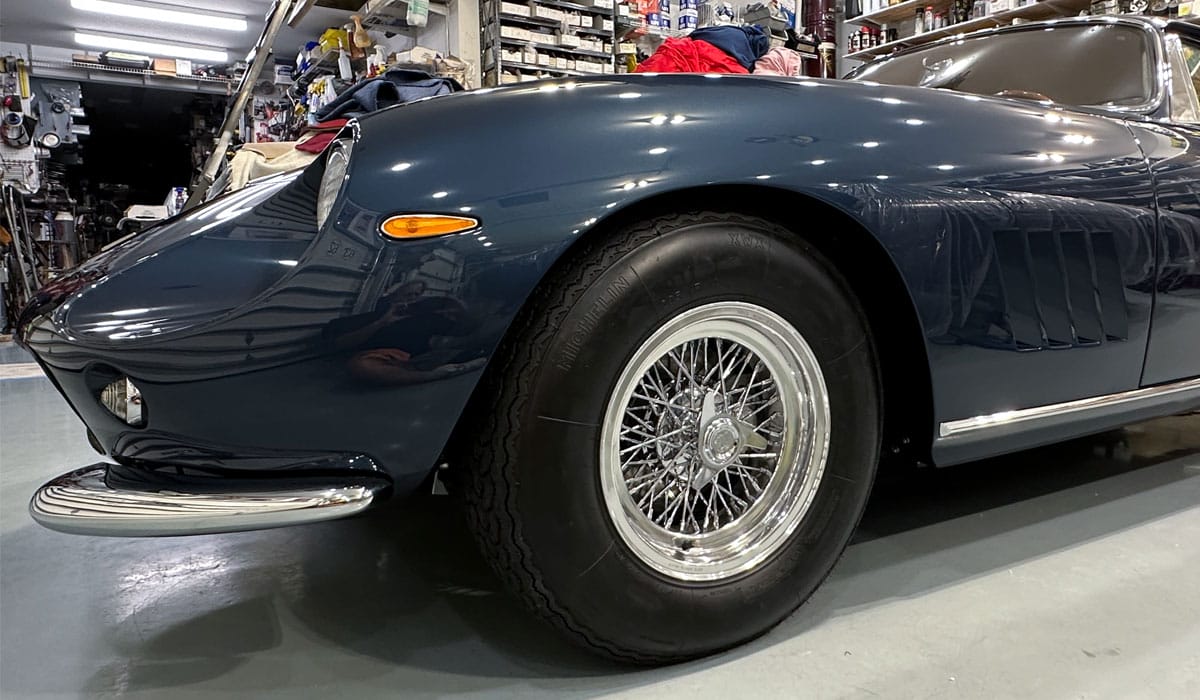
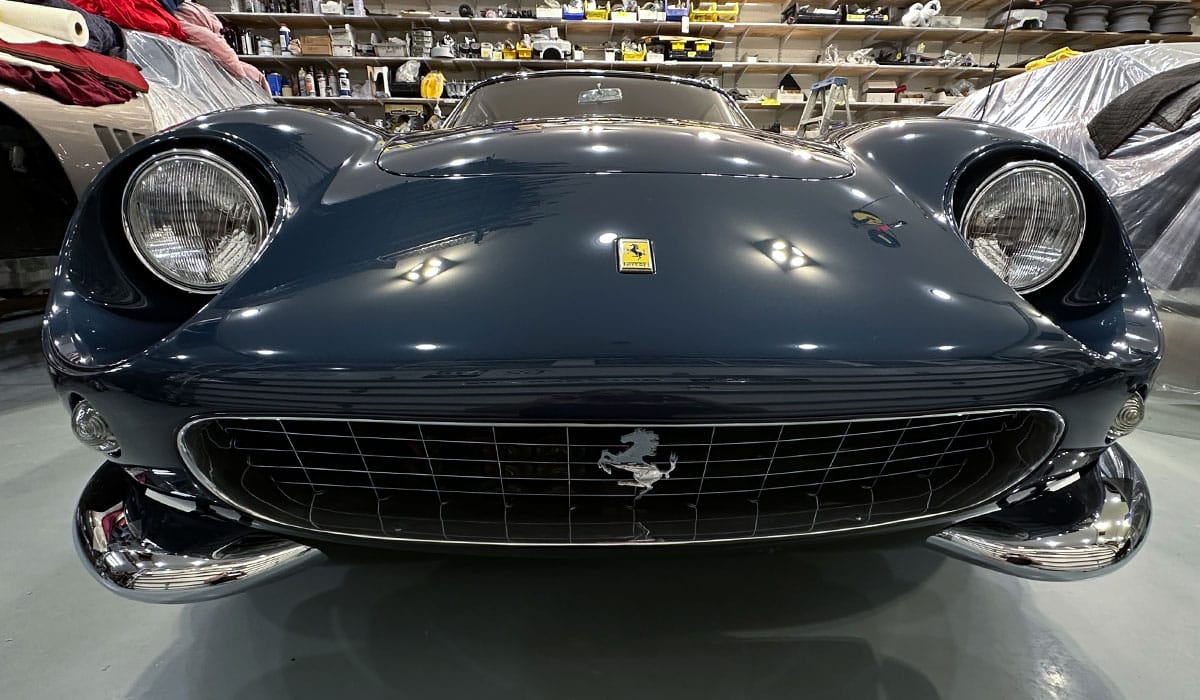
Such was the case for this 1965 Ferrari 275 GTB. I was asked to re-polish the car after the driver’s door was repainted, sanded and buffed in addition to some work done on the passenger side fender. The entire car also simply needed a good claying to remove overspray paint and to maximize the gloss and clarity of the clear coat finish.
Before condition
Here’s how the Ferrari looked when I first arrived. Looks good huh?

To the average person, the car looks perfect and ready to drive. For a seasoned professional detailer with a trained eye, experience and a quality swirl finder light, there’s still room for improvement. This is what I mean when I say:
“The most difficult paint correction job for any detailer is taking a finish that already looks good to an even higher level.”
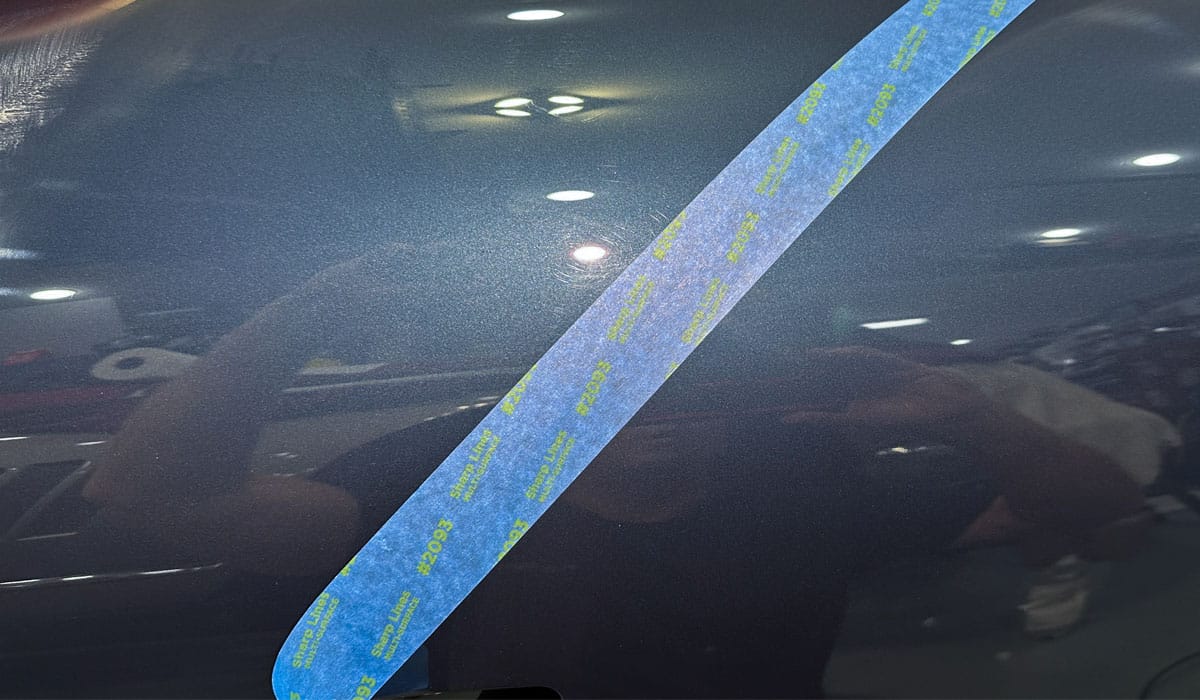
Driver’s Door
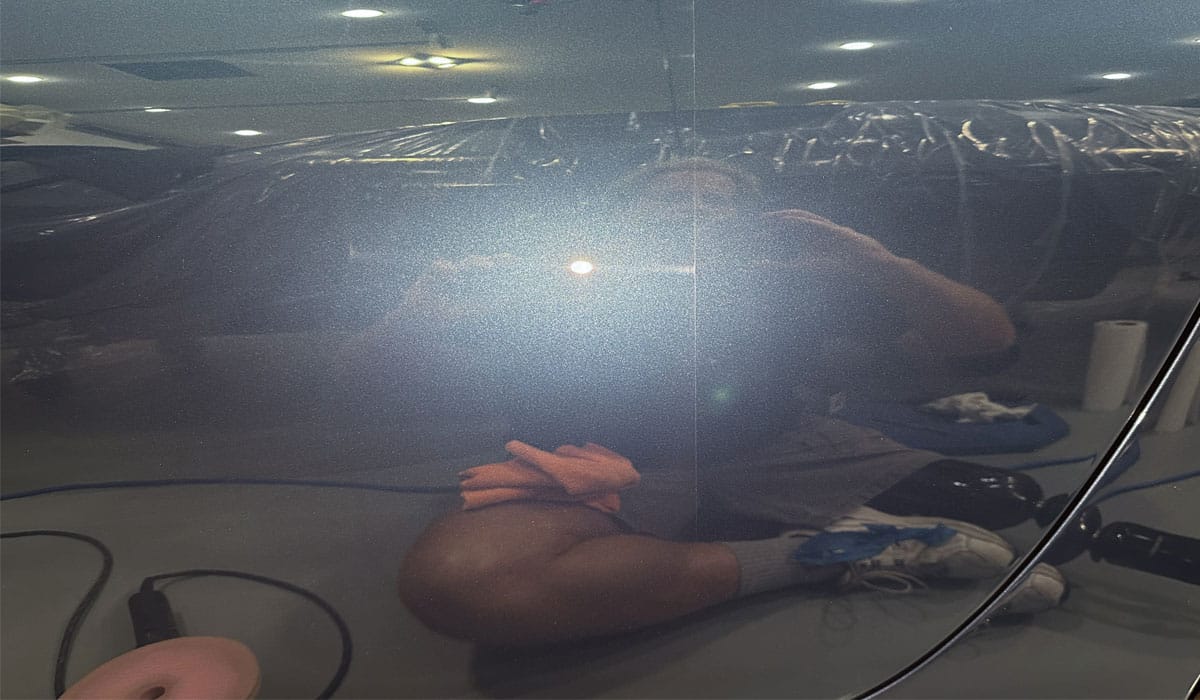
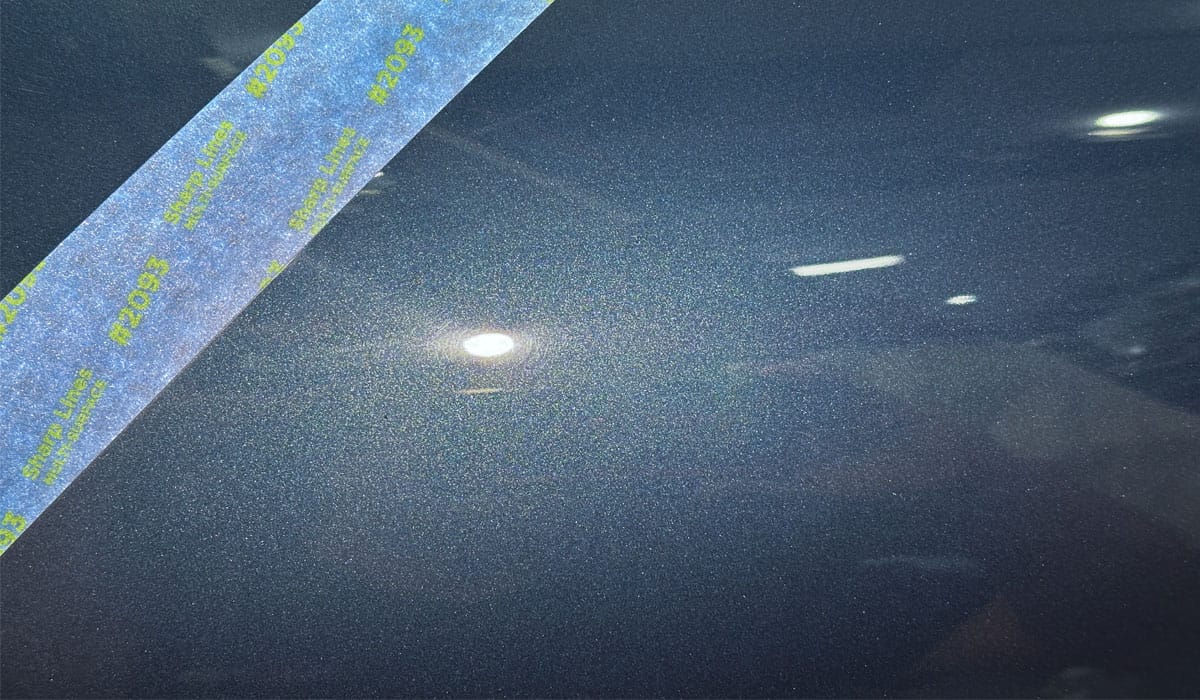
Here’s me putting a swirl finder light on the driver’s door. See the faint but visible wispy lines or patterns in the paint?
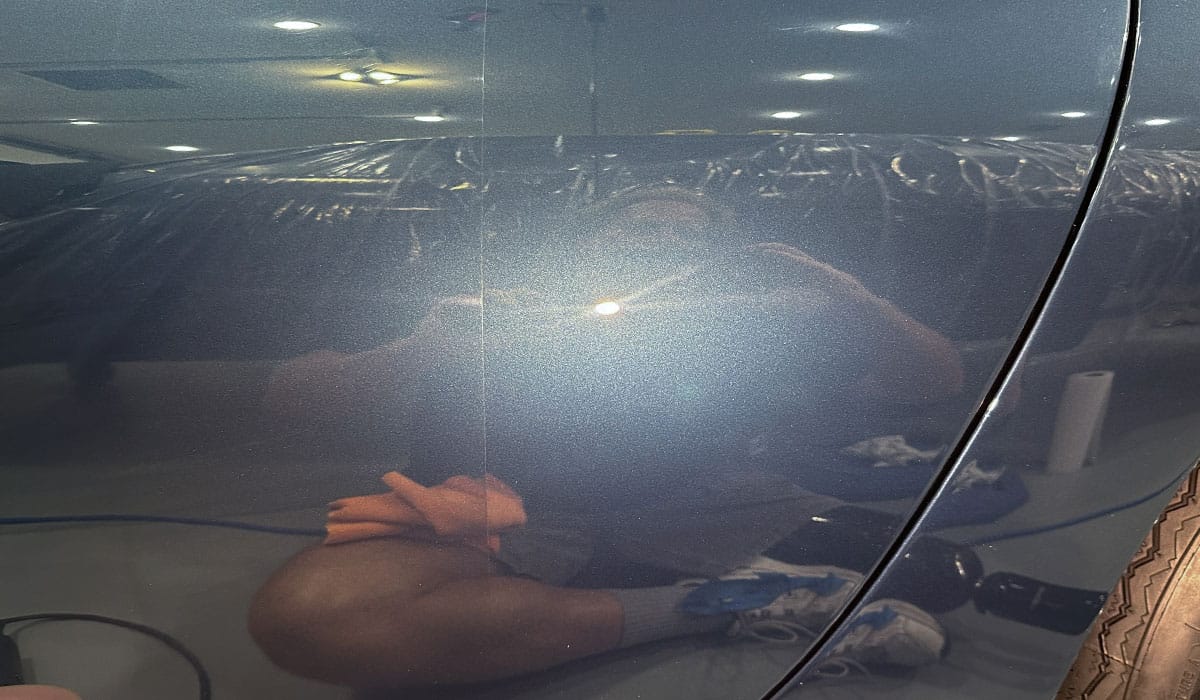
I’ve highlighted them in the duplicate picture below.
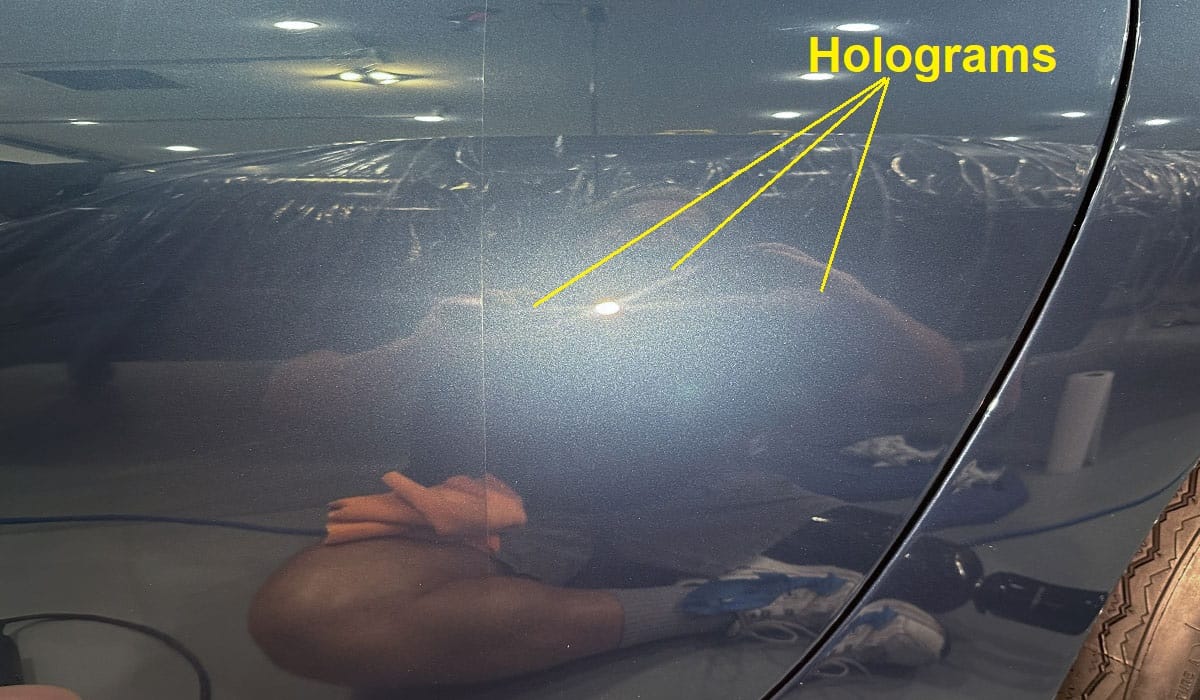
Those faint, wispy lines are a scratch pattern that mimics the direction of a rotary polisher that was moved over the paint. While not the worst I’ve ever seen, in outdoor bright sunlight, for example the kind of bright sunlight that would shine down on the car if it were on display at the Cavallino Classic in Palm Beach, Florida, this current condition of the finish would not be acceptable.
Test Spot
Here’s the results of my Test Spot to remove the holograms and make the paint perfect.
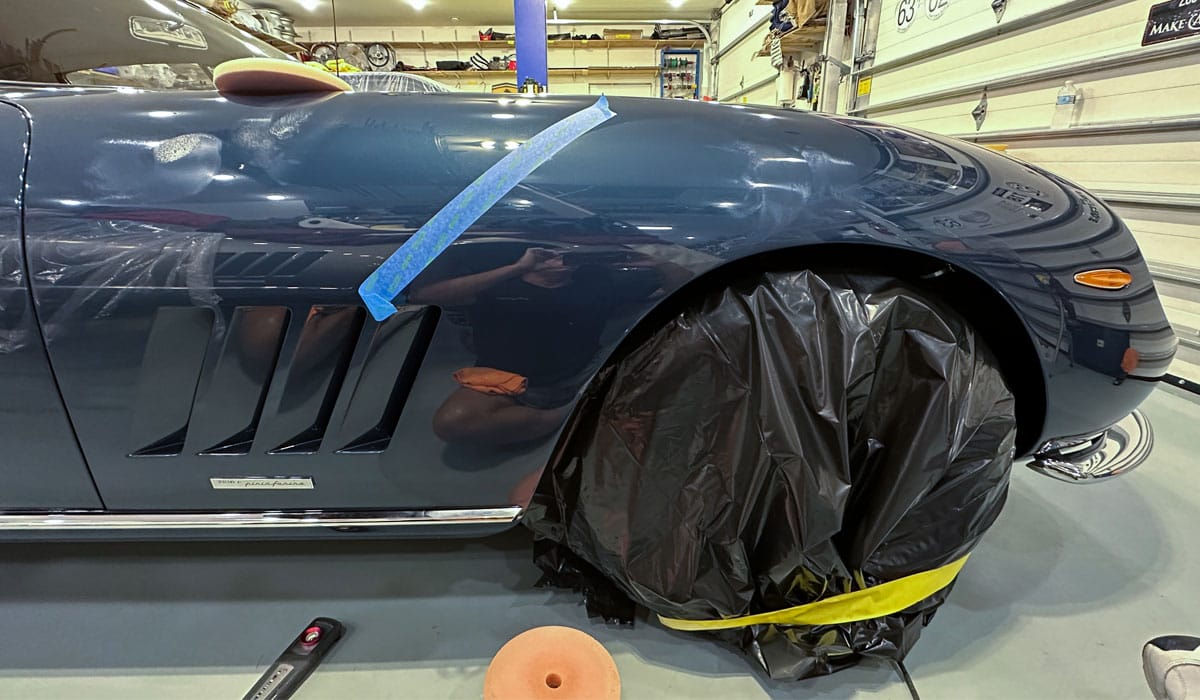
Passenger front side fender
Another area I was told needed some extra attention was the passenger side front fender. Compared to most of the car, there were more swirls and scratches around the middle area of the fender.
Different types of damage
The driver’s side door had holograms. Holograms are a distinct scratch pattern instilled into the paint from the use of a rotary buffer and in most cases some type of fiber pad. The damage on the passenger side front fender was from some surgical panel straightening. The prescription for the remedy was the same, however — some NSP 150 to remove the deepest of scratches followed by Z1 to perfect the finish.
Second Test Spot
Below is my tape line for my test spot, most of the damage was in an area about 8″ around both sides of the tape line. I placed the tape-line in the middle area so I could test my process to just one side and if it worked, then duplicate the process to the entire area.

Process
In order to remove the holograms and perfect the finish on the driver’s door, the passenger side front fender and all the other body panels, which all had RIDS (Random Isolated Deeper Scratches). Here’s what I did:
Step 1: I used Dr. Beasley’s NSP Z1 with a Dr. Beasley’s Microwool pad on the FLEX BEAST.
Step 2: I followed the first step with Dr. Beasley’s NSP Z1 with a foam polishing pad also on the FLEX BEAST.
Step 3: After all the machine polishing, I then applied Dr. Beasley’s Bead Hero to the entire car.
Start at the top and work down and around
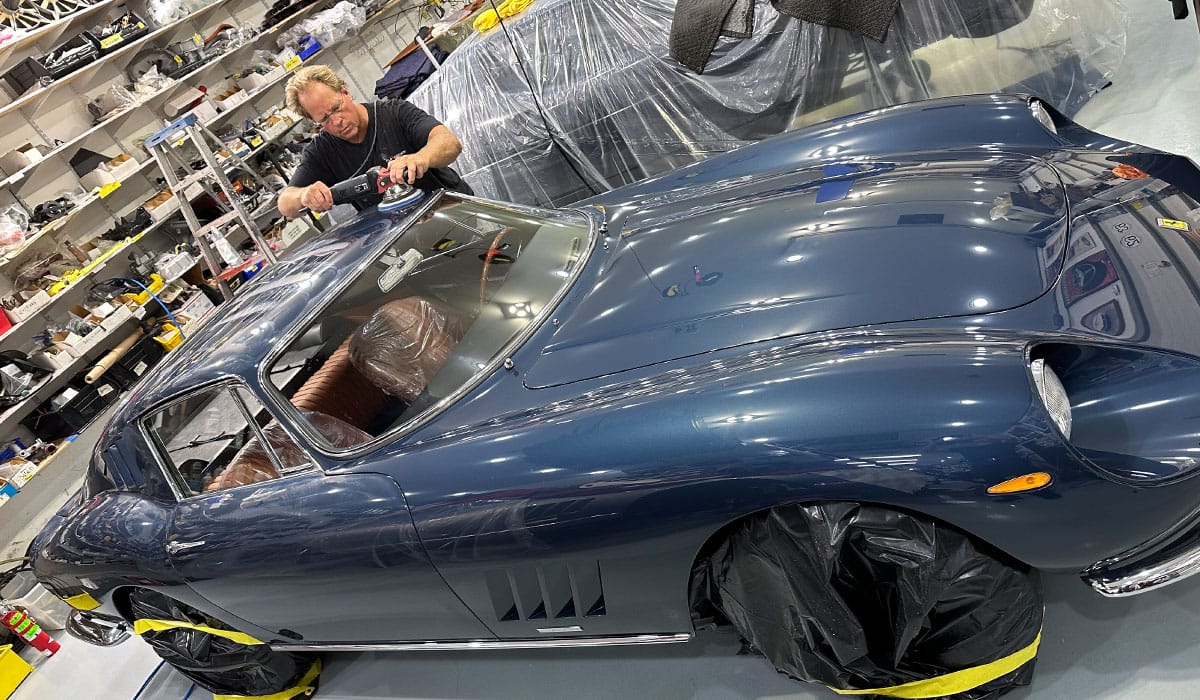
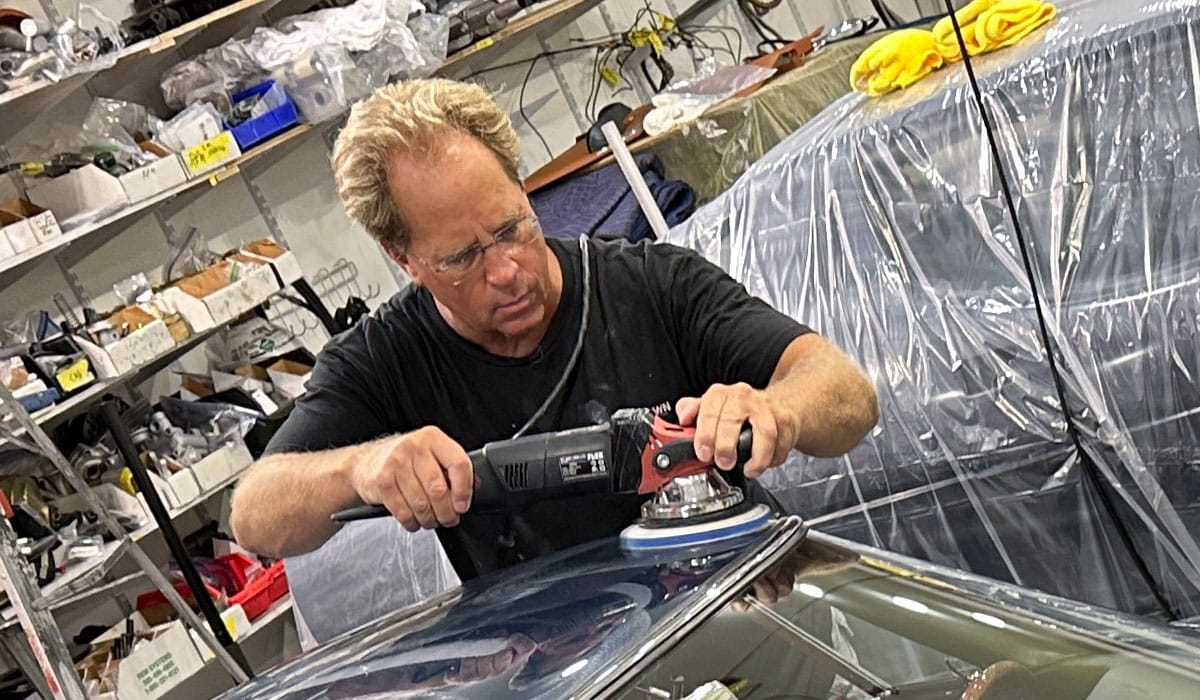
When performing a paint correction on any vehicle, the normal procedure after dialing-in your process via the Test Spot is to start at the highest point of the car and then work your way down and around to the lowest panels. Here’s yours truly doing the first paint correction step to the roof.
Fibers are a gentle form of abrasives
If you look closely, you can see Dr. Beasley’s Micro Wool pad on the backing plate of the FLEX BEAST. The fibers that make up the pad are a form of abrasive. Together with microsphere abrasive technology in Dr. Beasley’s Z1, this provides ample paint correction power to remove the defects and create a uniform, flat, smooth paint finish perfect for the next step.
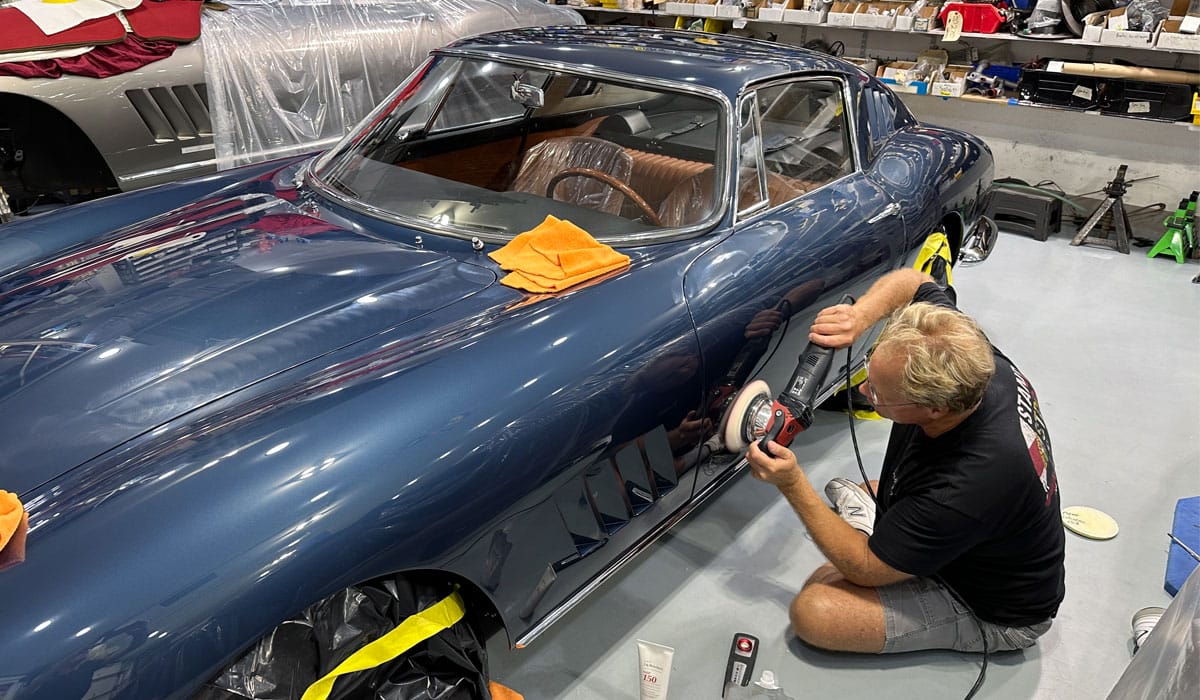
Vertical panels
After the roof, hood, headlight buckets and the trunk, it was time to tackle the vertical panels like the fenders and doors.
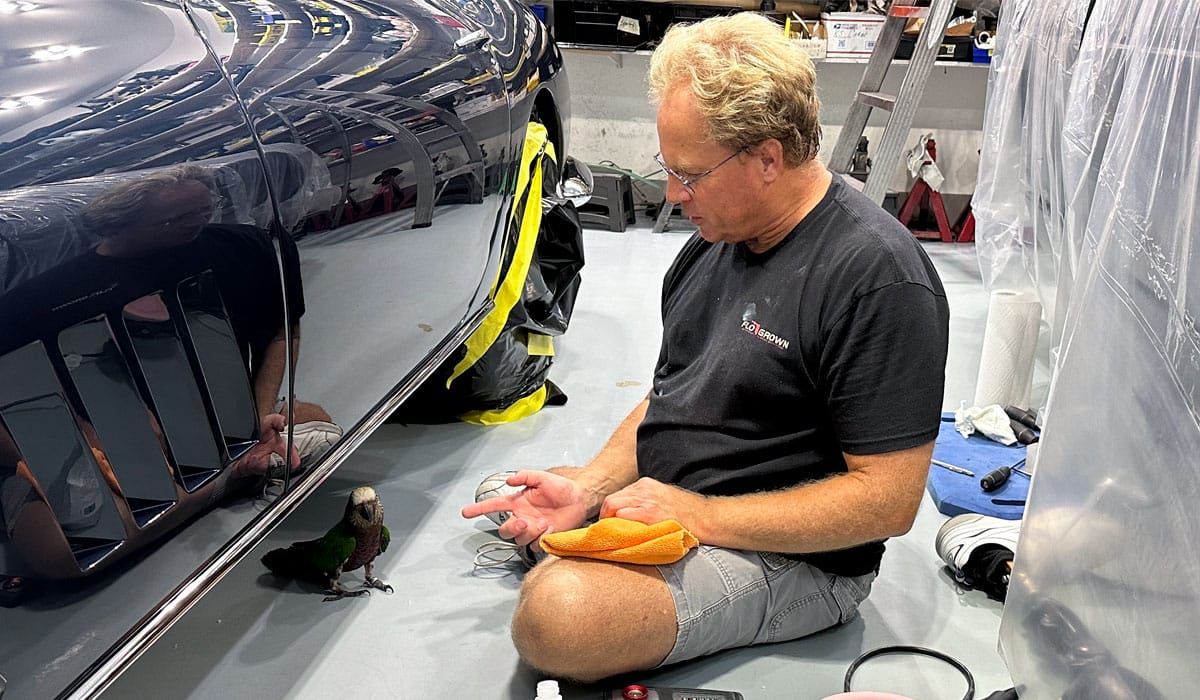
Claude – My new assistant
Claude is a Hawk-Head Parrot with his own Facebook page. Claude was intrigued by all the noise I was making with the polisher. He walked over to inspect me and I think I got his approval!
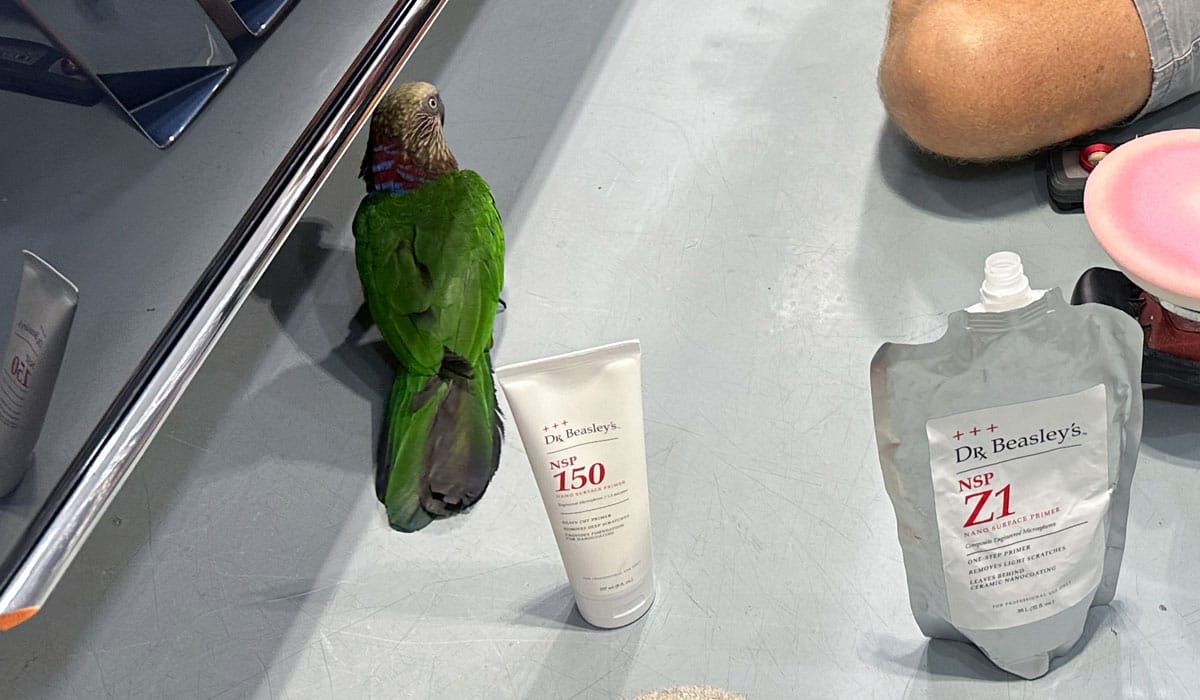
Claude was a tick shy of jumping onto my finger so I got back to work. Interesting thing about Claude, he meows like a cat pretty much all the time. It was strange at first, but then you get used to it. It’s also funnier than heck.
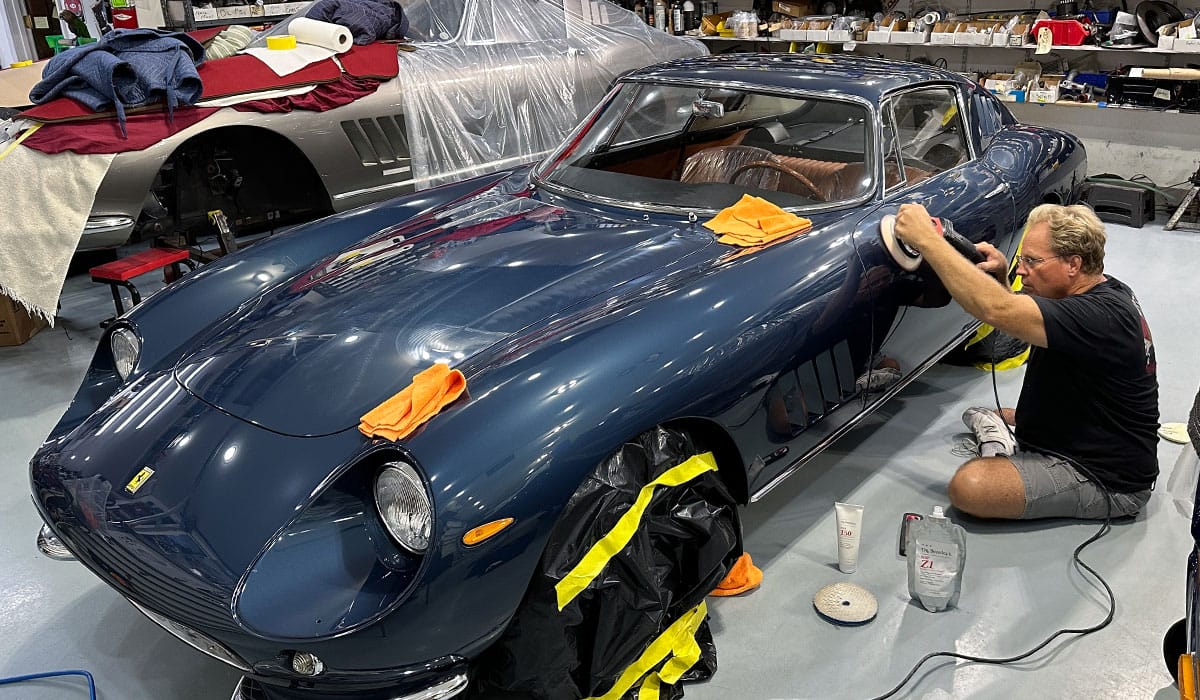
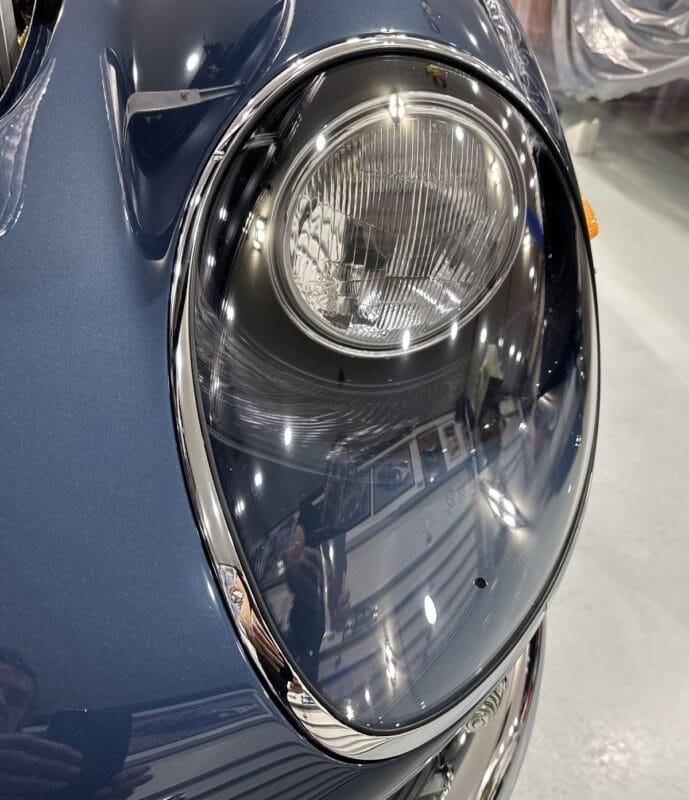
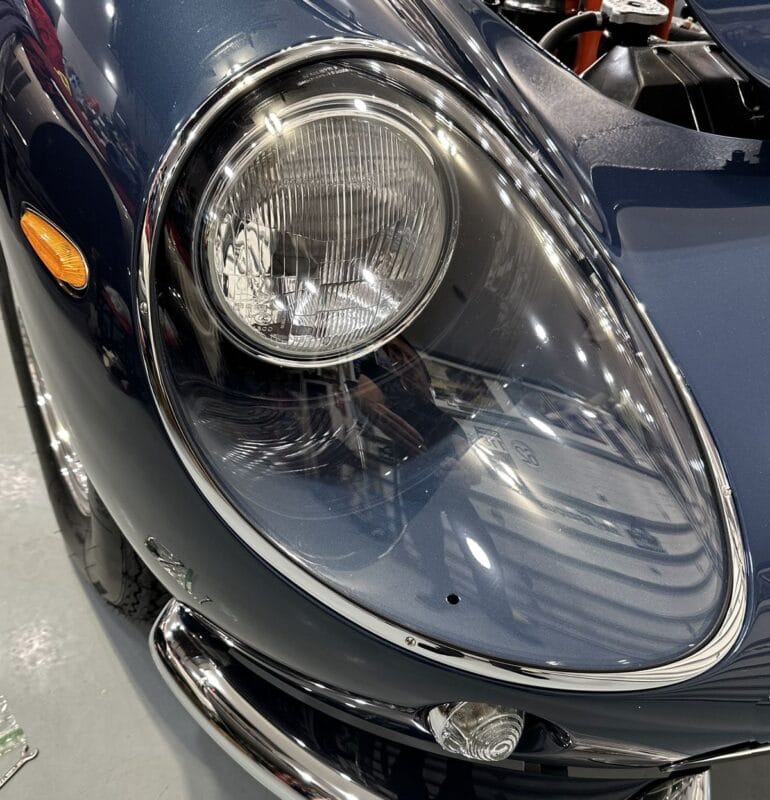
Final results
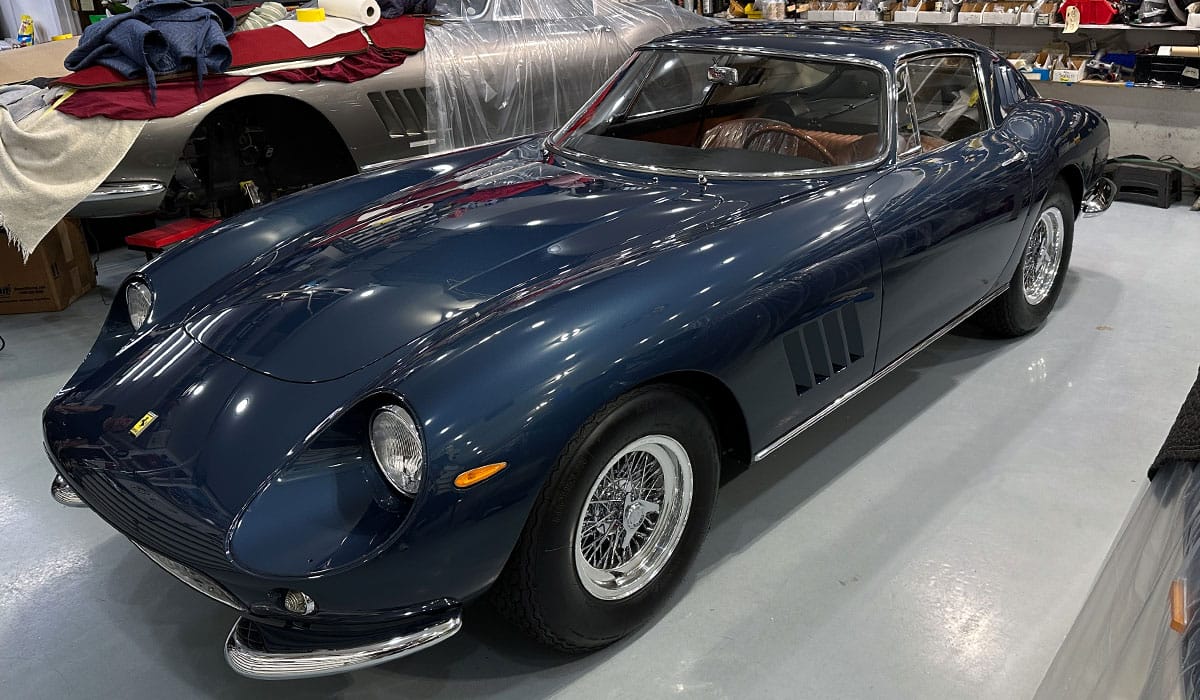

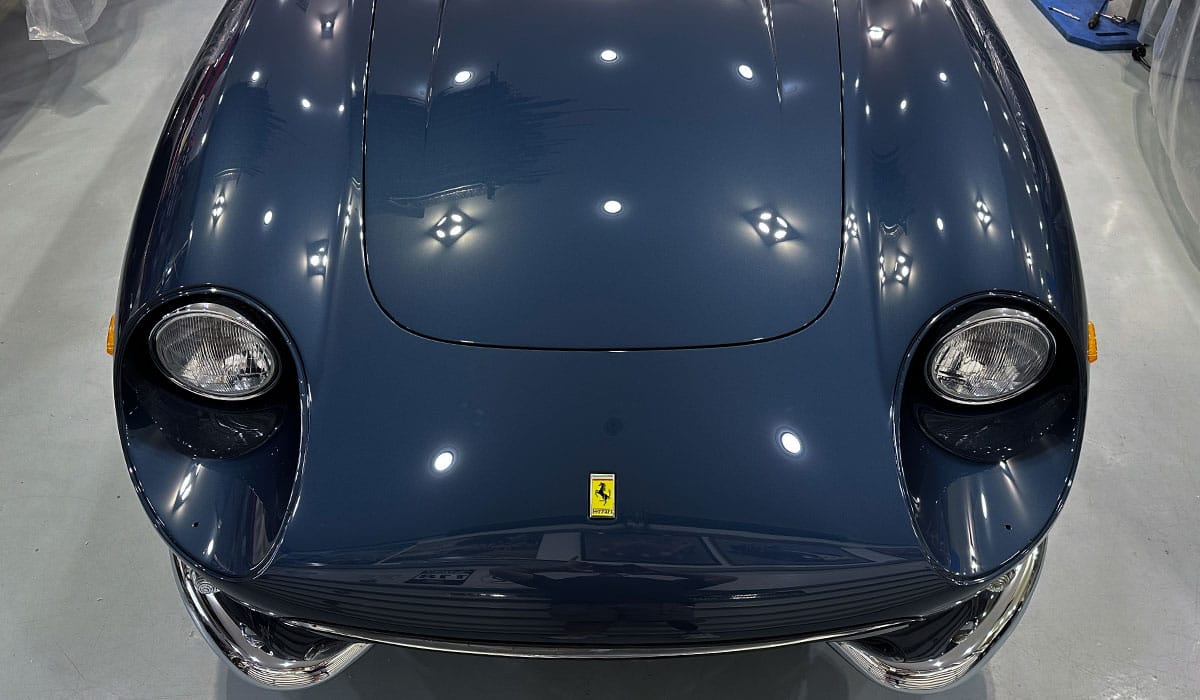
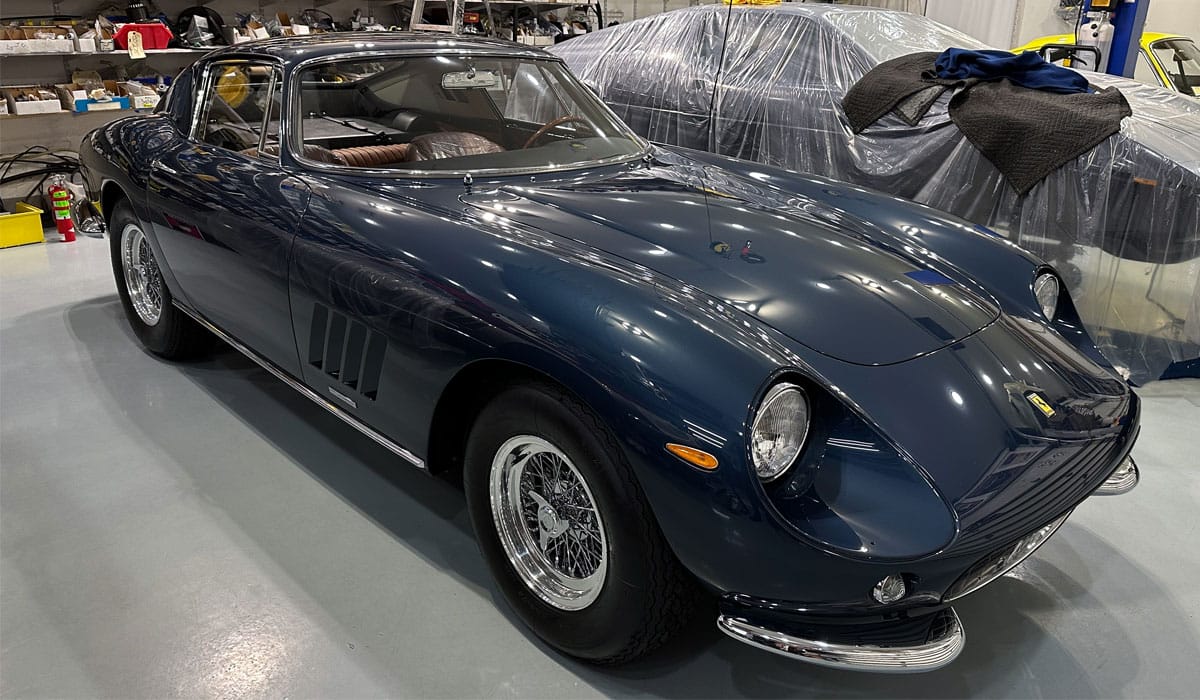
Clearly you can see the results in the clear plastic headlight covers!
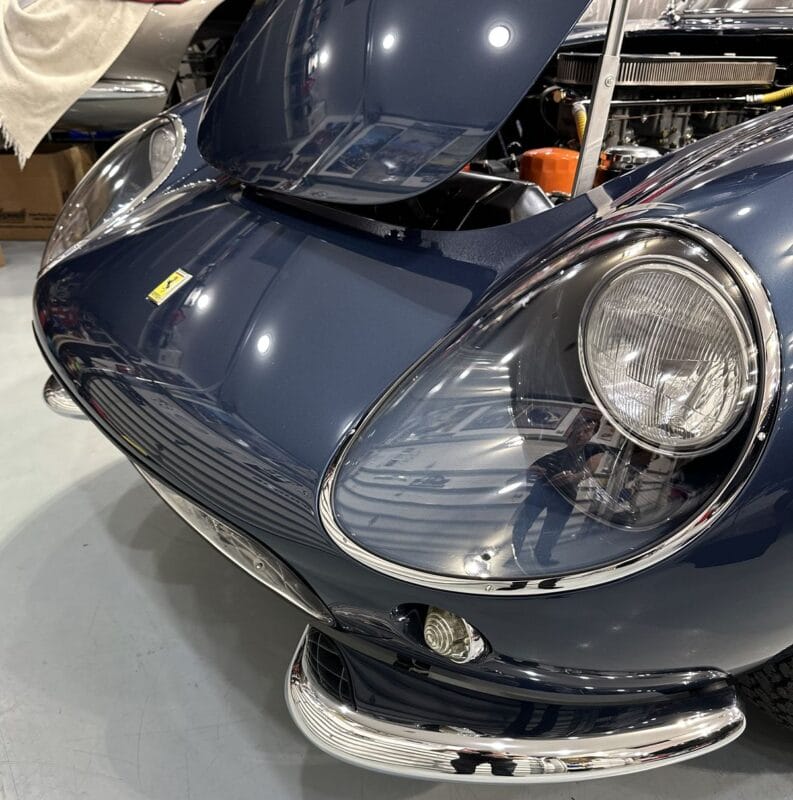
These vintage clear plastic headlight covers were filled with swirls and scratches from years of wear-n-tear. I used Dr. Beasley’s NSP 150 with a foam polishing pad on a rotary polisher to remove the majority of defects followed by Dr. Beasley’s NSP Z1 with a foam pad on the FLEX BEAST to ensure crystal clear, hologram-free results that add the finishing touches to this classic, exotic Ferrari.
72 Spoke Wire Wheels
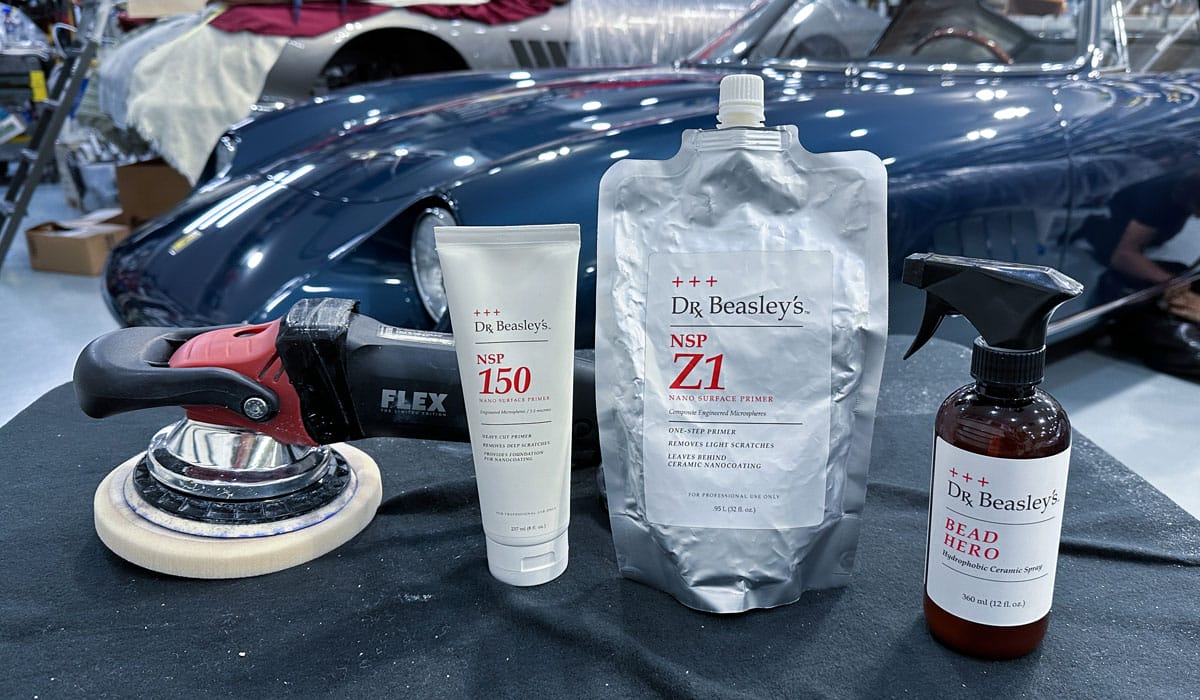
Products used
- NSP Z1
- Prep Wash
- NSP 150
- Bead Hero
- Microwool Heavy Cutting Pads
- HDO Orange Foam Polishing Pads
- The FLEX BEAST
Mike’s comments…
Like the beginning of this article states,
“The most difficult paint correction job for any detailer is taking a finish that already looks good to an even higher level.“
Whether you’re an enthusiast or professional detailer, you understand that it’s easy to take a car’s finish that looks horrible to a higher level making the before and after pictures DRAMATIC! This is not the case when starting with a finish that’s already in really good shape. In order to take a finish already in great shape to a higher level you MUST HAVE great abrasive technology.
Why?
Great question and here’s the answer: If the finish is already free from visual defects and we were to use a mediocre compound or polish, chances are good the abrasive technology in these types of conventional products would in fact remove any existing minor defects, but they could also leave micro-marring in the paint, giving it a dull, hazy appearance. Now what do you do? Lots of people think abrasive technology is all the same but this is not true or accurate. Great abrasive technology can create a totally, clear, flawless finish on black paint and clear plastics, mediocre products cannot do this.
Besides using great abrasive technology, you also must use the right tool, pad and technique in order for the abrasive technology to do its magic. This of course is a given, but I like to state it anyways.
Dr. Beasley’s microsphere abrasive technology is one of, if not the best abrasive technology on the market today. Good enough for this old 2-door European job… probably perfect for whatever it is you’re driving and detailing.
Questions?
Anytime you’re working on any type of detailing project, if you have questions are would like a second opinion, feel free to reach out to me. I’m always happy to help.
Mike Phillips – Mike@drbeasleys.com – 760-515-0444
About the Ferrari 275 GTB
1964-1968 Ferrari 275 GTB stats
• Highest sale: $10,175,000
• Lowest sale: $128,000
• Most recent sale: $3,525,000
• Total documented recent sales: 229
Model Overview
Some changes appeared in 1966, not the least of which was a longer nose with a slightly redesigned grille for the GTB. Shortly thereafter the 275 GTB became the 275 GTB/4, as it gained two more cams under its hood. The new spec V-12 delivered 300 hp in base trim. (It is worth noting here that the long nose was introduced prior to the four-cam engine; there are a few long nose 275 GTBs with the earlier two-cam engine). The GTB/4s were produced through 1968, and some notable options included Borrani wire wheels and aluminum bodywork on some cars.
Surely near the top of every Ferrari enthusiast’s wish list is the gorgeous 275 GTB and 275 GTS. Ferrari showed this successor to the 250 series at the Paris Salon in 1964, and while its Colombo two-cam, 3.3-liter V-12 was familiar, its layout was new. The Ferrari 275 GTB was the first road-going Ferrari to have an independent rear suspension as well as a rear-mounted transaxle, and the car was available starting in 1965 as the 275 GTB coupe and the 275 GTS convertible – the latter having entirely different body work from the coupe. The GTBs typically had 280-hp motors while the convertibles delivered 260 hp. A six-carb, 300-hp state of tune was available in both cars as well.
Ferrari also manufactured two special versions of the 275. The first variant on the theme was the 275 GTB/C, which was a competition version of the coupe. Approximately 11 were built, and these all had dry sumps, a higher state of tune, a strengthened chassis, and aluminum bodywork. The second special was the 275 GTS/4 NART Spyder, of which nine were built. Commissioned by Luigi Chinetti Jr., The NART Spyders differed from the standard Ferrari 275 GTS in that they shared most of the coachwork and lines of the 275 GTB/4 coupe, as well as the four-cam motor normally associated with that car. All of the Ferrari 275s are mouth-watering collector’s items, however these stunning NART Spyders continue to create frenzies whenever they appear at show or auction.
This 1965 Ferrari 275 GTB is ready to show under the must excruciating lights thanks to Dr. Beasley’s microsphere abrasive technology.
Hi Mike!
Enjoyed your write up and pictures! The end results are amazing, clearly Dr. Beasley’s products are working wonders for you.
Thanks for sharing the procedure and products that you used.
Cheers!!.. Eldon