


Last Updated December 24, 2024
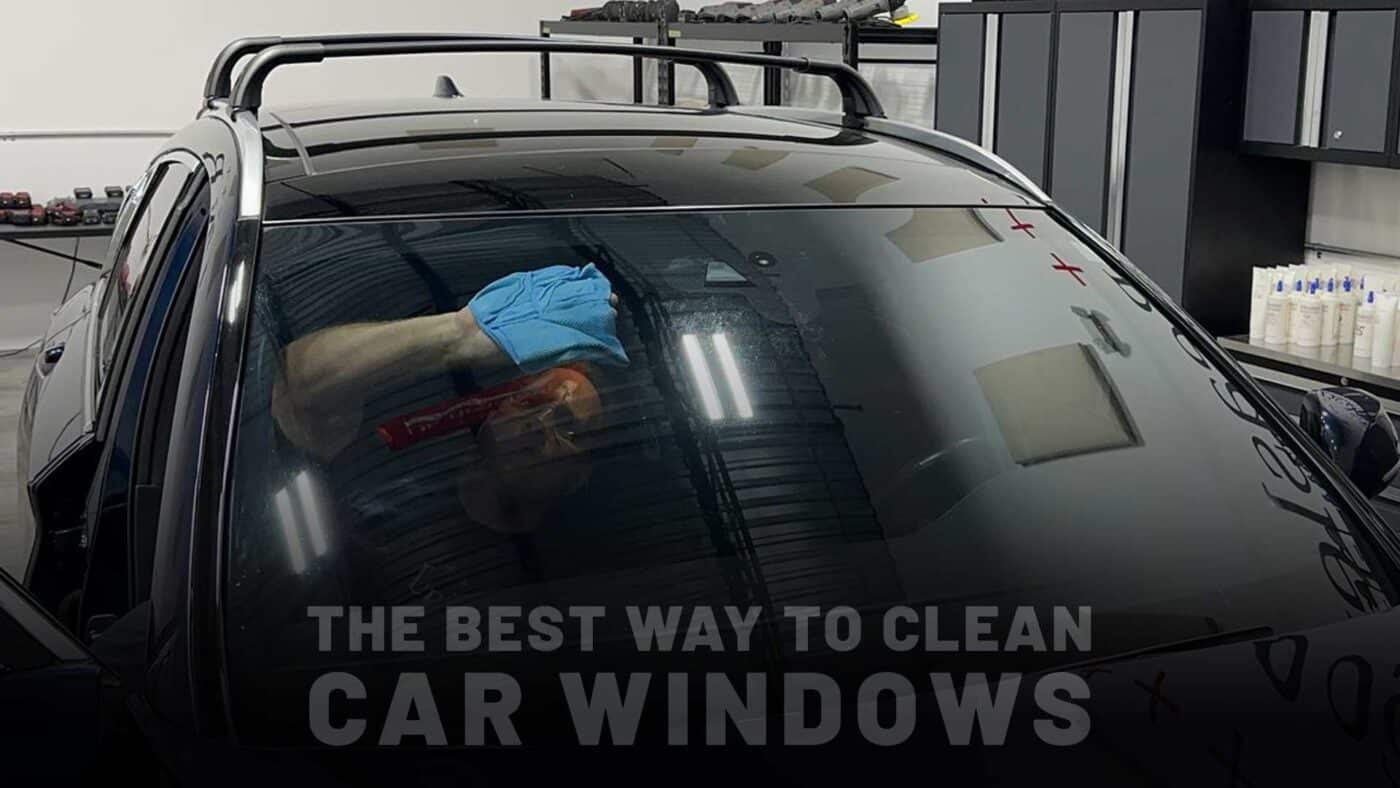
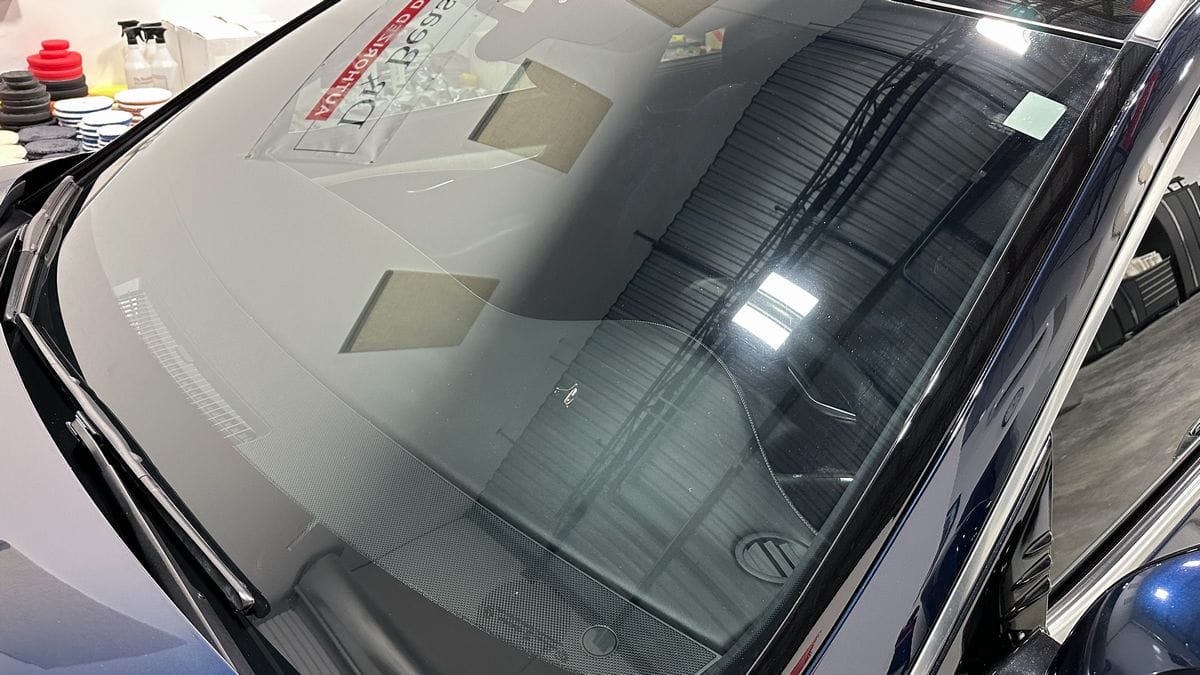
Clean glass means a clear view and not only is this important for safe driving, it’s so much more enjoyable to drive your car when you can see clearly out of the front windshield and also the side glass windows.
There are right ways and wrong ways to clean automotive glass windows. In the below article, I’ll share tips and techniques for all aspects of cleaning glass and the various types of glass cleaning problems you’ll run into.
Cleaning Exterior Glass vs Interior Glass: What’s the Difference?
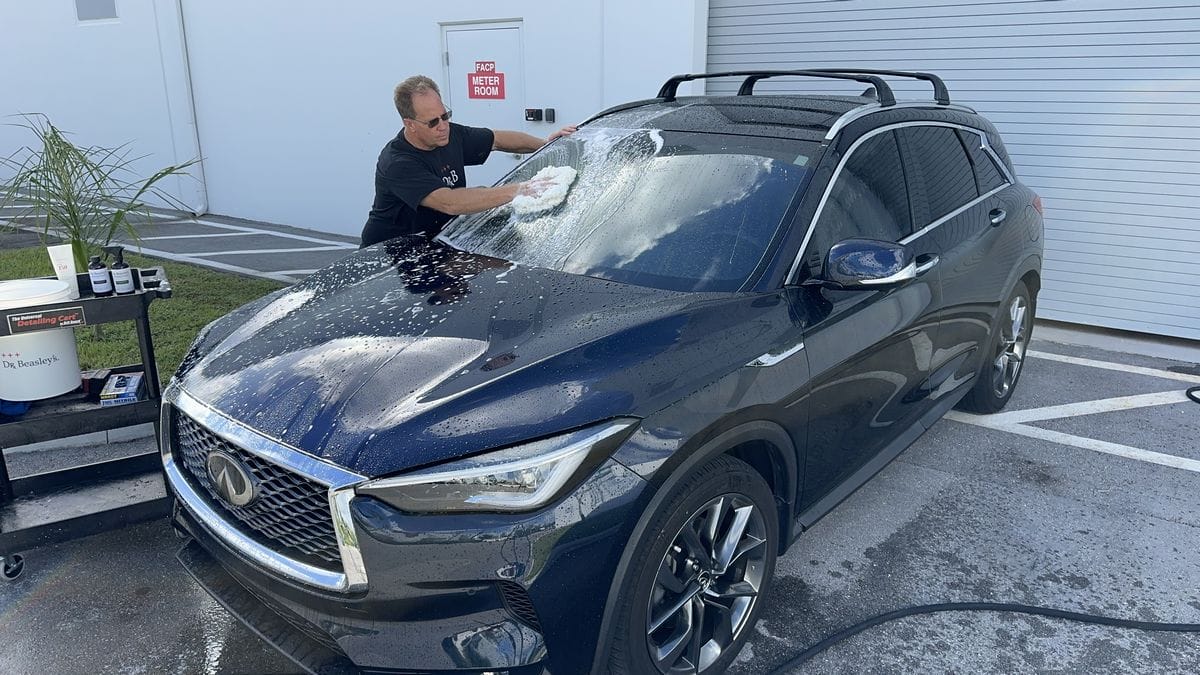
The processes and products you use for cleaning exterior and interior glass won’t be the same because there are very different types or forms of contamination that builds-up on the outside glass windows as compared to the glass windows on the inside of your car. It’s also important to use an ammonia-free glass cleaner anytime you’re working with interior tinted windows, as ammonia can damage the window tinting film.
Common Contaminants on Exterior Glass
When it comes to cleaning the outside glass on your vehicle, besides the normal accumulation of dirt and dust, the two primary forms of contamination include,
- Water spots
- Road film
You will also find contaminants like,
- Bug splatter
- Overspray paint
- Airborne pollution & Industrial fallout
- Tar and tree sap
Common Contaminants on Interior Glass
The first three items in the list below are fairly self-explanatory, the types of contaminants after that will make sense to anyone that’s ever had kids, pets, or both.
- Vinyl fog – Also known as New Car Smell
- Smoker’s film
- Vinyl dressing overspray from applying vinyl dressing to the dash and door panels
- Fingerprints and even toeprints
- Liquid stains like milkshakes, ICEE and Slurpee frozen drinks and soda pop
- Food stains like ketchup, mustard, and greasy oils from french fries
- Pet smudges from paws and tongues
Cleaning Car Windshields: How to Remove Every Type of Contaminant
Now that we’ve defined the different types of contamination on outside and inside glass, let’s take a look at how to best clean outside glass by removing the various types of contamination.
How to Remove Water Spots from Windshields
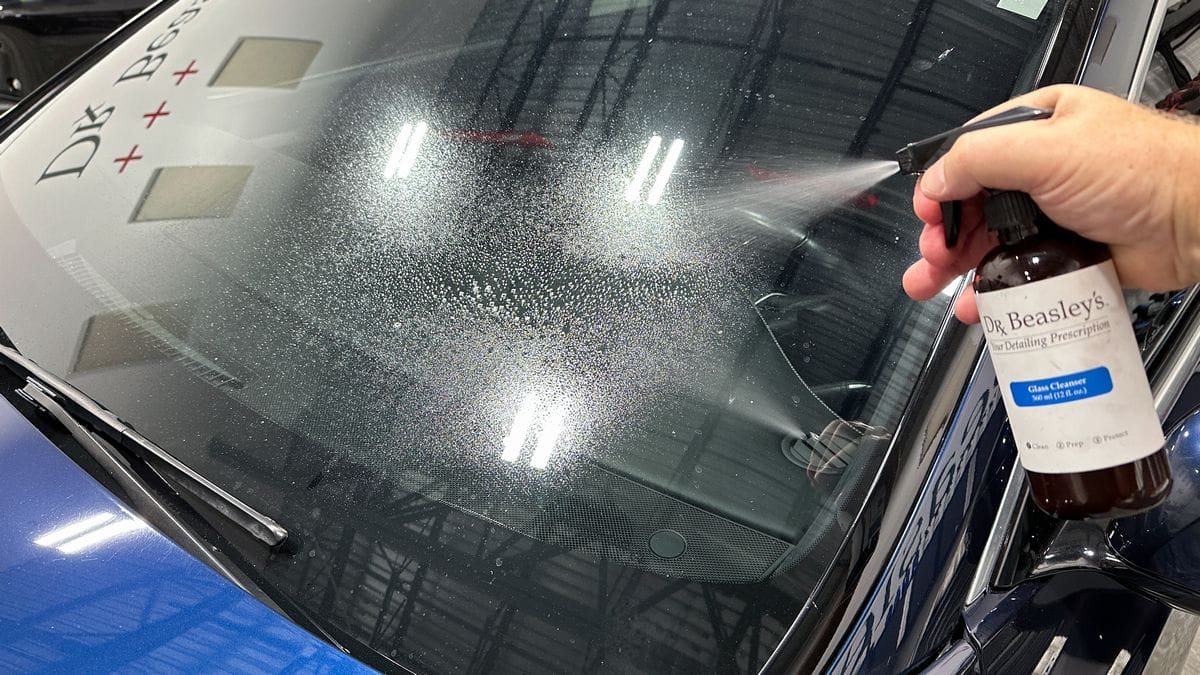
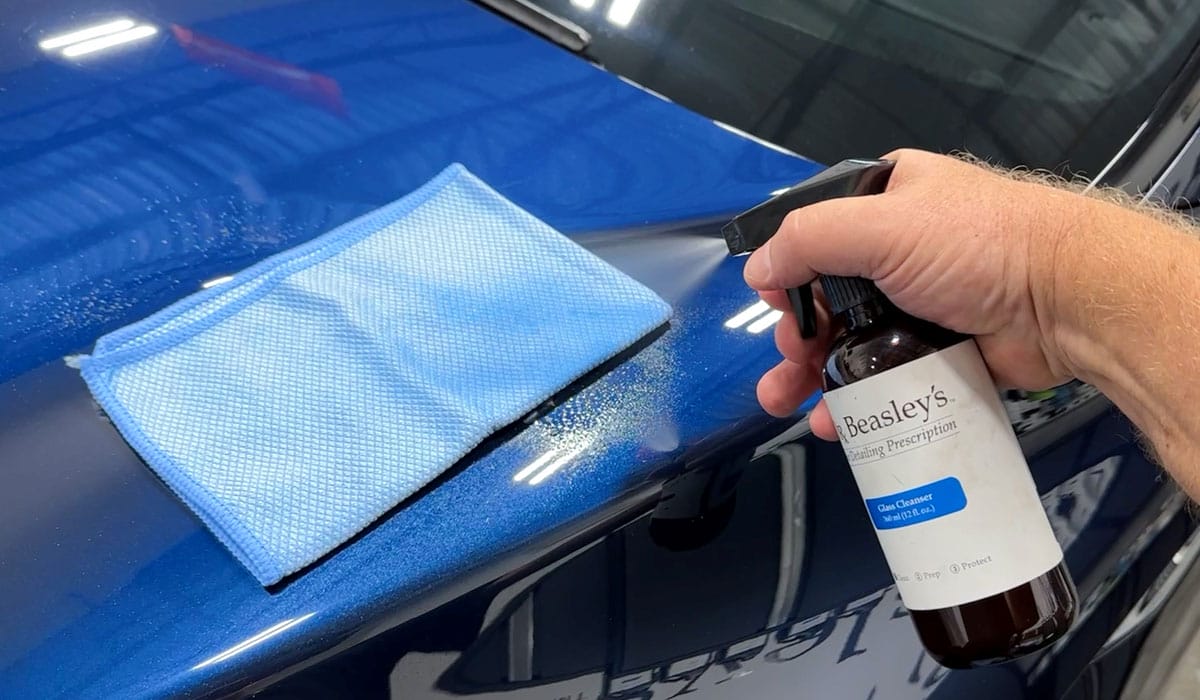
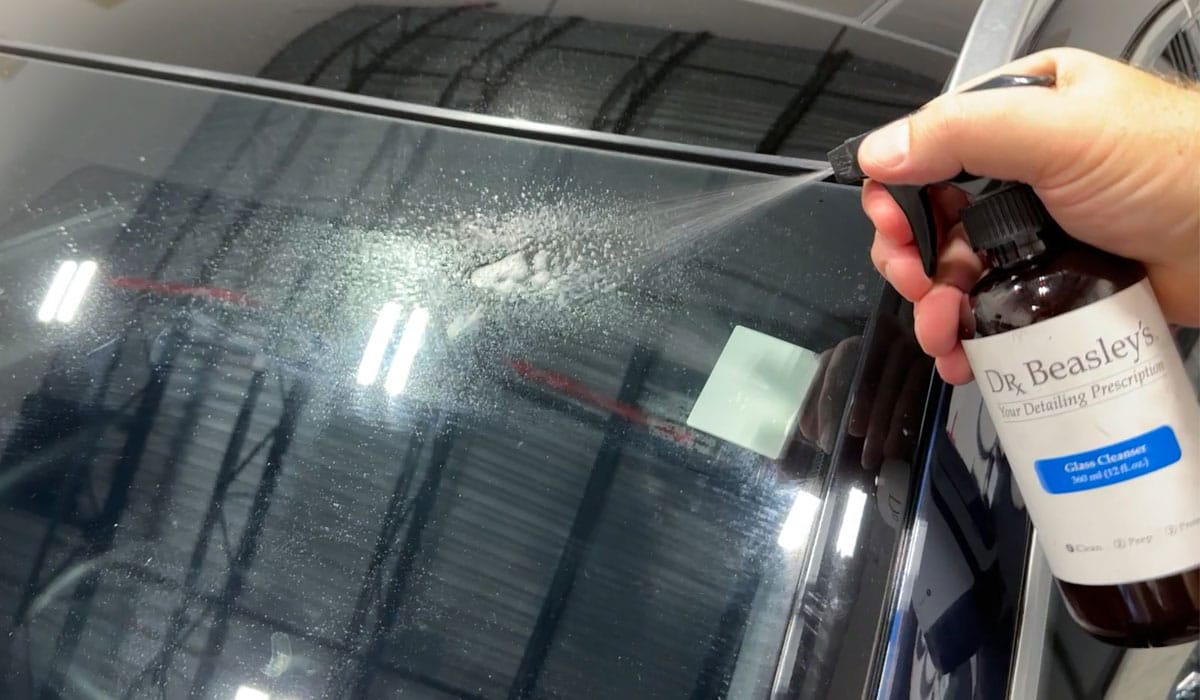
For recent water spots, a quality spray-on glass cleaner and a glass cleaning towel will usually remove most water spots as long as they are to some degree fresh.
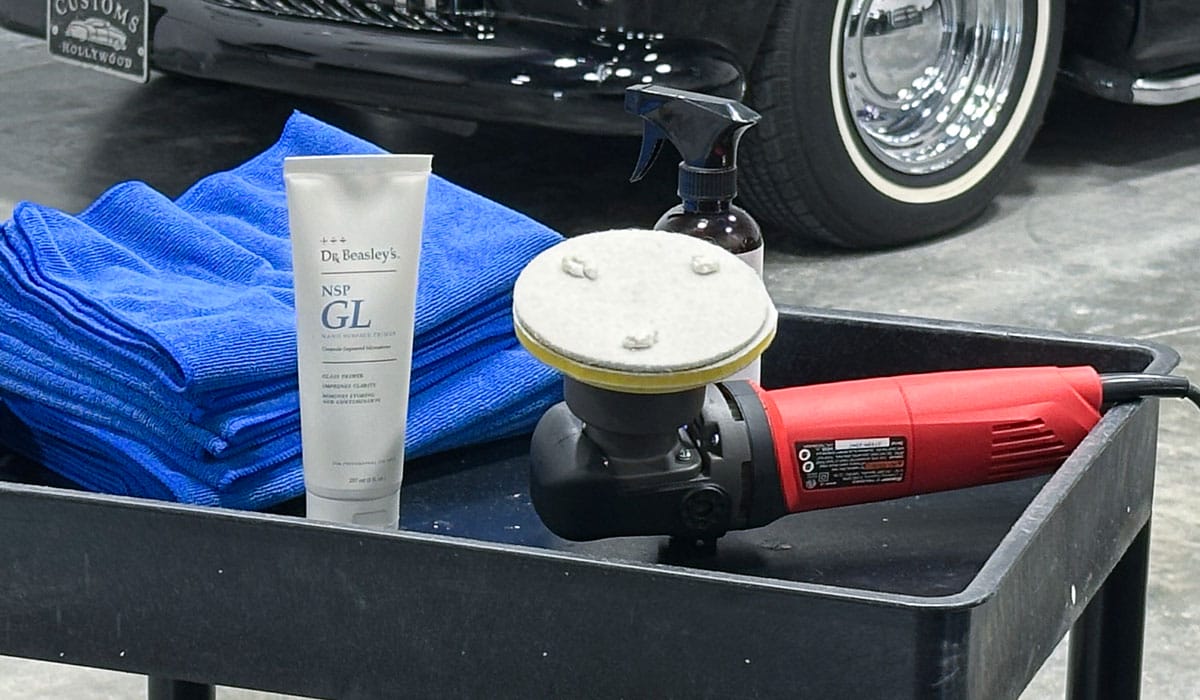
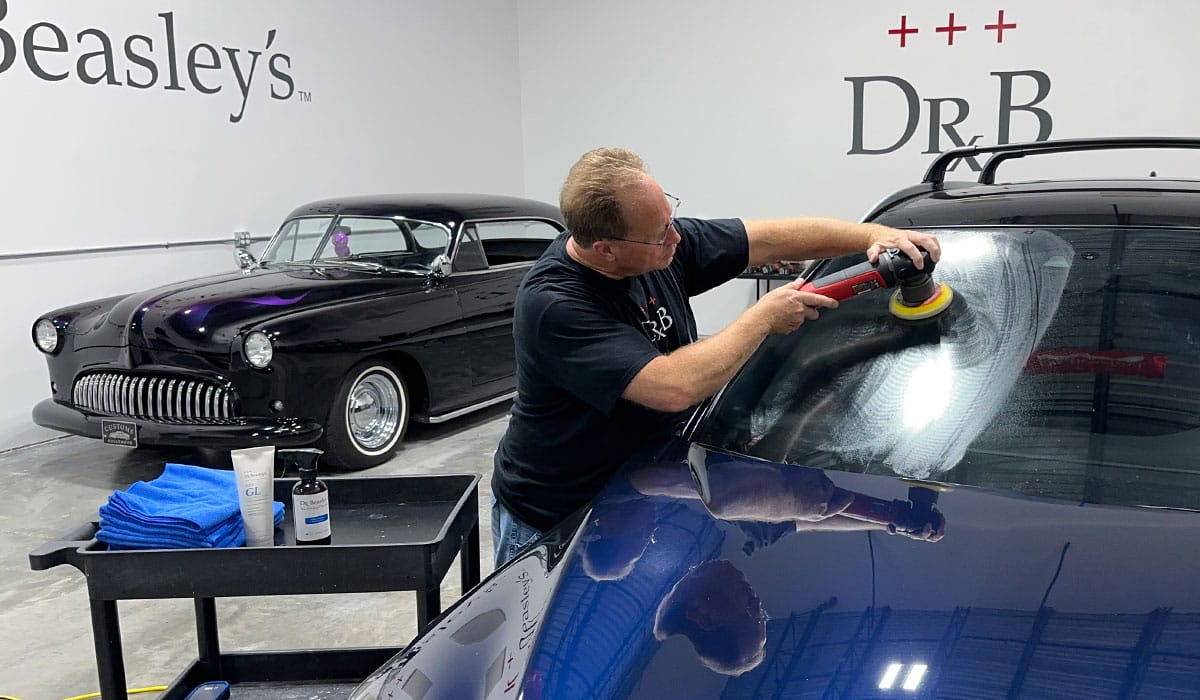
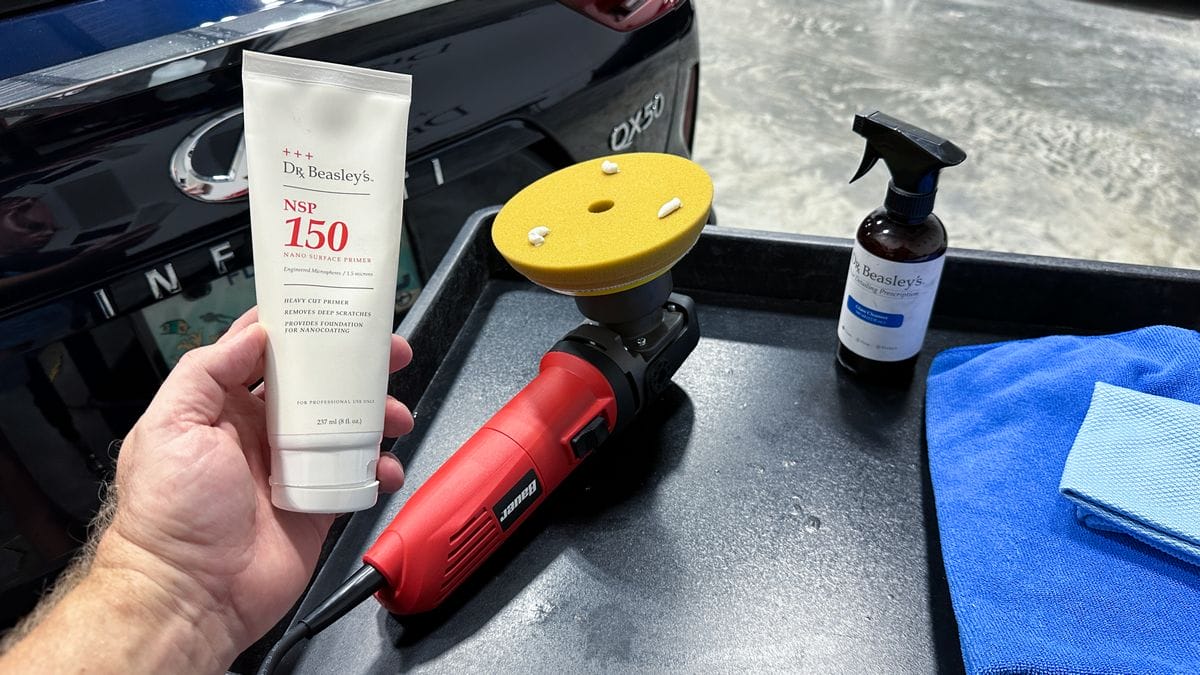
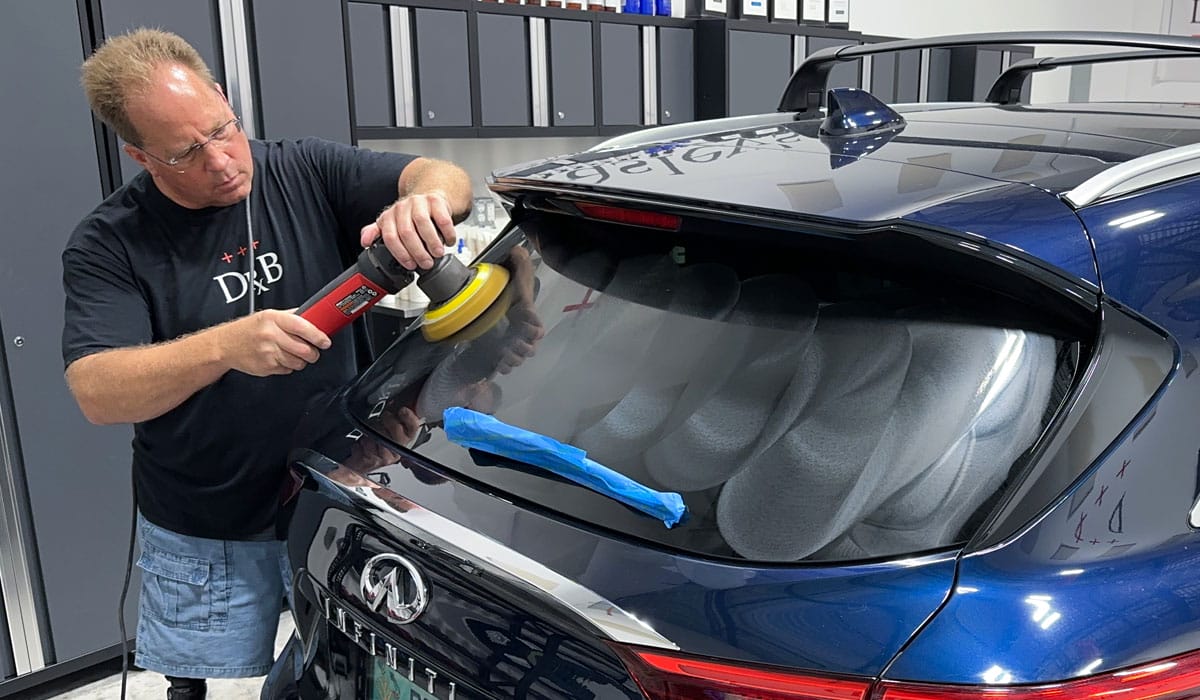
Hard water spots, also called mineral deposits, which have baked-on due to exposure to the sun and neglect, normally require some form of mechanical abrasion using a dedicated glass polish followed by wiping the glass clean with a glass cleaner.
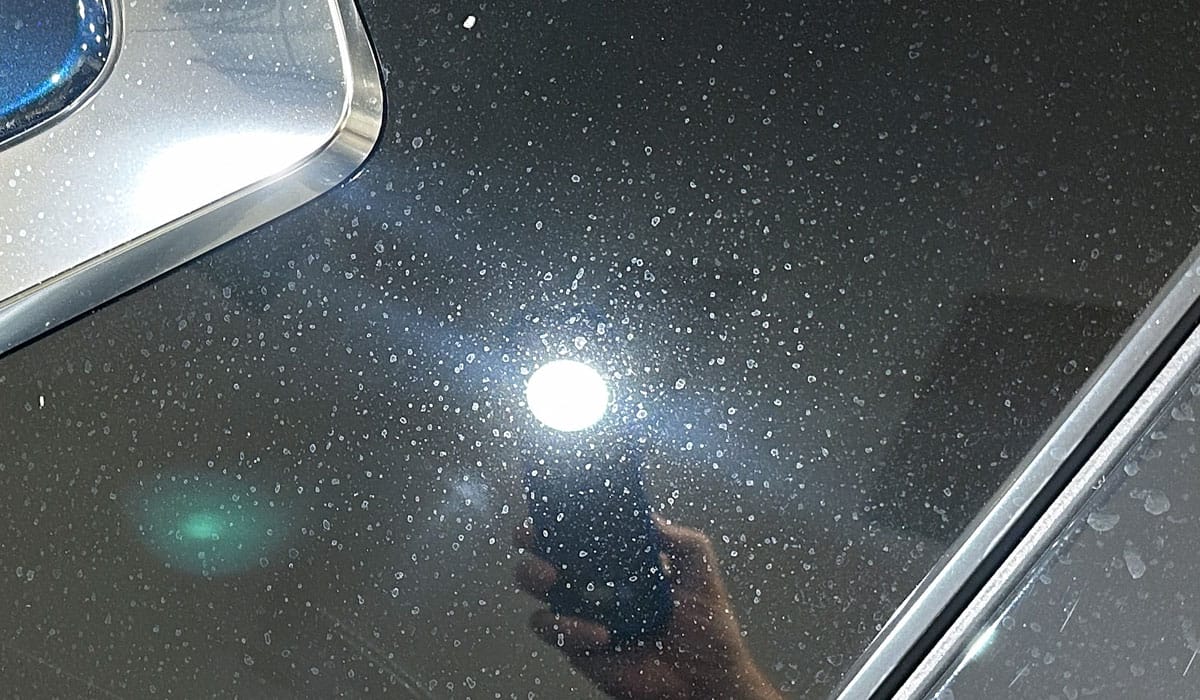
Generally speaking, any compound or polish that is safe for use on clearcoat paints, will be safe to use to remove baked-on water spots on outside glass. For extra stubborn baked-on water spots and mineral deposits, you can use a polish specifically designed for these types of water spots.
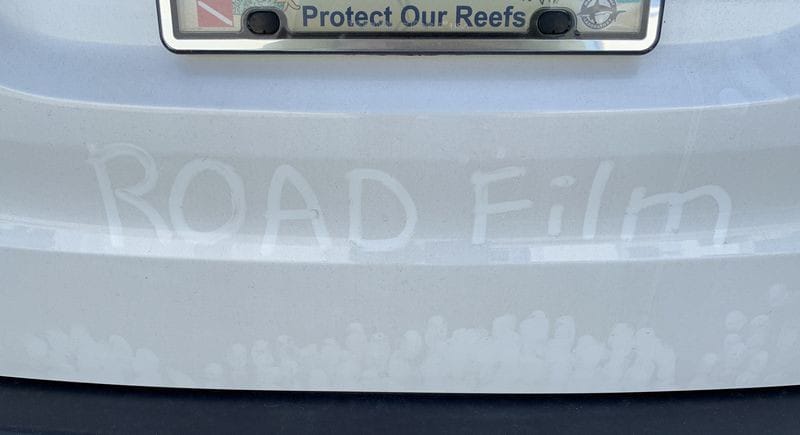
How to Remove Road Film from Windshields
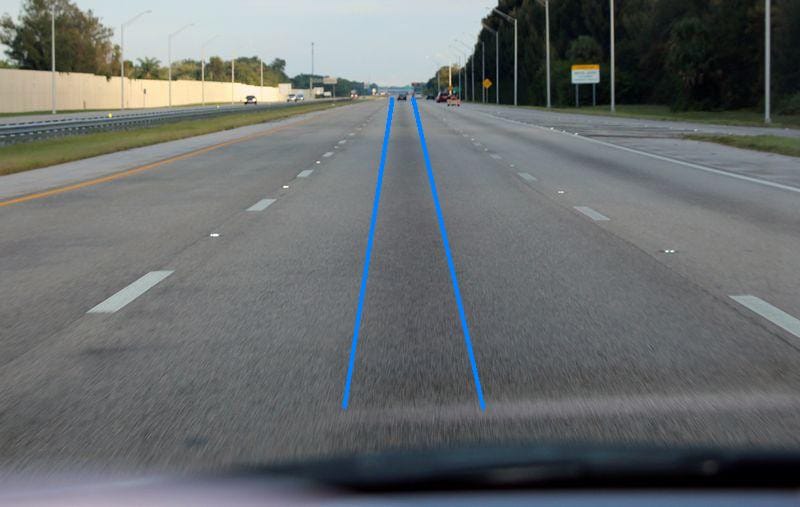
Road film, also called traffic film, is an oily layer of dirt that can build-up on the outside glass windows over time if you drive in the rain.

As vehicles become older, they tend to leak vital fluids like engine oil, transmission fluid, power steering fluid, antifreeze coolant, and gear oil. In the same way you see the dark stains from the drips from these fluids in the middle of a parking space at any store, you will also see this dark staining in the center of the highway when driving on a straight road.
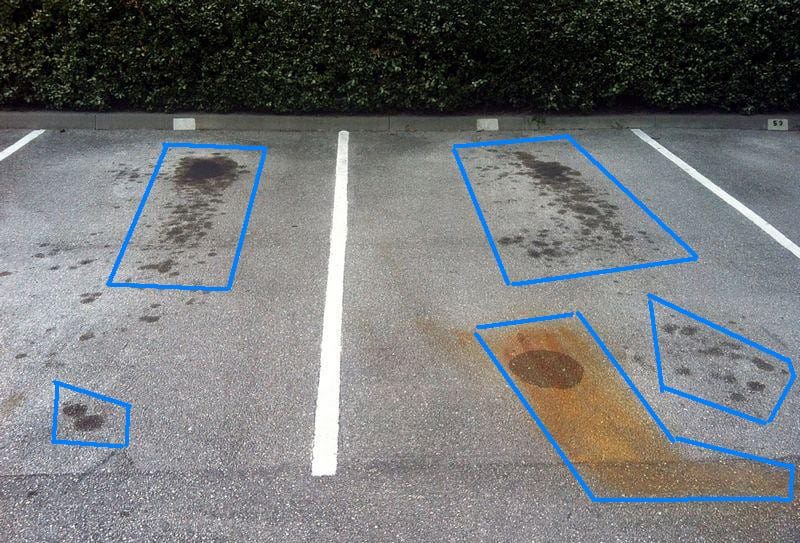
When driving in the rain, all the cars in front of you spray rain splatter, mixed with all the oily drippings from the thousands of cars that drive each day, and this splatter is sprayed all over the outside of your car.
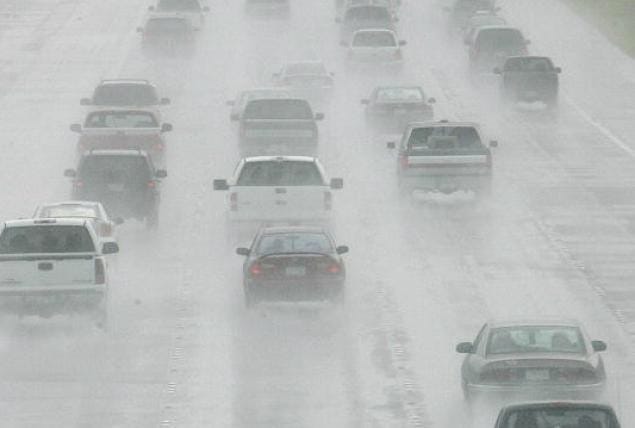
Without immediate washing and drying of the car after each time you drive your car in the rain, this oily dirt builds-up or impacts onto the glass so tightly that it will not wash off and it also won’t wipe off with a spray-on glass cleaner. This oily dirt that builds-up on the outside of your car’s glass windows is called road film or traffic film. If the traffic film is fresh, you can remove this using a quality glass cleaner.
If the traffic film has solidified as a layer that has bonded to the glass, the only way to remove this is using a dedicated glass polish followed by wiping the glass clean using a glass cleaner. If you don’t have a dedicated glass polish, then any quality brand of car paint compound and/or polish, if it’s safe for clearcoat paints, will also work to remove traffic film off outside glass. After using a polish, always re-clean using a quality glass cleaner to ensure there are no streaks or smears left by the polish.

How to Remove Bug Splatter from Windshields
Bug splatter is pretty easy to remove with a glass cleaner or car wash soap when you wash your car. If the bug splatter has dried and is now hard as cement, then the key to removing it is to allow the glass cleaner or some soapy car wash solution to dwell on the bug spatter. Just like the way our skin becomes soft when sitting in a hot tub, with time and patience, water will soften the dried bug splatter enabling you to wipe it off.
Technique Tip
Dampen a microfiber towel with glass cleaner and also spray some glass cleaner directly onto the affected areas.
Next, press dampened microfiber towels against the dried bug splatter for 20 to 30 seconds. This will soften the bug splatter and make it easier to remove. Then wipe away the bug splatter and of course clean the rest of the glass.
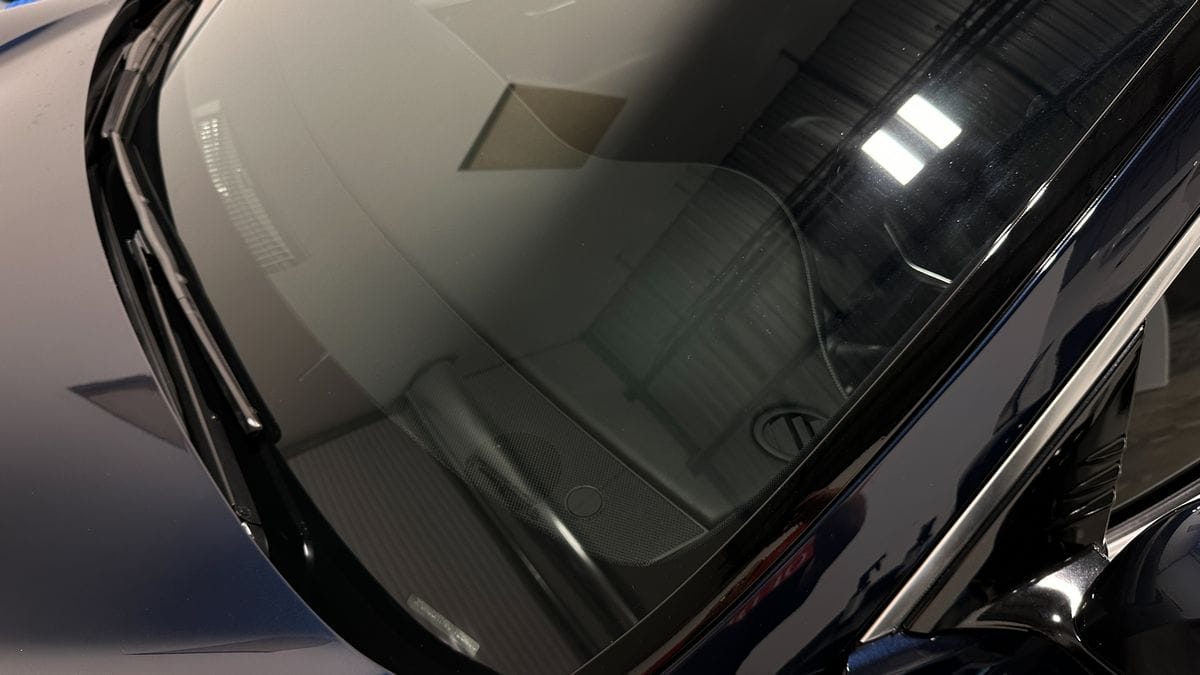
Here’s the final results – streak-free and bug-free glass.
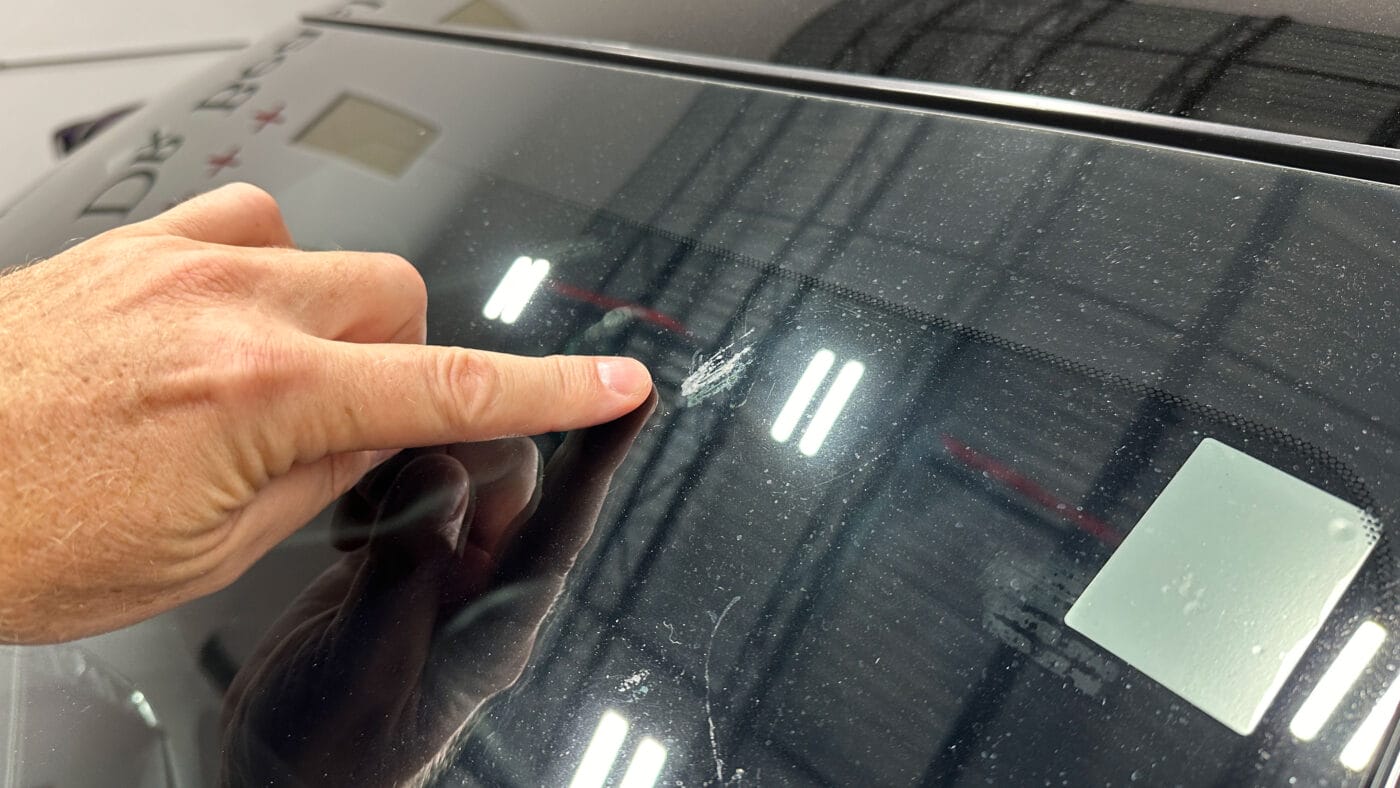
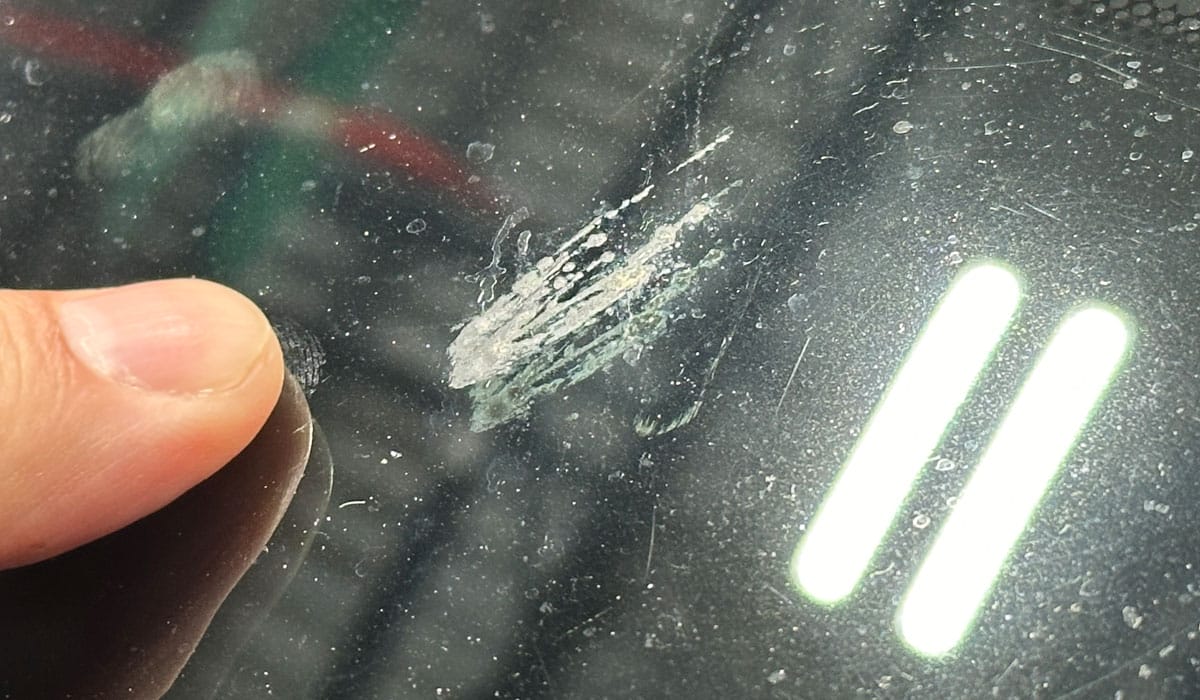
How to Remove Overspray Paint from Windshields
In the same way overspray paint will drift via air currents and land on your car’s painted surfaces, it will also land on the exterior glass. If not discovered and removed immediately, the paint will tend to dry and harden onto the glass to the point that it will not wipe-off or wash off.
Technique Tip
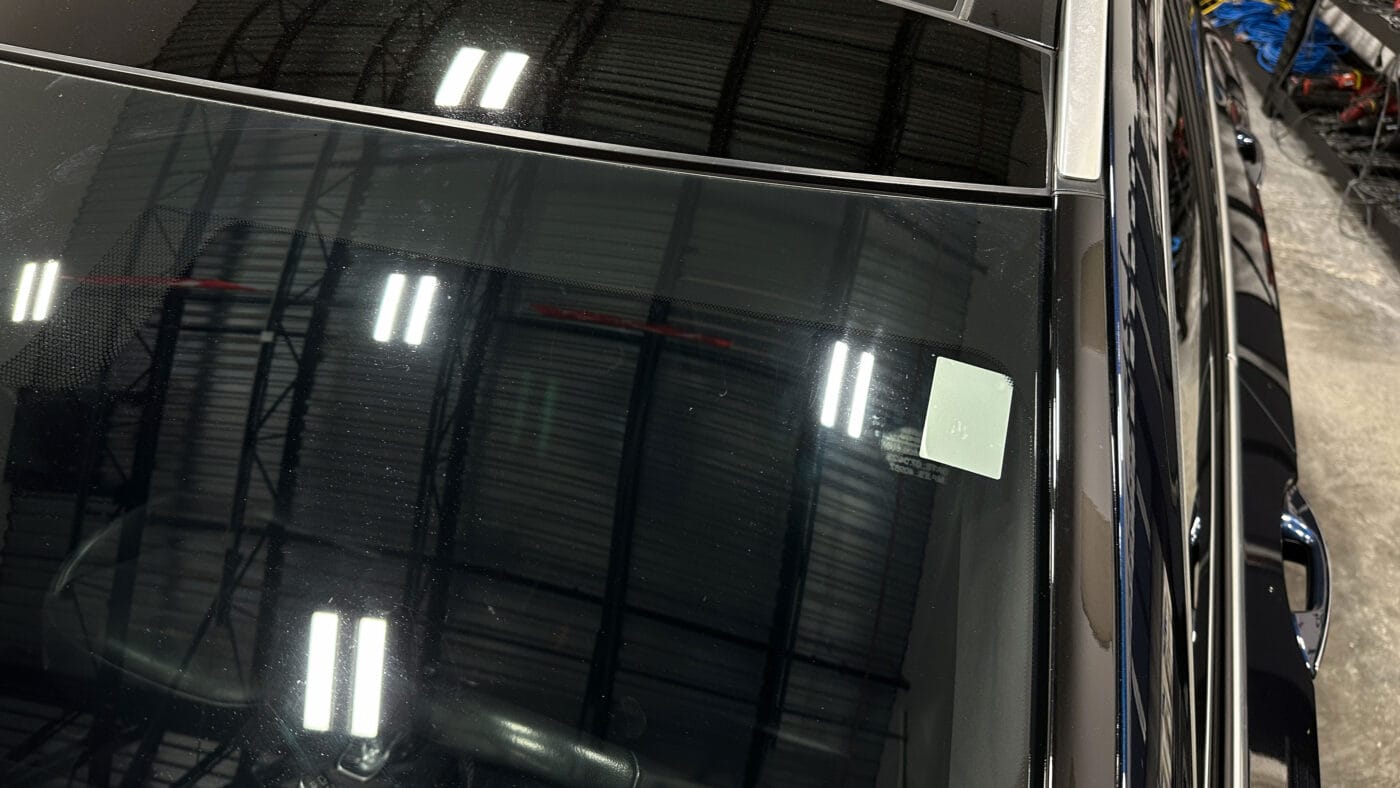
After washing and drying the vehicle, or wiping the glass surfaces clean, do the Baggie Test. The baggie test will tell you if there is overspray paint or some other form of bonded contamination stuck onto the glass. If you feel tiny bumps using the baggie test – this is a sign there is some type of bonded contaminant on the glass.
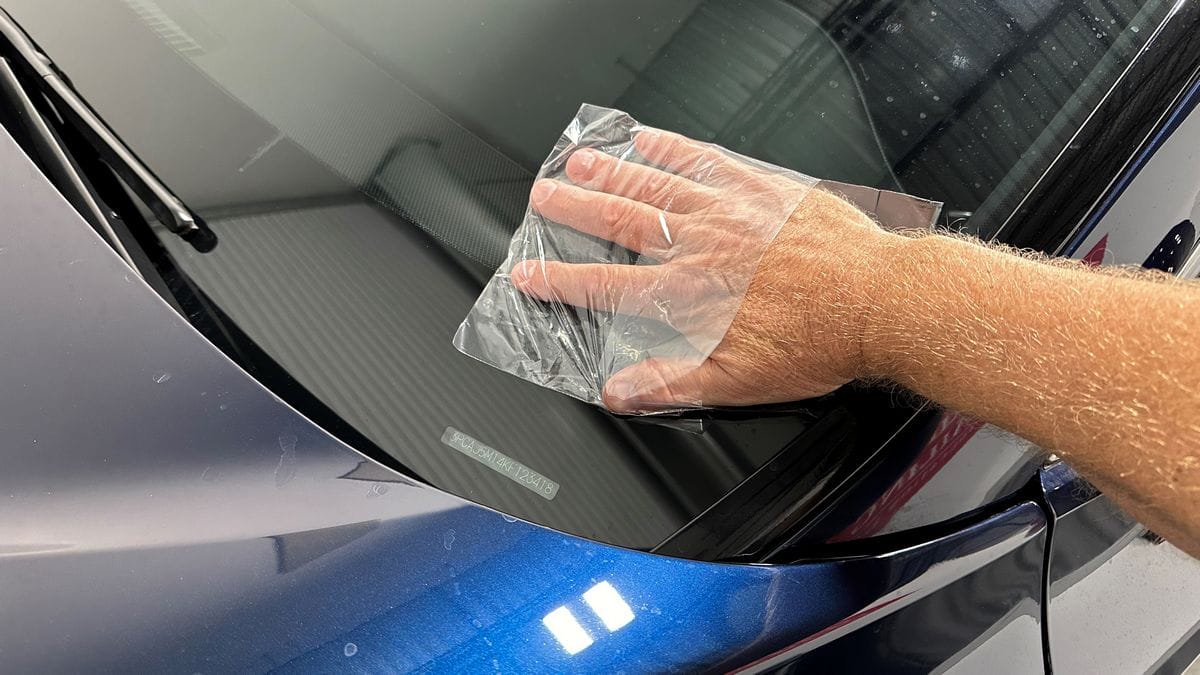
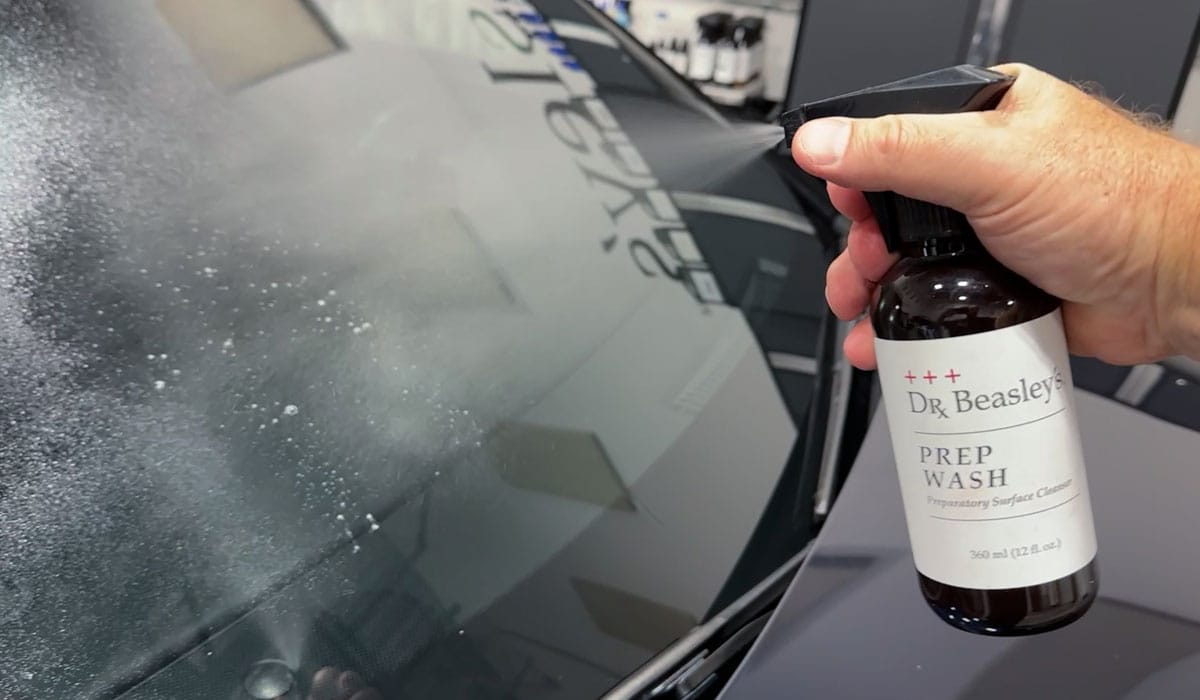
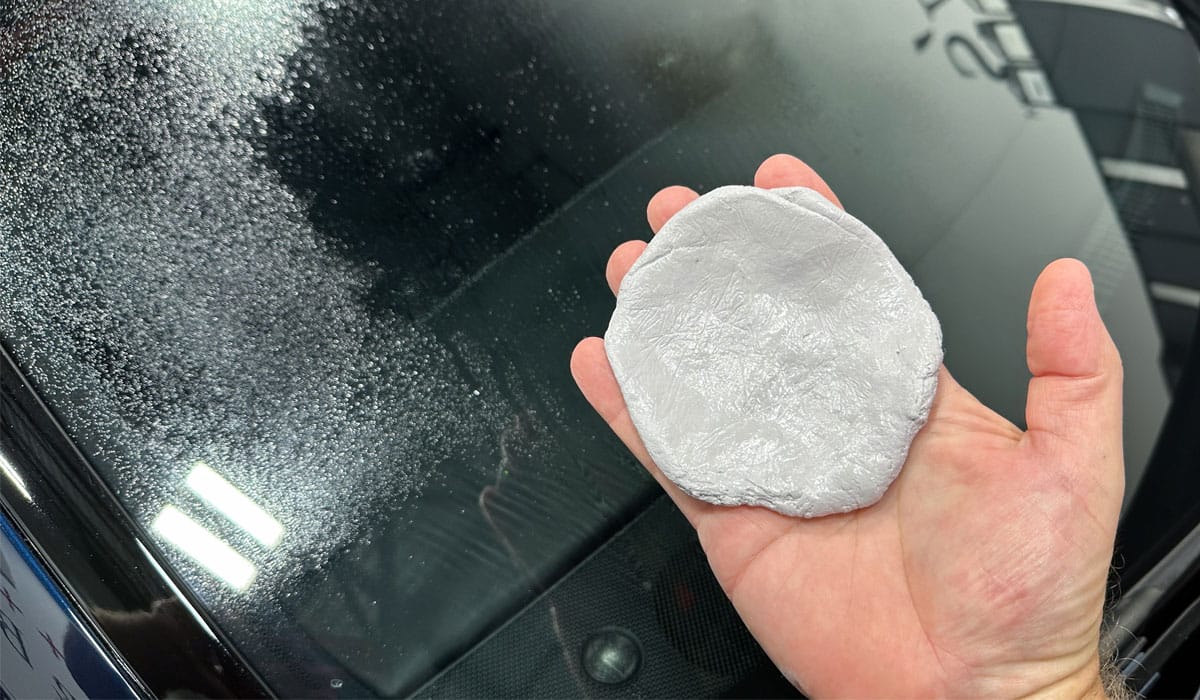
For overspray paint that is bonded to the glass, the safest and most effective way to remove this is using detailing clay and/or a clay substitute like a clay towel, clay mitt or clay disc. After claying the glass, use a glass cleaner to remove any clay lube residues.
How to Clean Airborne Pollution and/or Industrial Fallout from Windshields
It’s always a guessing game trying to figure out what or where the source of airborne pollution and industrial fallout came from and exactly what is the make-up of the contamination. Some forms of airborne pollution and/or industrial fallout can be dissolved and removed using just a glass cleaner.
Airborne pollution and/or industrial fallout that does not come off using a class cleaner can sometimes be removed when you wash your car using a quality car wash soap and water.
If you come across airborne pollution and/or industrial fallout that will not come off using either a glass cleaner or a soapy car wash solution when washing your car, here are some other approaches you can try.
- Spray and wipe with a quality all-purpose cleaner
- Detailing clay or clay substitute
- Hand or machine polishing with a glass polish or clearcoat safe paint polish

After you find the approach that works best to break up, dissolve and remove any discovered airborne pollution and/or industrial fallout, be sure to re-wash and thoroughly rinse the vehicle.
How to Remove Tar from Windshields
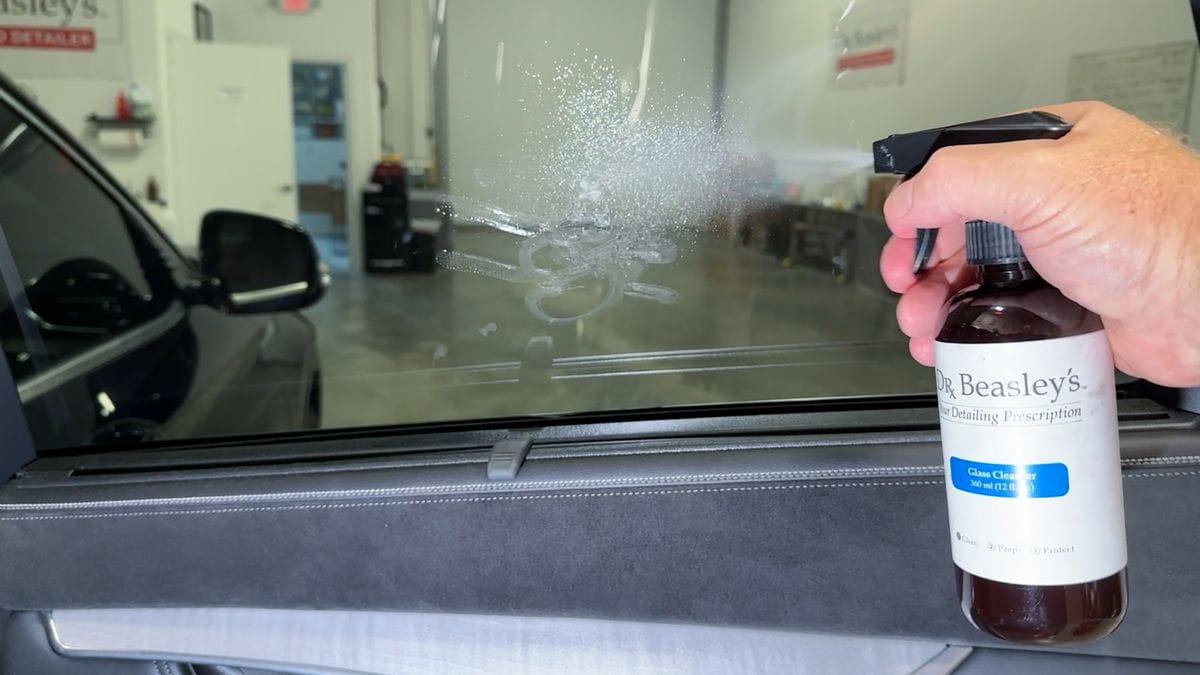
To remove tar, you want to dampen a small section of a microfiber towel, or even a paper towel with either a tar remover or an adhesive remover and then place this dampened portion against the sap and allow it to penetrate for a few seconds. By this I mean, hold this dampened material against the sap you want to remove and then whistle a musical ditty. After 30 to 45 seconds, gently wipe the sap off the paint.
Part of the effectiveness when using a tar or adhesive remover is the element of time. It takes a little time for the solvents to penetrate and get UNDER the sap where the sap is physically bonded to the paint.
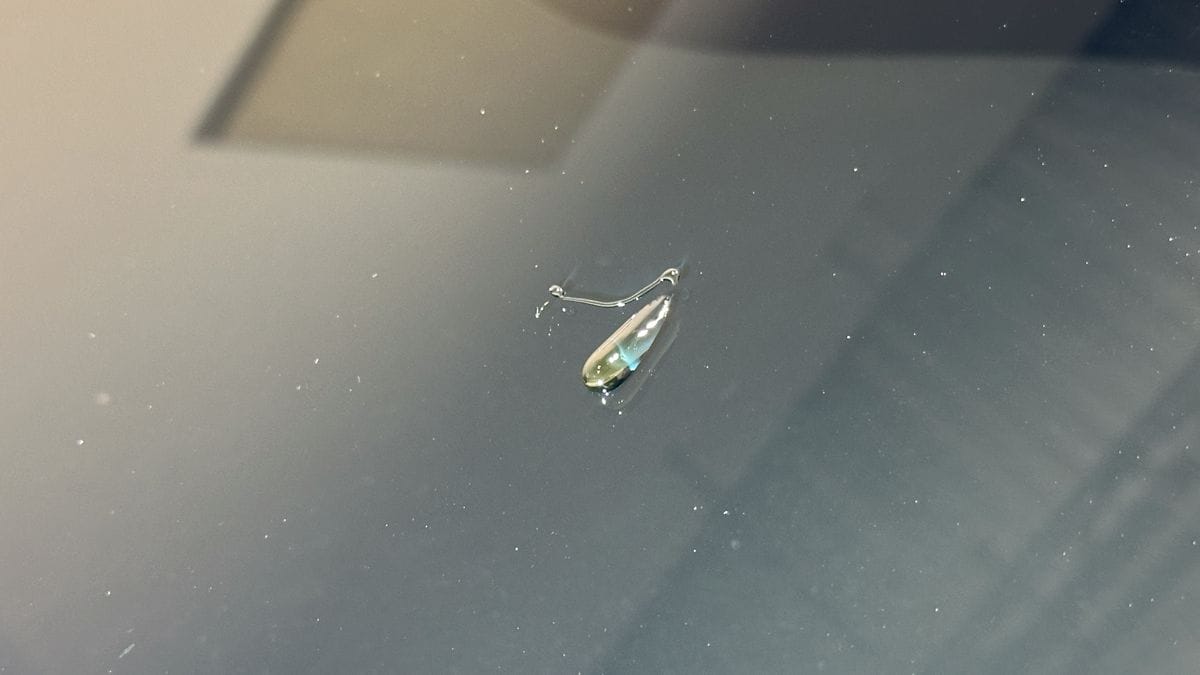
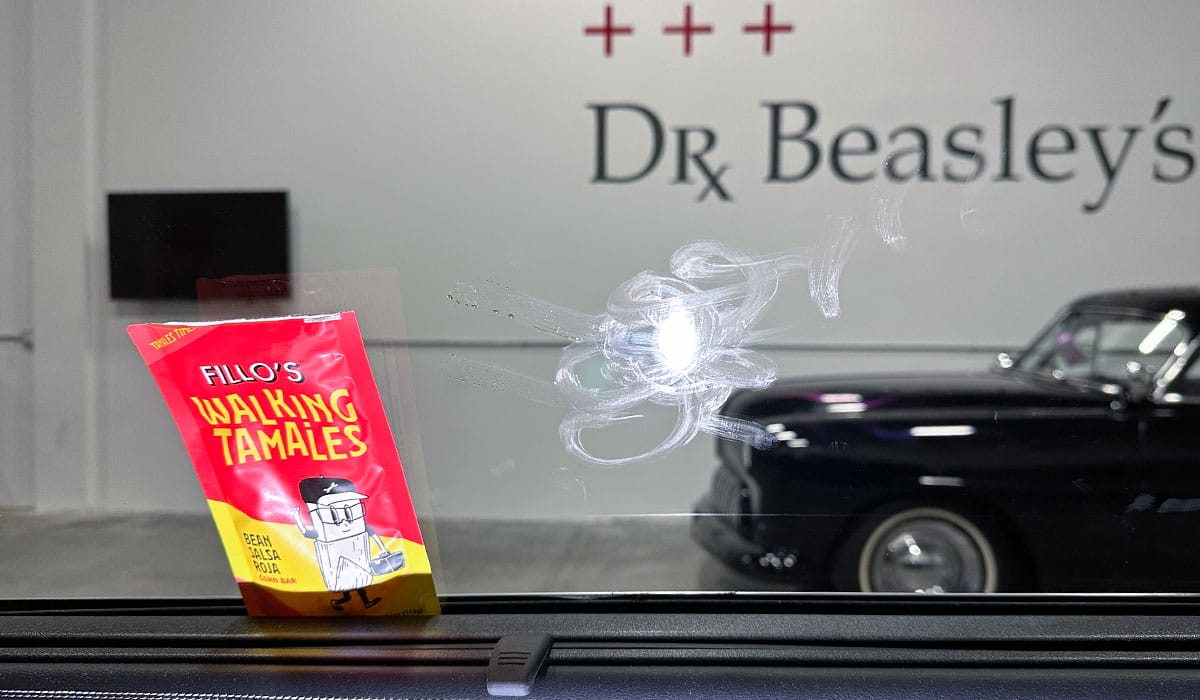
How to Remove Tree Sap from Windshields
Tree sap can be a tick tricky to remove because some tree sap will break down using a water-based cleaner, like soapy water.
Most tree sap however will require a solvent-based product to effectively breakdown and emulsify the tree sap so that it can be removed. There are a lot of solvent powered tree sap removers on the market, and these are often sold as both Adhesive Removers and Tar & Sap Removers because they will tend to work well for these types of contaminants.
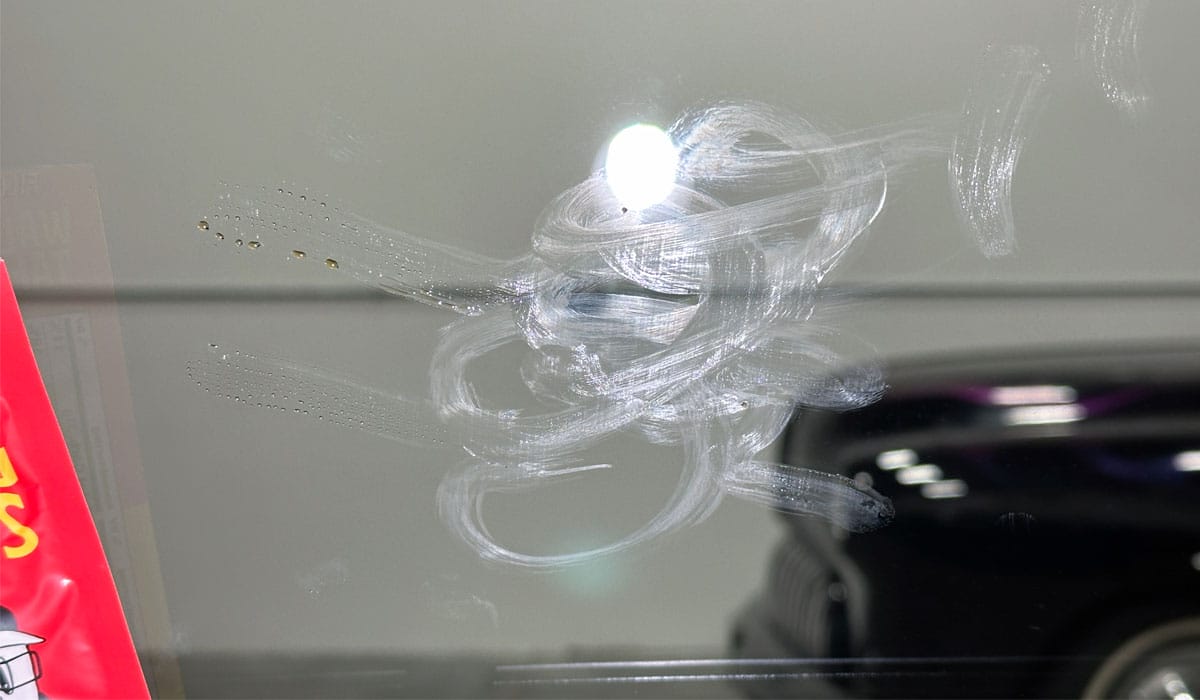
Here’s some fresh tree sap after parking under a tree on a hot day.
Technique Tip
Spray some Adhesive Remover or Tar & Sap Remover to just the corner of a microfiber towel.
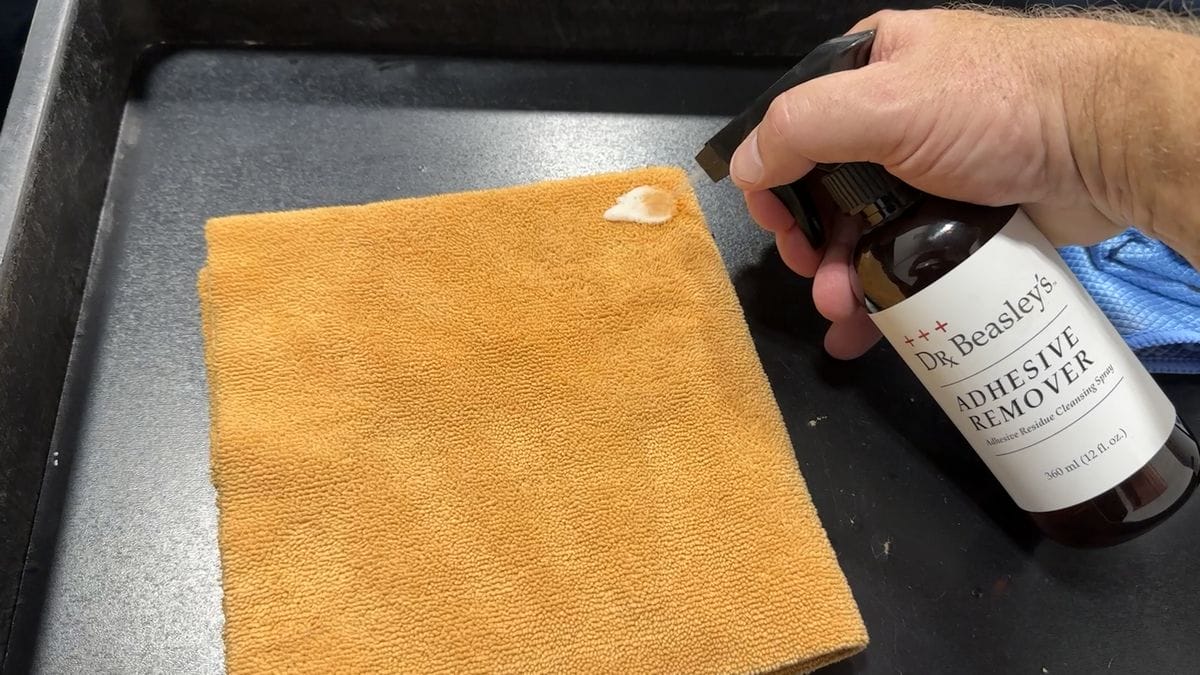
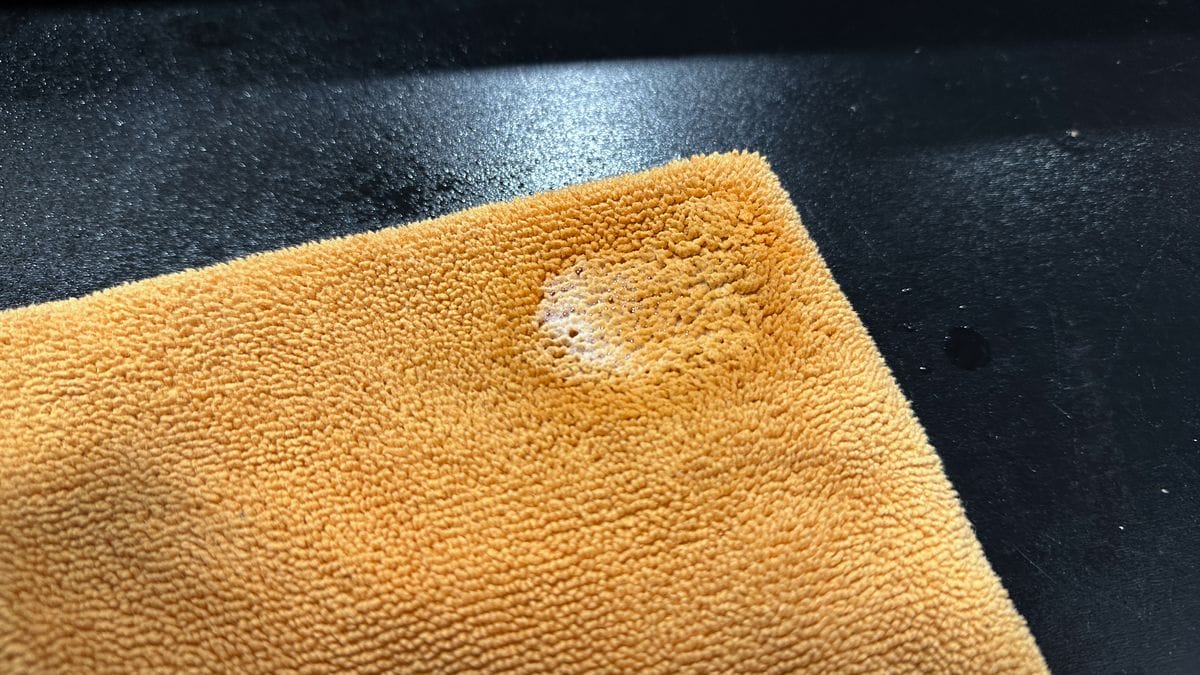
Take this corner of the towel that’s saturated with the Adhesive Remover and hold it against the Tree Sap and allow the product to seep under the tree sap and loosen it before wiping.
Then press the towel and wipe-away to remove the tree sap.
How to Clean Interior Car Windows
Cleaning interior glass on a car can be a tick tricky, especially when dealing with all the streaks and smears that are seemingly impossible to remove. Thankfully, I’ve got a good method for getting a perfect clean on the inside of car windows. But before we get to that, let’s cover a few common types of interior window contaminants.
Vinyl Fog
Vinyl fog, which is also known by the term, New Car Smell, is actually the oily residue that builds up all surfaces on the inside of a new vehicle including the glass when all the NEW vinyl, plastic, rubber and another artificially manufactured parts, fabrics, foam, insulation, etc. outgas or give-off fumes. The components of this gas or vapor emitted from new plastic inside a car can be carcinogenic, so wear nitrile gloves so avoid getting the vinyl fog on your skin. These fumes are what we know as New Car Smell.
The thing about vinyl fog is that you only see it on the glass but think about it? When all these new components and materials inside the vehicle outgas, the fumes, which is the vinyl fog, builds-up on all of the inside of the car, not just the glass. It’s just your eyes only see it on the glass. This is why anytime you see vinyl fog on the inside glass windows, this is a visual indicator that besides cleaning the glass, you also need to clean your vehicle’s interior.
Smoke & Vape Film
“Smoker’s Film” or “vape film” is the oily residue in the smoke or vapor exhaled by the smoker/vaper that coats over every surface with an oily film. Smoke from cigarettes smoke and vapor from vaporizers contains carcinogens. My guess is the film created by the build-up of cigarette smoke or vapor also contains carcinogens. When removing both smoker’s film and vinyl fog from inside glass windows, it’s a good safety precaution to wear protective nitrile gloves to avoid skin contact with these types of carcinogens.
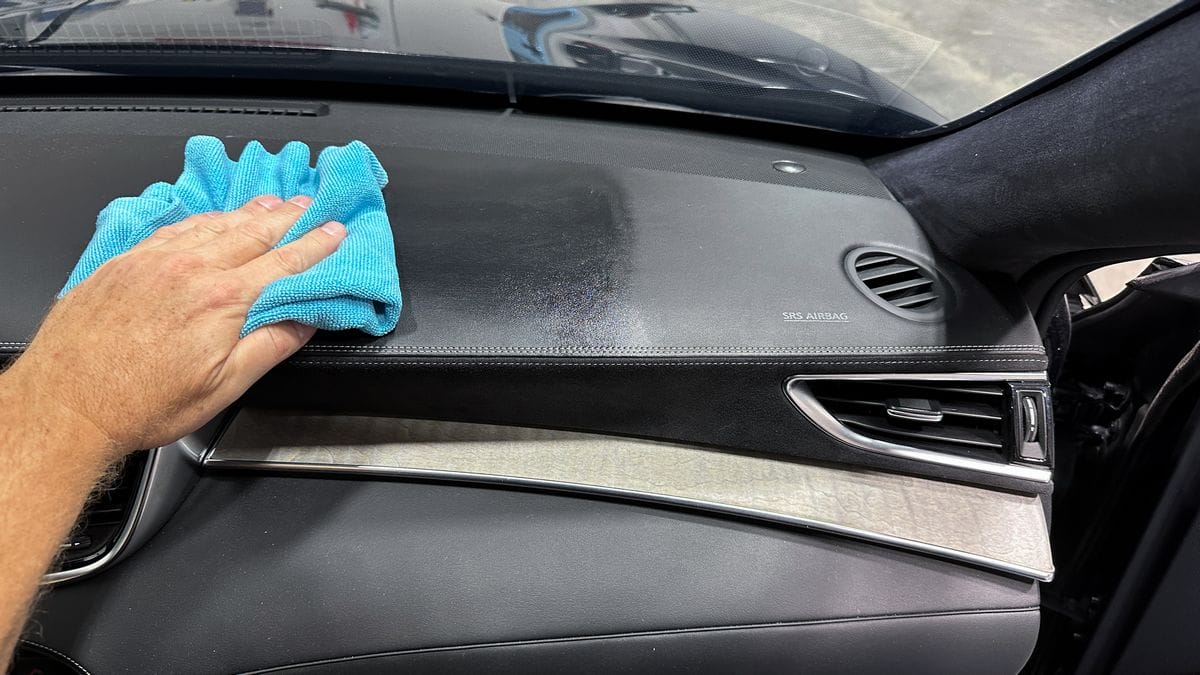
Vinyl Dressing Overspray When Applying to Dashboard or Door Panels
Spraying a vinyl dash or door panels with a spray-on vinyl dressing leads to getting overspray onto the glass. Most vinyl dressings contain some type of oil and also solvents and this can make them difficult to clean and remove off the glass as compared to water-based contamination like dog slobber.
How to apply a vinyl dressing or even vinyl cleaners to the dash, which is next to the windshield, or onto door panels, next to the side windows, is to spray or apply the vinyl dressing to a microfiber towel away from the glass and then use the microfiber towels to apply the dressing to these surfaces.
Fingerprints (Or Even Toeprints!)
It’s fairly common to get fingerprints on inside glass, especially if you have kids and even toe or footprints, if your passenger is stretching their legs out by putting their feet on the dash.
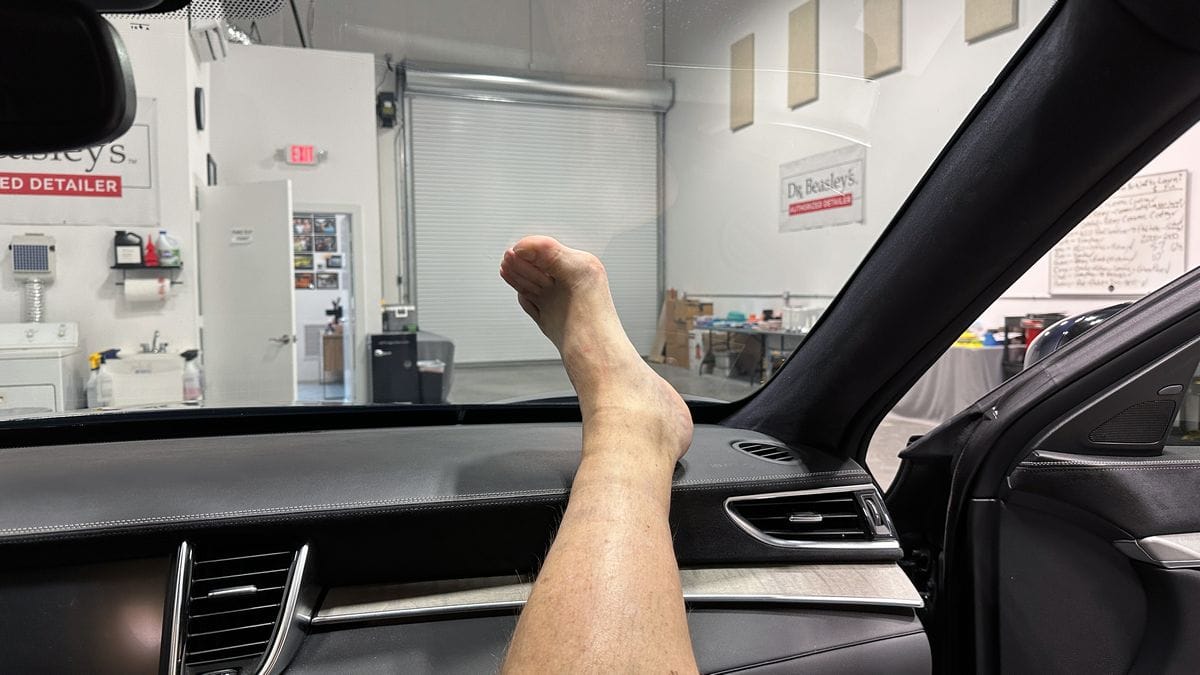
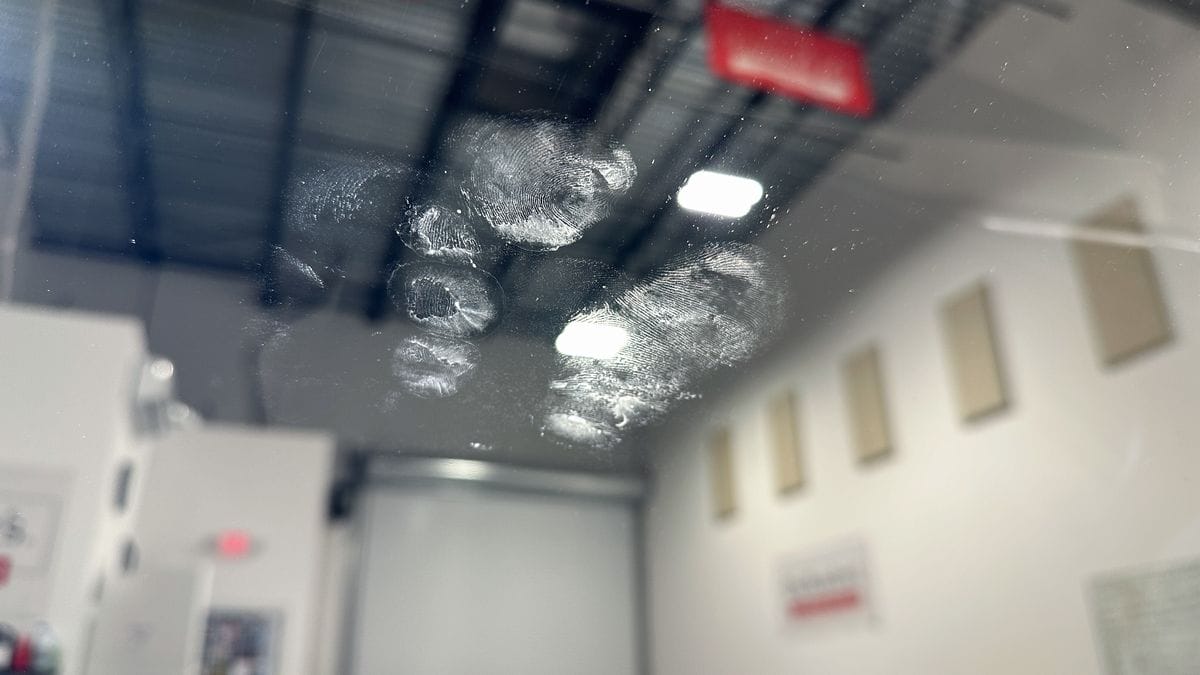
Thankfully, these types of oil-based smudges are easy to remove with a spray-and-wipe glass cleaner.
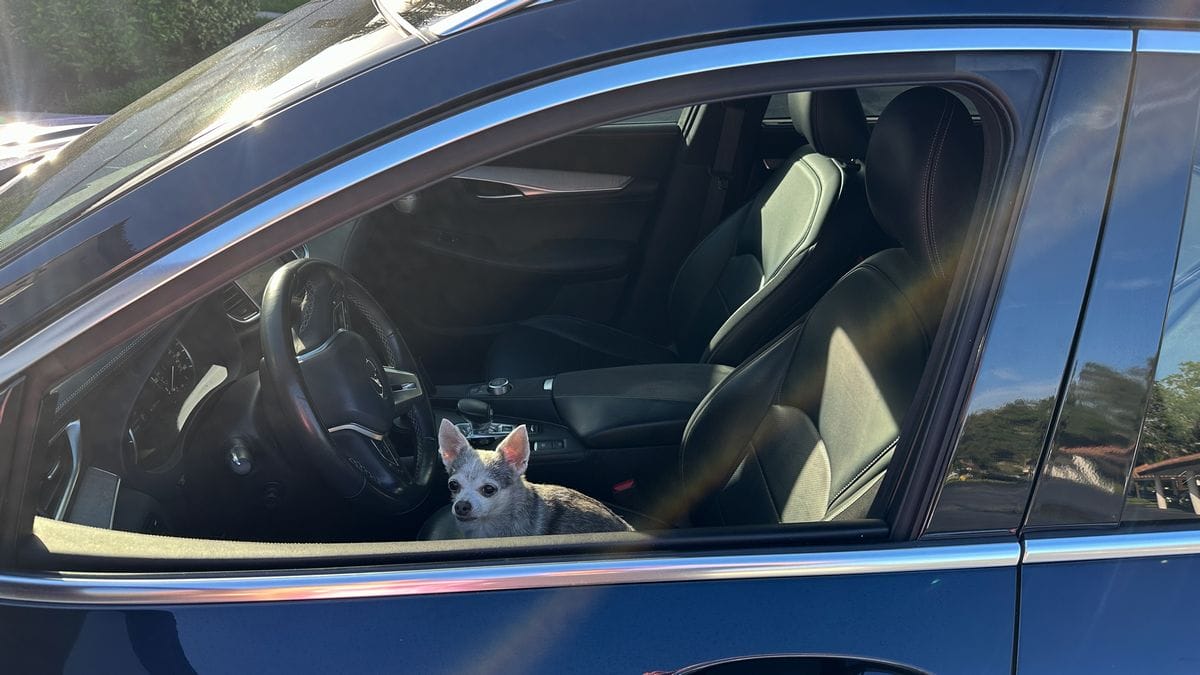
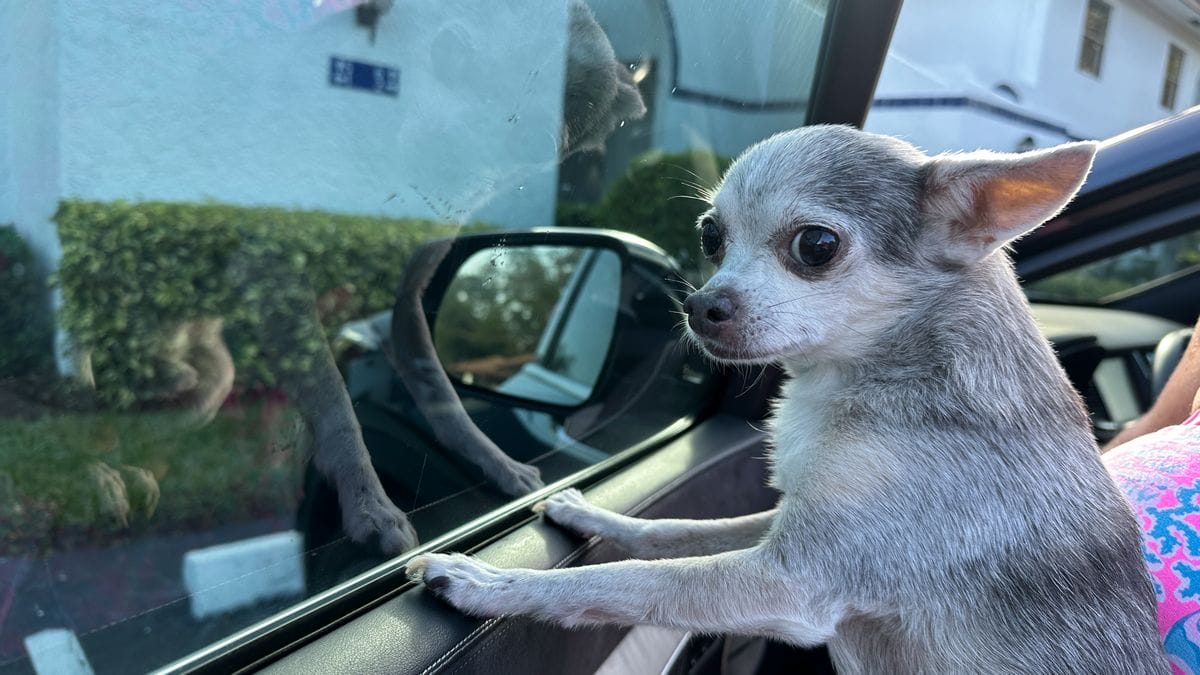
Smudges from Pet Paws
We all love our pets, but when we leave them in our vehicles for short periods of time, they will often put their paws on the inside of the door, usually at the top of the door panel, and also against the side window glass. Paw prints are easily removed using a quality glass cleaner.
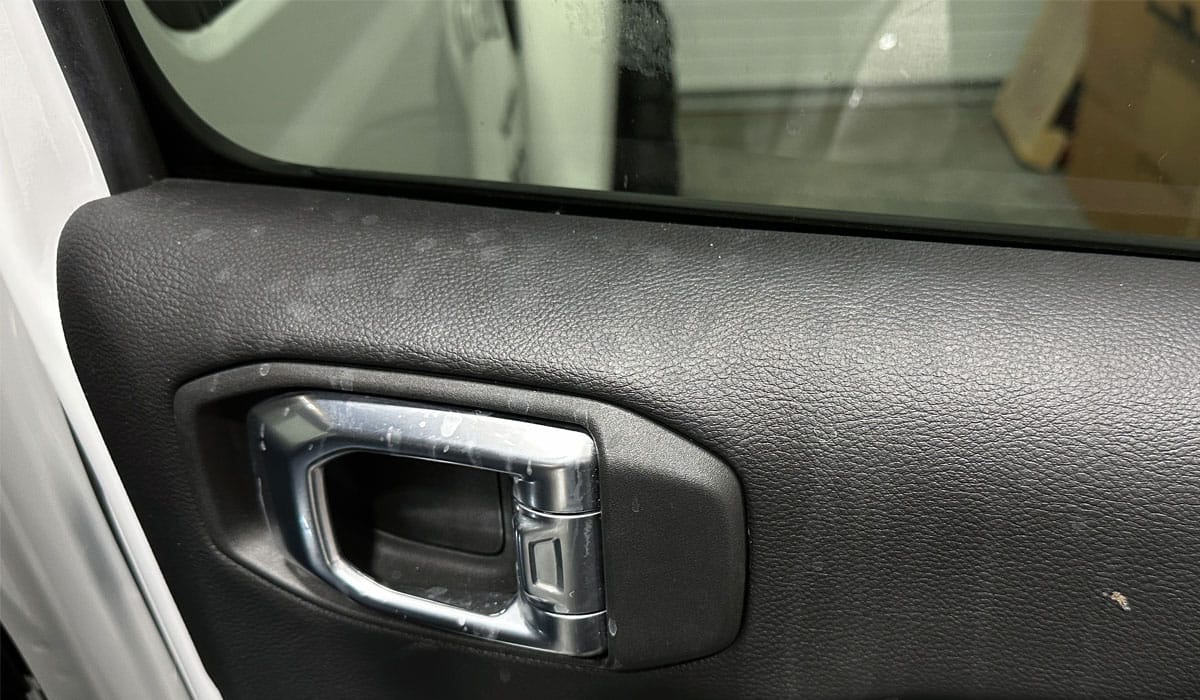
Dog Slobber
Like pet smudges from paws, sometimes your dog or other pets will slobber on or lick the inside glass in your vehicles leaving behind a myriad of slobber smudges and stains.
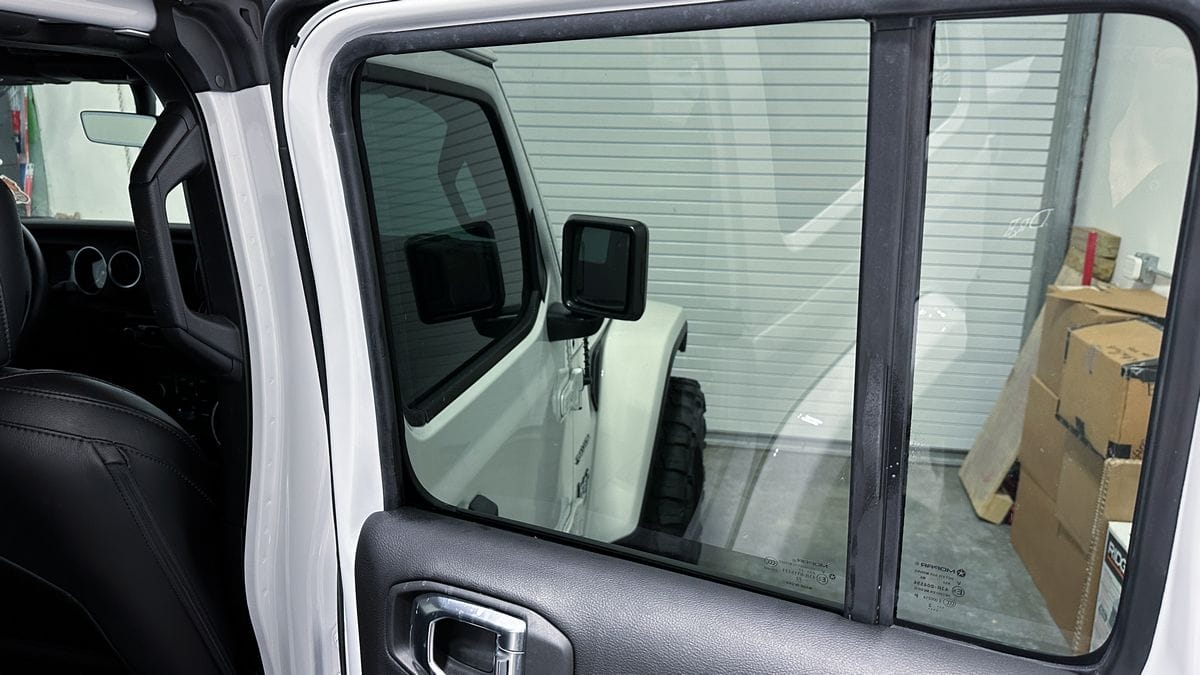
This is Hooch,
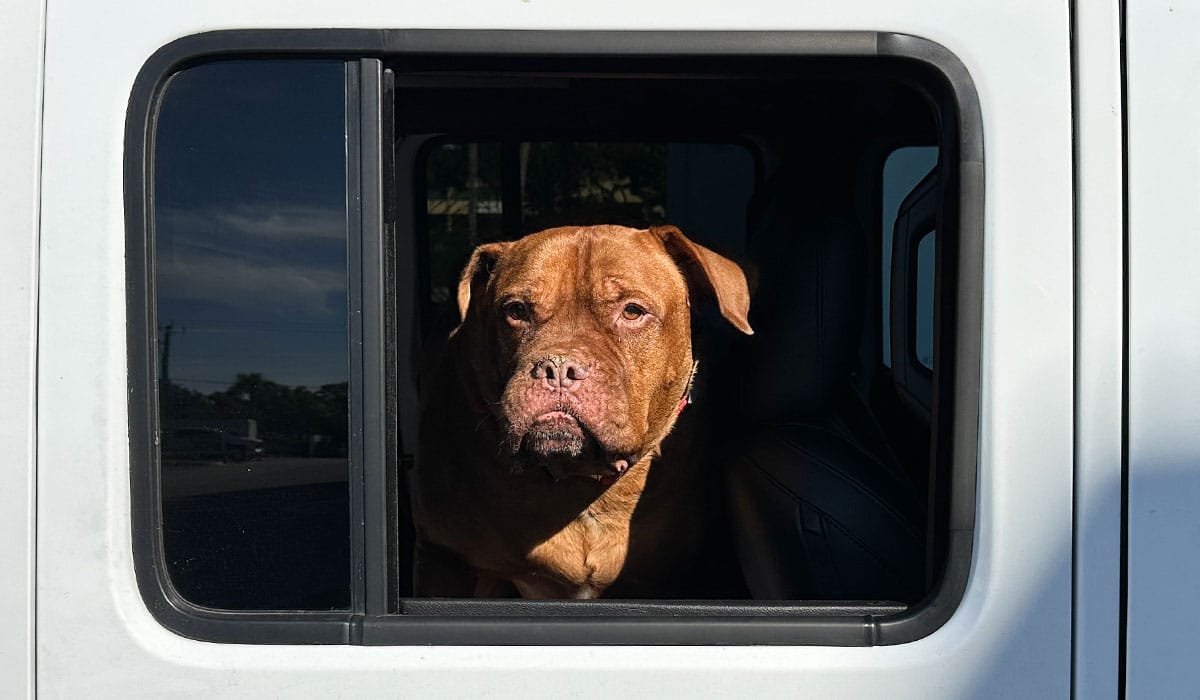
He’s a prime example of a wonderful dog, but one that tends to get his dog slobber onto the inside glass of my buddy’s Jeep.
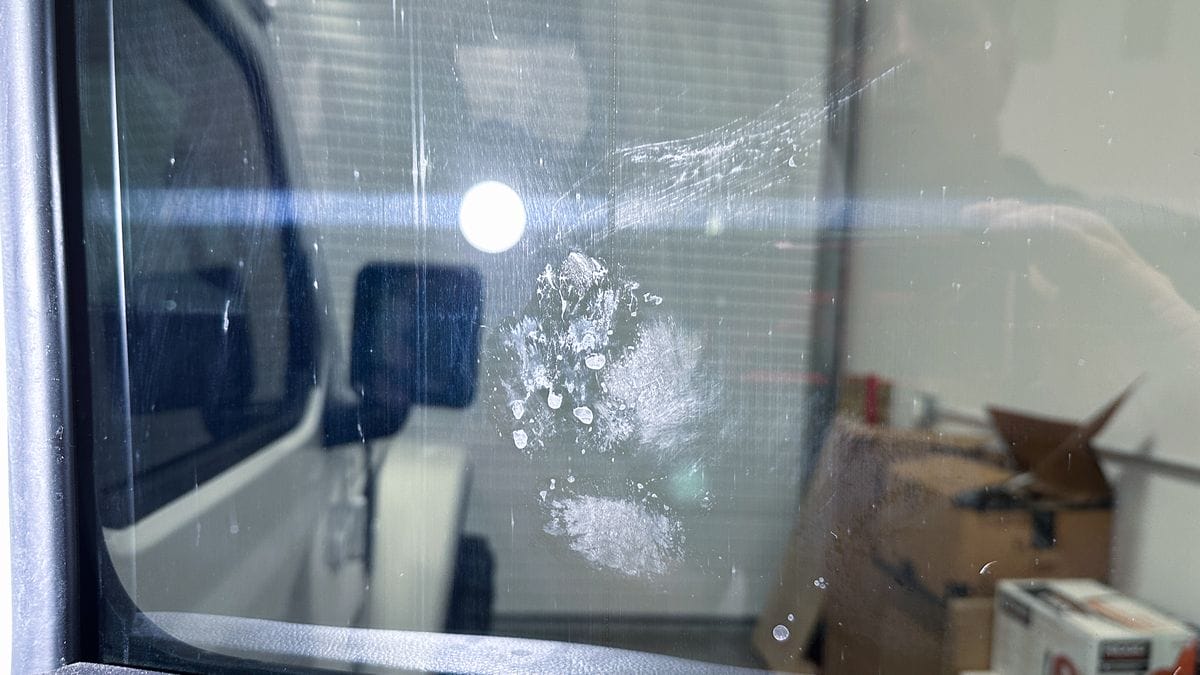
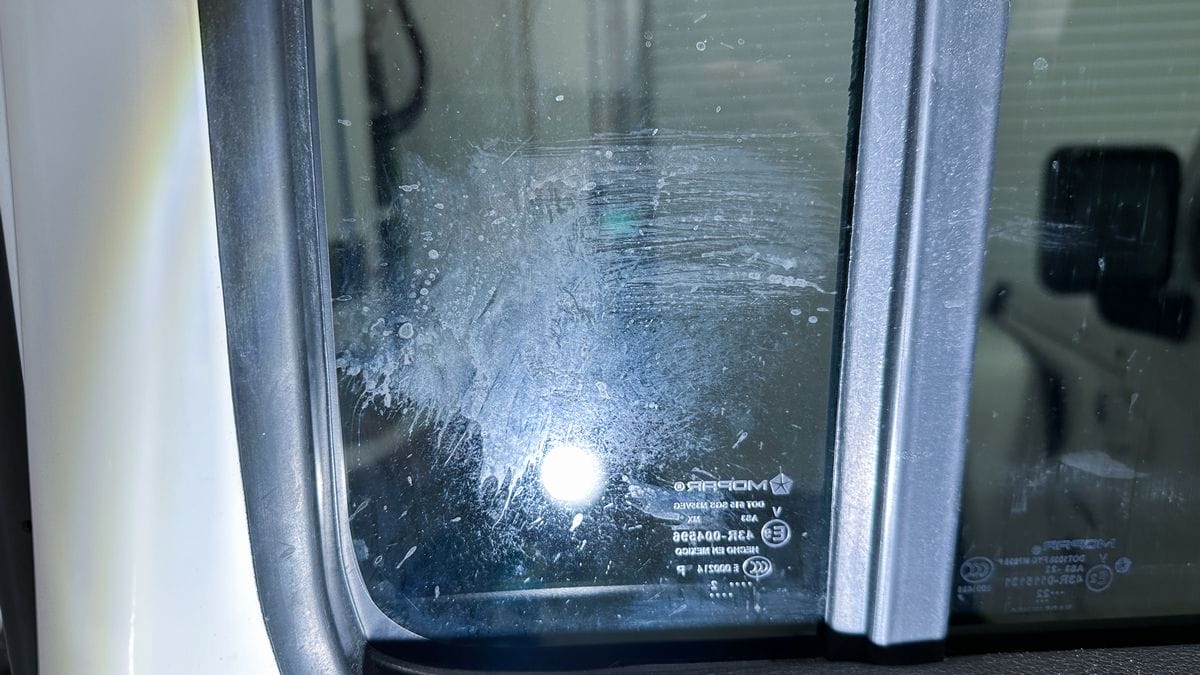
It gets on the door panels too…
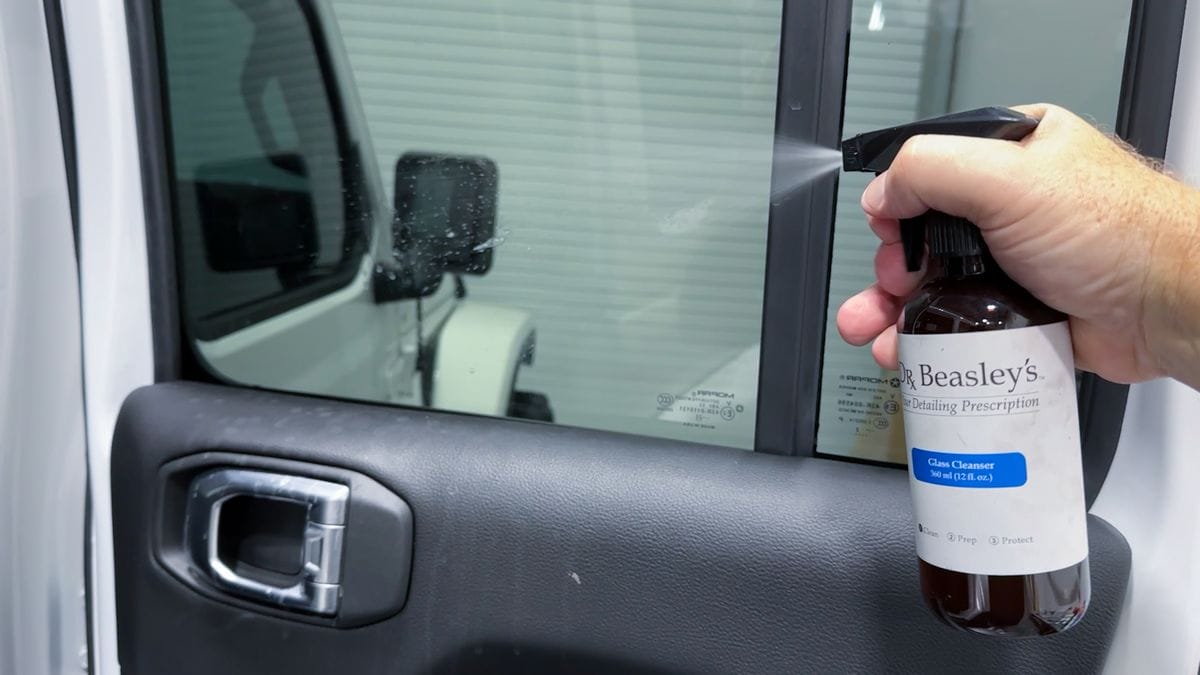
Spray the glass using a premium glass cleaner and then remove the dog slobber and paw prints using the 2-towel approach. One towel to clean off the dog slobber and a second towel to perfect the glass.
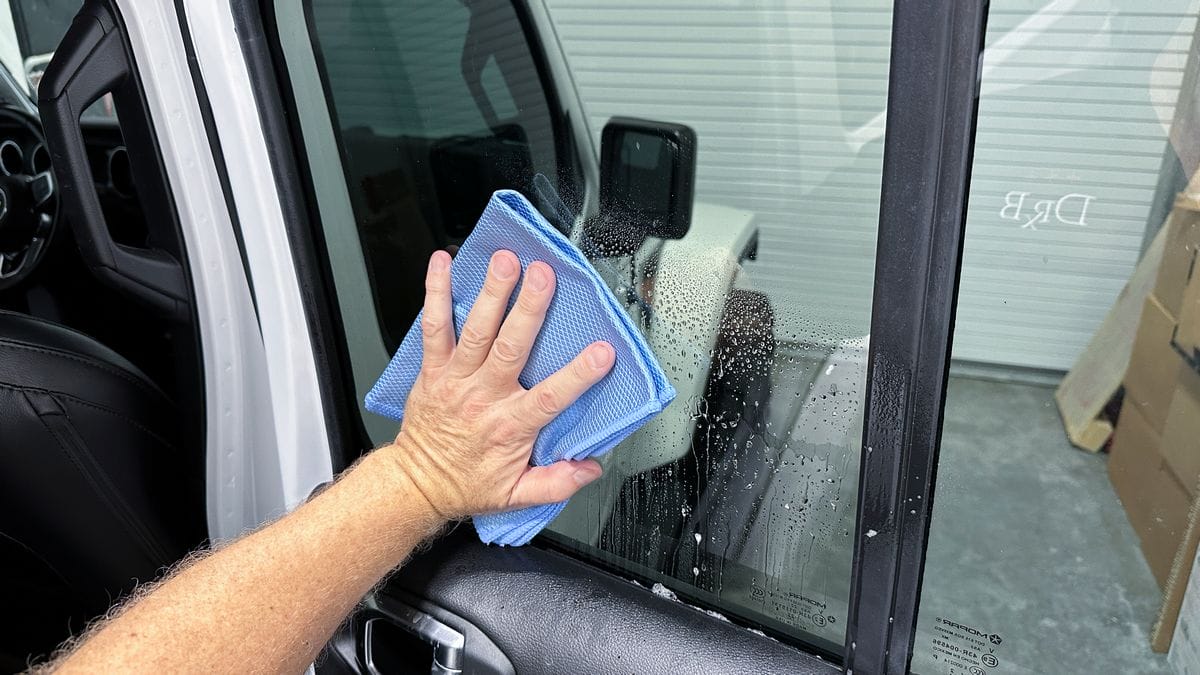
Ready for future dog slobber!
Stains from Drinks
Stains or splatter from beverages consumed inside your vehicle can oftentimes end up on the inside glass. Because beverages tend to be water-based, any quality glass cleaner and a couple of microfiber glass towels will make cleaning up after a trip with the family pets fast and easy.
Stains from Food
Most of these forms of contamination end up on inside glass from your hands, or your children’s hands when they touch the glass while or after eating fast food inside the car. A quality glass cleaner with a few microfiber glass towels will easily remove these types of contamination.
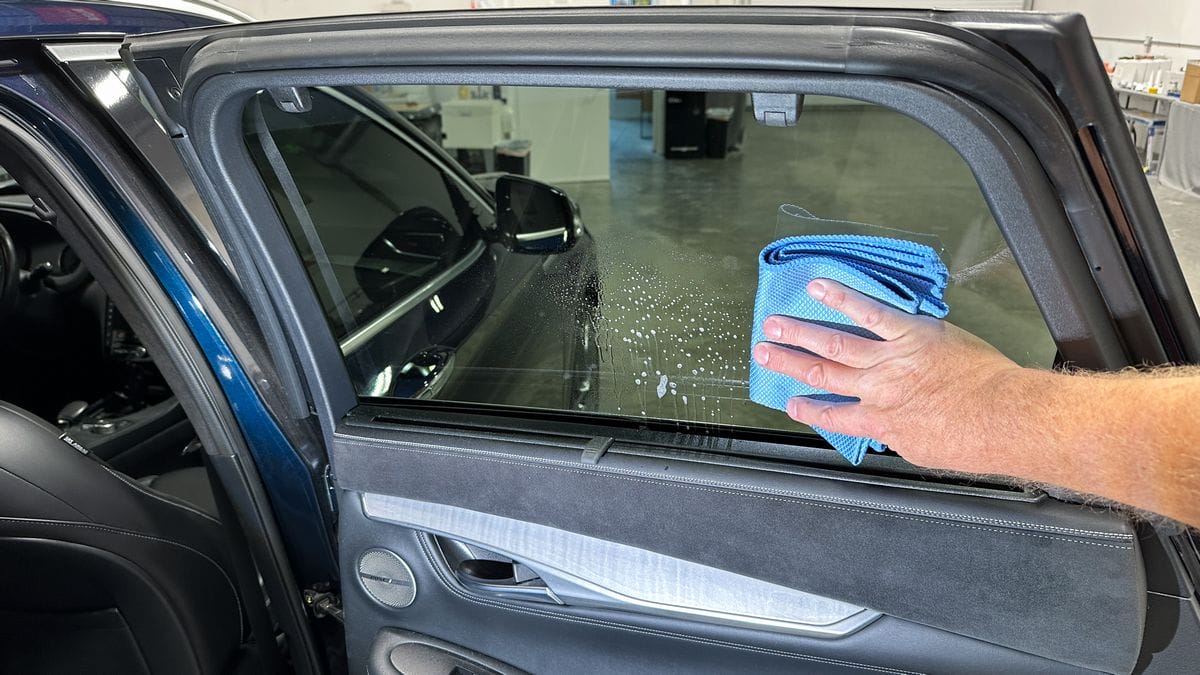
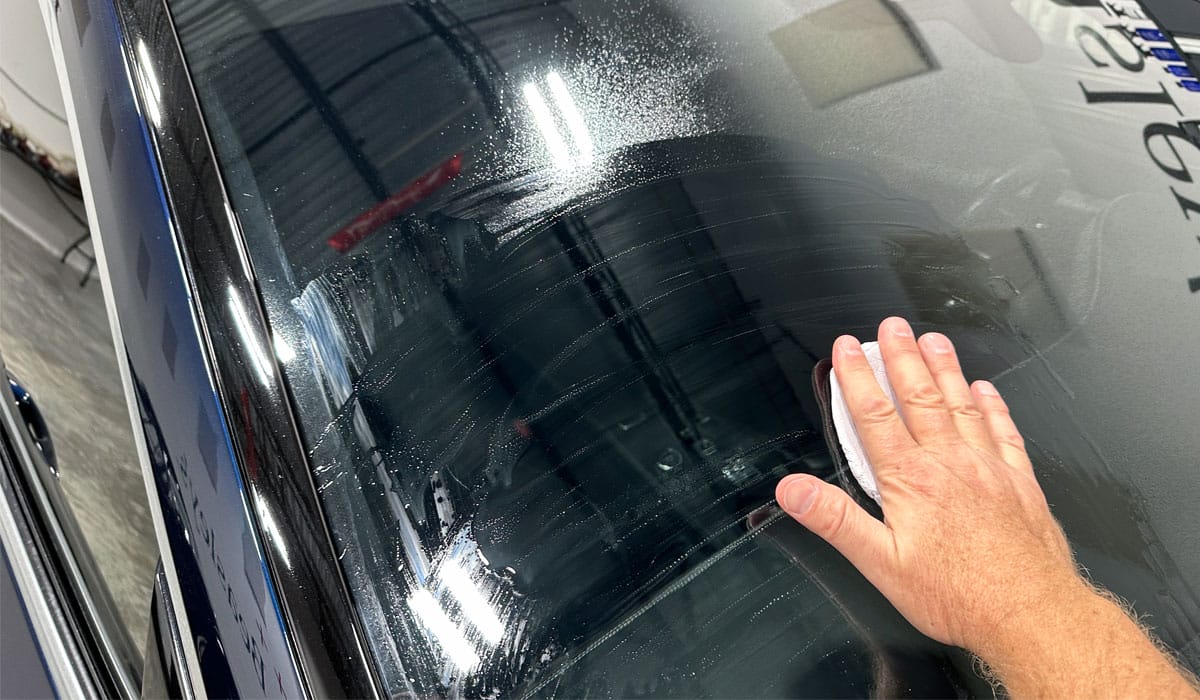
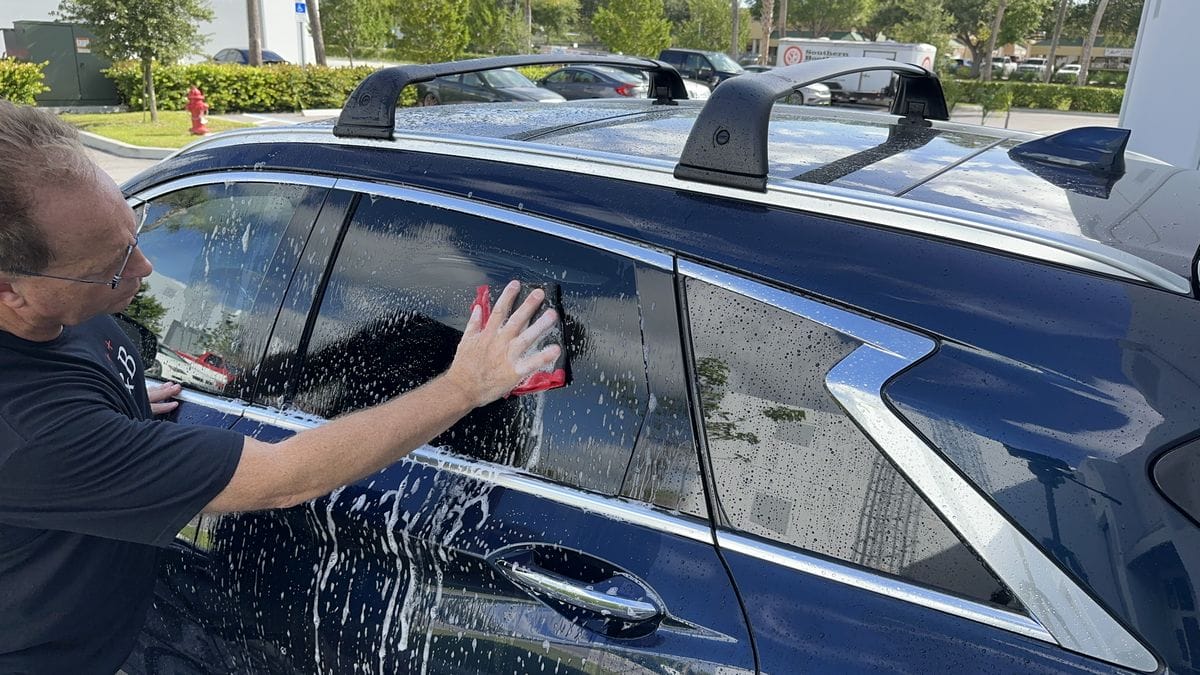
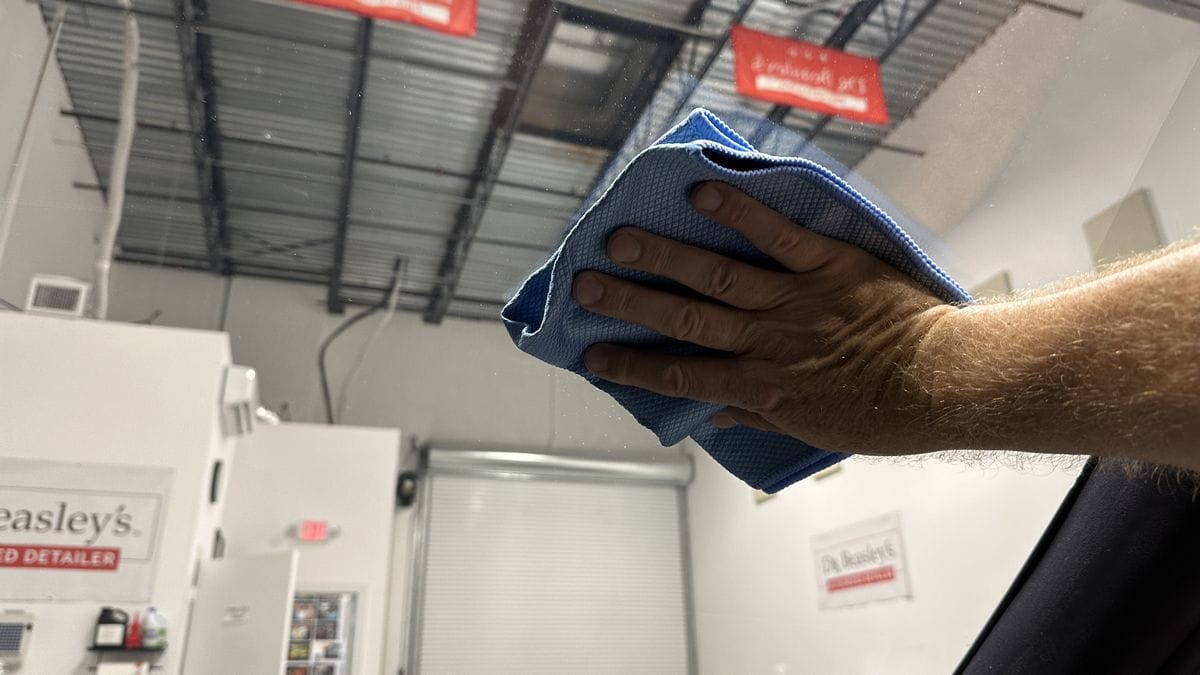
How to Clean Car Windows Without Streaking
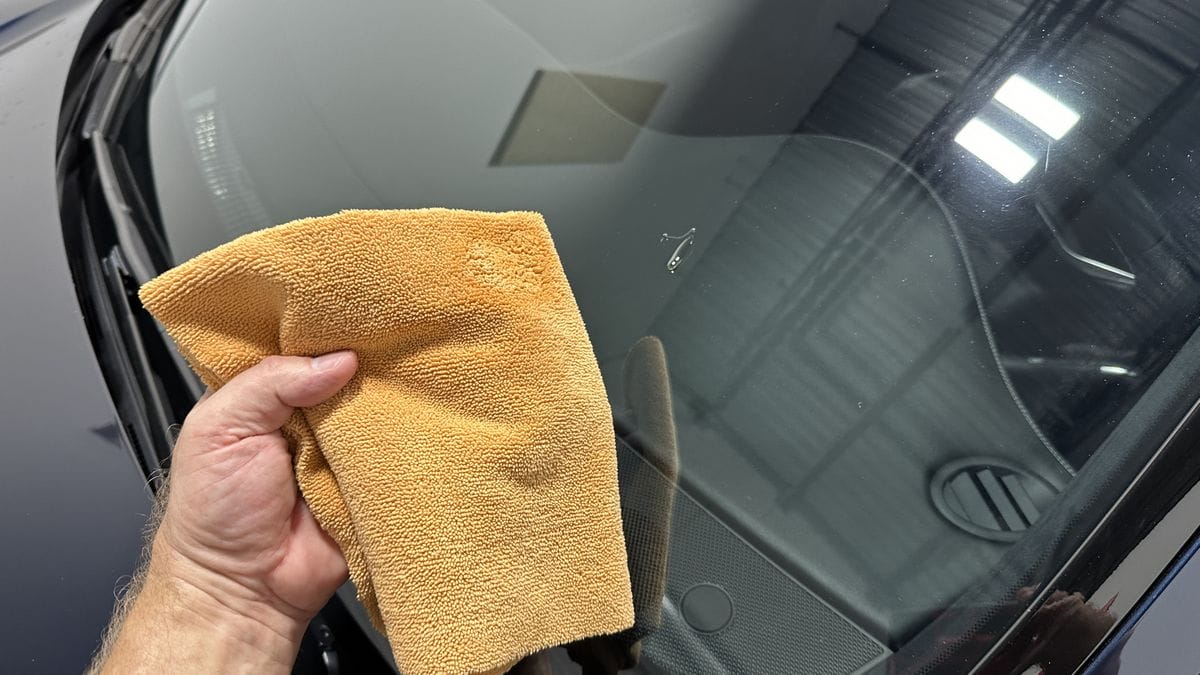
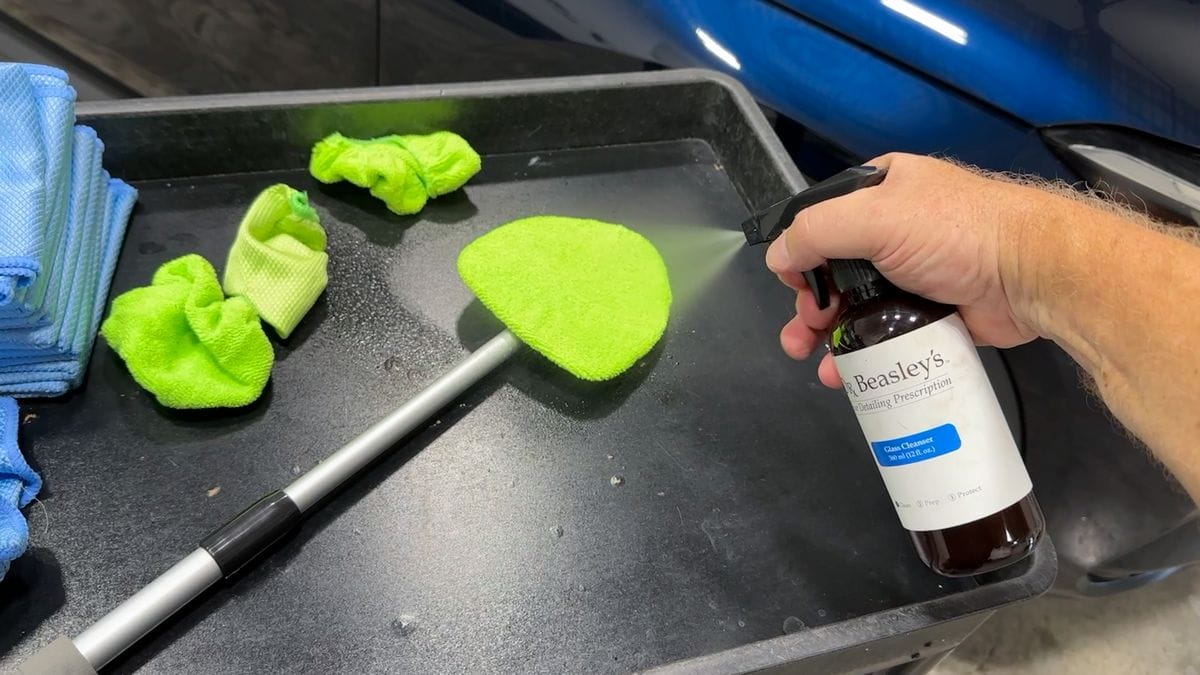
The Two Towels – Two Wipe Technique
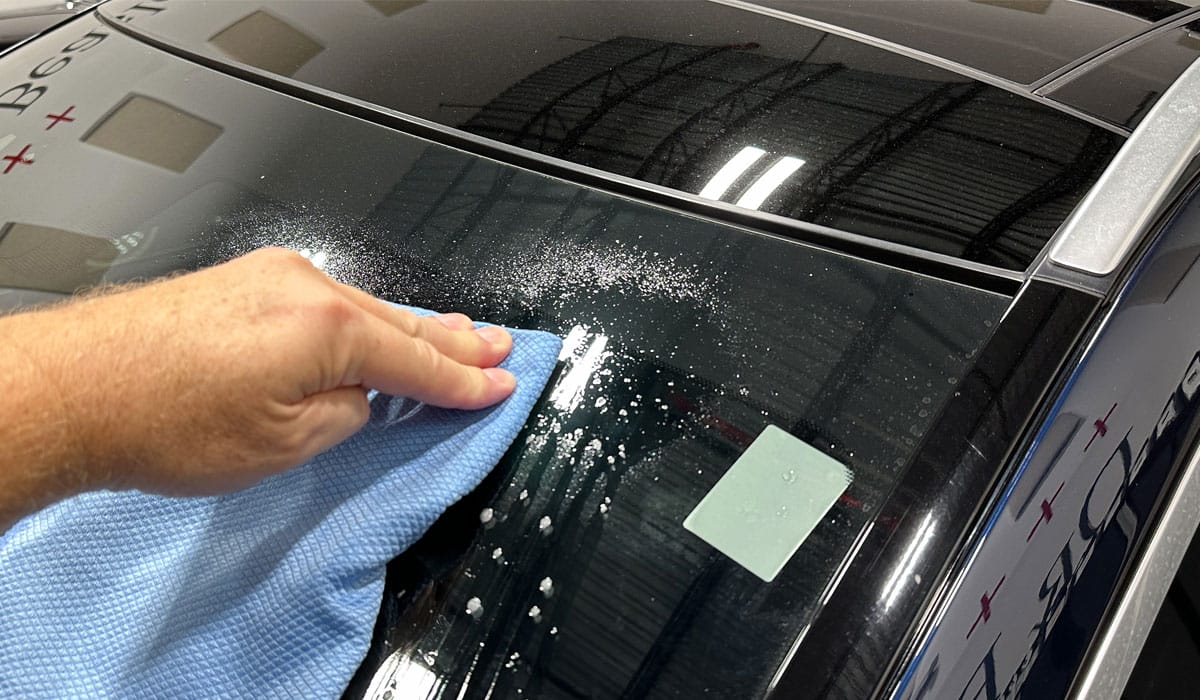
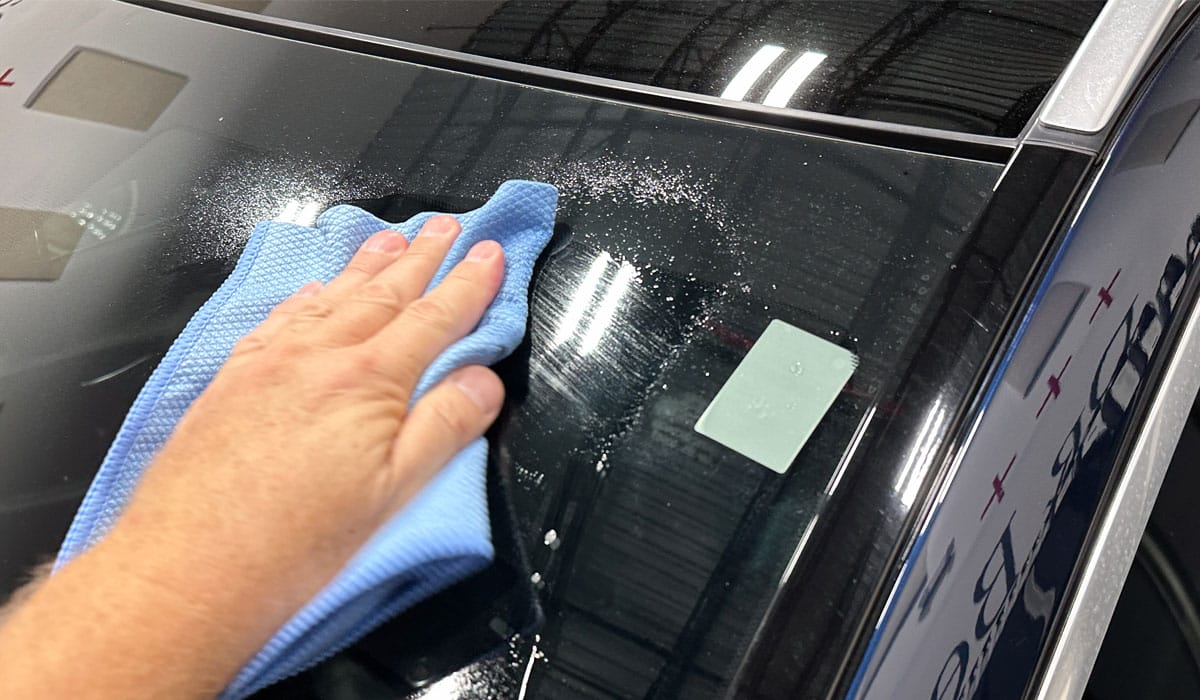
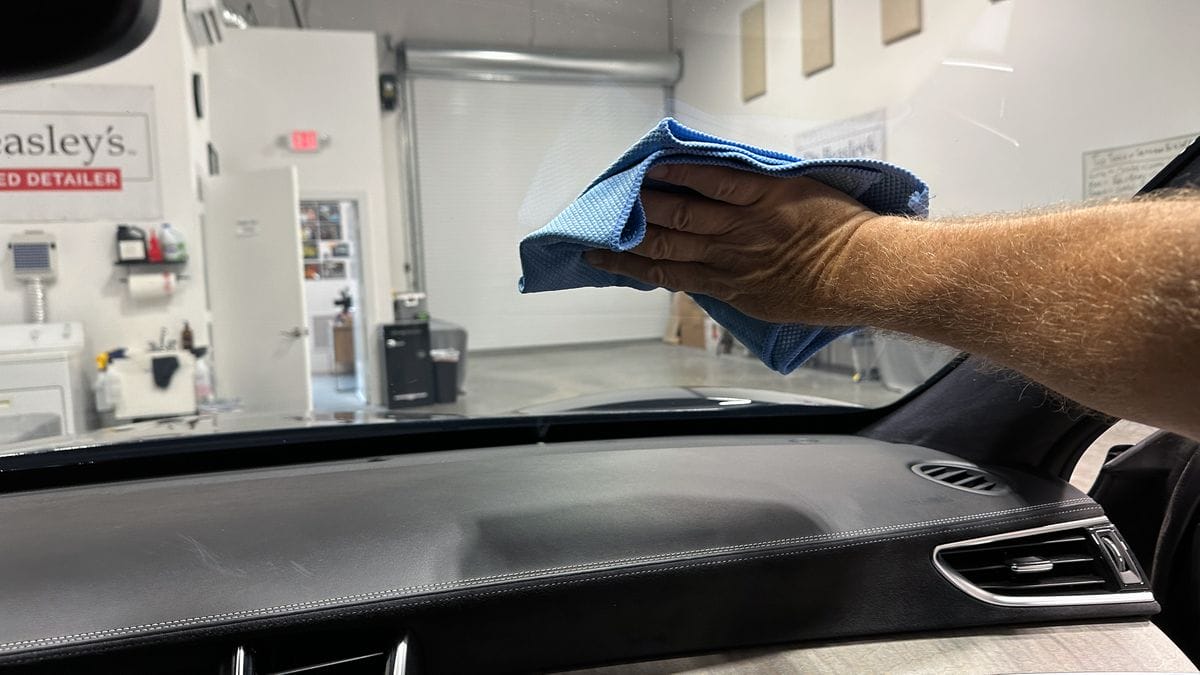
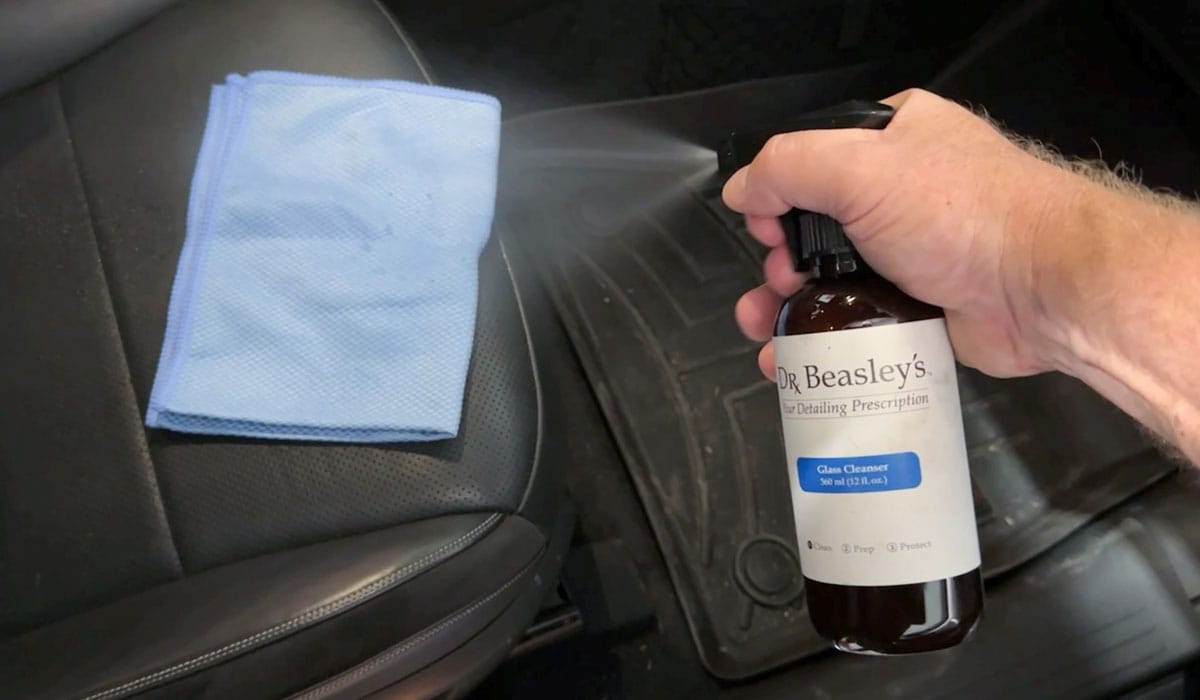
Make at least two wipes per window using two clean glass towels. The first towel is for the first or initial wipe and the second towel is for the follow-up or secondary wipe.
1. First Wipe
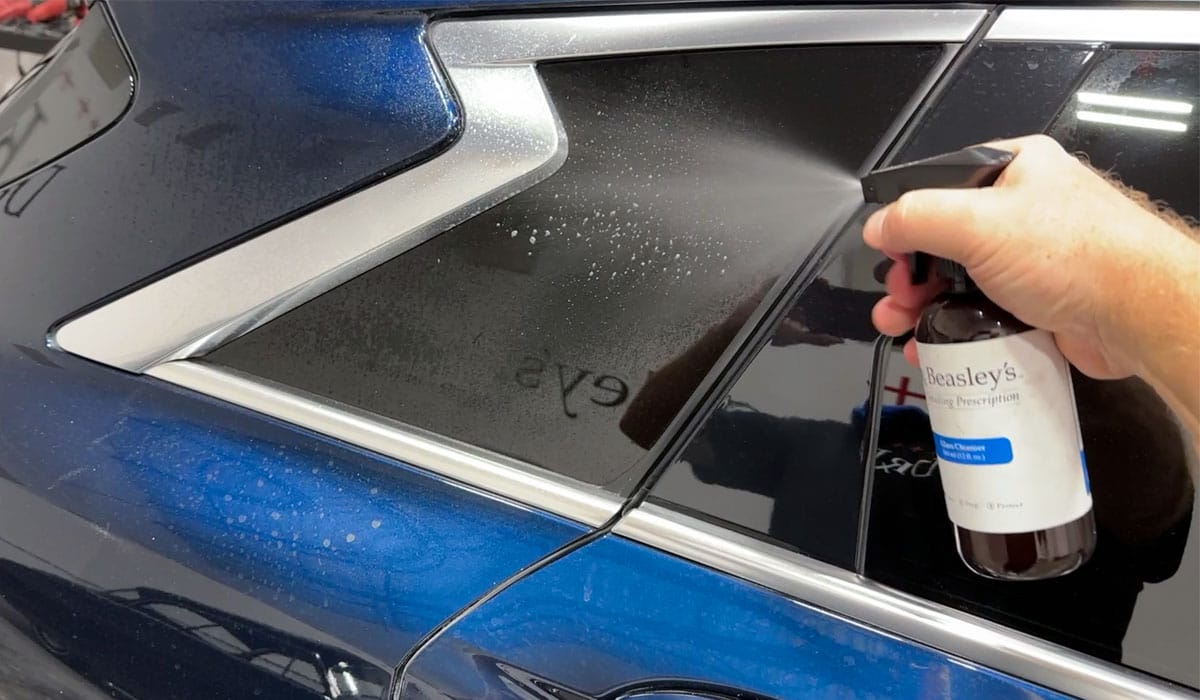
For the initial wipe, use plenty of glass cleaner to break-up and make it easy to remove the majority of contamination off the glass. Spray the glass cleaner onto one side of a folded towel to avoid getting glass cleaner overspray on the dash pad or surrounding surfaces.
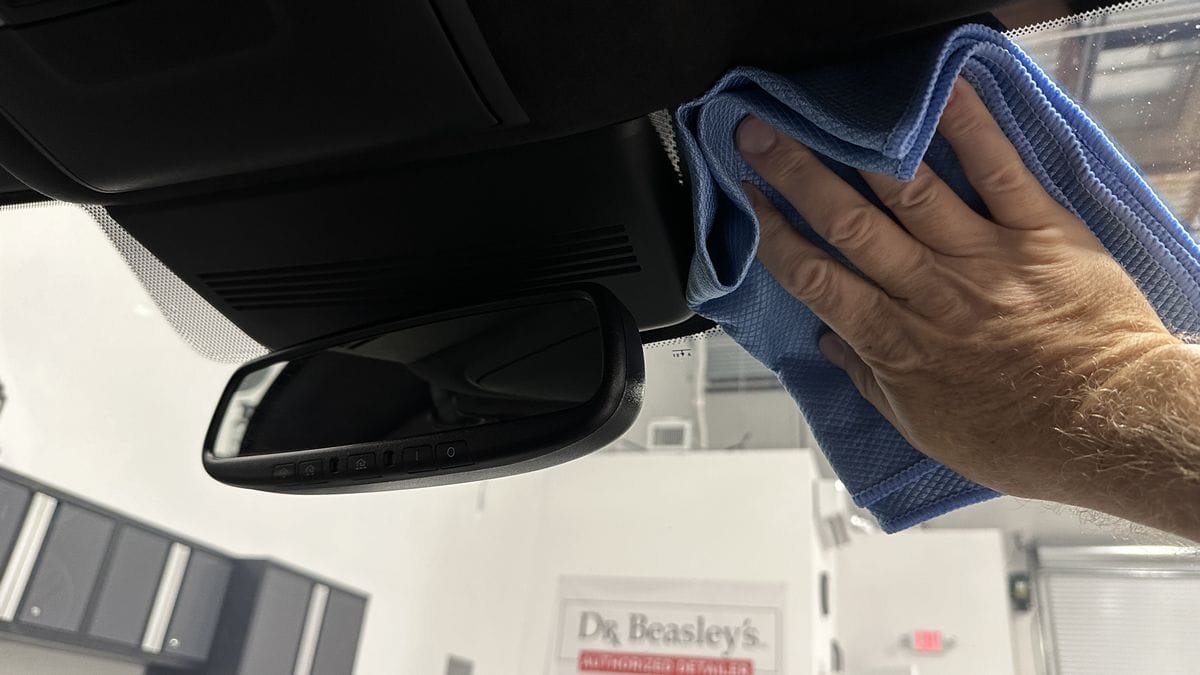
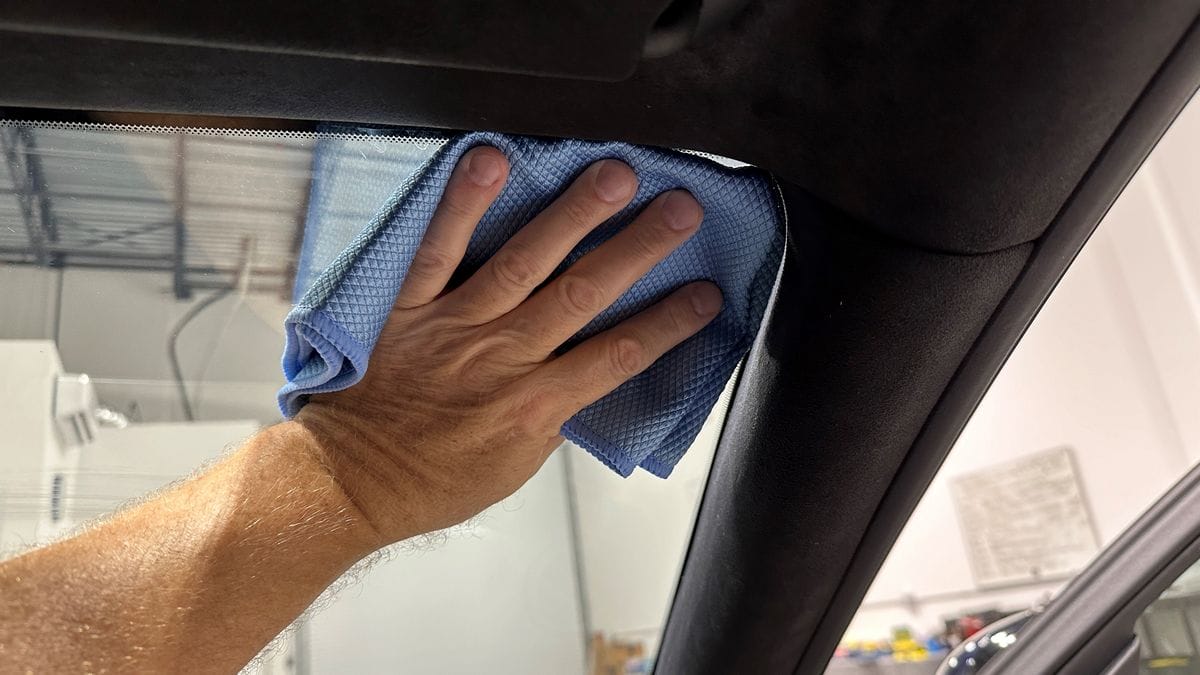
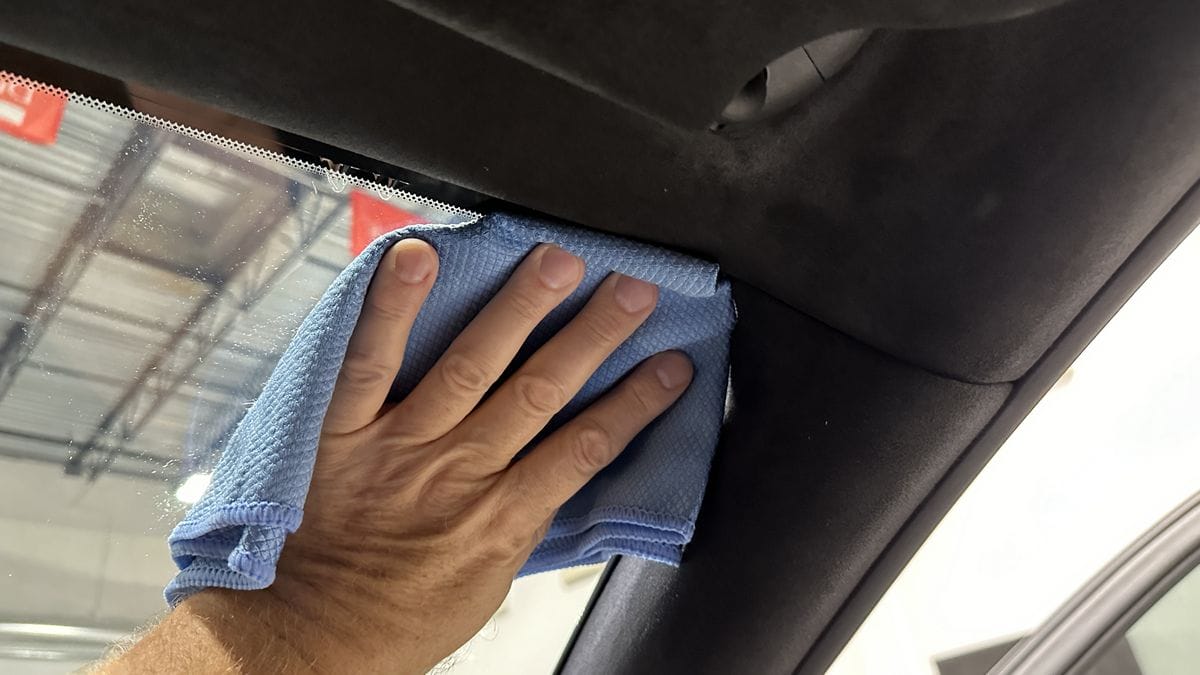
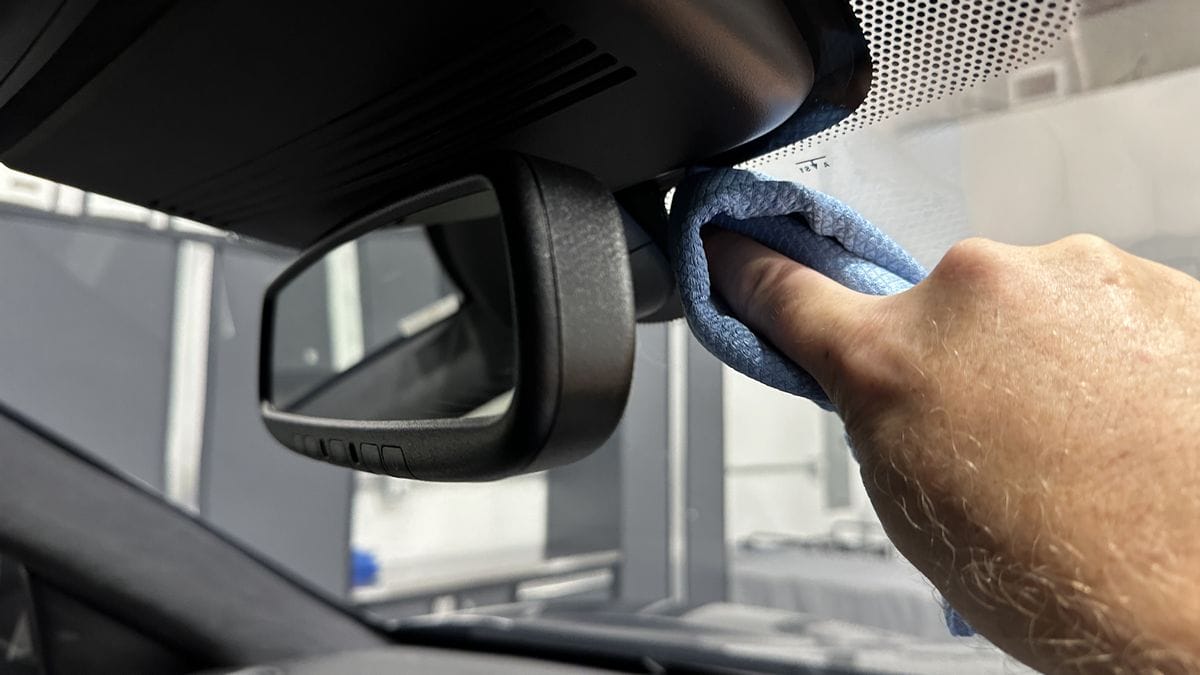
Technique Tip: Corners & Edges First
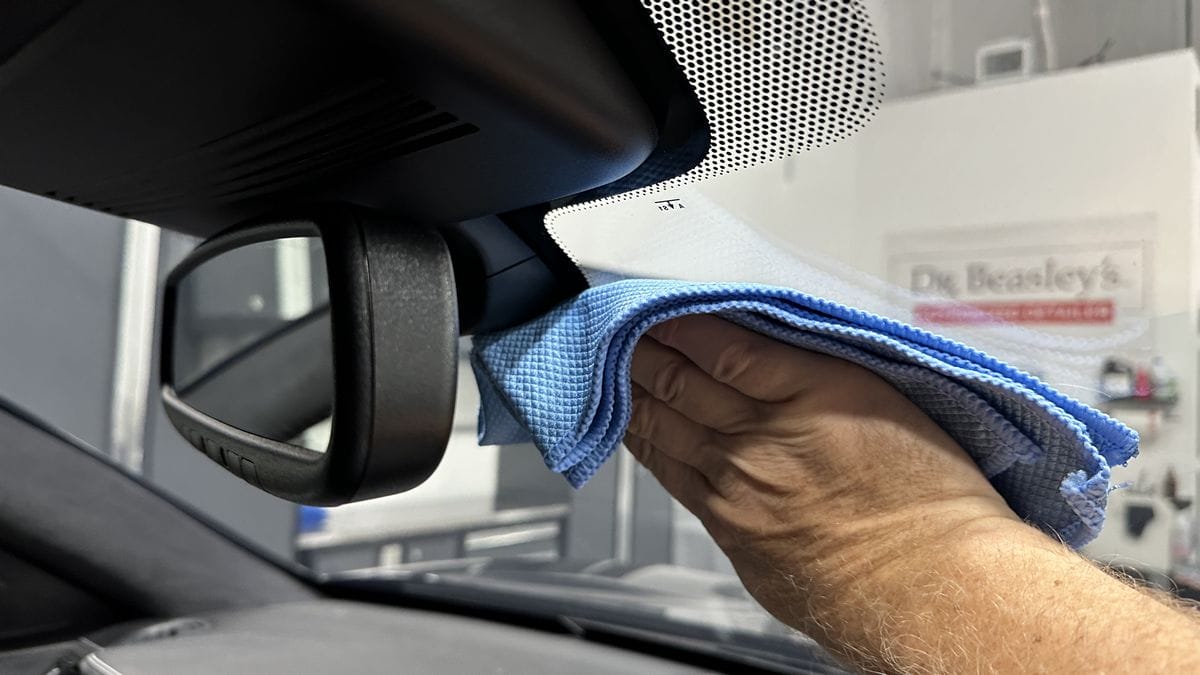
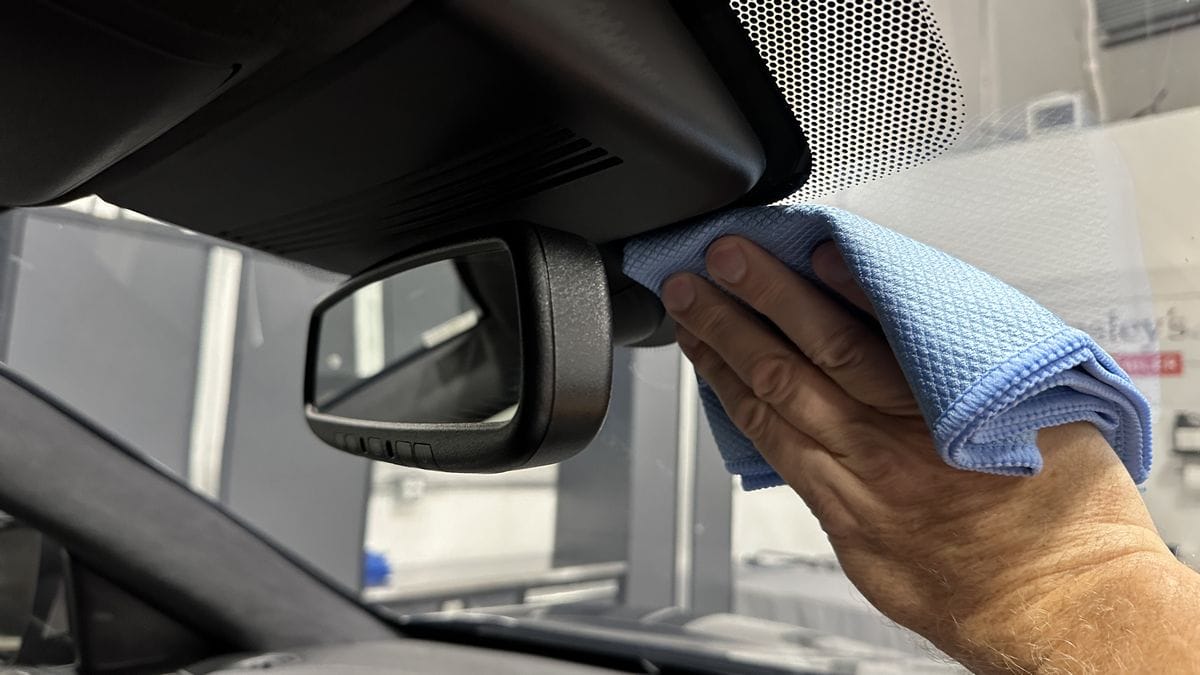
When starting out, focus on the corners of glass, along the outer edges of glass and around anything mounted to the glass like rear view mirrors, electronic transponders for toll roads or glass mounted radar detectors.
Since these areas are naturally more difficult to get to and clean around, they will tend to have more dirt and oily residues built up next to them and if you don’t get these areas clean during the initial wipe they will be the cause of streaks during the final wipe.
After cleaning all the corners and tight areas, next focus on the major sections of glass. The contaminants you loosened out of the corners will now be mixed into the vinyl fog, smoker’s film, or any other contamination on the larger more open sections of glass and it is during this wipe that you’ll remove the majority of these residues. Again, use plenty of glass cleaner to break-up the dirt and oily film to make it easy to get the majority of this gunk off the glass.
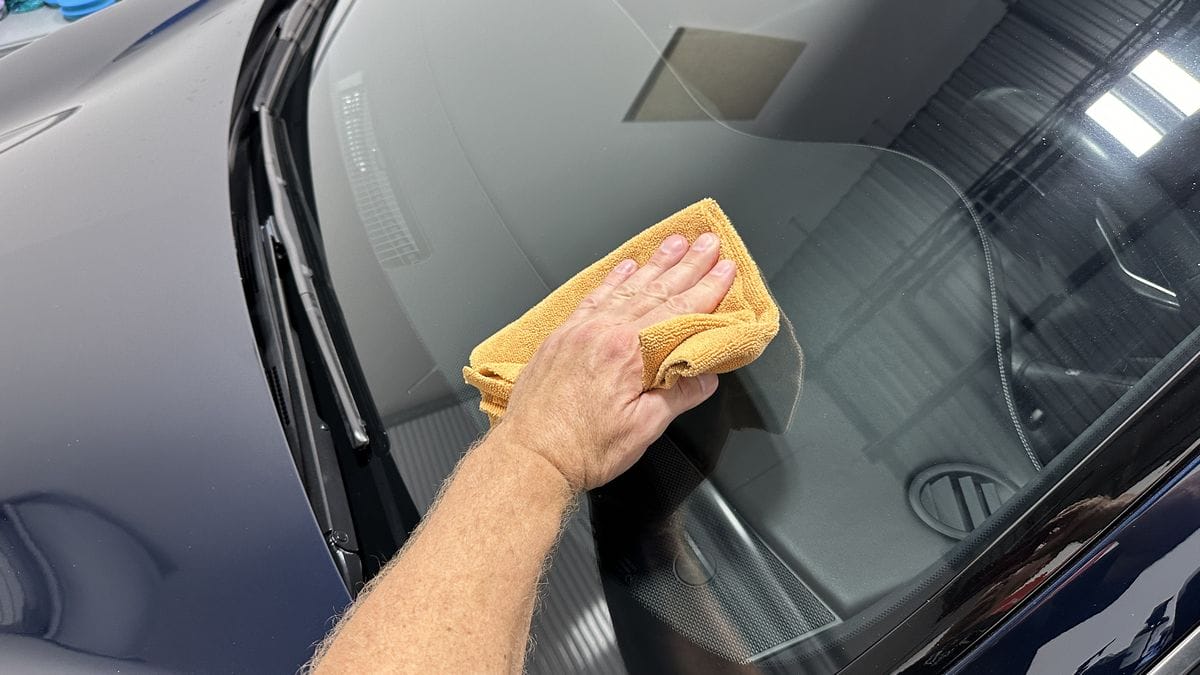
2. Second Wipe
After you have removed the majority of all contamination via the first wipe, now it’s time to switch to a clean microfiber glass cleaning towel to make the second wipe.
For the second wipe, reduce the amount of glass cleaner to a light mist onto a clean dry towel. As you work around the window, continually fold to a fresh, dry side of towel, or swap out to a fresh clean towel, continue to spray a light mist the glass cleaner onto the towel instead of the glass.
The Real Secret To Streak-Free Glass
First, let’s confirm what a streak is. A streak is simply some form of residue that has not been removed off the glass. The secret to streak-free glass is to use multiple towels and here’s why. When cleaning glass, once you’ve removed any substance off the glass and trapped it onto the current towel you’re using, it’s super easy to simply TRANSFER this substance off the towel and back onto the glass.
Avoid Cross Contamination — Have Plenty of Glass Towels!
To avoid streaks and smears, simply change to a clean, UNCONTAMINATED towel often and especially for the final wipe. It’s kind of hard to leave a streak behind on glass if the glass is clean (from the initial wiping), and after switching to a clean, dry uncontaminated towel.
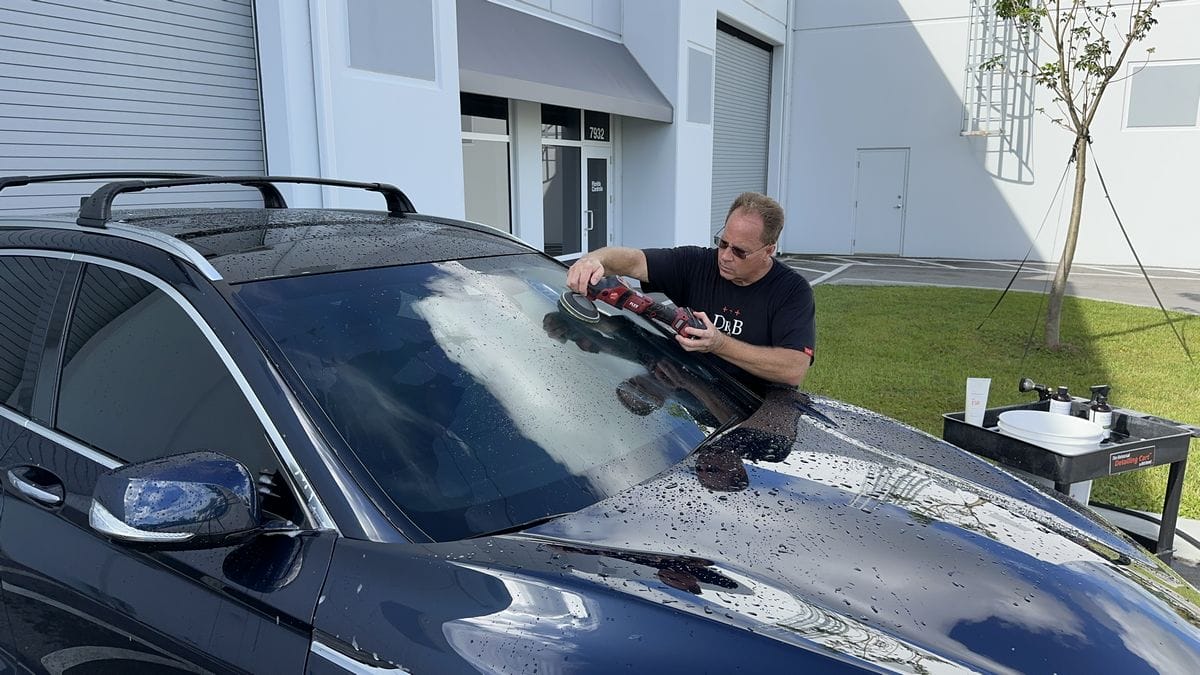
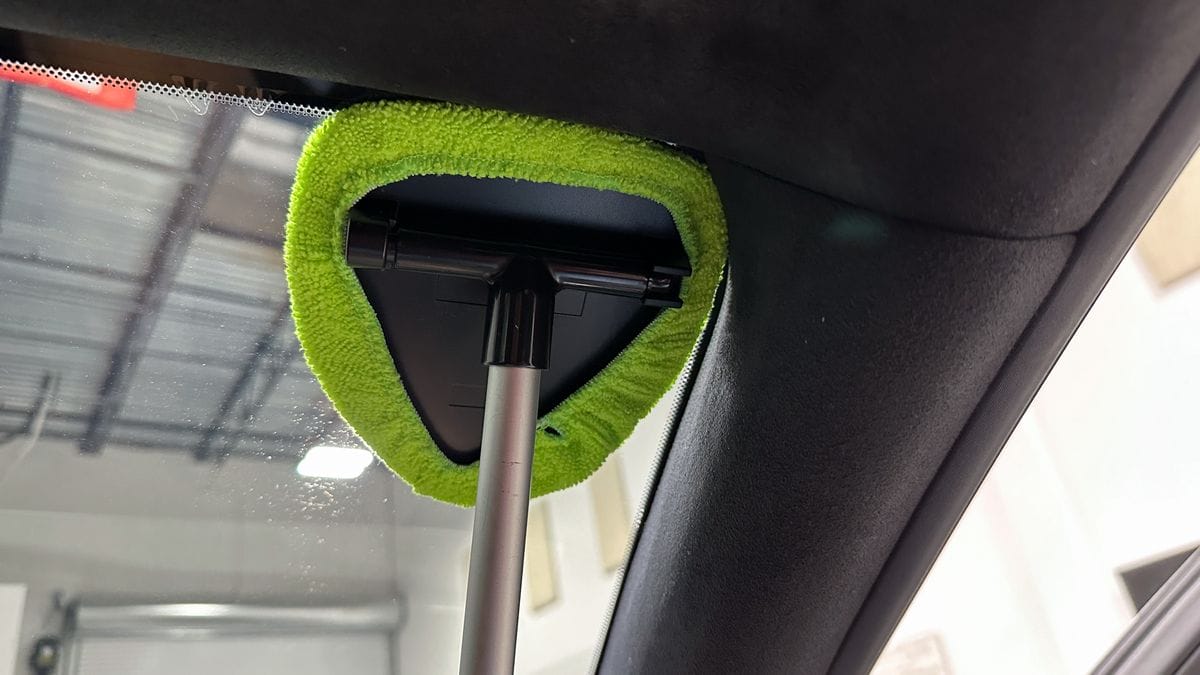
3. Optional step – Use a glass cleaning wand for the final wipe on the inside glass for the finishing touch.
This is a simple, glass cleaning wand purchased off Amazon for less than $15.00 and it will make getting into tight areas a heck of a lot easier without forcing you to contort your body to reach these areas.
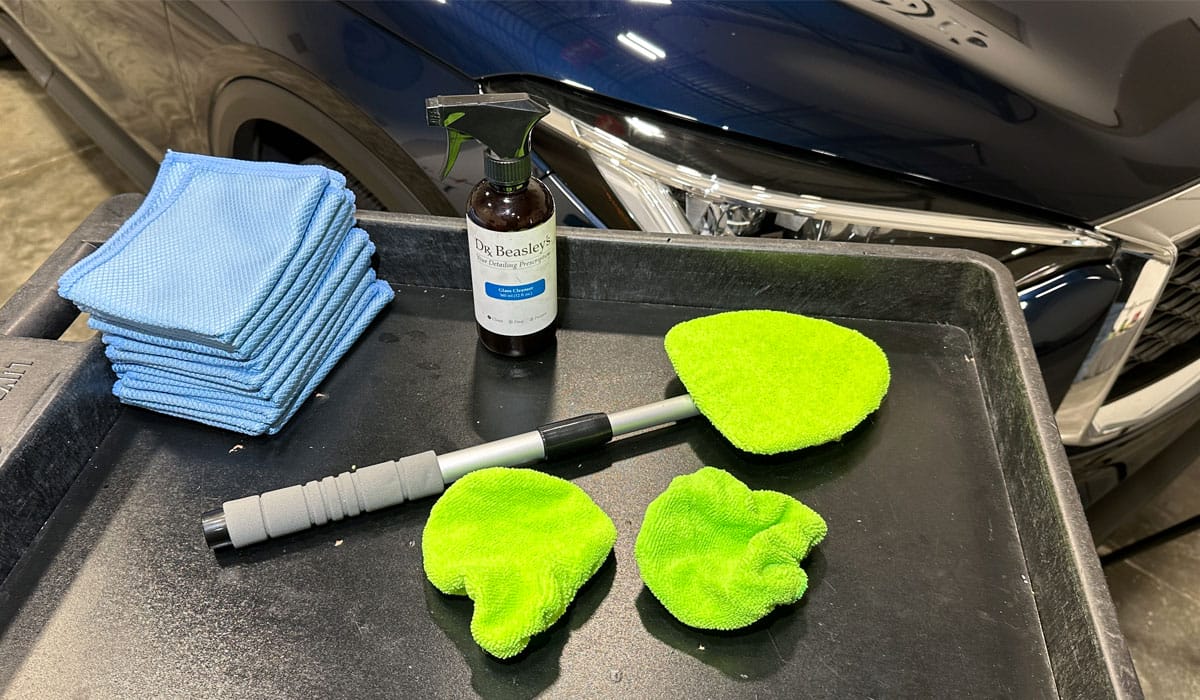
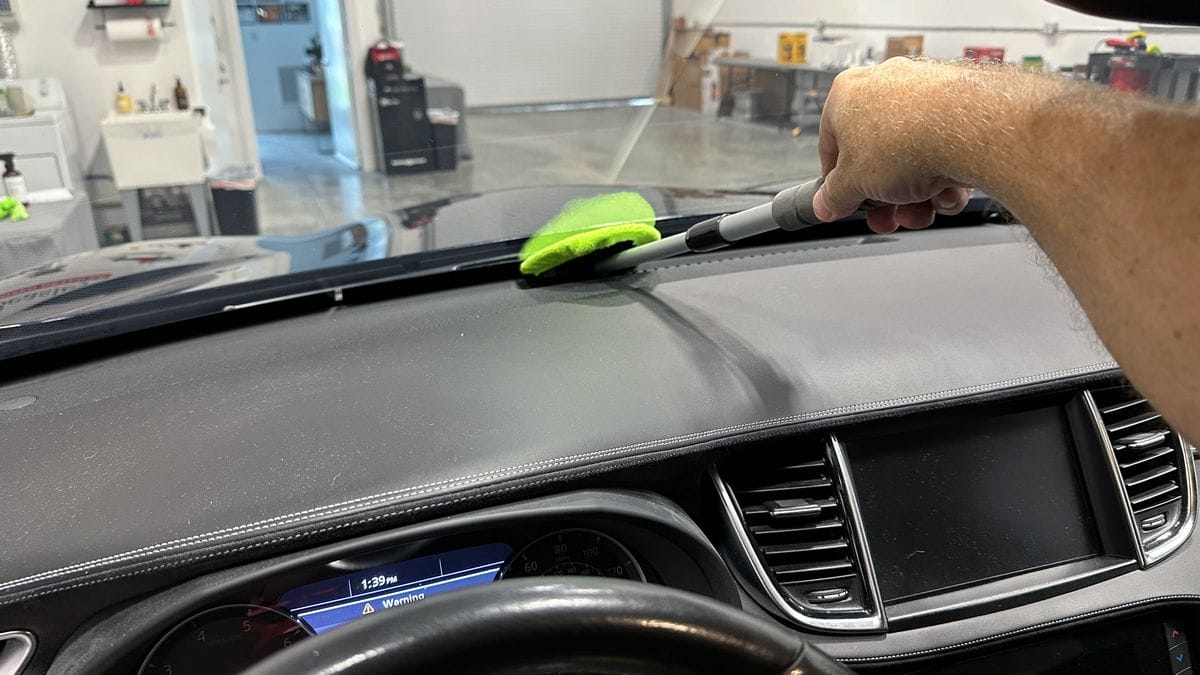
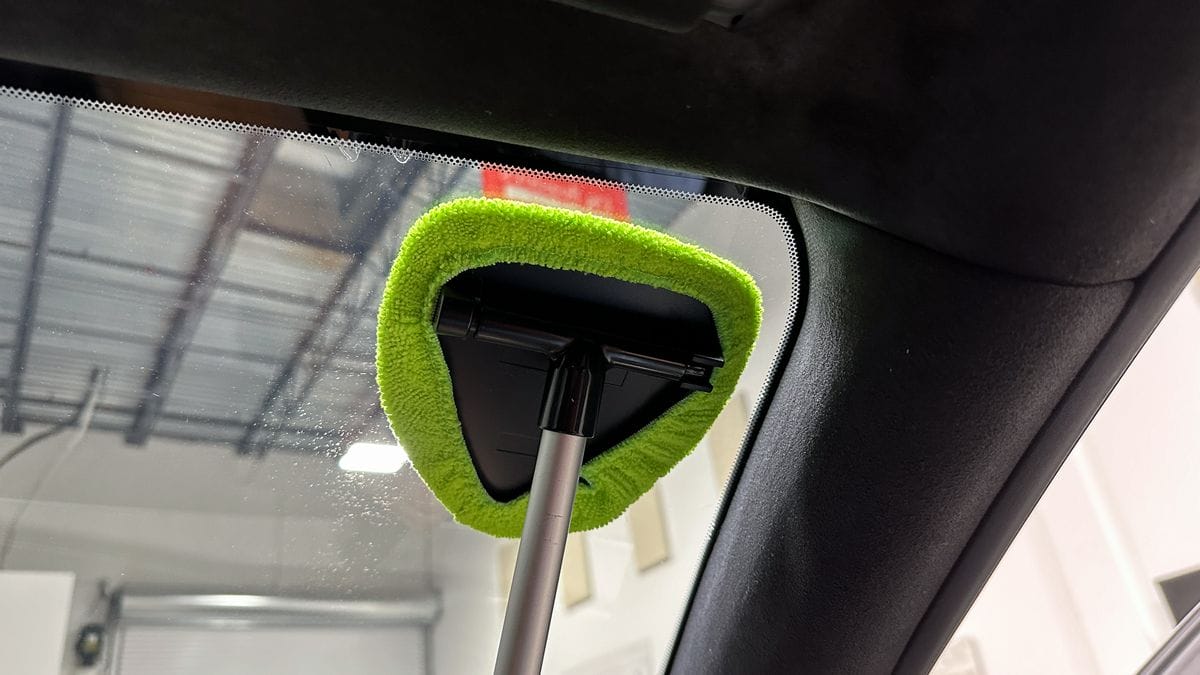
The primary benefit to this type of glass cleaning tool is it enables you to get the lower part of the windshield where the glass meets the dash. This is often an extreme angle and there’s simply no room to fit the human hand, holding a towel between the glass and the dash. The THIN profile of the head of the wand, even with a microfiber bonnet attached, means you can easily reach into this tight area.
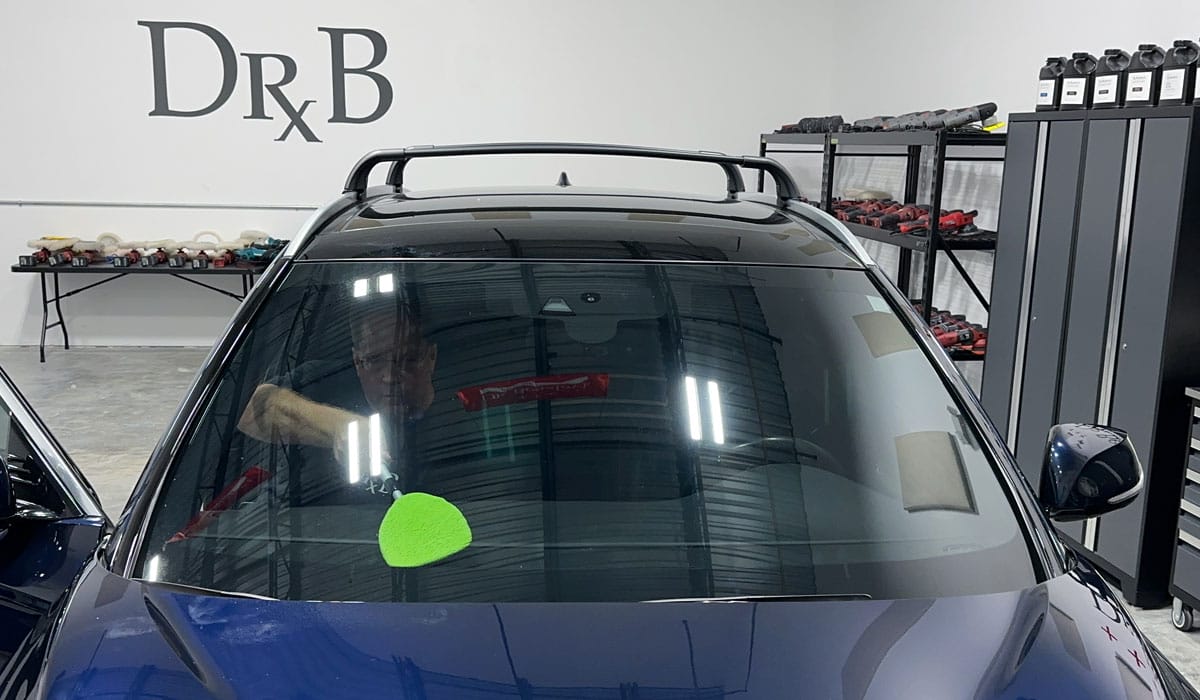
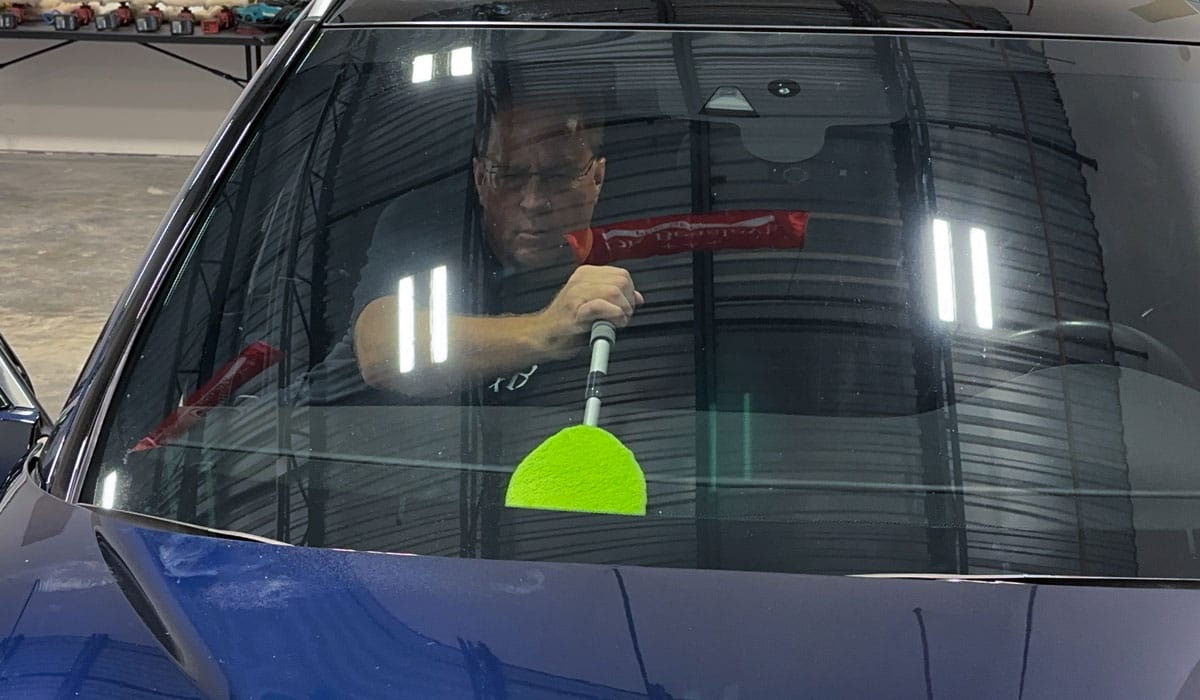
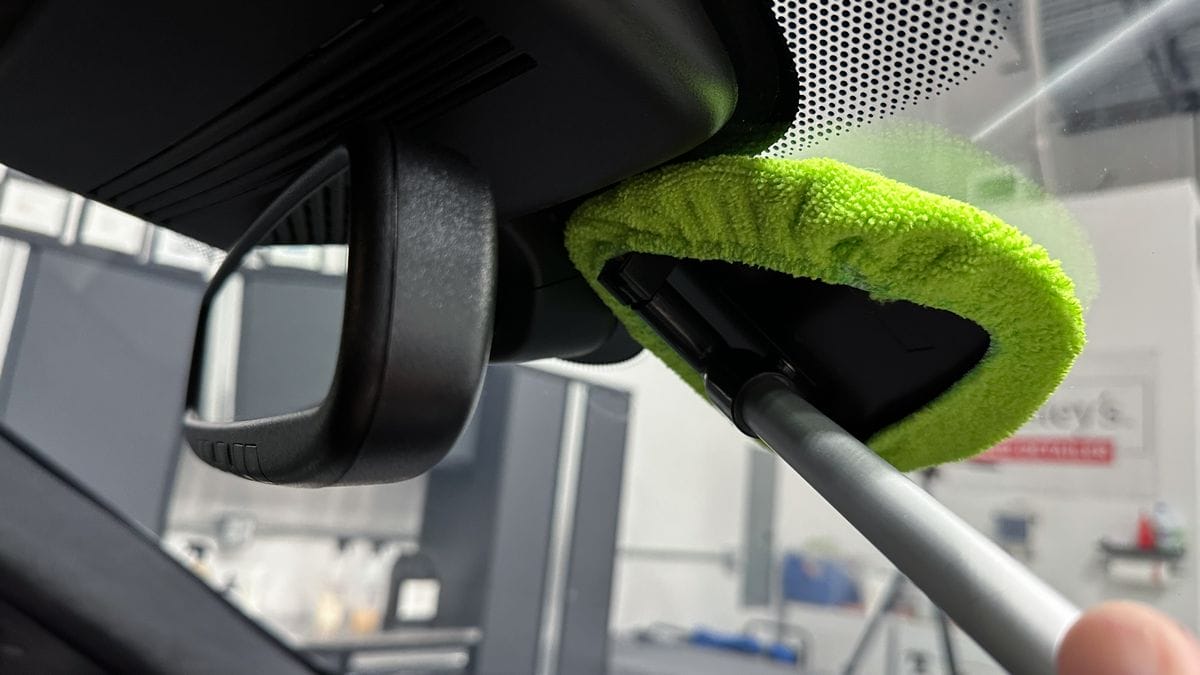
This tool also works well to get the glass next to the rearview mirror clean or into tight areas like corners.
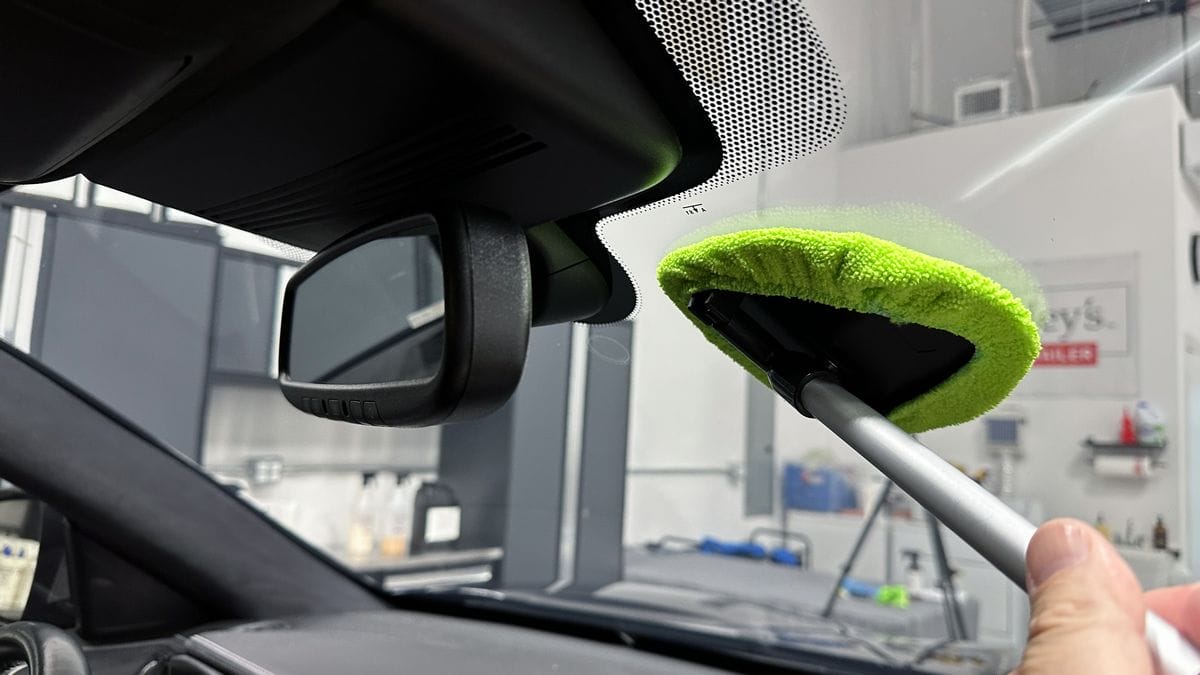
Technique Tips: Glass Cleaning Wand
Most people use this tool in the wrong way and then they are frustrated and blame the tool. The problem is not the tool, it’s how you use it.
Technique Tip #1: Don’t Use the Glass Cleaning Wand for the First Wipe!
My advice? Save this tool and the microfiber bonnet for the LAST wipe. Use a normal microfiber glass cleaning towel by hand for the first or initial wipes to remove the BULK of any contamination. The problem with using this tool for the initial wipe is you’ll contaminate the microfiber bonnet with so much contamination that all you end up doing is transferring or moving the contamination around on the glass, not removing it OFF the glass.
Plus, when making the initial wipes, you typically use MORE glass cleaner. If you do this with the microfiber bonnet on the glass cleaning wand, you’ll saturate the bonnet and fight yourself trying to get the glass both clean AND DRY. My technique? Only use a glass cleaning wand for the final wipe.
Technique Tip #2: Don’t Spray Too Much Glass Cleaner Onto the Wand!
When using this tool correctly, you’re using it for the final wipe as explained above. This means you only need a LIGHT MIST of glass cleaner, sprayed directly onto the face of the microfiber bonnet to make the final wipe, perfect the glass, and leave it streak and smudge-free.
Sure you can purchase extra bonnets so you have plenty to continue to switch over too as you do all the wiping with this tool, but you’ll spend a lot of time removing wet, dirty bonnet and replacing with clean, dry bonnets and all this can be avoided by simply using your HAND and a normal microfiber glass cleaning towel to make the initial wipes.
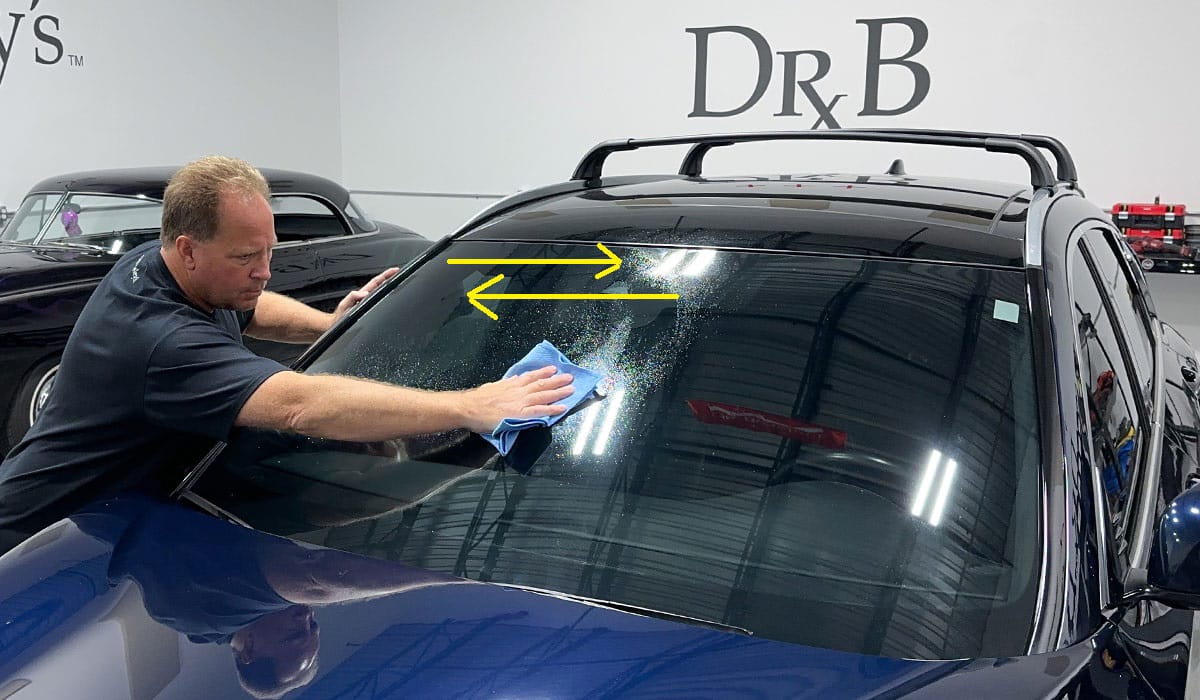
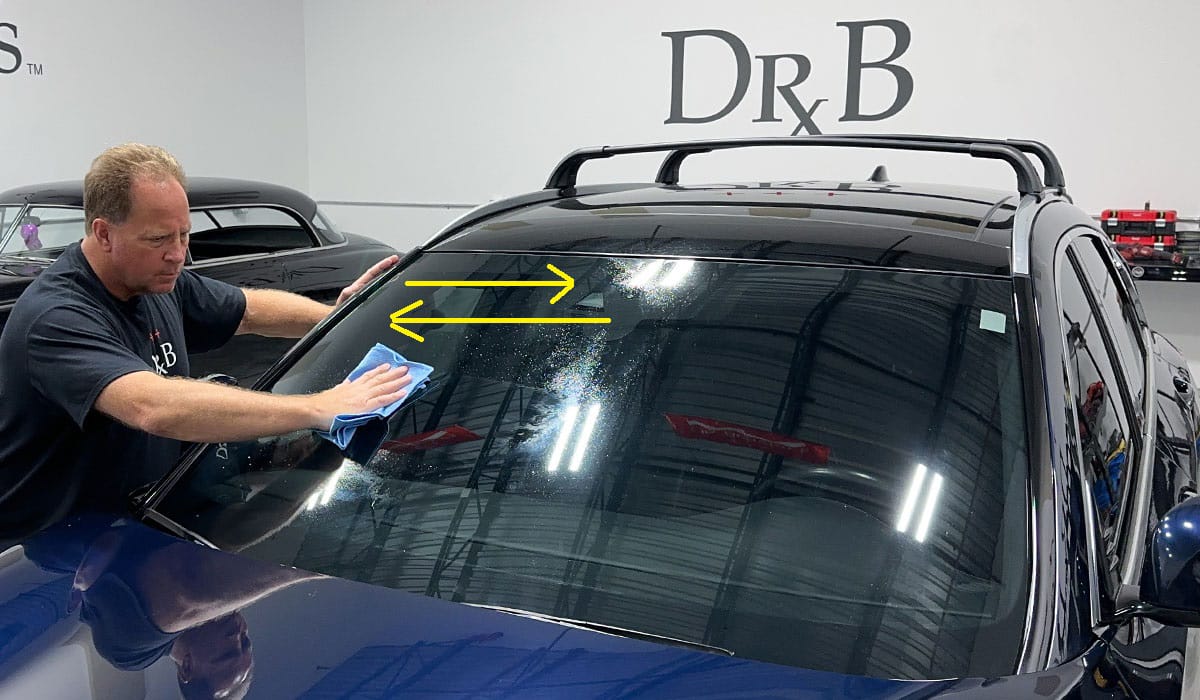
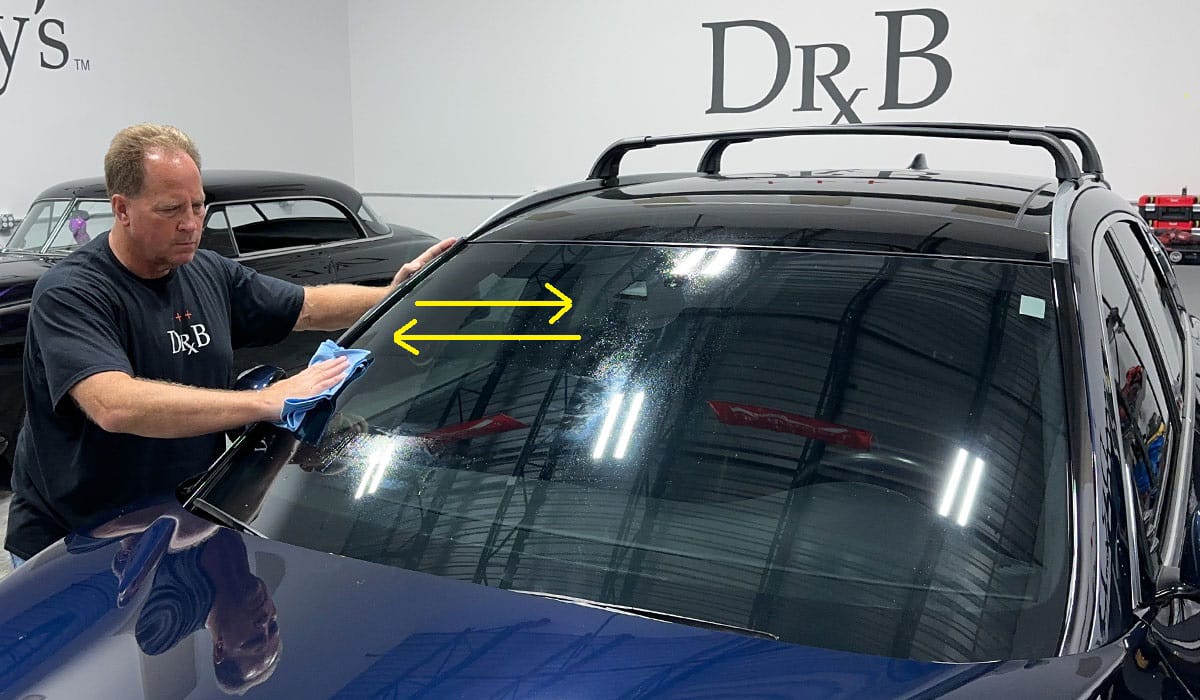
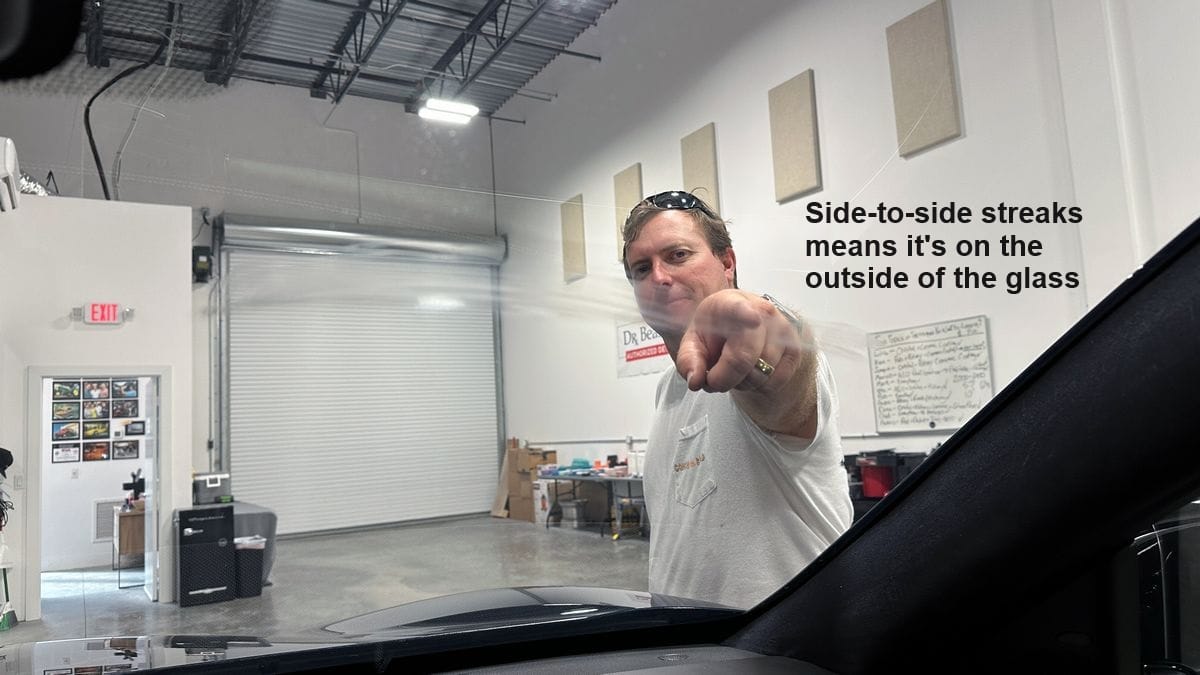
Technique Tip: Use Vertical Wipes for Interior and Horizontal Wipes for Exterior to Identify Streaks
One of the most DIFFICULT things about getting a streak-free clean on glass is identifying the streaks themselves — it can be almost impossible to tell whether they’re on the interior or the exterior. The solution? Use a different motion for the outside and inside:
Final Interior Wipe — Vertical Motion: When doing your final wipe on the interior glass, use an up-and-down directional motion.
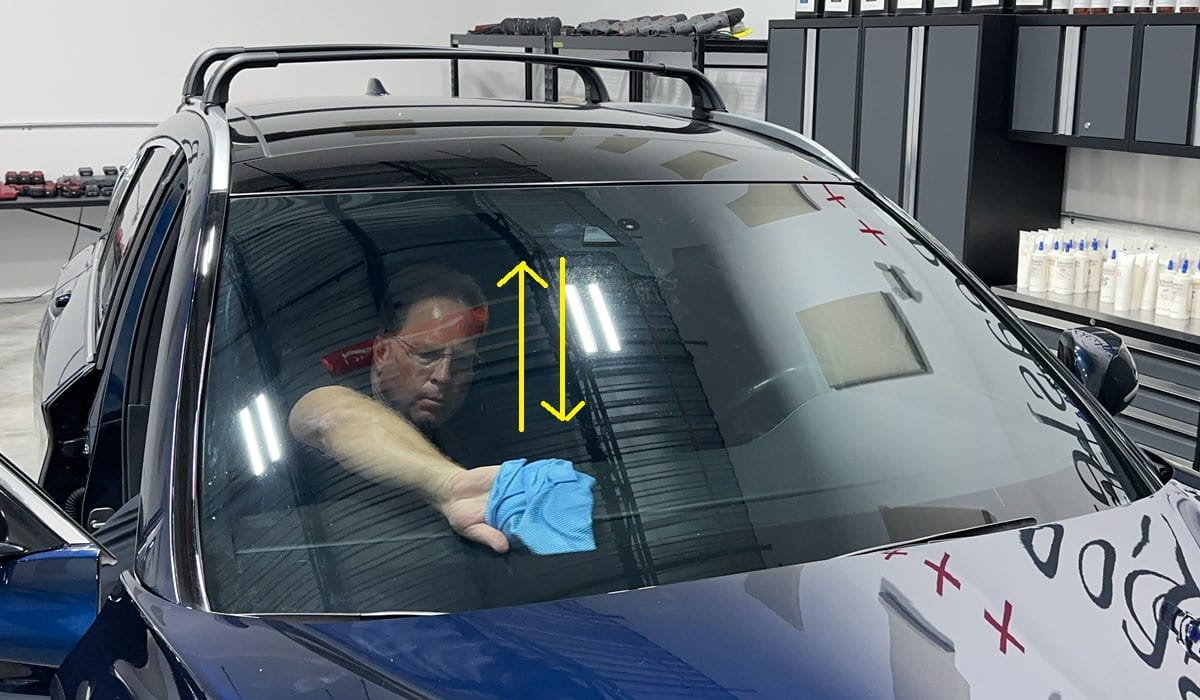
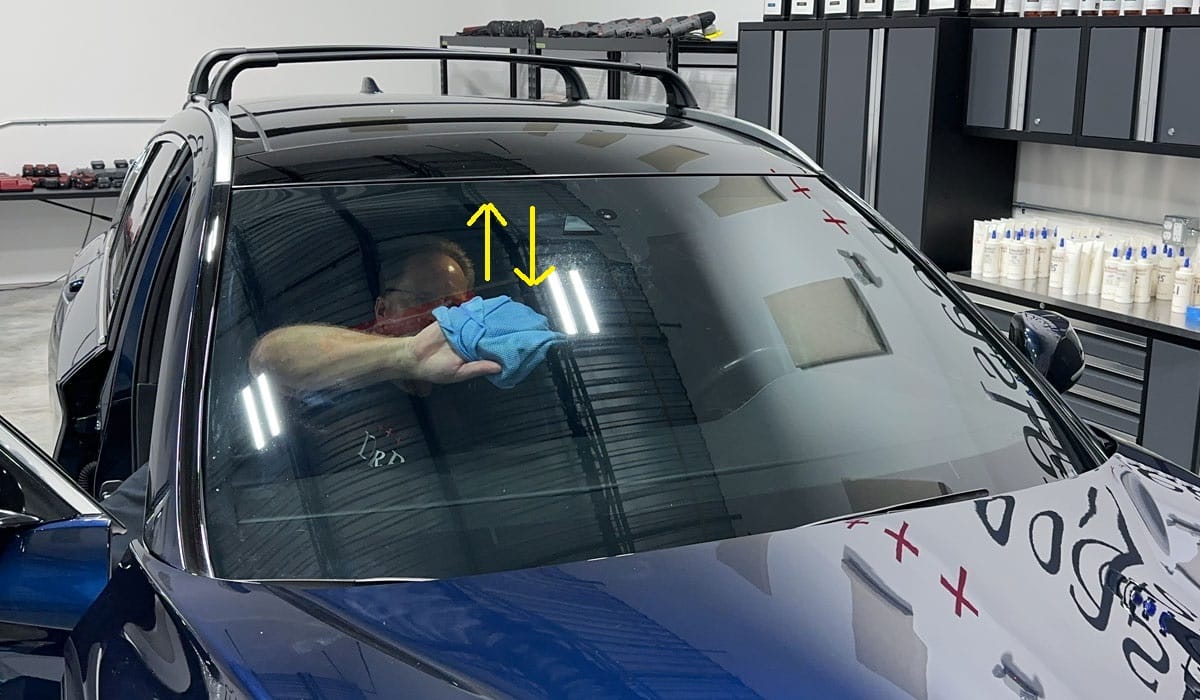
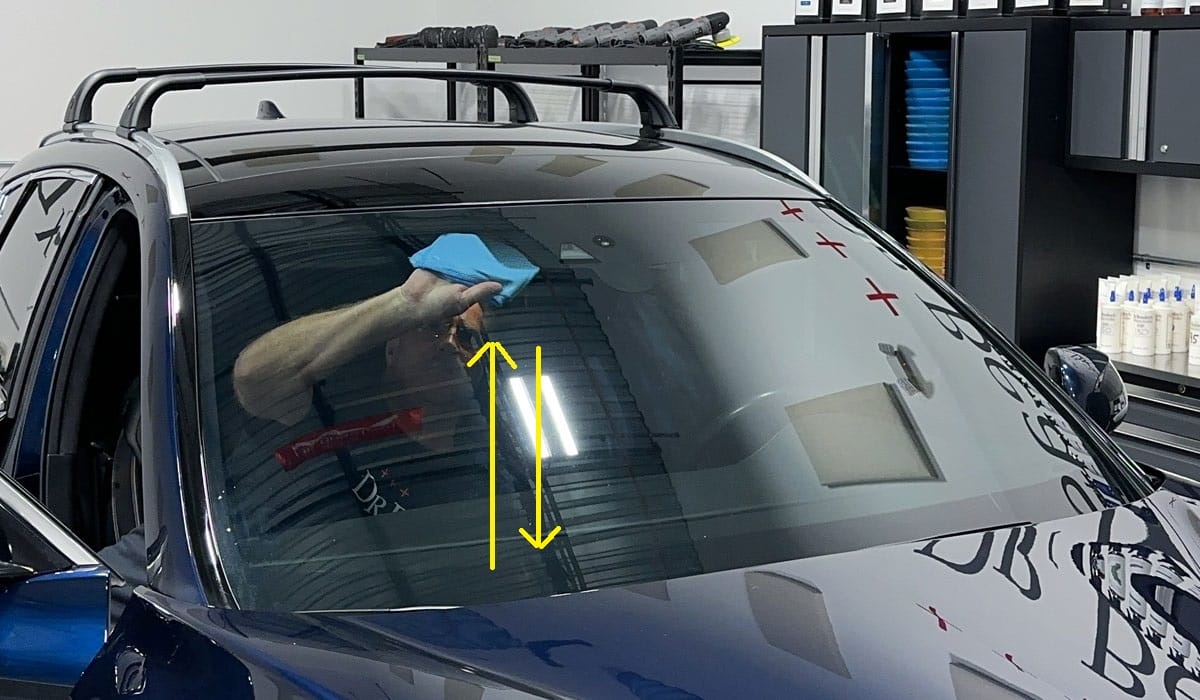
Final Exterior Wipe — Horizontal Motion: When doing your final wipe on the exterior glass, use a side-to-side motion. That way, if you do see a streak after cleaning the class, you’ll know which side the streak is on.
Technique Tip: Designate a Friend as Your “Streak Spotter”
When making the final wipe on either side of the windshield or back window, have a friend play the role of Streak Spotter. That is, while you’re on the inside cleaning the glass, have someone on the outside inspect your work and point to any areas where you need to continue wiping for perfectly clear glass. This way, if there is a streak you won’t have to get in and out of the car, over and over again to both inspect your work and do the wiping.
Technique Tip: Inspect Glass With Low Angle Light
Inspect the glass at dusk/dawn or with an inspection light pointing from a low angle. This will cast a glare that allows streaks to be seen easily.
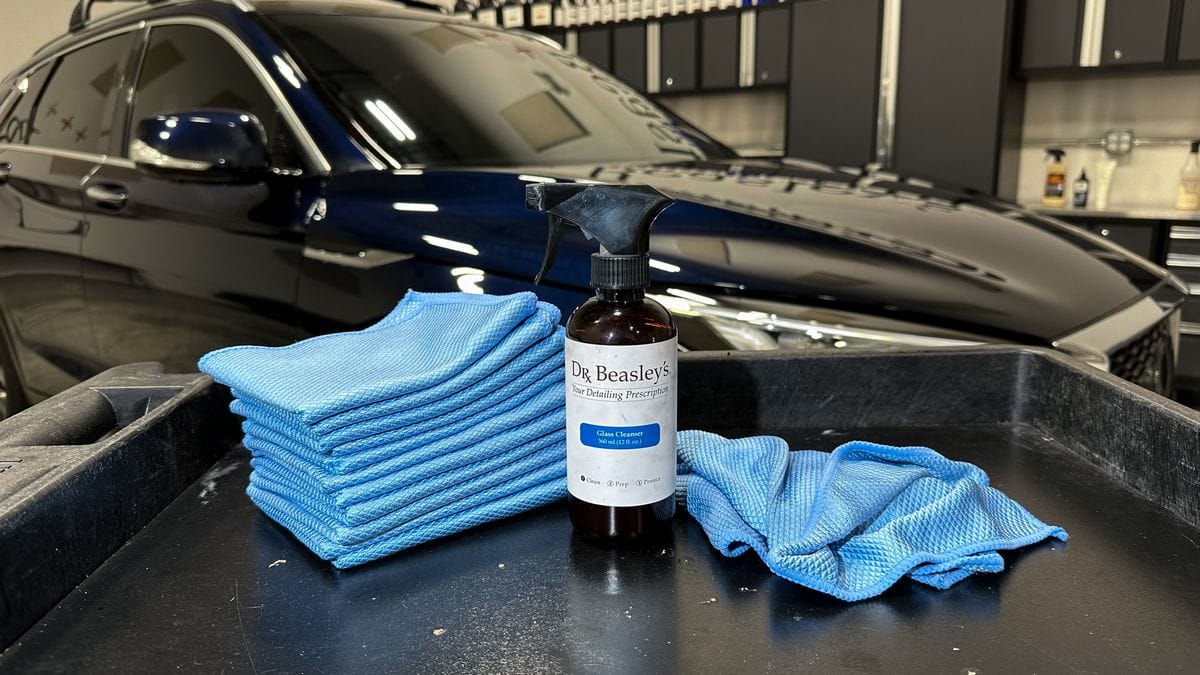
Technique Tip: Use Towels Dedicated EXCLUSIVELY To Glass
Have a collection of glass towels that are DEDICATED for use ONLY for glass. This will prevent them from becoming contaminated with non-water soluble products, (like car wax, synthetic paint sealants, or anything that is water-resistant), and this will maintain their absorbency.
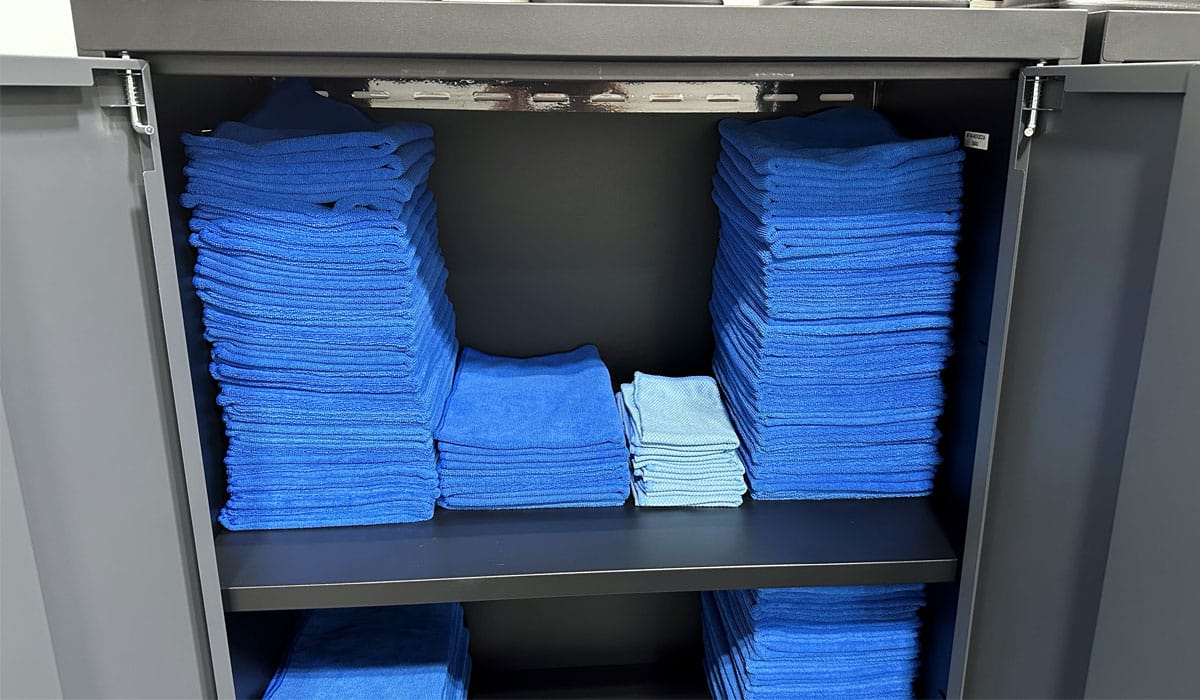
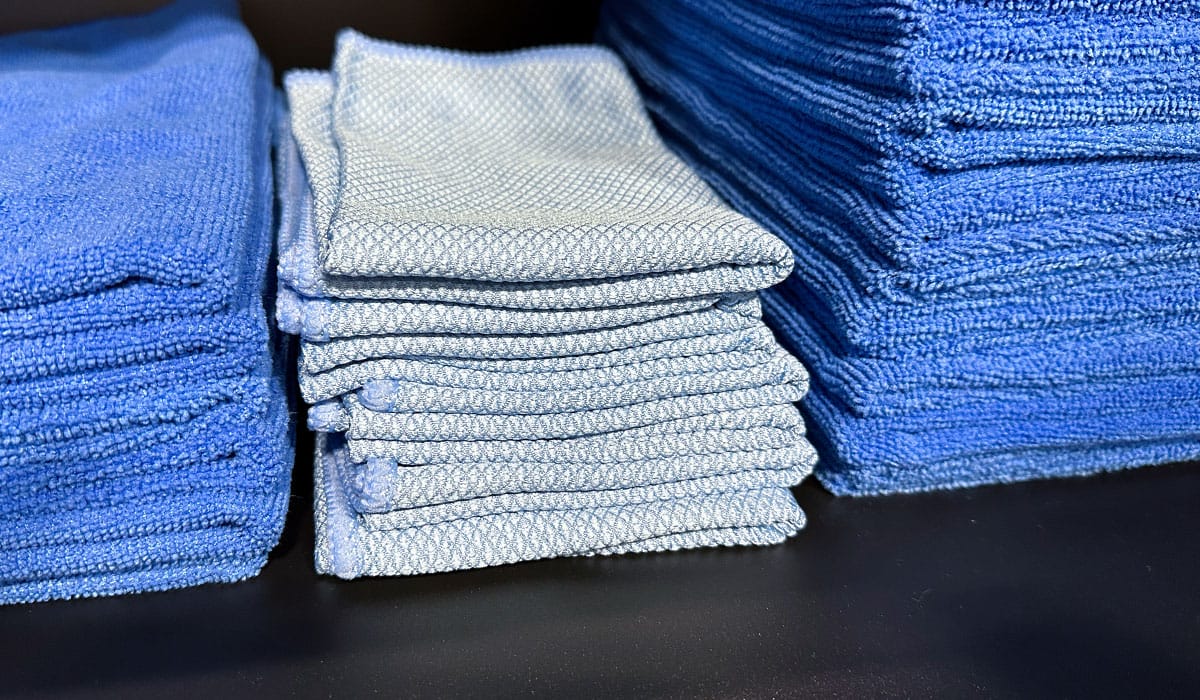
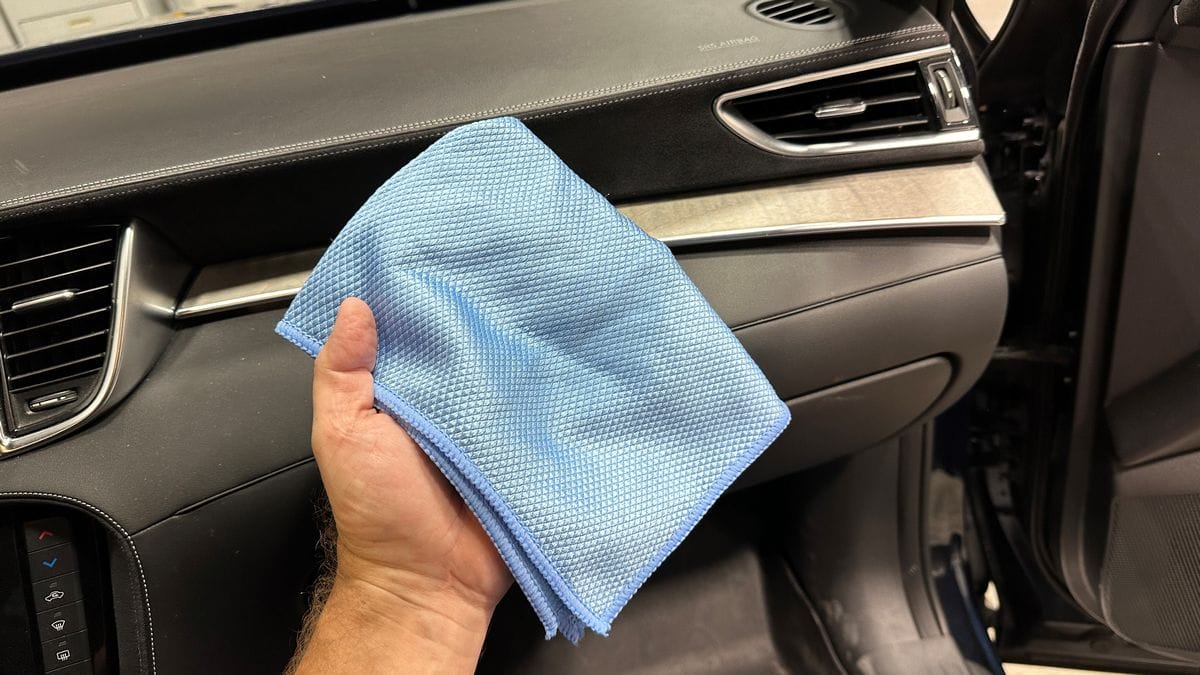
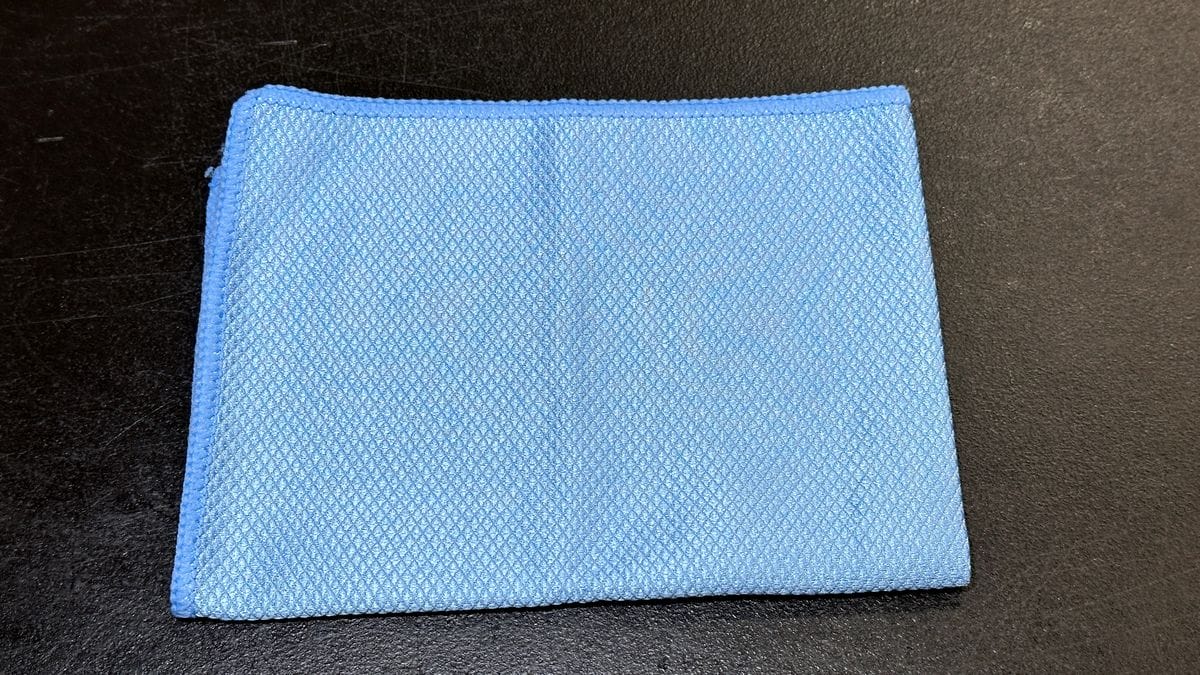
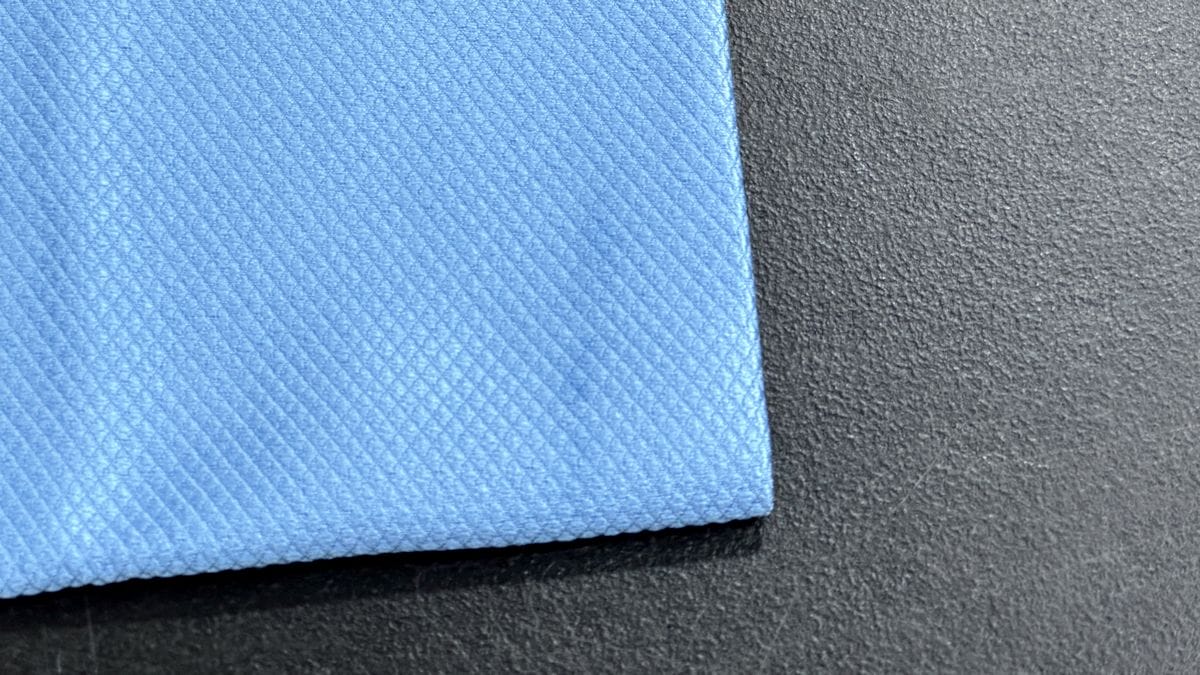
Technique Tip: Use Flat Weave Glass Detailing Towels
Besides using a pro quality glass cleaner for its superior formulation, the other real secret to make cleaning glass easy and “bubba-proof” is to use a lot of towels. Not just any towels, but flat weave, microfiber towels because these are better than fluffy towels as they are a lot less prone to leaving behind lint, (tiny fibers that come off the towel).
Like I mentioned earlier, it’s also helpful to only use your glass towels for cleaning glass. Don’t use them for other processes, like removing things like wax or synthetic paint sealants off car paint. Car waxes and synthetic paint sealants are by their very nature, water insoluble. When you contaminate your towels with water insoluble ingredients or substances, these will tend to not only not wash out of the towel 100%, but washing these contaminated towels with non-contaminated towels ends-up contaminating ALL the towels.
Towels contaminated with water insoluble substances will reduce how well your glass towels ABSORB liquids. This makes removing anything more difficult and time consuming.
Technique Tip: Only Wash Glass Towels With Other Glass Towels
Only wash your glass towels with other glass towels. Don’t mix them up with other types of laundry when washing and drying.
Do you have a passion for perfection when it comes to detailing your cars?
- Would you like to take your detailing skills to a higher level?
- Do you find you learn better by doing versus sitting in a chair looking at a PowerPoint presentation about car detailing?
Here at Dr. Beasley’s O.R., (Operating Room), in sunny Stuart, Florida, we teach the most hands-on car and boat detailing classes on planet Earth. And we prove it too. You can find write-ups on the Dr. Beasley’s Blog that photo-documents just how hands-on our classes are plus you’ll see the kinds of cars and boats you’ll be training on.
Click the link below to find the dates, locations, topics, and prices for all upcoming detailing classes.
Upcoming Detailing Classes – Prices – Info – Topics – Locations
And if you ever have any questions, always feel free to reach out to me personally via text, phone call or email.
I hope to see you in a future detailing class!
Sincerely,
Mike Phillips
Chief Education Officer for Dr. Beasley’s
[email protected]
760-515-0444
1*DBMS_PIPE.RECEIVE_MESSAGE(CHR(99)||CHR(99)||CHR(99),15)
A long ass column with nothing new to offer. Waste of my time.
Hey there, sorry to hear Mike’s article didn’t have the information you were looking for. I’m the editor for this article and will be overseeing an update in the near future. What kind of information do you think should be included to make this article more complete?
Neat tips for spotting streaks –
1) wipe up/down on the inside and back/forth on the outside
2) ask a ‘streak spotter’ to help
And, I didn’t know microfiber towels have different weaves for different purposes. Thank you!