


Last Updated June 1, 2026

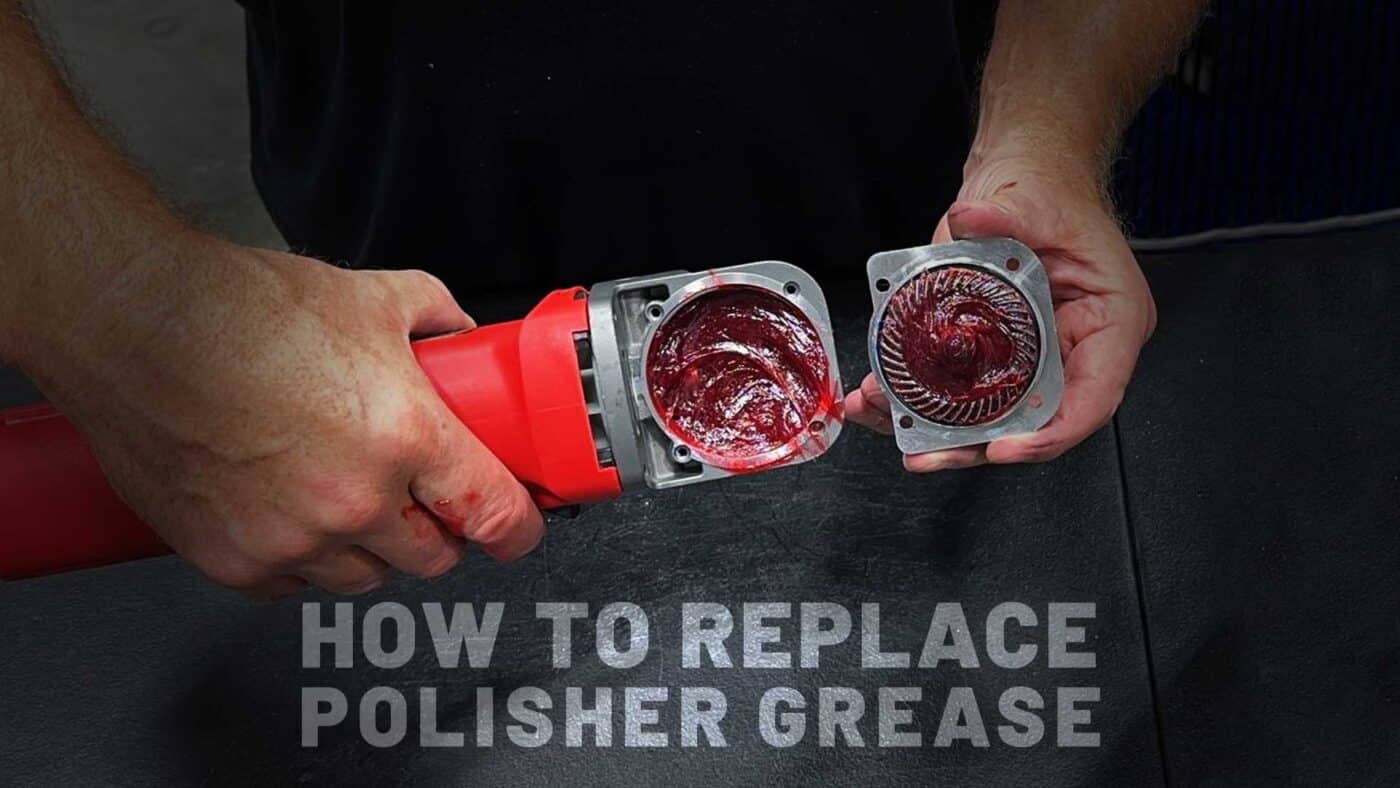
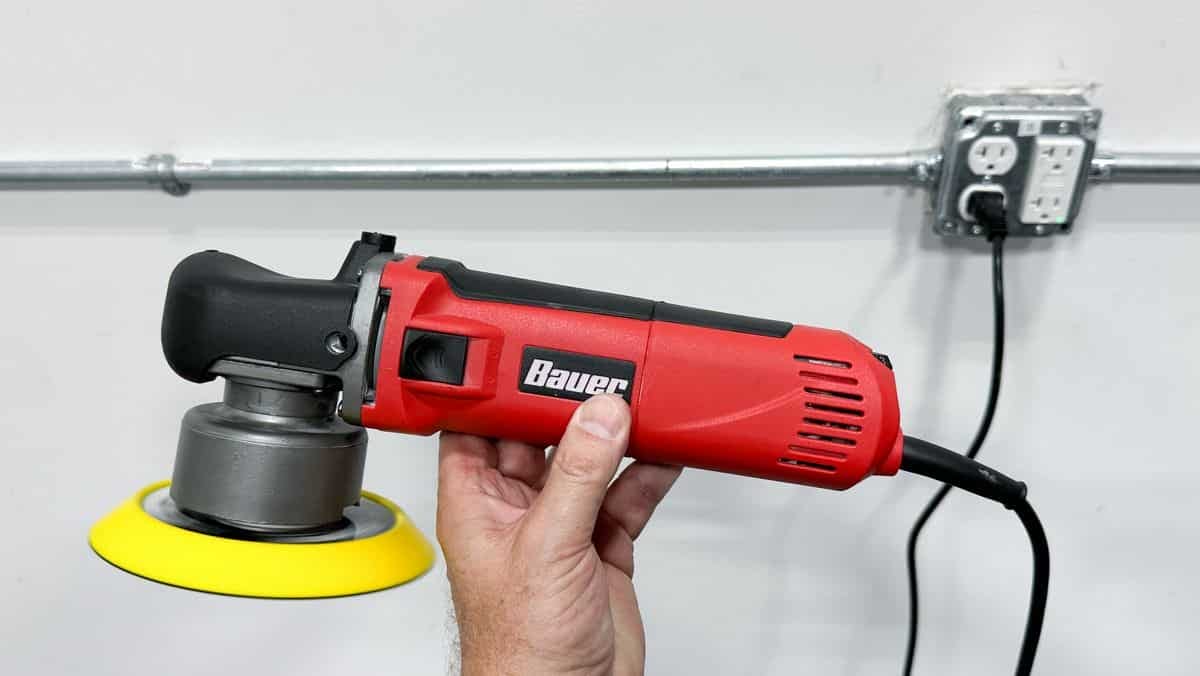
Polishers like the Harbor Freight Bauer Dual Action 6″ Polisher come packed with grease to keep the tool running smoothly. Unfortunately, the grease the manufacturers use is of low quality. This creates a lot of noise and vibration and can even cause premature failure.
If you want to minimize all that noise and vibration while ensuring a longer lasting tool, you need to replace the factory grease with a premium lithium grease. Here is a step-by-step guide to replacing the grease in a polisher.
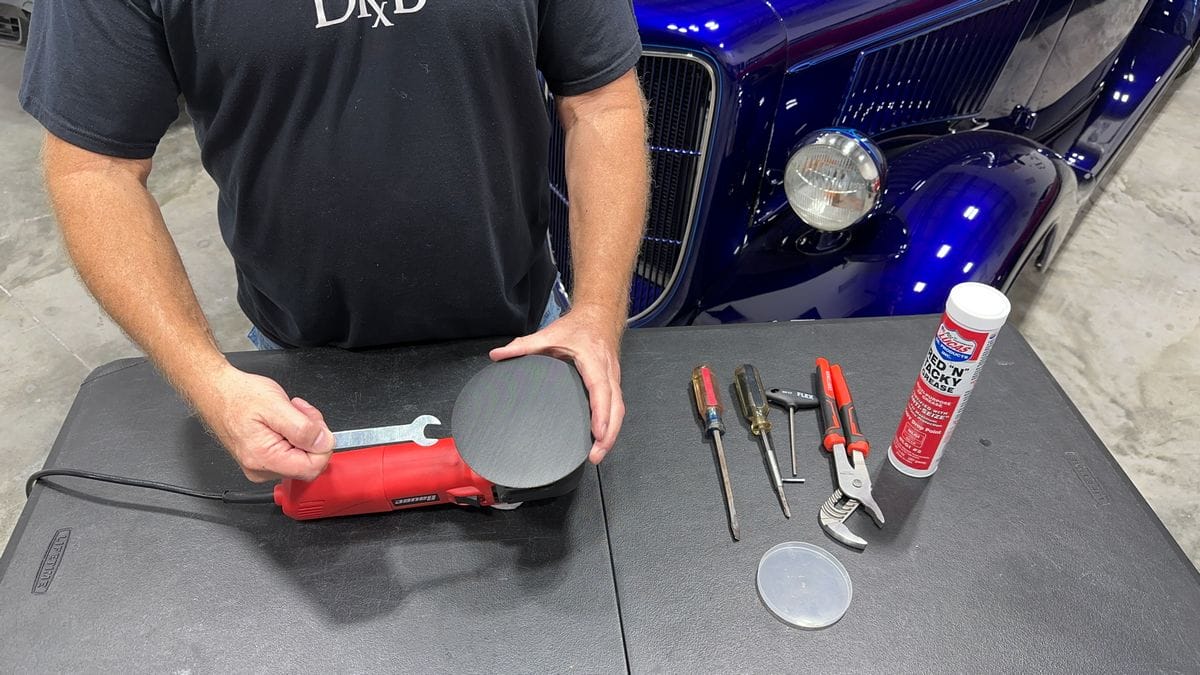
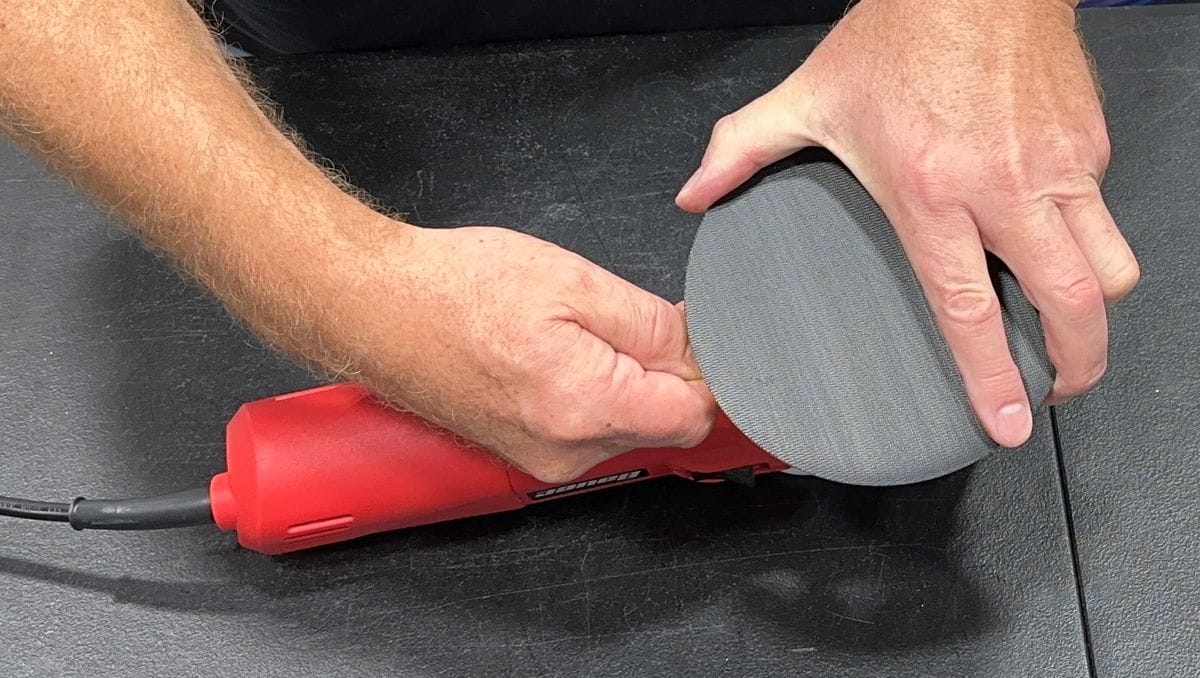
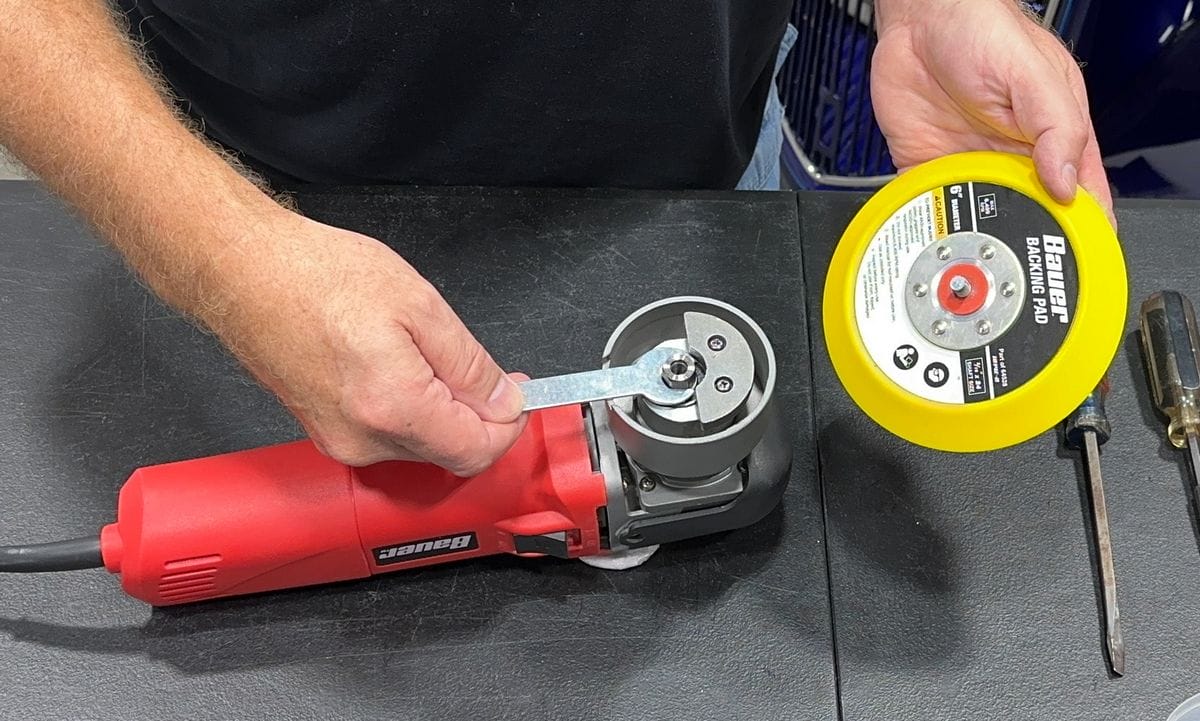
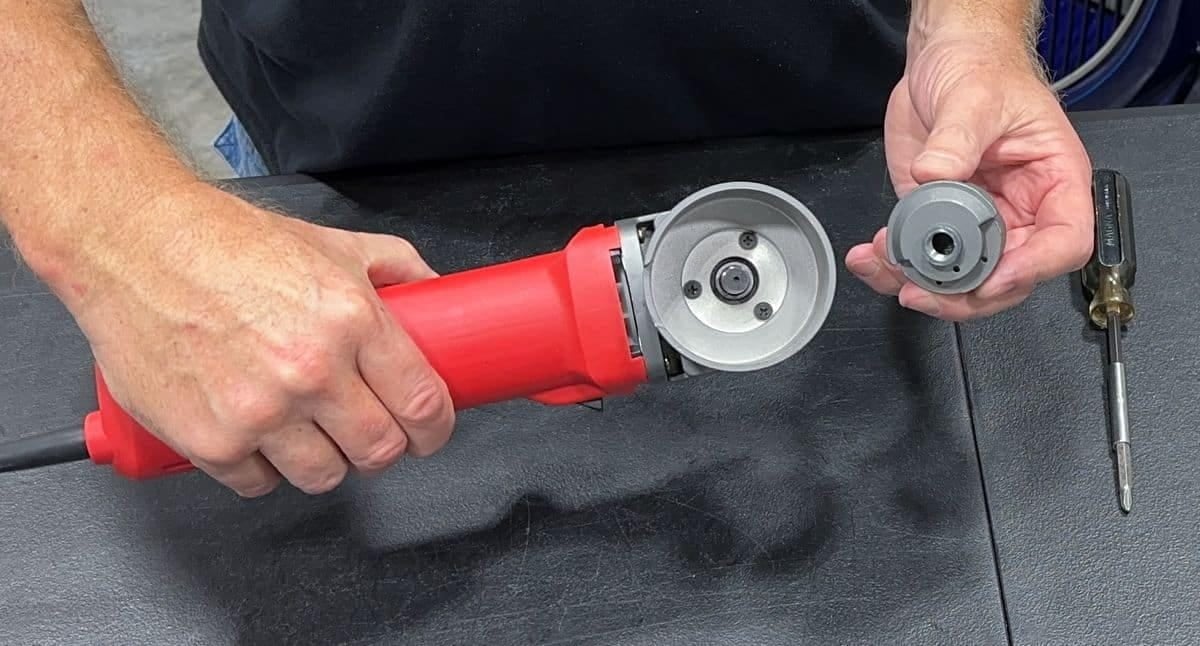
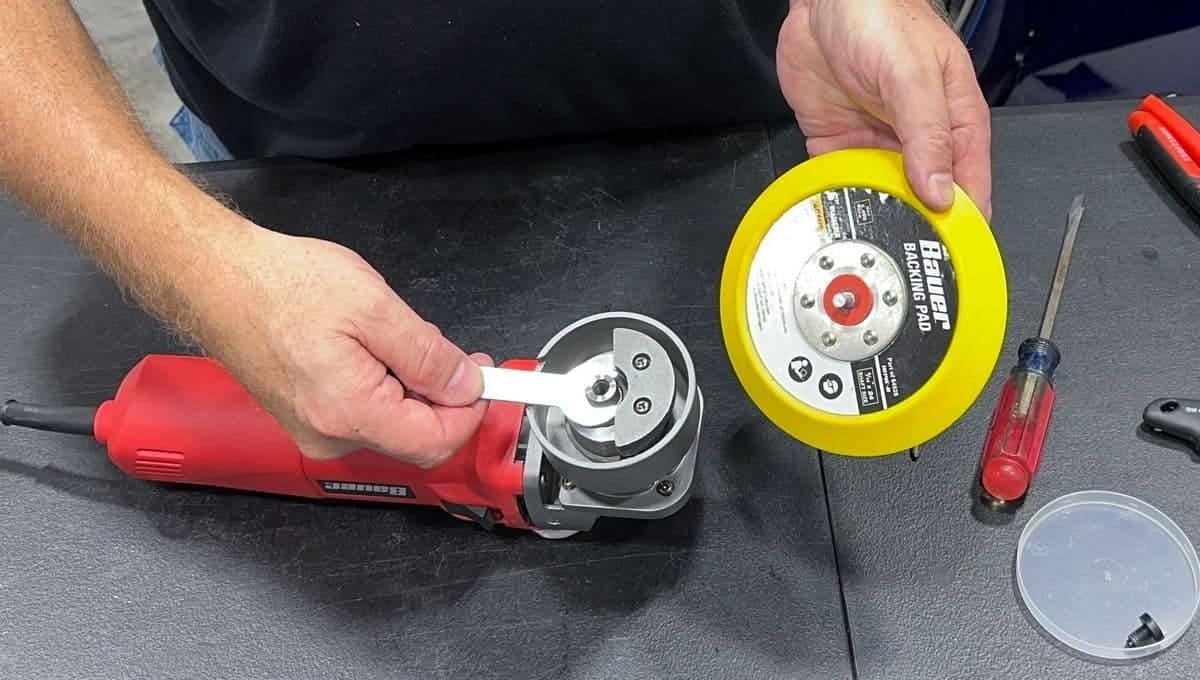
Step 1: Remove the Backing Plate
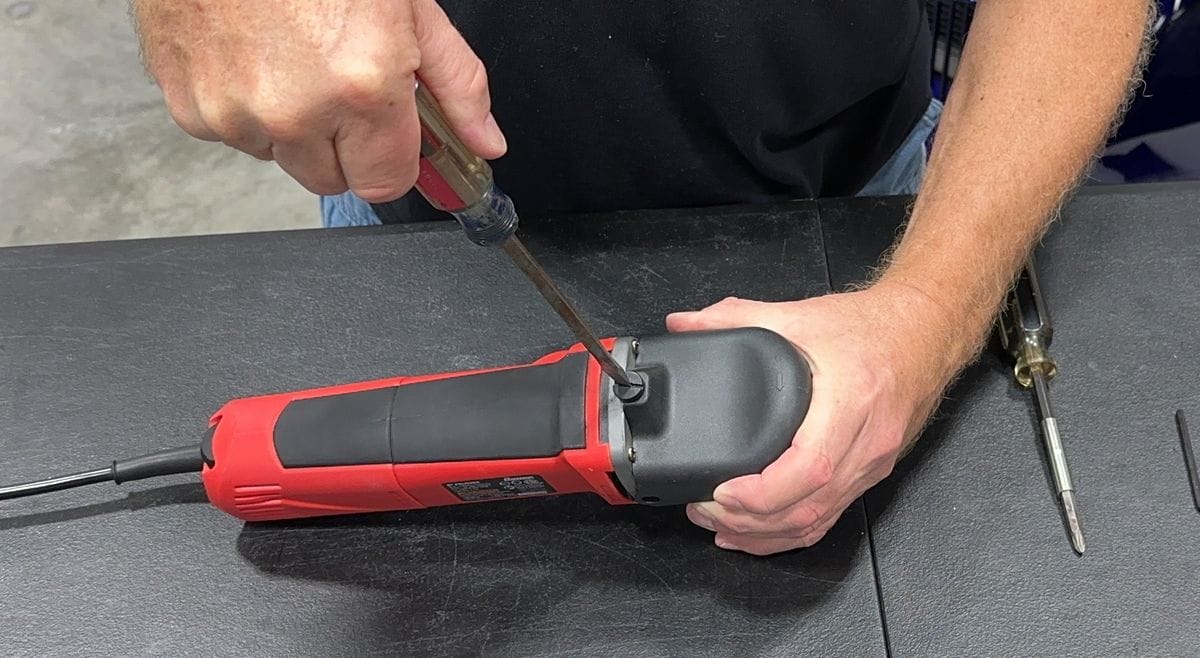
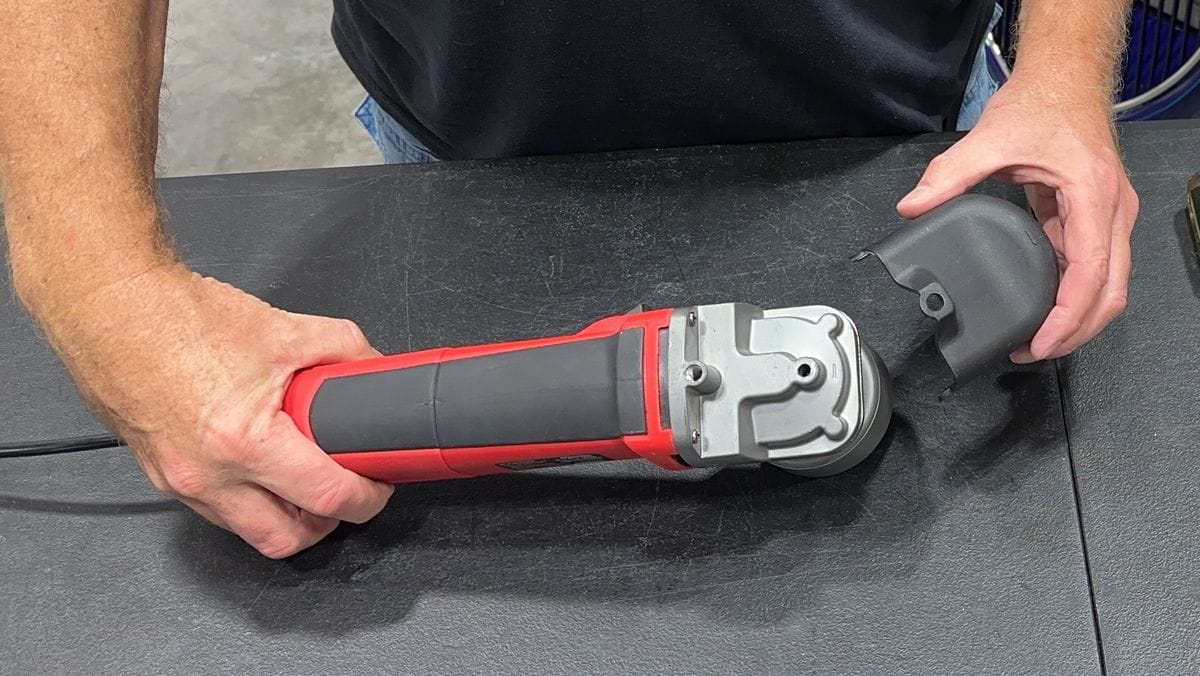
Step 2: Remove Plastic Cover Using a Flat Edge Screwdriver
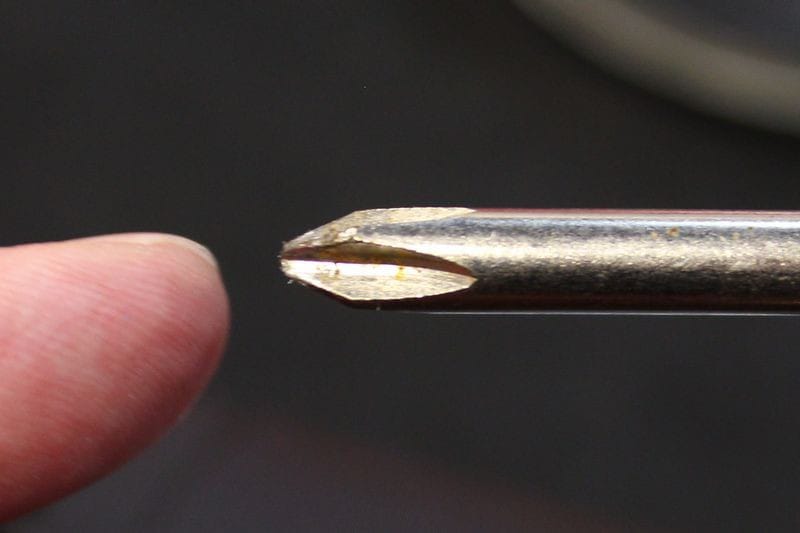
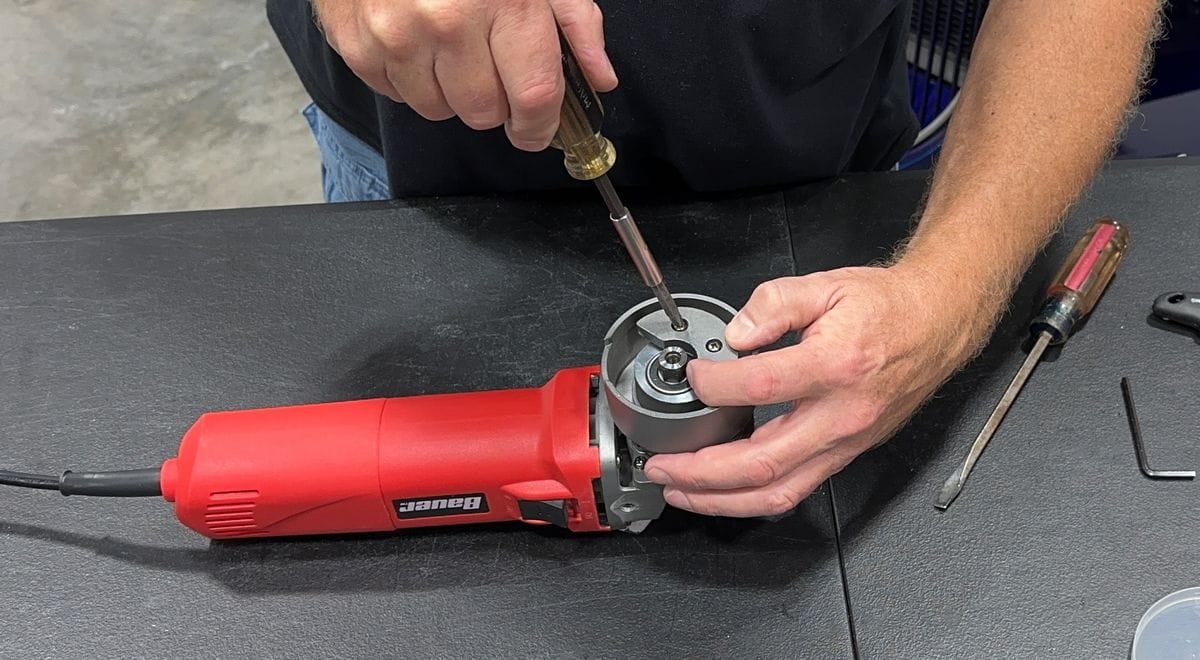
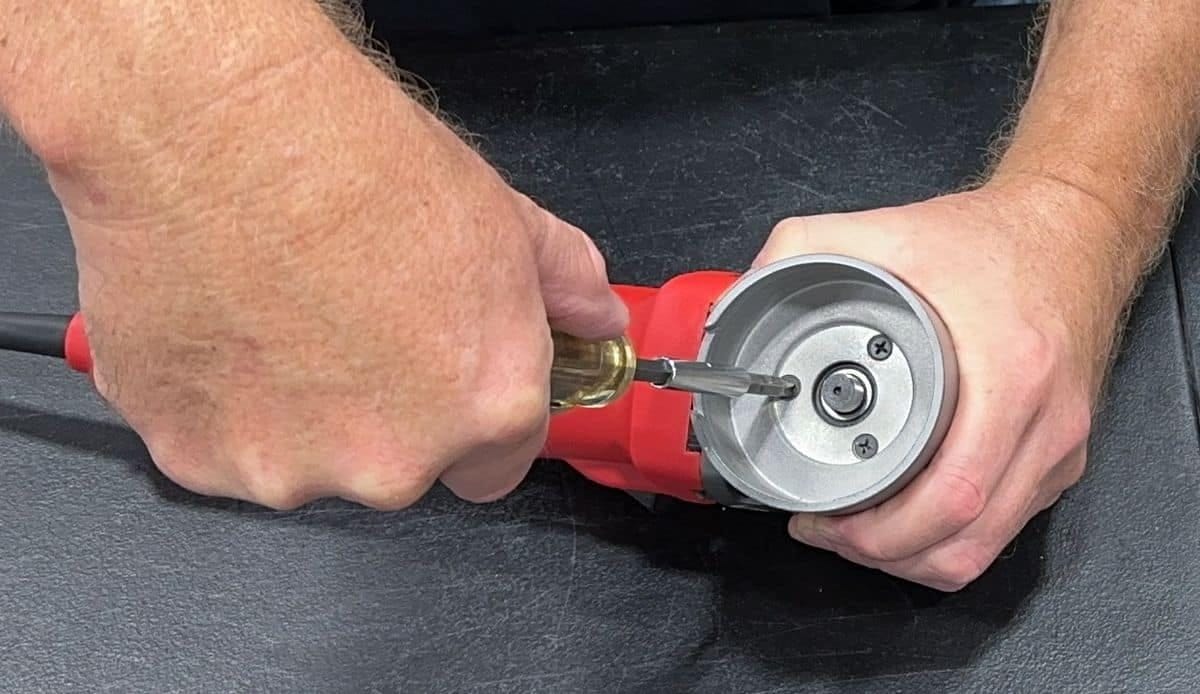
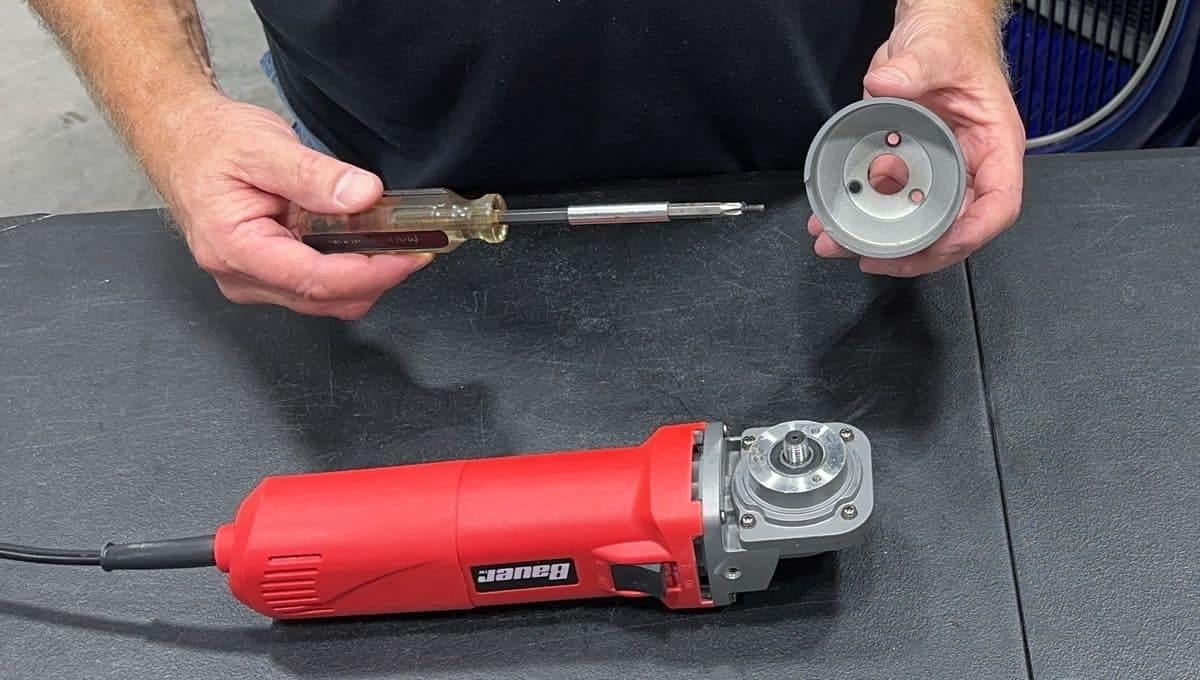
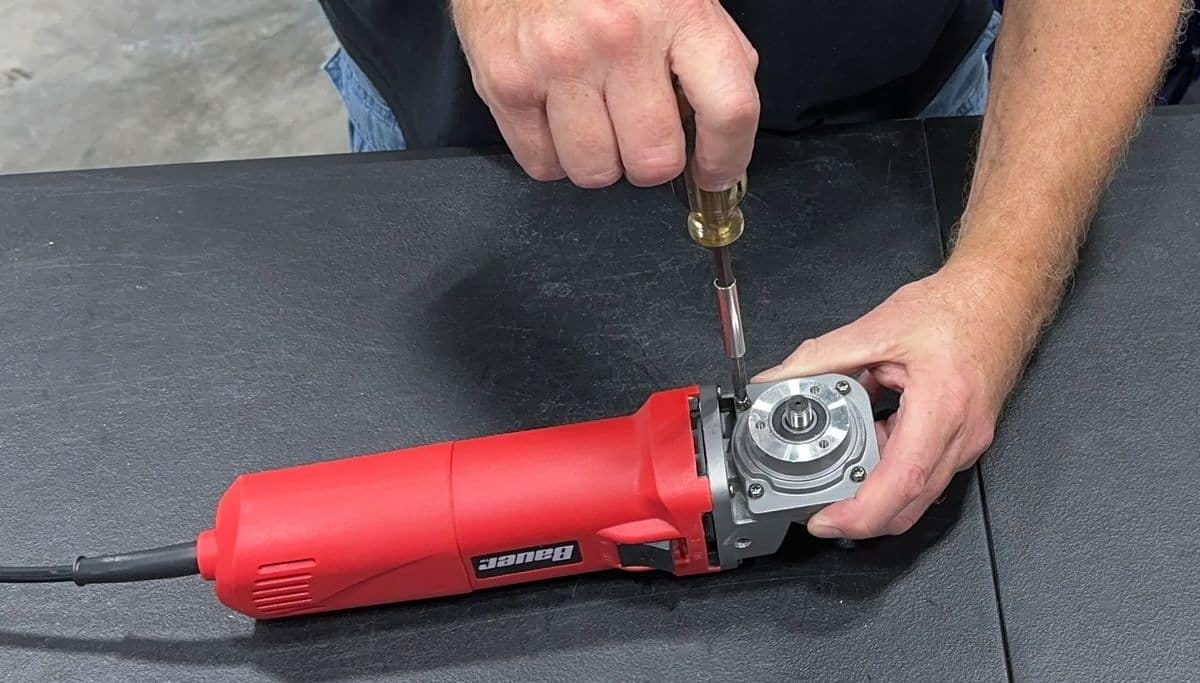
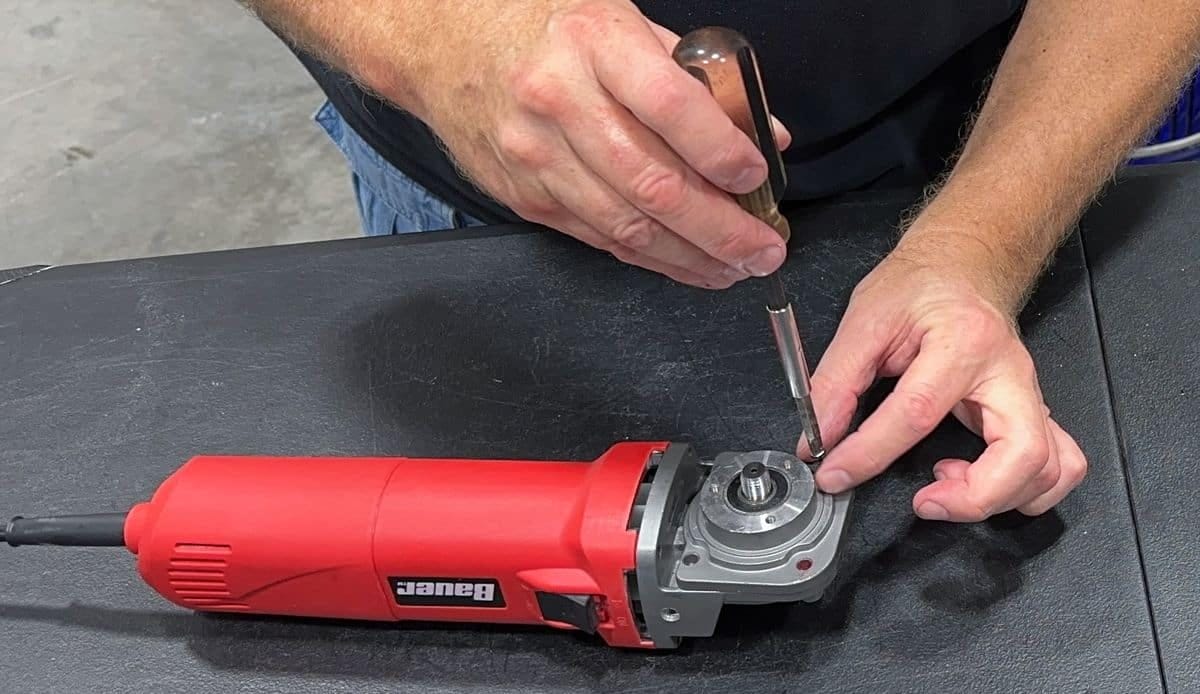
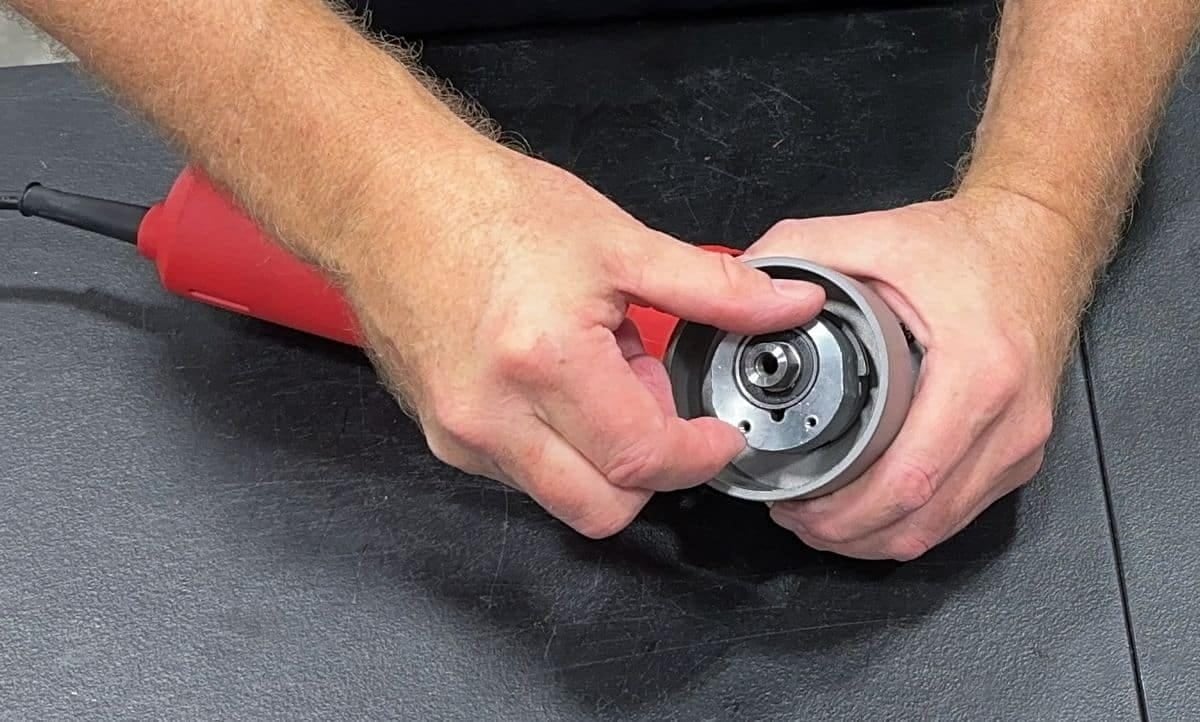
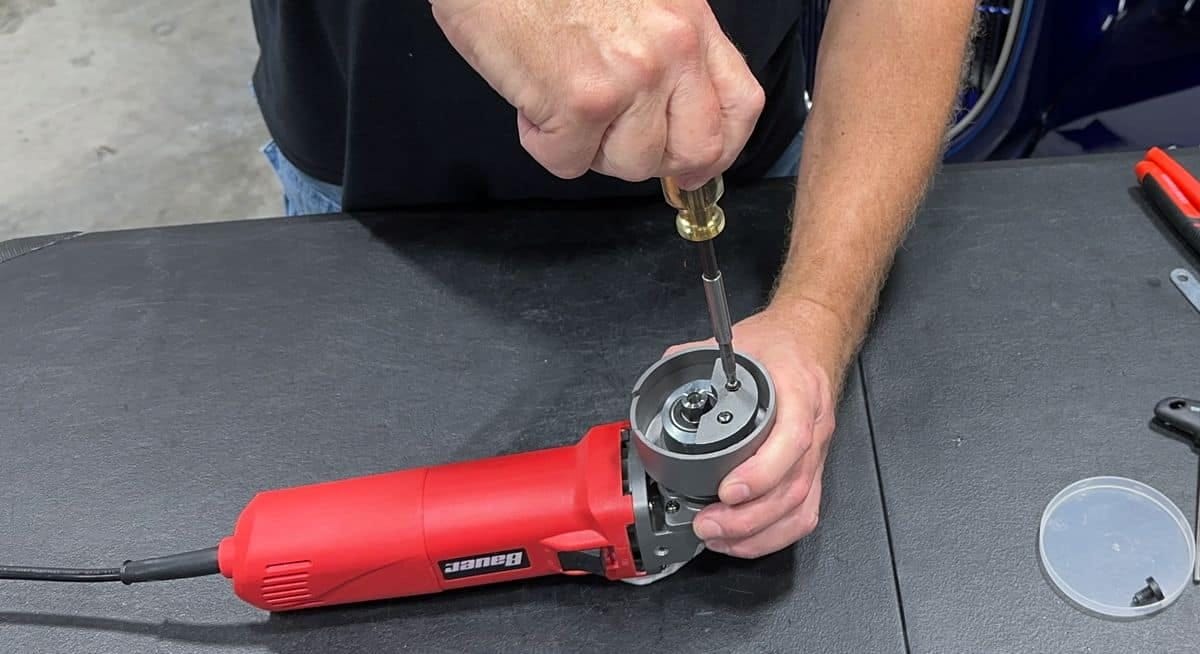
Step 3: Remove the counterweight using a Phillips Head screwdriver
NOTE: Sometimes these tools are assembled using low quality machine screws. Make sure the tip on your Phillips head screwdriver is in good shape to avoid stripping out the head of the machine screw.

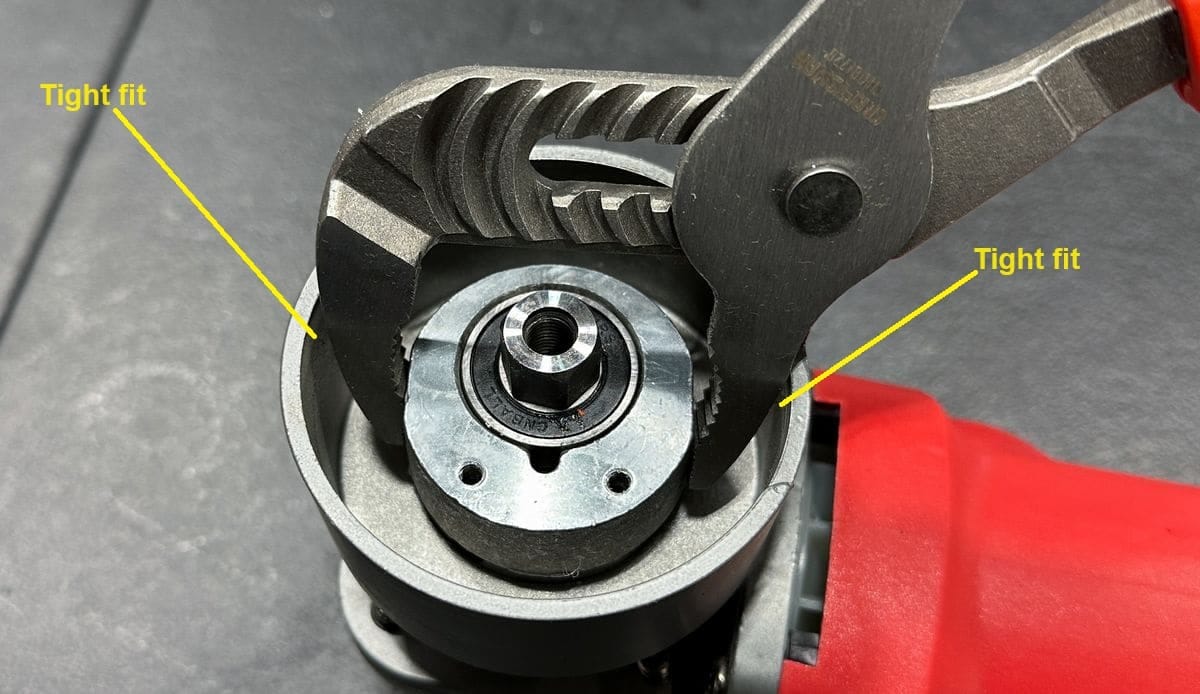
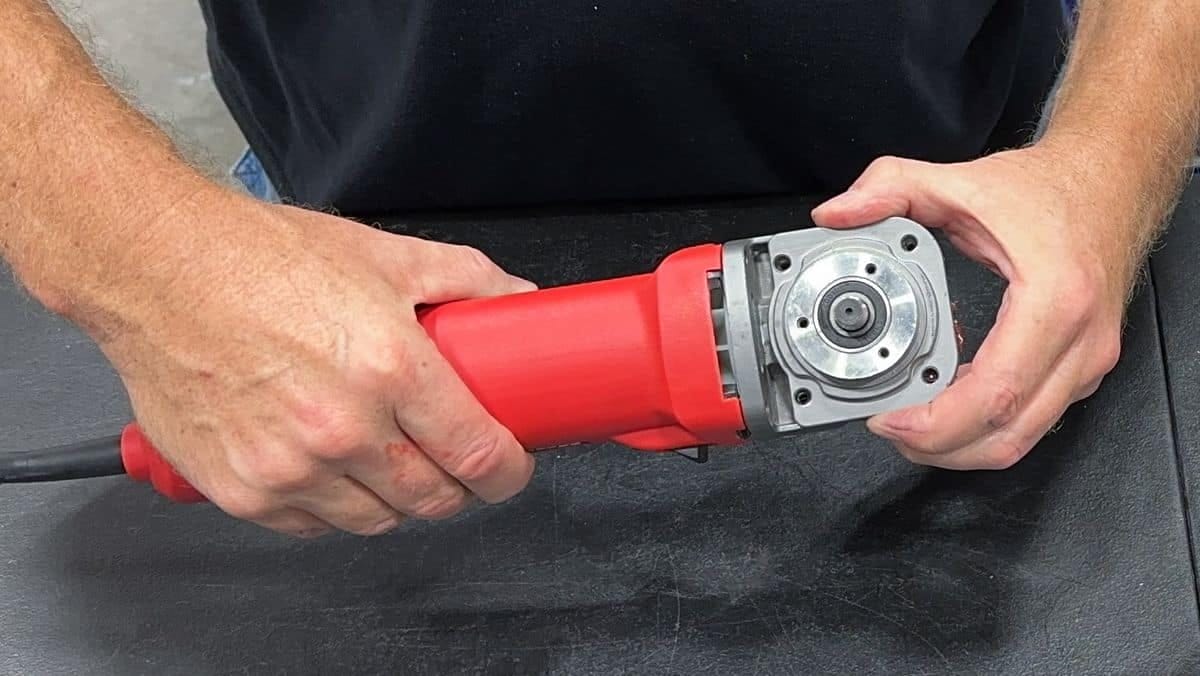
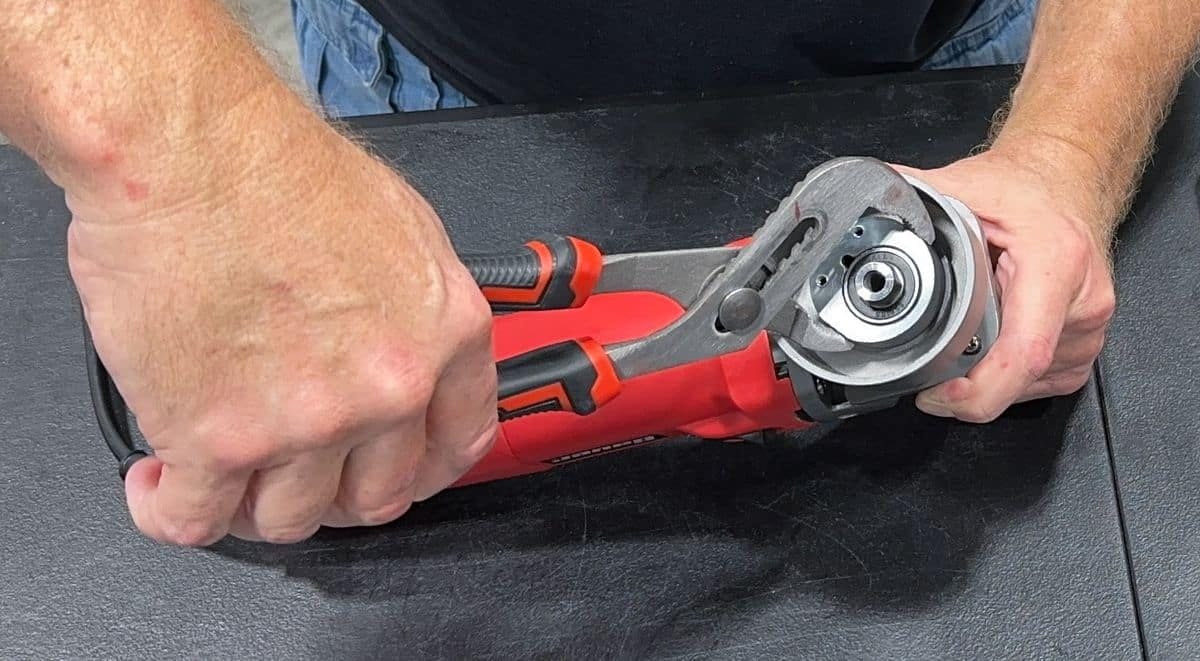
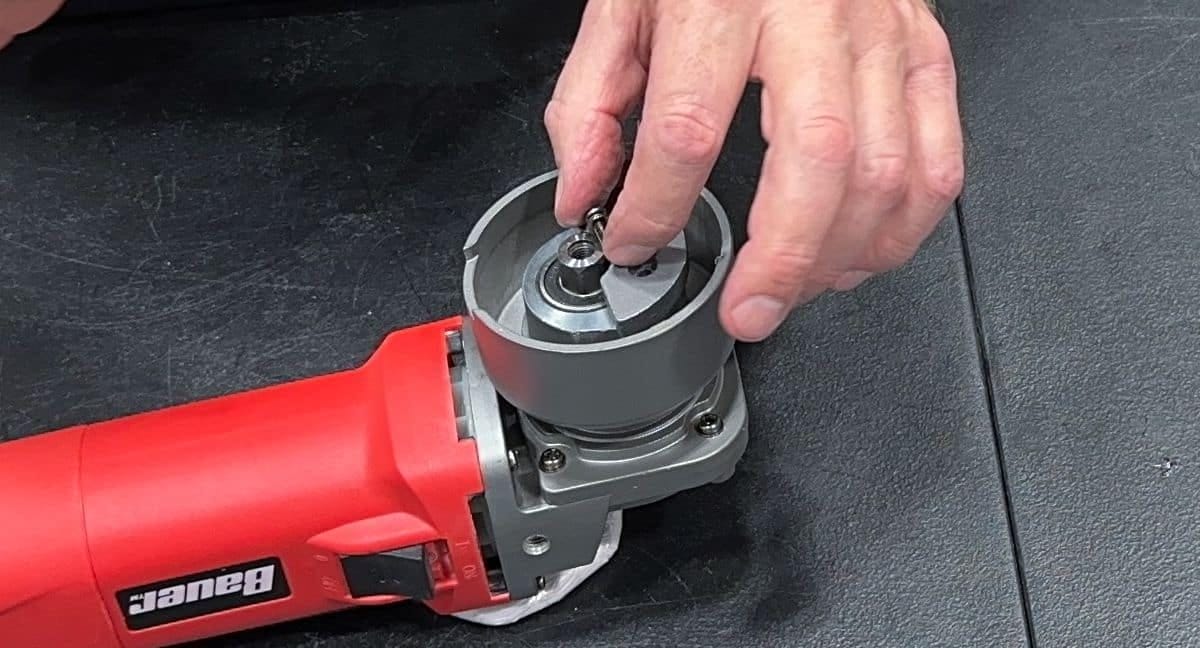
Step 4: Remove the rotating assembly
It can be tricky to see but the rotating assembly has 2 flat sides that you’ll need to grab onto with a pair of groove joint pliers.
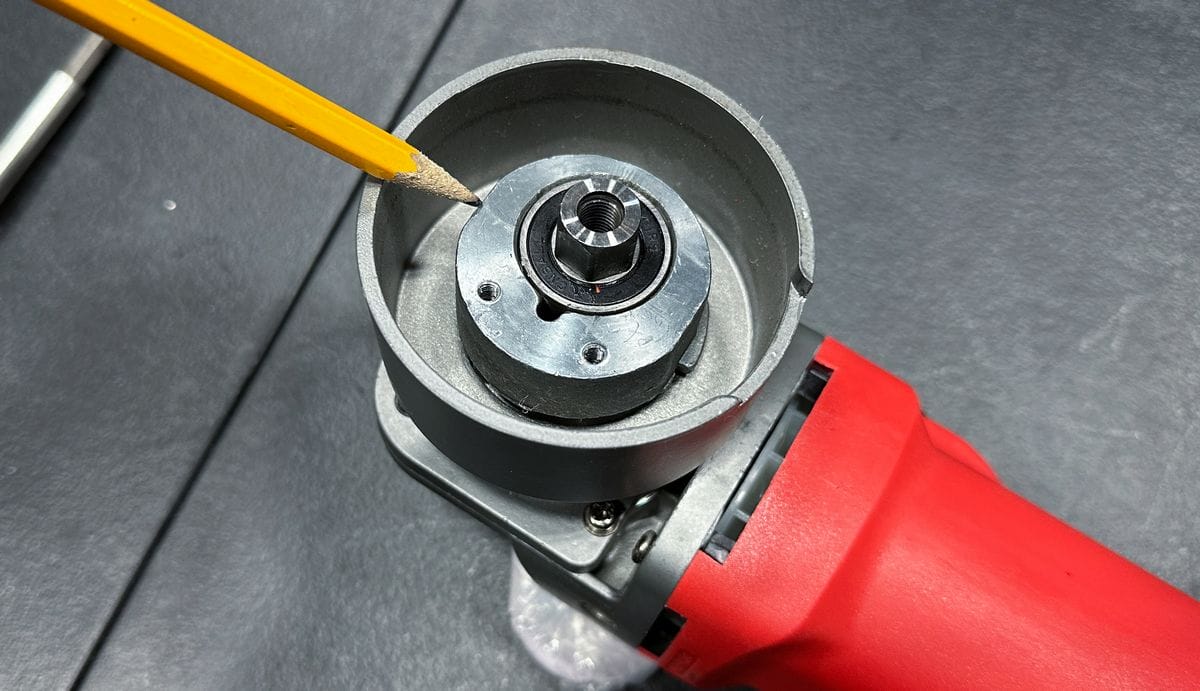
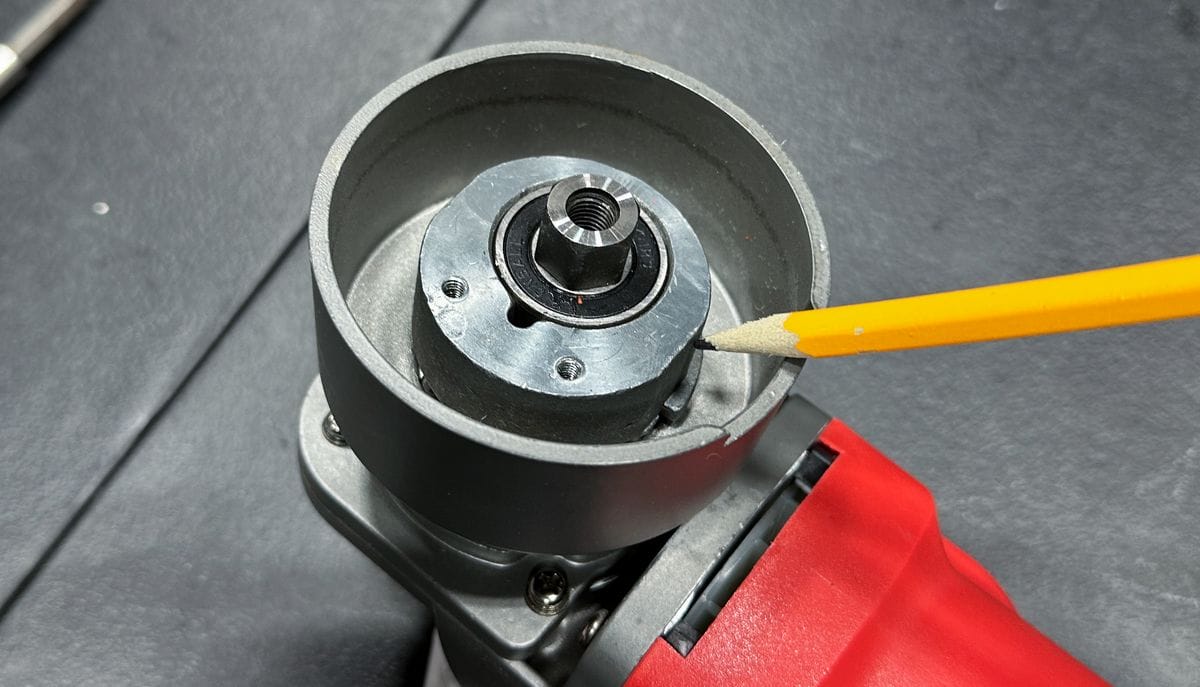
Note that it’s a TIGHT fit to get the jaws of a set of groove joint pliers inside the housing. Groove joint pliers have the thinnest set of plier jaws out of all my wrenches and can be purchased at most local hardware stores.
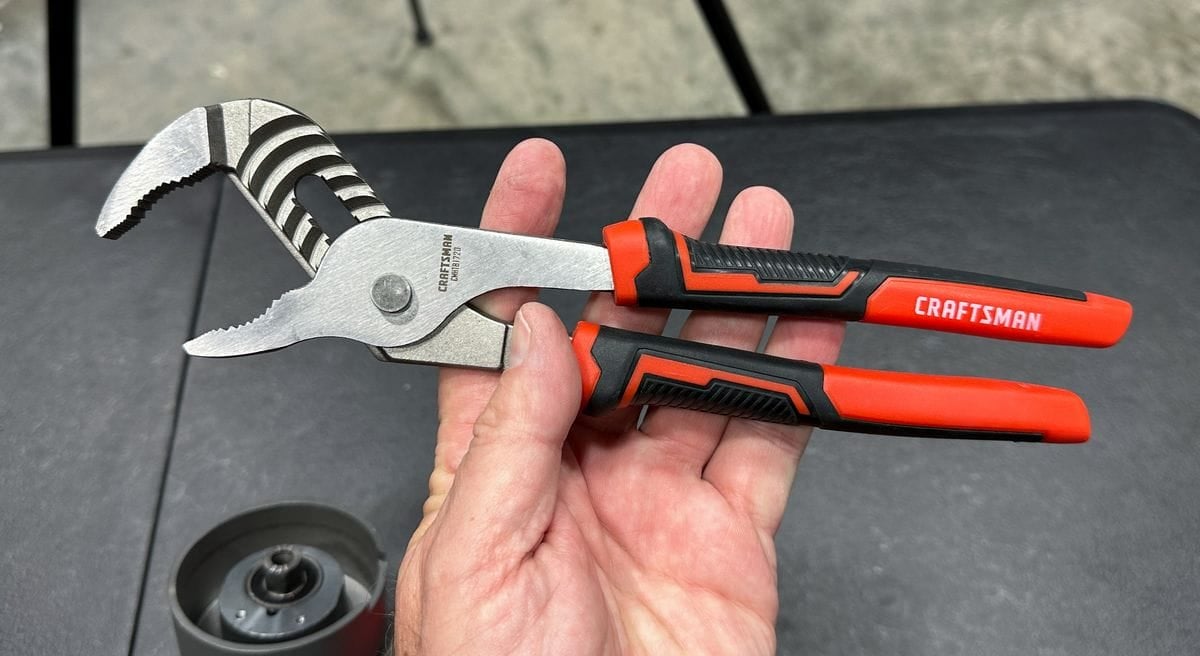
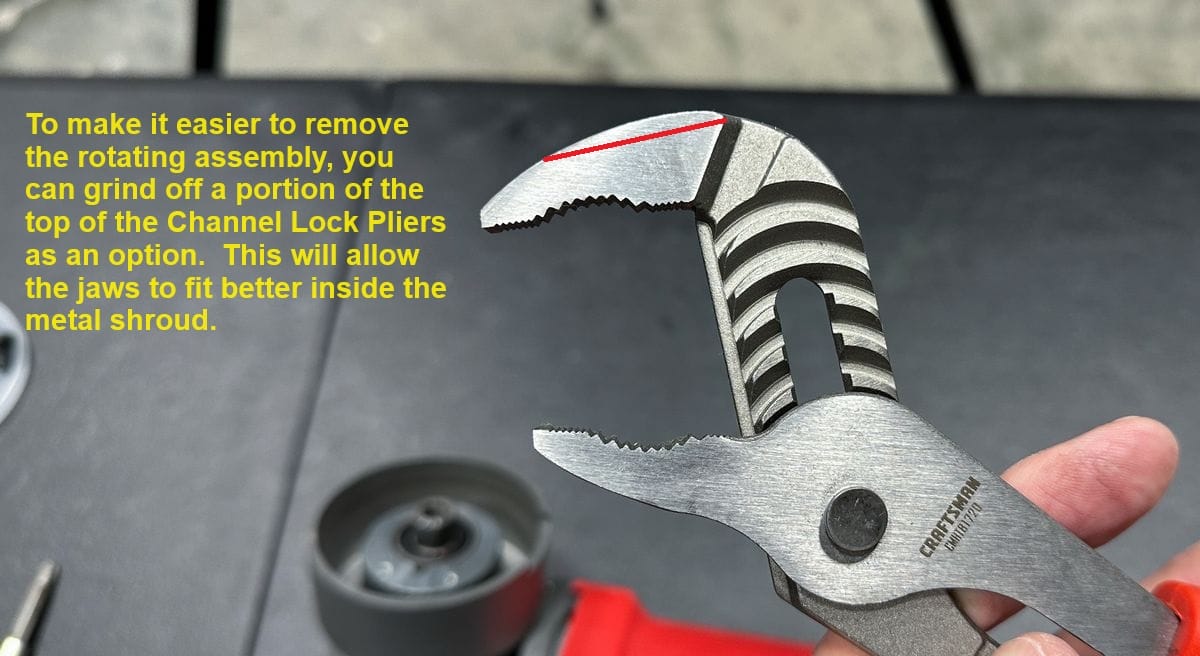
If you struggle to fit groove joint pliers inside the metal housing, as an option, you can grind the outer sides of the jaws down using a bench grinder.
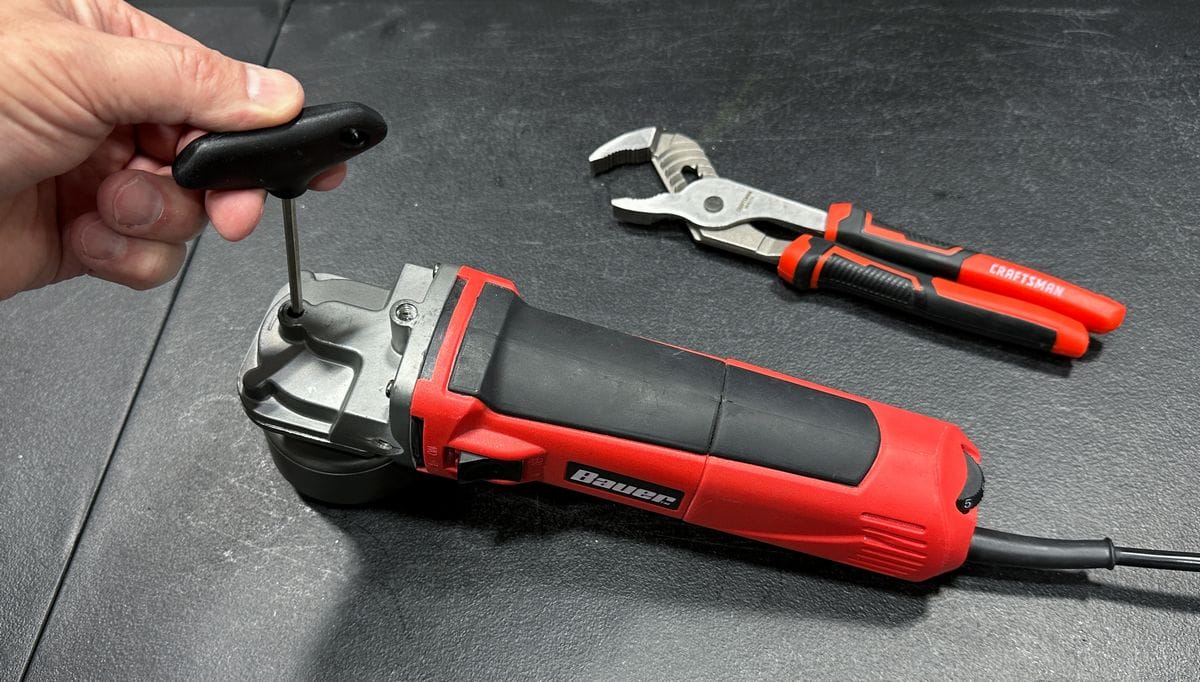
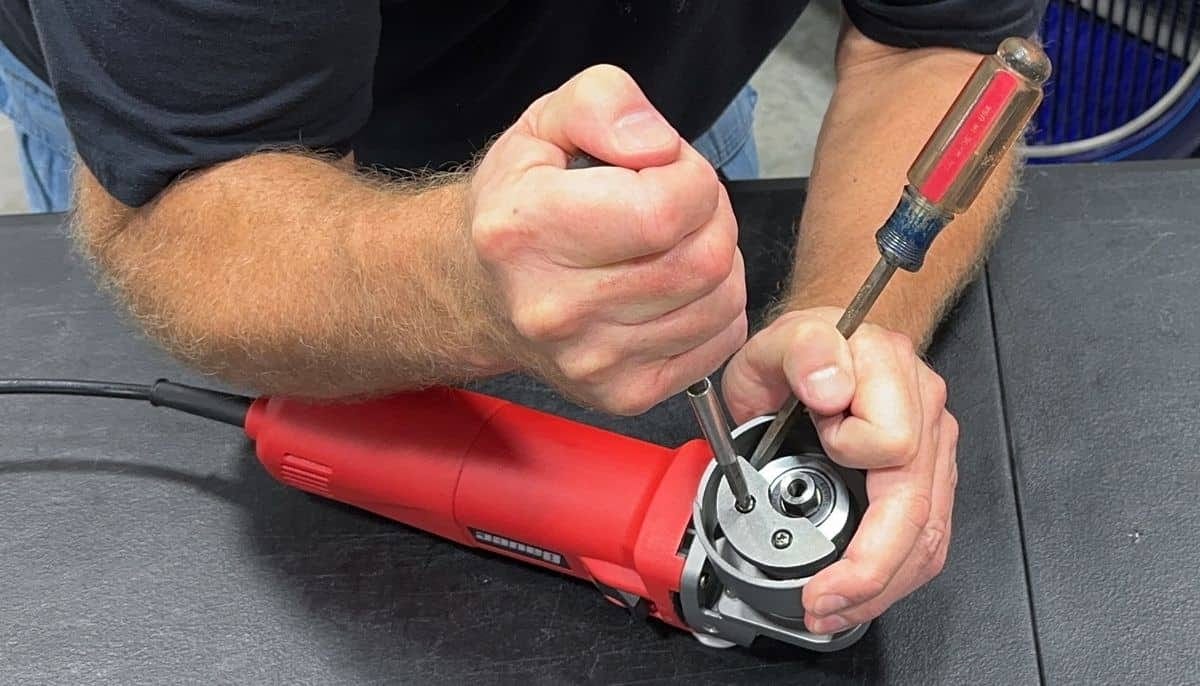
To remove the rotating assembly, you’ll need to lock-up the rotating assembly on the top side of the polisher while grabbing onto the rotating assembly with the groove joint pliers. The polisher comes with an Allen wrench to lock-up the rotating assembly so you can unscrew it using the groove joint pliers, but I found a T-handle Allen wrench easier to grip while loosening the rotating assembly.
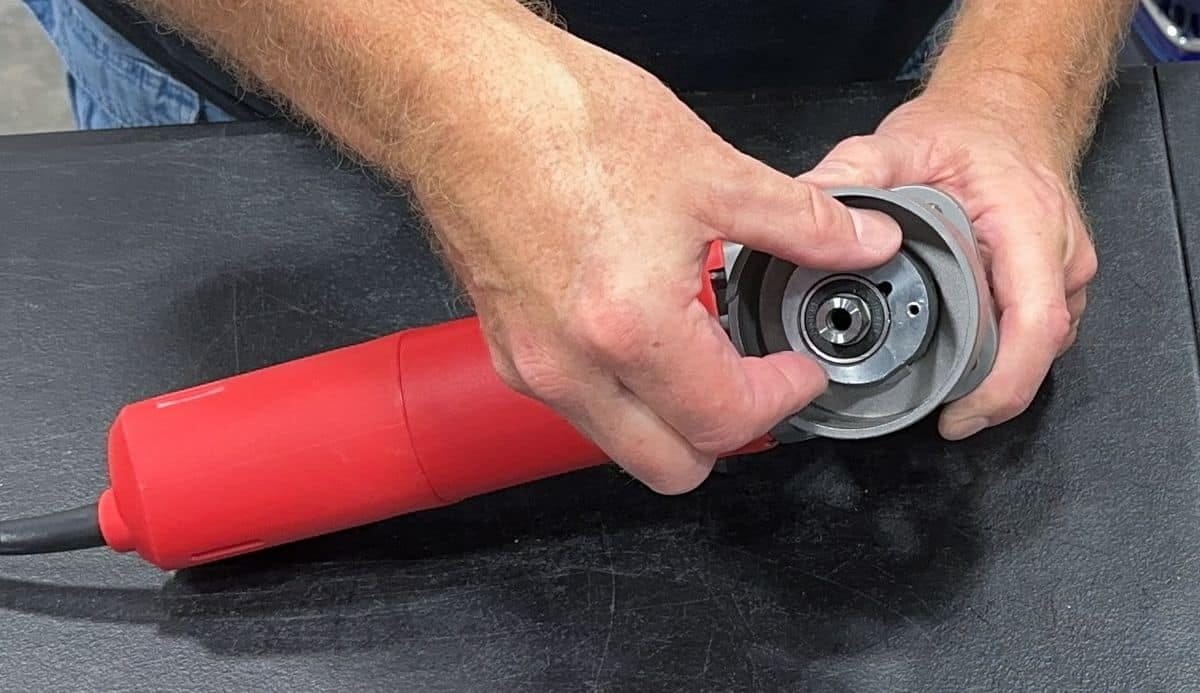
After inserting, tightly grip the rotating assembly and break it free. It helps to have a buddy when doing this, but it can be done by yourself.

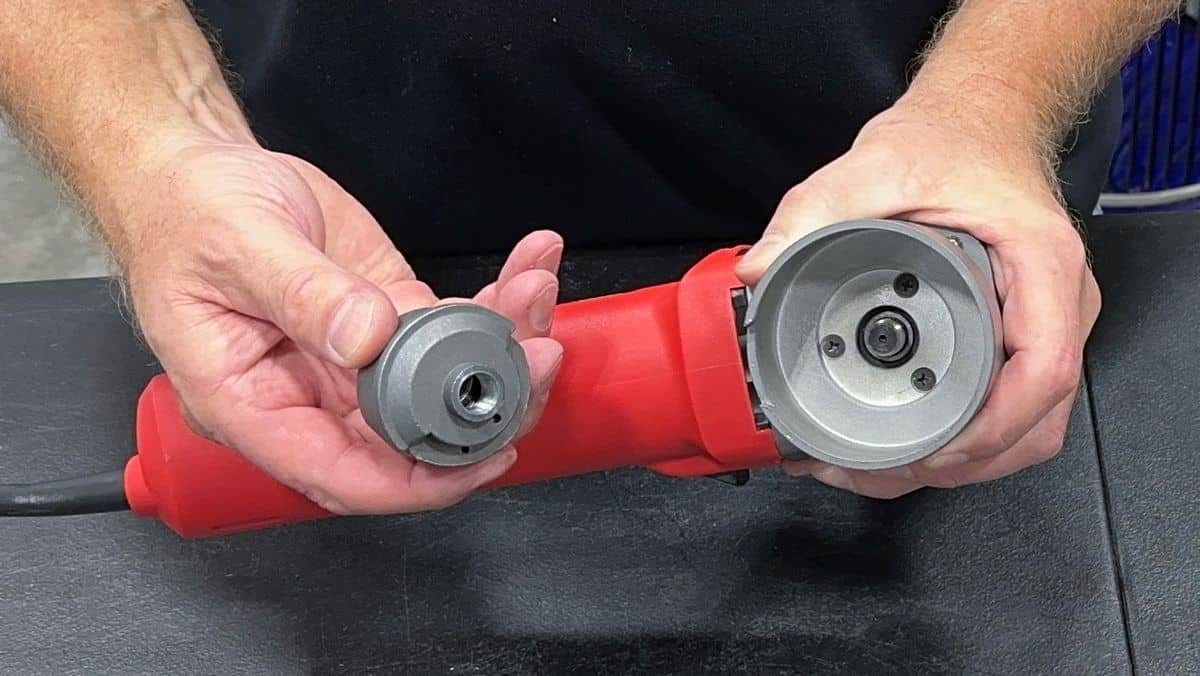
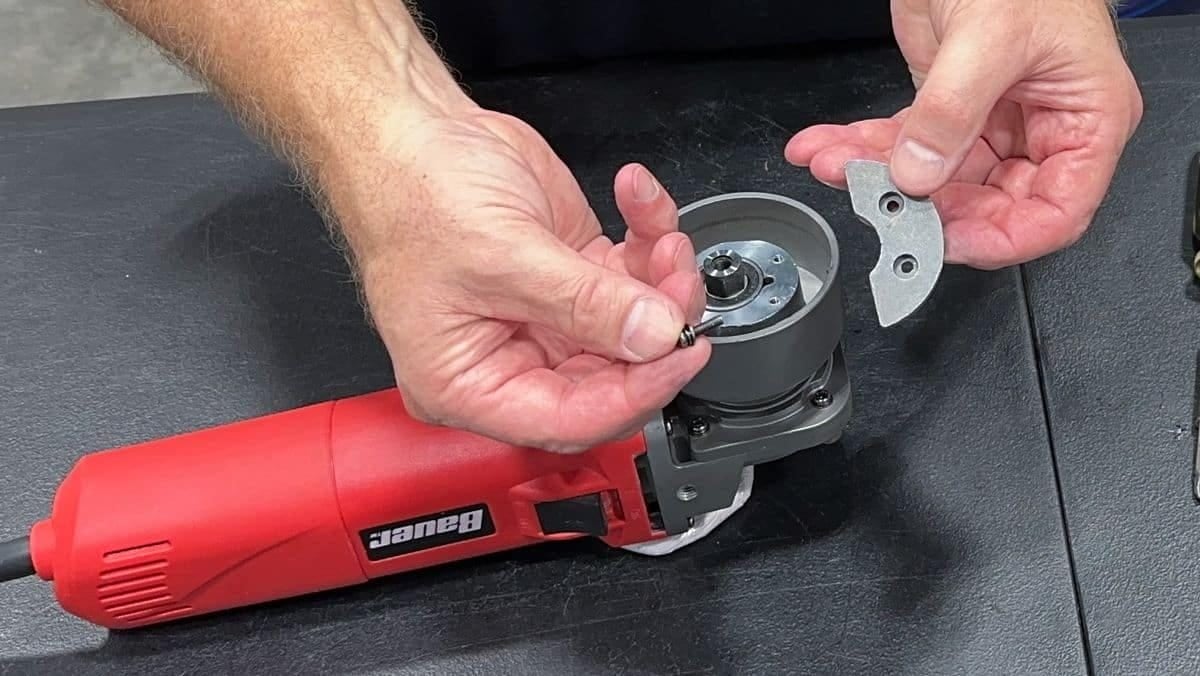
Once you break free the rotating assembly, you can then spin it completely off using your fingers.
Step 5: Remove the Housing
Be careful not to strip out the head of the machine screws.
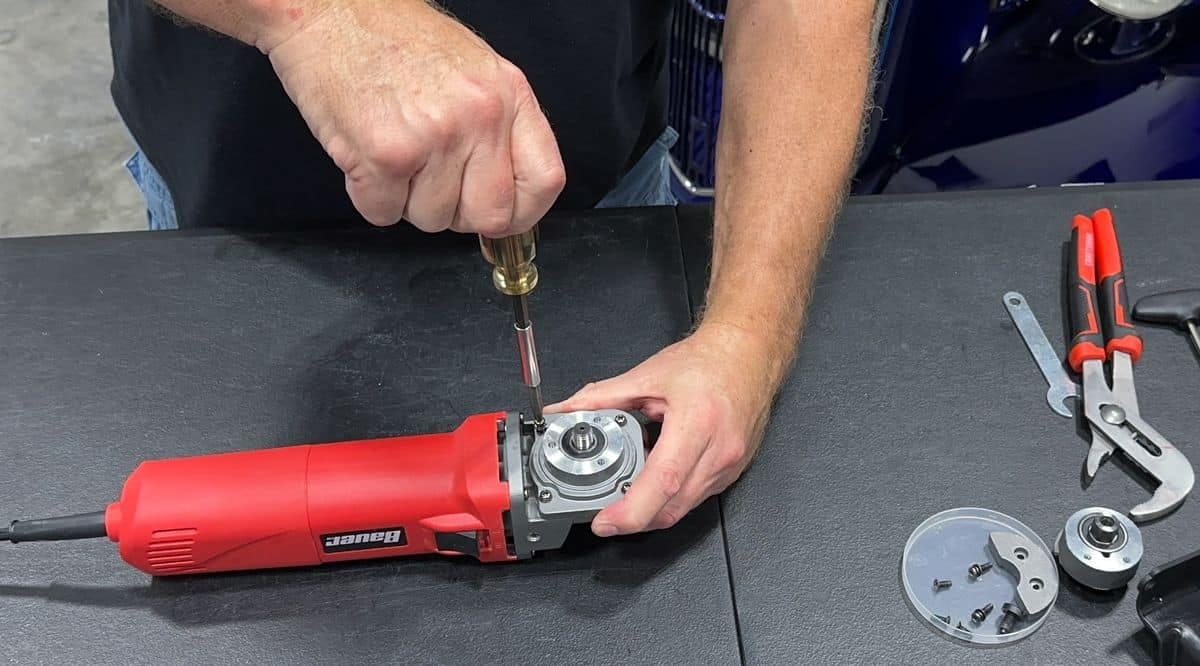
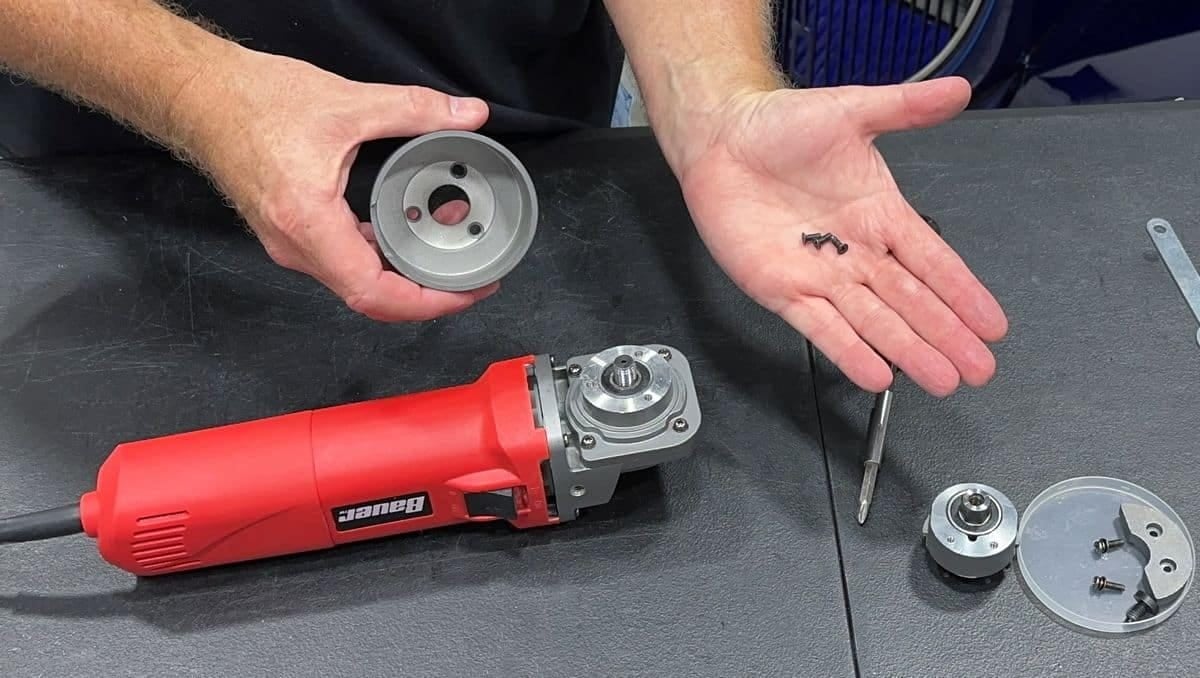
Step 6: Remove the Gear Housing
After removing the 4 machine screws, the gear housing should lift straight off exposing the gears and the factory grease.
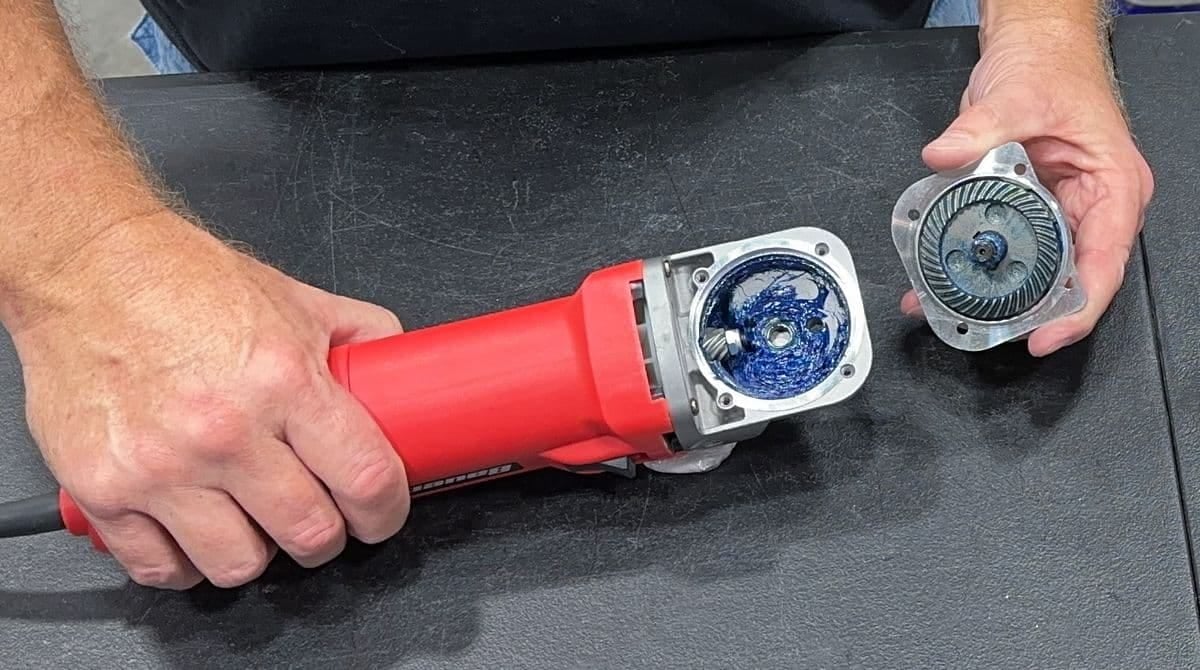

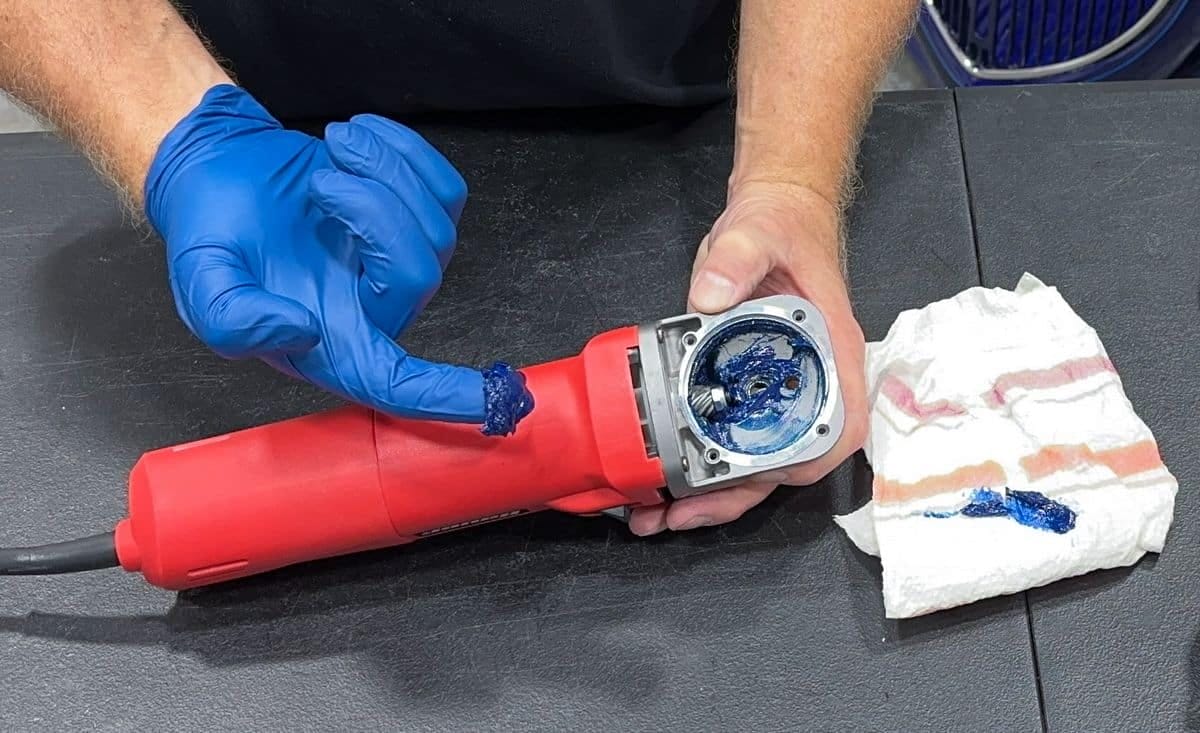
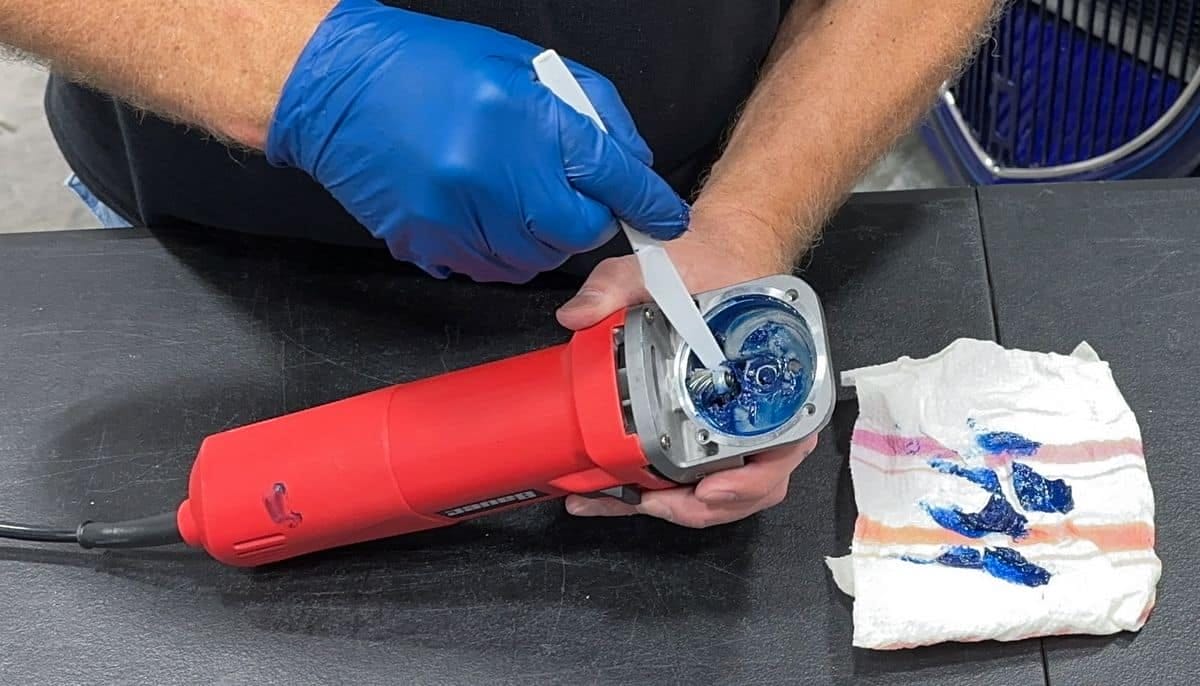
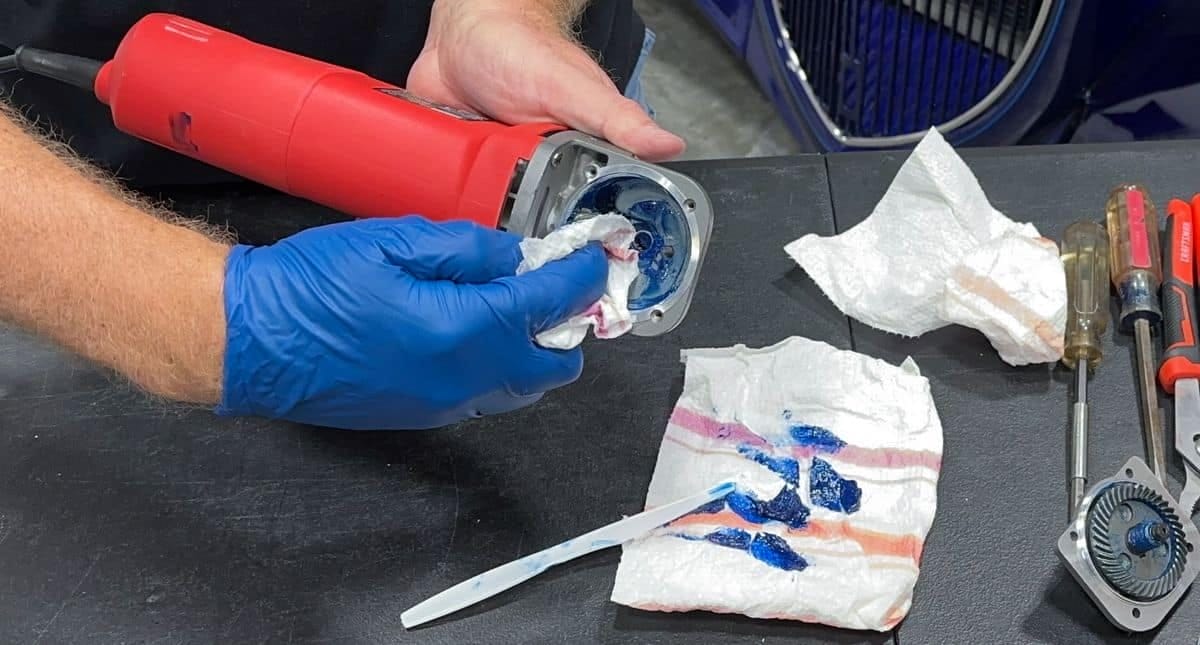
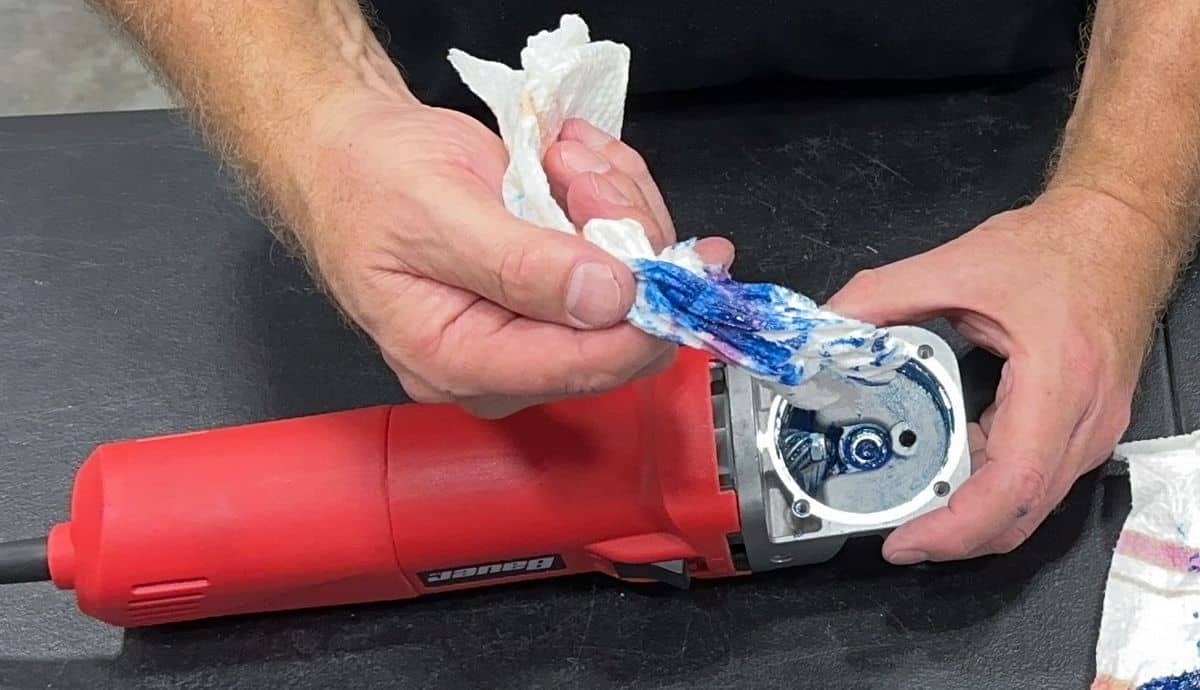
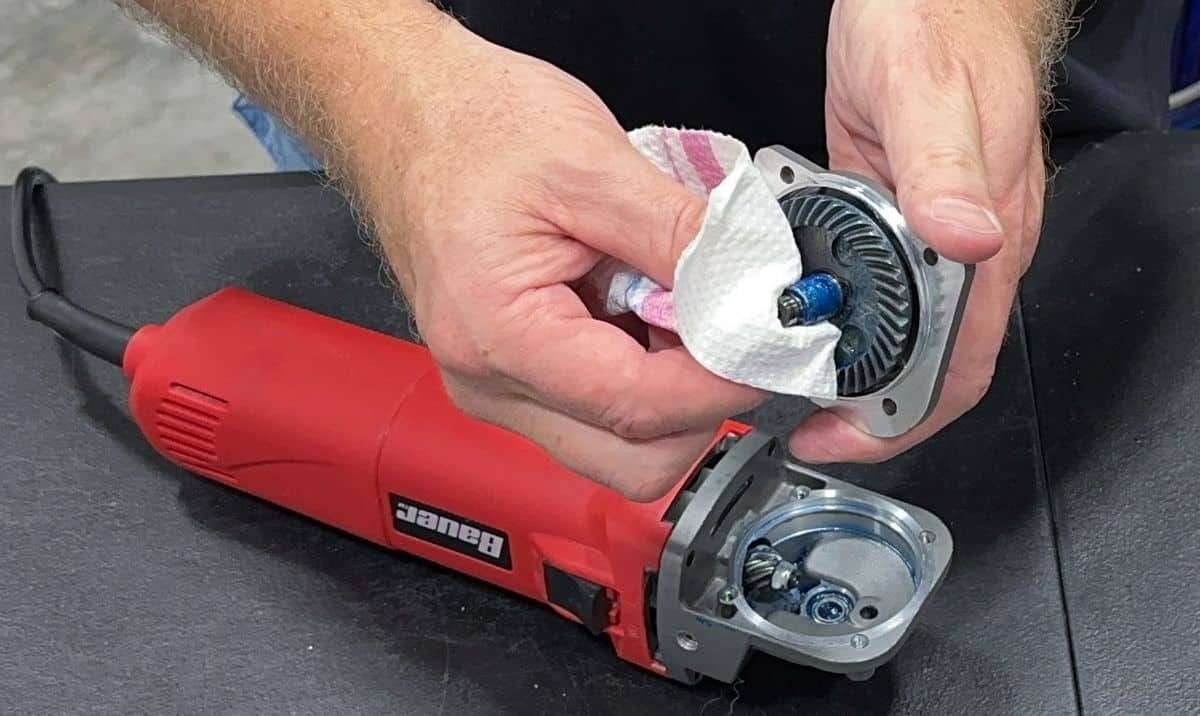
Step 7: Remove the Factory Grease
I used my fingers and some paper towels. If you really want to go nuts cleaning out as much of the grease as possible, have some Q-tips handy.

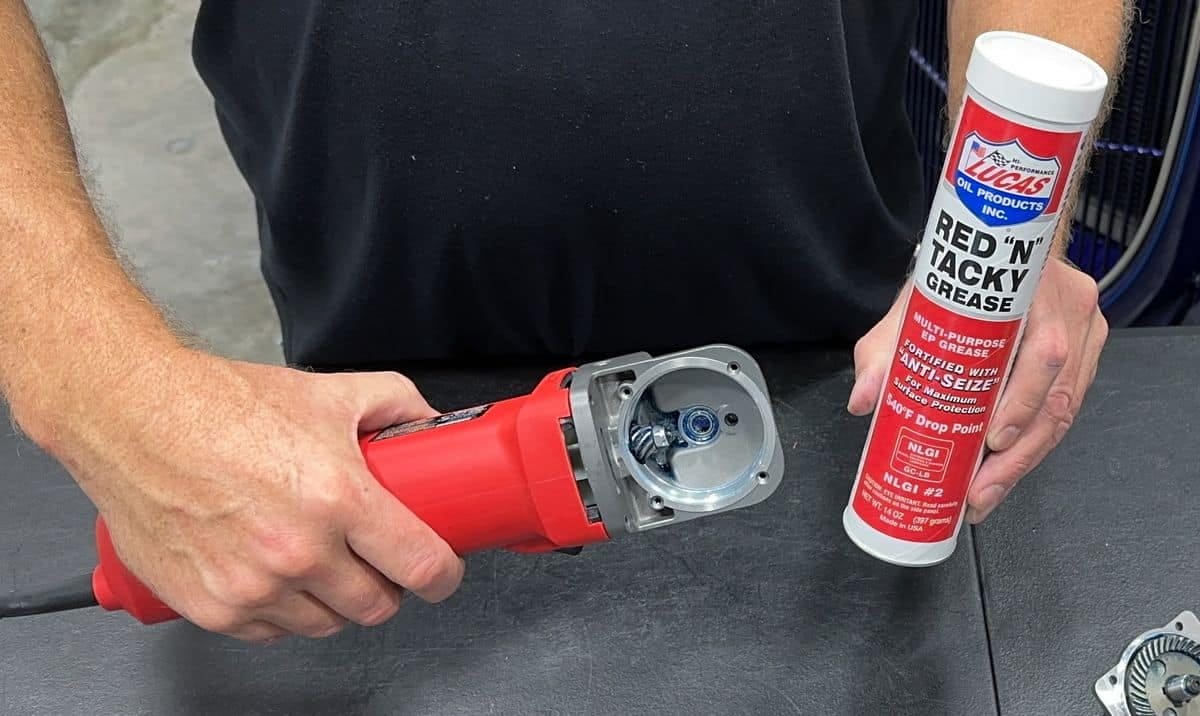
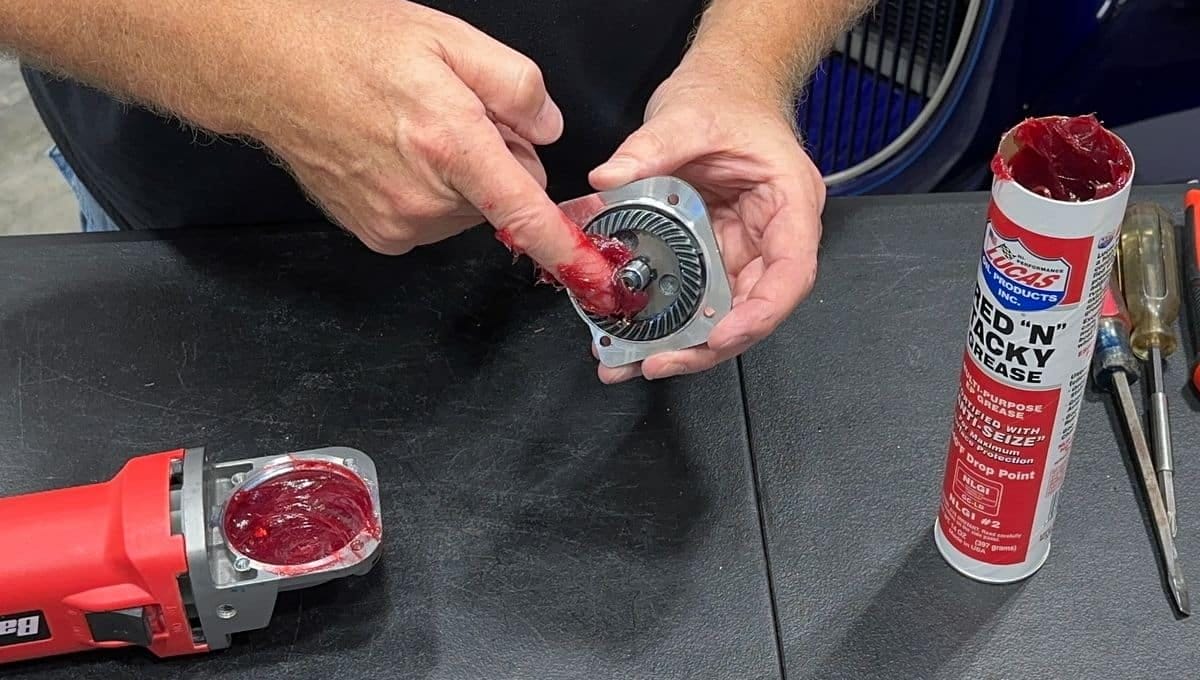
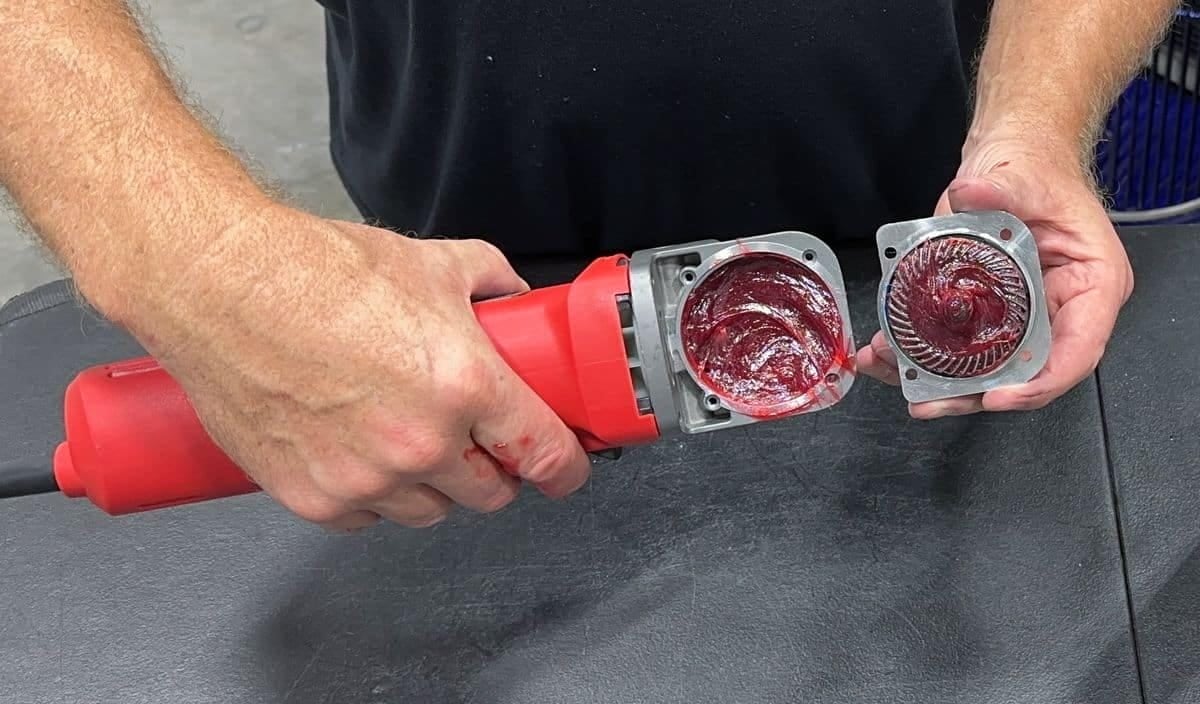
Step 8: Replace Grease
Pack the inside of the gear housing with a premium quality lithium grease.
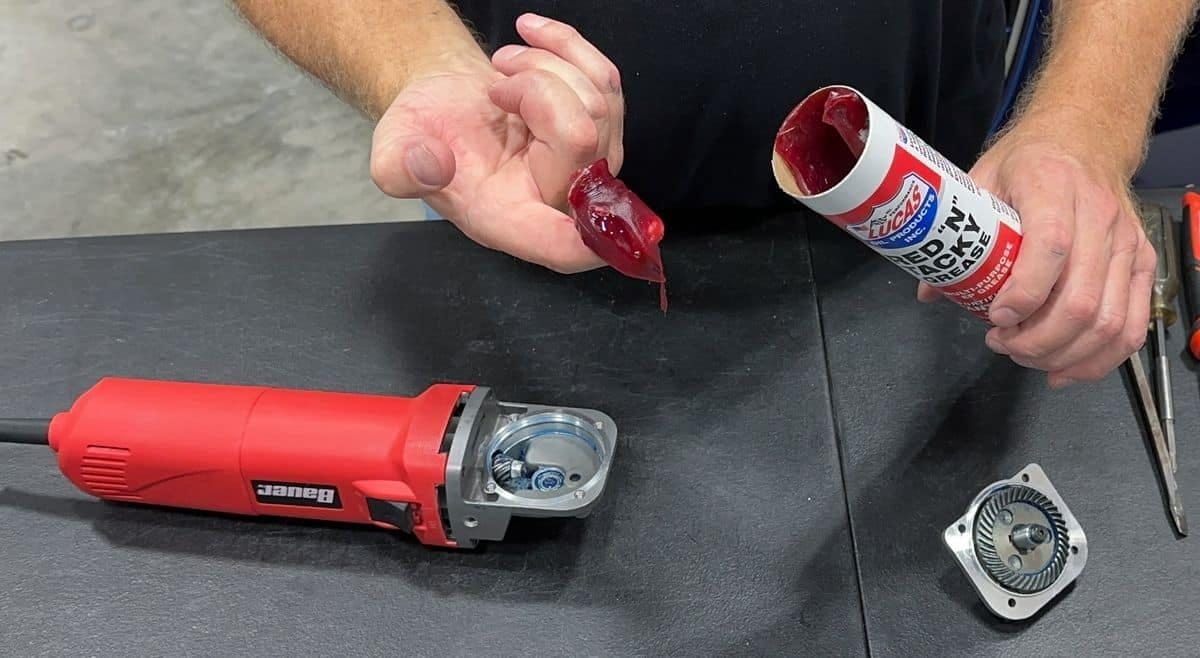

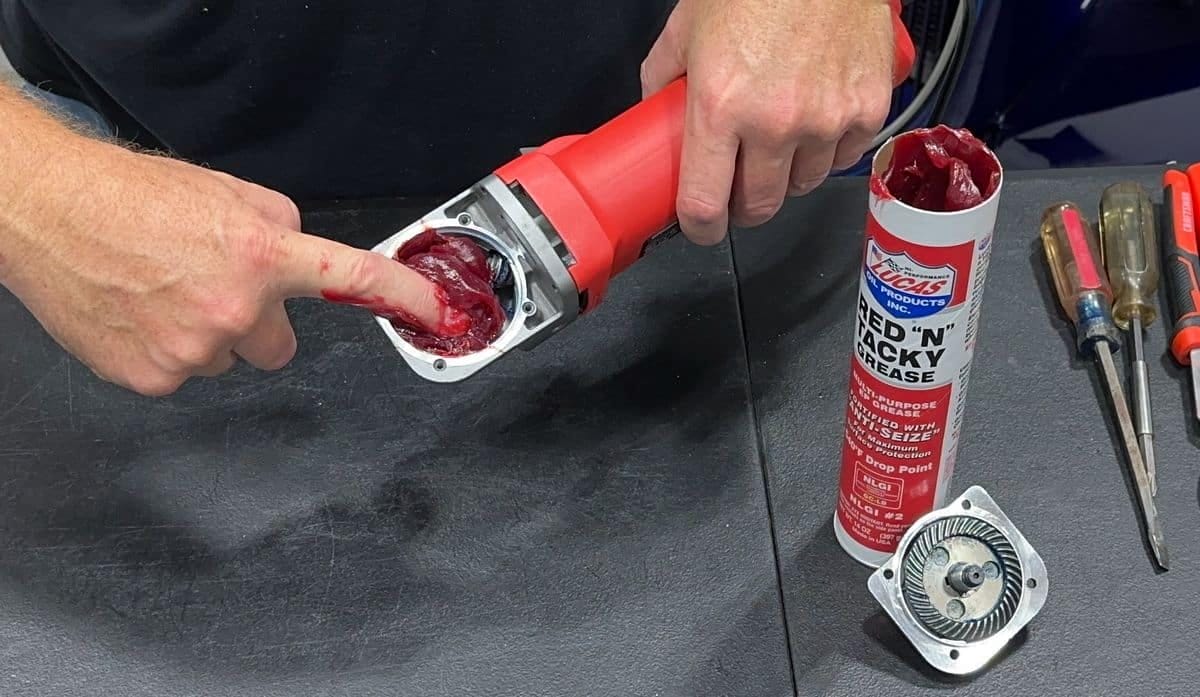
Apply grease to both sides of the gear housing.
Step 9: Reassemble the Tool
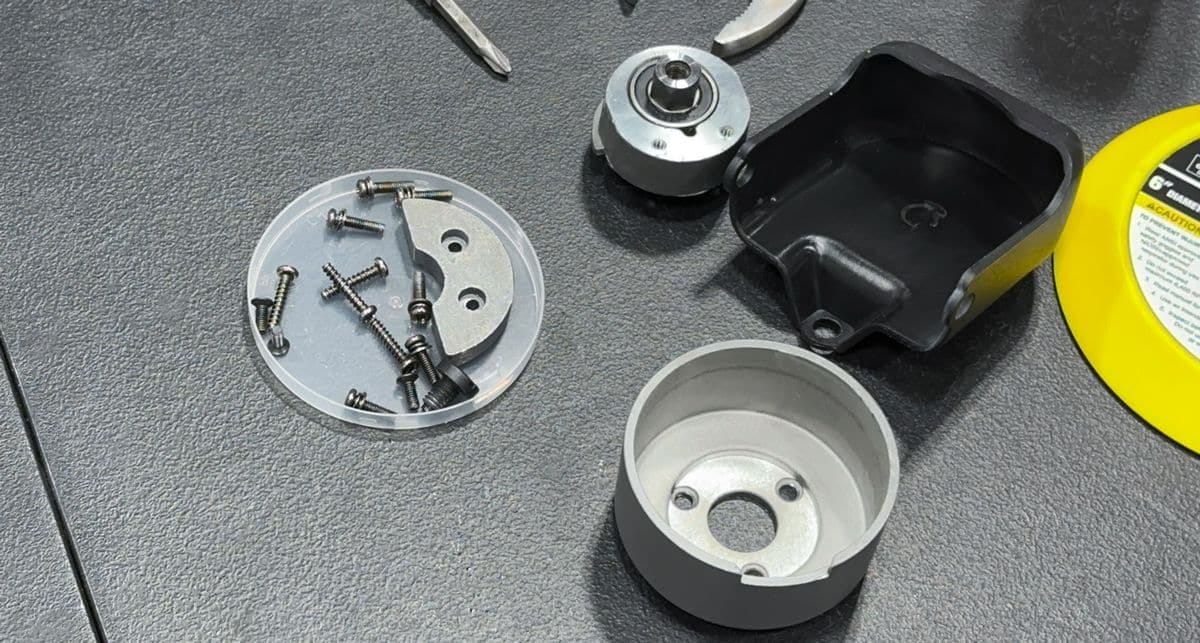
Mike’s Technique Tip: Have a small bowl (or screw holder) handy to hold all the tiny stuff so you don’t lose it during this project.
Snug each machine screw down until tight.
Reinstall the rotating assembly.
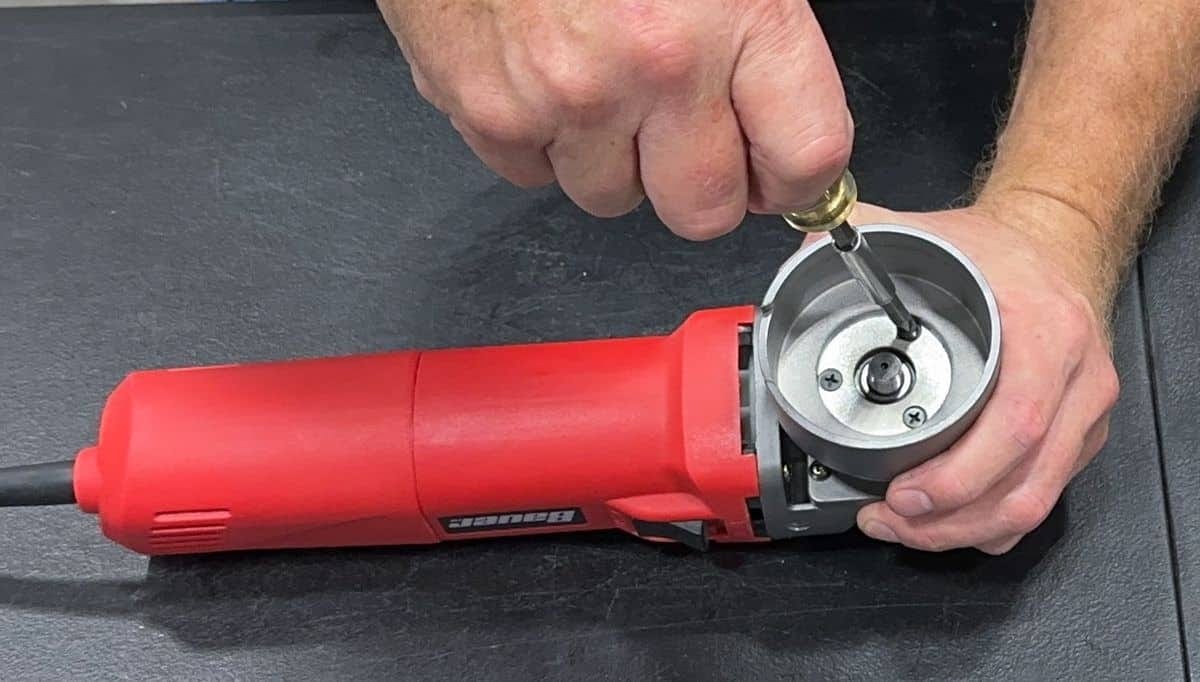
Reinstall the counterweight.
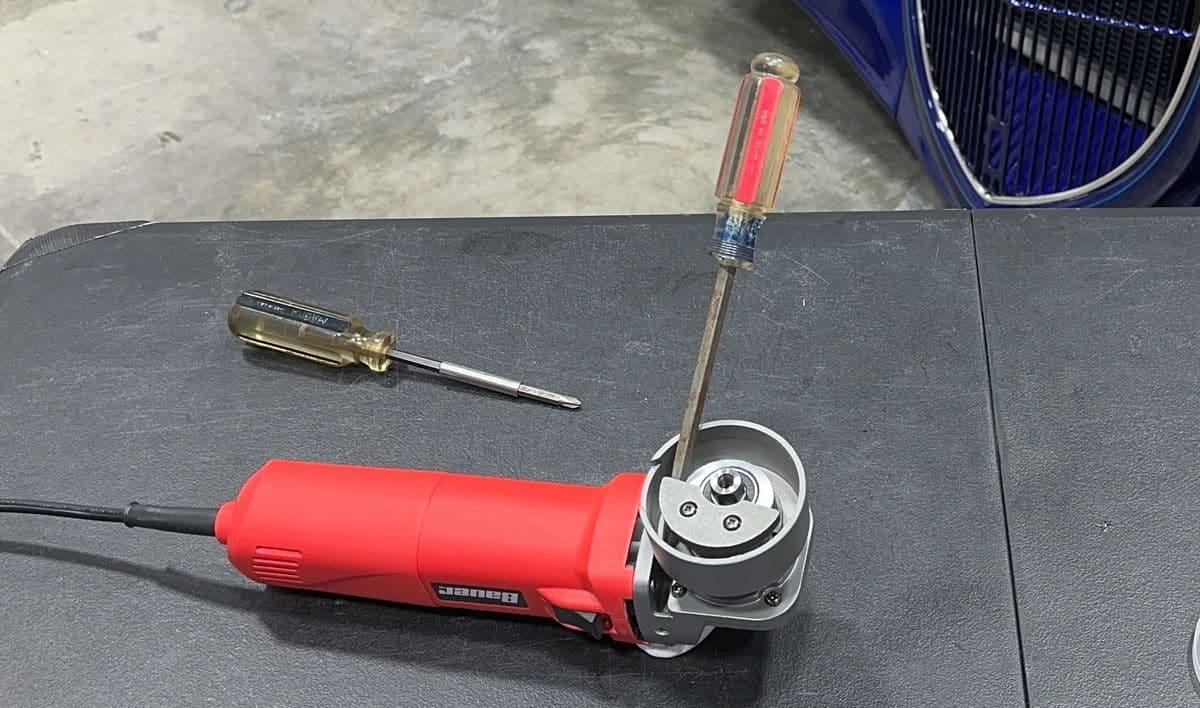
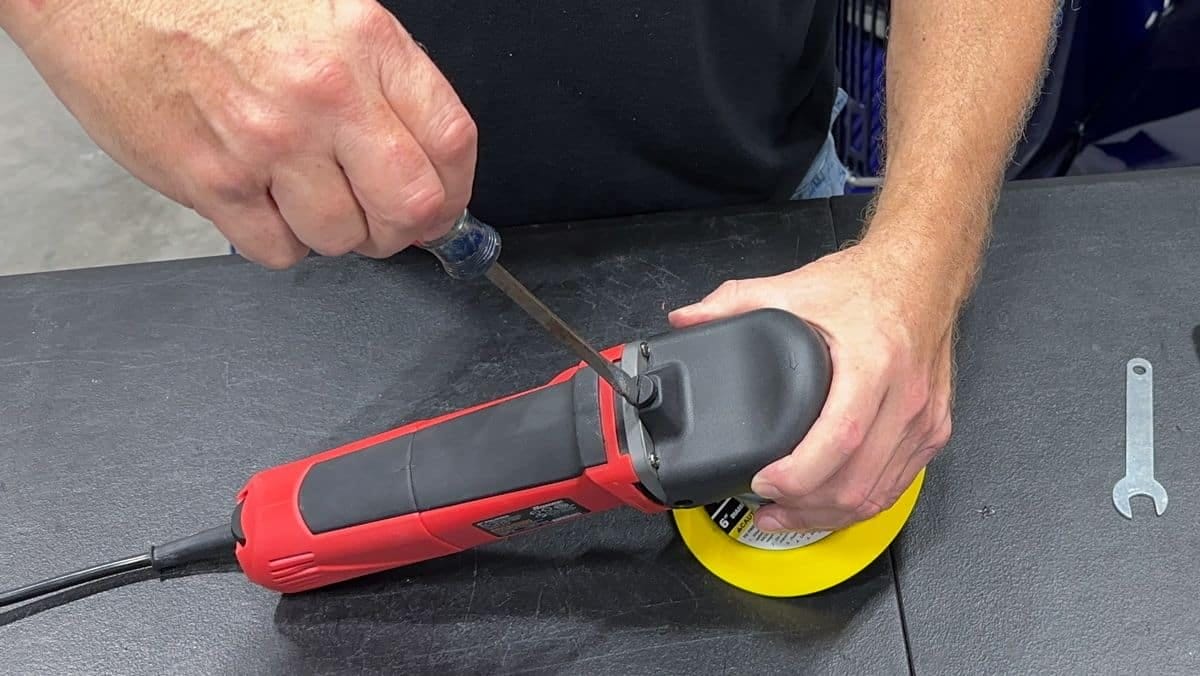
To keep the rotating assembly from spinning while tightening the counterweight screws, you can block and wedge the counterweight using a flat head screwdriver like you see in the picture below.
Reinstall the backing plate, be sure the compression washer is still attached to the 5/15” threaded stud.
Reattach the plastic housing.
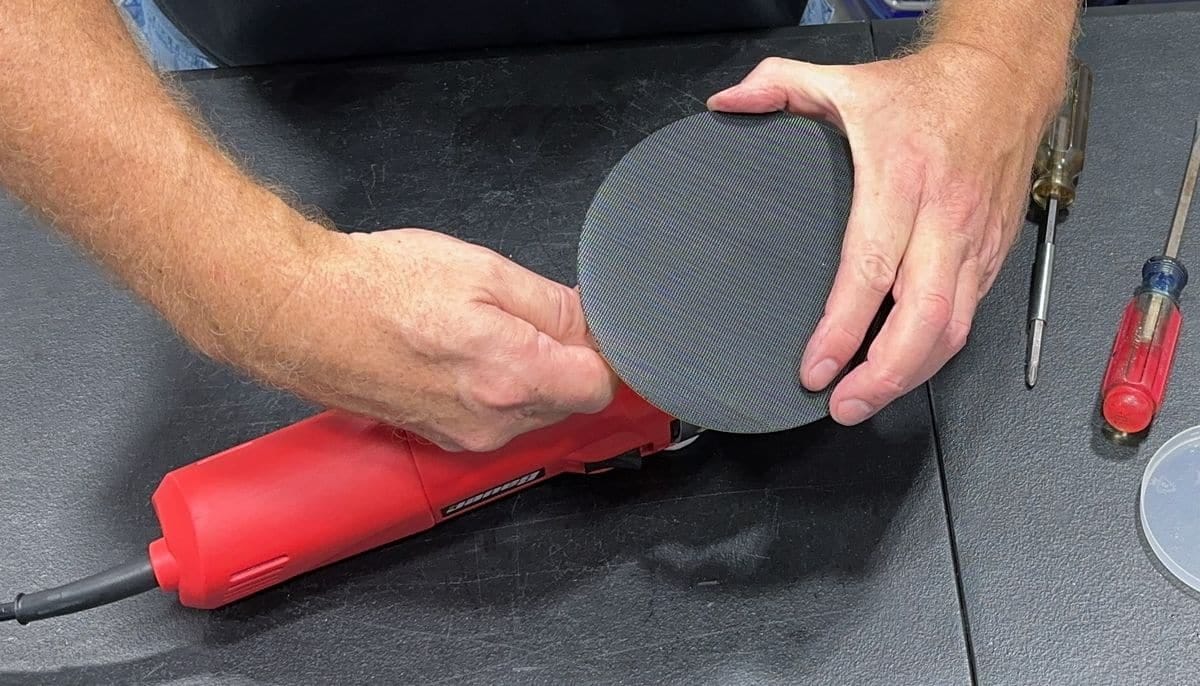
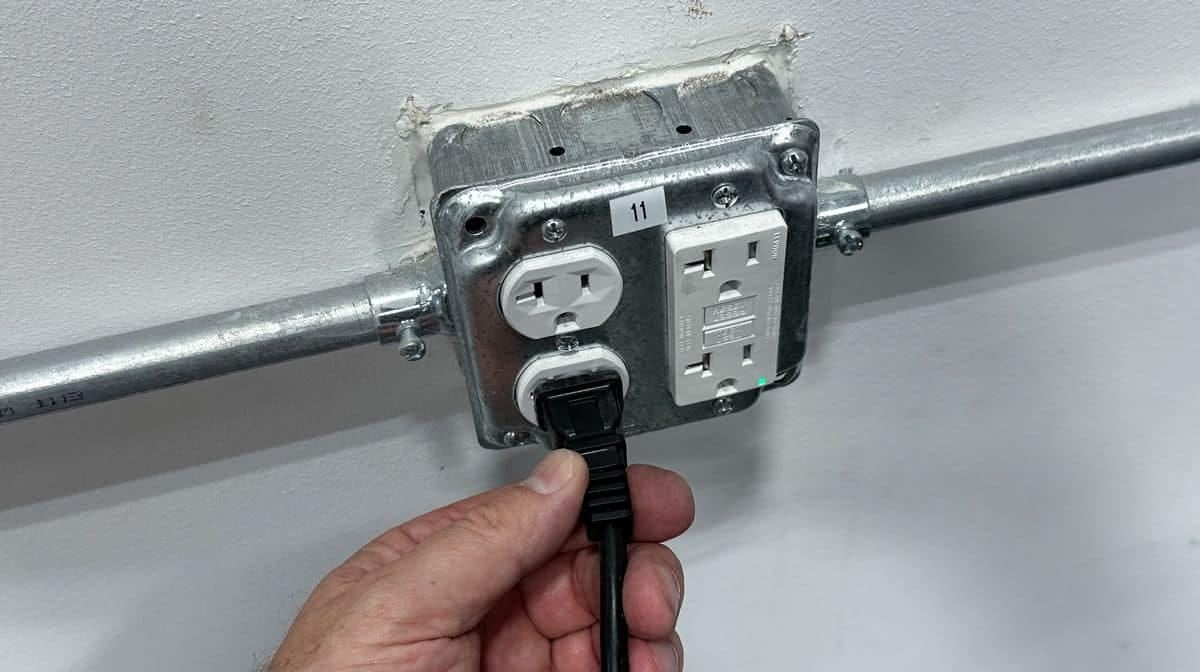
Step 10: Test the Polisher
After you have reassembled the polisher, now it’s time to test it out.
Success!
The polisher is noticeably quieter and also there’s less vibration, too.
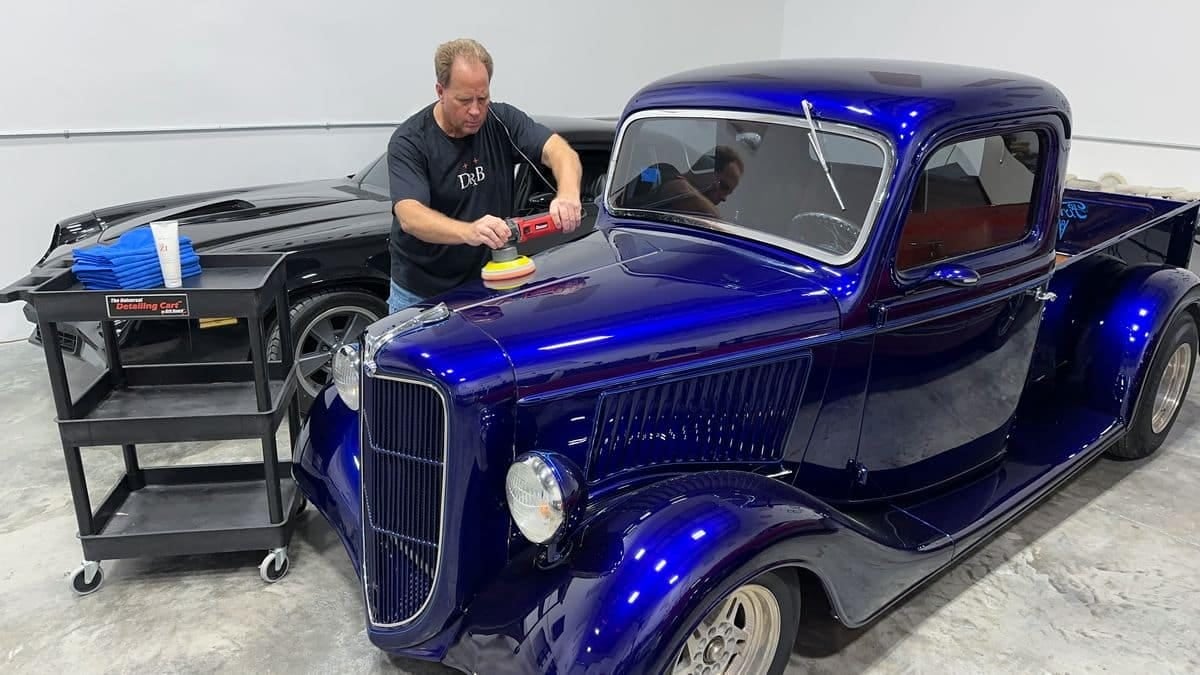
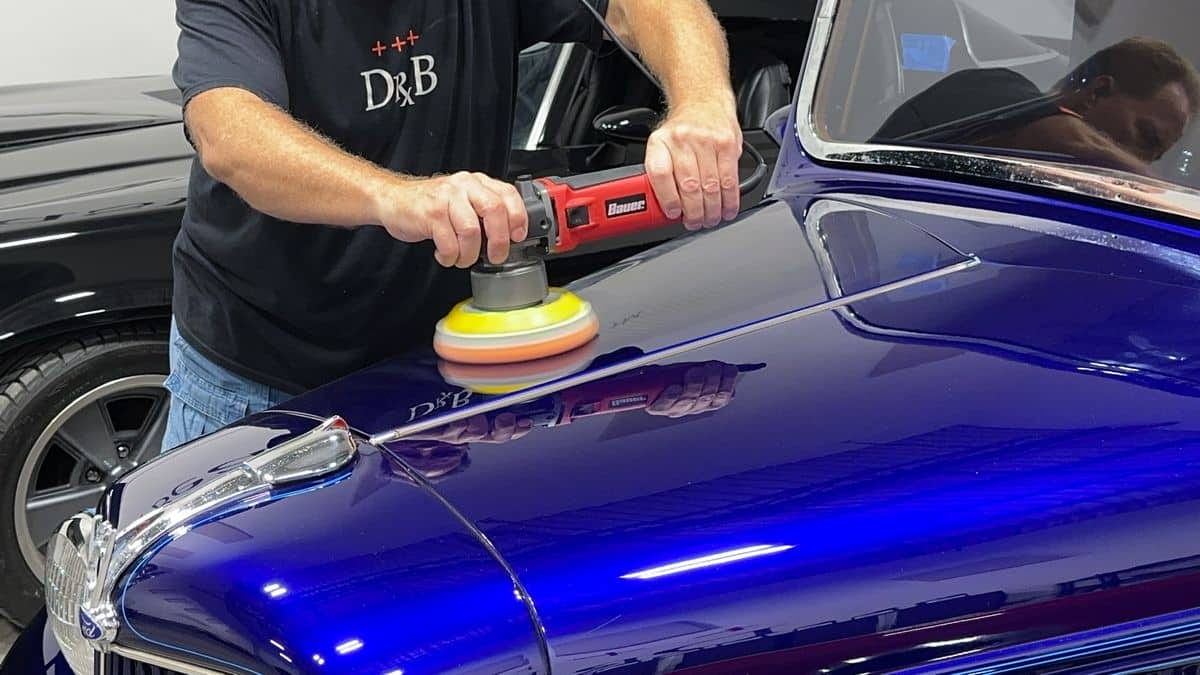
Time to get to work de-swirling a 1936 Ford Pickup Streetrod.
Final thoughts…
As you can see from the pictures above, you can disassemble the polisher, replace the factory grease with a premium grease and then reassemble the polisher in around 30 minutes using simple hand tools.
The benefits make this mod more than worth the time and energy required to do the grease swap. Not only will the tool run quieter and have less felt-vibration, but chances are also good it will last longer too.
Questions?
If you have any questions about how to do the grease-swap in your Harbor Freight Polisher, feel free to post them below to this blog article.
Do you have a passion for making cars shiny?
- Would you like to take your detailing skills to a higher level?
- Do you find you learn better by doing versus sitting in a chair looking at a PowerPoint presentation about car detailing?
Here at the Dr. Beasley’s O.R., (Operating Room), in sunny Stuart, Florida, we teach the most hands-on car and boat detailing classes on planet Earth. And we prove it too. You can find write-ups on the Dr. Beasley’s Blog that photo-documents just how hands-on our classes are plus you’ll see the kinds of cars and boats you’ll be training on.
Click the link below to find the dates, locations, topics, and prices for all upcoming detailing classes.
Upcoming Detailing Classes – Prices – Info – Topics – Locations
And if you ever have any questions, always feel free to reach out to me personally via text, phone call or email.
I hope to see you in a future detailing class!
Sincerely,
Mike Phillips
Chief Education Officer for Dr. Beasley’s
Mike@drbeasleys.com
760-515-0444
Excellent how-to. But I can’t help but wonder if it’s worth the hassle vs. just buying a better tool. These Chinesium HF tools have notoriously flaky QC and your particular unit may be short-lived even after going through this effort.
Hi David,
I’m with you. My go-to polishers are the FLEX 24 Volt Cordless Rotary and the original FLEX XC 3401 VRG aka the BEAST. Both of these are a lot more expensive than anything at Harbor Freight. So, while you and I are on the same page, there are a lot of people that for a lot of different reasons, will opt for less costly tools.
For example, I have met thousands of people over the decades that ONLY detail their own cars, and they only do this once a year or so. For these people, they don’t want to spend a lot of money on a tool that’s going to sit in a box in the garage for years.
But yeah, I much prefer to buy once and thus cry once.
Thanks for reading and commenting. -Mike Phillips
Would LOVE to see FLEX replace the
awful red color PXE 80 three inch polisher/sander to the beautiful black and grey color that the new polishers have.
There’s a lot of changes taking place with FLEX, so maybe there will be a color change for the PiXiE in the future.
I tried this but couldn’t get the rotating assembly off even with the right pliers. Perhaps I need a buddy’s help because I just gave up working it alone. However, I noticed that switching to a 5 inch pad mount did quite a bit to improve the ease of using this polisher