


Last Updated June 1, 2026
Saturday, January 20th, 1-Day Paint Correction and Ceramic Coating Class
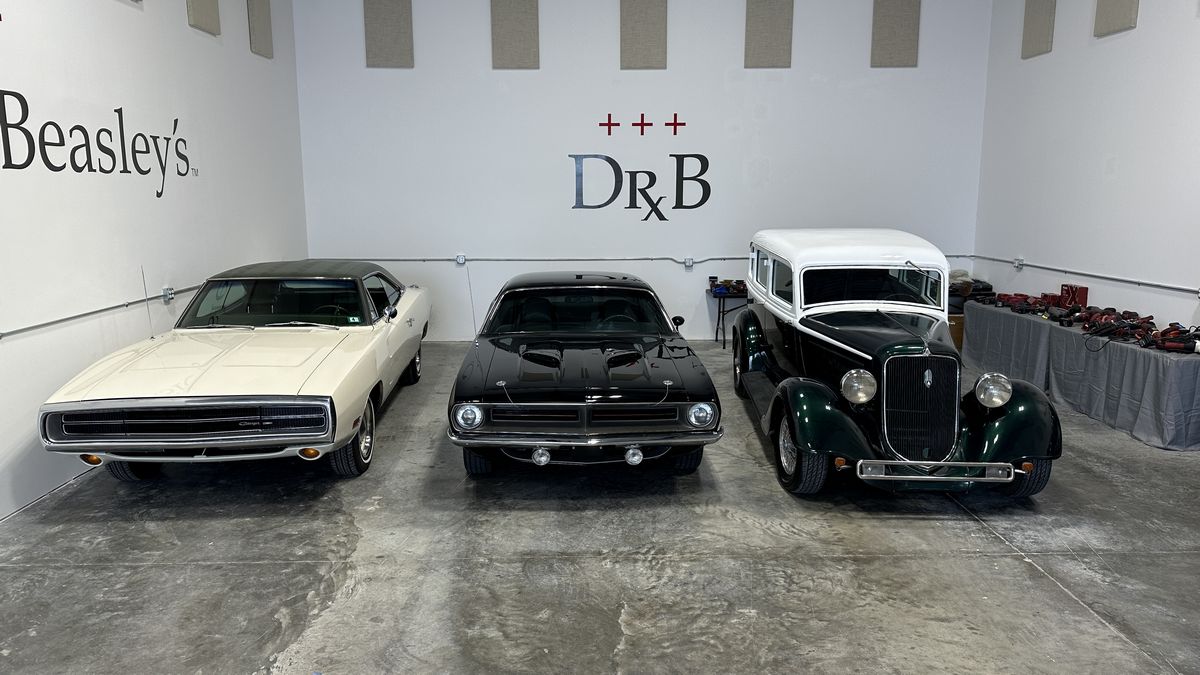
4 cars for this class,
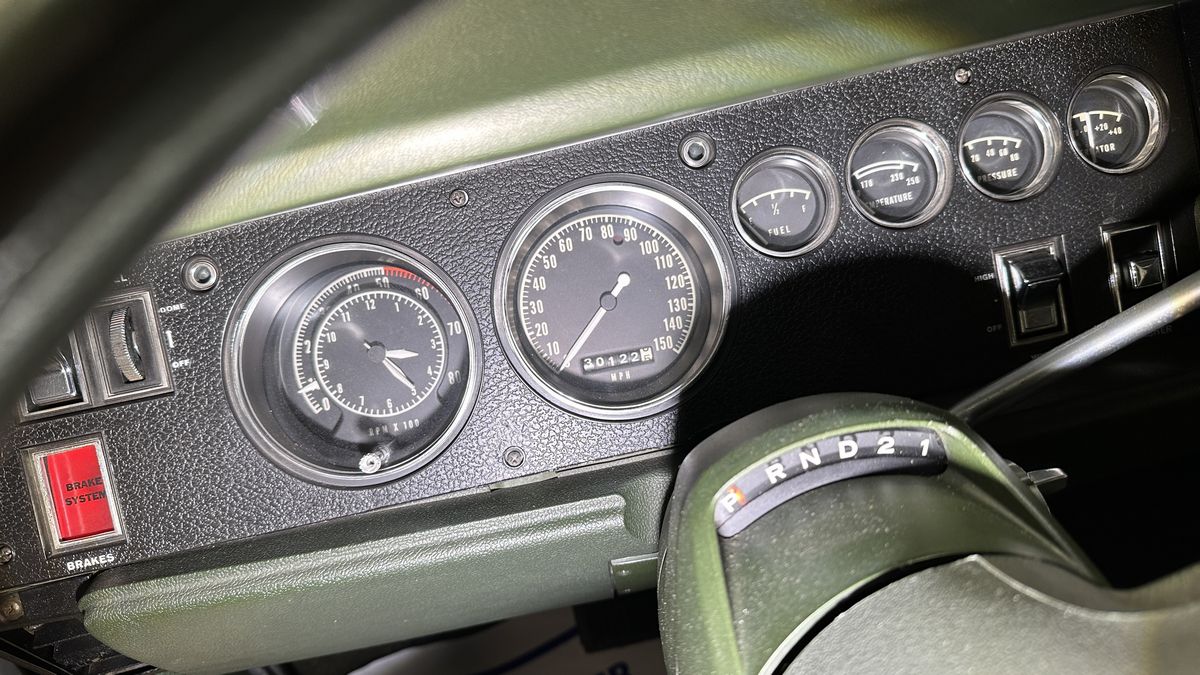
- 1970 Dodge Charger – 30,000 original miles
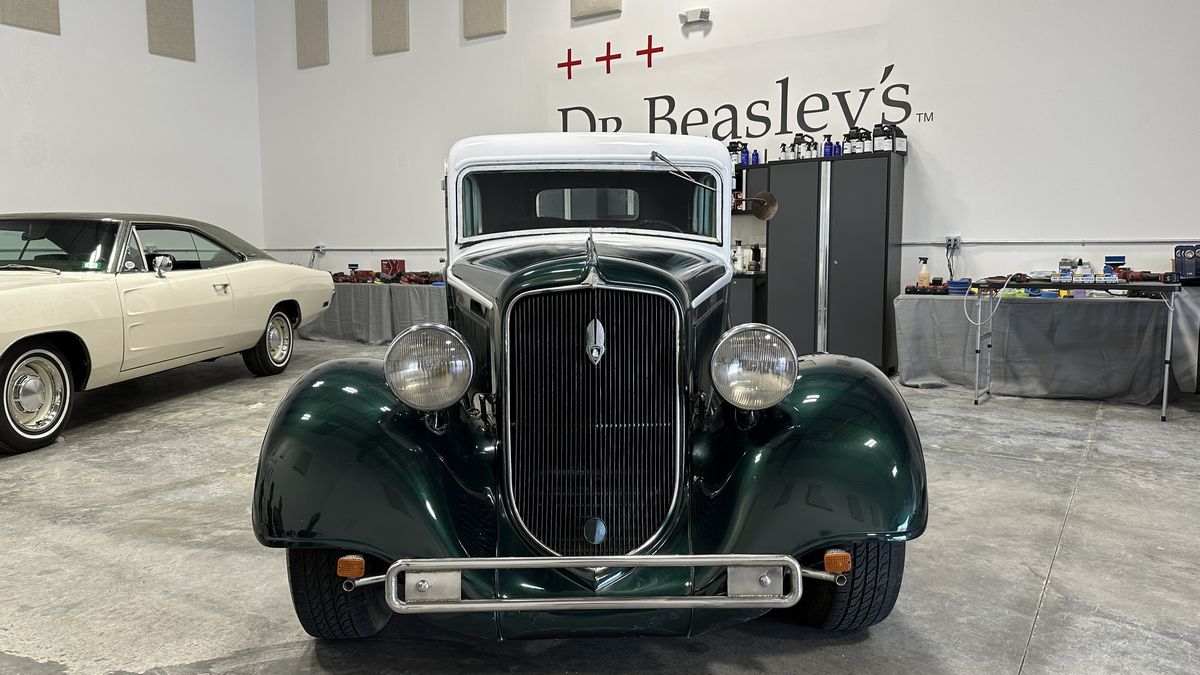
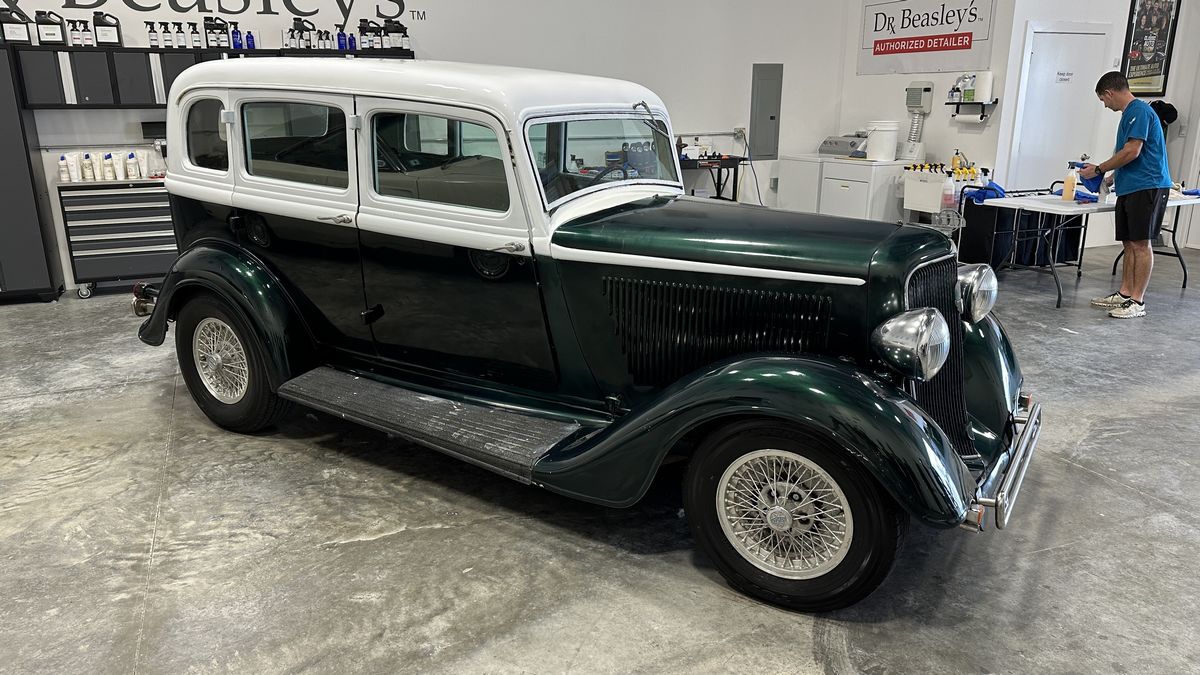
- 1934 Plymouth Streetrod – Dual Suicide Doors
- 1970 Plymouth Cuda 440
- 2000 Honda CVR SUV
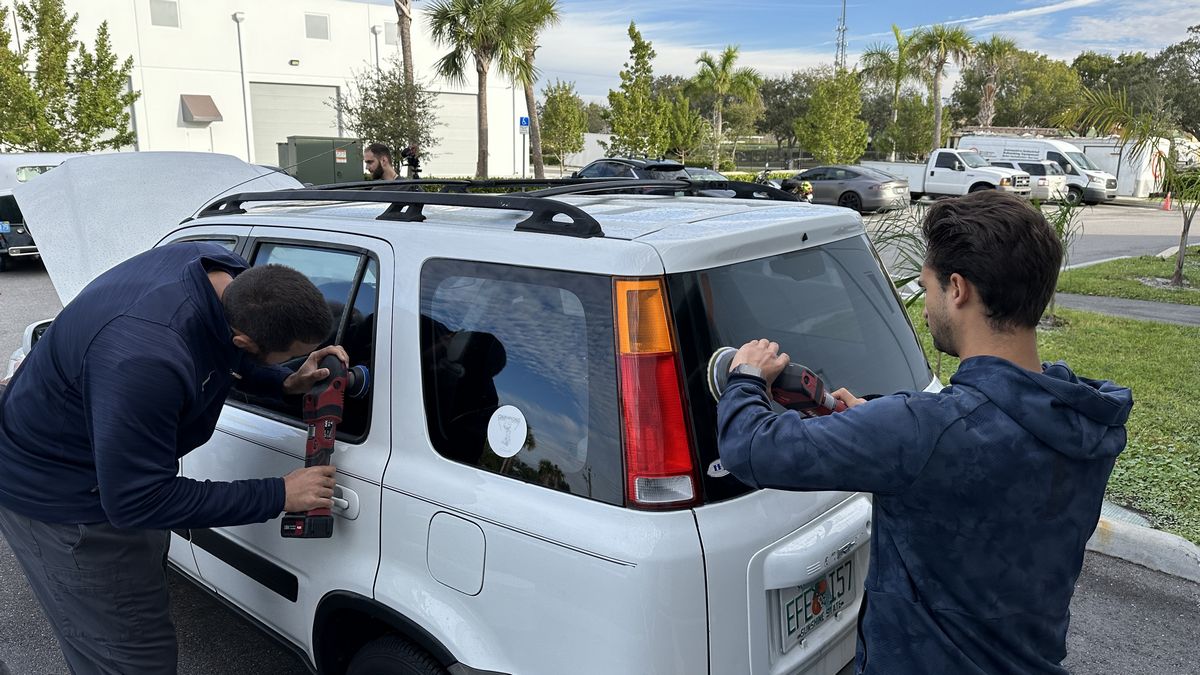
2000 Honda CVR SUV
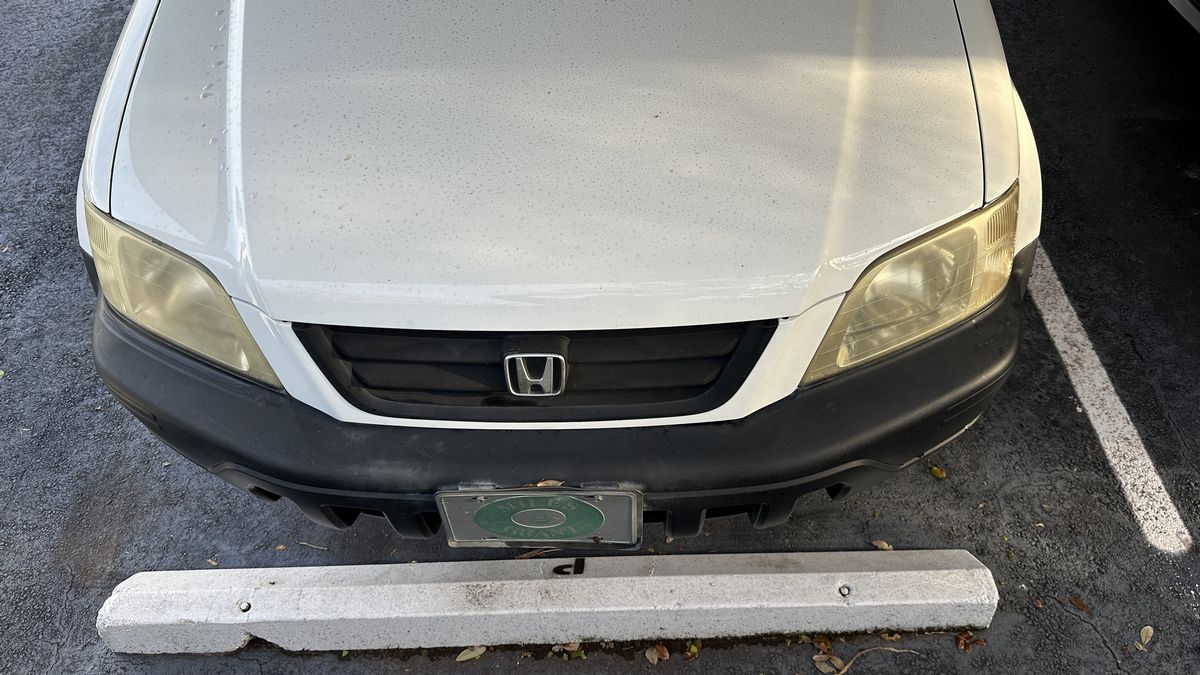
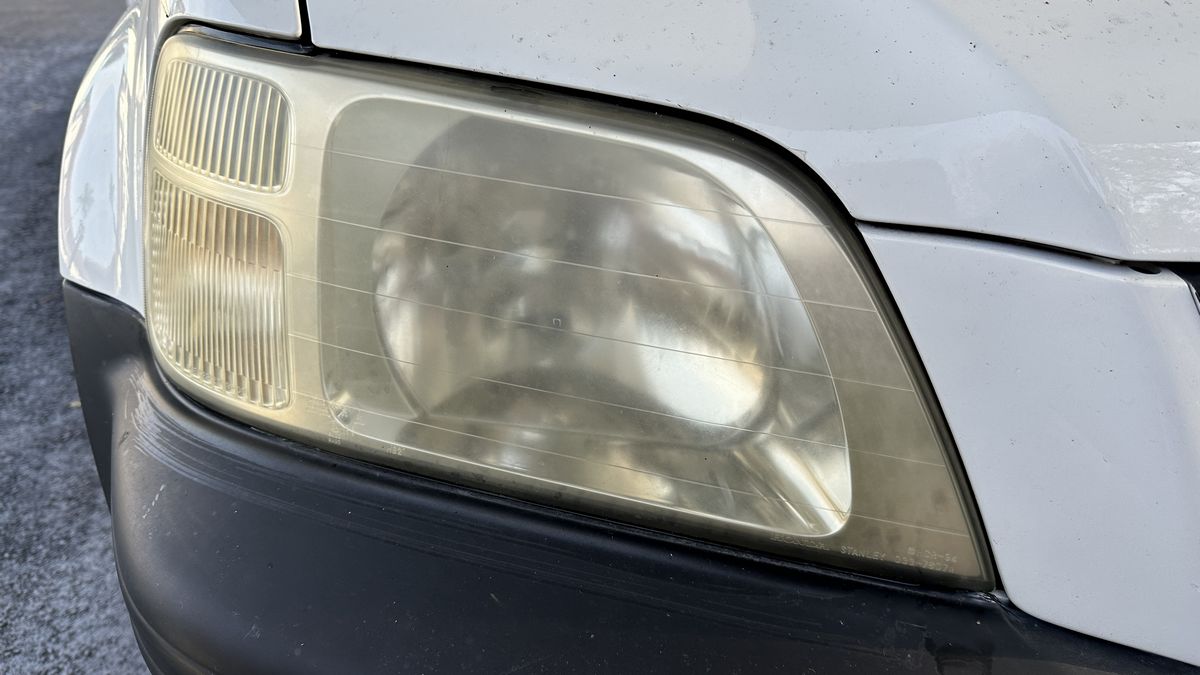
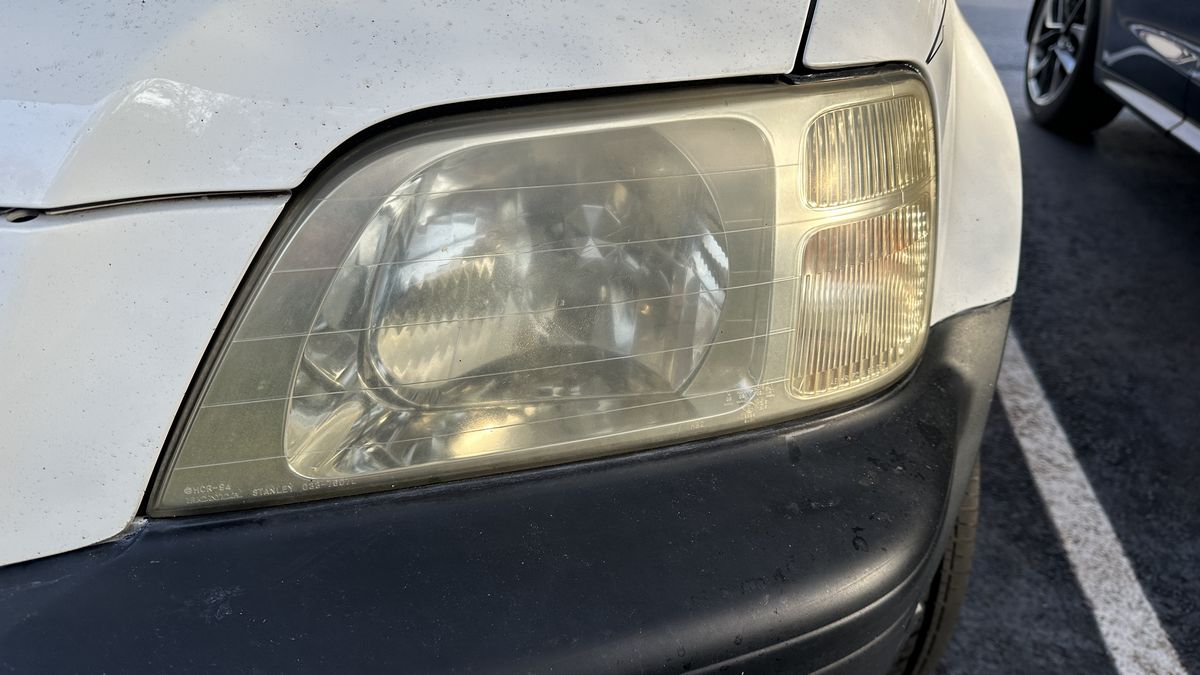
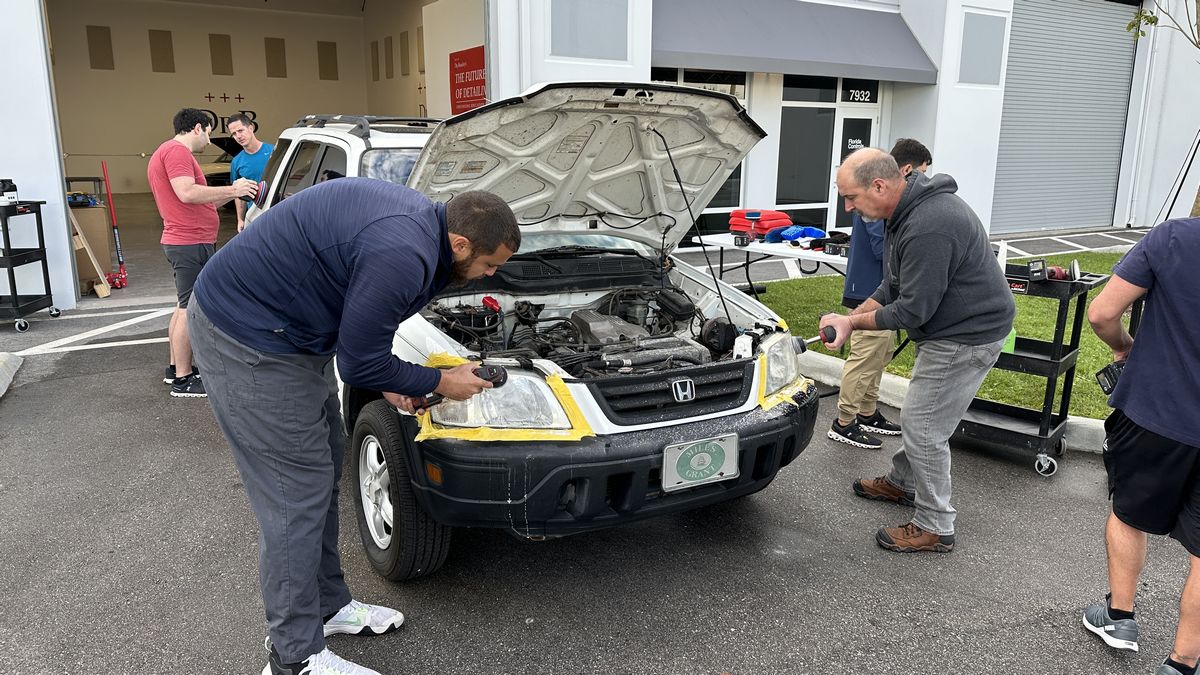
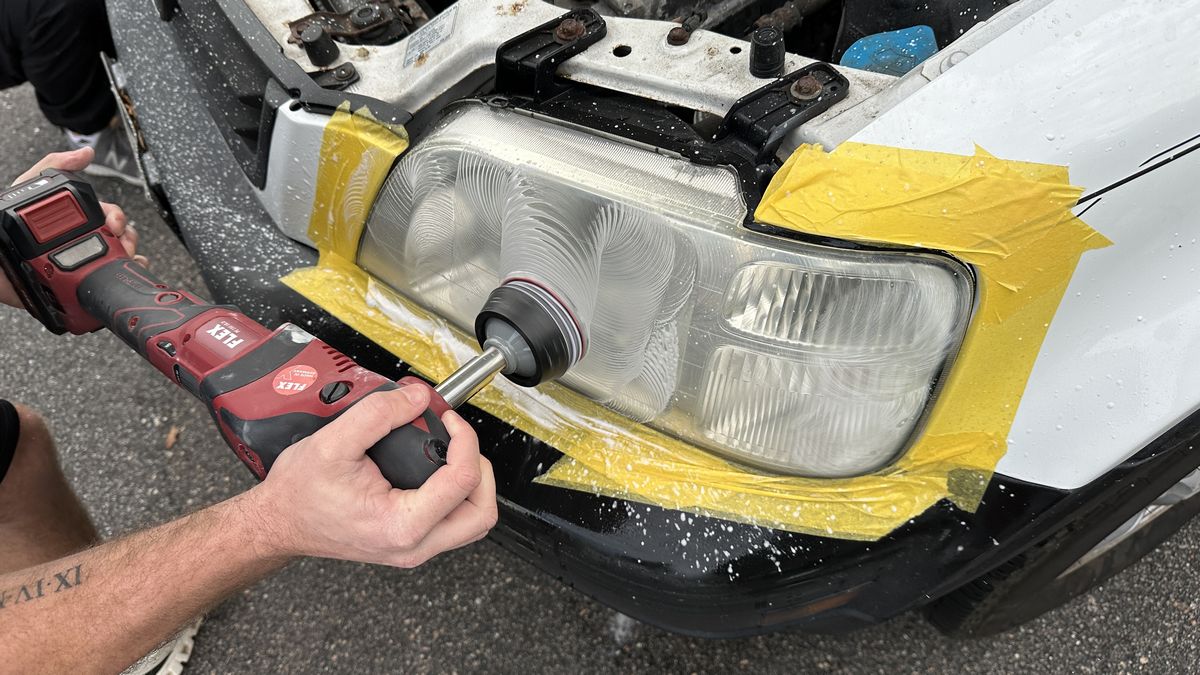
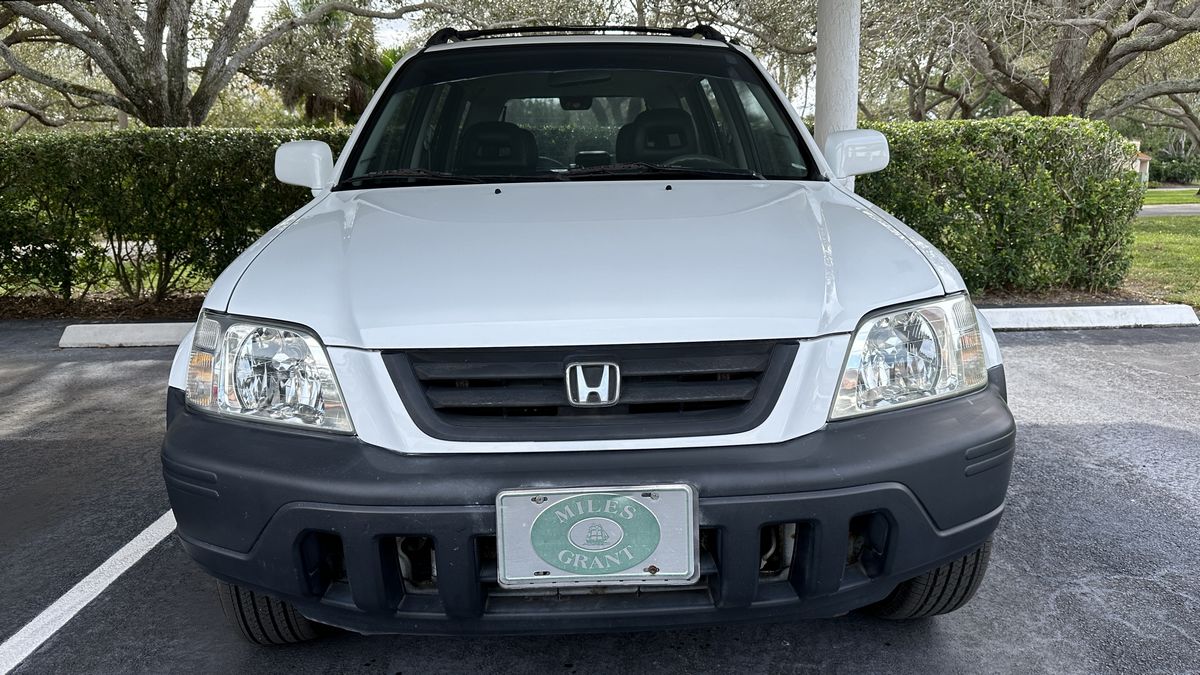
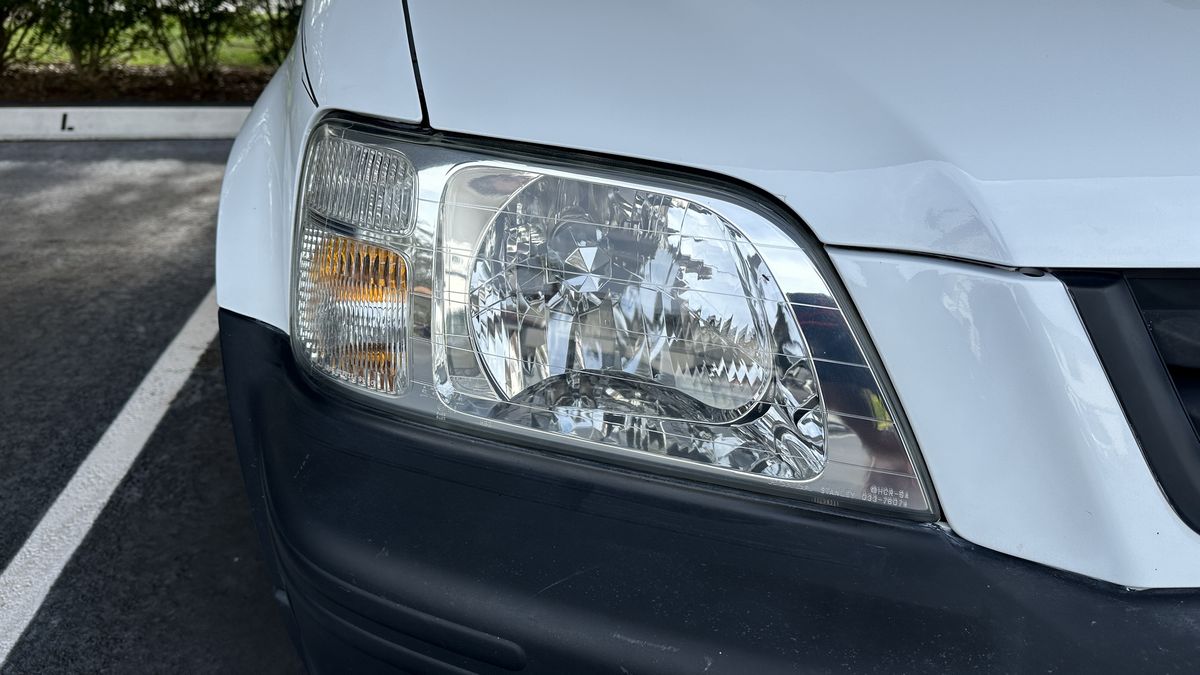
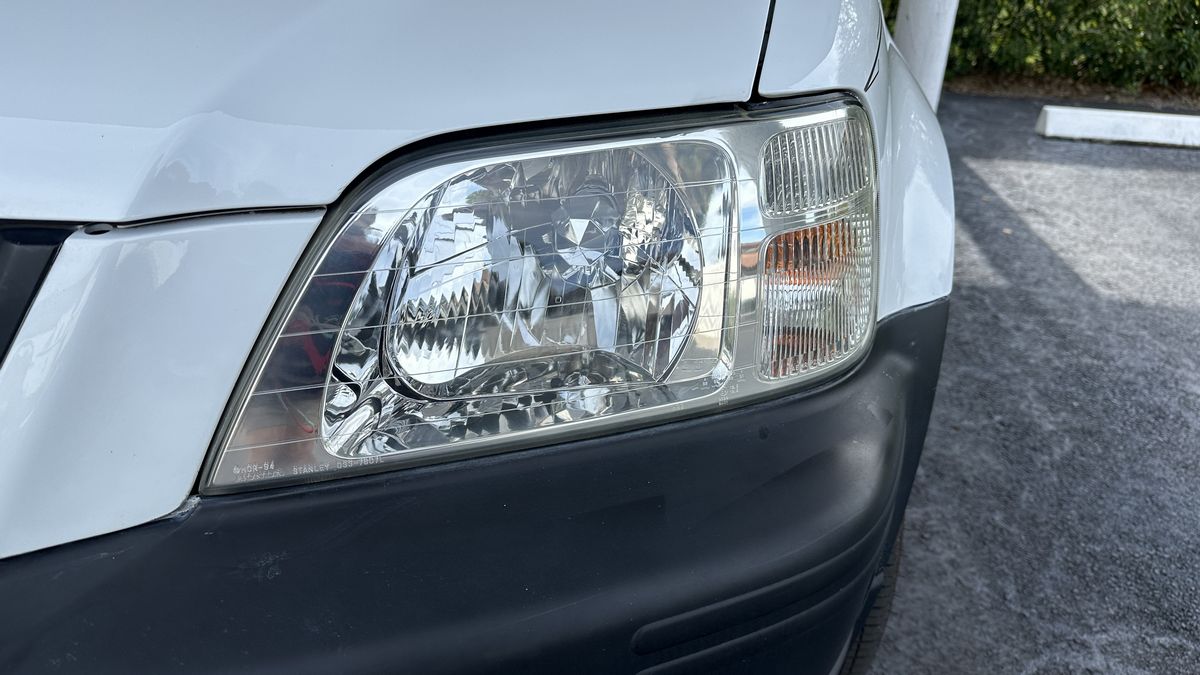
Wet Wash Engine Detail
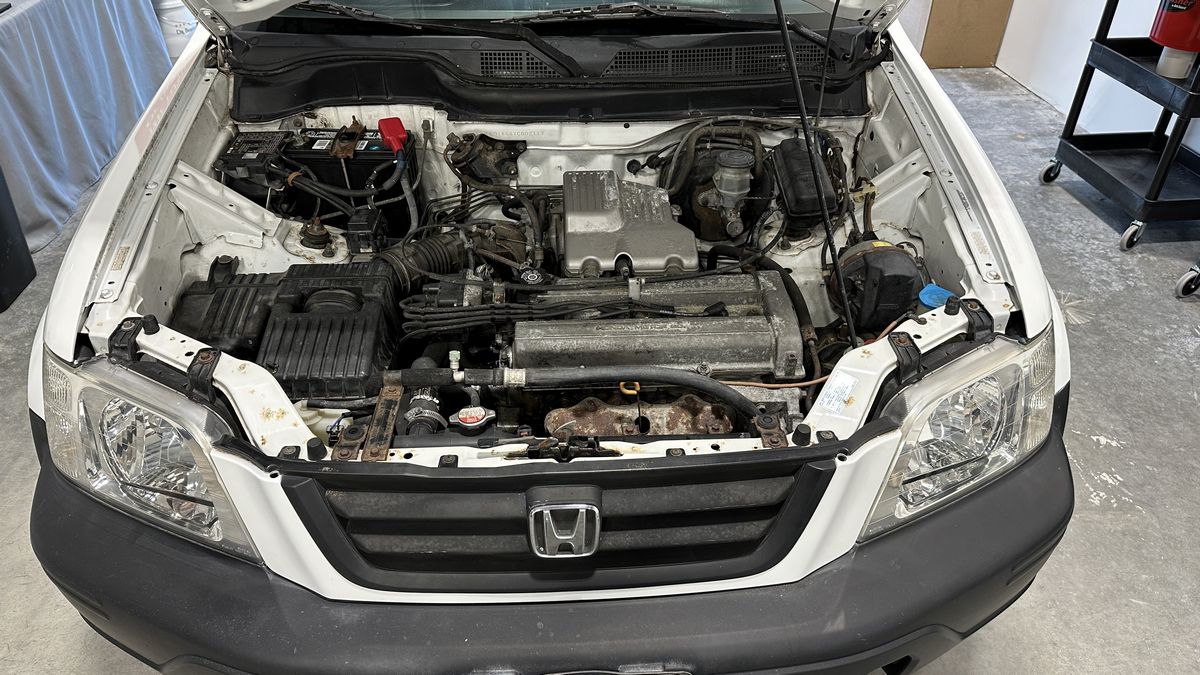
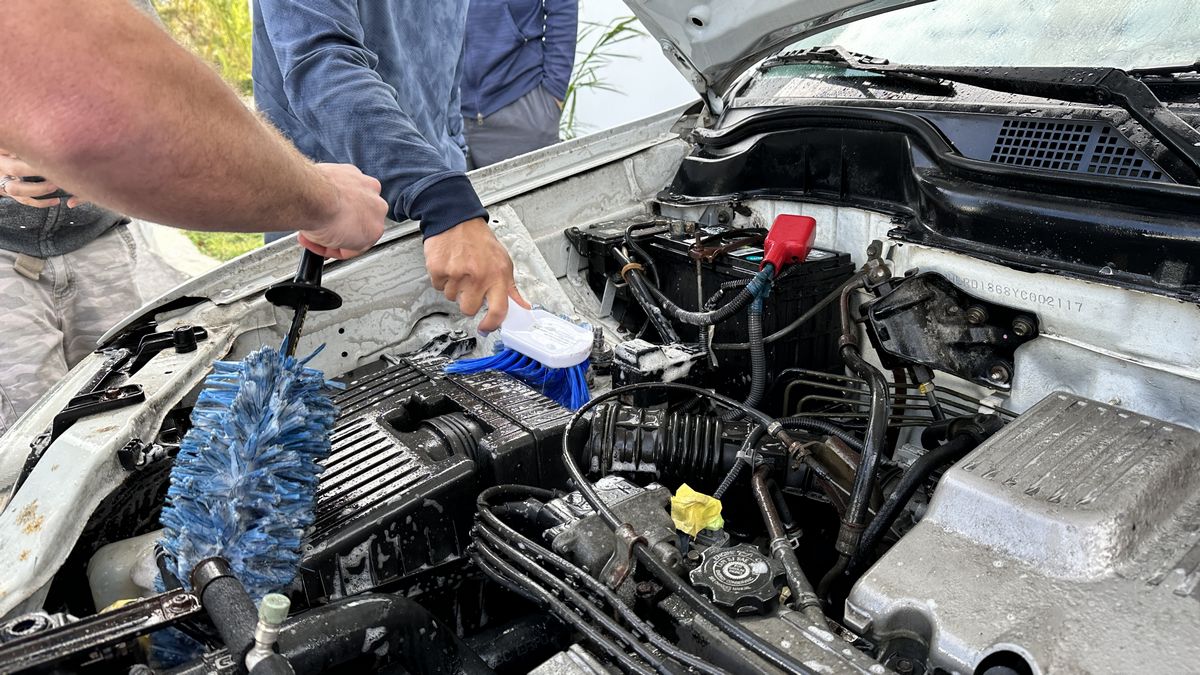
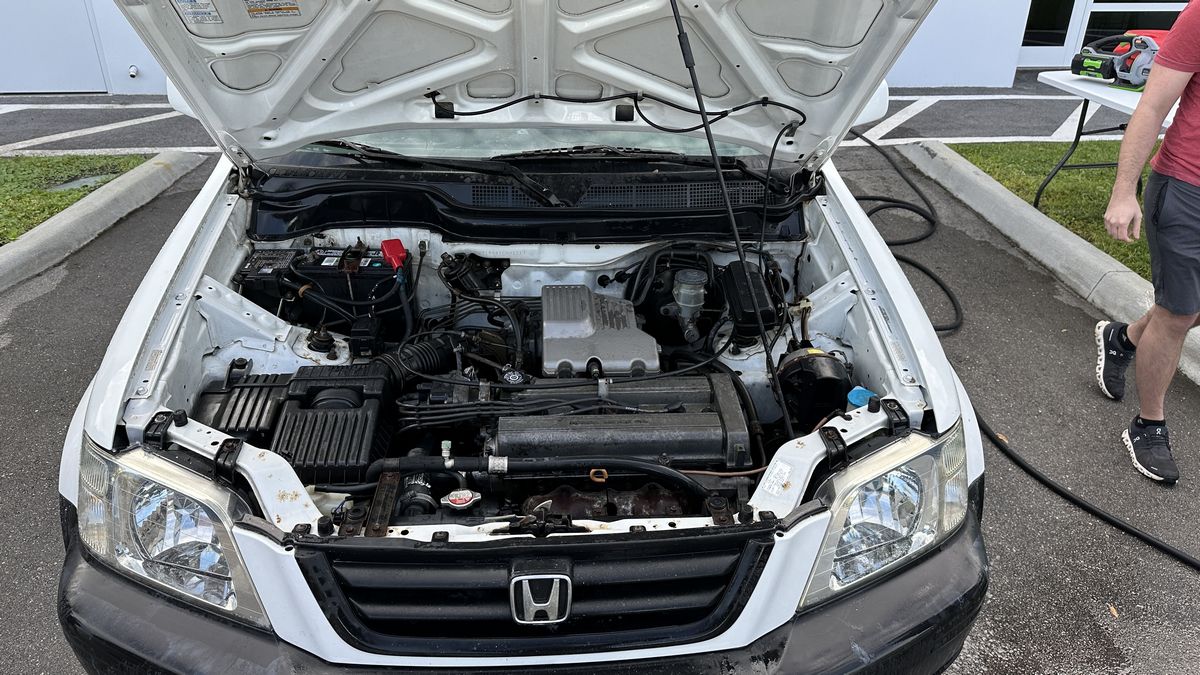
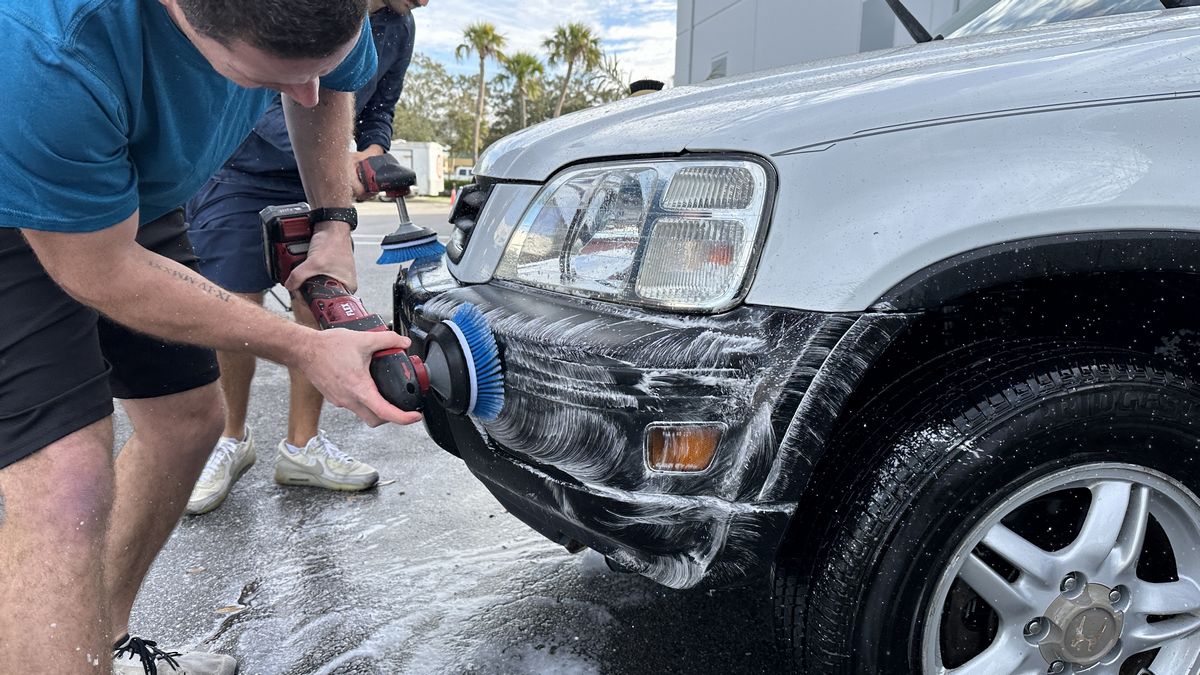
Machine Scrubbing Exterior Plastic Bumper and Body Cladding
Topical Glass Polishing to Remover Water Spots and Traffic Film
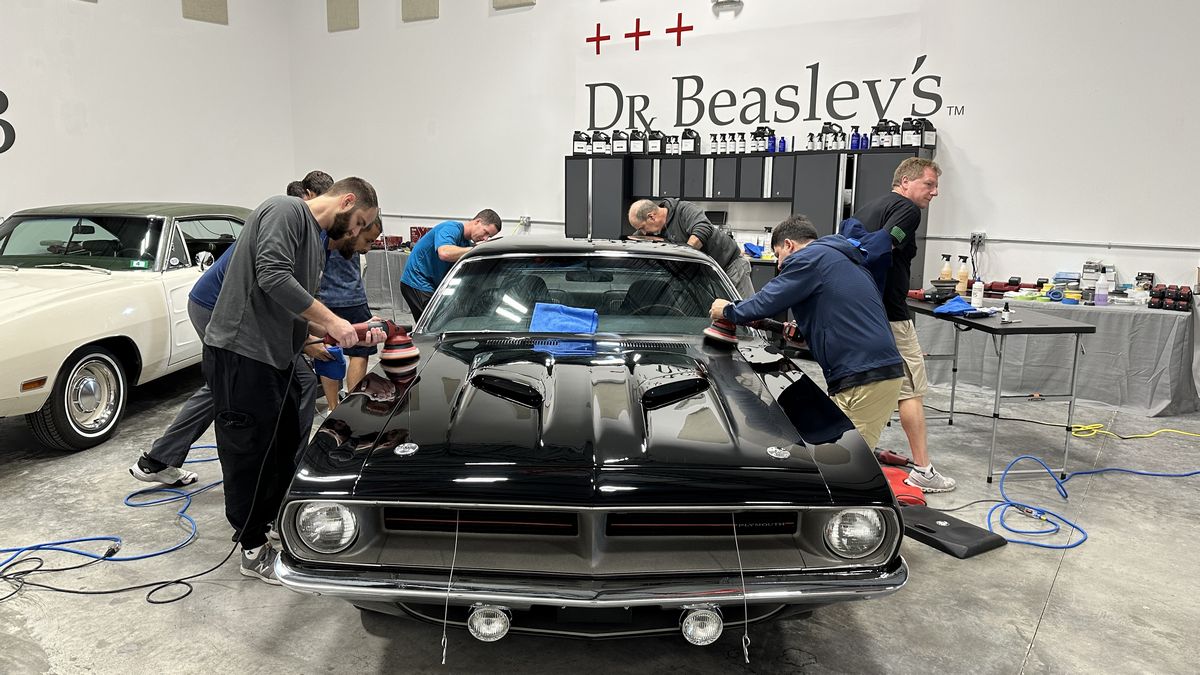
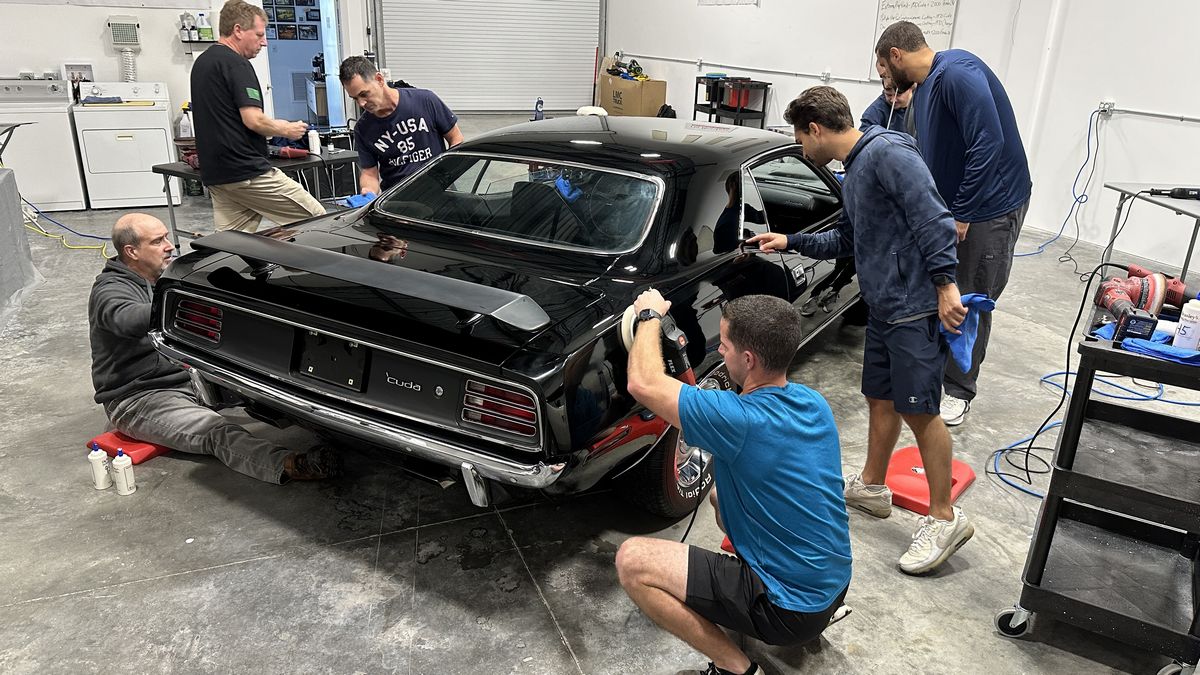
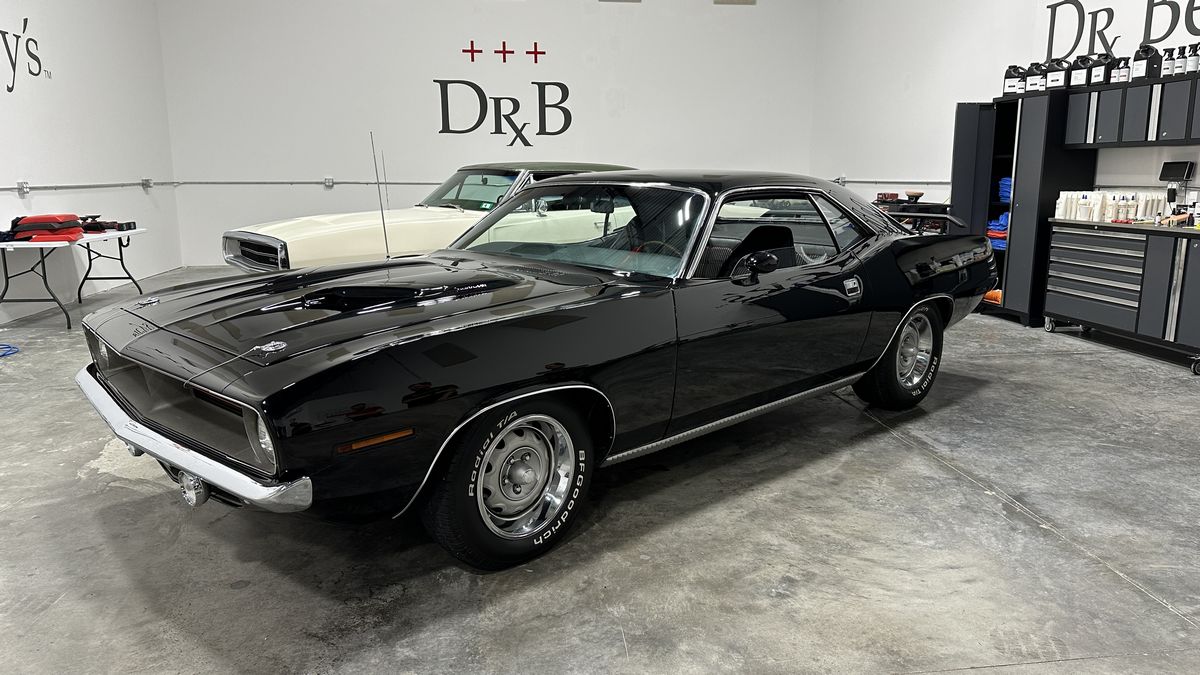
1970 Plymouth Cuda 440
After the Extreme Prep Wash for the 2000 Honda CRV, next up the class will be learning paint correction and ceramic coatings on the hammered black paint on this classic muscle car!
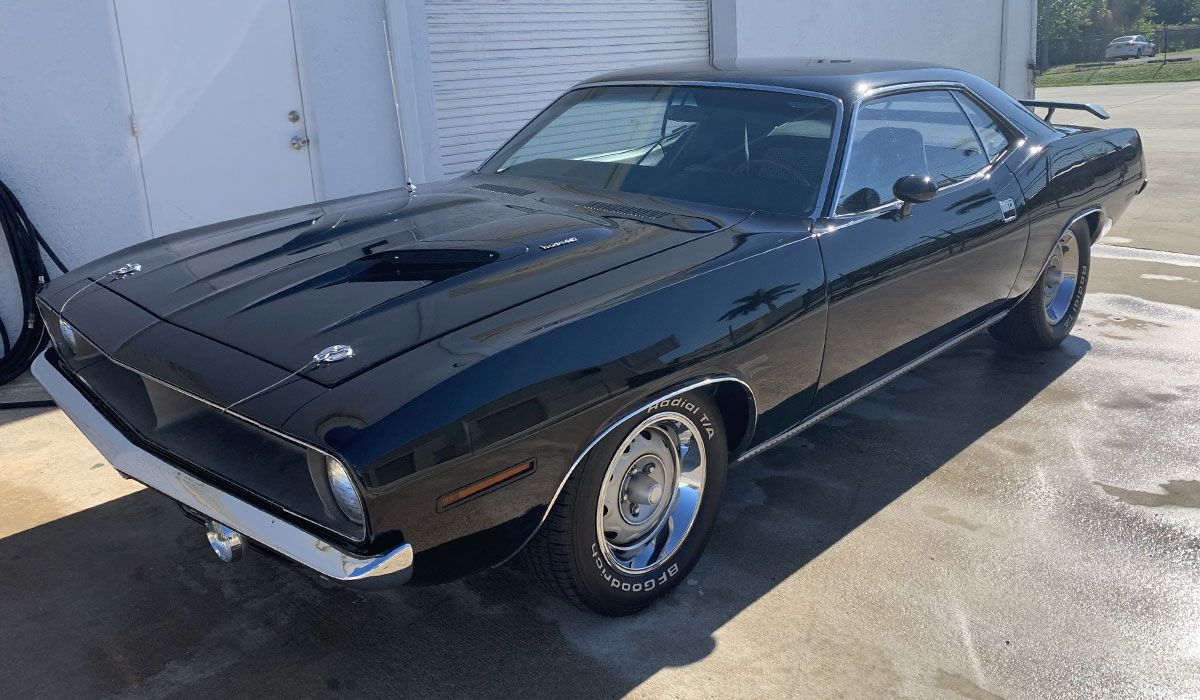
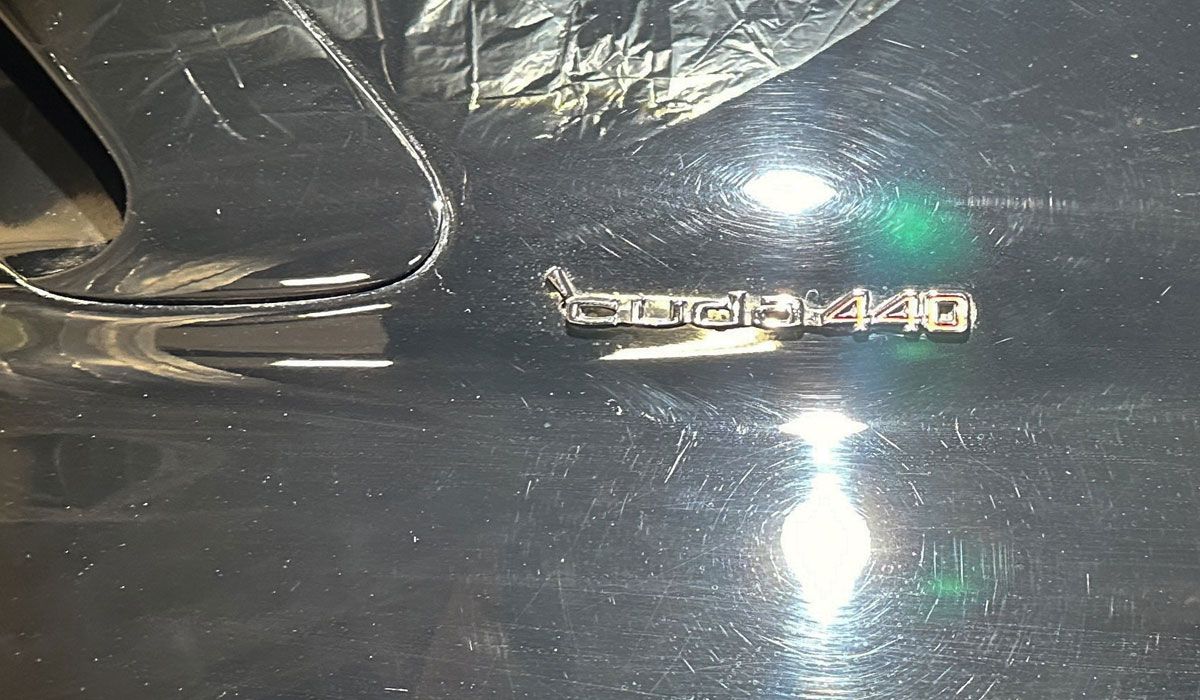
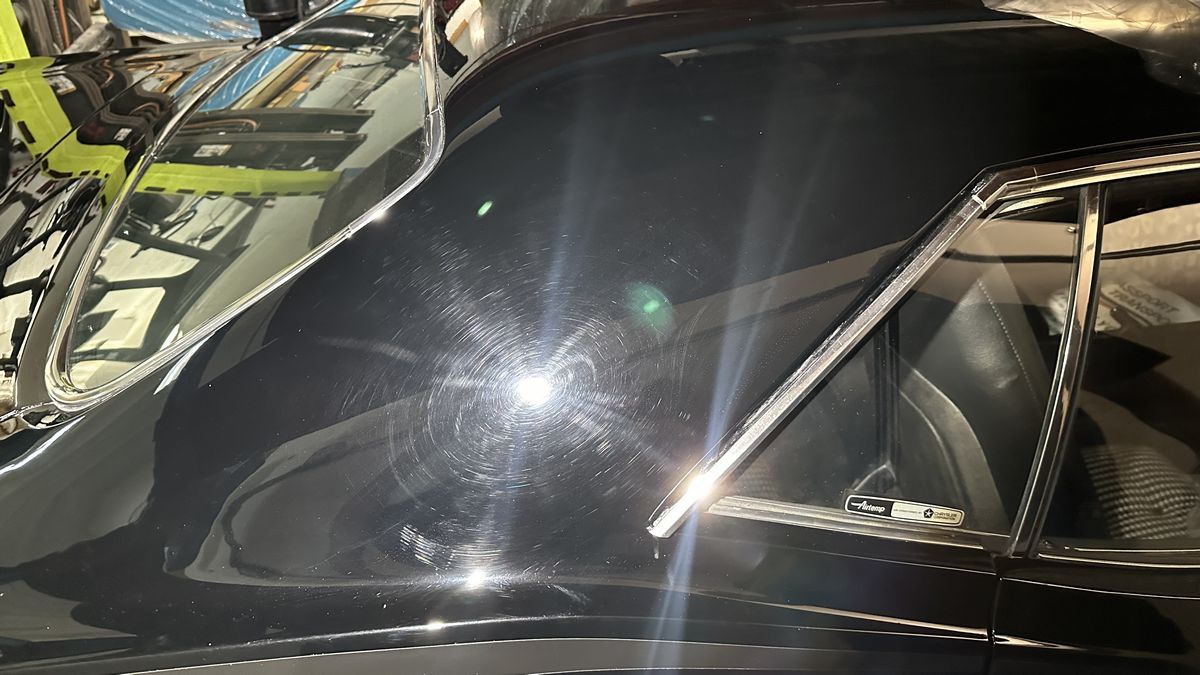
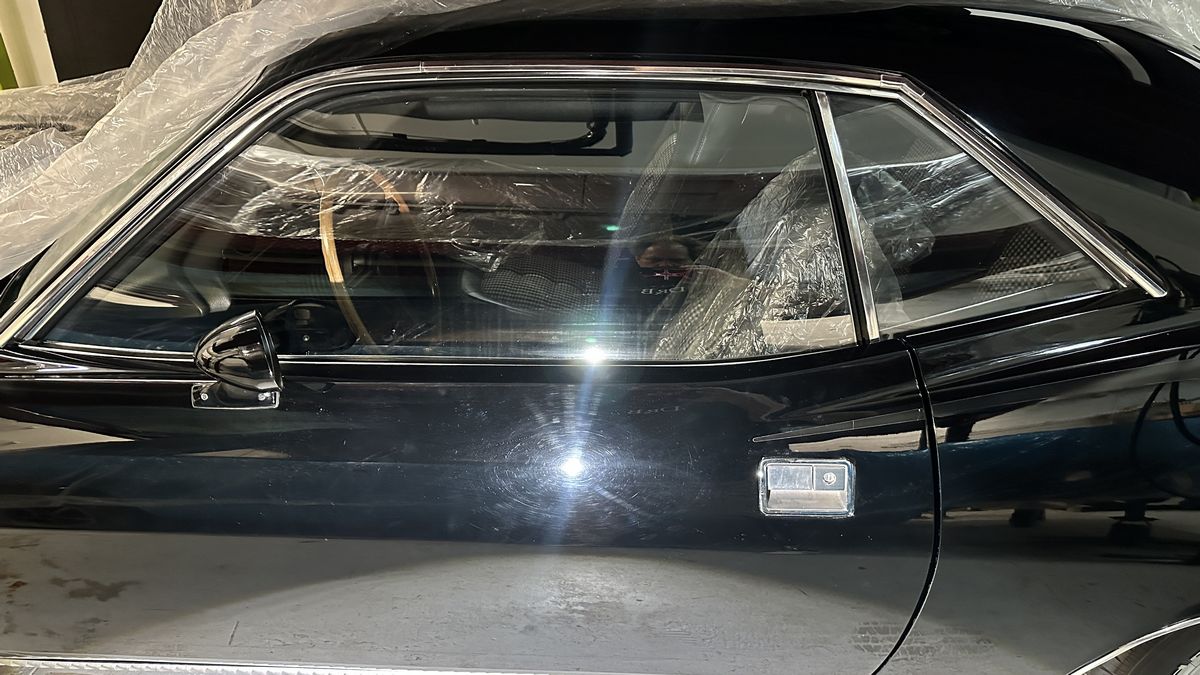
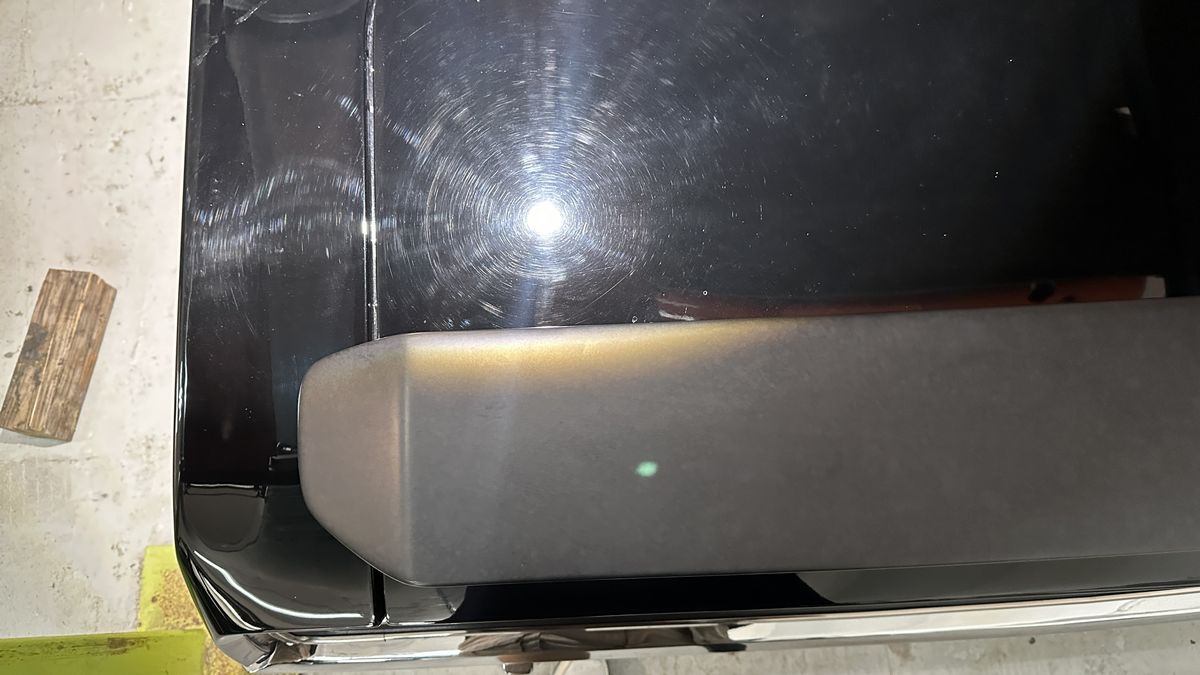
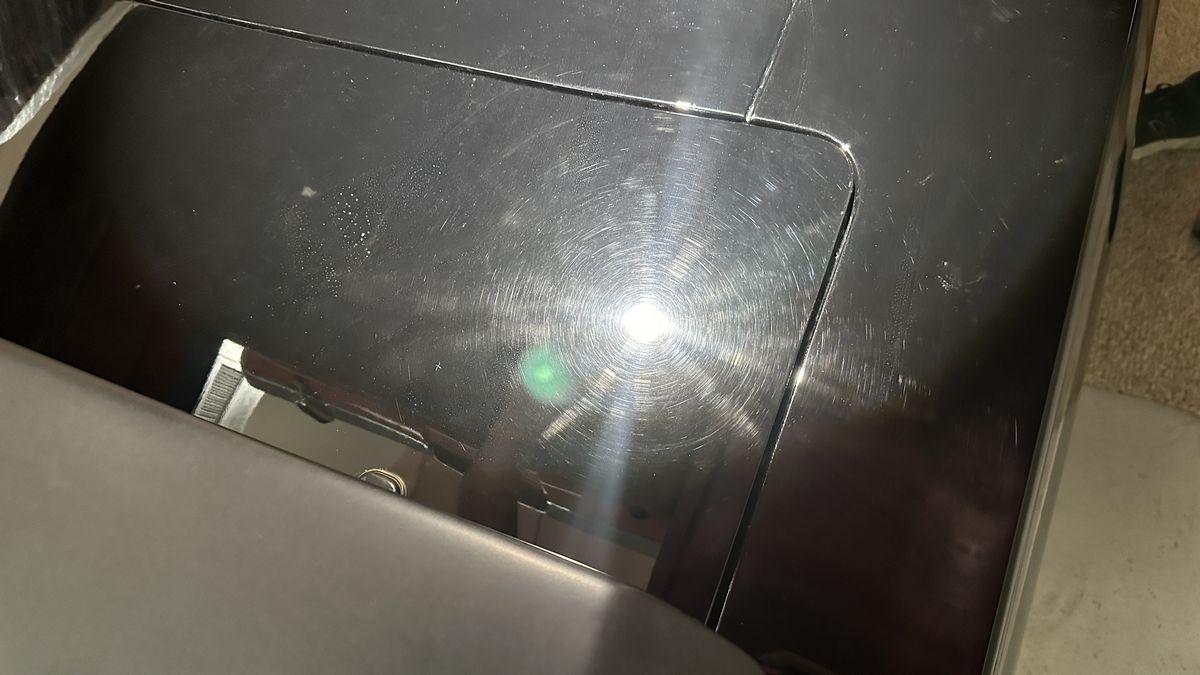
After Results
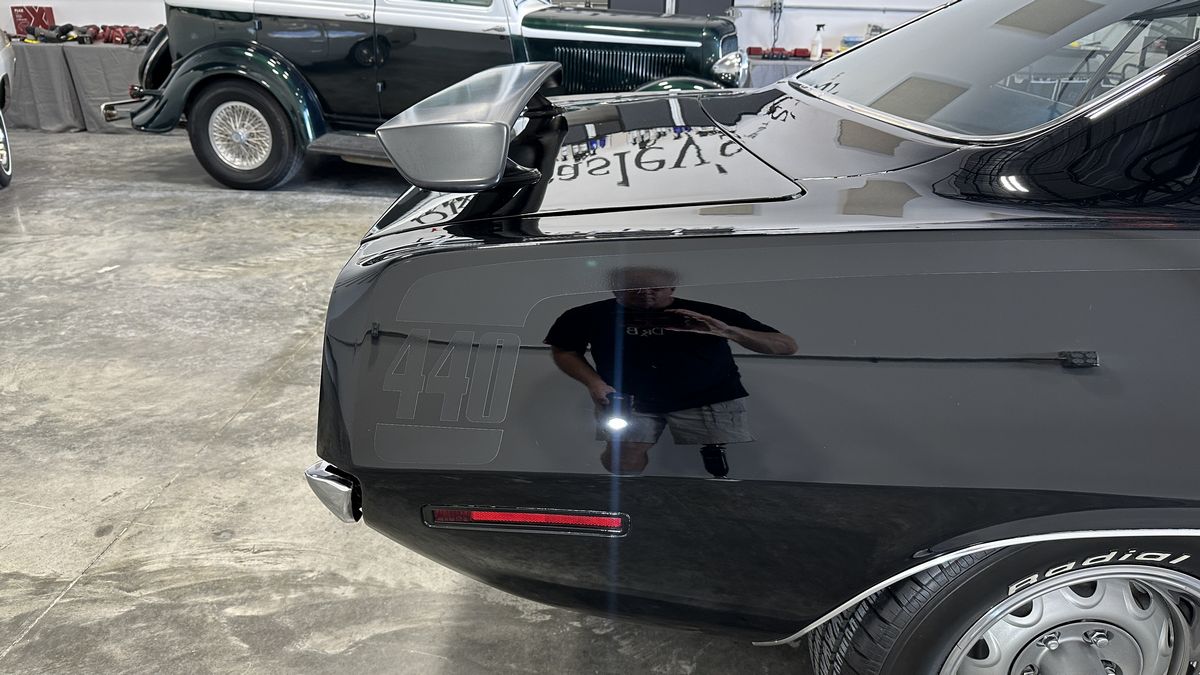
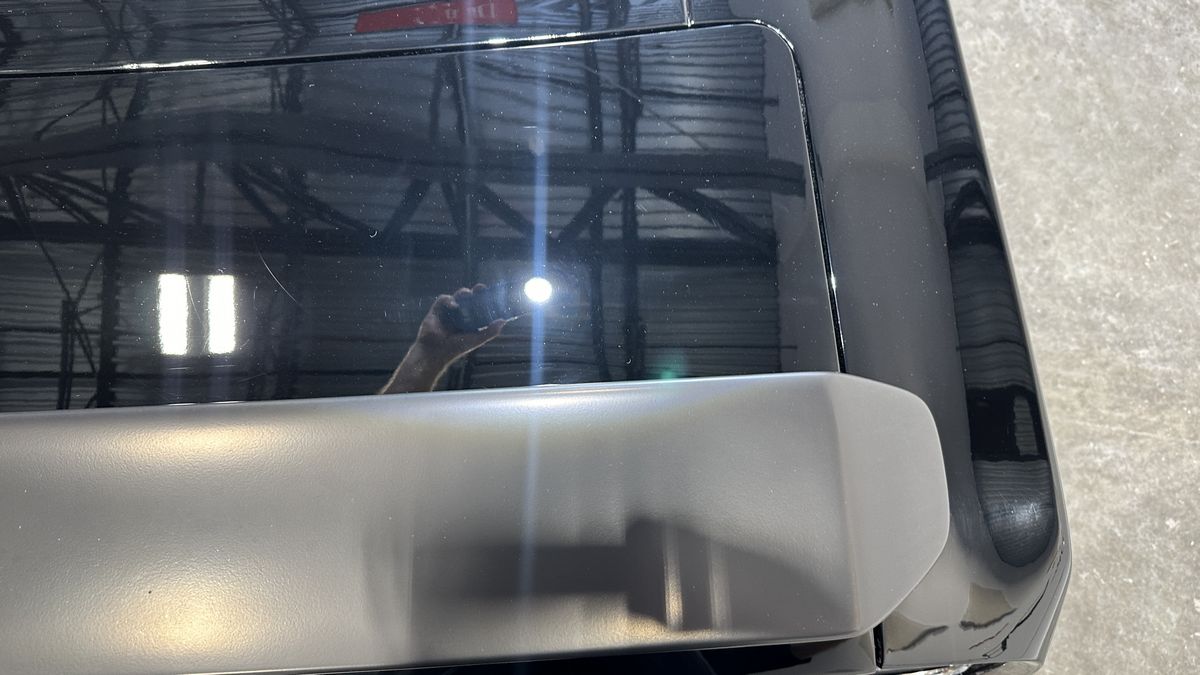
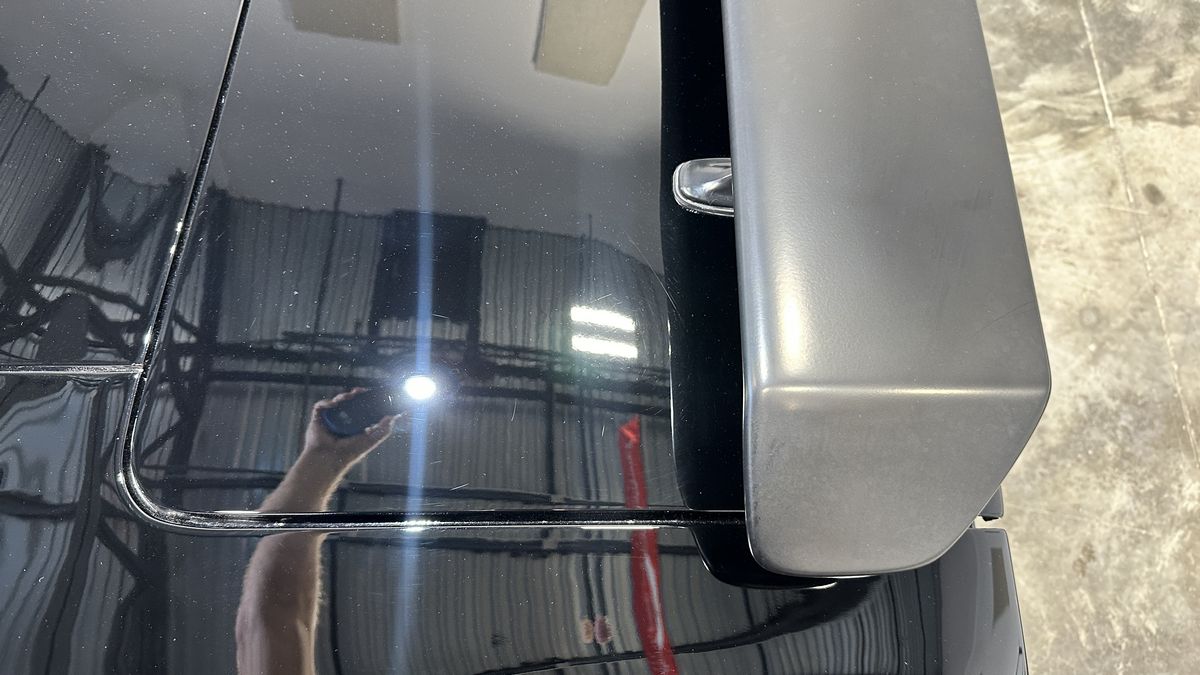
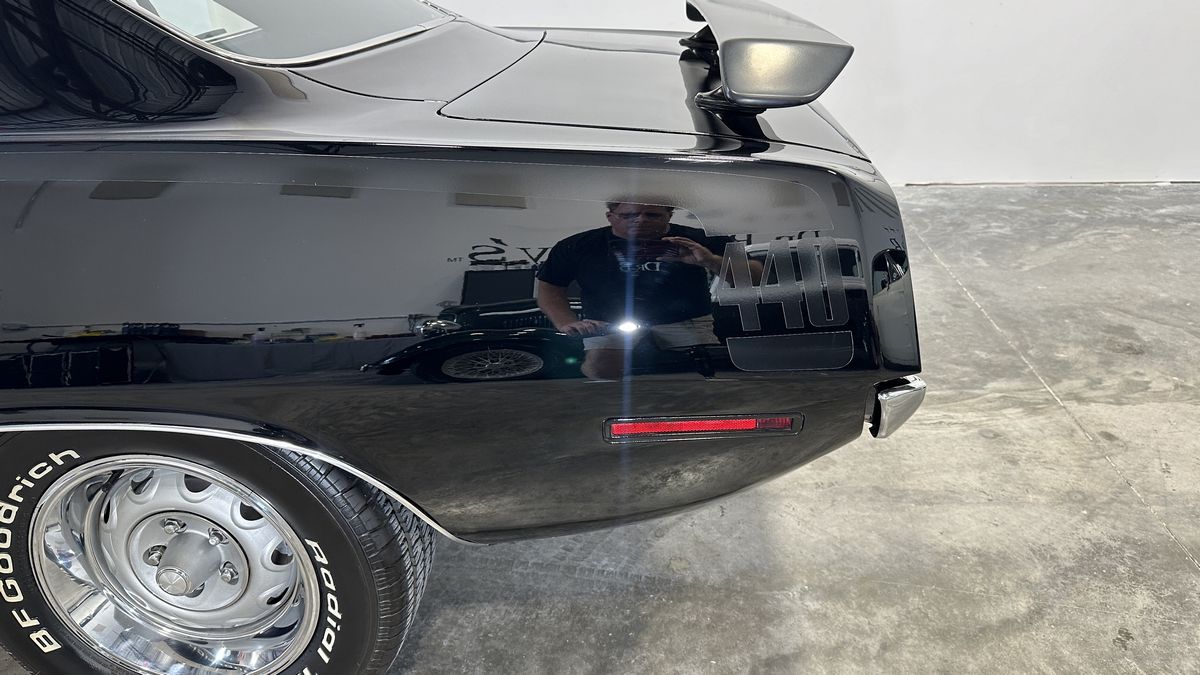
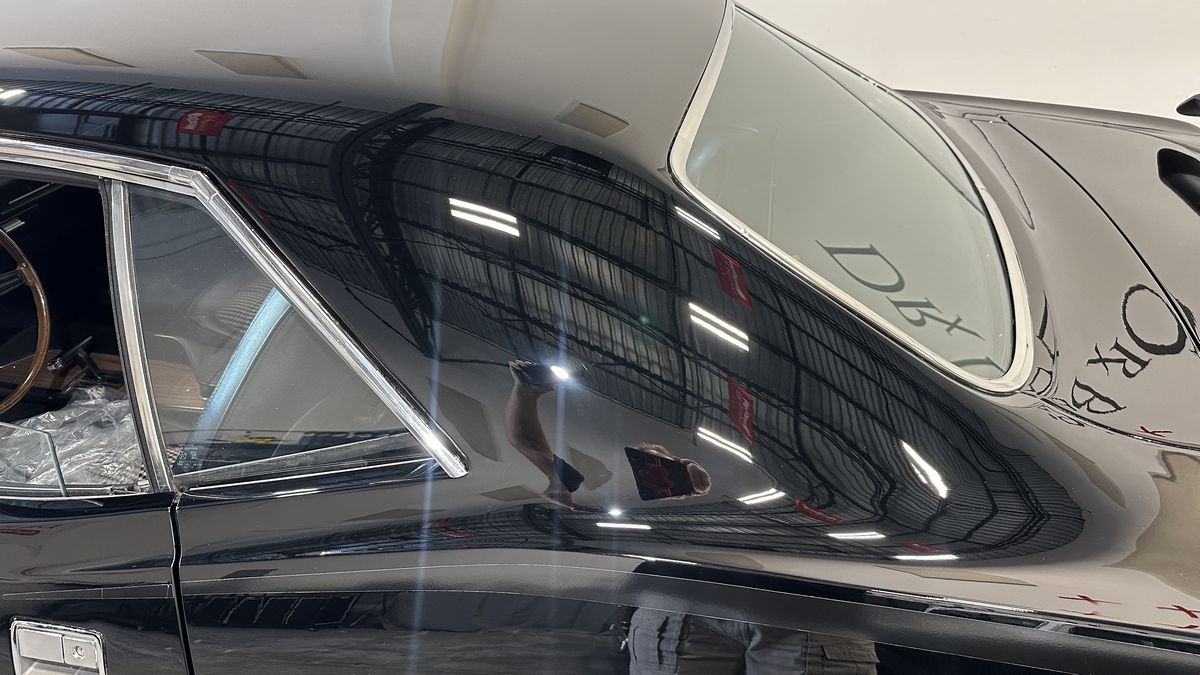
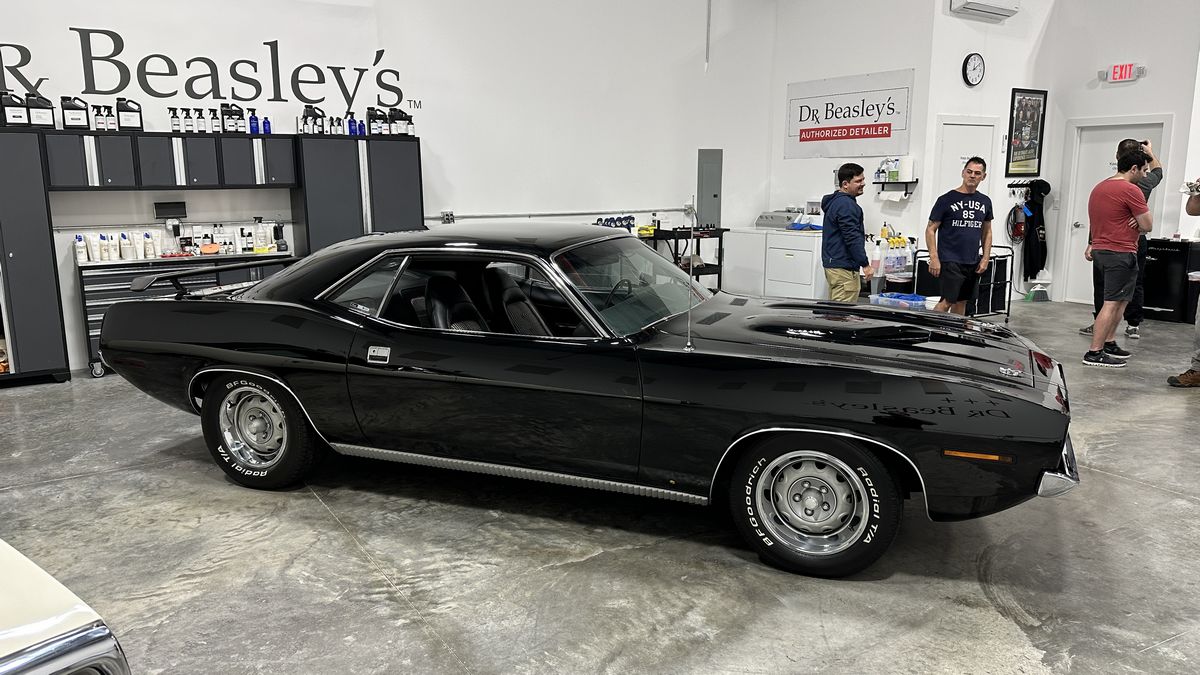
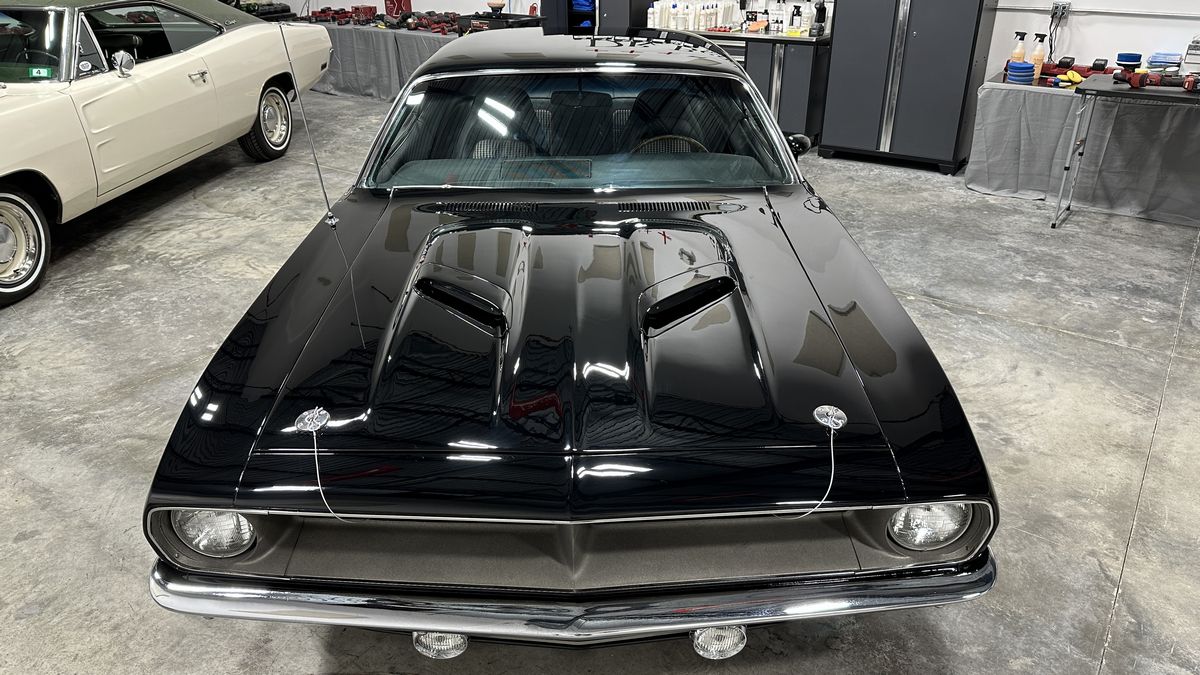
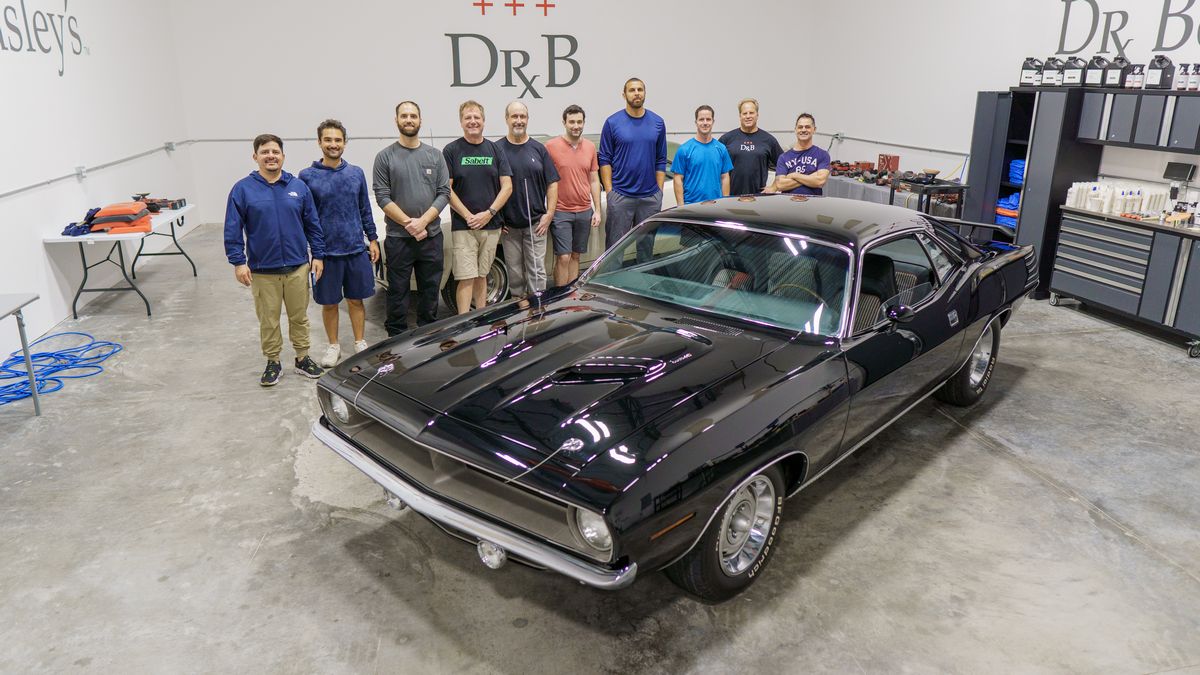
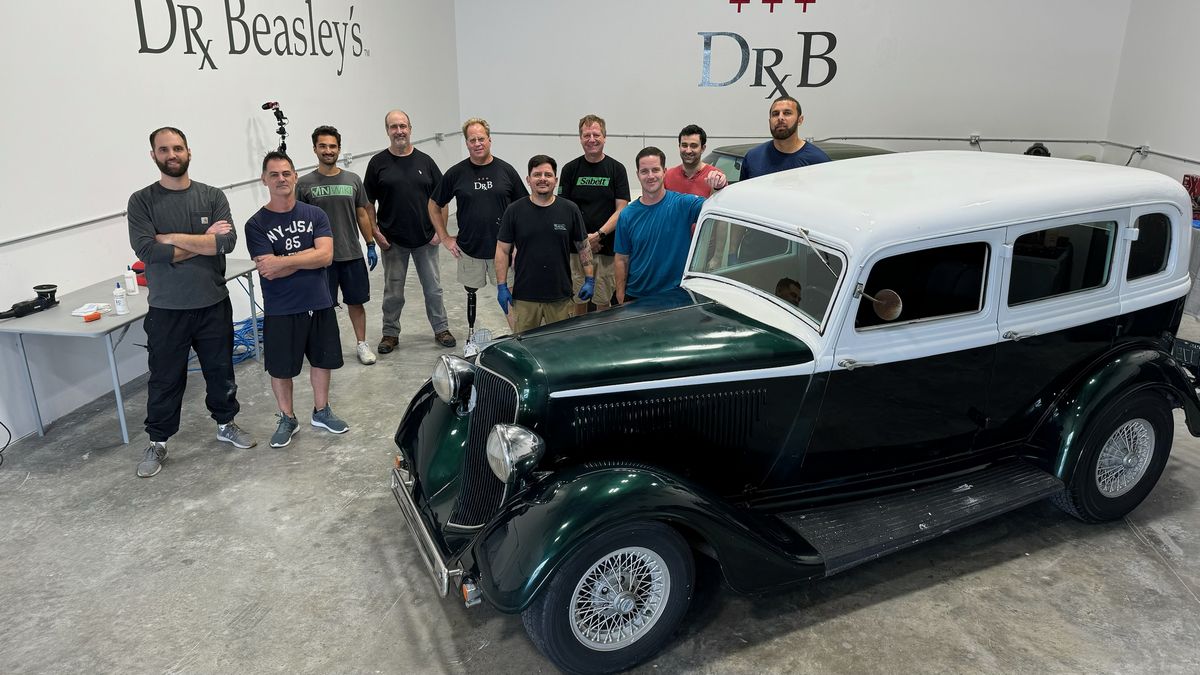
And here’s the team that fixed black paint on a 440 Cuda!
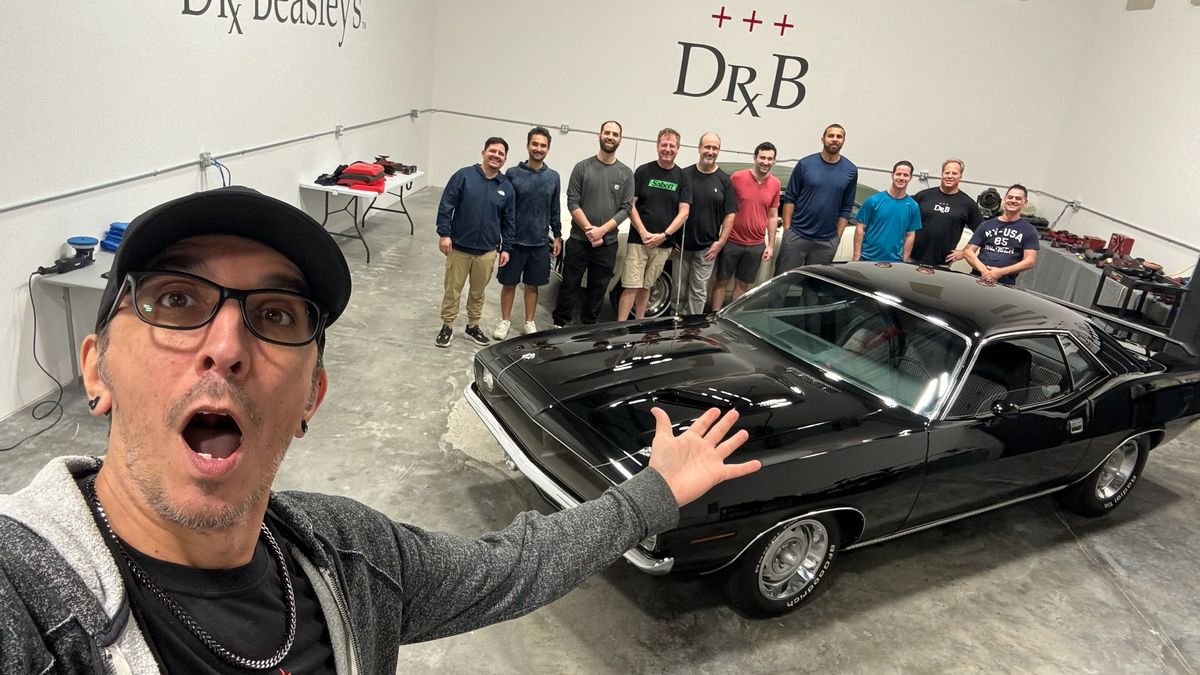
And here’s Yancy taking a Selfie with the class.
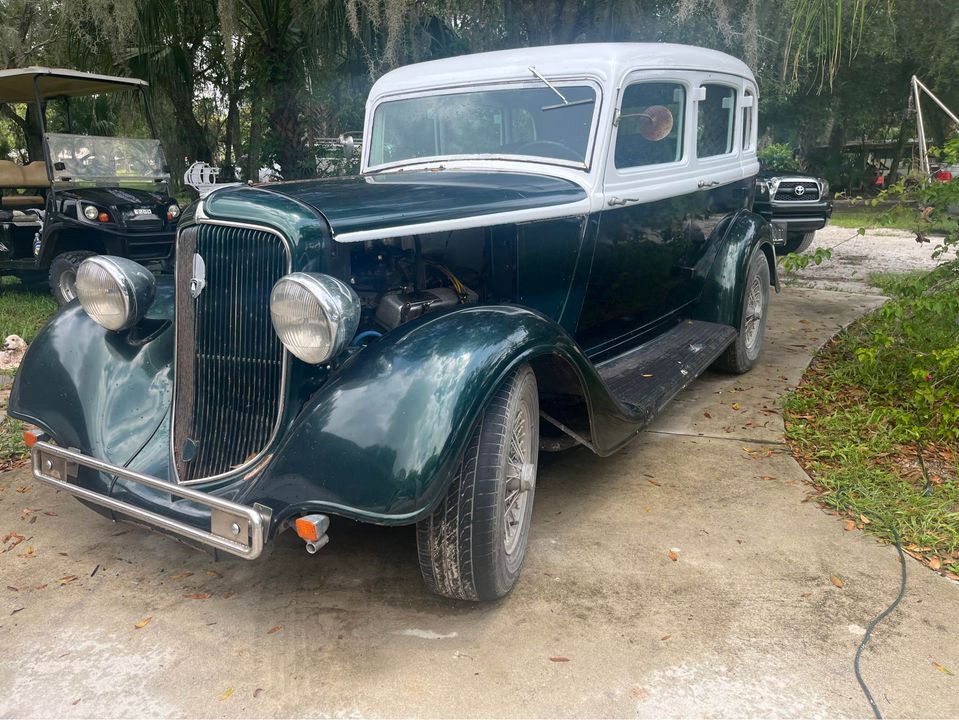
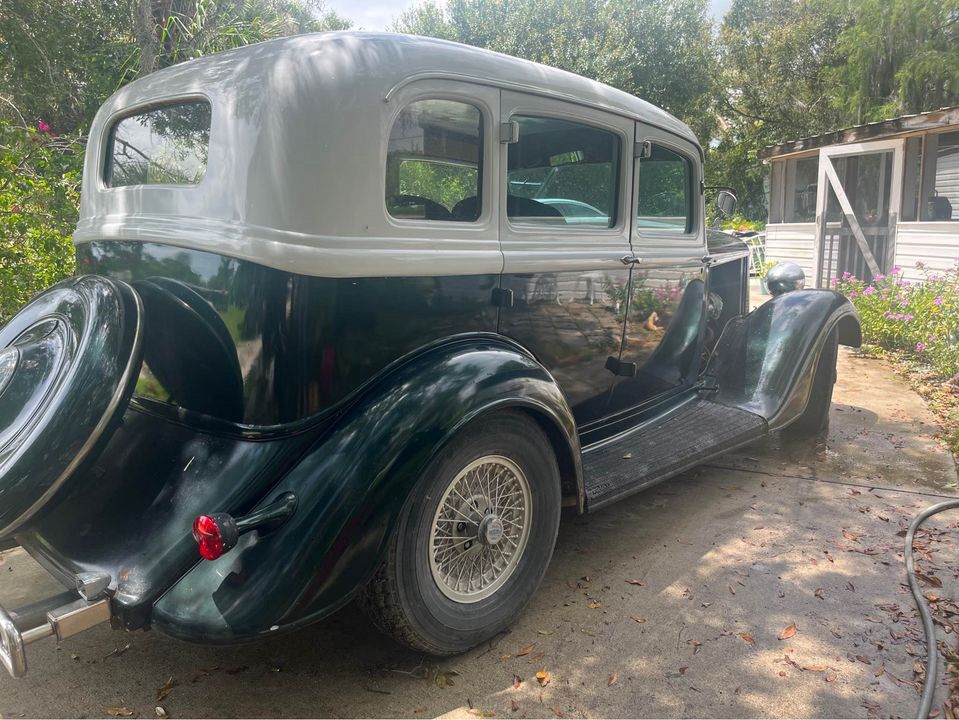
1935 Plymouth Sedan Streetrod – Quad Suicide Doors!
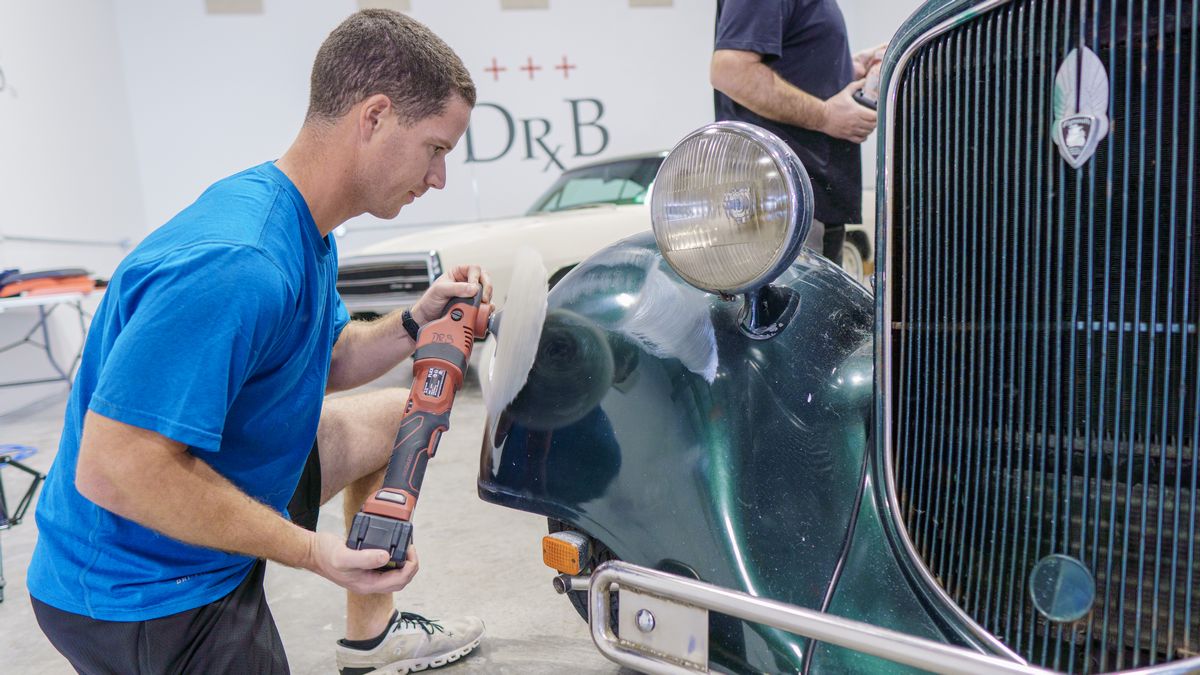
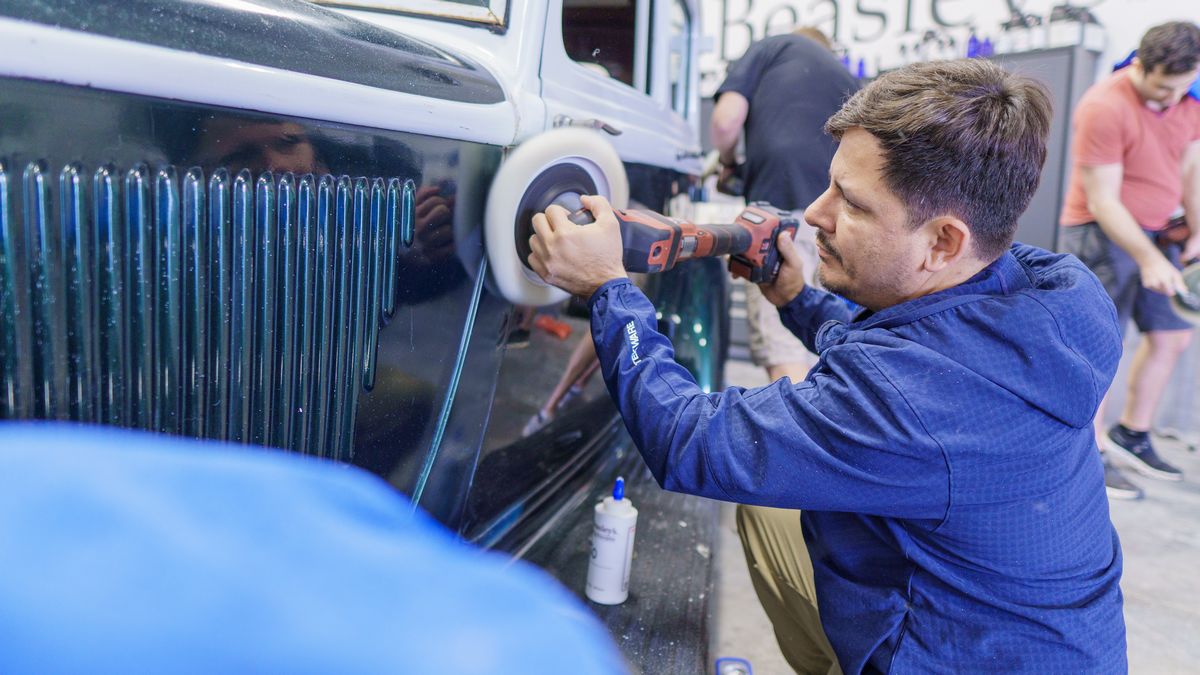
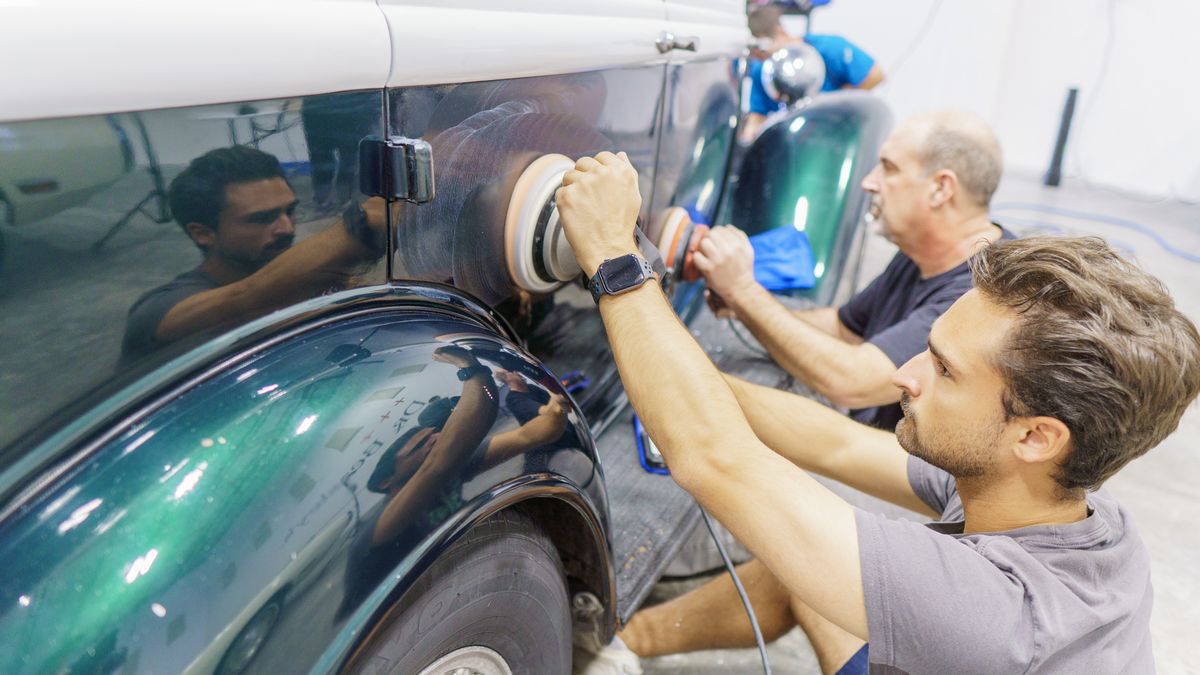
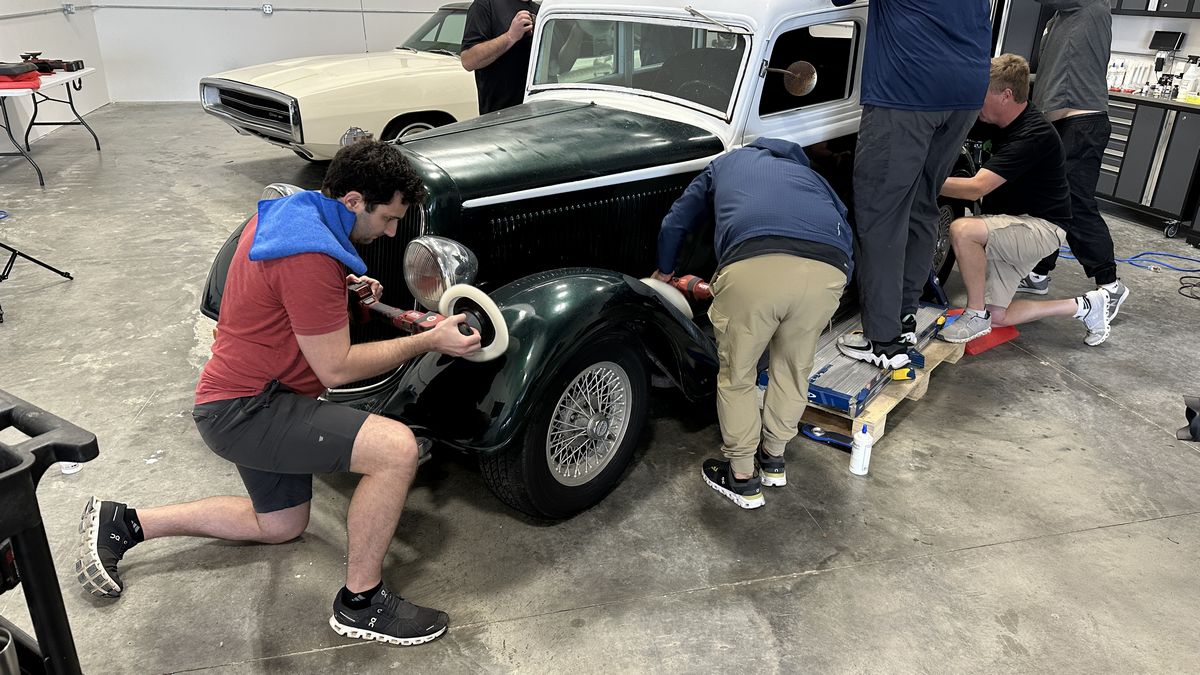
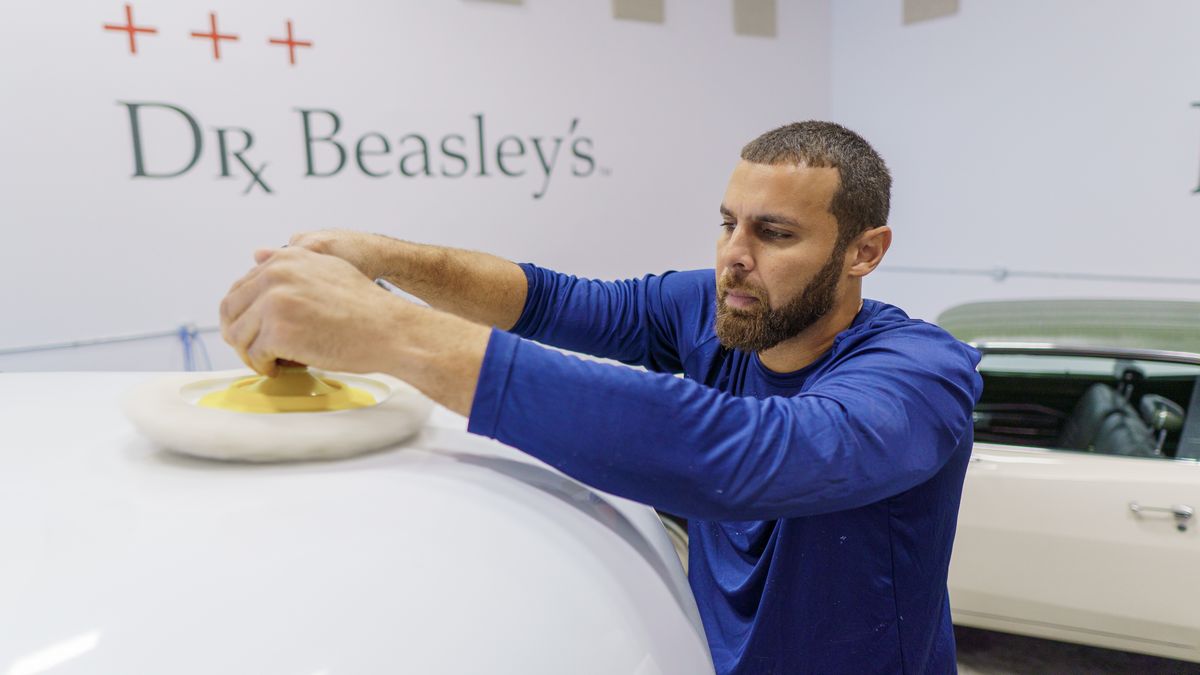
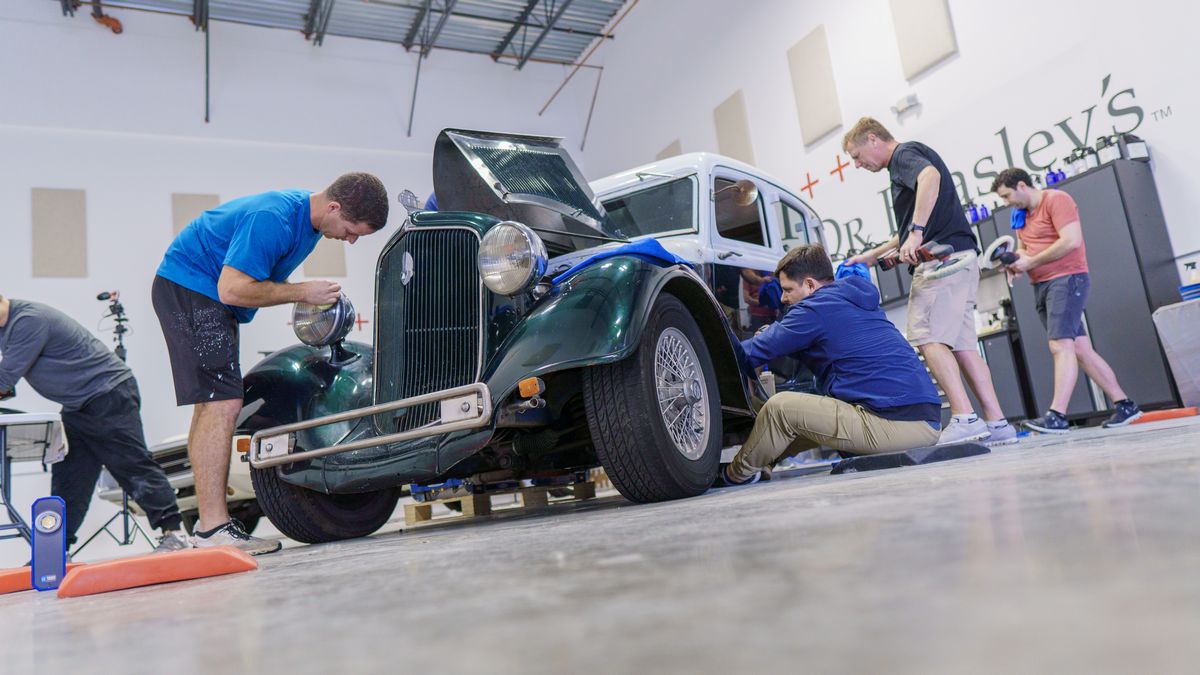
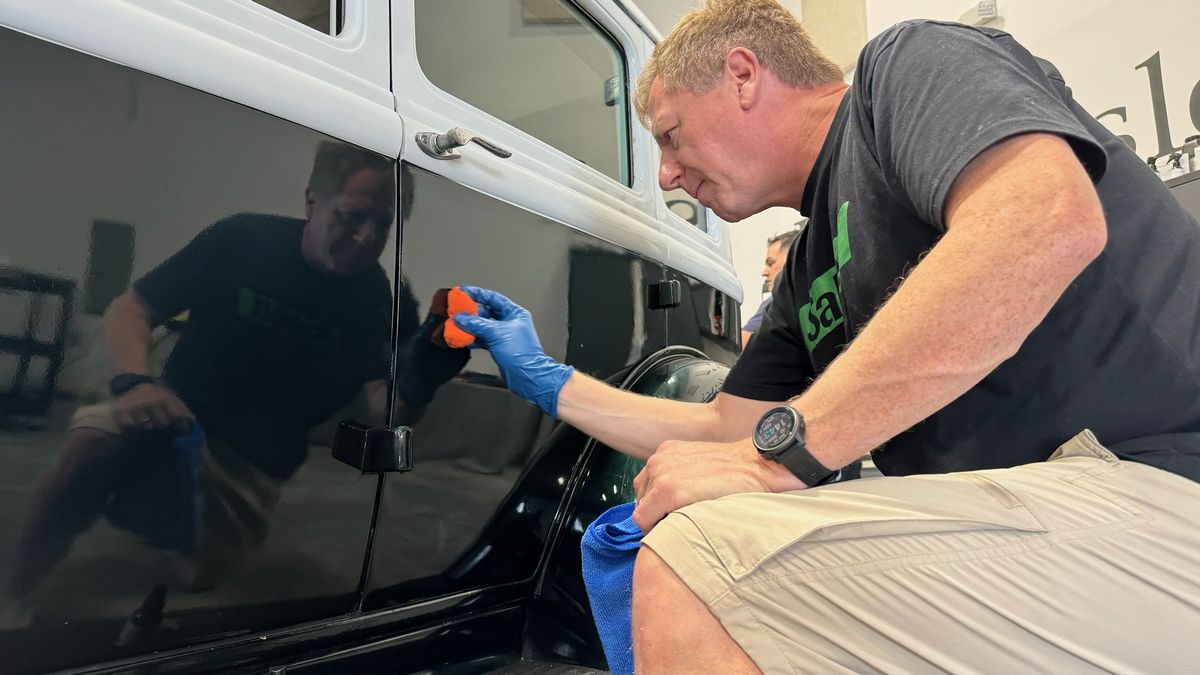
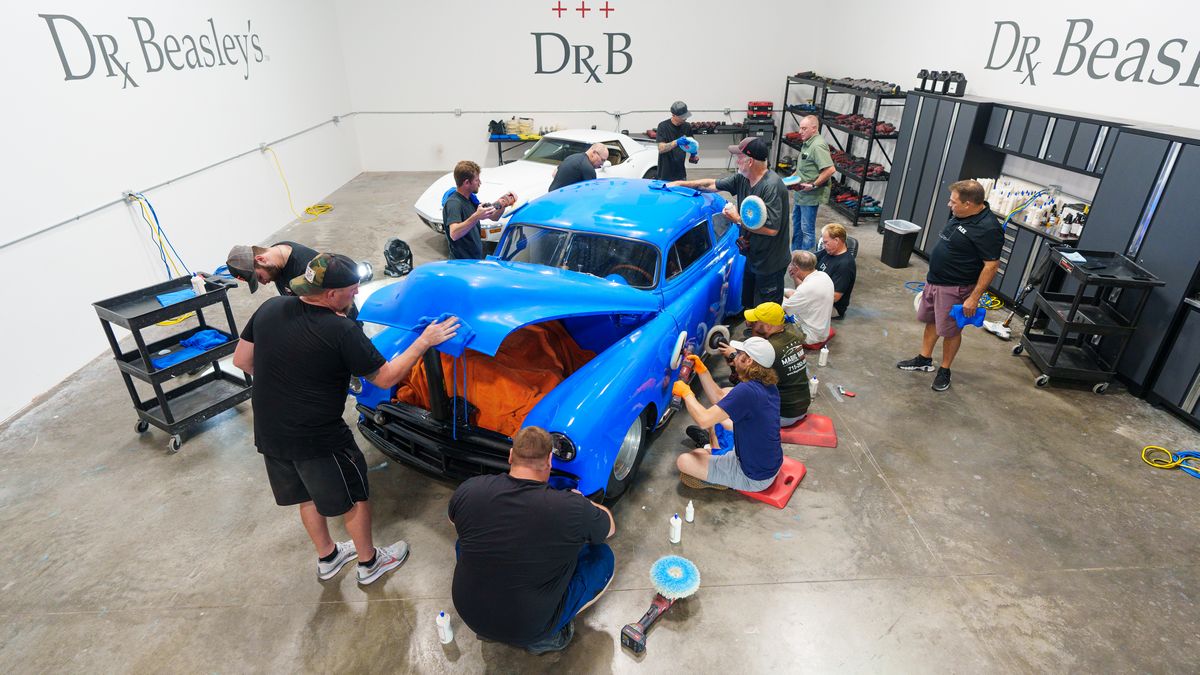
This is a very rough, older build streetrod, but we brought it in for the class because it will make a great training car for learning how to start with a rotary polisher, finish with an orbital polisher and the install a Dr. Beasley’s Ceramic Coating. If you look carefully, you can see both side doors open forward and this is what makes them Suicide Doors. Very rare for a car to have all the doors be suicide style back in this era.
After Results
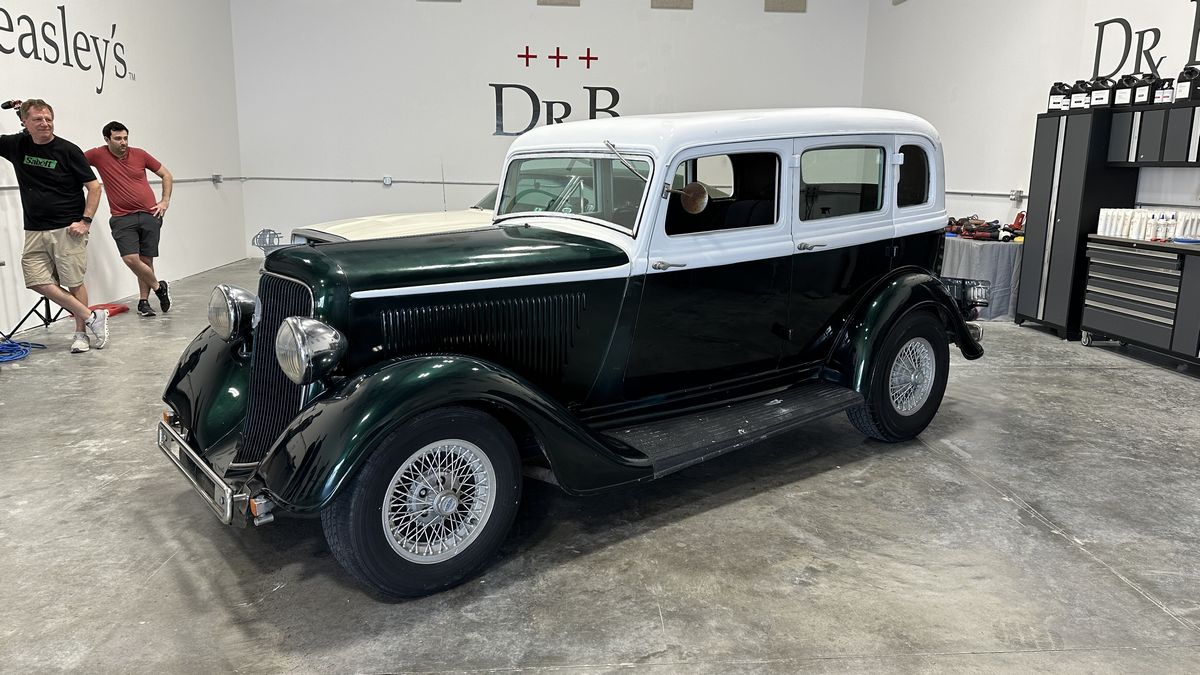
3 cars done, one more to go!
1970 Dodge Charger – 30,000 original miles
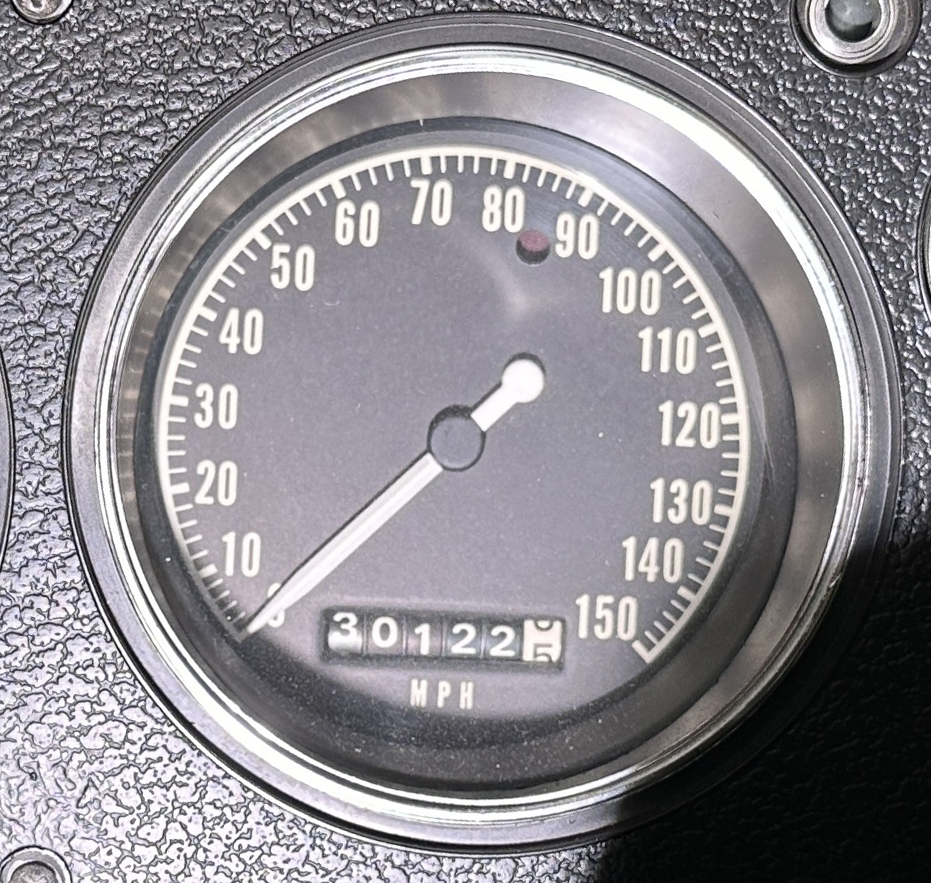
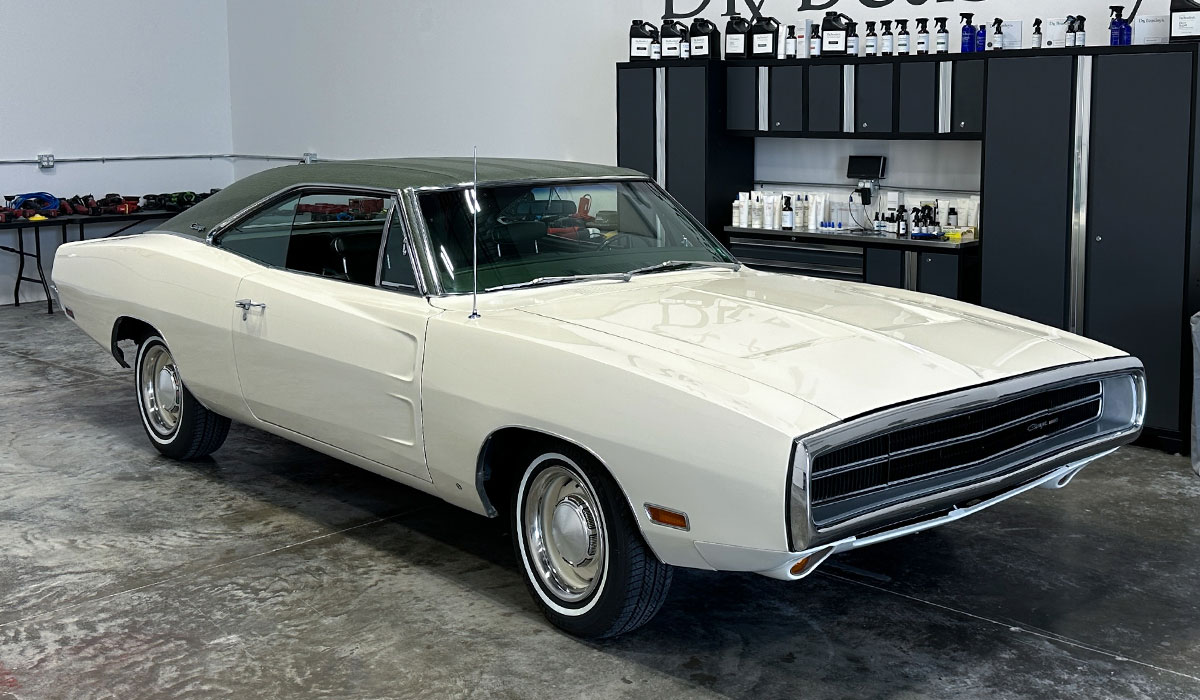
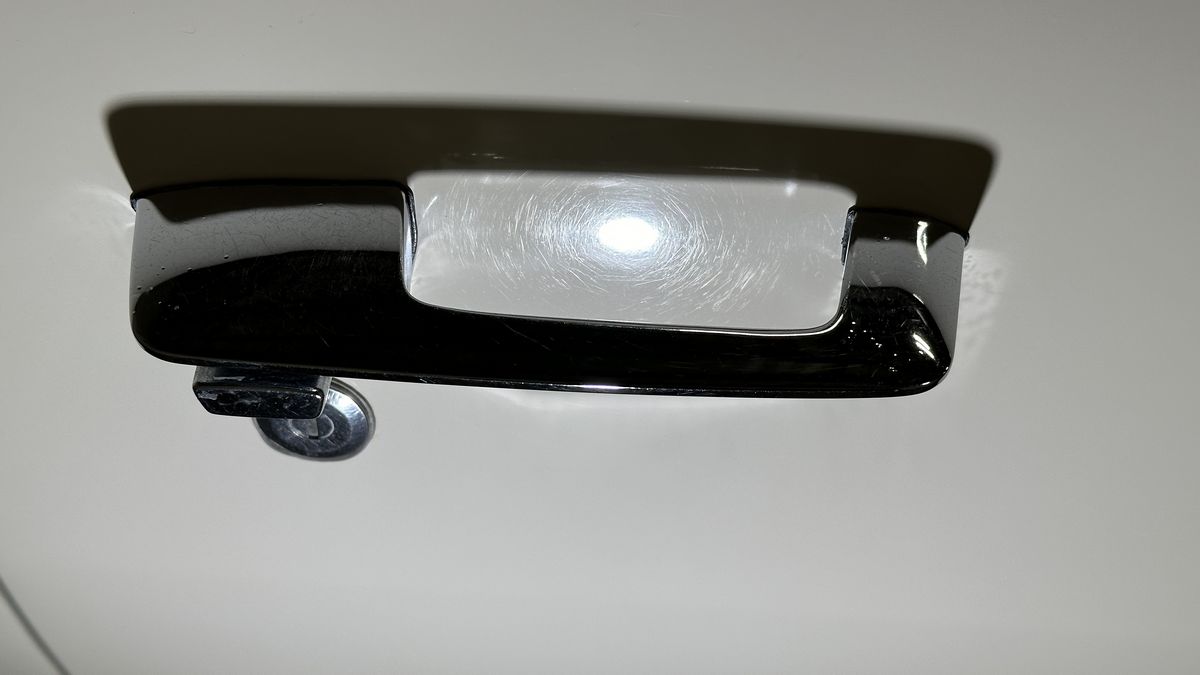
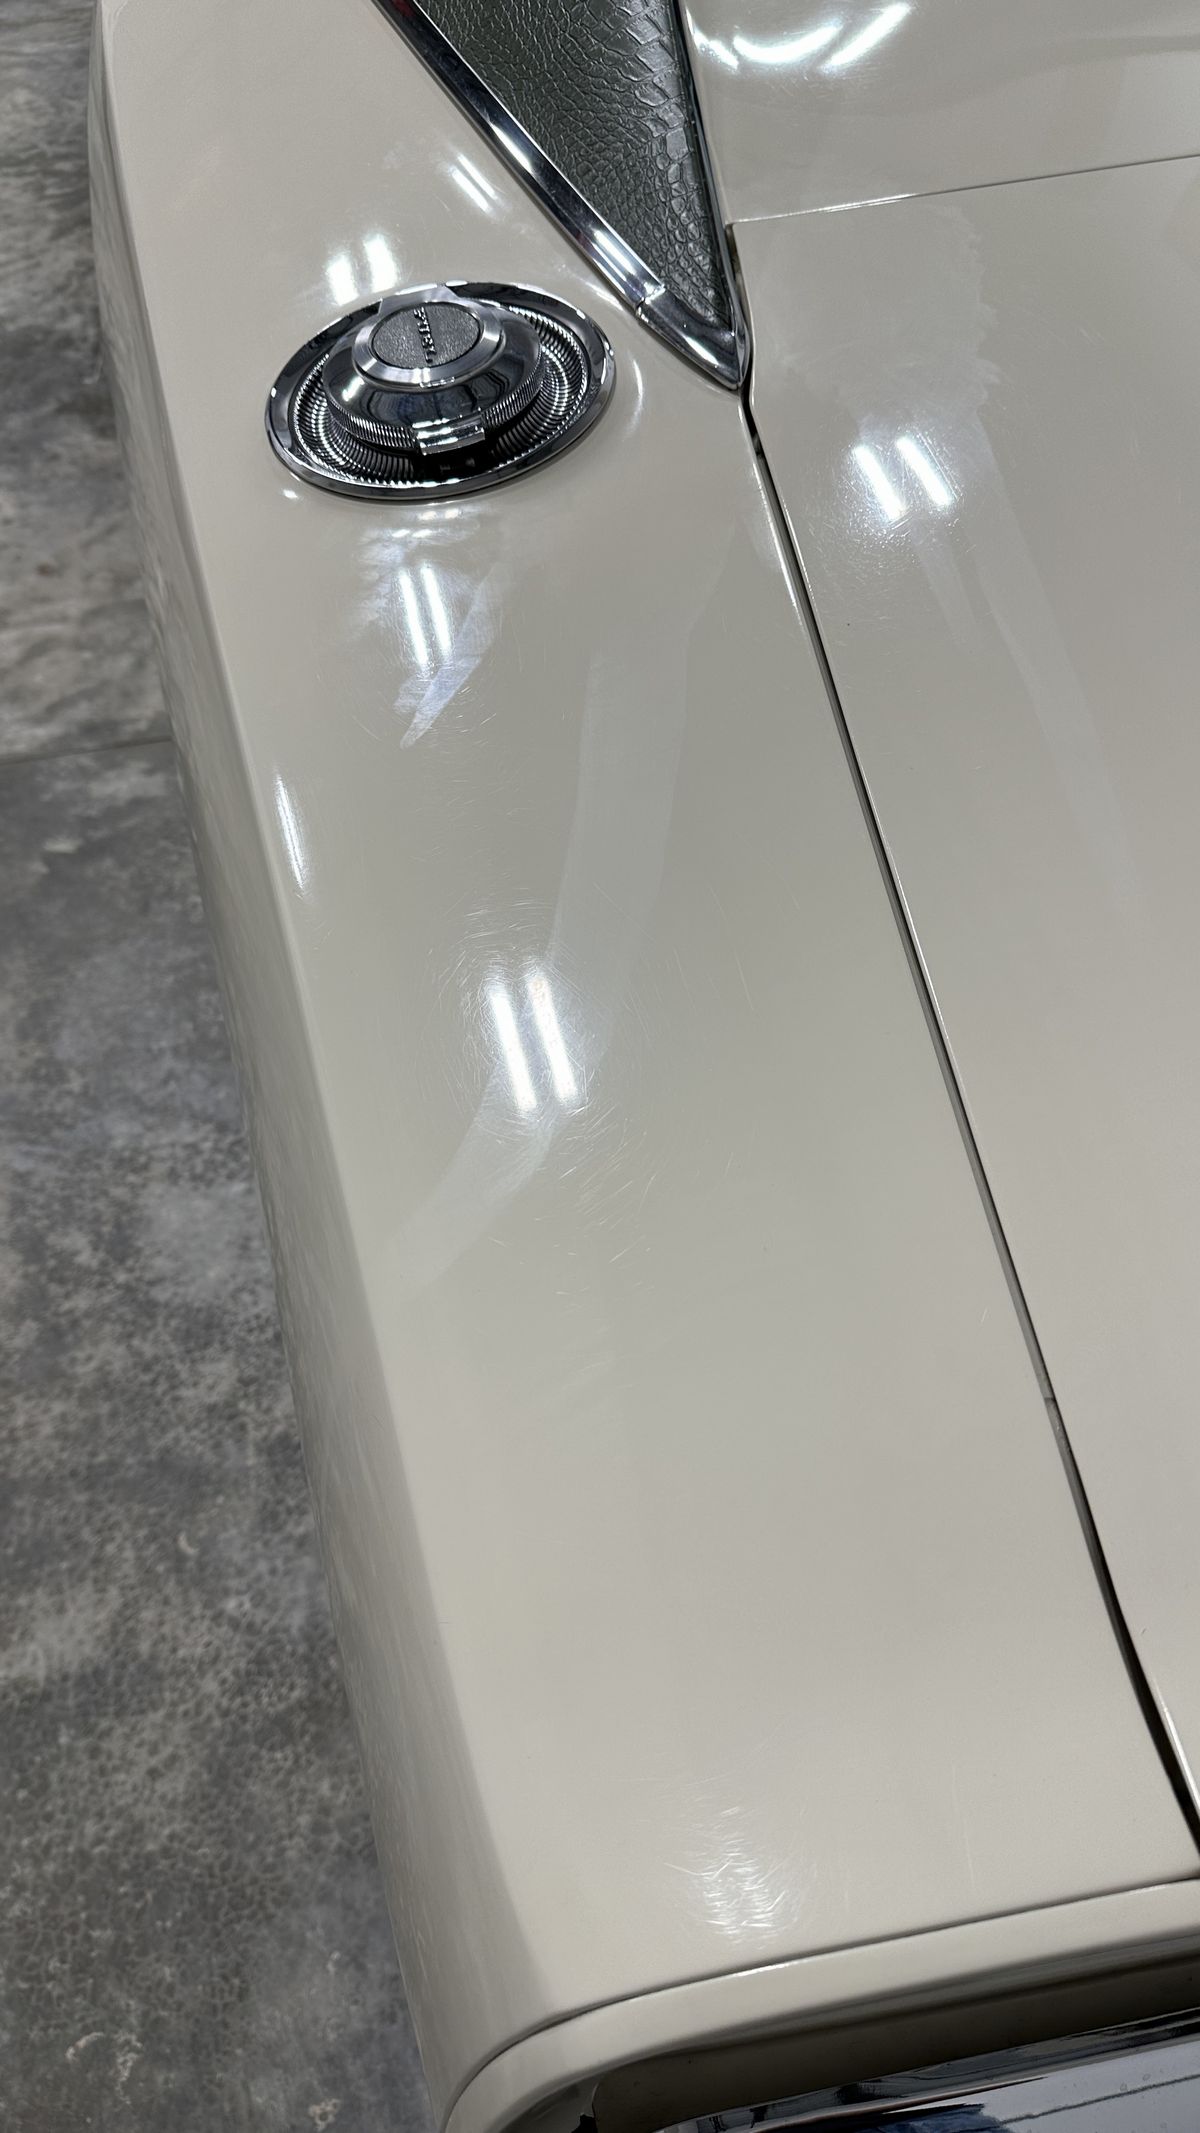
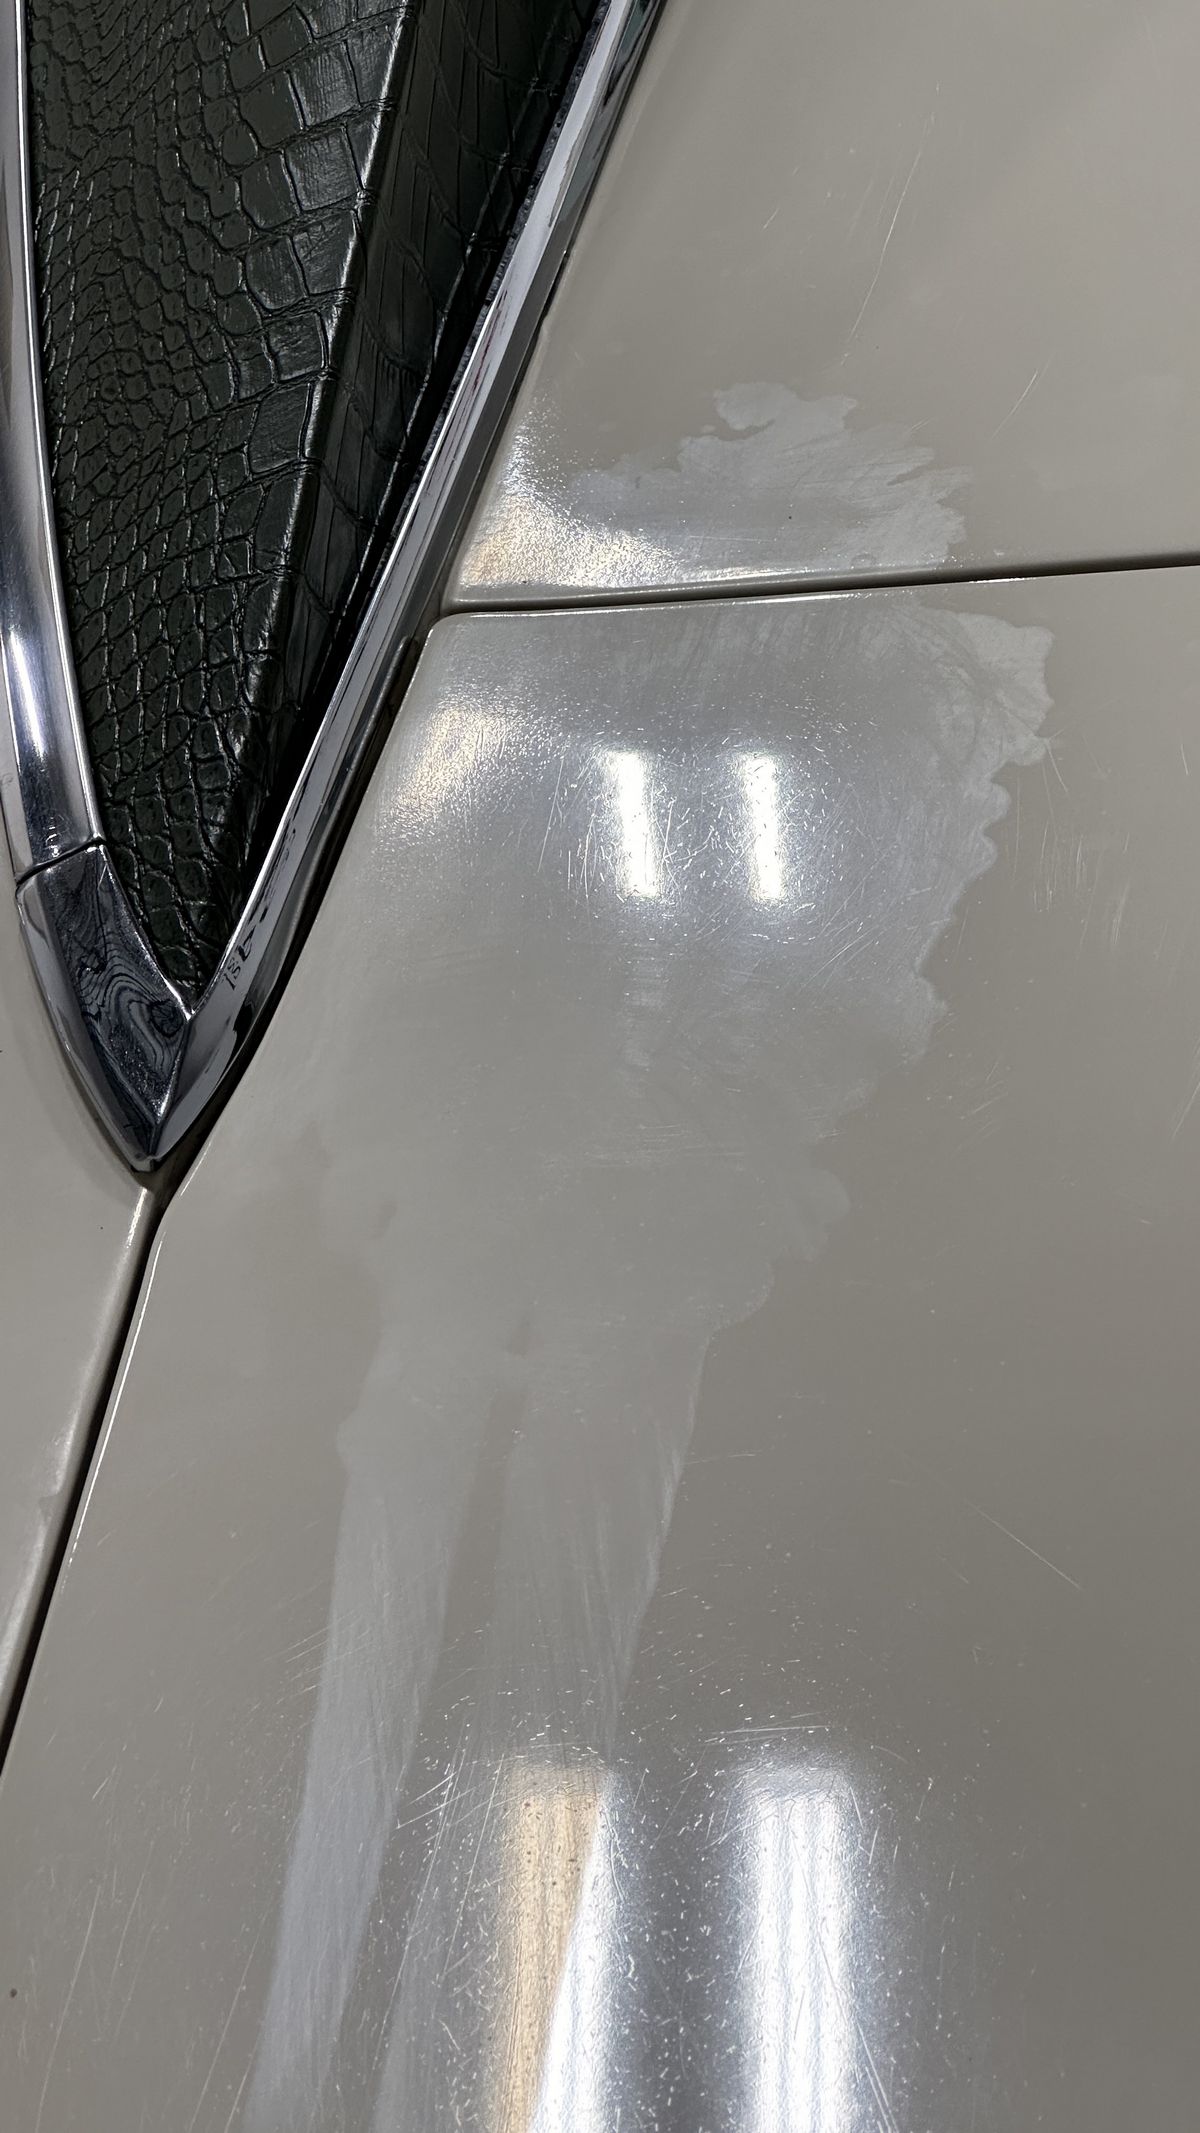
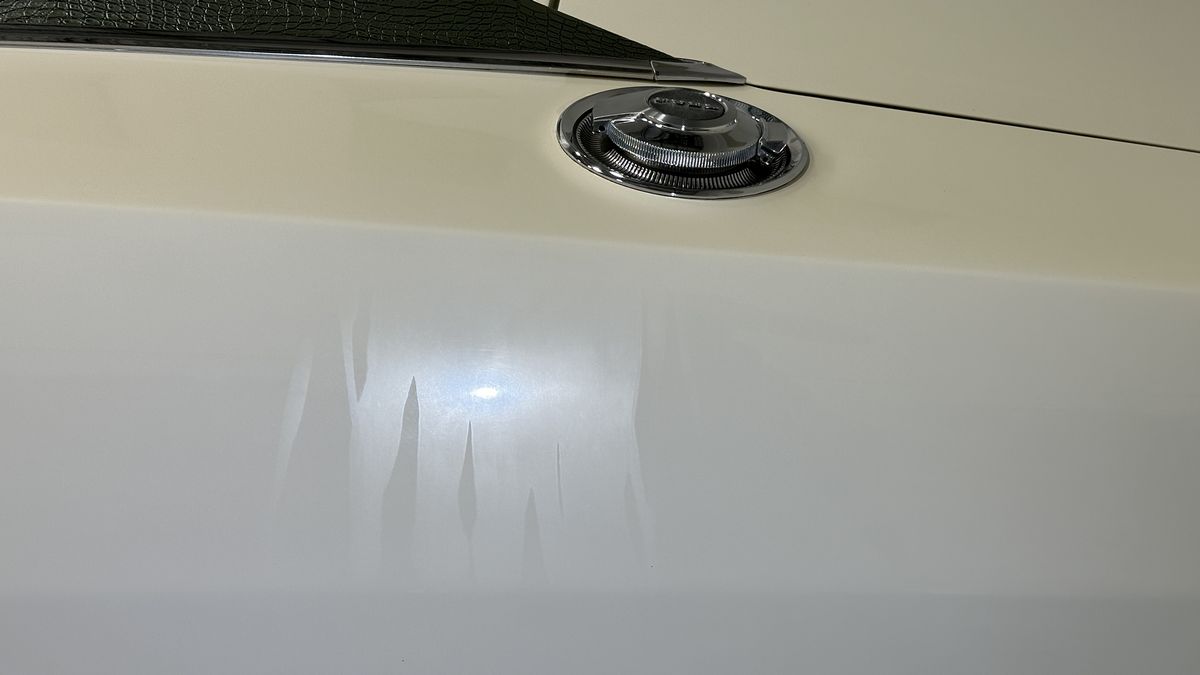
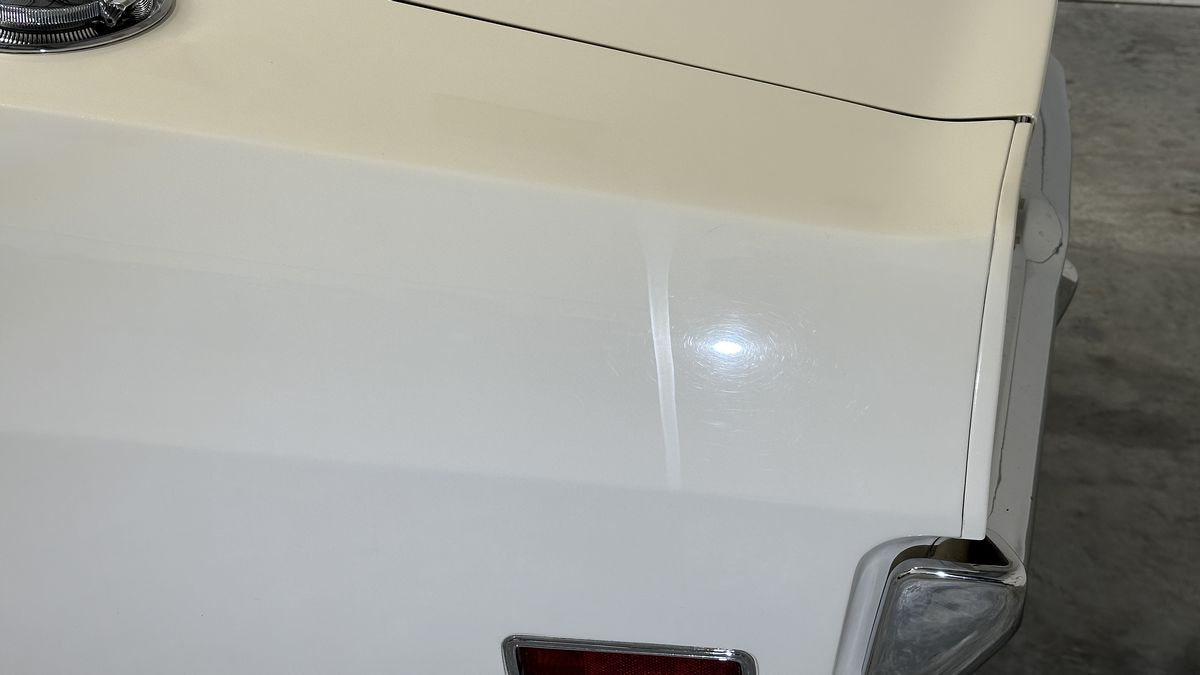
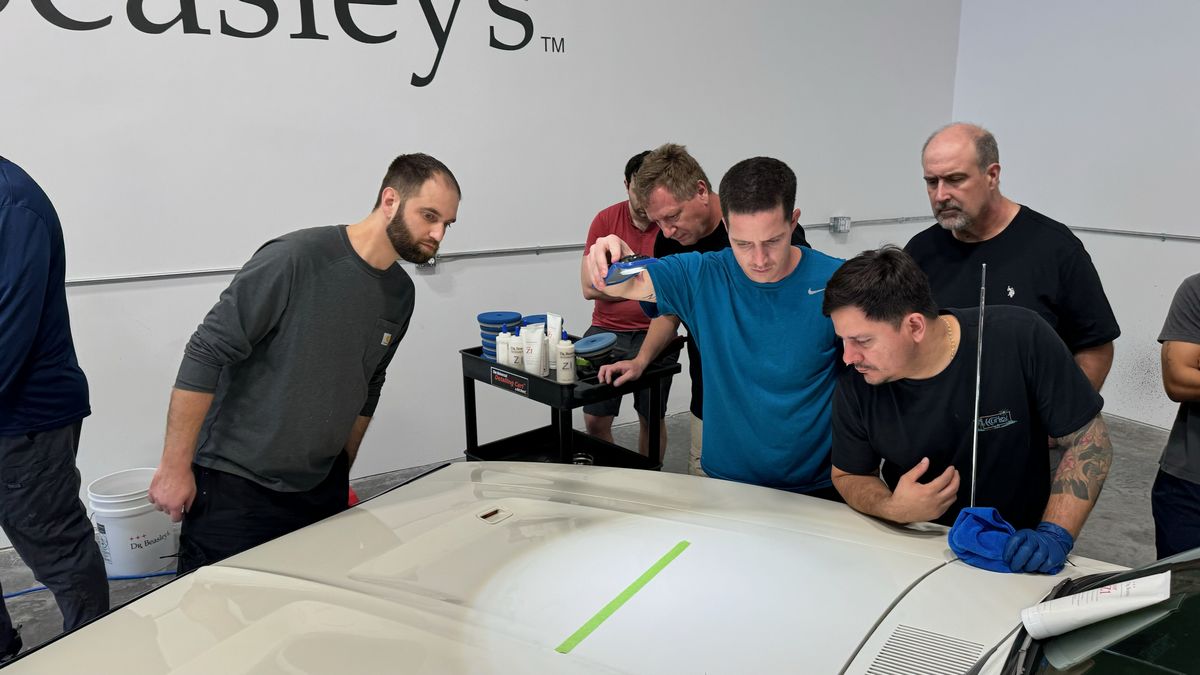
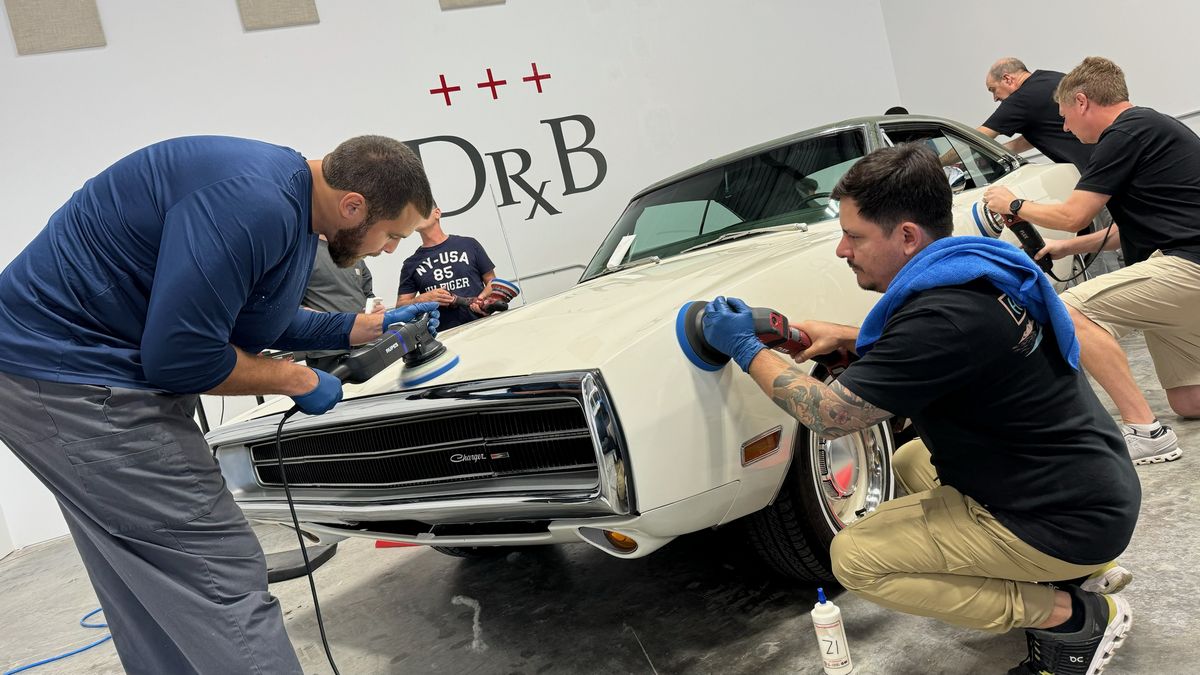
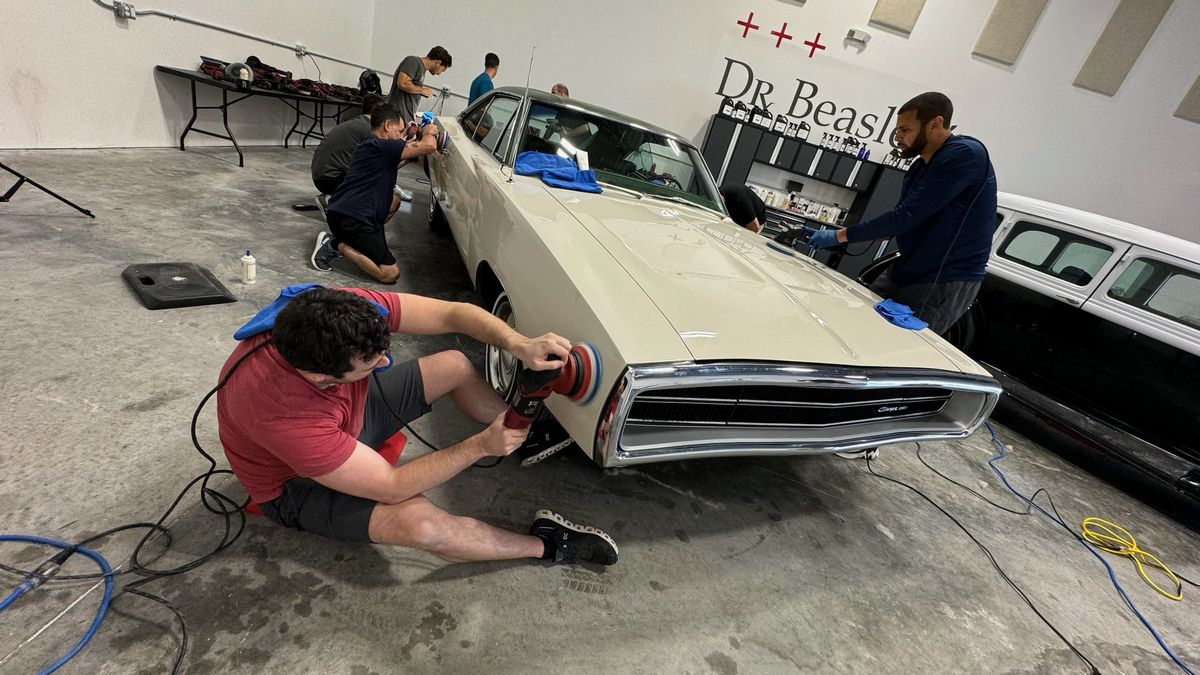
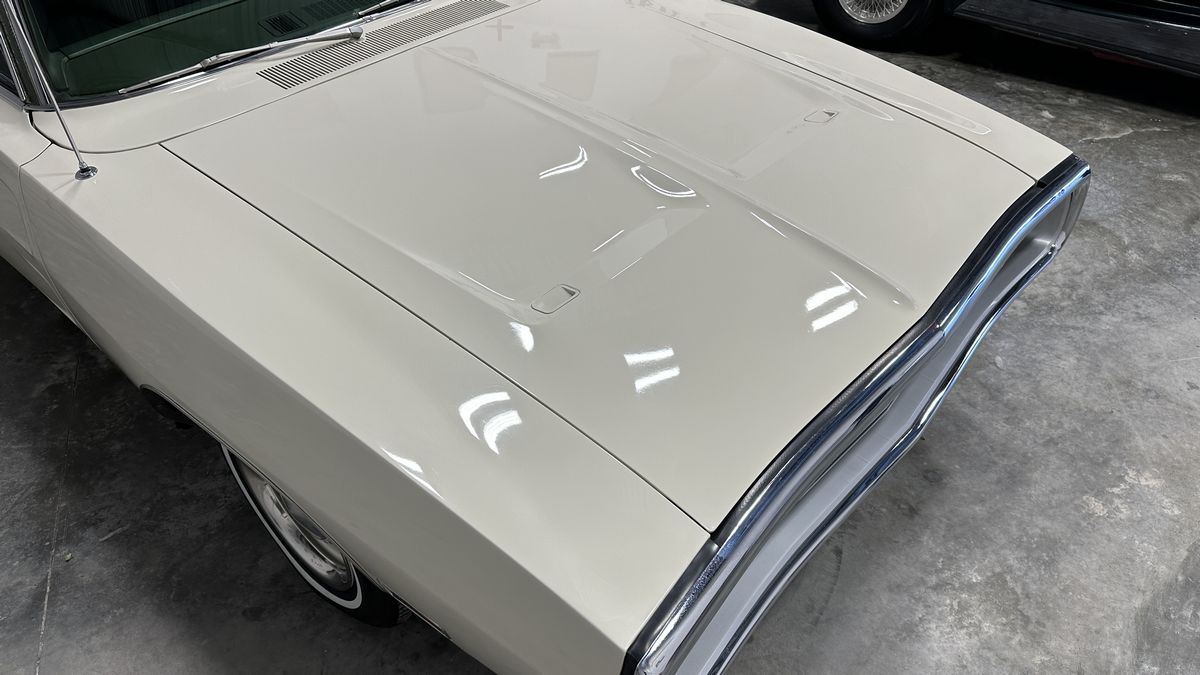
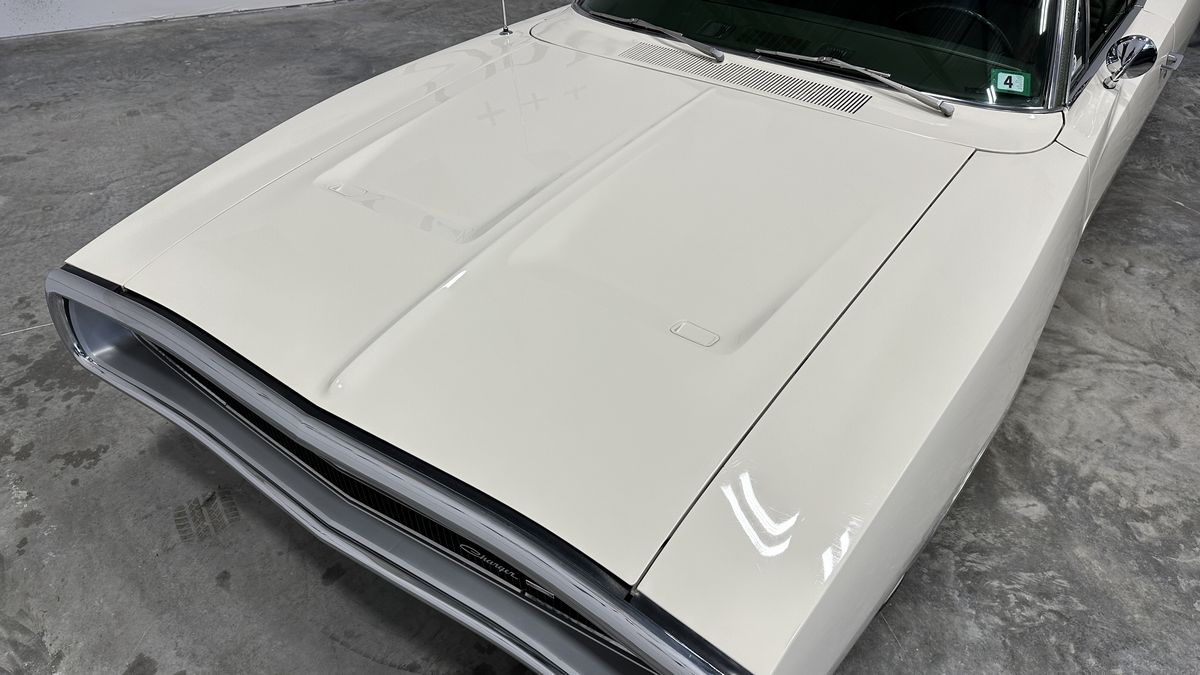
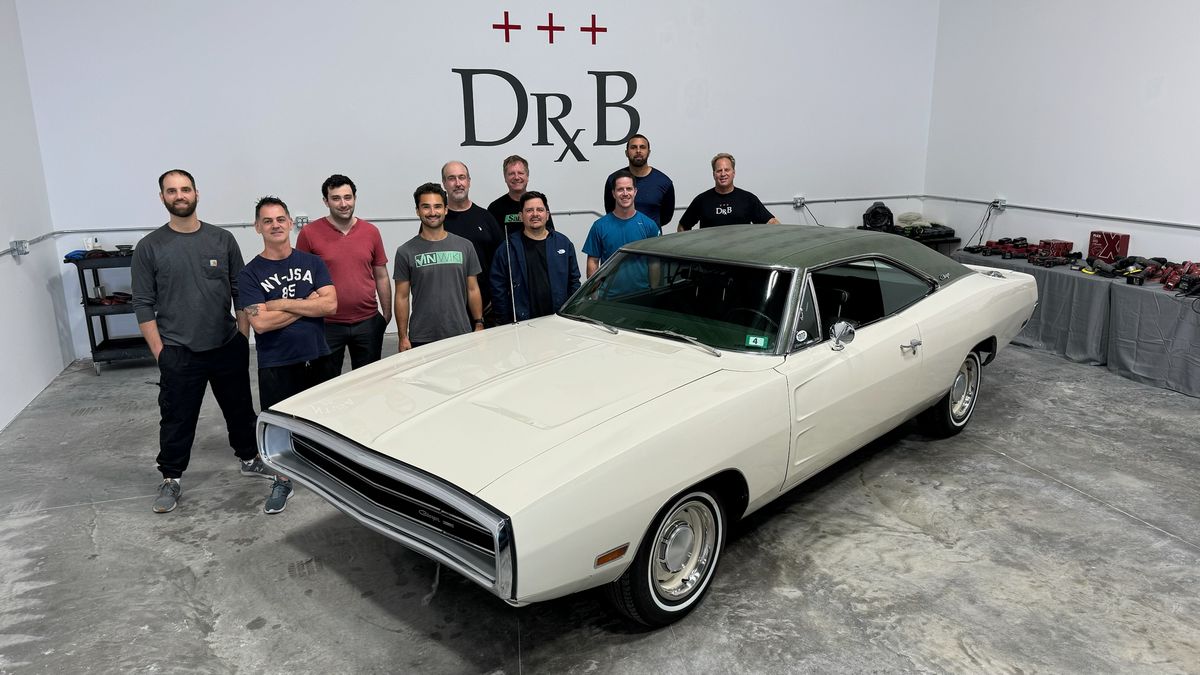
254 Pictures – January 20th 2024 1-Day Detailing Class at Dr. Beasley’s in Stuart Florida
Continued….
February 3-Day Class – 2024 in Stuart, Florida
Day 1 – Morning Session – Extreme Prep Wash
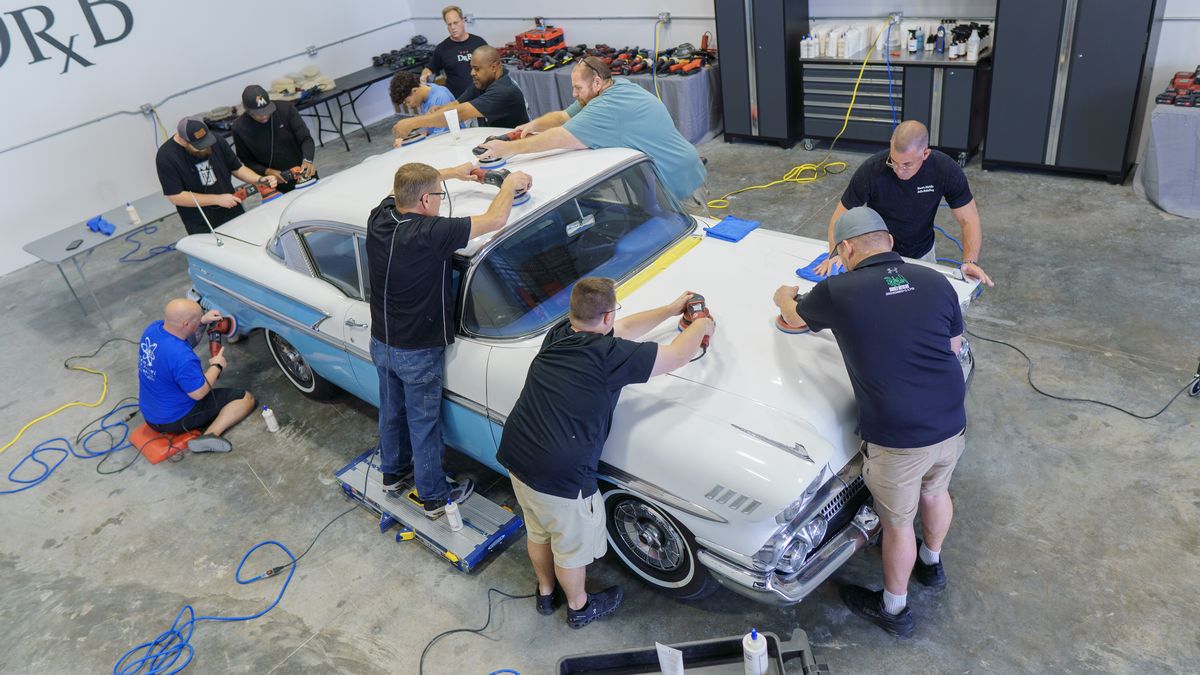
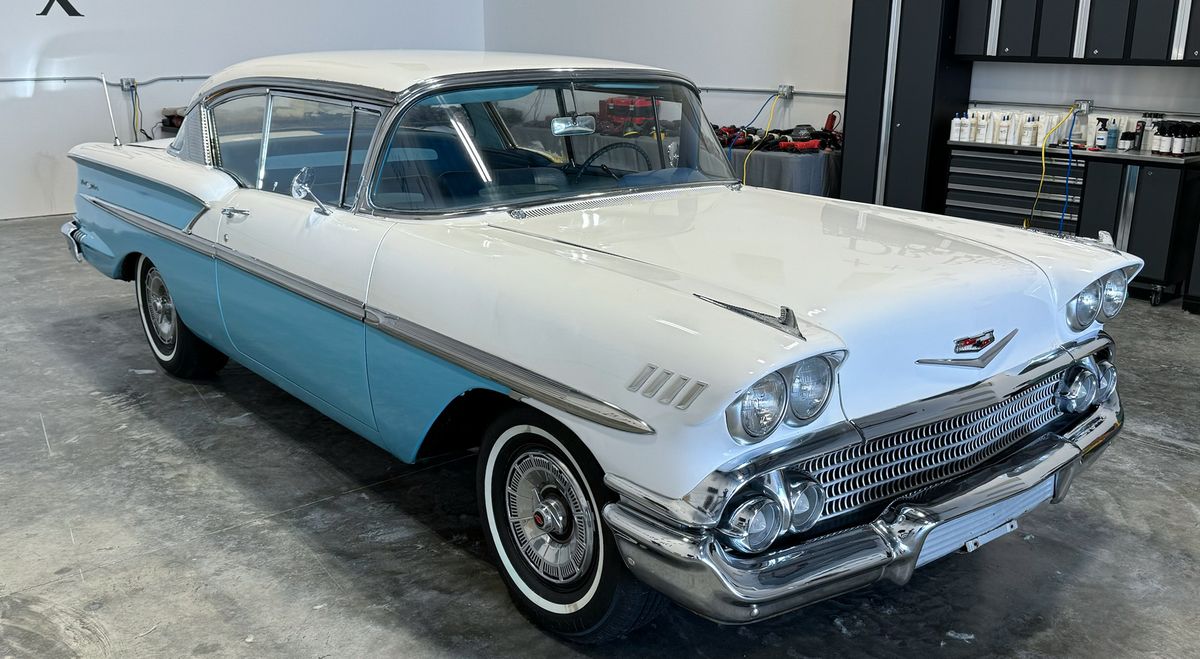
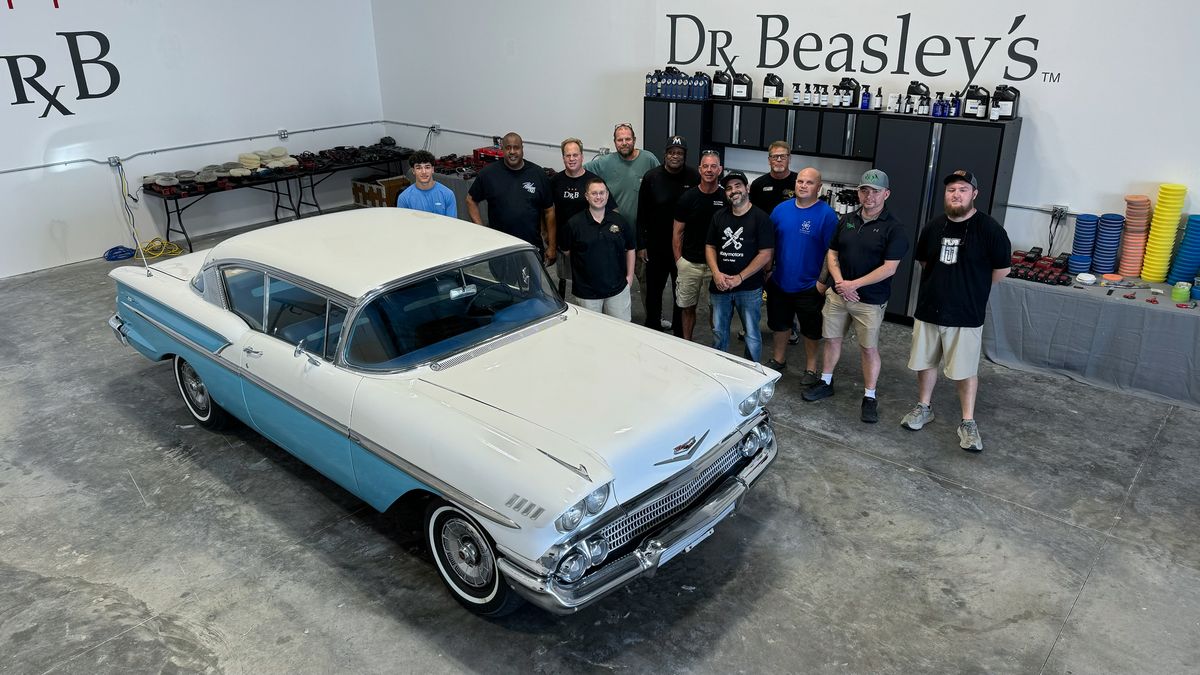
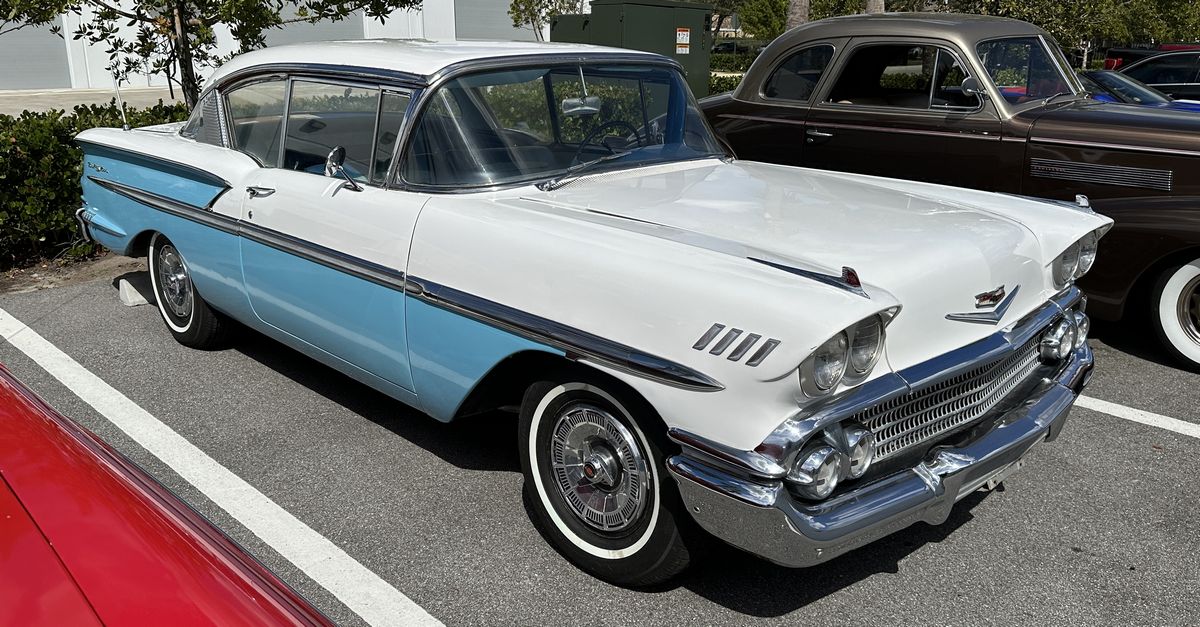
1958 Chevy Bel Air – Barn Find
Here’s before, see the huge stain in the middle of the hood? And the entire finish is chalky with oxidation.
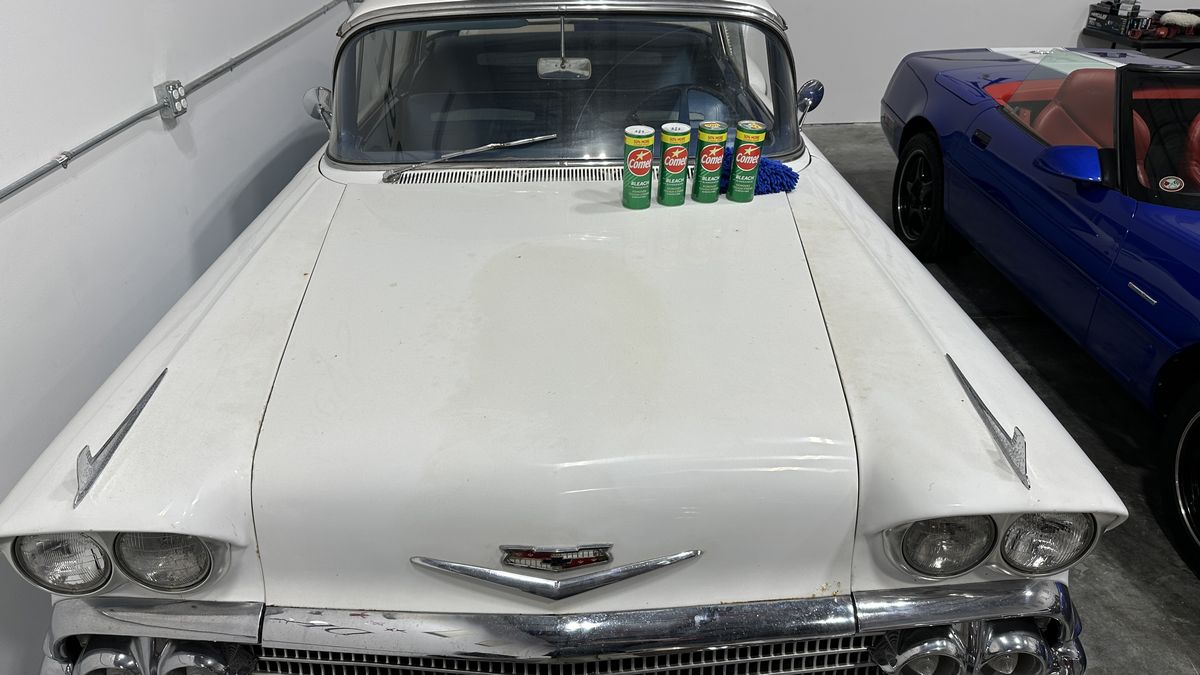
This car started out with the Comet Wash
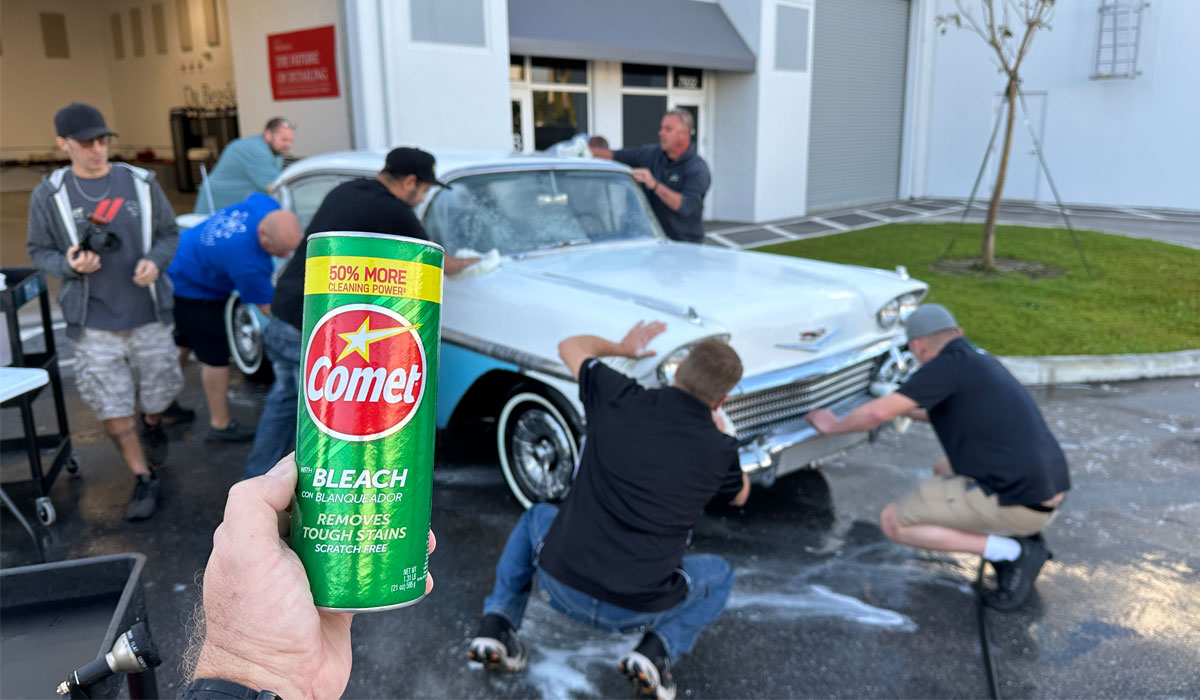
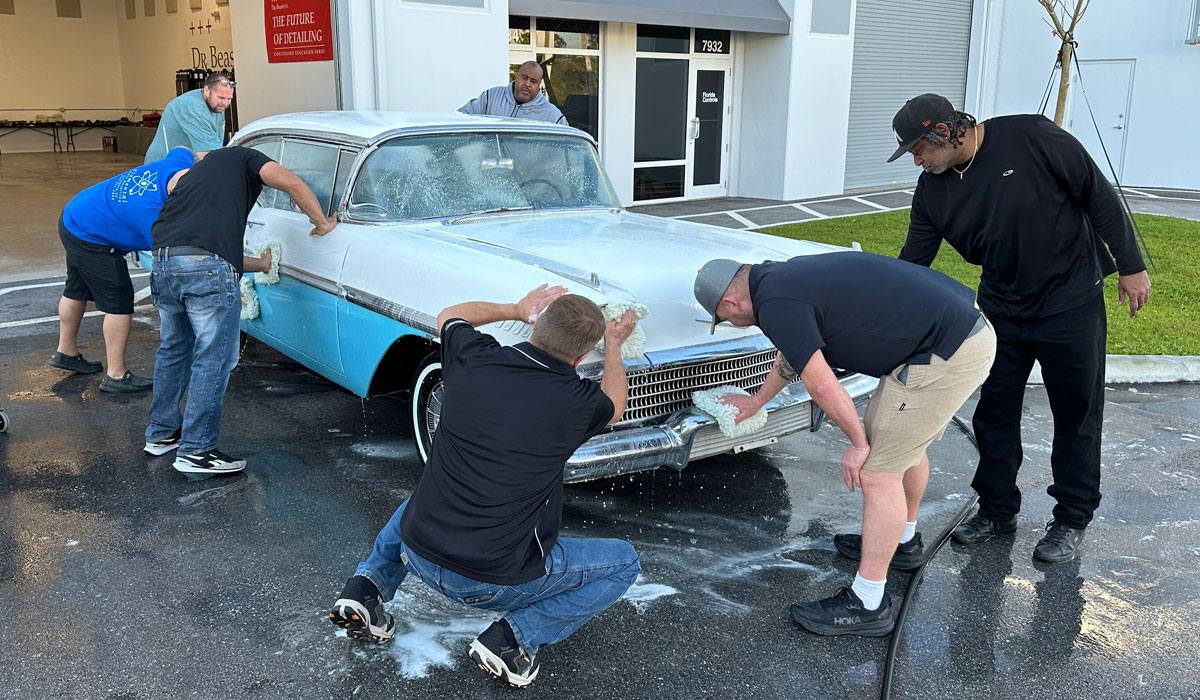
Then rotary polishers with wool pads
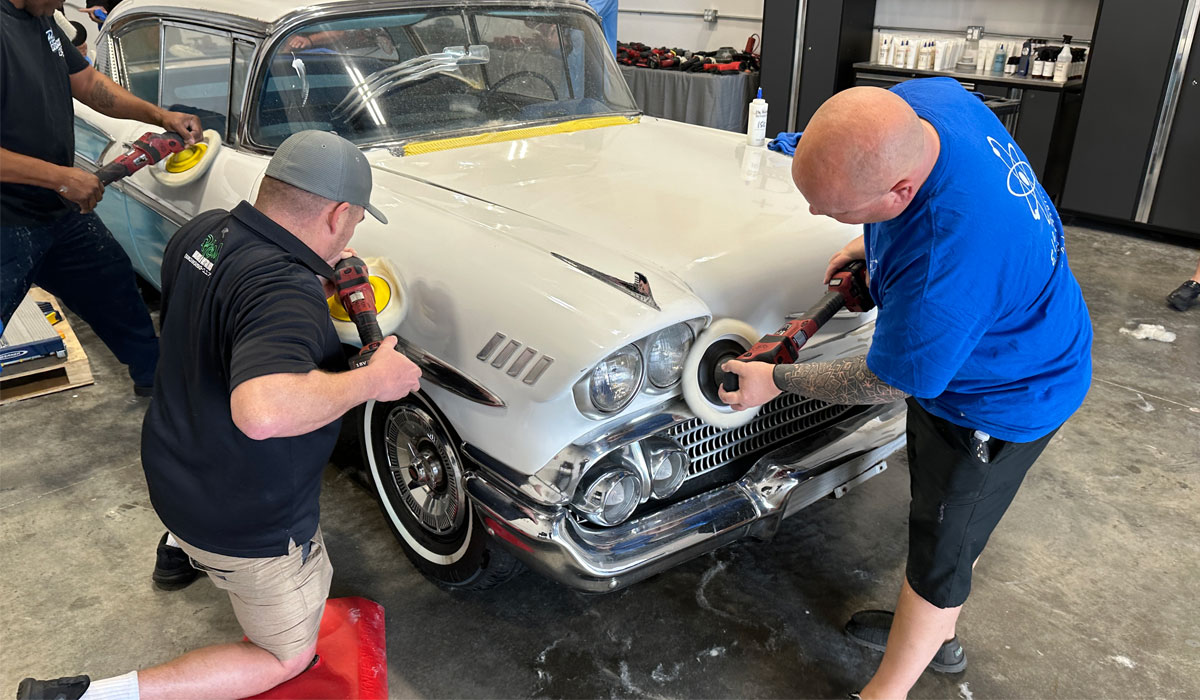
Then foam pads on orbital polishers
Here’s the final results!
Day 1 – Friday – Afternoon Session – One-Step Paint Correction and Ceramic Coatings
Next up, the topic for the below training cars will be One-Step Paint Correction and Ceramic Coatings. For this class I tend to bring in cars that definitely need paint correction but are not past the paint of no return.
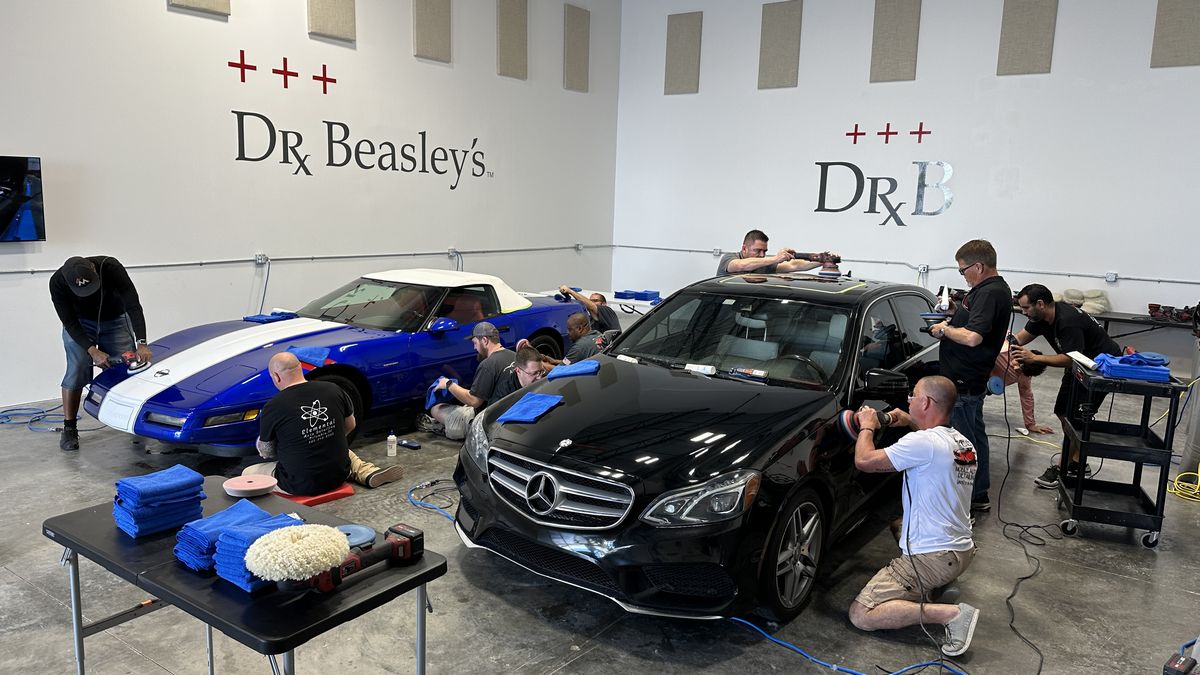
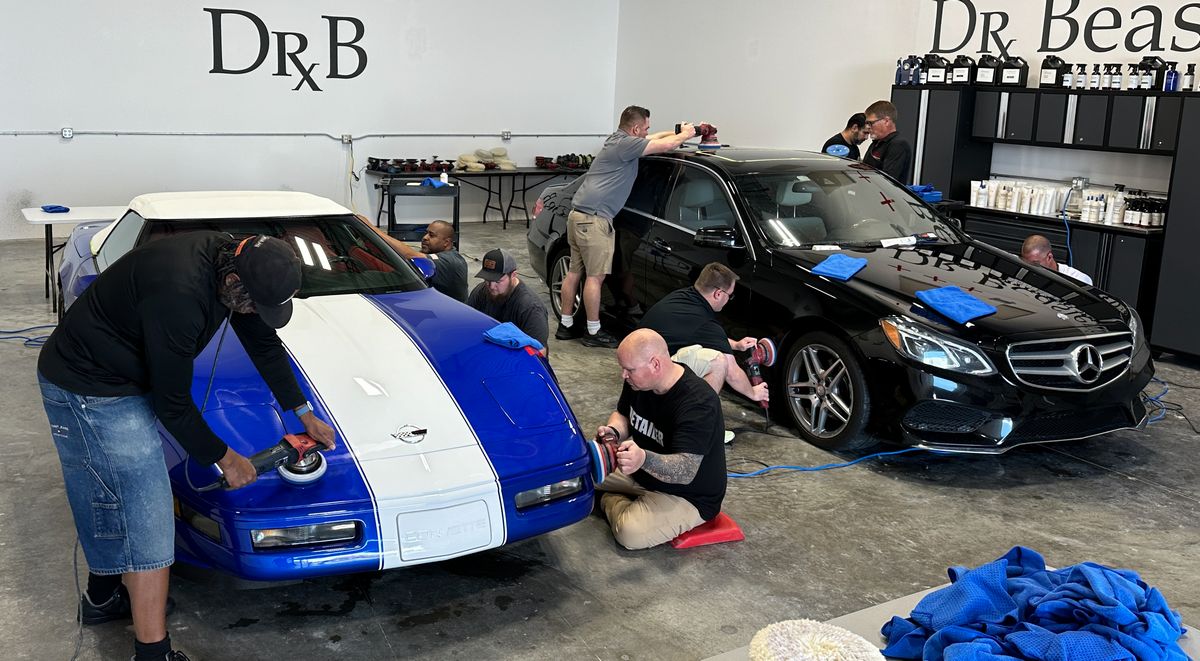
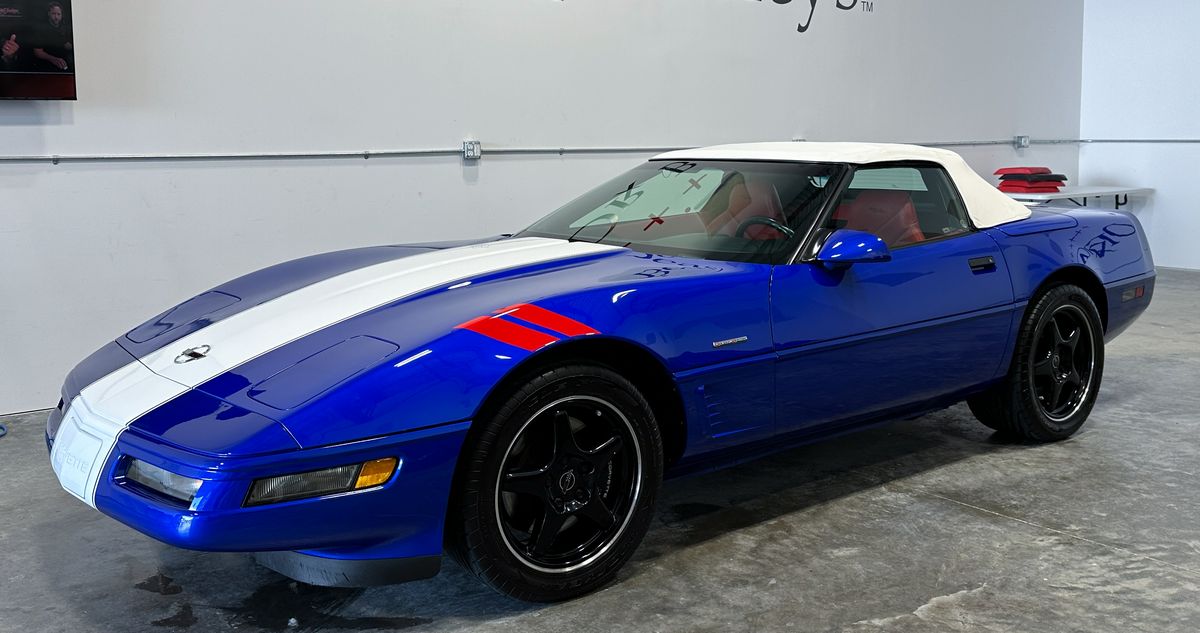
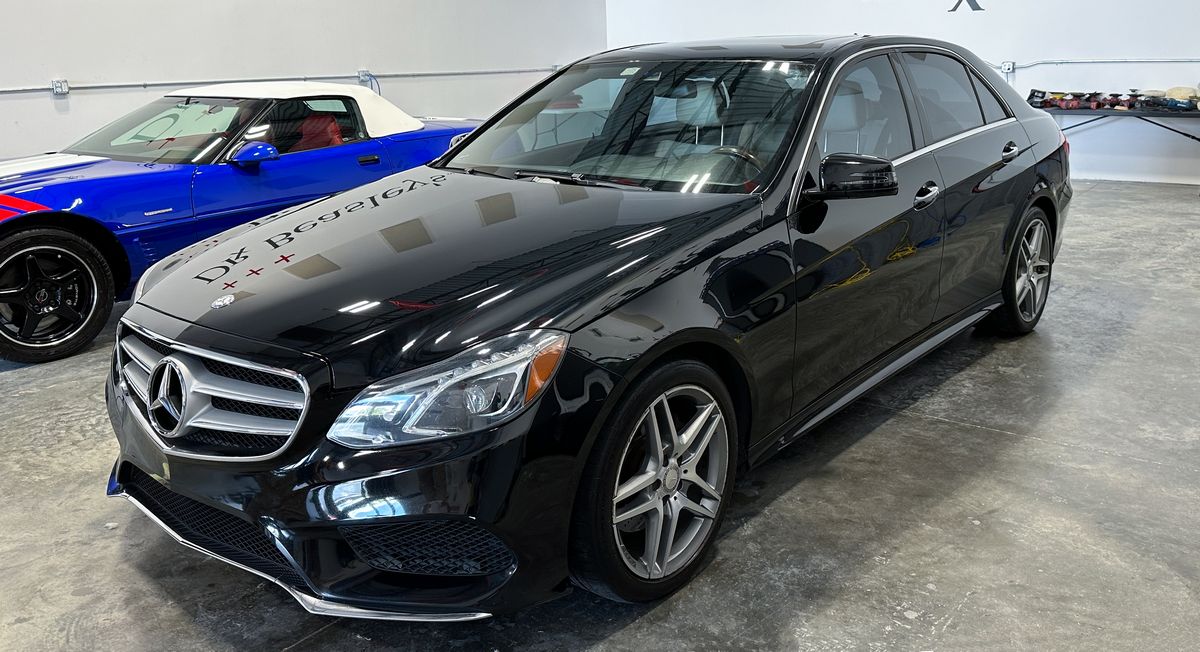
For this class there is a 2014 Mercedes-Benz E350 – the hood has been repainted and has holograms throughout the finish. We also have a 1996 Corvette Grand Sport, while the paint is in pretty good condition, this era of Corvettes are well-known for having SUPER HARD CLEARCOATS. Thus, even with light swirls and scratches, it will require a solid buffing to get the paint right.
Here’s the class in action…
Here’s final results!
Day 1 – Friday – Late Afternoon Session – 1-Step Ceramic AIO Paint Correction
Next up, the class is going to learn how to use the Dr. Beasley’s NSP Z1 Primer, which is a one-step Ceramic AIO. AIO means, All-in-One. This means this product will remove swirls, polish the paint to a high gloss while leaving behind ceramic paint protection. Thus, a one-step product for a one-step process.
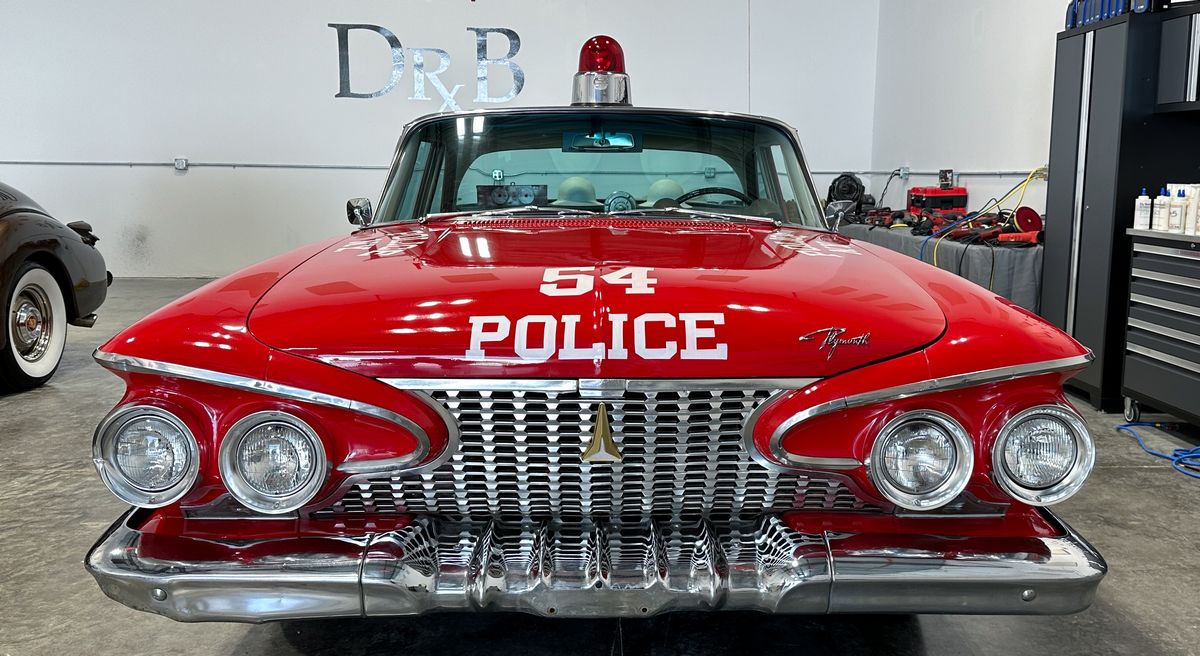
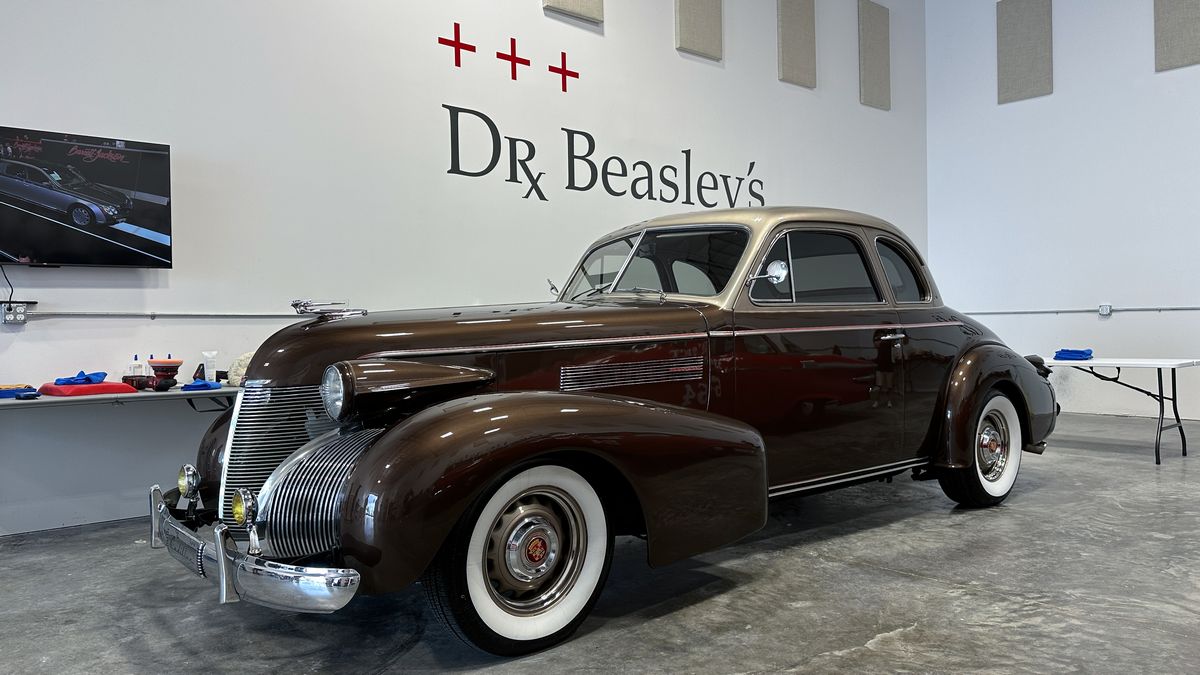
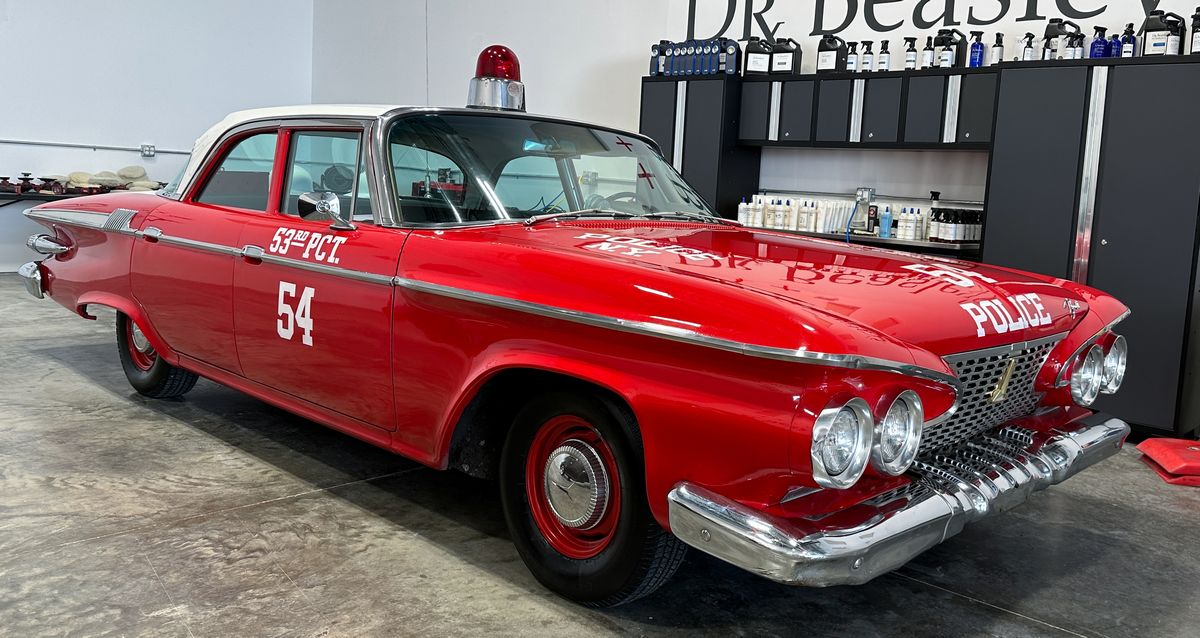
For this class session we have two very unique cars. This first one is a tribute build for the iconic 1961 Plymouth Fury Police Car used for a popular TV show called, Car 54, Where are you?
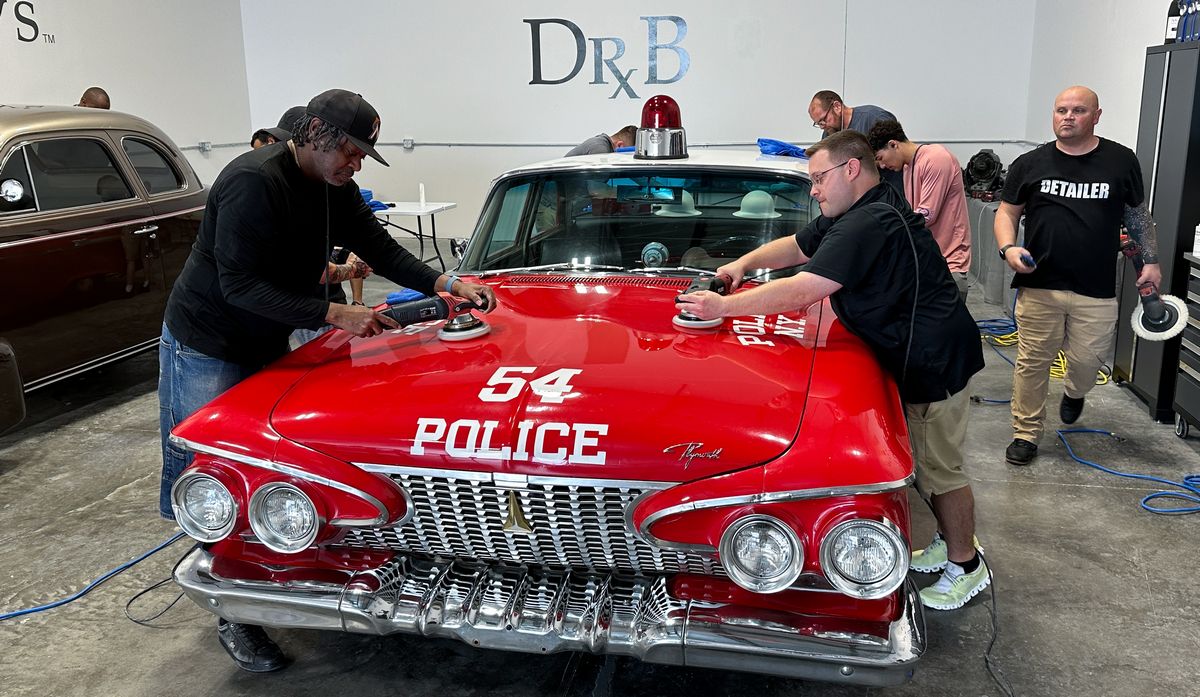
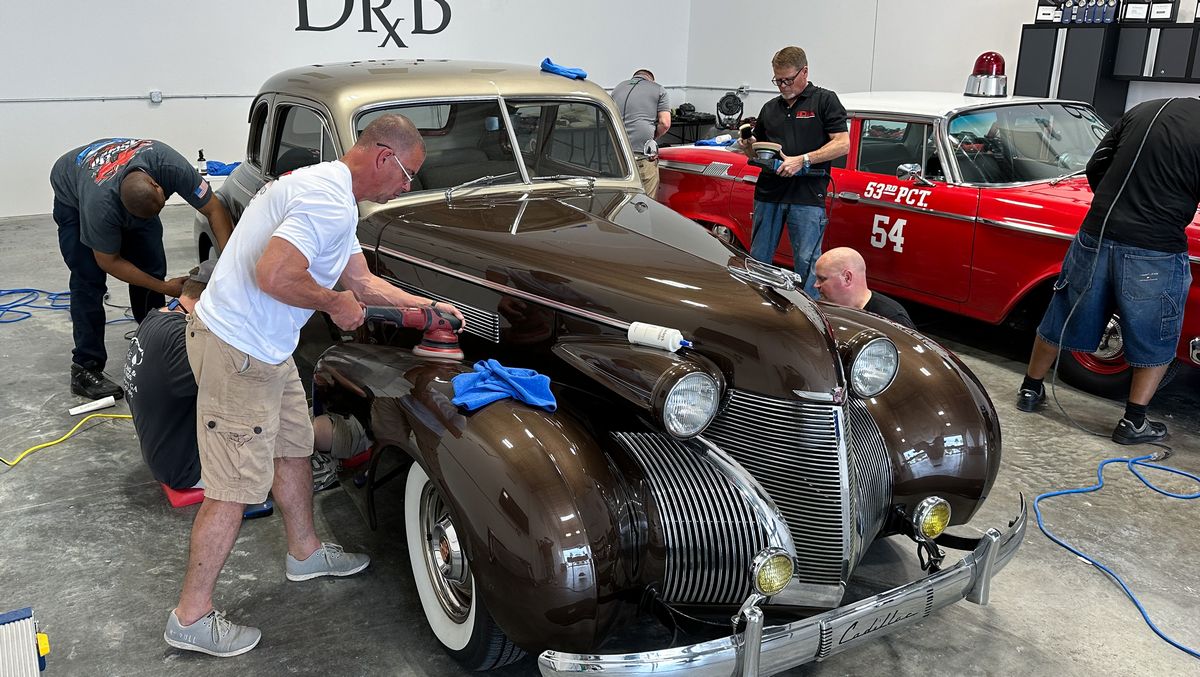
Here’s final results!
Day 2 – Saturday Morning – Removing Orange Peel – Hand & Machine Sanding
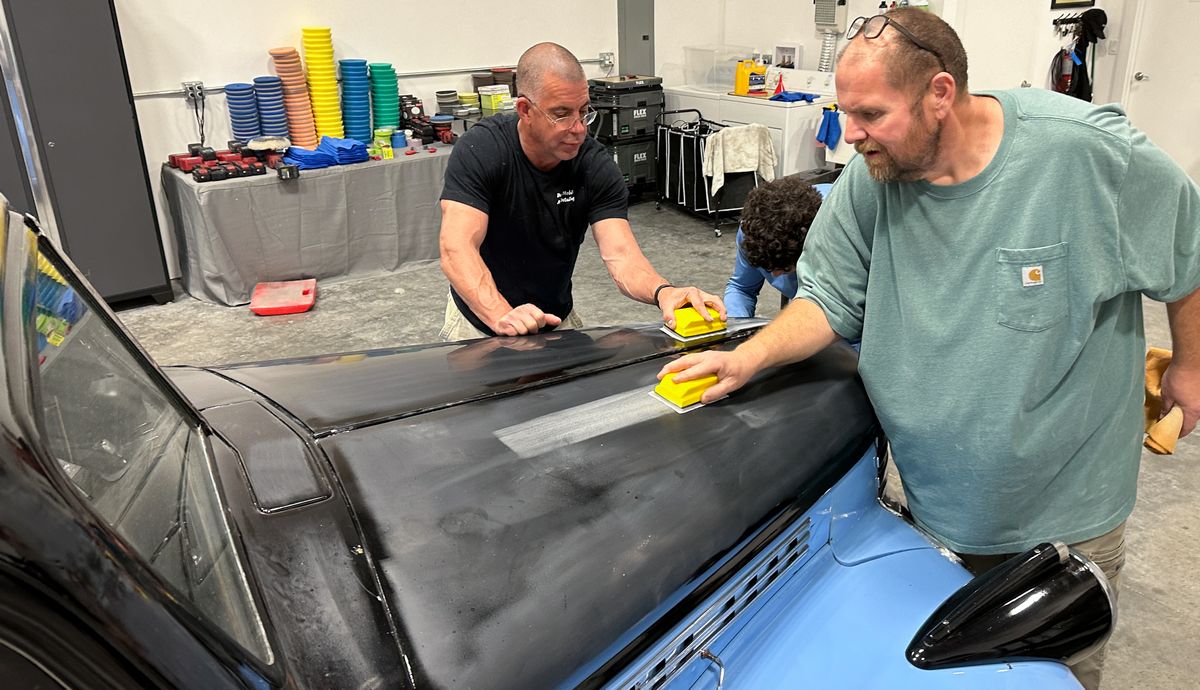
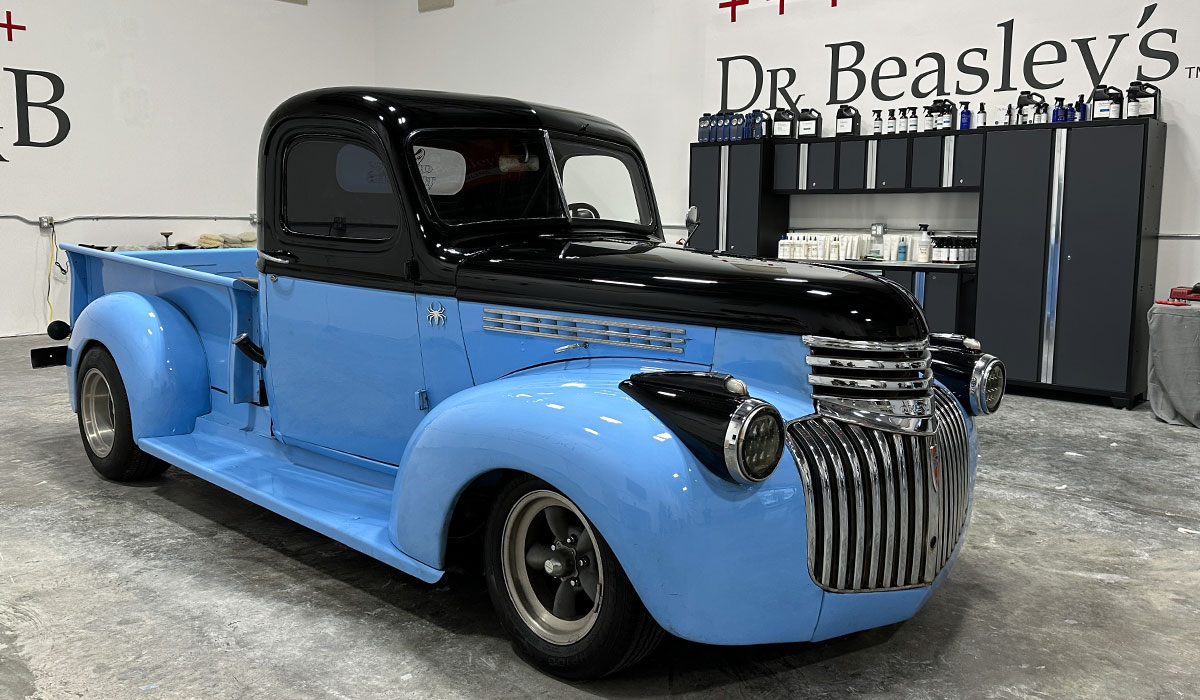
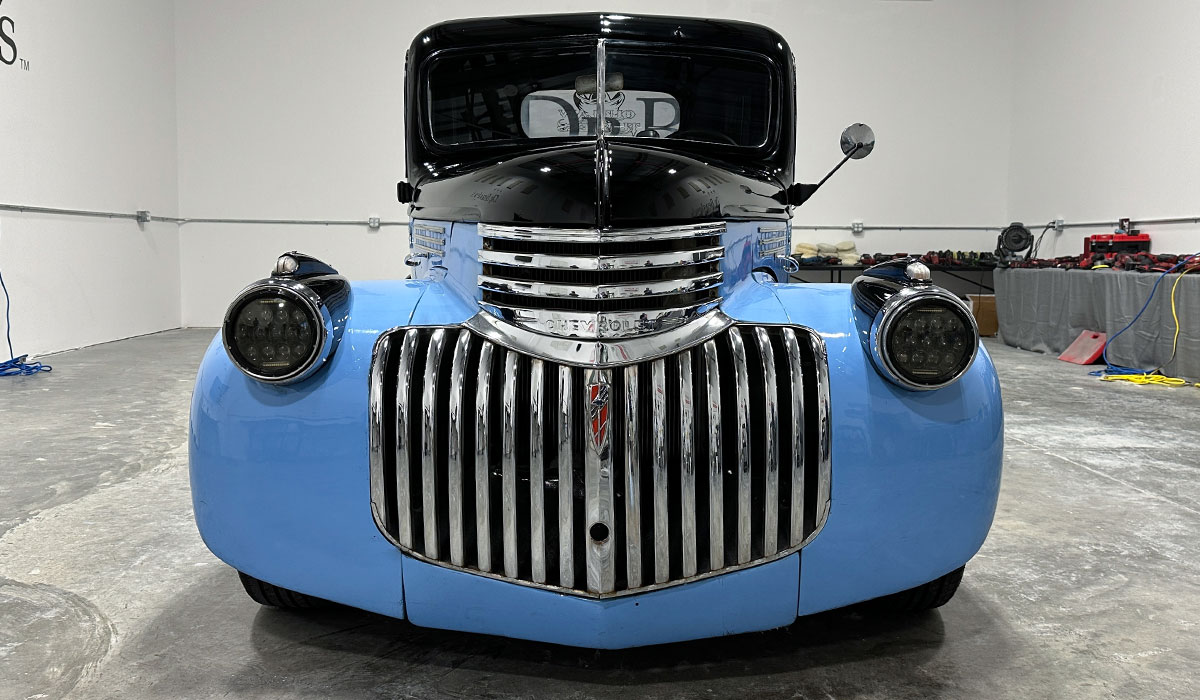
Here’s the hood on the 1941 Chevy Pickup Streetrod
The paint job on this truck is the definition of horrible. But this is why I LOVE this truck. The worse the paint, the more dramatic the transformation. Plus a paint job like this will challenge the students and along the way, give them confidence that when they return to their world, if a project like this ever comes there way, they’ll know to either turn the job down, or how to do it right the first time.
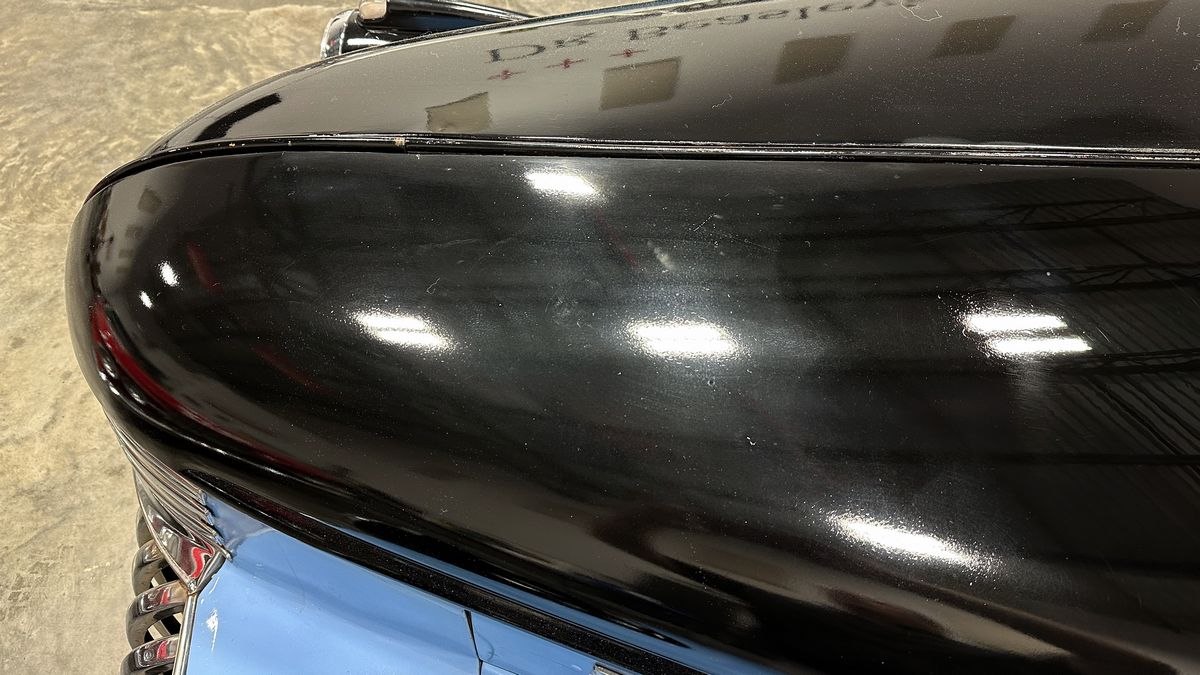
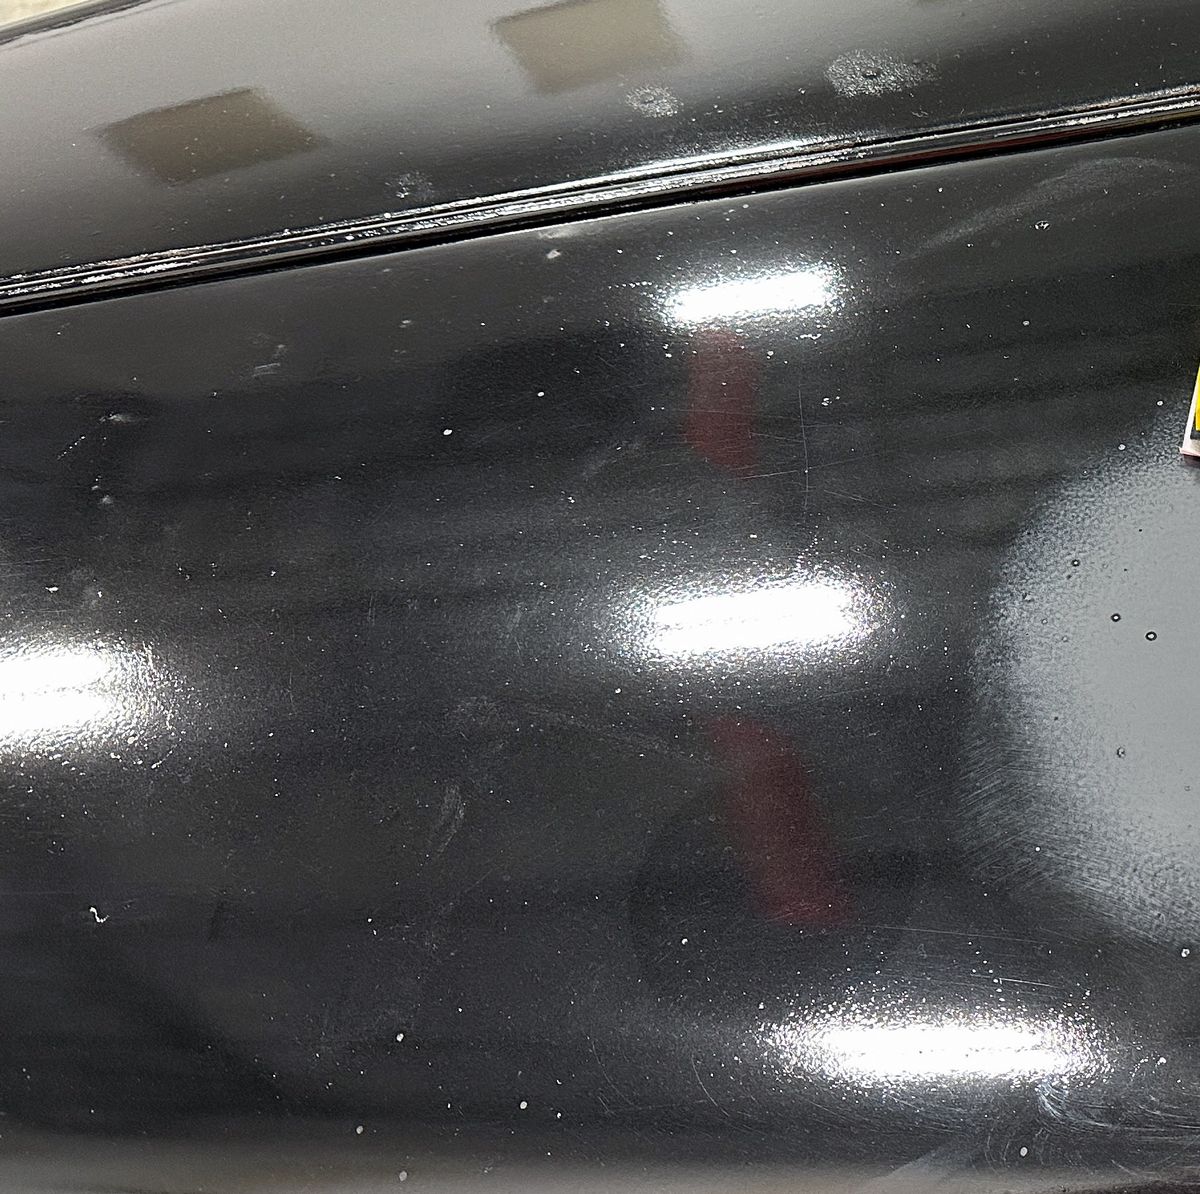
First up, hand sanding followed by machine sanding
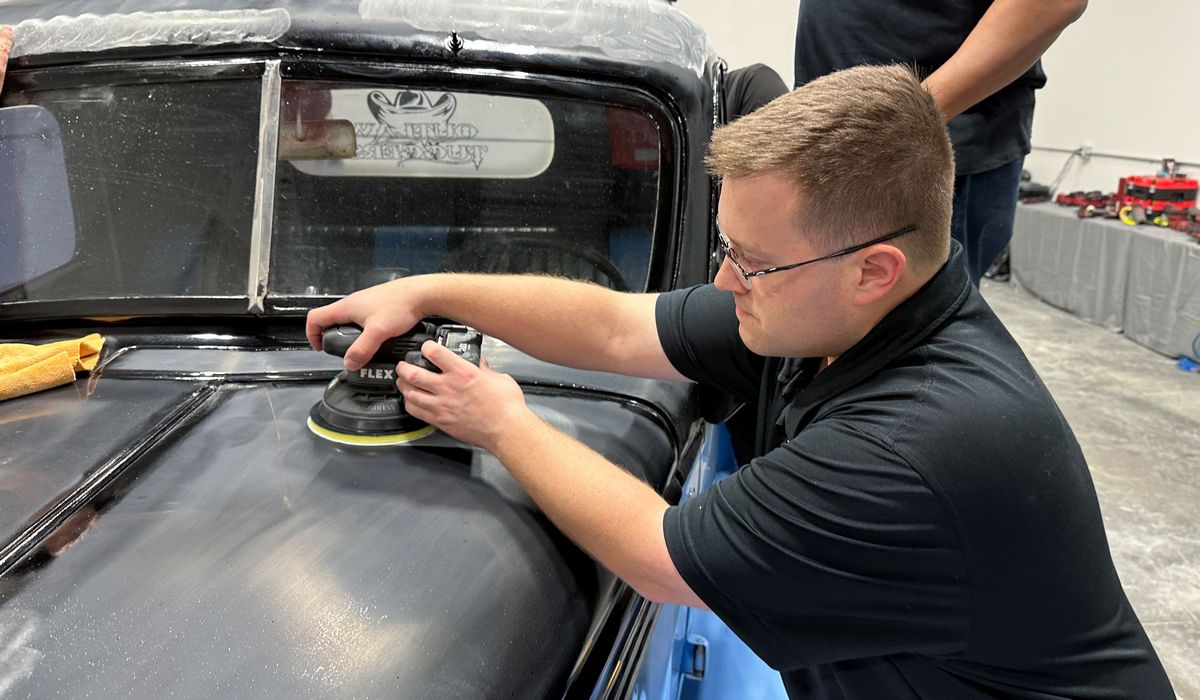
Rotary Polishers
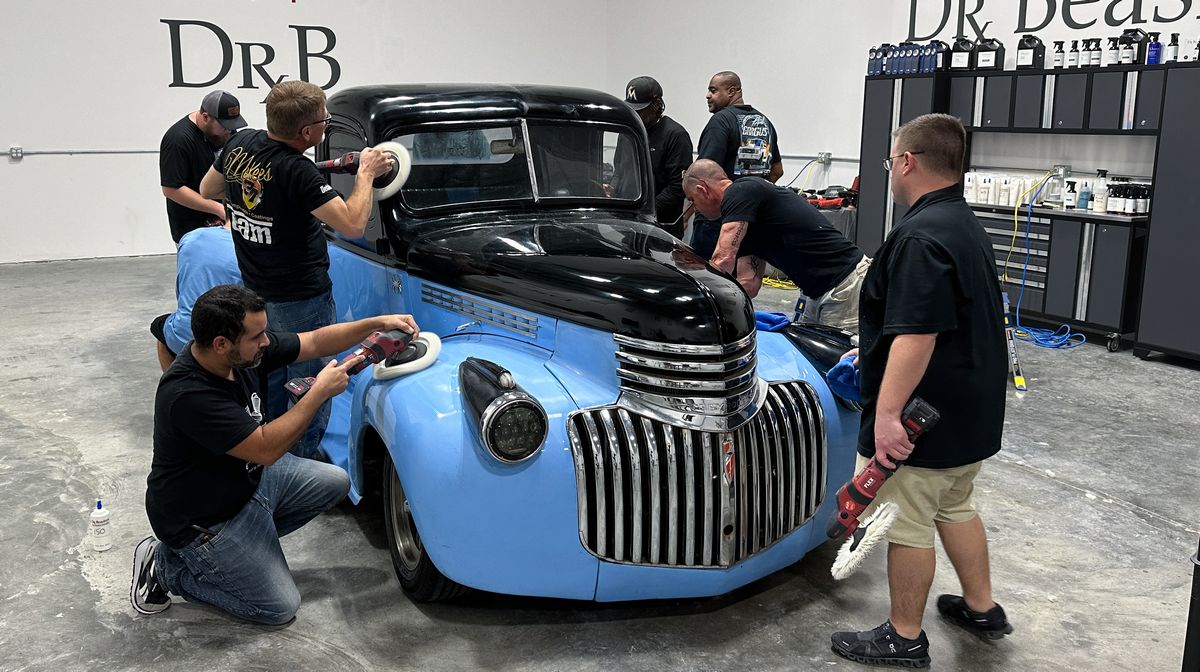
Orbital Polishers
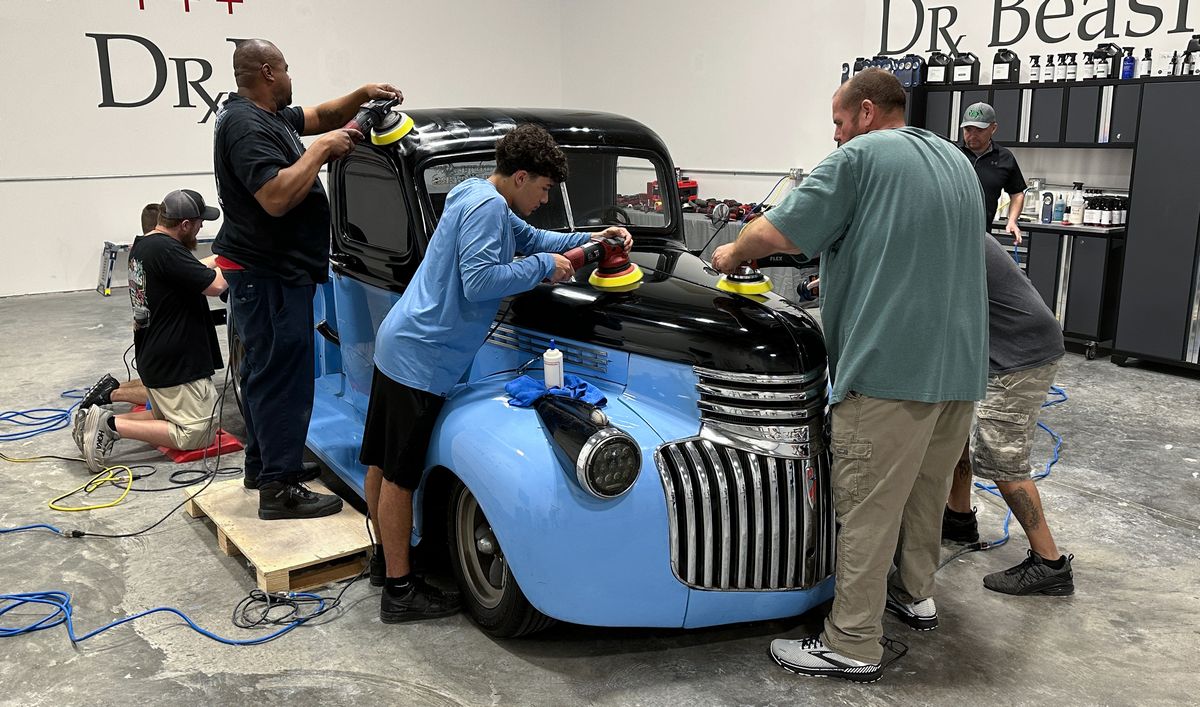
Ceramic Coating
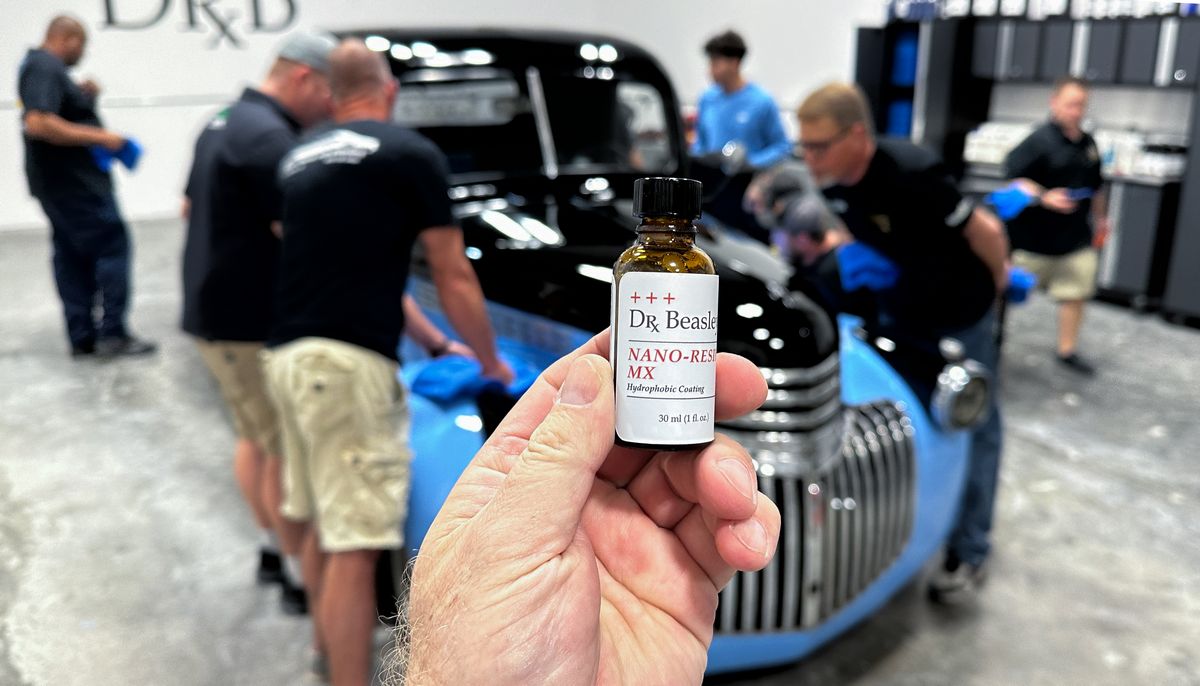
Here’s final results!
Day 3 – Sunday Morning – Extreme Gelcoat Correction
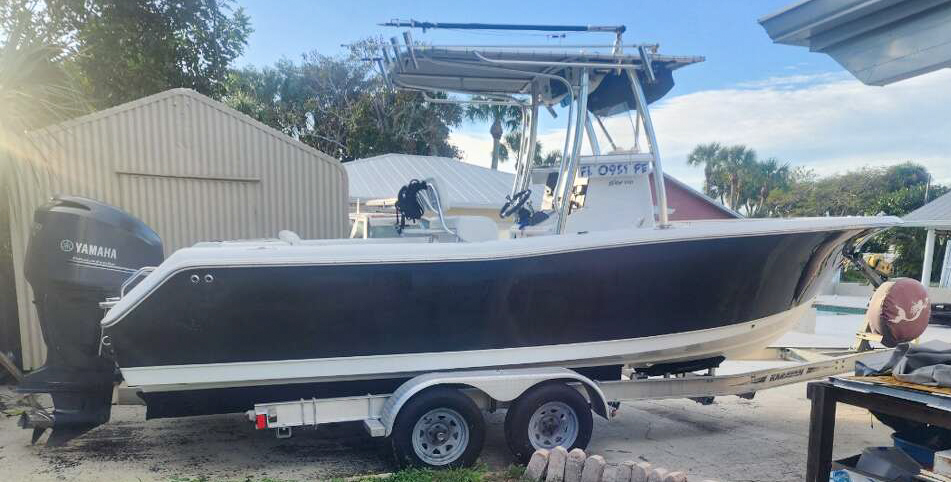
Here’s our training boat, this is an extremely neglected 25′ Sea Hunt Center Console. This is in my opinion, the BEST type of boat for training purposes. First, the gelcoat is VISIBLY oxidized and filled with dock rash. This is DEEP oxidation. Not only can the human eyes see the accurate condition, but a hull in this neglected state can also be captured with both photos and video. This is just one reason I don’t bring in oxidized WHITE gelcoat boats. It’s too difficult for the students to easily see the before and after difference and it’s a lot more difficult to capture before and after with photos and video.
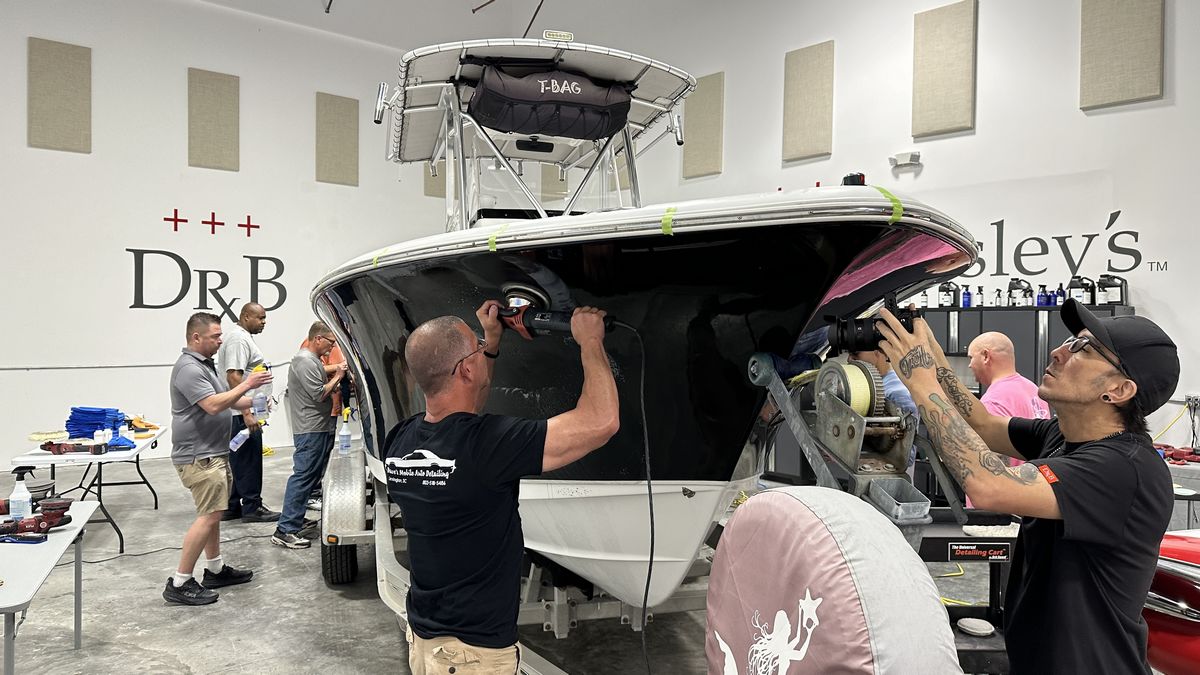
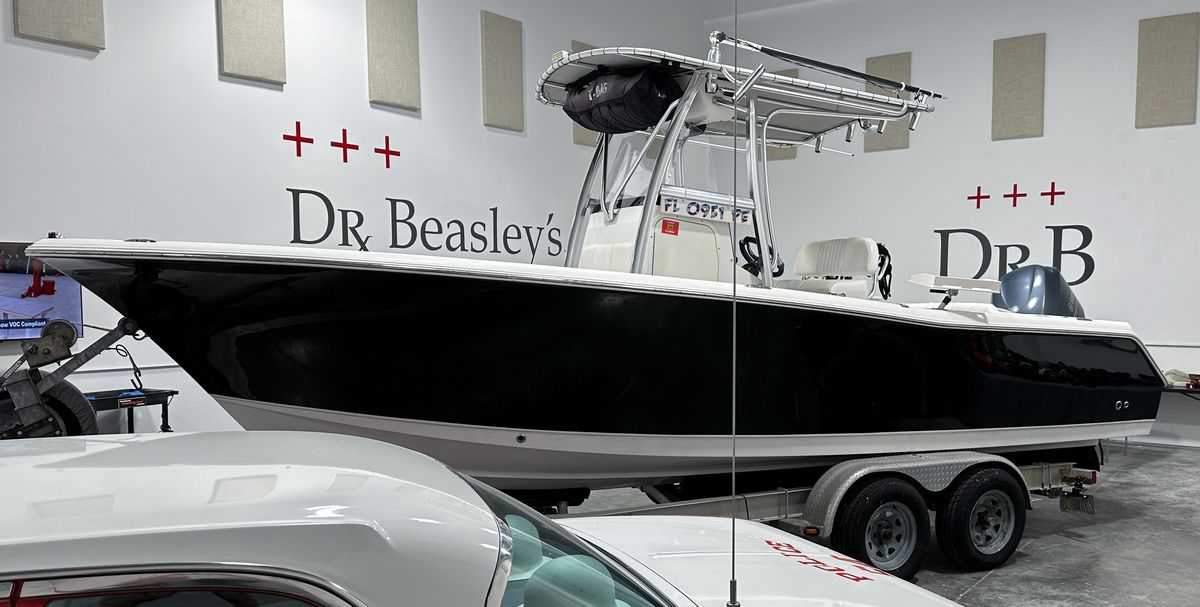
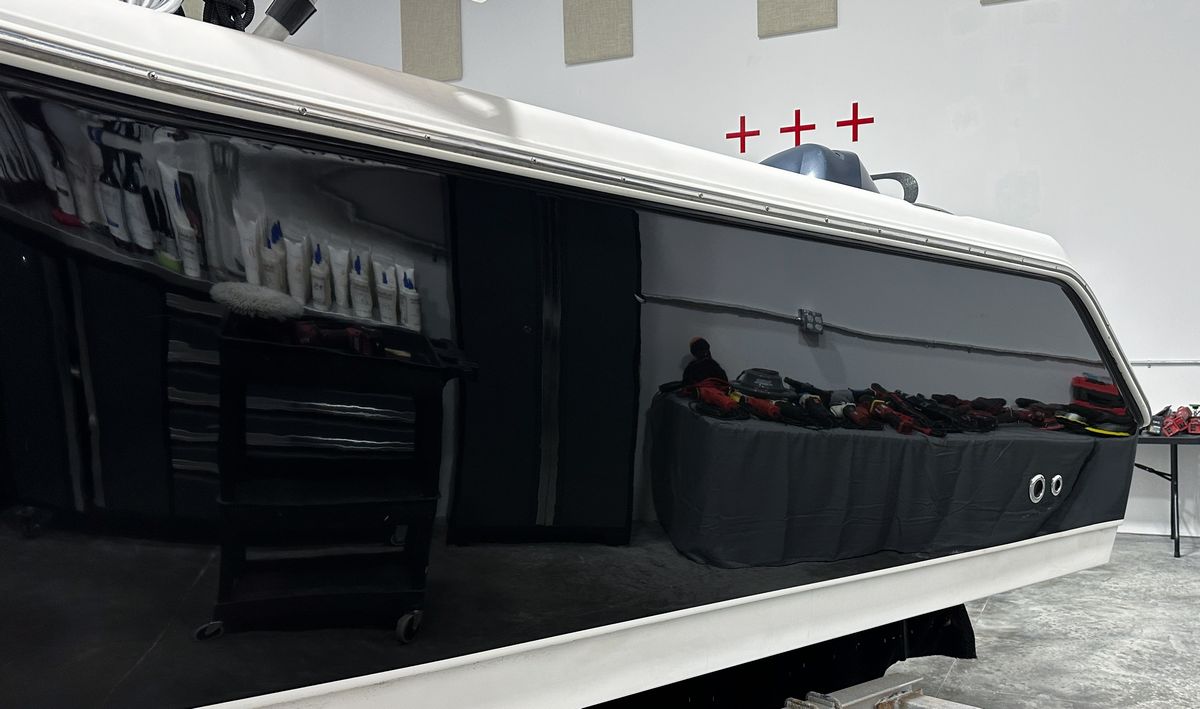
Final Results – A Mirror Finish on Gelcoat
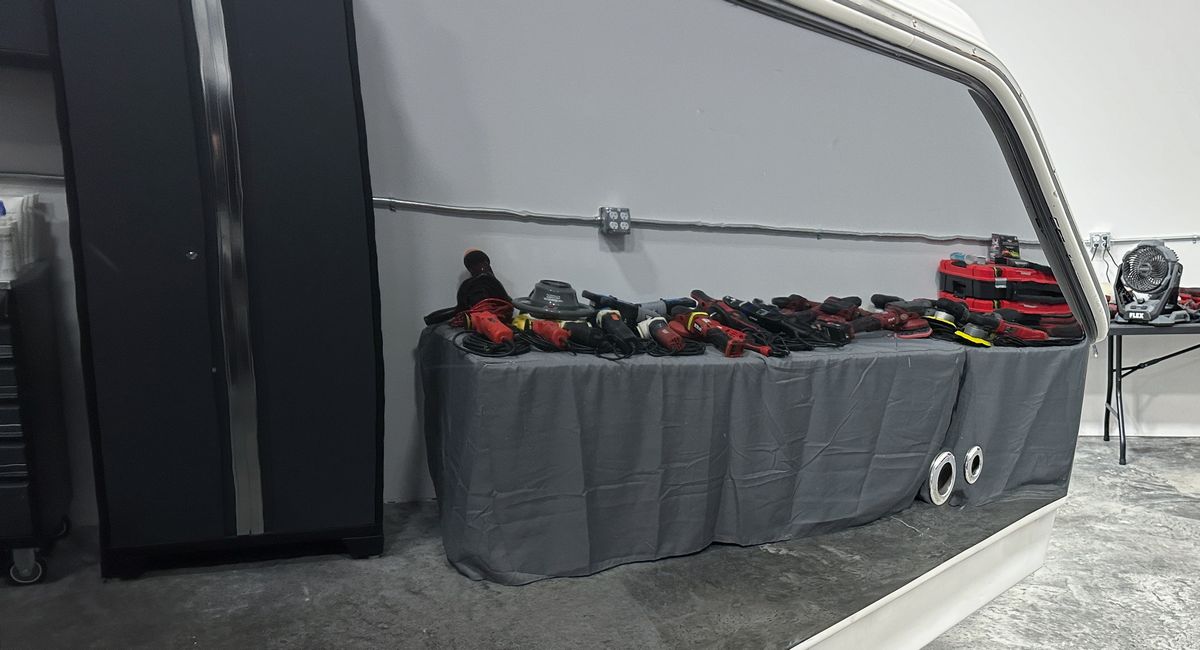
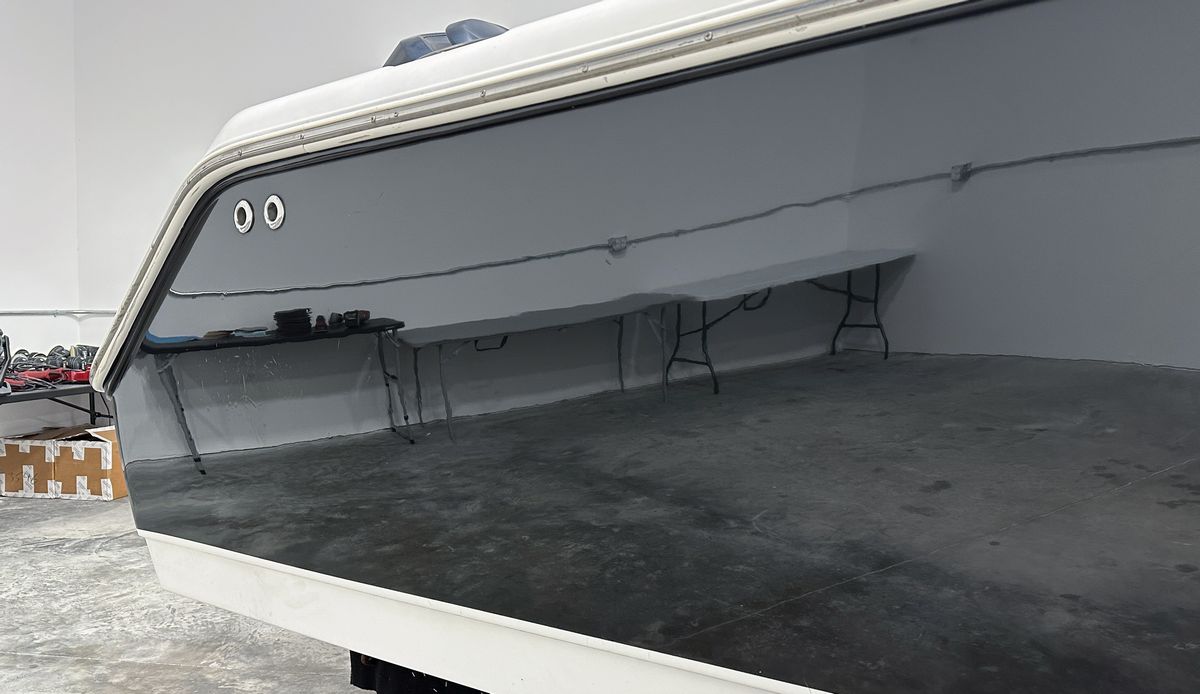
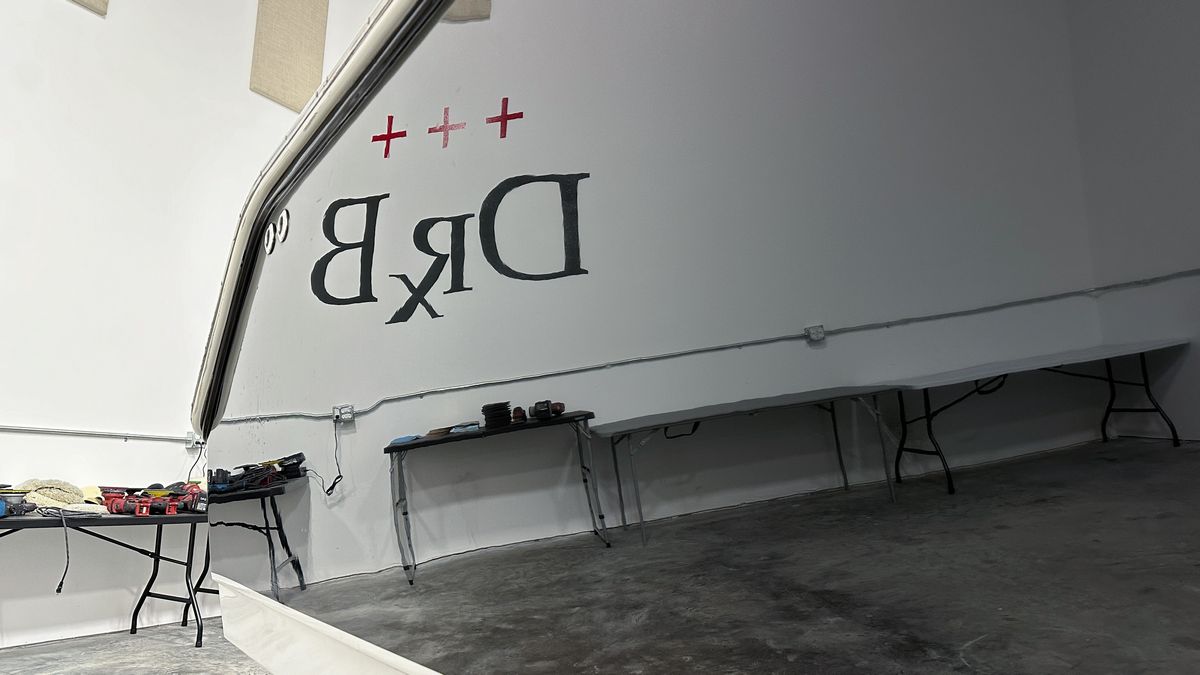
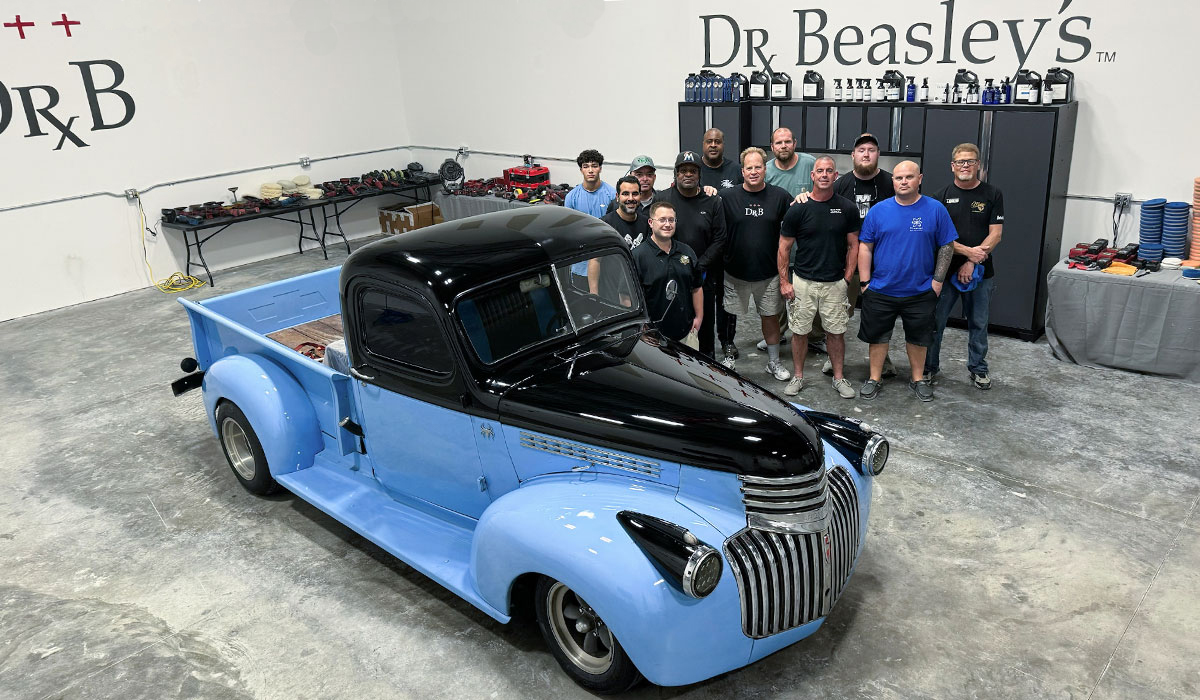
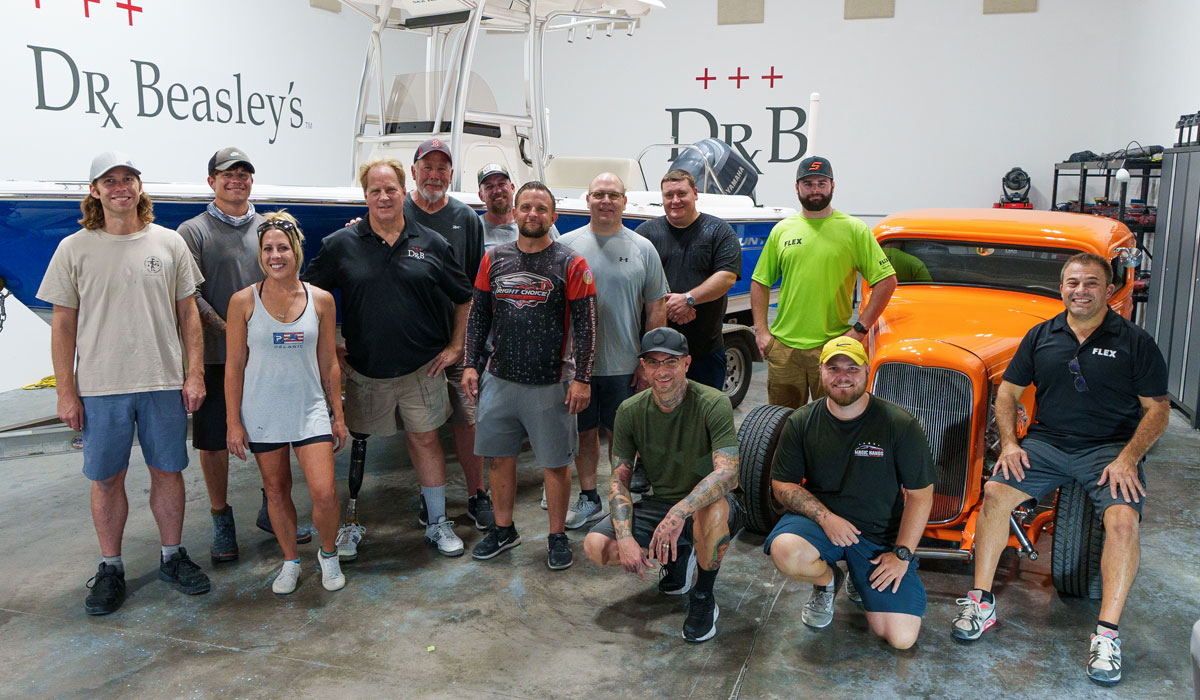
And the team that made the magic happen!
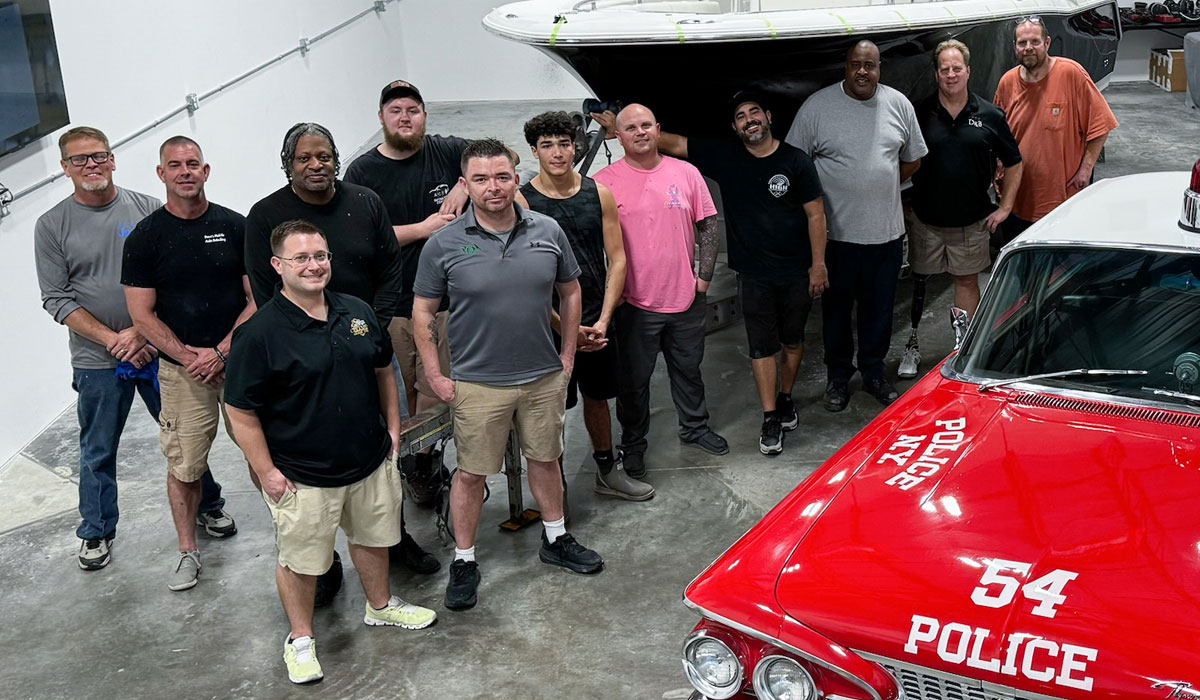
And of course, here’s Yancy capturing a selfie with the class!
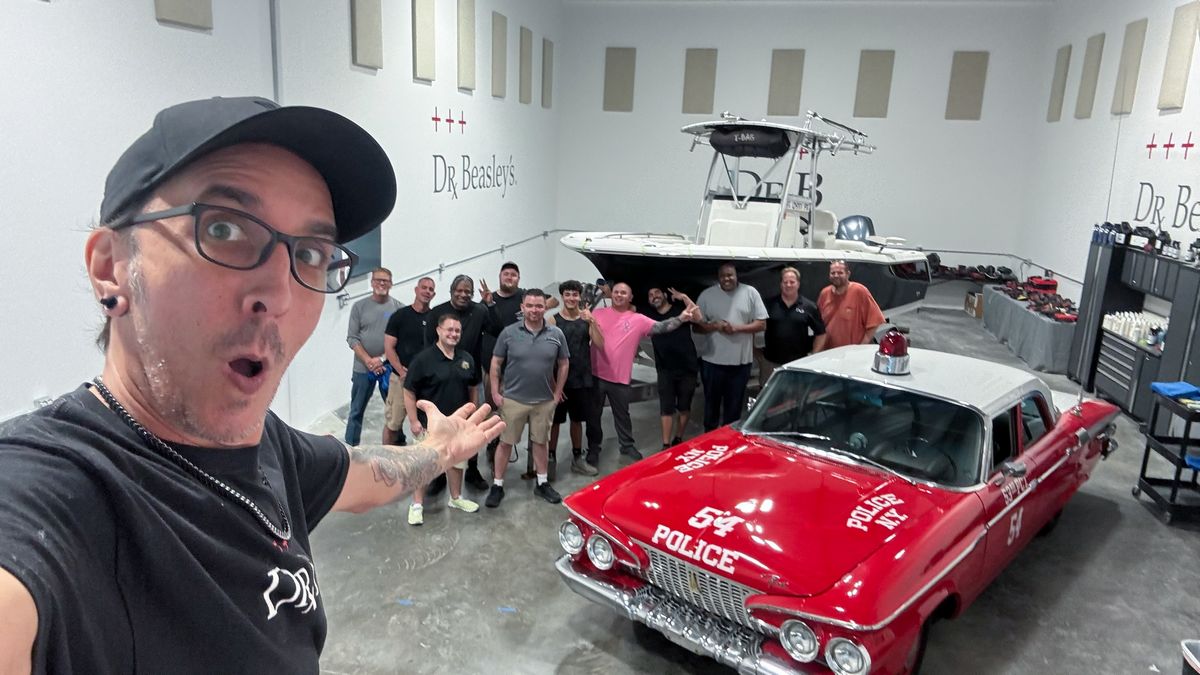
6 cars and 1 boat in 3-days!
As you can see, these are 100% hands-on training classes. You work on real cars, with real problems. And the boats we bring in are always in HORRIBLE shape so we can teach the most topics, tools and techniques.
See ALL the action shots plus the before and after pictures here,
248 Pictures – February 3-Day Car & Boat Detailing Class with Mike Phillips
Continued…
The 2024 May 3-Day Class – Automotive and Marine Detailing Class in Stuart, Florida
Day 1 – Morning Session – Removing Orange Peel – Hand & Machine Sanding plus Rotary Polishers!
The first training car for the morning session is a 1981 Corvette with a recent custom paint job. The class will be removing orange peel, fisheyes, dirt-in-paint and surface texture via dry sanding
Hand Block Sanding Dry
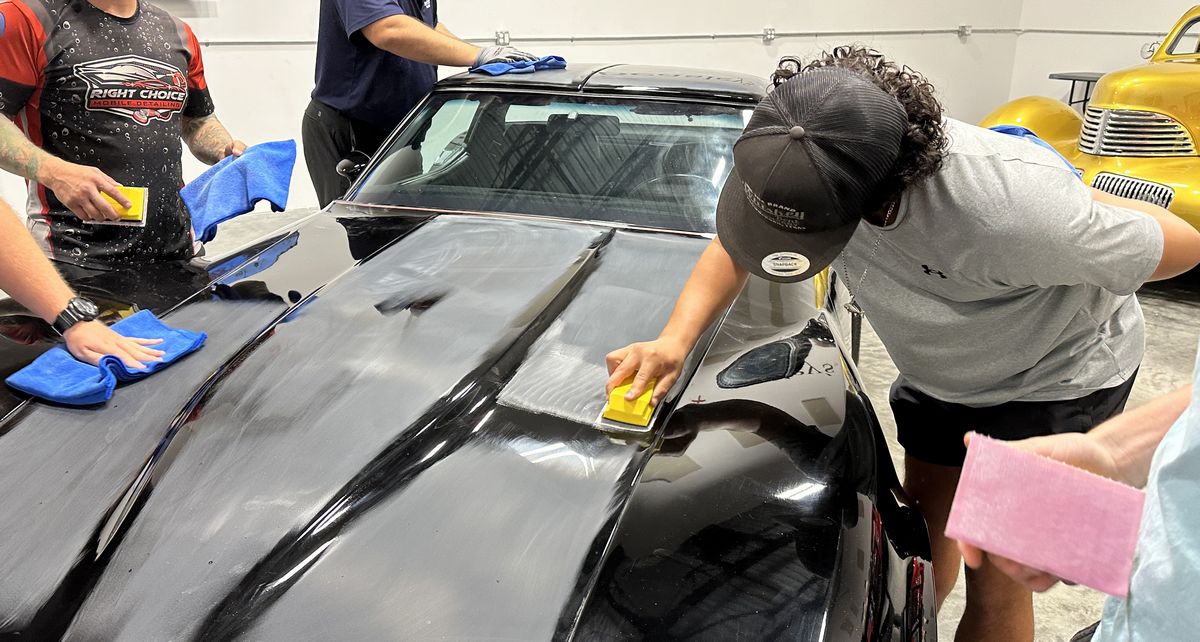

Machine Dry Sanding
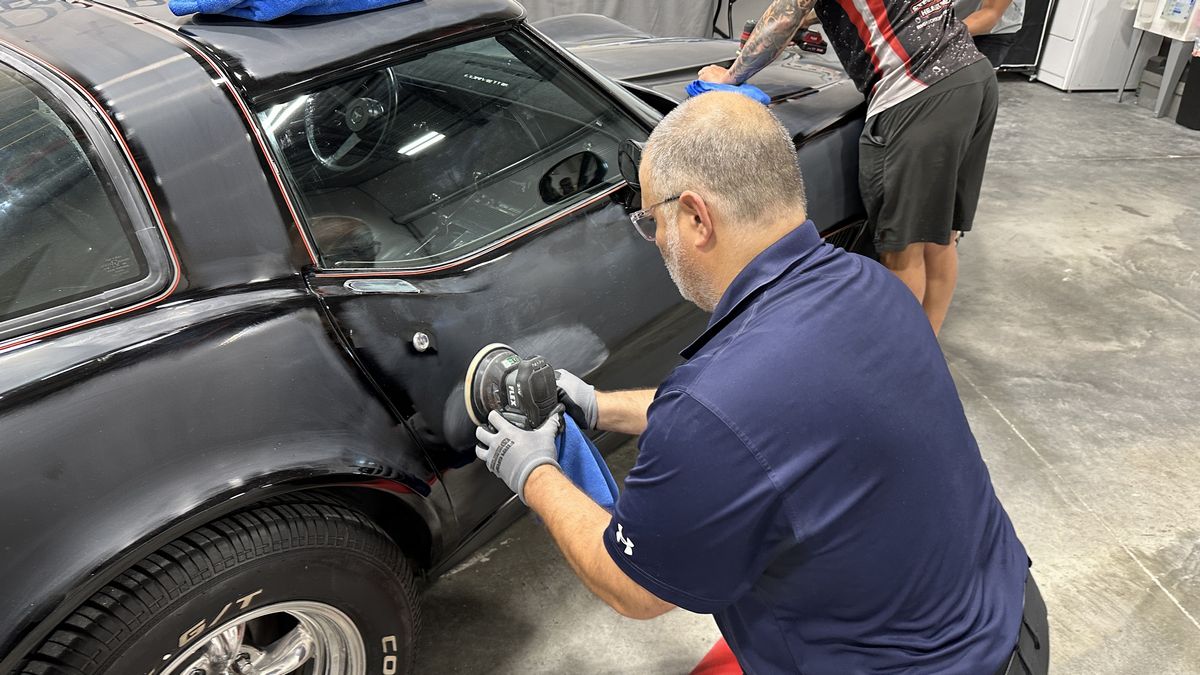
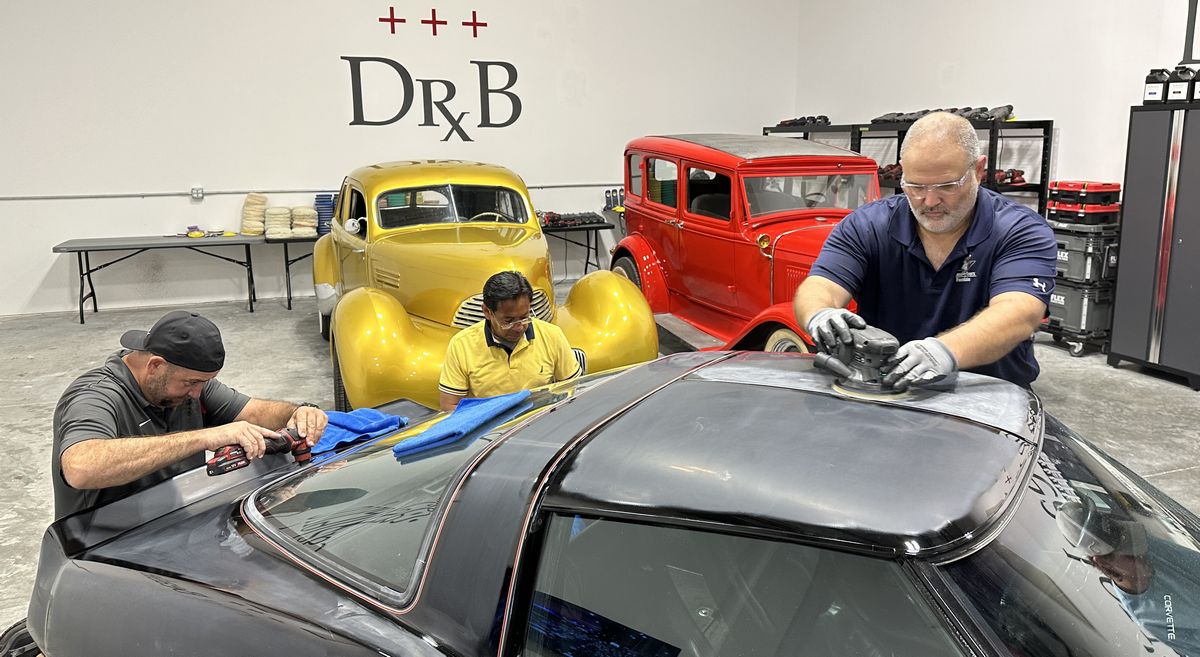
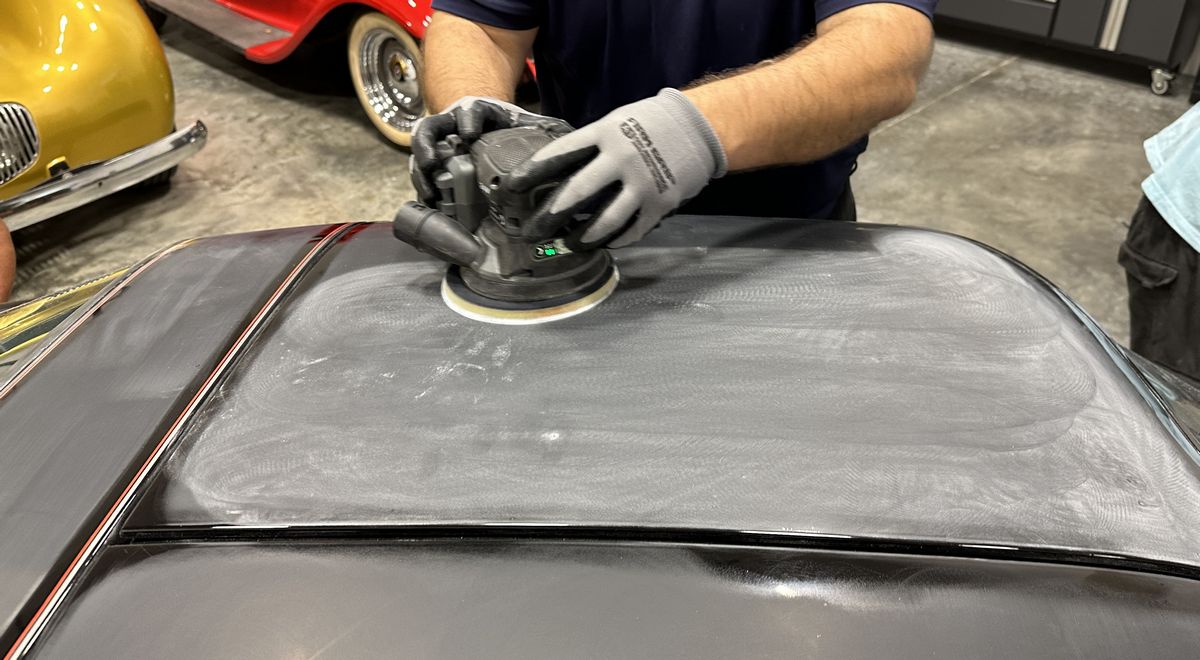
Wool pads on Rotary Polishers
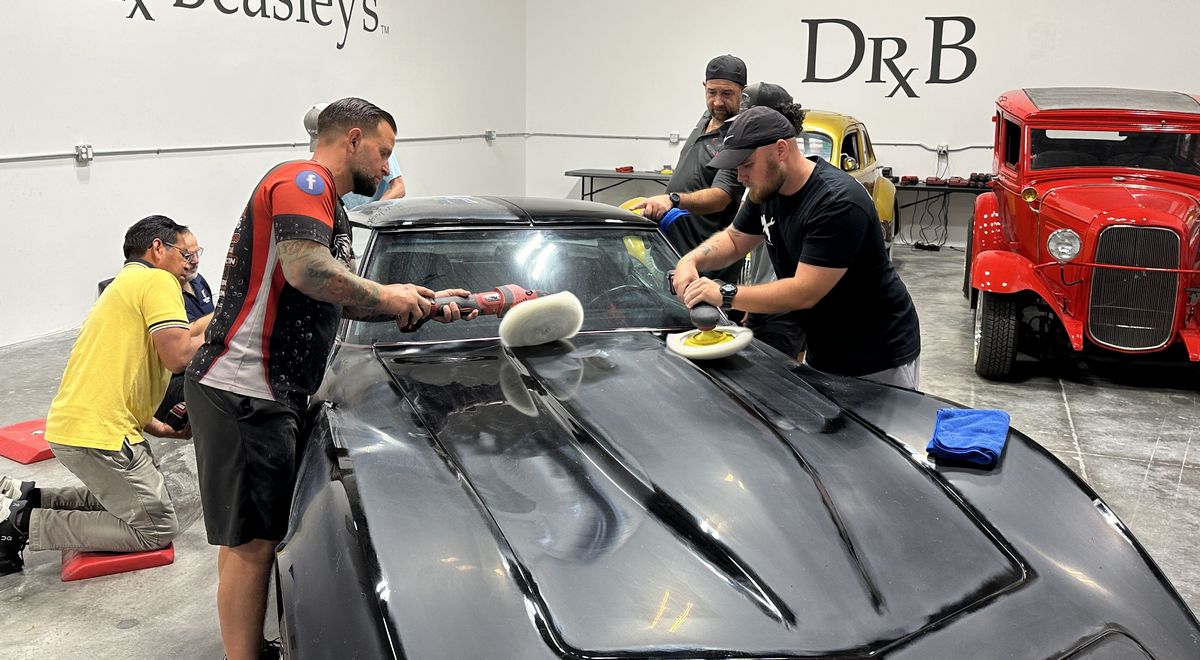
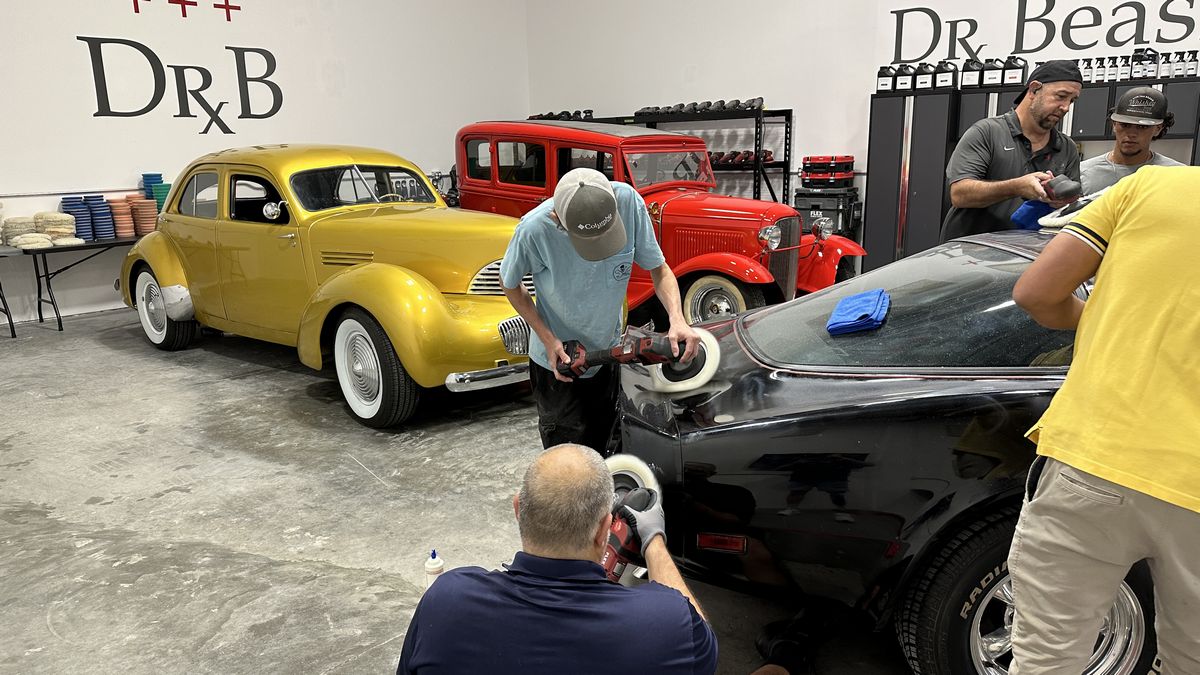
Foam pads on Orbital Polishers
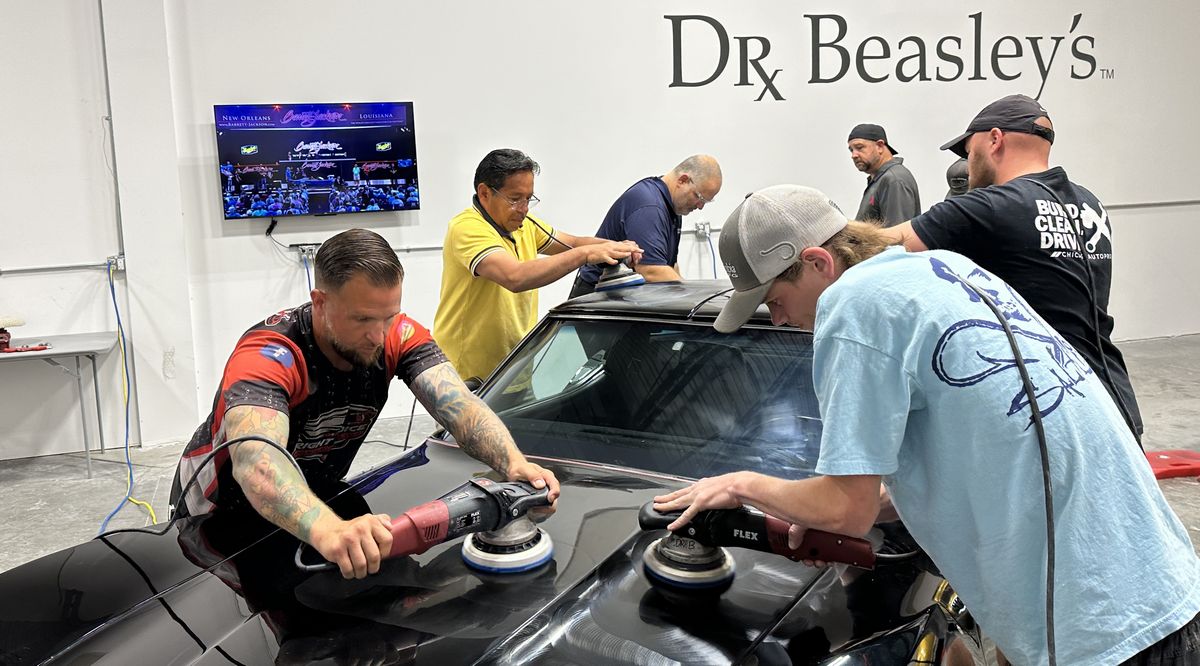
Here’s the final results!
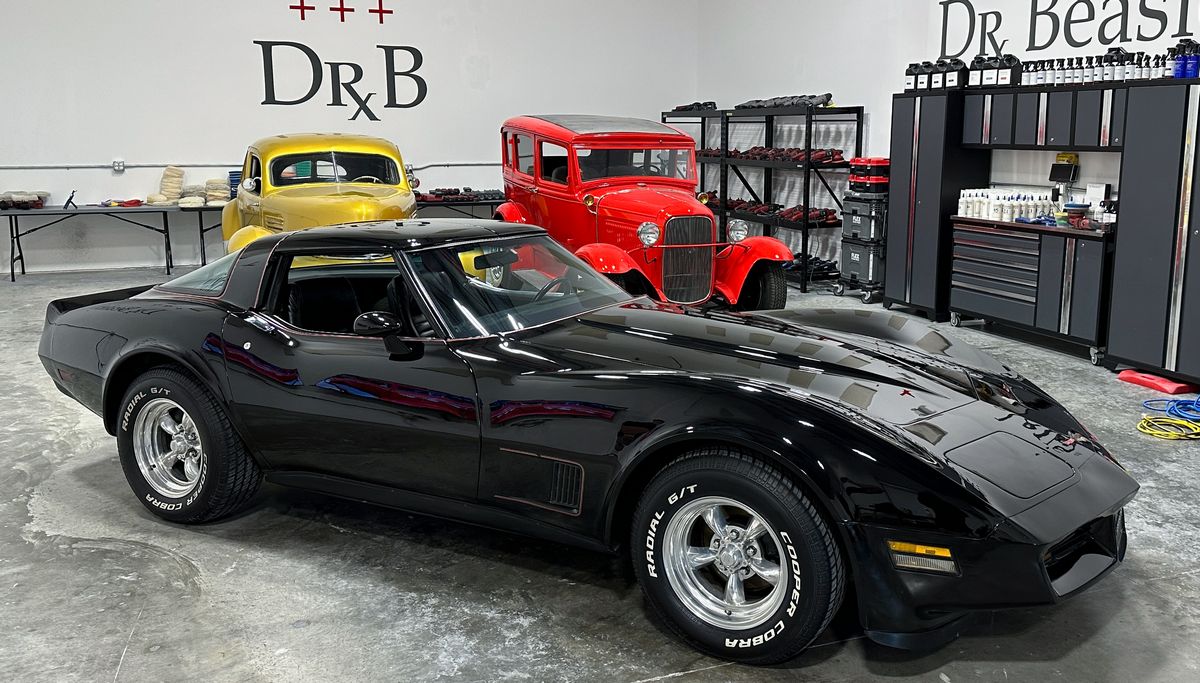
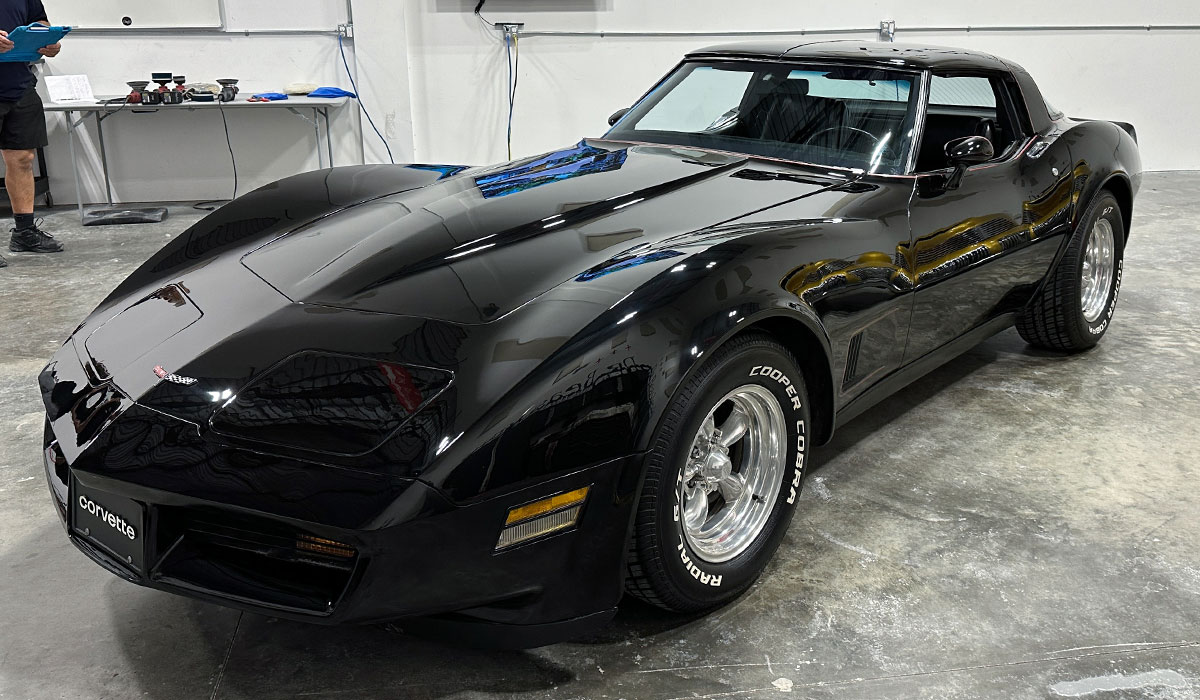
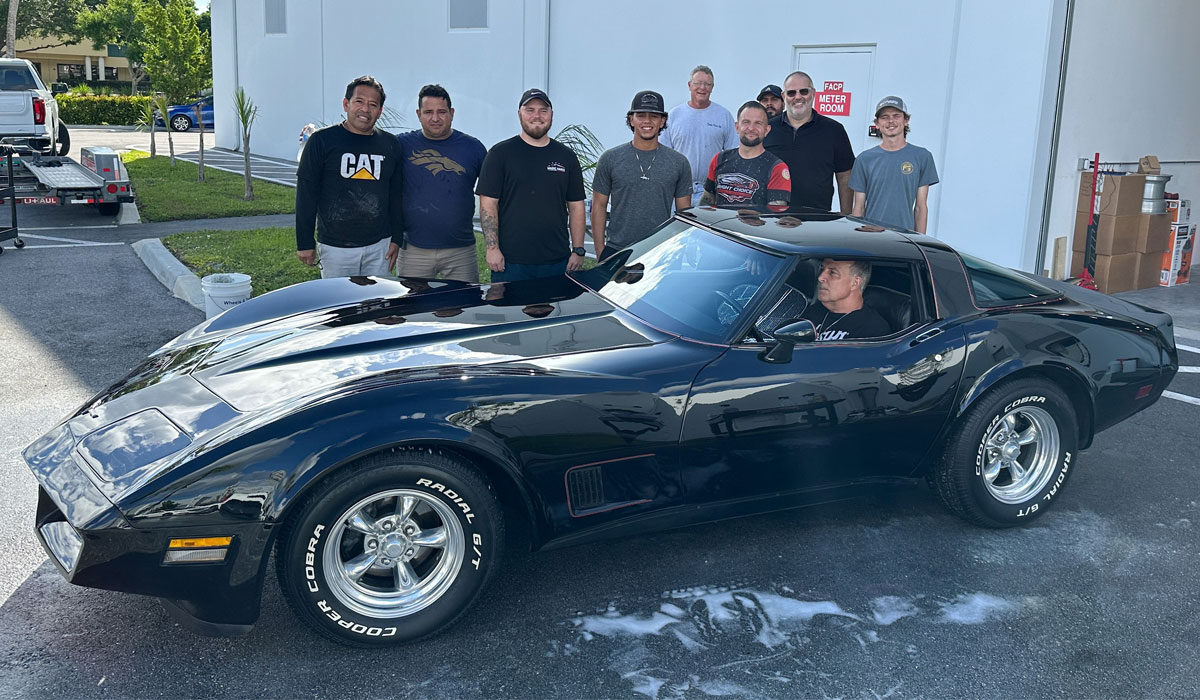
Day 1 – Late Morning Session – Removing Orange Peel – Machine Sanding plus Rotary Polishers!
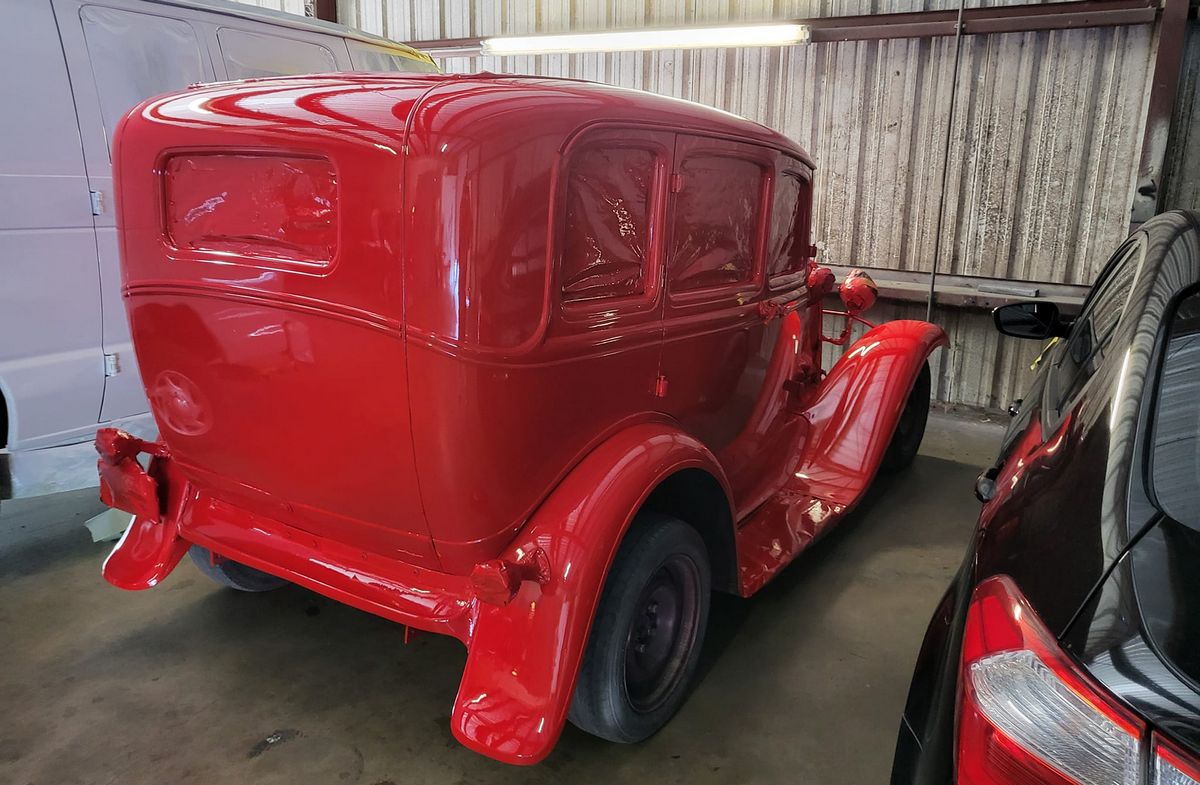
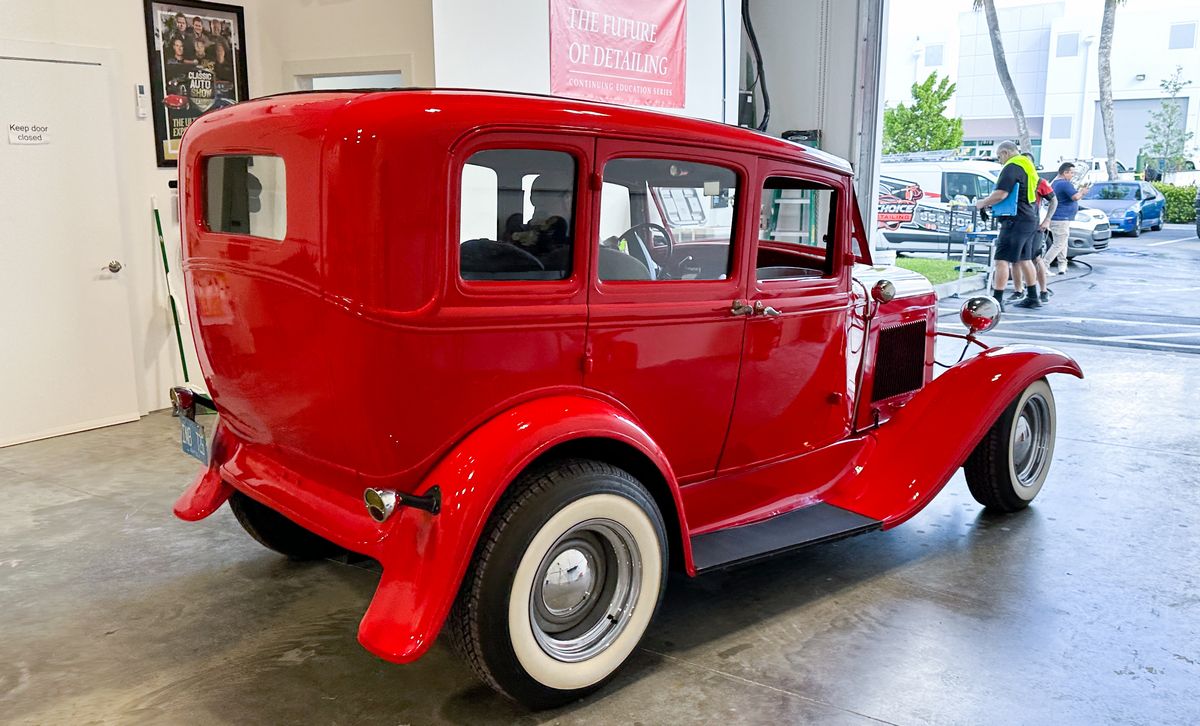
1931 Model A Streetrod – Machine Damp Sanding. This Model A was painted on Thursday, May 25th. We’re sanding and polishing on Friday, May 3rd. This is about as FRESH as you can get as she was just popped out of the paint booth.
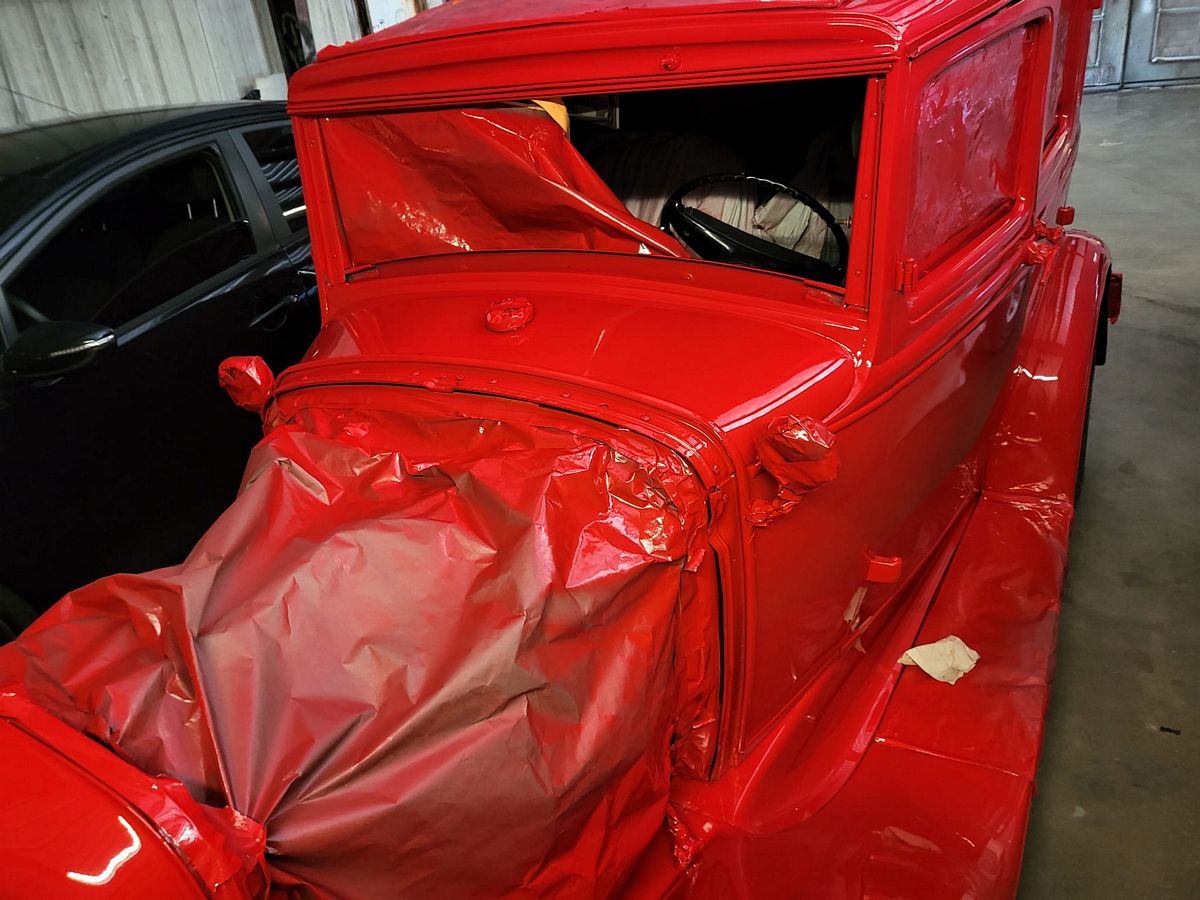
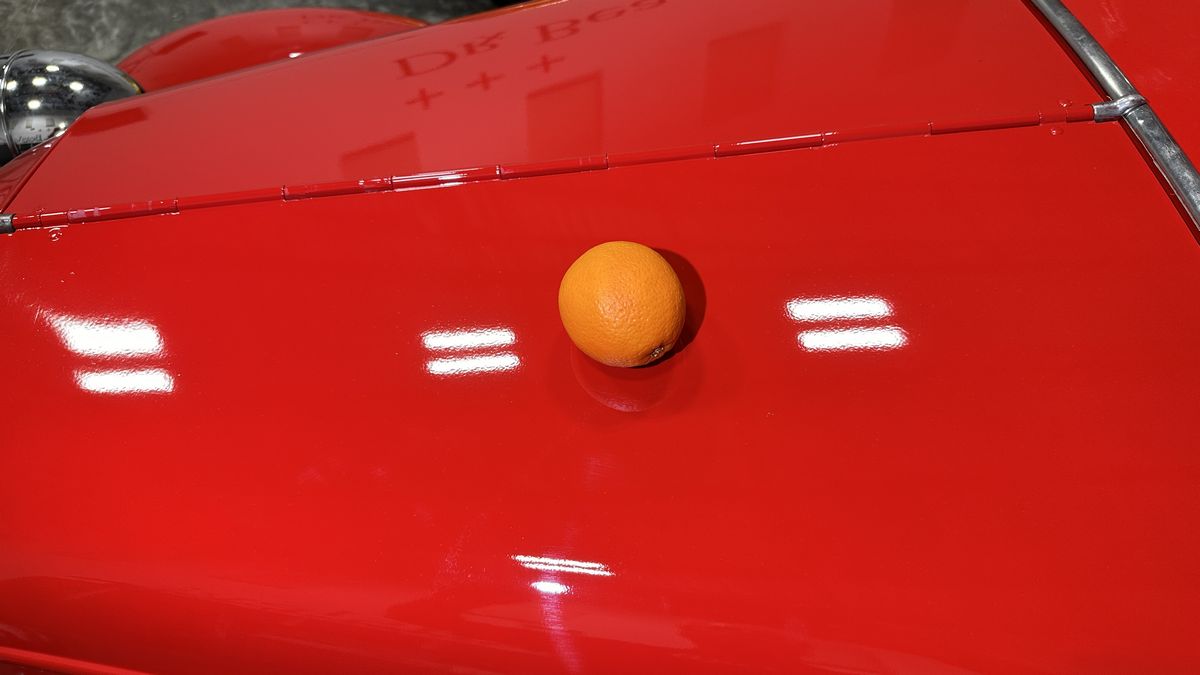
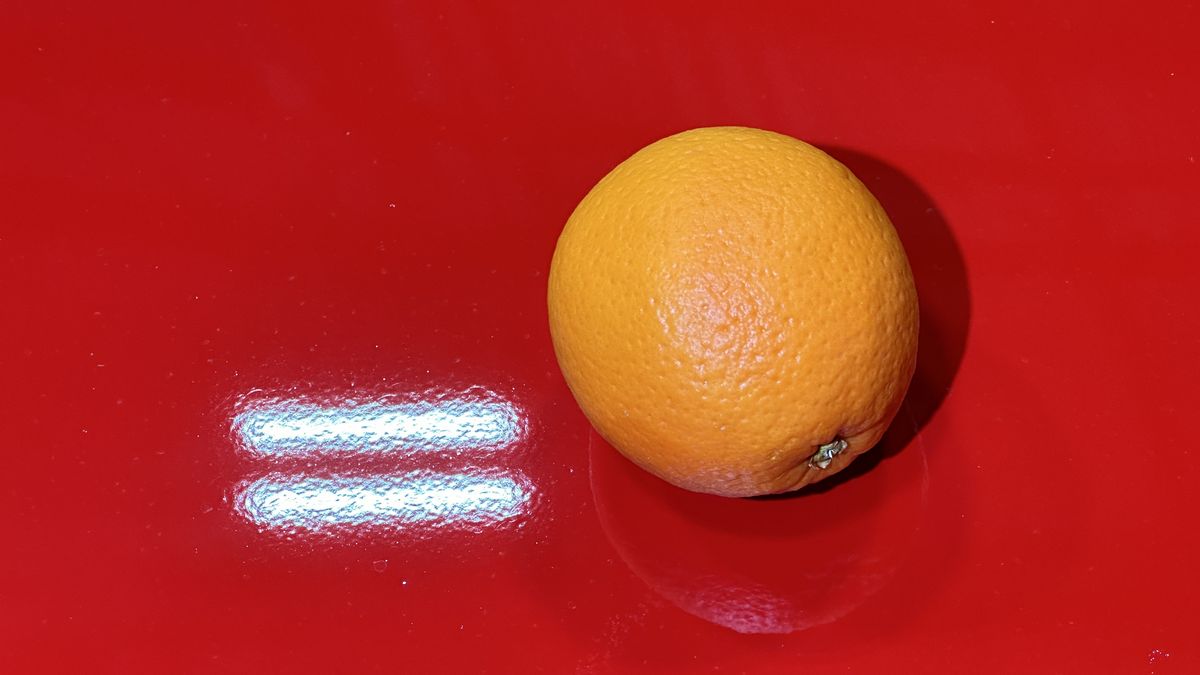
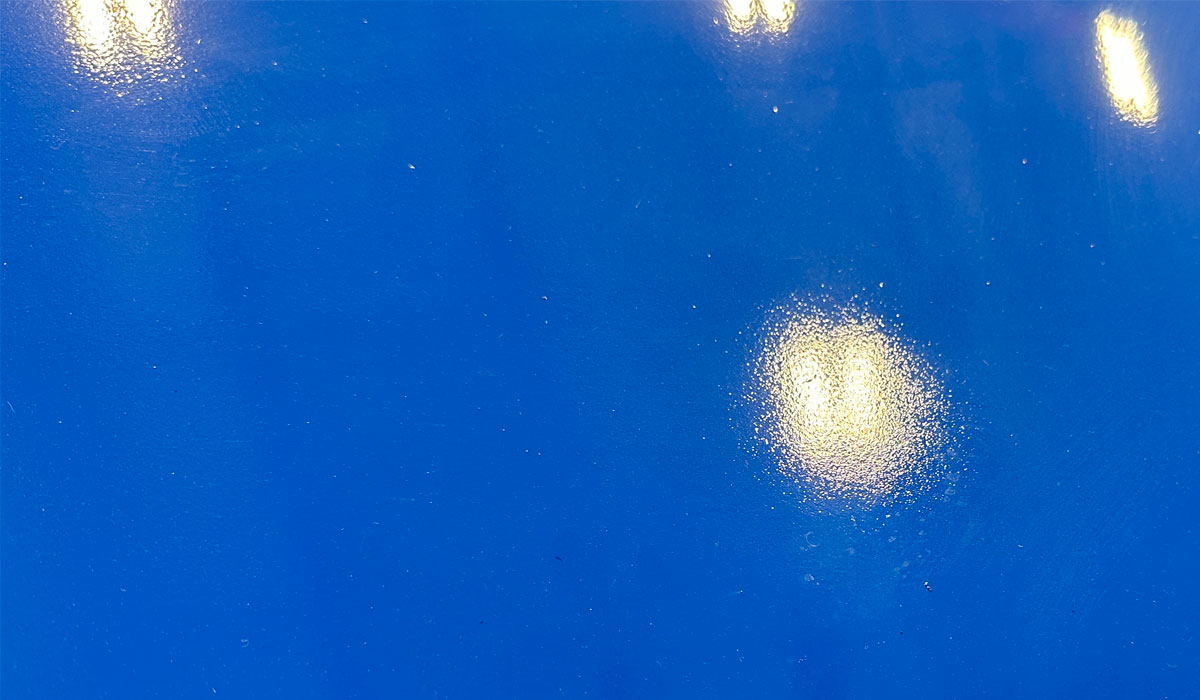
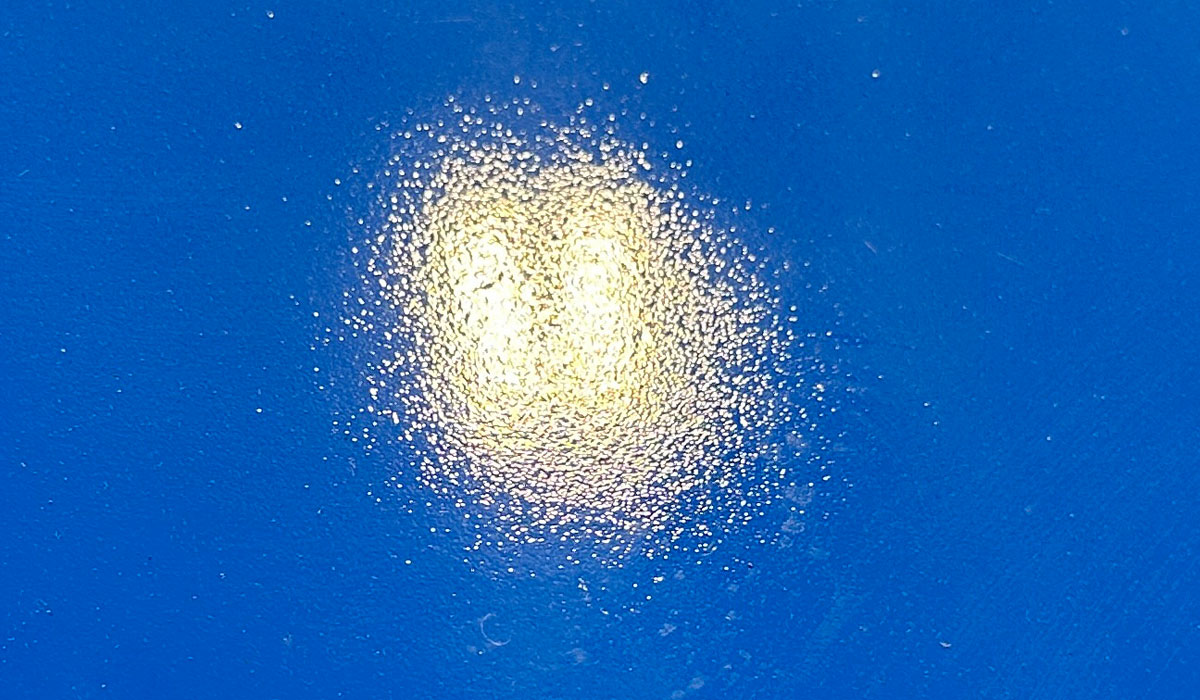
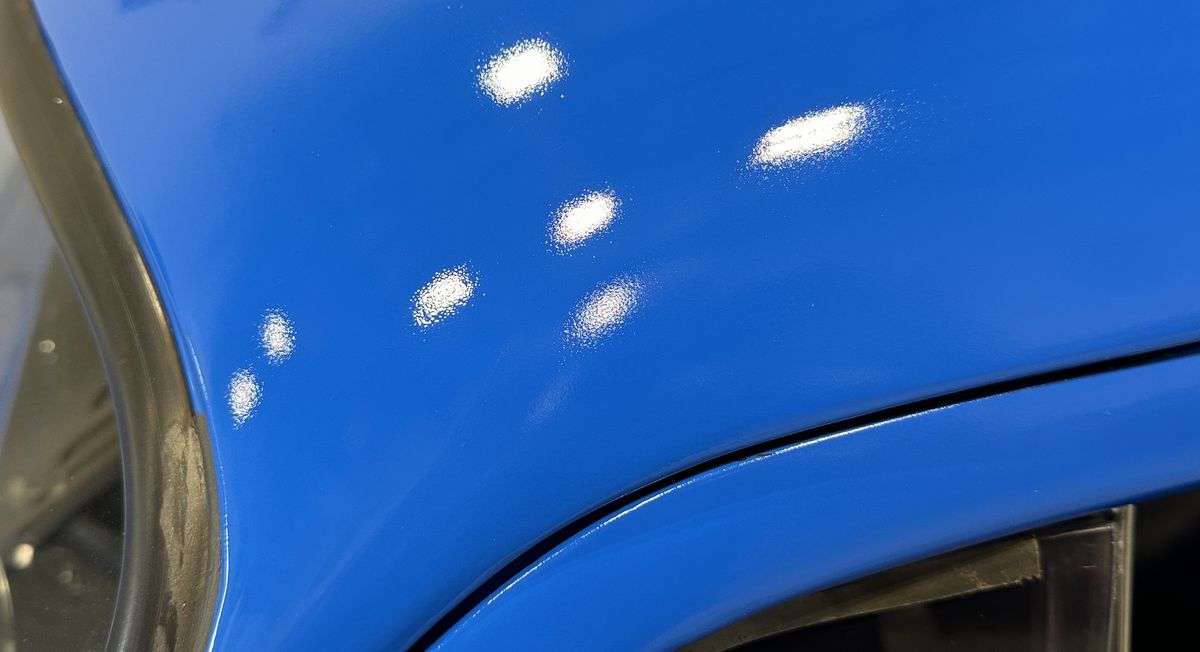
Orange Peel
If you’ve ever wondered what is mean when someone says the paint has Orange Peel – just look at the overhead lights reflecting on the paint and you can see the texture of the paint is similar to the texture on the peel of an orange.
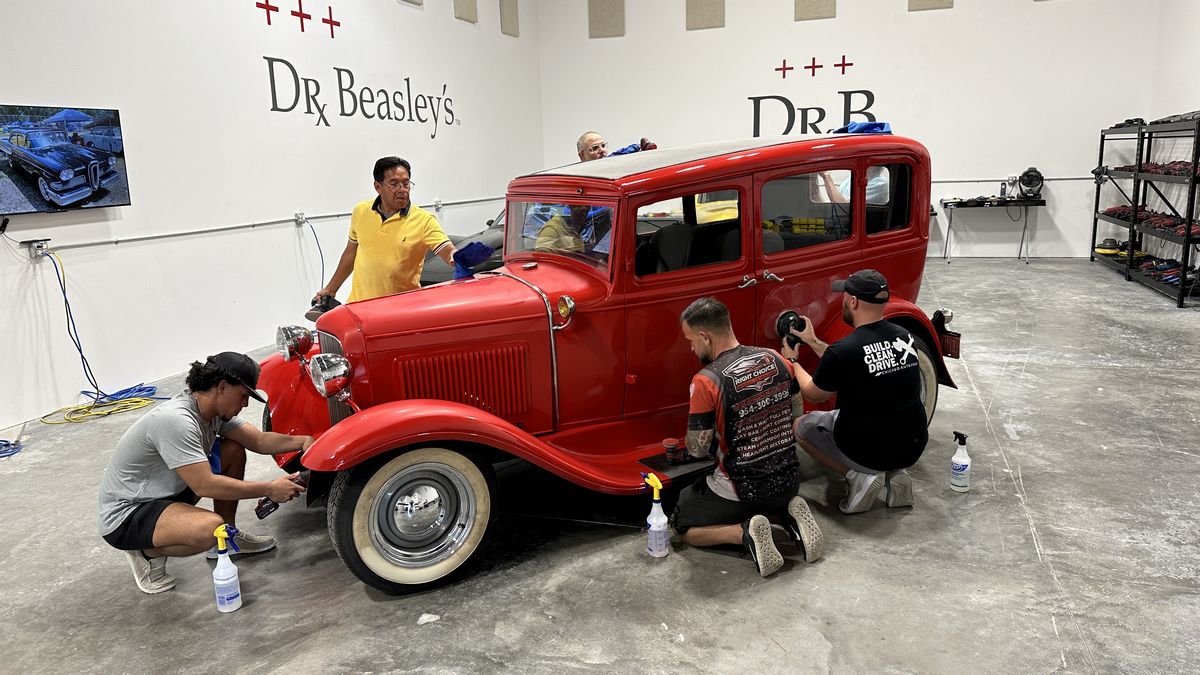
After a waterless wash and claying, the class starts damp sanding using the 3M Trizact 3000 Grit Sanding Discs.
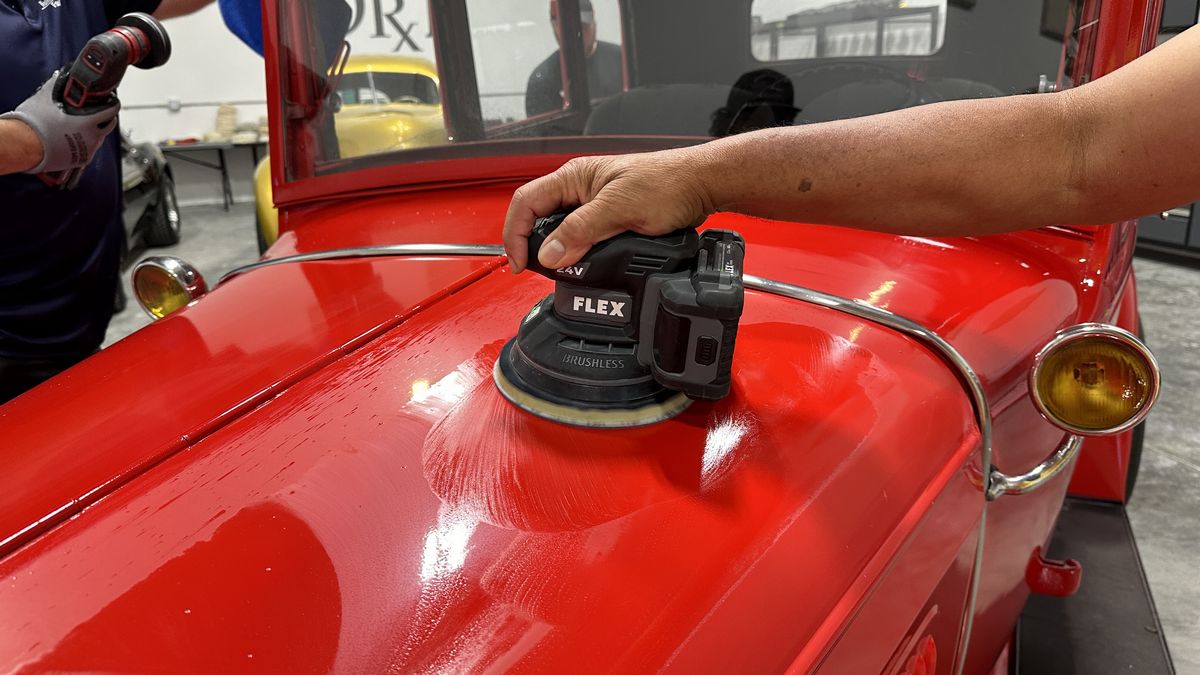
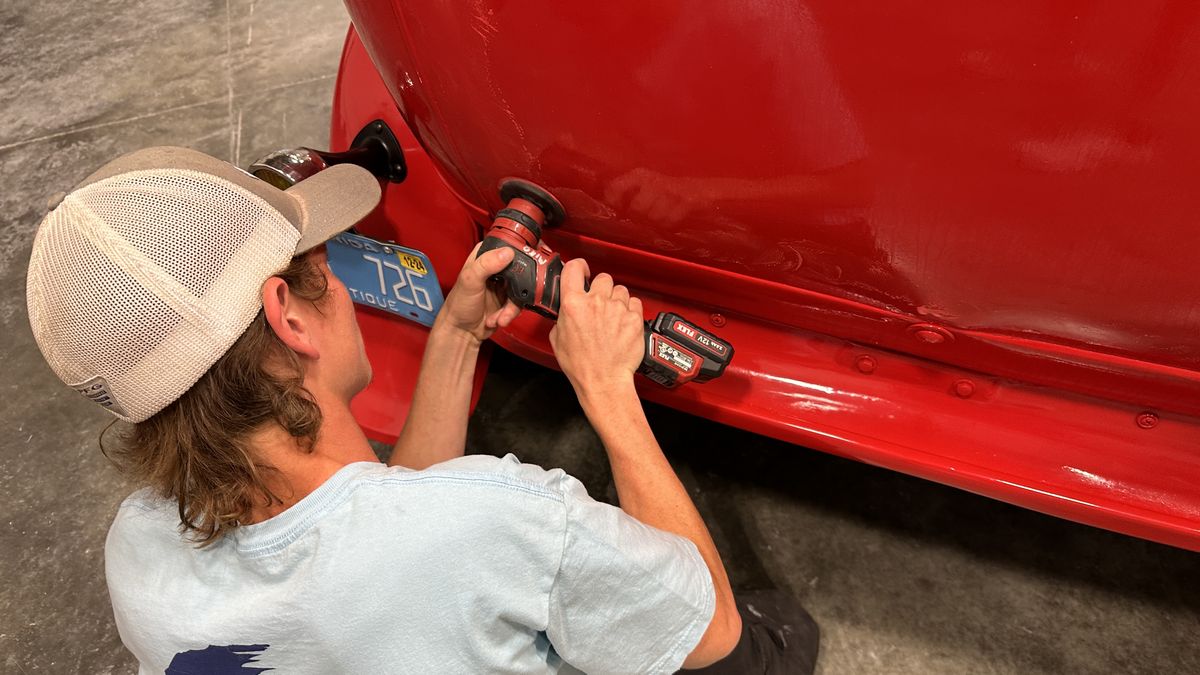
Wool pads on rotary polishers
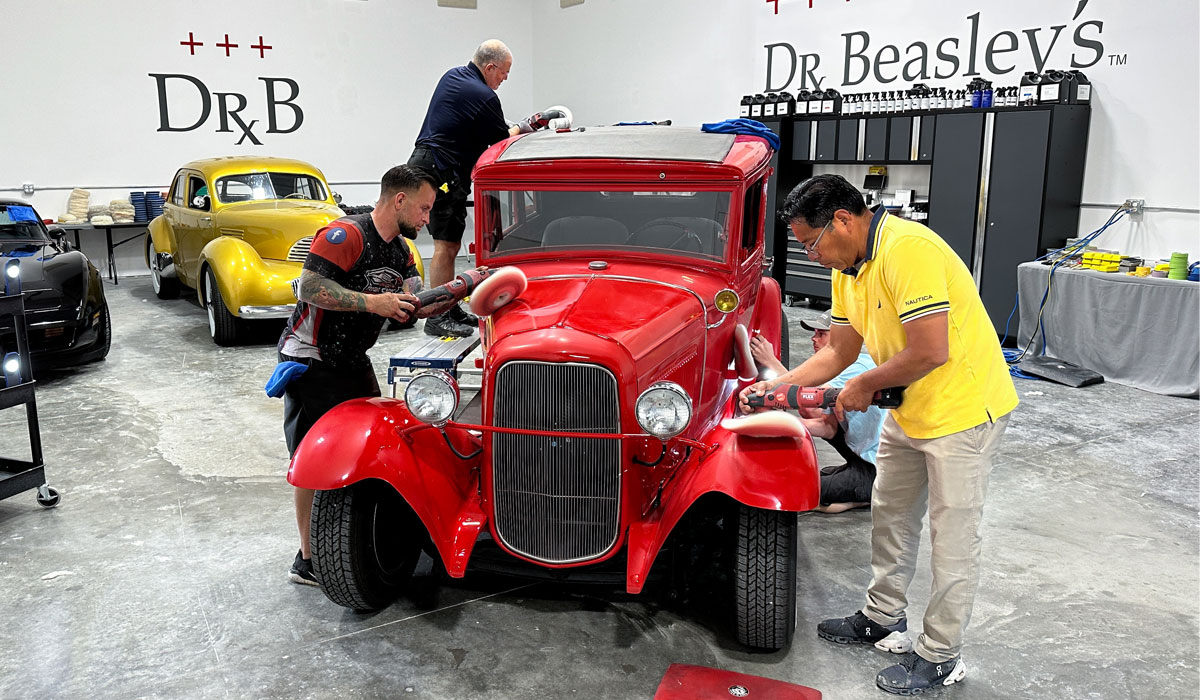
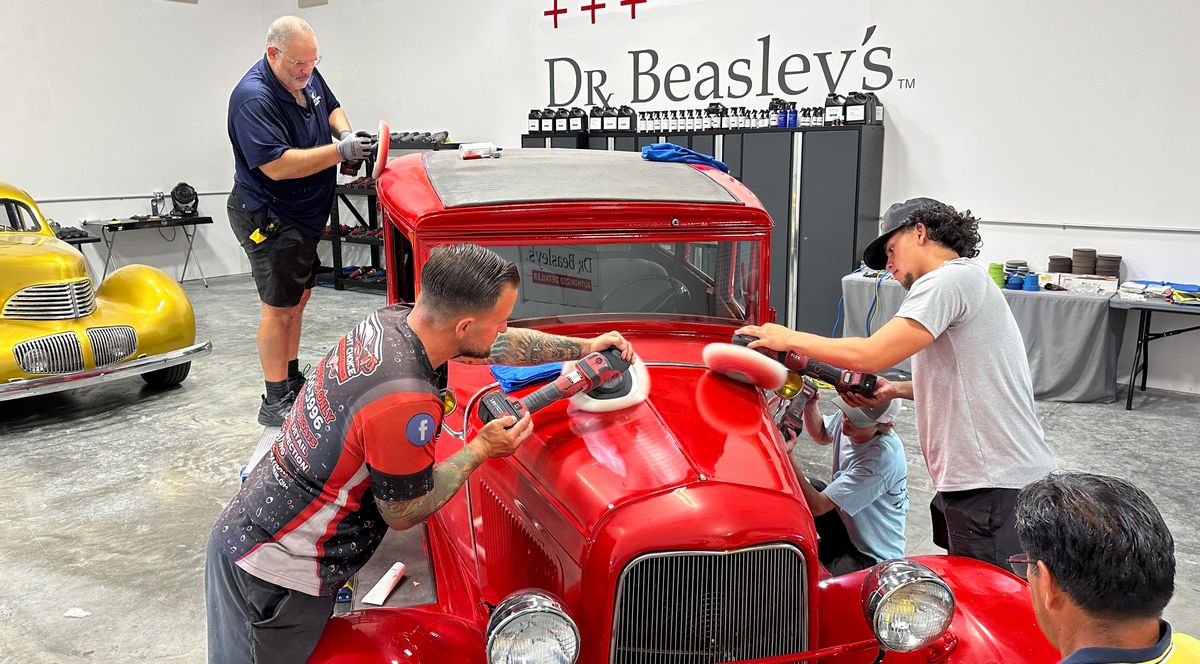
Foam pads on orbital polishers
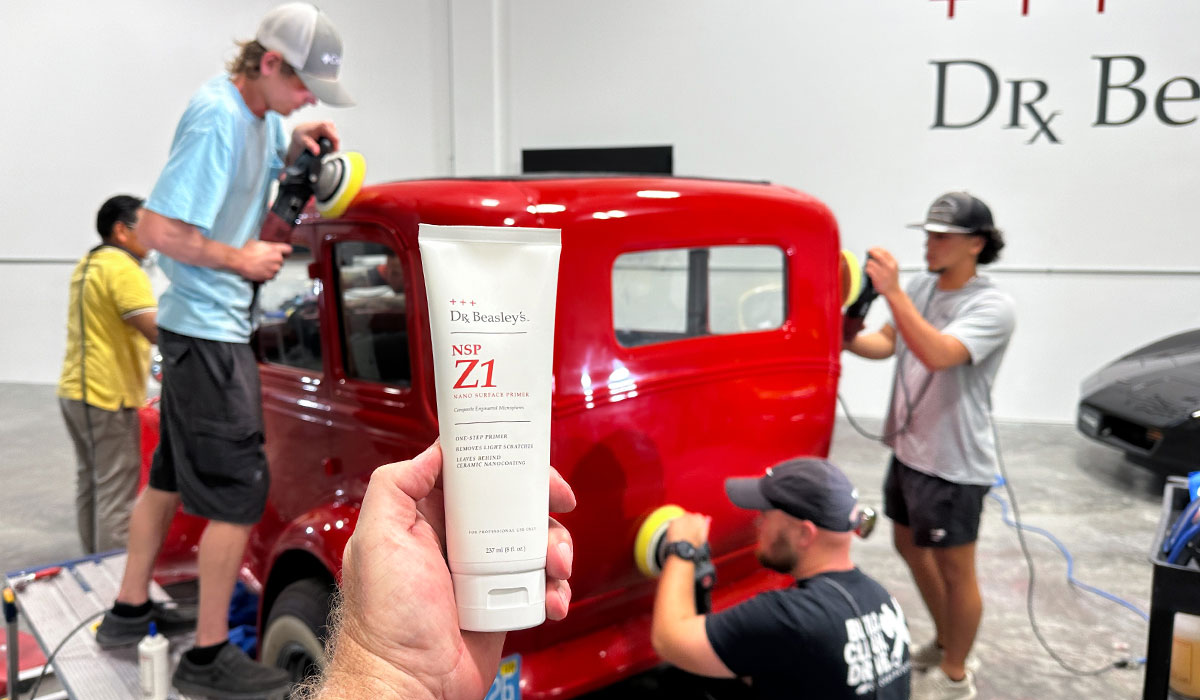
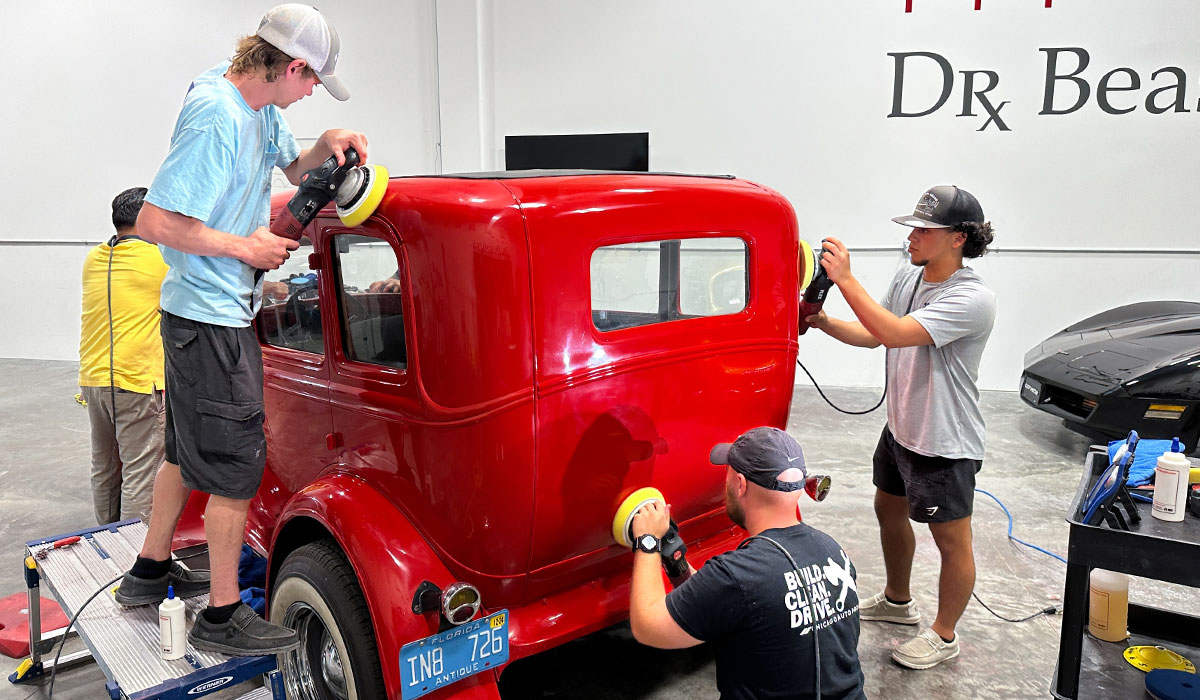
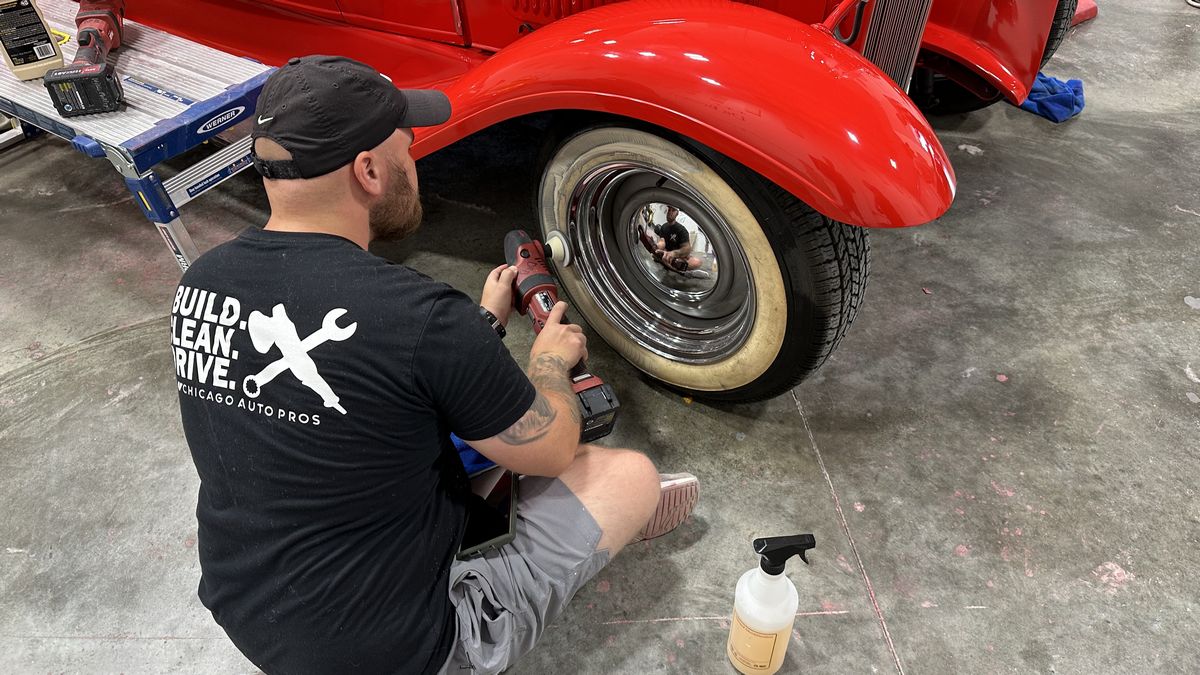
Machine Sanding White Wall Tires
Besides the sanding and paint correction, the class also had the rare opportunity to learn how to fix large gangster white wall tires via machine sanding.
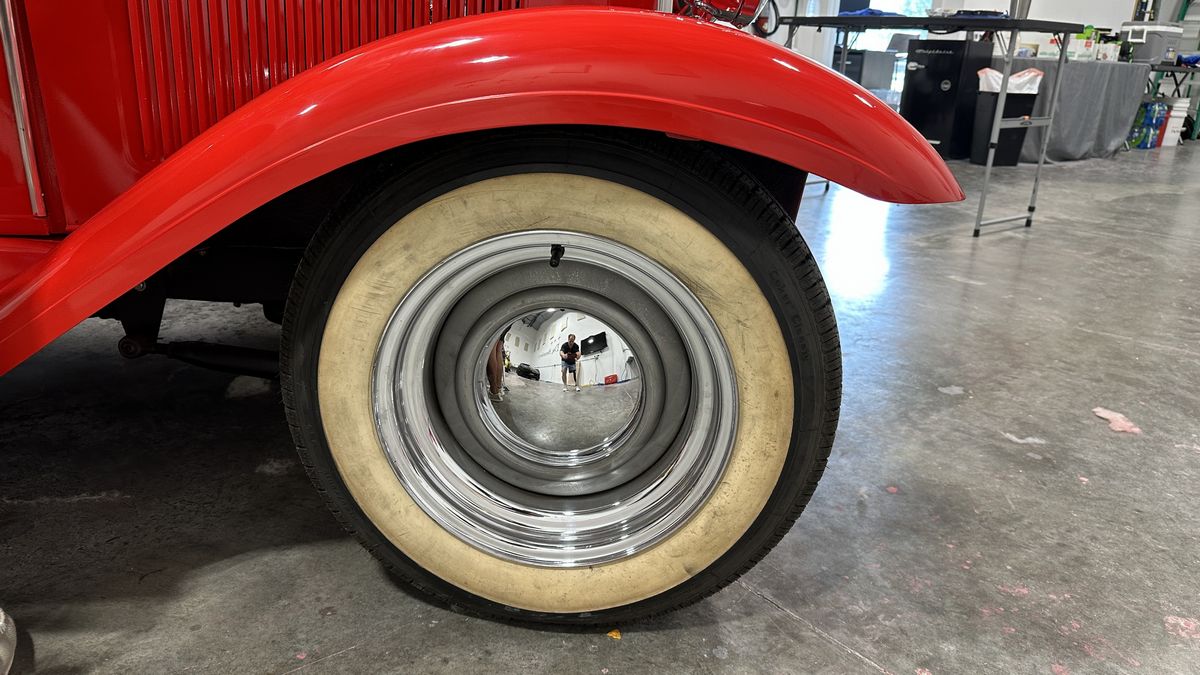
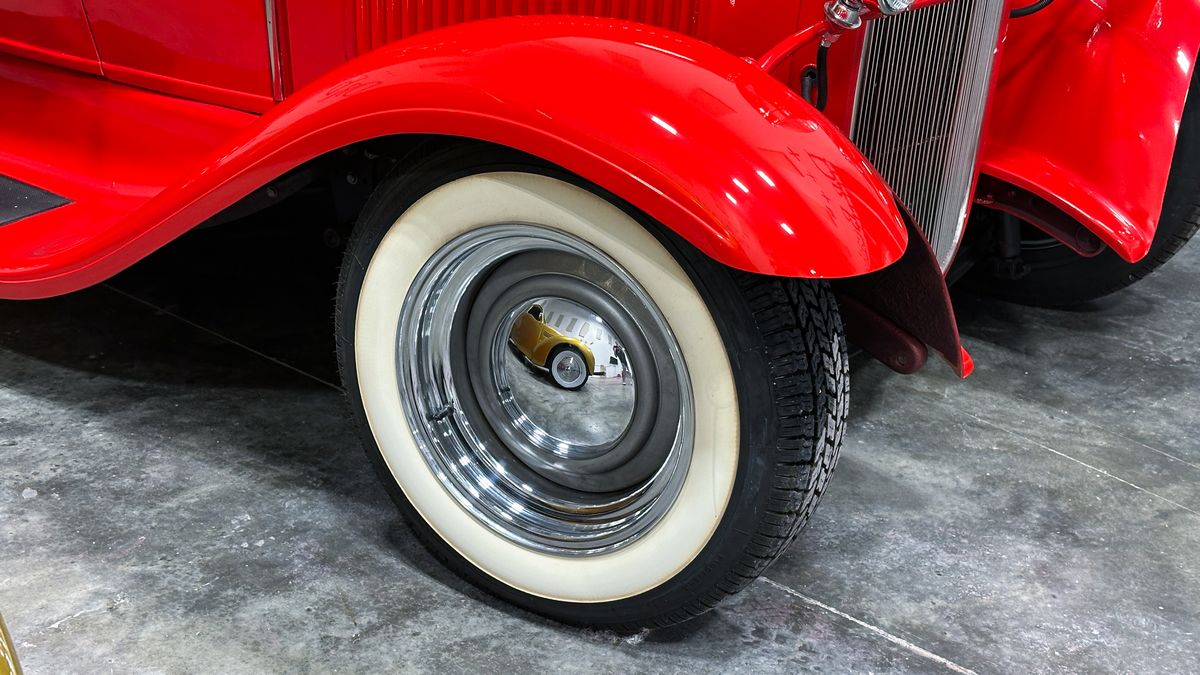
Here’s the final results…
Most important – Mike is happy with all the results, paint, top, running boards and tires!
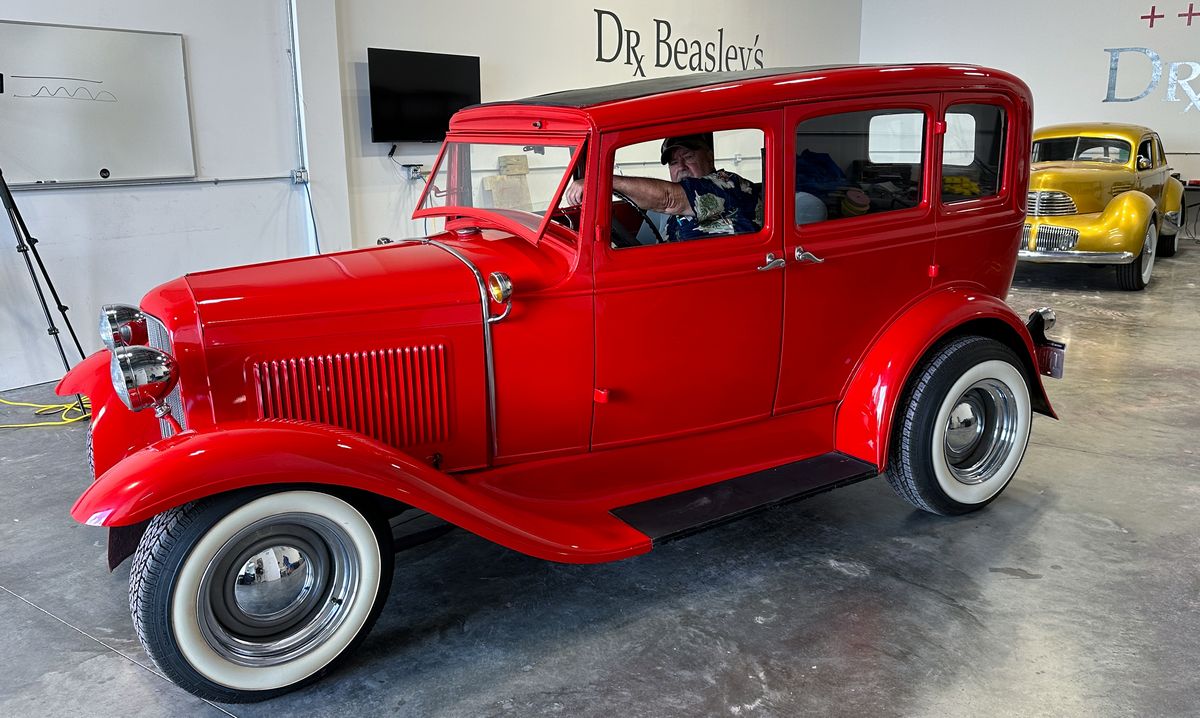
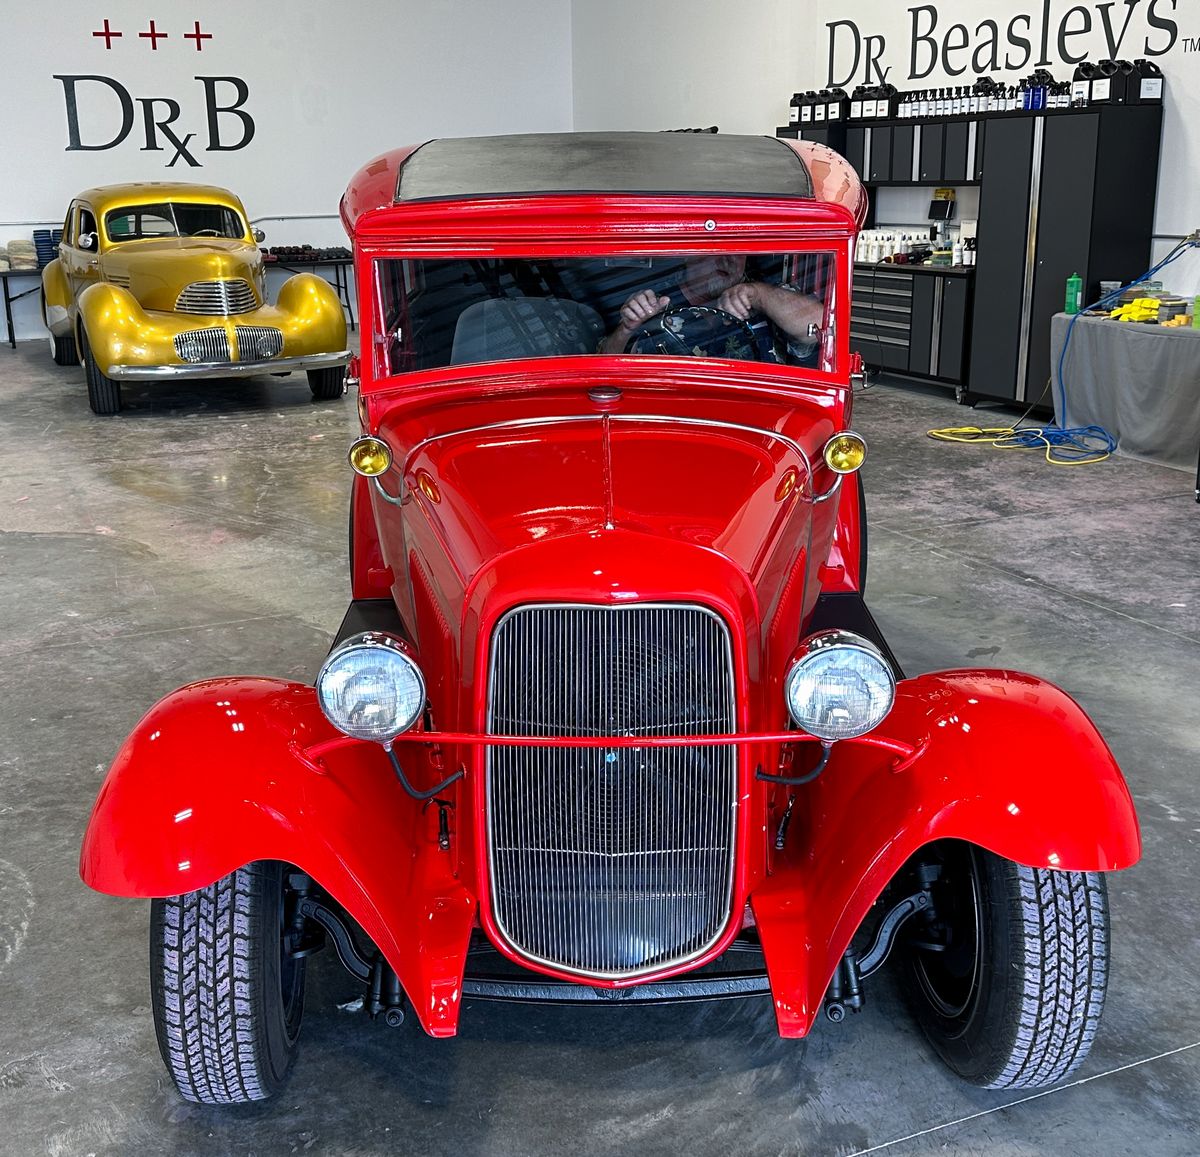
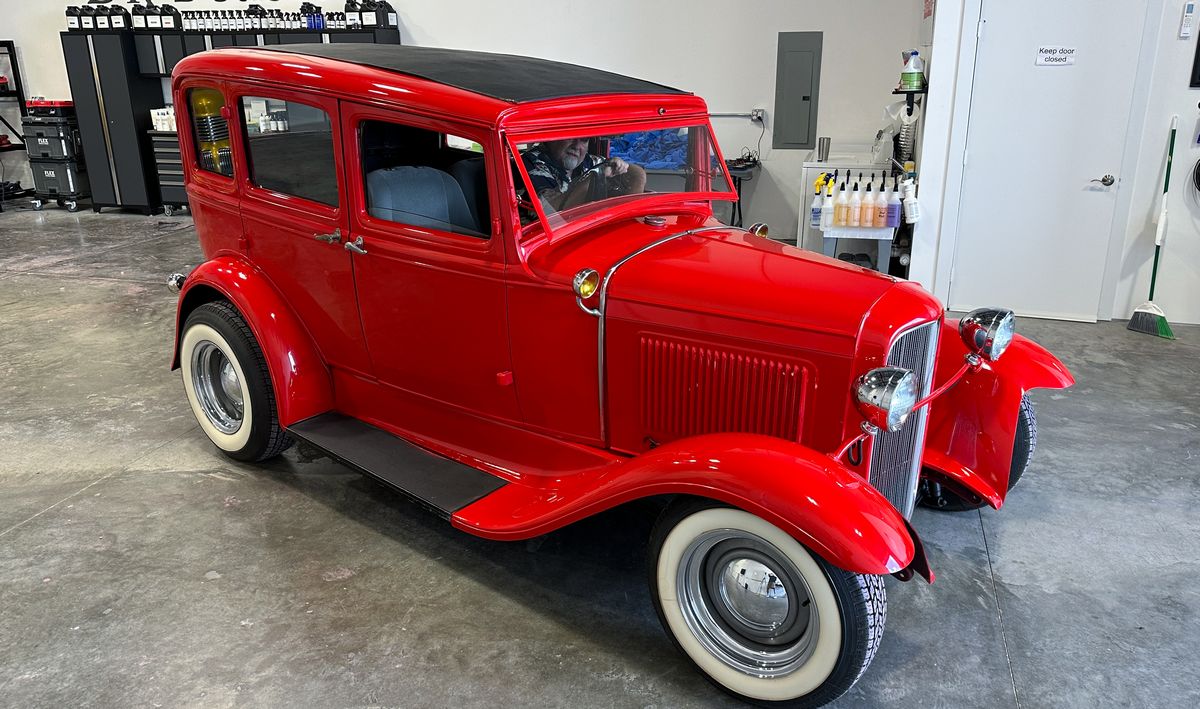
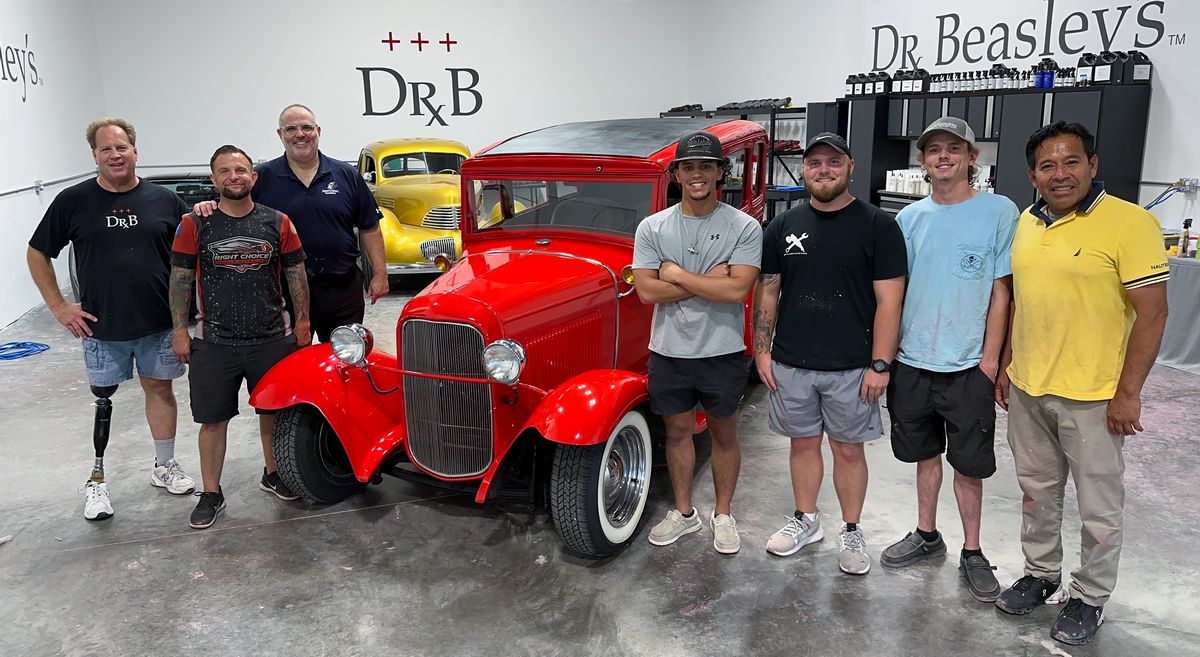
And the team that made the magic happen!
Continued…
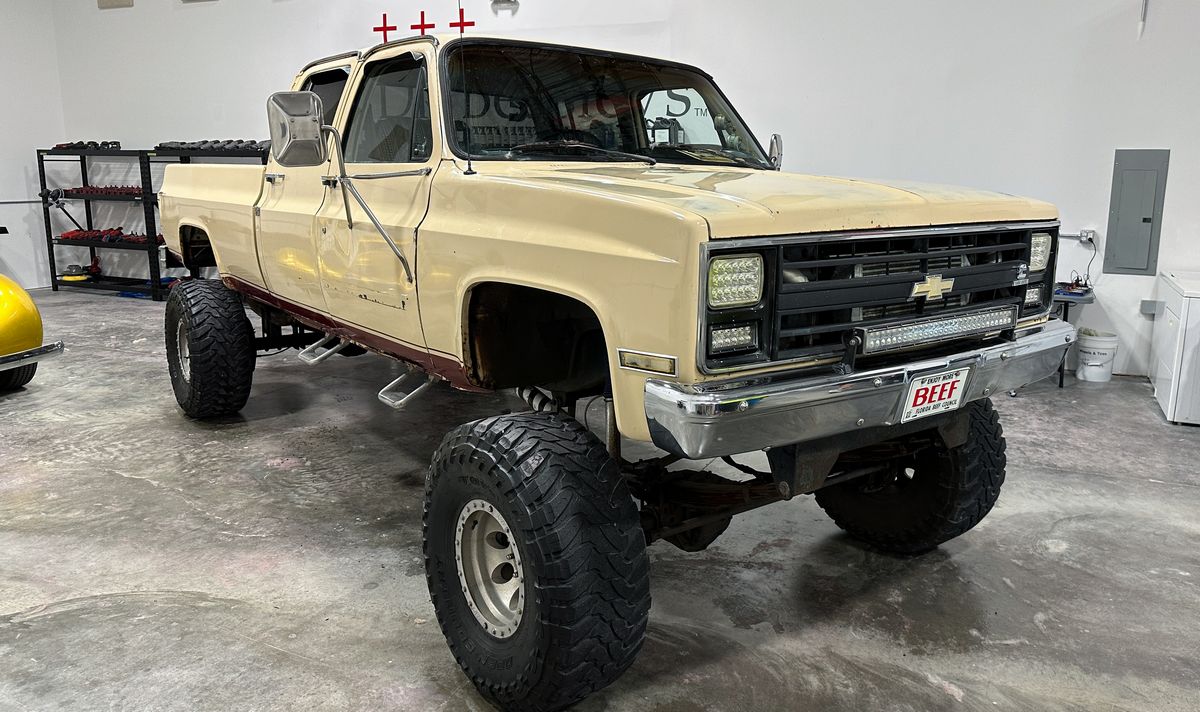
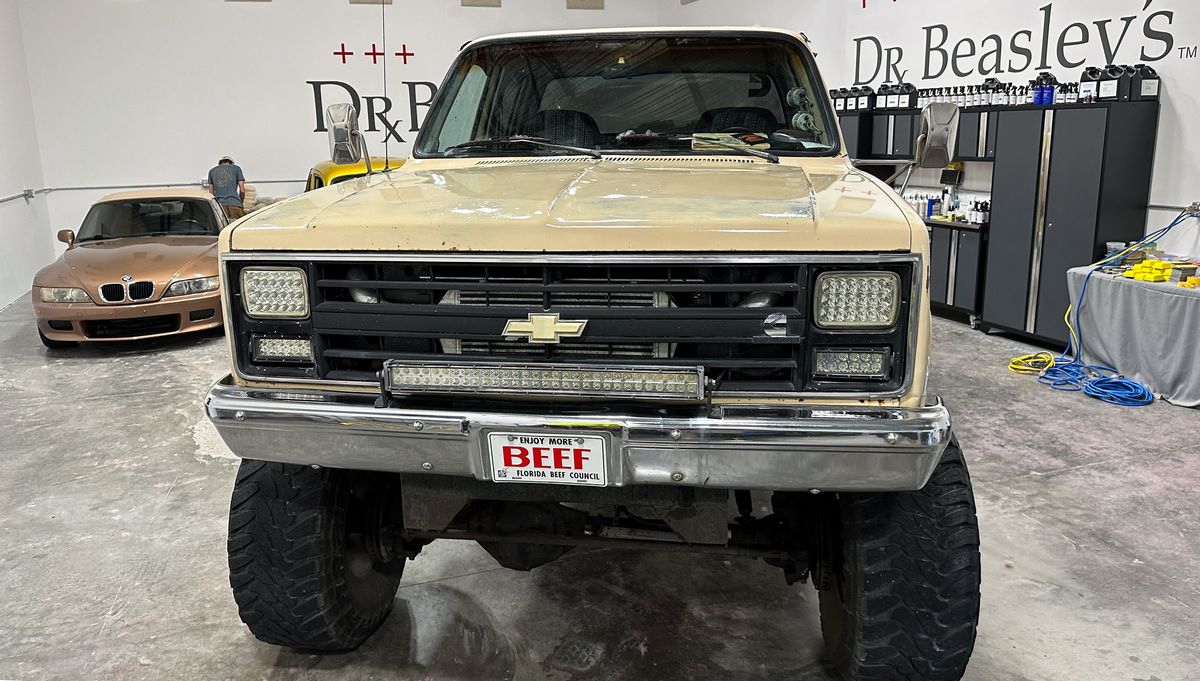
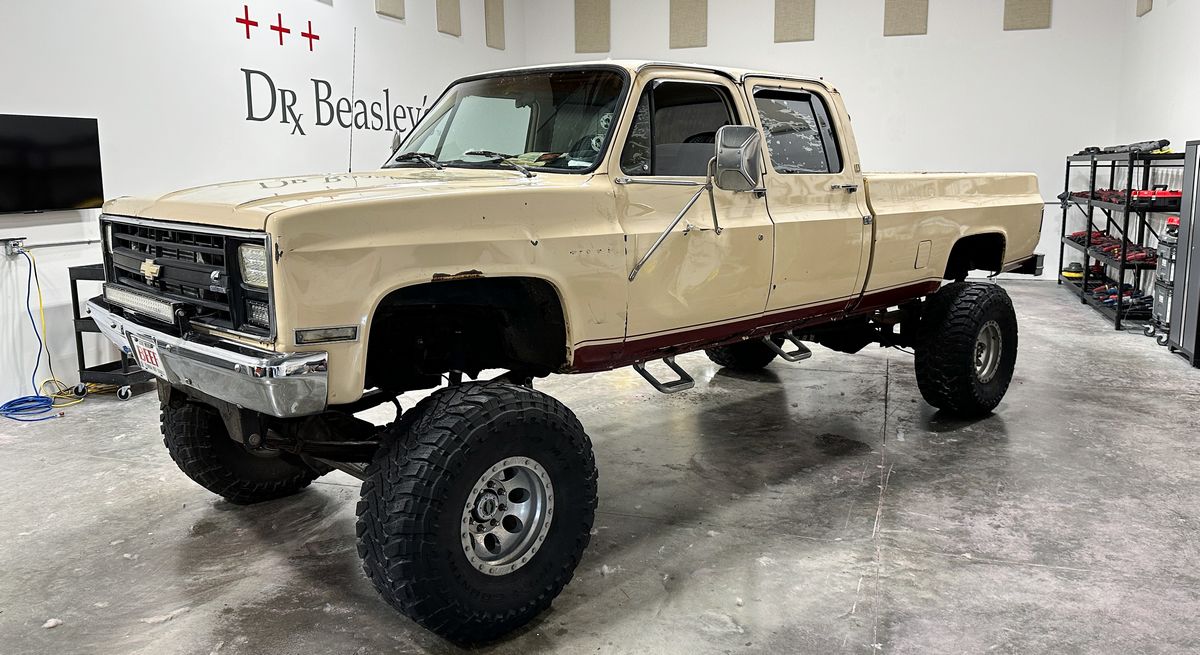
Beater Detailing – 1988 Chevy Crew Cab Monster Truck
I don’t always have the right vehicle to teach what I call Beater Detailing, but for this class I had such a vehicle. This is my long-time friend Davy’s 1988 Chevy Crew Cab Monster Truck. I remember when he built this about 13 years ago. Davy is more concerned with the mechanical drive train and less concerned about appearance. Perfectly okay, we all have our personal preferences. I was over at Davy and his dad David’s shop, Neptune Fabrication when I noticed how neglected the truck was looking. I asked Davey if he would like my class to squeeze as much shine as possible out of what was left of the paint and the body panels, and he said yes!
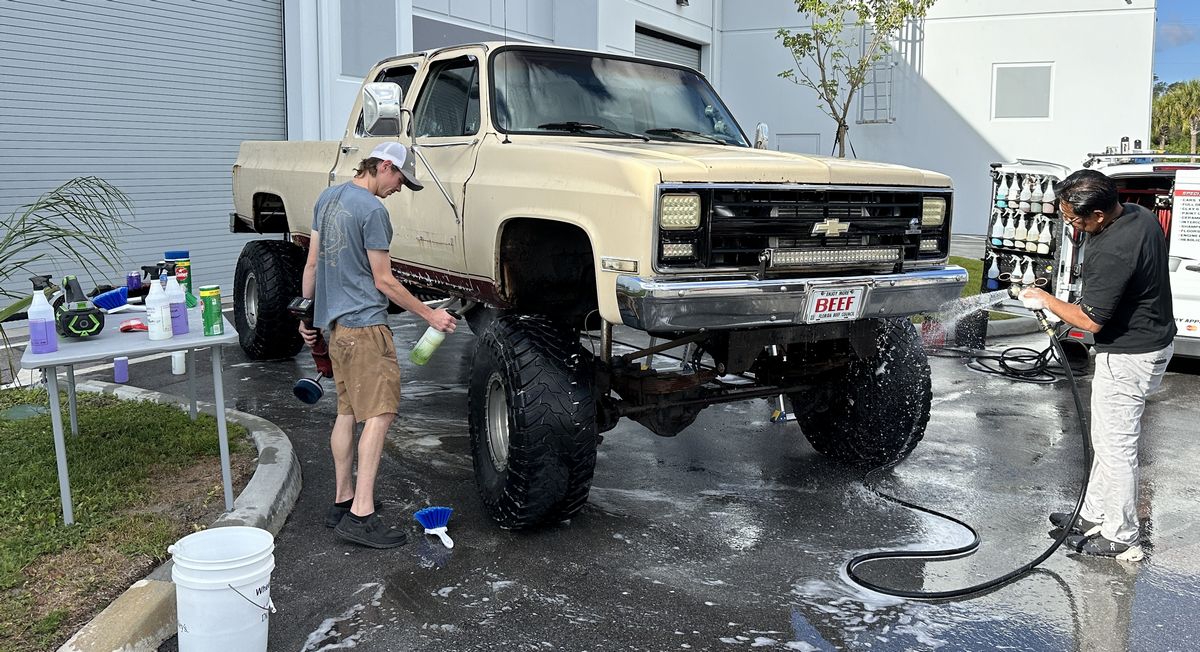
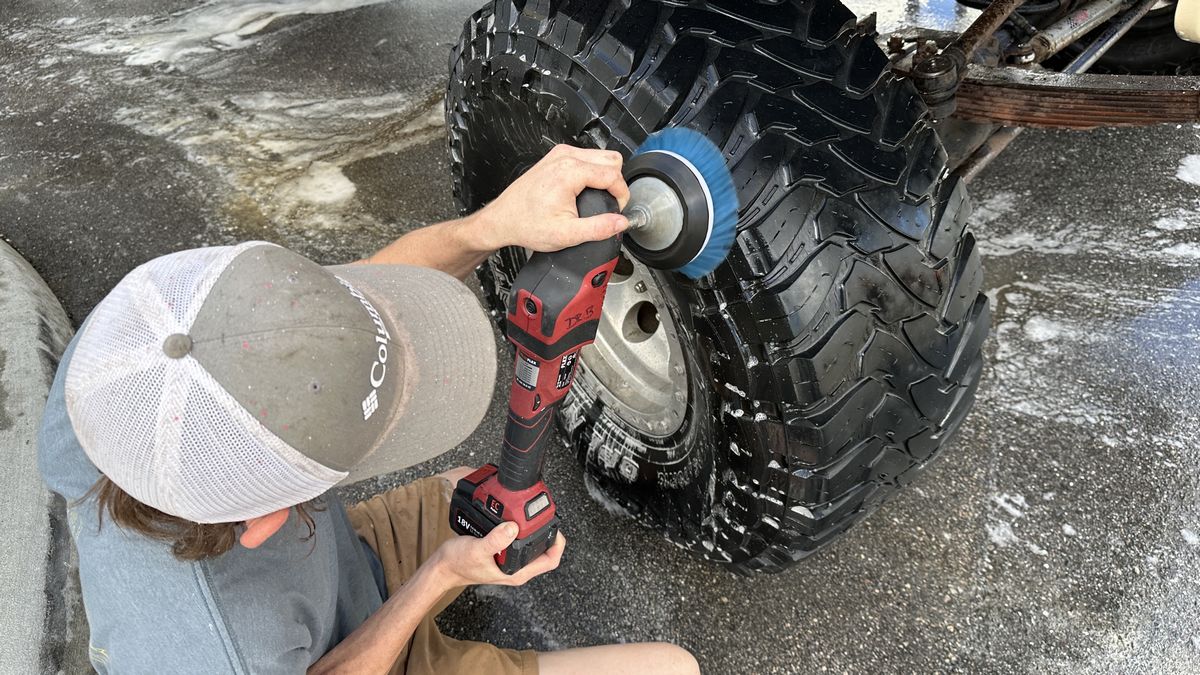
When it comes to getting large truck tires spotlessly clean, nothing beats a 5″ Rotary Brush on cordless FLEX Rotary Polisher.
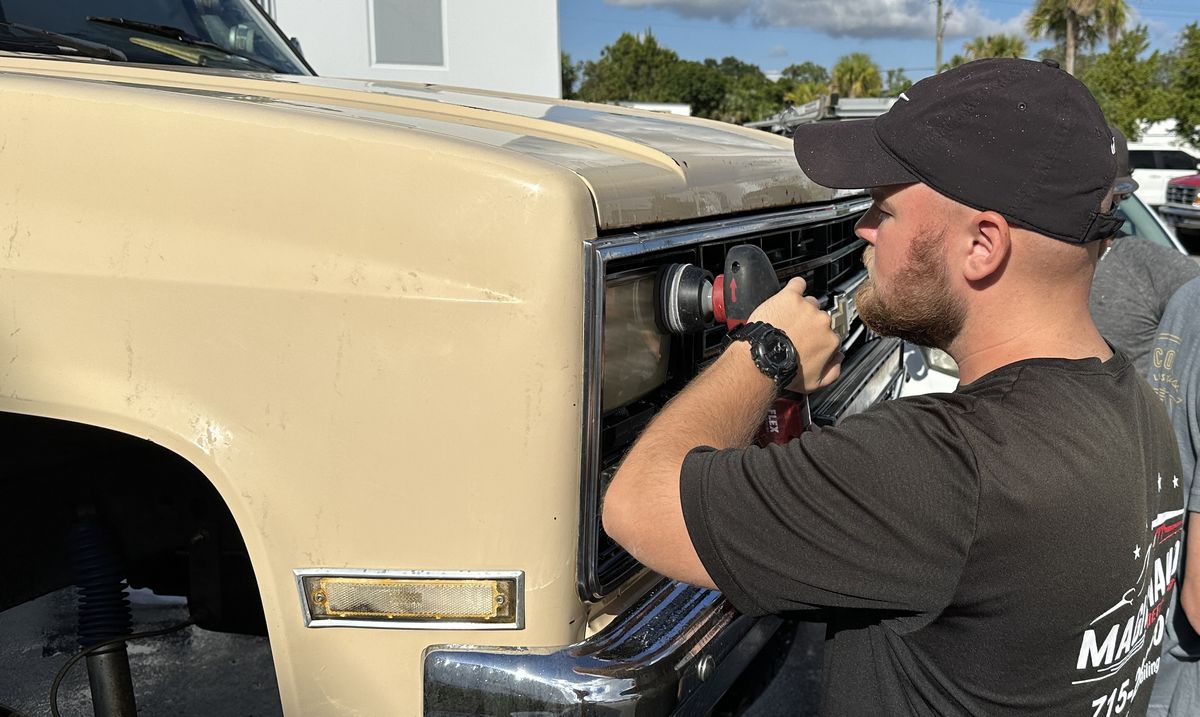
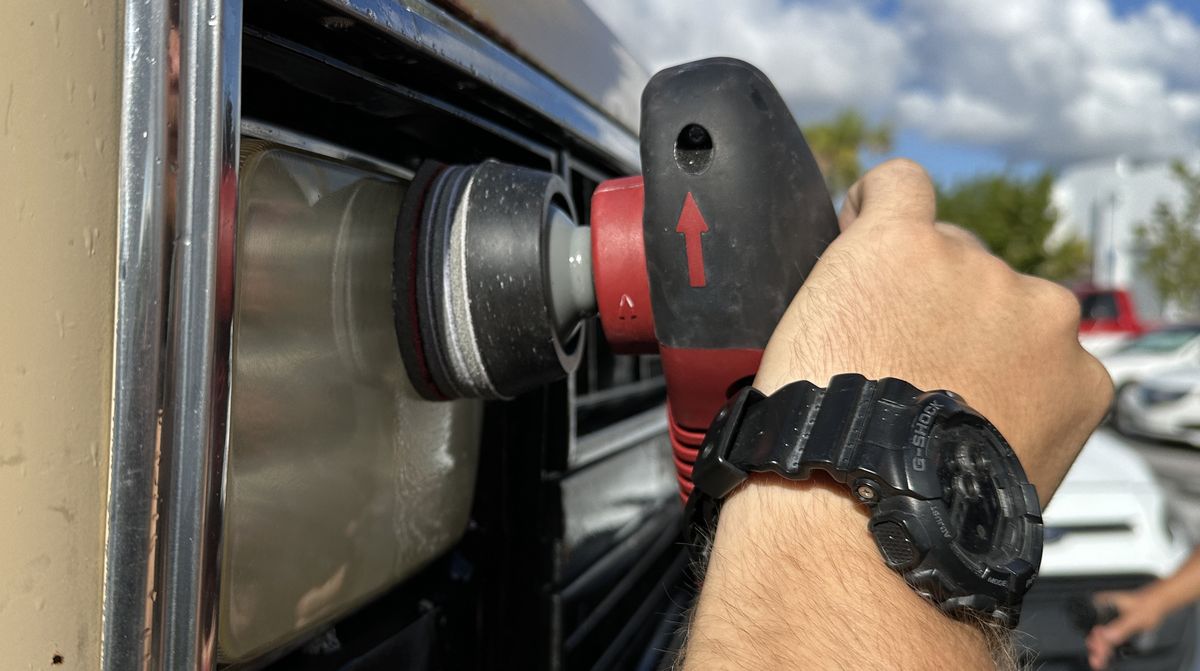
Machine Sanding Headlights using Rotary Polishers
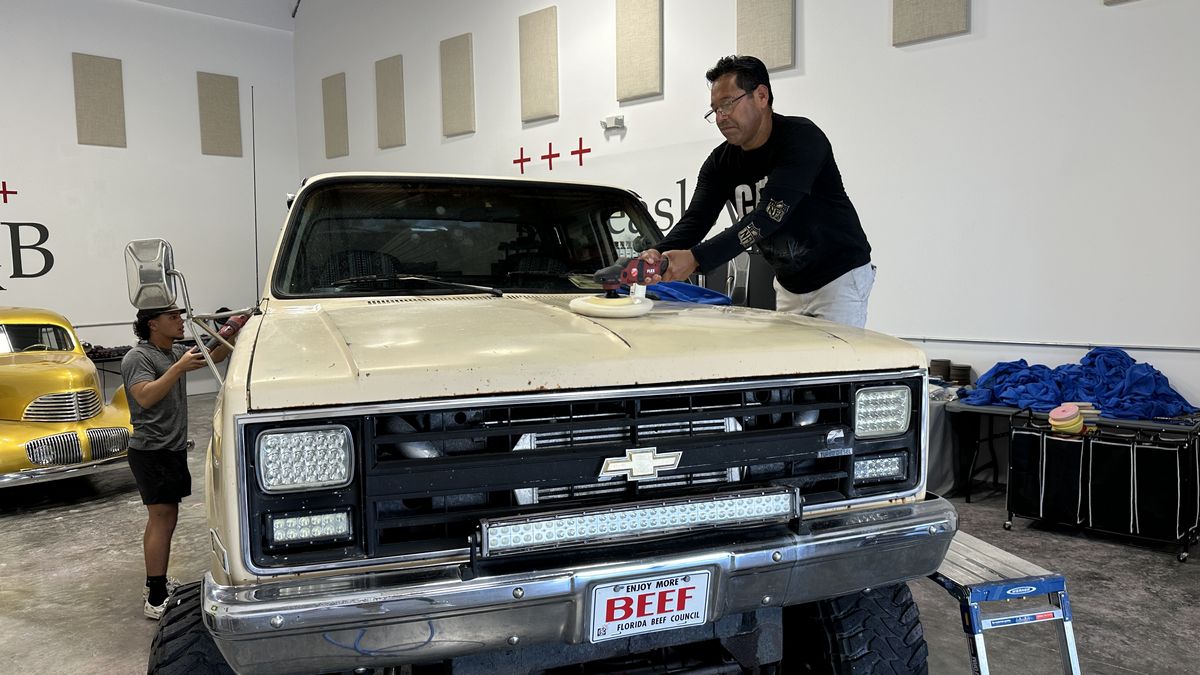
Here’s Juan cutting the paint on the hood hard using a wool pad on a rotary polisher with Dr. Beasley’s NSP 150 Primer
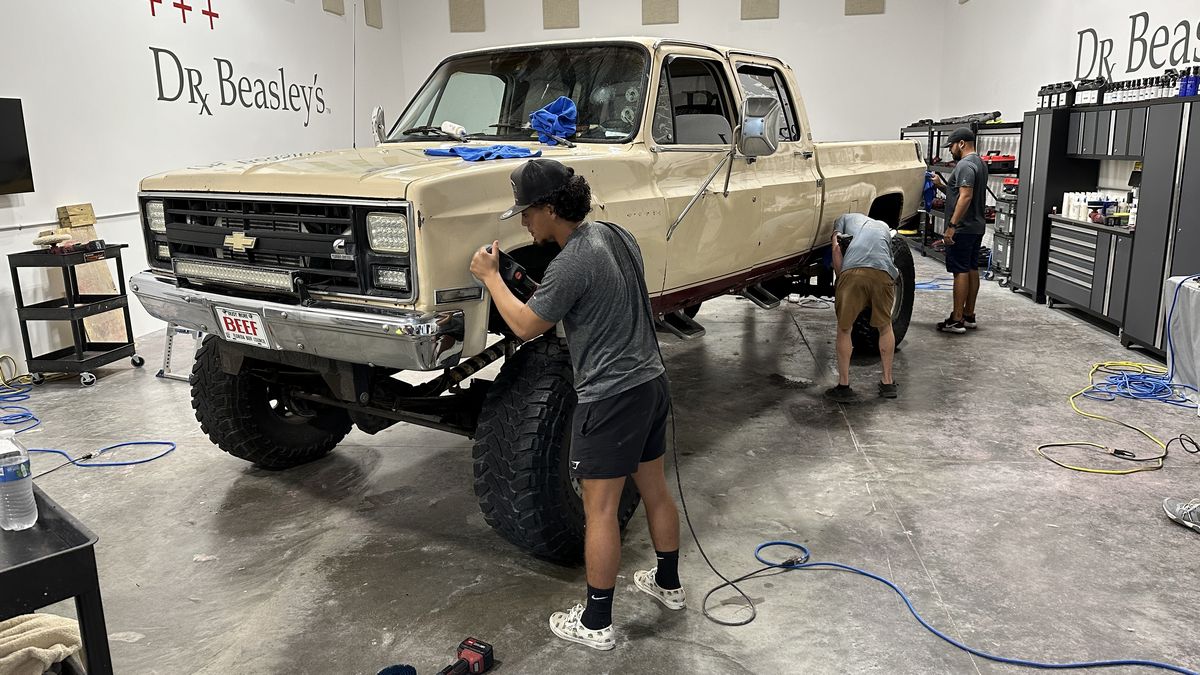
Next, foam pads on orbital polishers
Machine applying the Dr. Beasley’s Tire Conditioner
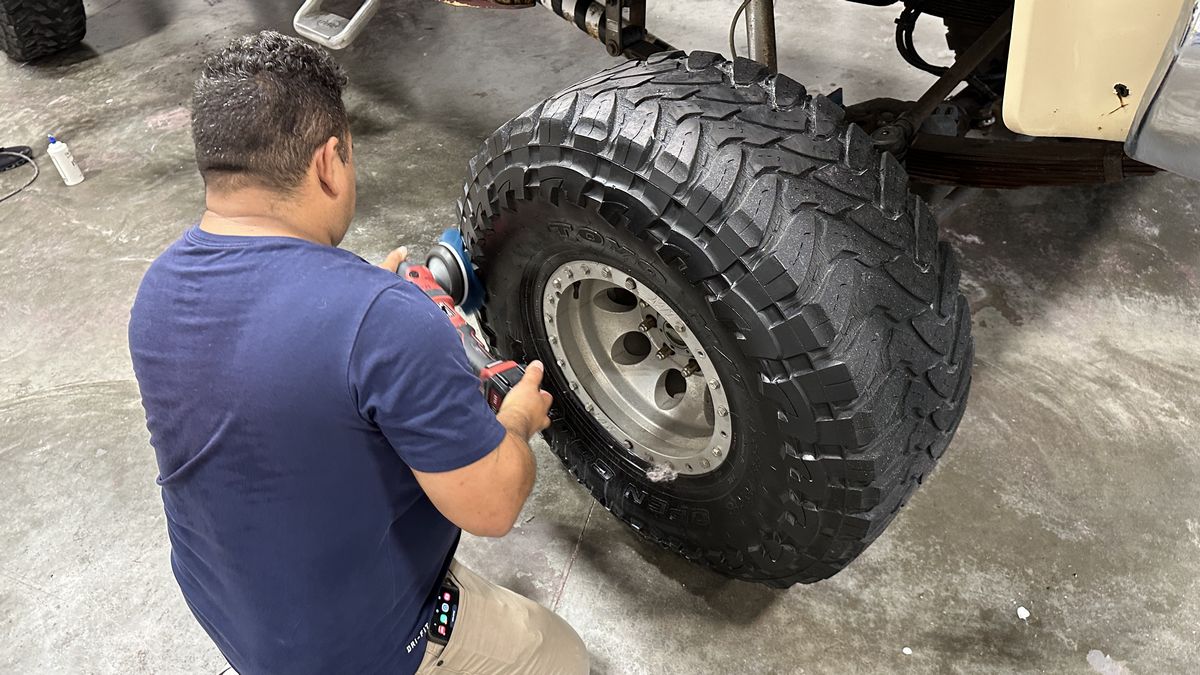
Here’s the final results!
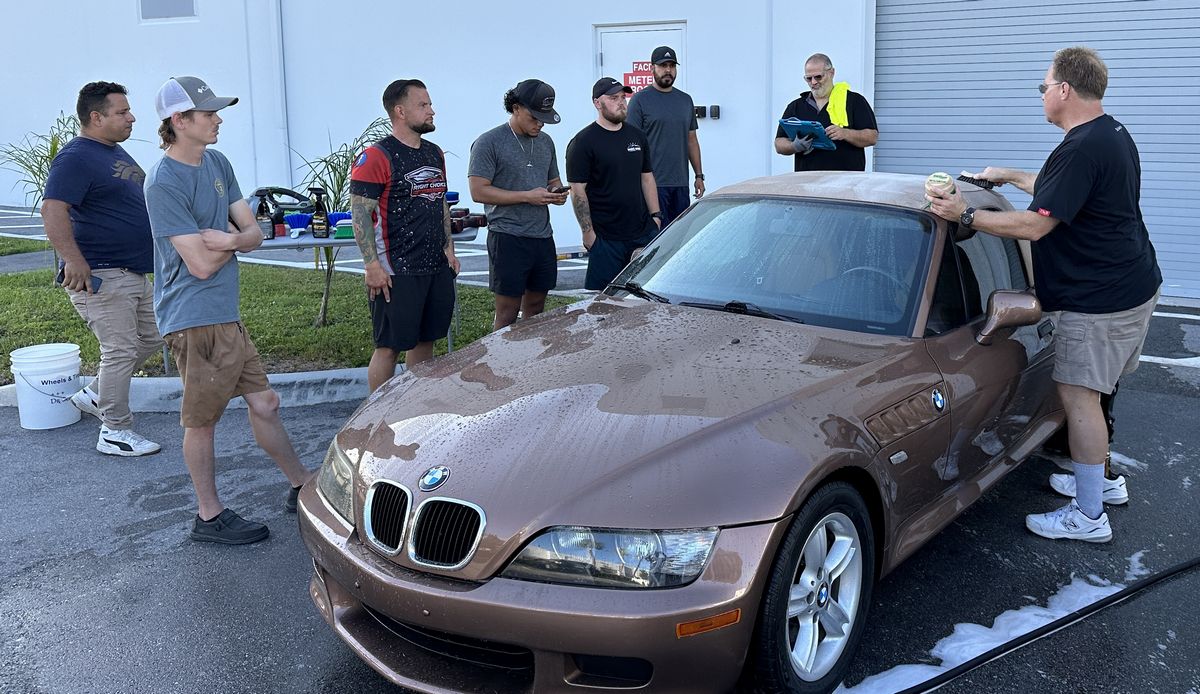
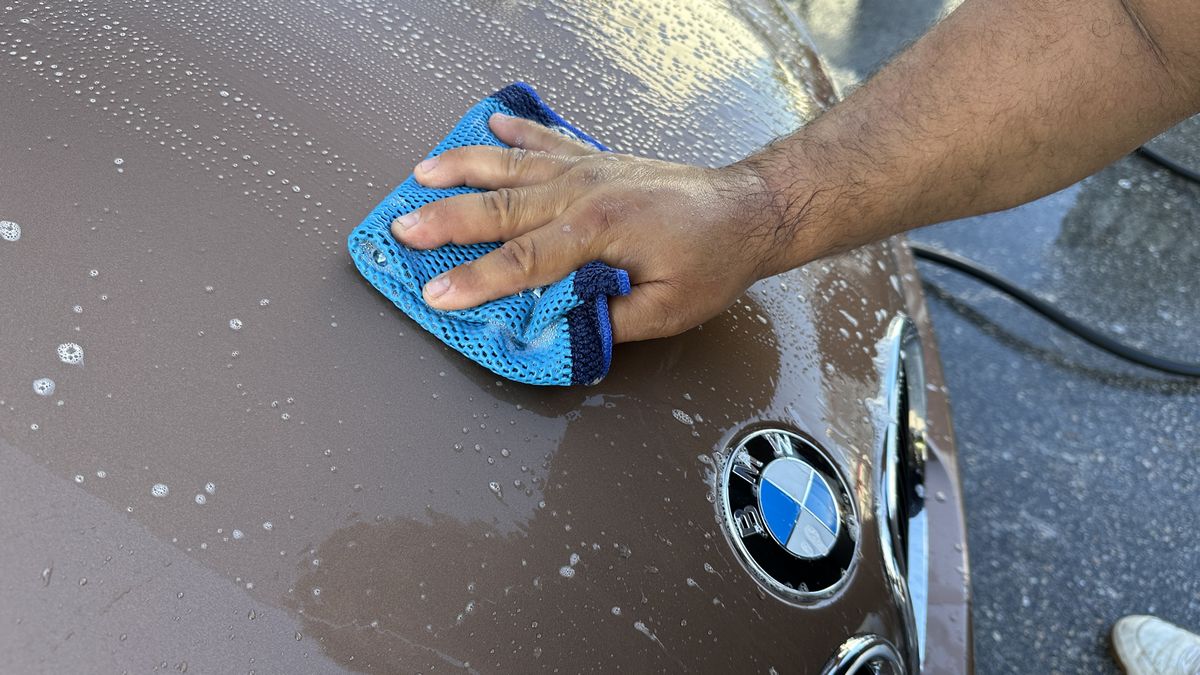
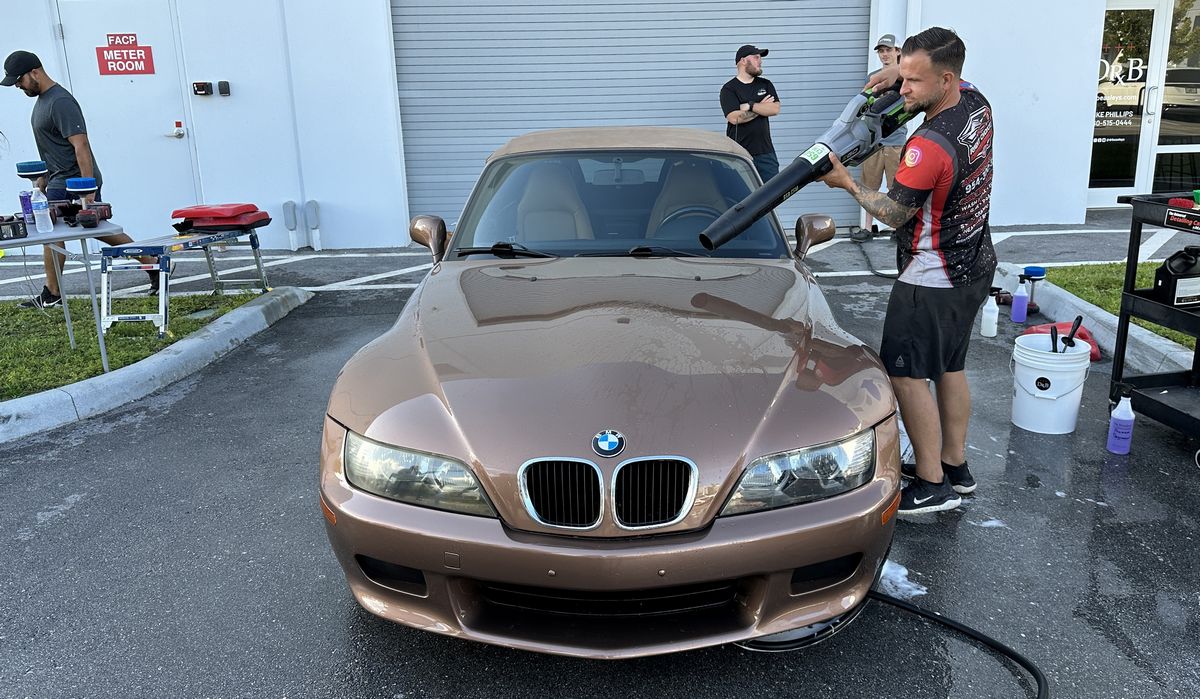
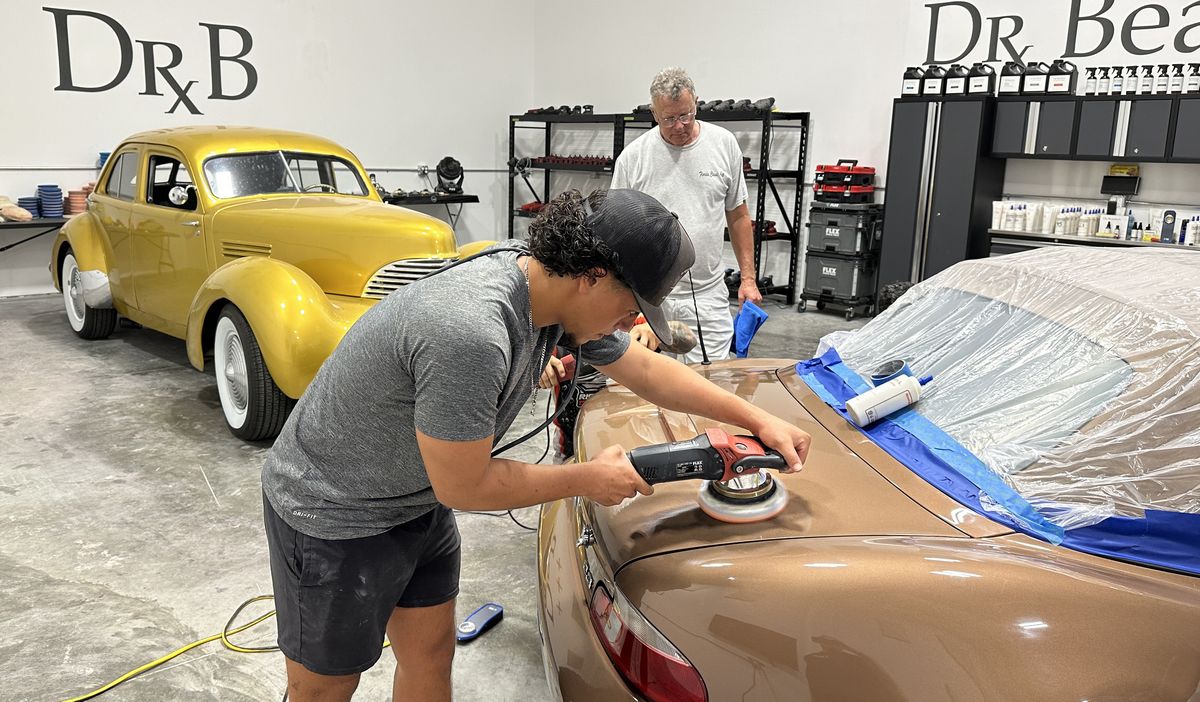
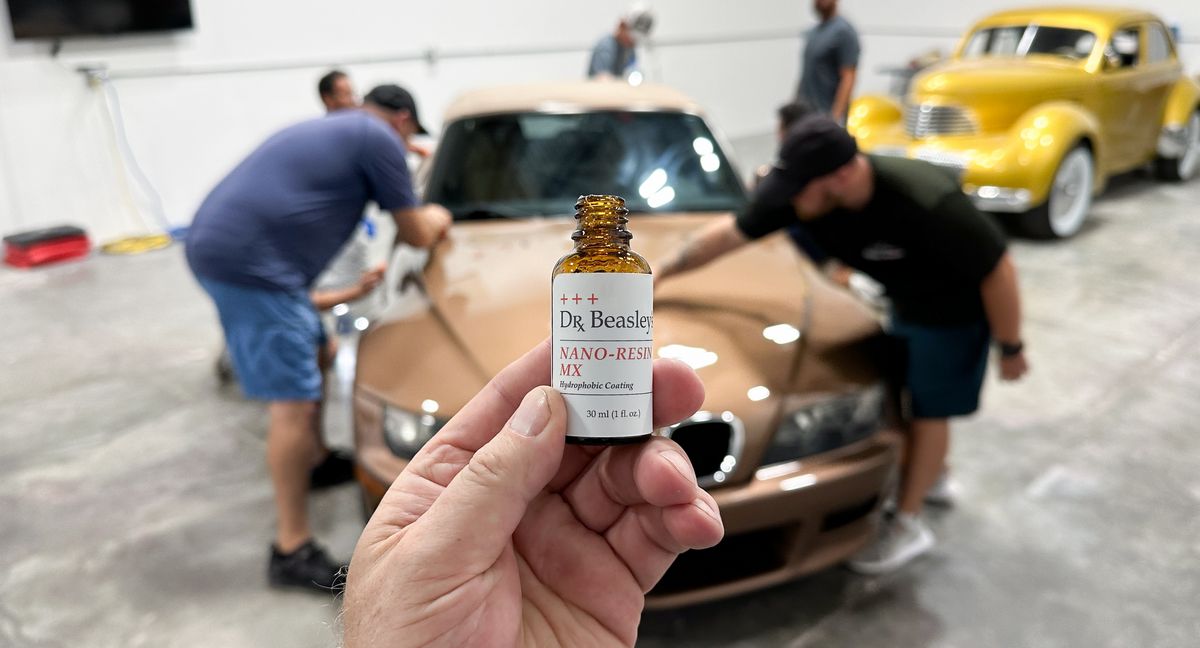
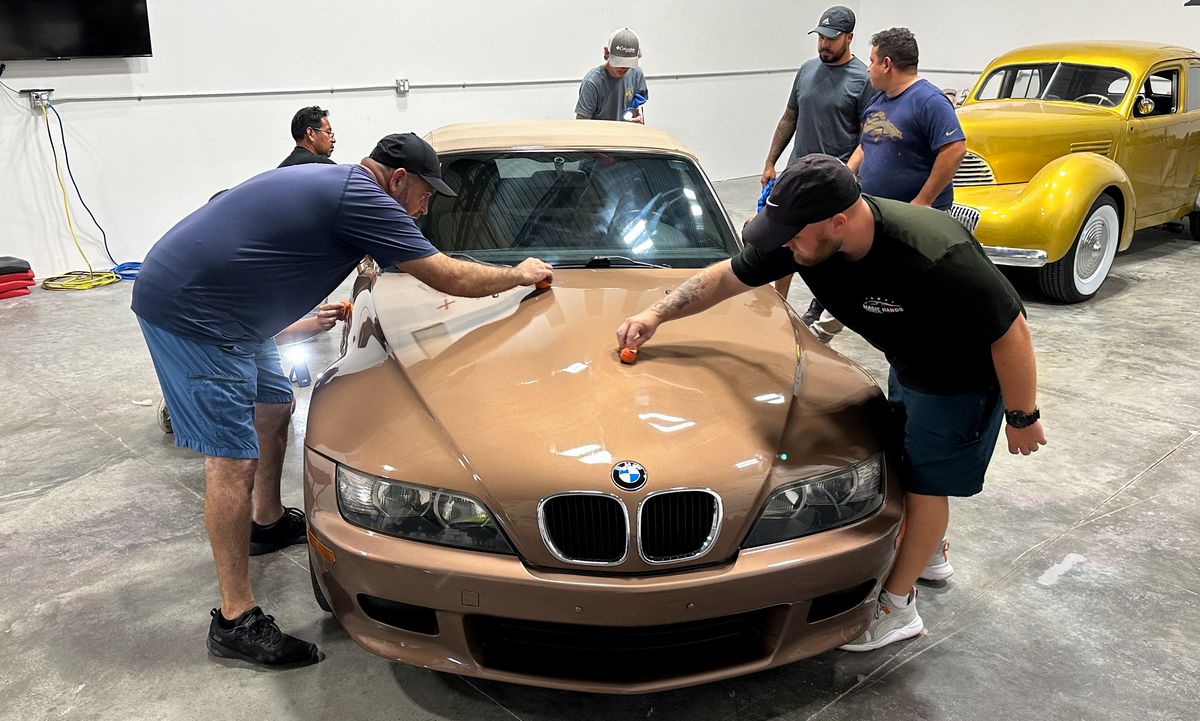
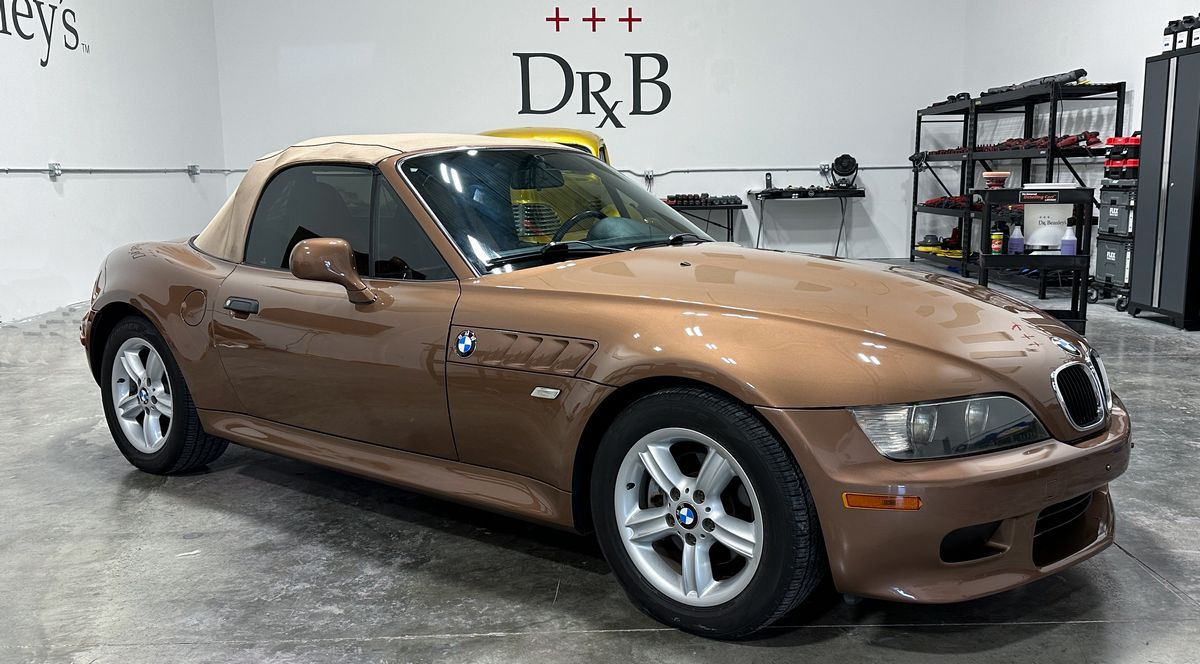
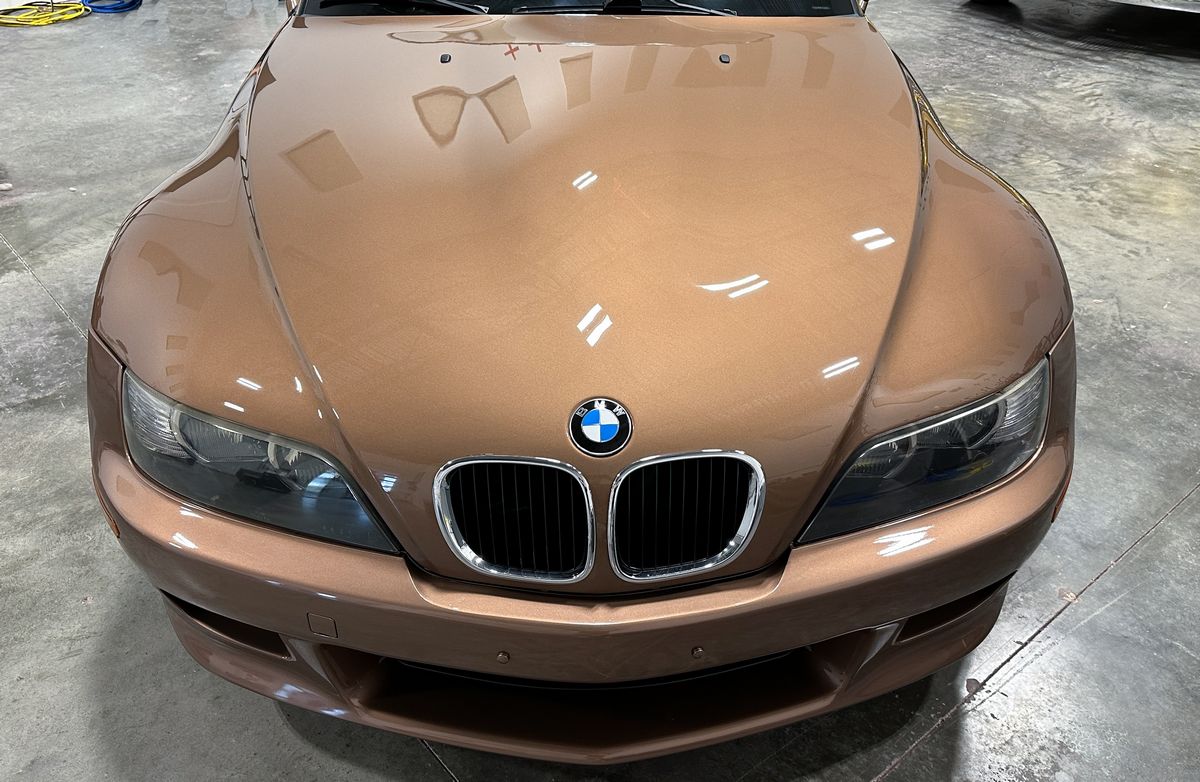
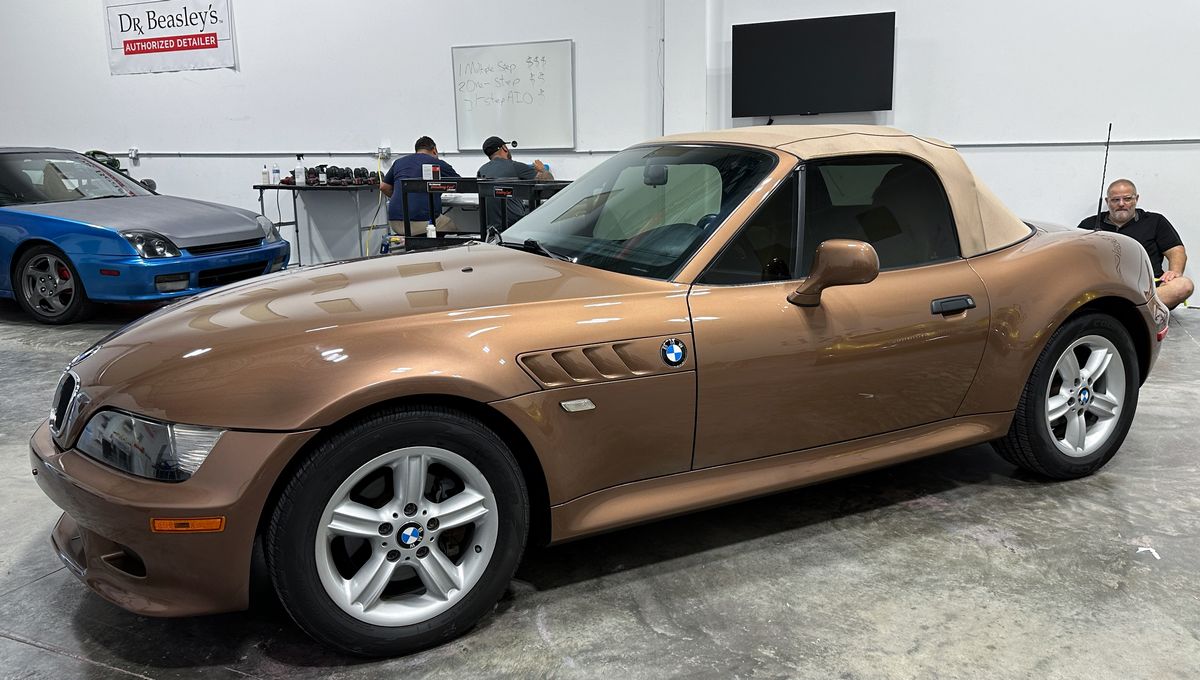
2000 BMW Z3 Roadster – One-step Paint Correction & Ceramic Coating
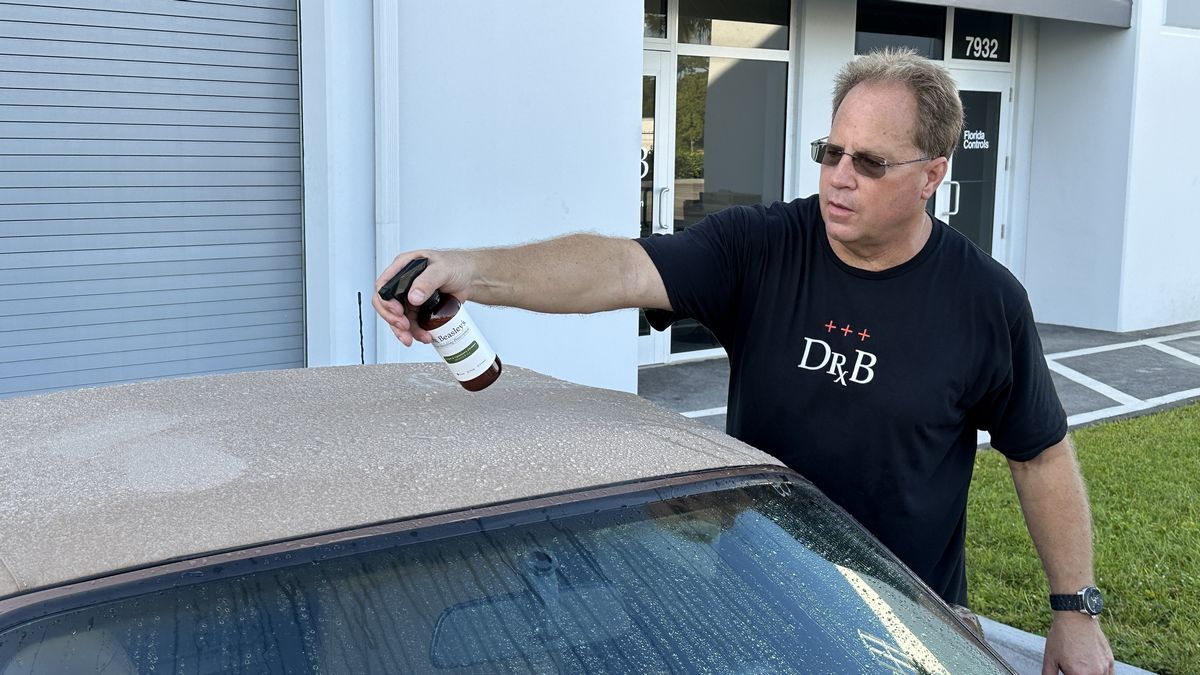
We brought this car in to teach one-step paint correction and ceramic coatings plus how to safely clean and protect canvas cloth convertible tops.
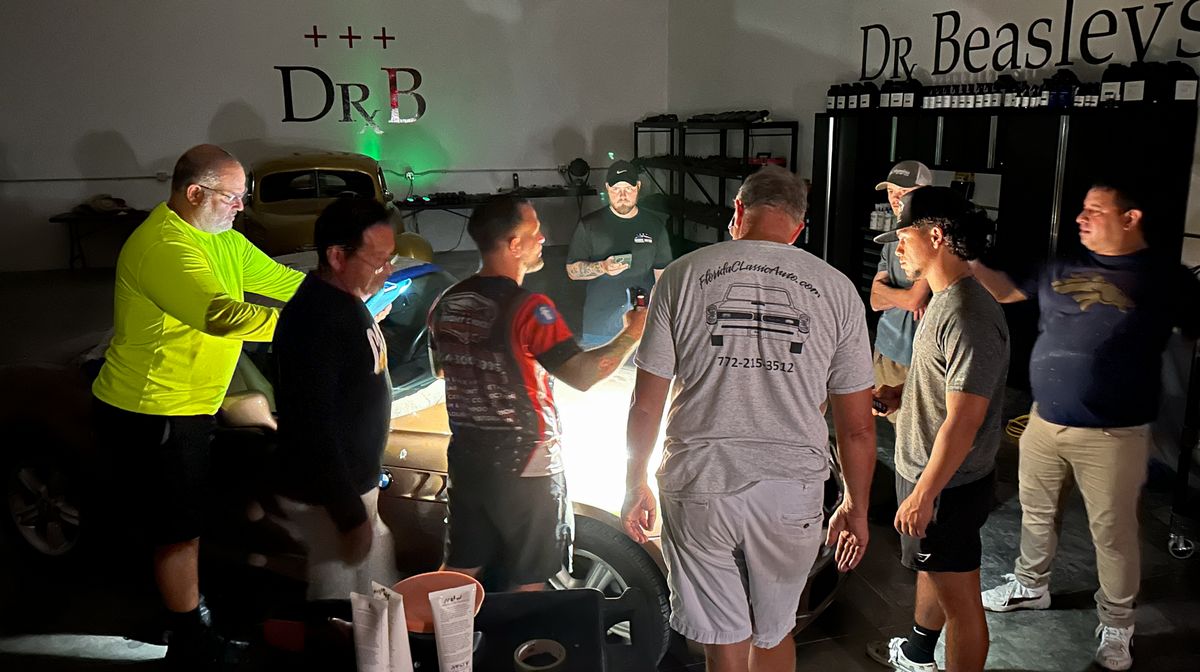
Turn off the lights!
Sometimes, when inspecting the paint on light colored cars, it can help your eyes to see the level of swirls and scratches by turning off the overhead lights, (ambient light), and then inspect using a strong hand-held light. Here’s this technique being demonstrated for the light metallic brown paint on this BMW. This is just one of hundreds of techniques you learn at any of our auto and marine detailing classes.
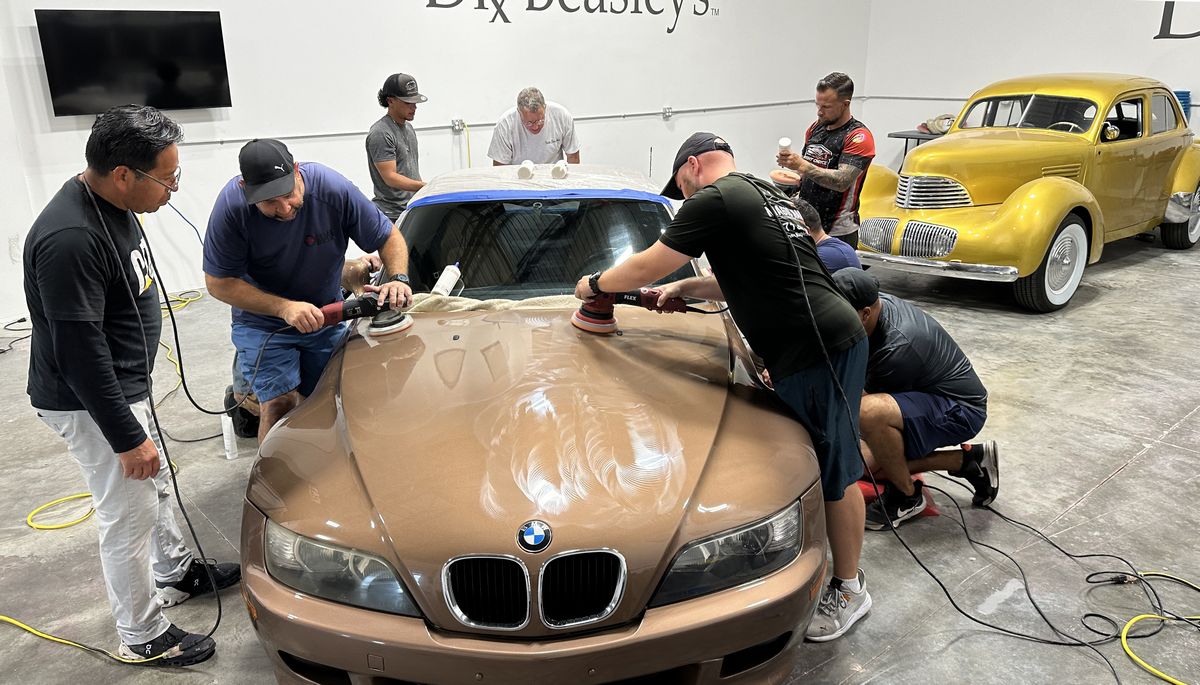
Here’s the final results!
1941 Grahm Hollywood Streetrod – Machine Damp Sanding
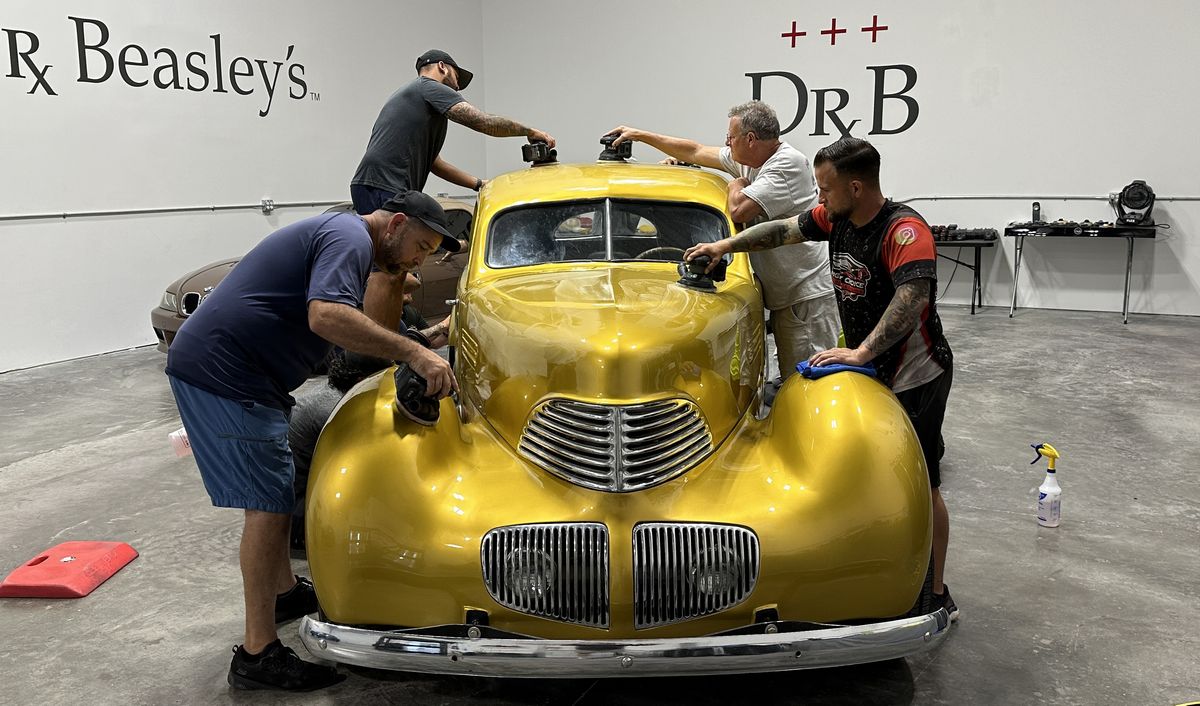
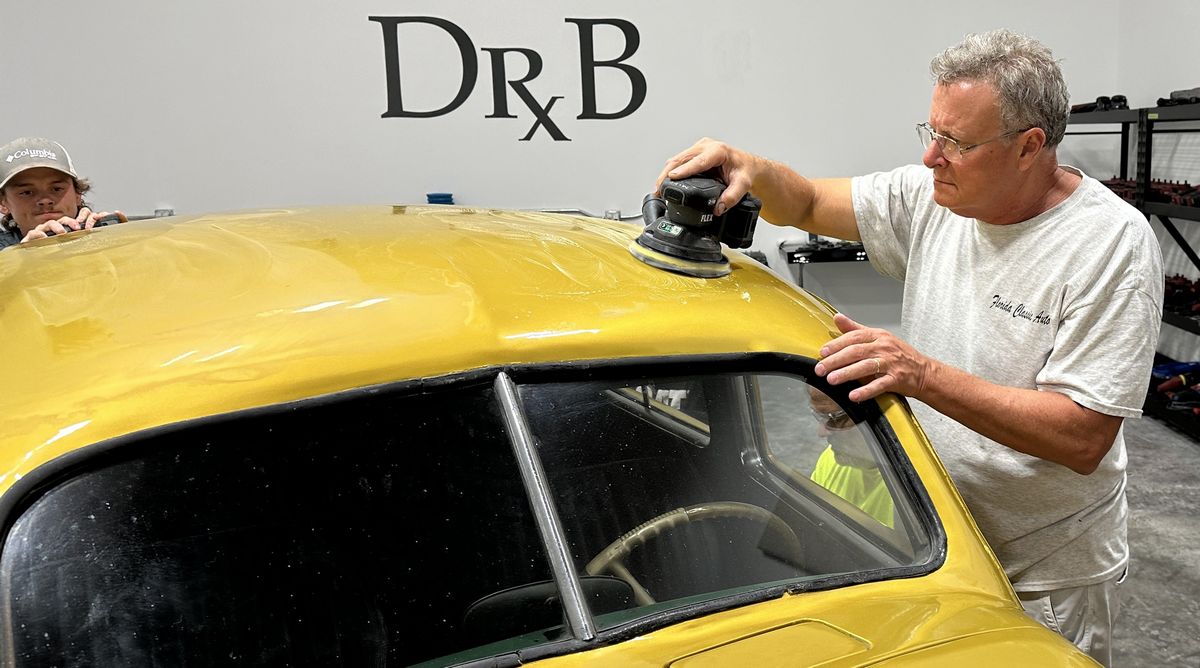
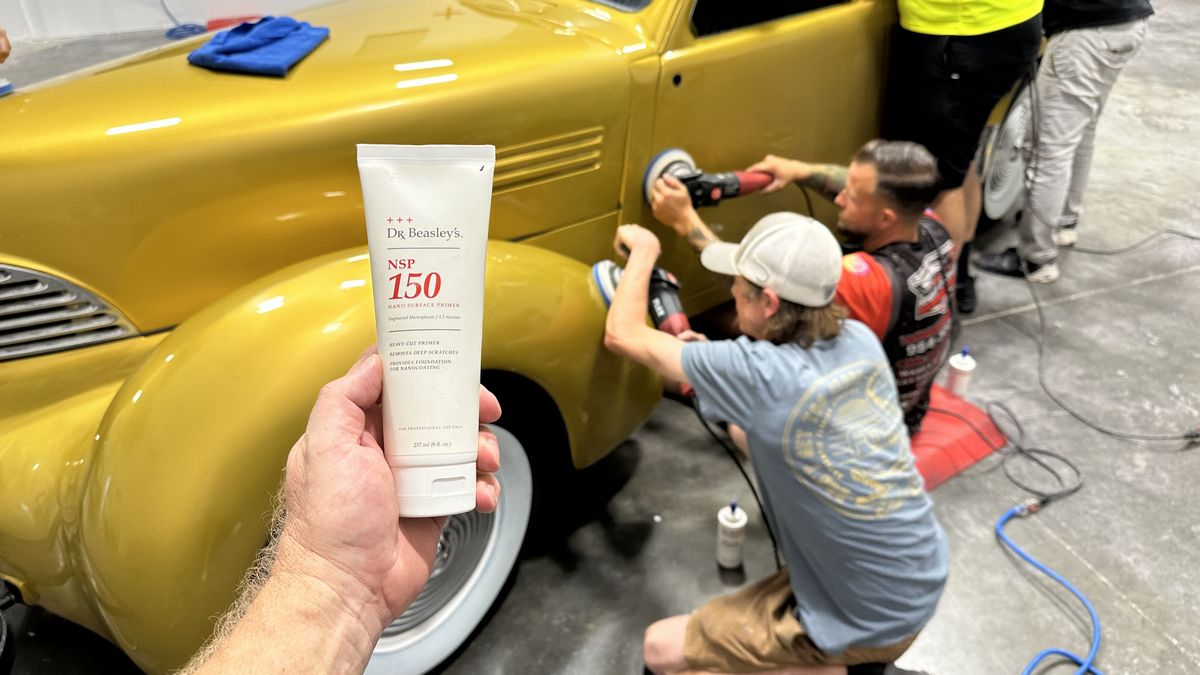
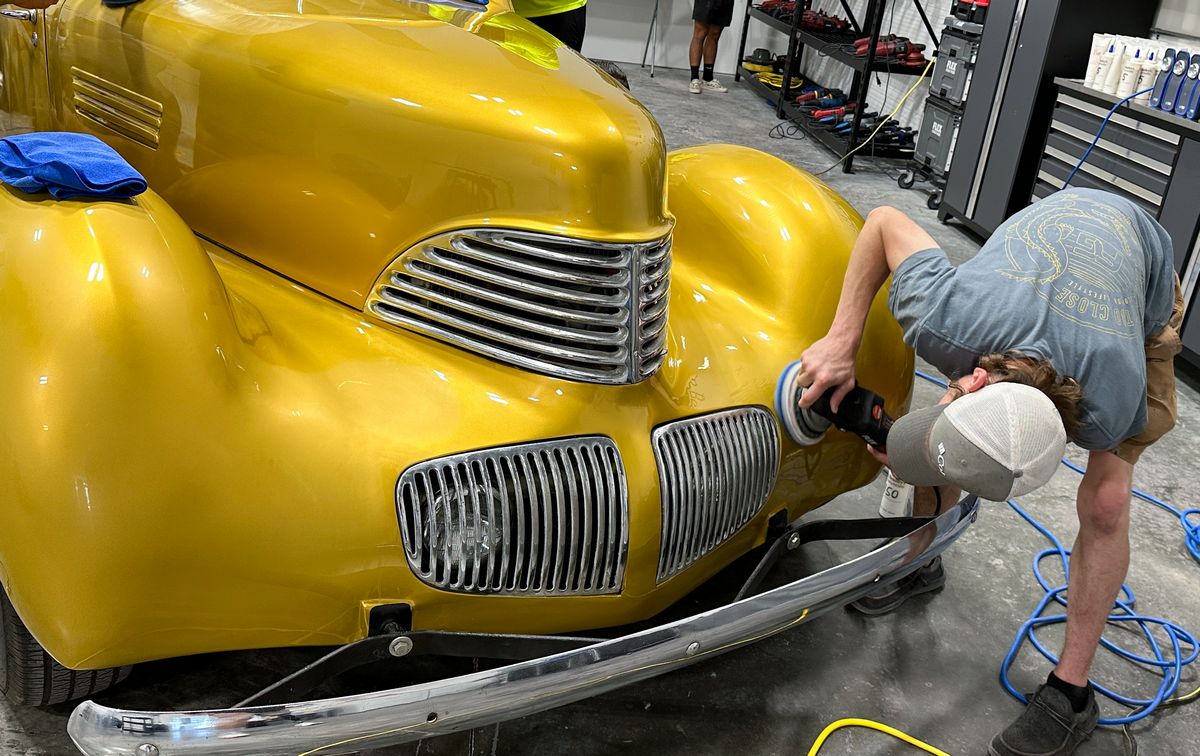
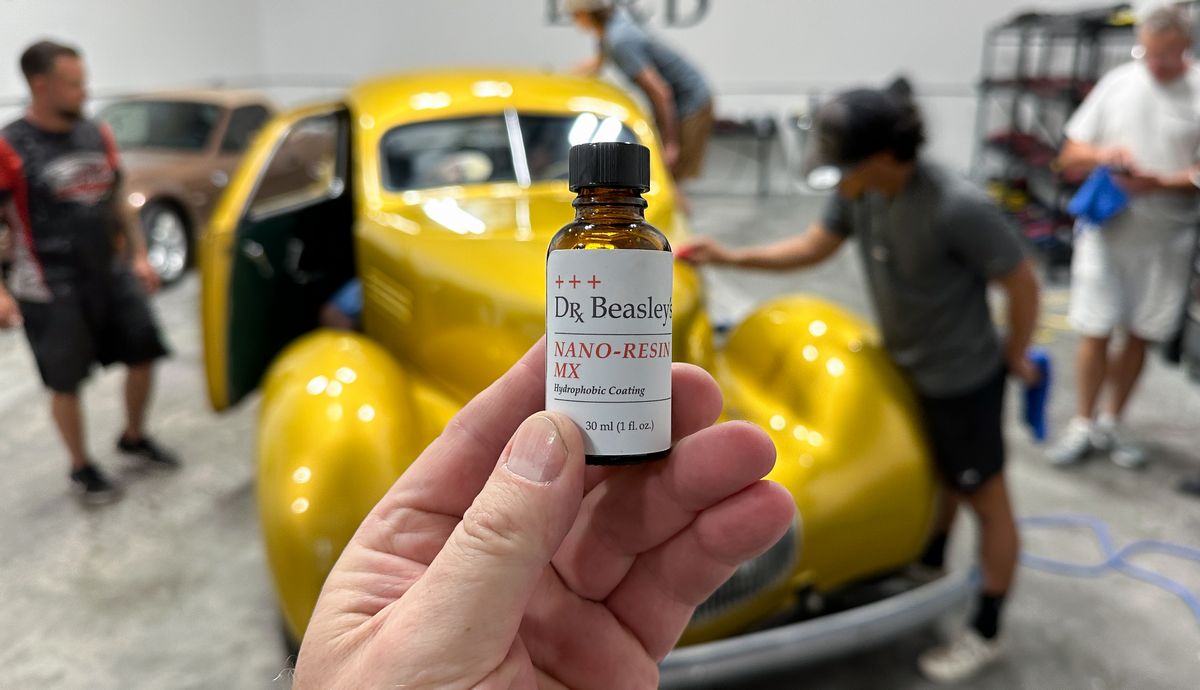
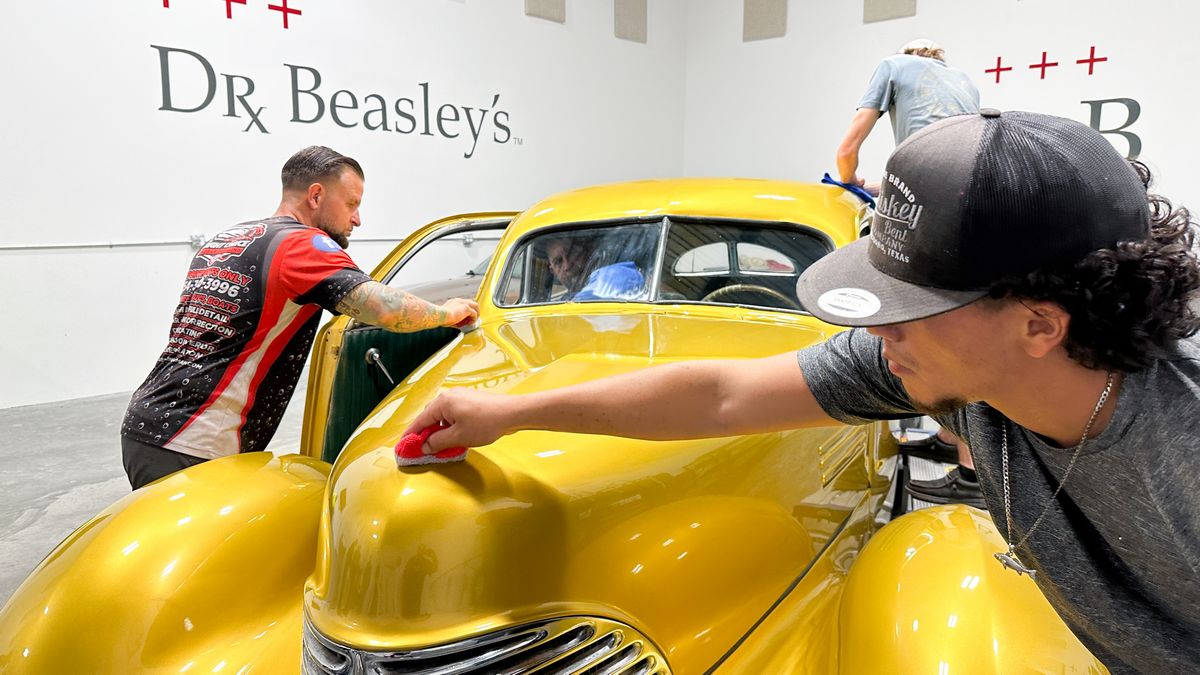
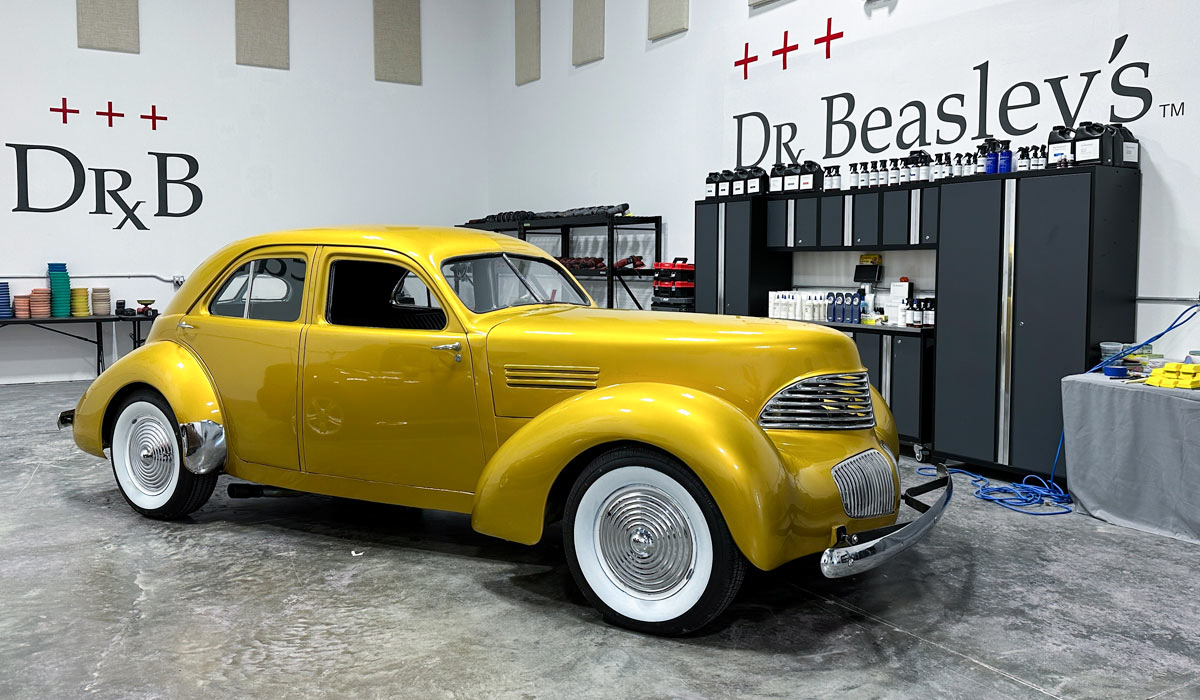
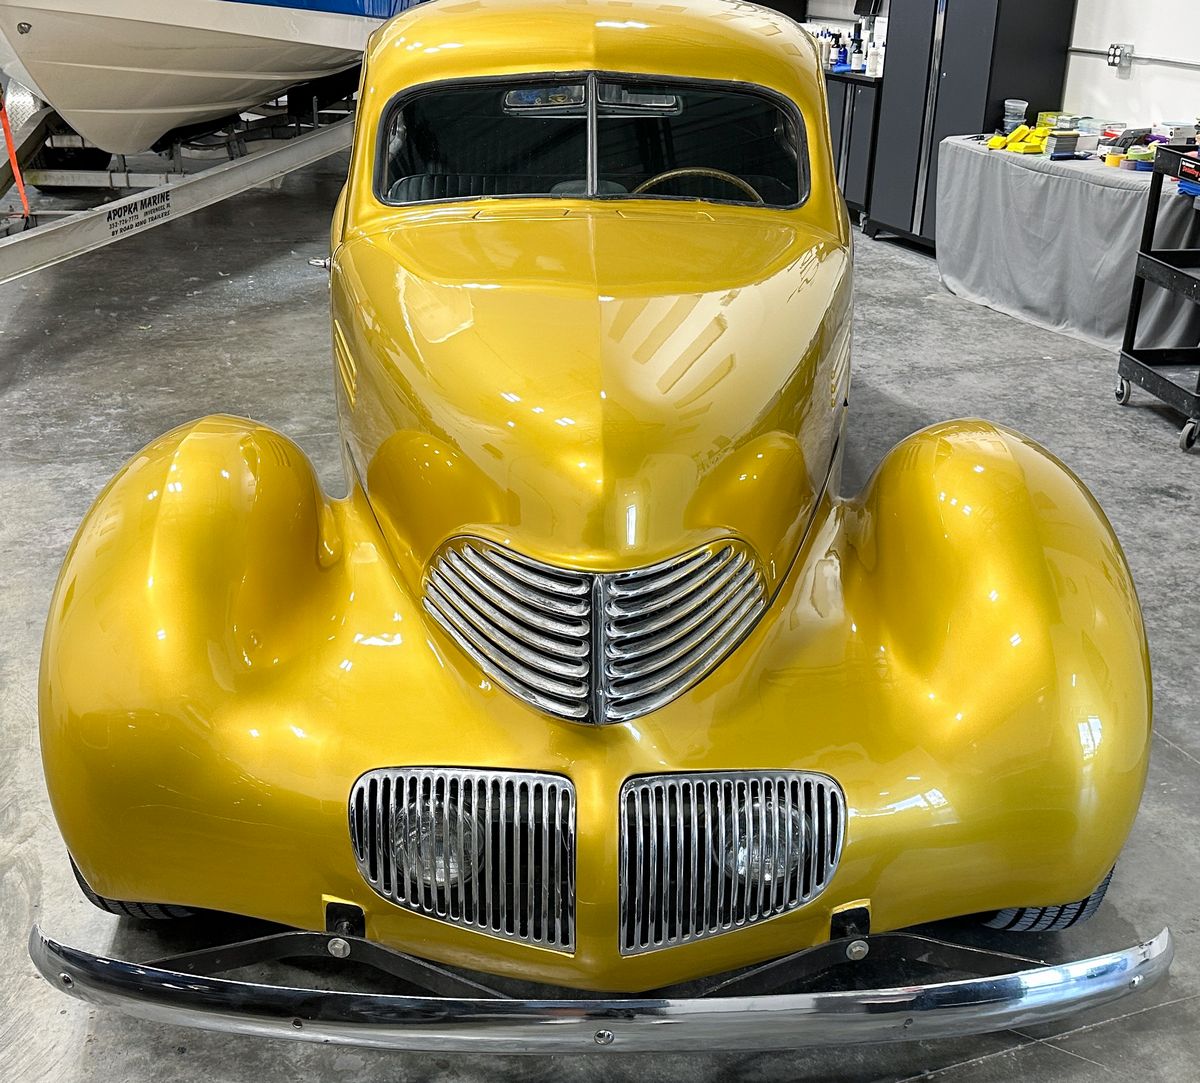
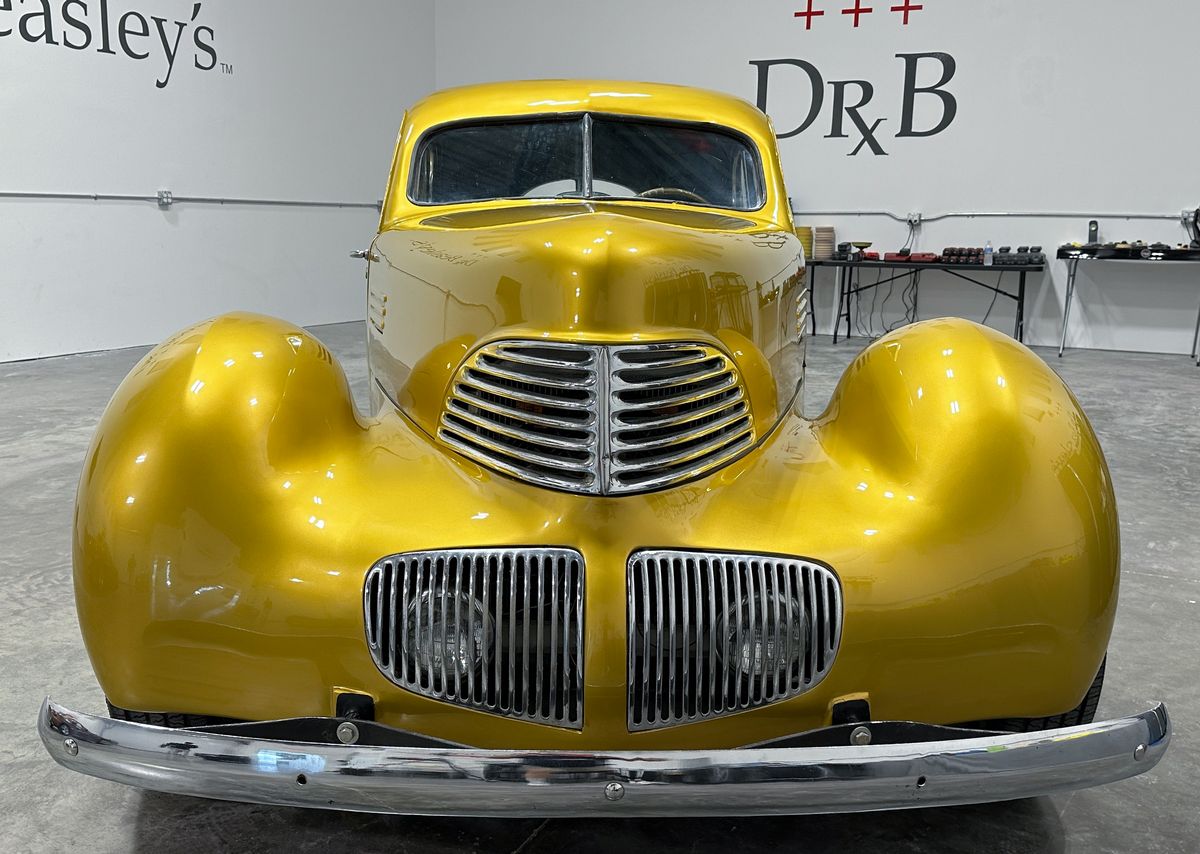
Here’s the final results and my favorite training car for 2024!
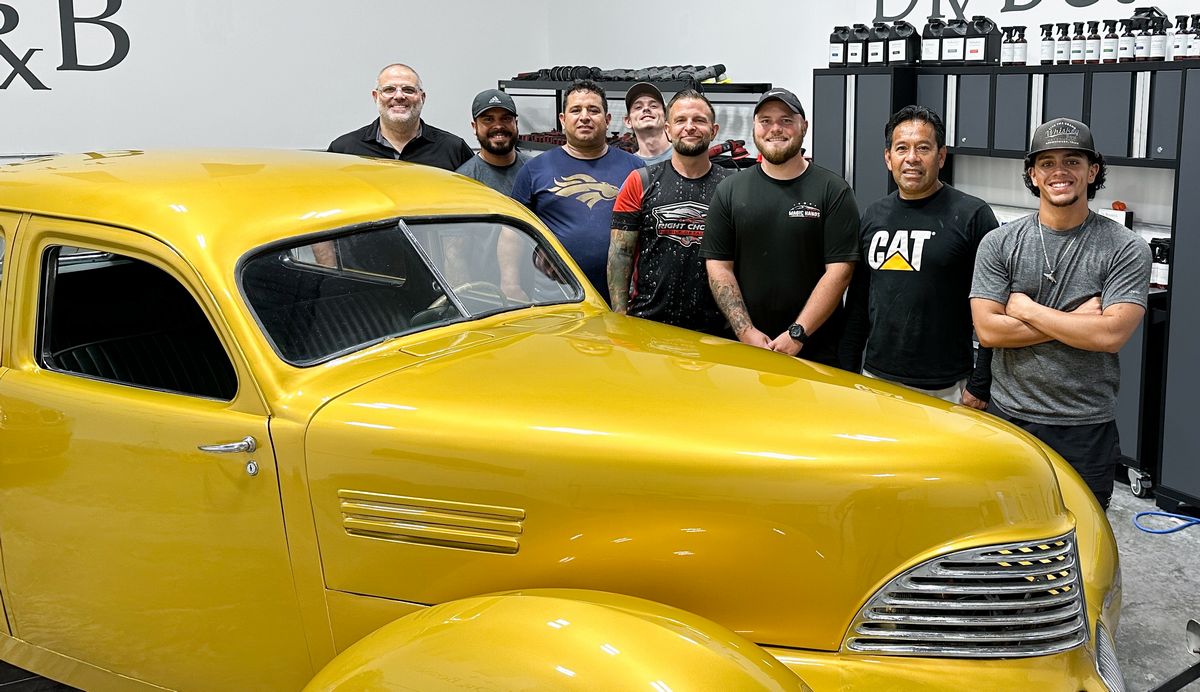
And here’s the team that made the magic happen!
Click here to see all the pictures for the 1941 Grahm Hollywood Streetrod
Continued…
Sunday – May 5th, 2024 – Extreme Boat Detailing
I know from experience, by the 3rd day, the thousands of people that have taken my big 3-day classes over the decades are tired! So… I start the class an hour later at 8:30am sharp so everyone can sleep in for an extra hour. Pretty nice huh?
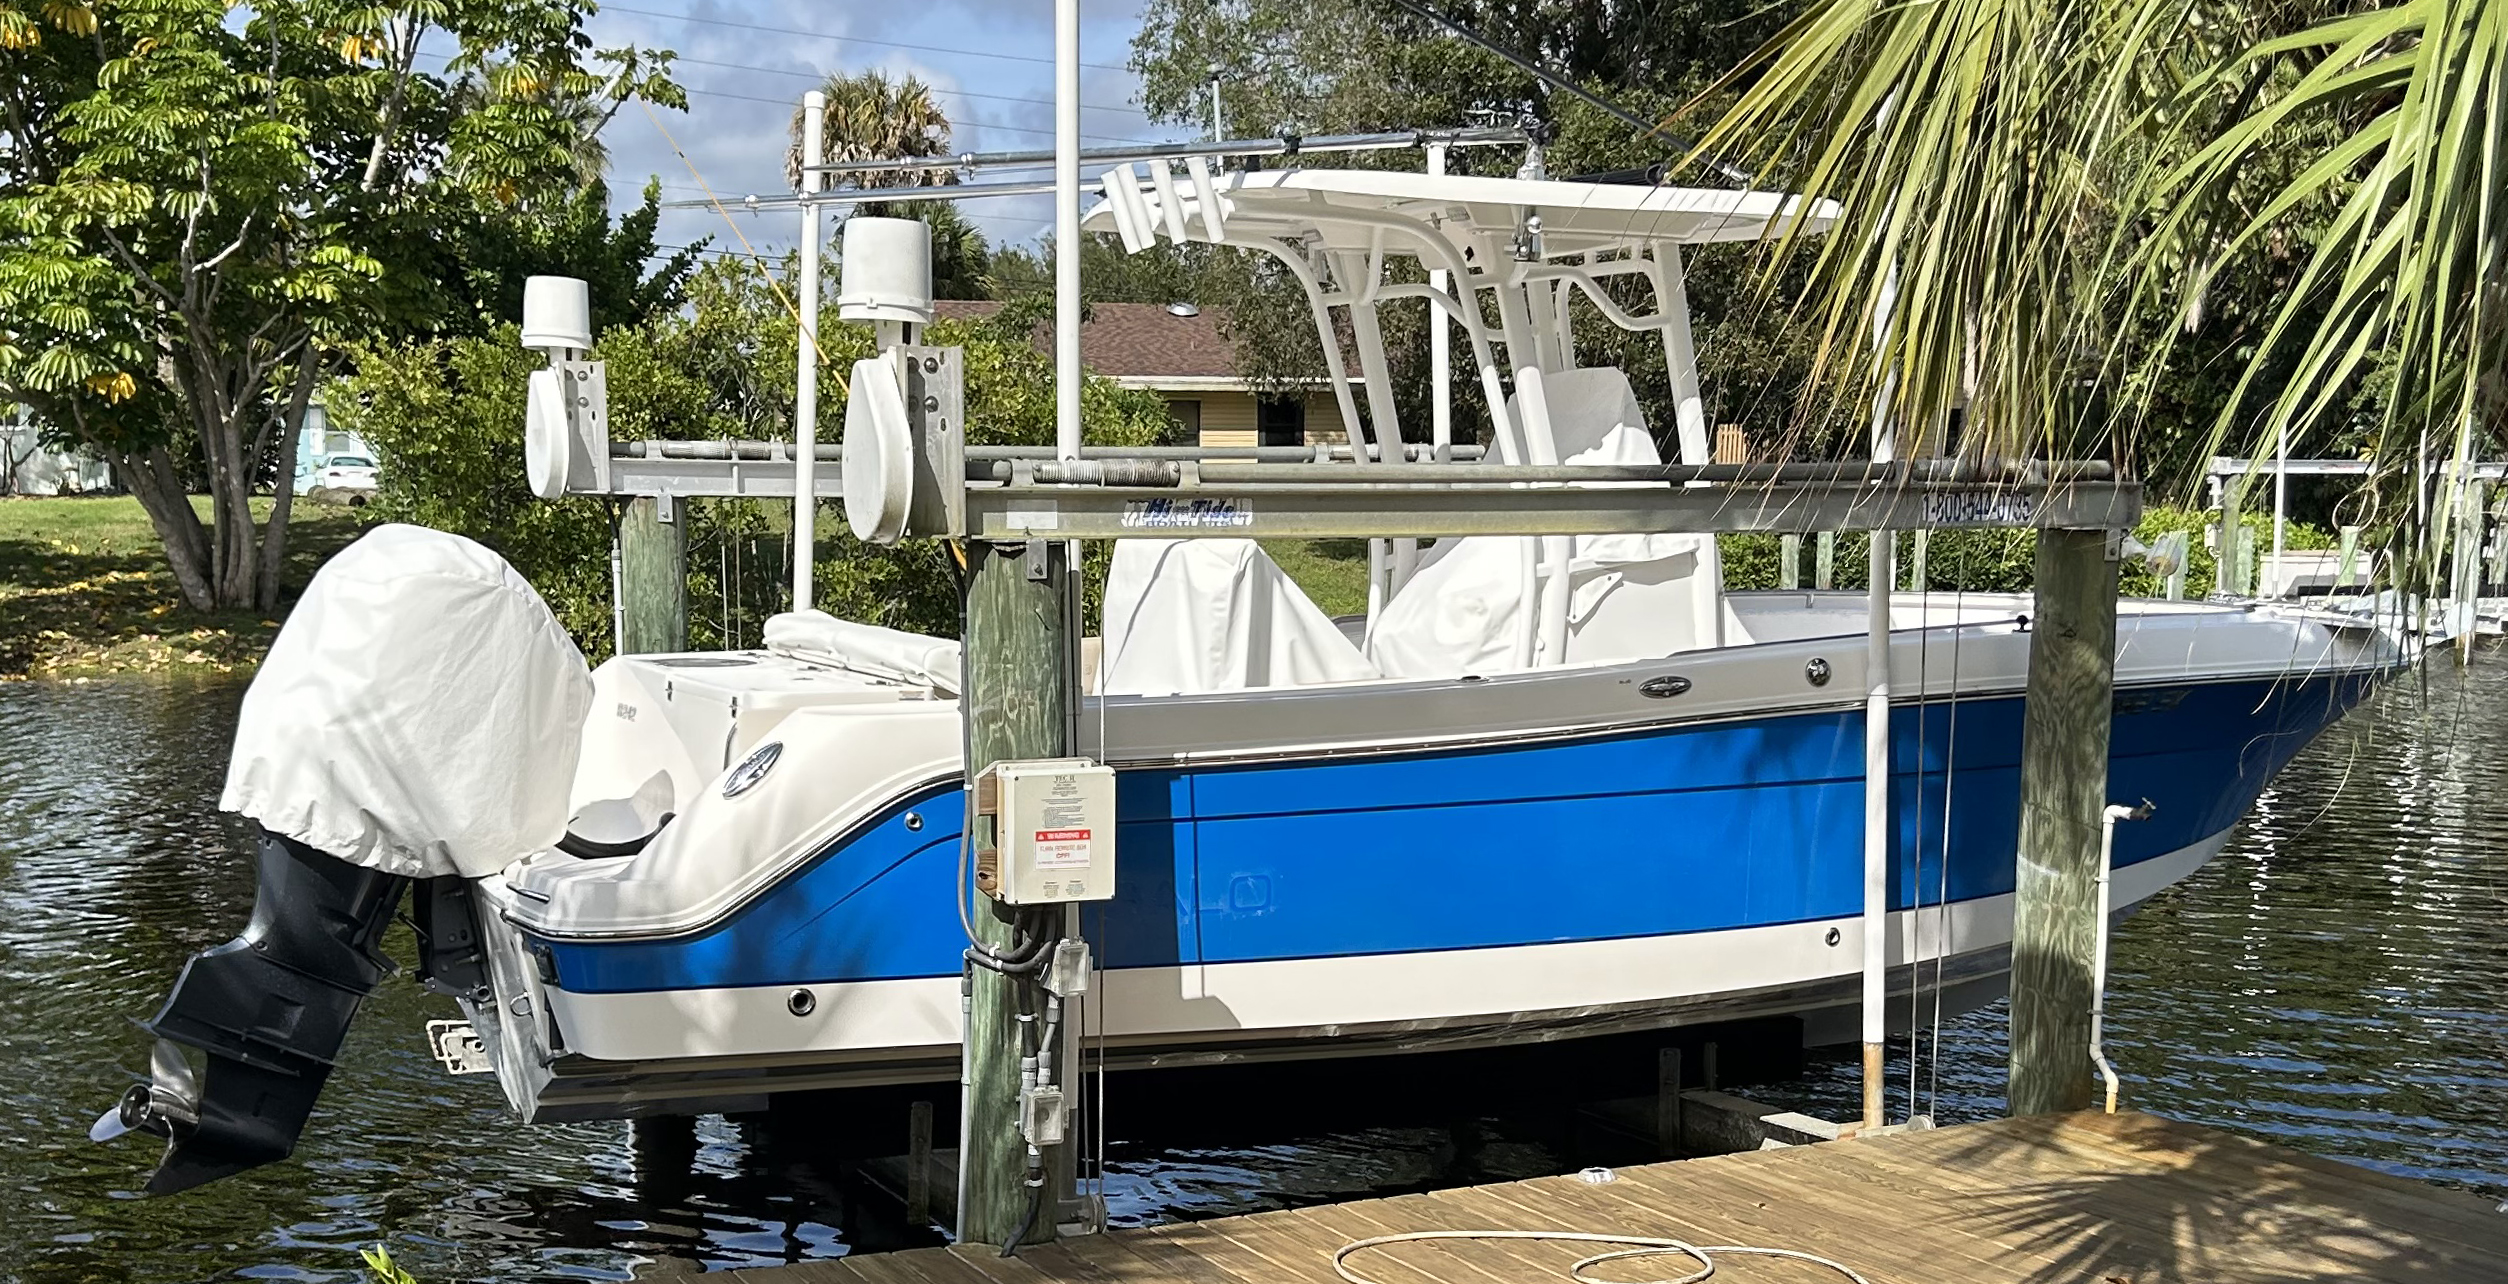
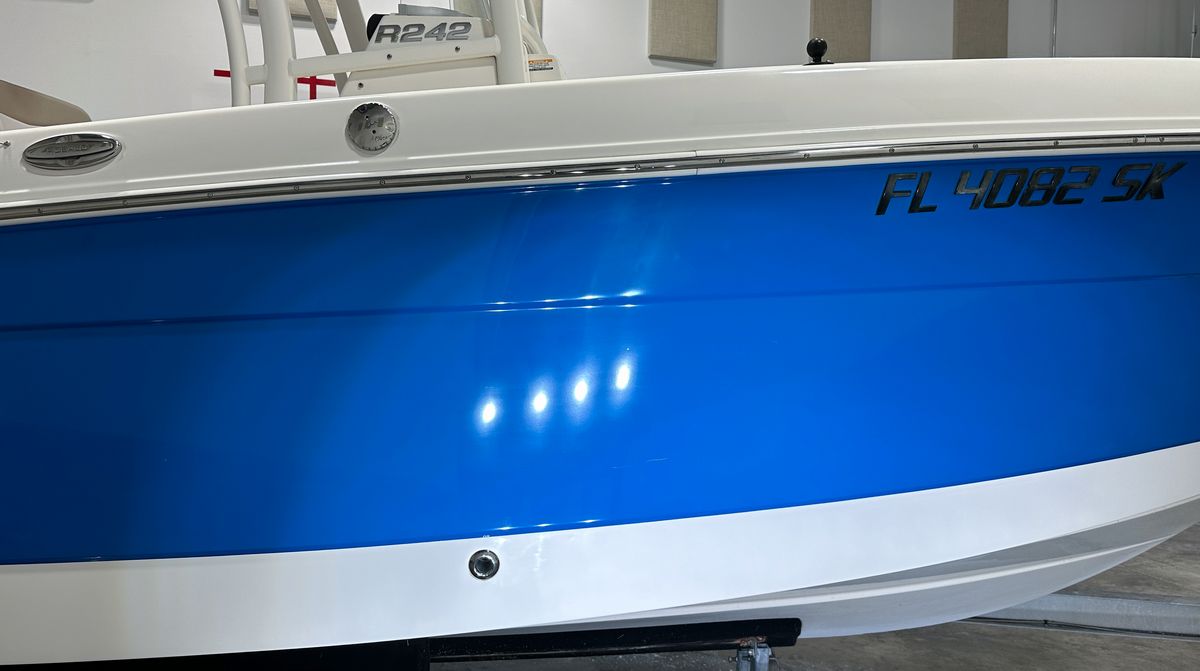
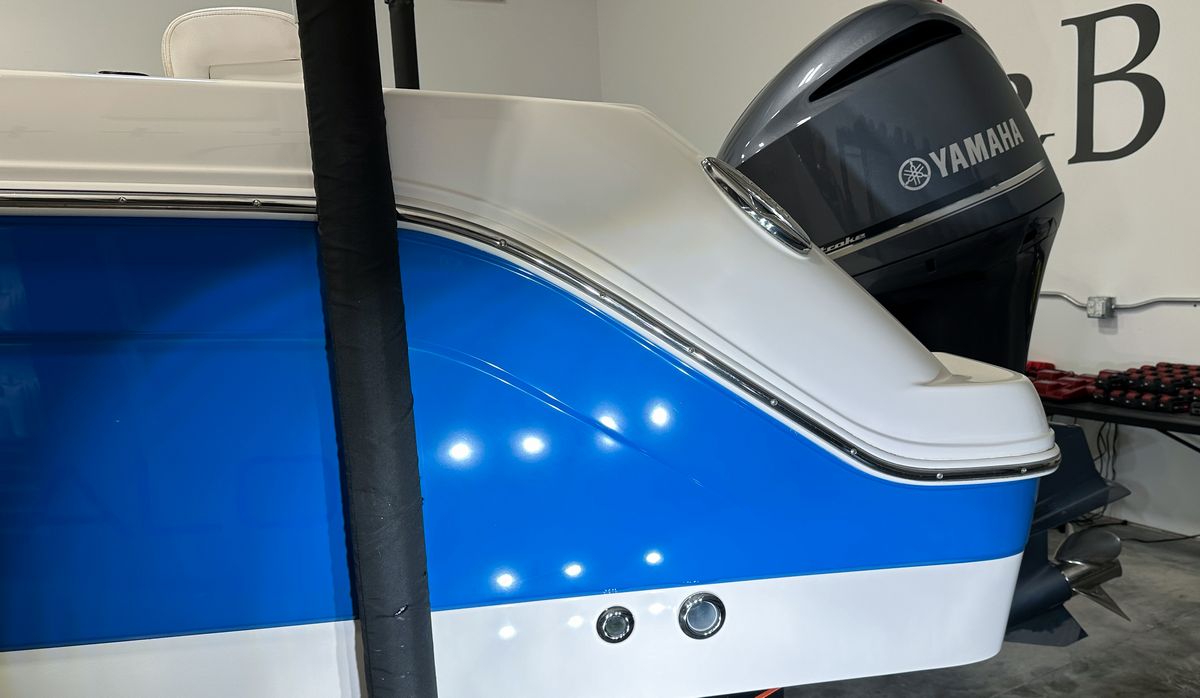
24′ Robalo Center Console
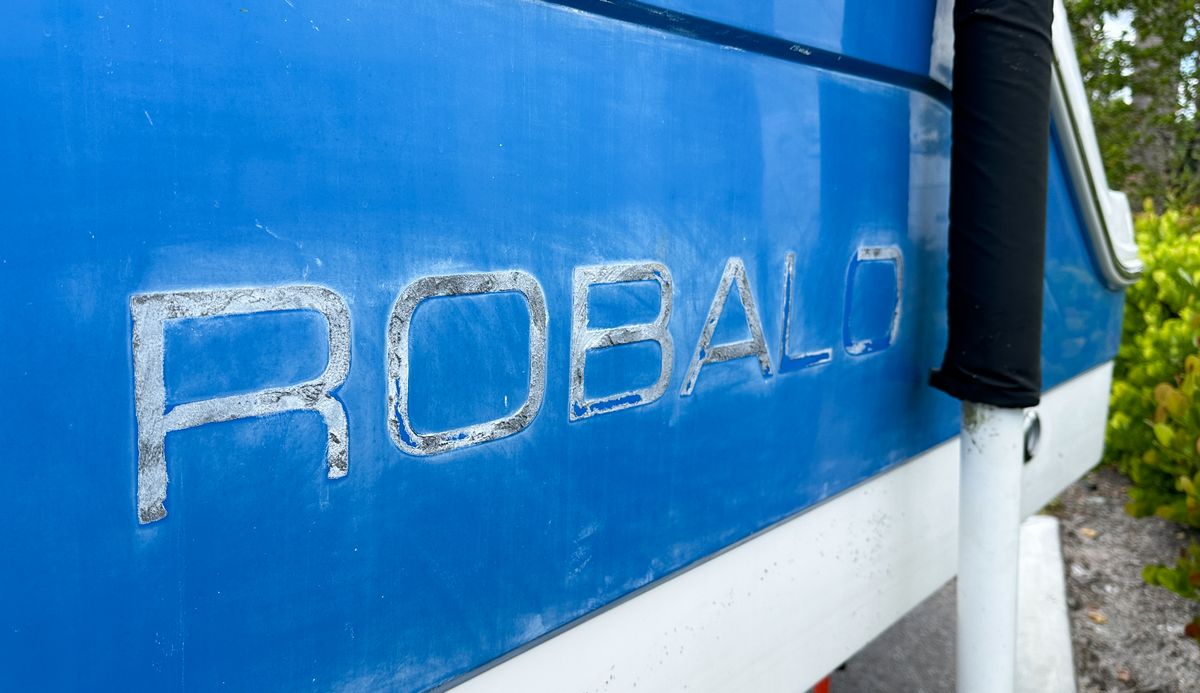
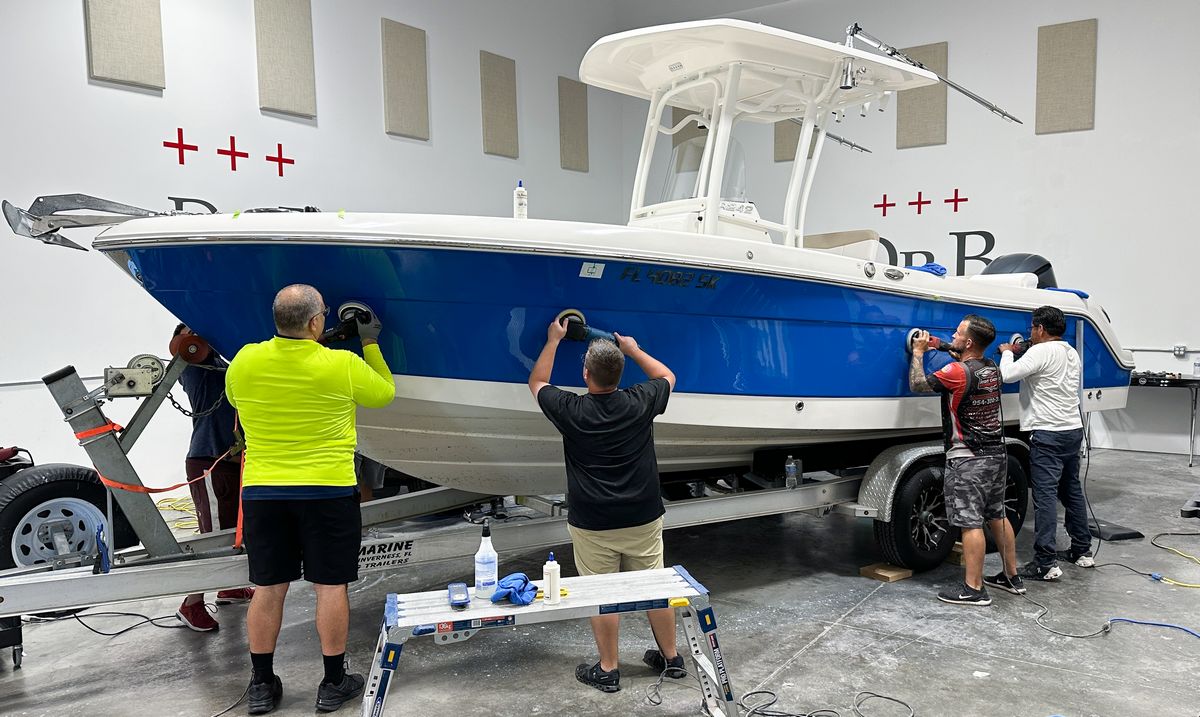
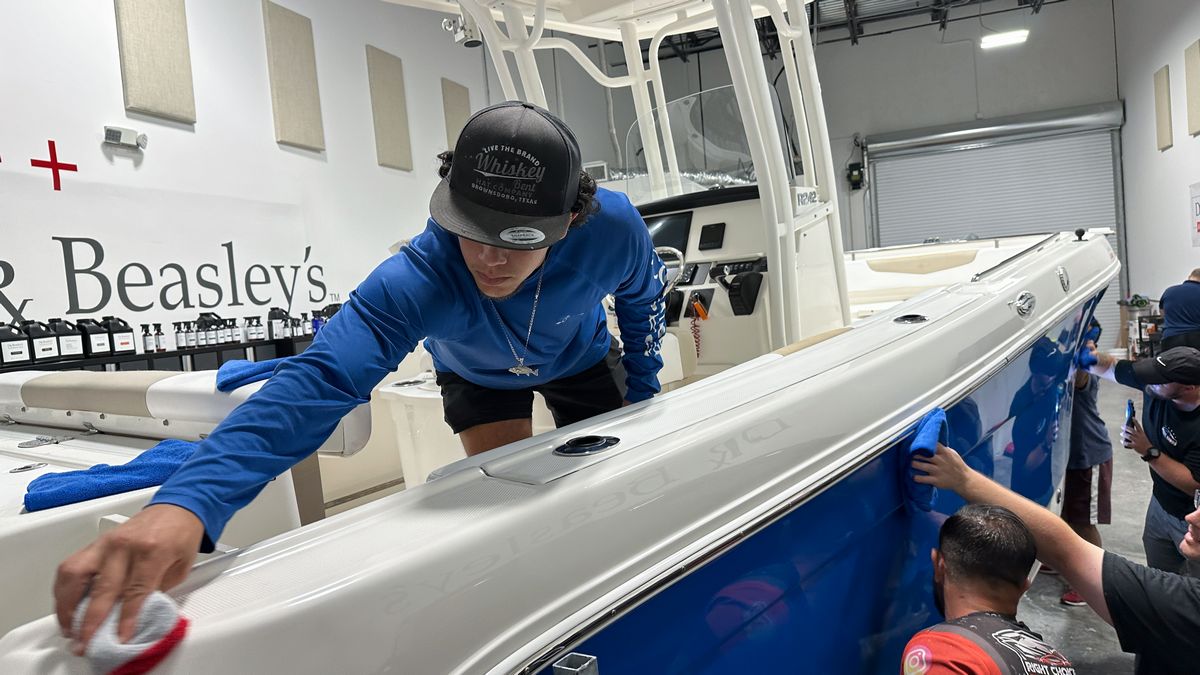
This boat has a beautiful blue colored gelcoat but over time, the gelcoat now has a lot of deep oxidation, water spot staining and dock rash. It also have aged graphics that the class will fix. Like all the boats we bring in for training, this is a dark colored hull with visible oxidation, water spots stains and streaks, dock rash and aged, worn emblems.
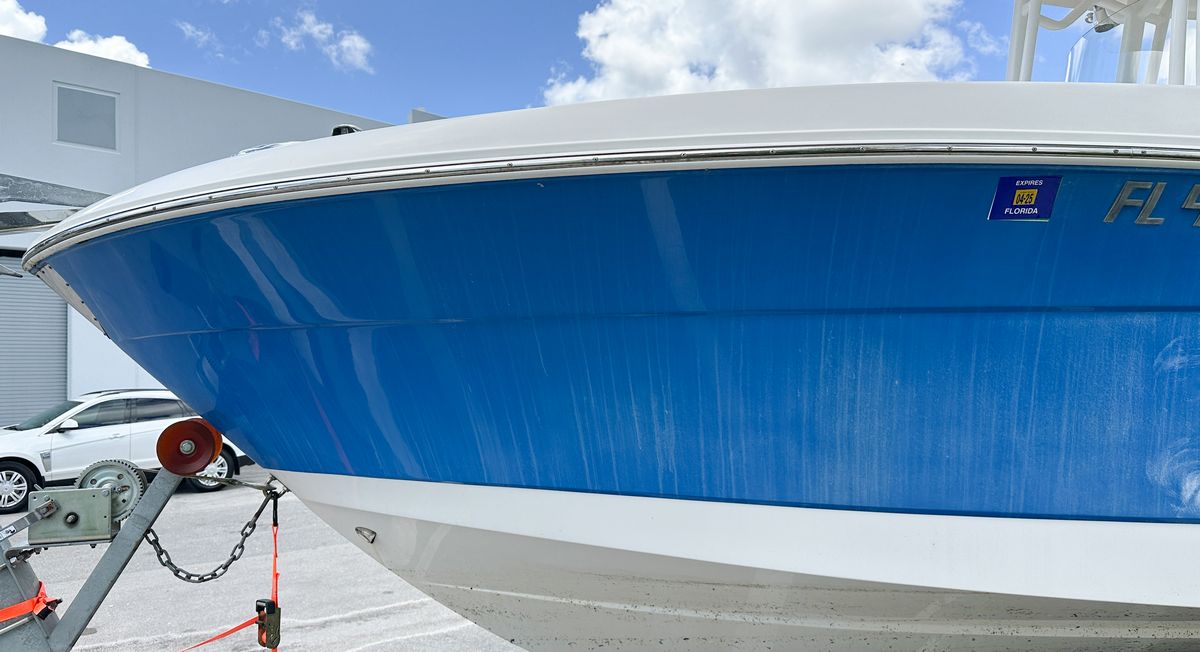
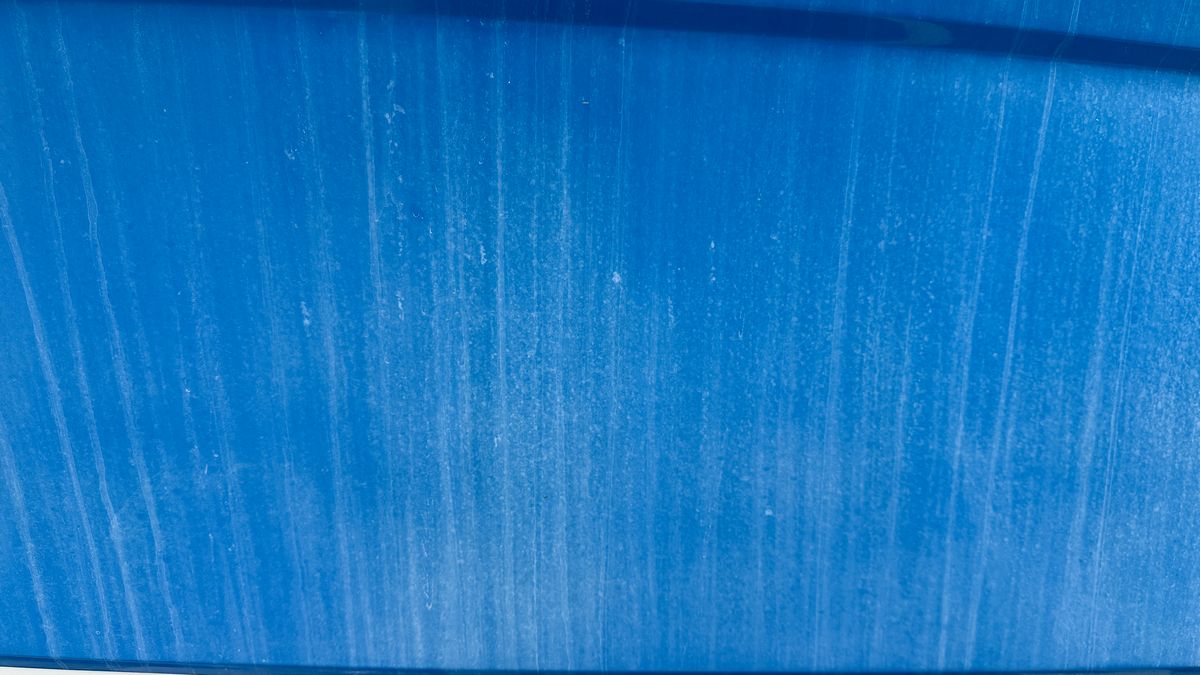
Gelcoat Test Spot
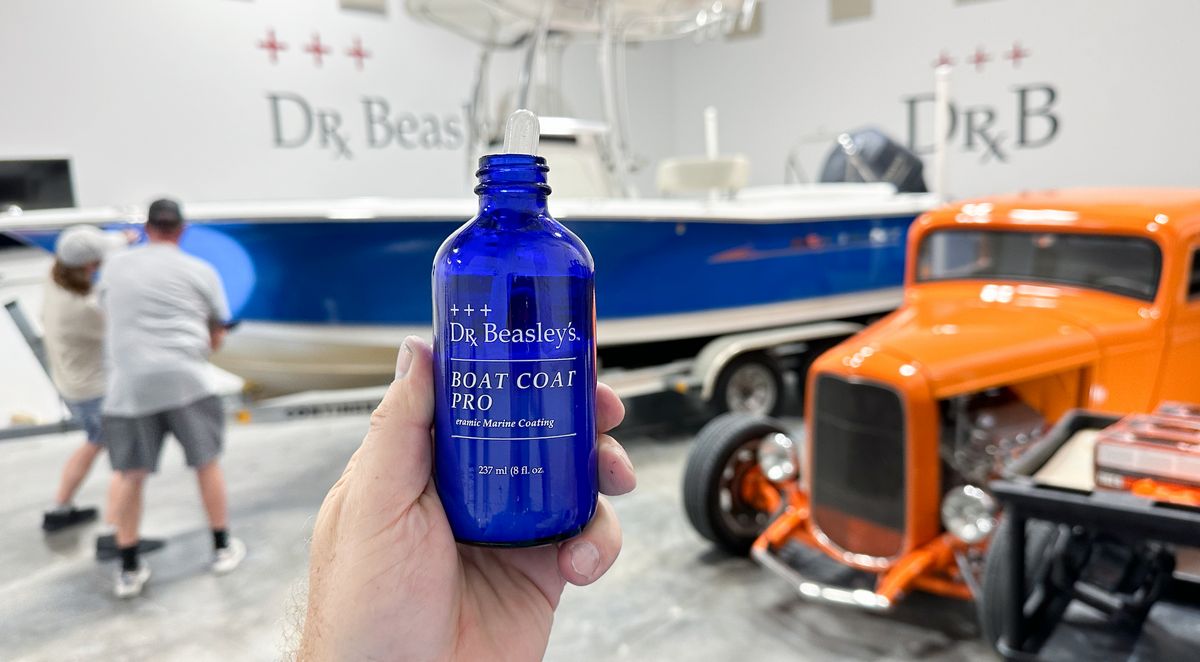
Here’s the results from our gelcoat test spot. We did a multiple-step sanding process followed by using the Dr. Beasley’s NSP Primers with rotary and orbital polishers followed by installing 3 applications of the Dr. Beasley’s Boat Coat Pro.
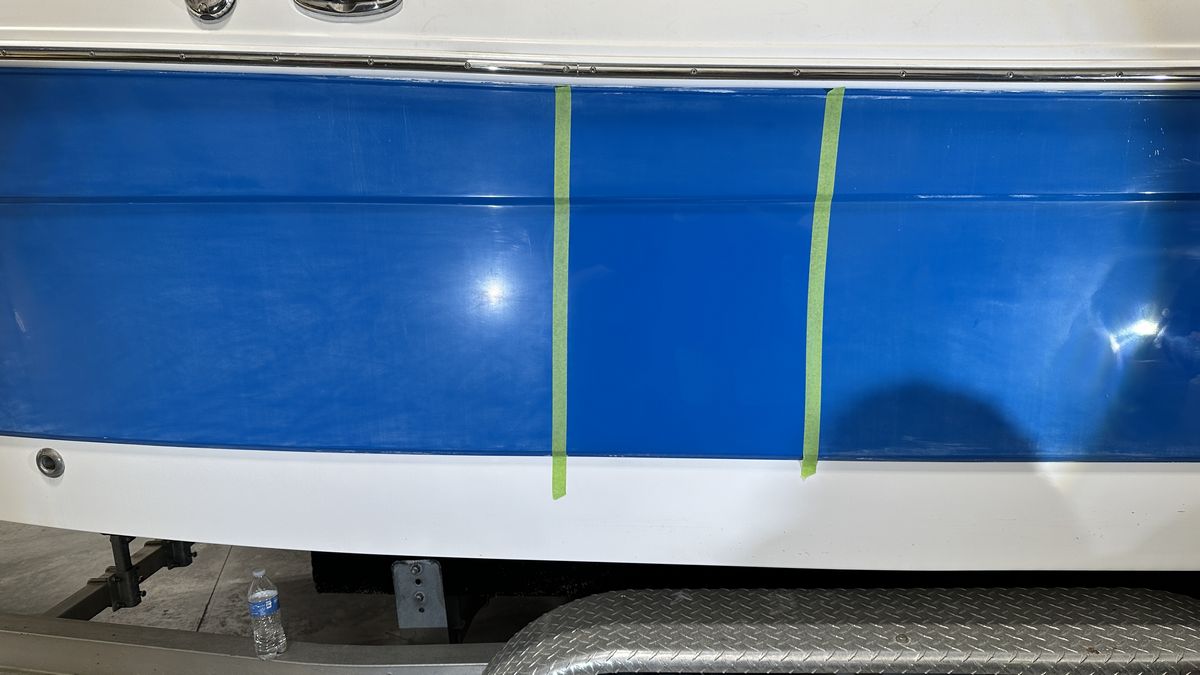
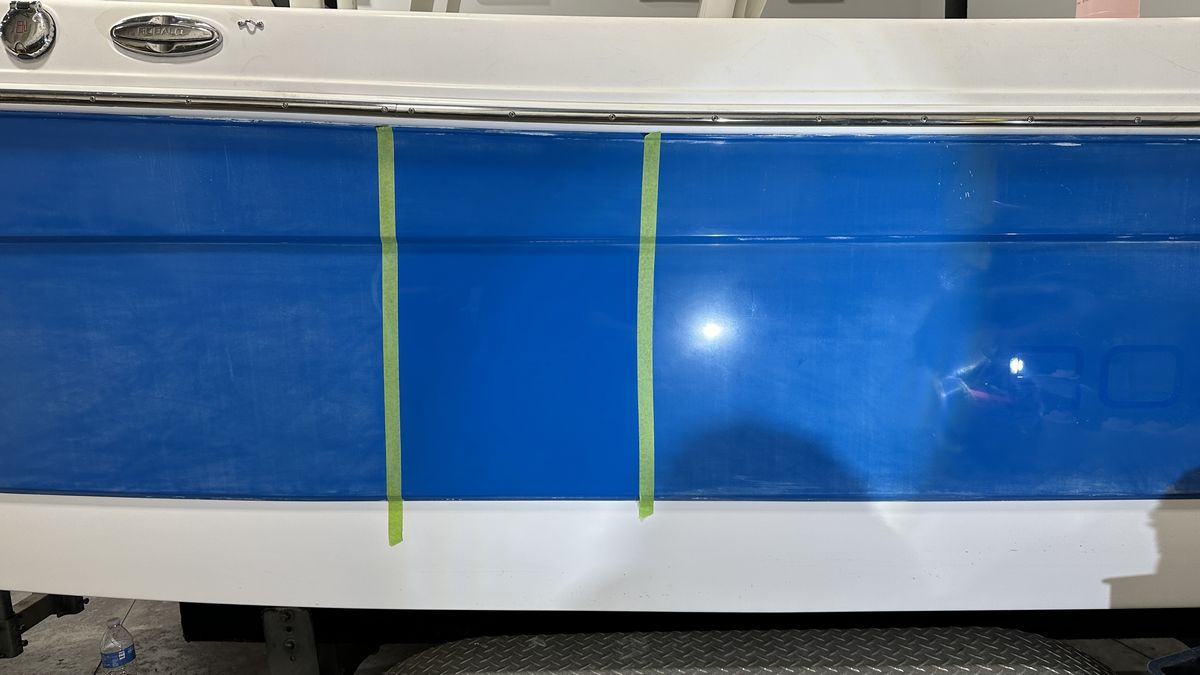
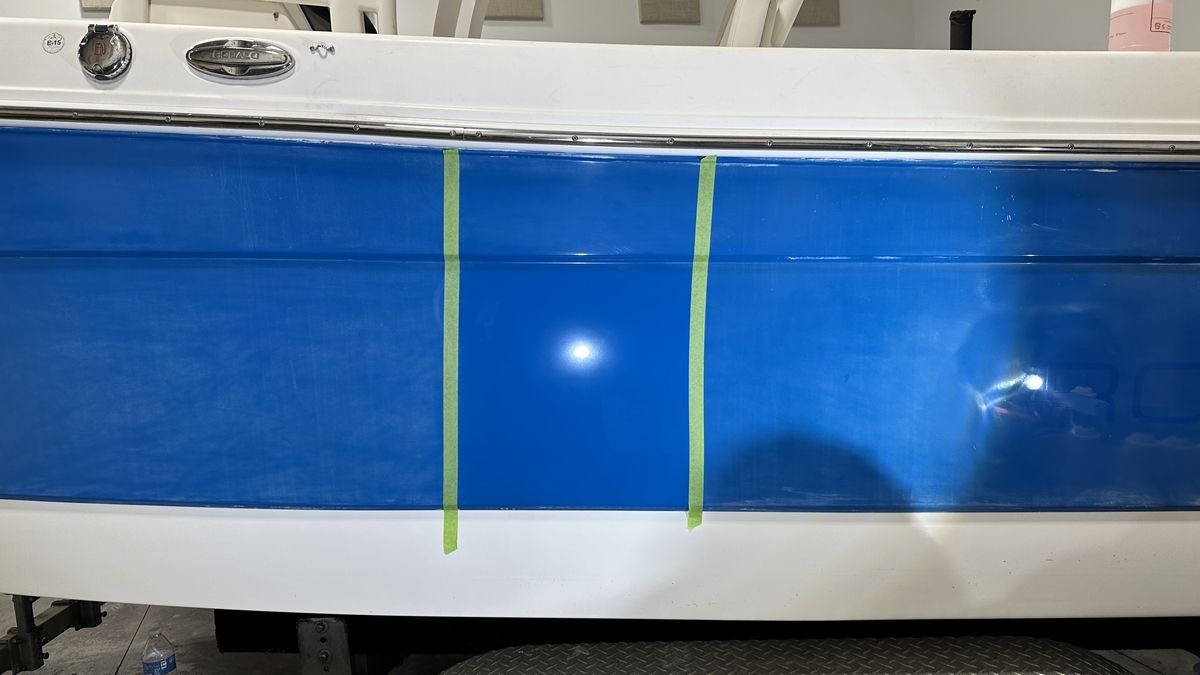
Machine Wet Sanding using 8mm Gear-Driven Orbital Polishers
This is the fastest way to sand down deep oxidation.
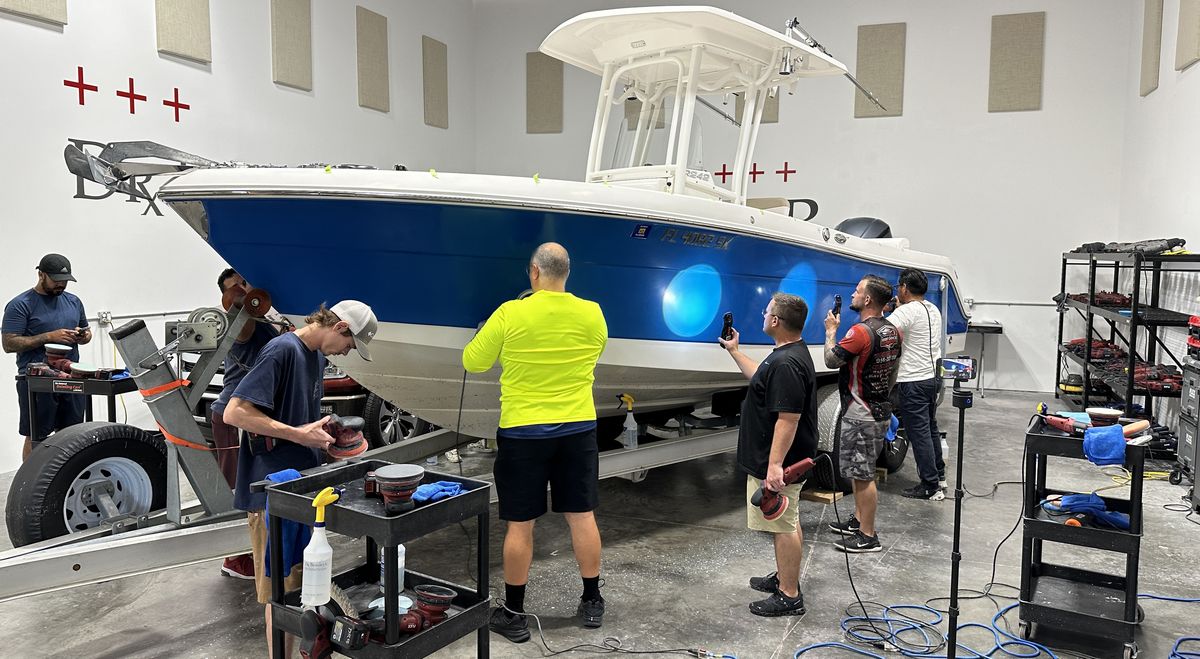
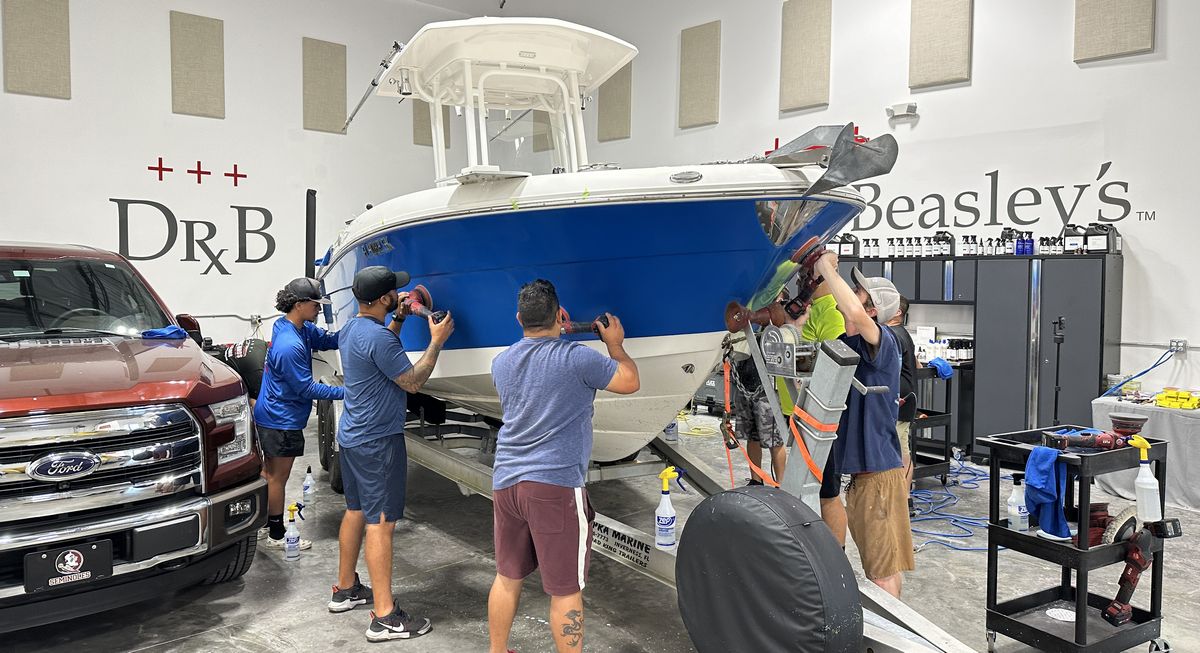
Wool pads on rotary polishers
This is the third day the class is training with rotary polishers and wool pads to remove sanding marks the fastest and most efficient way possible.
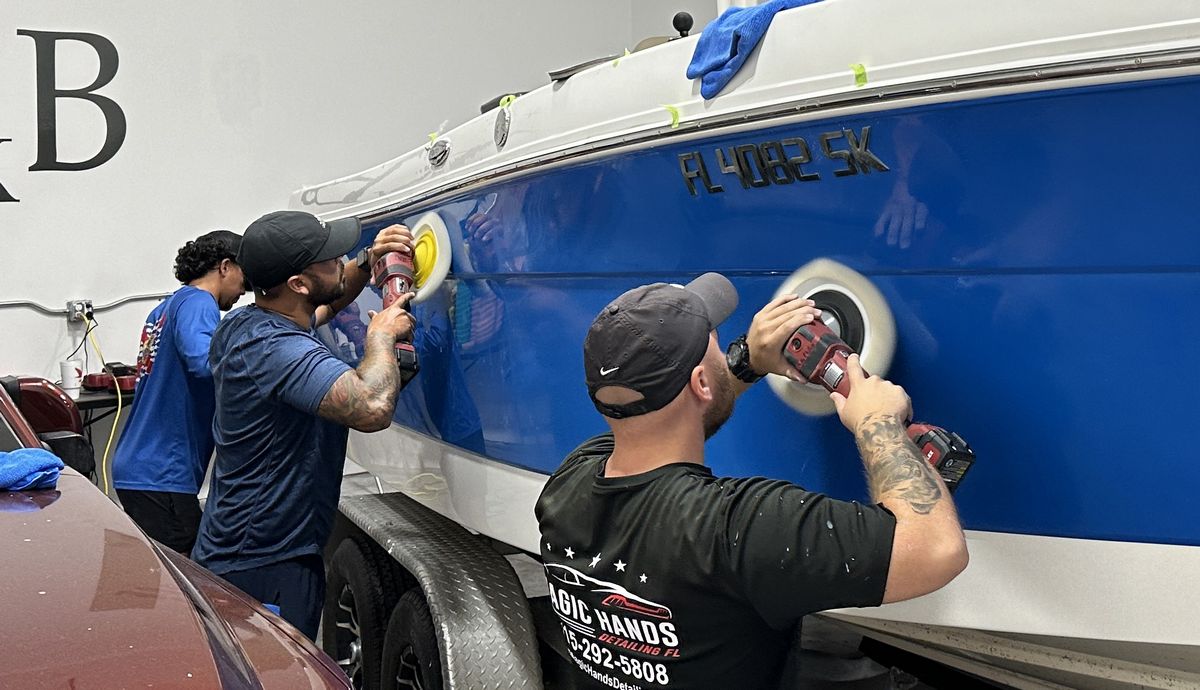
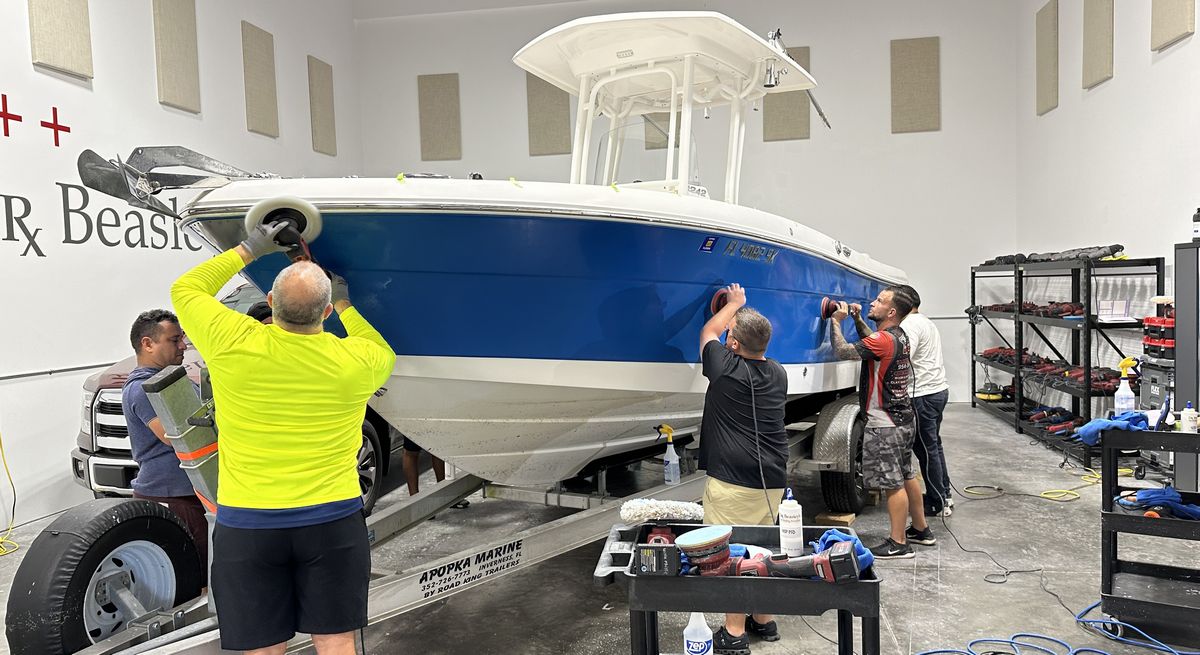
Foam Cutting Pads on Orbital Polishers
AFter the rotary step, it’s time to remove any holograms from the FIBERS of the wool pads and restore a deep, rich color to the freshly sanded and cut gelcoat.
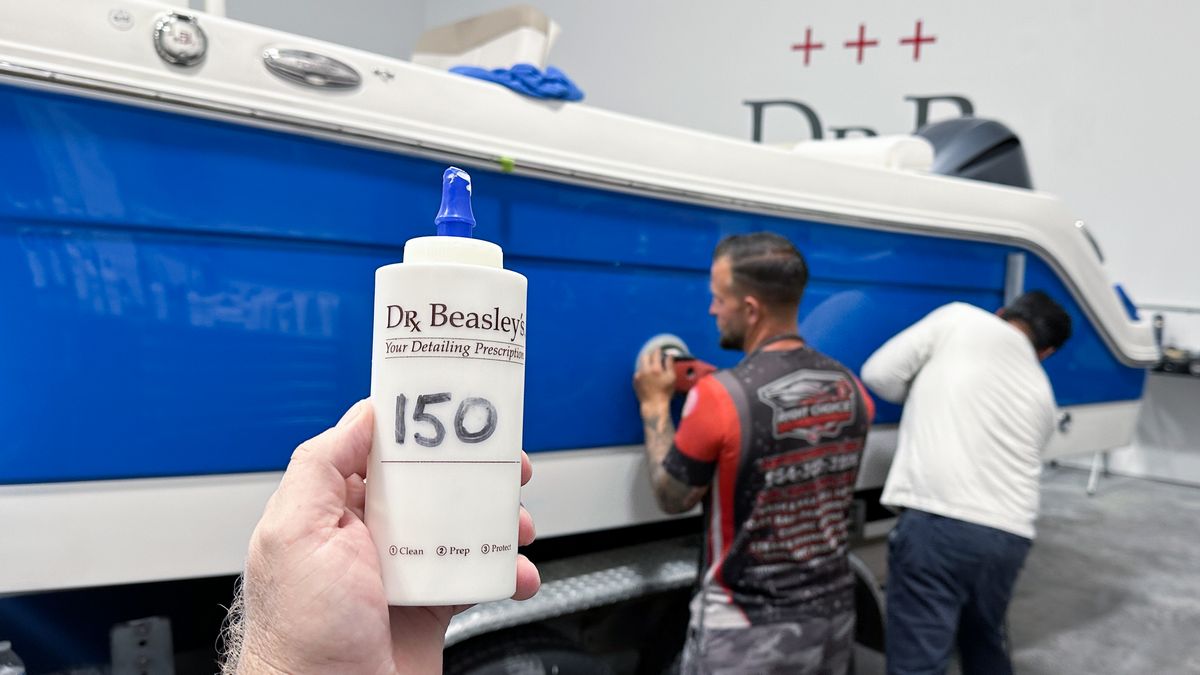
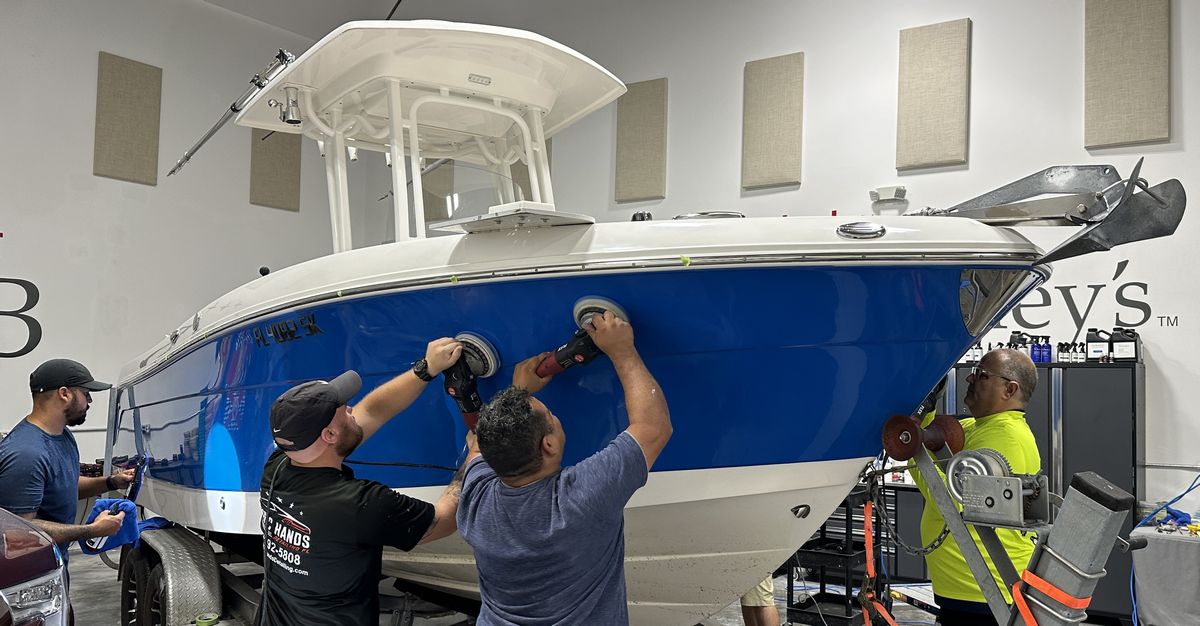
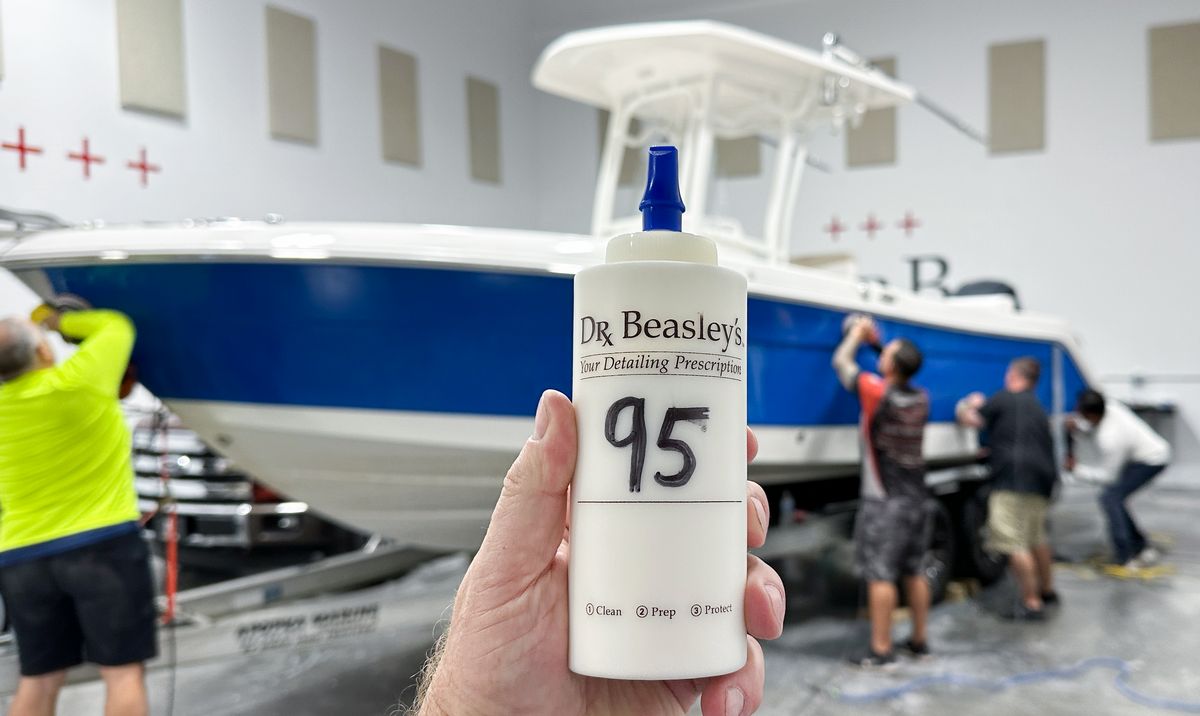
Show Car Polishing for a Boat
Next the class refines the results even more by re-polishing using the Dr. Beasley’s NSP 95 Primer. Most the time, this extra step is simply not performed. The gelcoat looked GREAT after the first polishing step. However, I like to teach the MOST things you can do and then let each student decide how far to go when they return to their world.
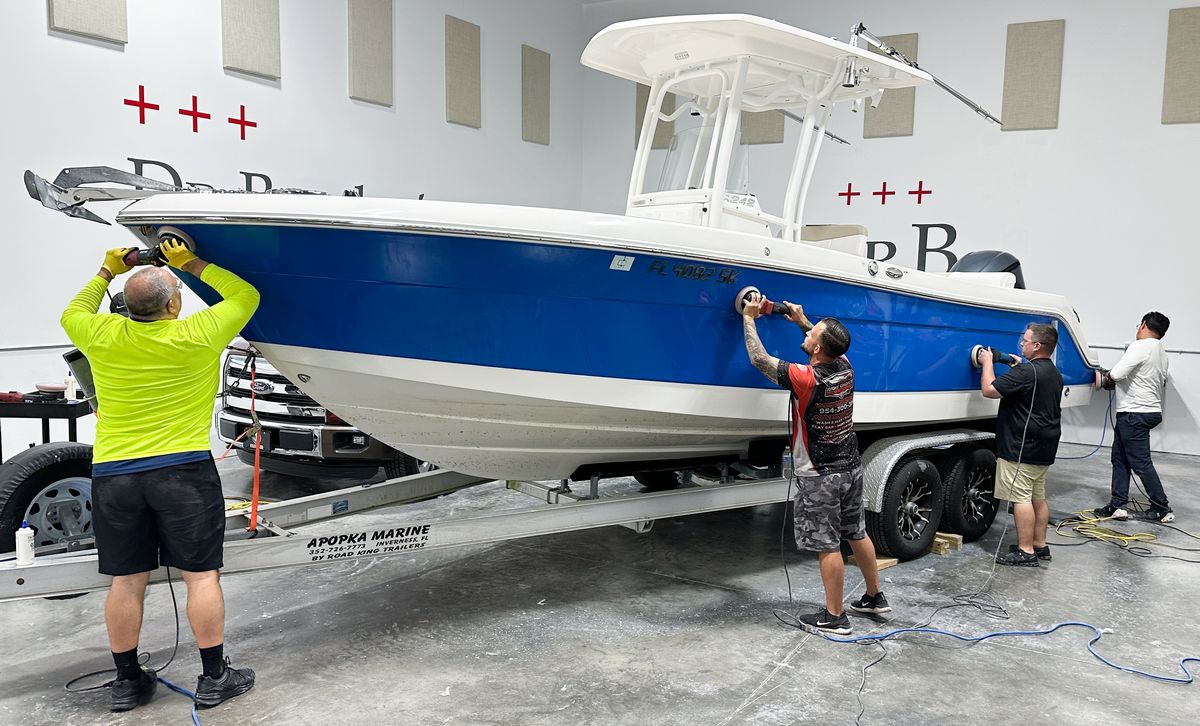
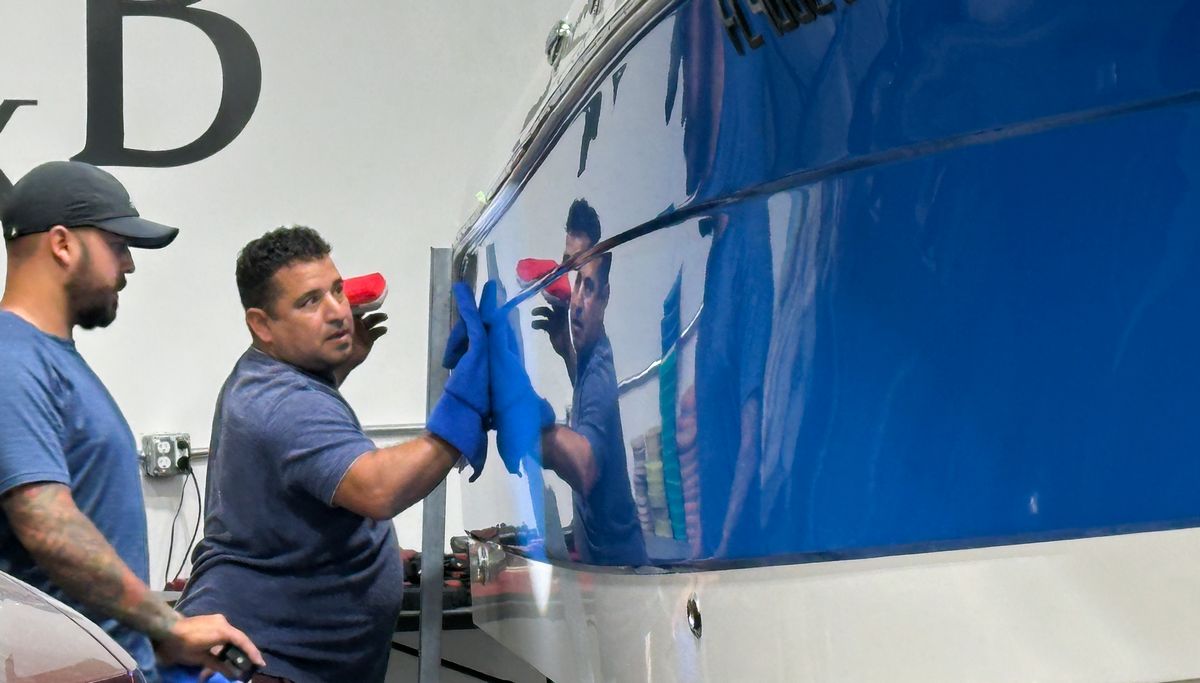
Note the reflectivity in the gelcoat as compared to how the gelcoat looked when the boat first arrived.
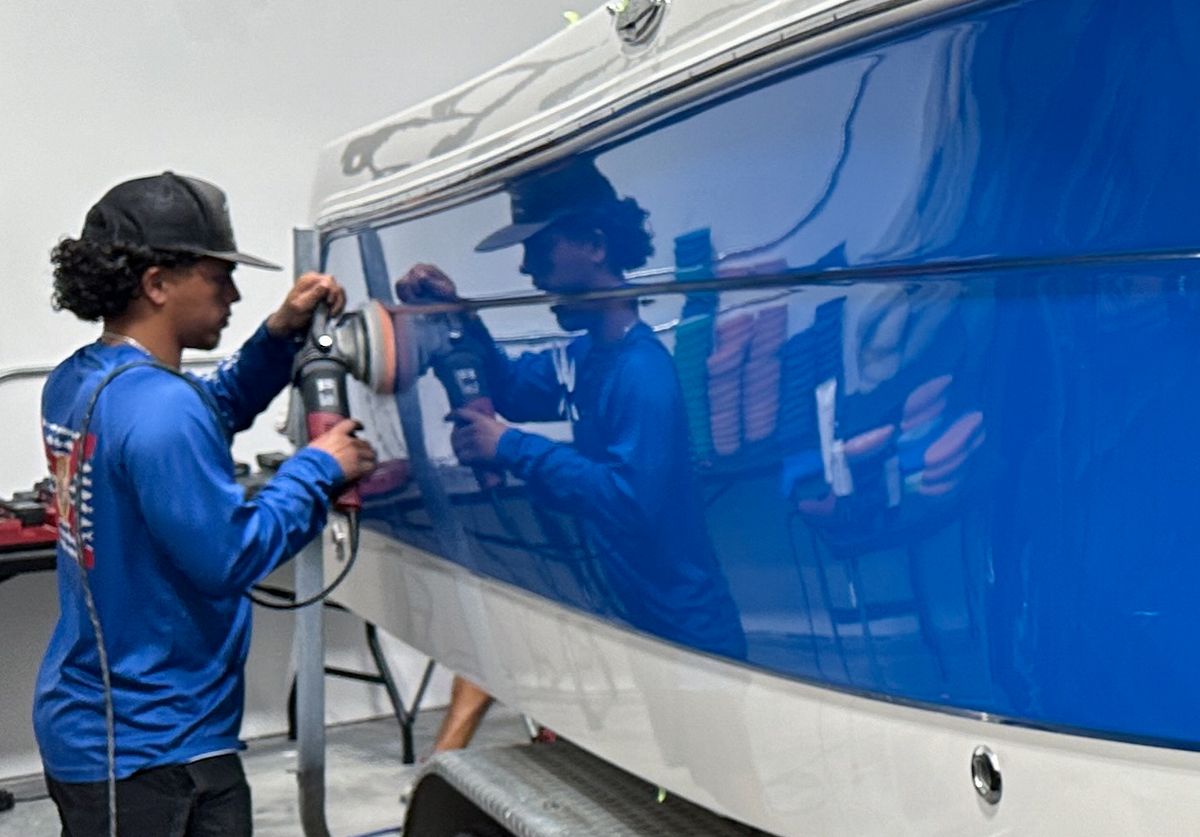
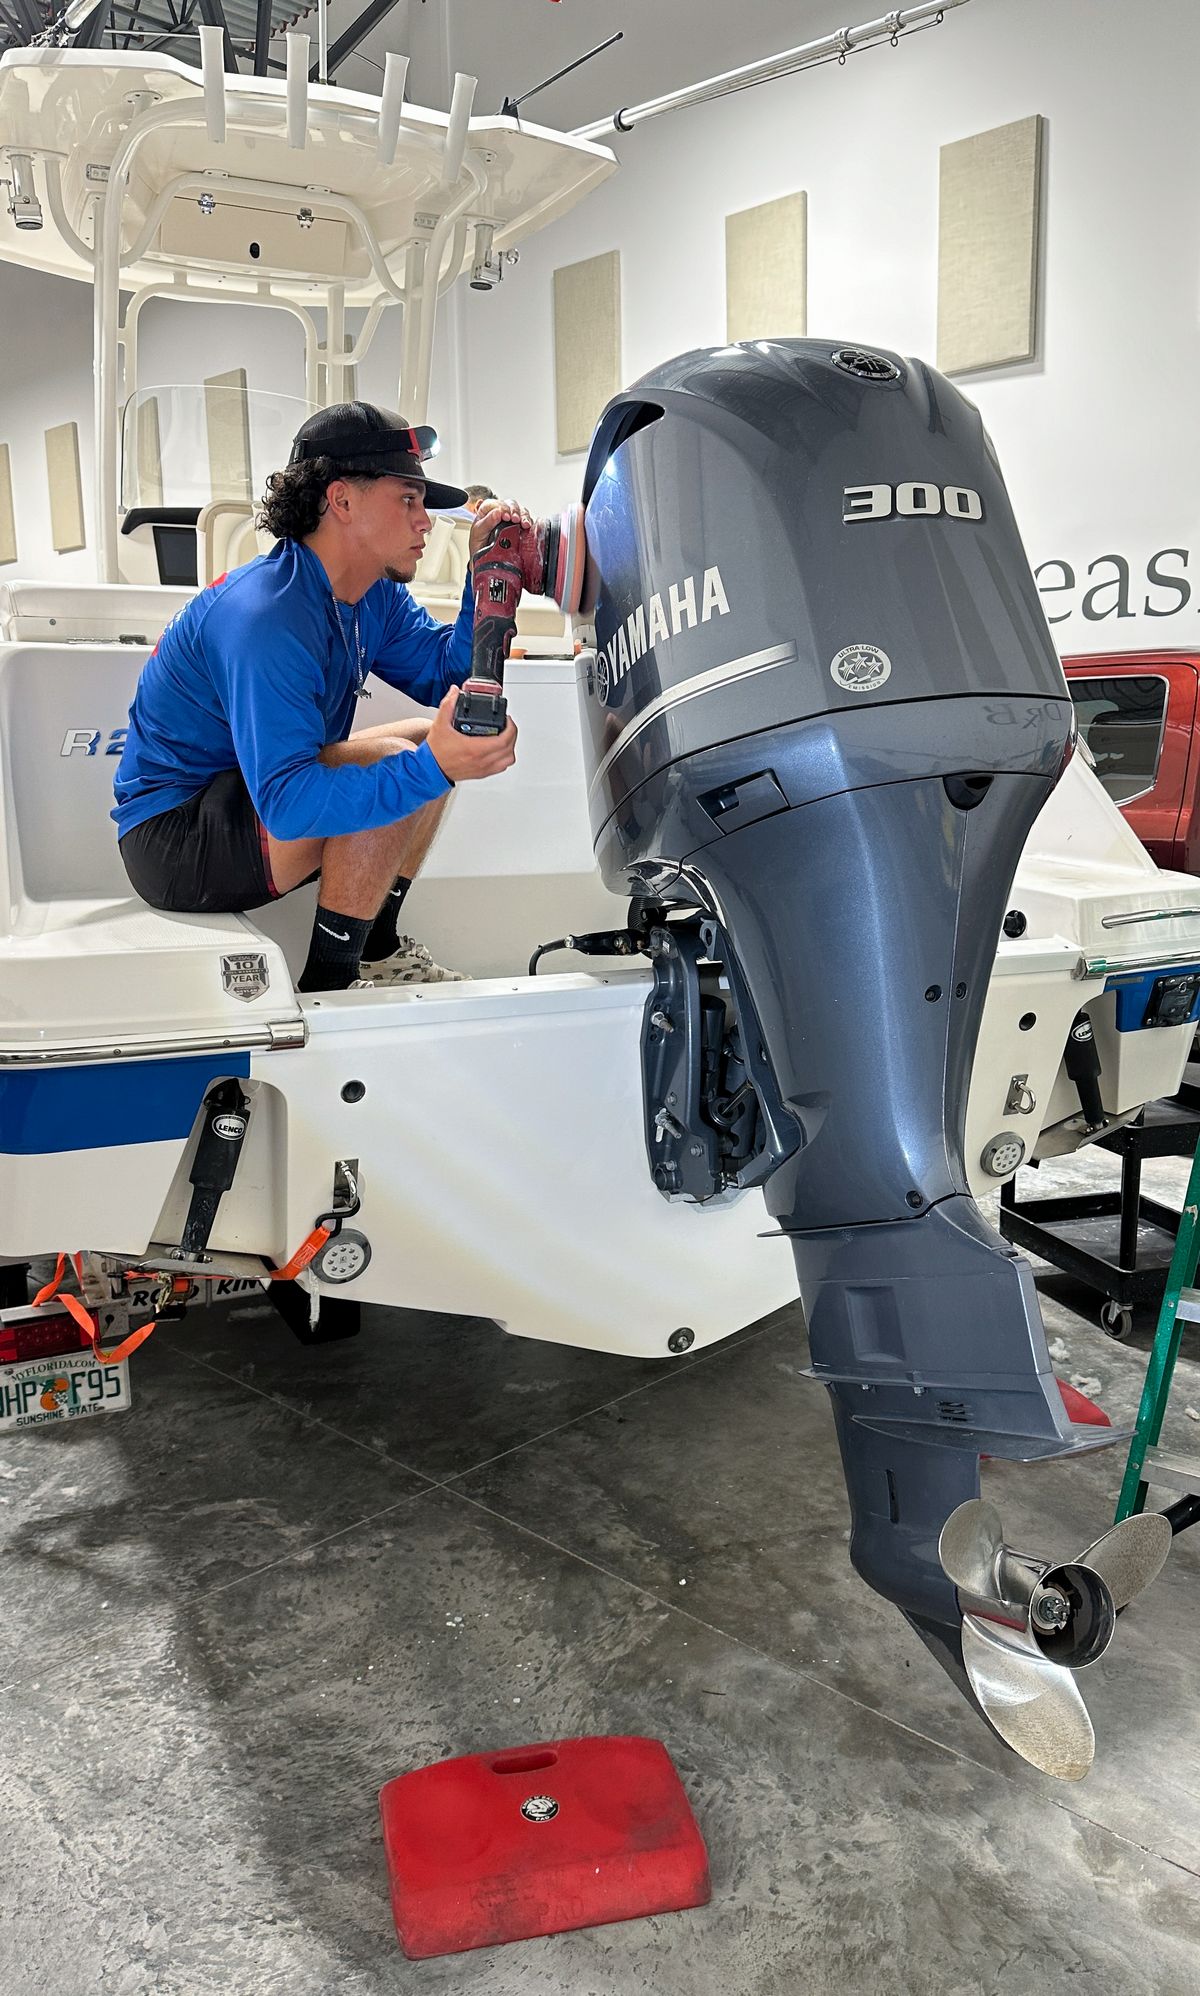
Motor too!
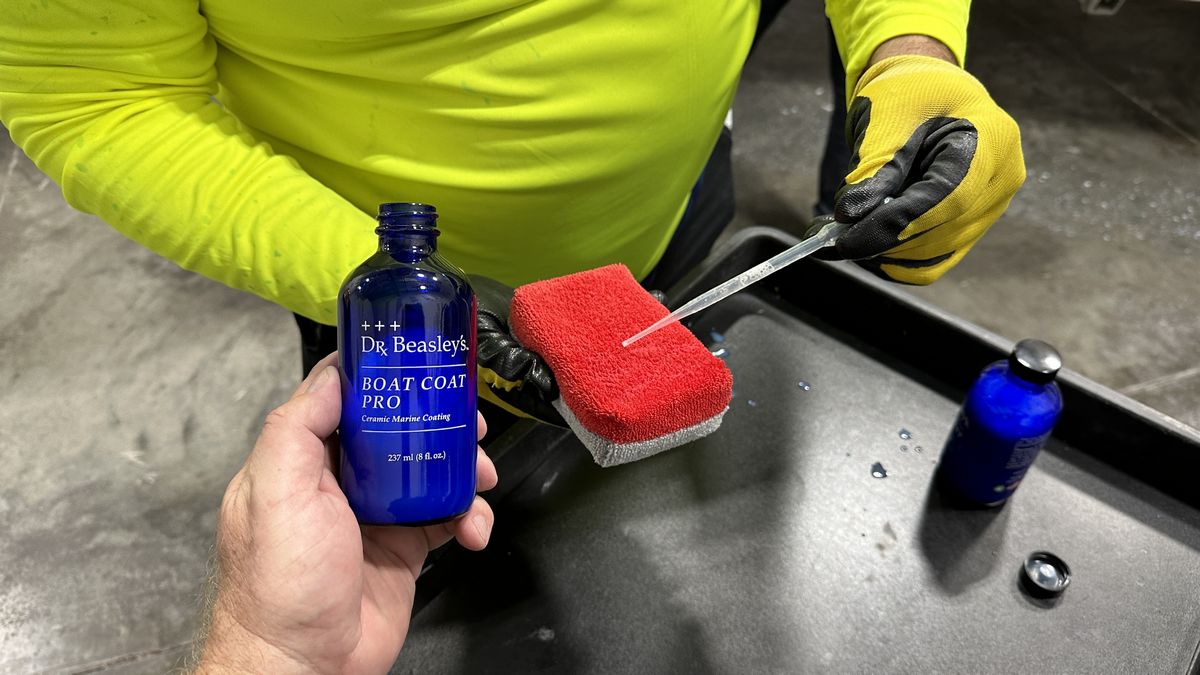
Installing the Boat Coat Pro Gelcoat Ceramic Coating
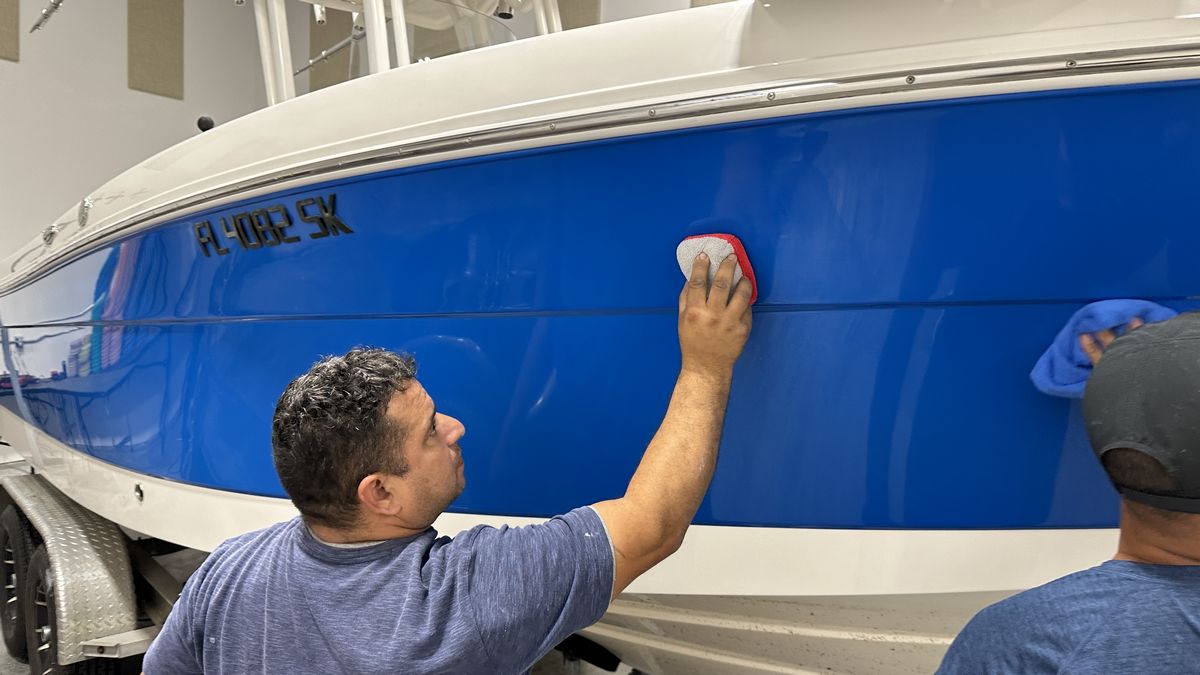
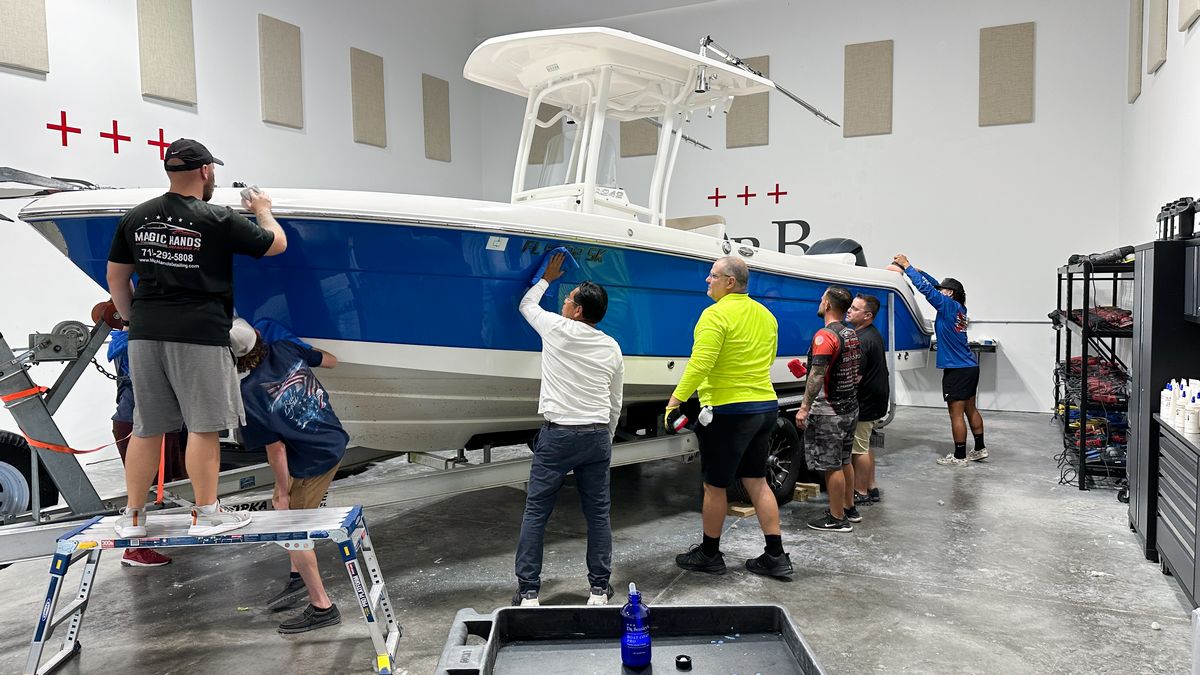
Now look at the reflections!
Here’s the final results!
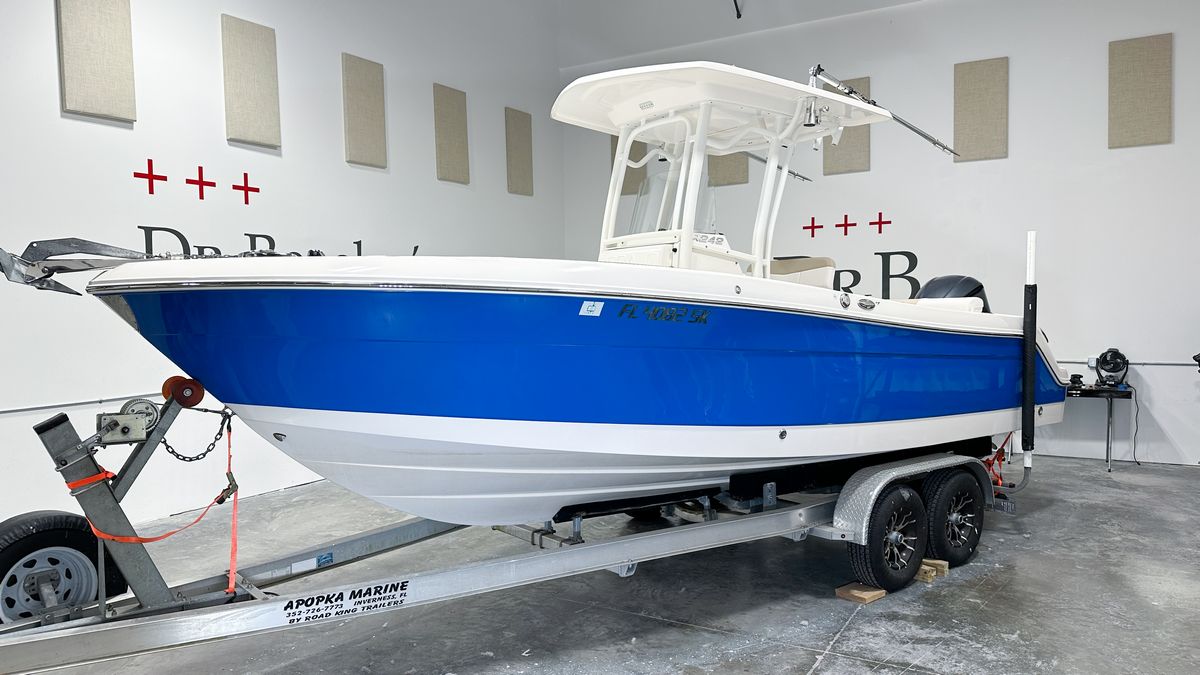
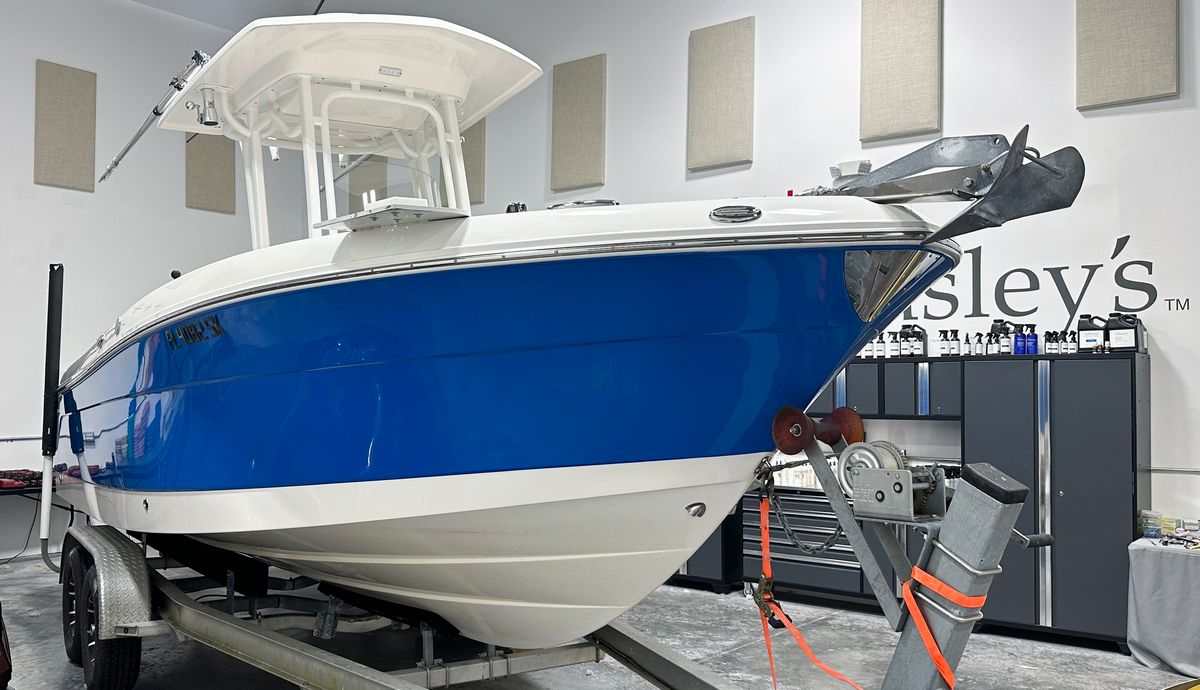
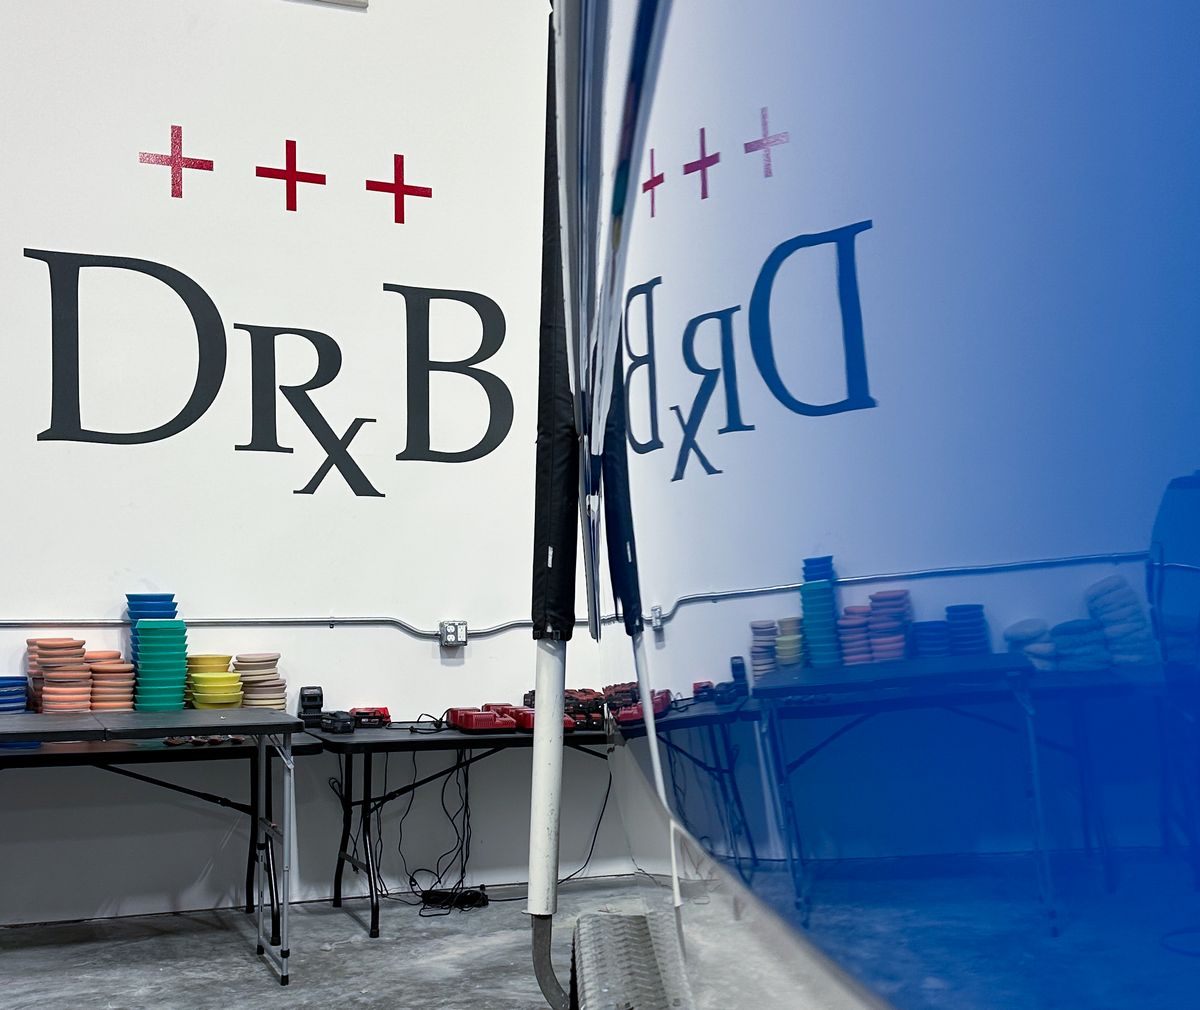
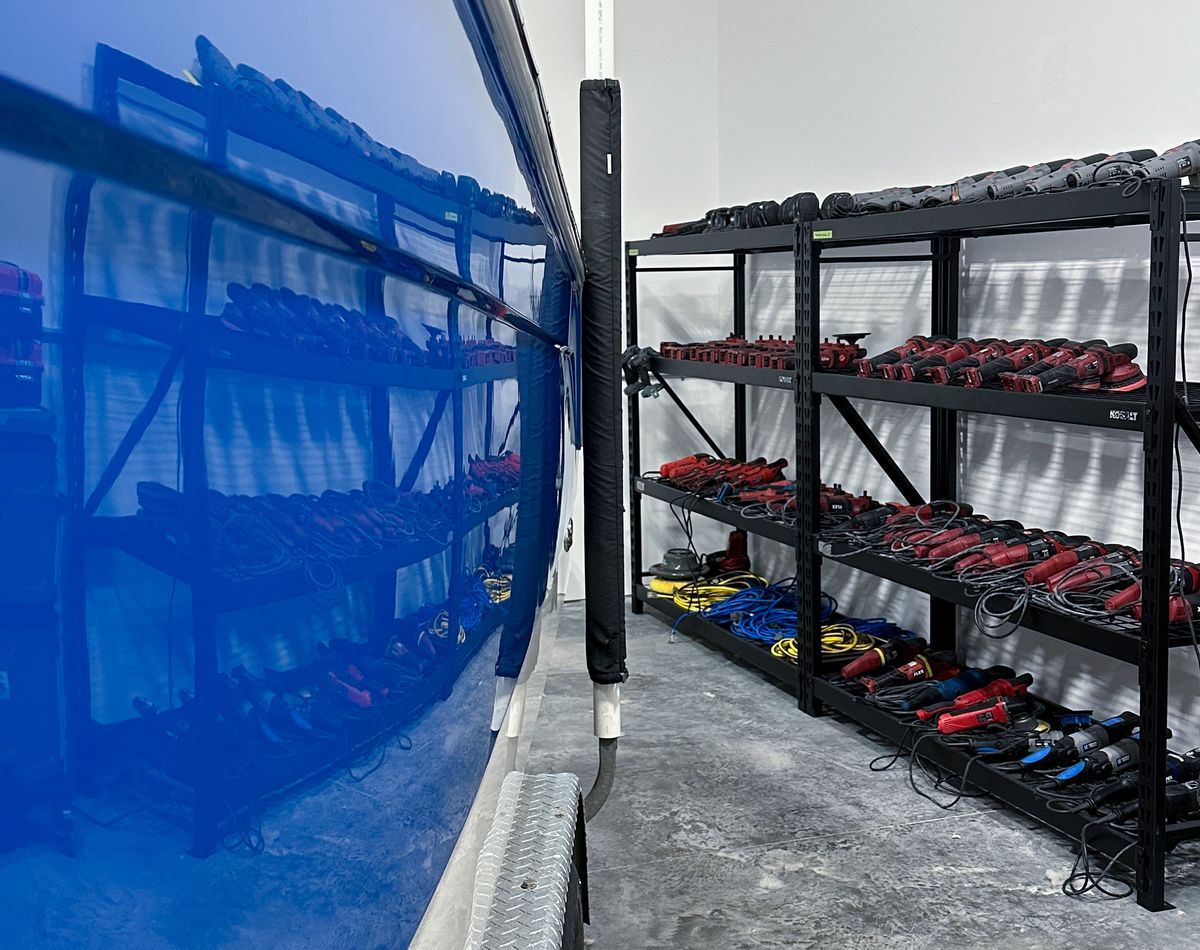
Light em up!
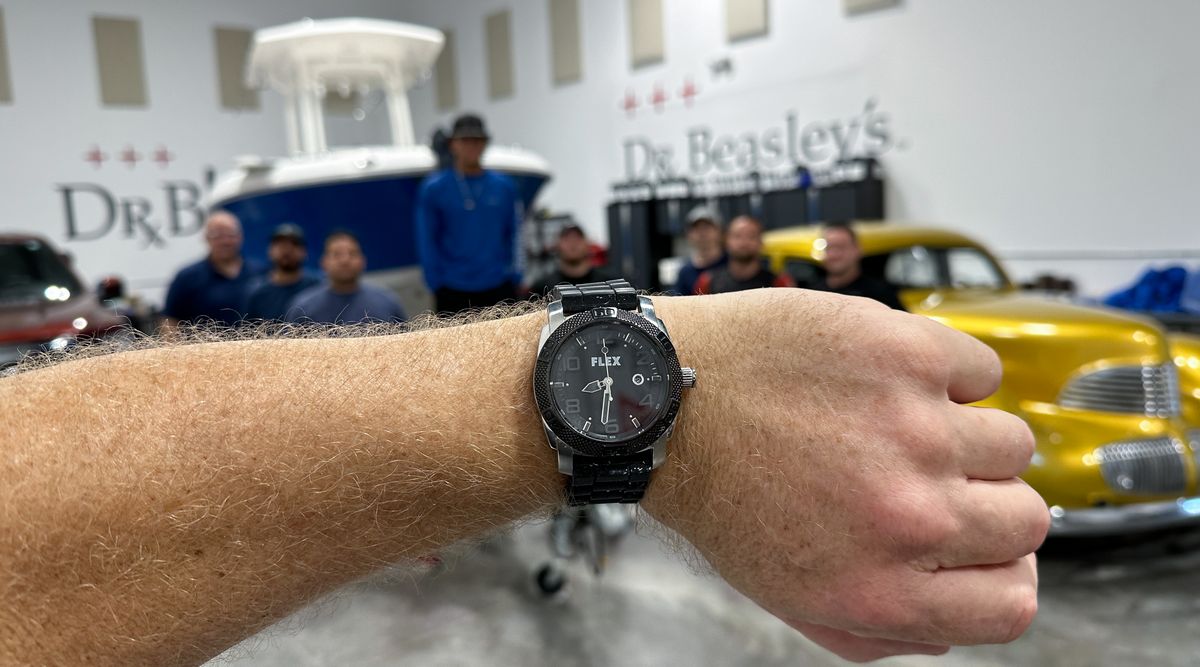
How about 7 fully charged Swirl Finder Lights to really light up the side of the hull to show a true show-boat finish!
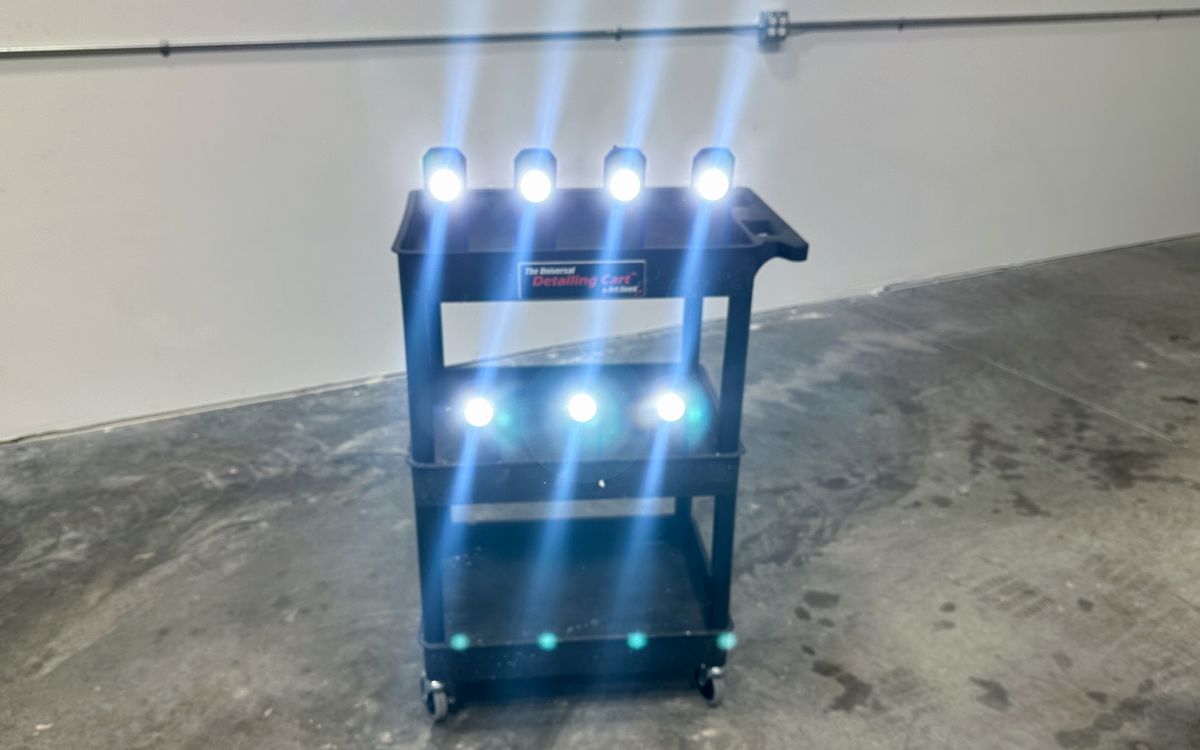
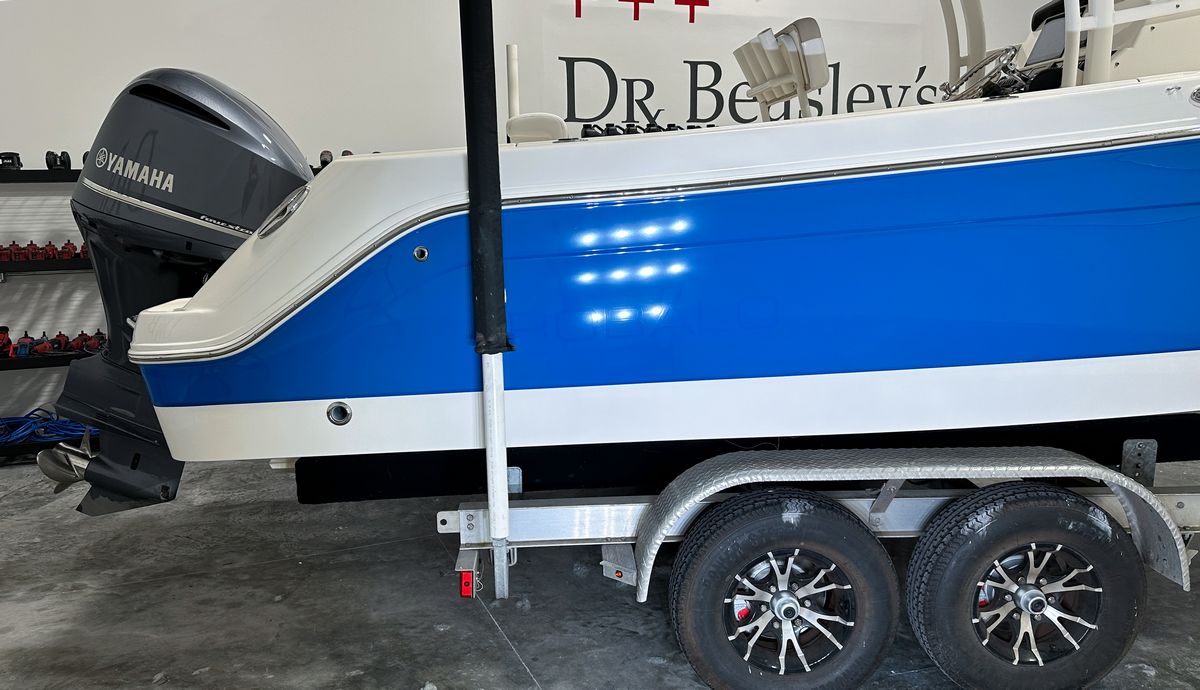
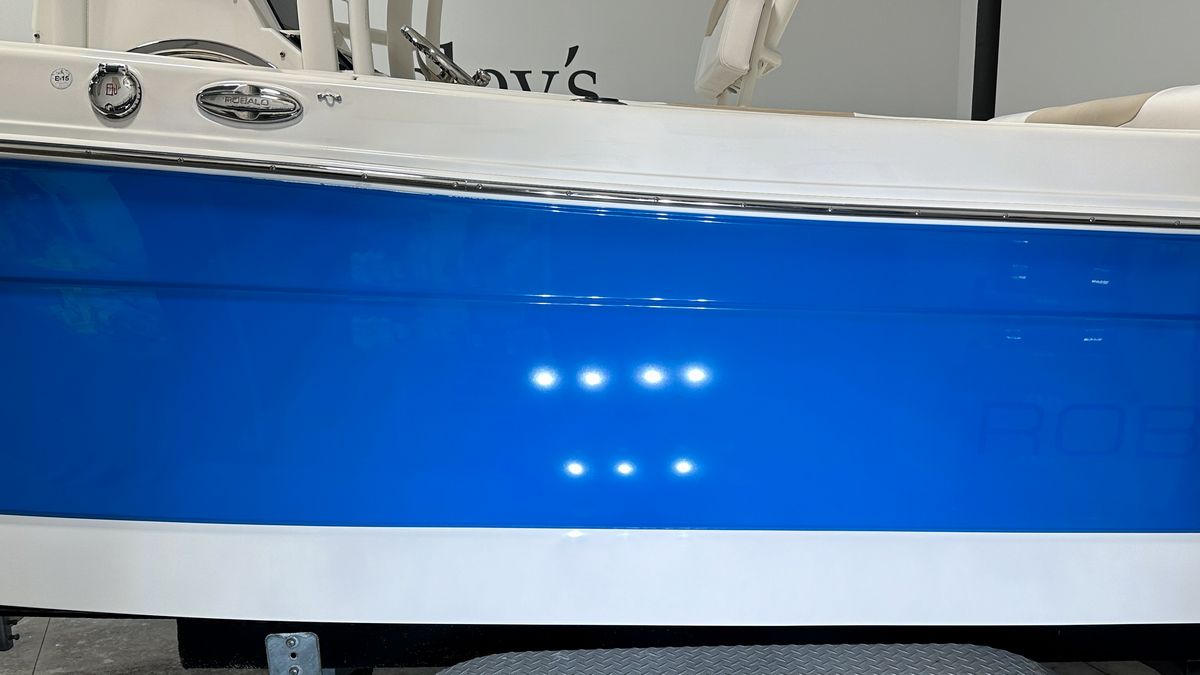
Emblem Ghosting
Remember the ghosting appearance of the original Robalo emblems on the gelcoat hull after they were removed?
Here’s before on the Starboard side
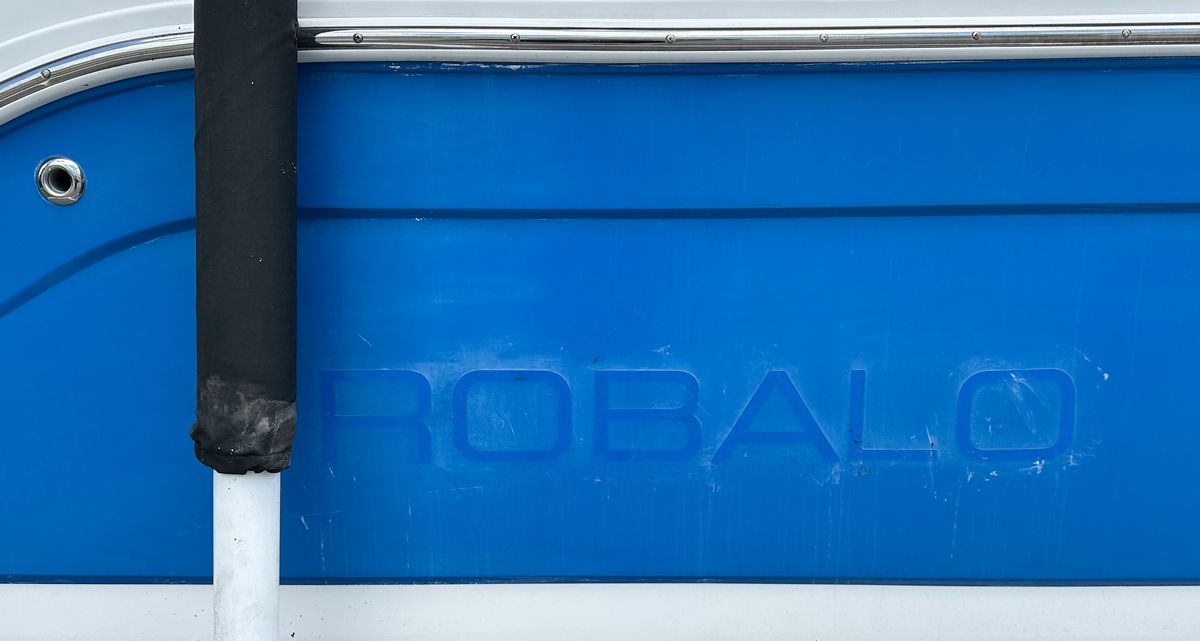
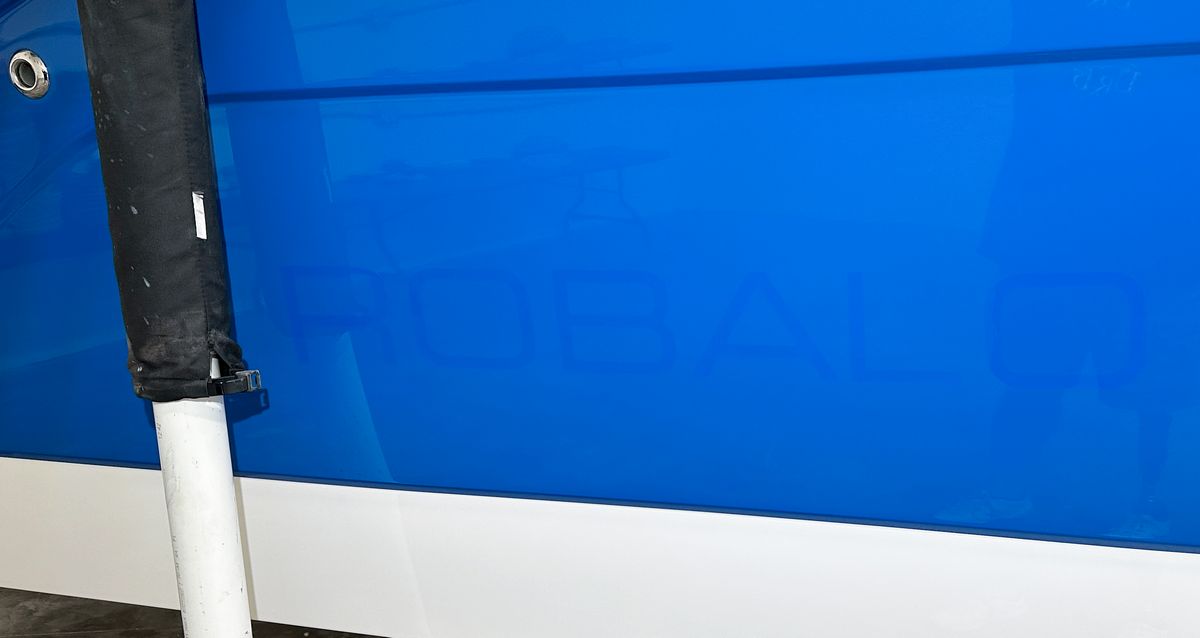
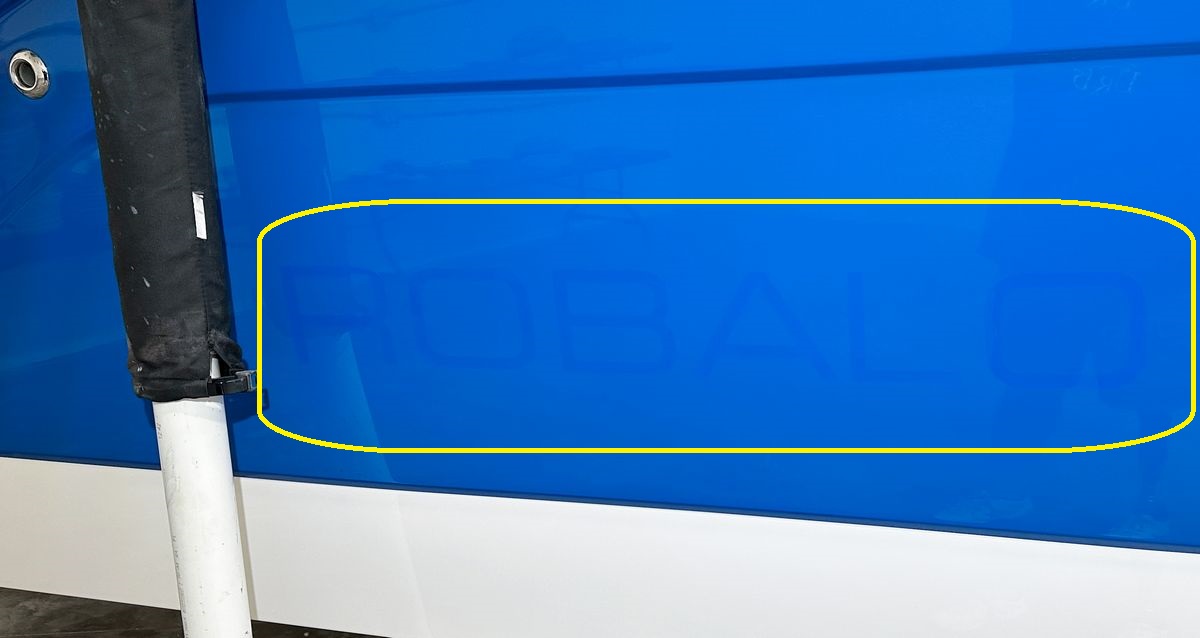
Here’s before on the Port side
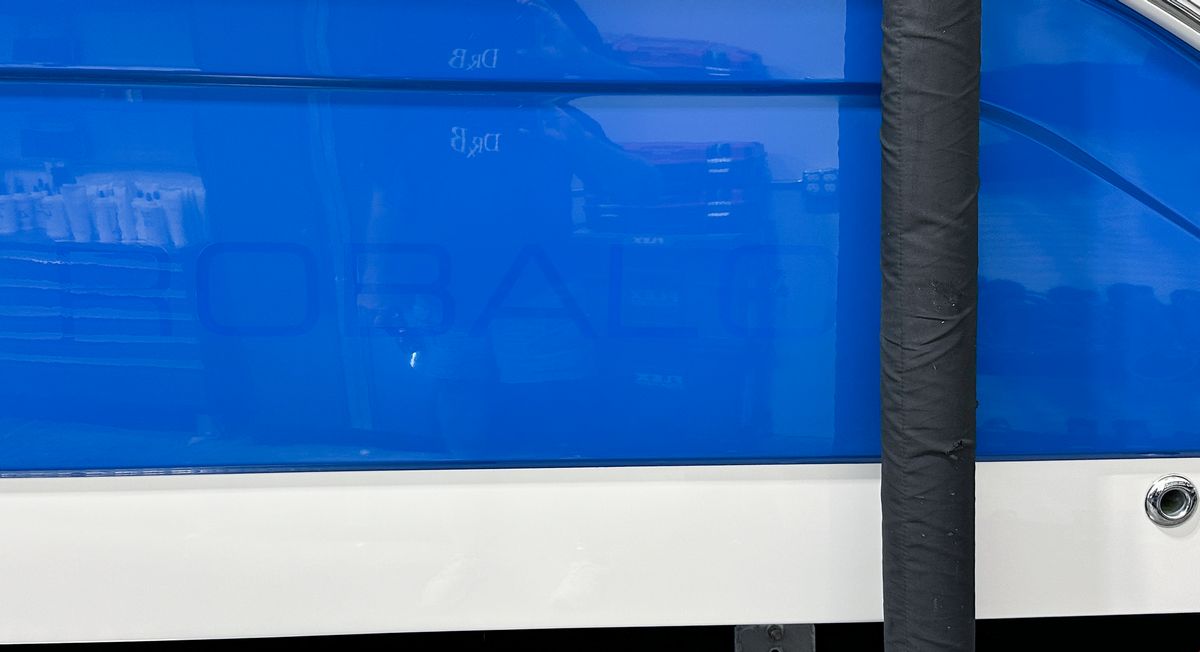
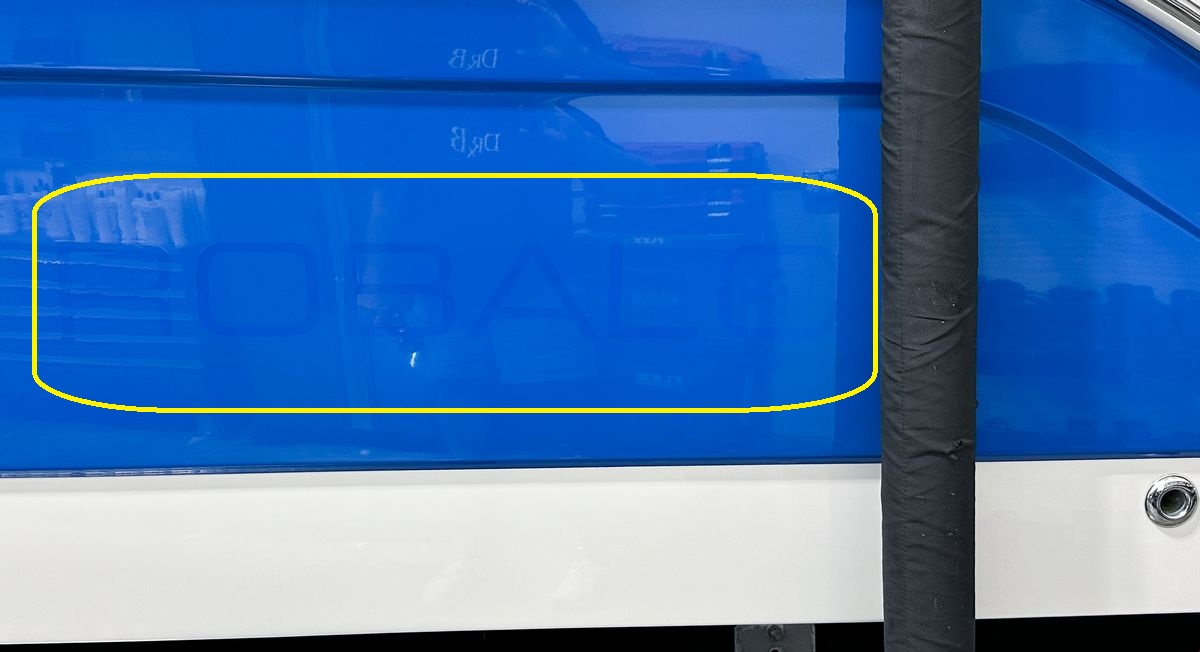
And that wraps the end of this May 3-Day Car & Boat Detailing Class here in Stuart, Florida!
Continued…
Saturday, June 8th, 2024 – 1-Day Paint Correction & Ceramic Coating Class
Saturday Morning Session – Multiple-Step Show Car Detailing – Rotary Polishers – Orbital Polishers – Ceramic Coatings
Like all our classes here in Stuart, Florida, the first tool the class trains with is the rotary polisher. For this training, I bring in really hacked-up cars in dire need of major paint correction. For this first morning portion of the class we have a Hudson Streetrod and a classic 1978 Camaro.
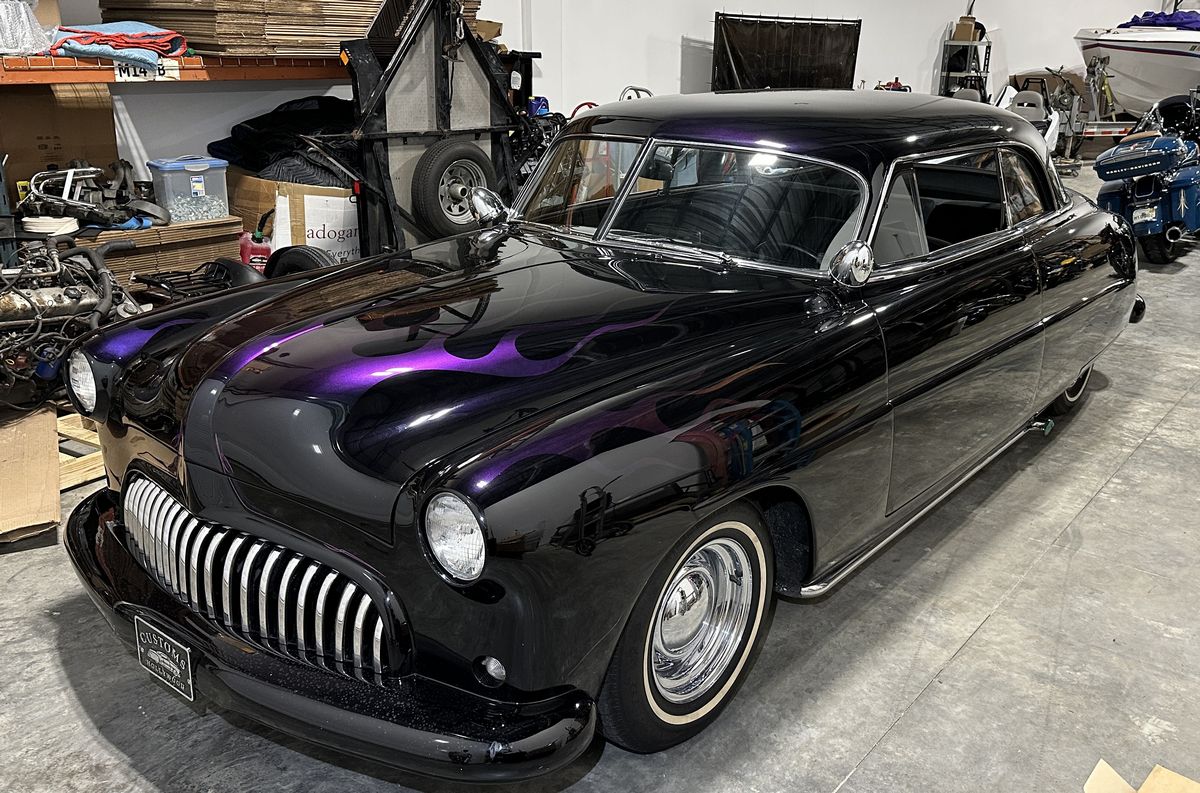
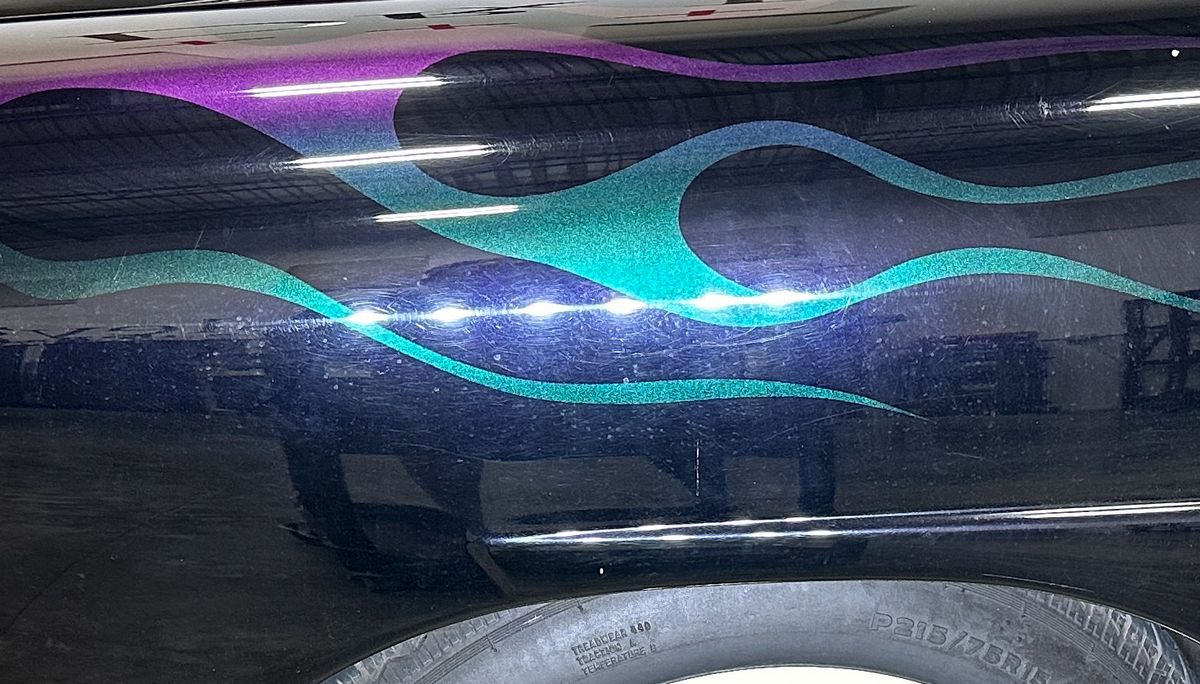
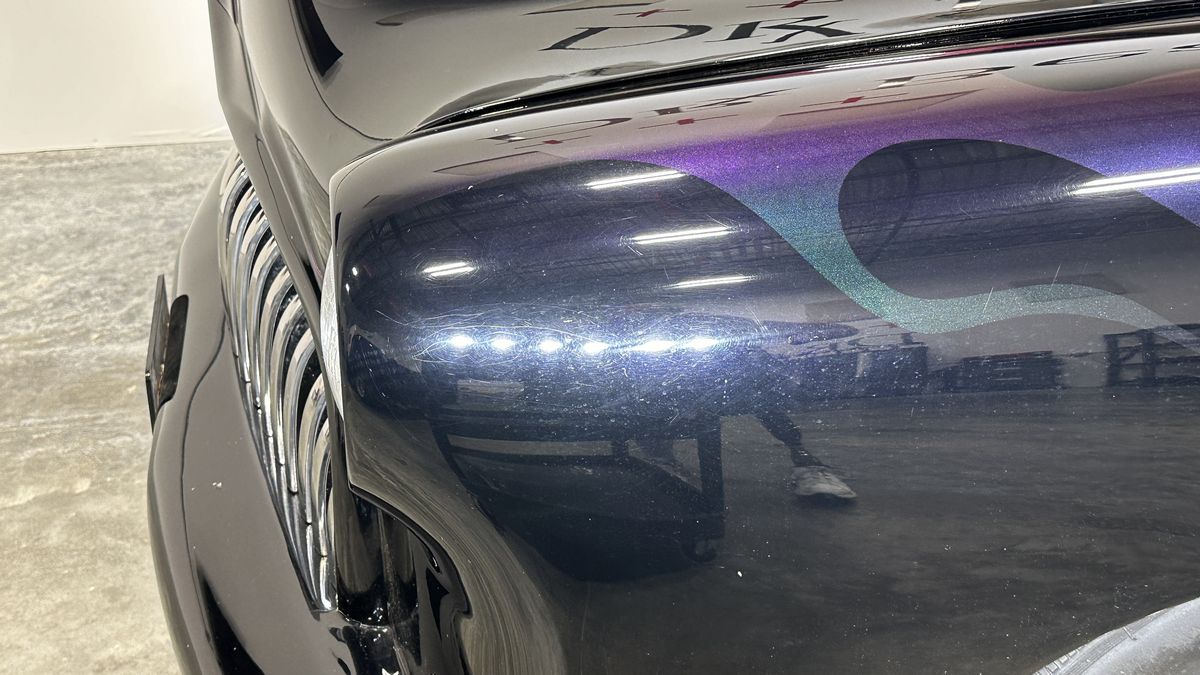
1952 Hudson Hollywood Streetrod
This custom lead sled has a custom chameleon color-changing flame job, and she looks like she’s been used as a Hockey Puck!
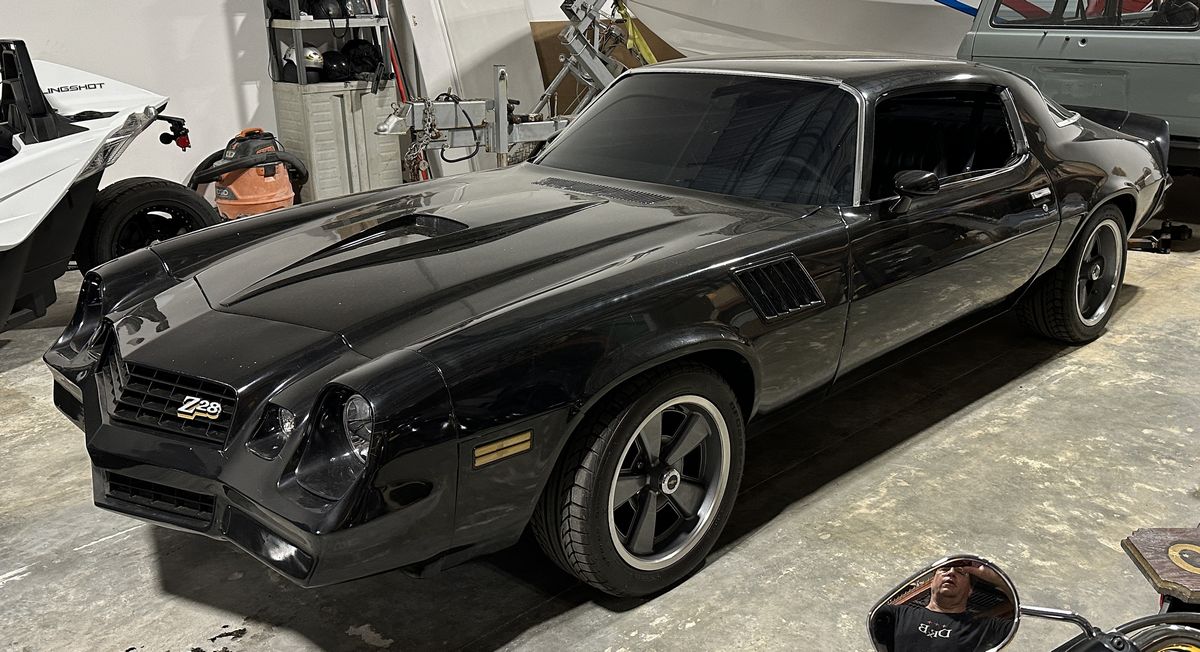
1978 Camaro Z28
This has a modern basecoat/clearcoat paint job and not only is she filthy dirty and she’s also covered in HOLOGRAM scratches! In this class, you will learn how to fix this STARTING with a rotary polisher but finishing with an orbital polisher for a swirl-free, hologram-free show car finish.
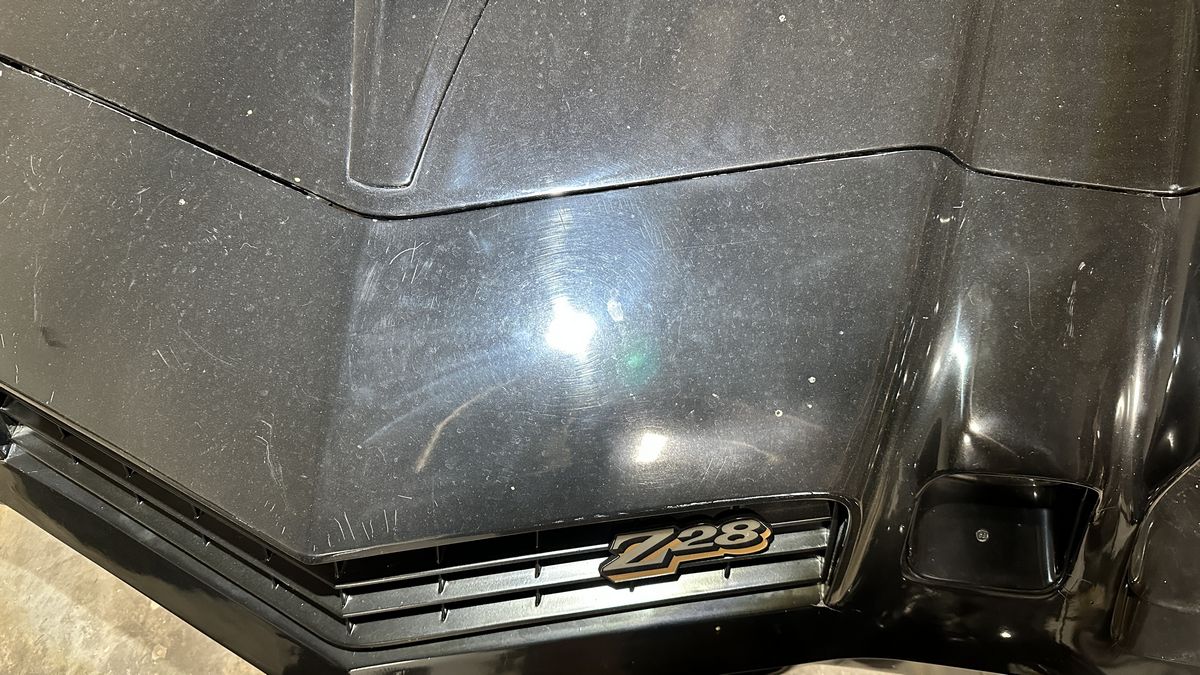
It’s Go Time!
After a waterless wash and mechanical decontamination, we did a Test Spot on each car to dial-in our process and then I turned the class loose!
Here’s the class using rotary polishes with wool cutting pads to remove all the defects.


Next the class uses foam pads on orbital polishes to remove any holograms and maximize gloss and clarity.


The last step is to install the Dr. Beasley’s Nano-Resin MX Ceramic Coating


Here’s the final results!


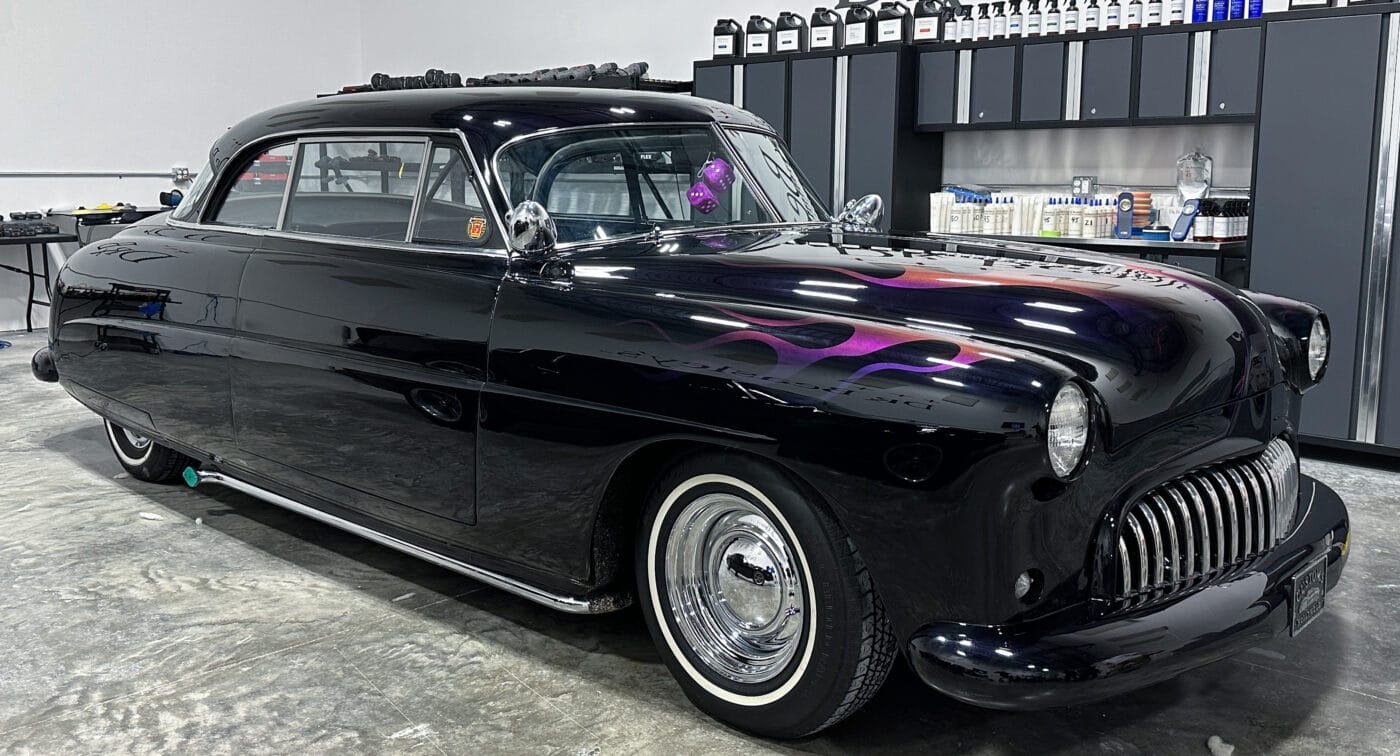


And here’s the team that made the magic happen!

Continued…
Saturday Afternoon Session – One-Step Paint Correction and Ceramic Coating
Next up, the class is going to learn how to do 1-step paint correction and ceramic coating on the 1936 Ford Pickup Streetrod. In the professional detailing world, this would be your mid-range package. It will consist of washing, claying followed by doing a 1-step paint correction process followed by installing a ceramic coating. If you’re not a professional, this would be the package or approach you would use for your car if the paint was in decent shape to start with. For this type of package or approach, you want to dial-in your process by doing a Test Spot. The goal is to achieve maximum paint correction using only a single product. For this we tested NSP 150 and NSP 95. We found we could create customer pleasing results using the NSP 95 with foam polishing pads and 8mm gear-driven orbital polishers.
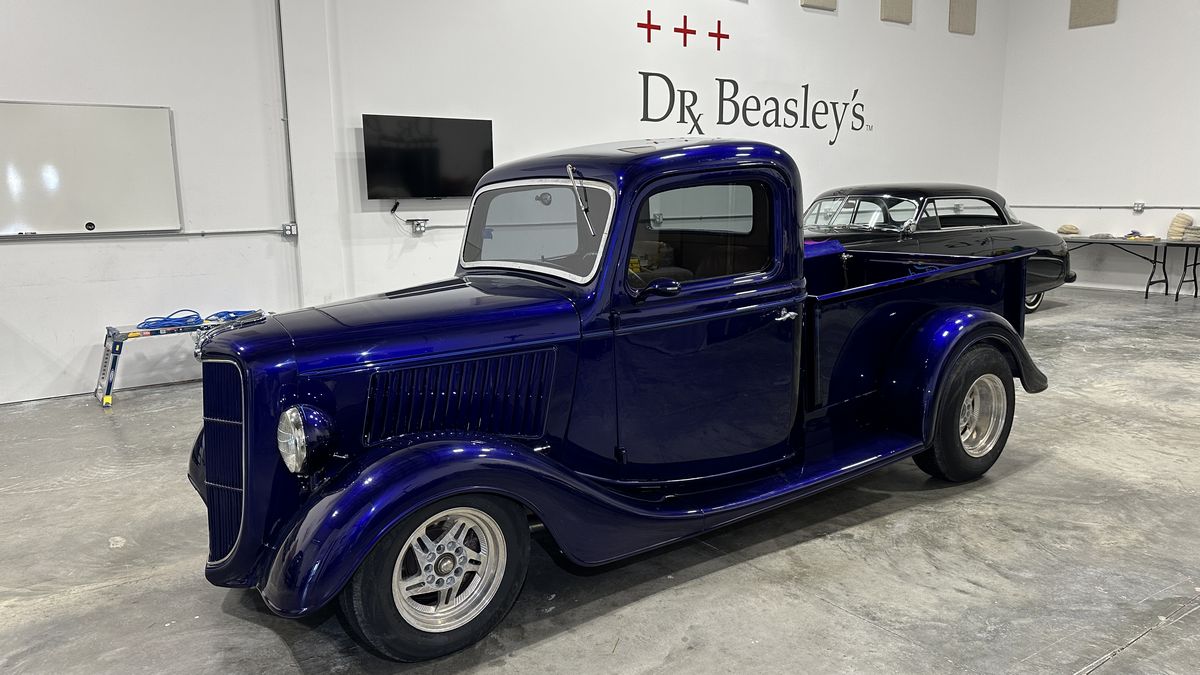
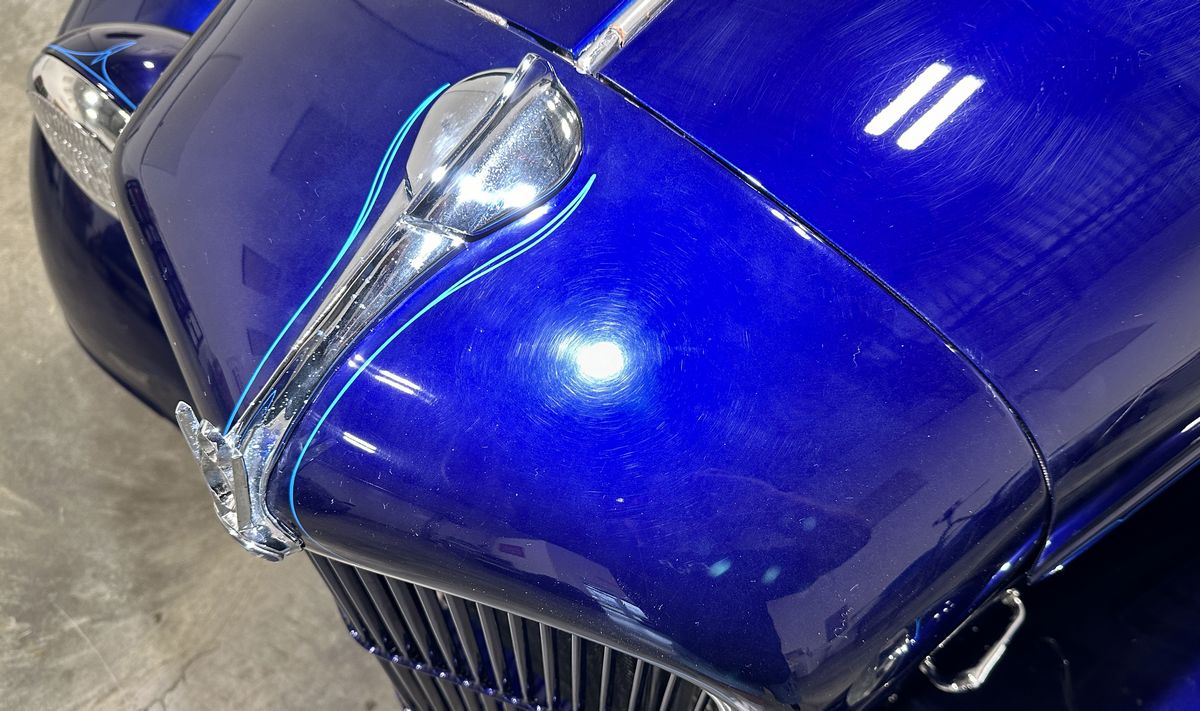
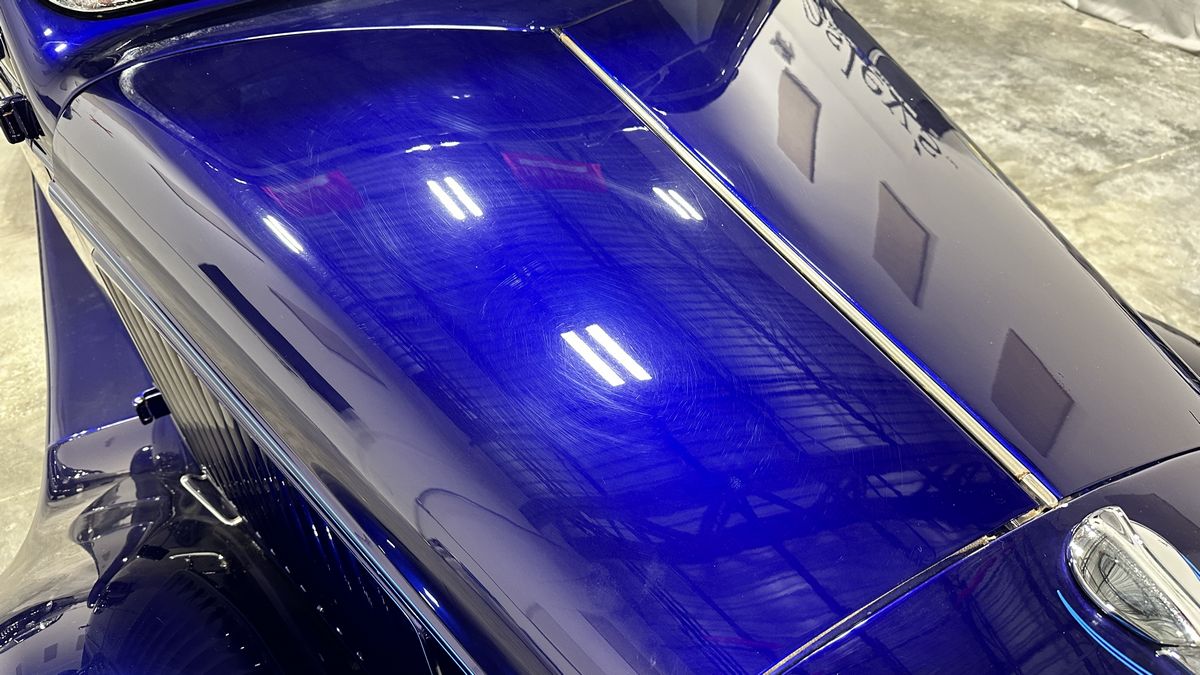
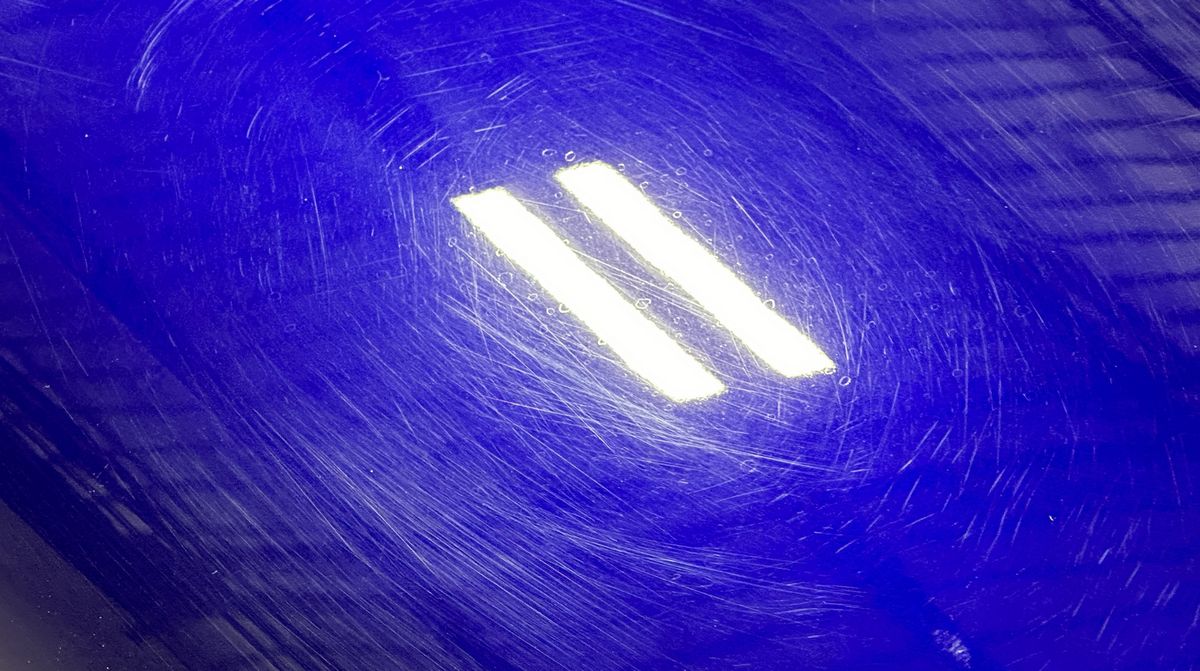
After dialing in or process via a Test Spot, the class gets busy de-swirling the custom paint on this super cool Streetrod!


After the one-step paint correction, next the class installs the ceramic coating.


Final Results!


Here’s the crew and at this point in the day, they’ve already detailed 3 cars!

Continued…
Saturday, Late Afternoon Session – 1-Step Ceramic AIO Paint Correction
Next up, the class will learn how to do an entry level package or approach. The paint on this 1948 Ford Coupe Streetrod is in decent shape.


Here’s the final results!


And here’s the team that made the magic happen!
It’s a tick hard to see, but the clock on the back wall reads 5:07pm – these guys are going to sleep great tonight! And more important, they learned a TON of new techniques that will help them the rest of their lives.

4 training cars in 1 day!

You can see all the before and after pictures plus lots of ACTION shots, which are how-to pictures for car detailing.
185 Pictures – What you get to do at our classes! No chairs. No sitting. Just training on cool cars!
Continued
September 2024 3-Day Car & Boat Detailing Class in Stuart, Florida
This was the last 3-day class that included both car and boat detailing. Moving forward, the car and boat detailing classes will be SEPARATE classes. The Extreme Boat Detailing Classes will take place in MARCH of each year. The car detailing classes will remain the same as they’ve been since 2009, this means, our BIG 2-day Paint Correction, Ceramic Coating, Orange Peel Removal classes will take place,
- February
- May
- September
Click here for the current schedule
Day 1 – Friday Morning Session- Rotary Polishers – Paint Correction Ceramic Coatings
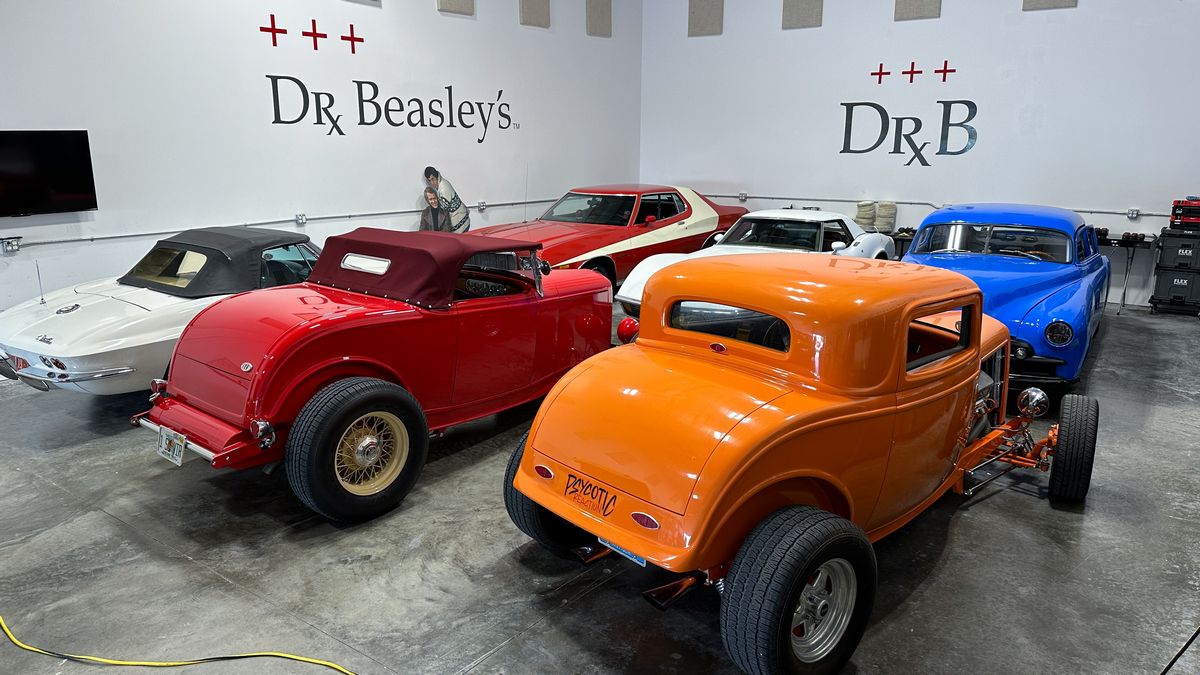
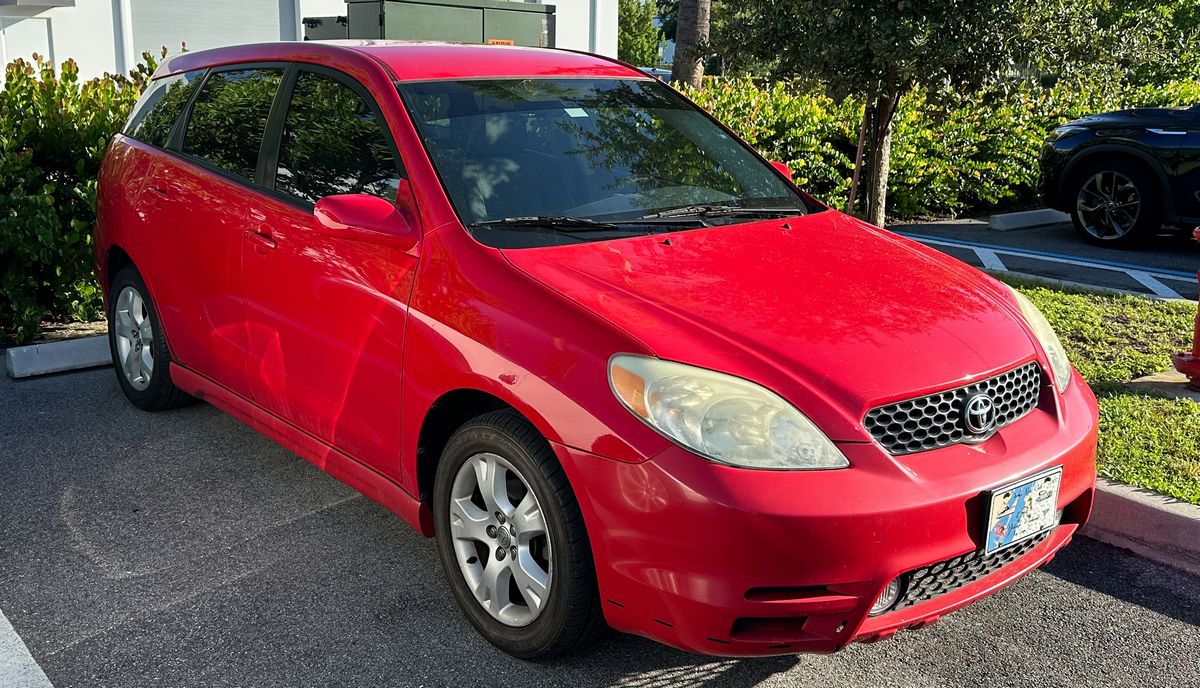
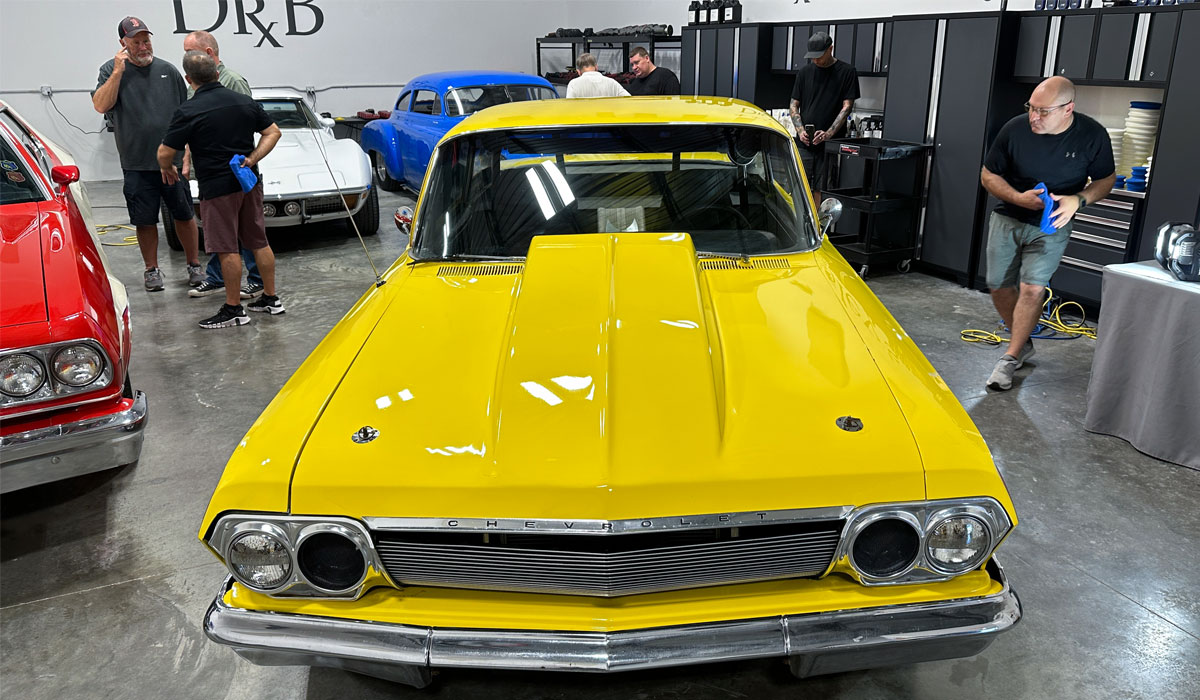
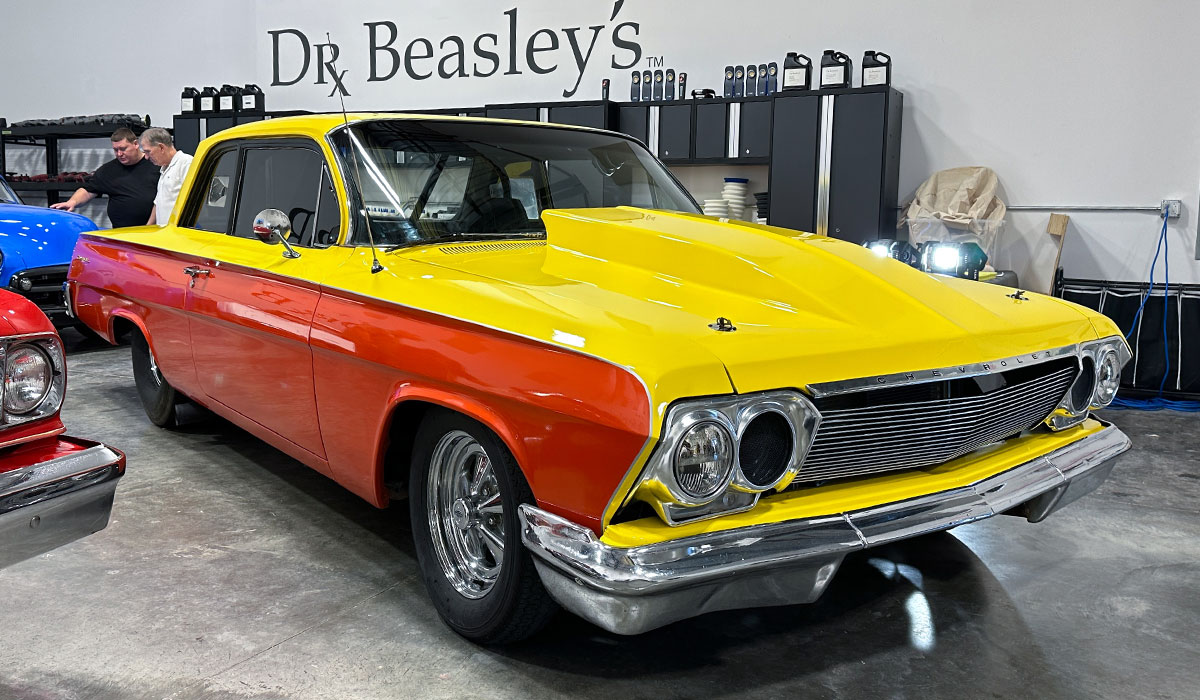
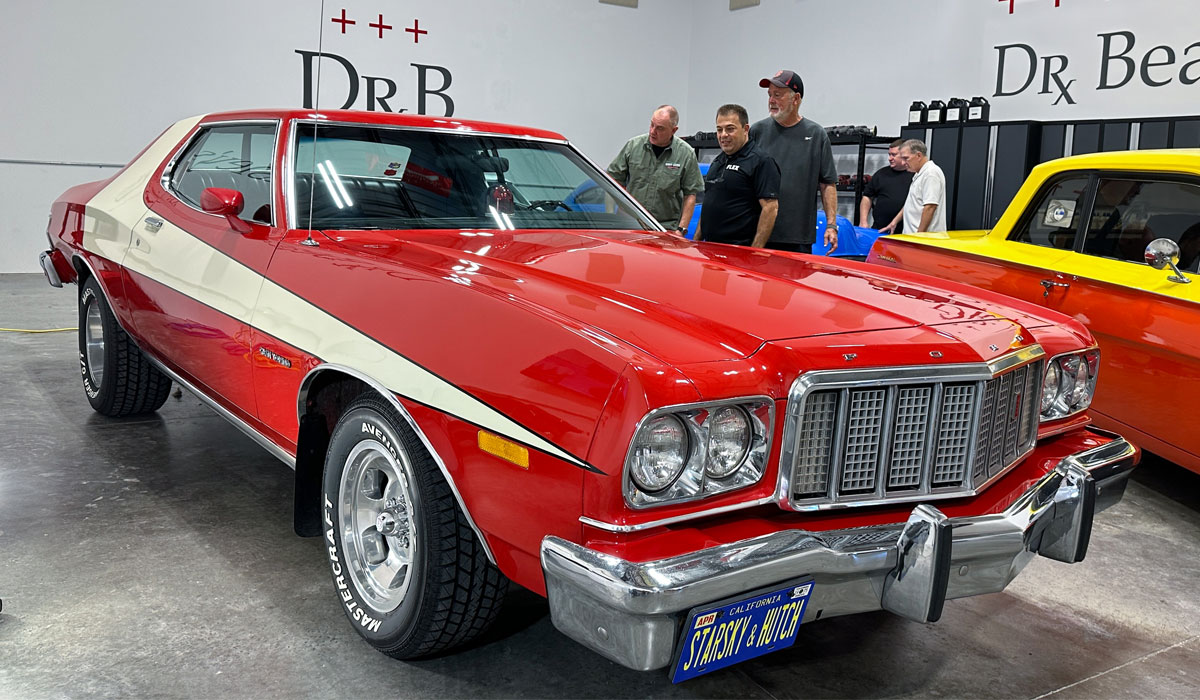
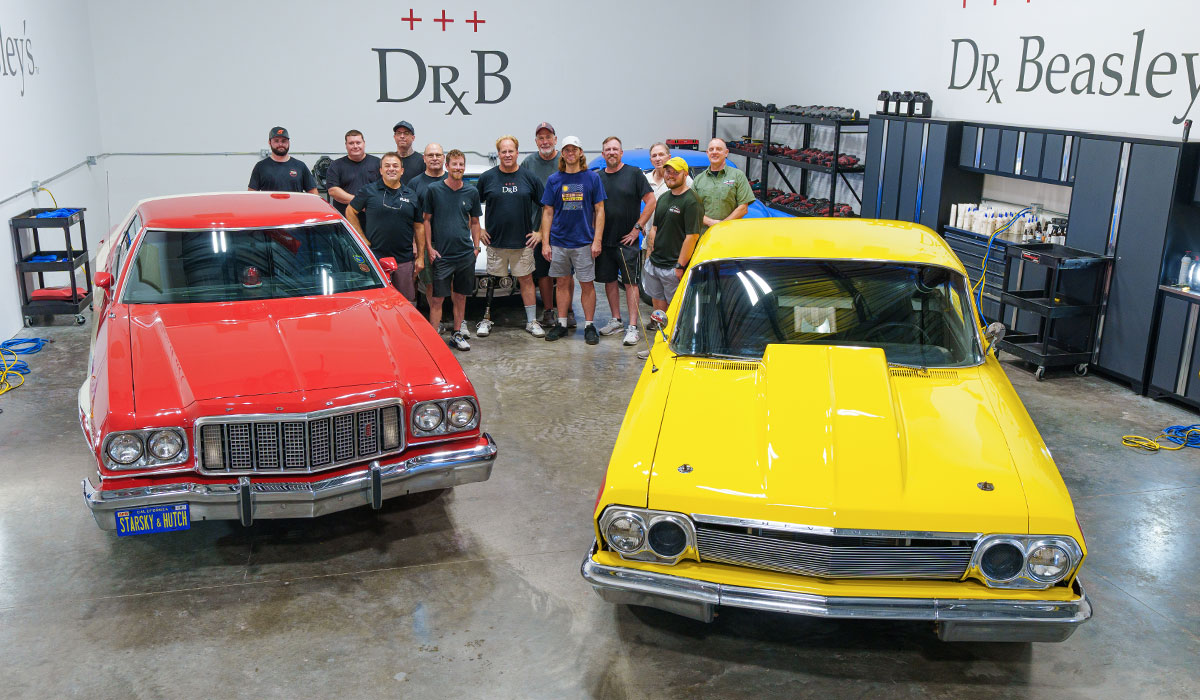
Here’s 7 of the cars, with 2 more parked outside, the 2020 Camaro and the 2013 Toyota Matrix.
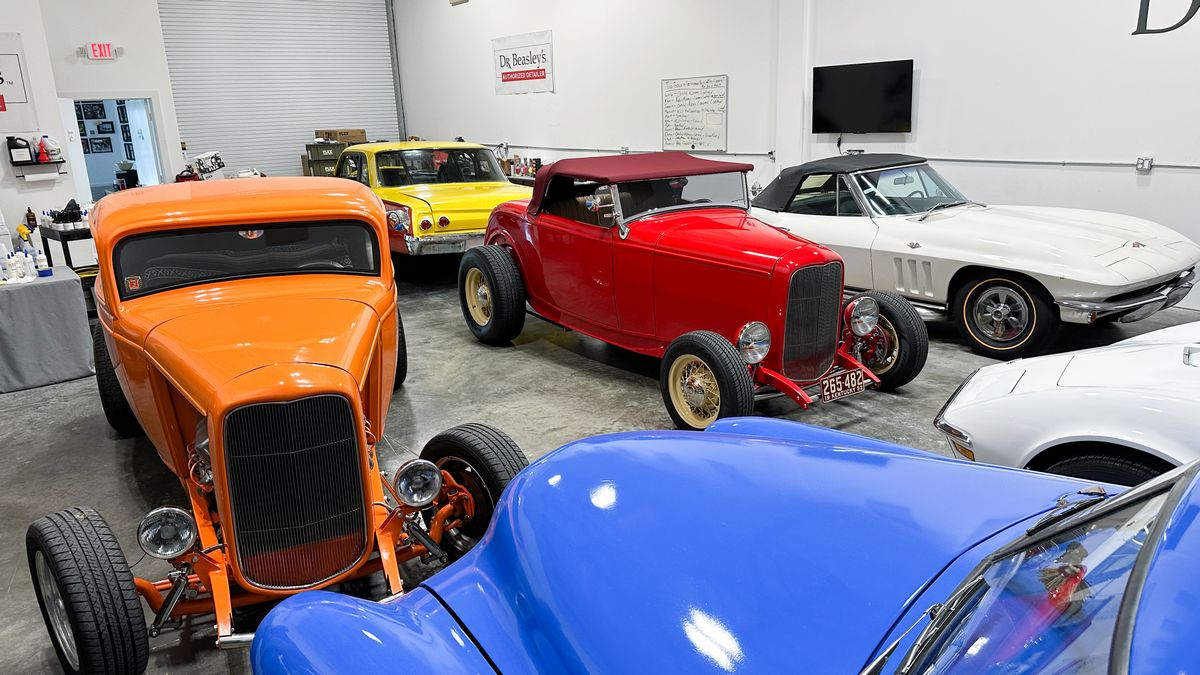
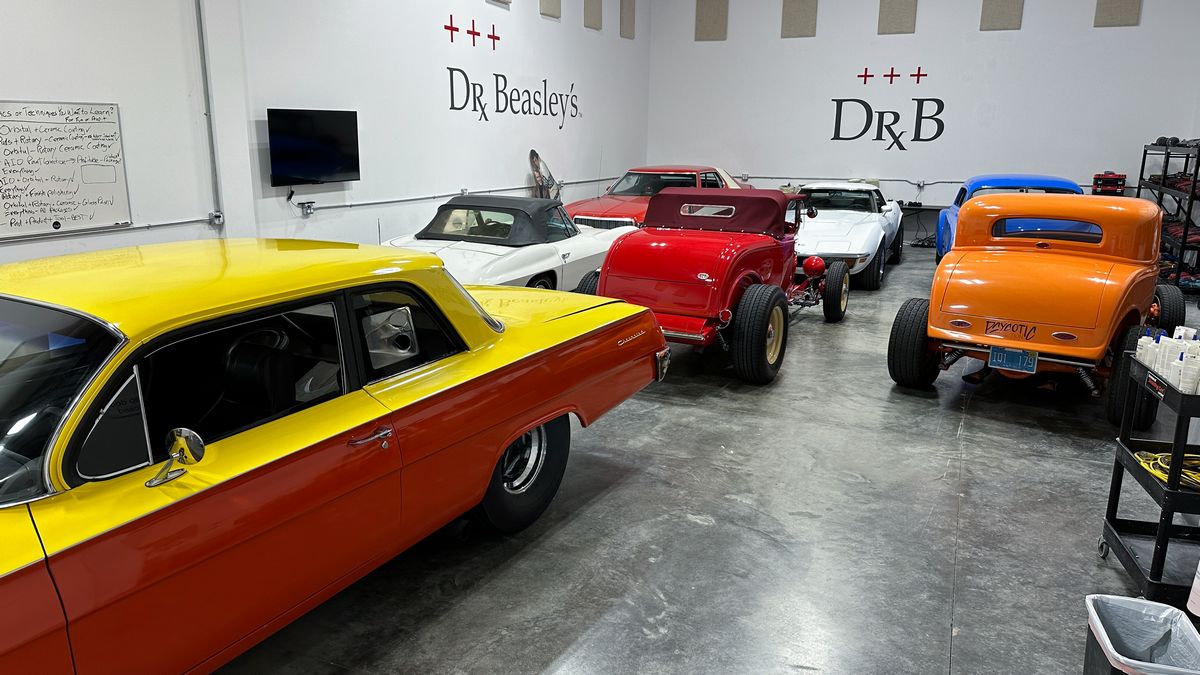
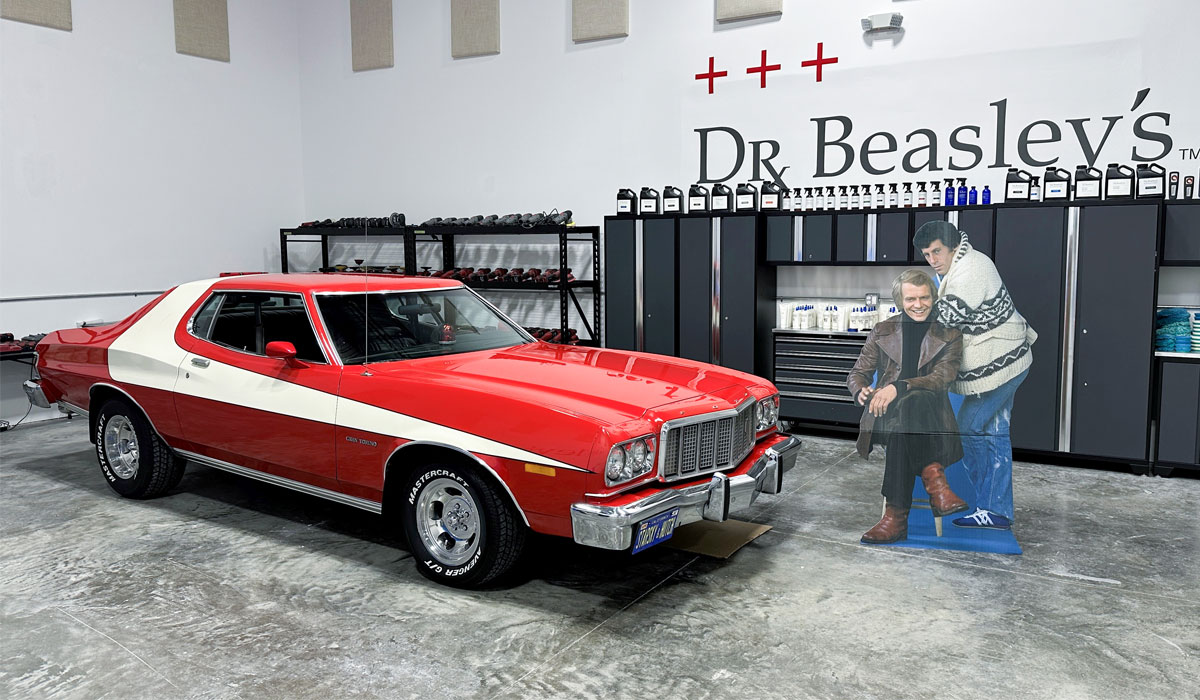
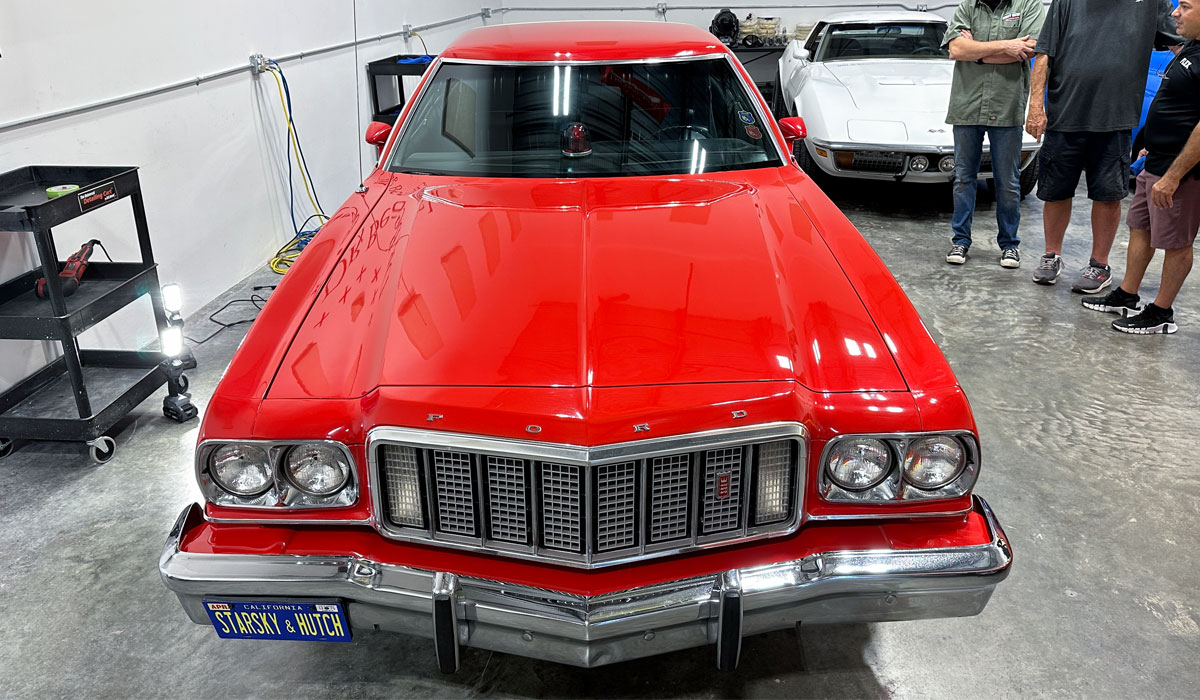
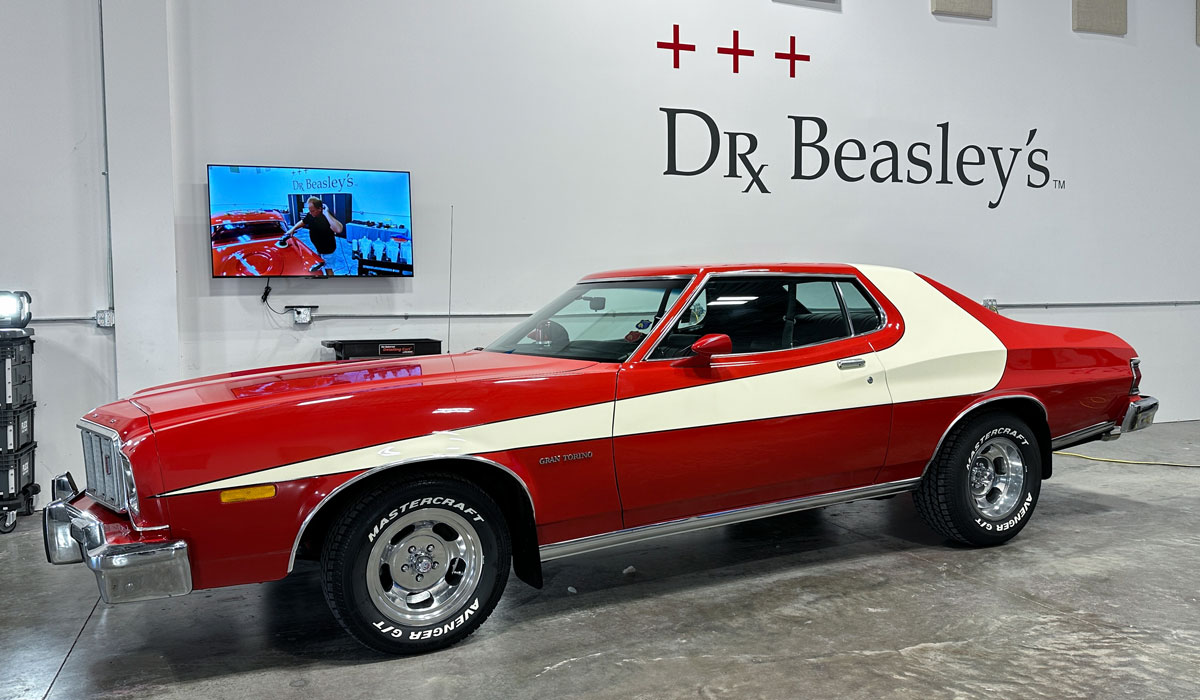
I’ve never seen any other detailing class with a real Starsky & Hutch Police Car for the students to train on.
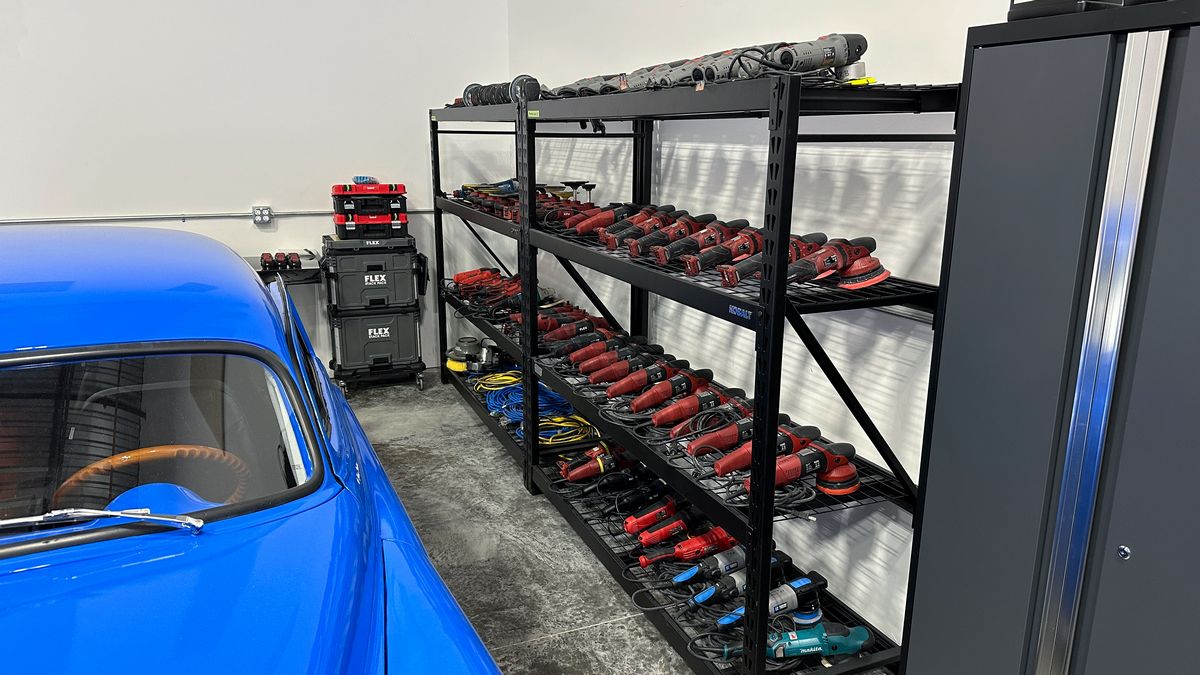
More than enough tools and the power to run them.
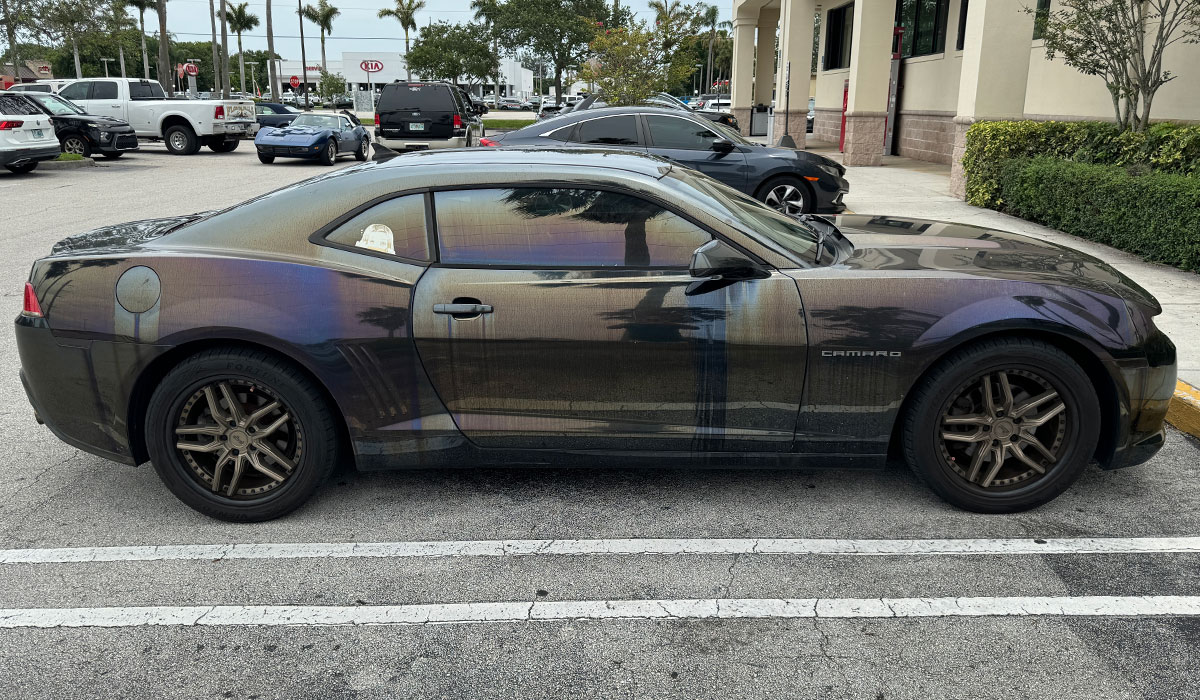
Here’s the two cars that were parked outside as there just wasn’t enough room to bring them into the garage.
2020 Camaro – Horrendous Hard Water Mineral Staining
I met the owner at a local Walgreens, and she agreed to let us use her Camaro for the September class. As you can see by the pictures, the paint is in absolutely horrible condition.
2013 Toyota Matrix
This belongs to my buddy’s grandma. With around 80,000 miles on the odometer, my experienced assessment is this car has NEVER been detailed at any level outside of taking the car through a swirl-o-matic car wash.
Continued…
Day 1 – Friday Morning Session- Rotary Polishers – Paint Correction & Ceramic Coatings
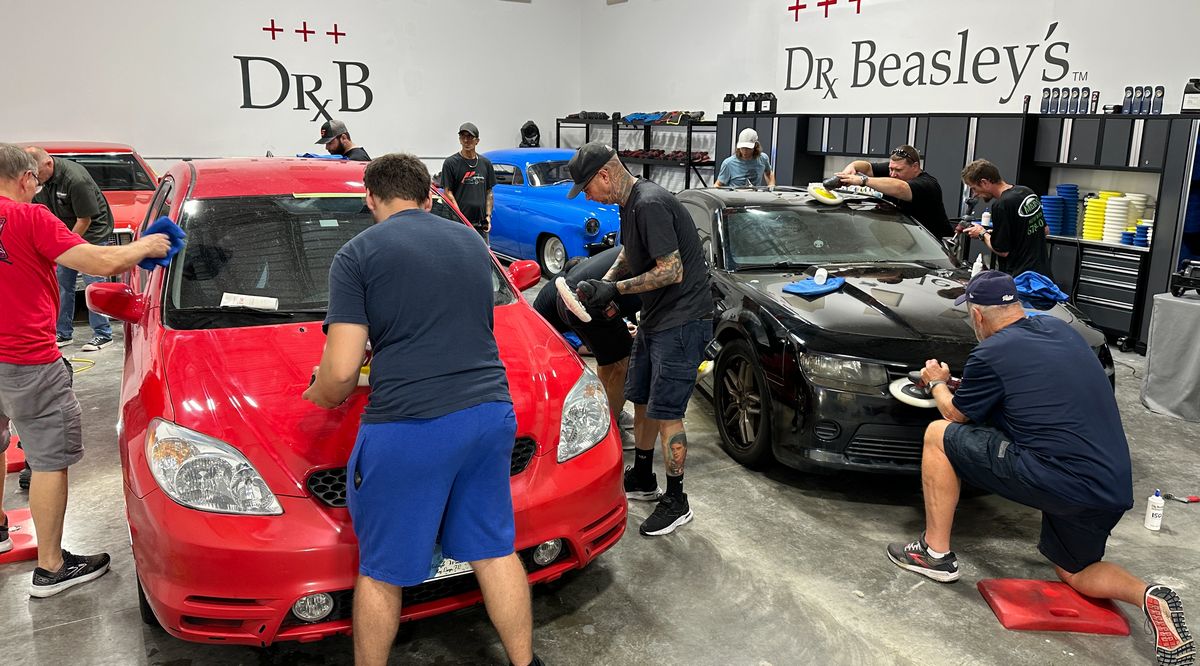
First up, taking a rotary polisher to the 2013 Toyota Matrix and the 2000 Camaro
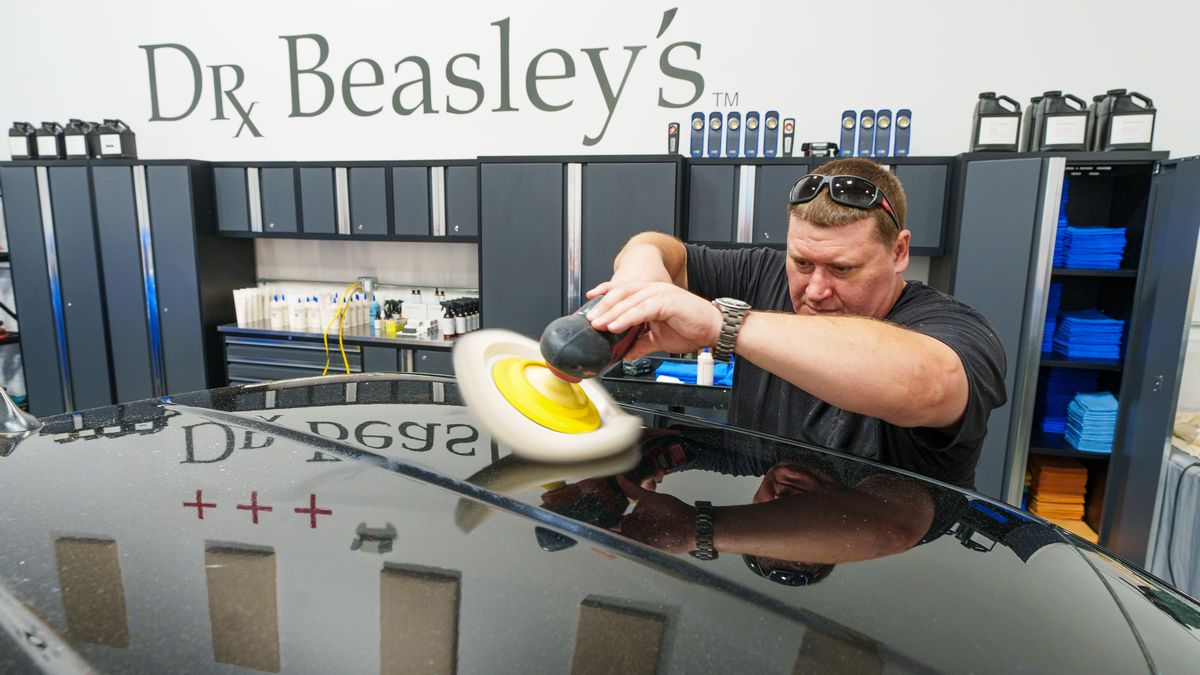
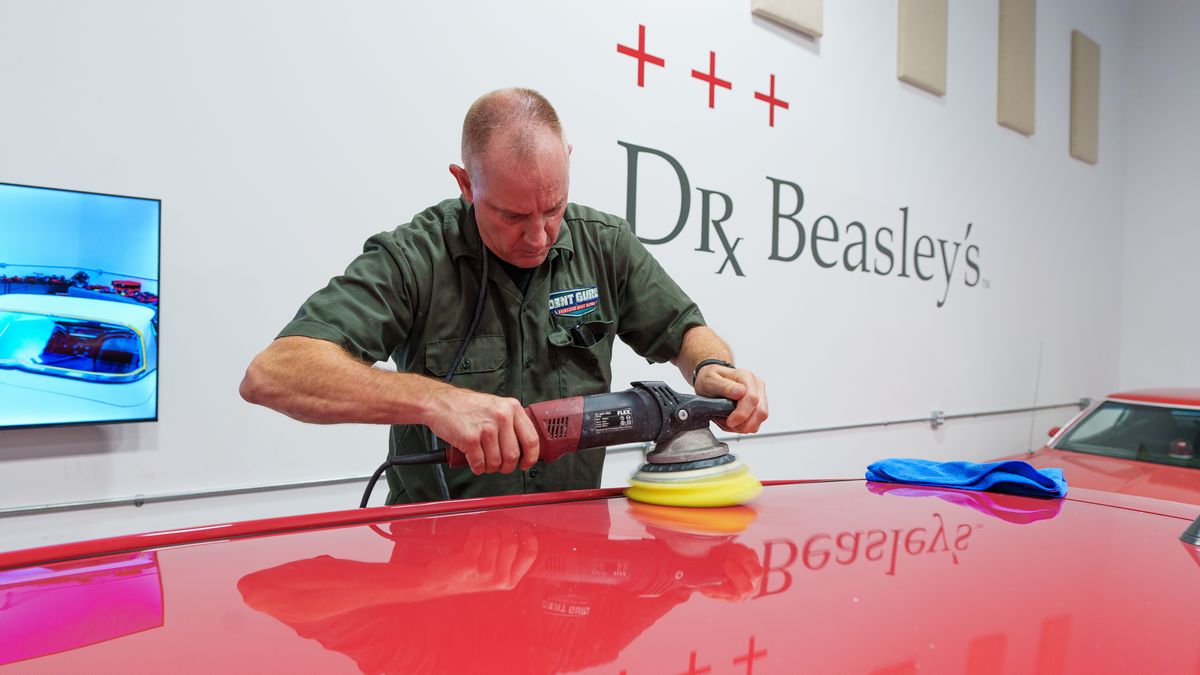
Here’s the final results for the 2020 Chevrolet Camaro
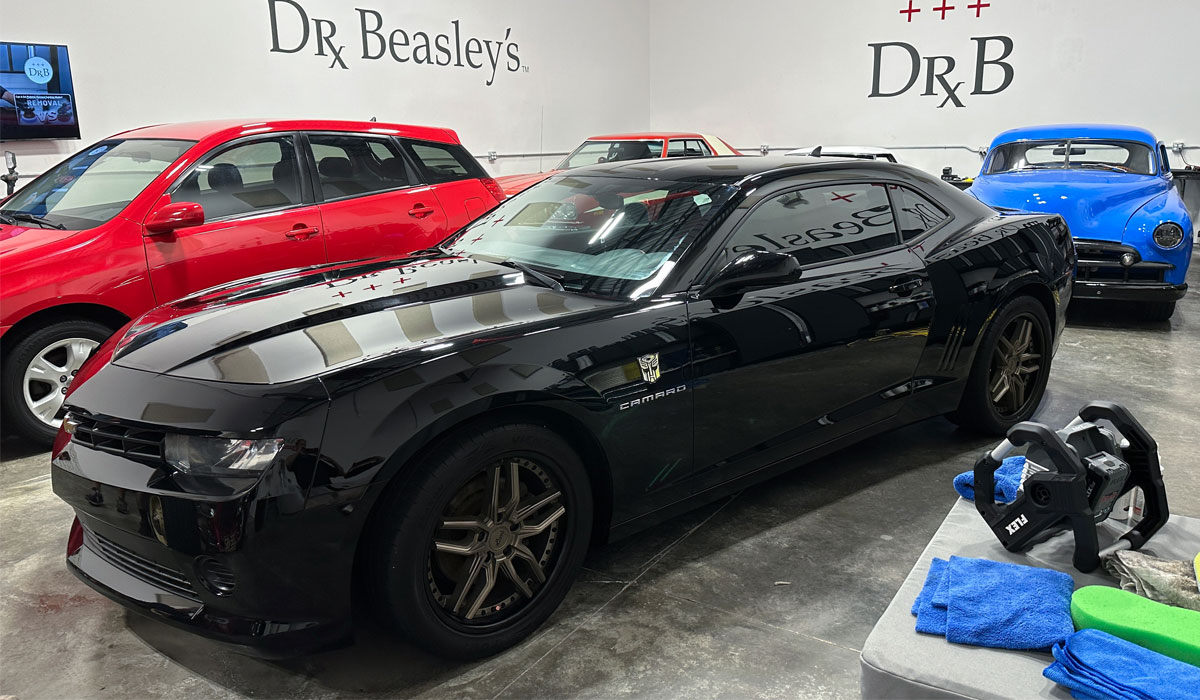
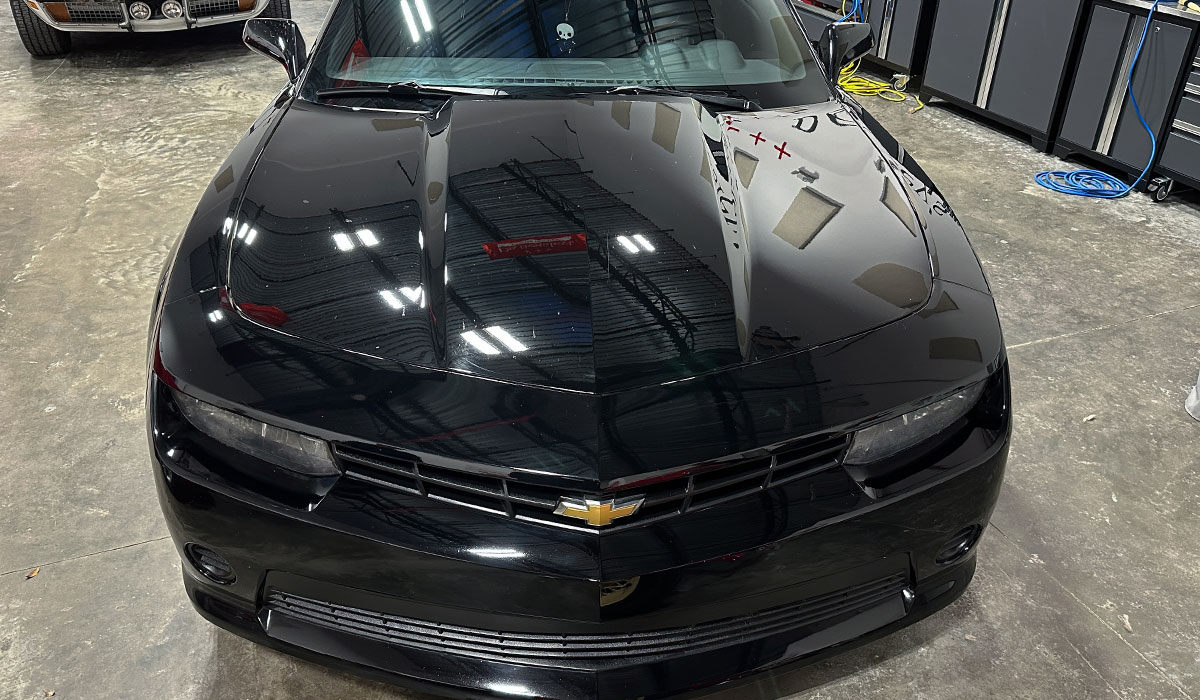
AFTER RESULTS!
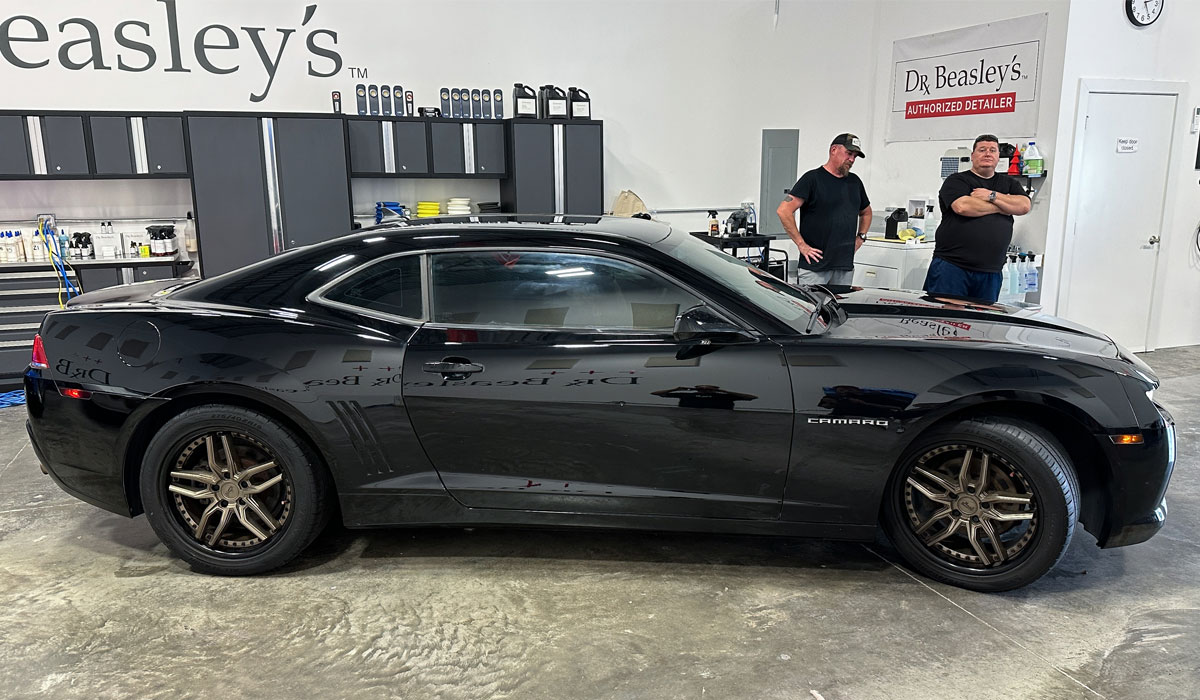
BEFORE
And just to jog your memory, here’s how she looked when she arrived.
Continued…
Day 1 – Friday Afternoon Session- Orbital Polishers – Paint Correction Ceramic Coatings
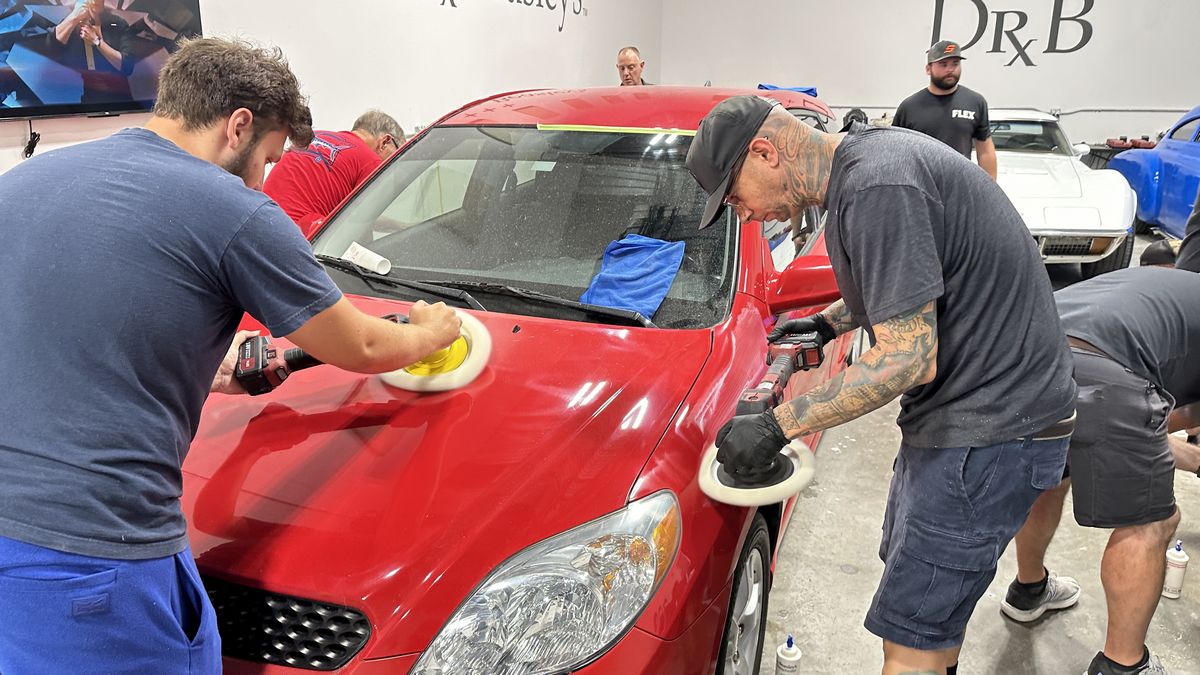
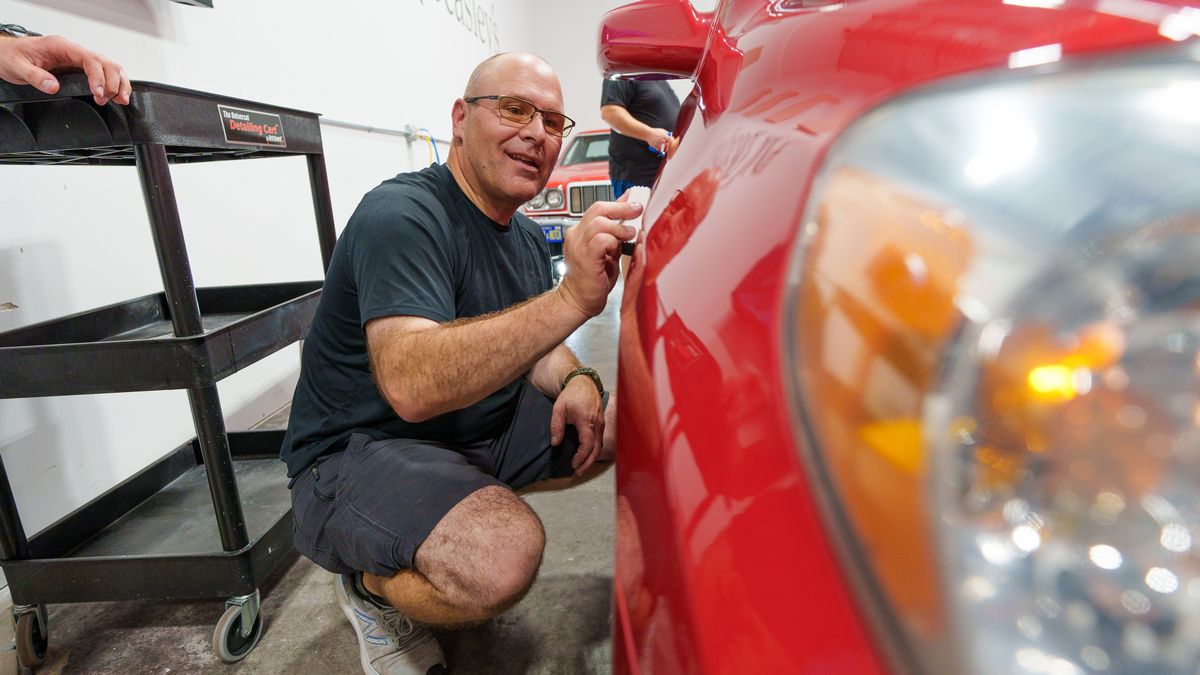
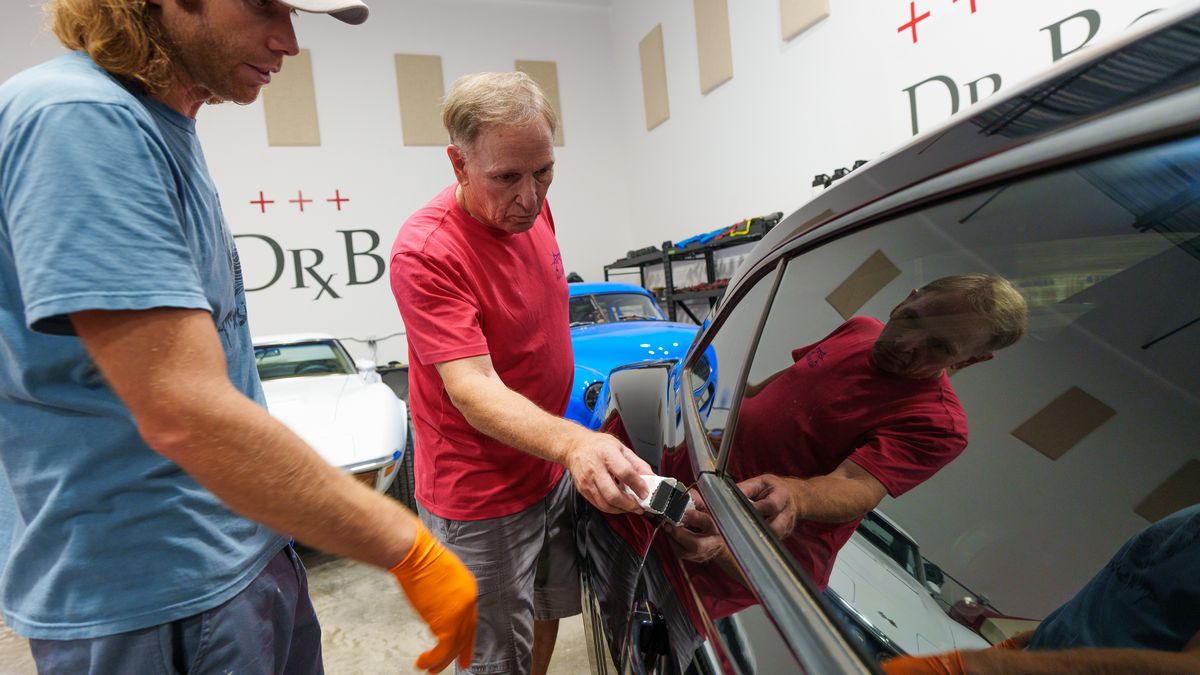
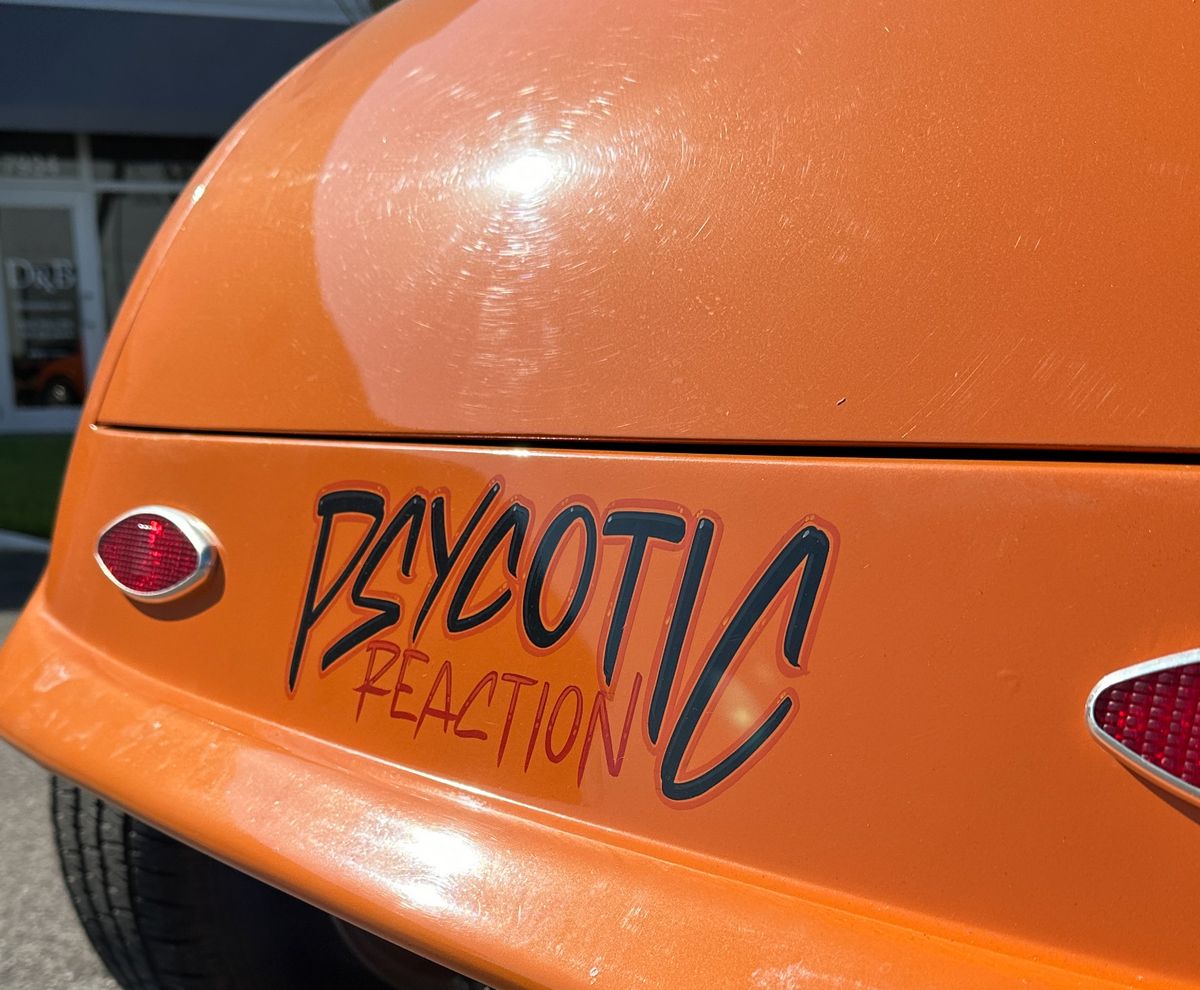
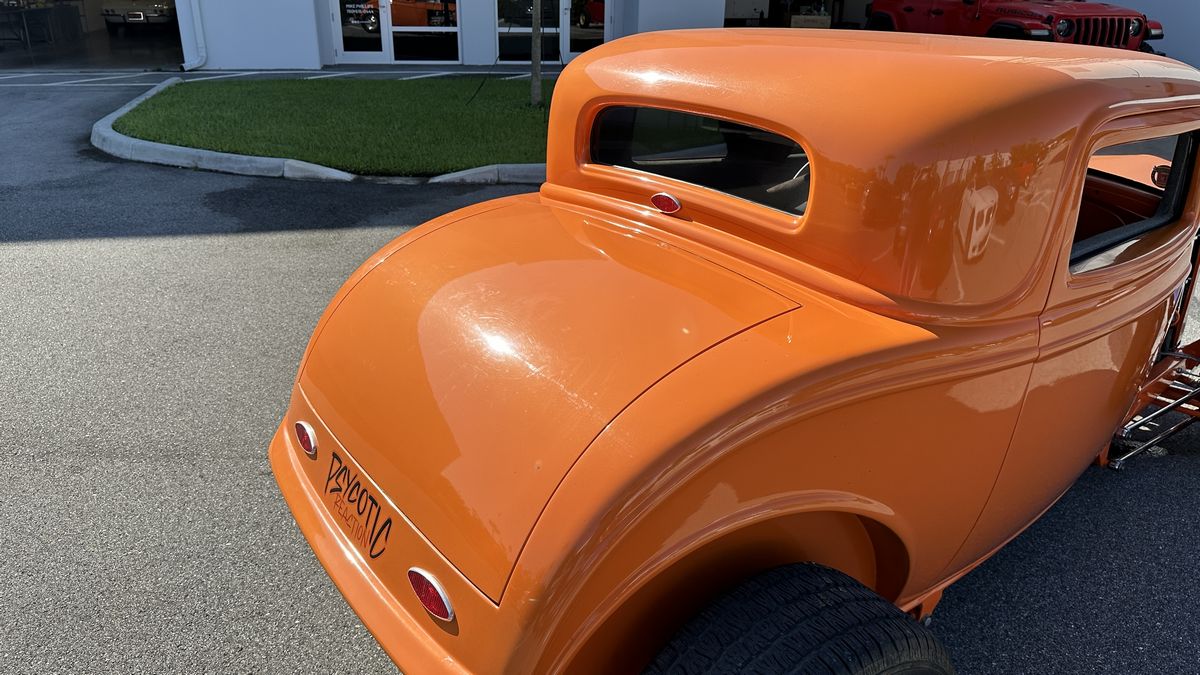
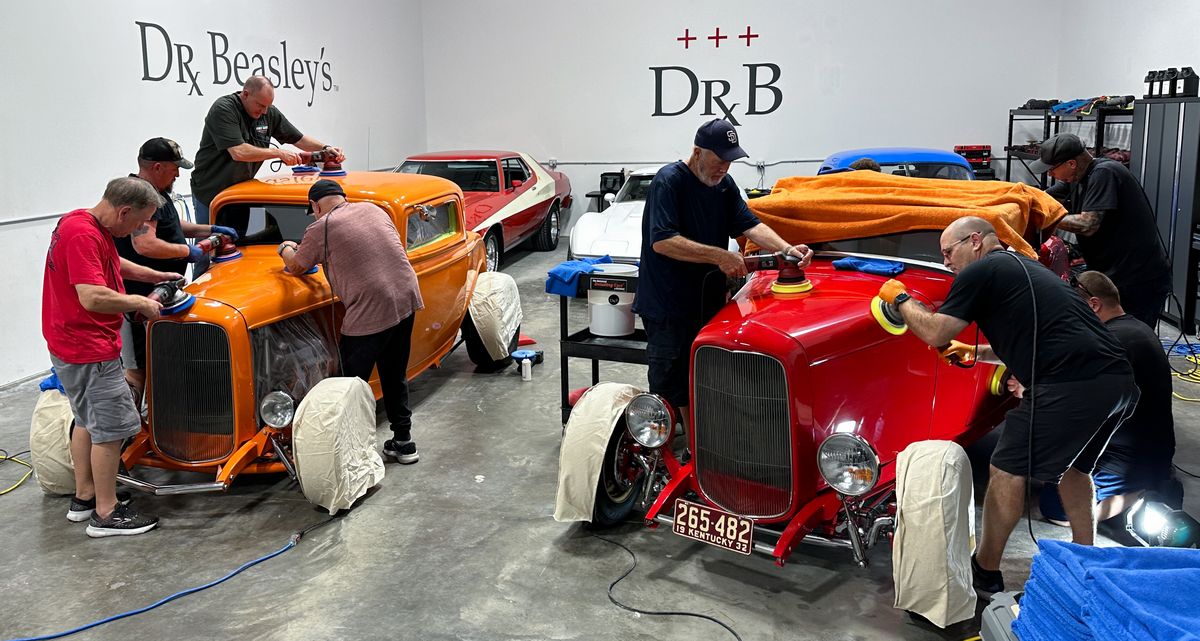
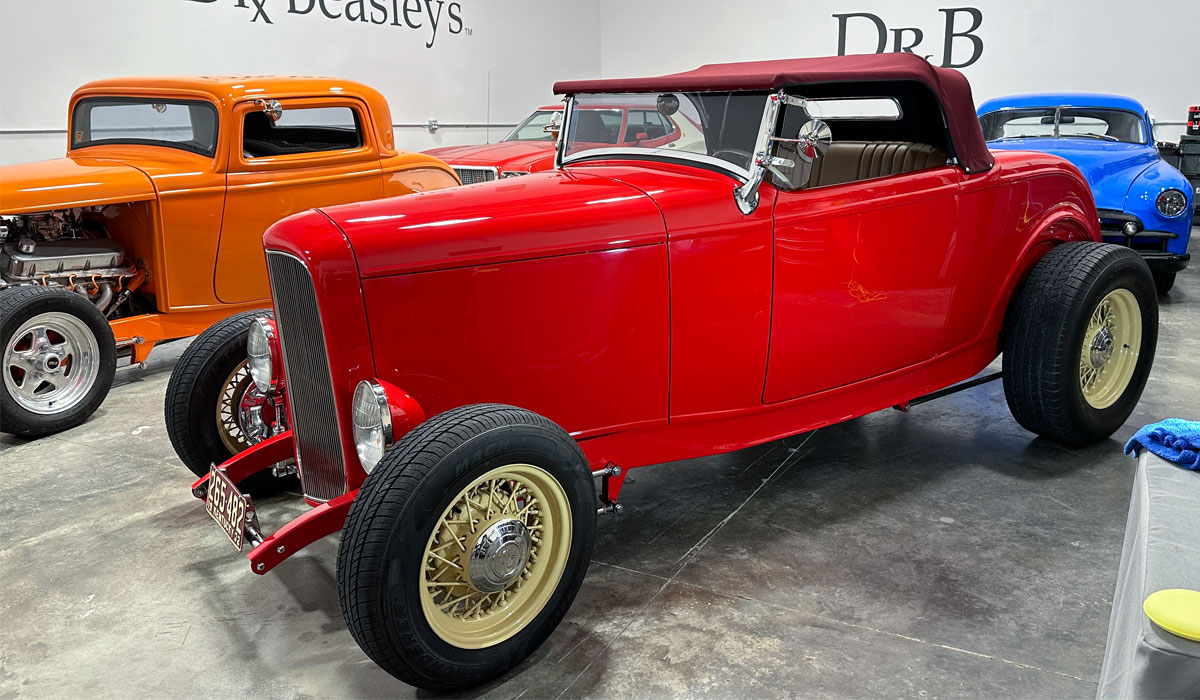
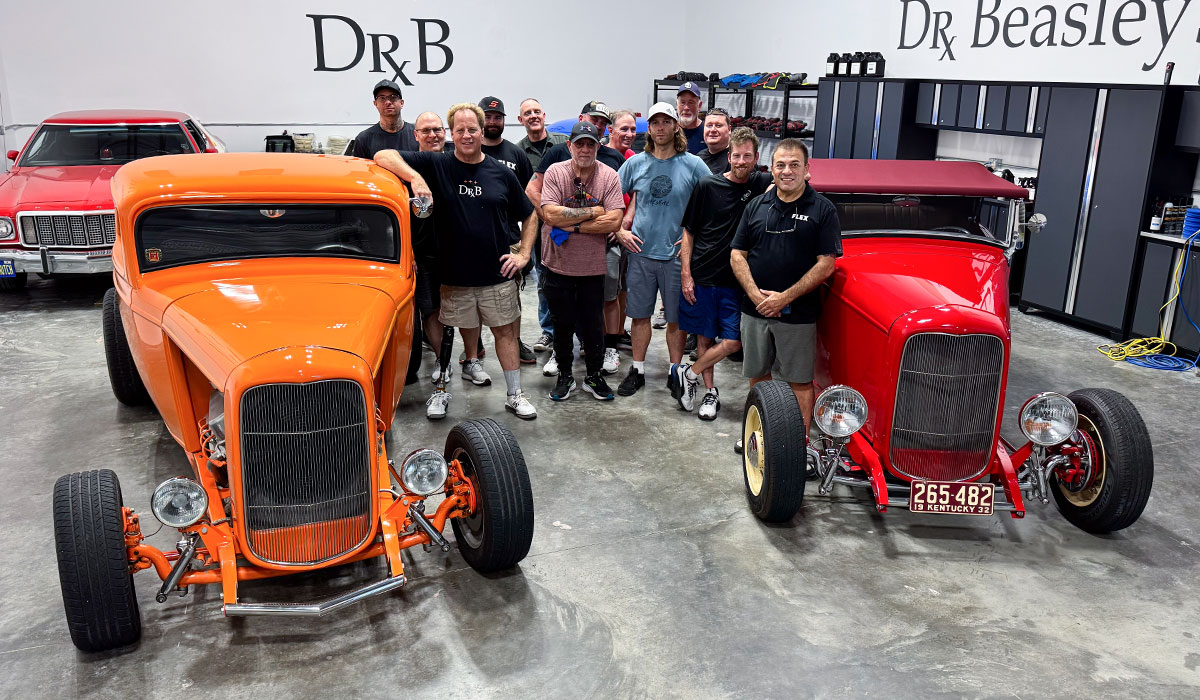
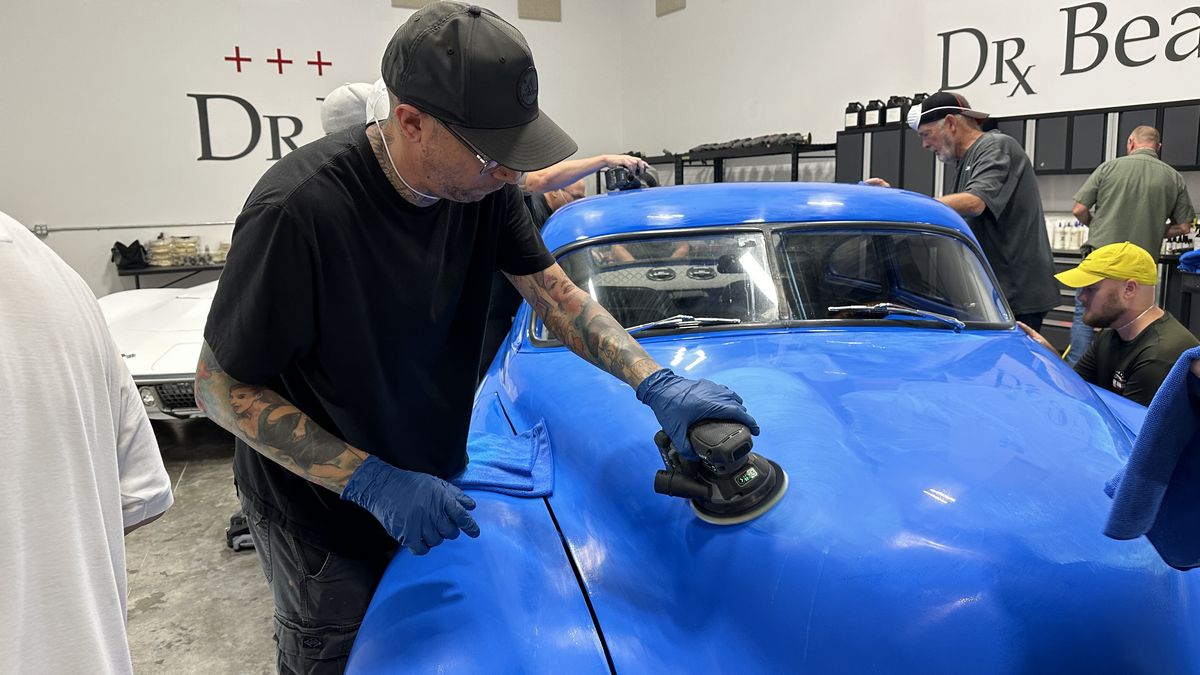
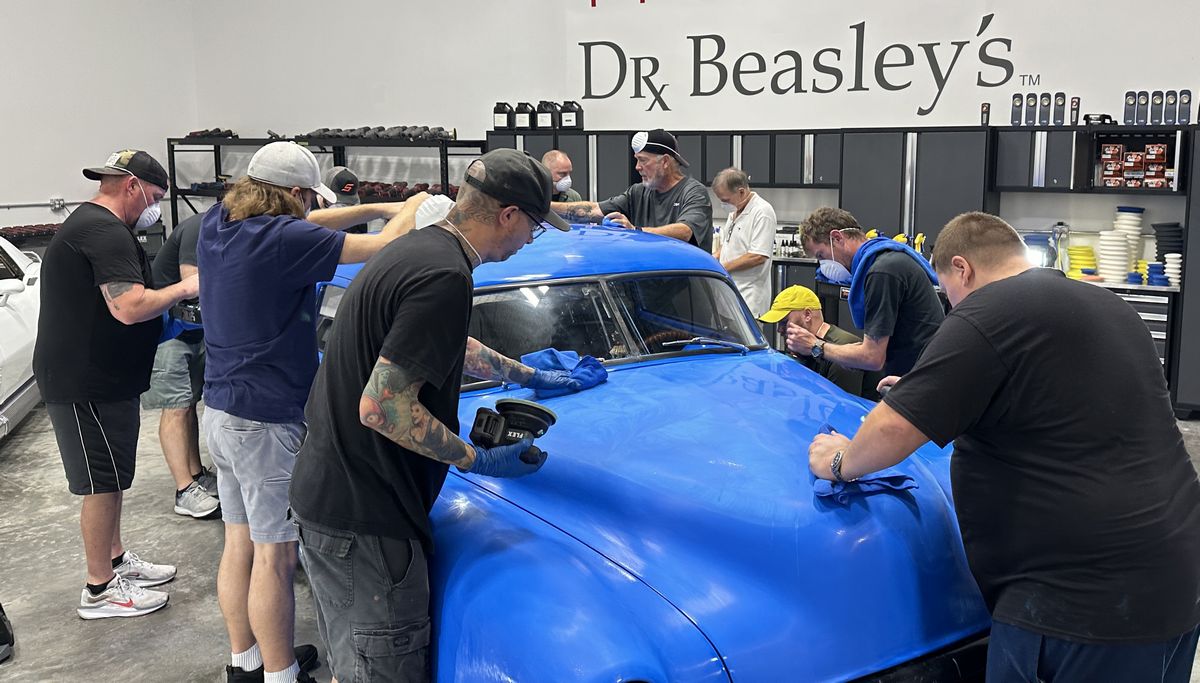
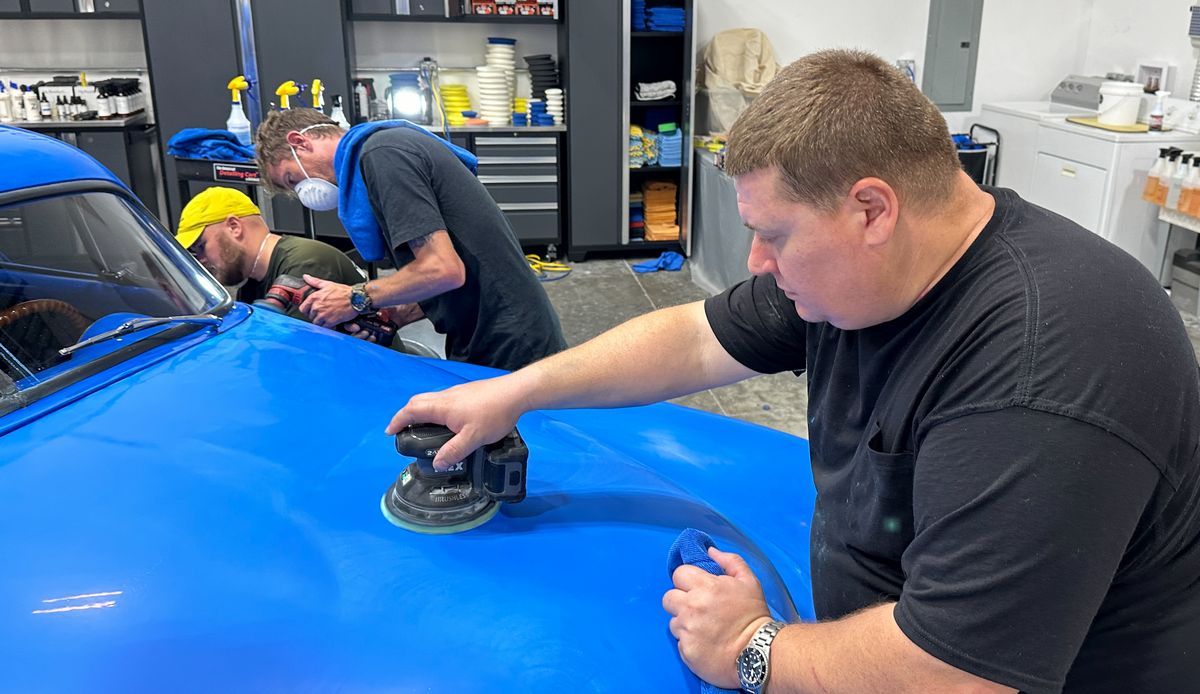
For this class topic, we have TWO – 1932 Fords. The orange one is a 1932 Ford 3-Window Coupe, also known as a Deuce Coupe. The red one is a 1932 Ford Roadster. I personally LOVE these pictures because they show you very accurately what our classes look like. No chairs. No sitting. No PowerPoint. 100% hands-on training.
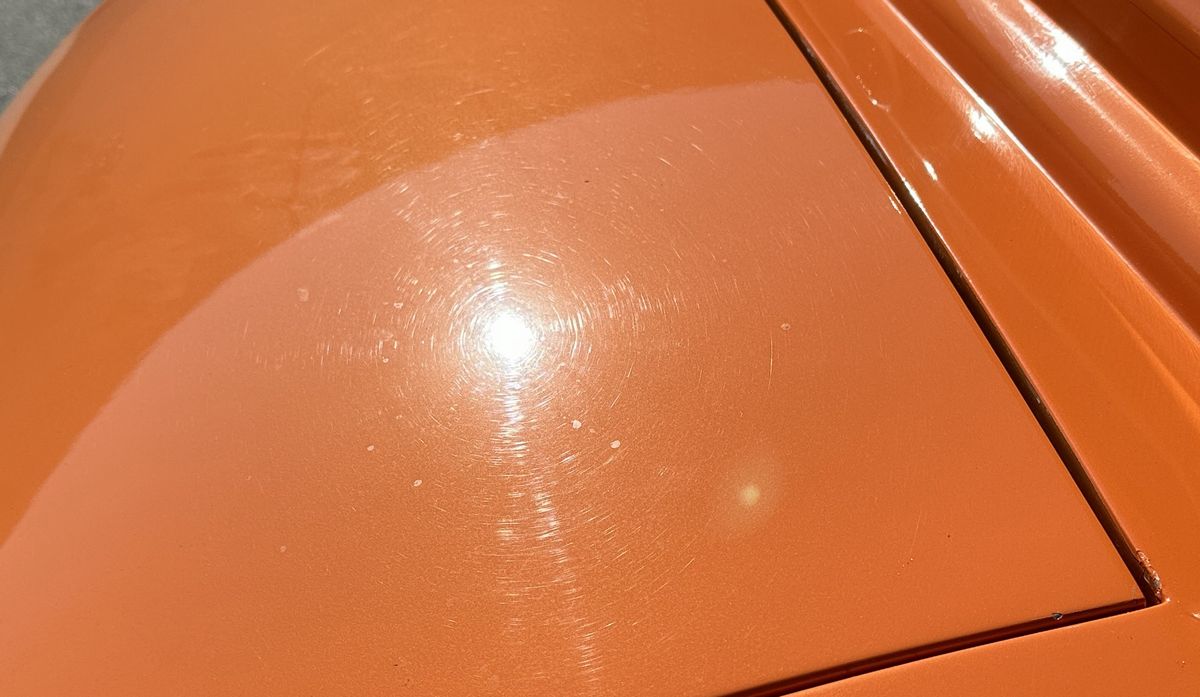
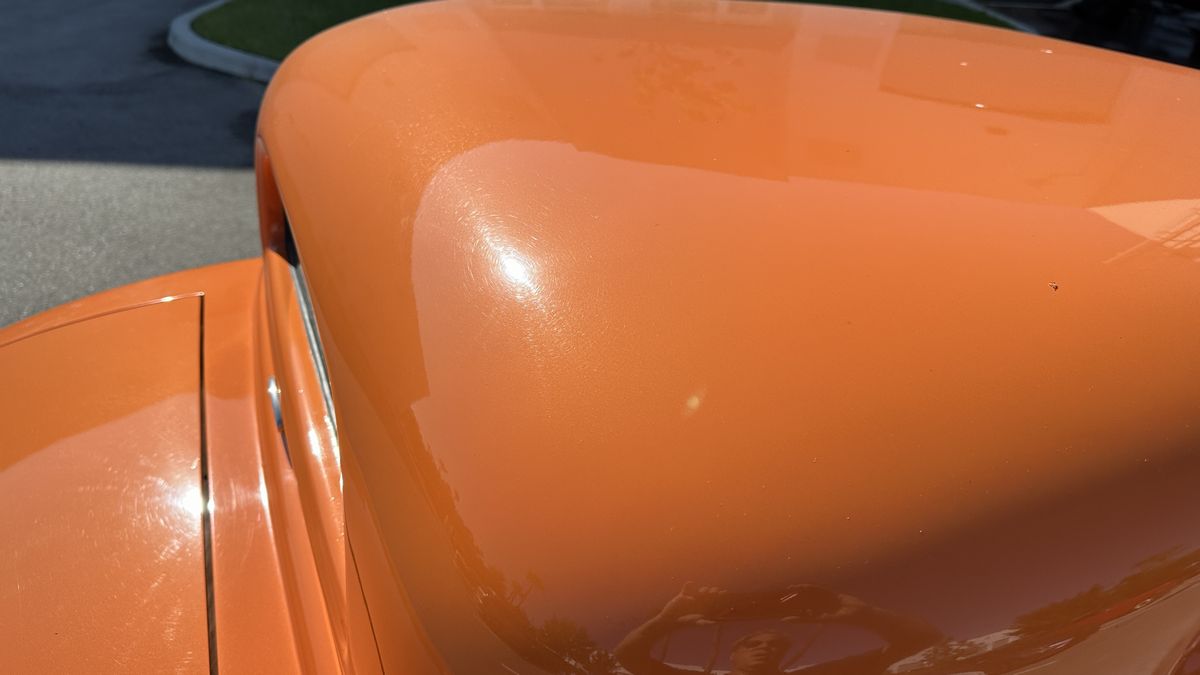
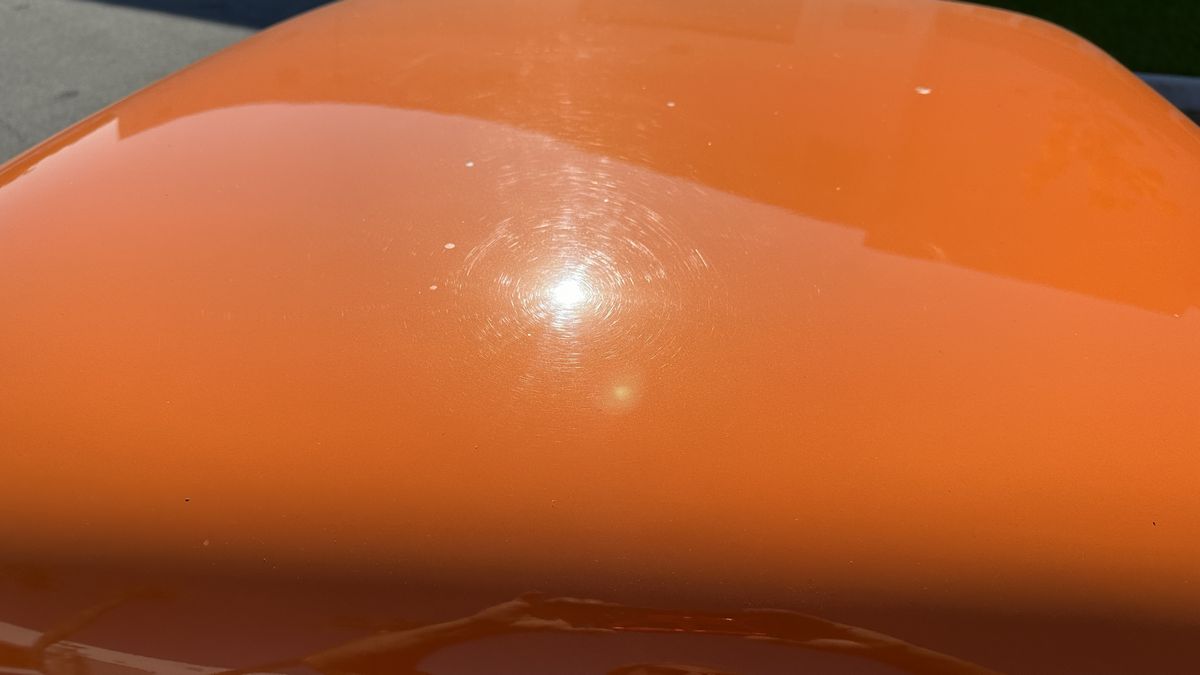
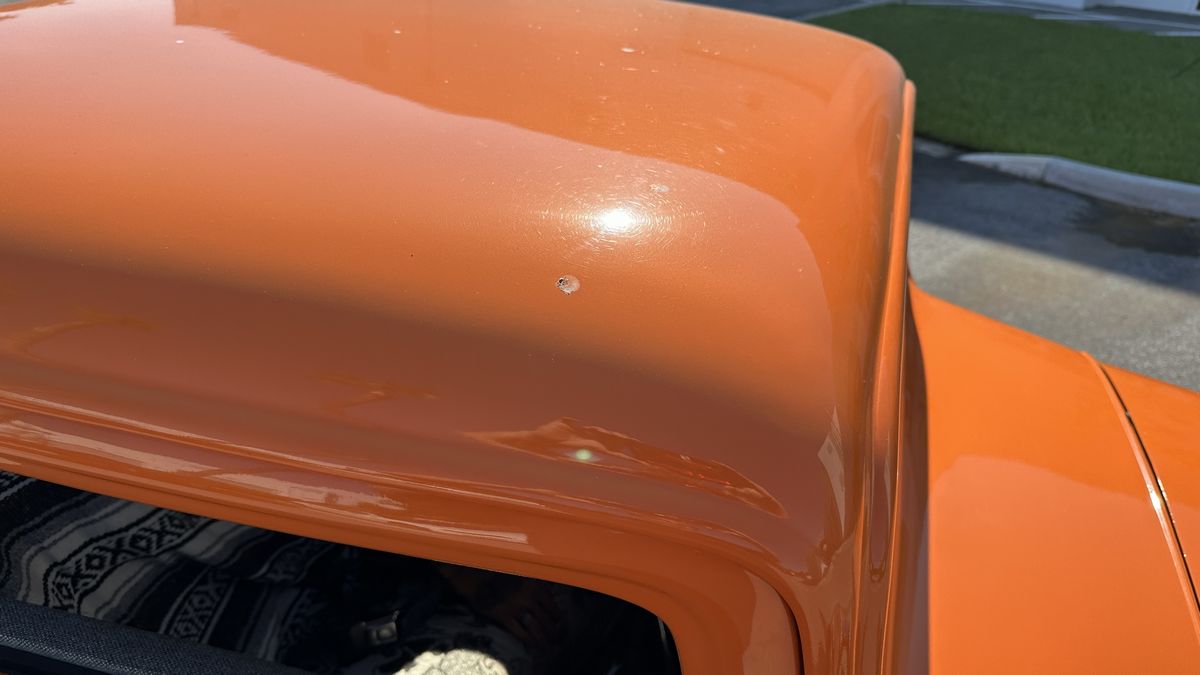
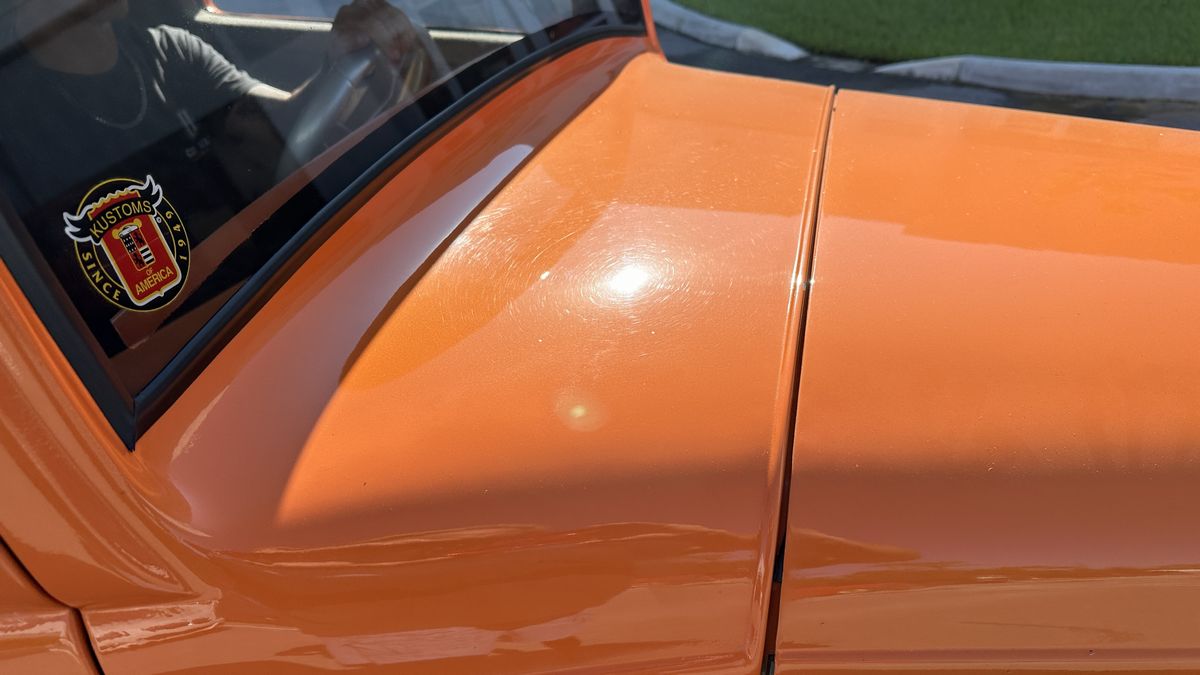
No before pictures for the red 1932 Ford, it only had light swirls and scratches. Just to photo-document, look how BAD the paint is on the orange 1932 Ford.
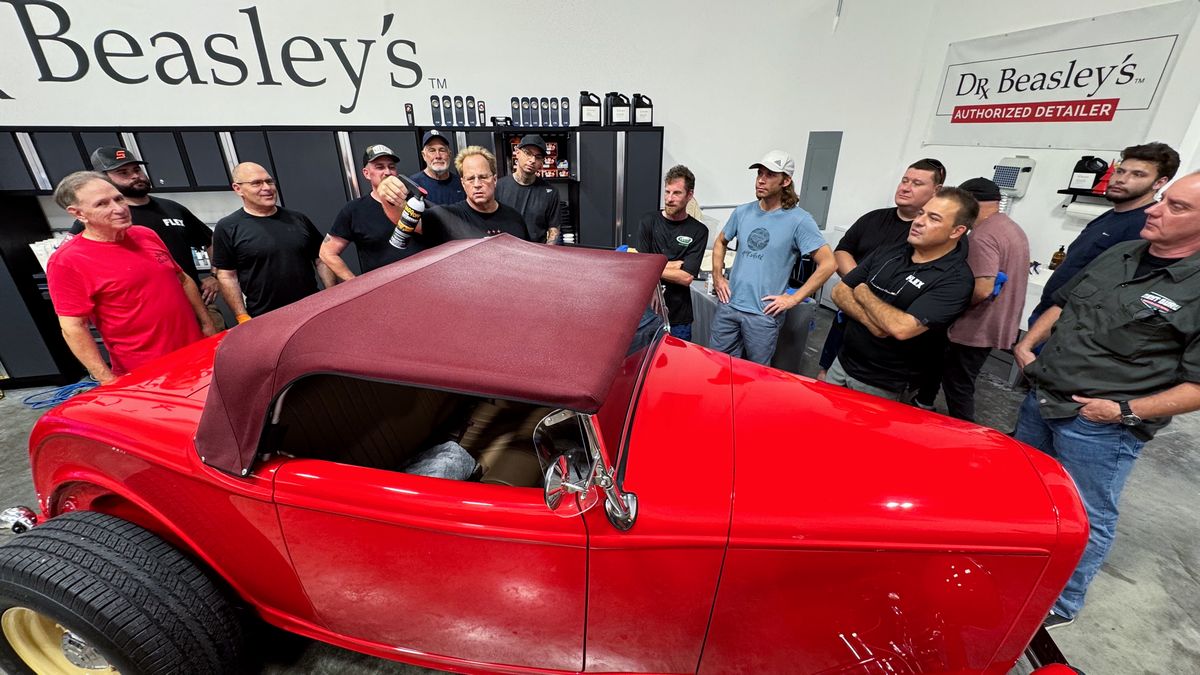
RaggTopp Fabric Protectant
After washing and allowing a convertible cloth top to fully dry, next you want to apply a fabric protectant. For this 1932 Ford we’re using the RaggTopp Fabric Protectant.
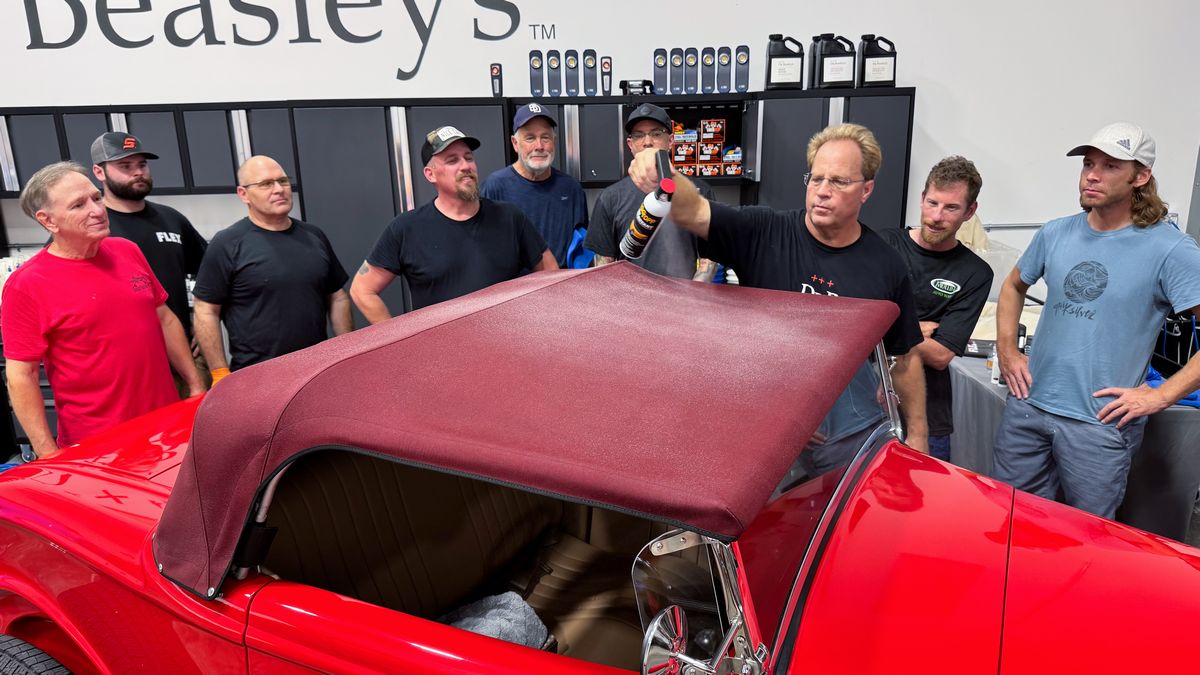
It’s GO TIME!
Note the soft, orange blanket placed over the canvas cloth top to protect it from any accidental splatter from the spinning buffing pads.
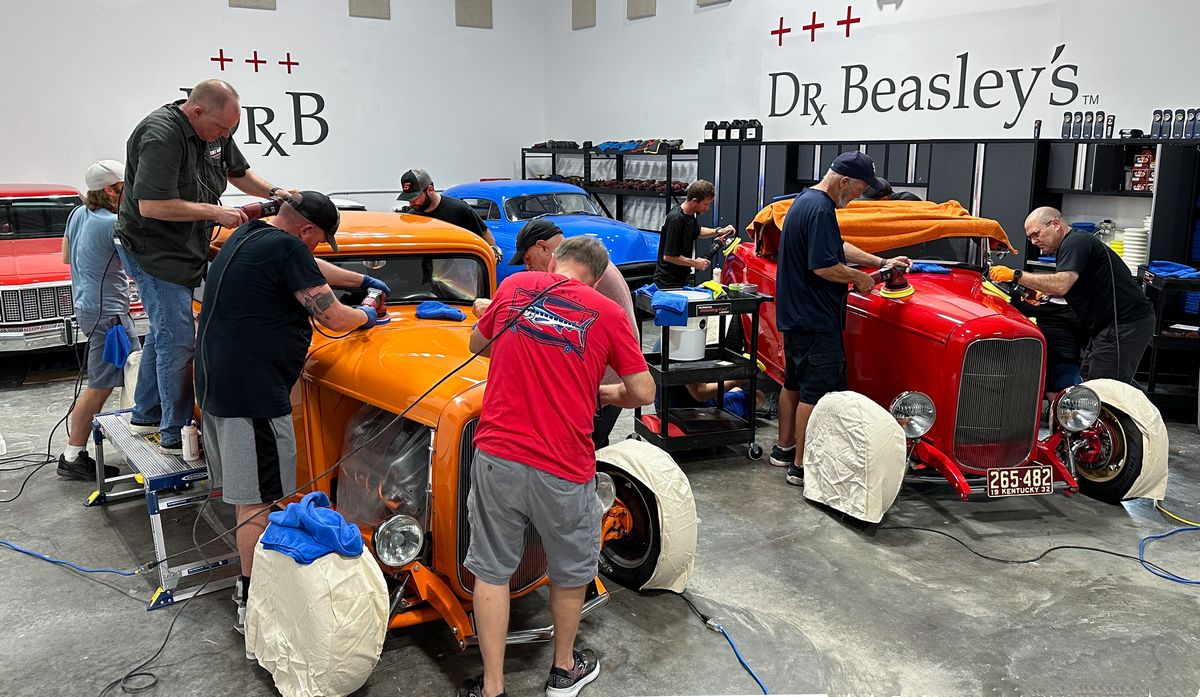
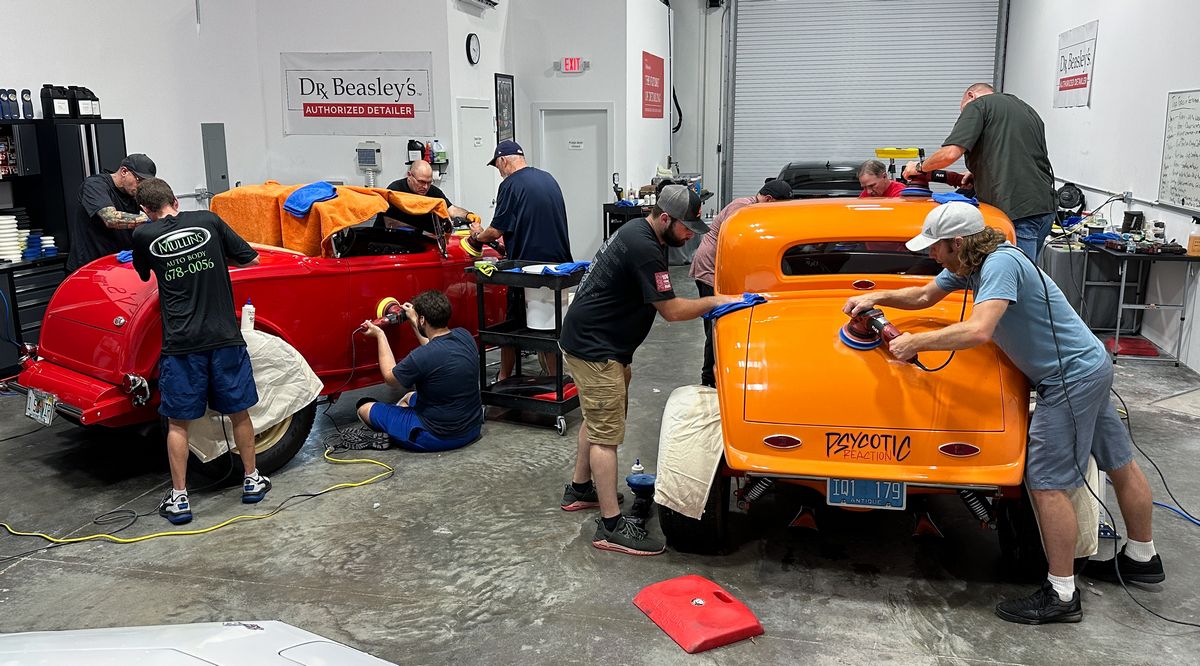
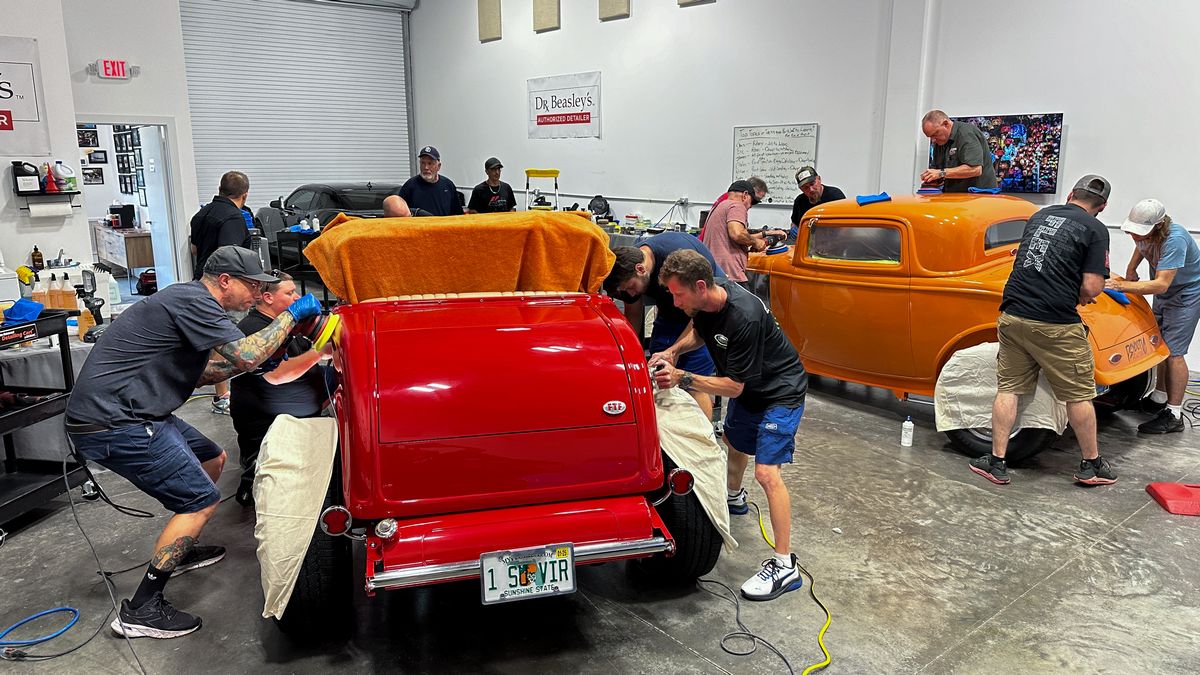
Here’s the final results!
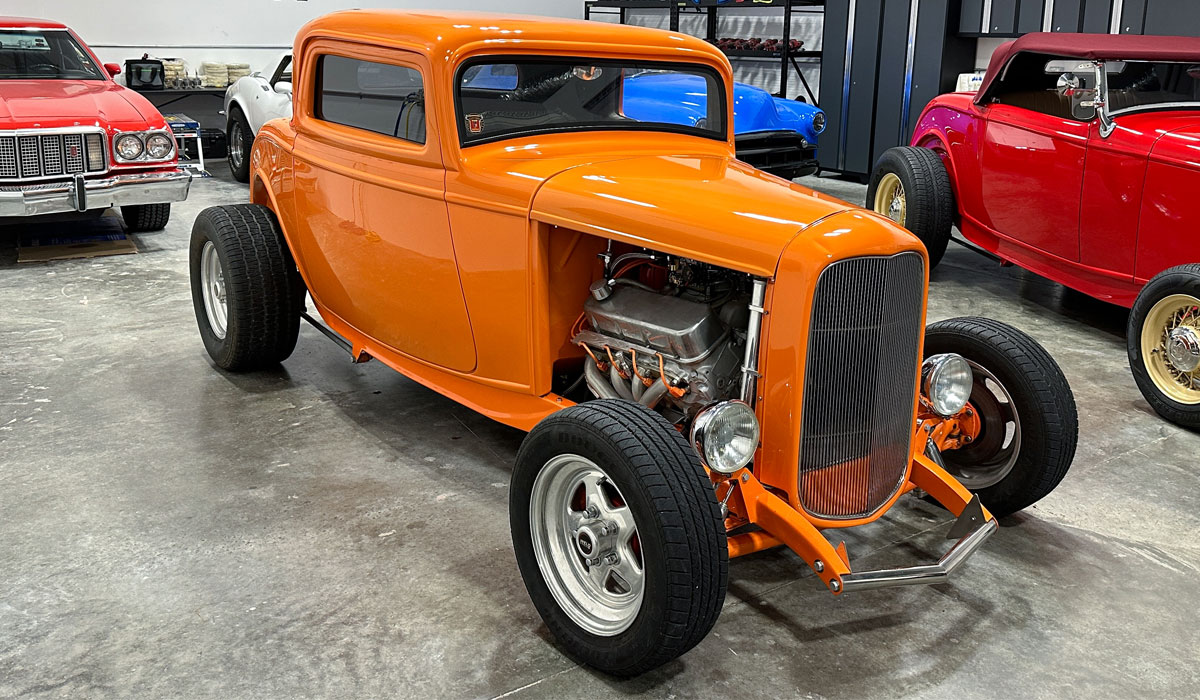
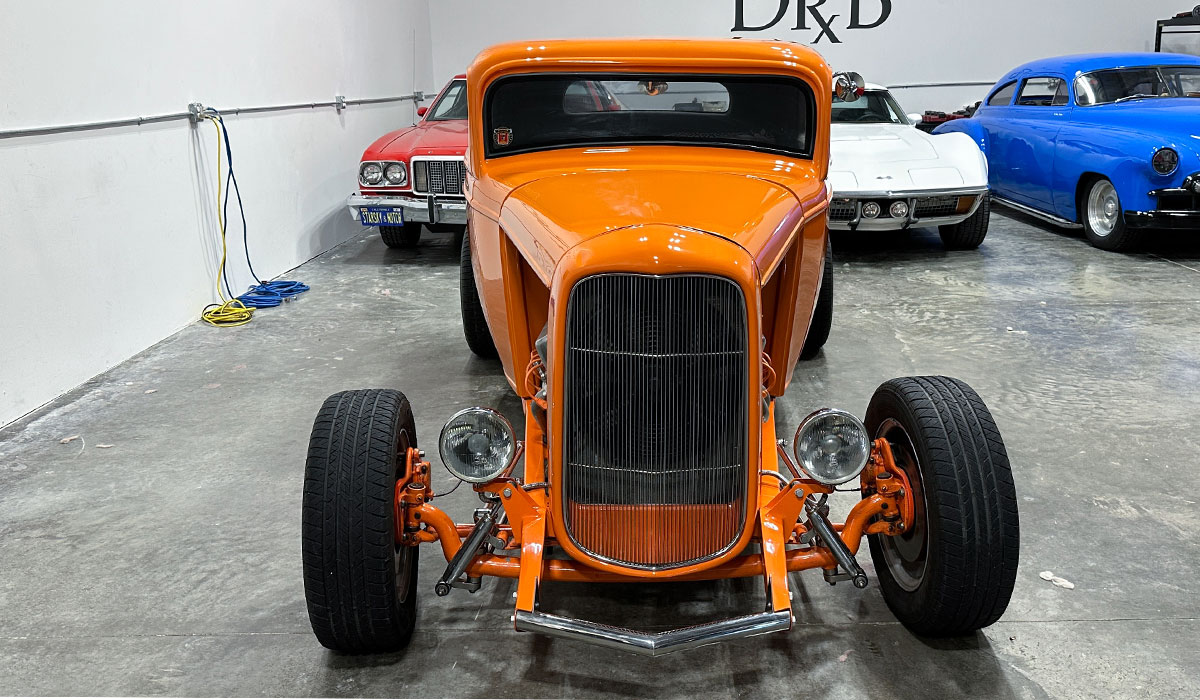
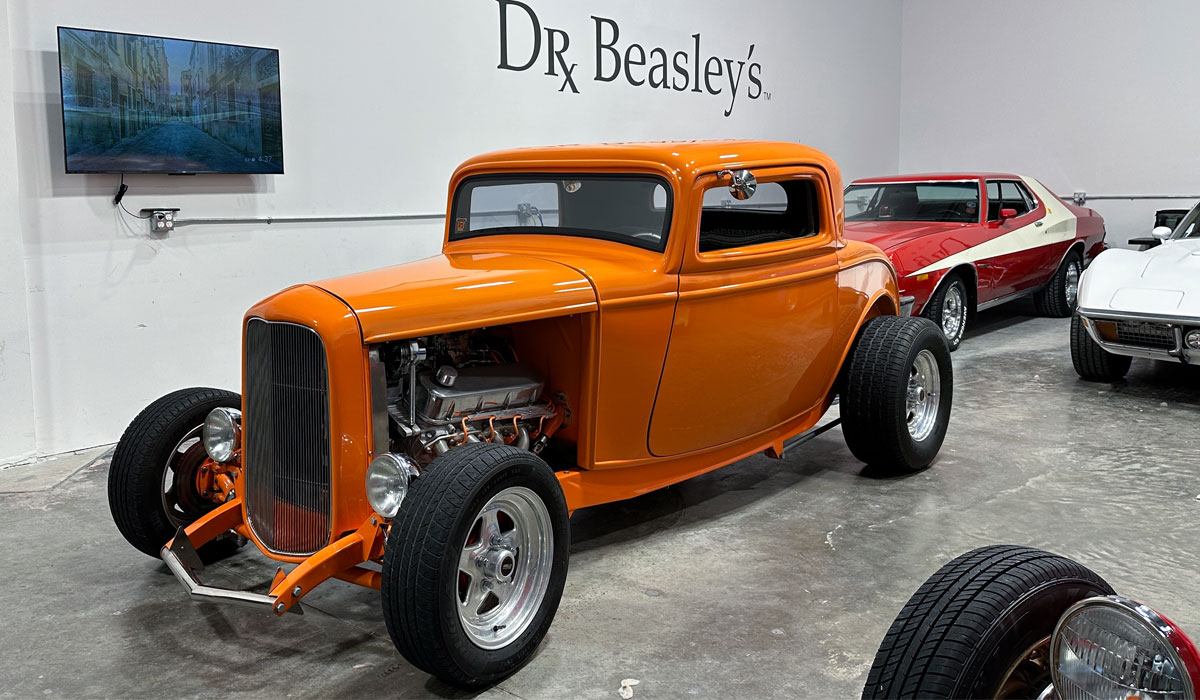
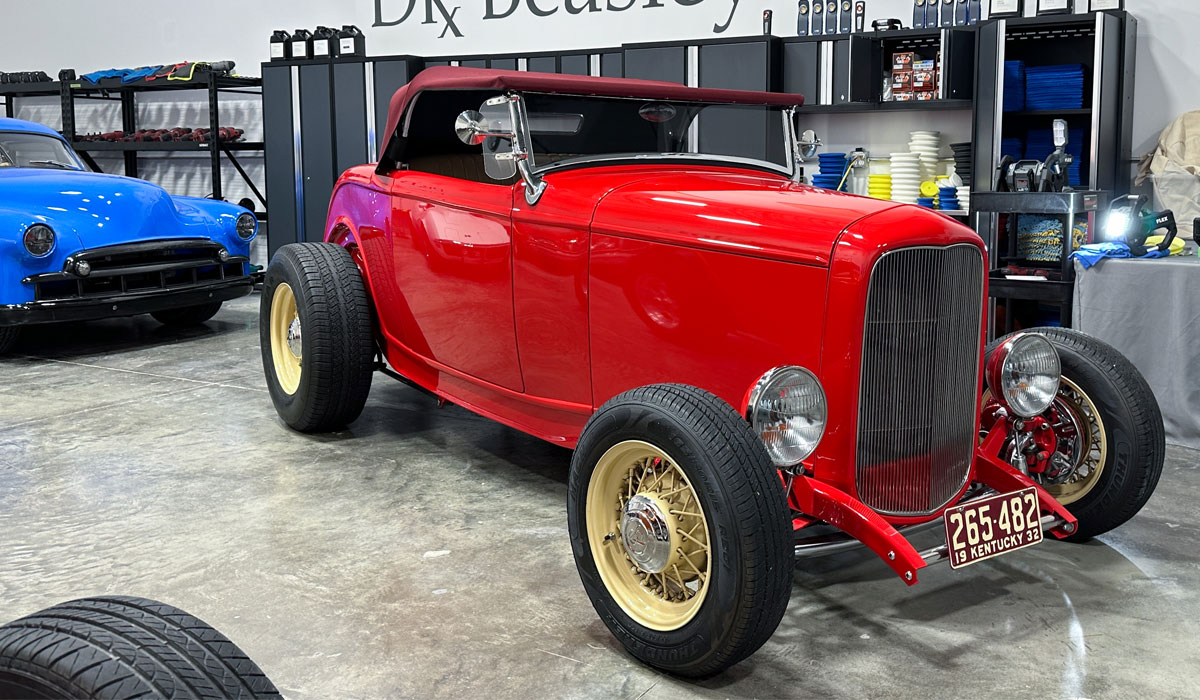
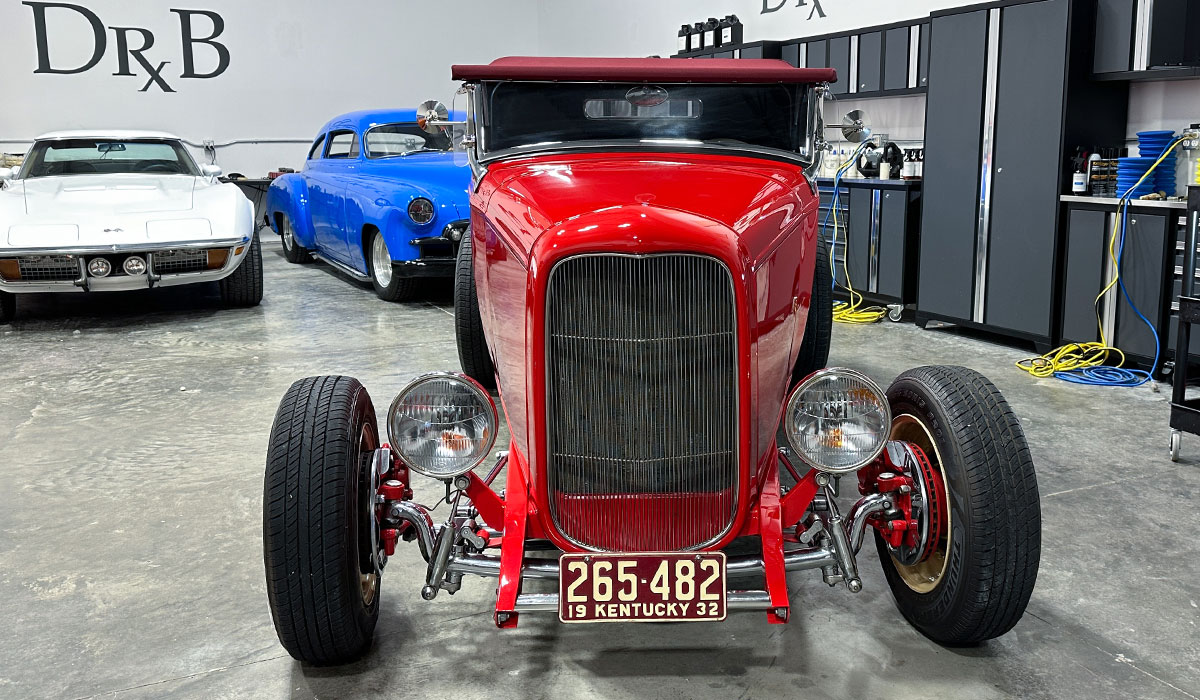
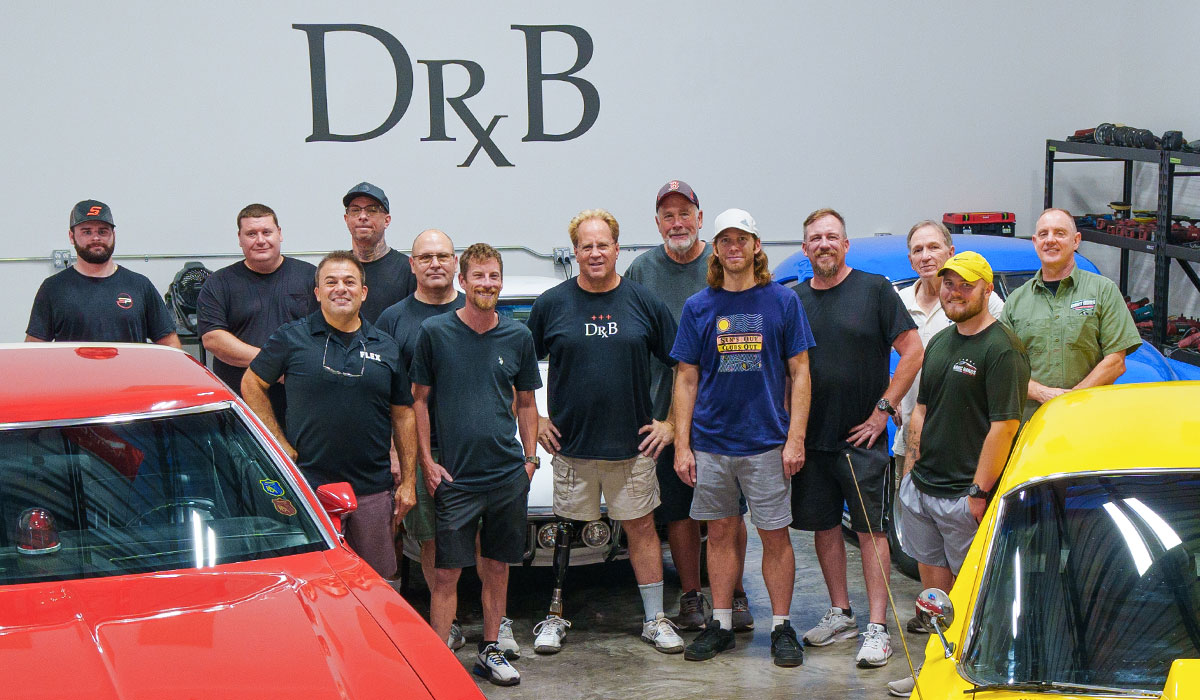
Here’s the team that made the magic happen!
Continued…
Day 1 – Friday Late Afternoon Session- 1-Step Ceramic AIO Paint Correction Ceramic Coatings
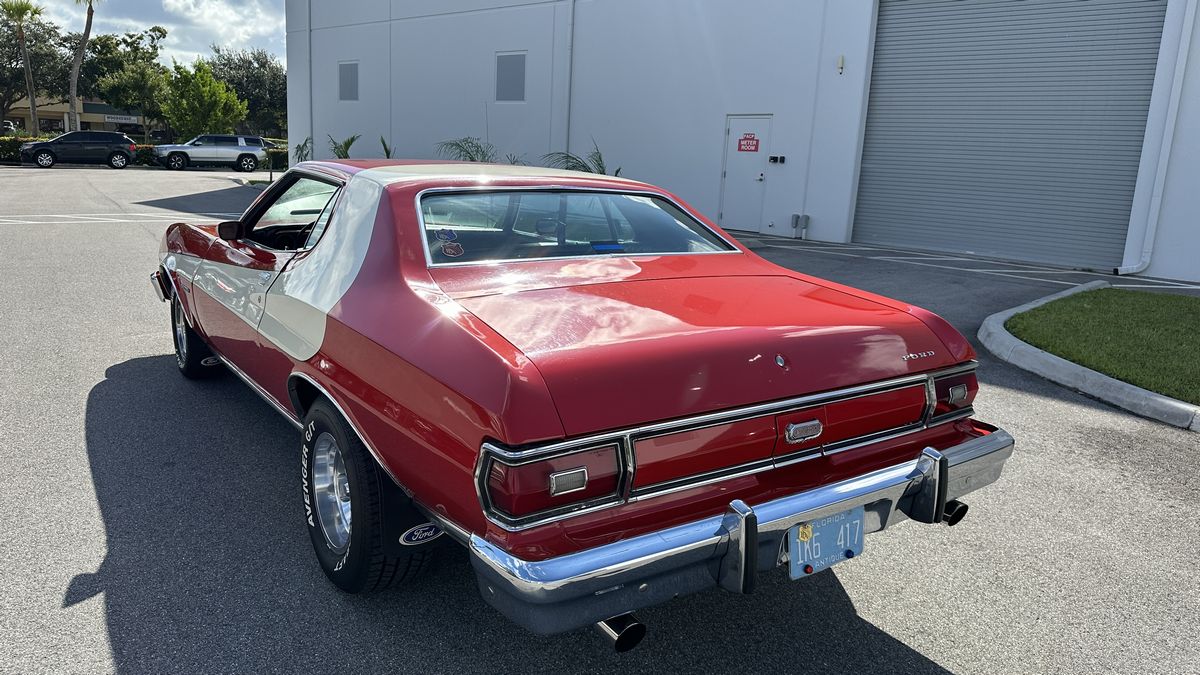
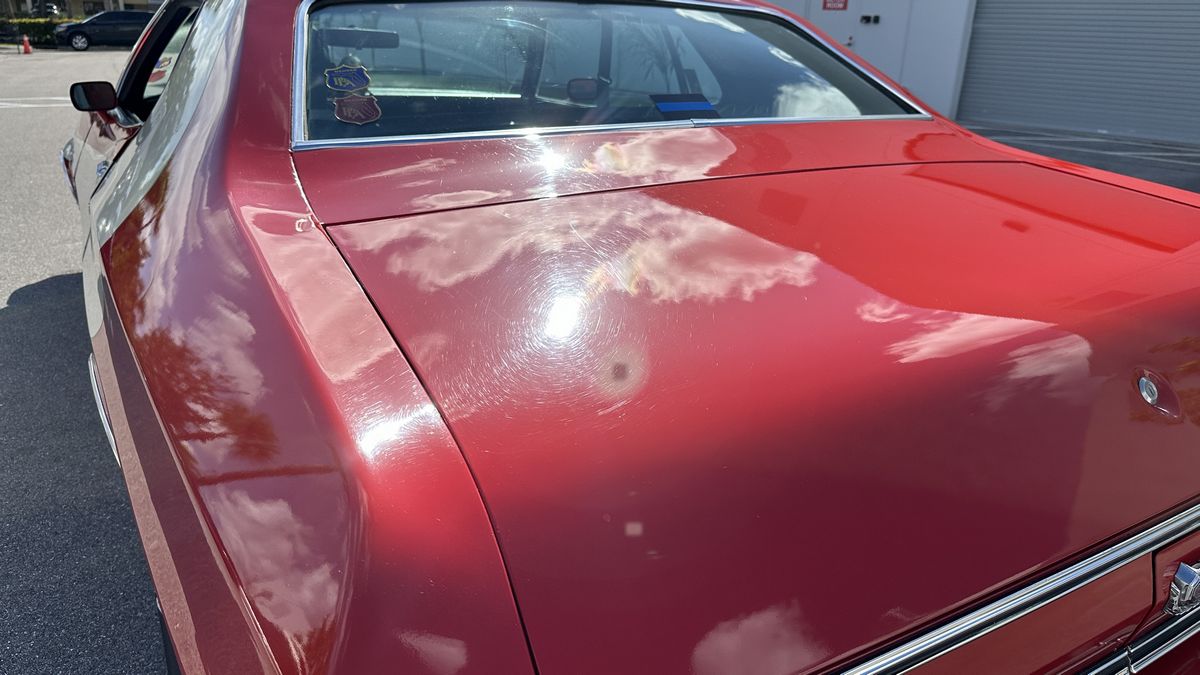
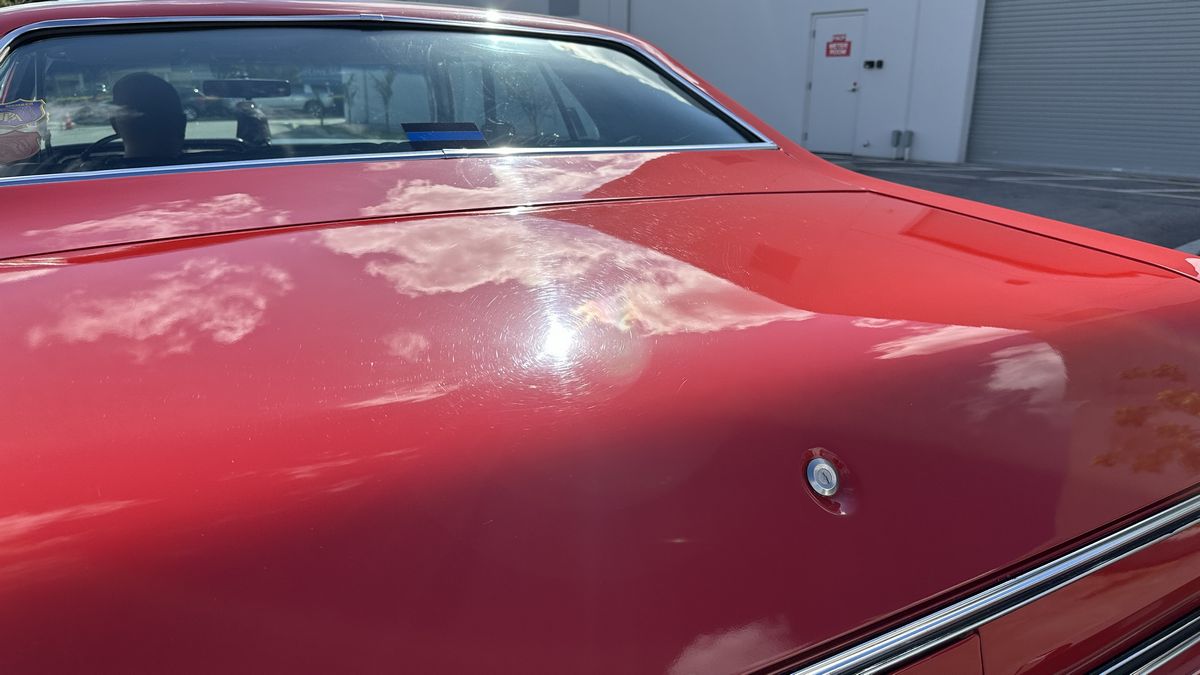
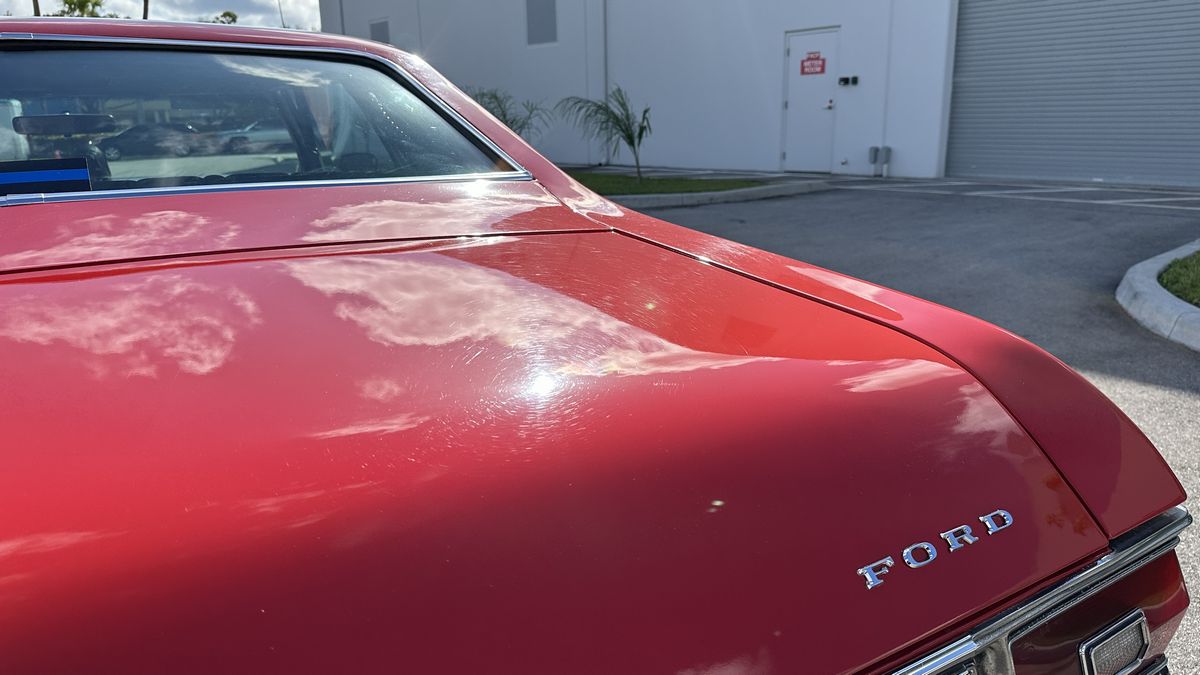
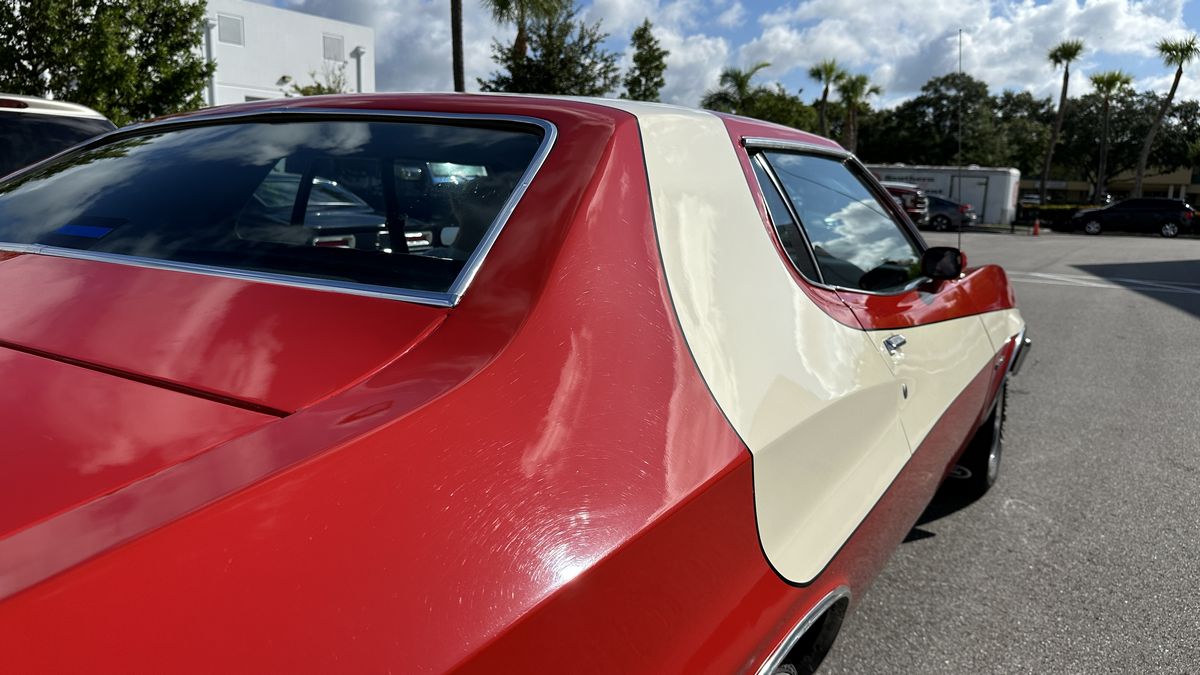
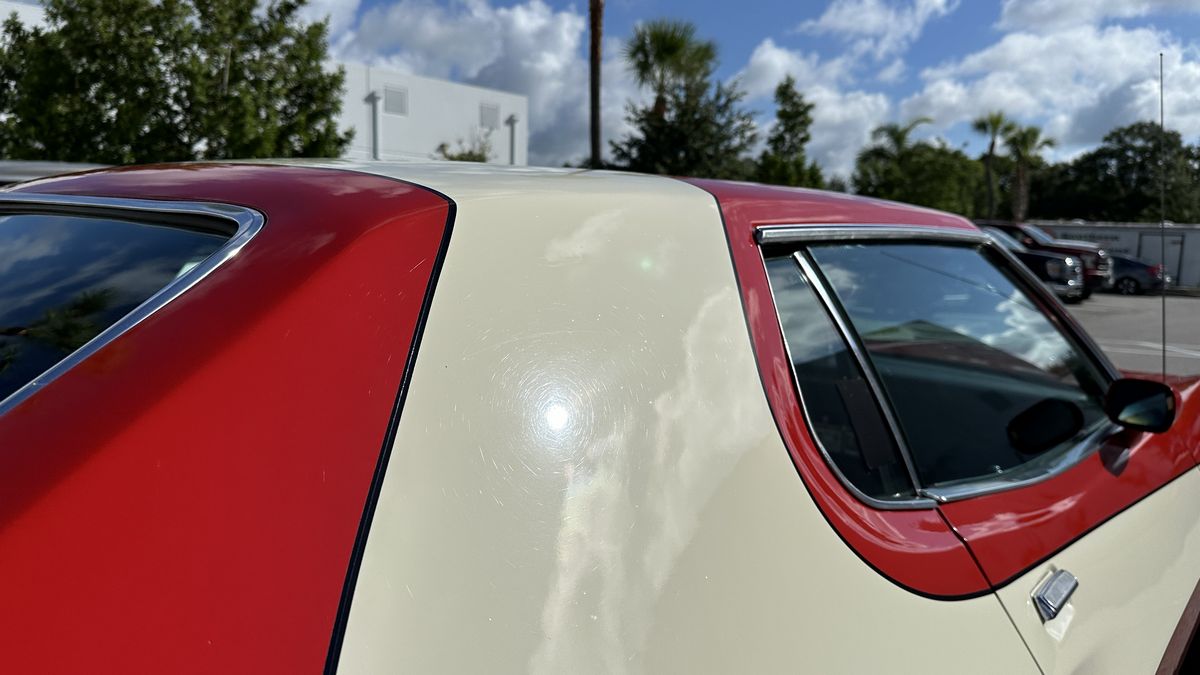
In order to fully appreciate the RESULTS from doing only 1-STEP – you need to see the before pictures.
BEFORE SHOTS OUTSIDE in FULL SUN!
Hard to beat bright, full overhead sunlight to show the true BEFORE condition of the paint.
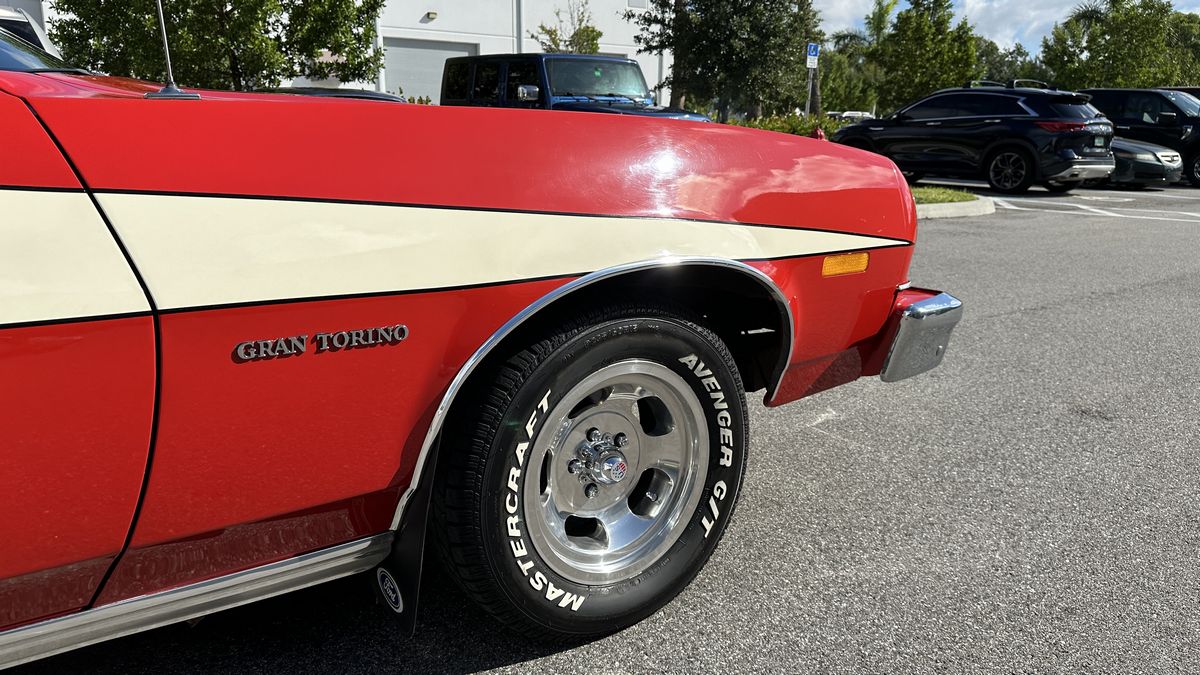
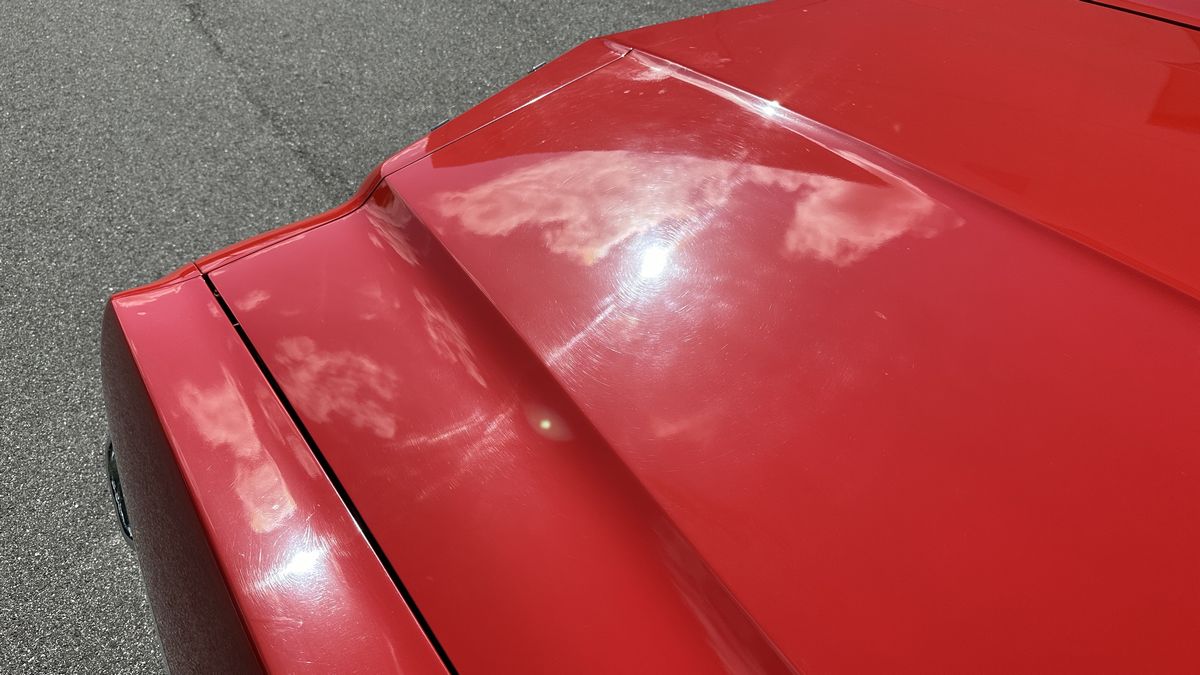
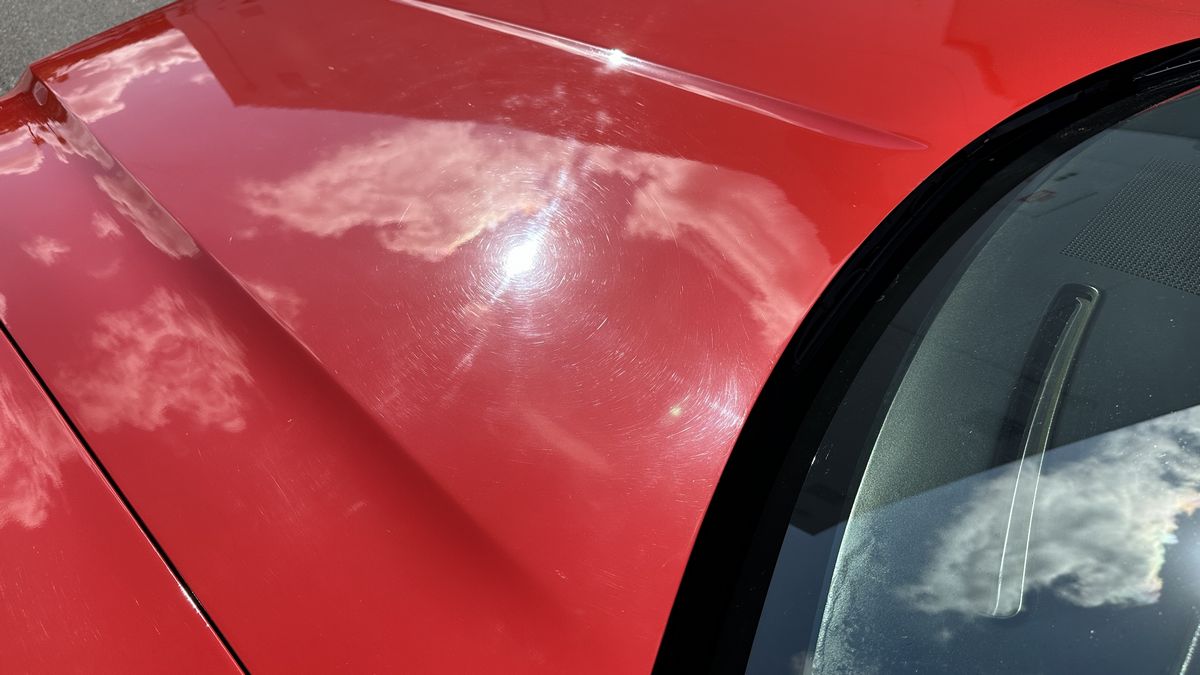
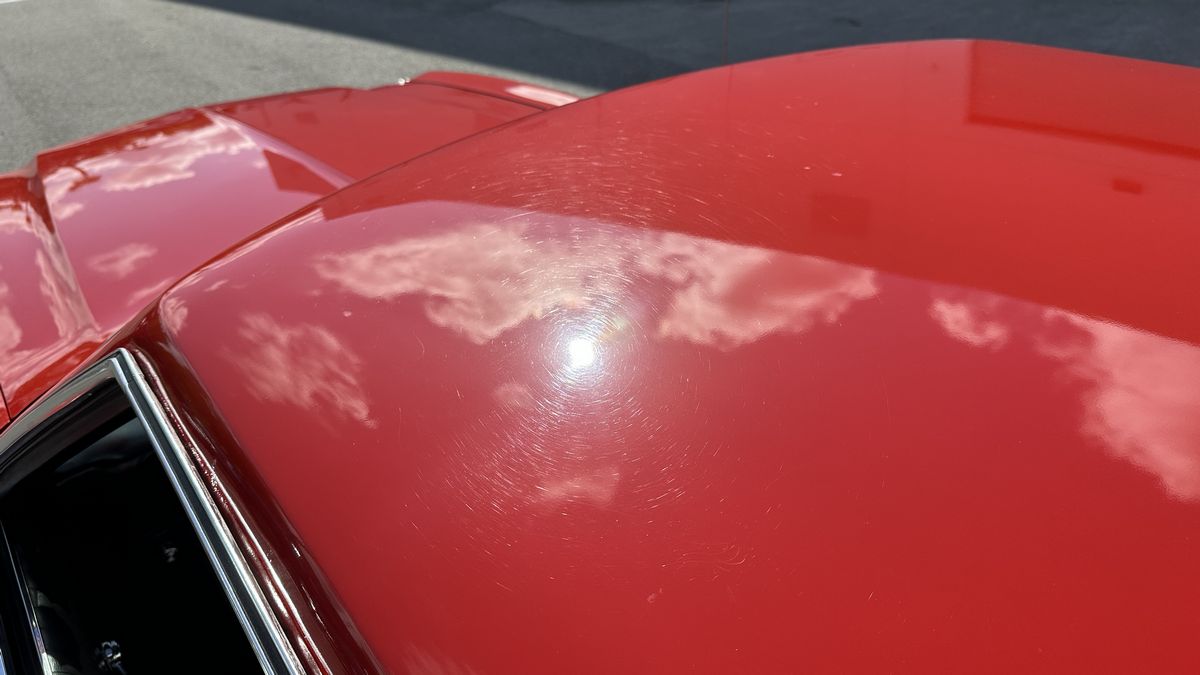
Swirl City
After a thorough bath, I invested a few minutes in photo-documenting the BEFORE condition.
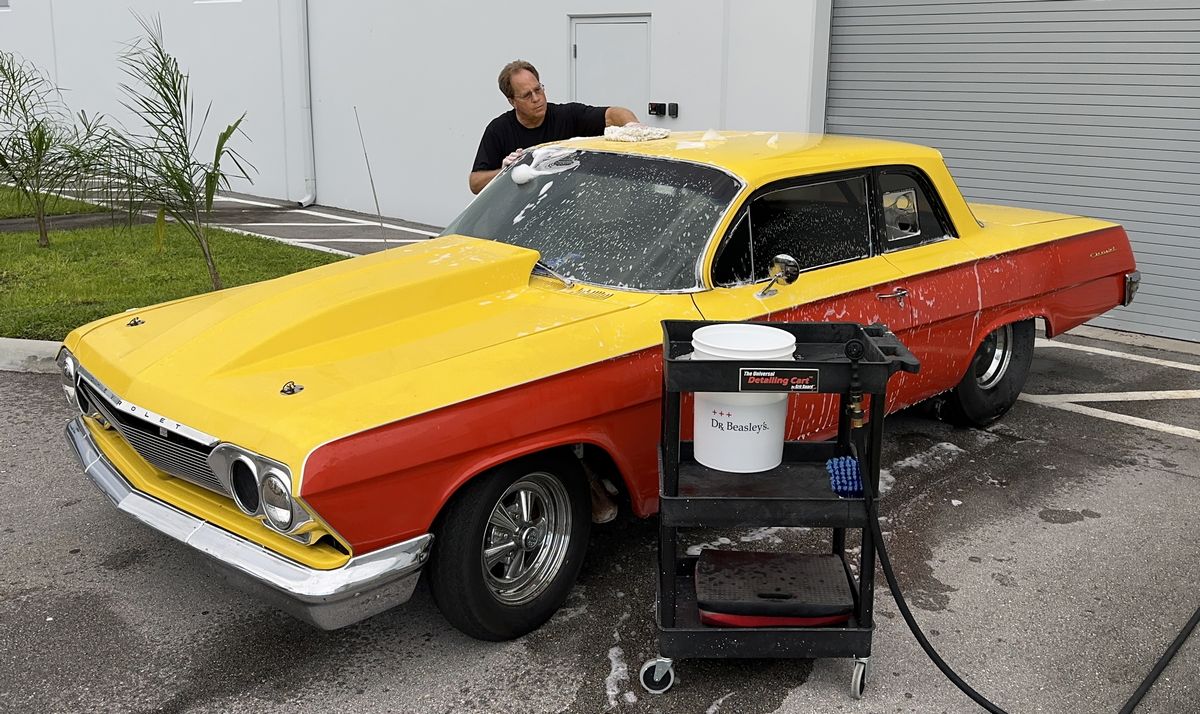
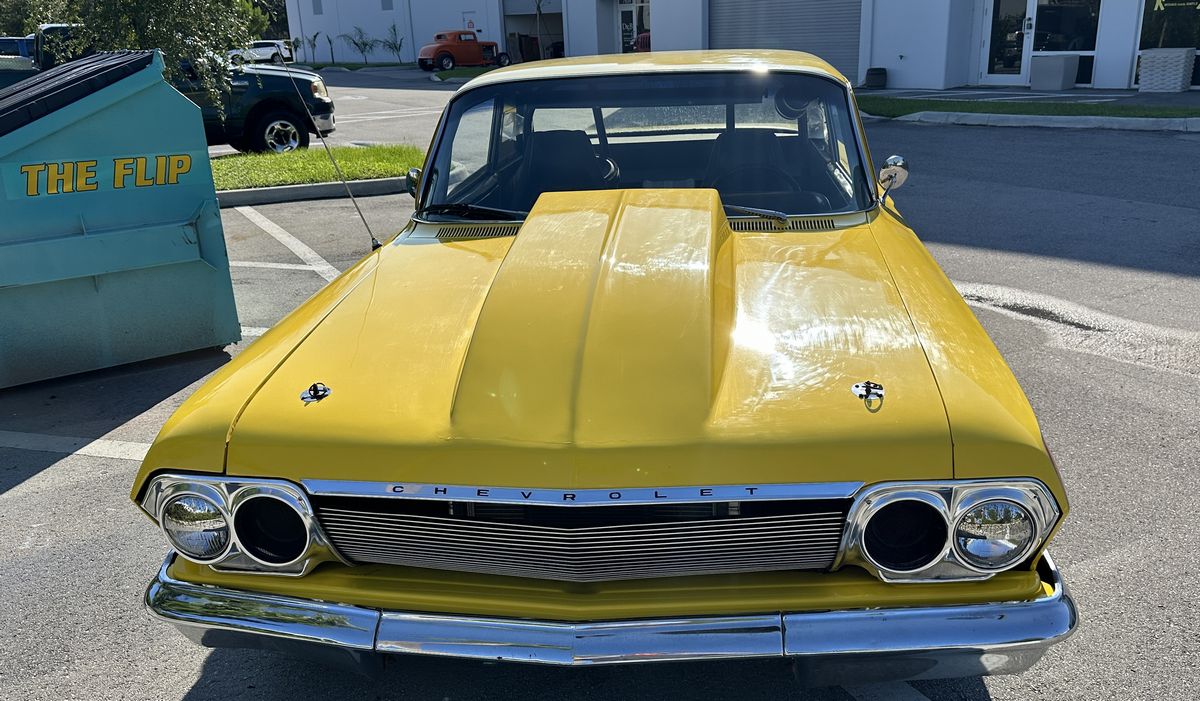
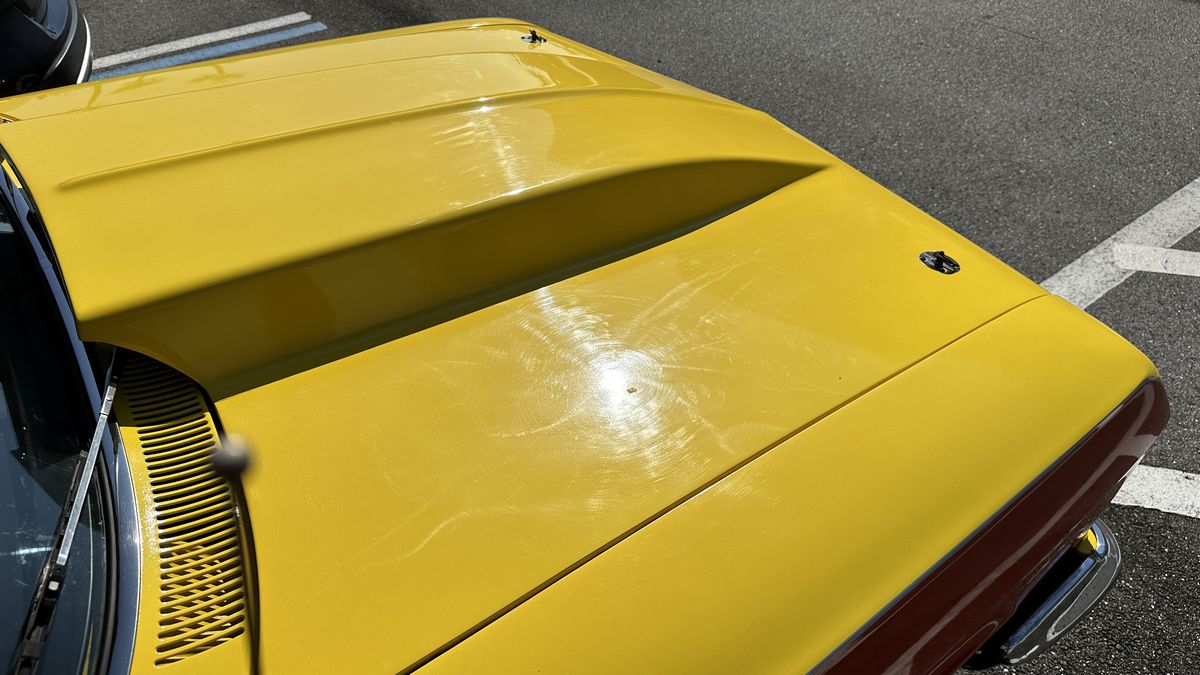
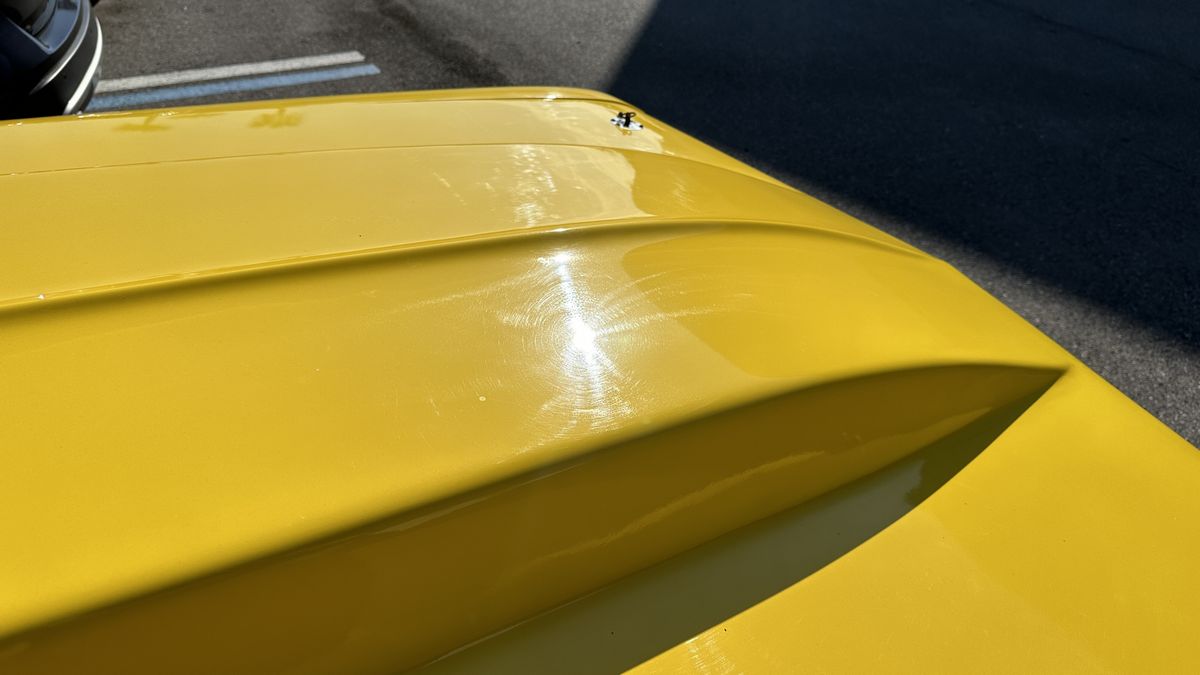
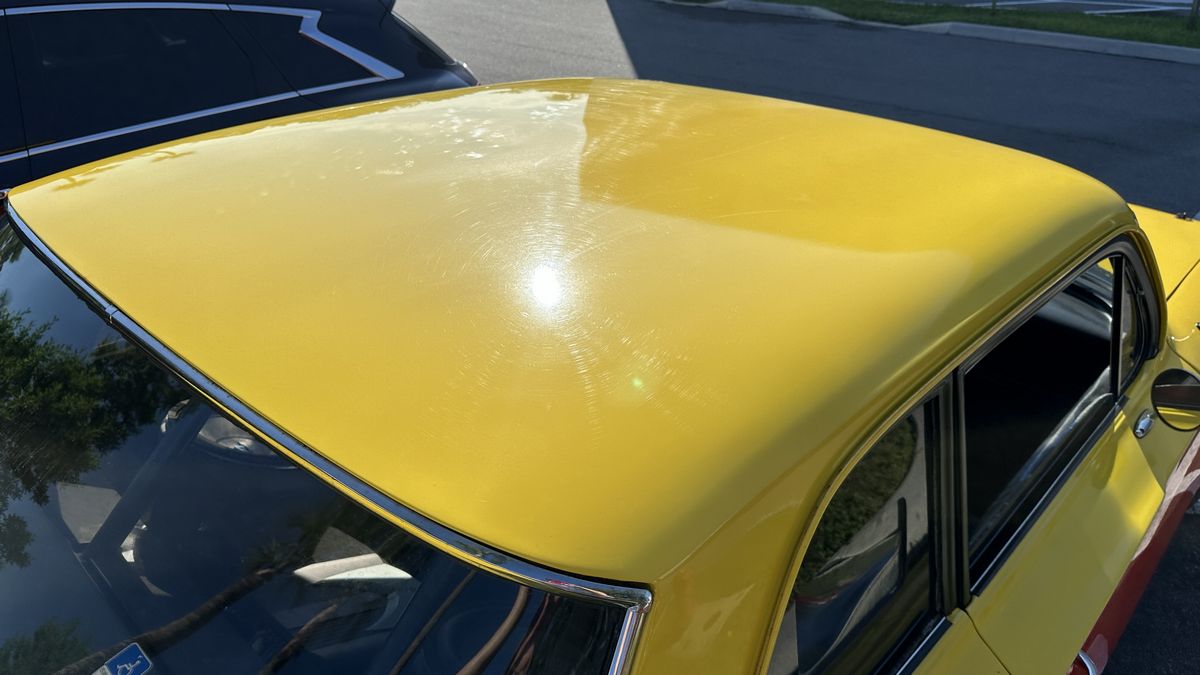
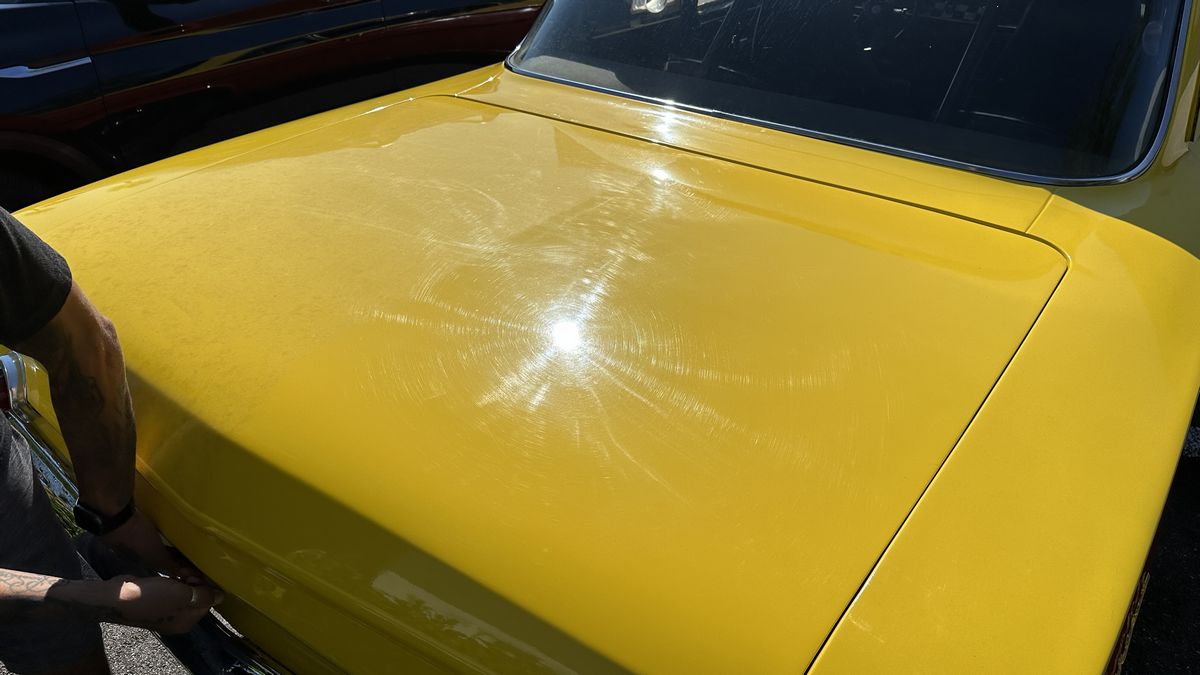
It’s GO TIME!
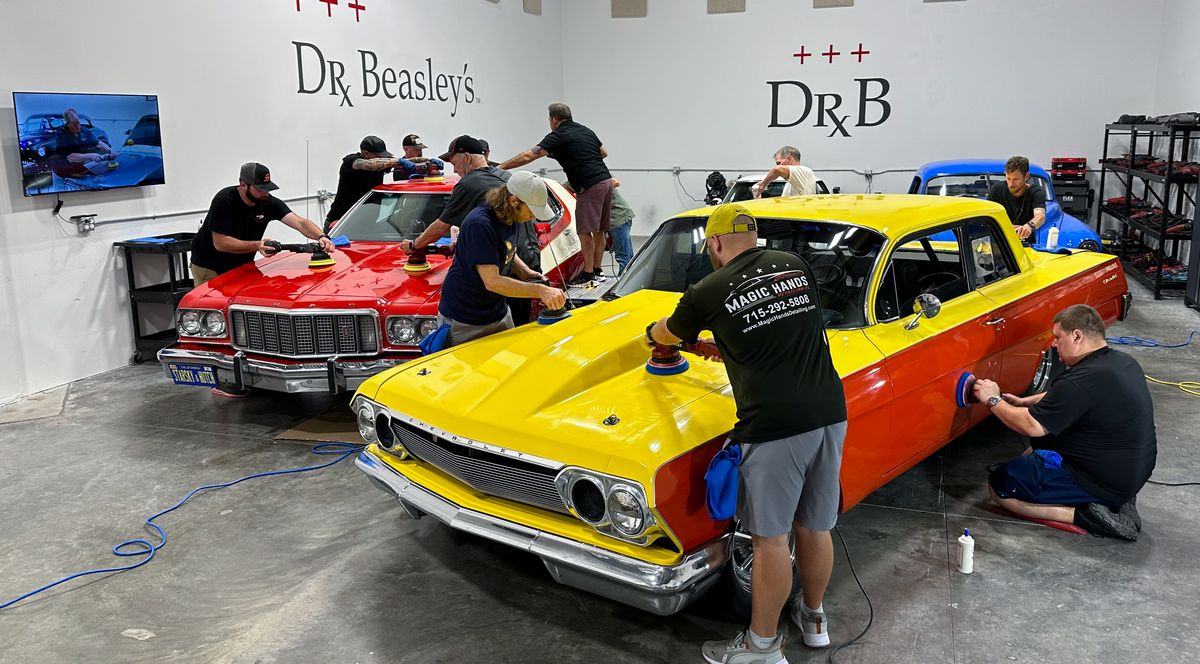
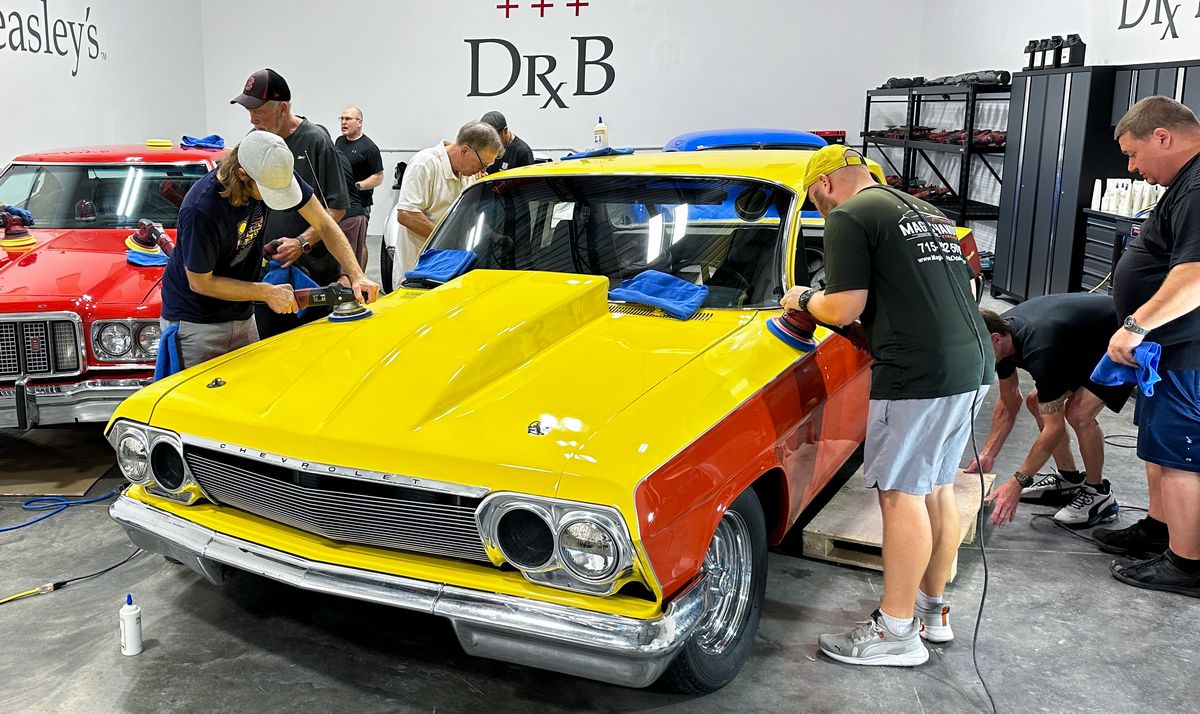
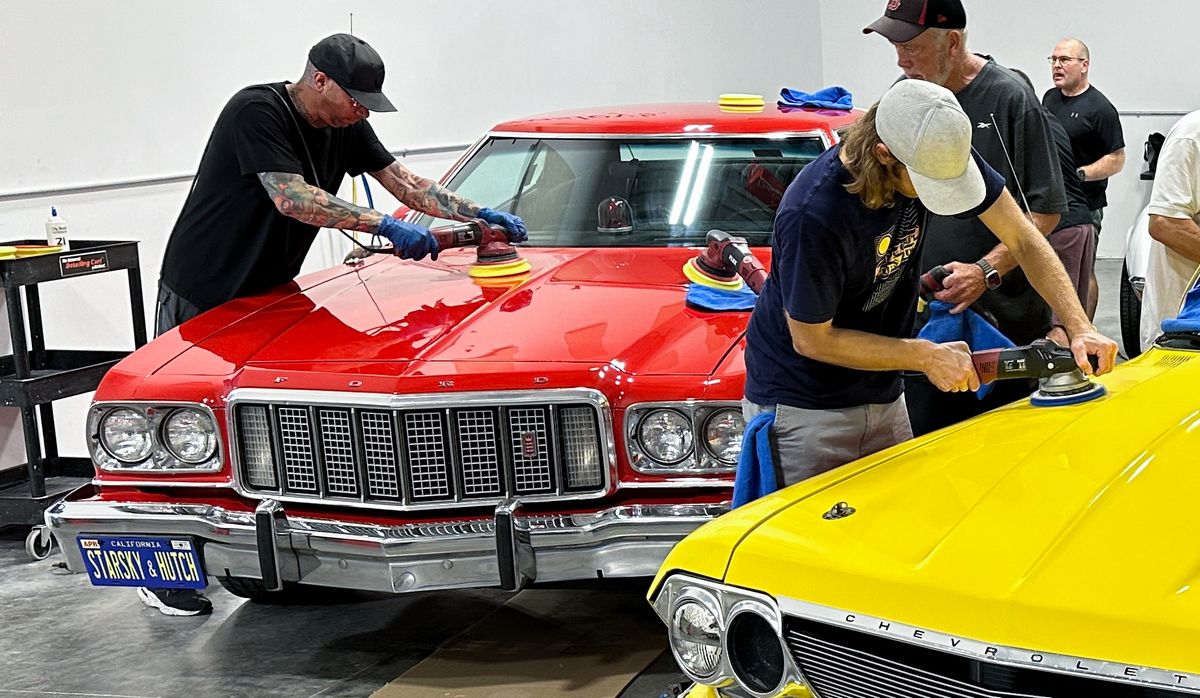
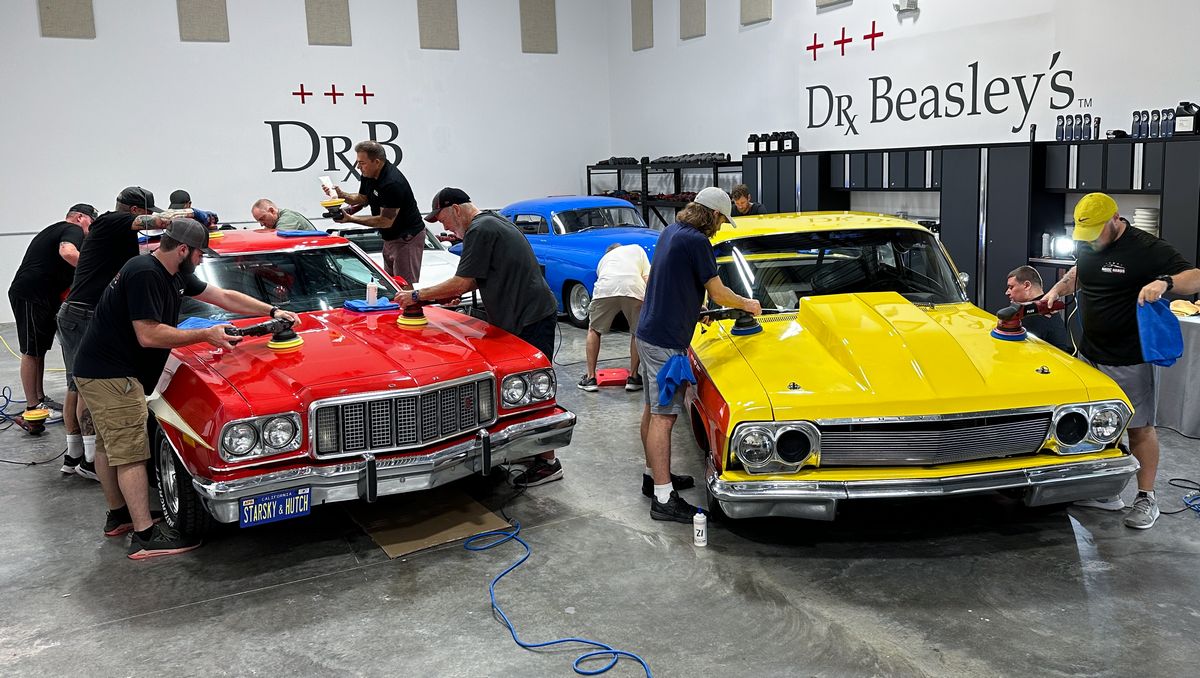
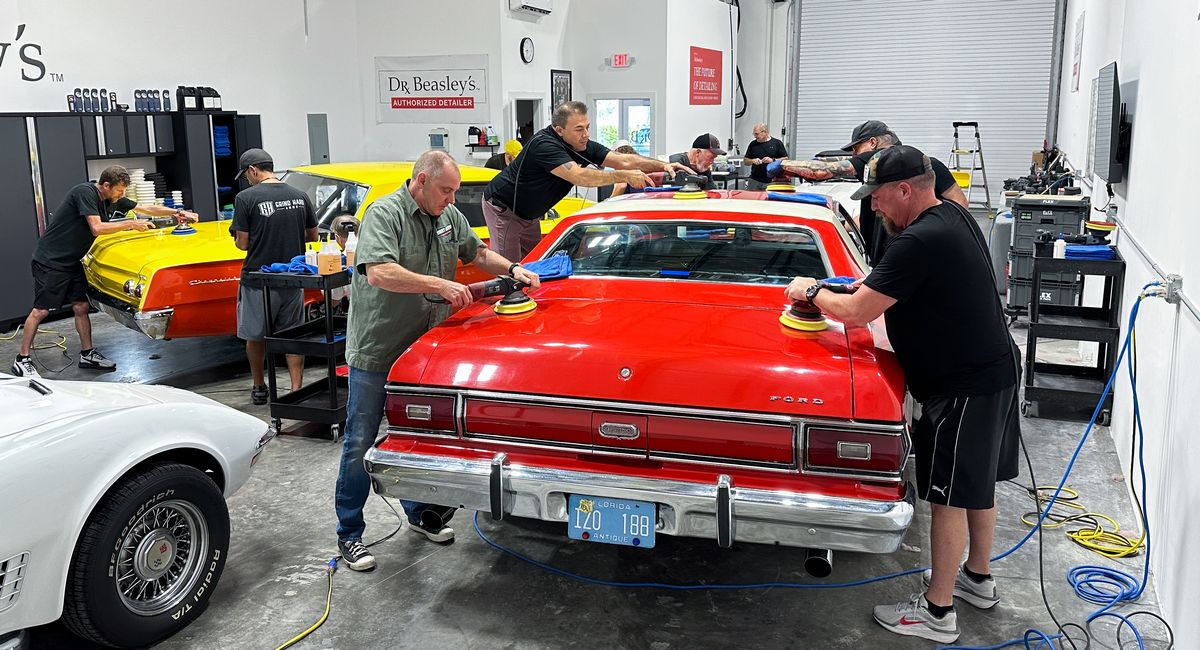
Here are the final results from a simple, 1-Step Paint Correction Process using Dr. Beasley’s Z1
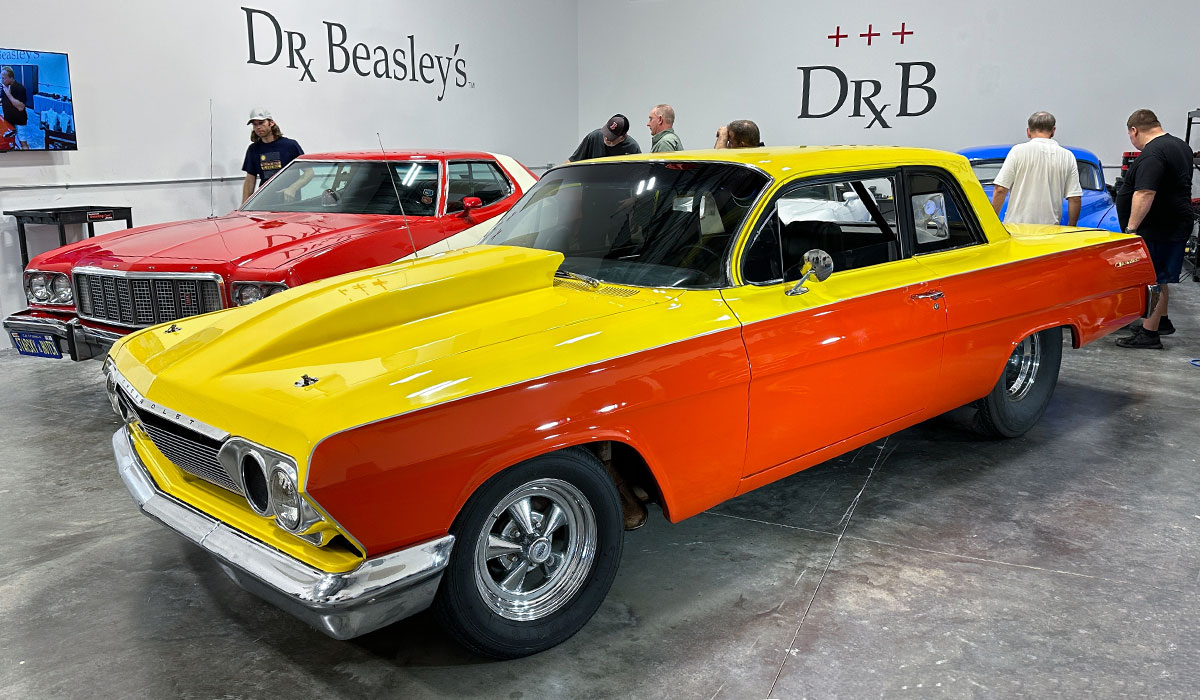
Continued…
Day 2 – Saturday – Removing Orange Peel – Dry Spray – Surface Texture
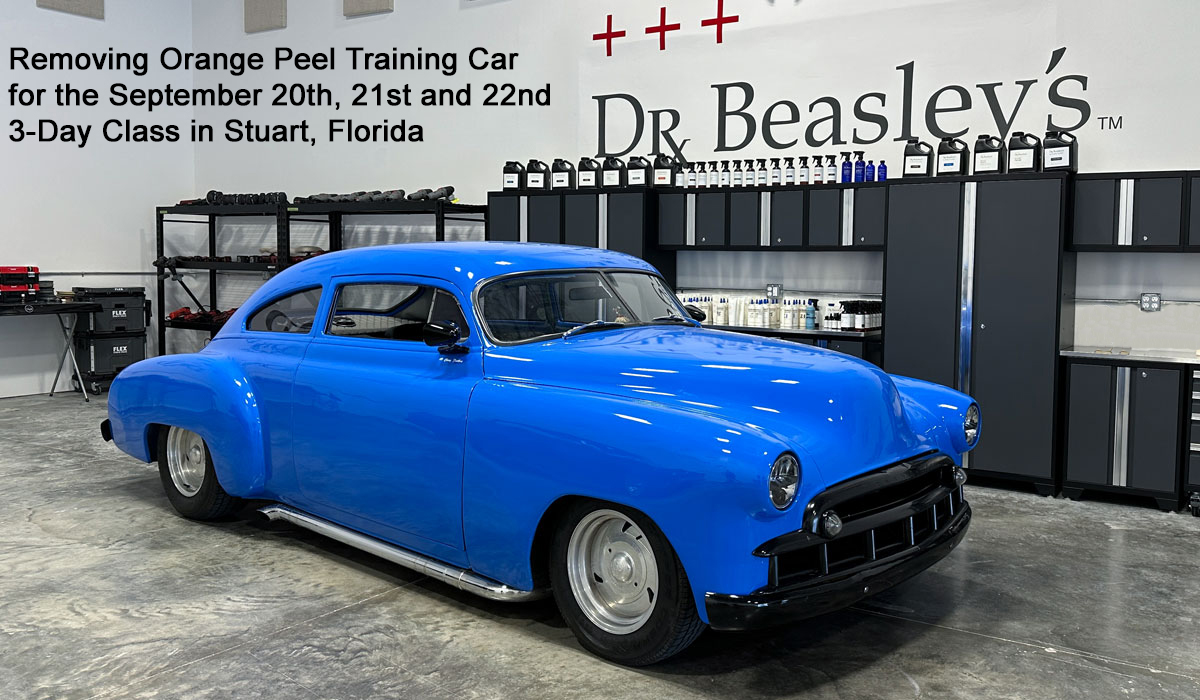
1949 Chevy Fleetline Streetrod
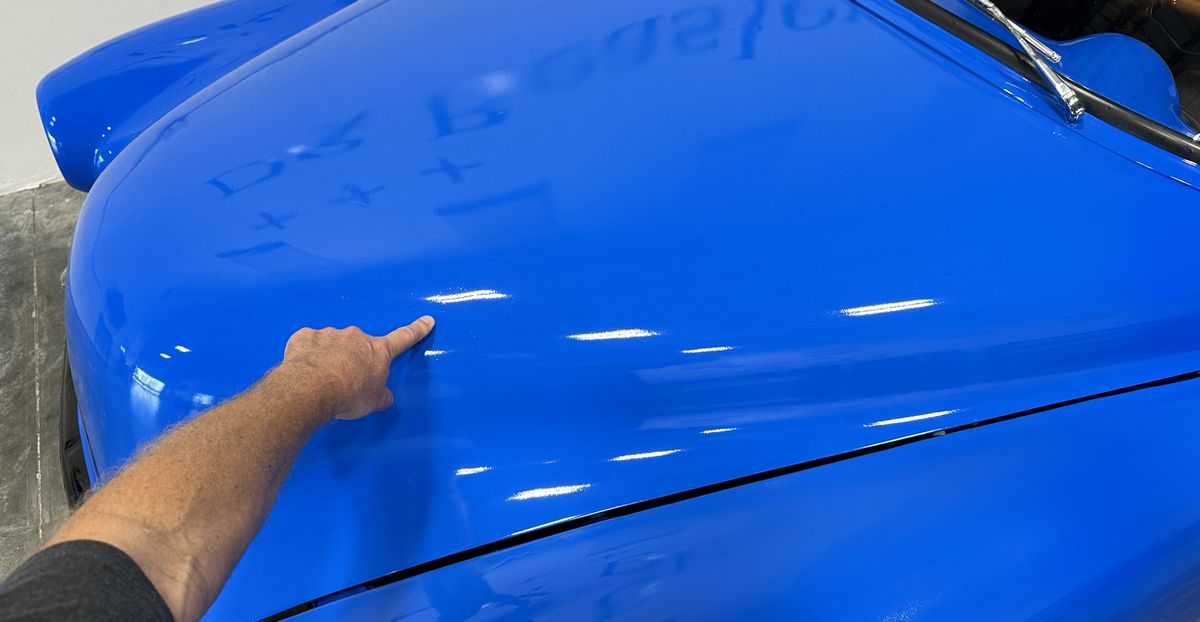
Extreme Orange Peel
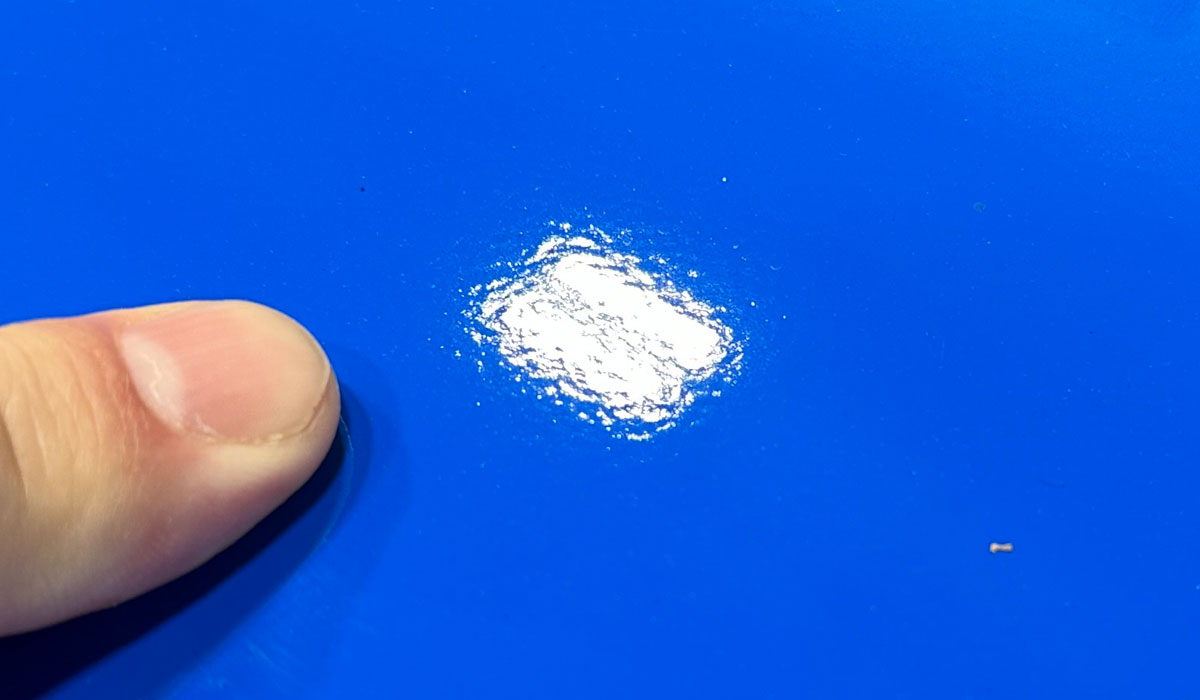
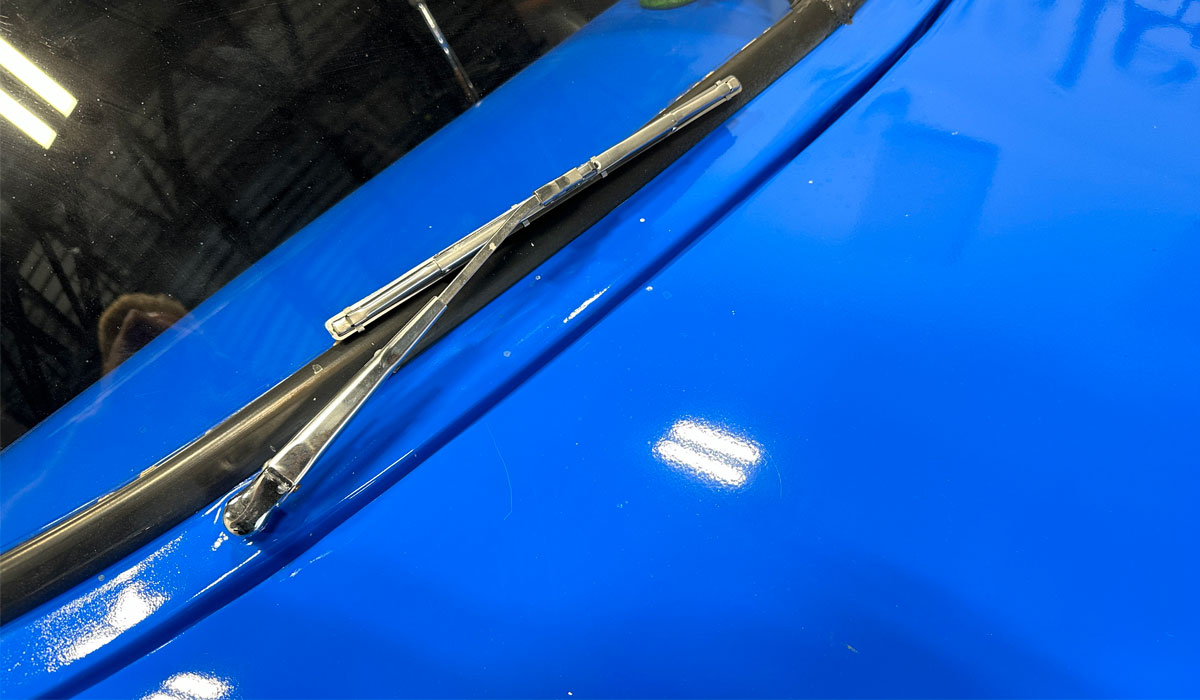
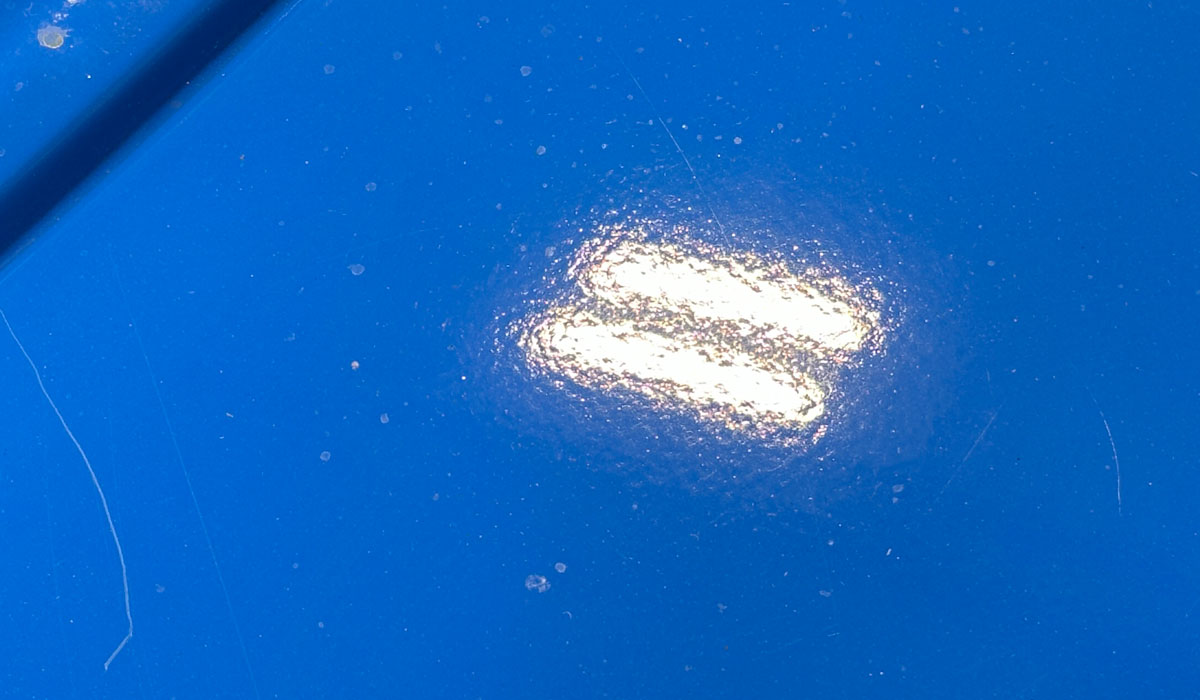
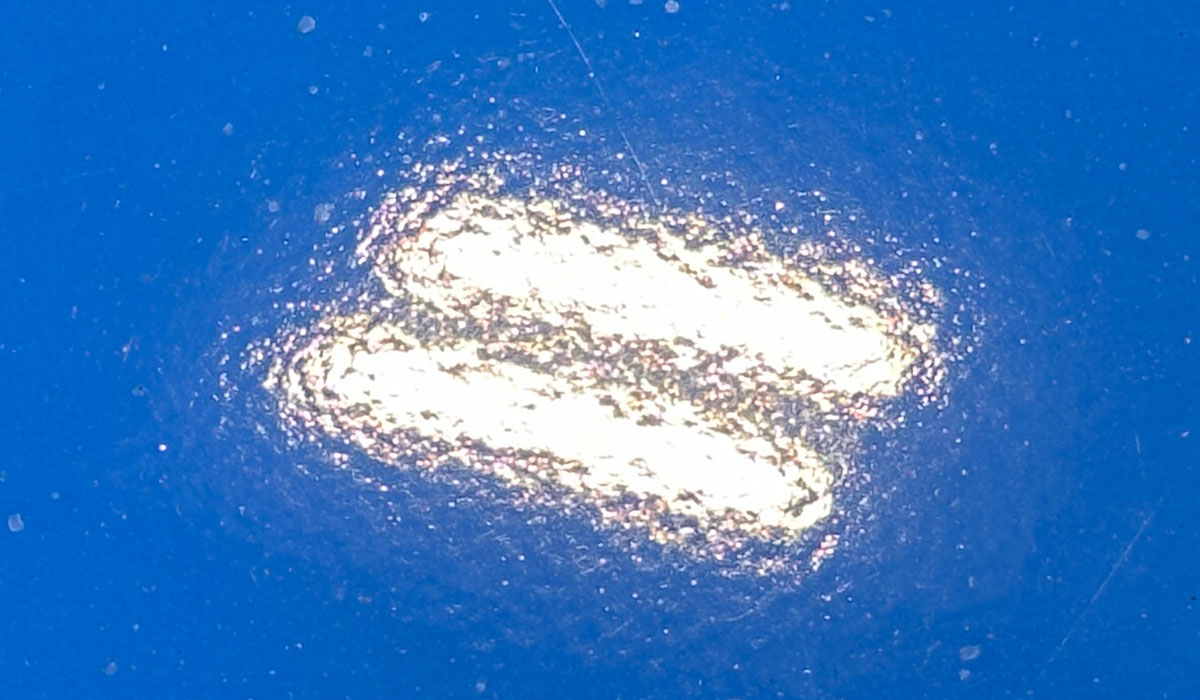
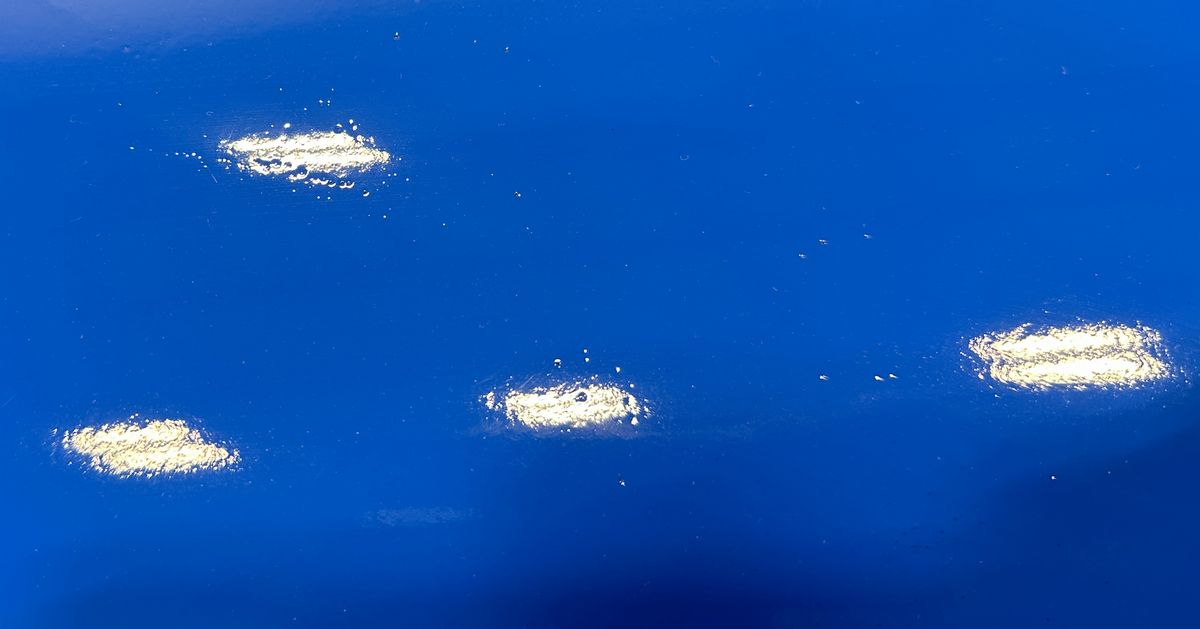
Extreme Dry Spray
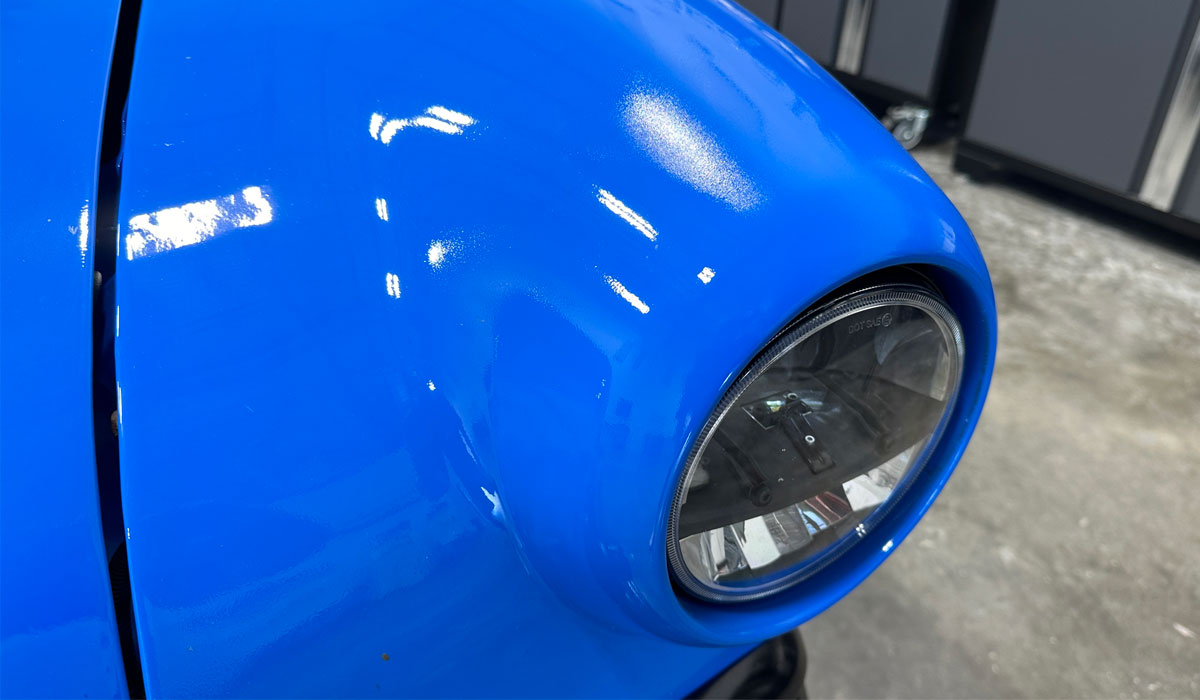
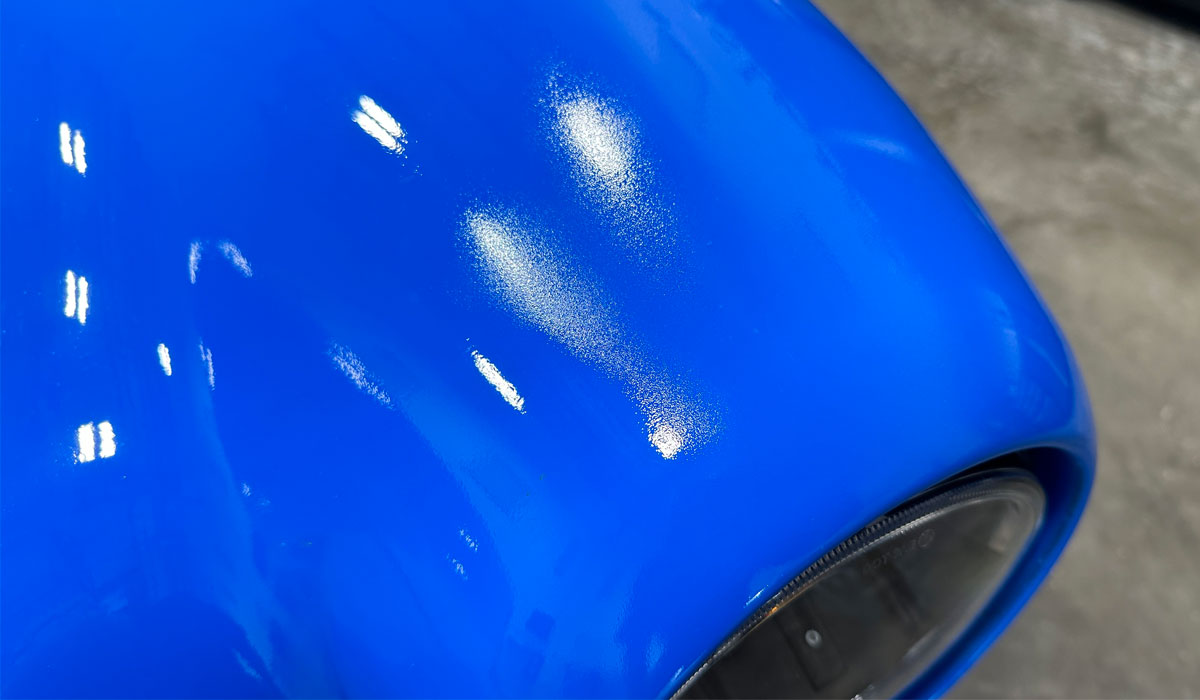
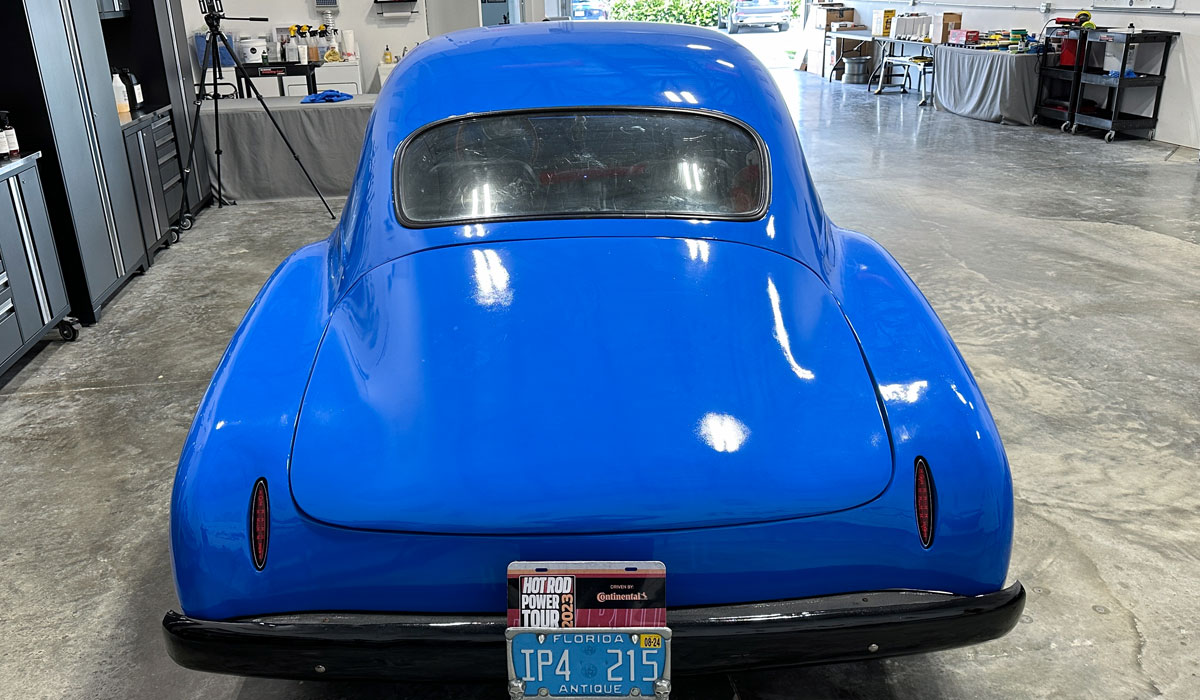
Orange Peel – Dry Spray – Surface Texture
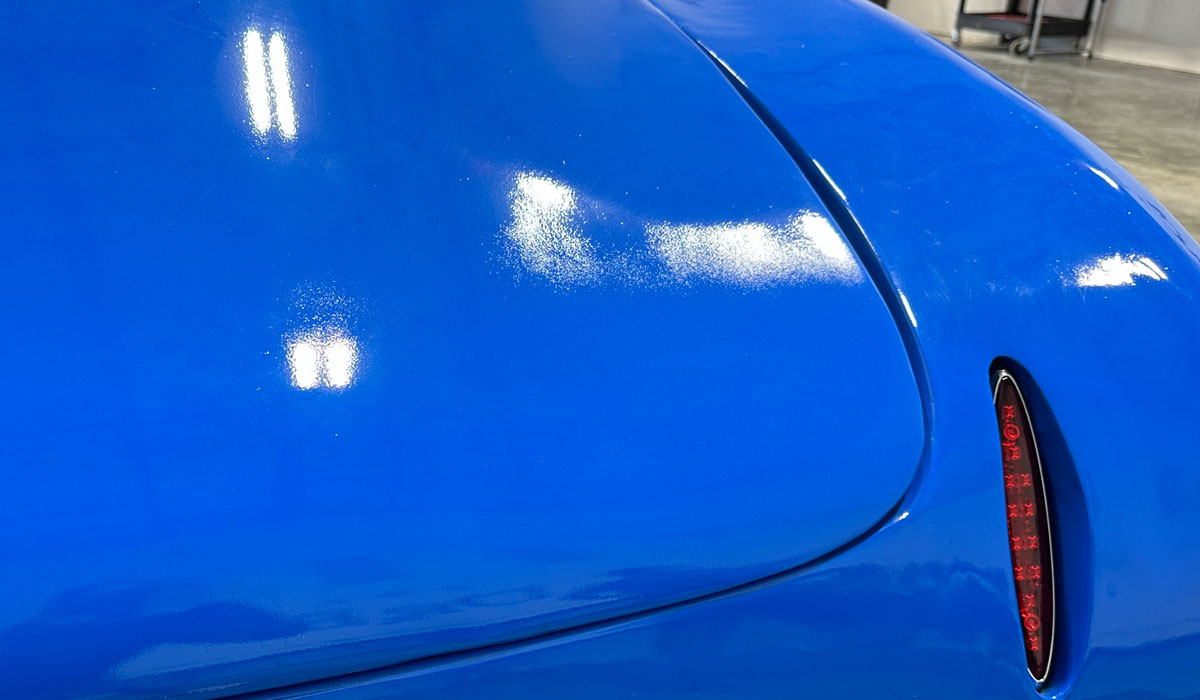
Continued…
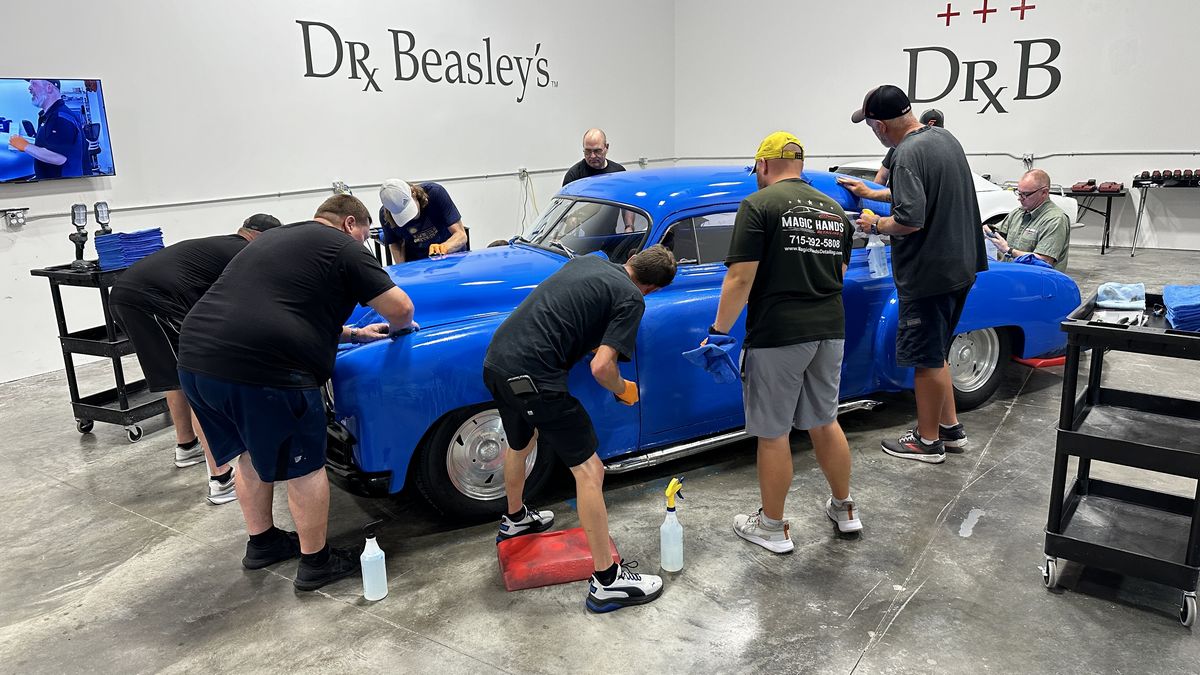
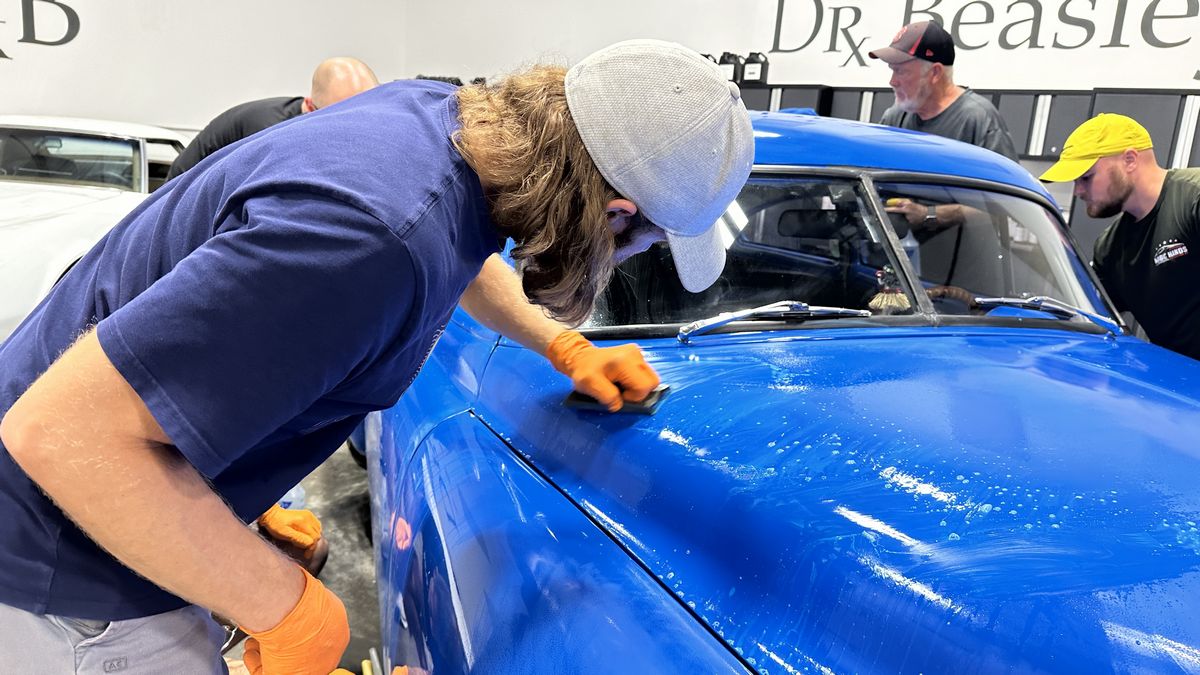
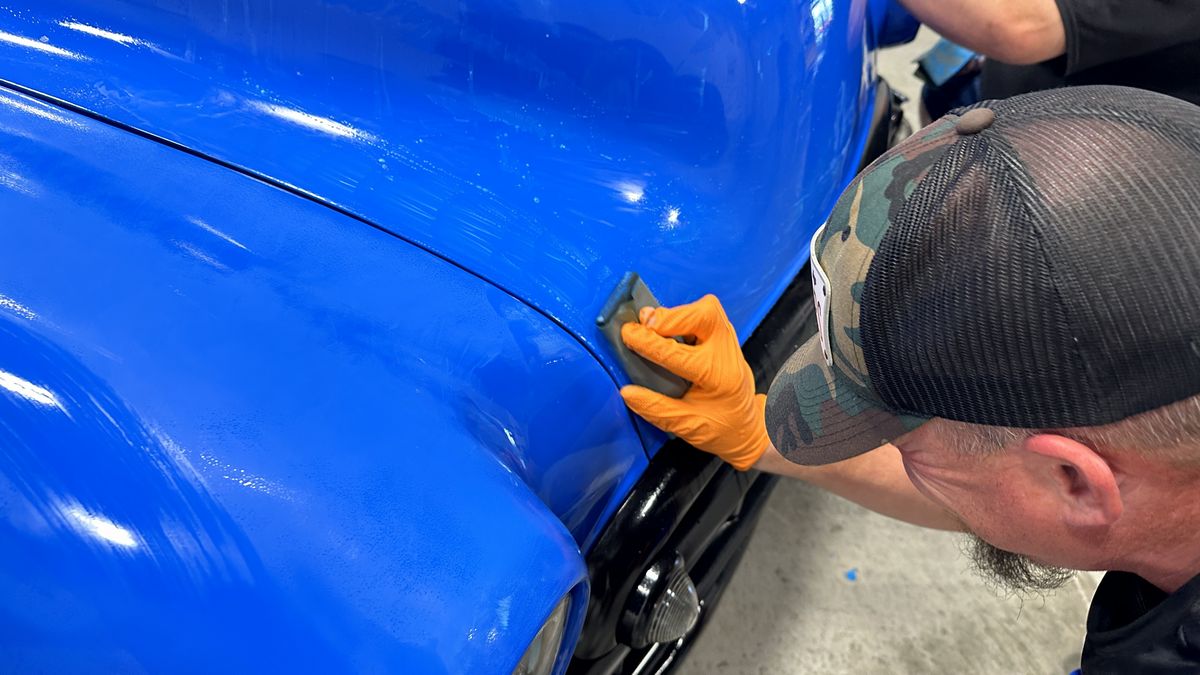
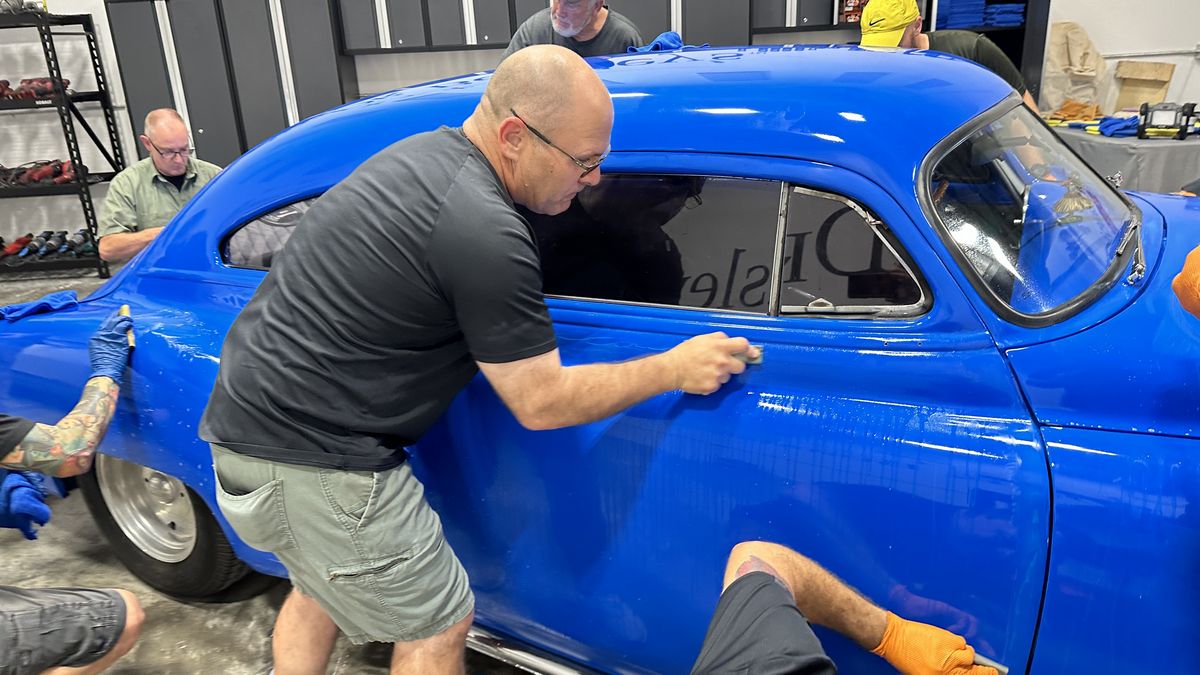
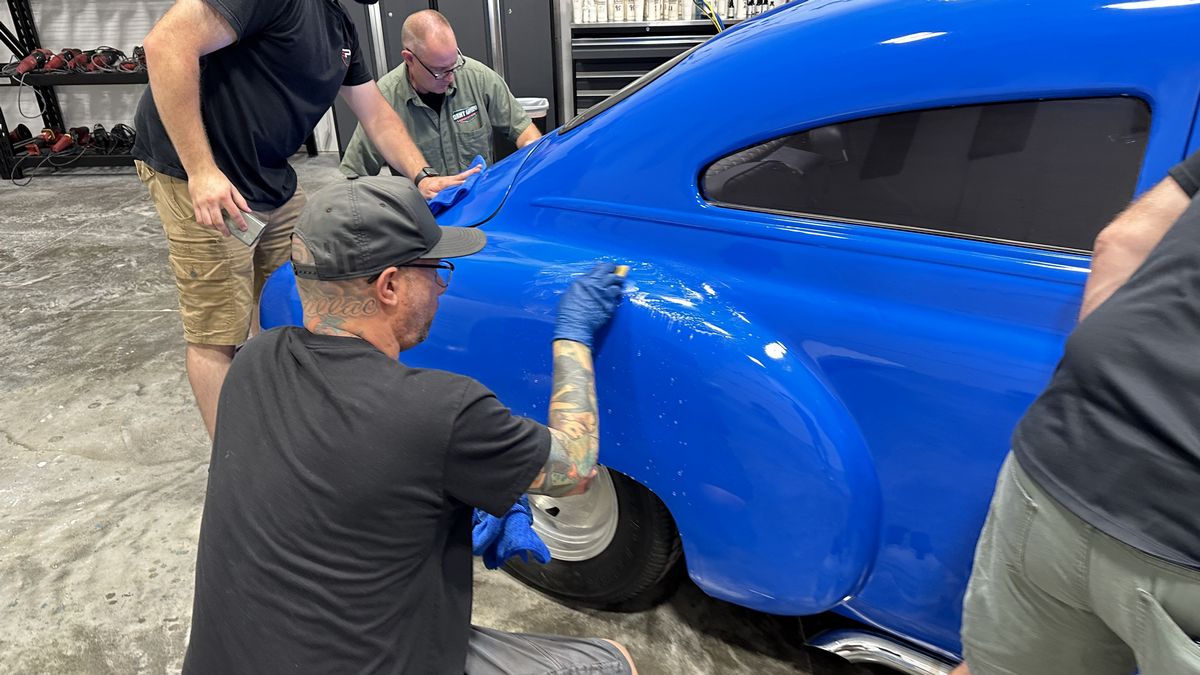
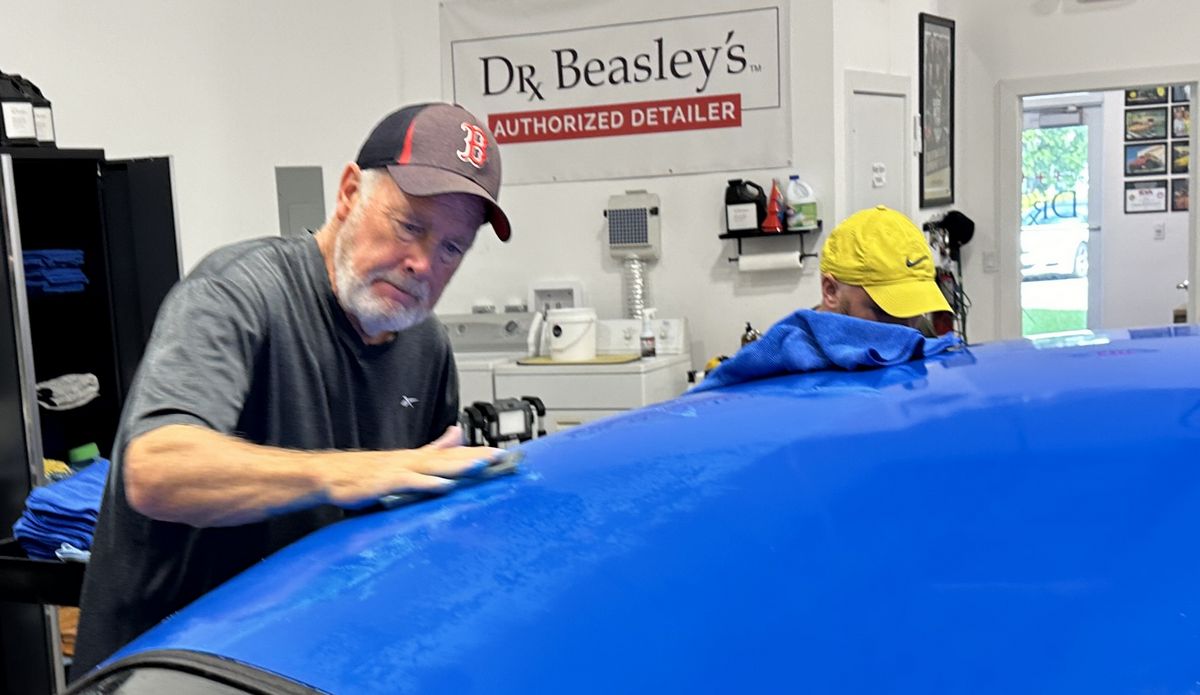
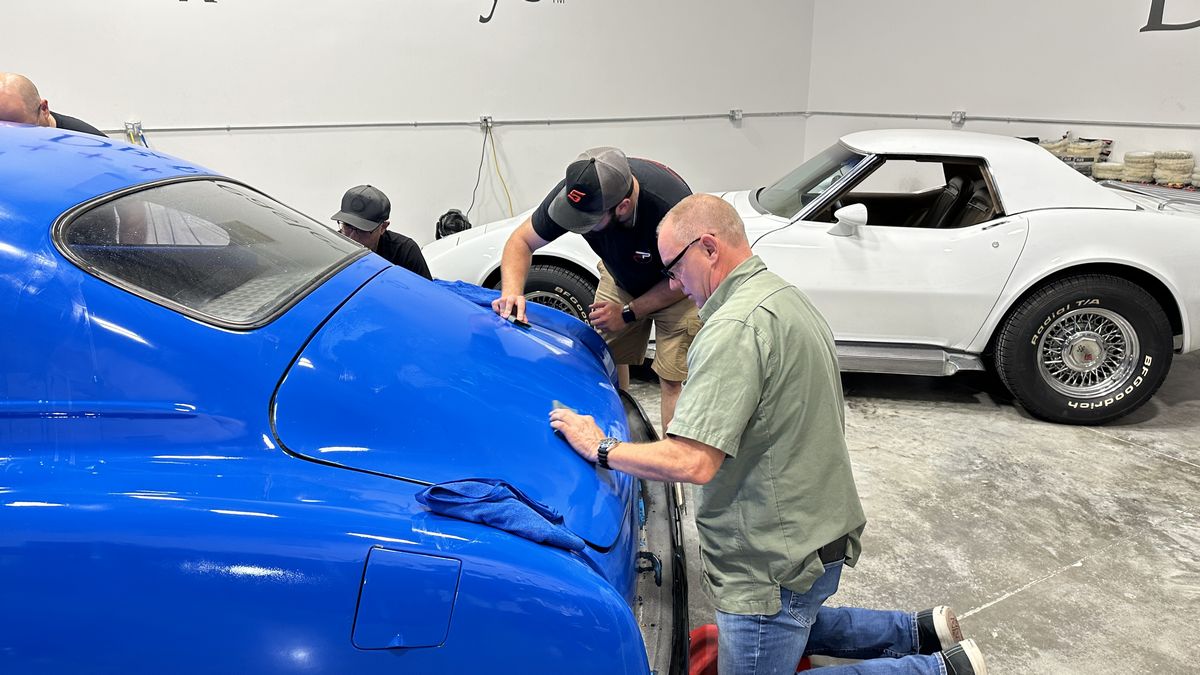
Hand Wet Sanding
Machine Dry Sanding
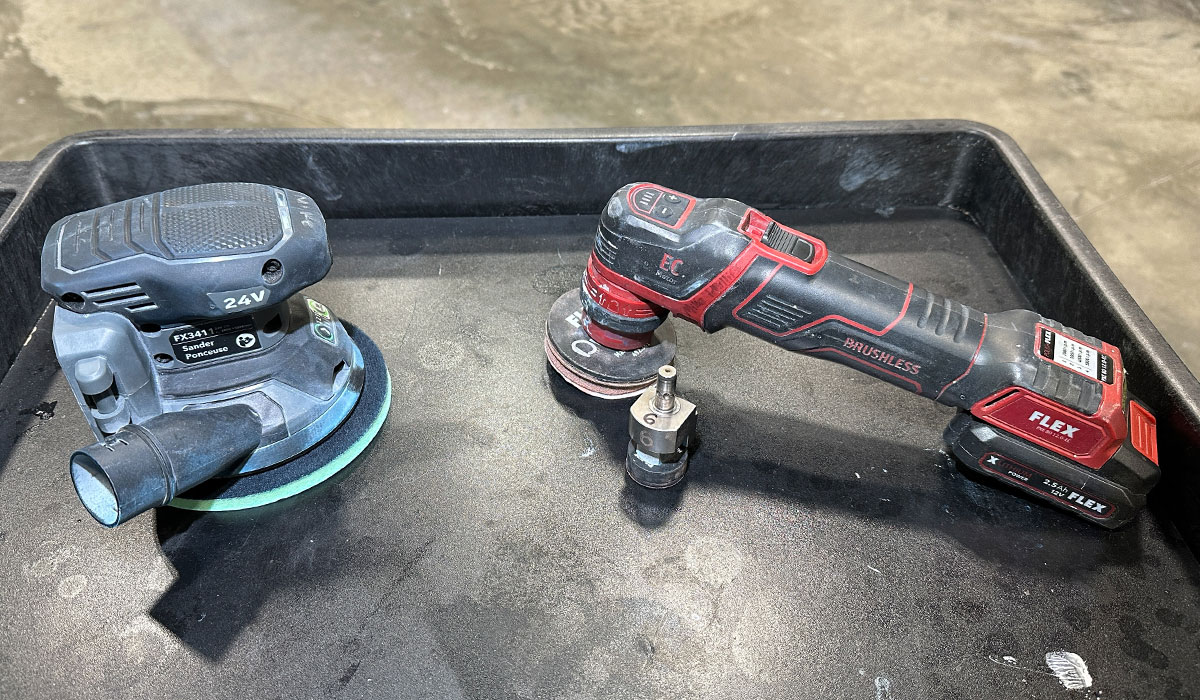
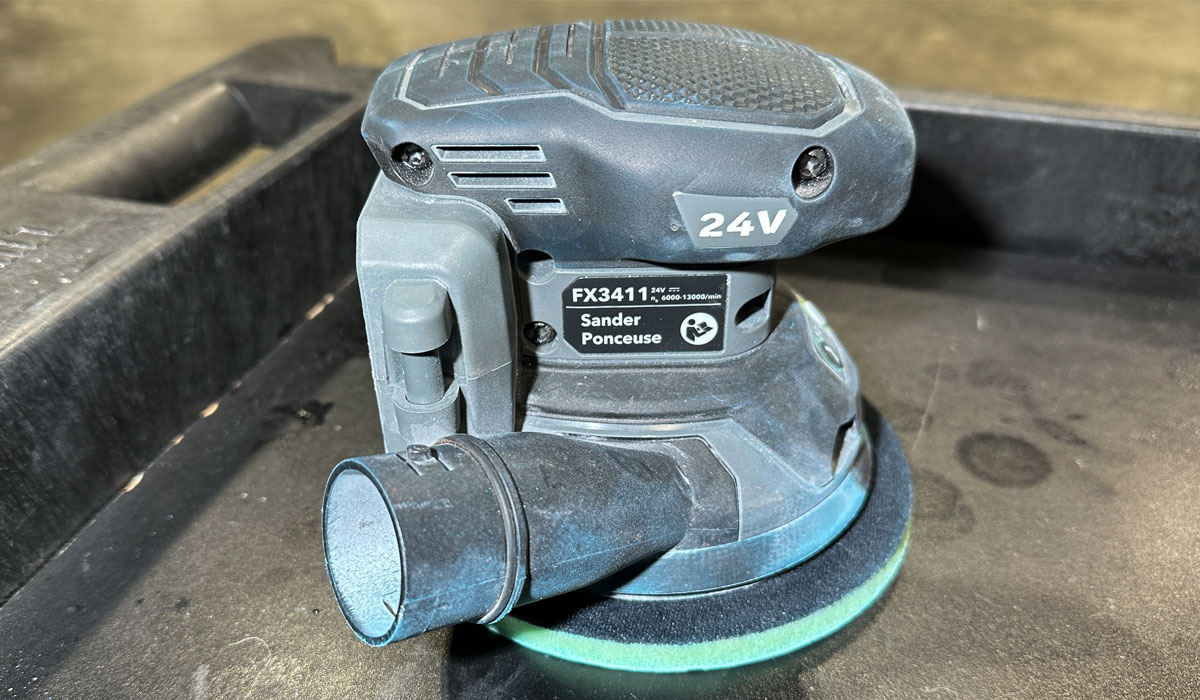
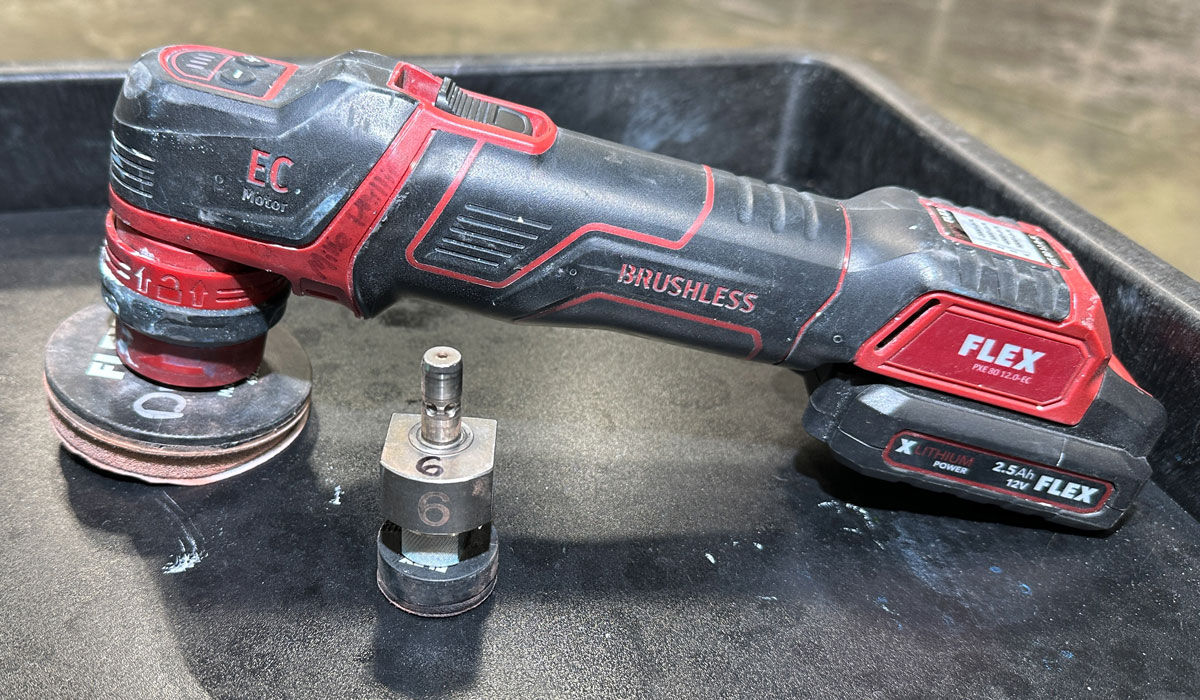
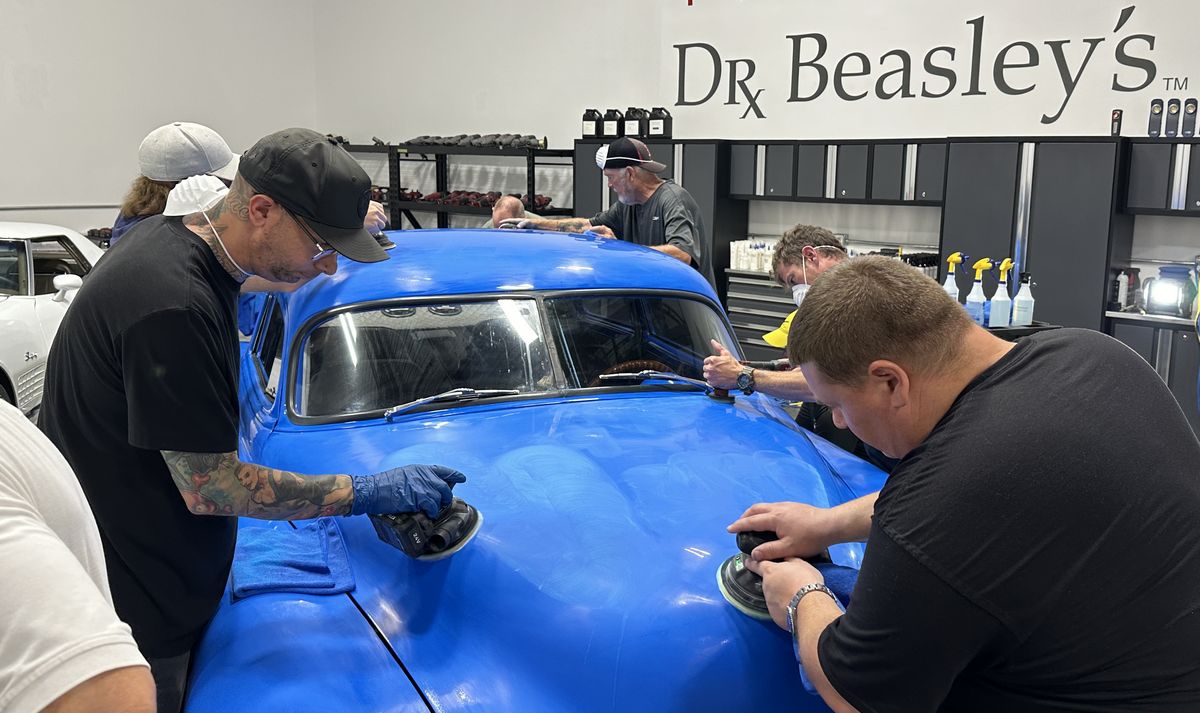
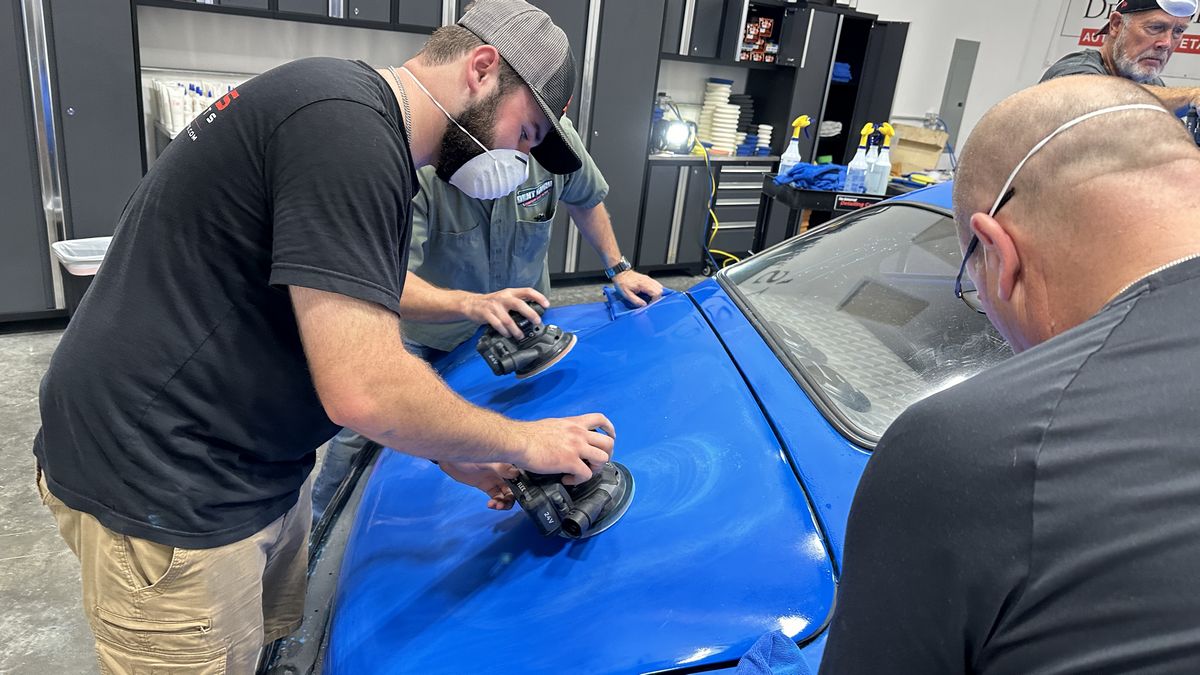
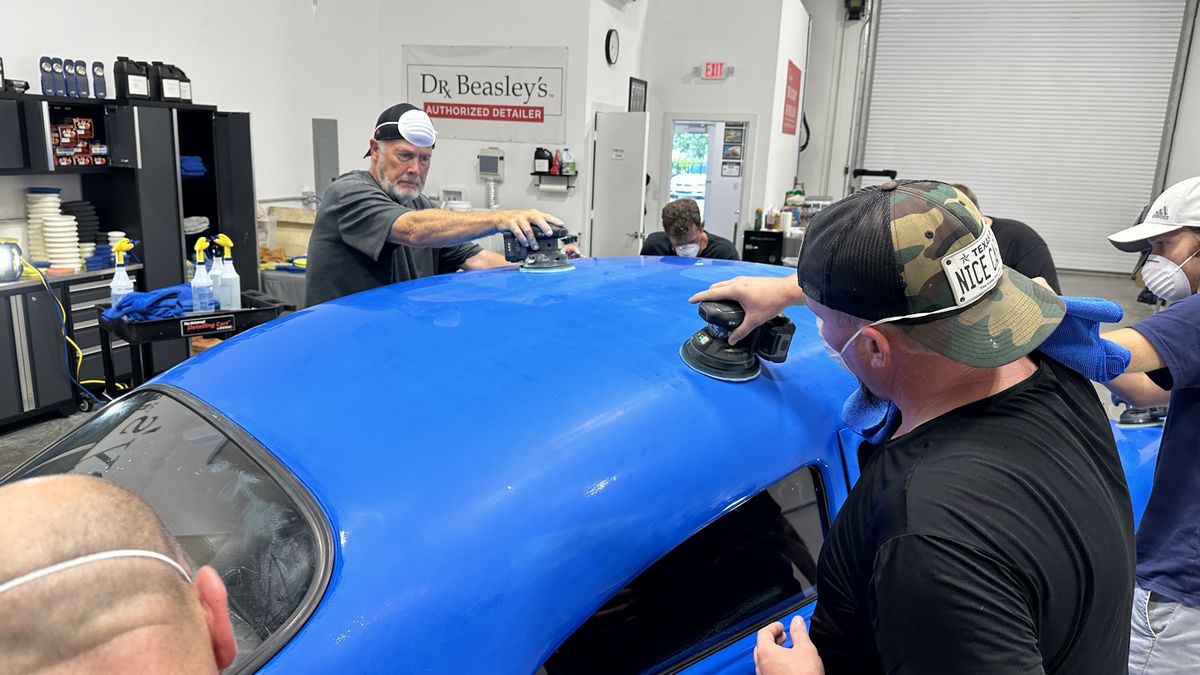
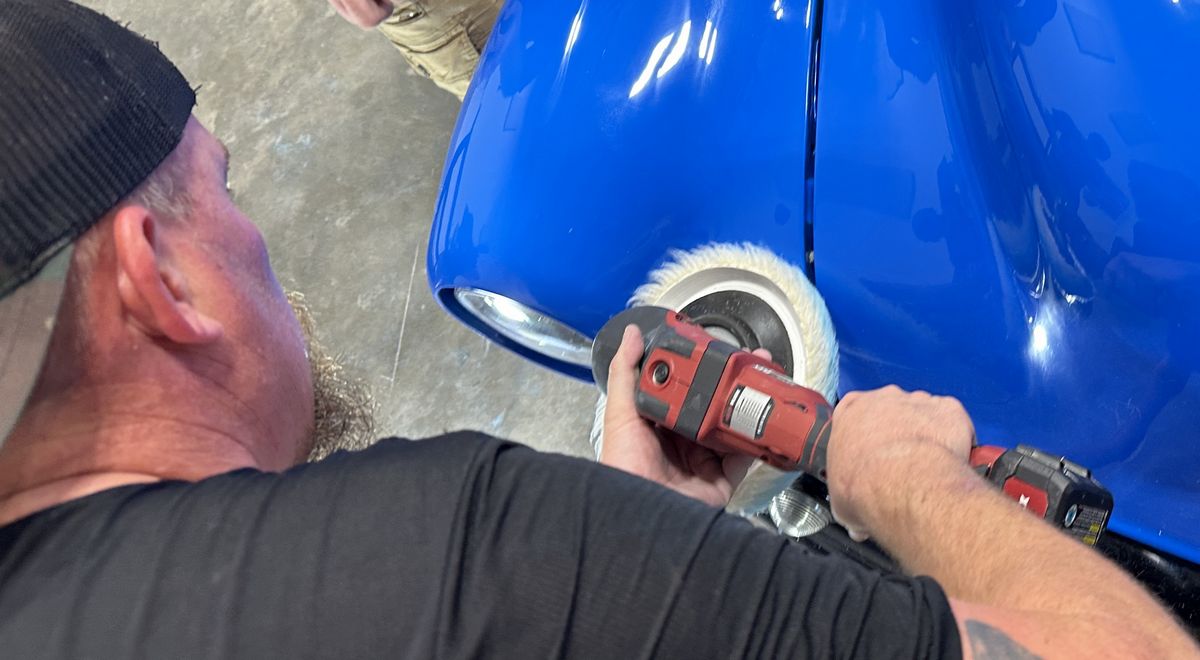
Rotary Polishers
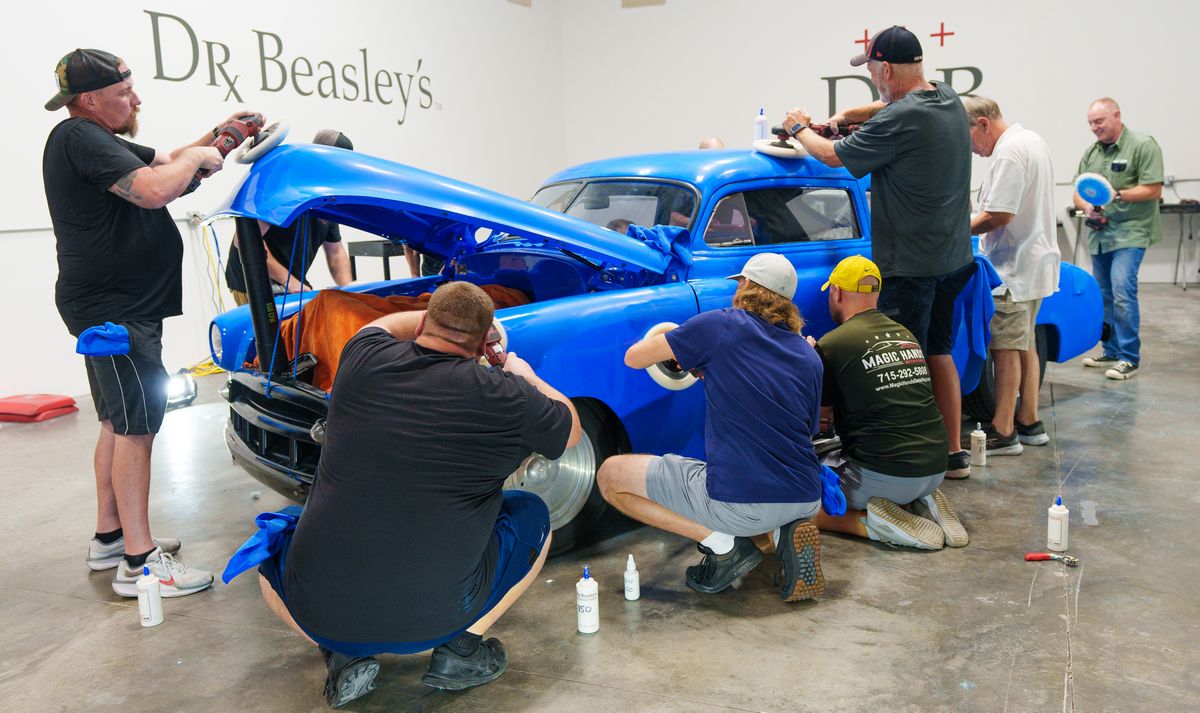
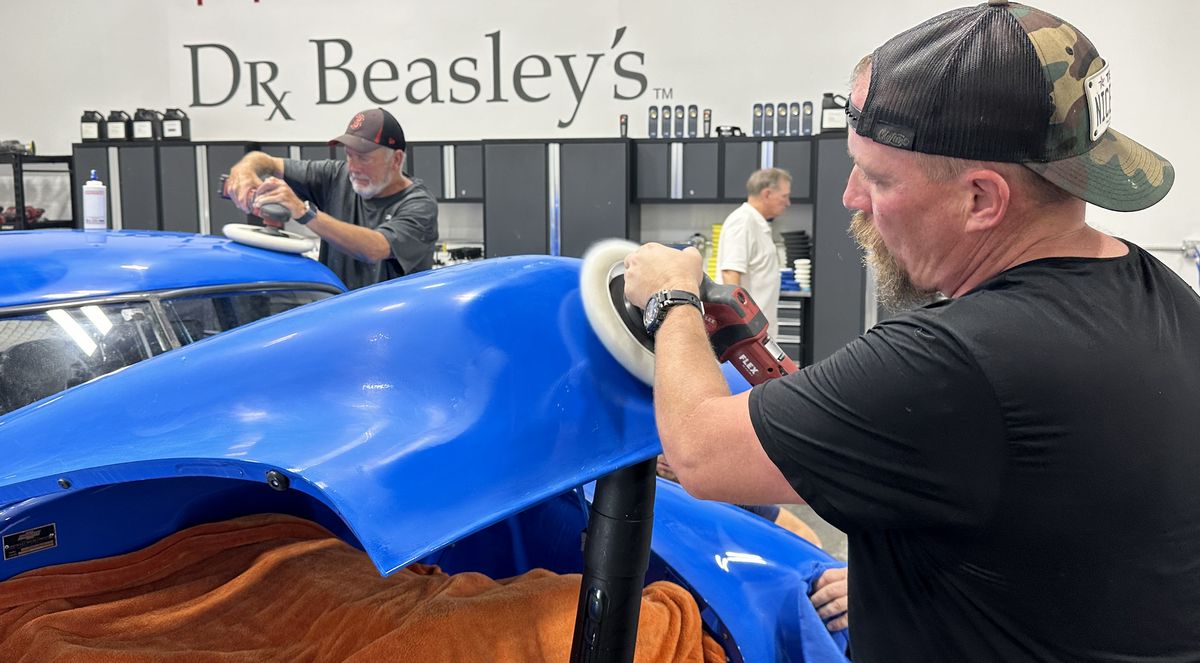
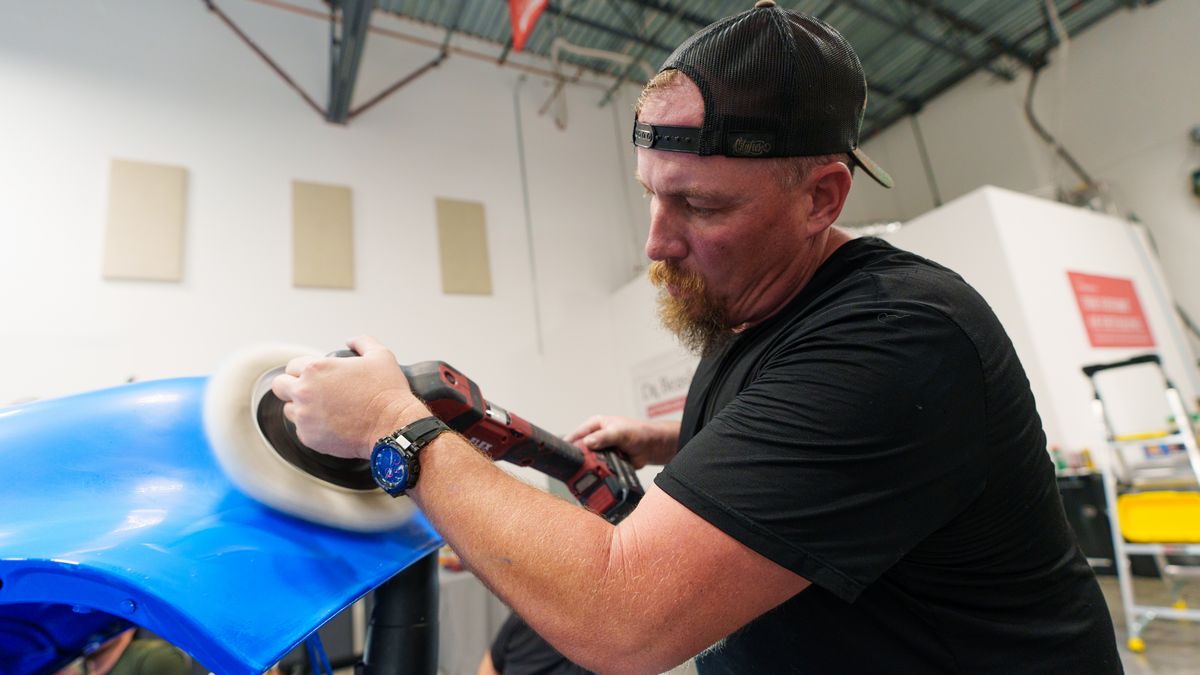
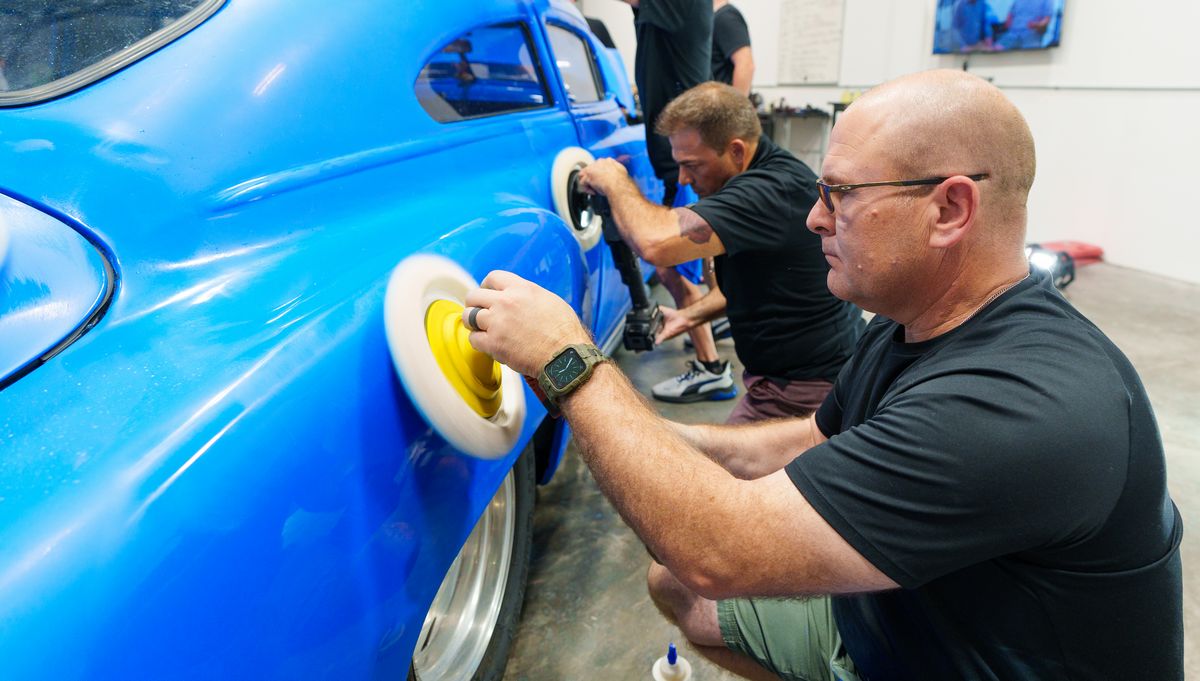
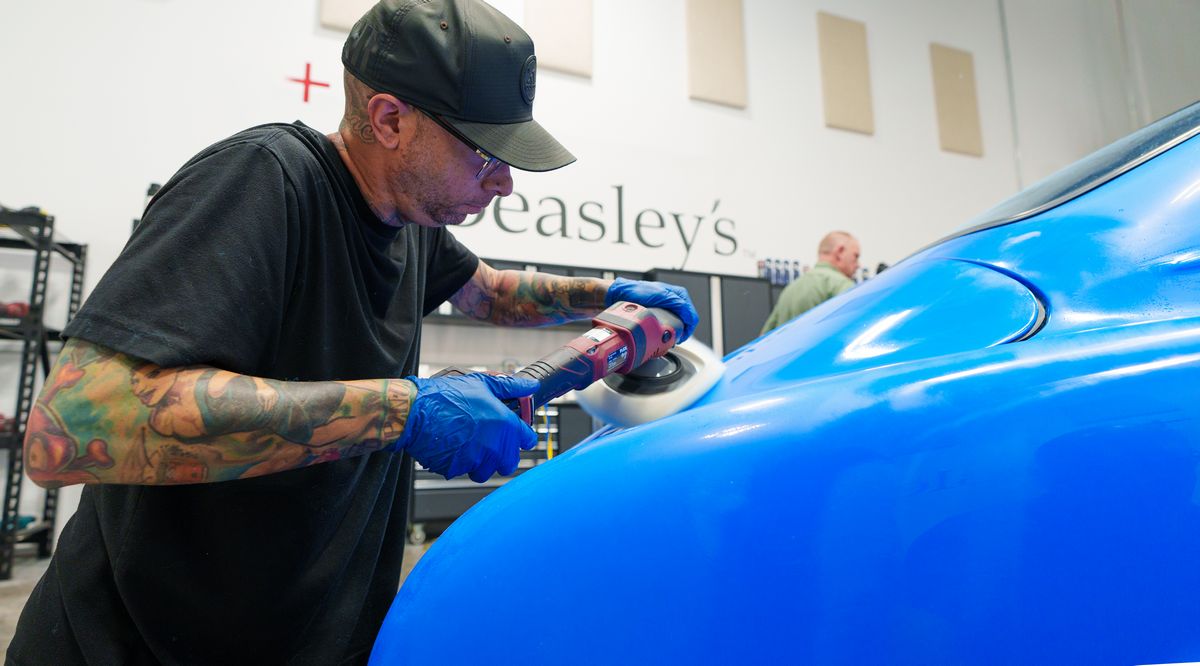
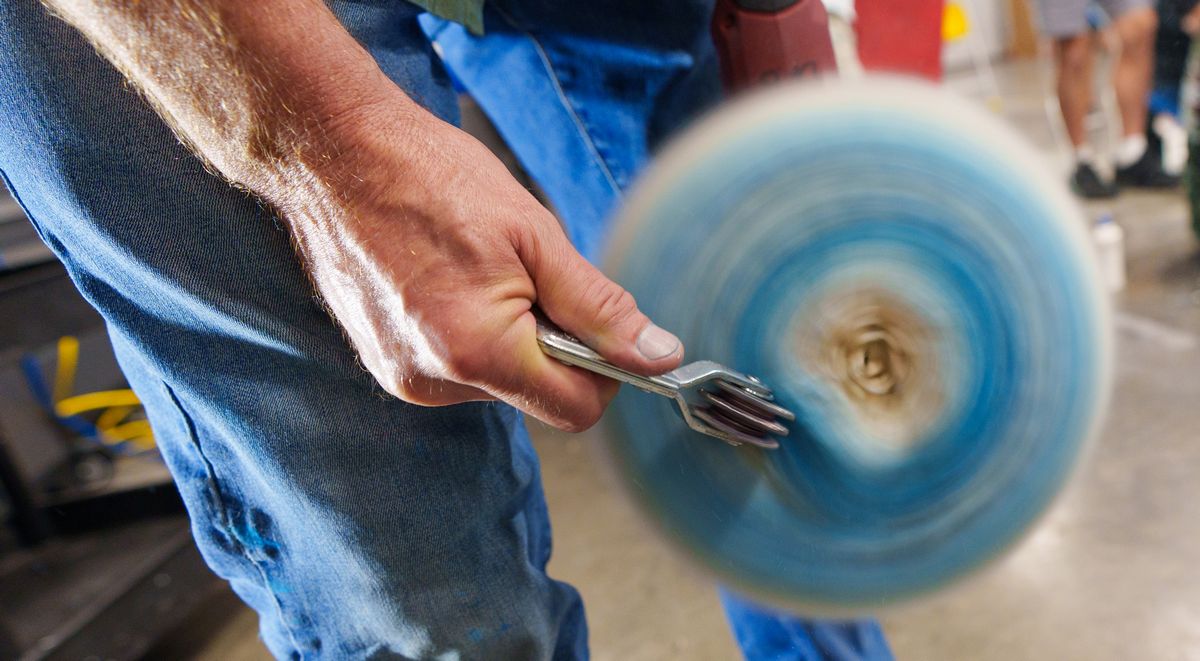
Work Clean
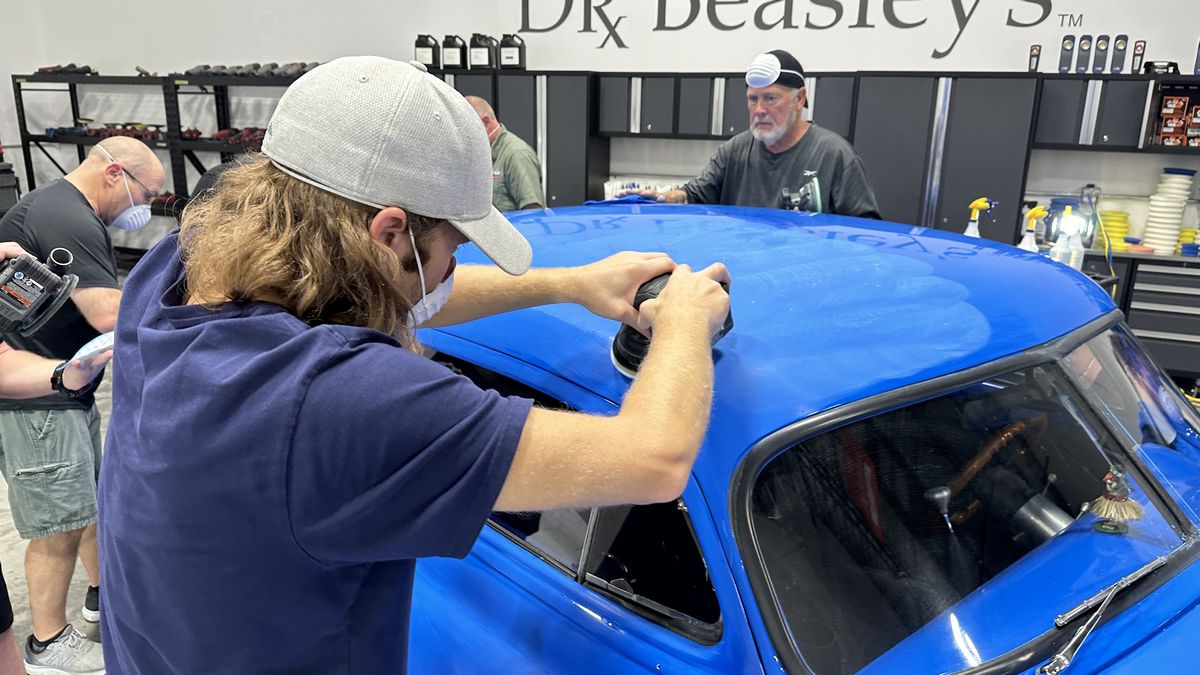
We put a LOT of stress on working clean when detailing cars and in this context, it means using a pad cleaning spur to clean your wool pad often.
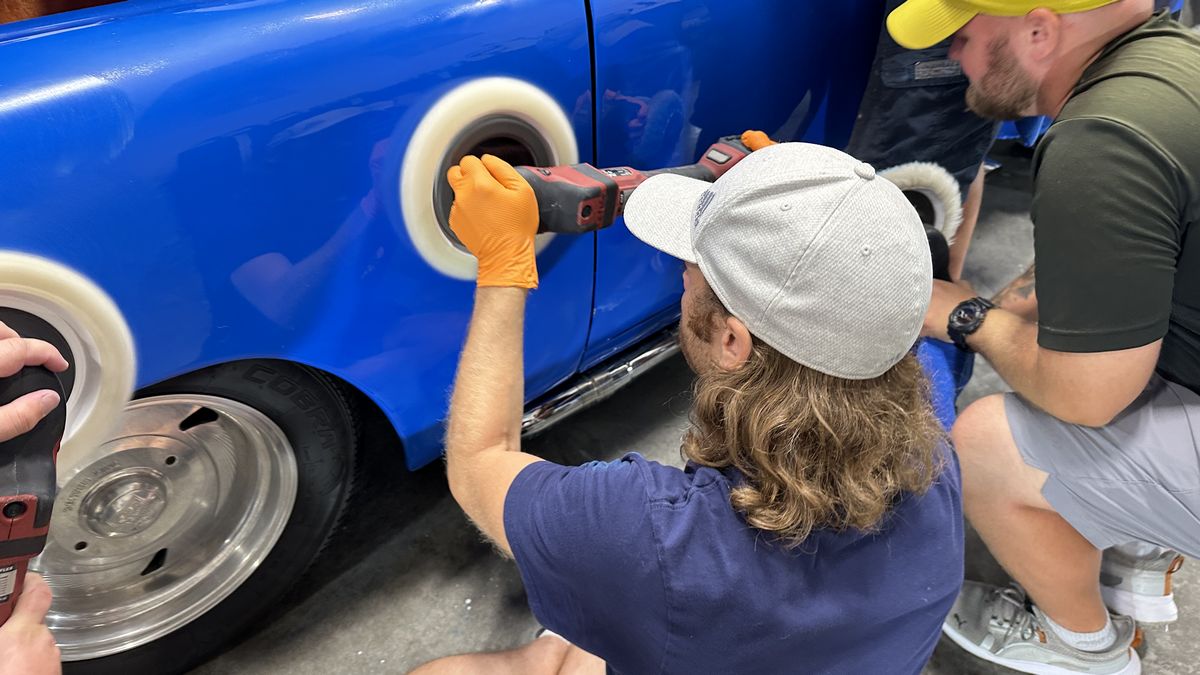
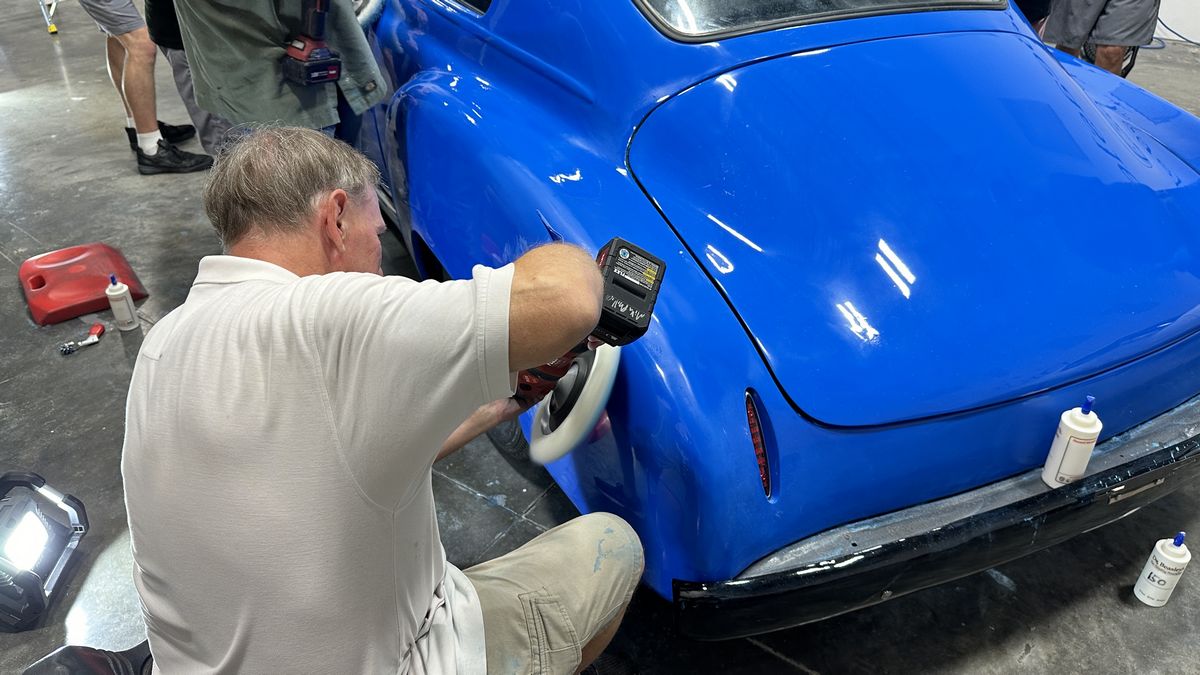
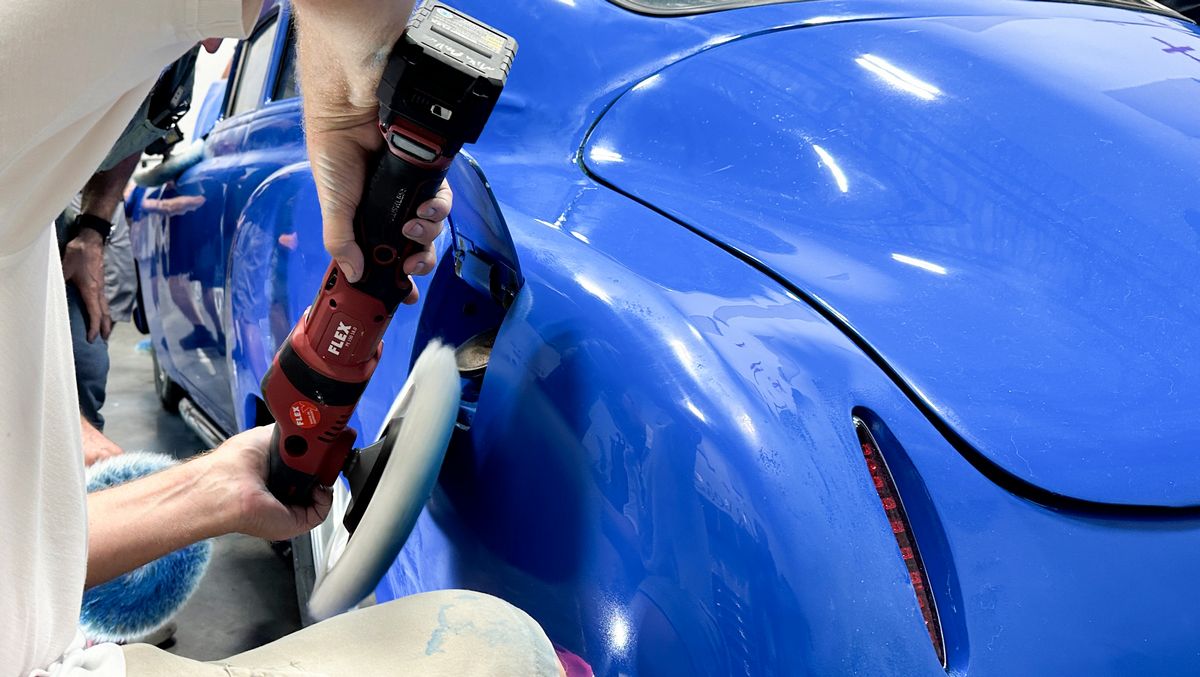
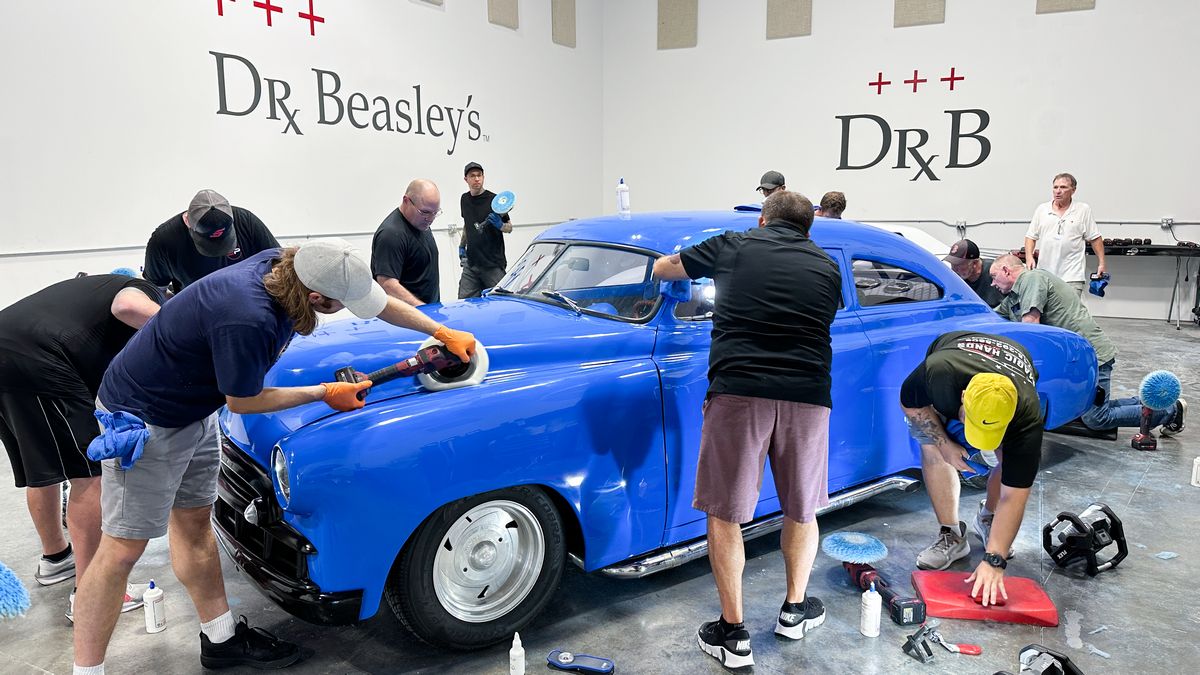
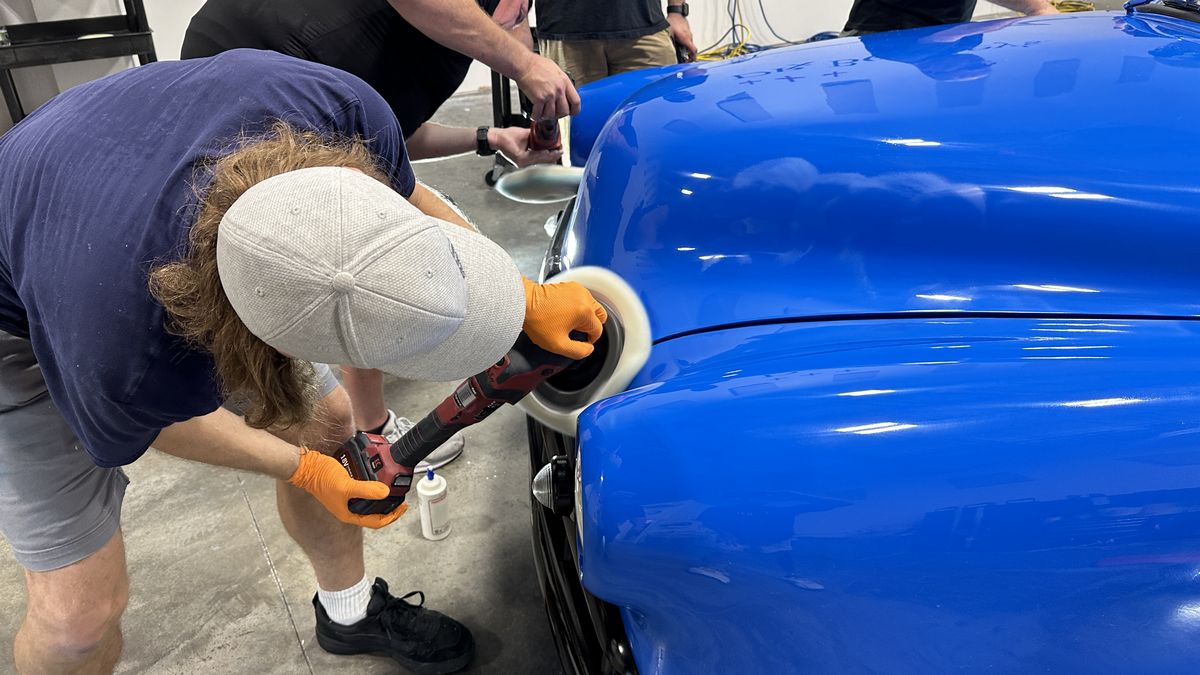
Love these shots – no chairs and everyone is hands-on – learning by doing!
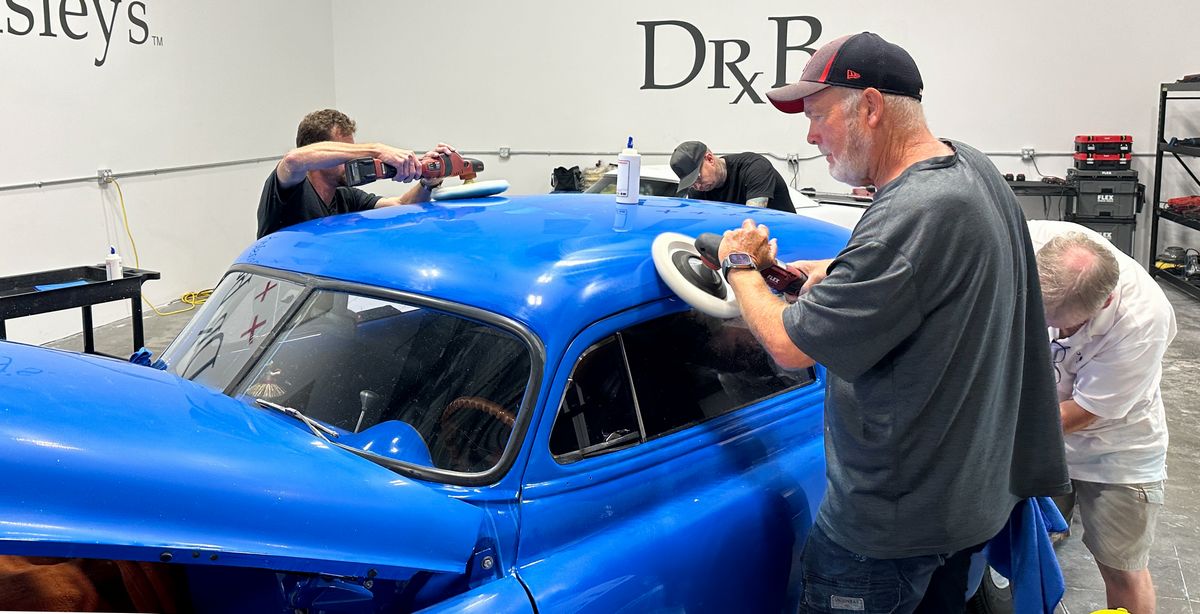
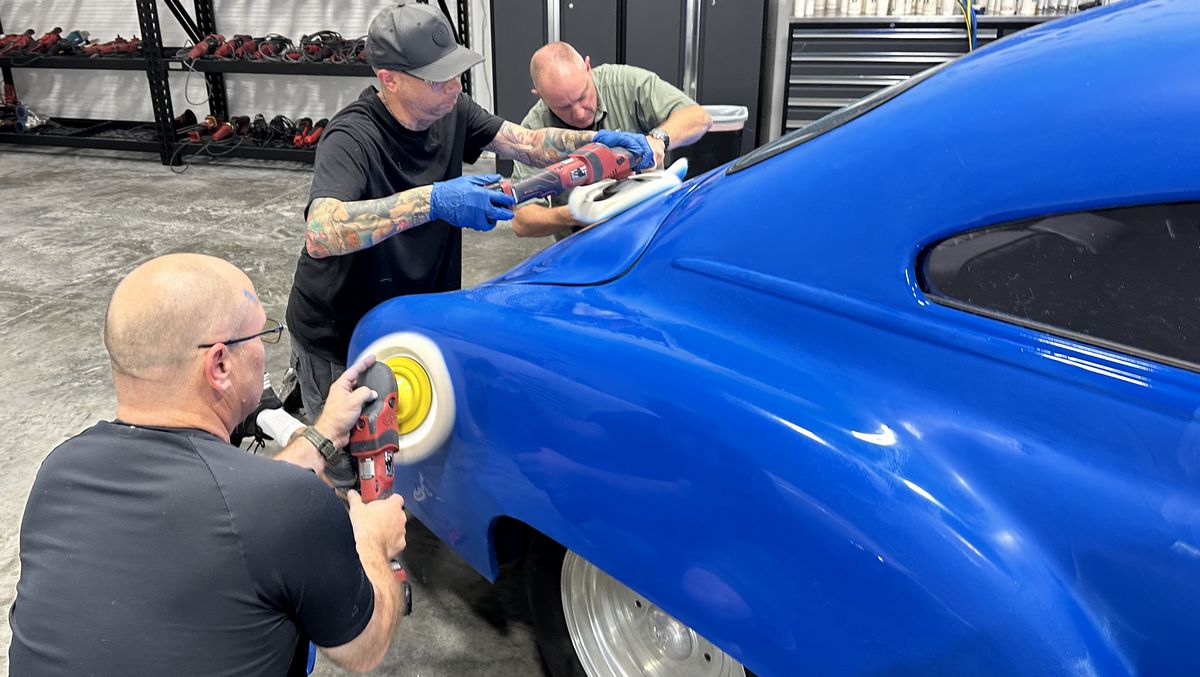
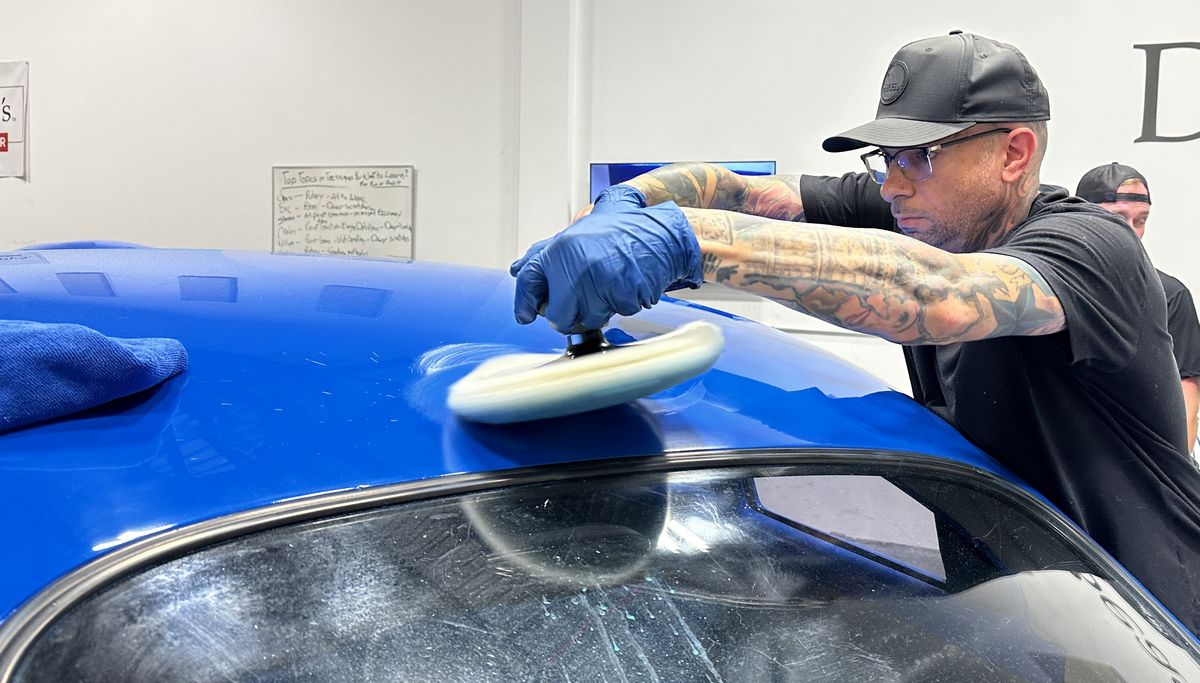
Look at the GLOSS coming back!
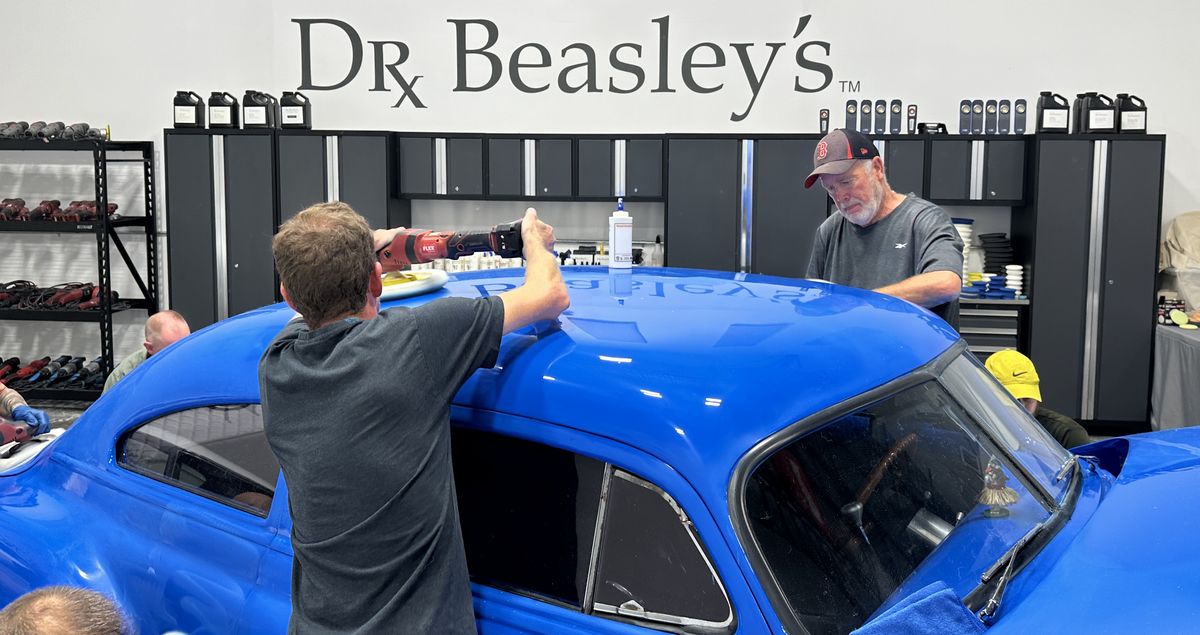
Continued…
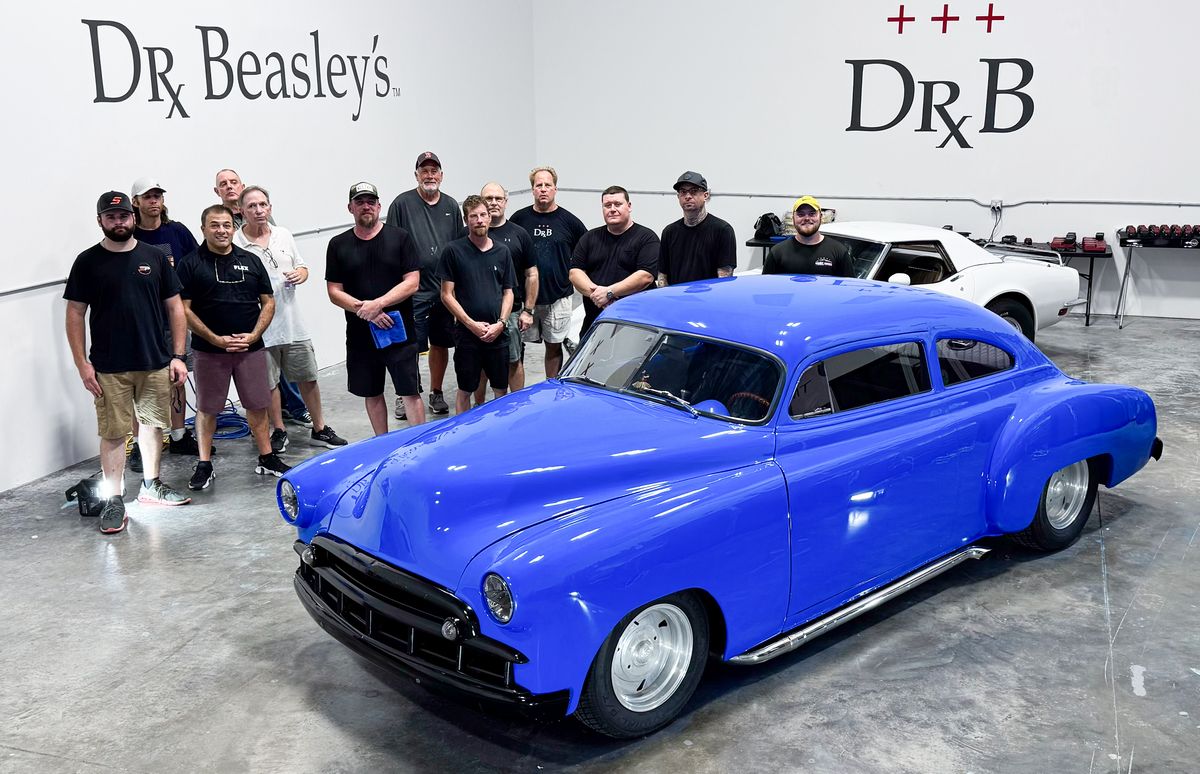
Final Results!
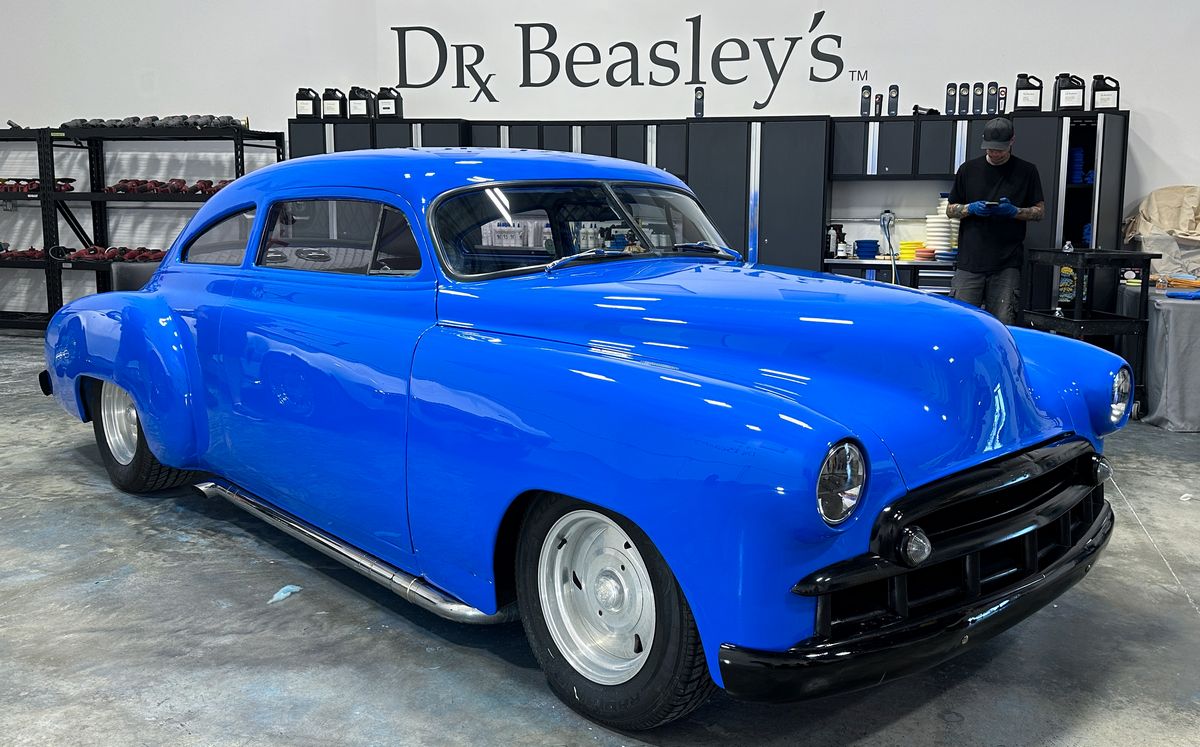
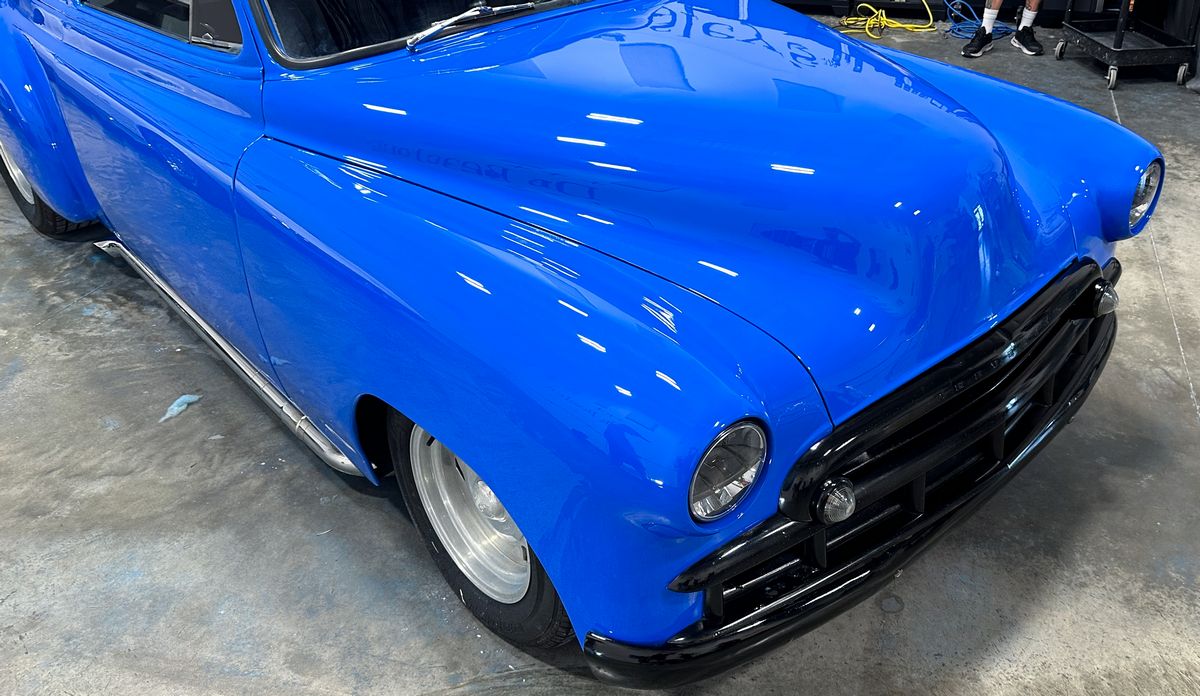
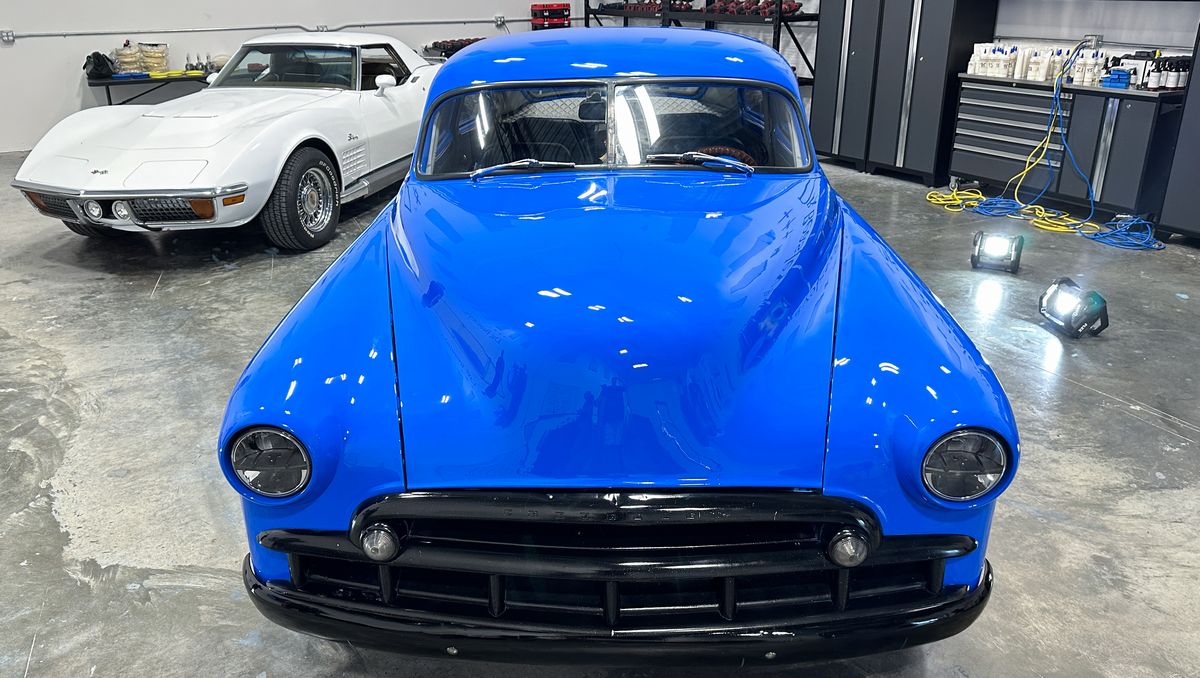
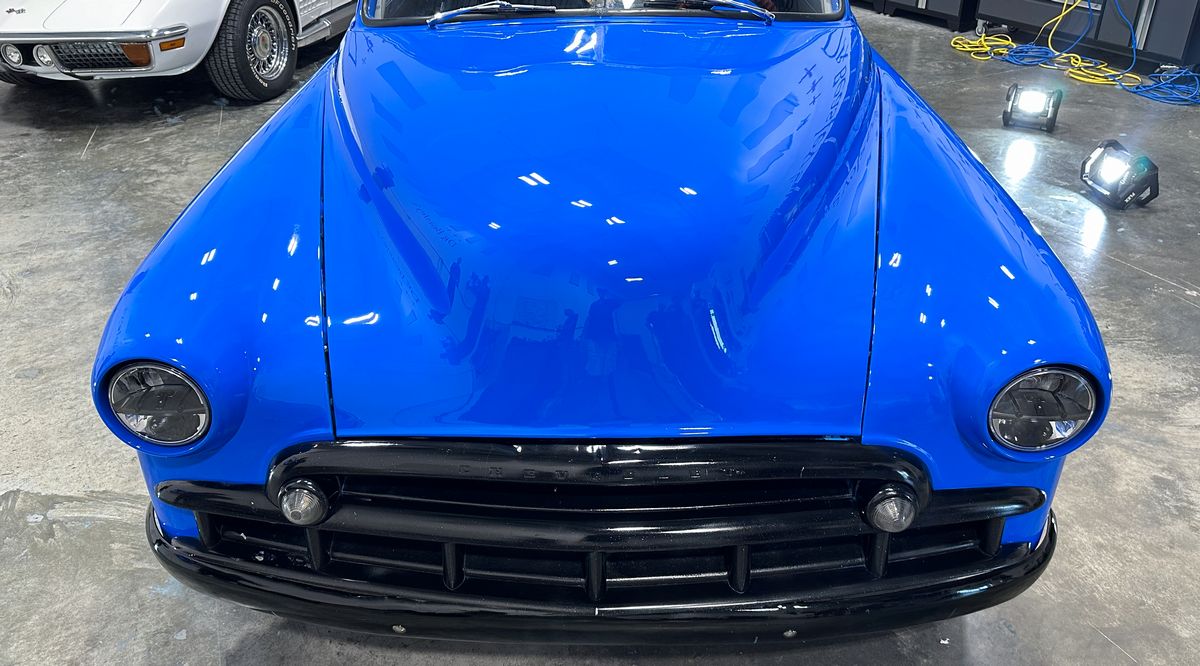
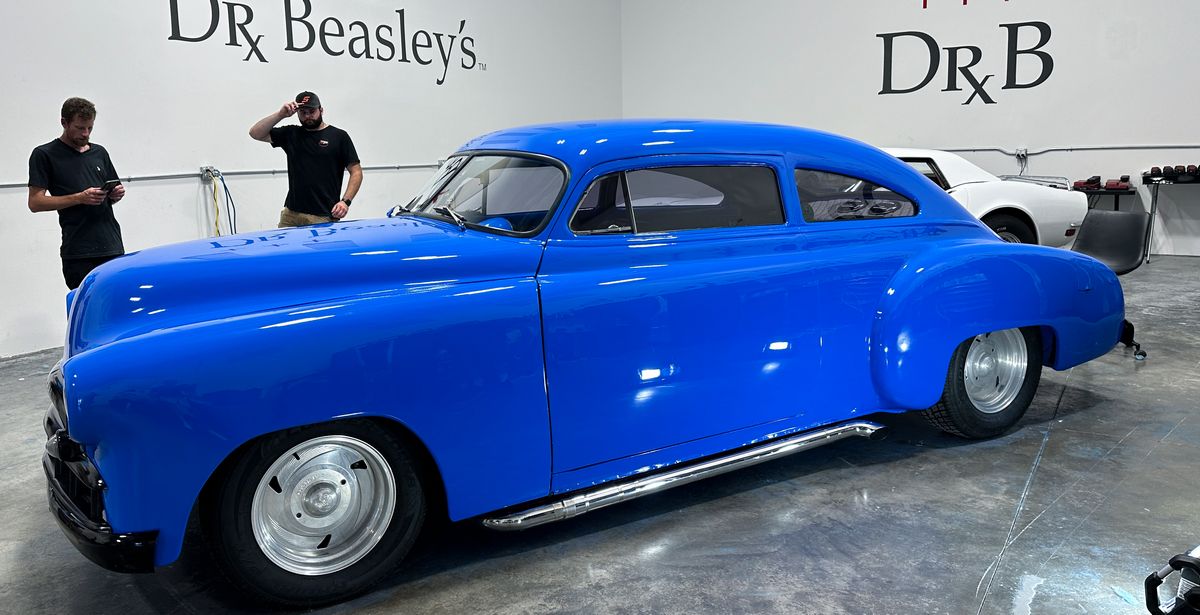
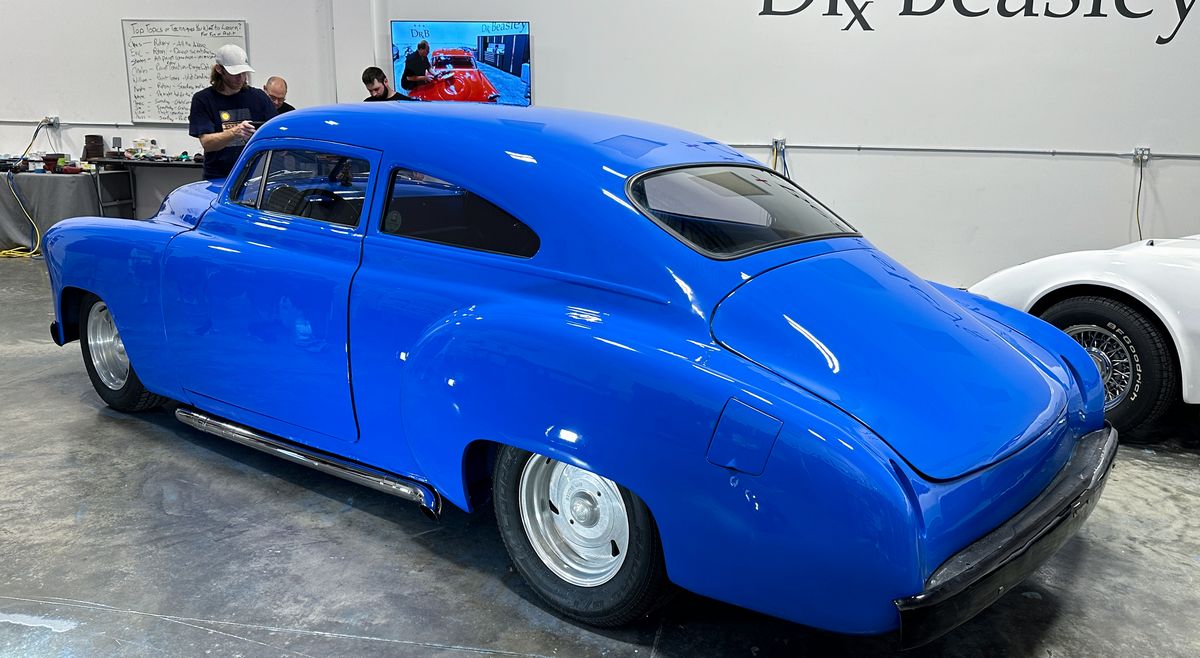
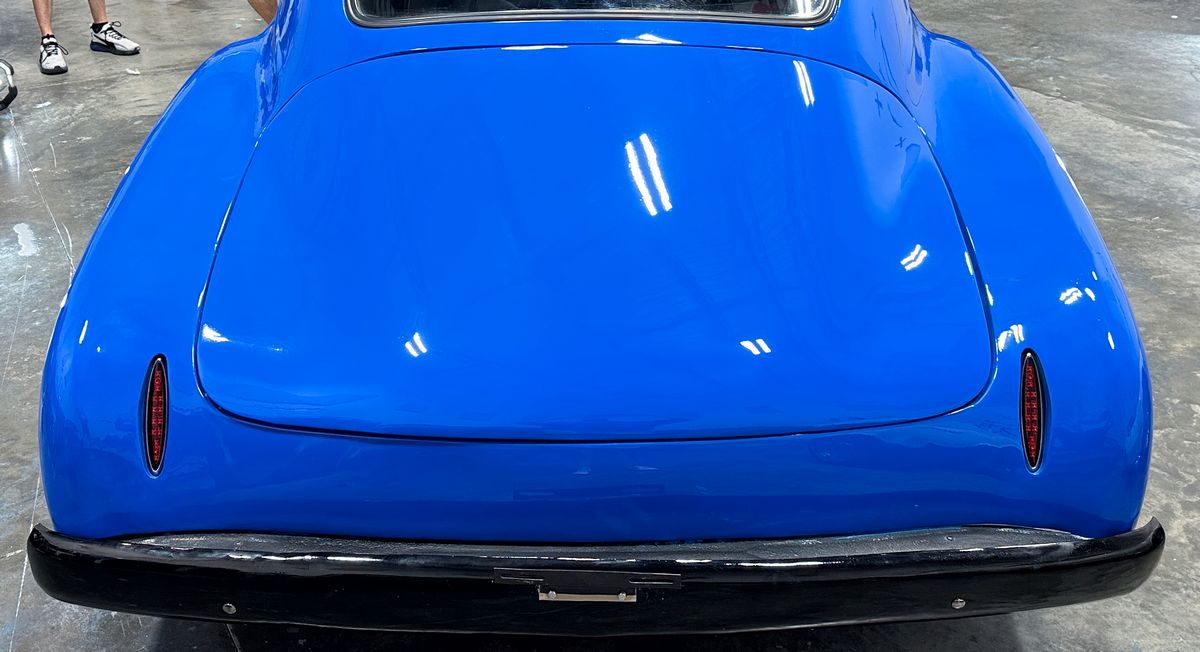
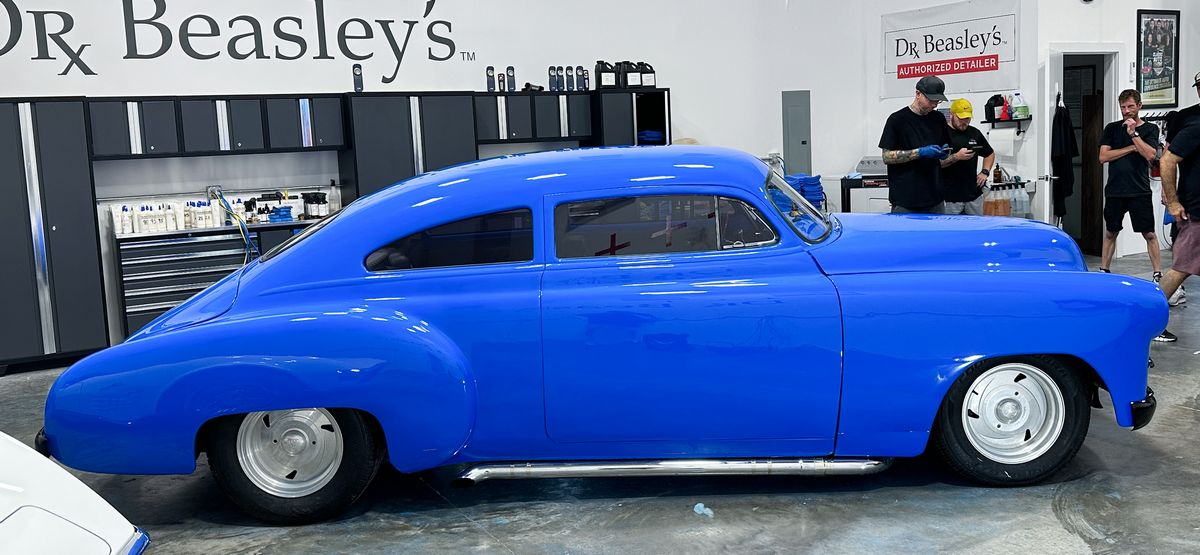
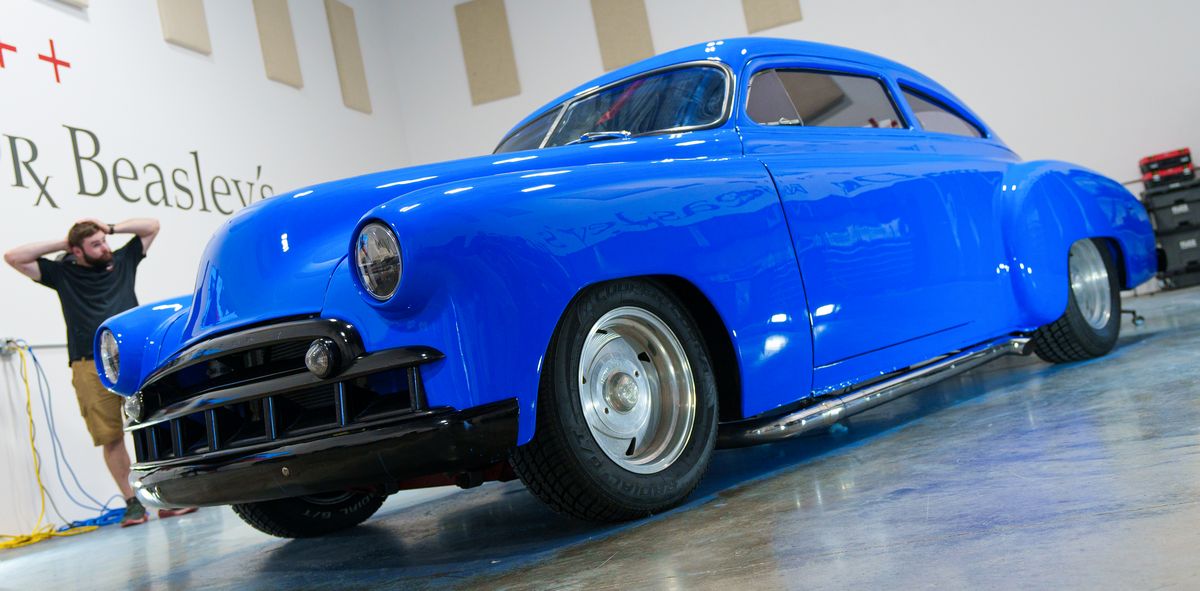
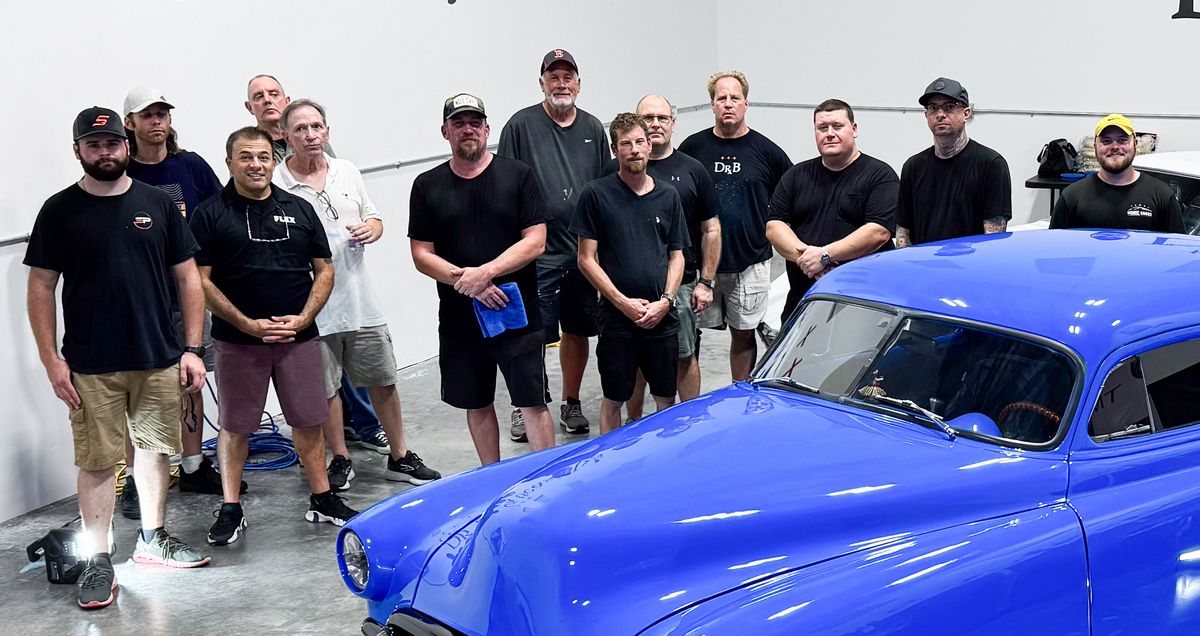
Here’s the team that made the magic happen!
Continued…
Day 2 – Saturday Late Afternoon Session – 1-Step Ceramic AIO Paint Correction and Protection
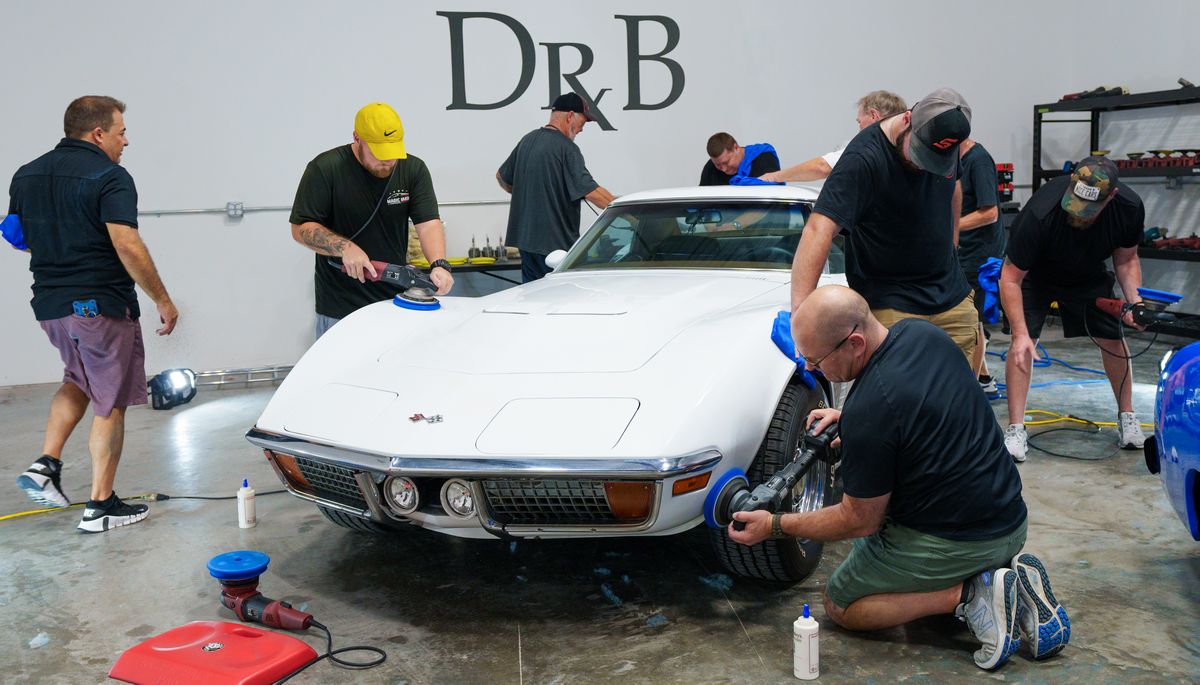
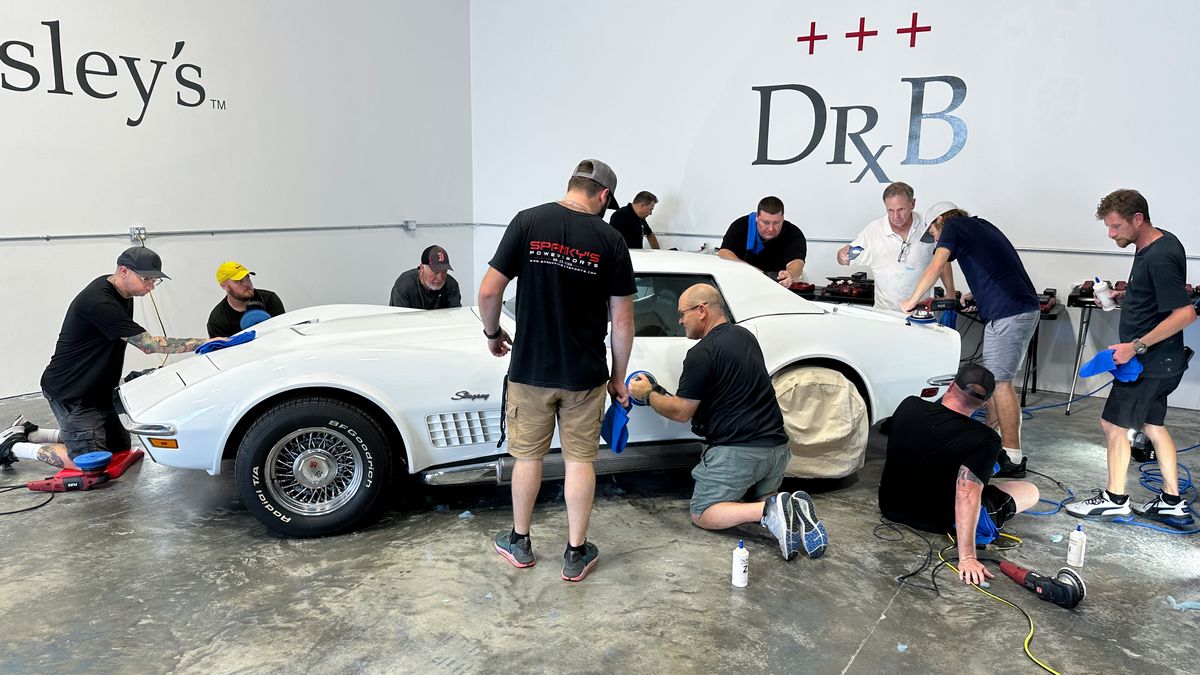
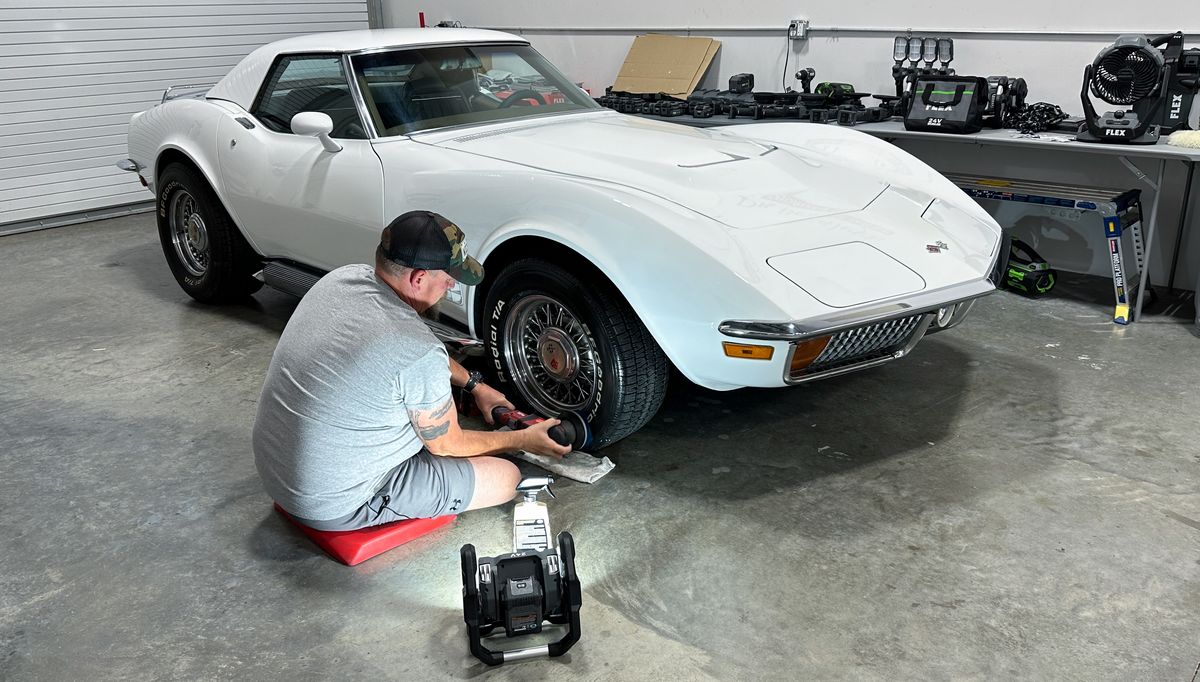
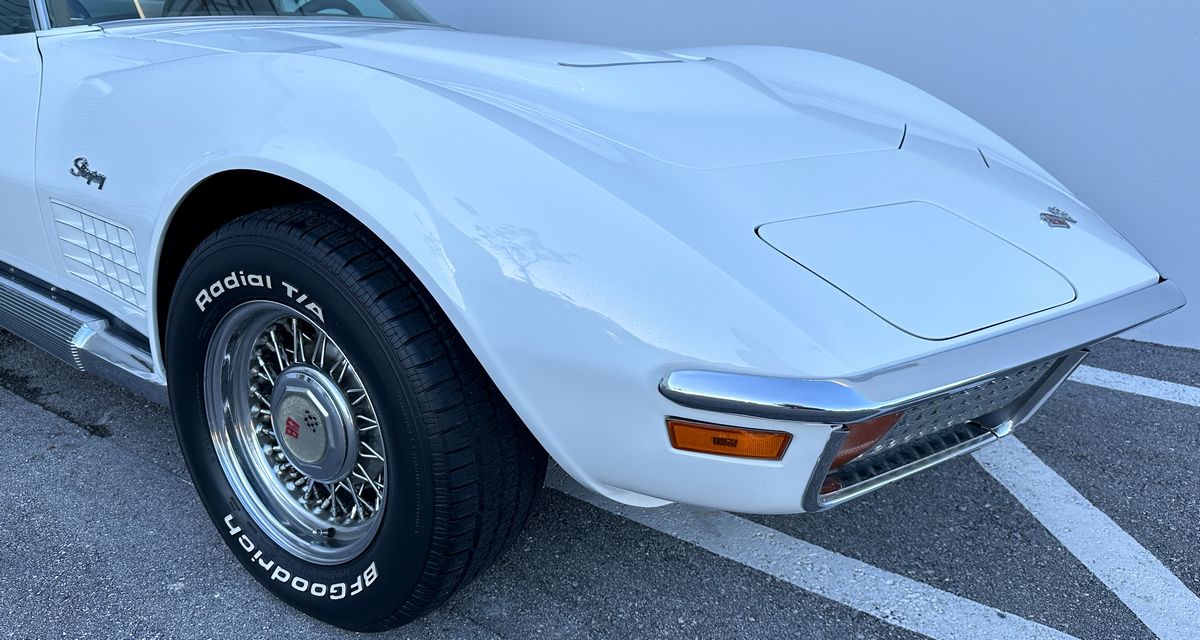
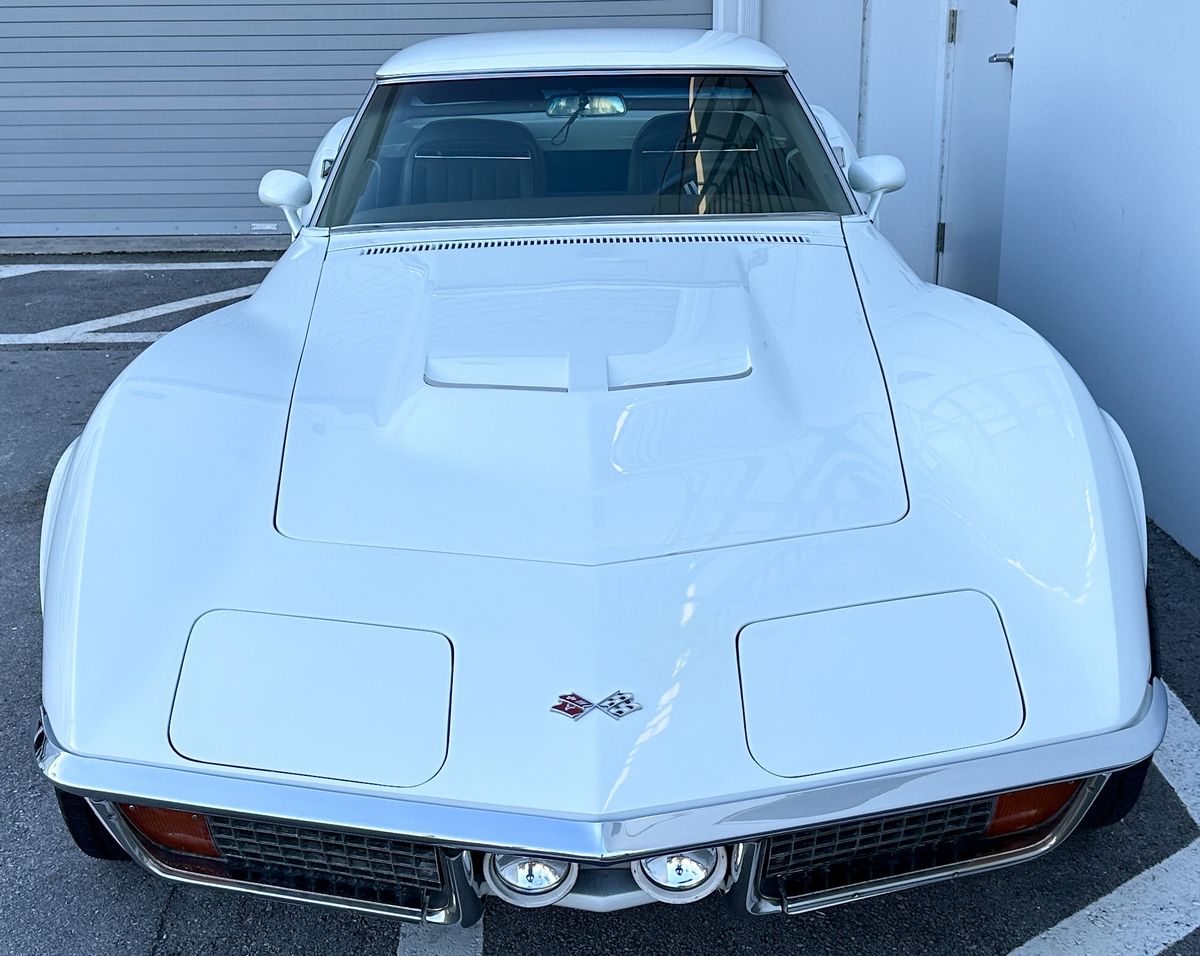
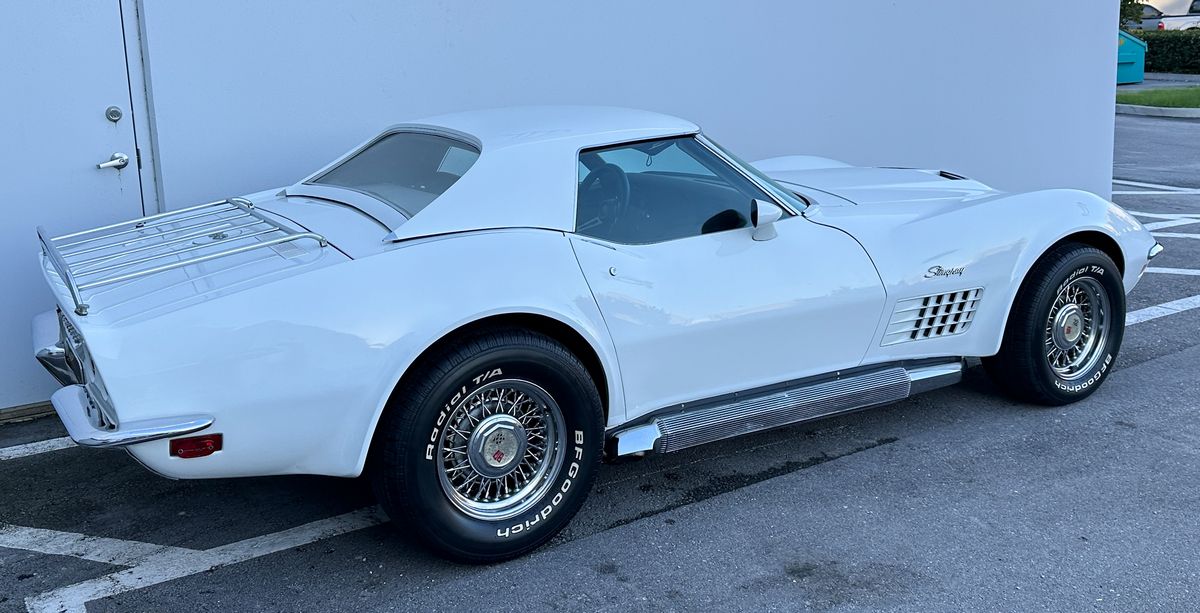
1972 Corvette – 1-Step Ceramic AIO Paint Correction
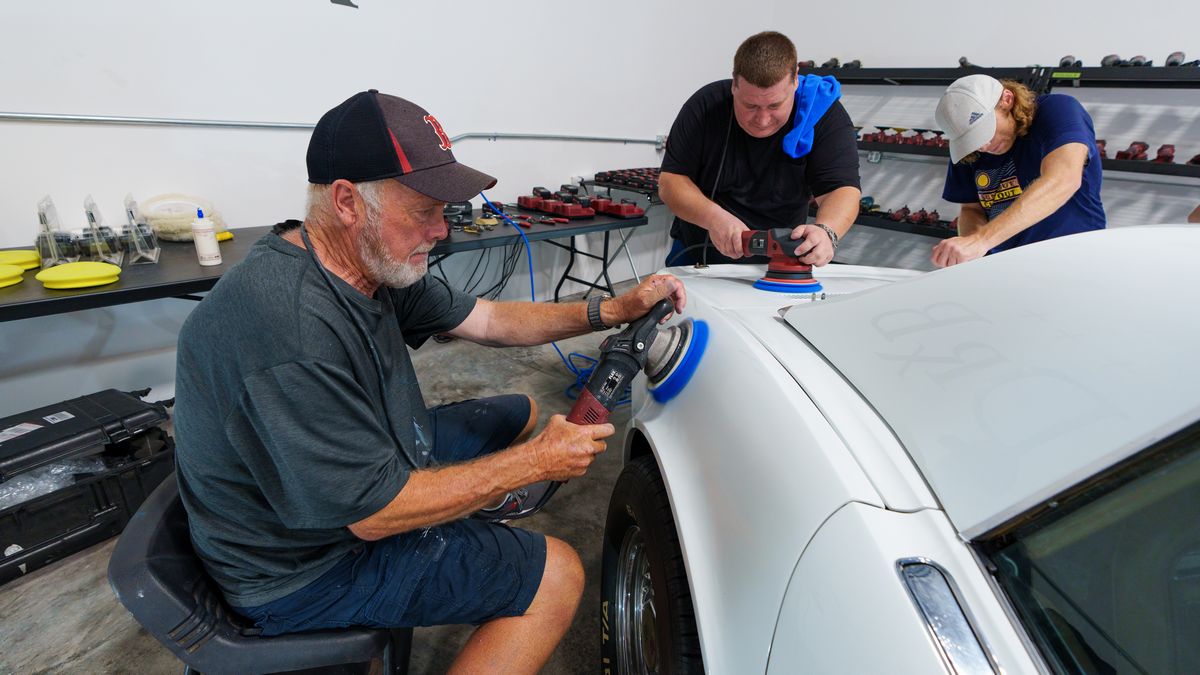
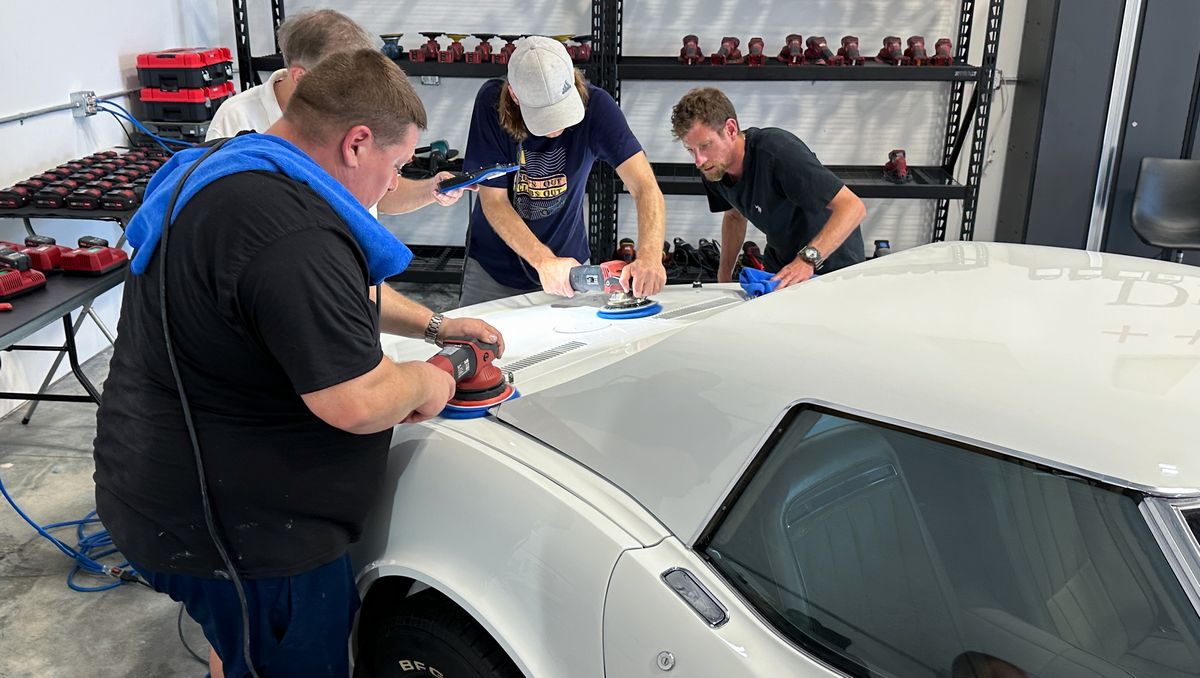
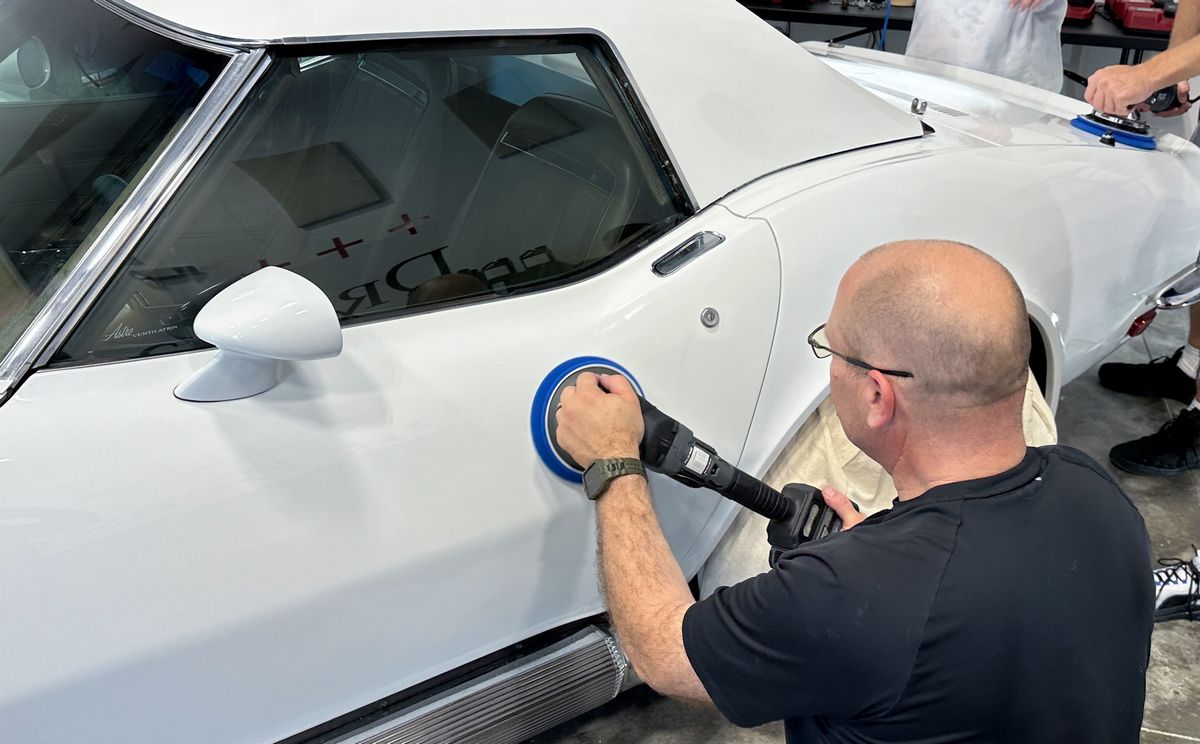
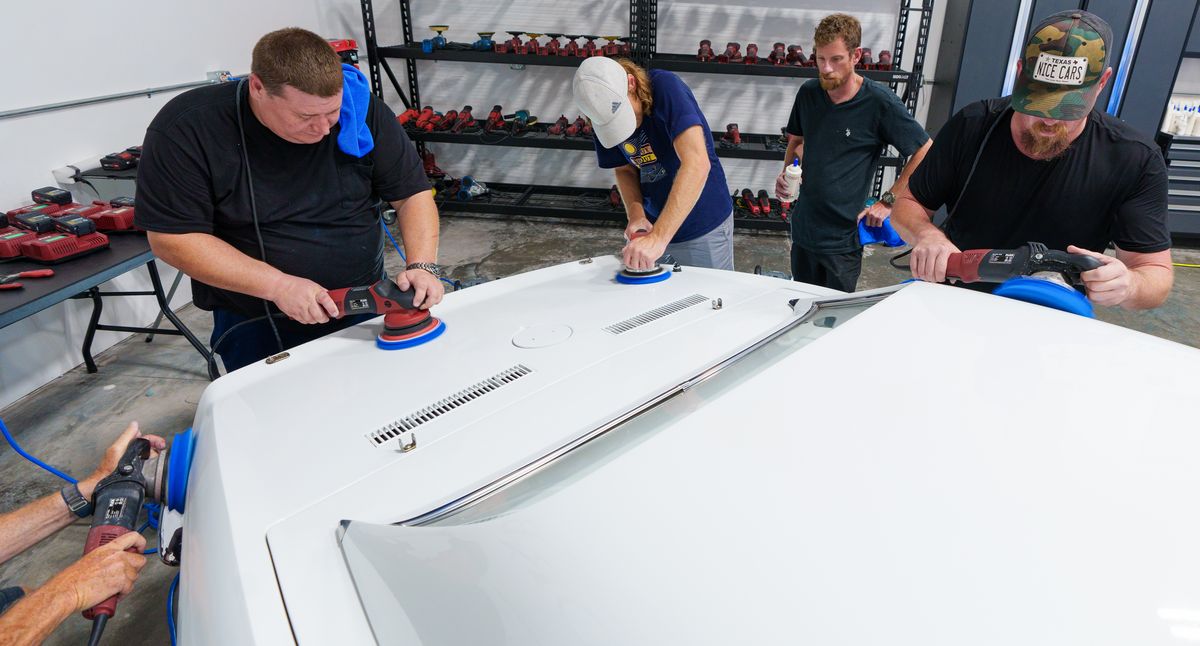
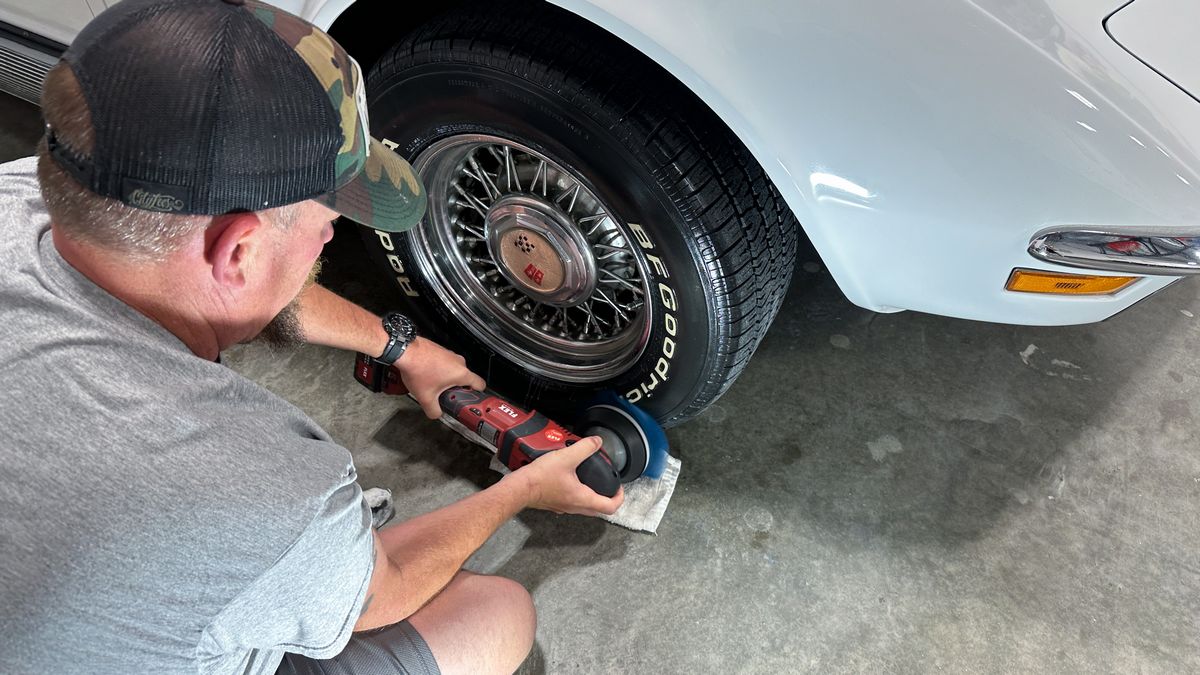
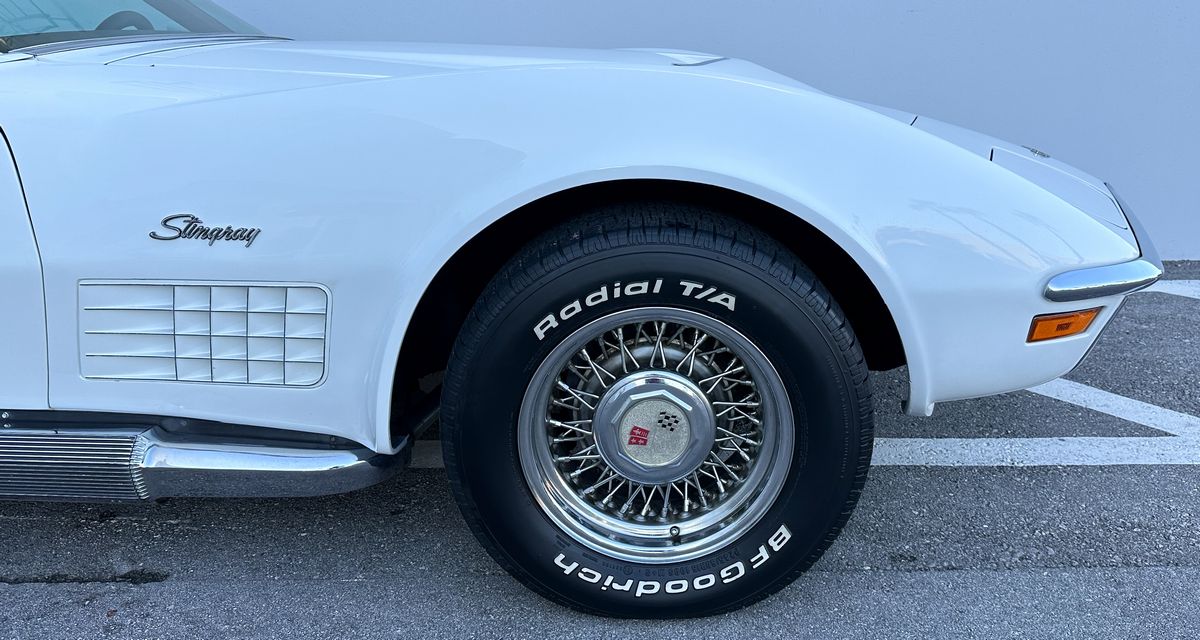
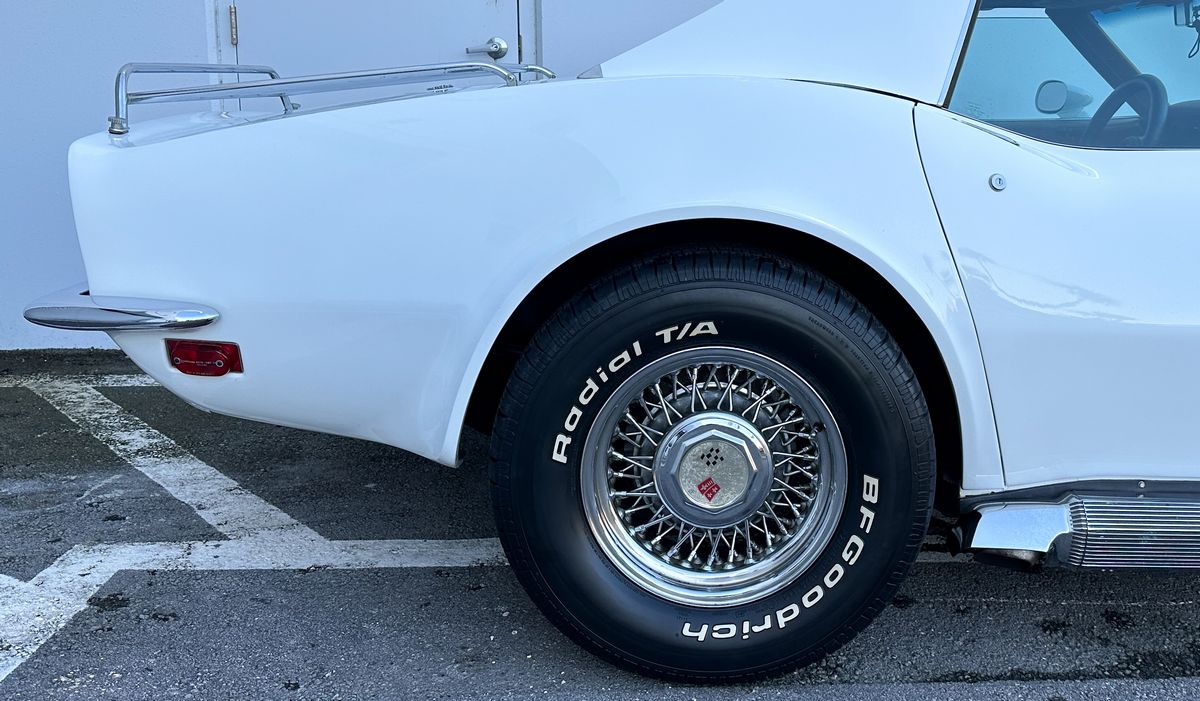
Machine Scrubbing White Lettering
The tires were dingy looking, and the white letters were stained with old tire dressing. To bring the look of the tires and the wheels up to spec to match the rest of the car, we machine scrubbed the tires and hand cleaned the wire wheels as we didn’t wash this car but use Dr. Beasley’s Prep Wash to do a waterless wash.
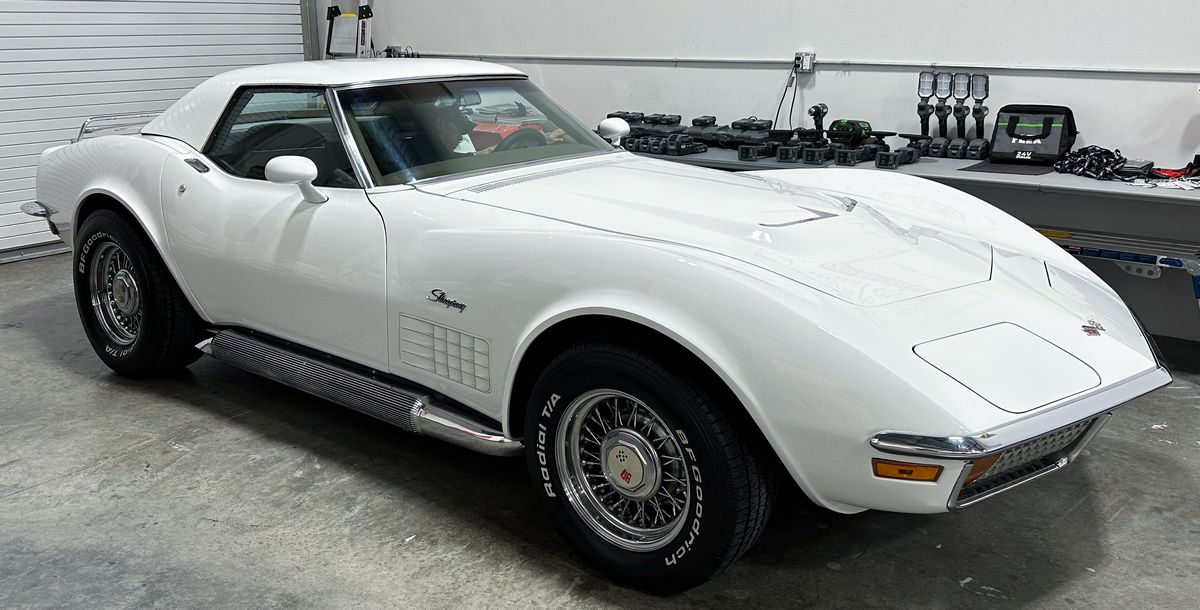
Super Glossy White Paint!
Continued…
Day 2 – Saturday Late Afternoon Session – Clear, Flexible Plastic Window Restoration
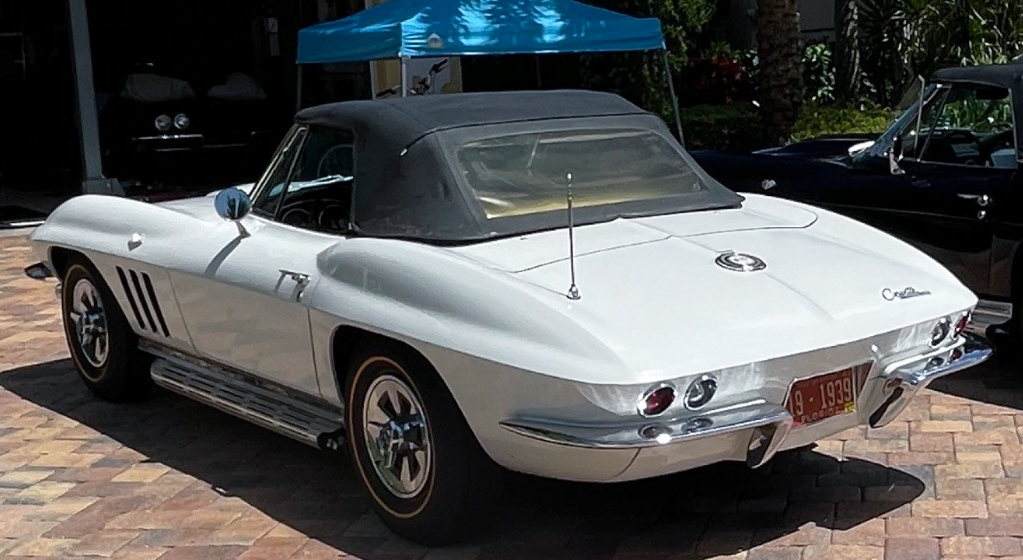
Preserving the Originality of a 1965 Corvette Stingray Roadster
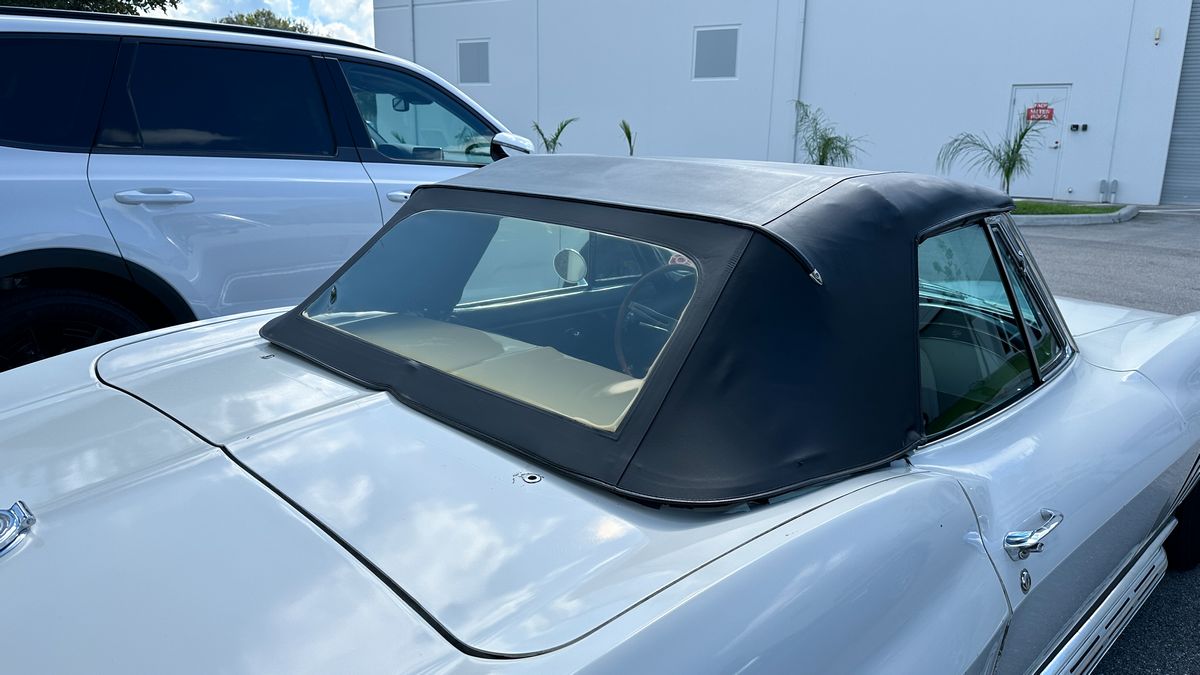
My long-time friend and Corvette aficionado, Pad, purchased this low-mileage survivor car and had her shipped out to Florida. After purchasing the car, Pat brought it to me and I sanded and buffed out the plastic, Plexiglas back window in the original hardtop as it was so filled with swirls and scratches it was difficult to see out of safely.
You can read about that project here,

Don’t want to replace – want to preserve
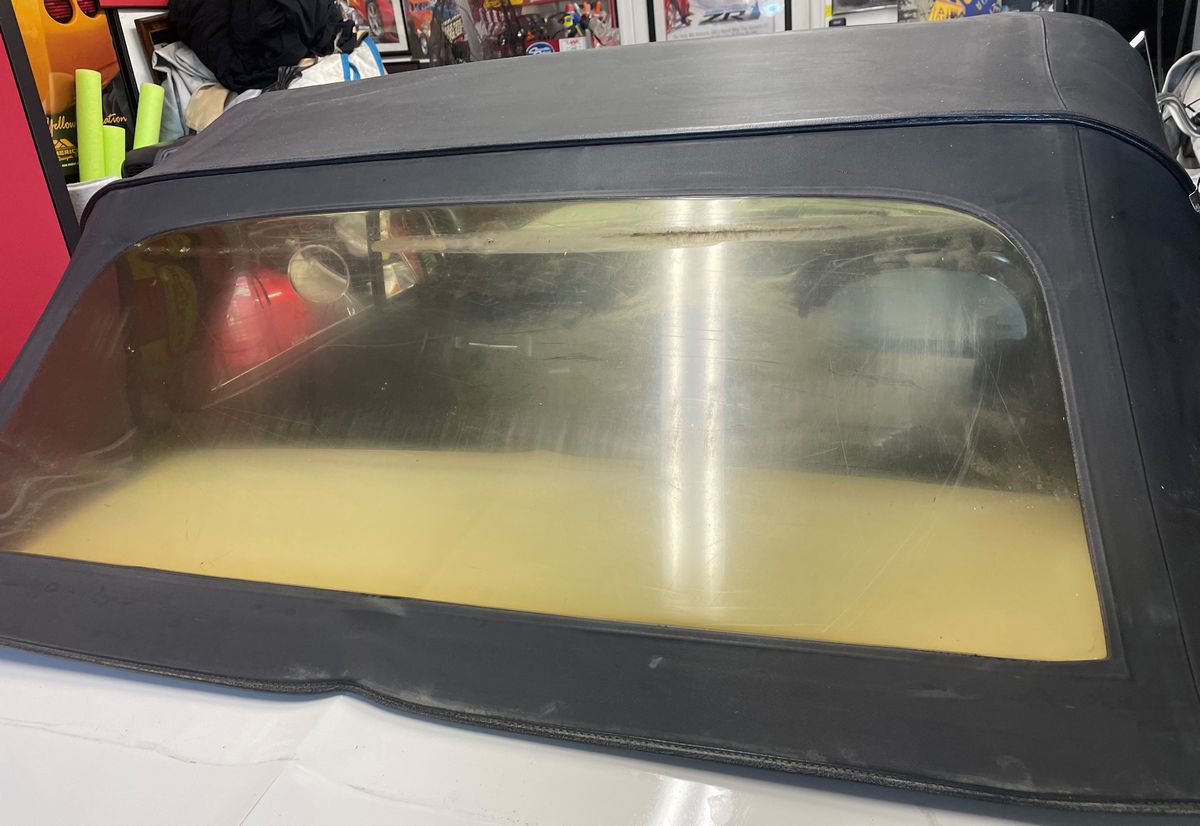
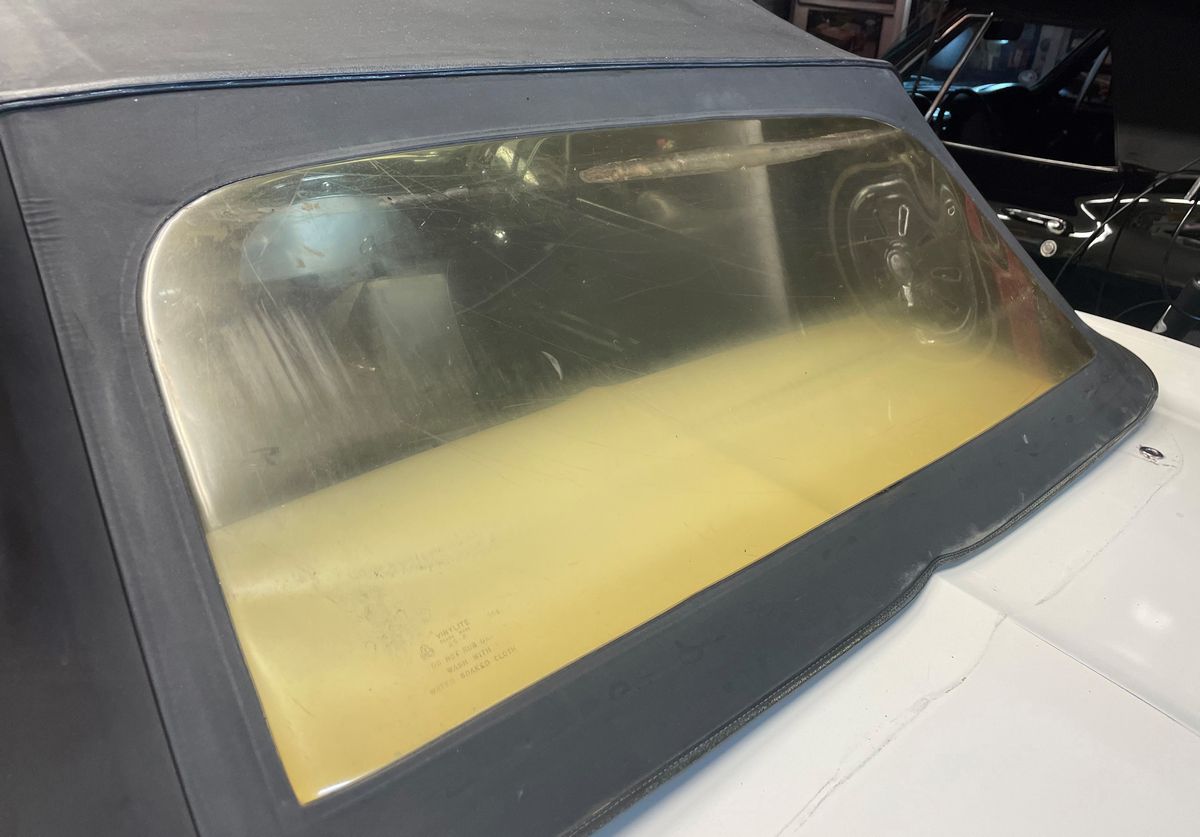
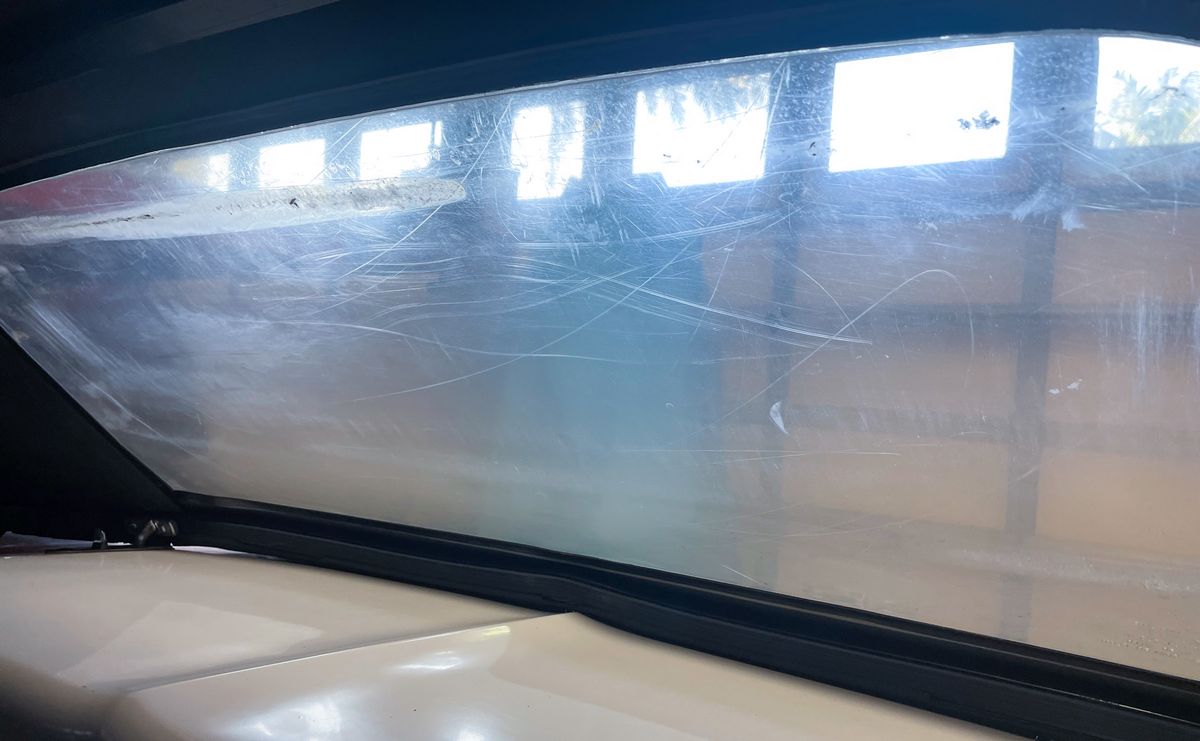
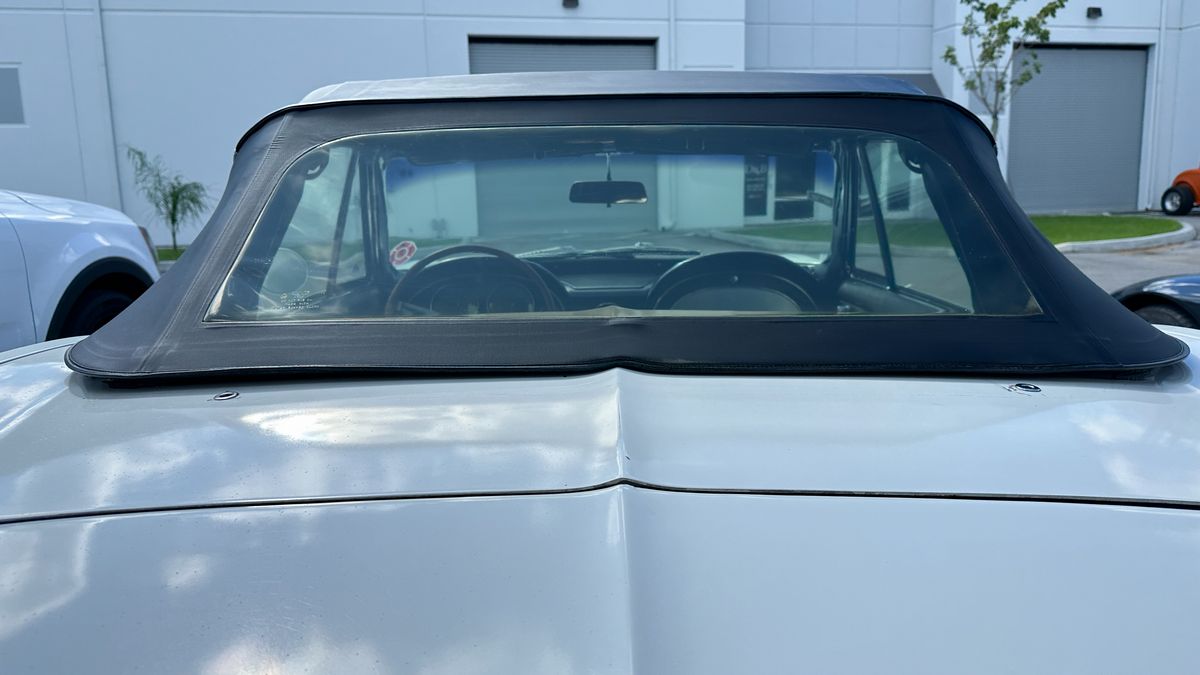
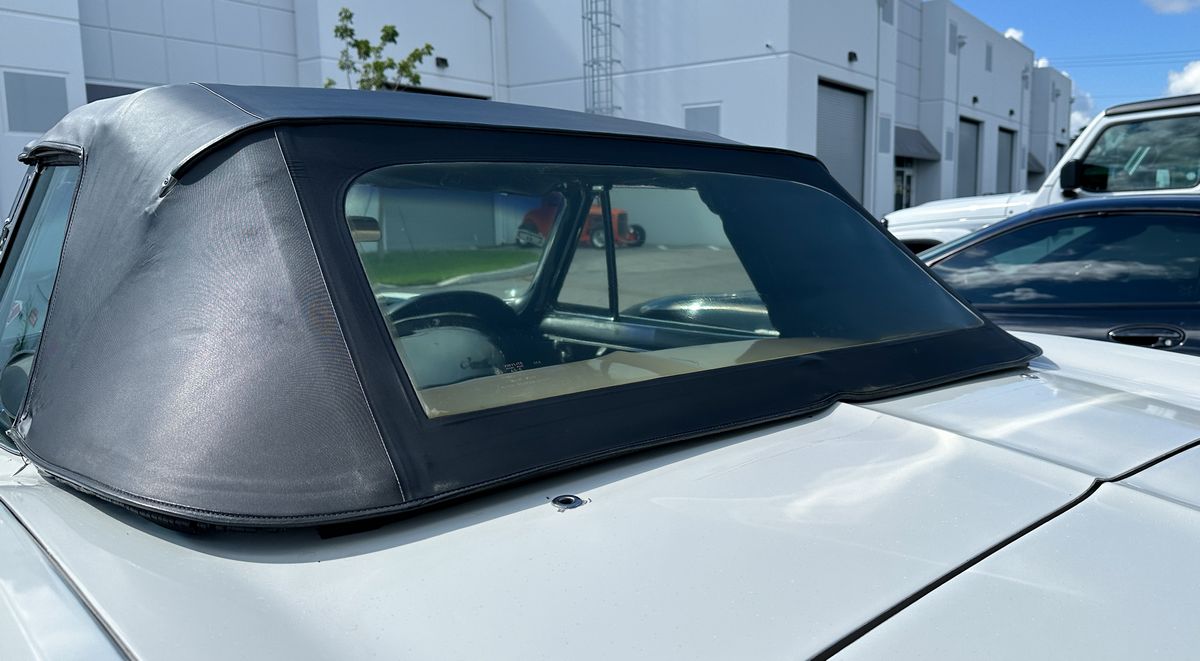
Pat much prefers to keep his classic Corvettes as close to original as possible. The first time he went to use the vinyl convertible top, that’s when he noticed the flexible, plastic back window was horribly filled with swirls, scratches, stains and rub marks. Pat asked me if I could fix this? I said I can try, but no promises. Before the class started, I did some testing and dialed-in a process that would remove the majority of the TOPICAL defects. This means the swirls, scratches, stains and rub marks AND of course, some of the plastic material itself, which has turned a brownish cover over the last 60 years.
I’m happy to say, while we couldn’t restore perfect clarity to the plastic window because the color change has affect the INNER portion of the plastic, which of course, no one can fix. But Pat was super happy with the results because not only would the window be safer to look through, especially at night, but it also added more beauty to the overall look of this classic Plastic Fantastic.
Here’s the original pictures Pat sent me after putting the soft top up for the first time since he purchased this Corvette.
1965 Corvette Rear Plastic Window
Rotary first with NSP 150
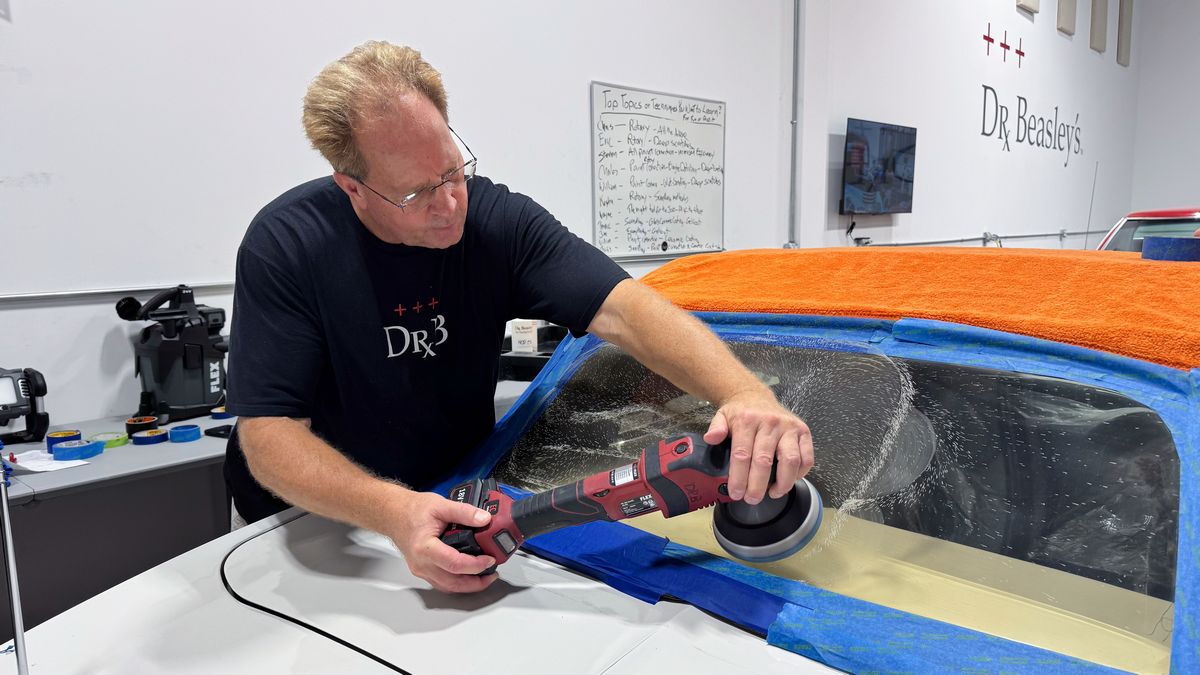
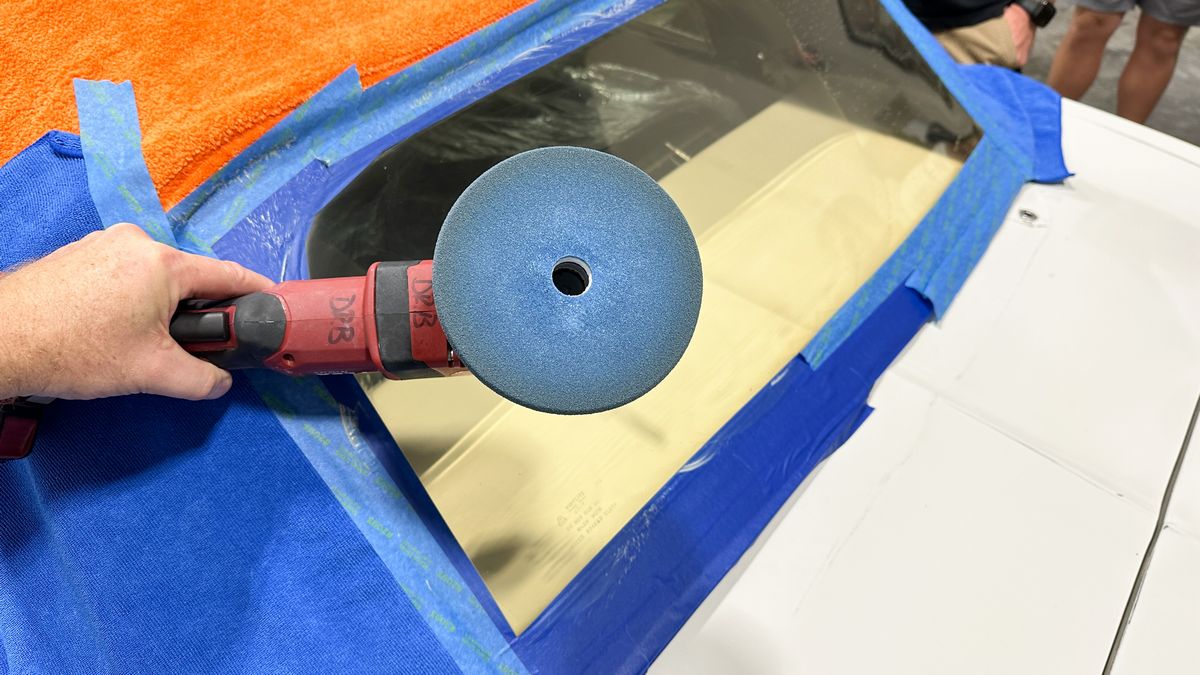
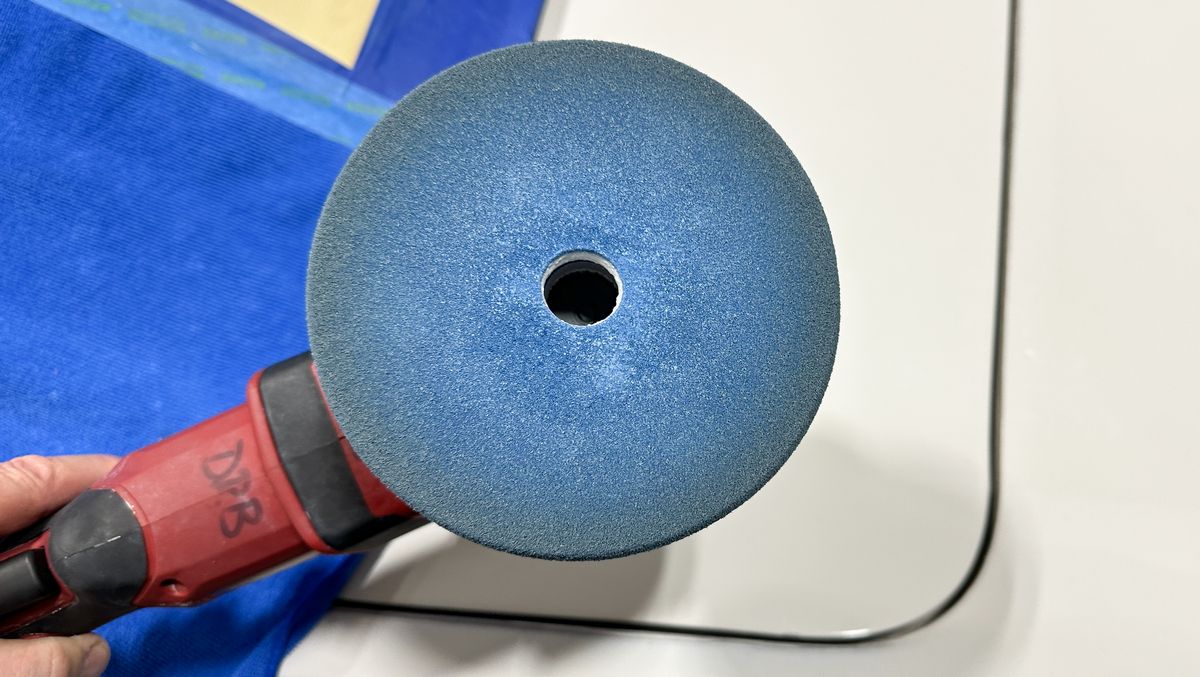
See it?
See the brown plastic material building-up on the face of the buffing pad? This tells us we’re removing the browning, but only on the outer and inner surface. The brown fading will always affect the inside of the plastic but that’s okay because the owner doesn’t want to replace the plastic window, he just wants to see out of it.
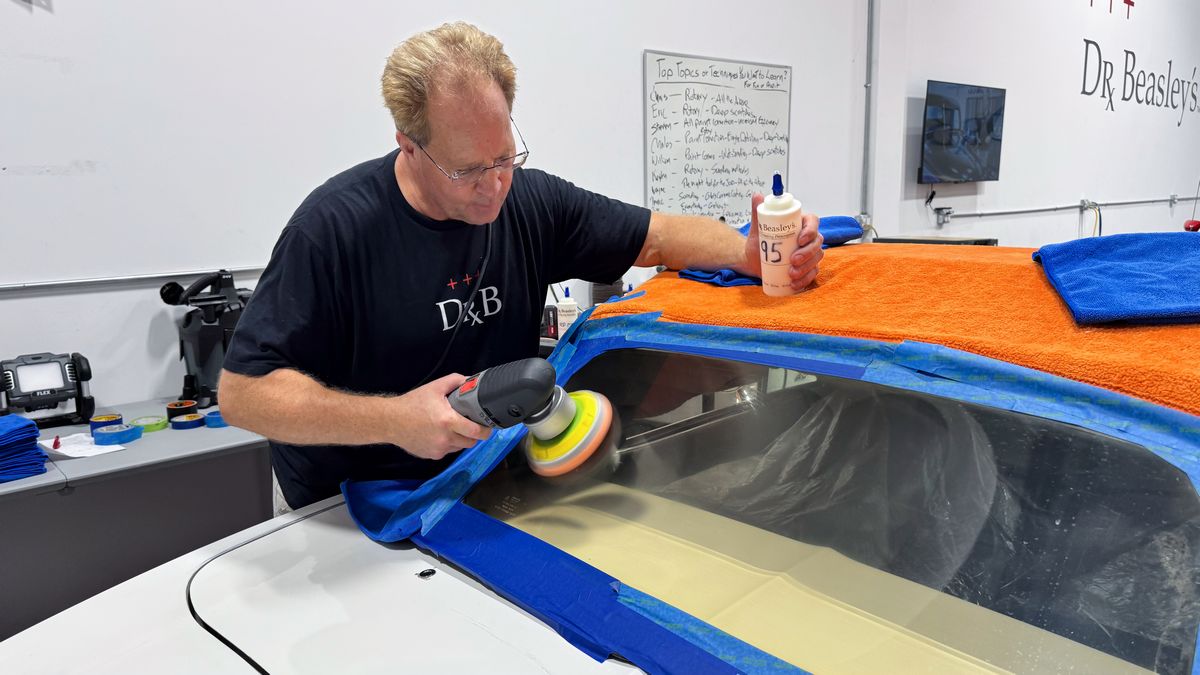
Porter Cable 7424XP with NSP 95
Porter Cable 7424XP with NSP 45
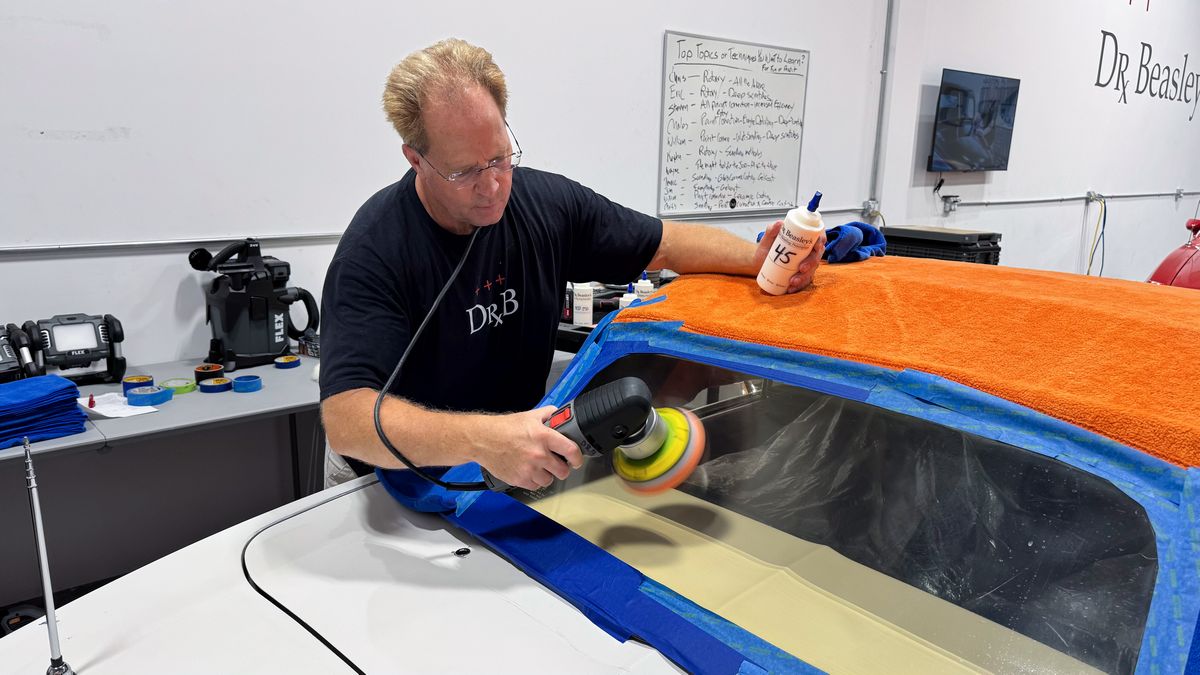
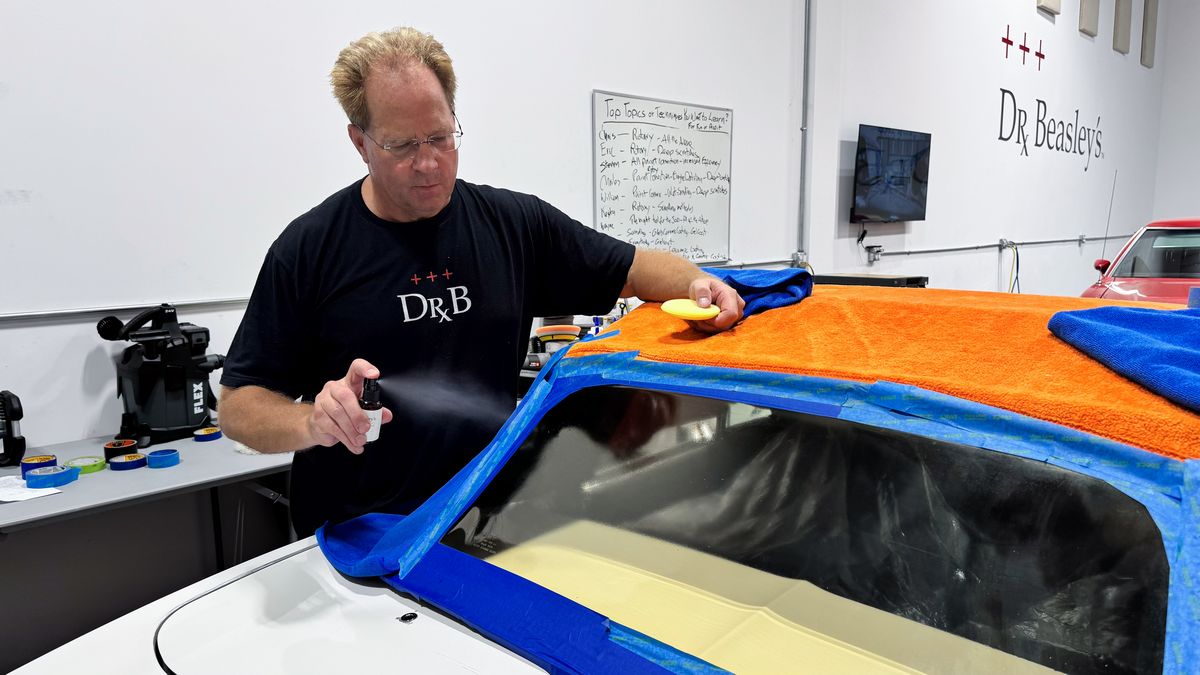
Applying Gloss Builder to maximize clarity
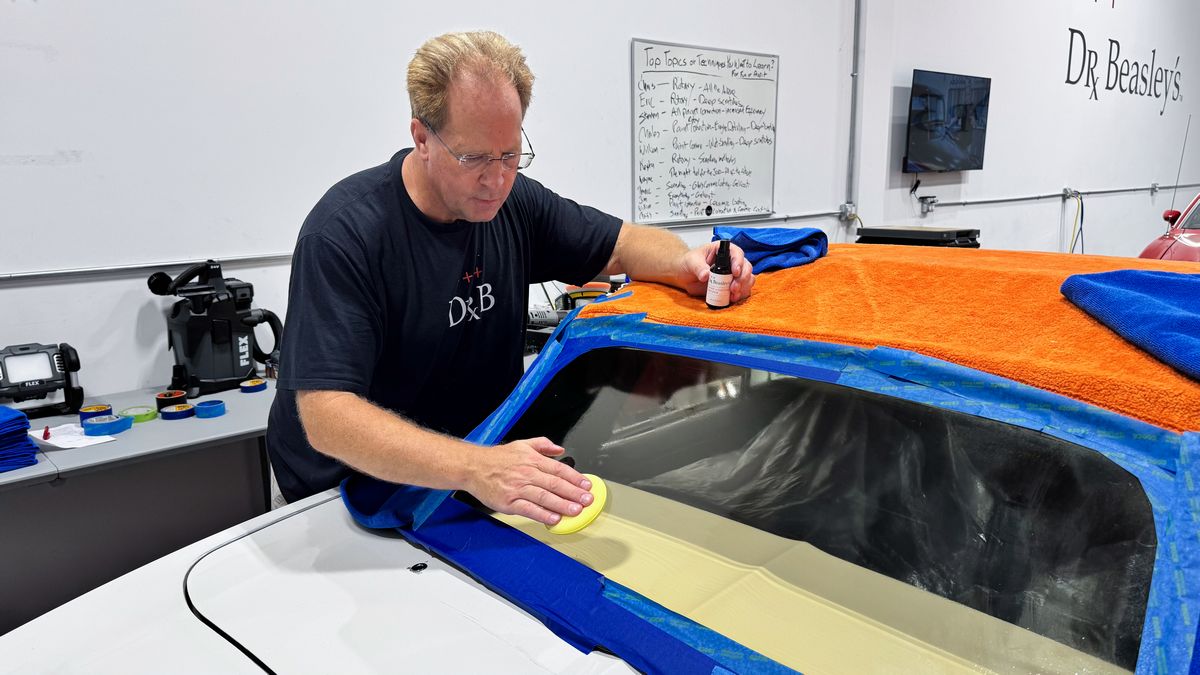
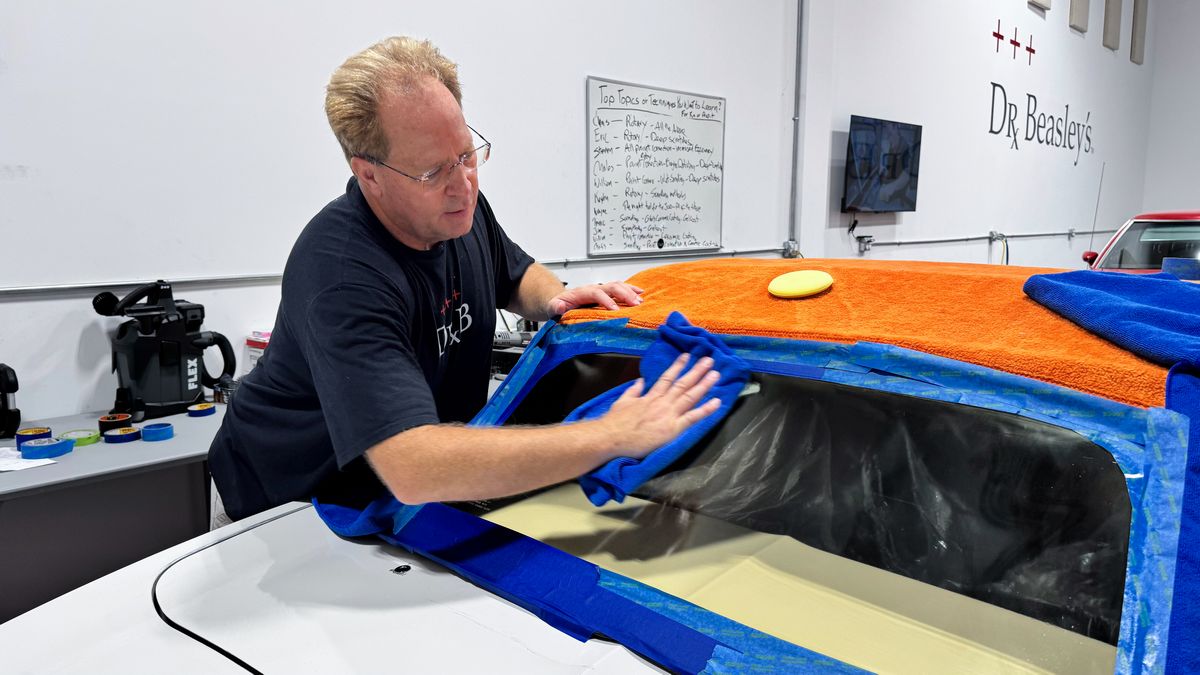
BOOM!
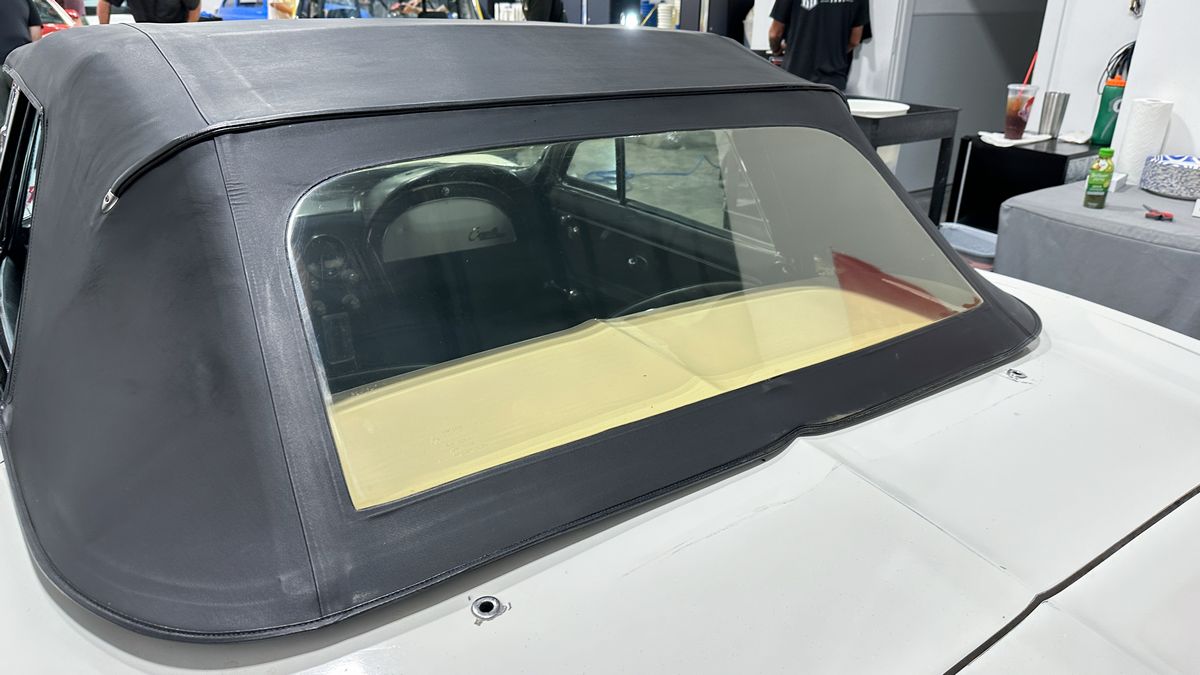
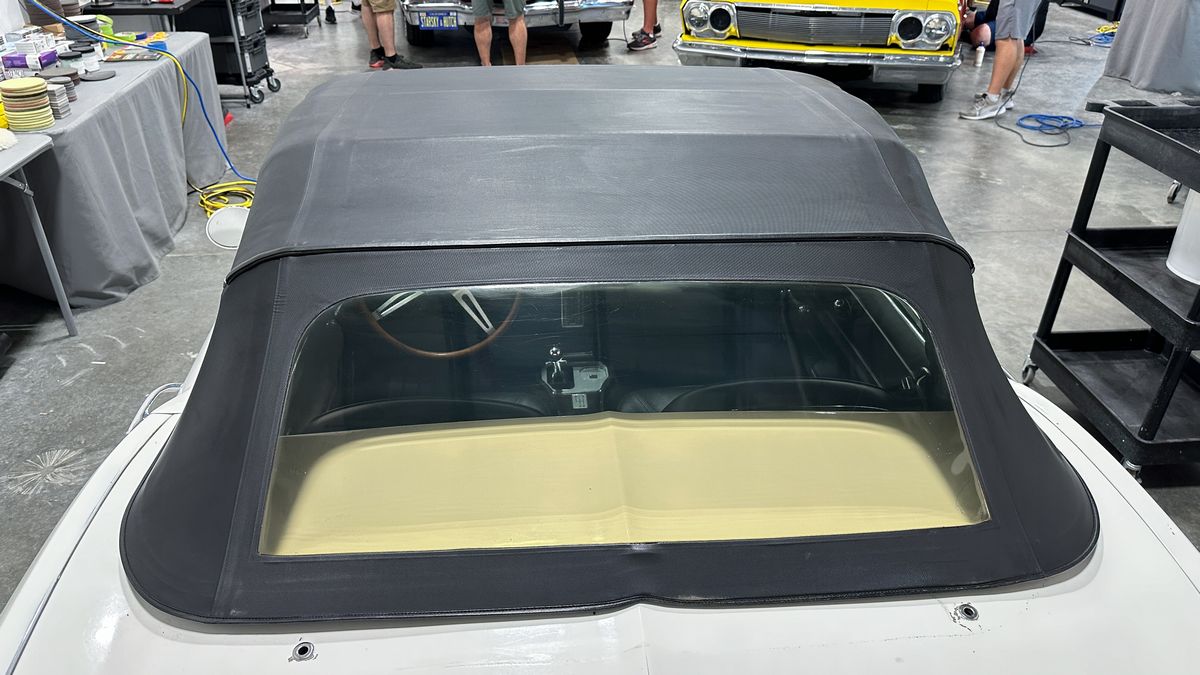
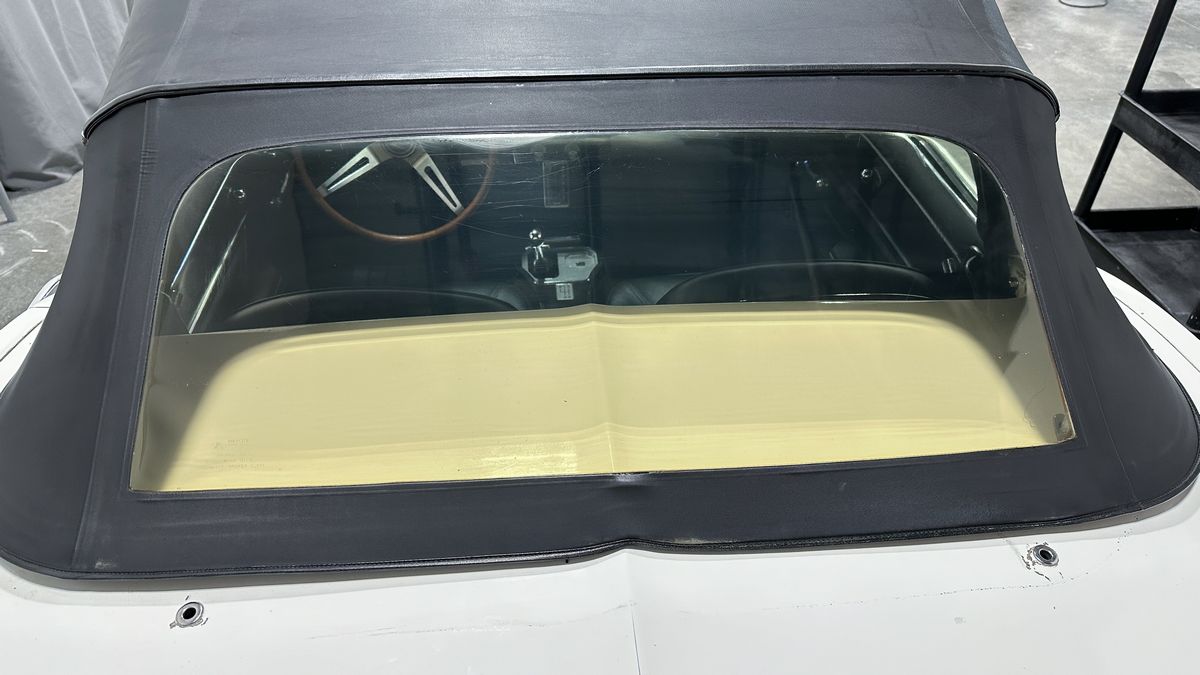
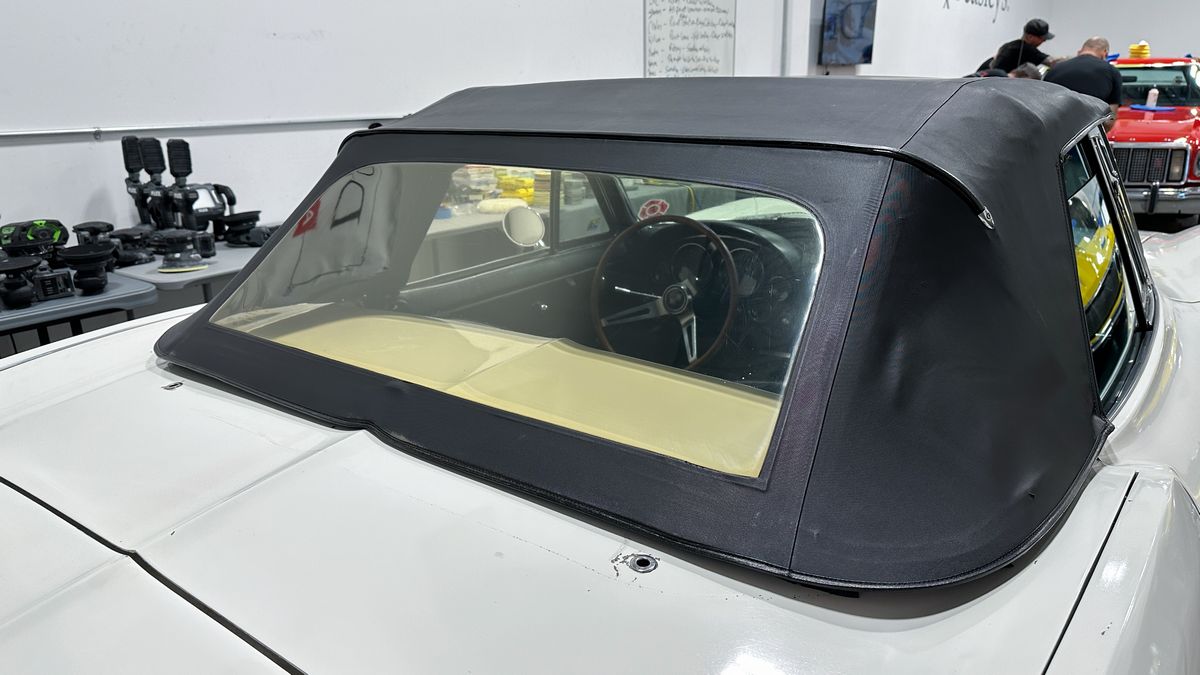
Here’s a few pictures of the back window outside under normal light – looks MUCHO better!
Continued….
Day 3 Sunday – Extreme Boat Detailing
Sunday, Day 3 – Extreme Boat Detailing
Just to note, this was the last time I’m offering both car and boat detailing in a single weekend. I’ve done this since 2021 as a professional courtesy to those that want to take both my car and my boat detailing class. The majority of people that take any of my classes are not local but are FLYING here from other states and other countries. The reason I combined the two topics was so that people could learn the most profitable and popular topics, (paint correction/ceramic coatings, removing orange peel via sanding, and boat detailing), with only one set of,
- Airline tickets
- Hotel reservations
- Rental car
- Meals-on-the-road
- Plus, the price of the class
Too many people only wanted to take the car portion or the boat portion and what people don’t understand is the volume of work it takes to get all these cars here and the boats and then manage them throughout the week before and even the week after the class. Maybe I’ll do it again some year, but for 2025 there are three 2-day automotive detailing classes and one extreme boat detailing class, which will be held in March.
Click here for the class schedule for 2025
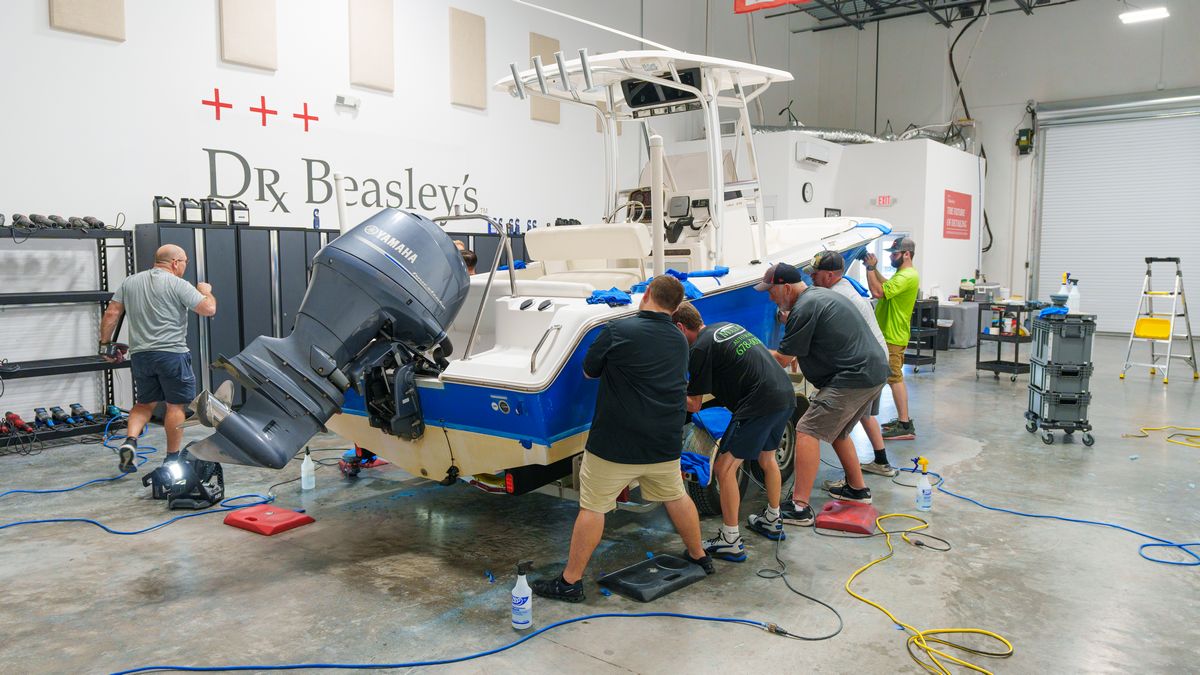
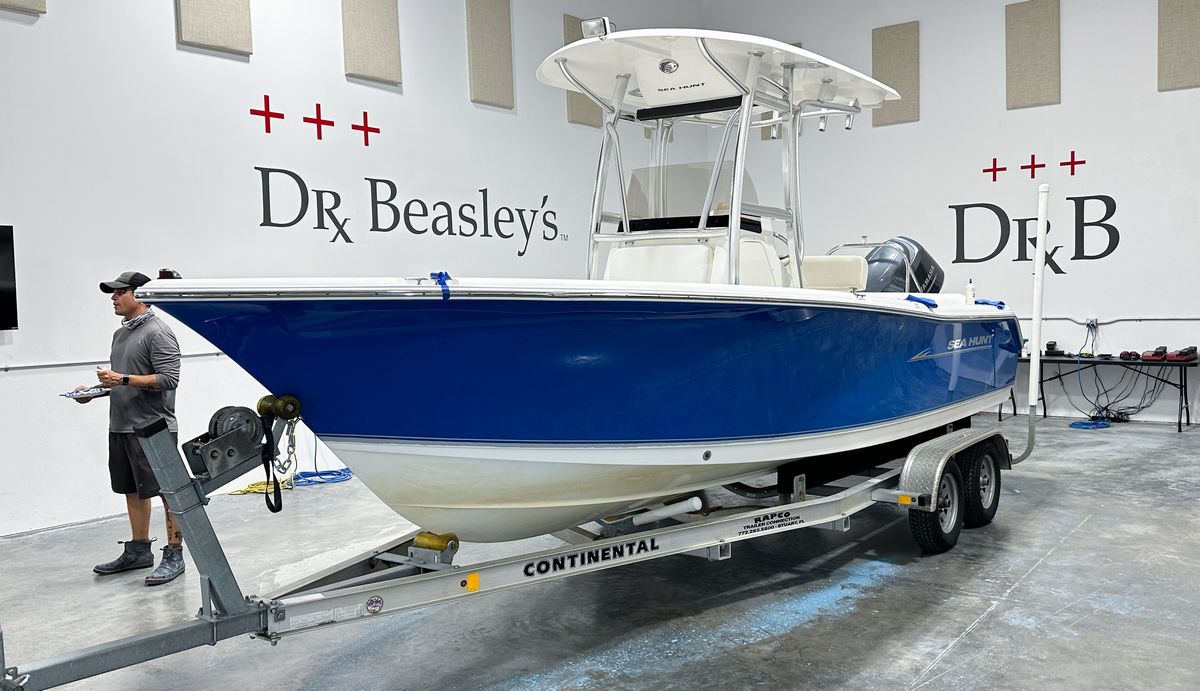
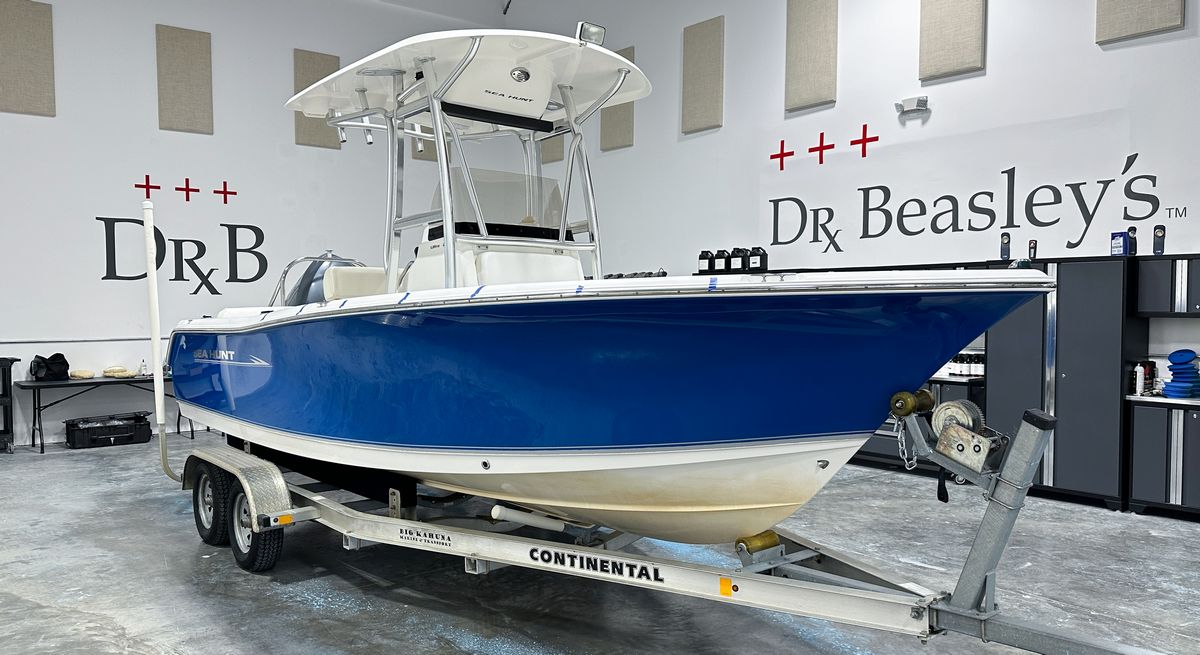
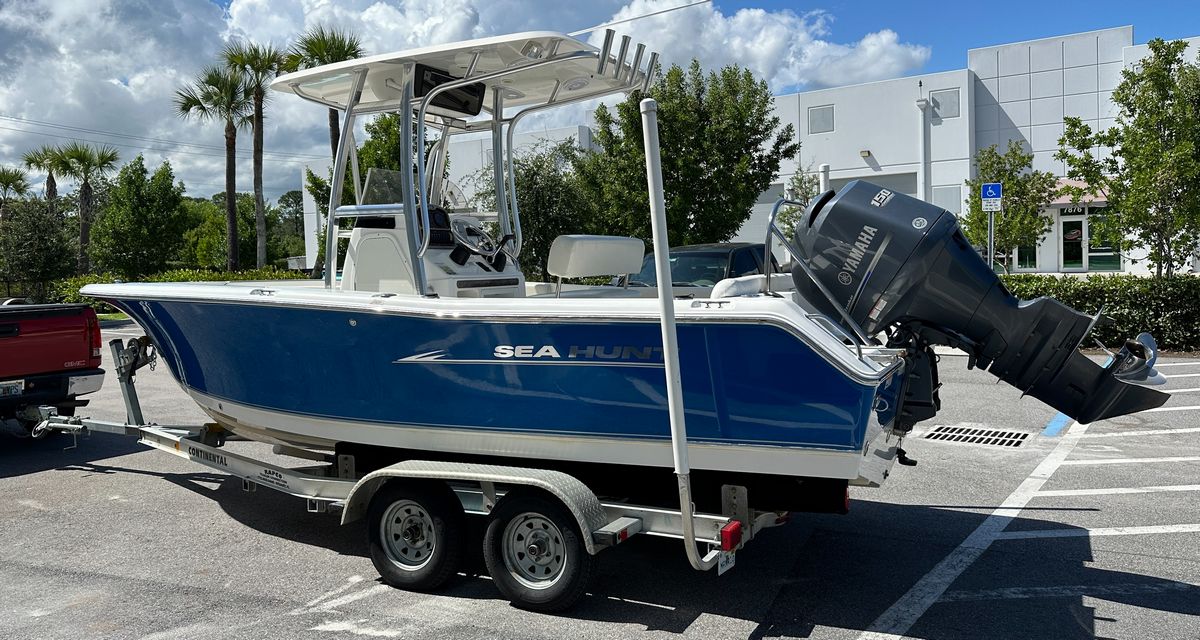
Here’s the 24′ Sea Hunt staged outside the shop.
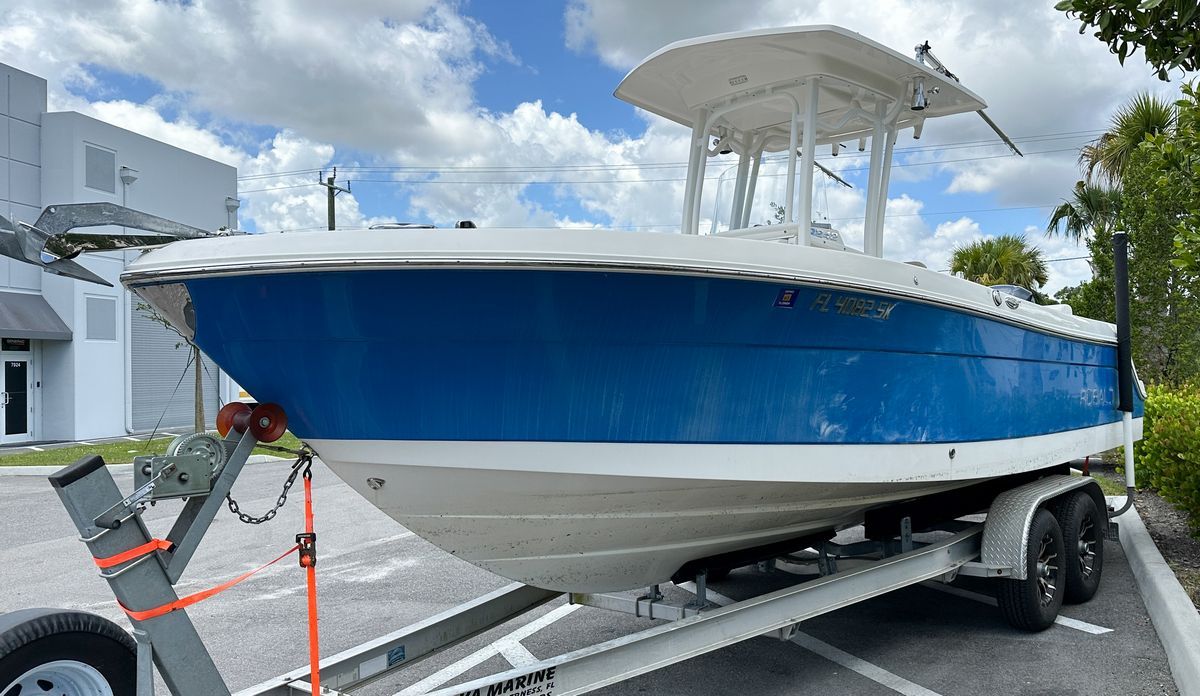
Here she is moved inside for the class.
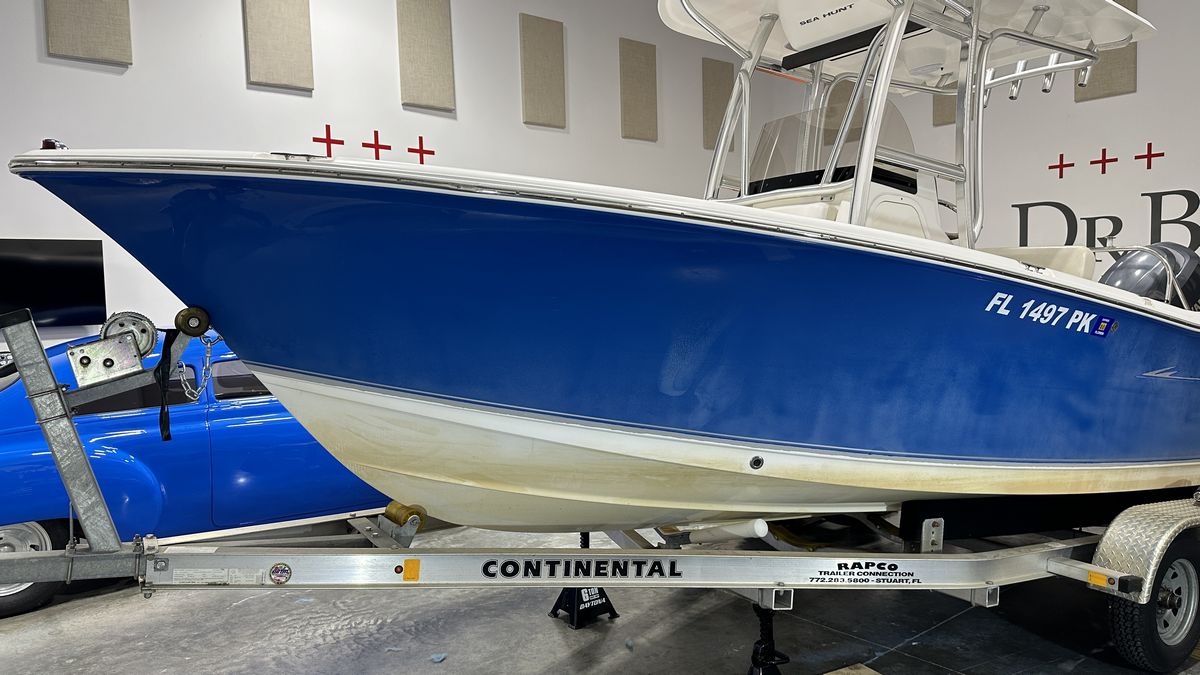
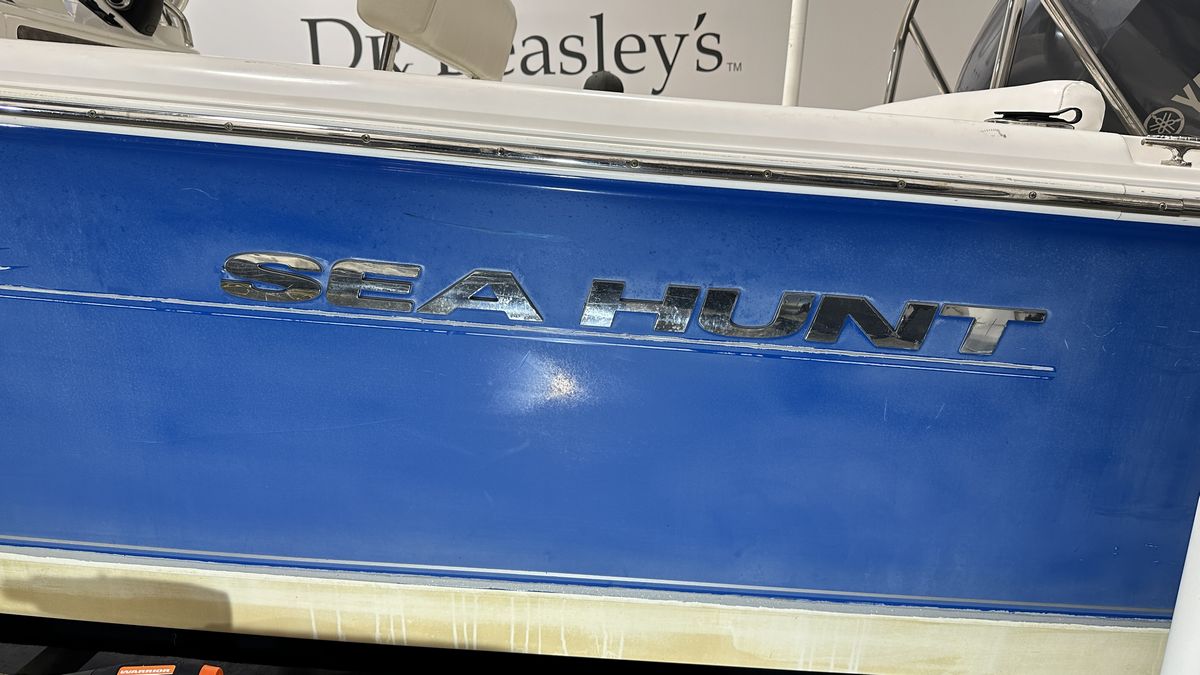
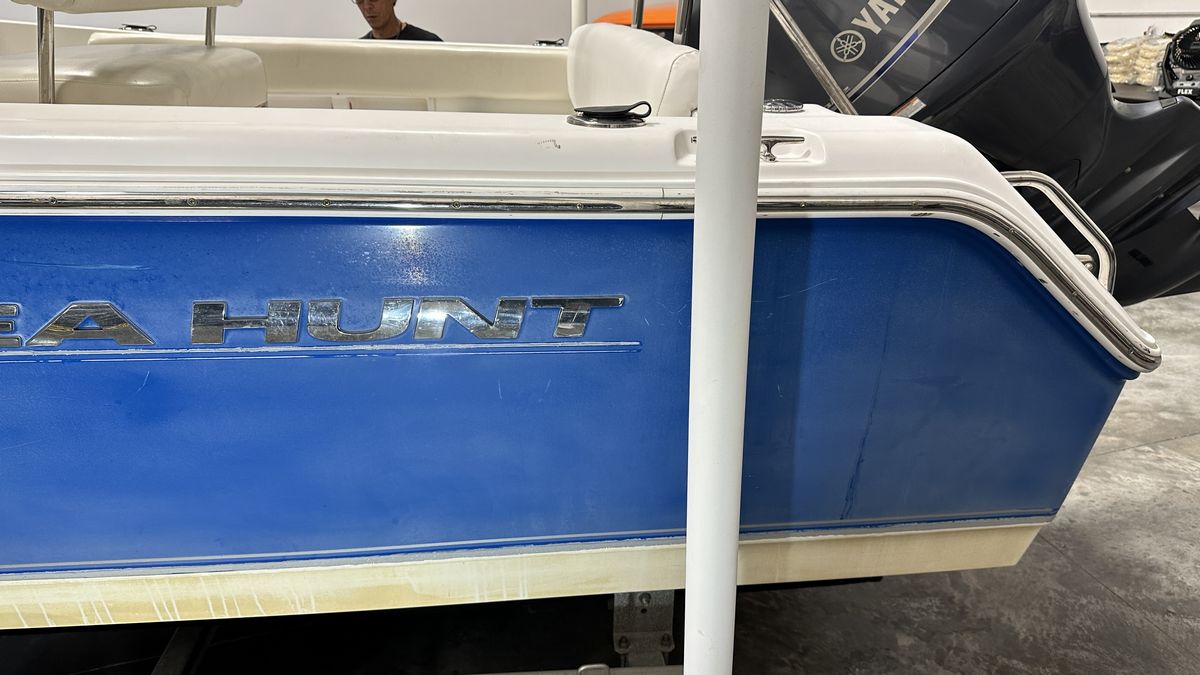
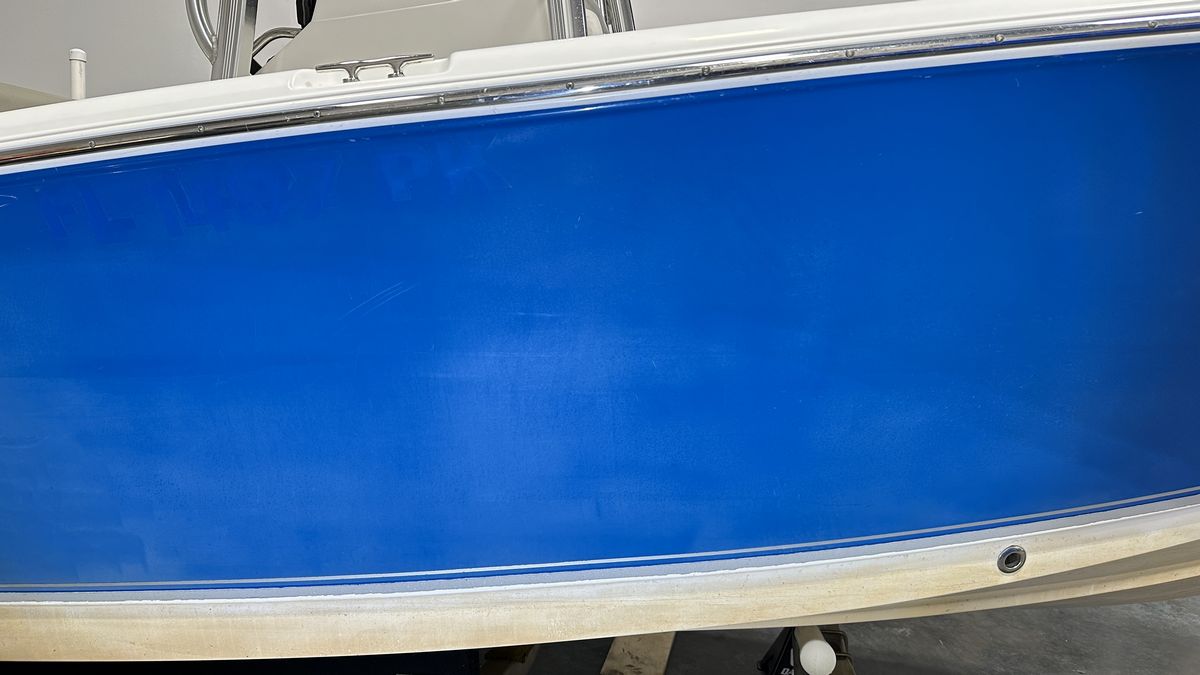
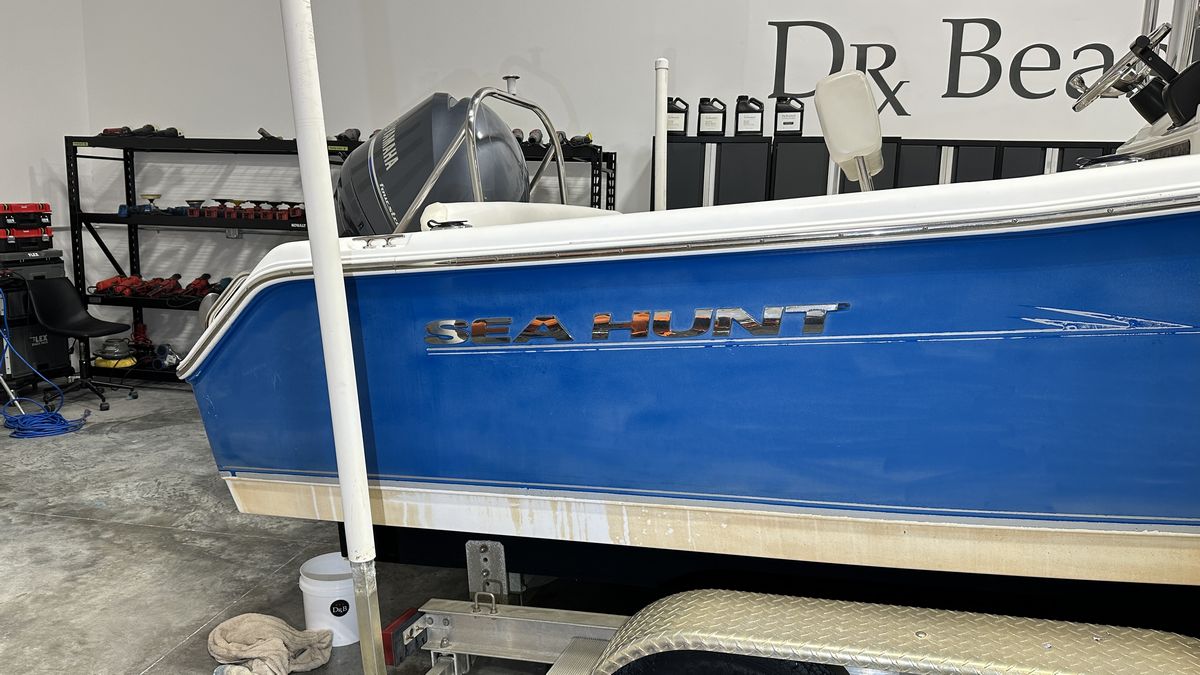
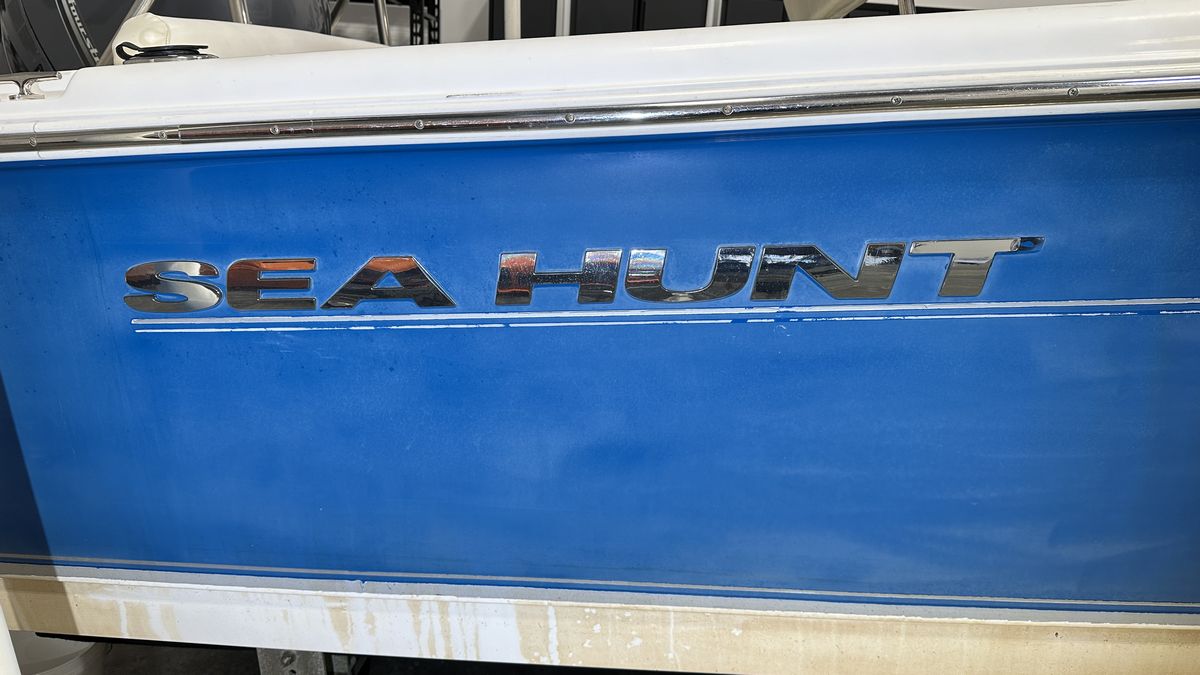
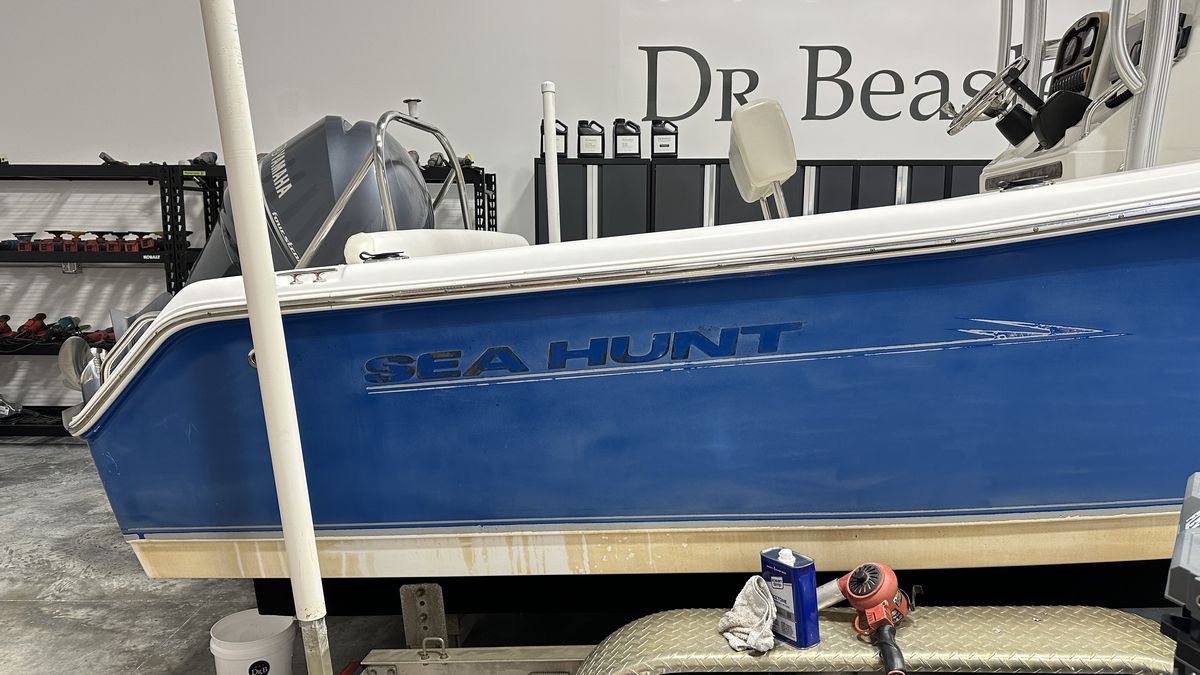
Removing aged, baked-on emblems and vinyl graphics
It’s Go Time!
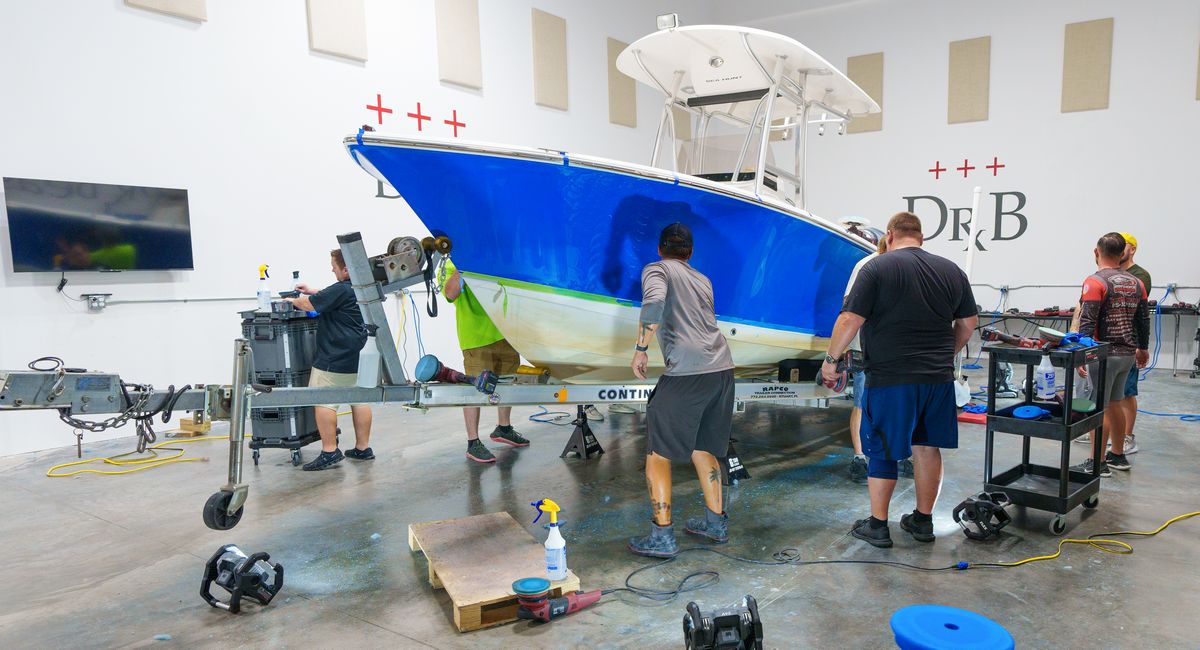
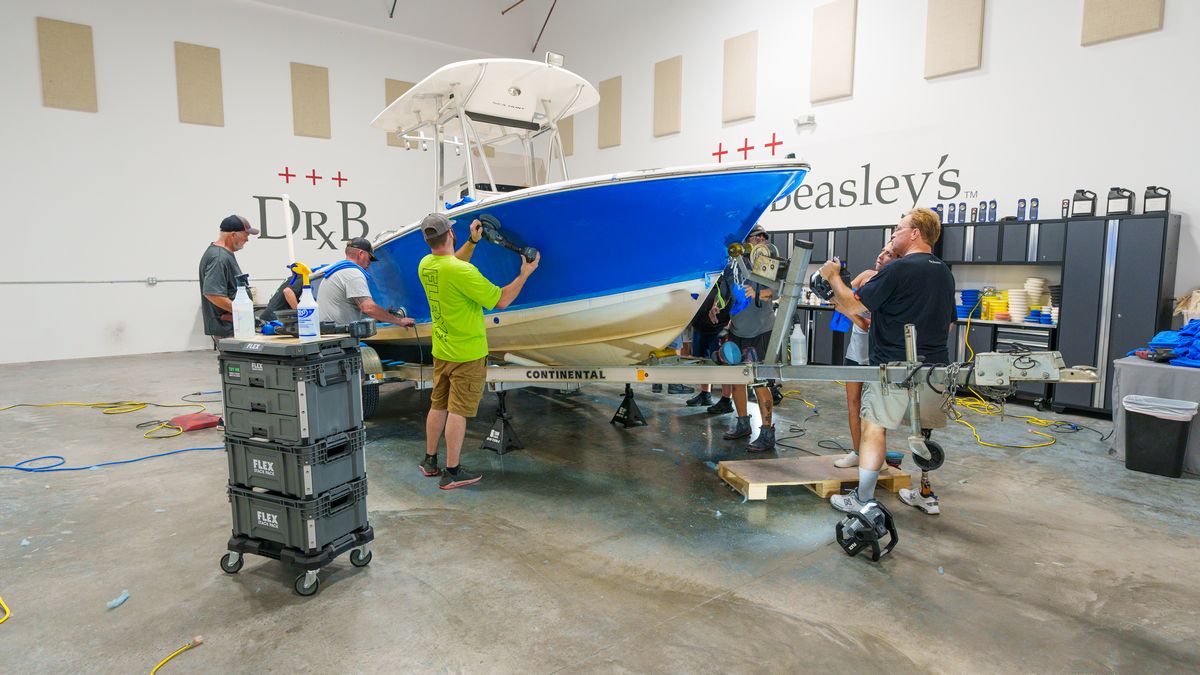
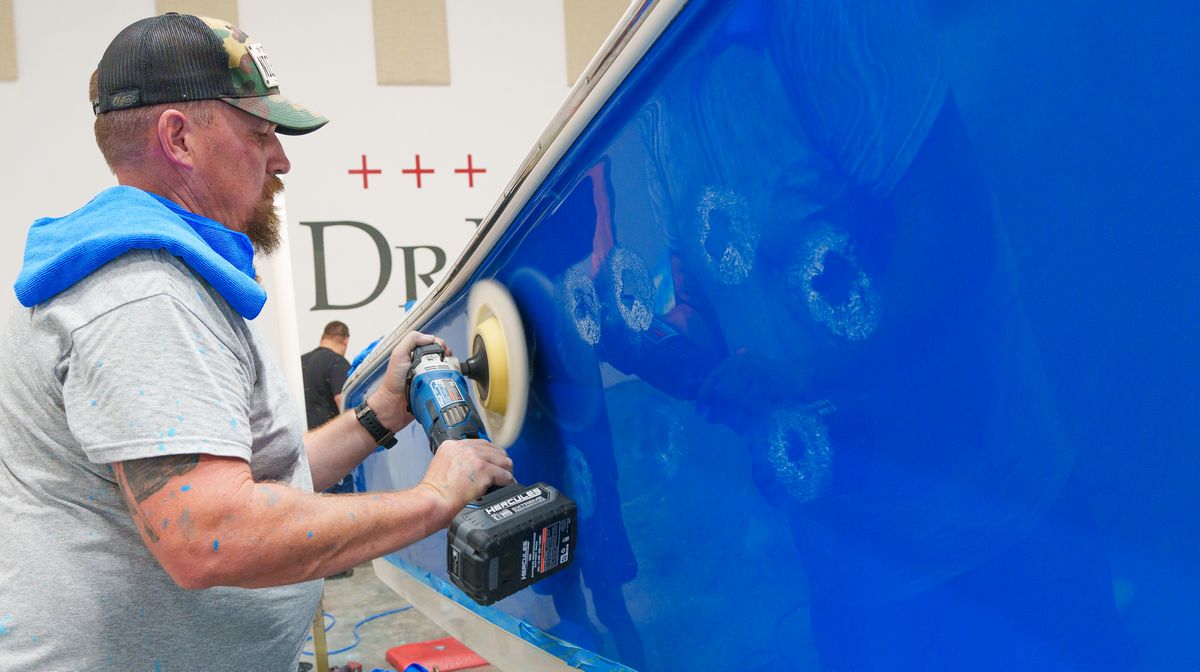
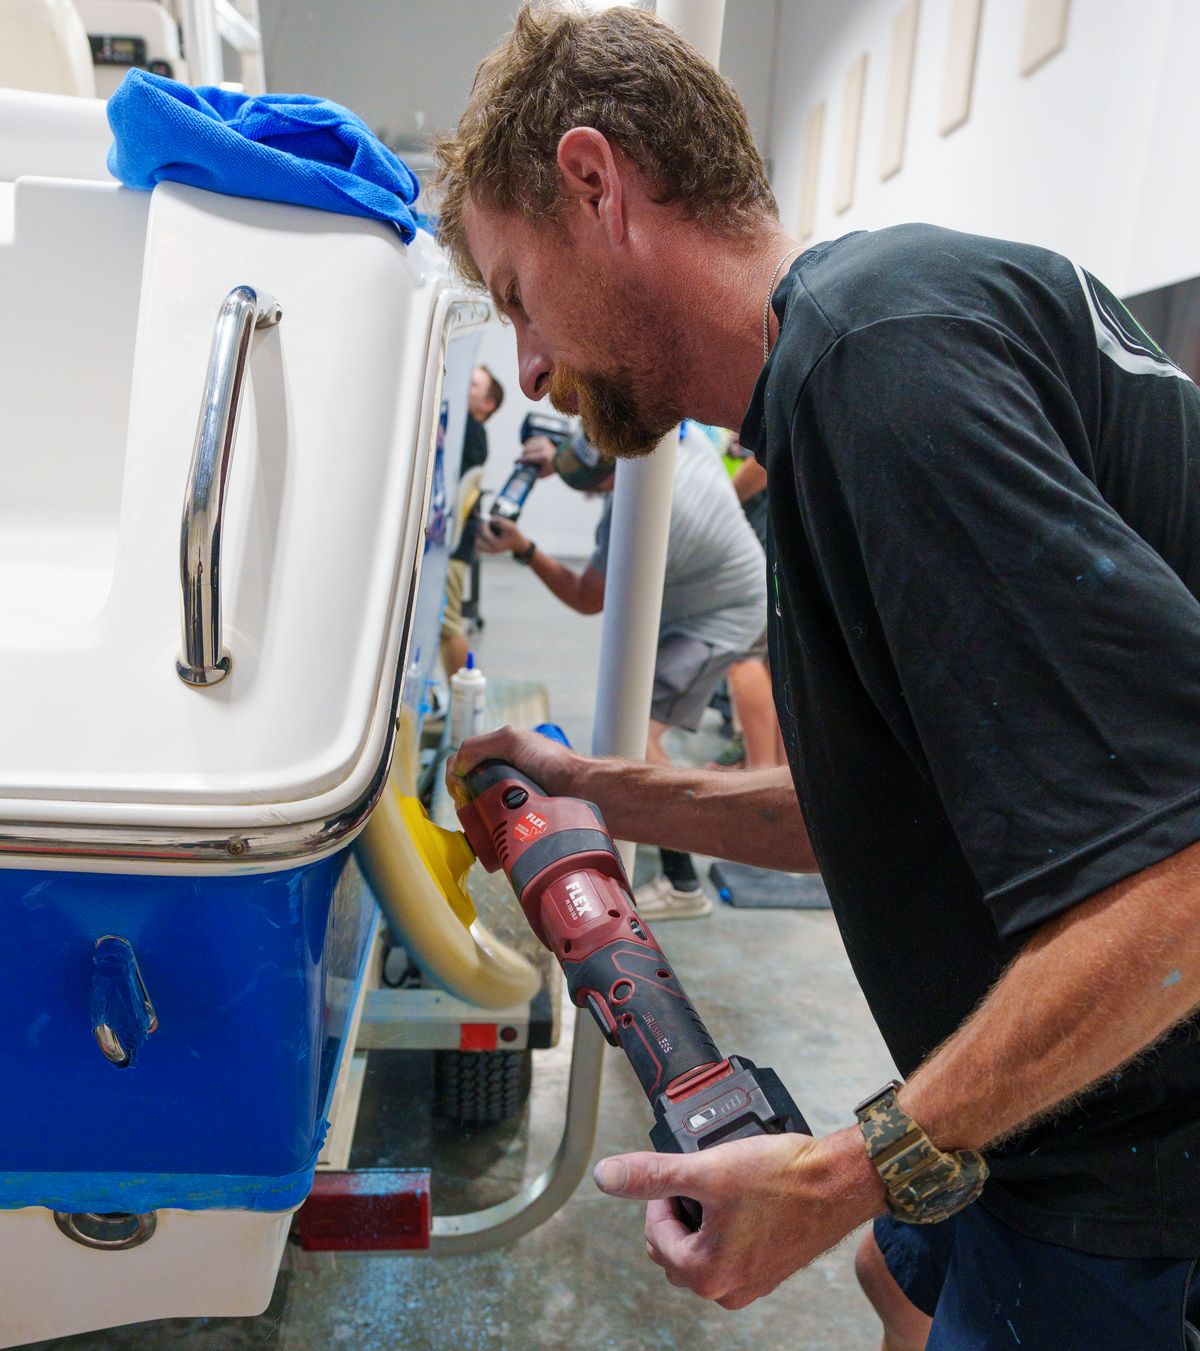
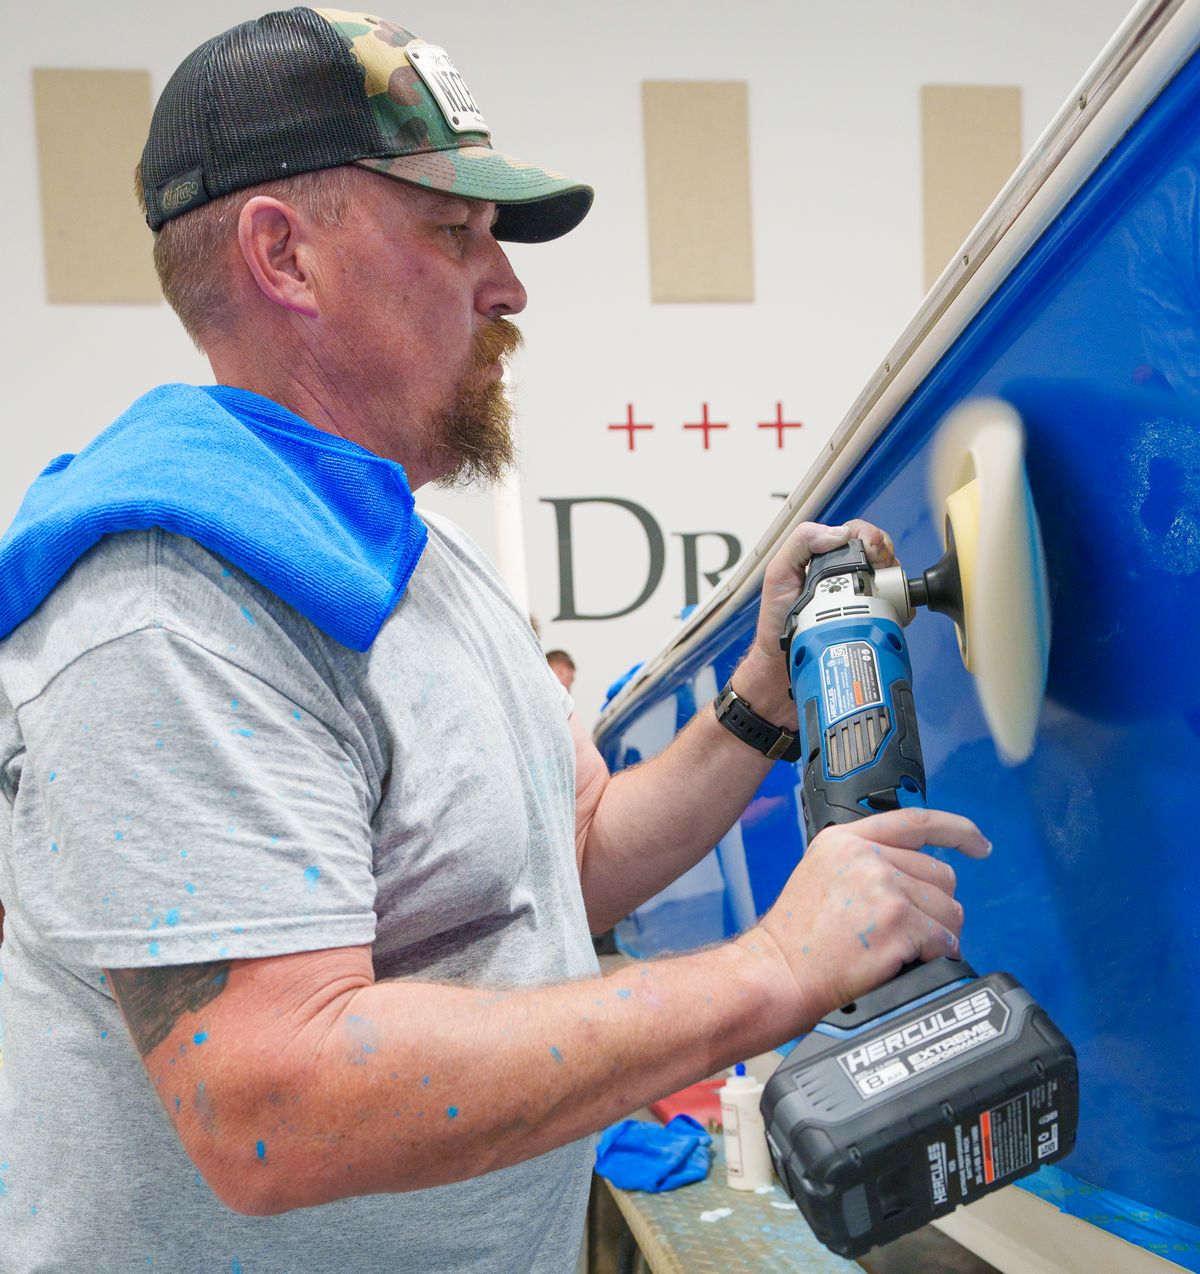
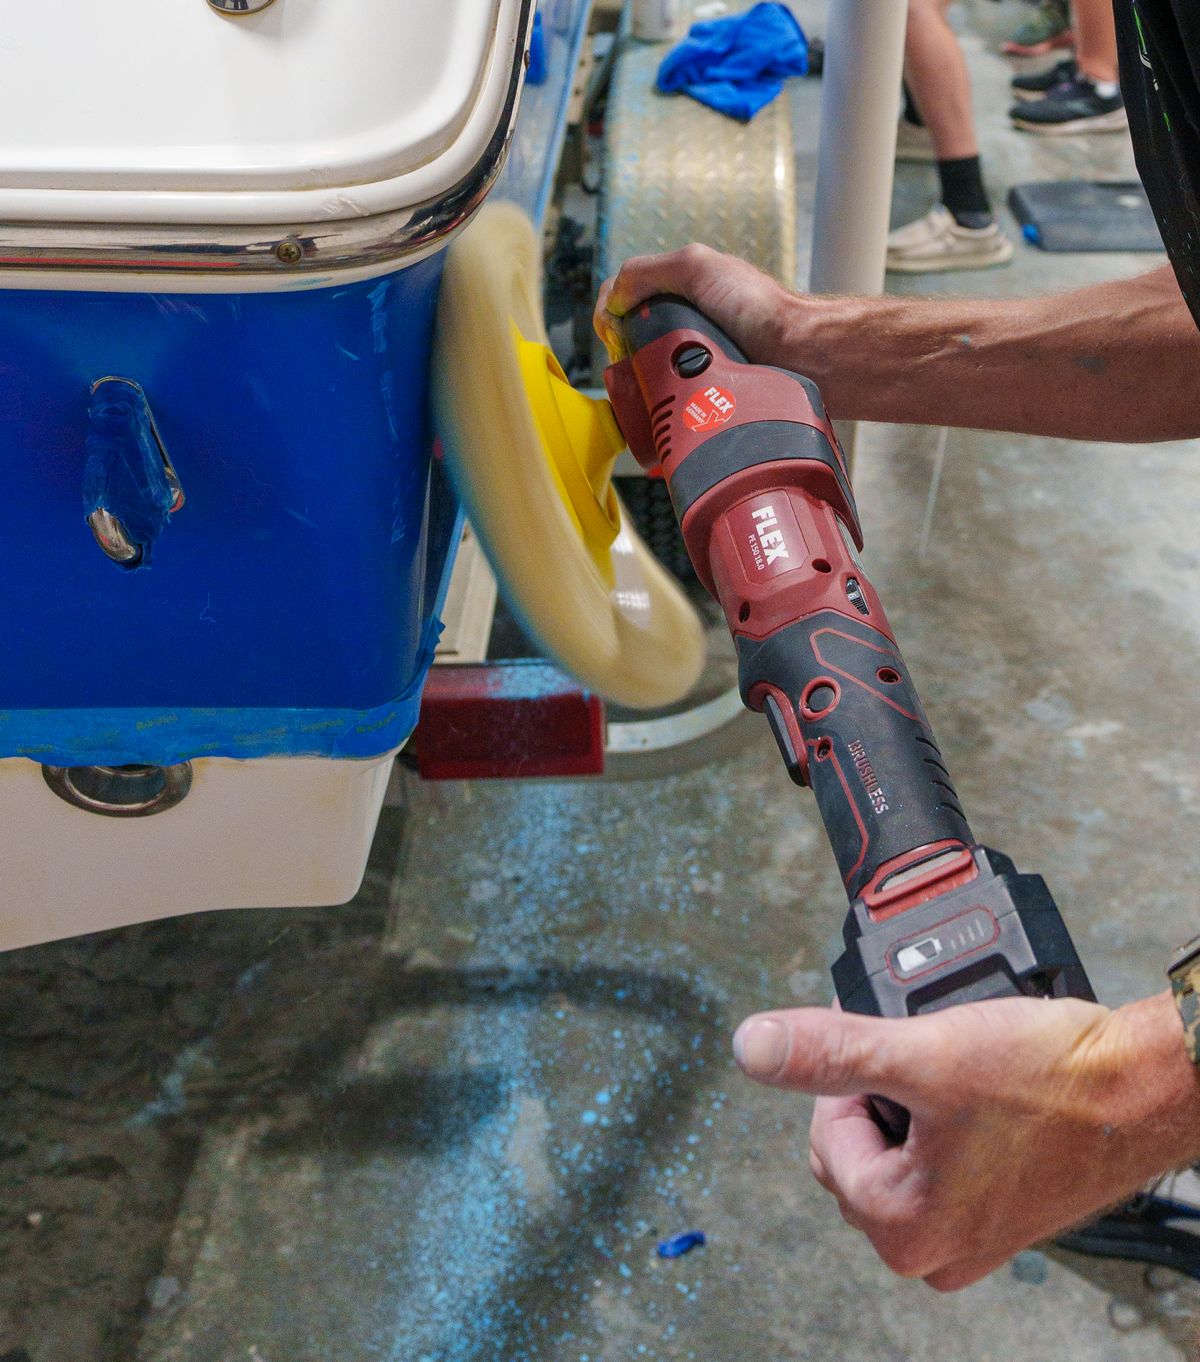
Girl Power
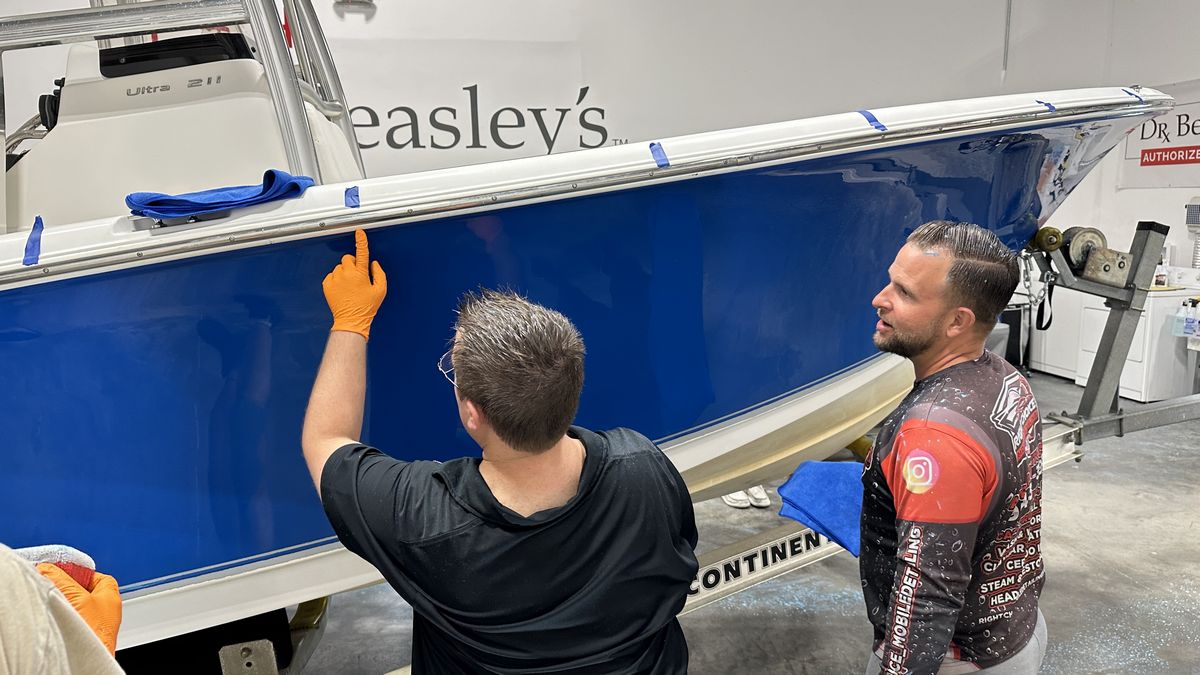
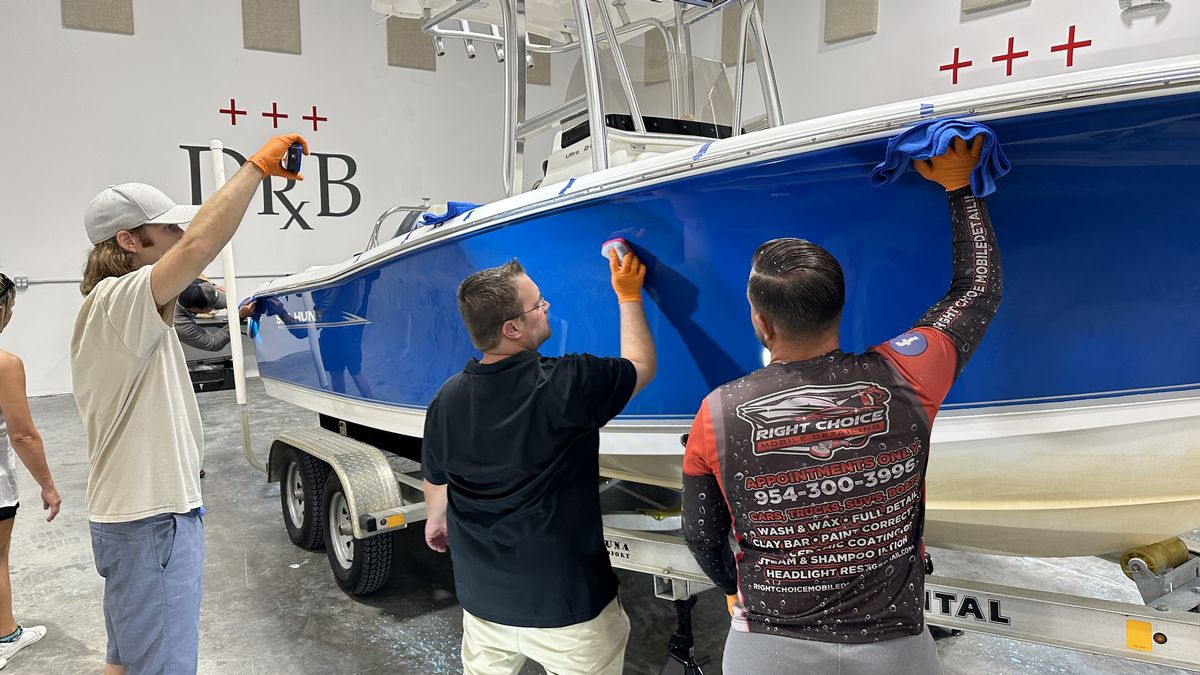
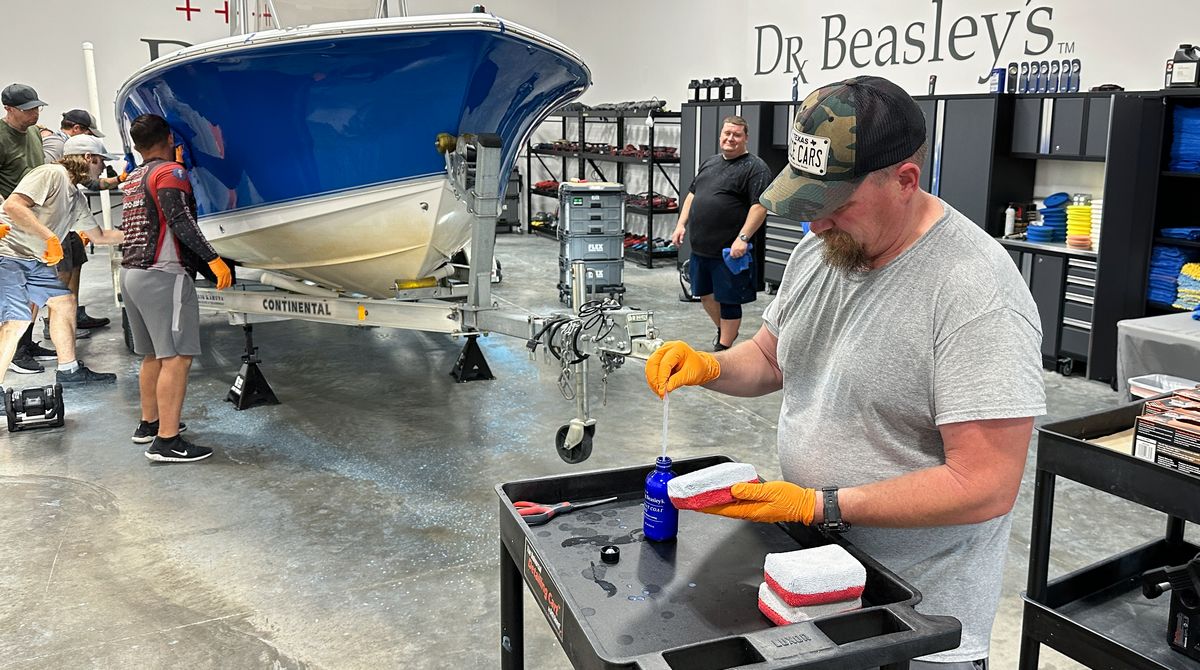
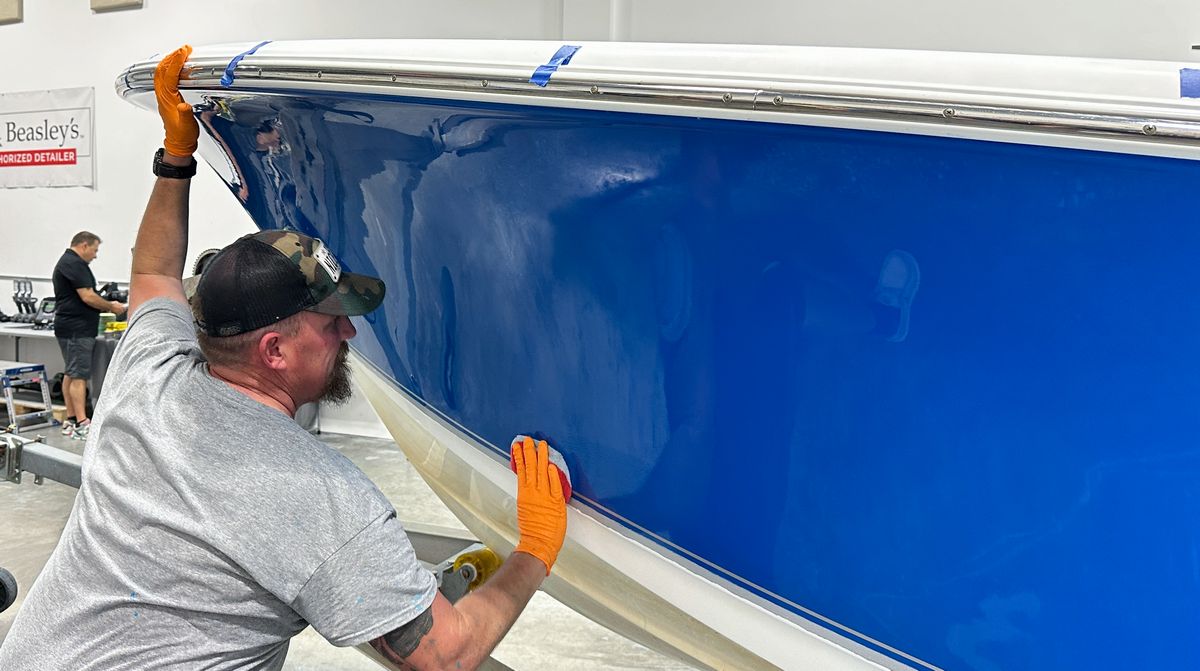
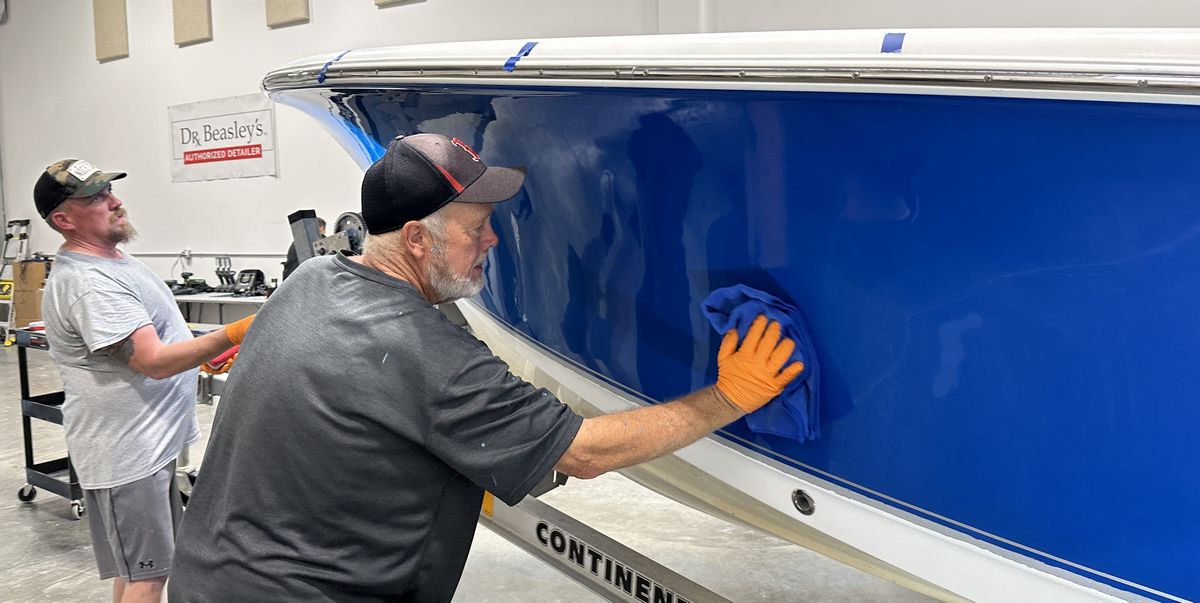
The most muscle-intensive section of a center console boat to buff is the curved section at the bow. I’m totally impressed that instead of working on the sides of the boat, Ashley took the challenge to sand and buff the hull at the bow of the boat. Way to get after Ashley!
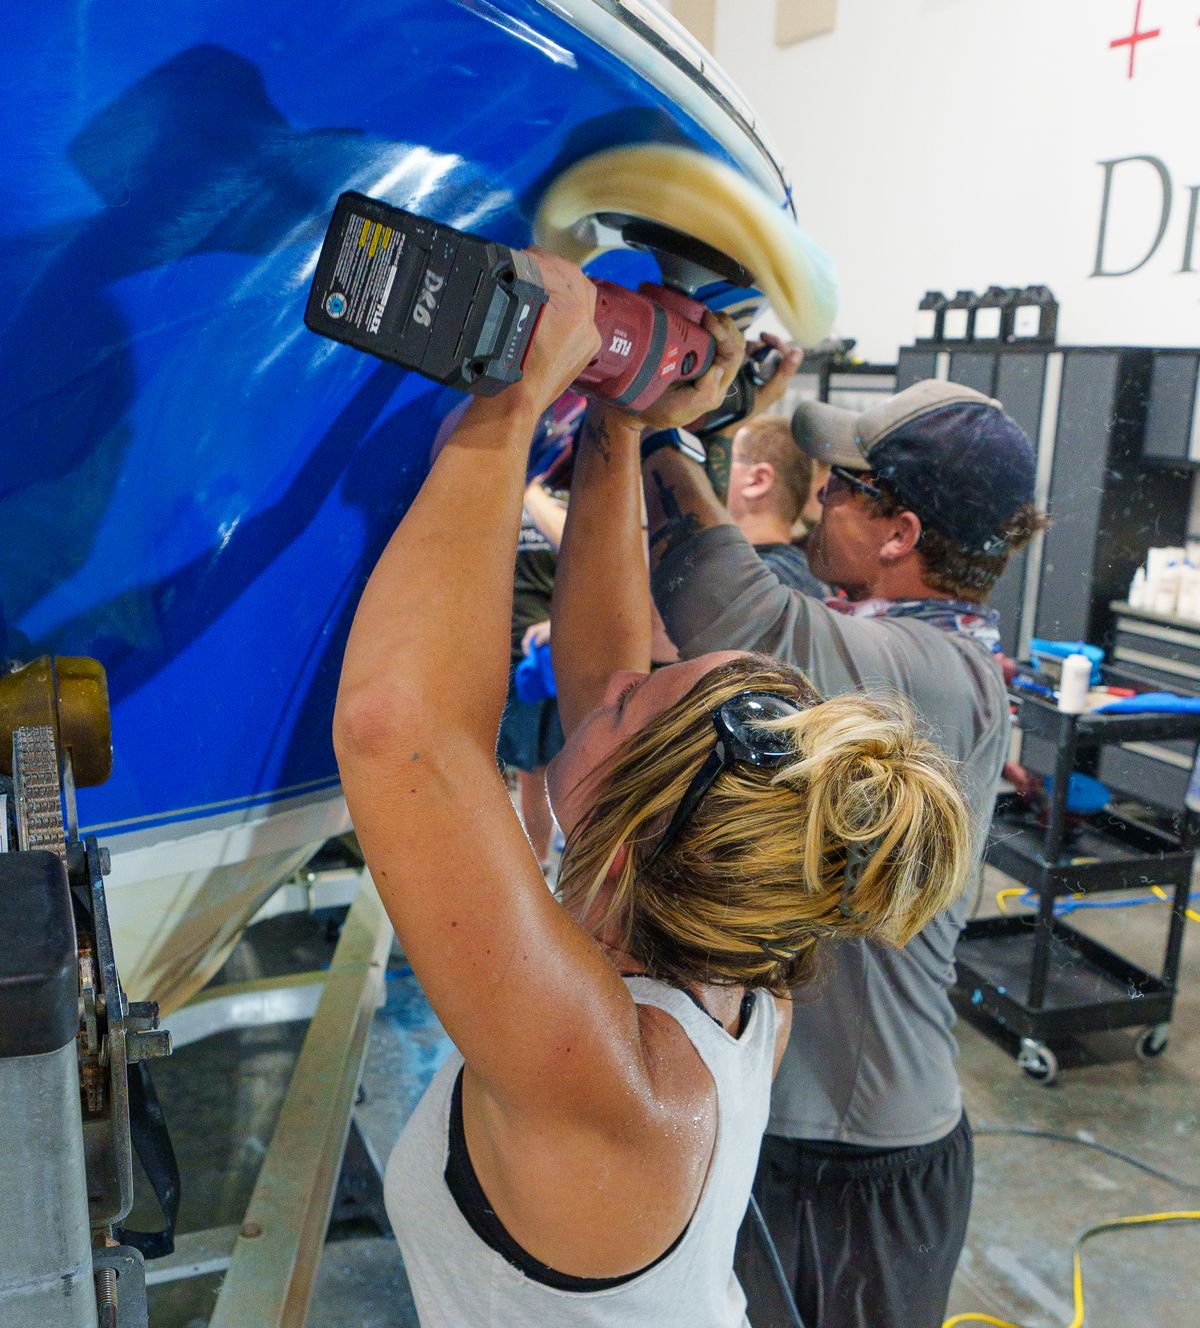
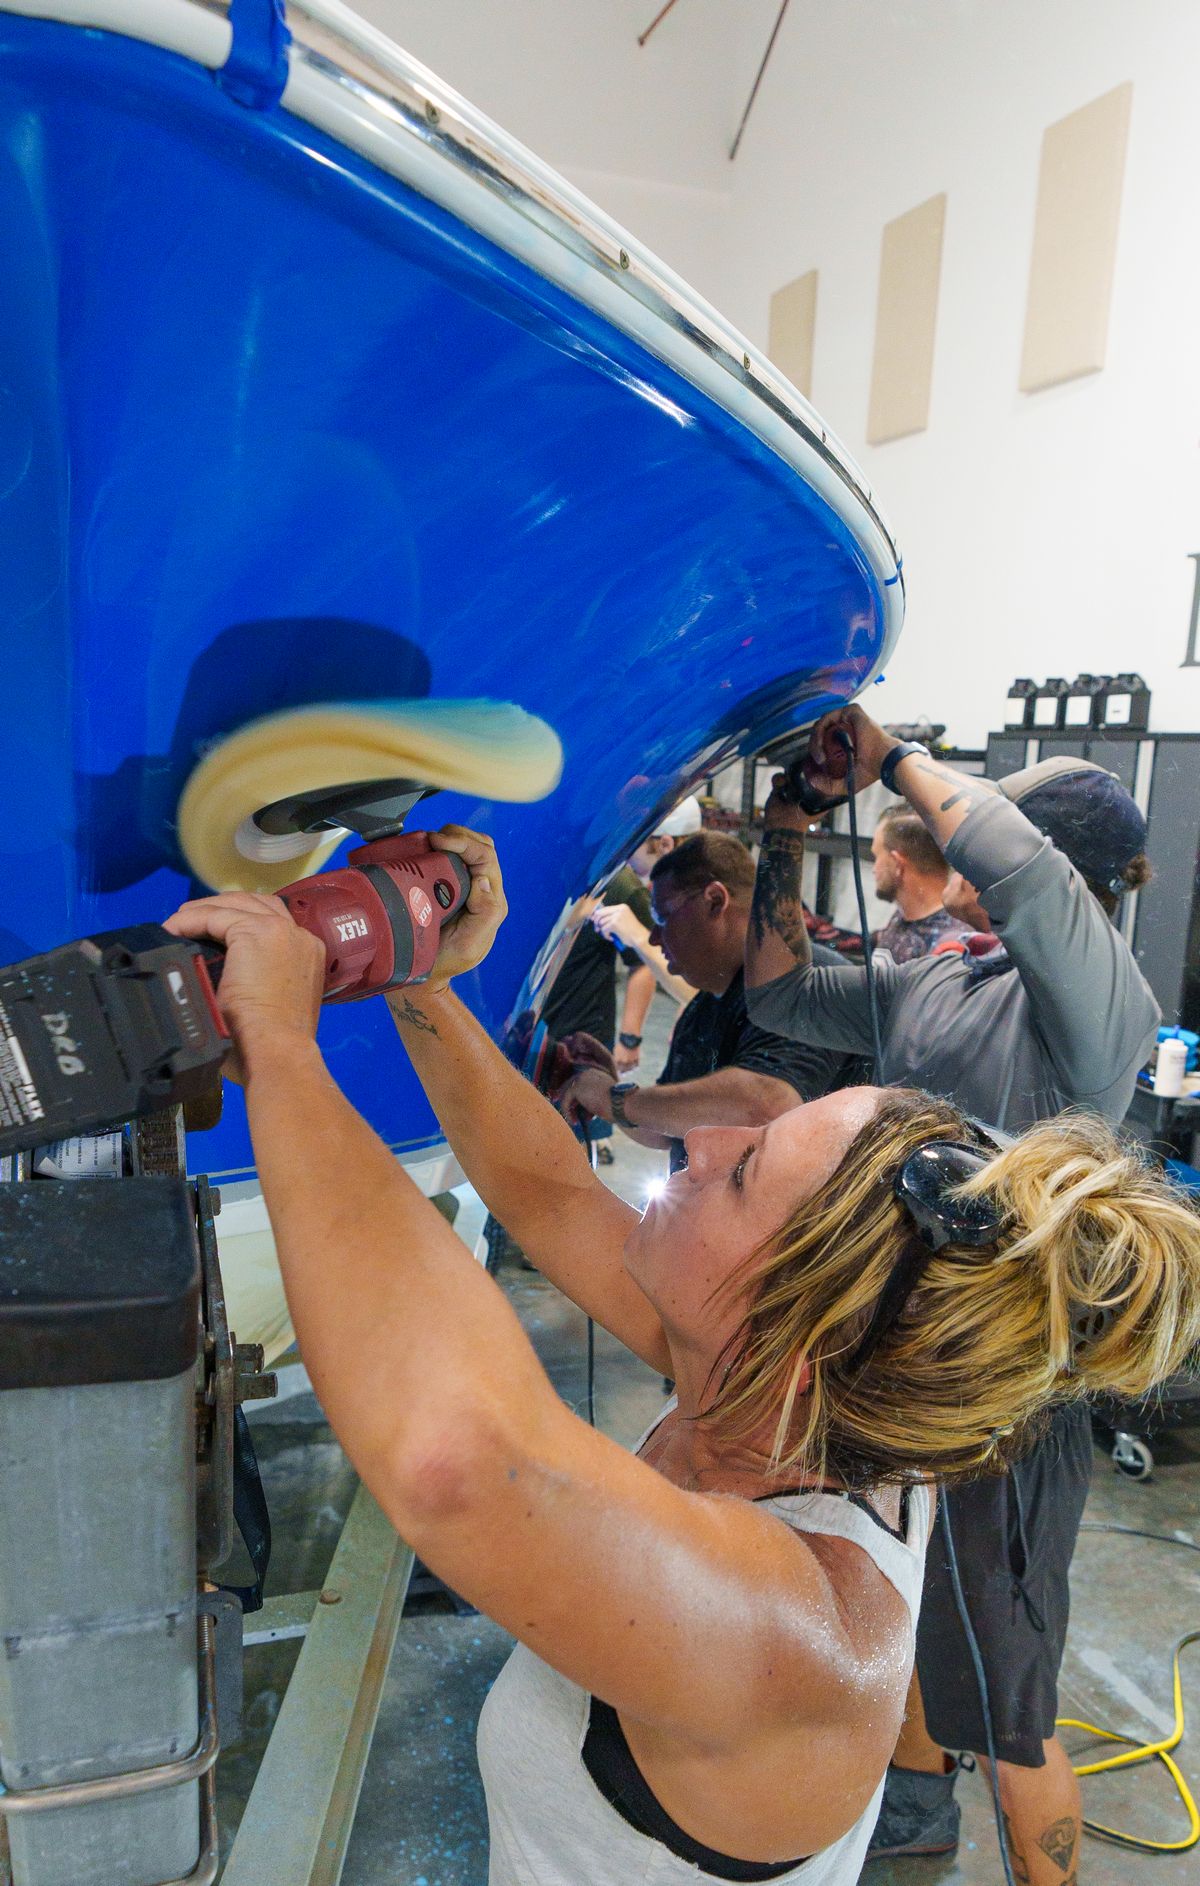
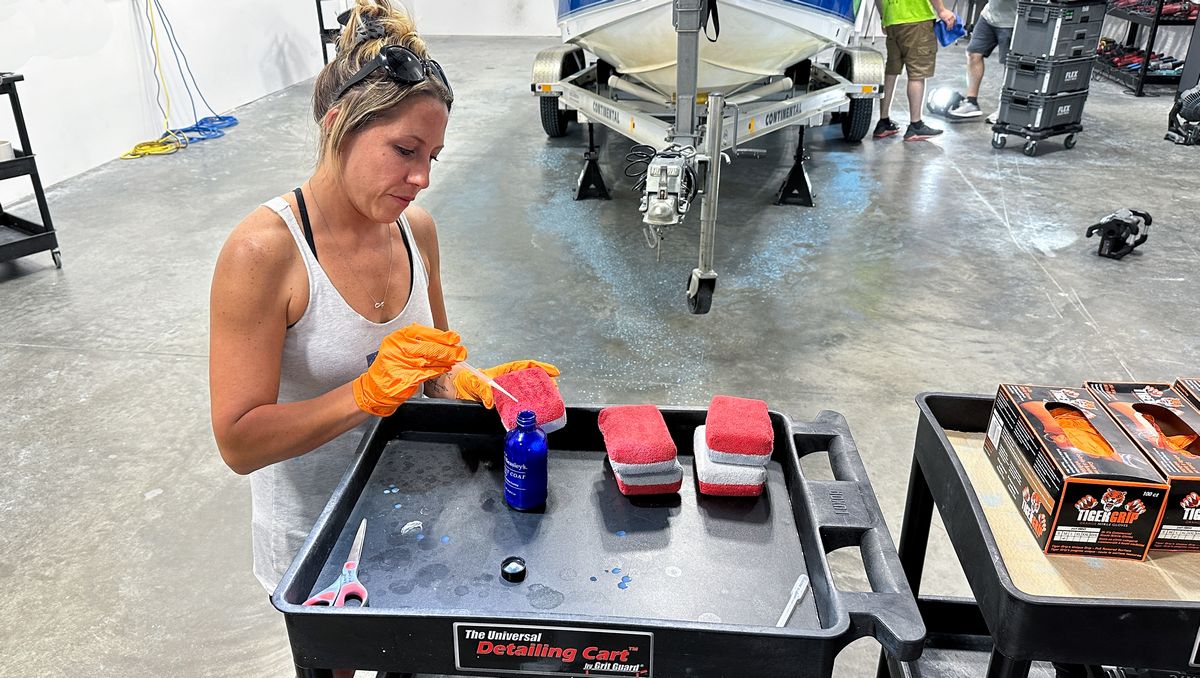
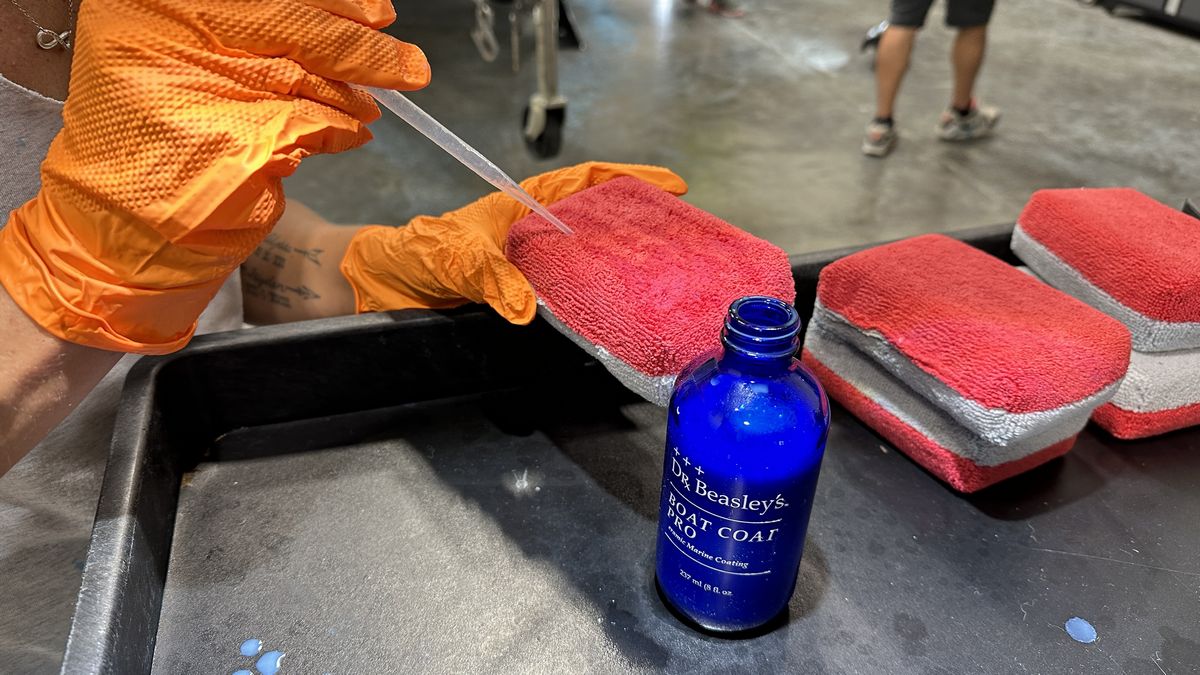
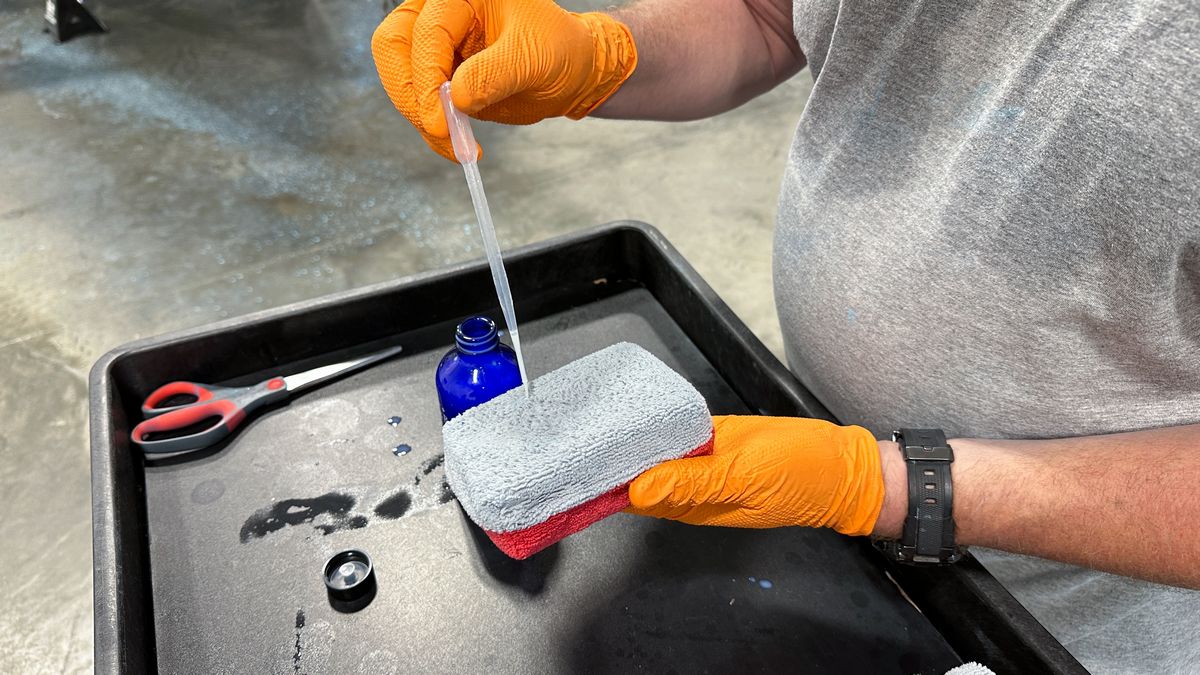
Here’s Ashley applying some of the coating to an Autofiber Coating Saver Applicator Pad.
Continued….
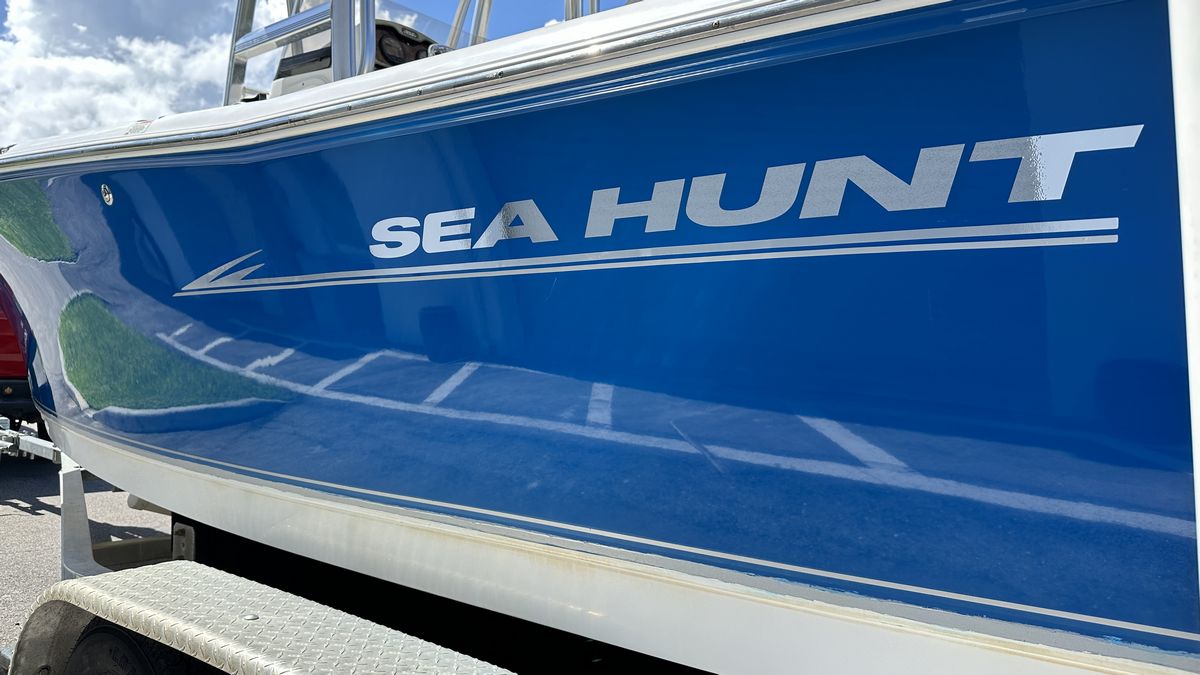
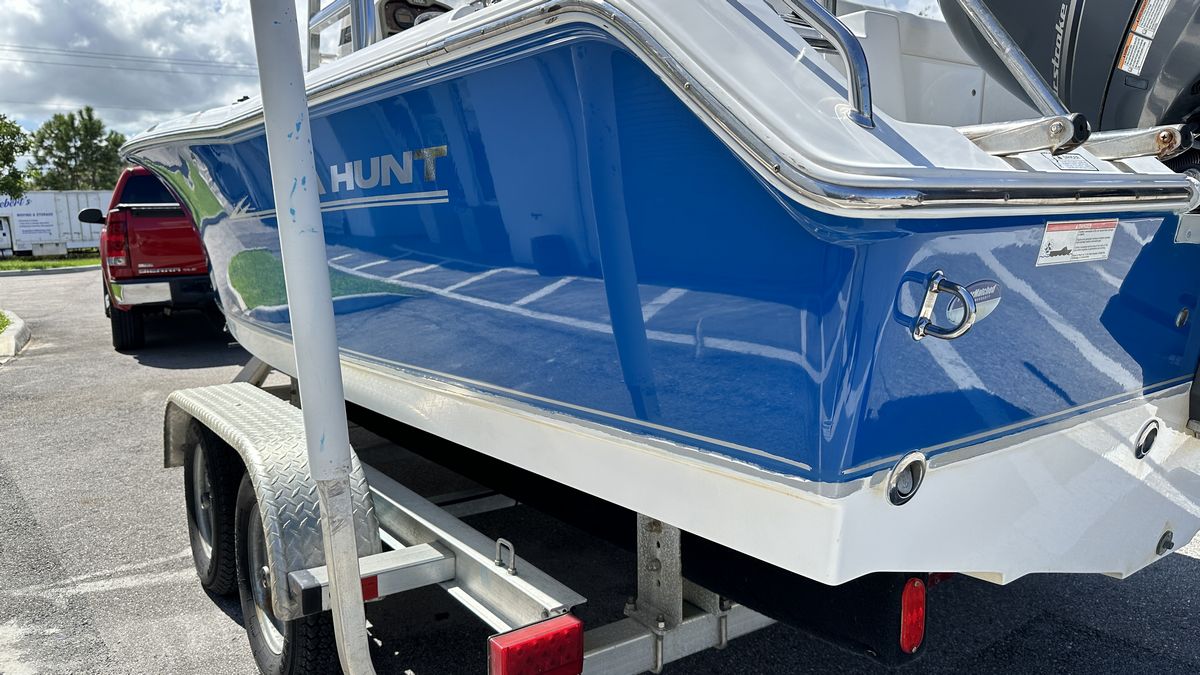
Here are the final results…
Hi-Powered Swirl Finder Lights Don’t Lie!
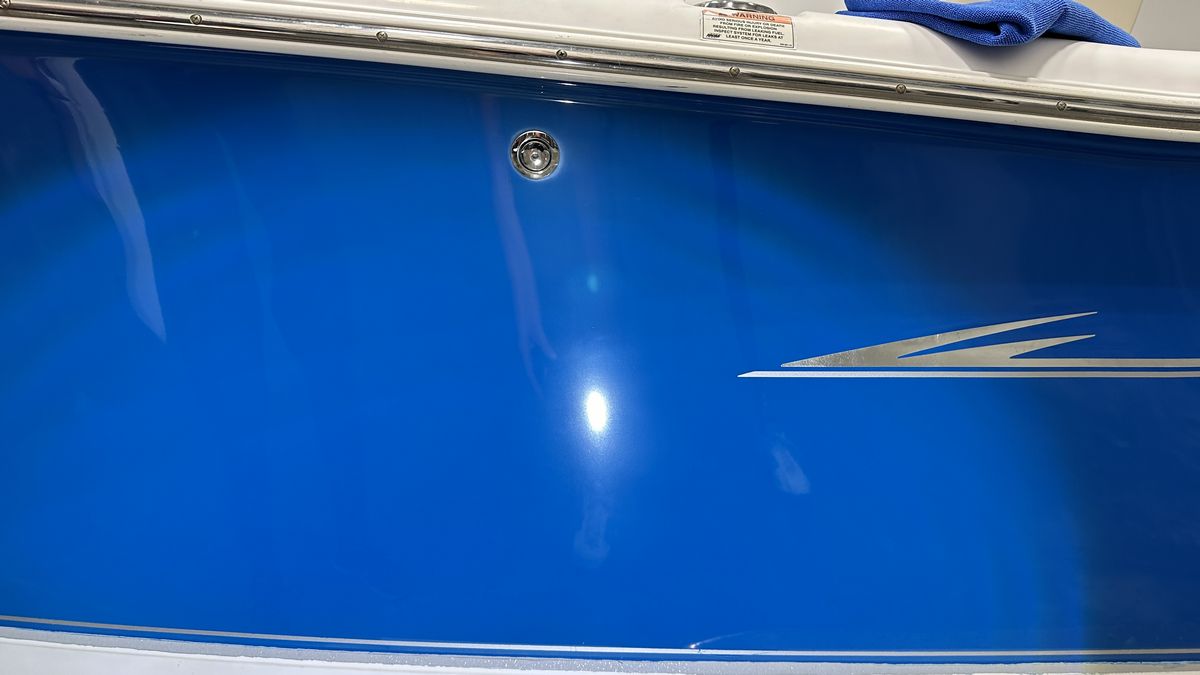
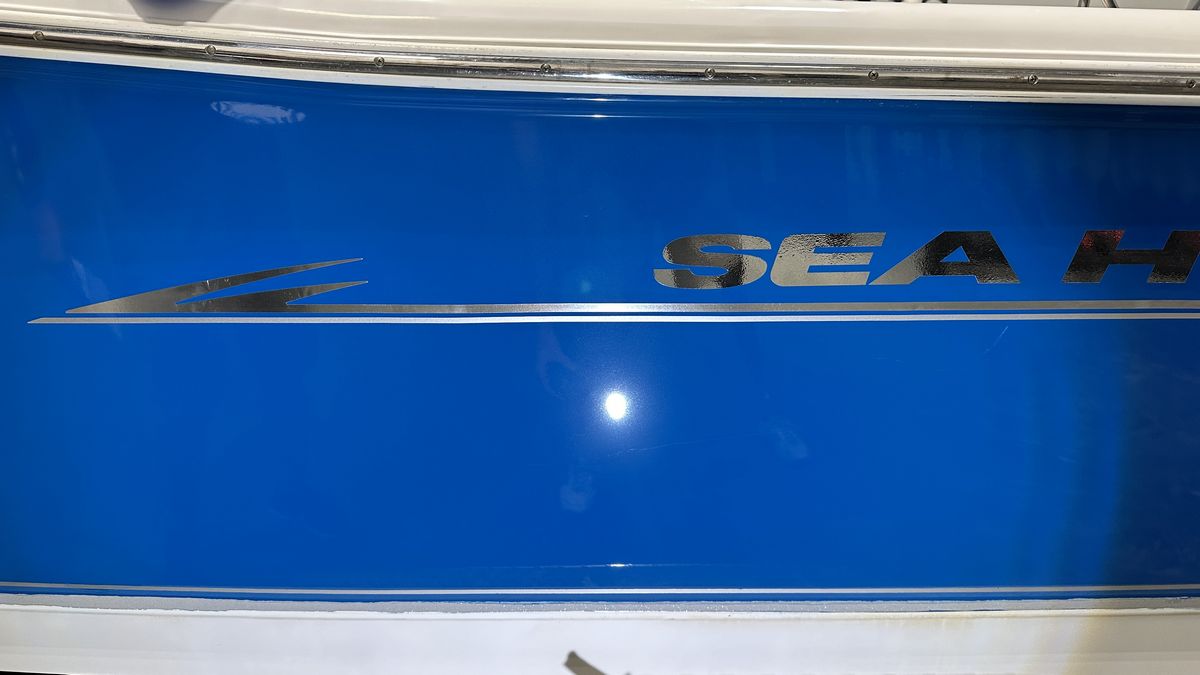
The new graphics look phenomenal over the top of the perfectly sanded, polished and ceramic coated gelcoat!
More about this as you scroll down the page
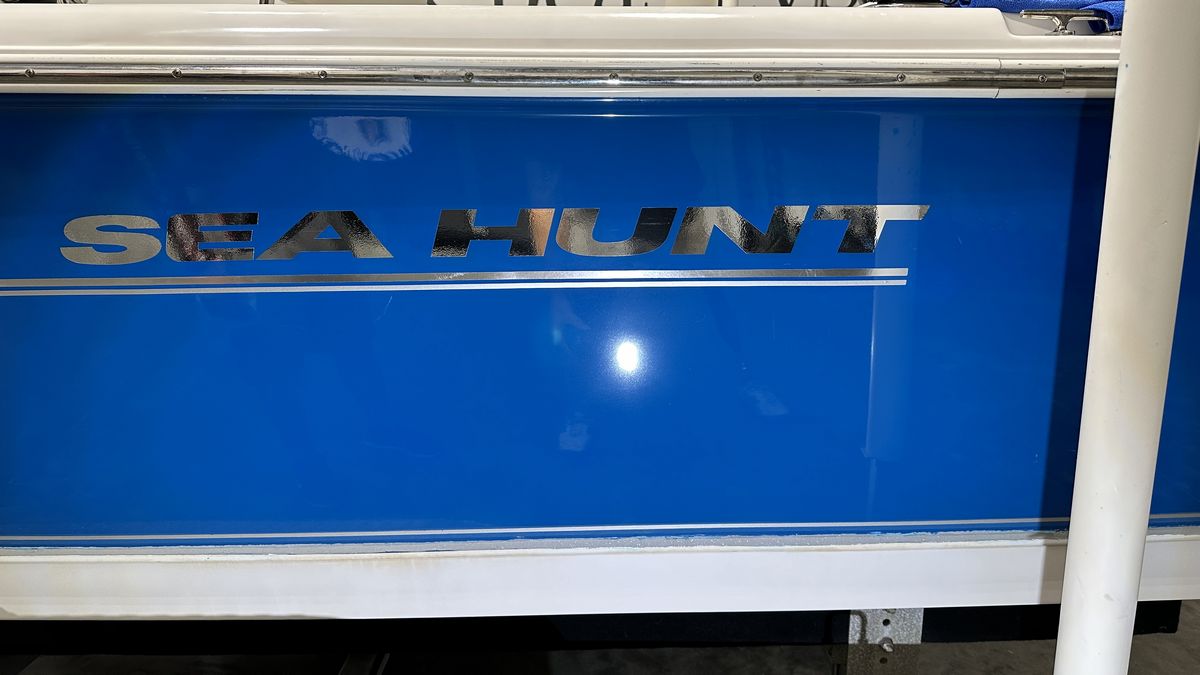
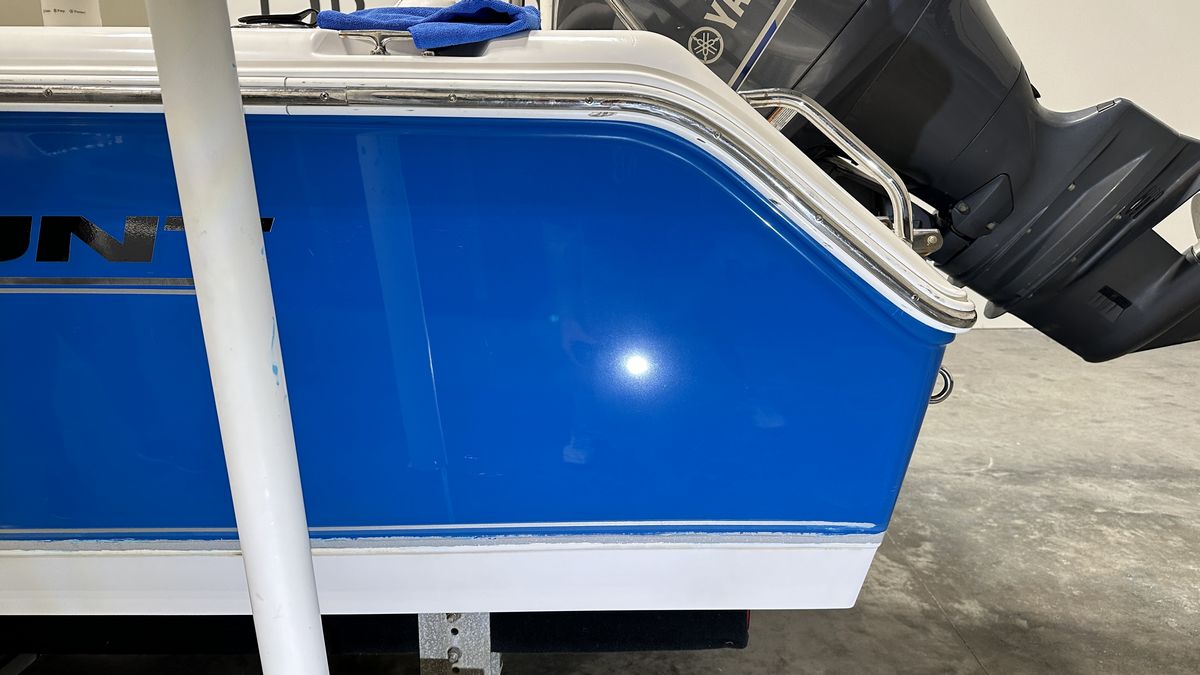
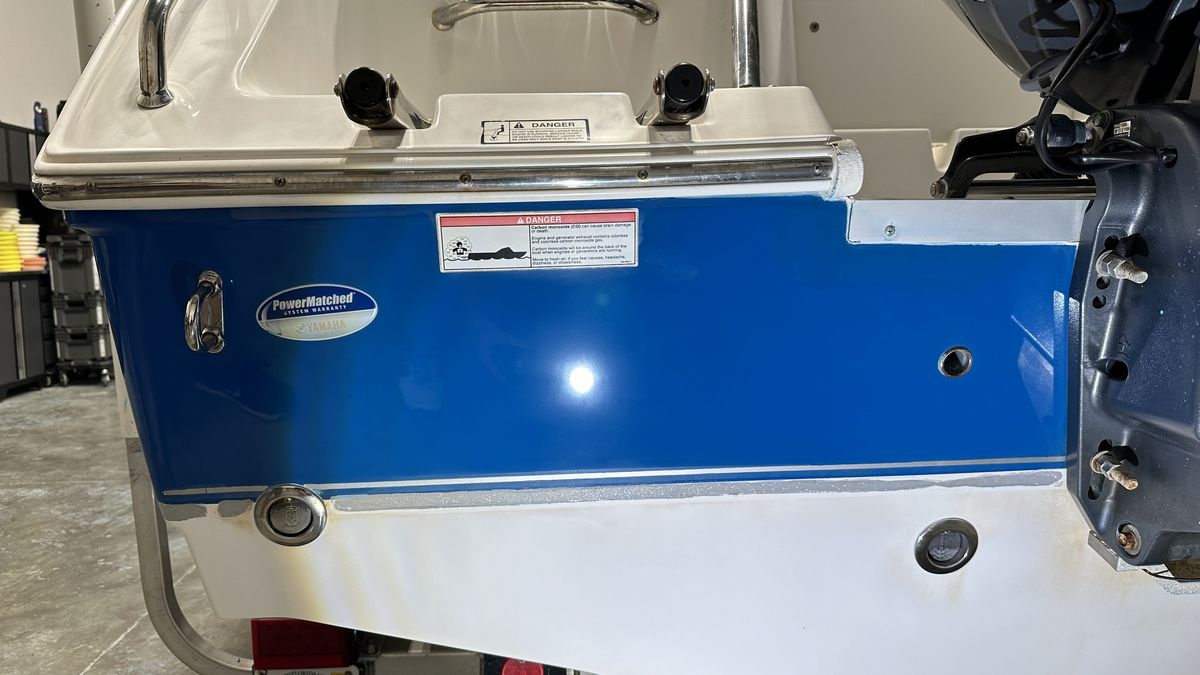
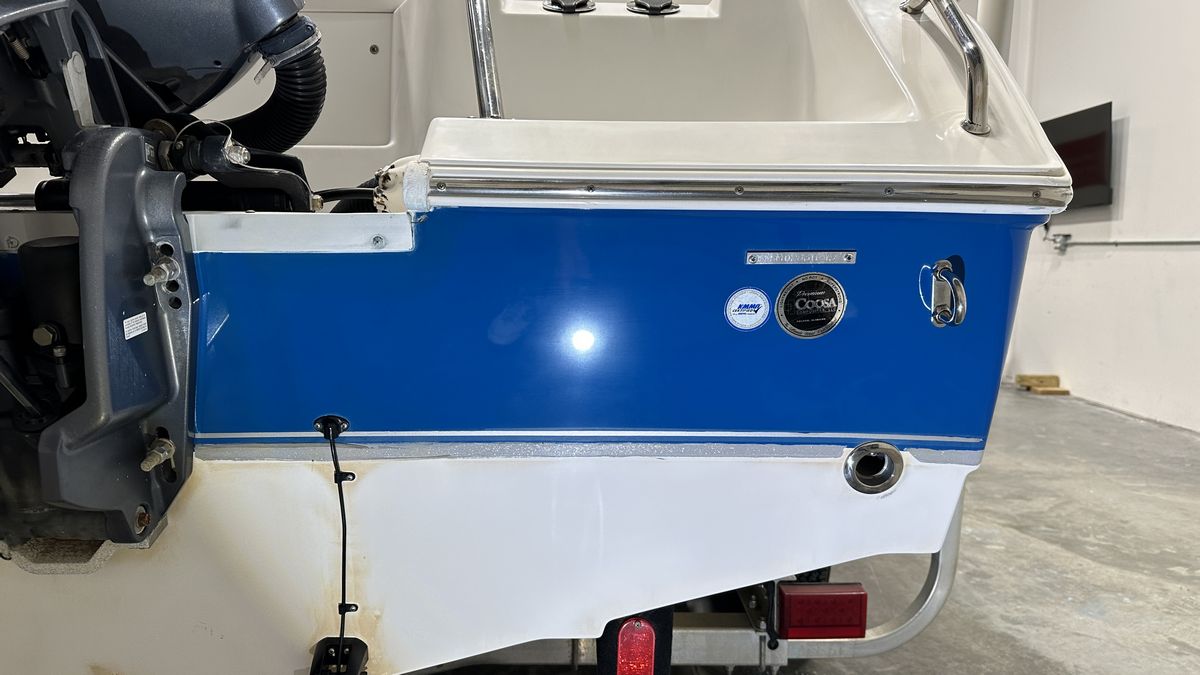
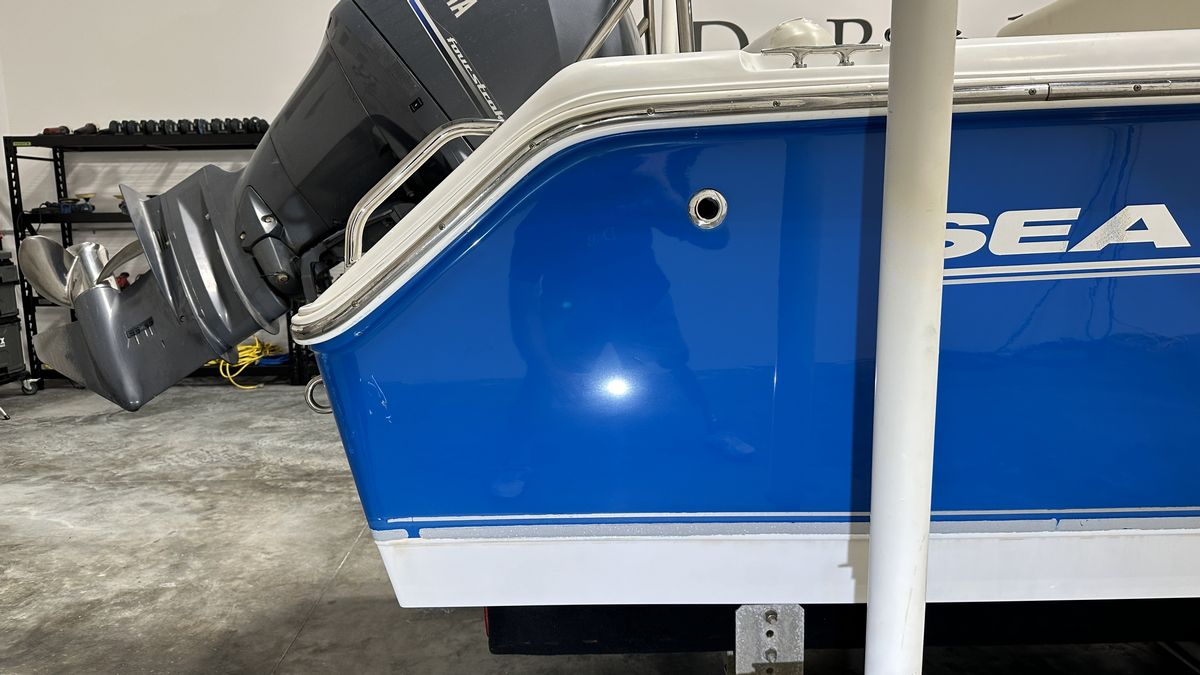
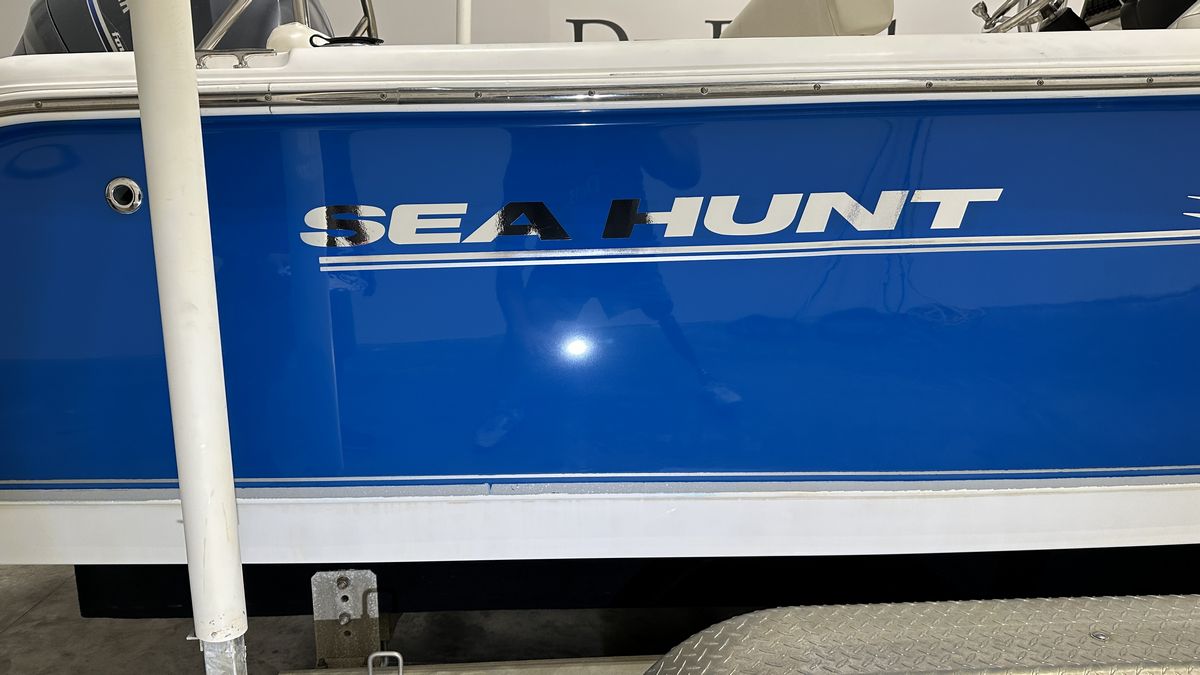
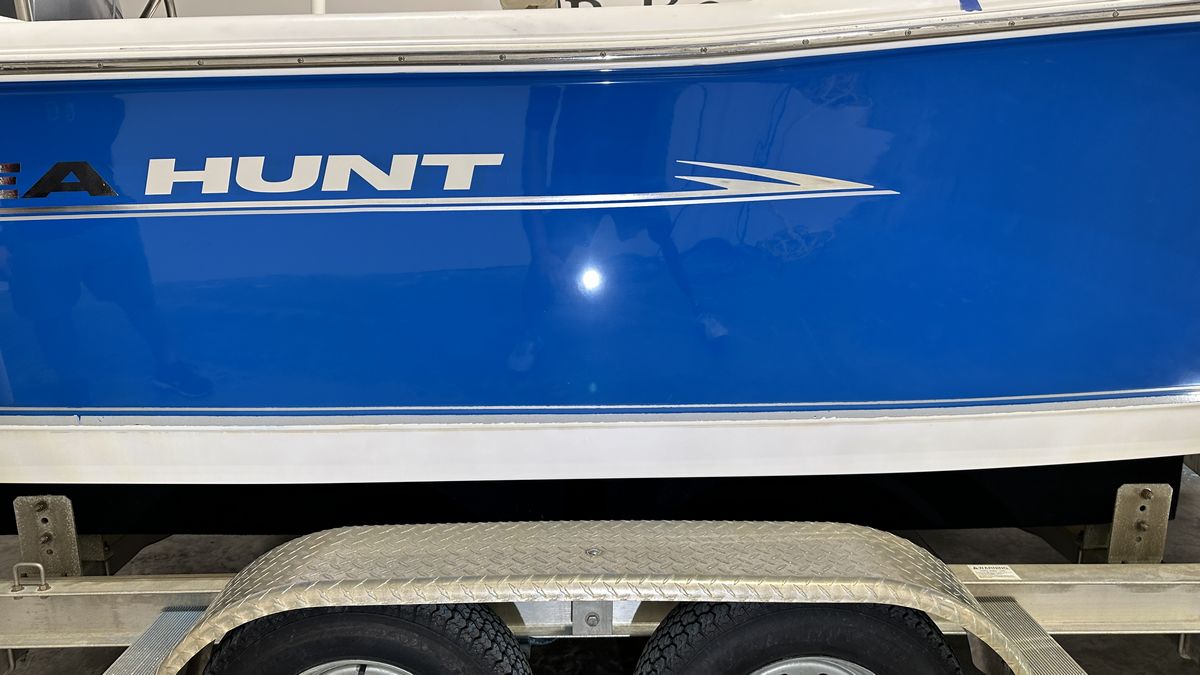
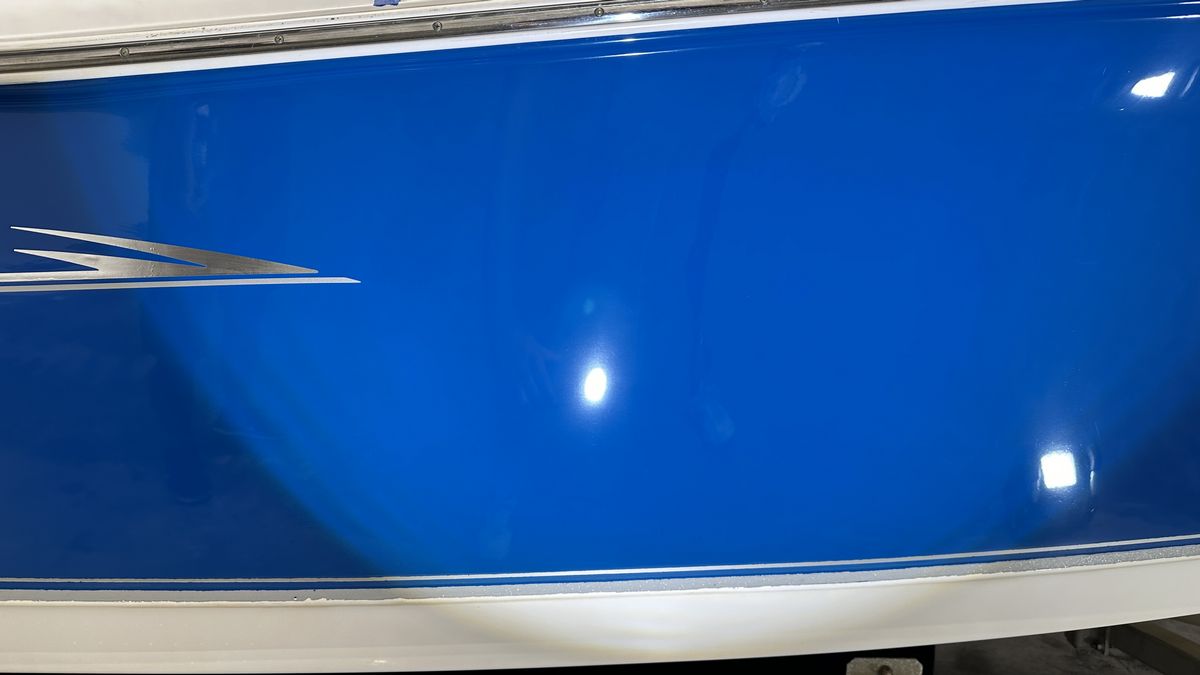
How about some reflection shots outside?
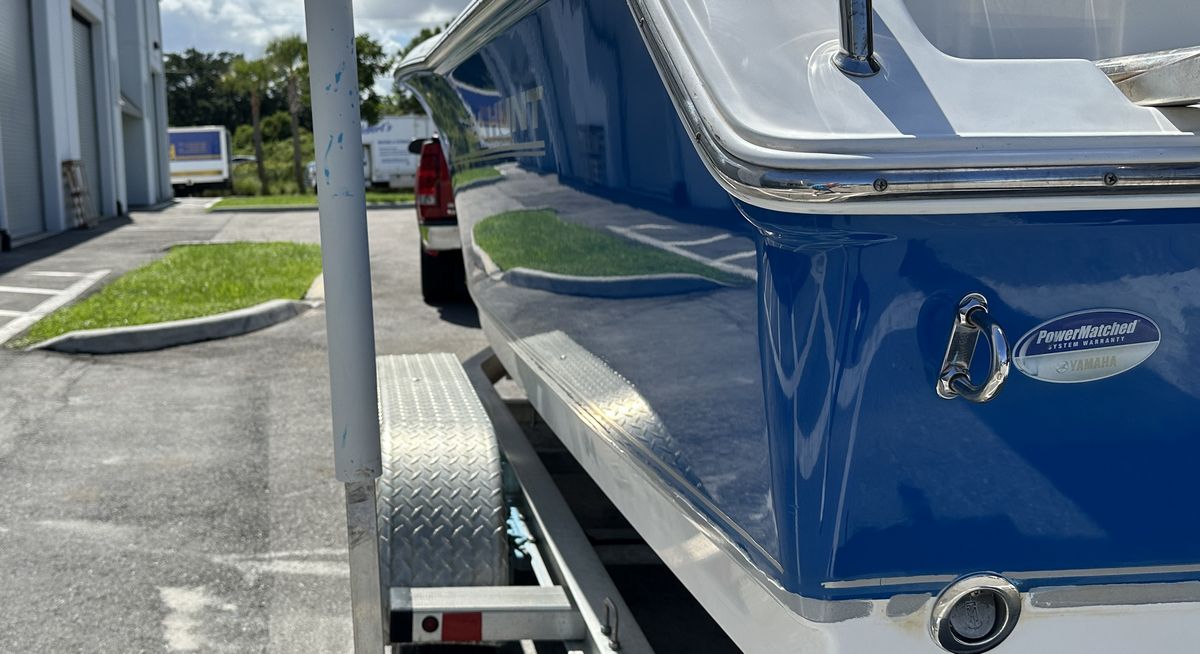
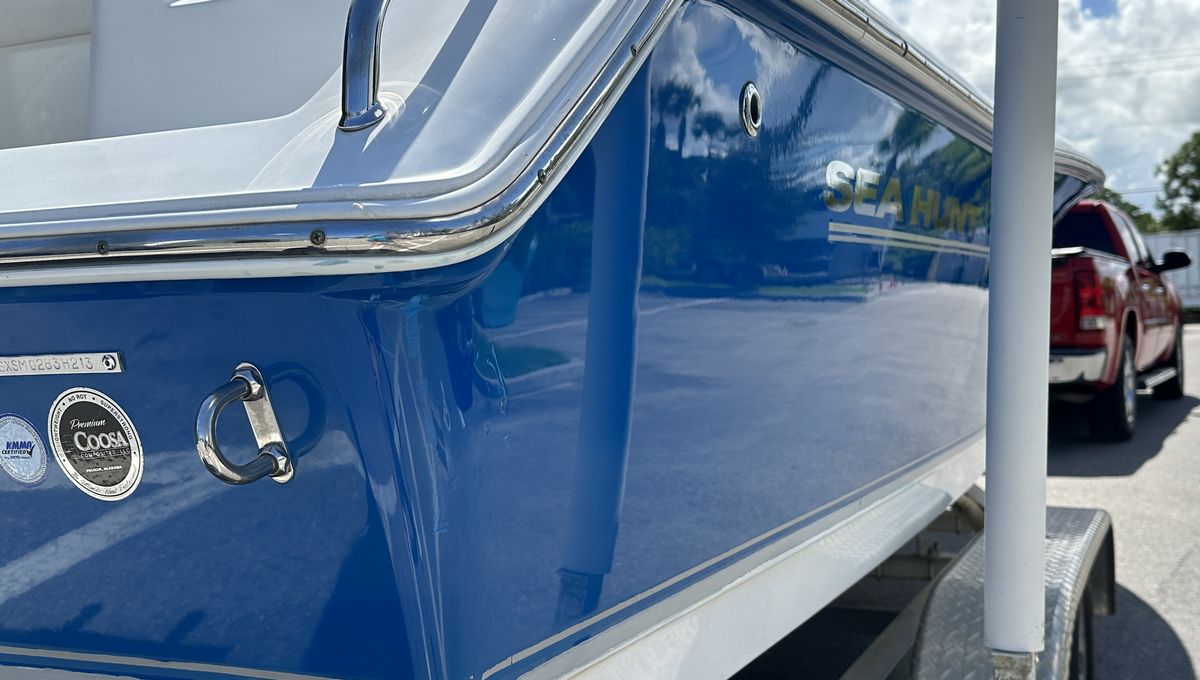
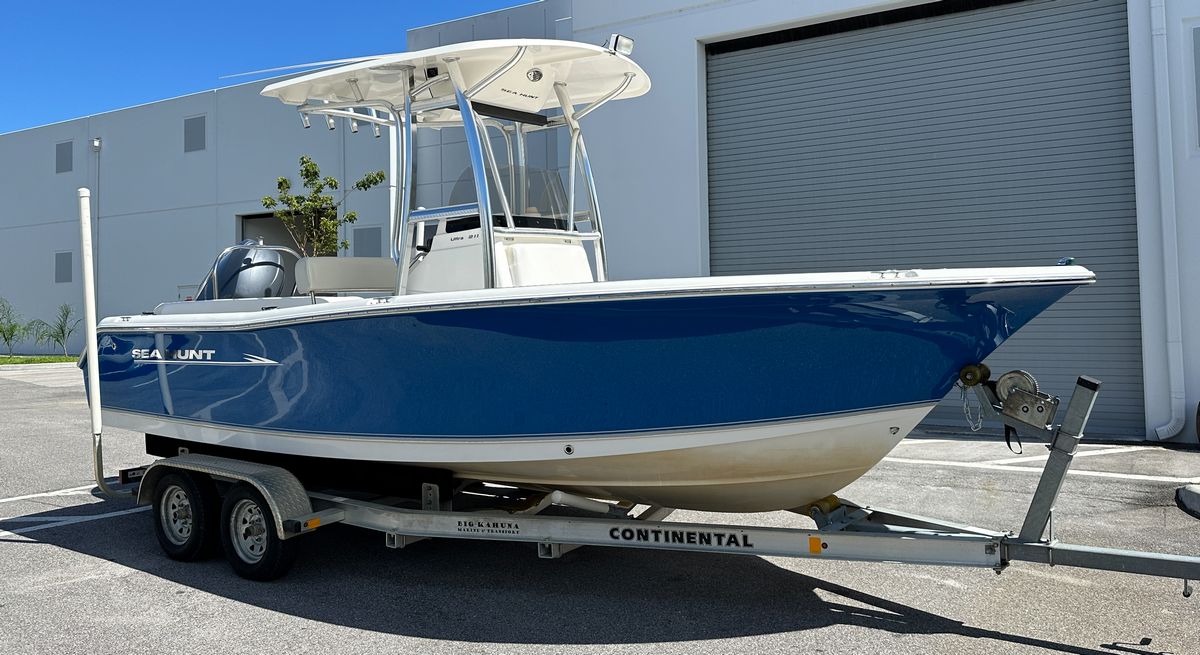
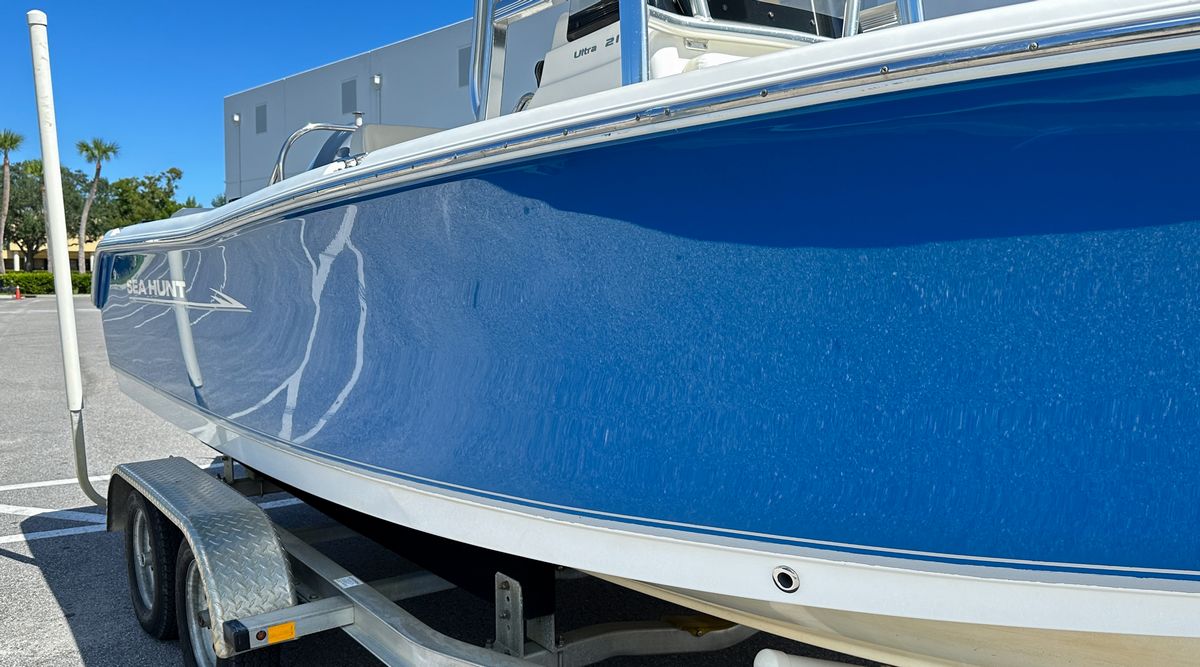
Continued…
Installing Graphics on a Gelcoat Boat
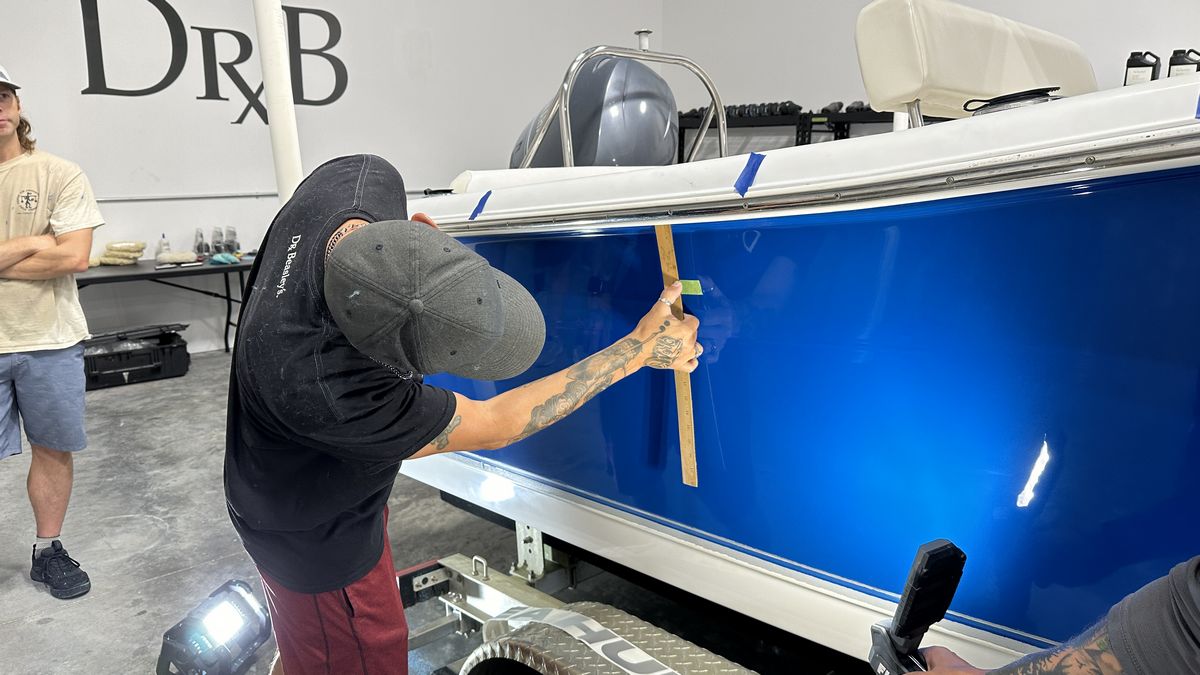
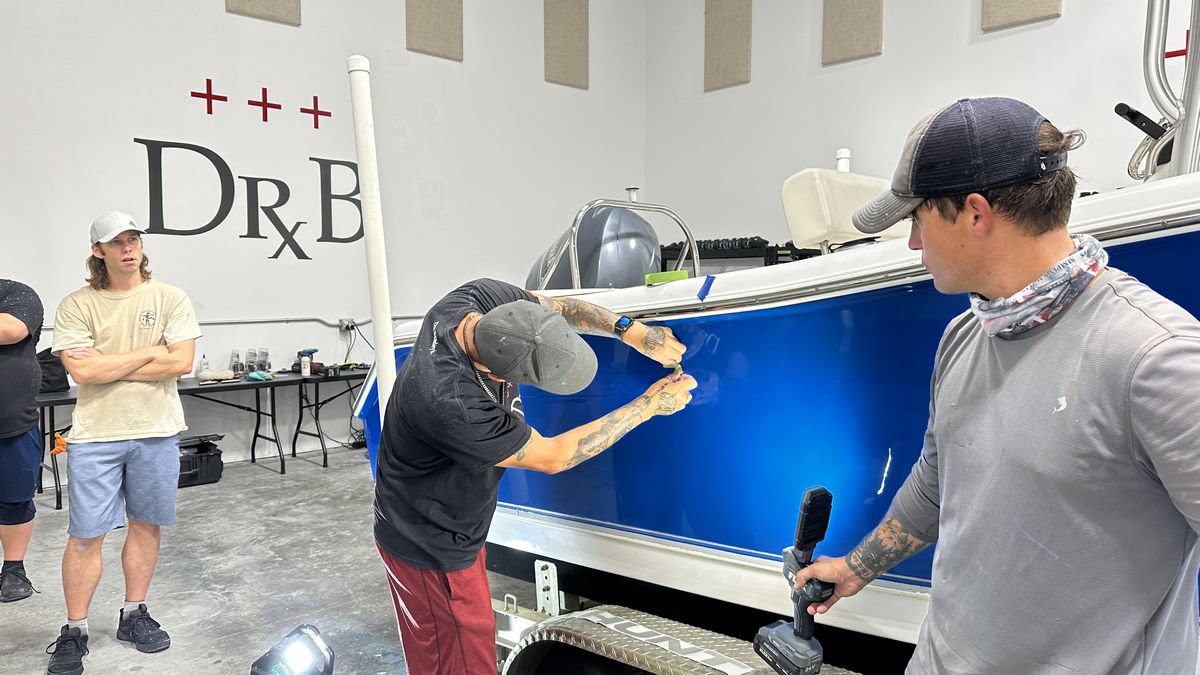
The owner of this boat is lucky in that Yancy Martinez, my long-time friend and absolute perfectionist when it comes to installing graphics on cars and boats, was also my assistant for this class. The original emblems and graphics were HORRIBLE looking after years of exposure to the corrosive salt water and UV rays from the sun. The owner purchased new, replacement graphics and after all the gelcoat correction and polishing was finished, but BEFORE installing the Dr. Beasley’s Boat Coat Pro Gelcoat Ceramic Coating, Yancy installed the graphics.
Starboard Side
Here’s Yancy and Jason installing the graphics on the Starboard side of the 24′ Sea Hunt Center Console Boat.
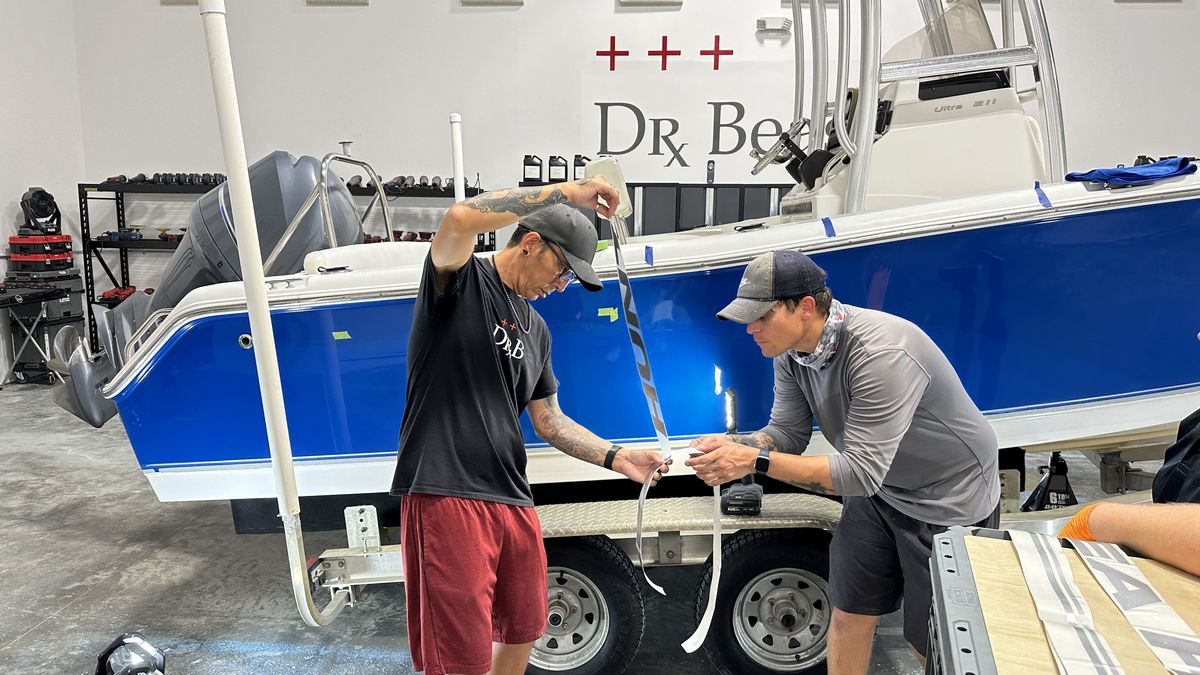
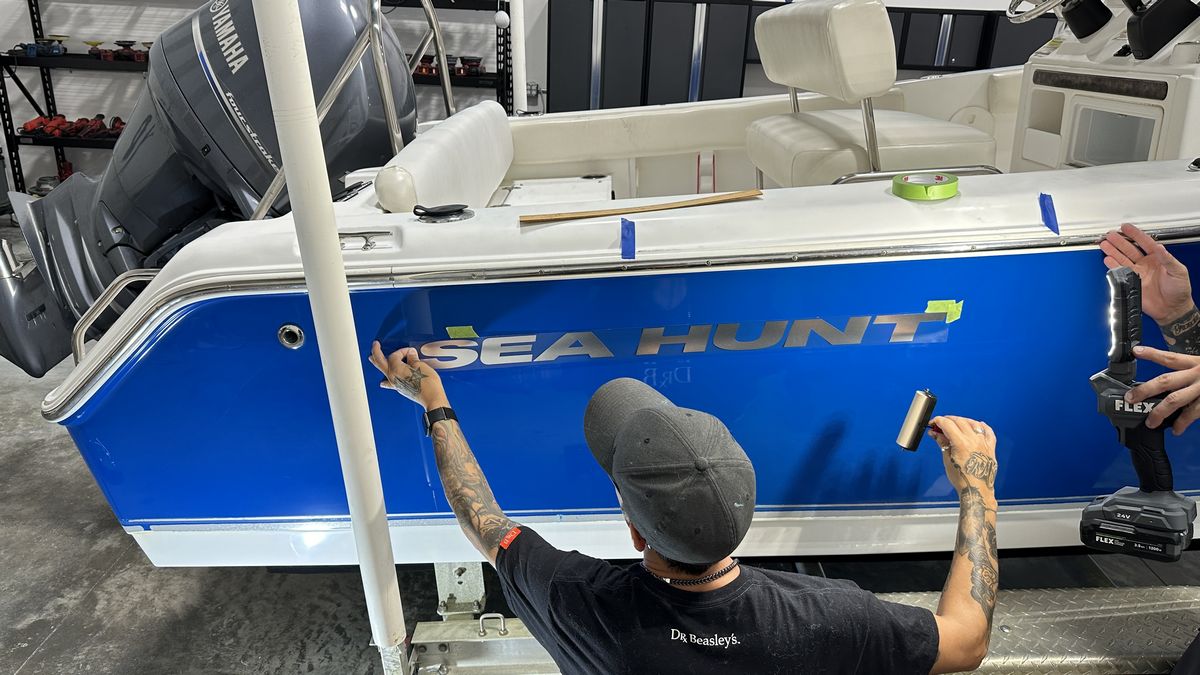
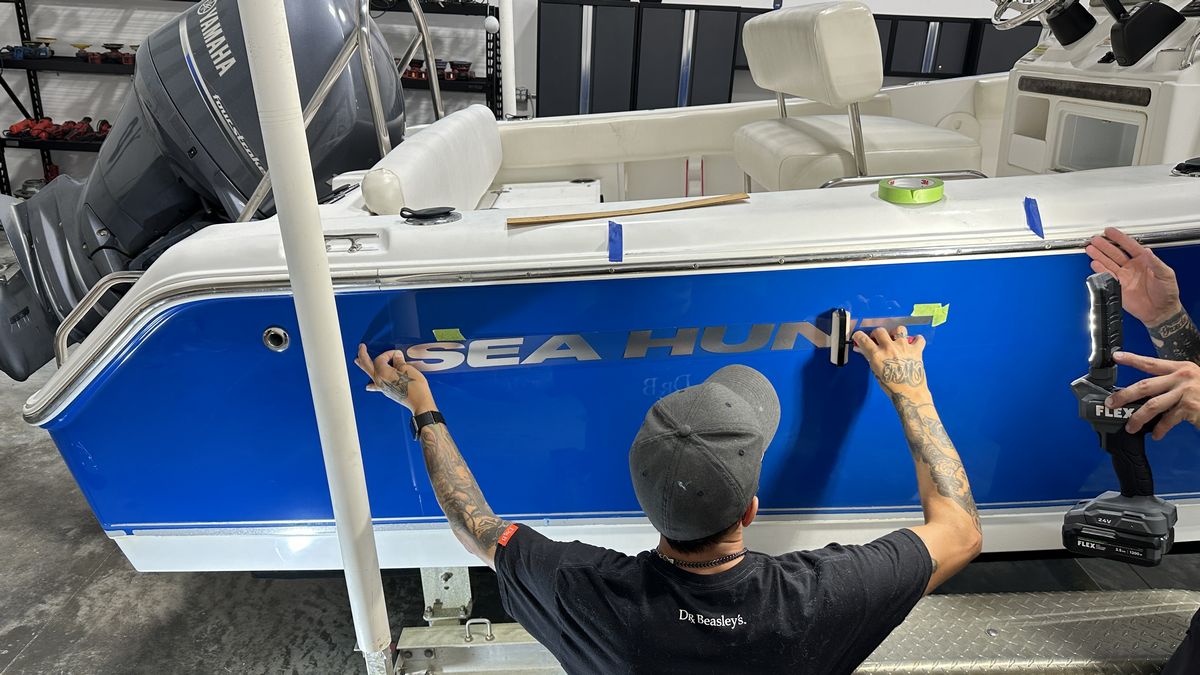
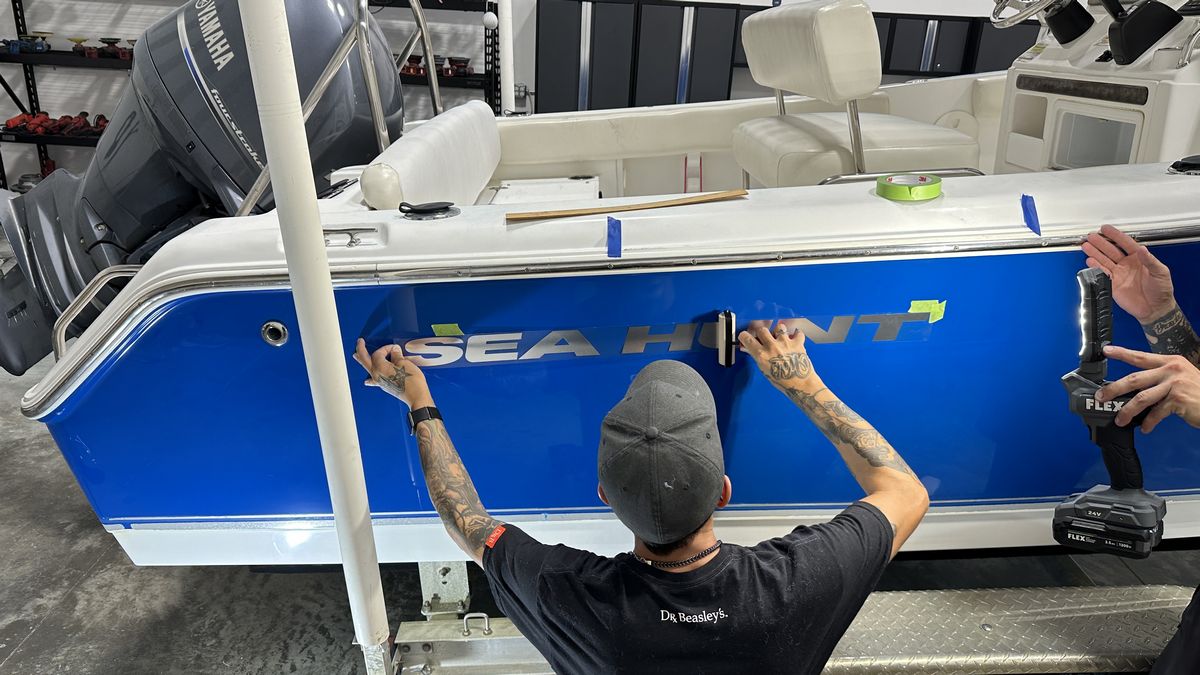
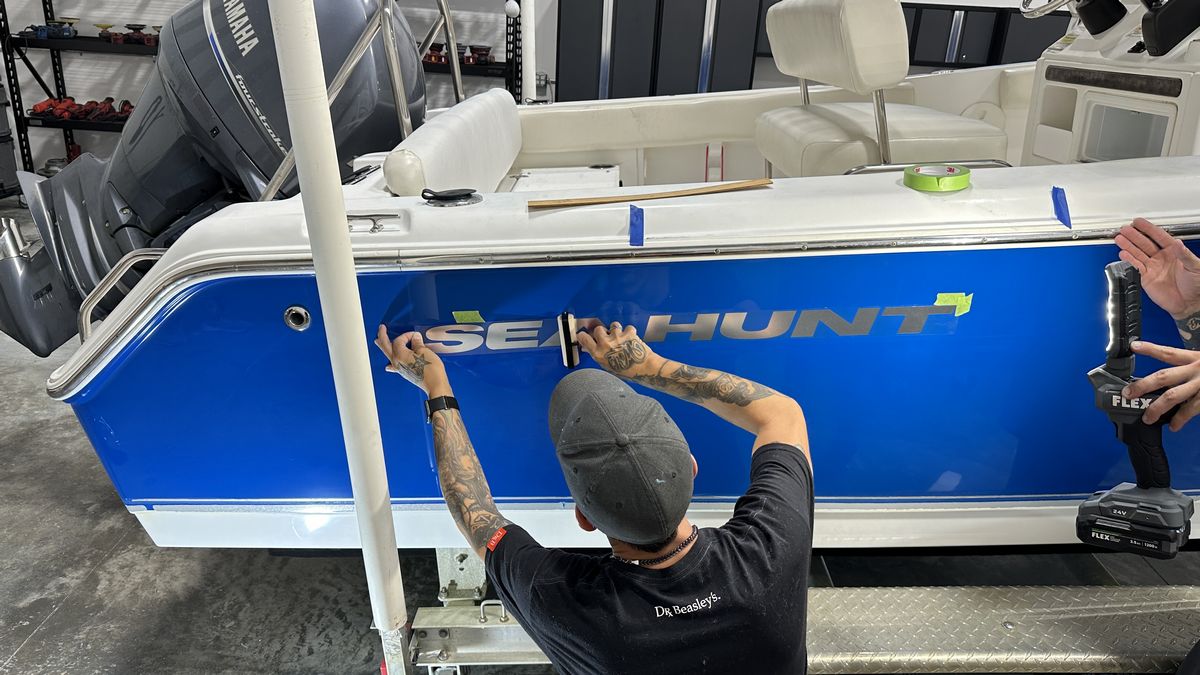
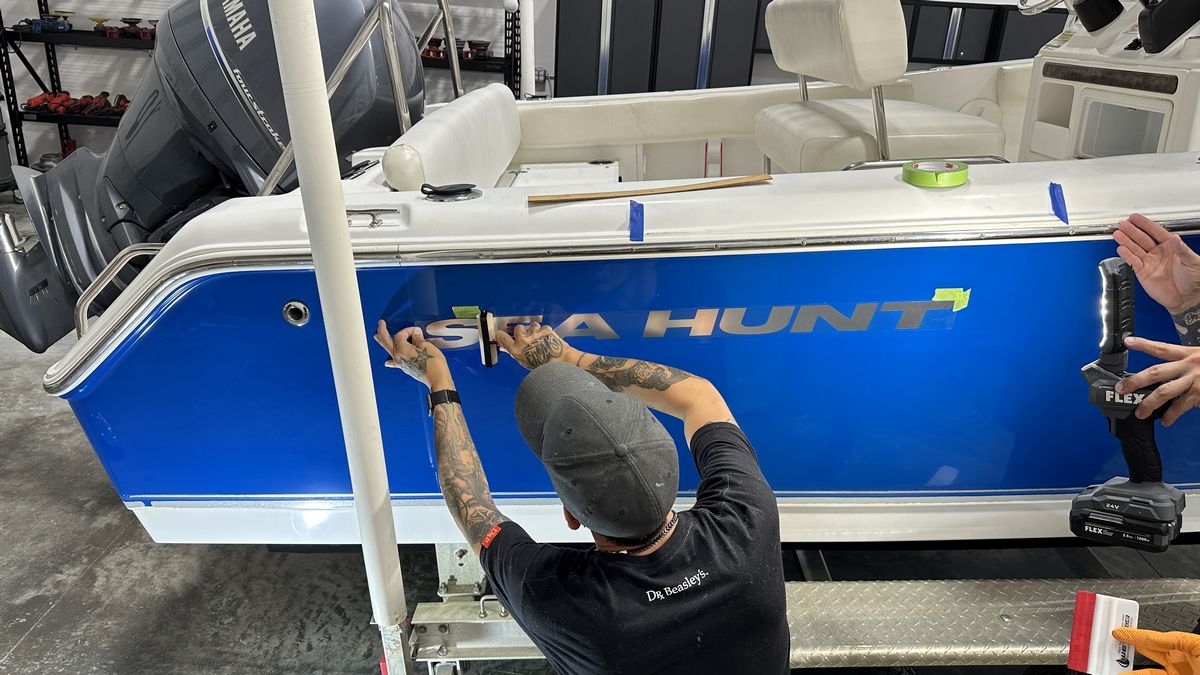
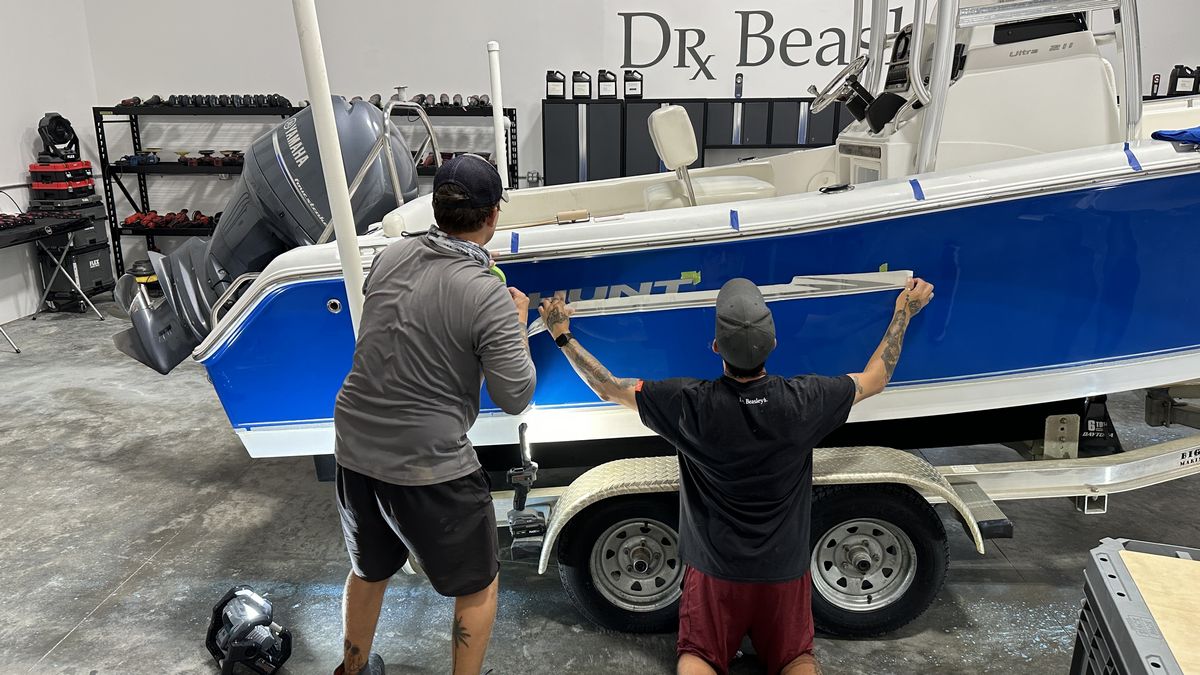
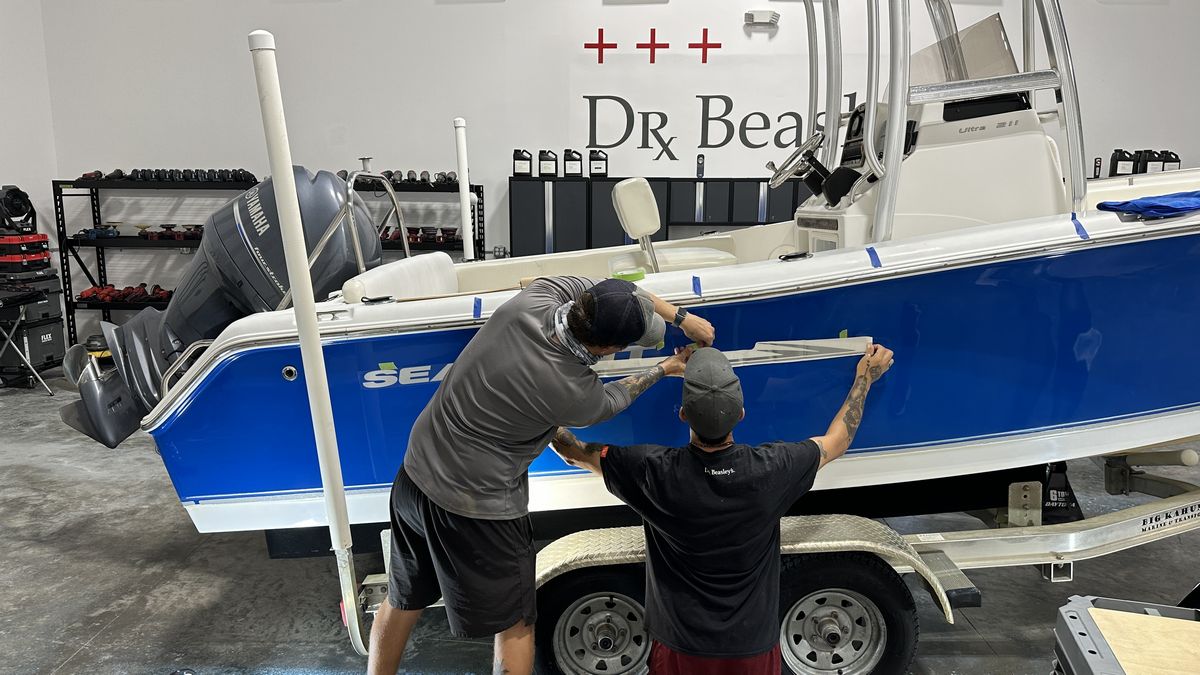
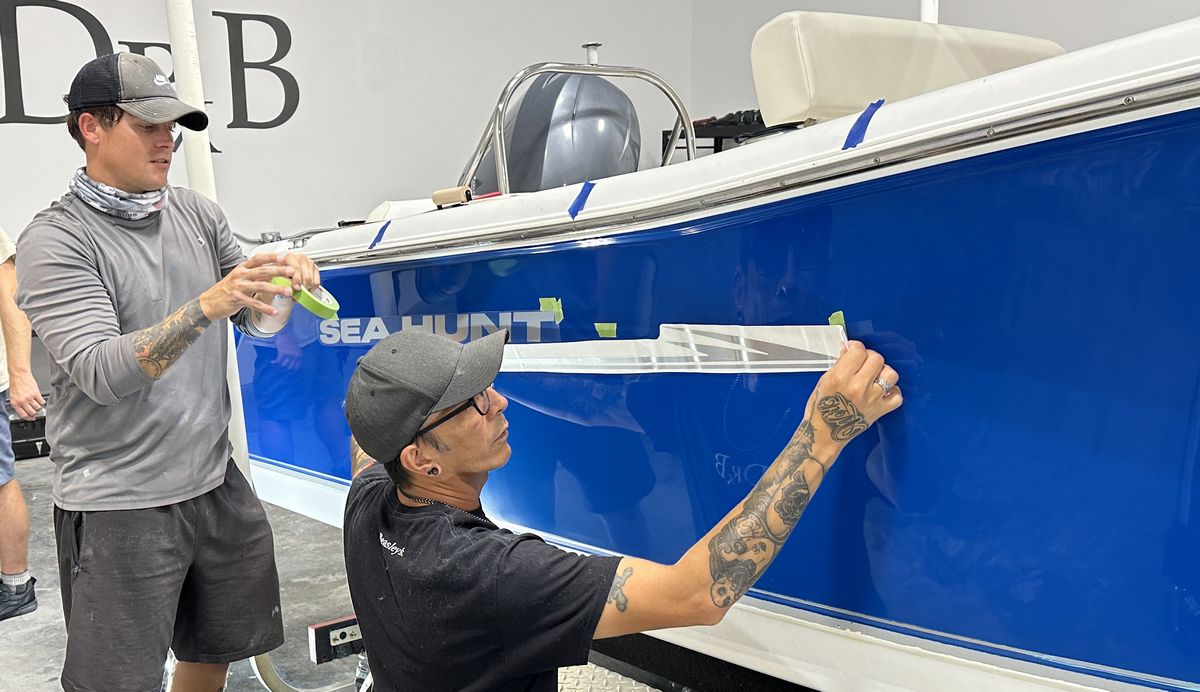
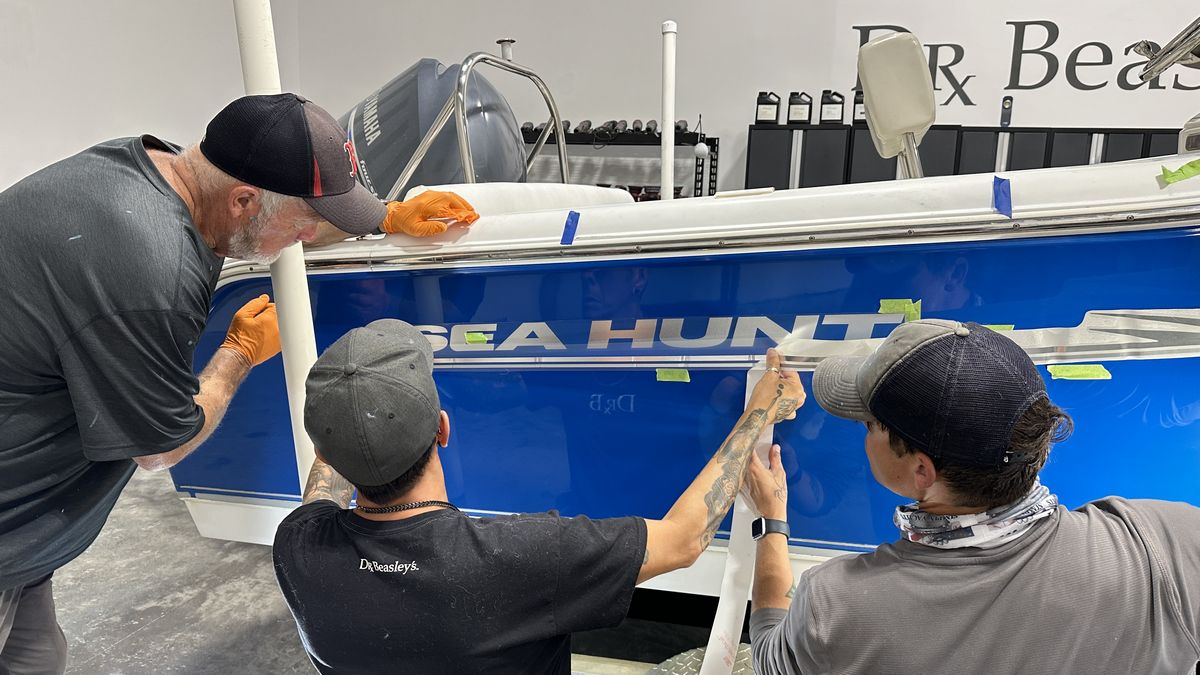
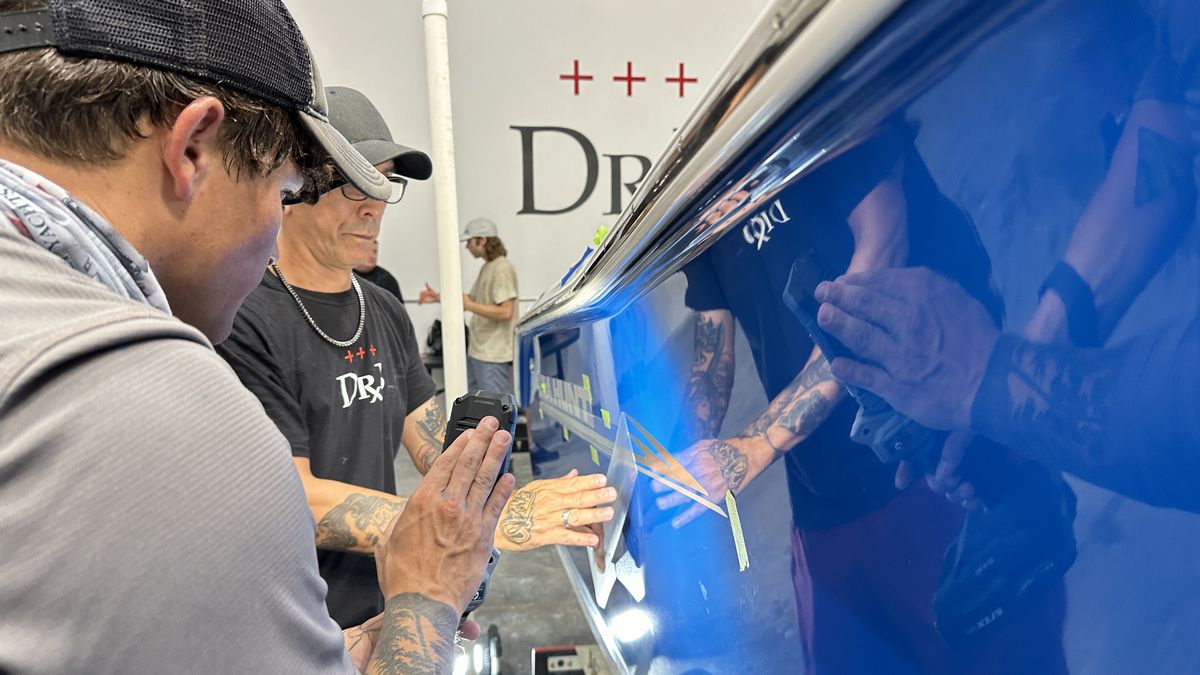
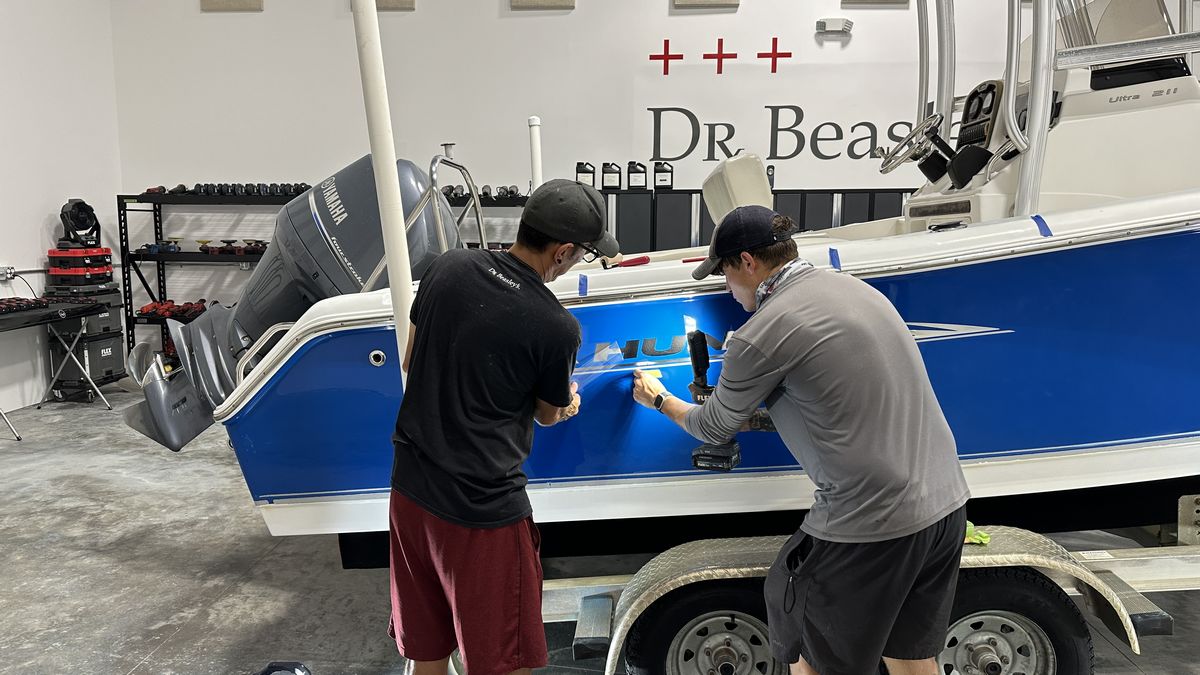
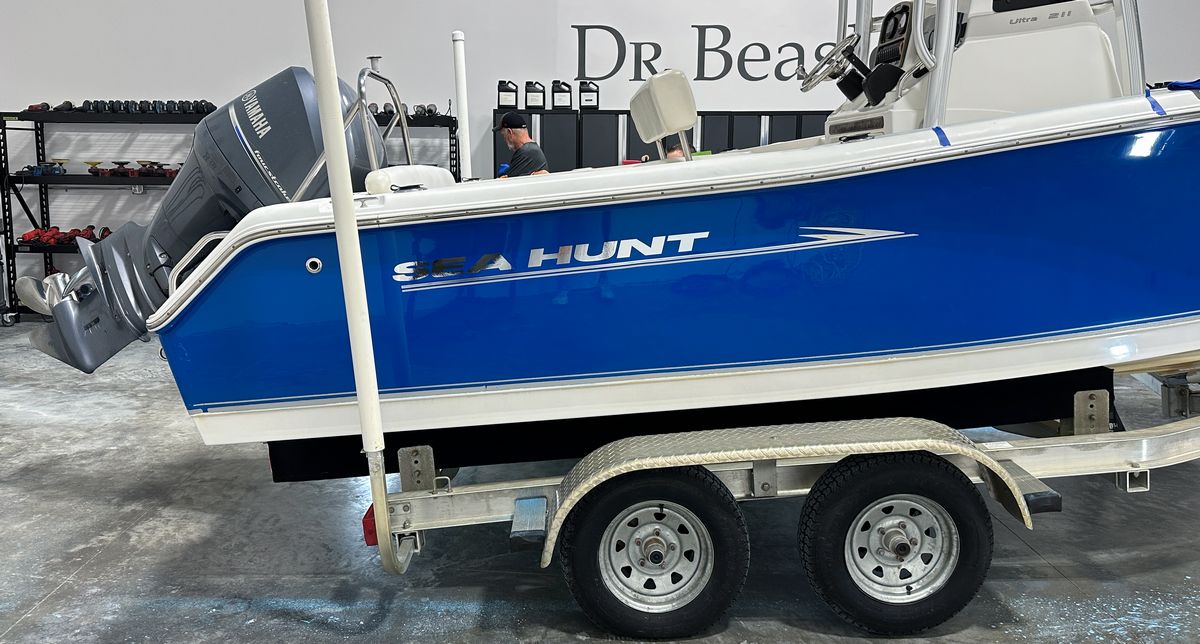
Port Side
Here’s Yancy and Billy installing the graphics to the Port side of the 24′ Sea Hunt Center Console Boat.
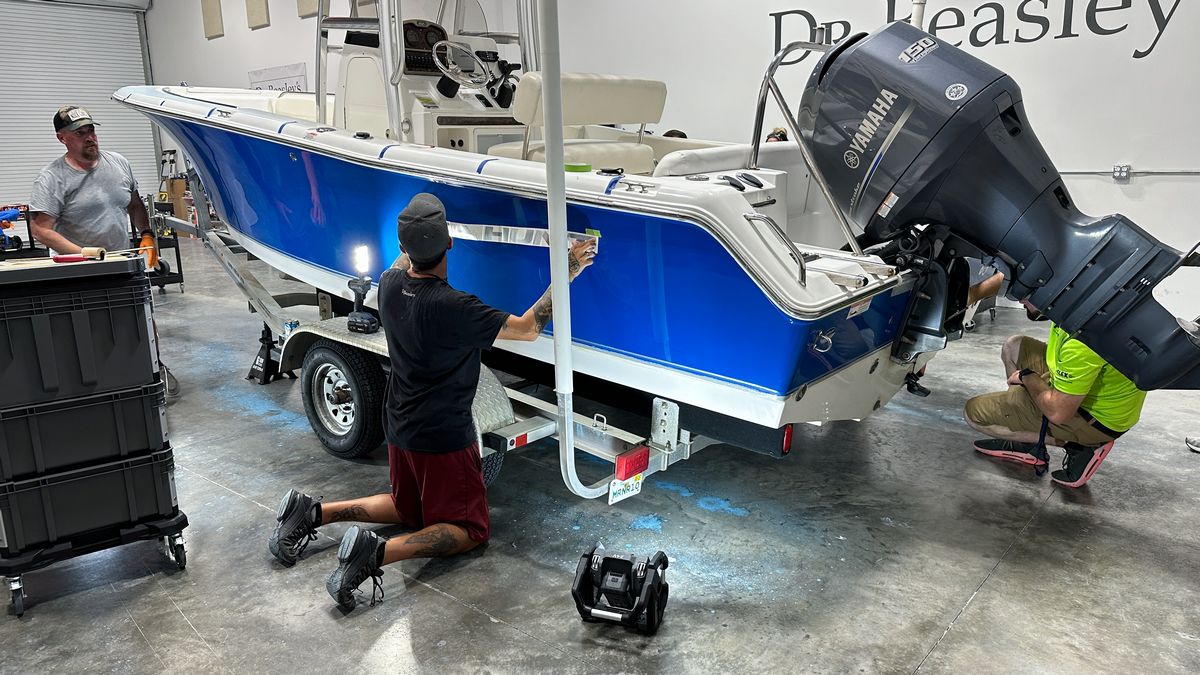
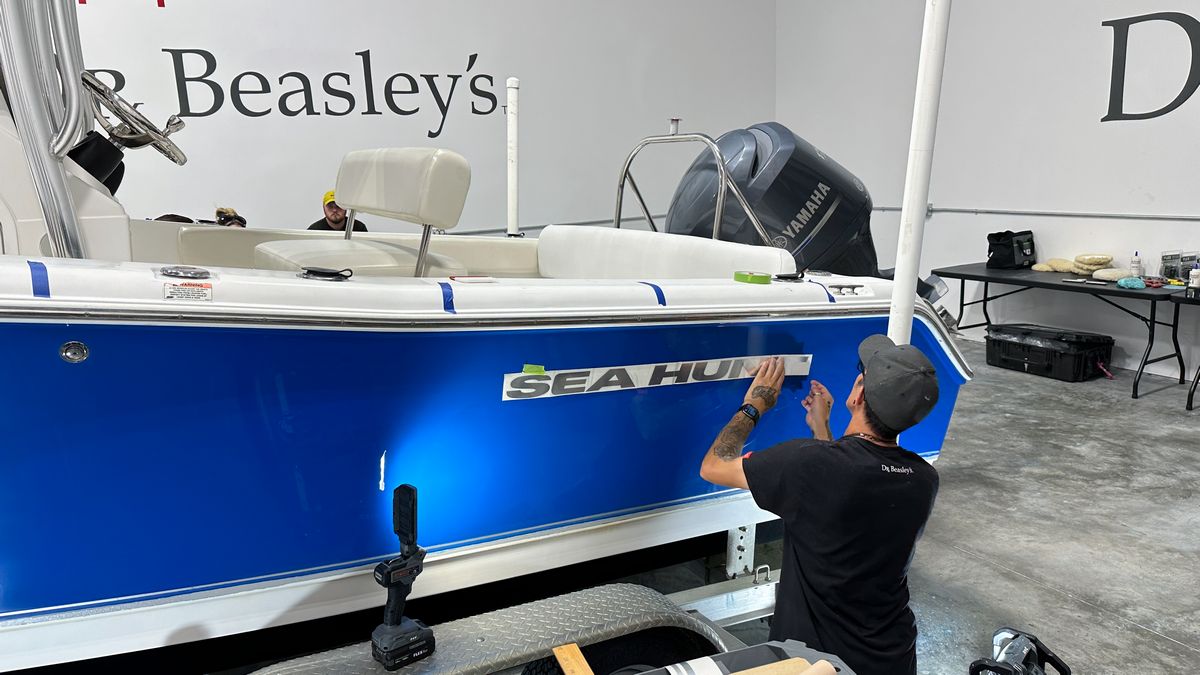
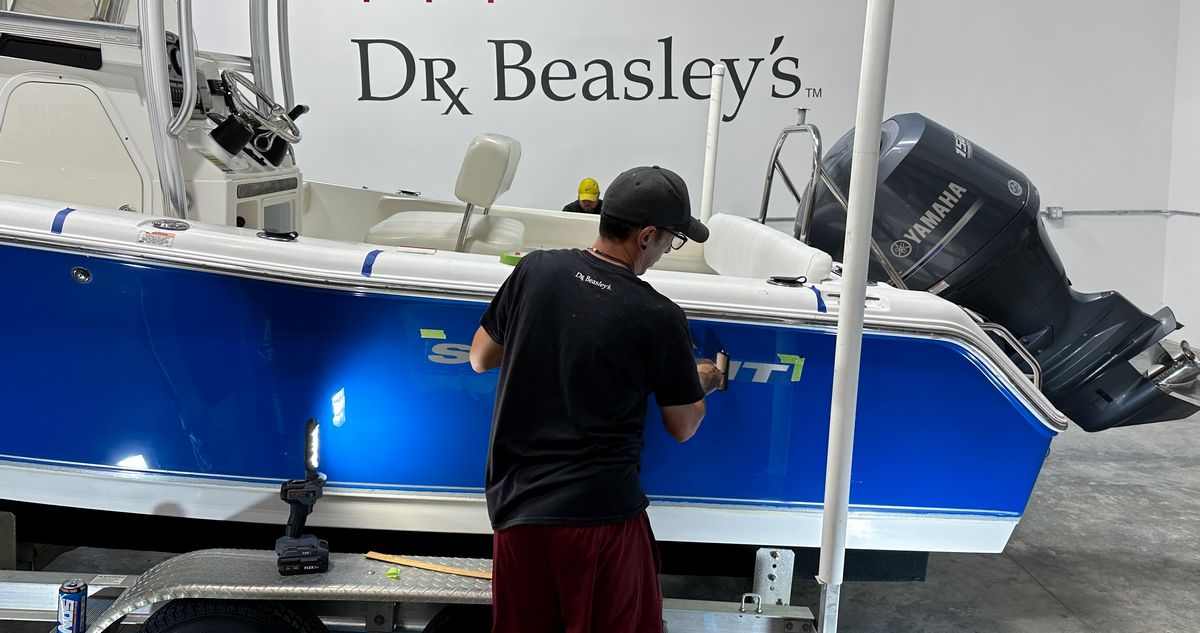
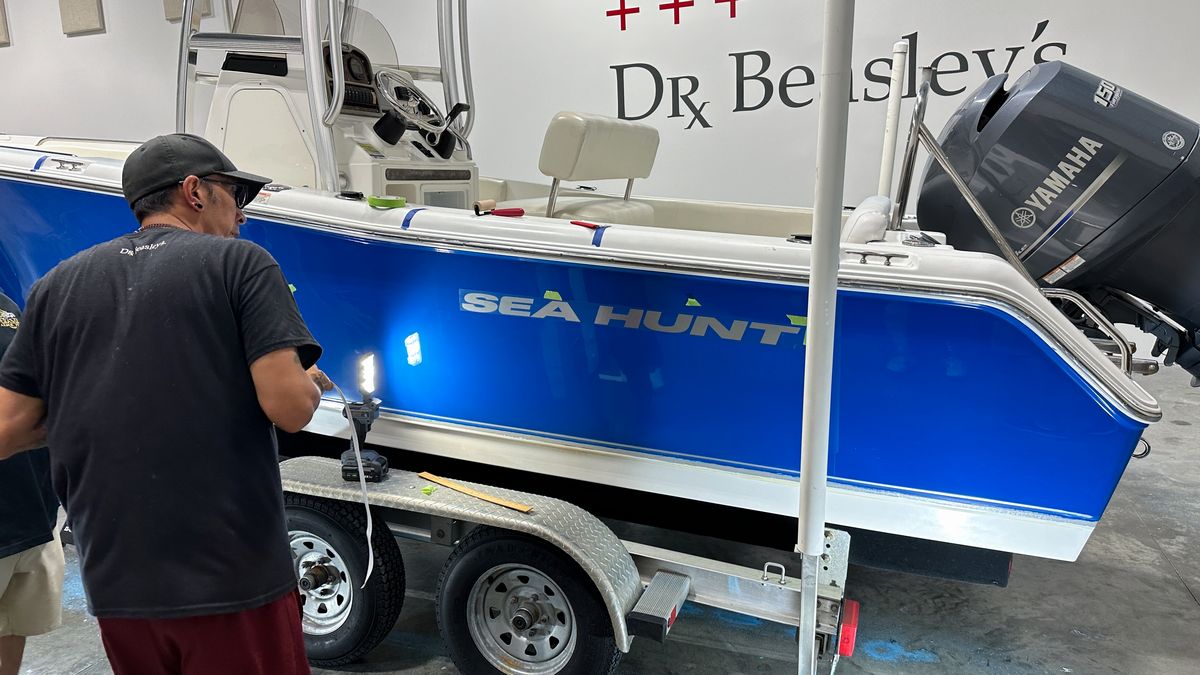
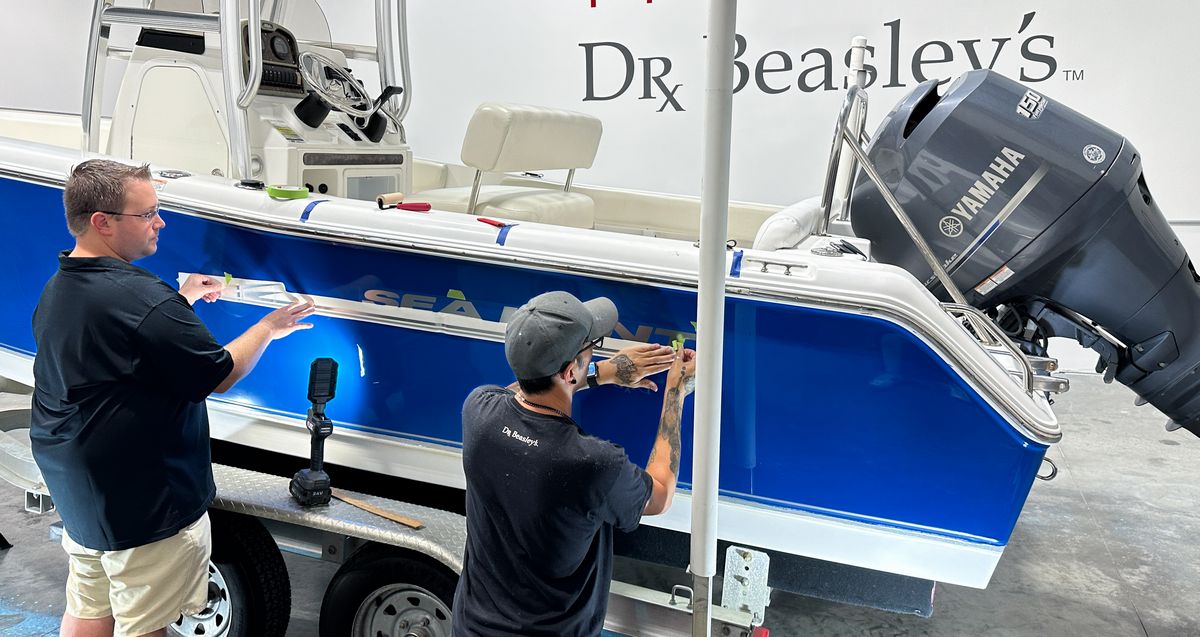
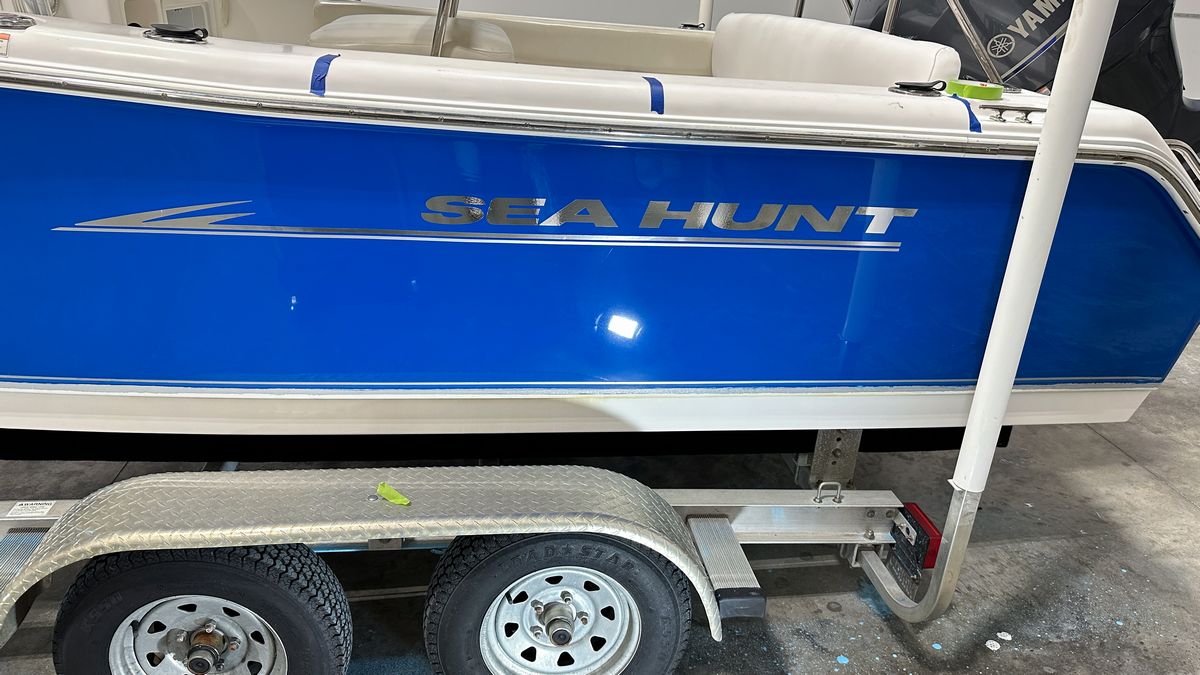
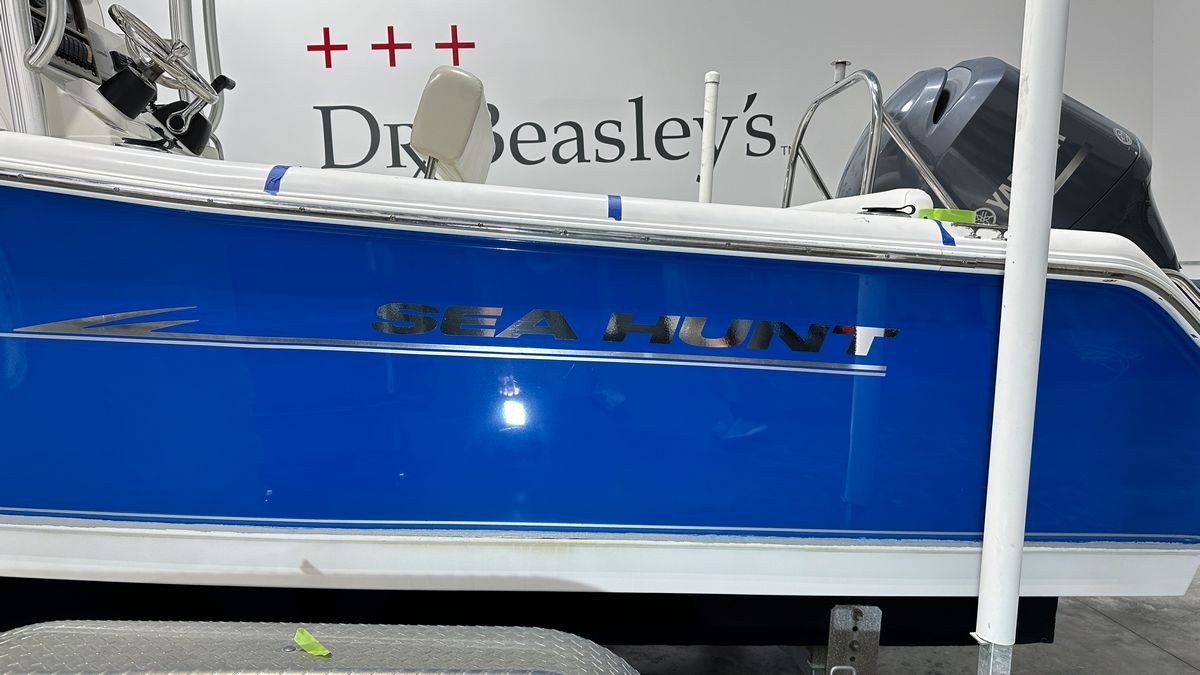
Nice work Yancy, Jason and Billy, looks freaking perfect and so much better than how the boat looked when it first arrived.
Continued…
And just to really showcase the before and after difference with the new graphics!
Starboard side BEFORE
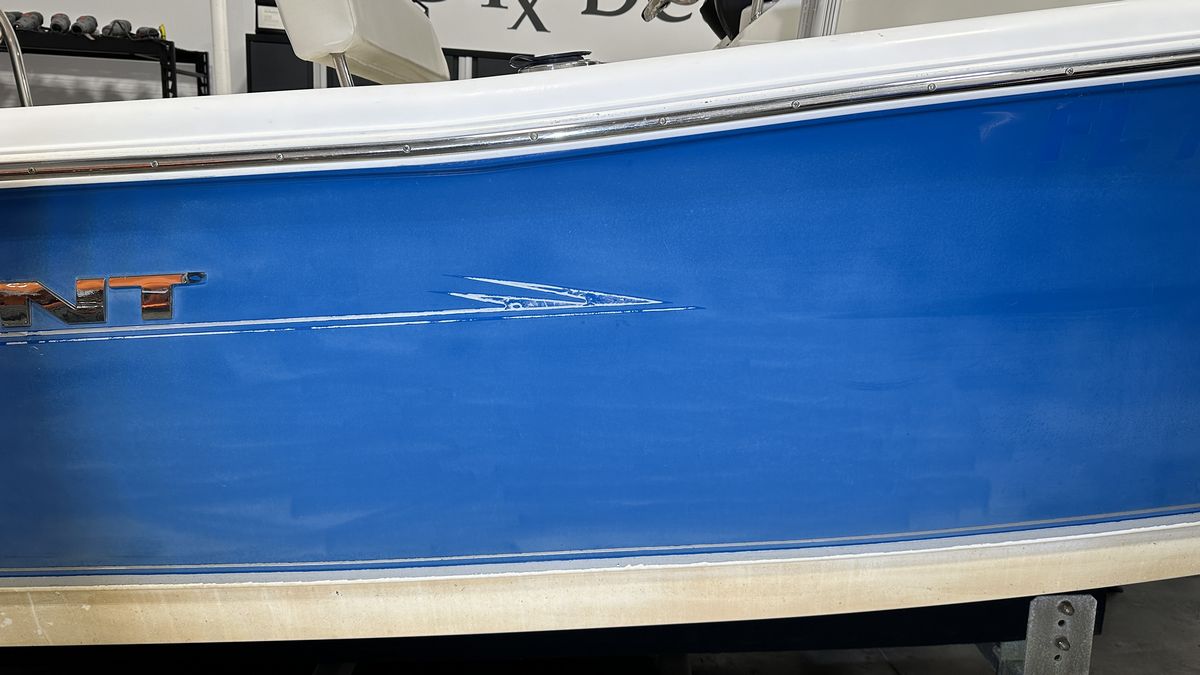
Starboard side AFTER
Port side BEFORE
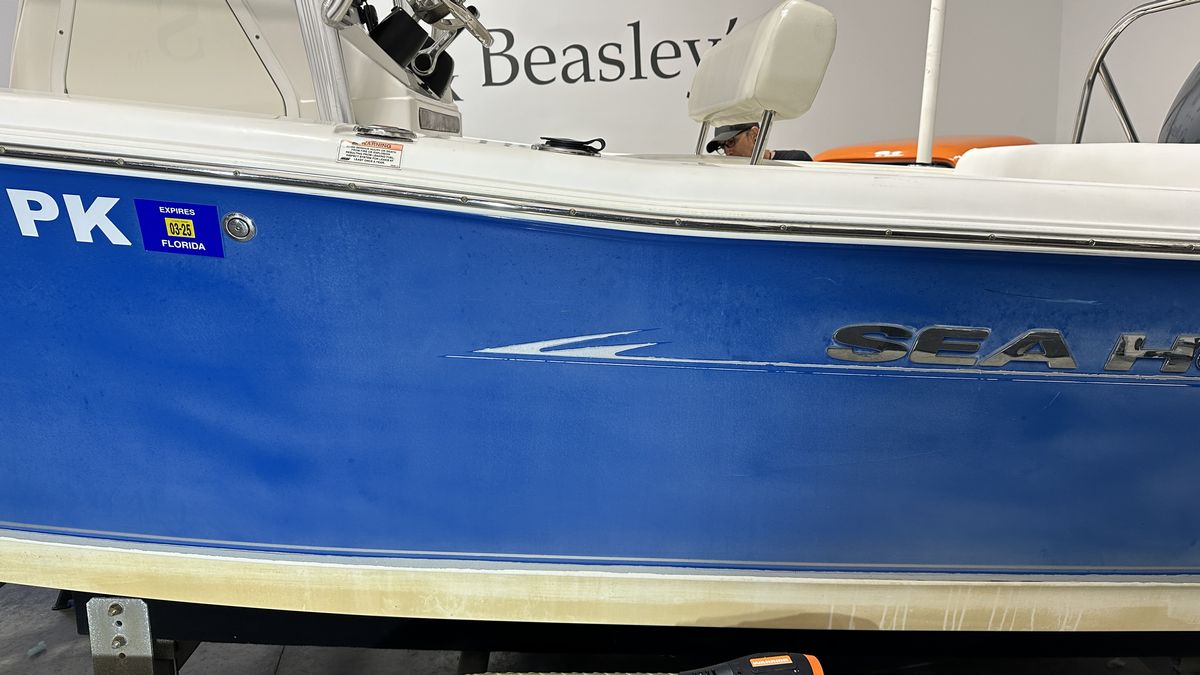
Port side AFTER
Awesome work guys!
Continued…
Matte Detailing Class – Saturday, September 23rd, 2024
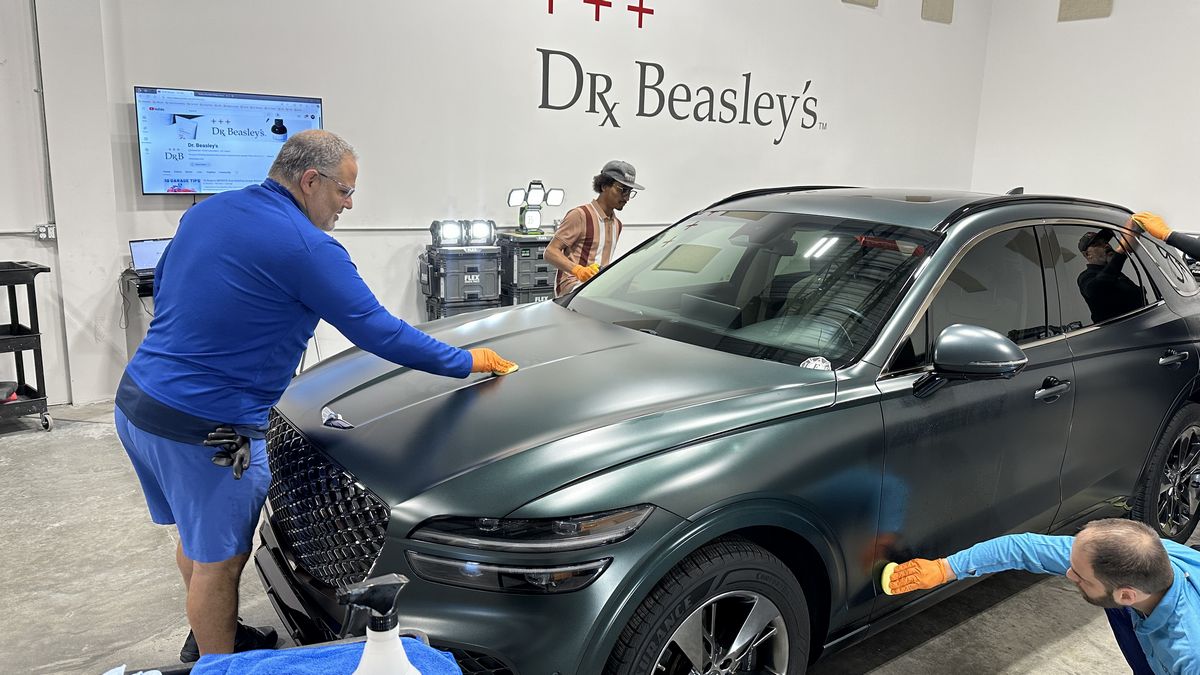
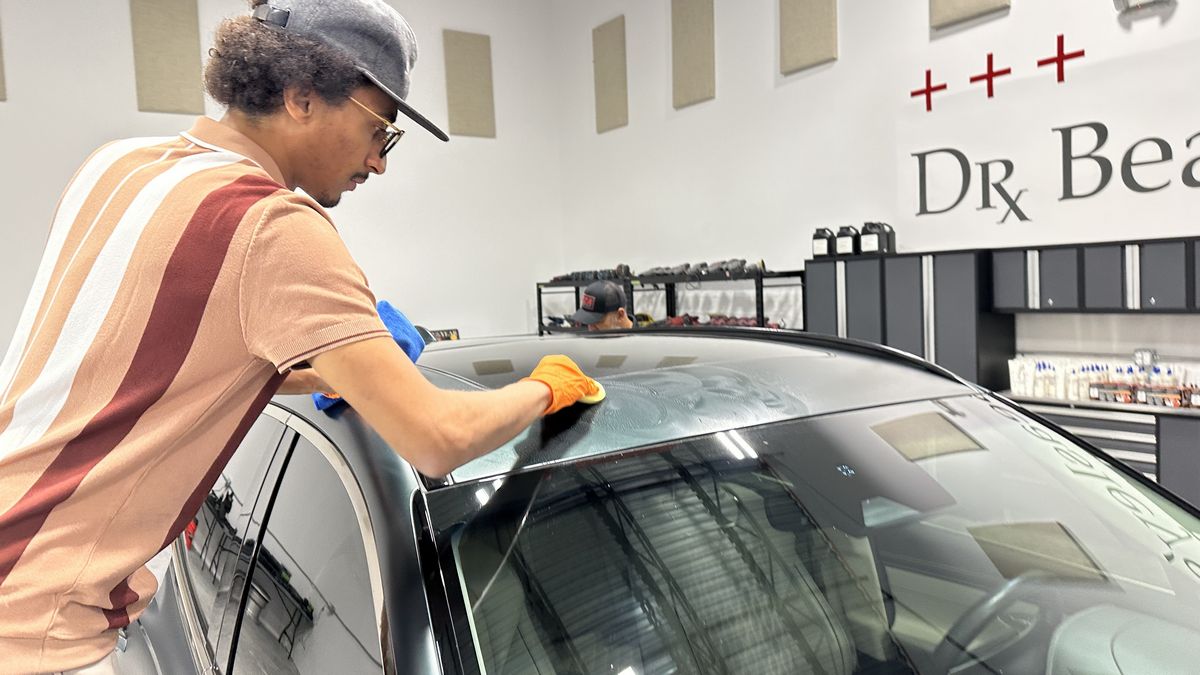
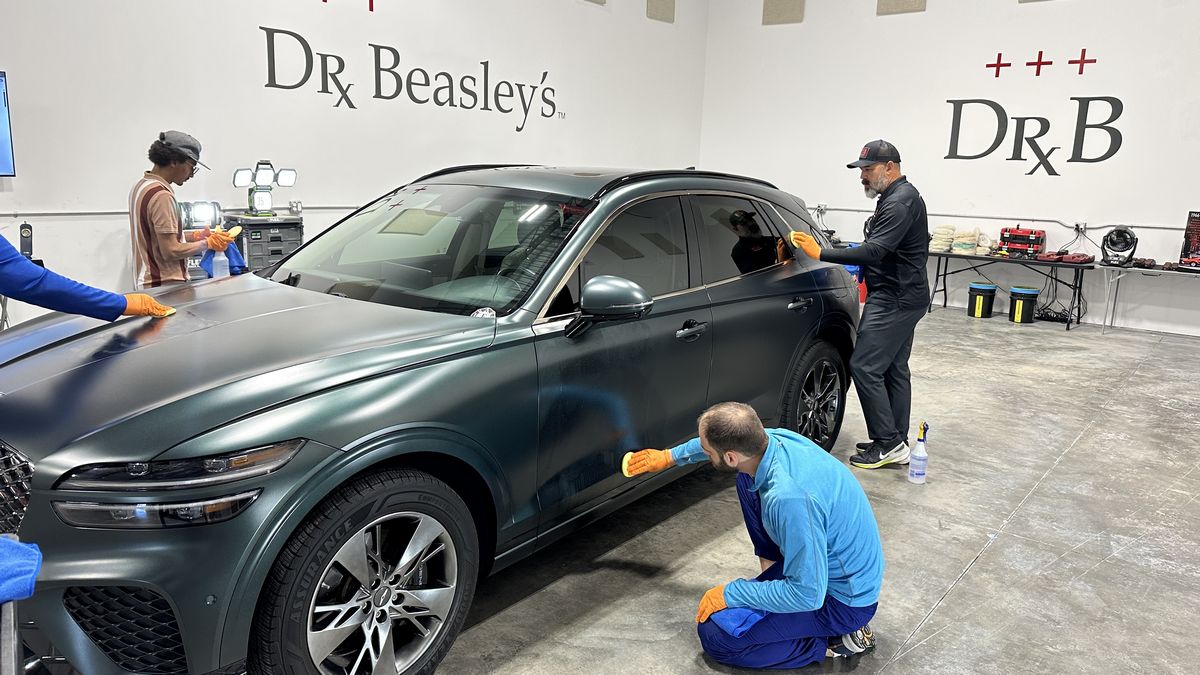
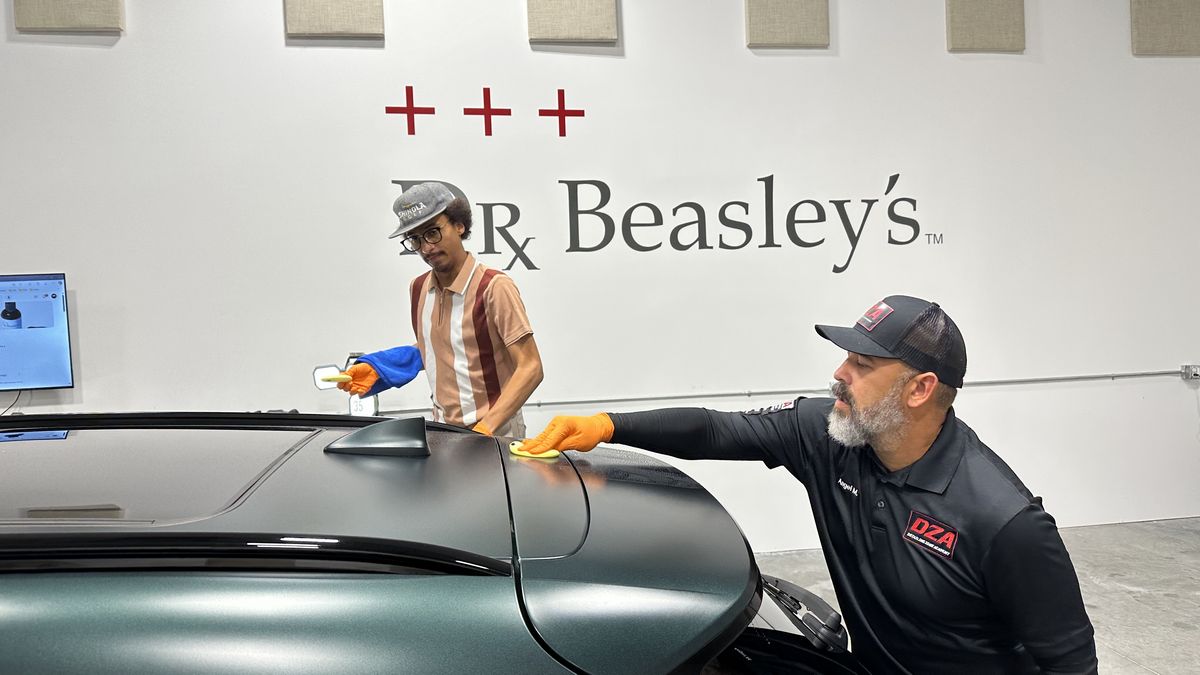
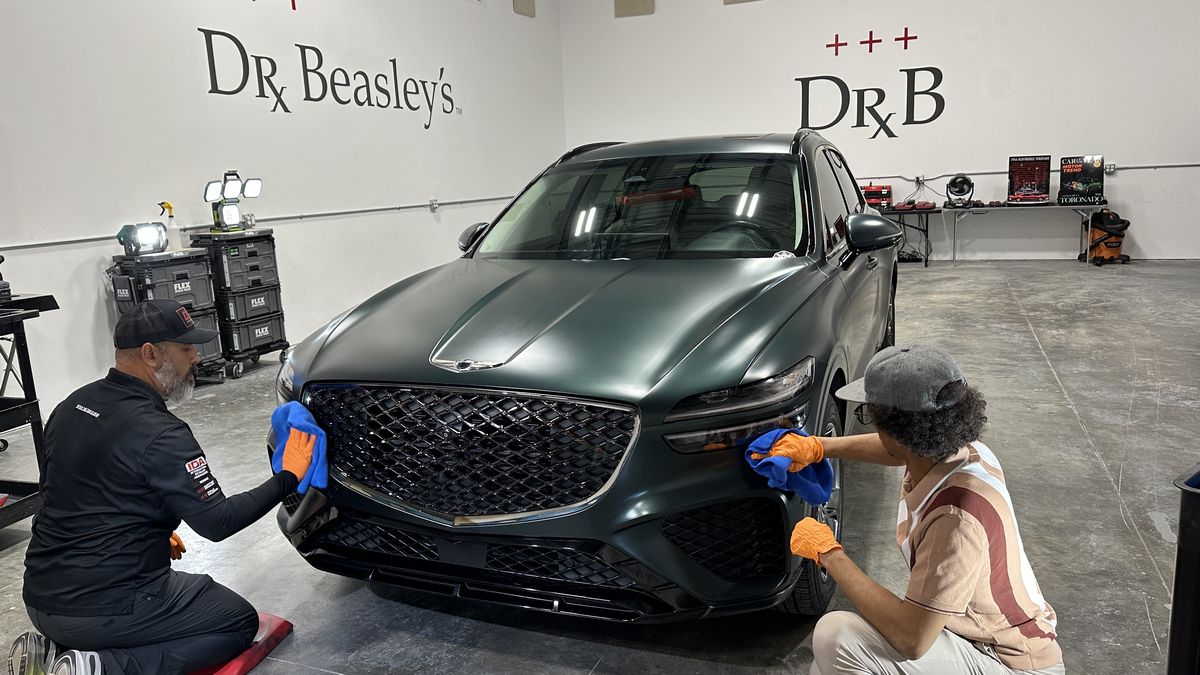
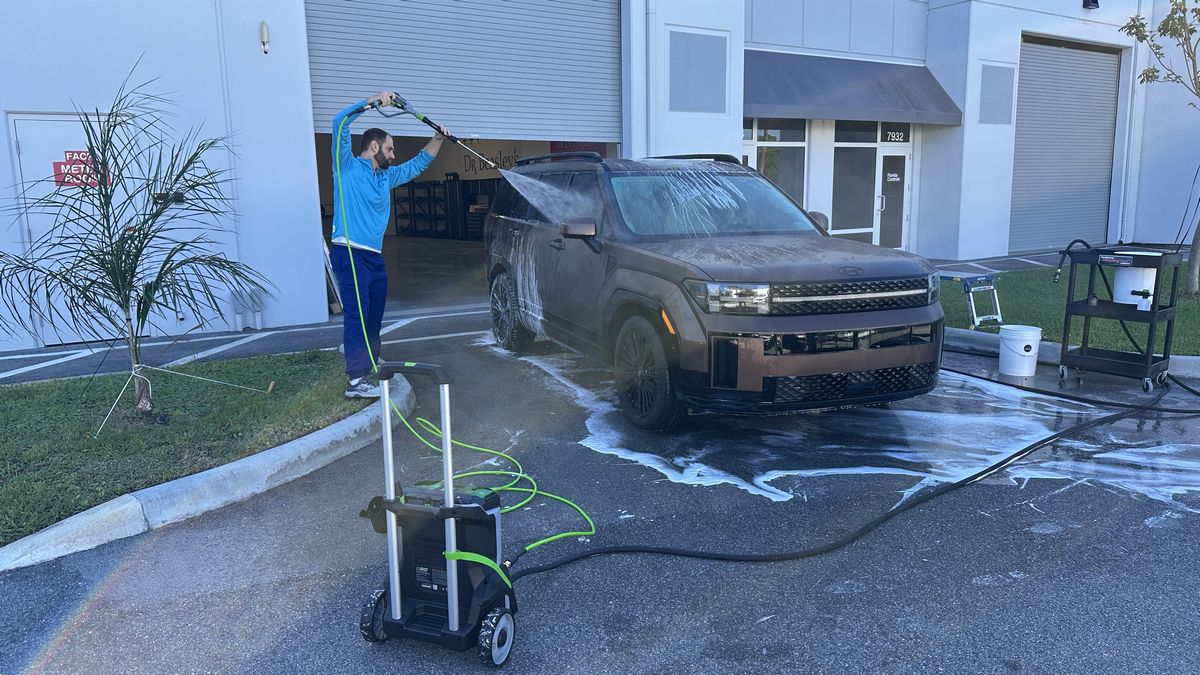
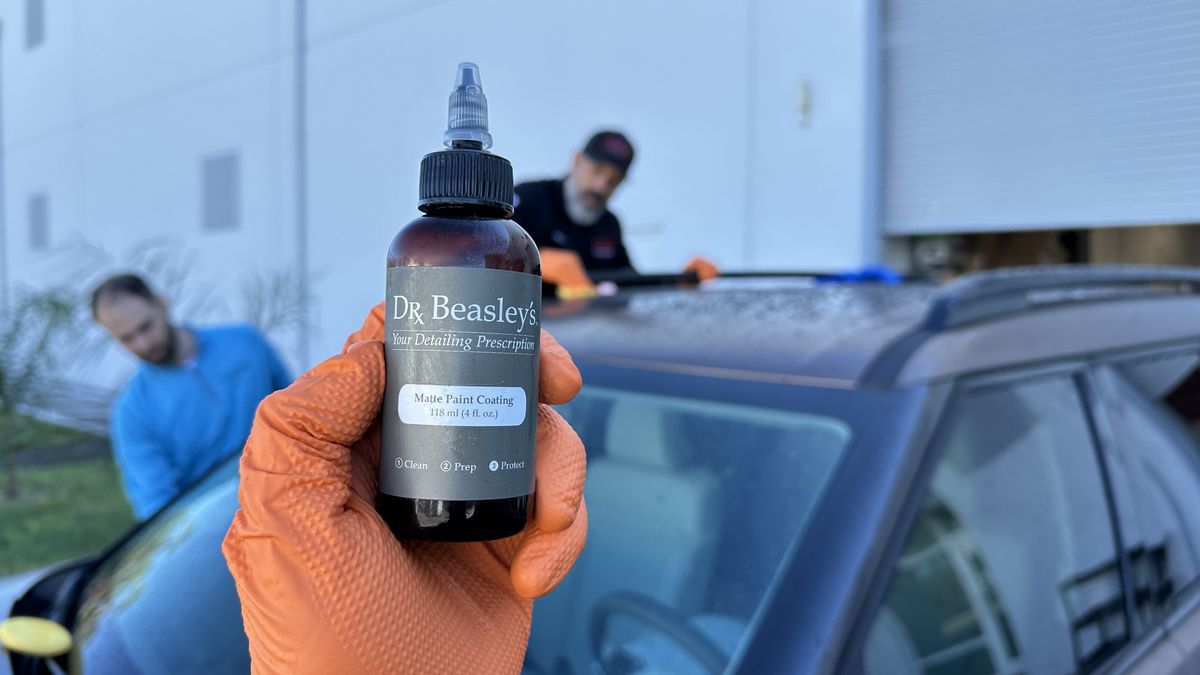
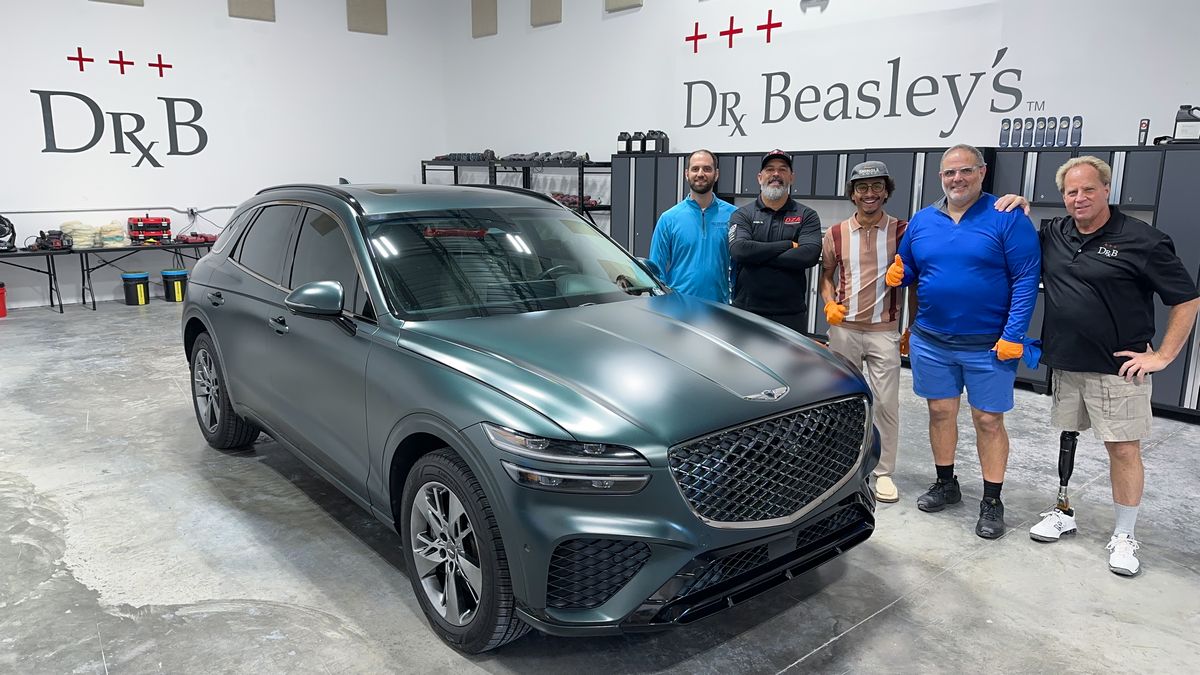
Next up, the class will learn how to carefully wash, decontaminate and the ceramic coat the Brassy Earth Matte finish on the Hyundai Santa Fe.
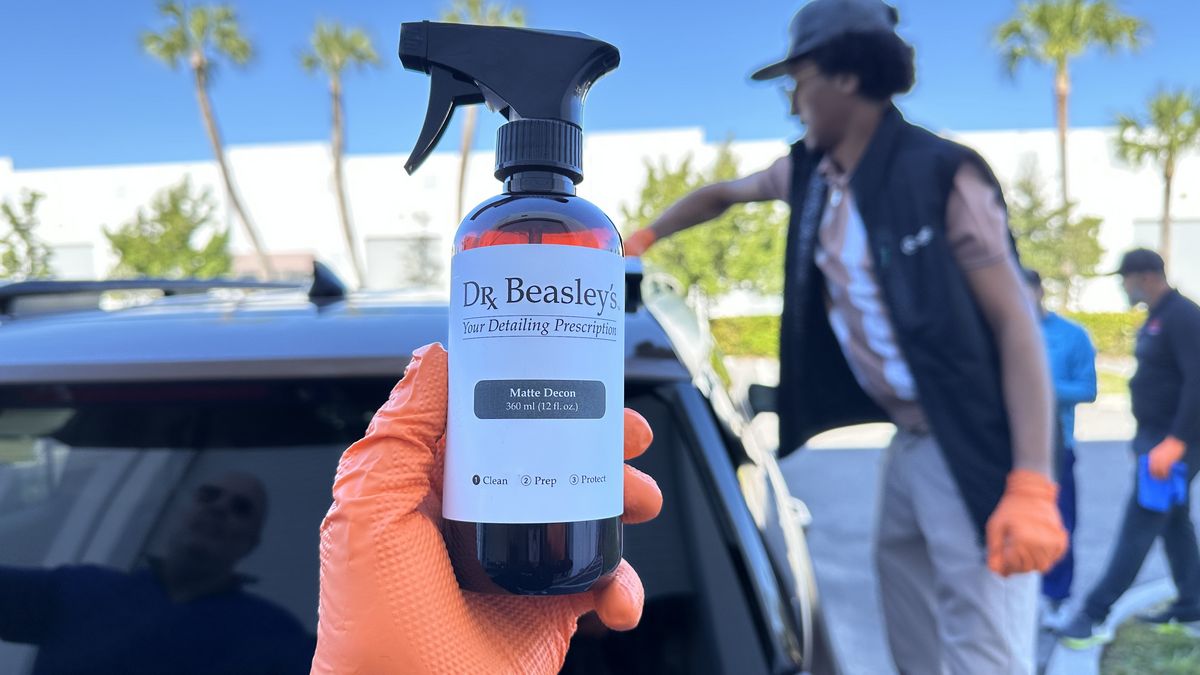
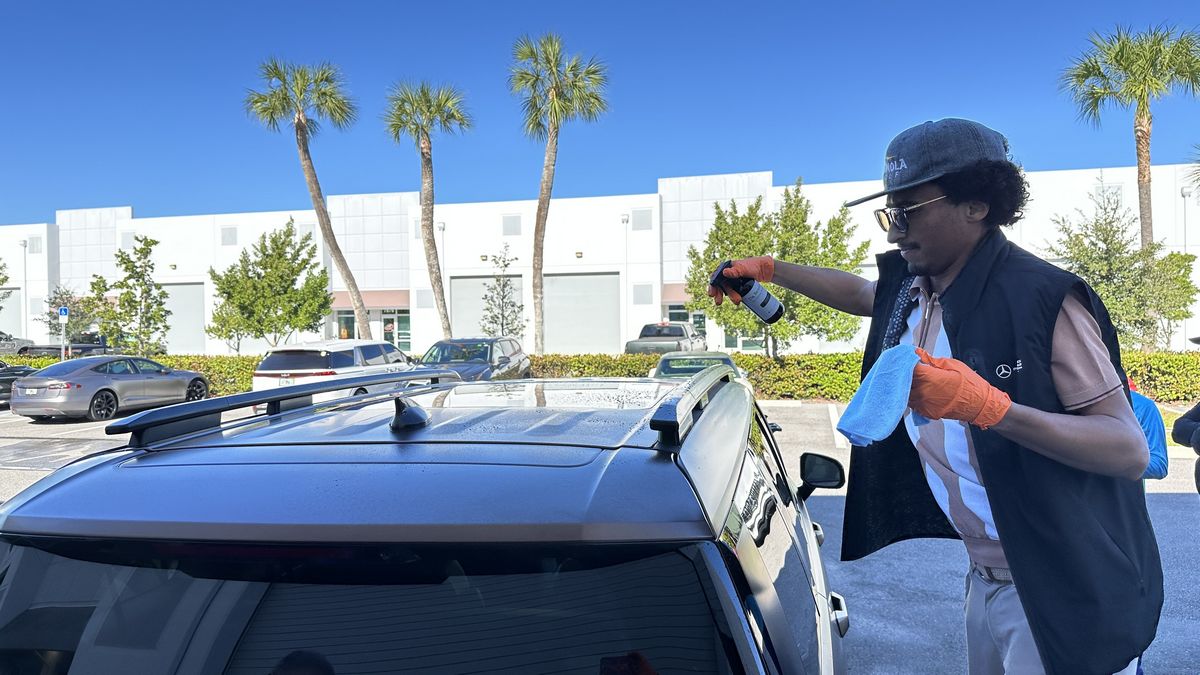
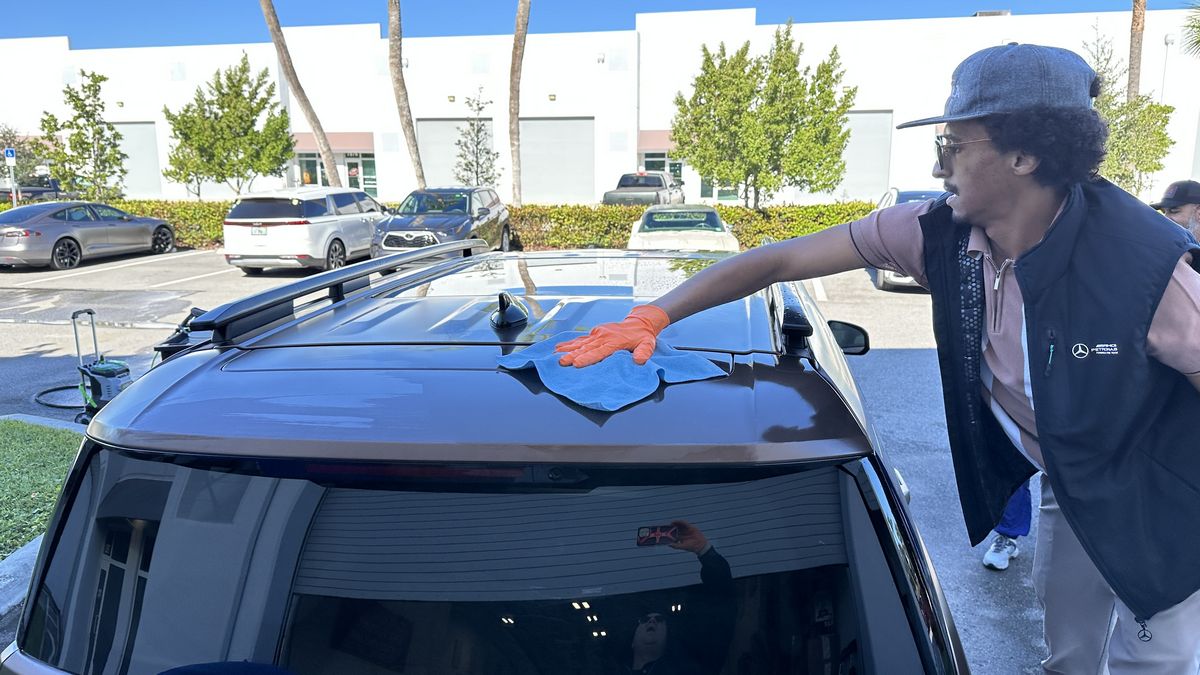
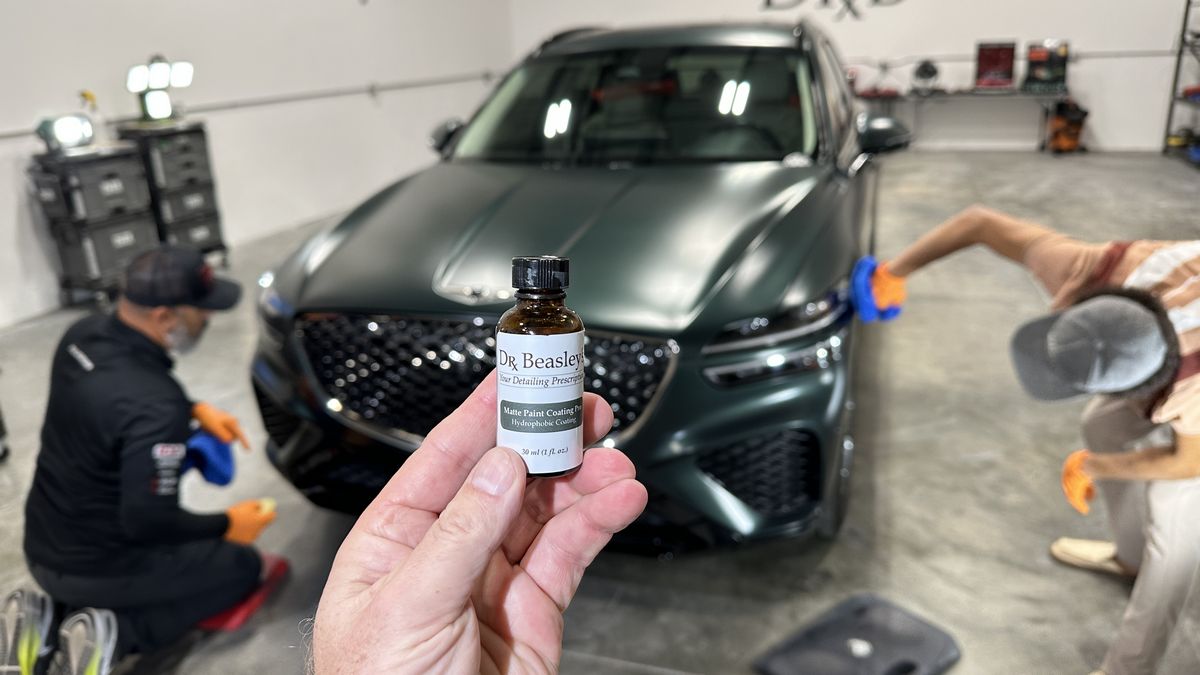
Wet-on-Wet Matte Ceramic Coating Application
With the Genesis, the class misted some Distilled Water onto the surface and then applied the matte ceramic coating. Another option is the Wet-on-Wet Ceramic Coating Application. With this technique you wash AND THOROUGHLY RINSE the vehicle and then using the standing.
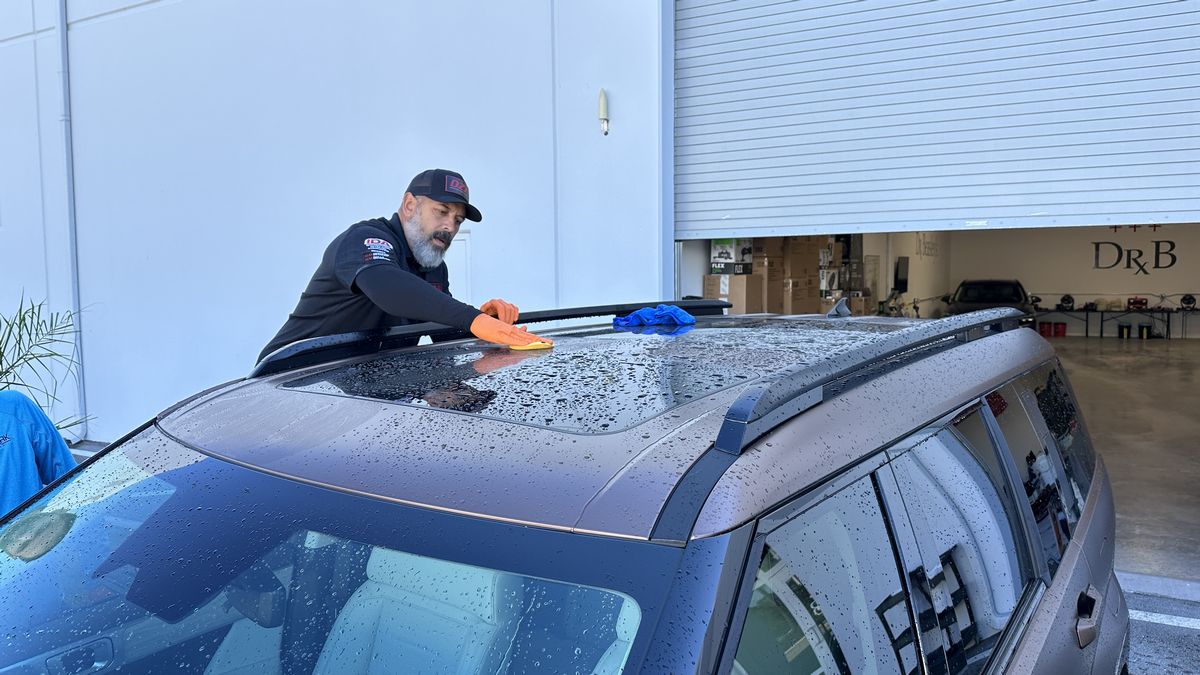
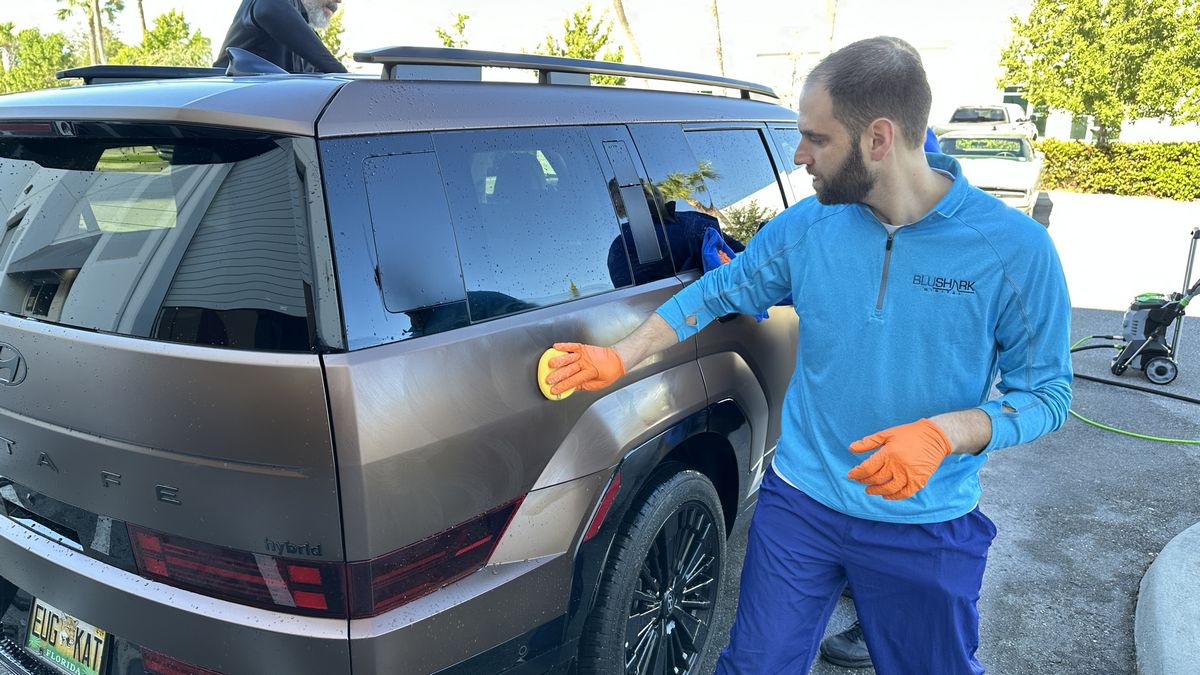
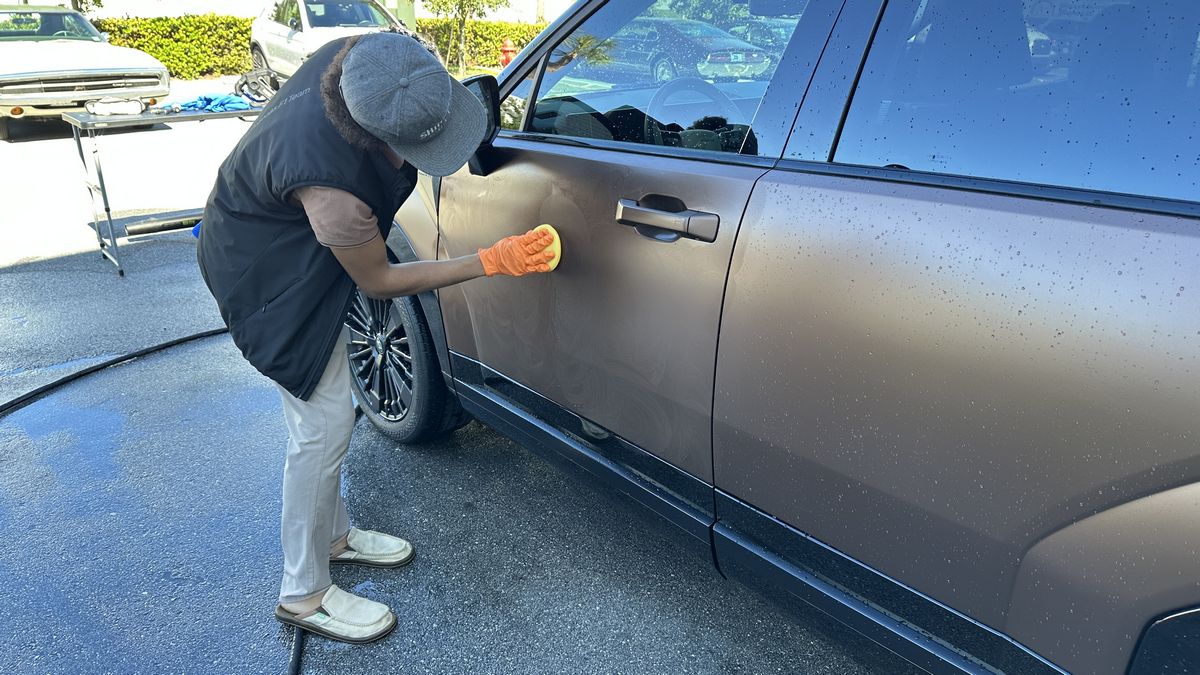
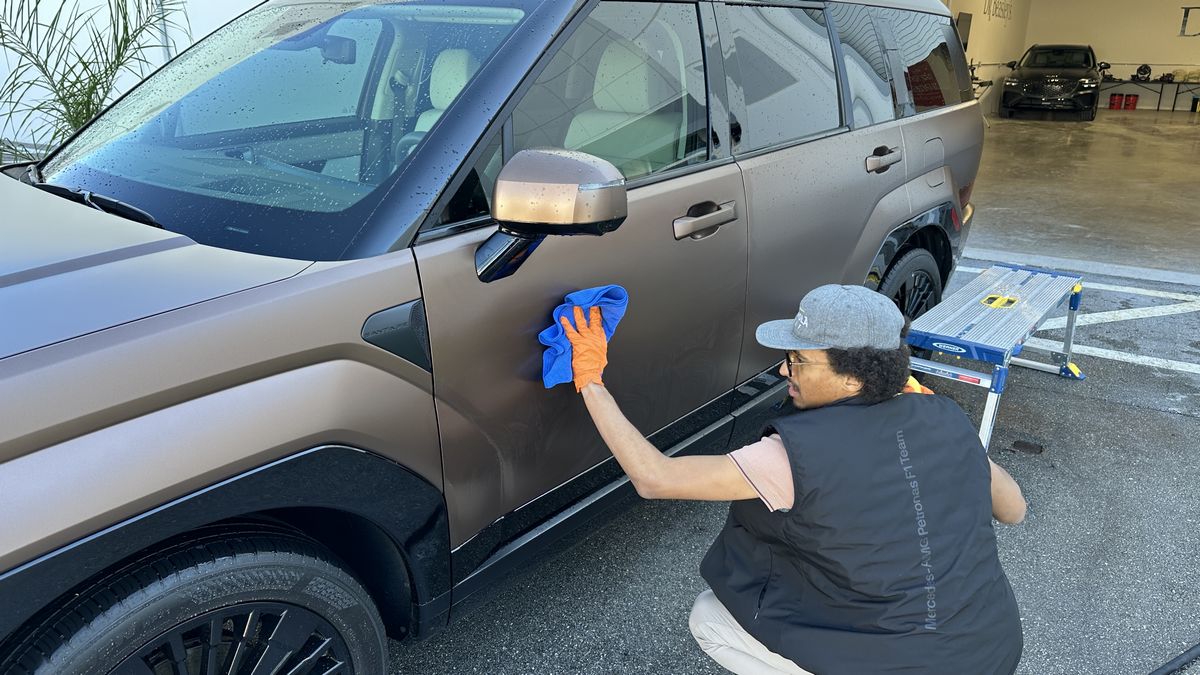
Here’s the final results for both Matte SUVs
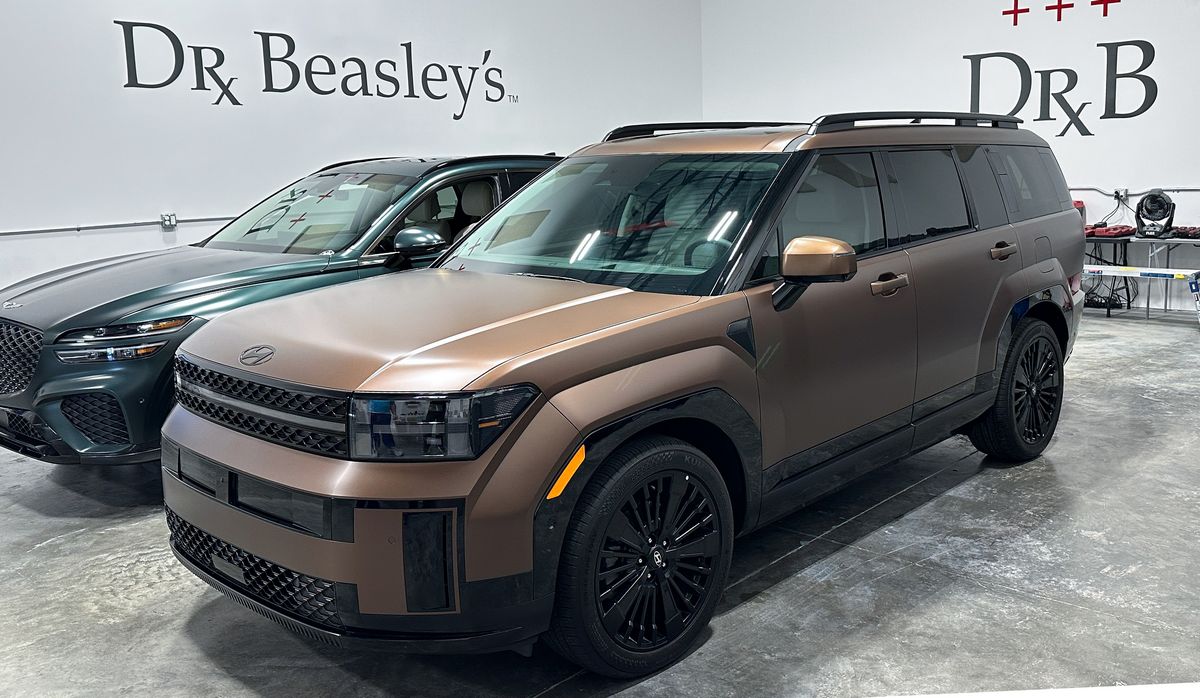
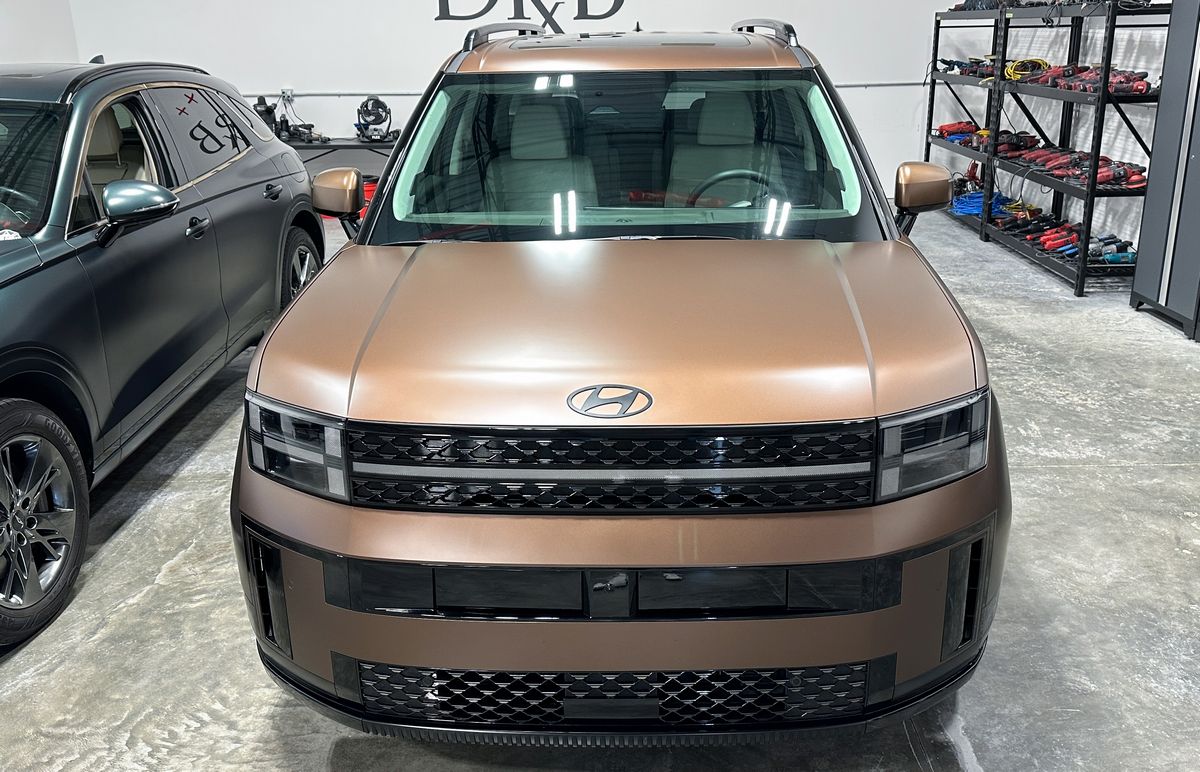
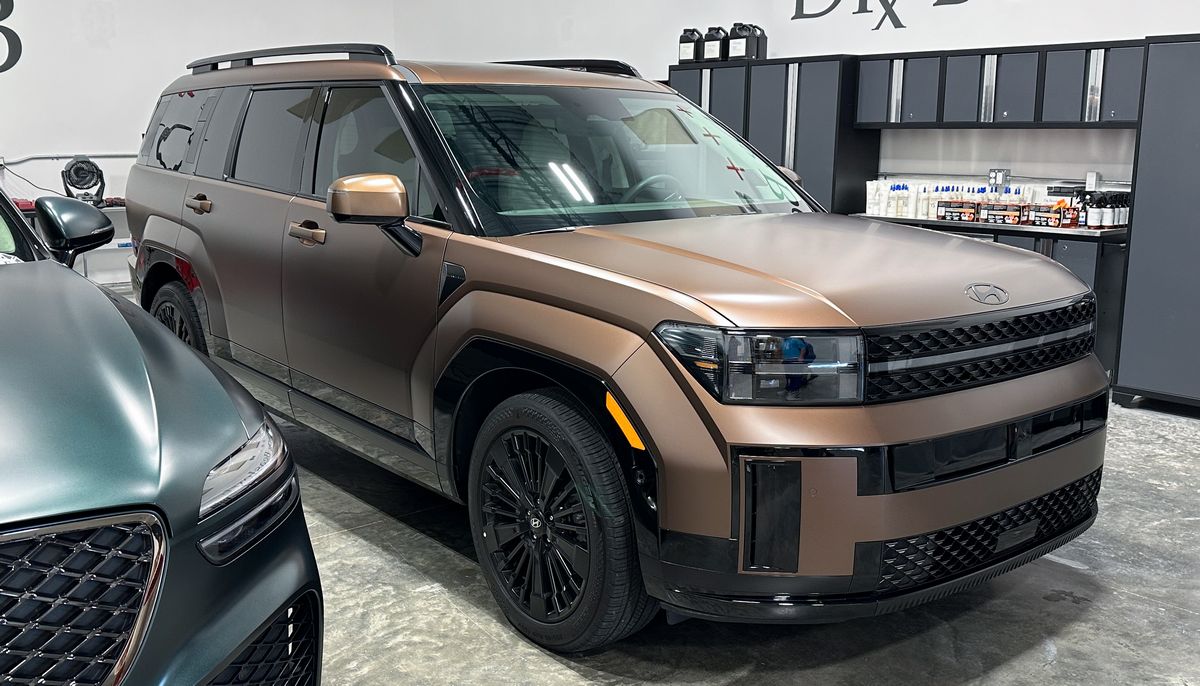
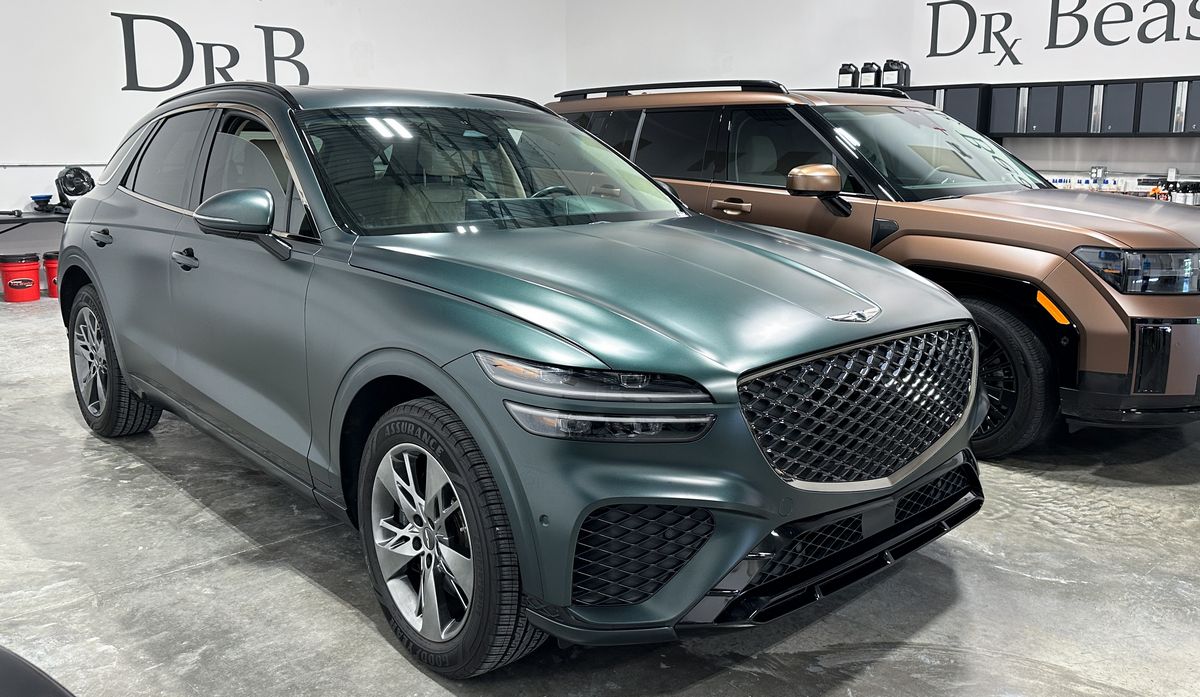
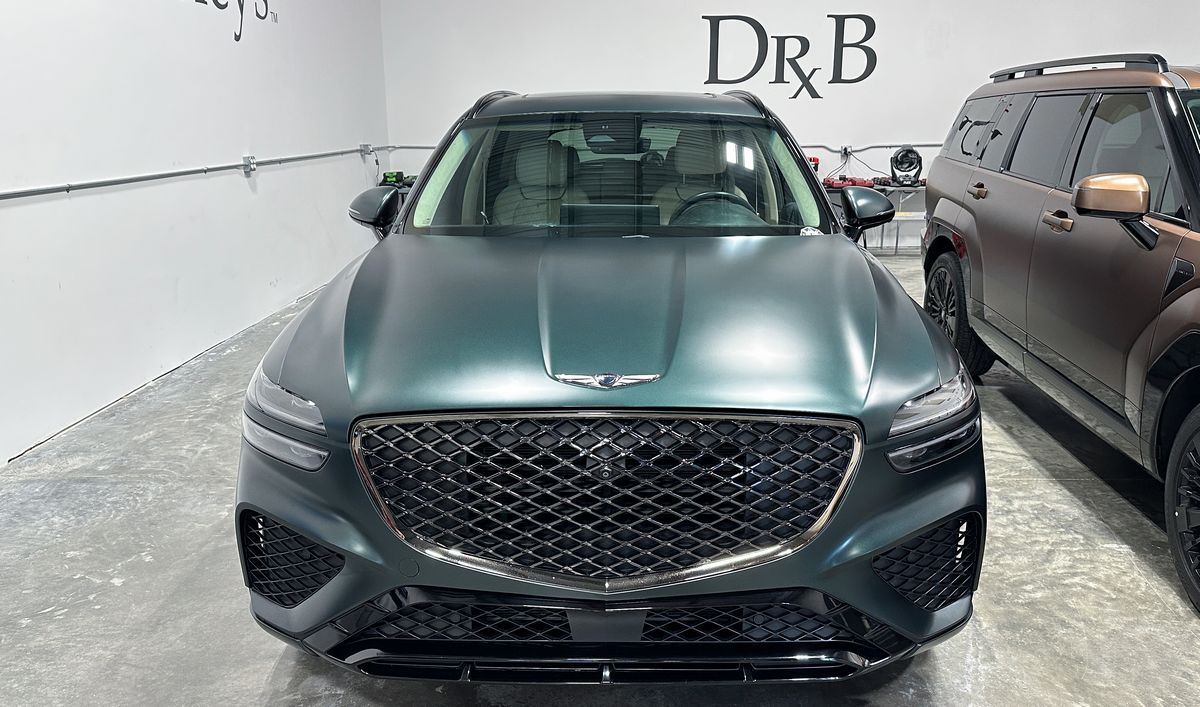
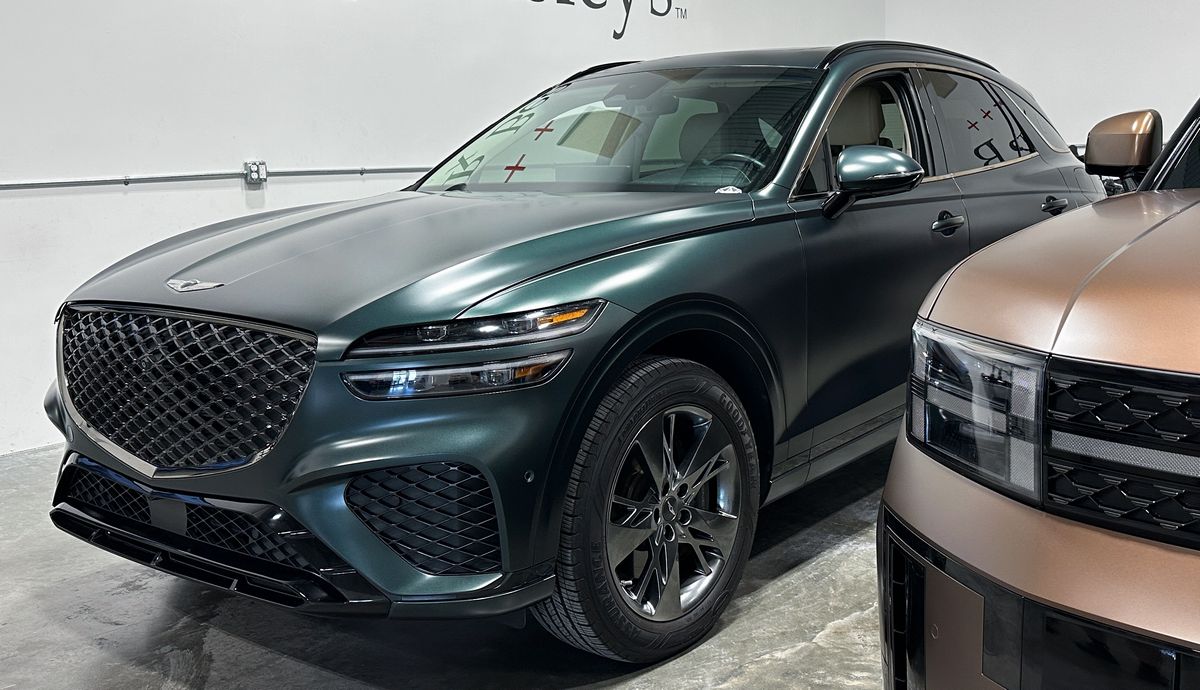
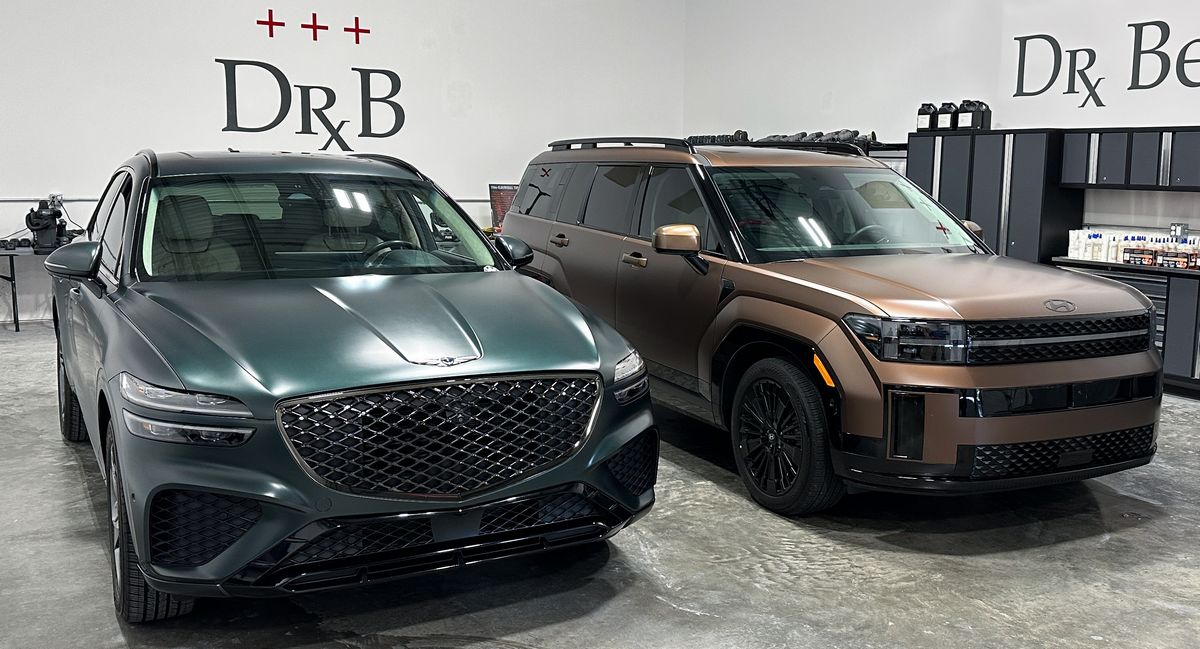
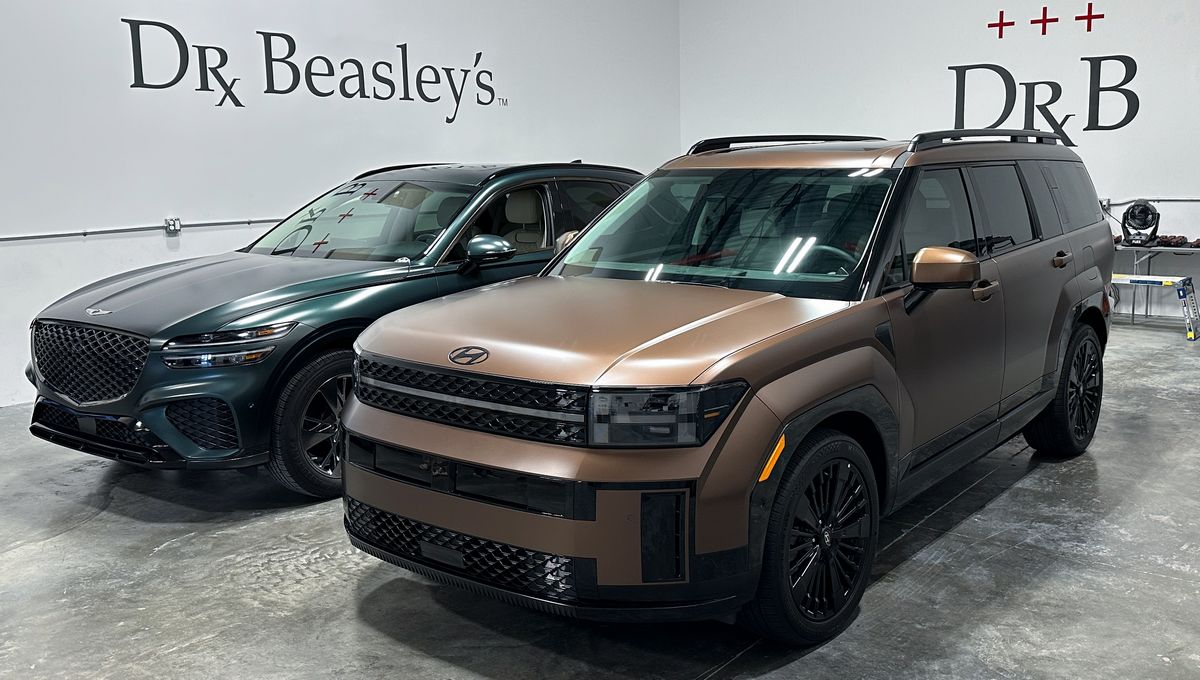
Here’s the team that made the magic happen!
From left to right,
Allen, Angel, Jon, Shawn and yours truly.
Just to note, Jon drove straight-through, from Colorado to Stuart, Florida to take this class – that’s 2000 miles!
The total number of cars that went through our Stuart, Florida class
33 Cars!
The total number of boats,
3 huge, horrible condition center console boats!
These are the most hands-on classes on planet Earth. Clear your schedule and get signed-up for a class in 2025 – you will not be disappointed.
Click here for the class schedule
Questions? Shoot me a text, give me a call or send me an e-mail
Cell: 760-515-0444
mike@drbeasleys.com
Mike
Questions? Comments?
Email Us