


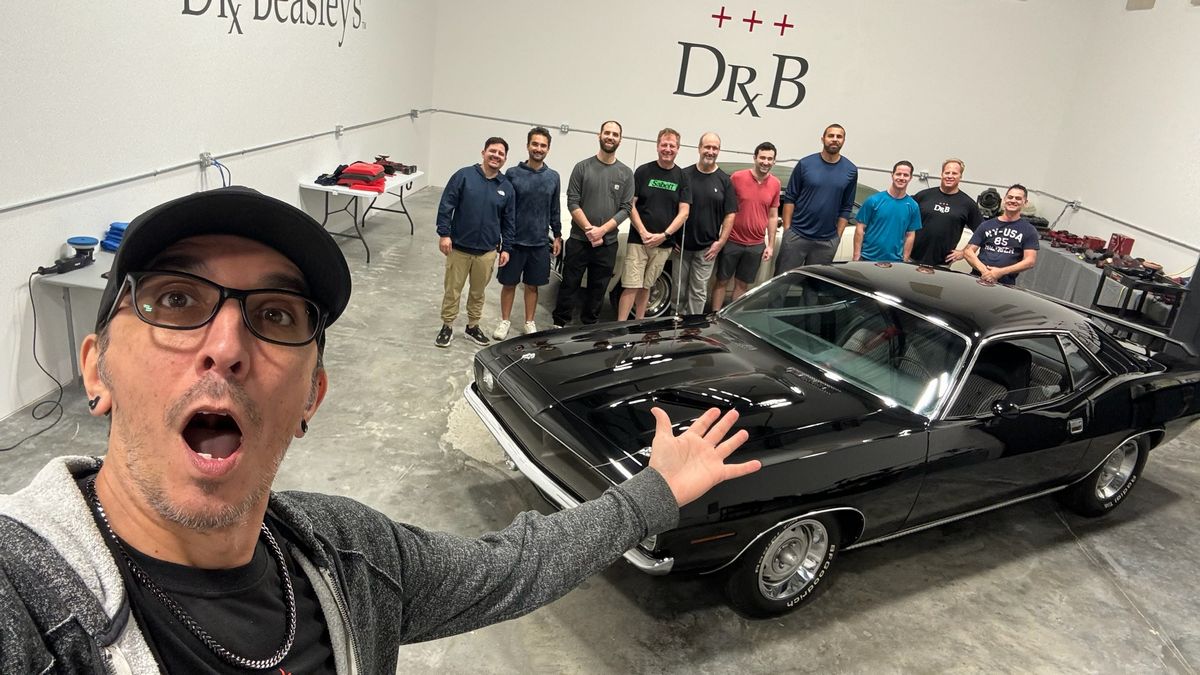
At the beginning of 2024 I hosted my first class of the year: a 1-Day paint correction and ceramic coating class at the Dr. Beasley’s “Operating Room” in Stuart, Florida. Usually when I do these classes I get a write-up with pictures up online within a month or two, but this one fell through the cracks. Better late than never! Enjoy the photos and summary. PS: You can find links to upcoming classes here.
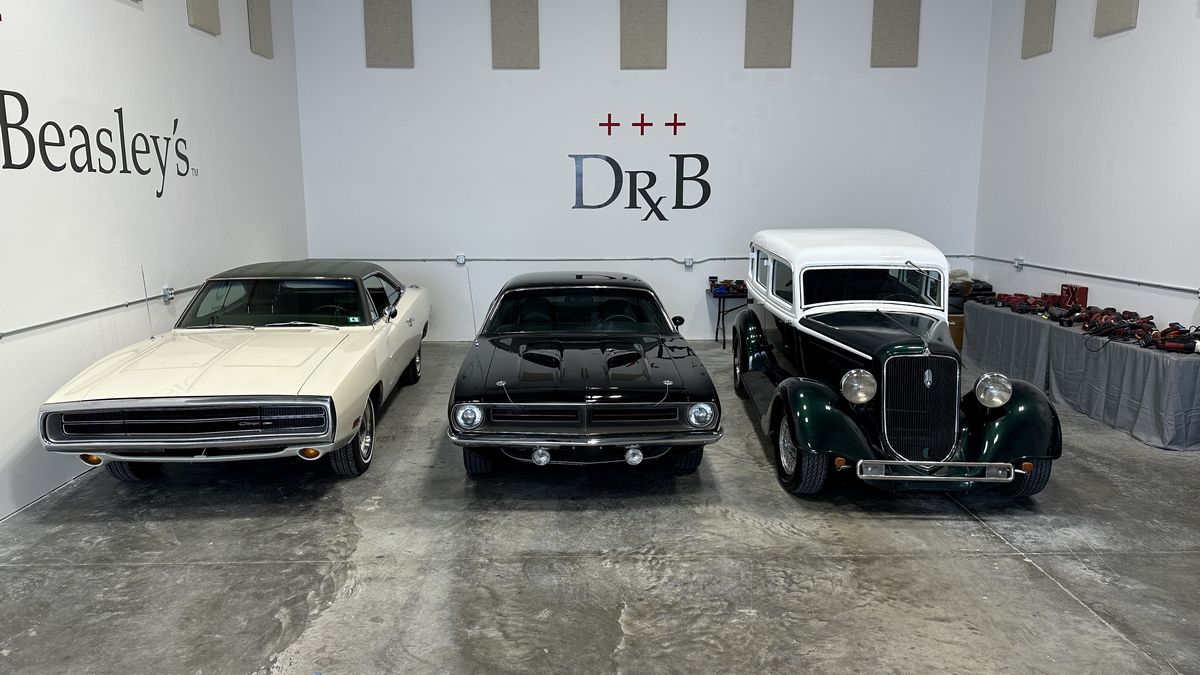
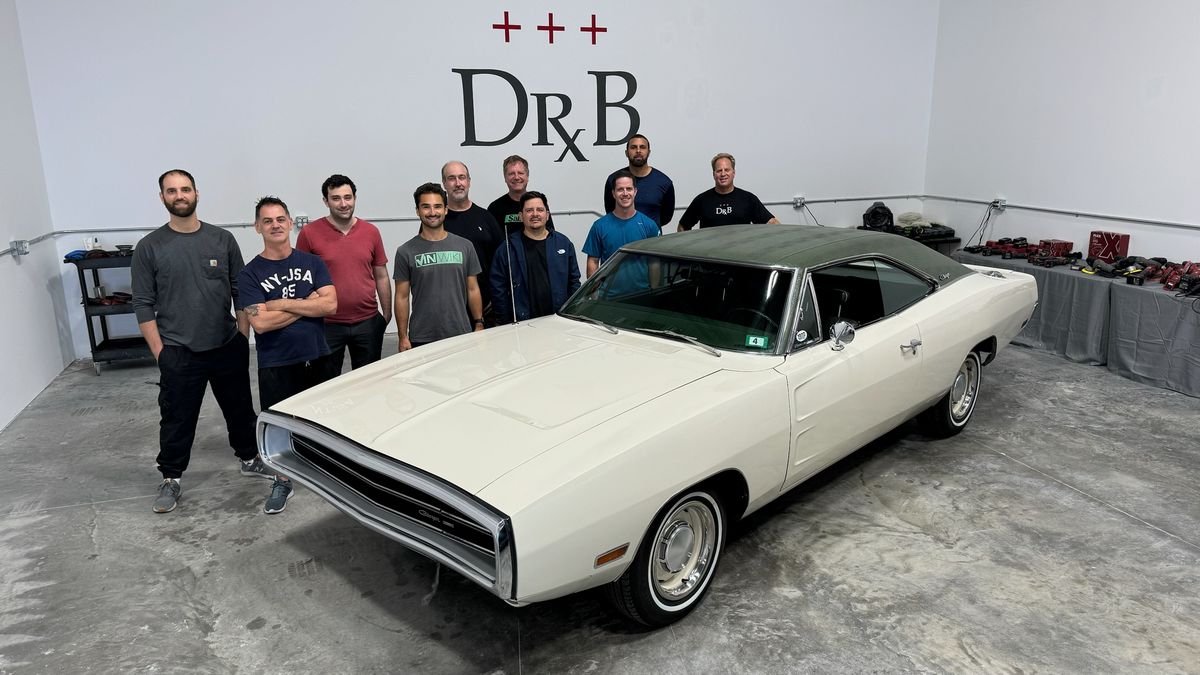
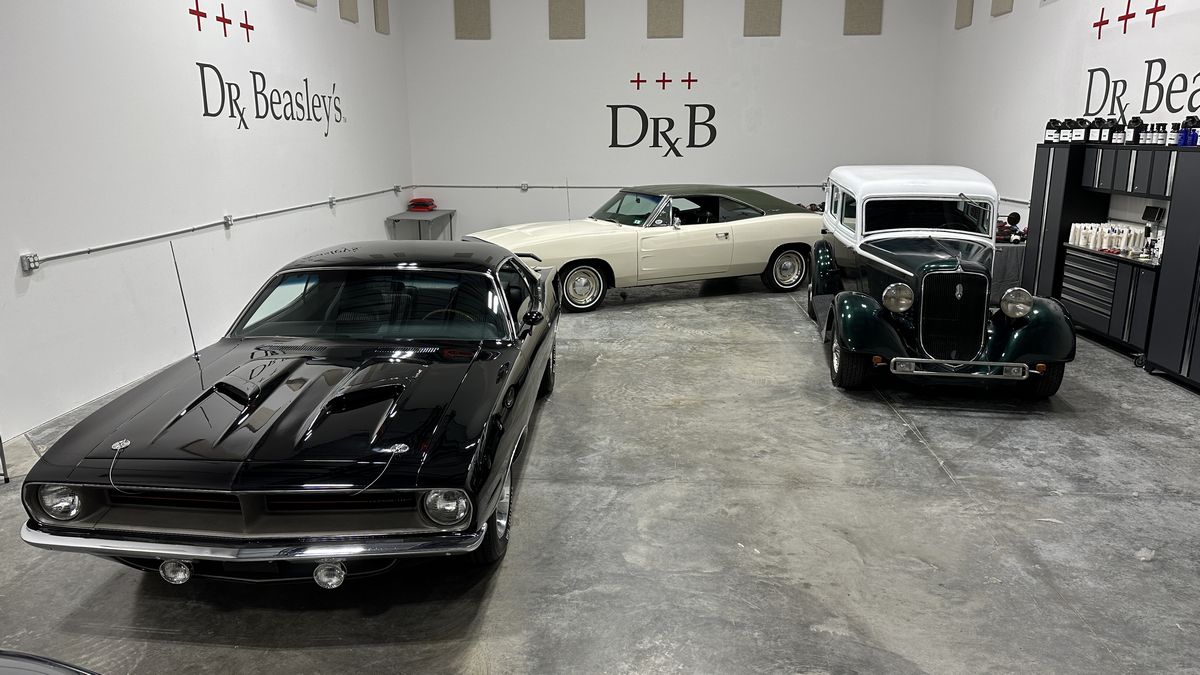
4 cars for this class:
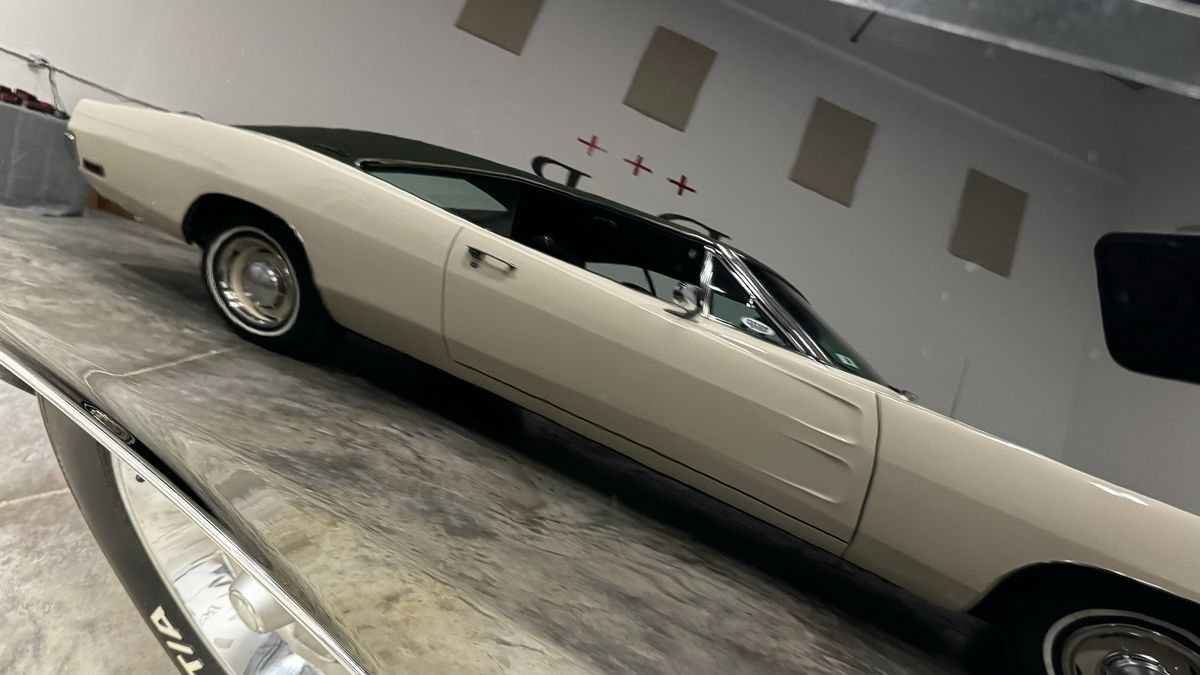
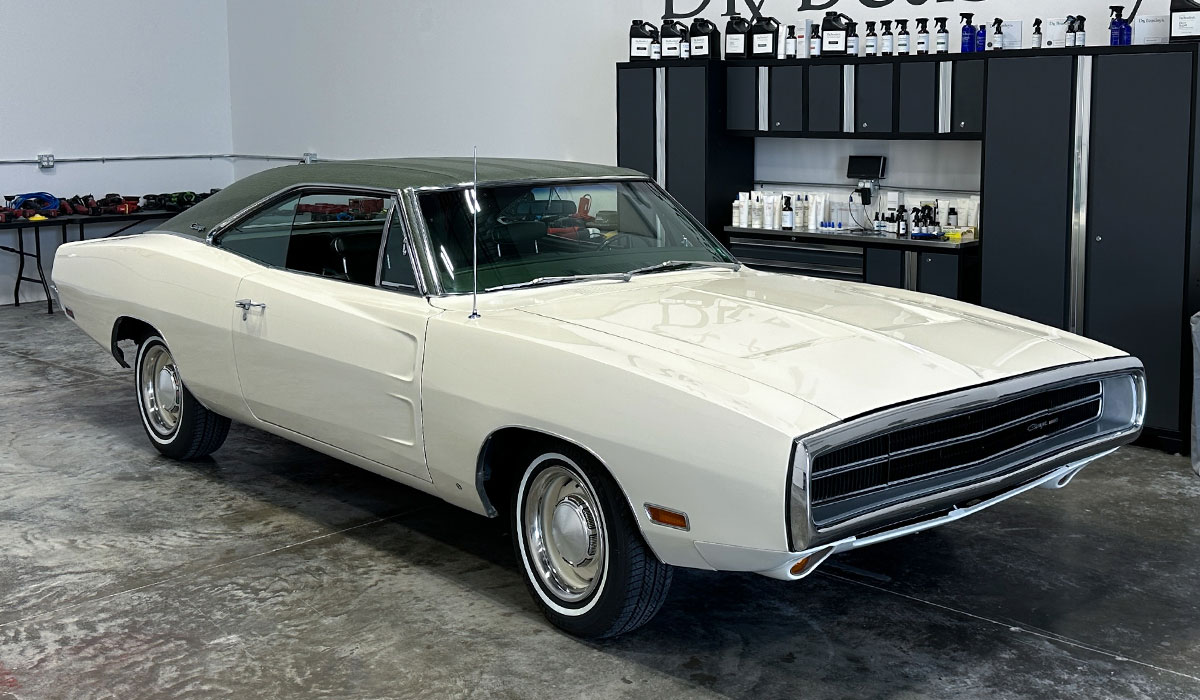
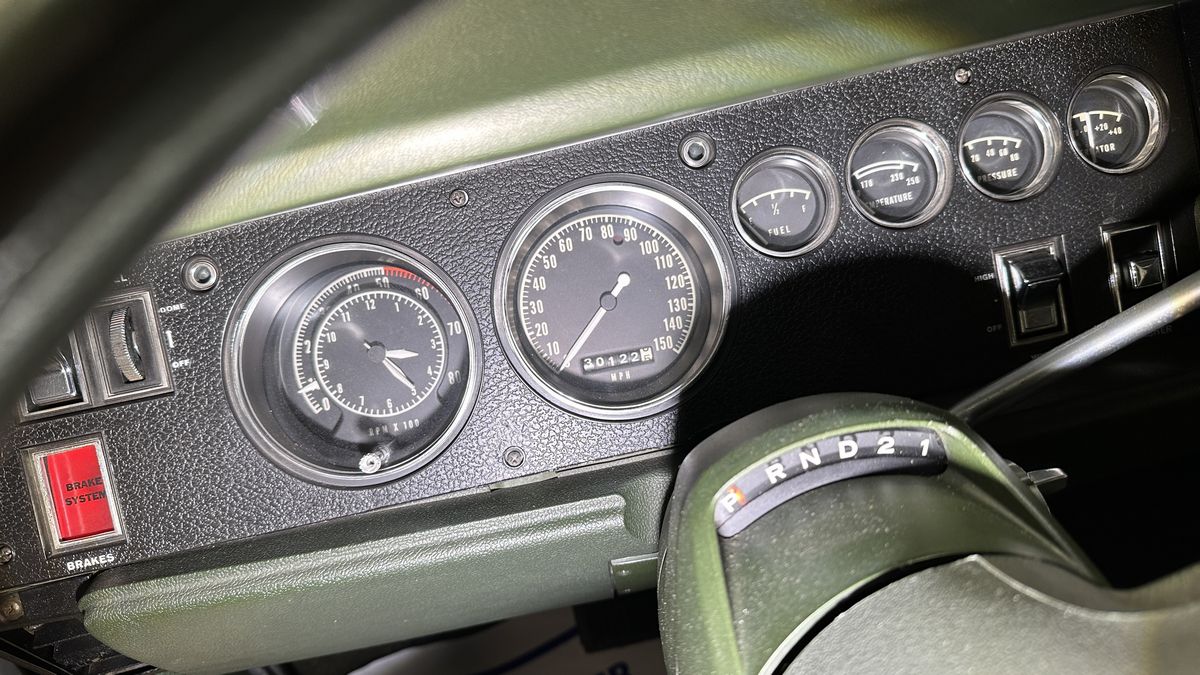
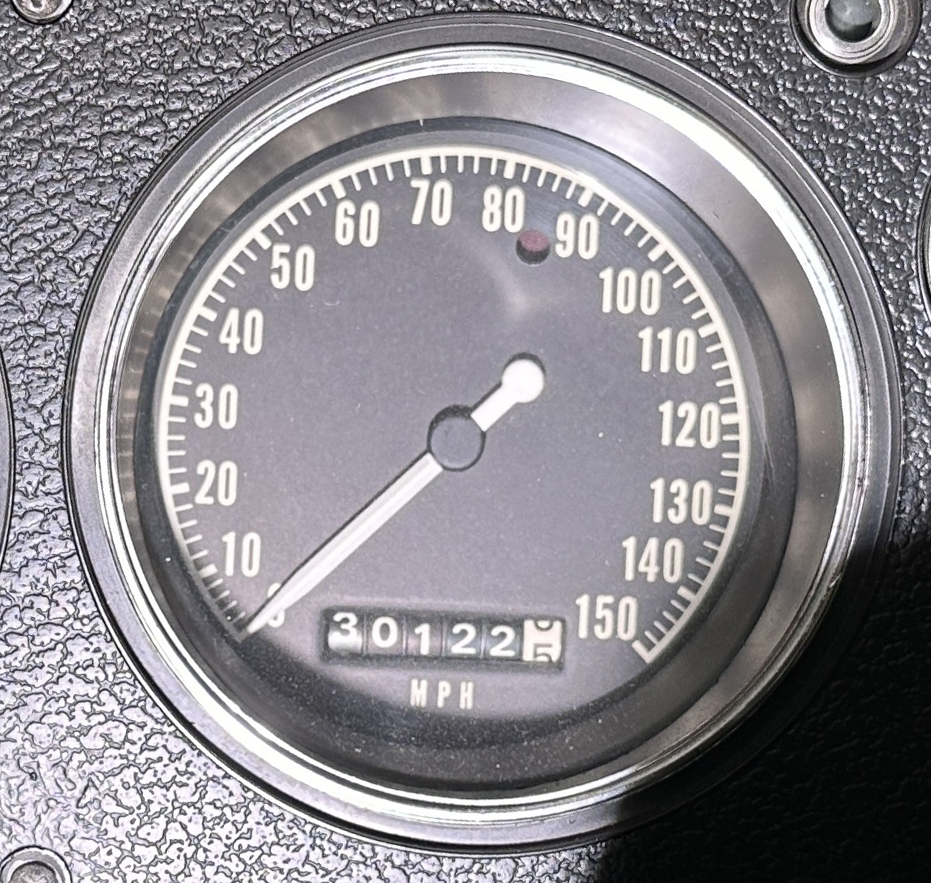
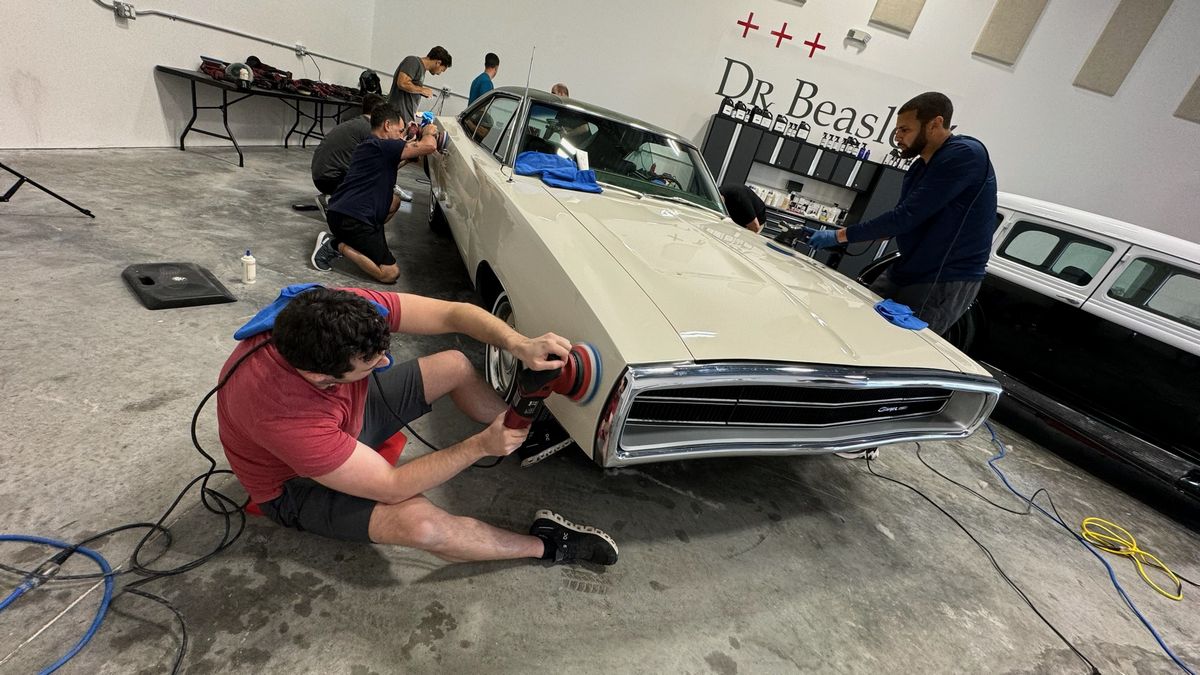
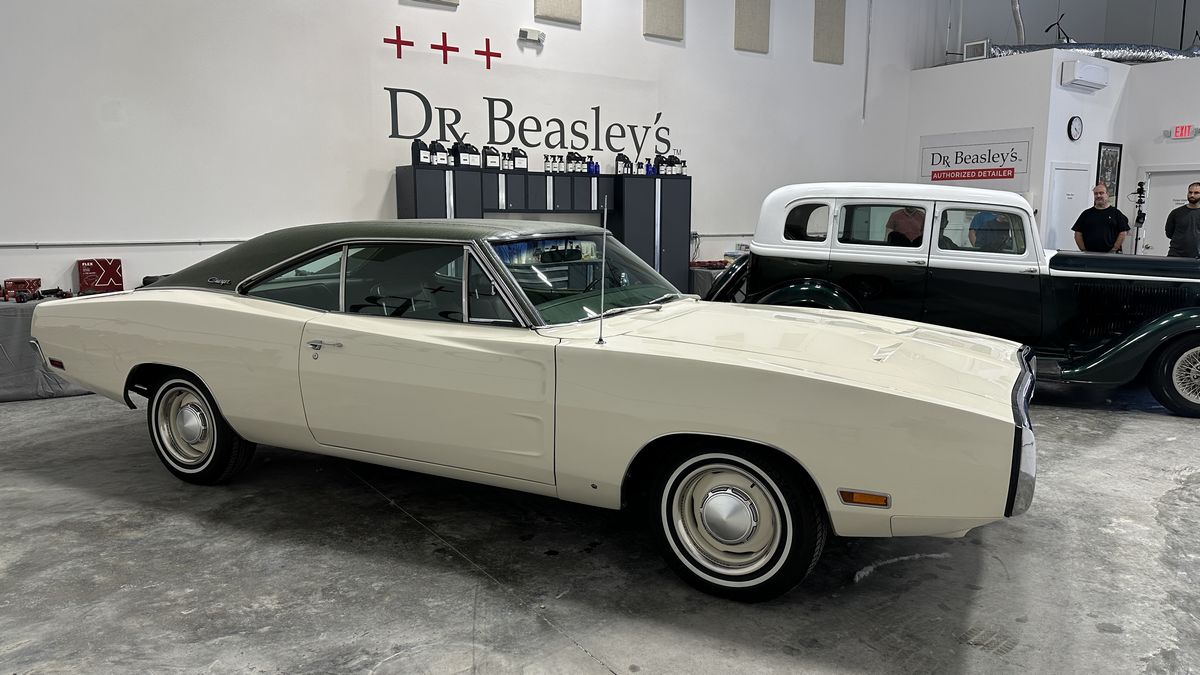
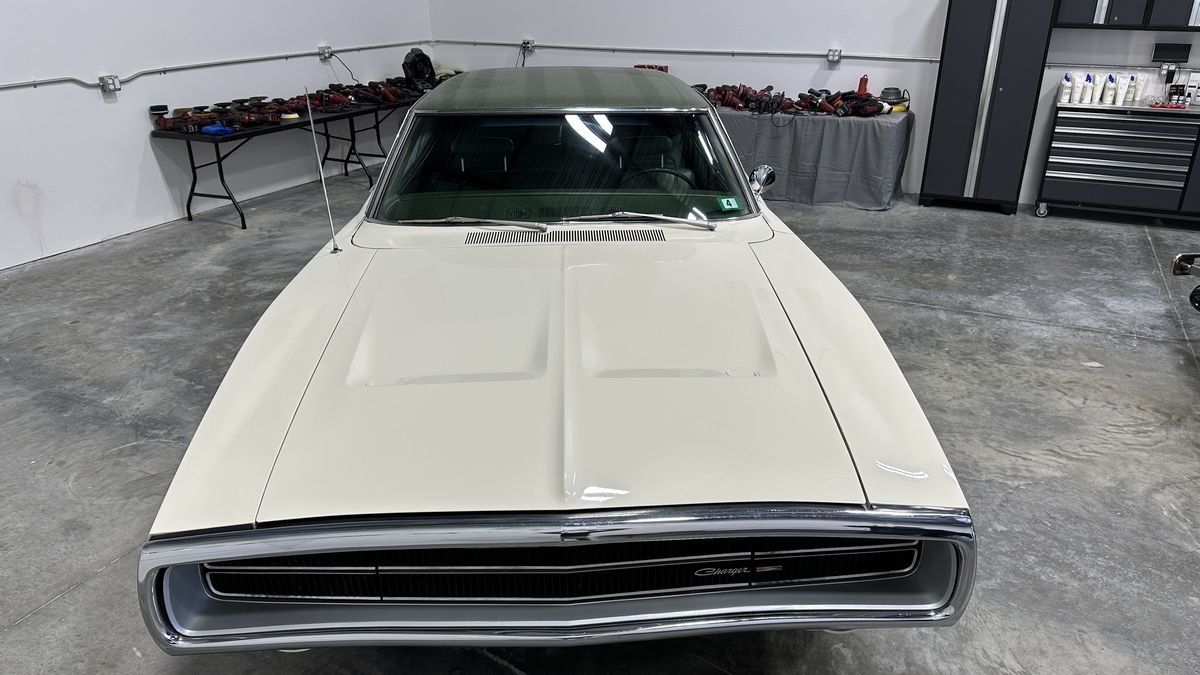
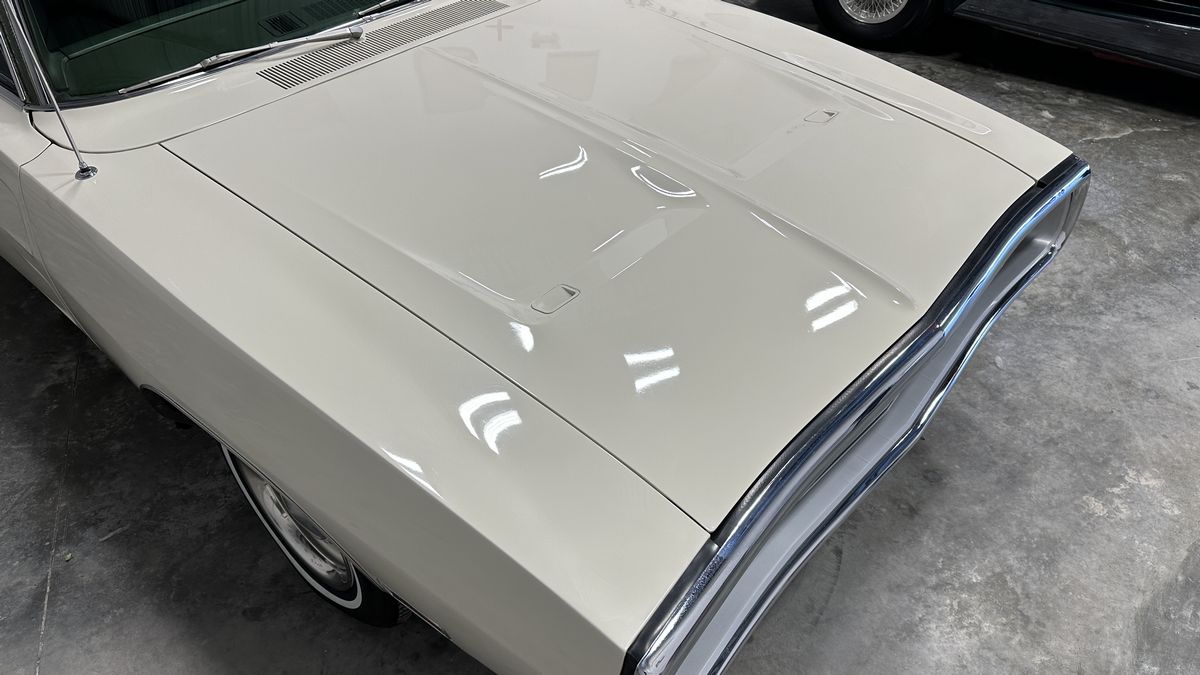
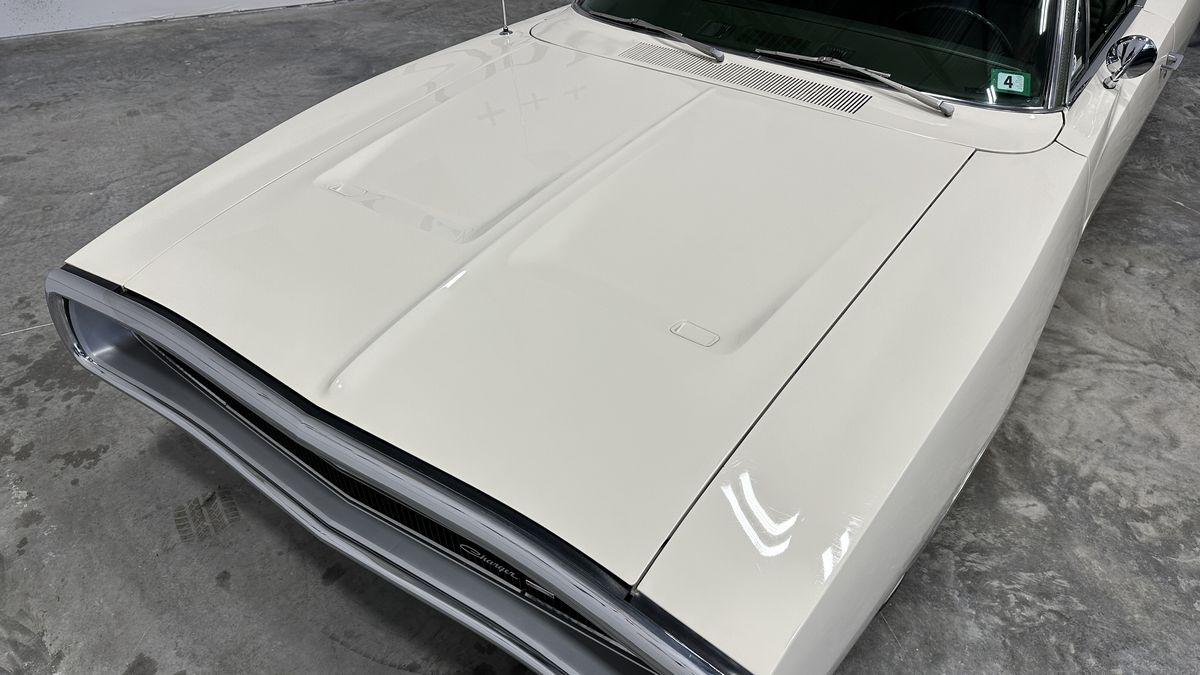
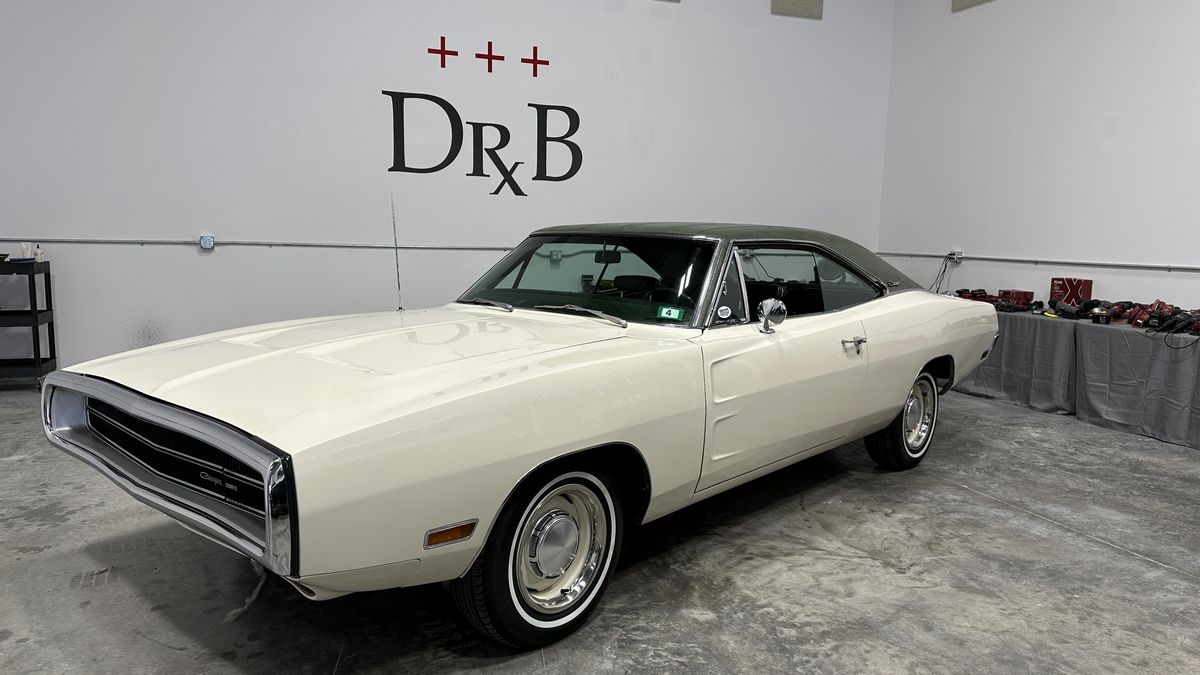
- 1970 Dodge Charger – 30,000 original miles
- 1934 Plymouth Streetrod – Dual Suicide Doors
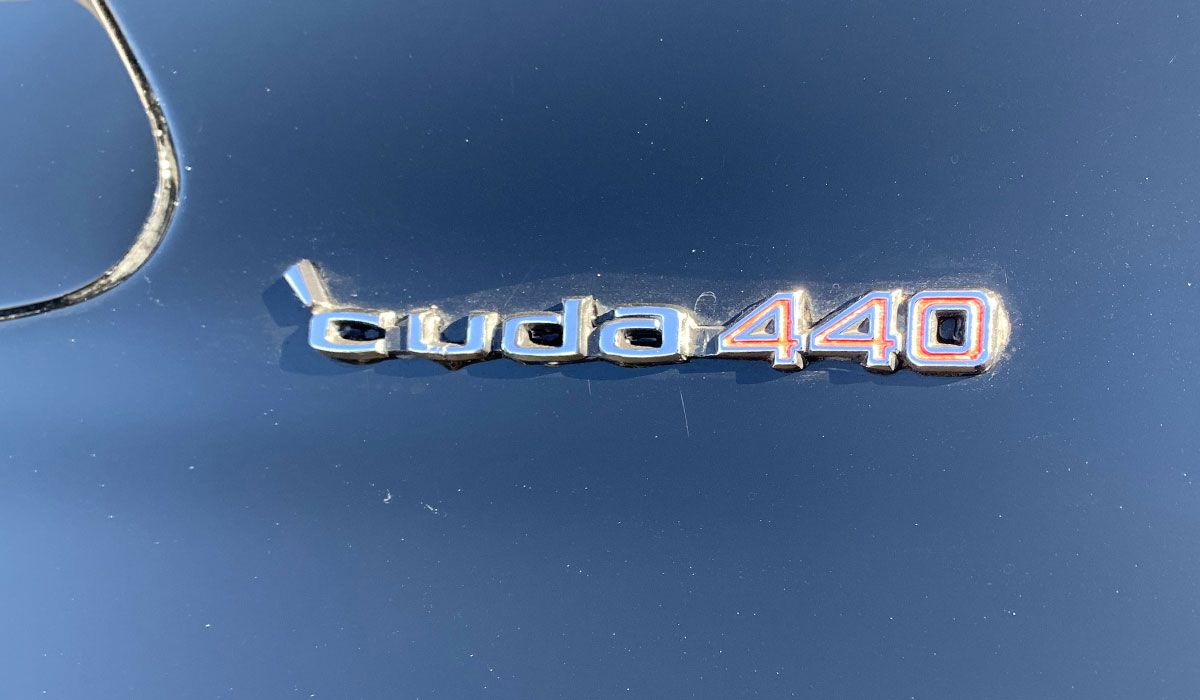
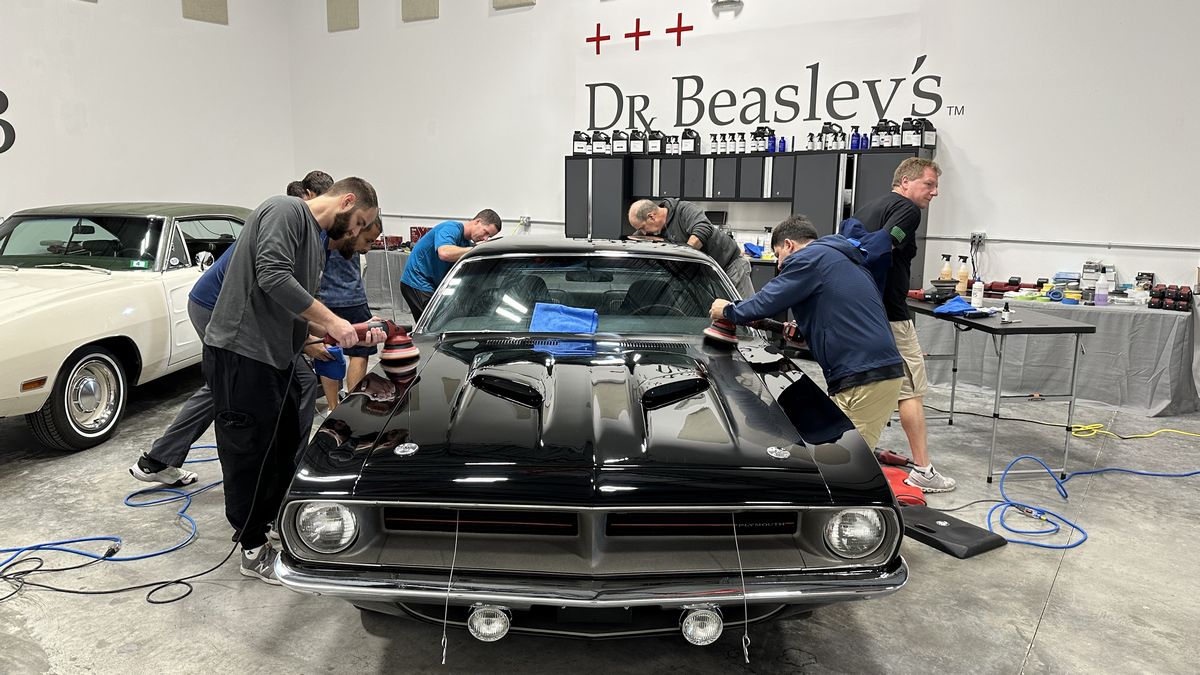
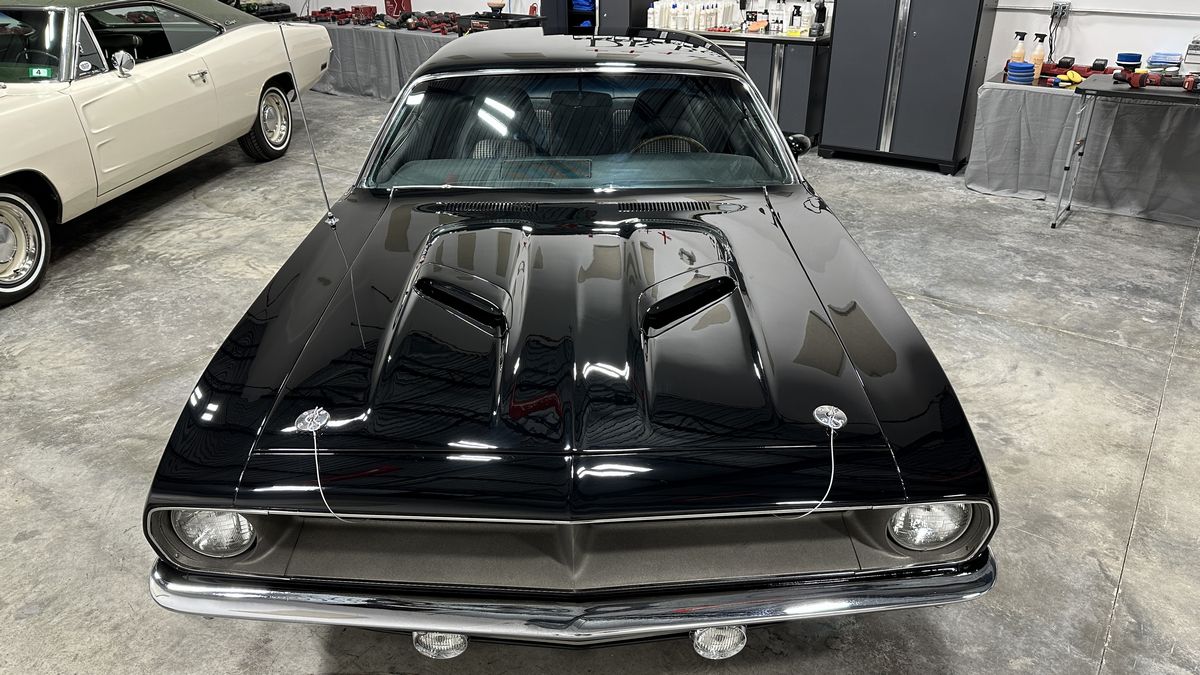
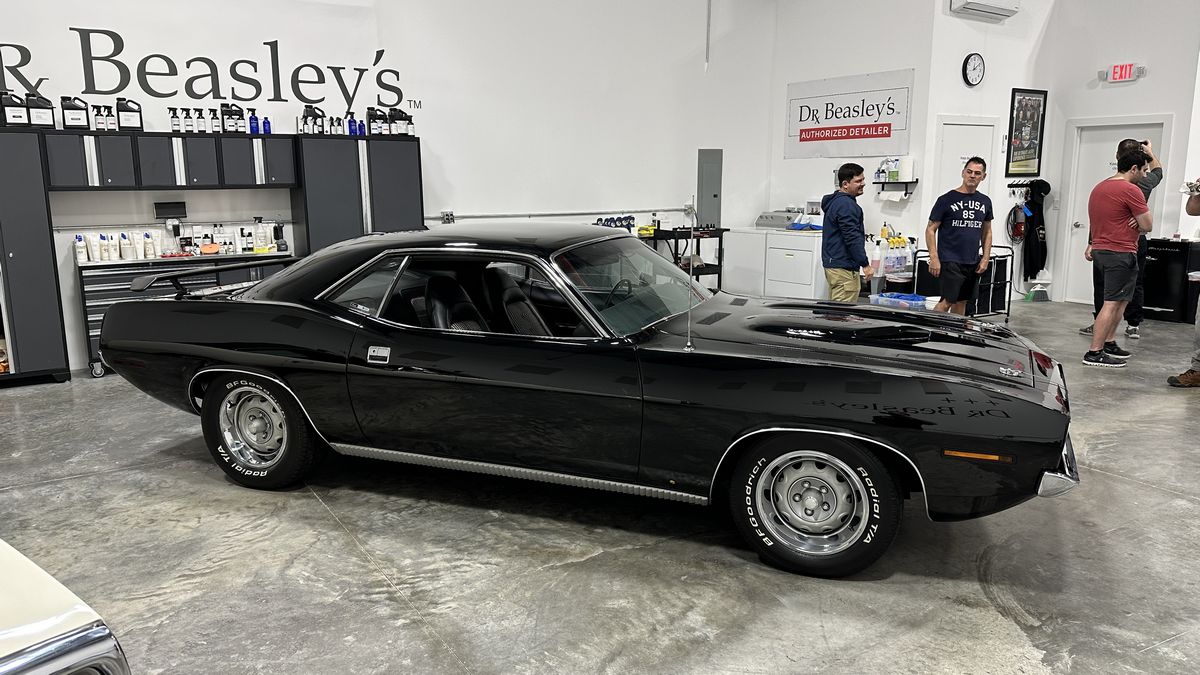
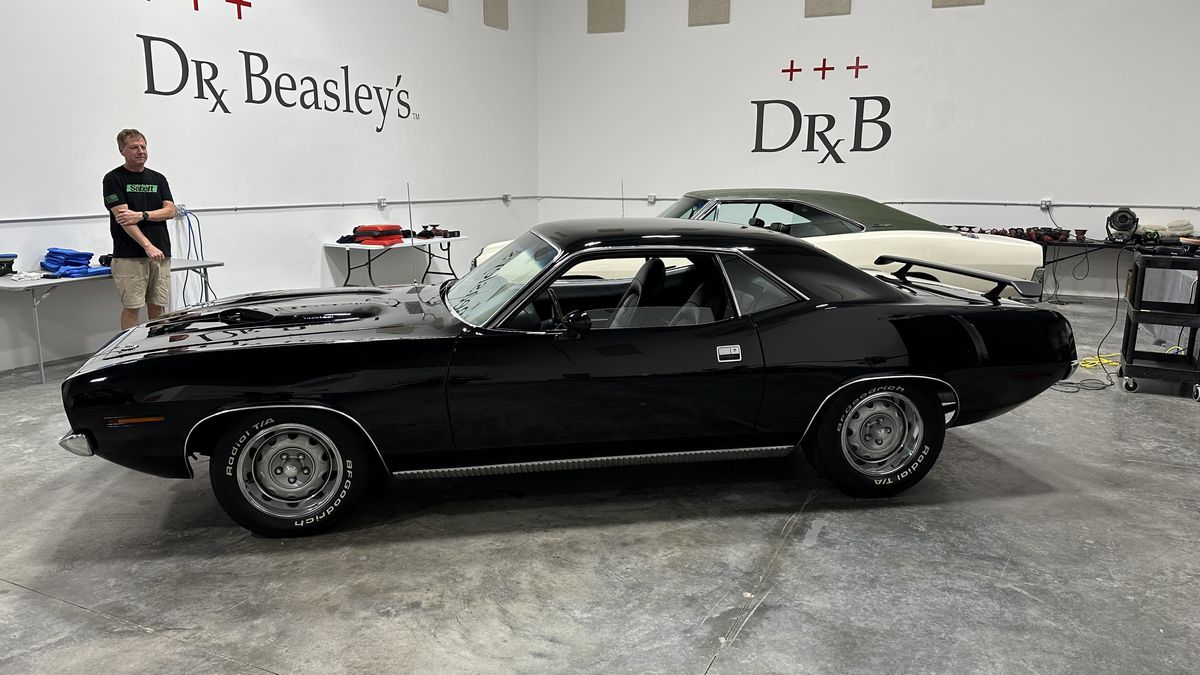
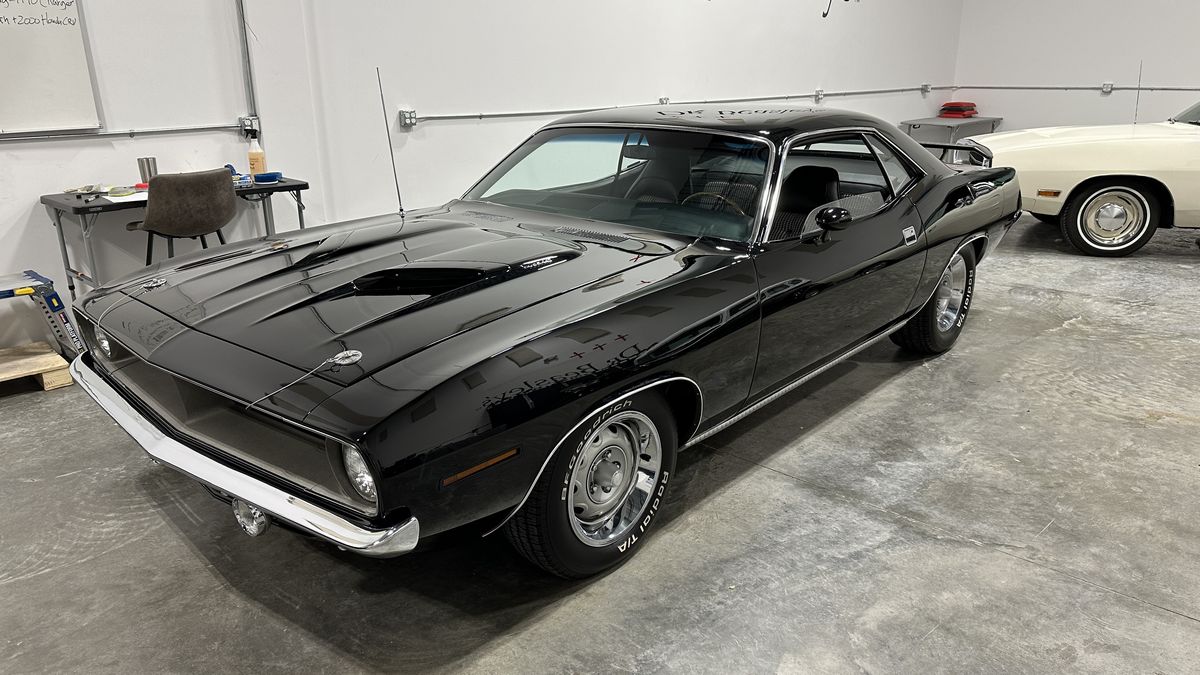
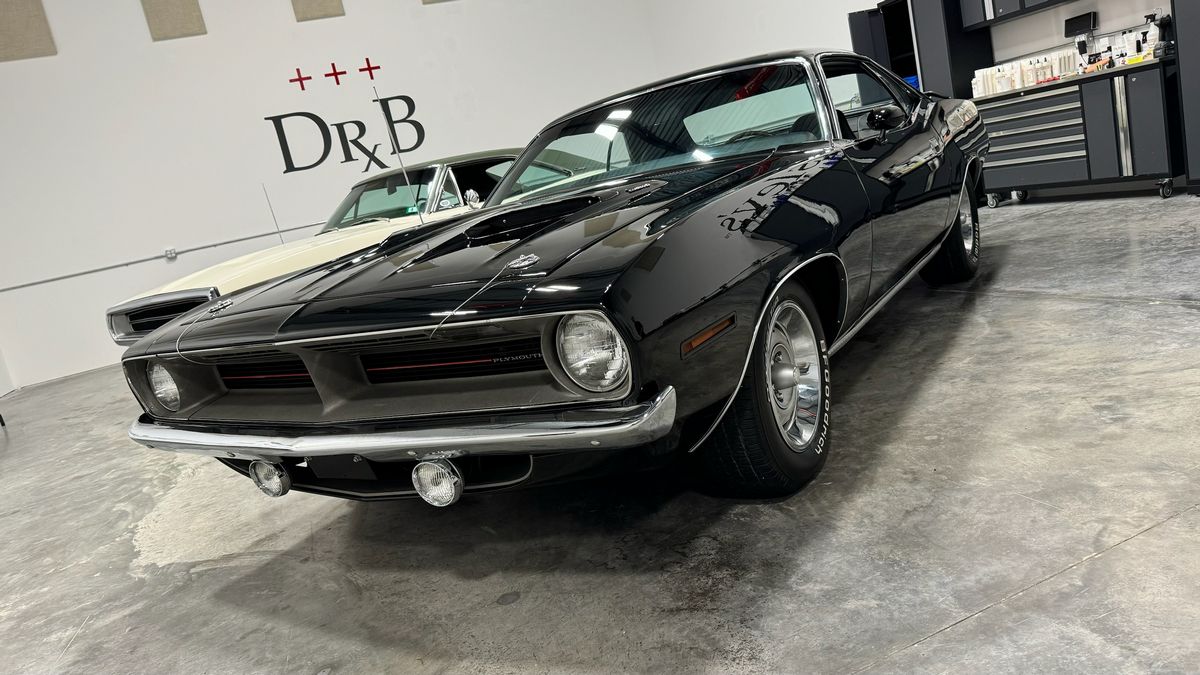
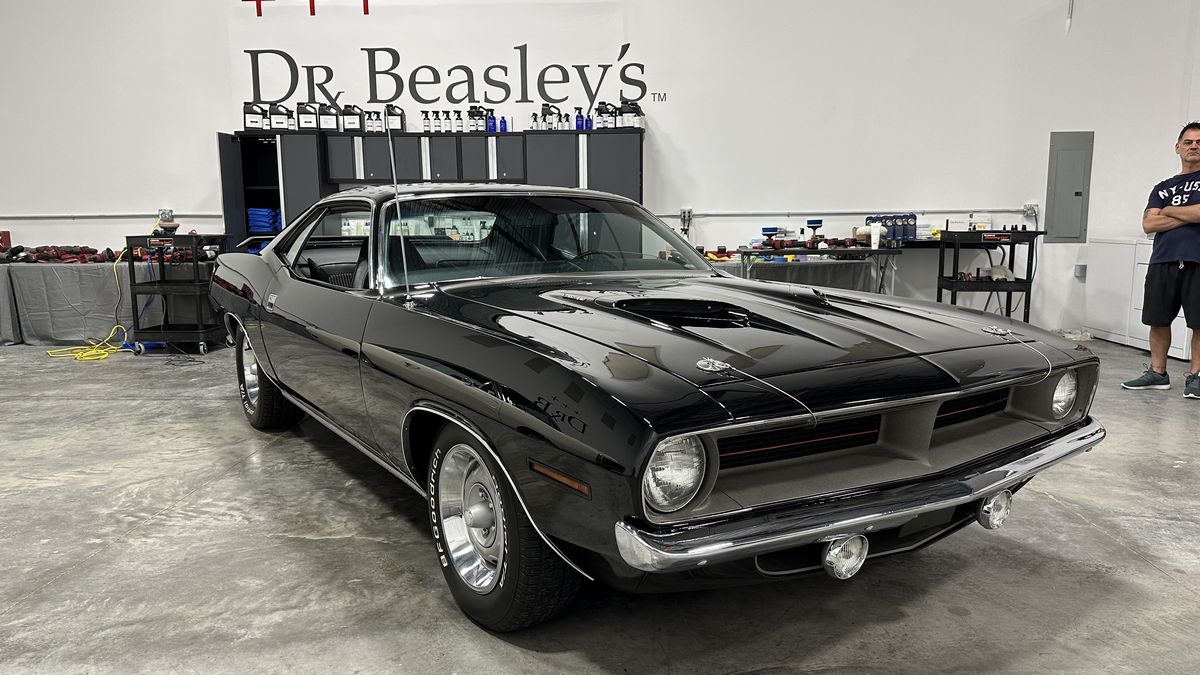
- 1970 Plymouth Cuda 440
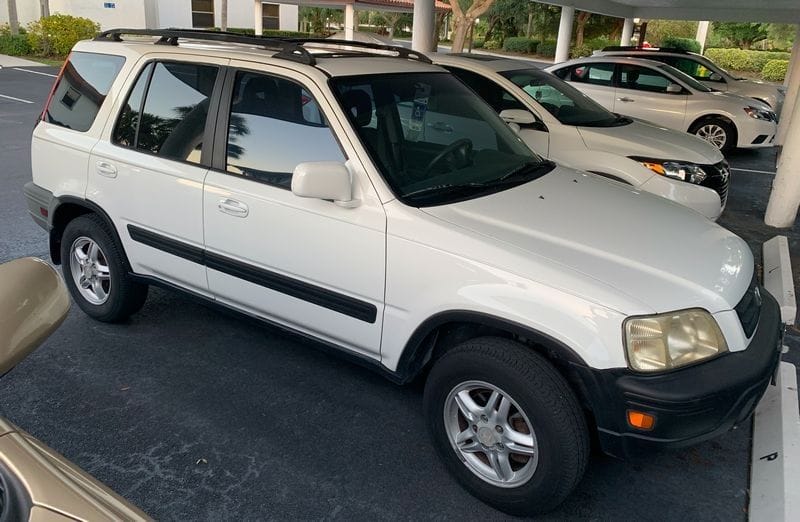
- 2000 Honda CVR SUV
Day 1 – Friday Morning Session- Full Contact Wash
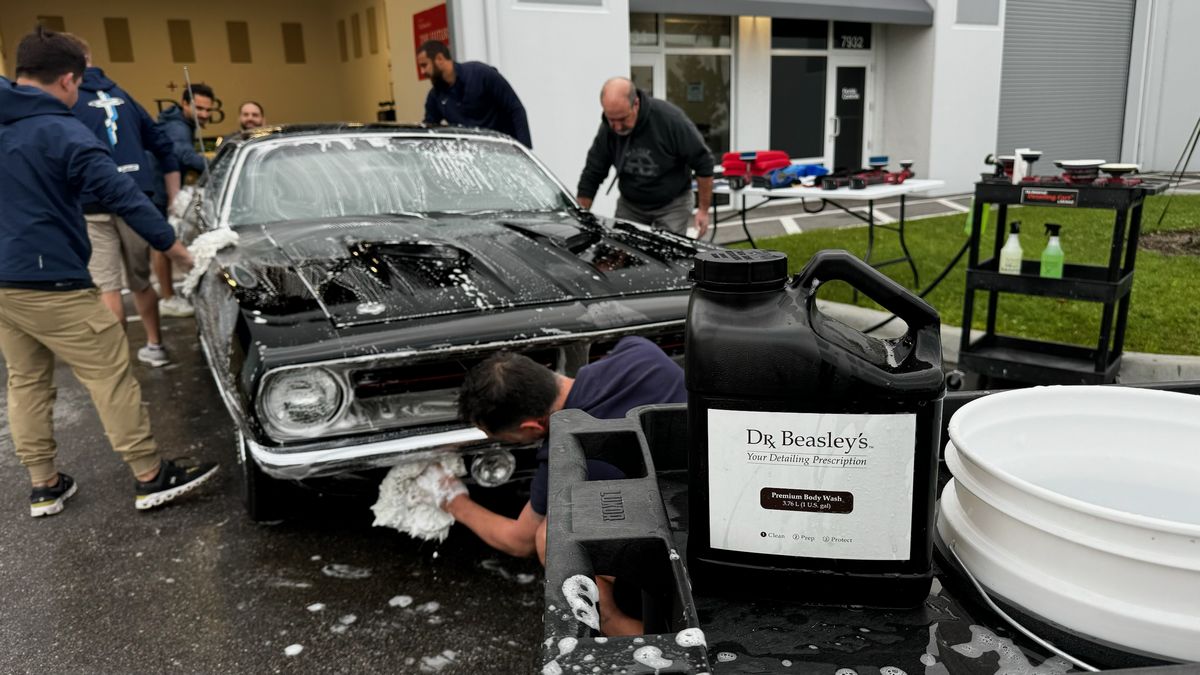
Normally I don’t use running water to wash classic cars, but this car was so dirty and the tires really needed machine scrubbing, that we stated the morning off by getting the 440 Cuda washed and ready for paint correction.
And “yes” we start our classes early, (because there’s so many topics to cover), and we start them ON TIME!
Continued…
Day 1 – Friday Morning Session- Extreme Prep Wash
The Extreme Prep Wash is NOT simply washing a car. It’s where you do ALL the things possible to get the car clean WHILE the car is wet. This is called Wet Work. It includes,
- Topical Glass Polishing
- Headlight Correction
- Wet Wash Engine Detailing
- Machine Scrubbing Tires and Cleaning Wheels
- Full Contact Body Wash
- Mechanical Decontamination
- Final Rinse and Dry
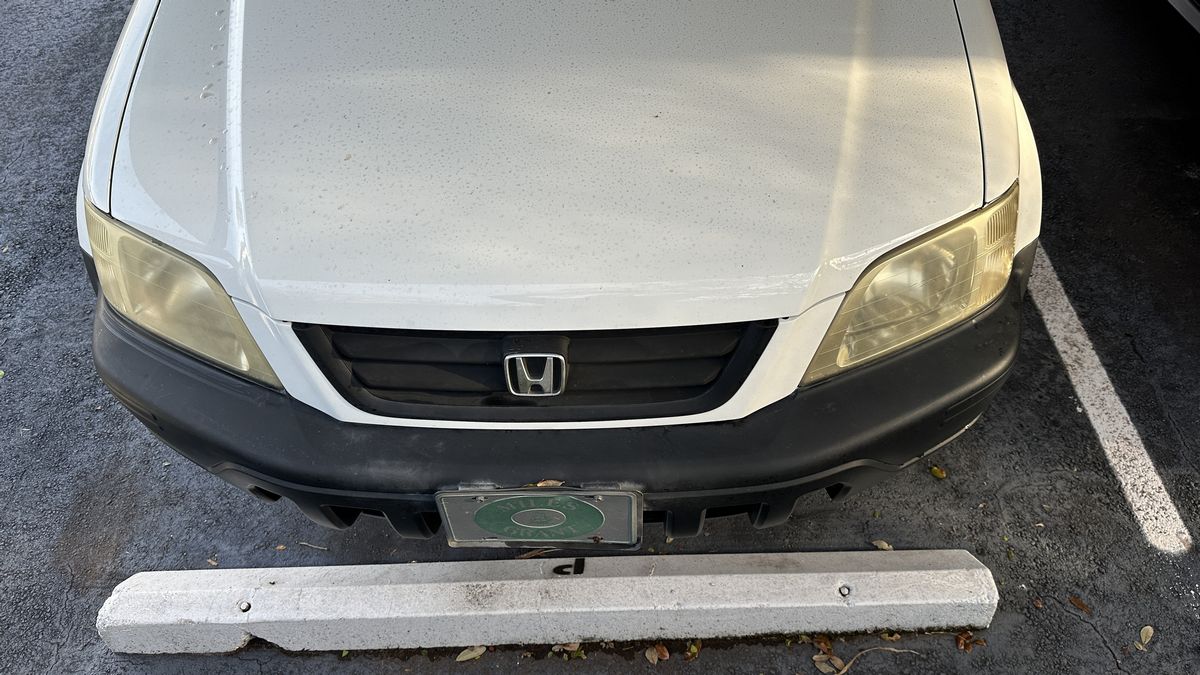
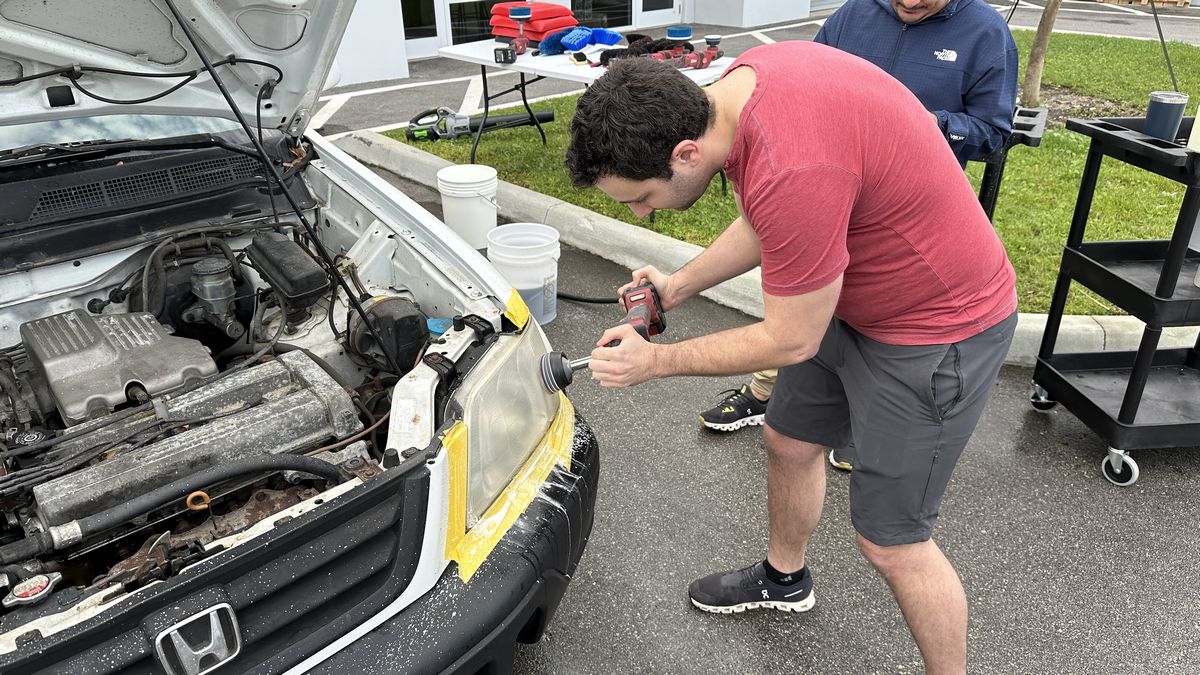
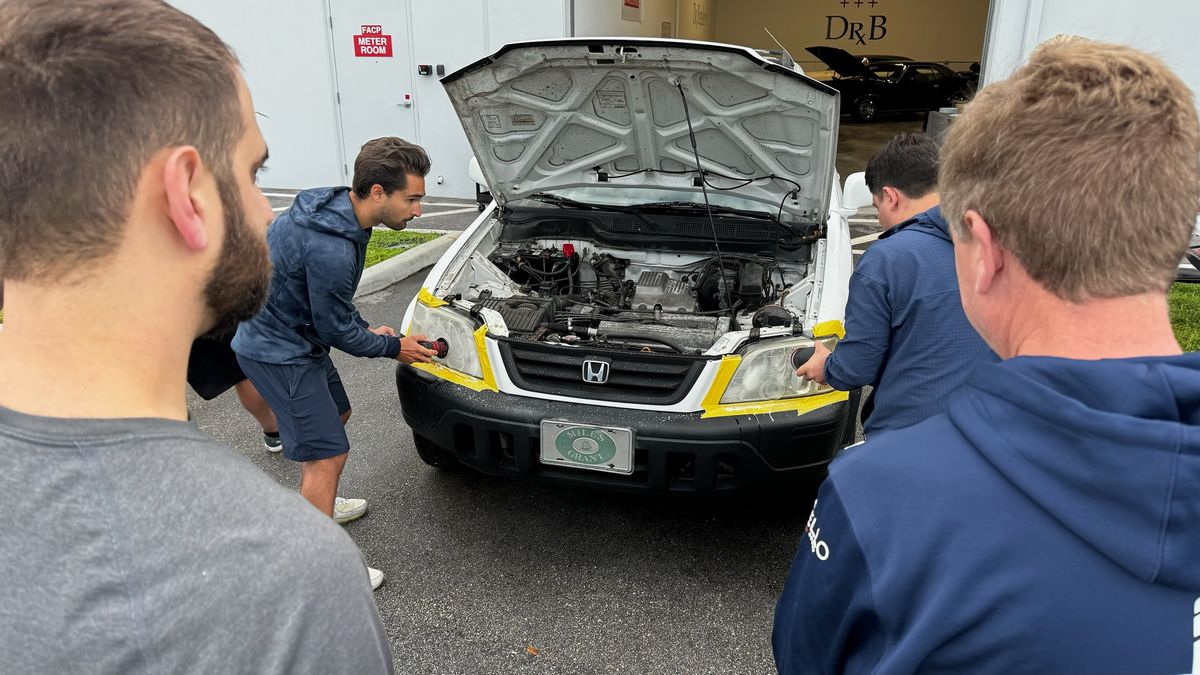
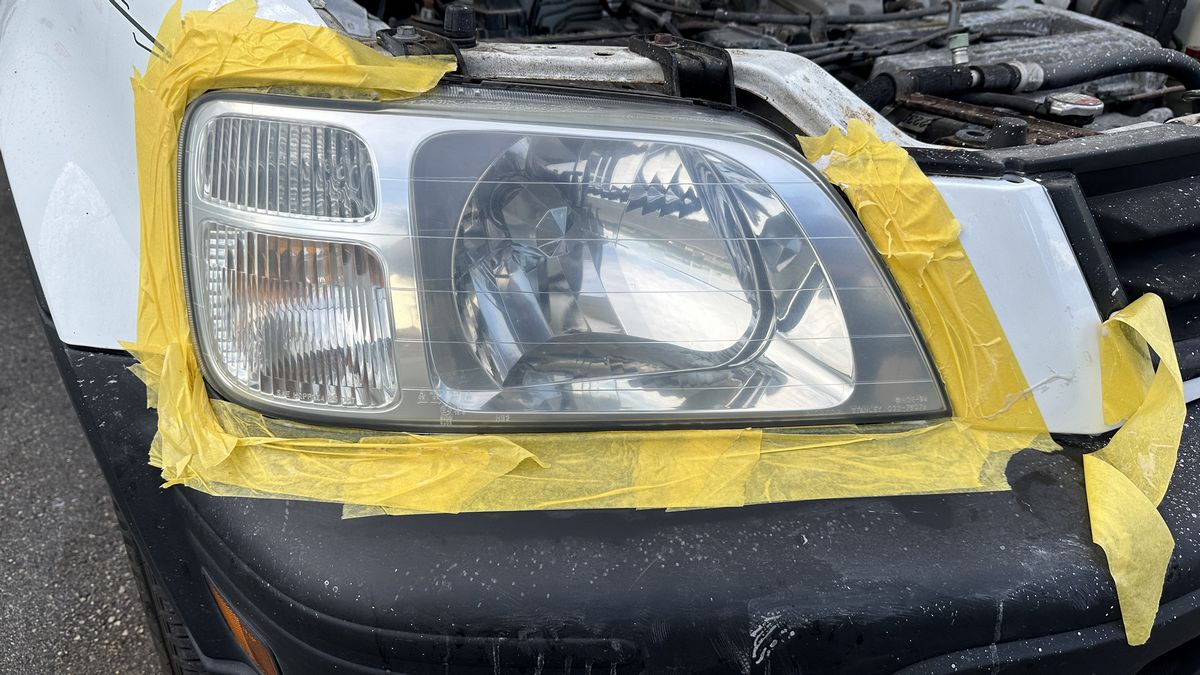
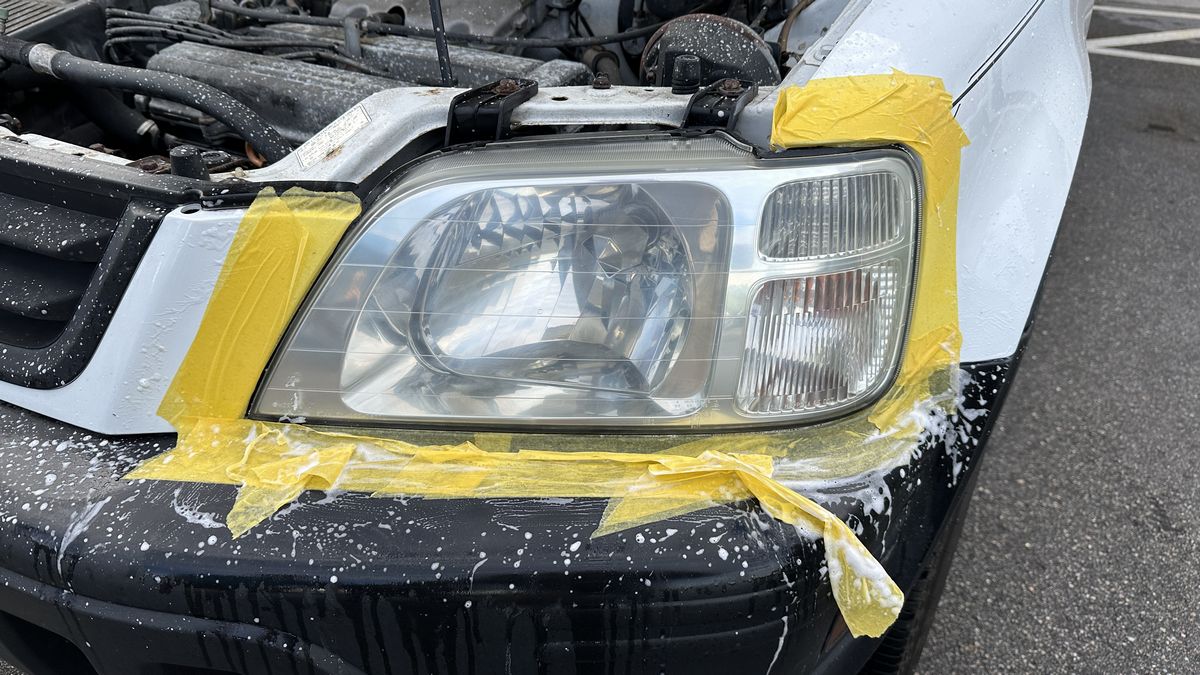
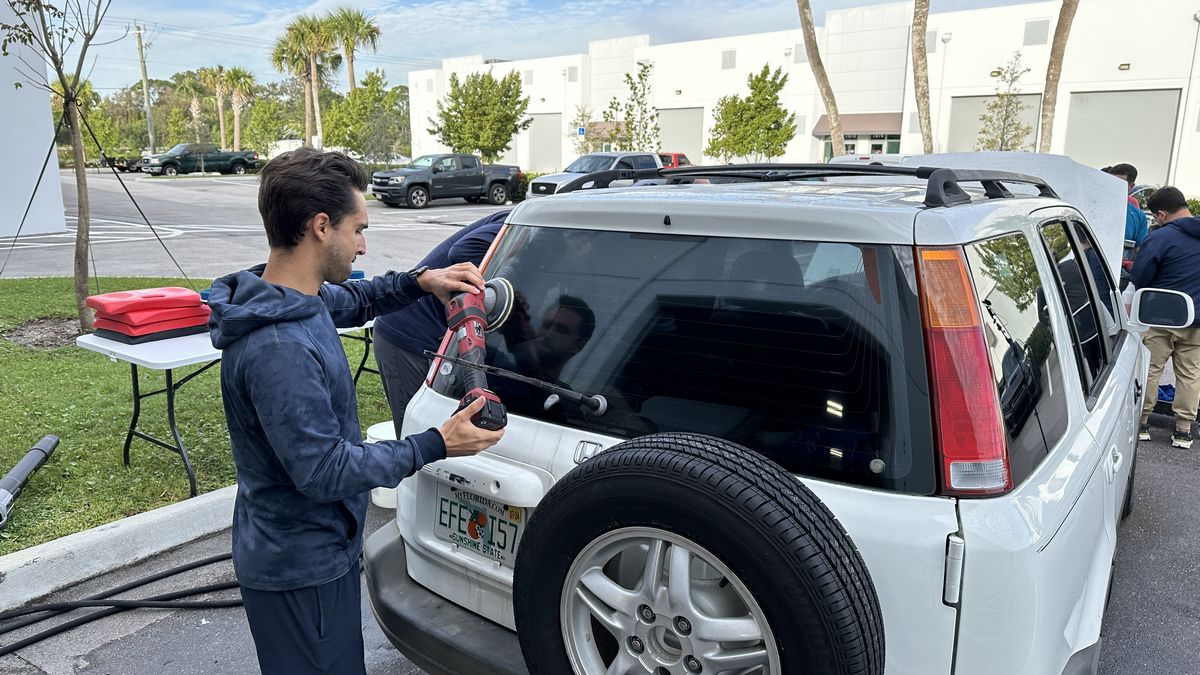
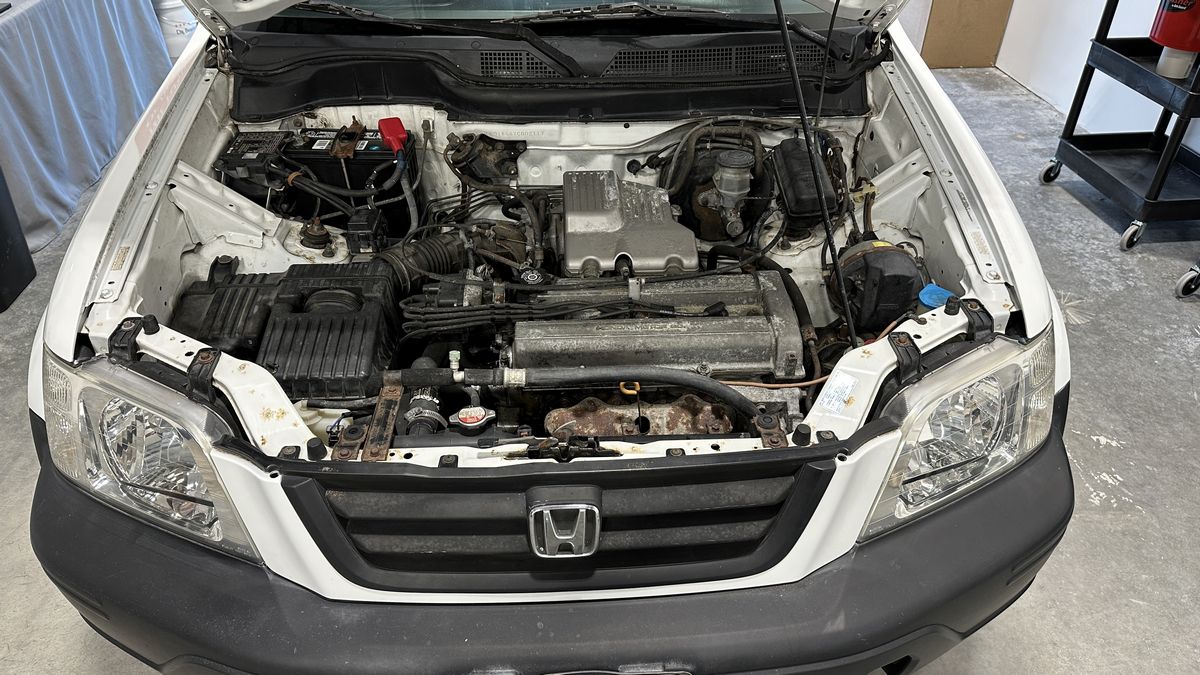
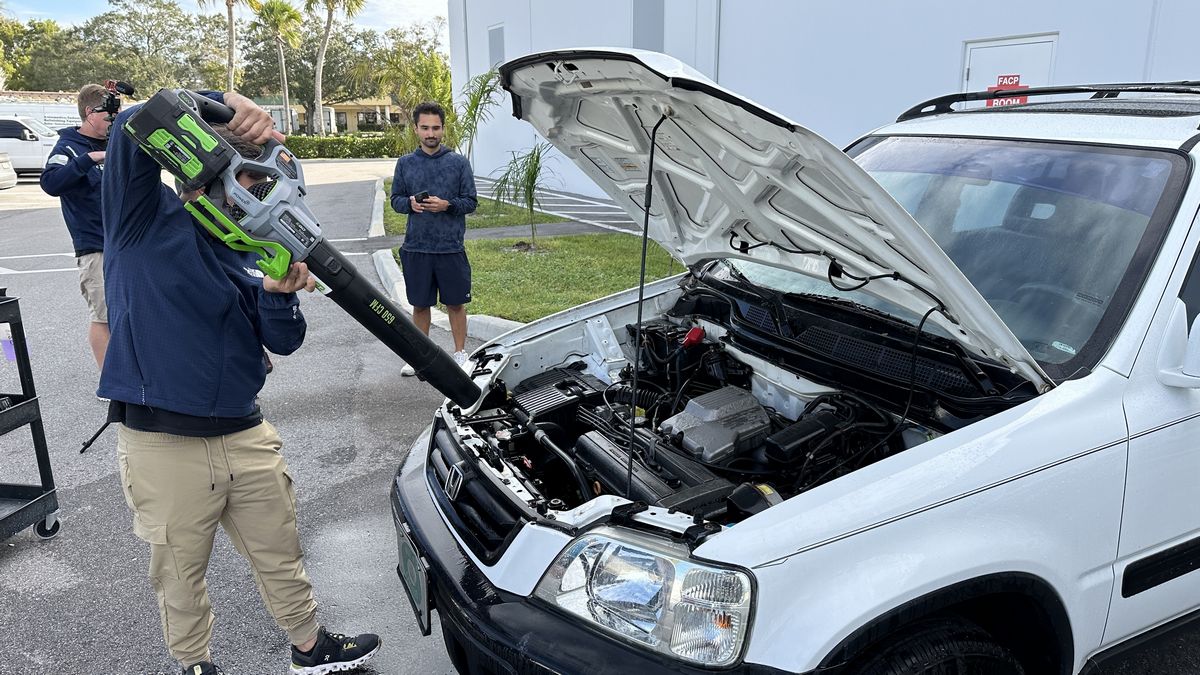
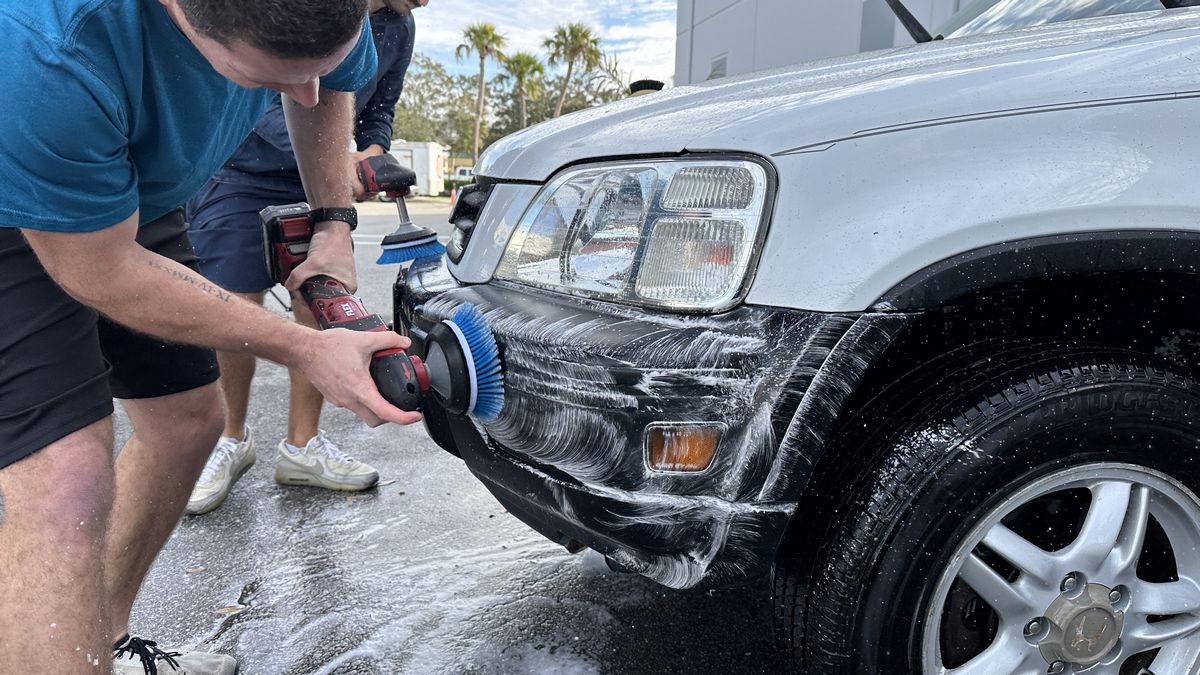
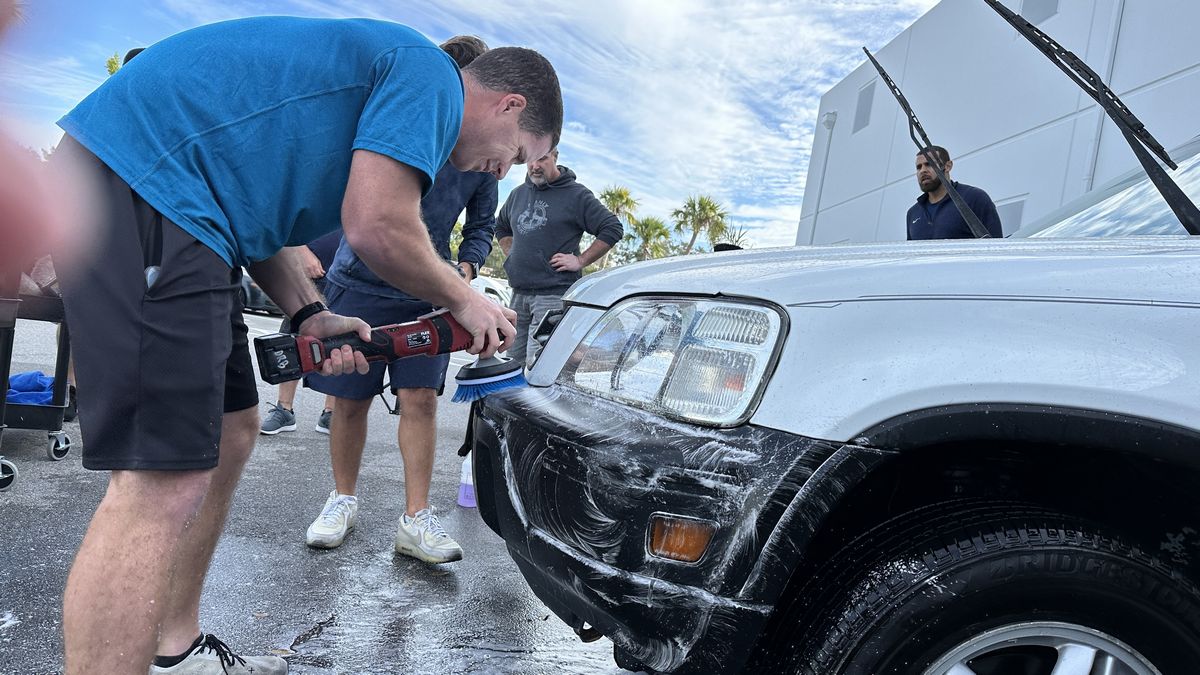
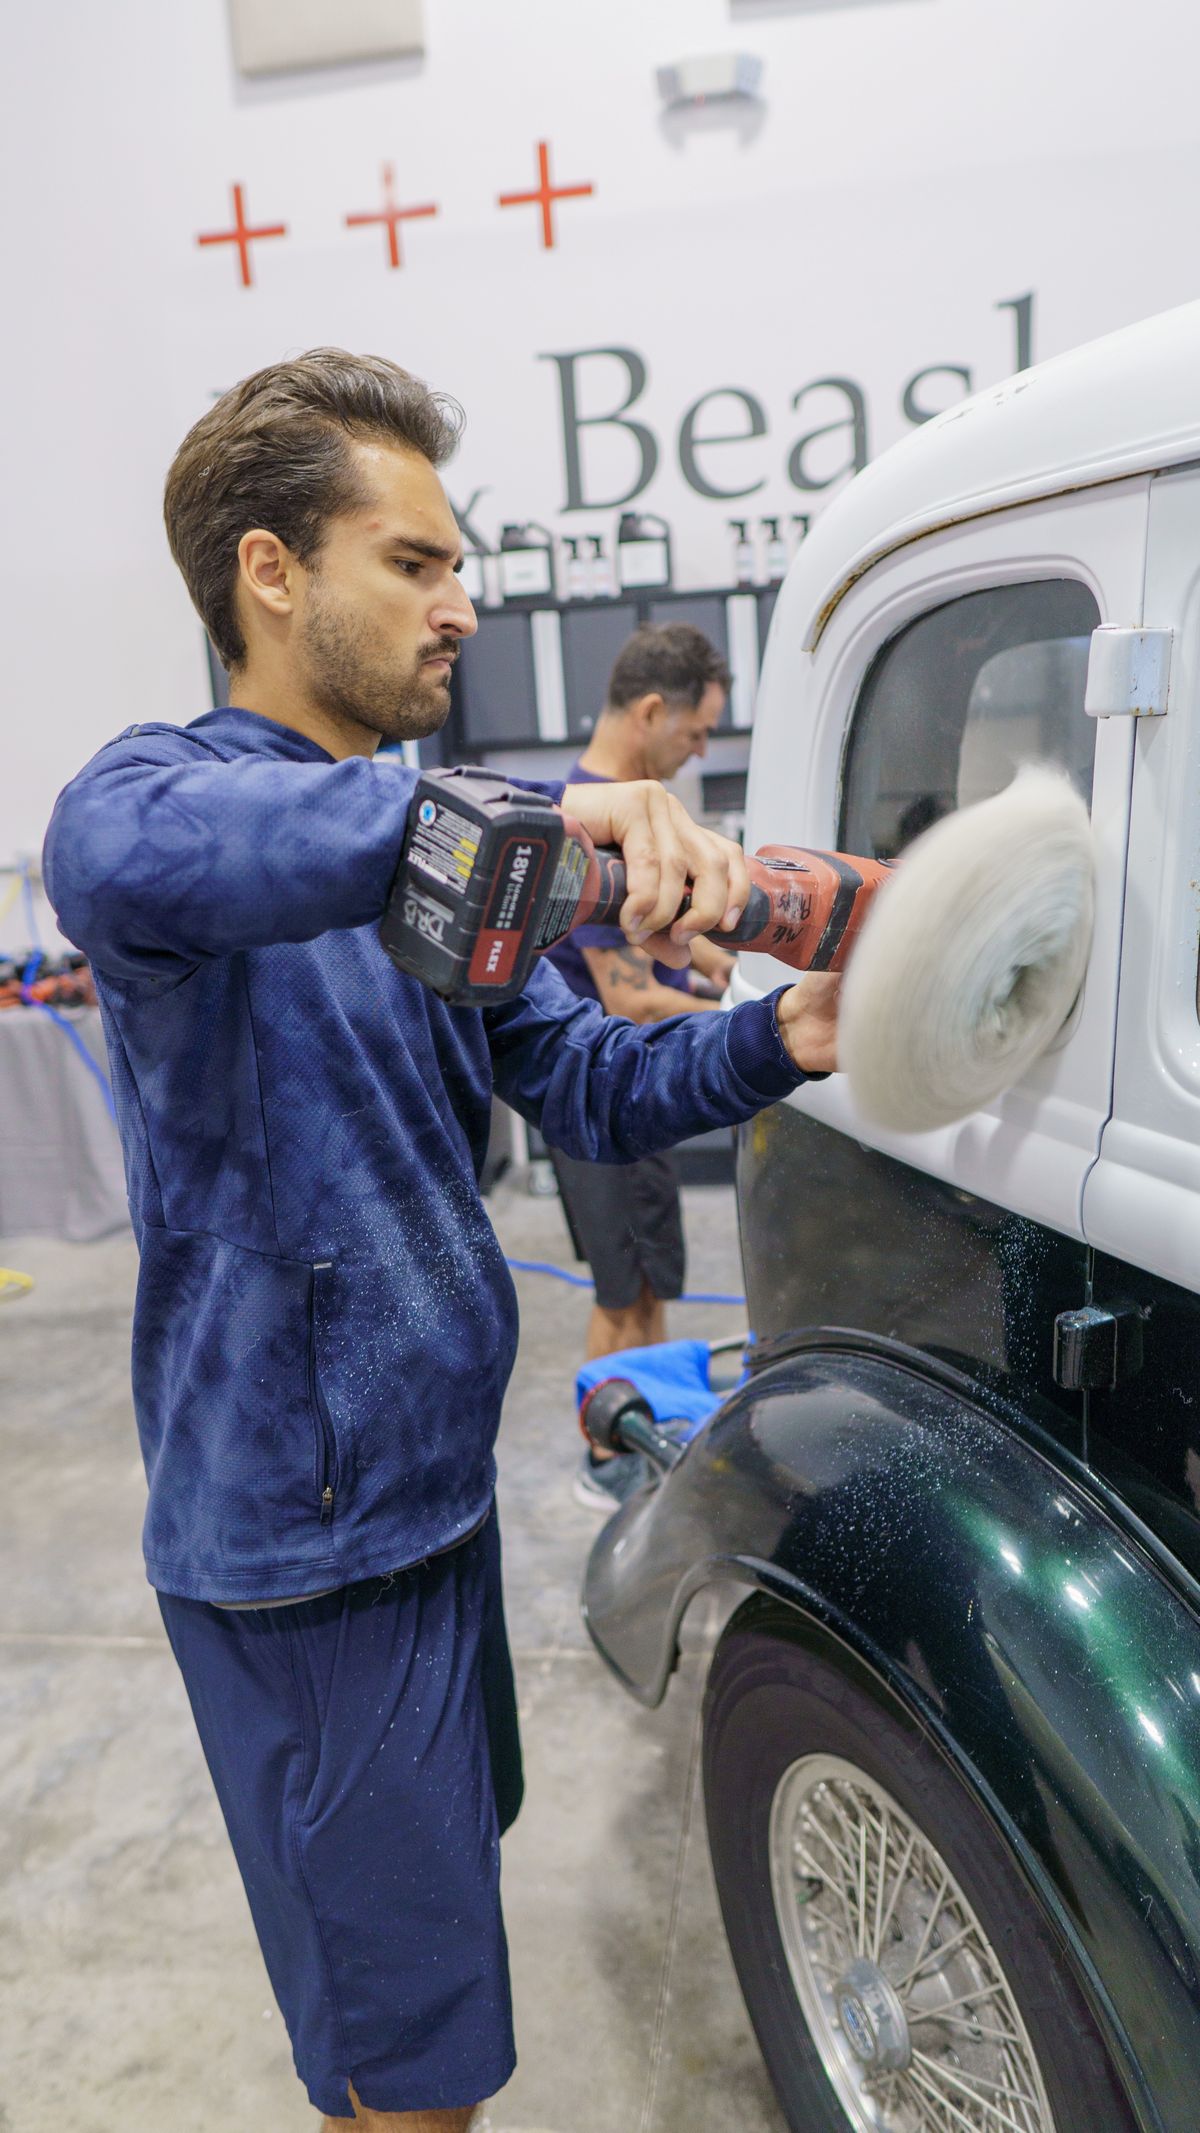
Here’s our Training Car. This is a 2000 Honda CRV and according to most car club rules, this qualifies for Antique Status. The primary teaching goal for this SUV is to teach how to do a proper extreme prep wash.

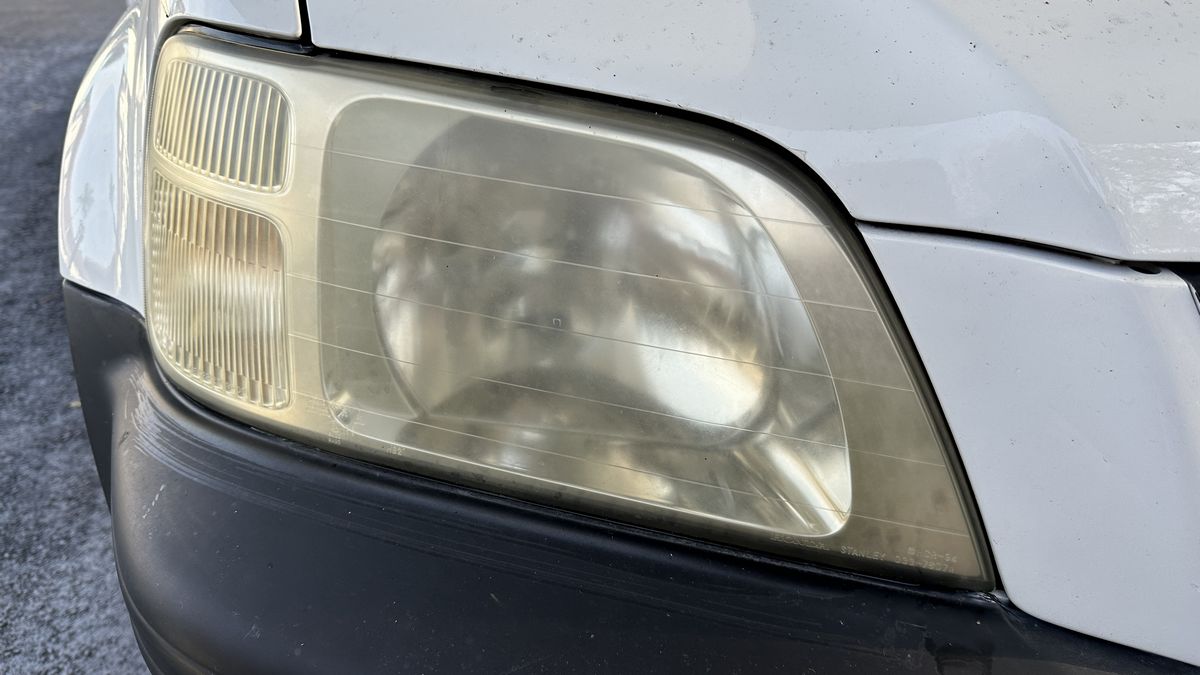
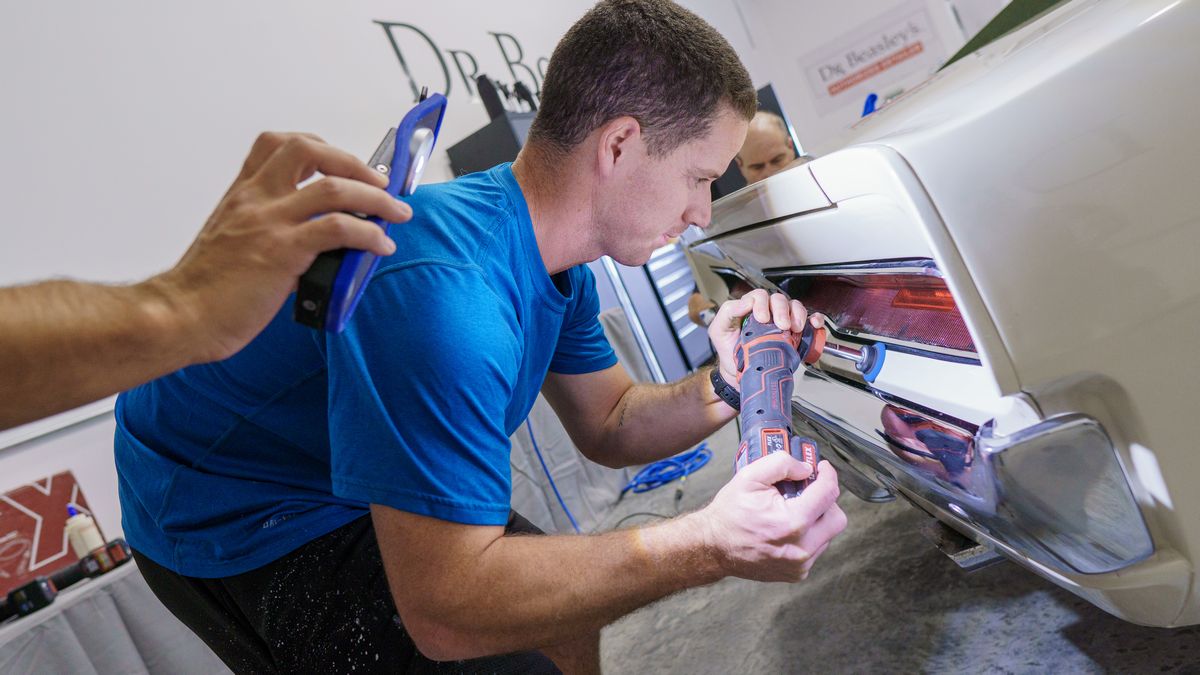
Aged, Oxidized, Yellowed Headlights.

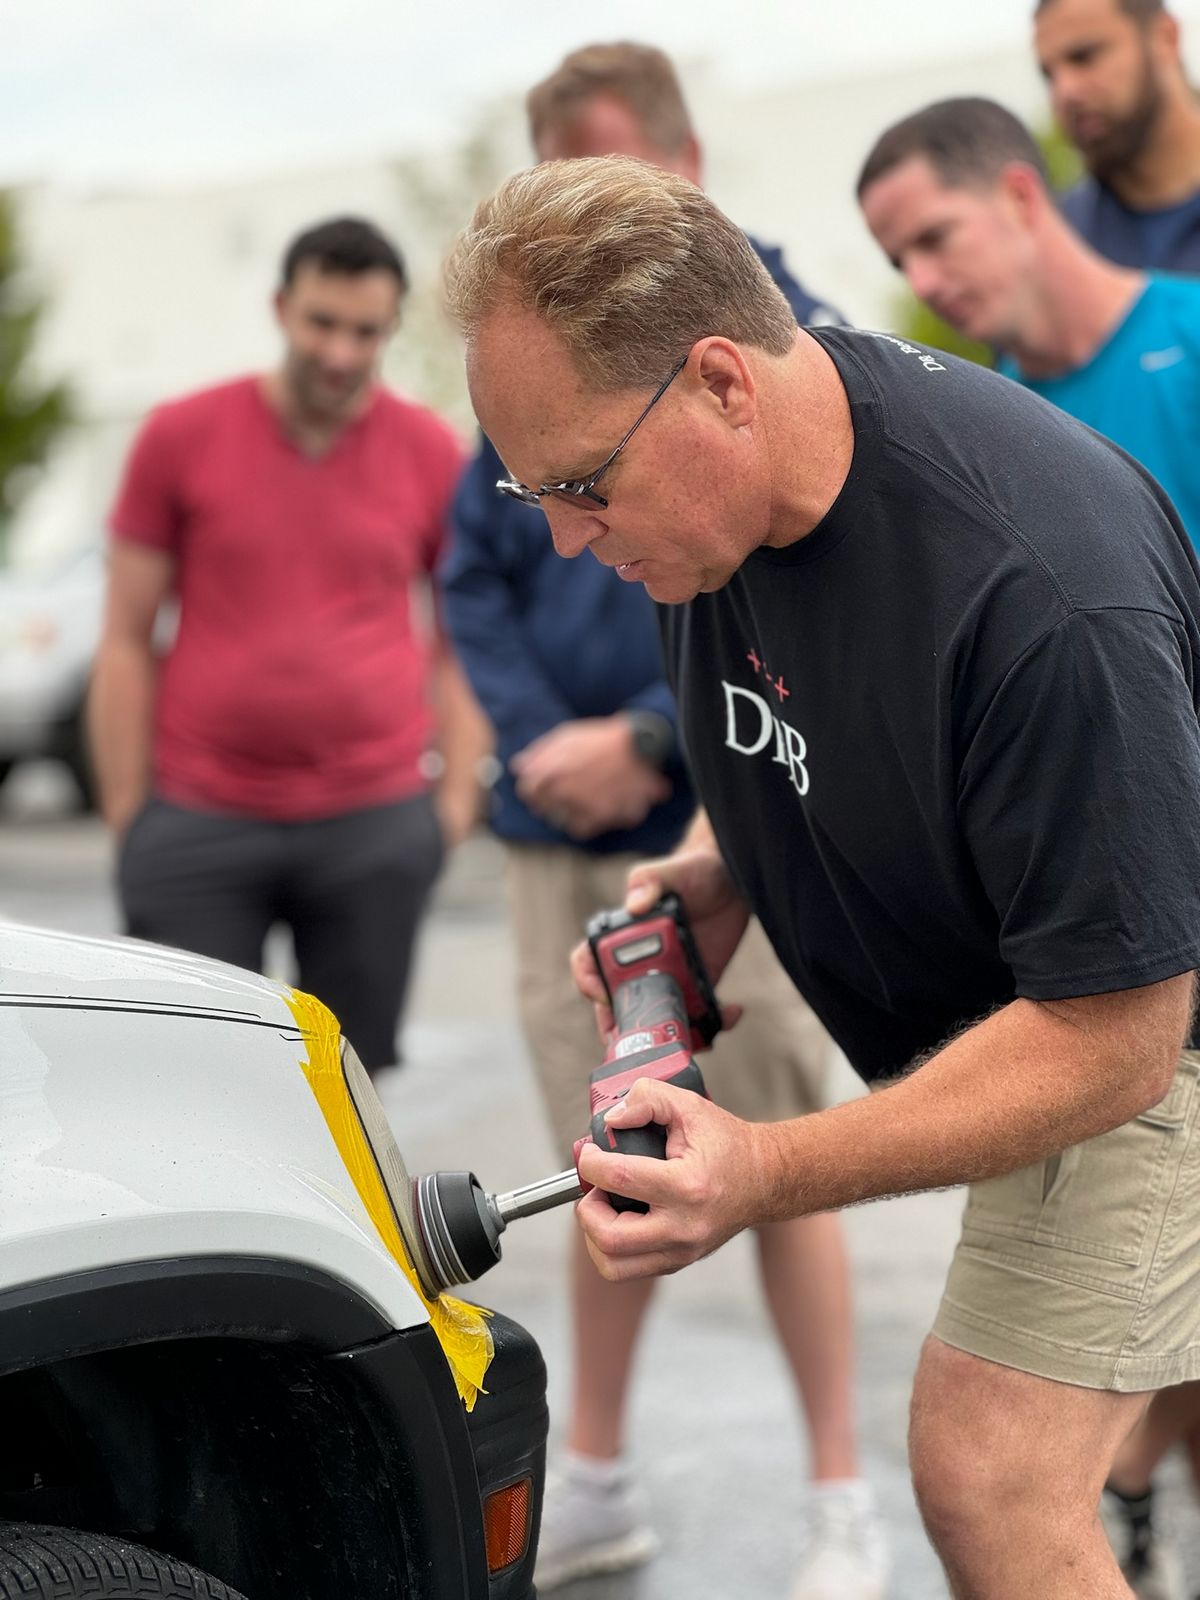
The problem and risk for trying to machine sand using a rotary polisher
Most rotary backing plates tend to be hard. Even flexible backing plates are still fairly stiff, especially at the face of the backing plate. The problem is, if you attach a 3″ sanding disk like a Mirka Abralon 500 Grit Sanding Disc, on the face of a hard backing plate, if you TILT the polisher, even a little bit, you risk having the sanding disc cut a DEEPER GOUGE into the plastic. The only way to recover from this is to hand block sand the headlight until you’ve leveled the outer surface of the headlight to the lowest depth of the gouge. Been there done that when a past student challenged me on my claim. I’m the guy that hand block wet sanding the headlight to remove the gouge.
Fast-forward a few years and before this class, I’m thinking…
how can I make machine sanding with a rotary safe?
Then it came to me, by adding 2-3 foam interface pads to the backing plate first, there will be PLENTY of CUSHION, which will allow and enable the face of the sanding disc to stay flat against the surface in case anyone accidently holds the polisher in a way to put more force on the EDGE of the sanding disc, instead of holding it flat.
It worked.
So after this January 2024 detailing class, moving forward I teach everyone how to machine sand headlights using a rotary polisher.
Why?
Because it’s FASTER. All of the other options for machine sanding headlights include using free spinning, random orbital polishers, being used as sanders. The problem with this is called Sanding Disc Stalling. That is, in the same way that a spinning buffing pad will stall out and simply vibrate against the paint when using a free spinning, random orbital polisher to buff paint, this also happens when trying to use these types of tools to machine sand headlights. In other words, it will take LONGER to machine sand neglected headlights as well as take more effort and techniique. Using a rotary simply eliminates sanding disc stalling because as you all know, a rotary polisher is a GEAR-DRIVEN tool. All this stuff also applies to why I show gear-driven orbitals for machine sanding gelcoat, instead of free spinning sanders and polishes to sand gelcoat. With a gear-driven orbital, like the FLEX XC 3401 VRG aka the BEAST – there’s simply NO sanding disc stalling.
Here I’m showing everything I explained above to the class, so they know not just what to do, but WHY they’re doing it.

Then a quick demon on how to use this tool for machine sanding headlights. Note, you don’t really need the extension and it would be easier to use the rotary without the extension. I have extensions on some of the rotary polishers for moving the body of the tool away from the tire when machine scrubbing tires like you see HERE.
Next I turn the students loose!
I also have a FLEX PXE-80 cordless polisher, with a 6mm drive unit, so the students can see and understand what I mean by sanding disc stalling. When used with the 3mm, 6mm or 12mm drive units, the FLEX PXE-80 is a free spinning, random orbital polisher and thus will stall out when buffing paint or sanding headlights. It can still be done, it just takes longer as well as more thinking and technique.
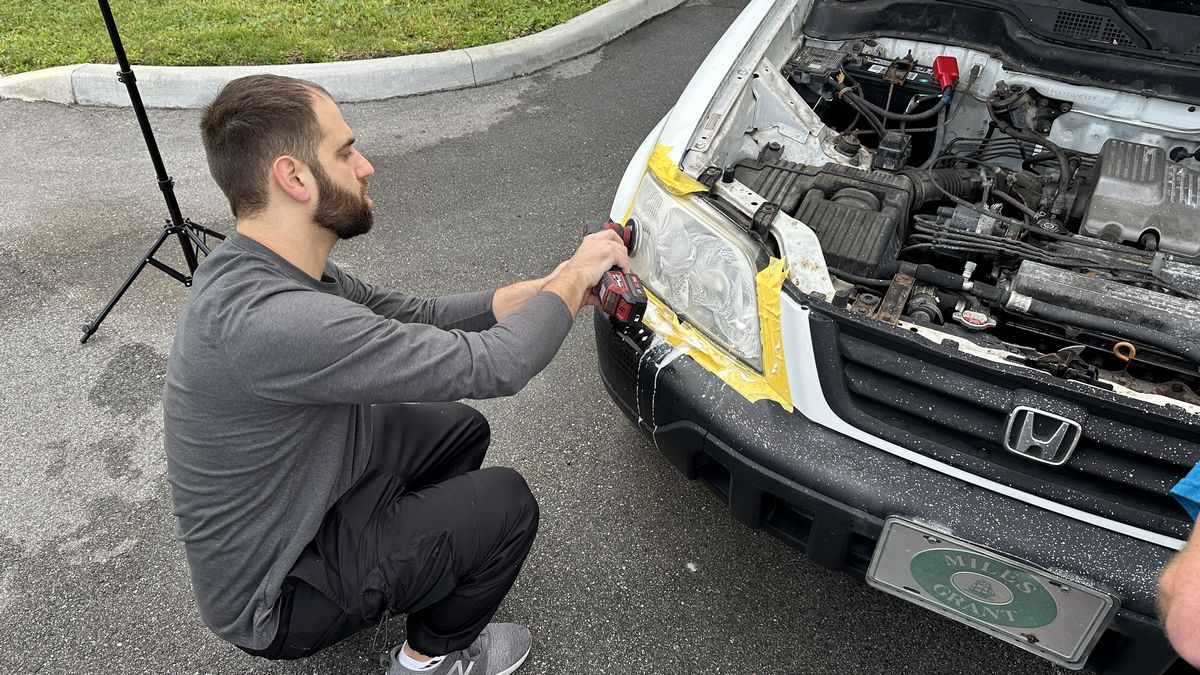
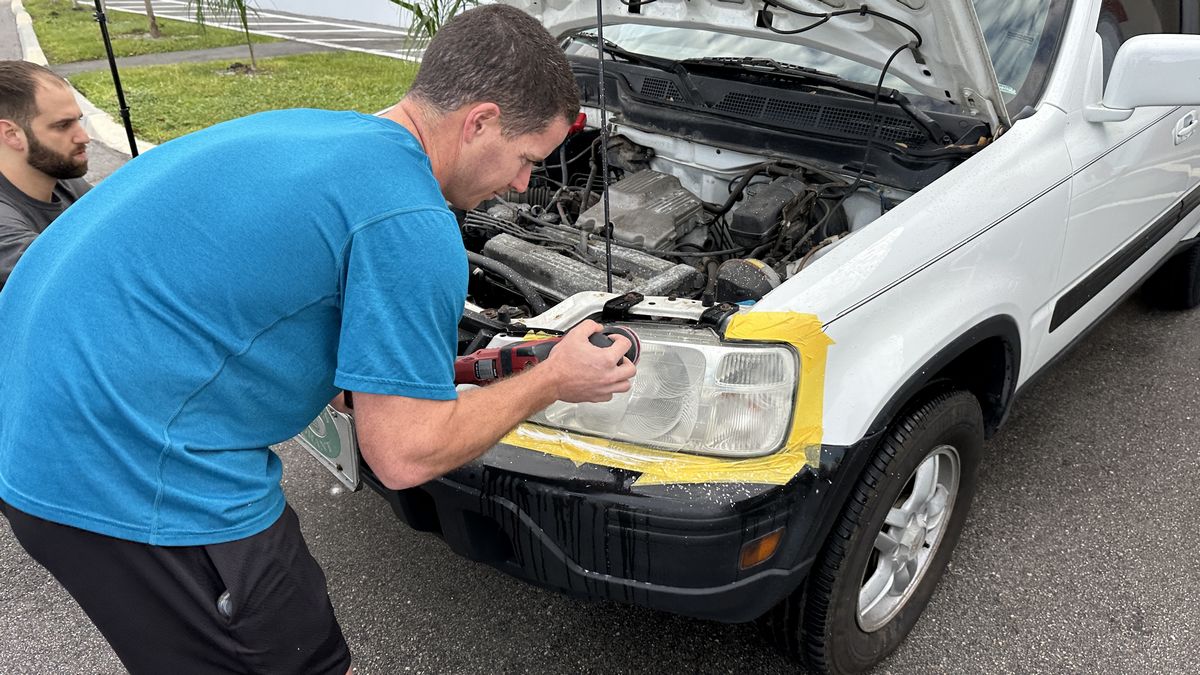
See the two foam interface pads between the backing plate and teh sanding disc? That’s the secret to make using a rotary polisher SAFE for sanding headlights.
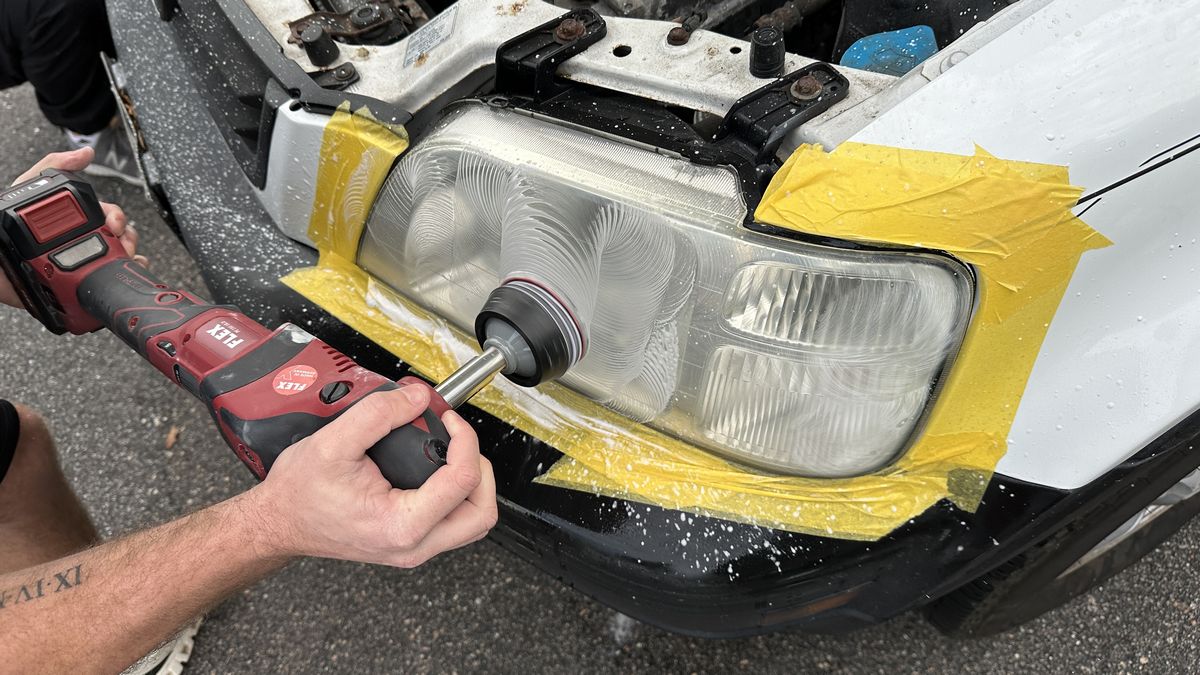
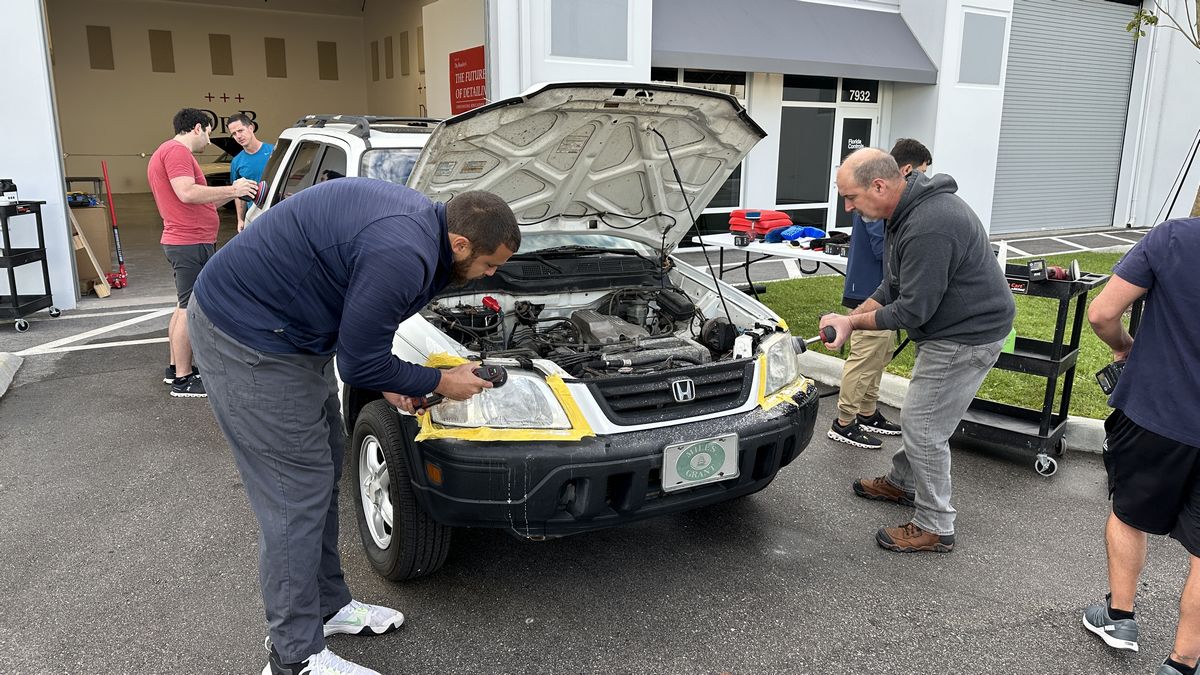
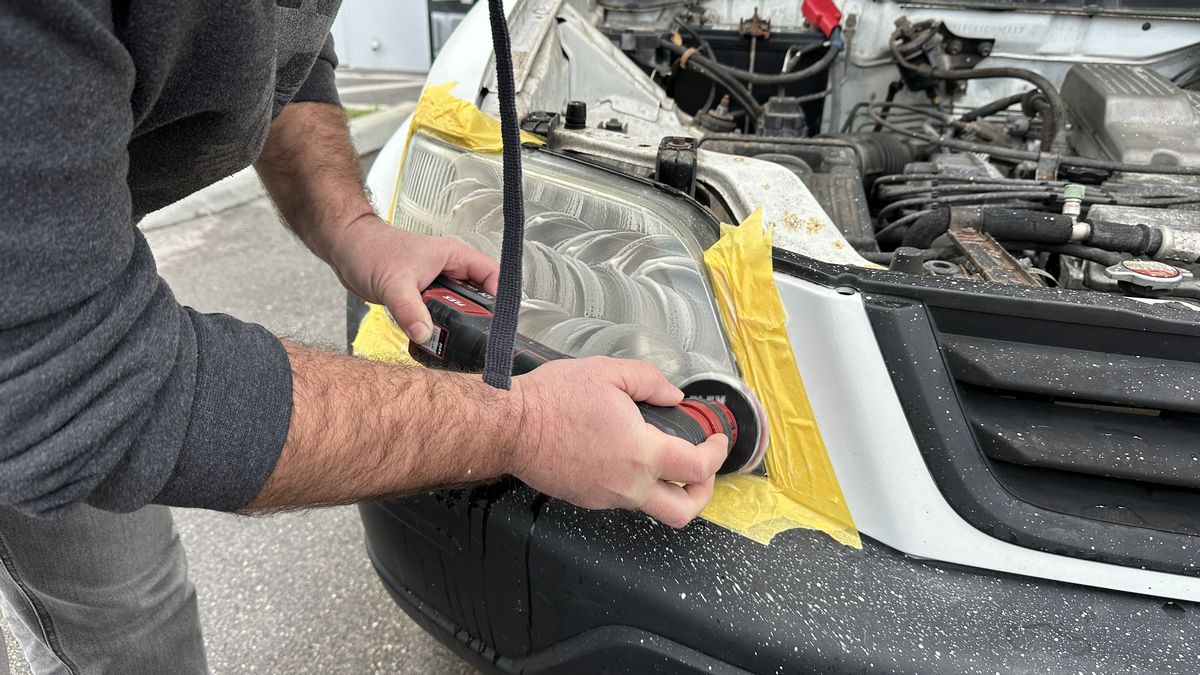
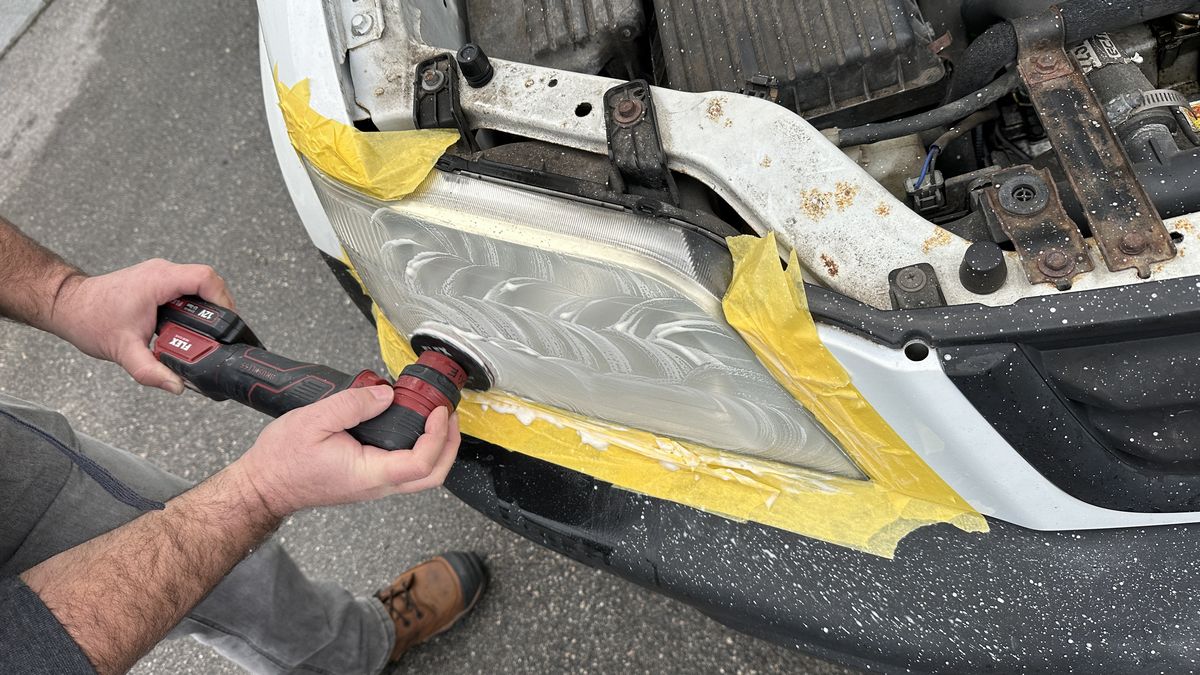
Here’s the results after the students took turns learning to machine sand headlights using 500, 1000, 2000 and finally 3000 grit sanding discs. By the time you finish out with 3000 grit, the plastic starts to become clear again as the sanding marks are so shallow and refined. This also makes it faster and easier to buff out later when we move the car into the garage for detailing.
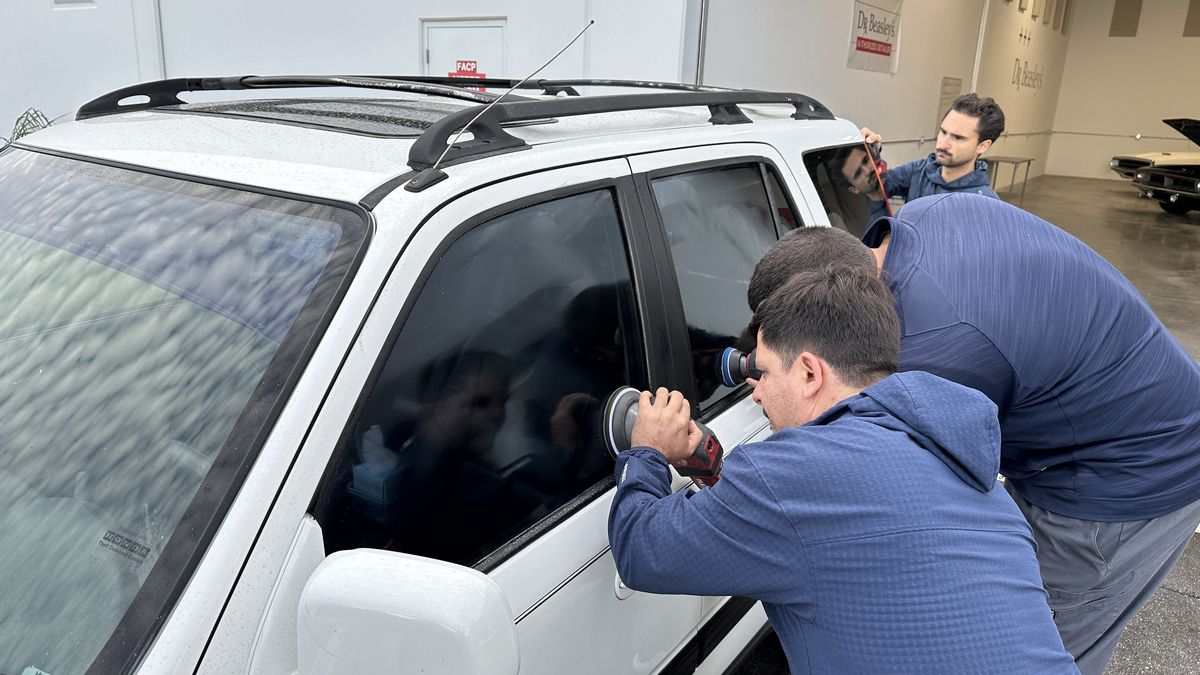
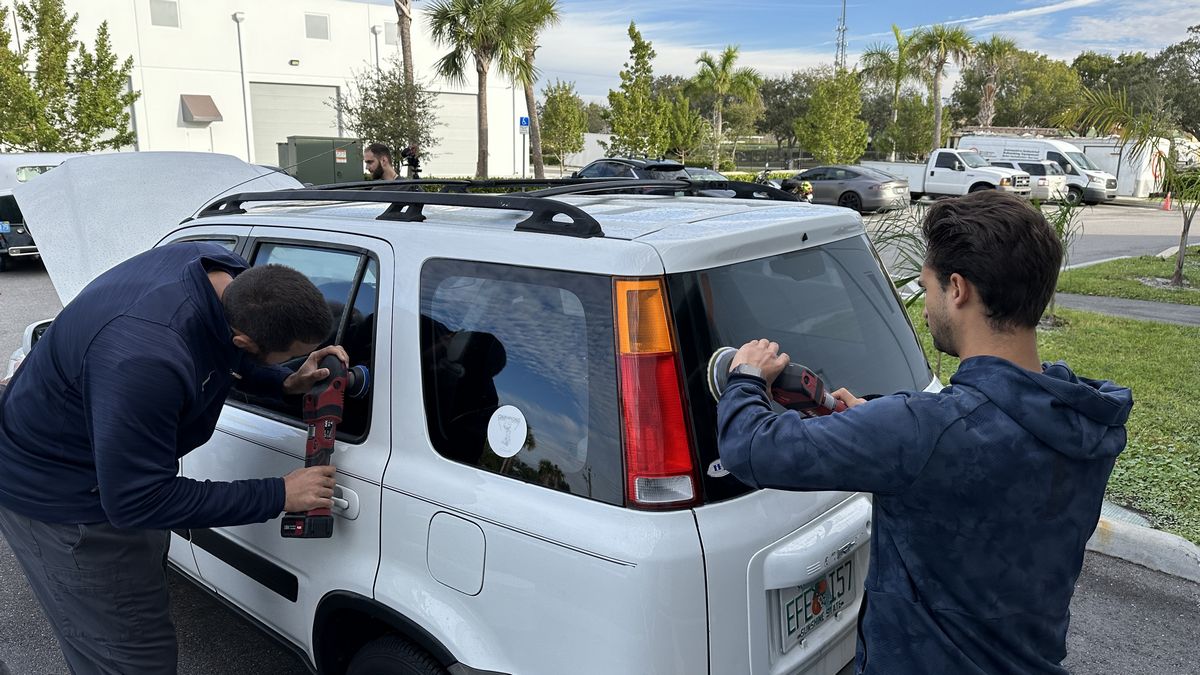
Topical Glass Polishing
All daily drivers suffer from water spots, drizzle stains and traffic film or road grime, building-up on exterior glass. You could buff the class later after washing the car, but I teach to do this BEFORE washing the car and then when you do wash the car you will automatically wash any polish splatter from around the window frame and adjacent body panels. This saves time and steps.
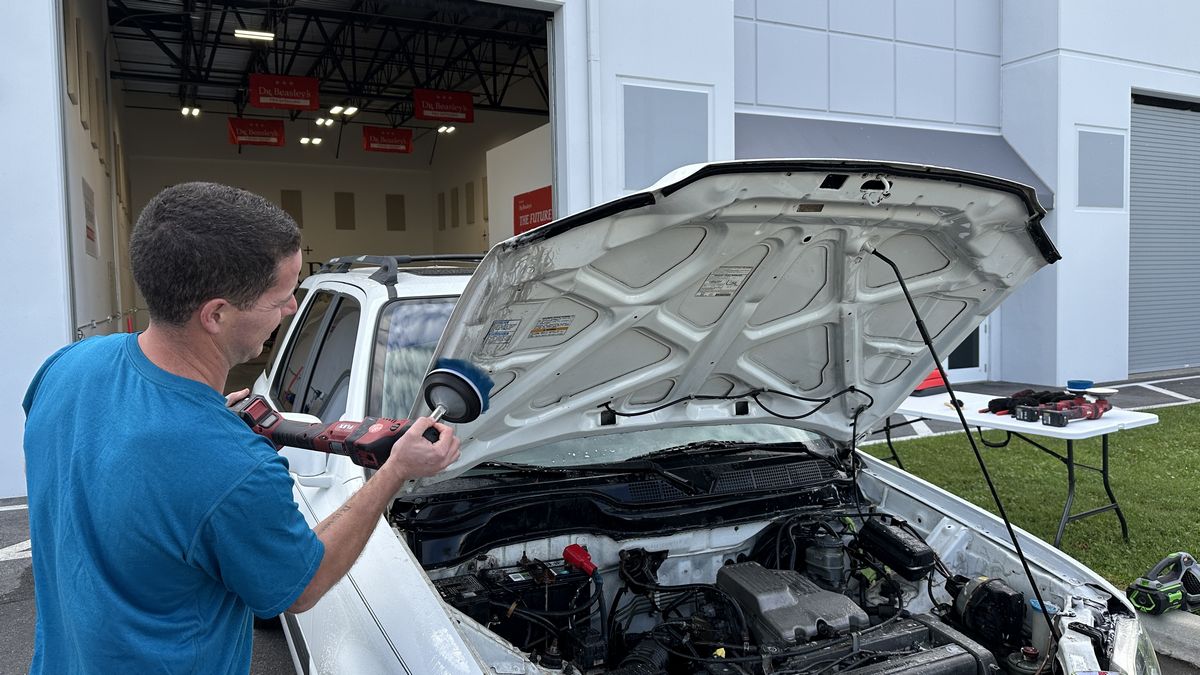
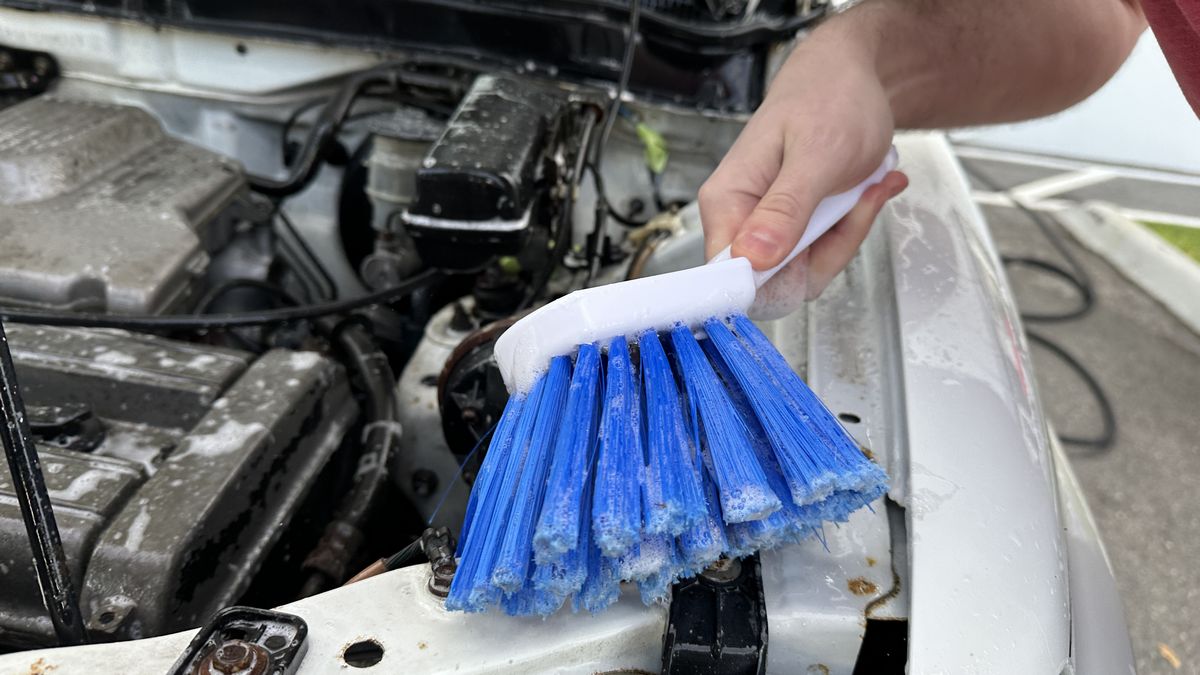
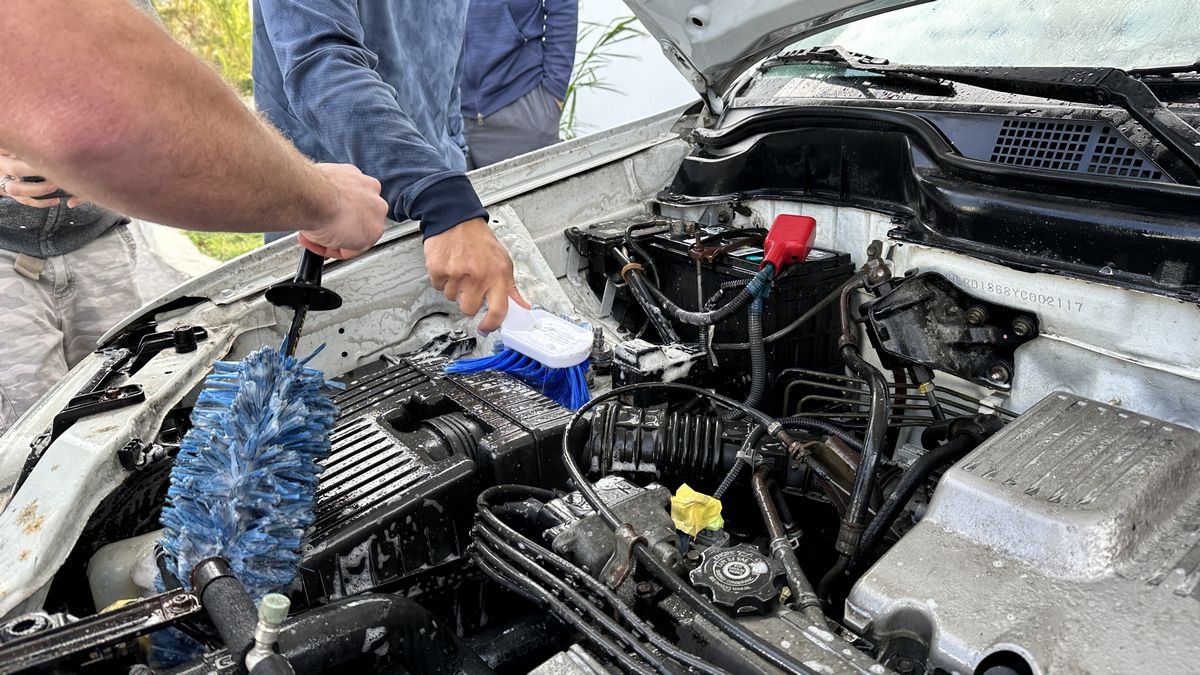
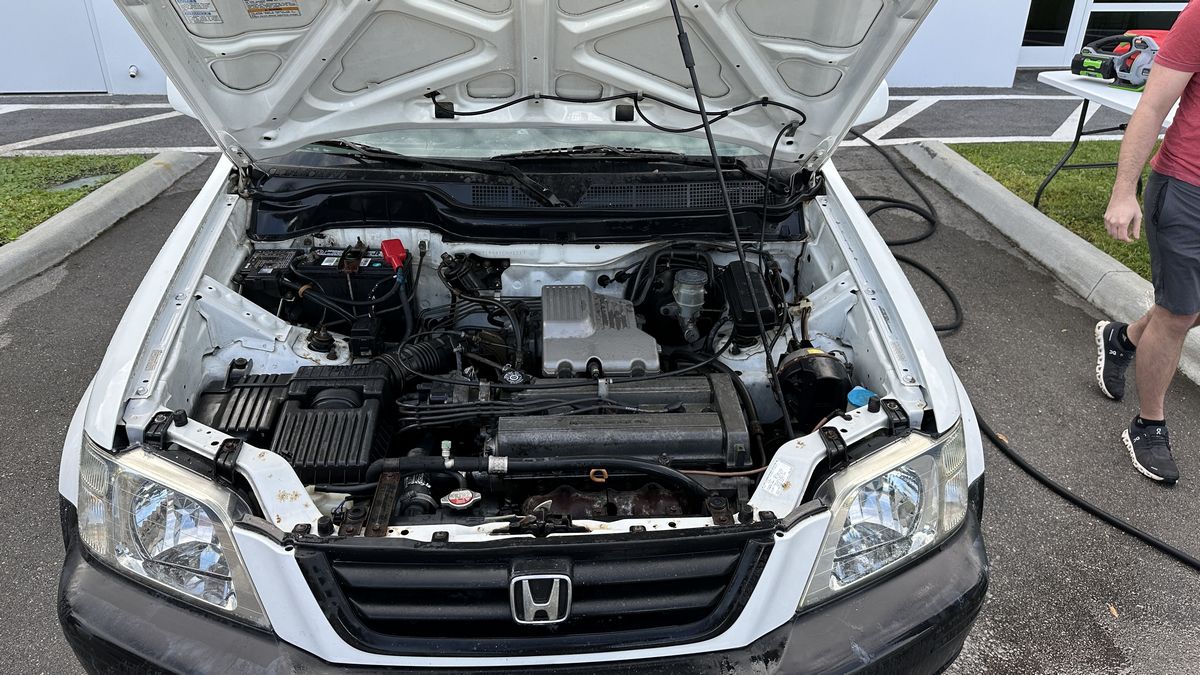
Wet Wash Engine Detail
While not horrible looking, my guess is this engine and engine compartment have never been properly cleaned and detailed.
First step for a Wet Wash Engine Detail is to blow-out all the leaves, pine needles, sticks, bugs and loose dirt via compressed air.
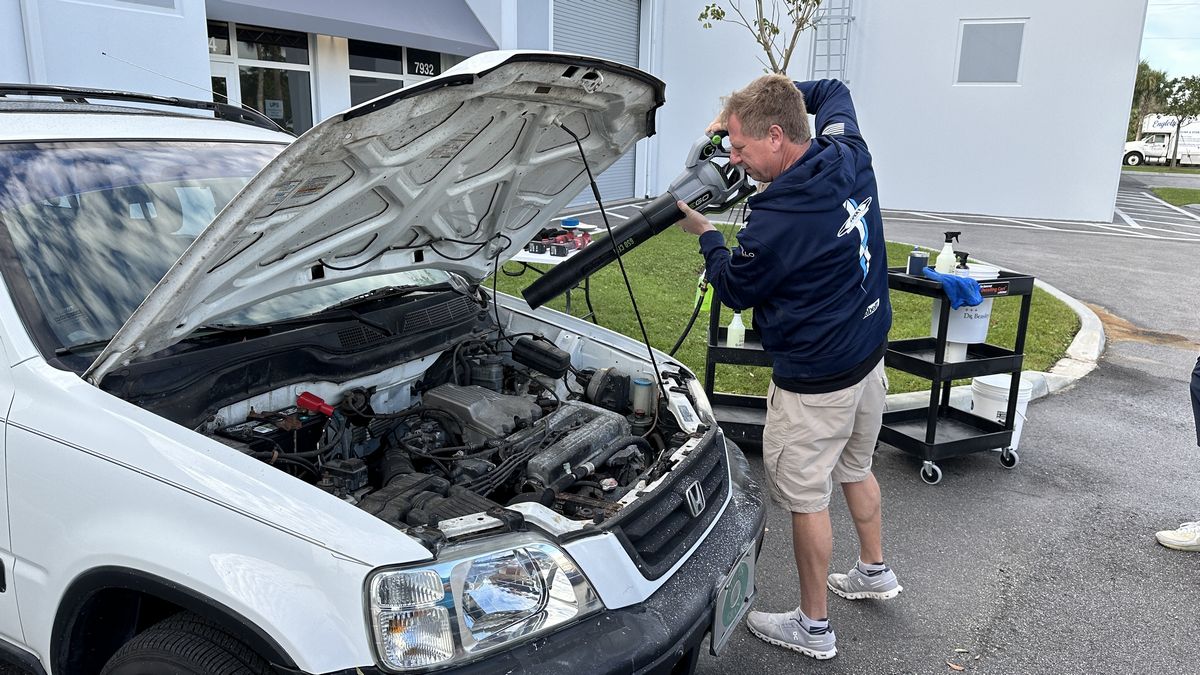
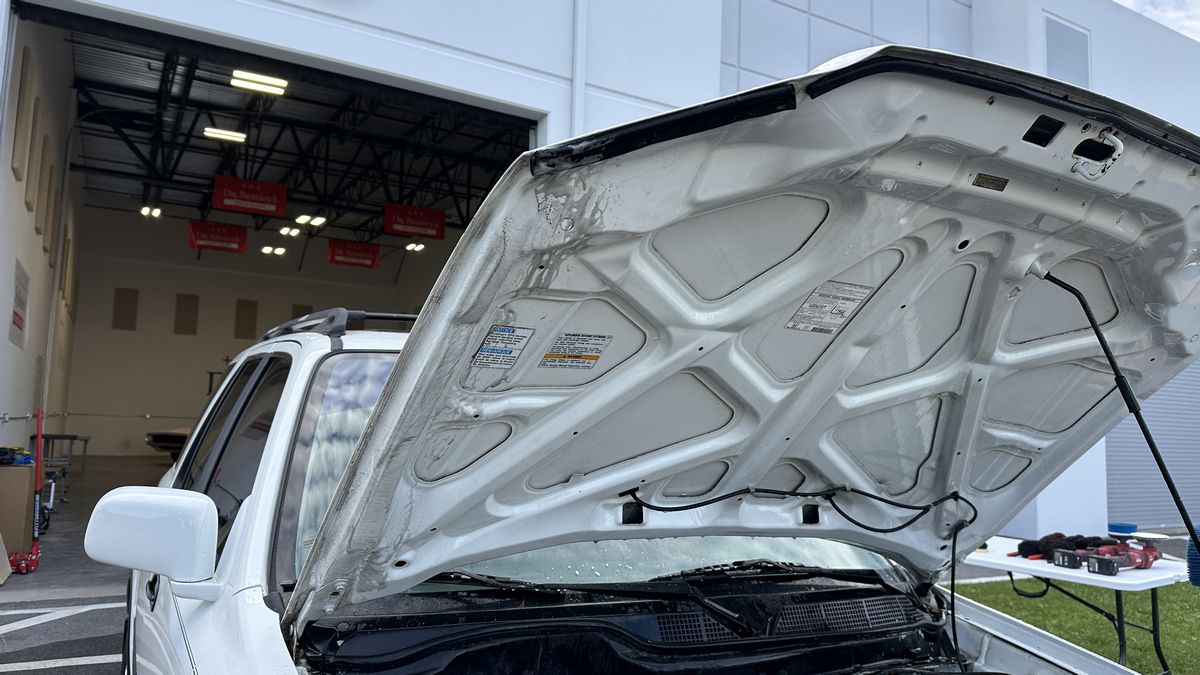
Next, you wash the underside of the hood.
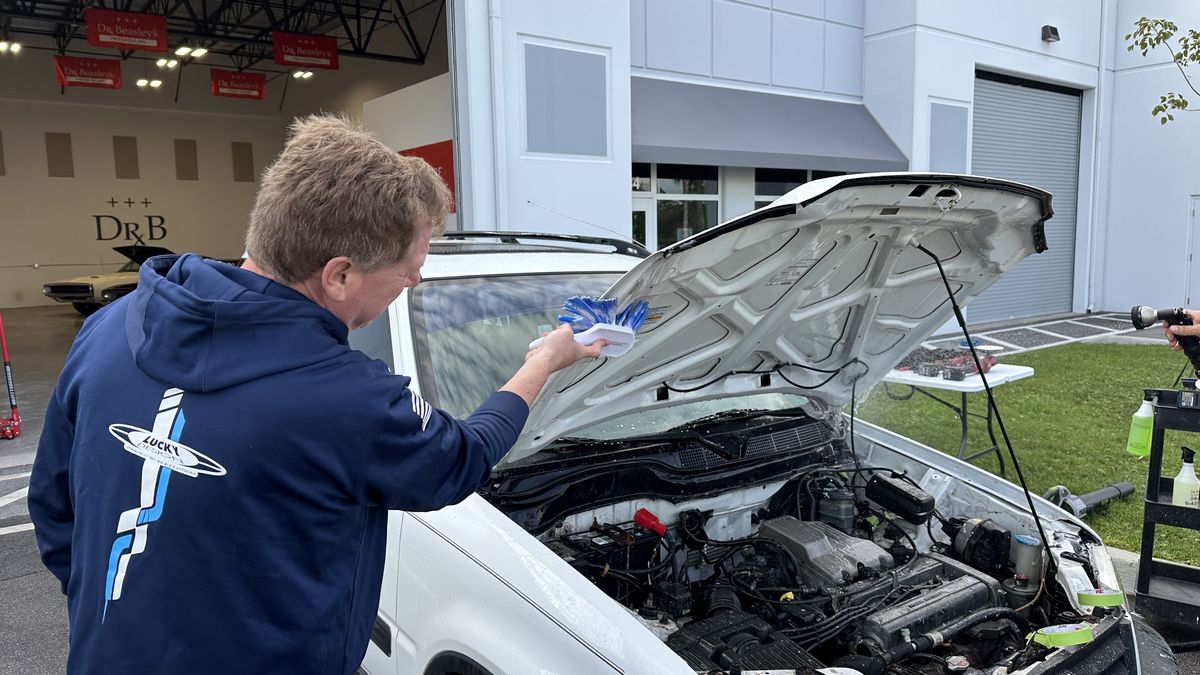
There was some super stubborn oily dirt on the passenger side of the hood and another great way to use a 5″ rotary brush on a rotary polisher to do all the hard work for you.
Next rinse thoroughly
You clean the underneath of the hood FIRST and then it doesn’t matter if there’s any grime that lands on the engine because next – you’re going to clean the engine. This is called, working smarter instead of harder.

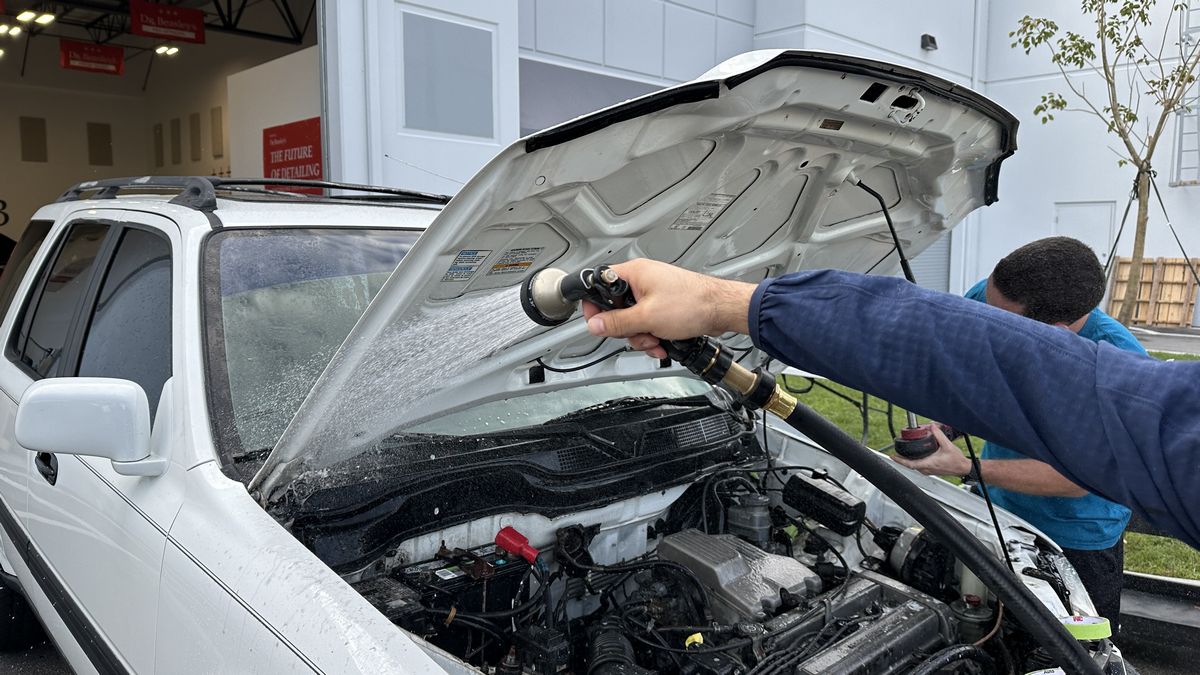
Next up – spray the engine and engine compartment with the Dr. Beasley’s Premium Degreaser.
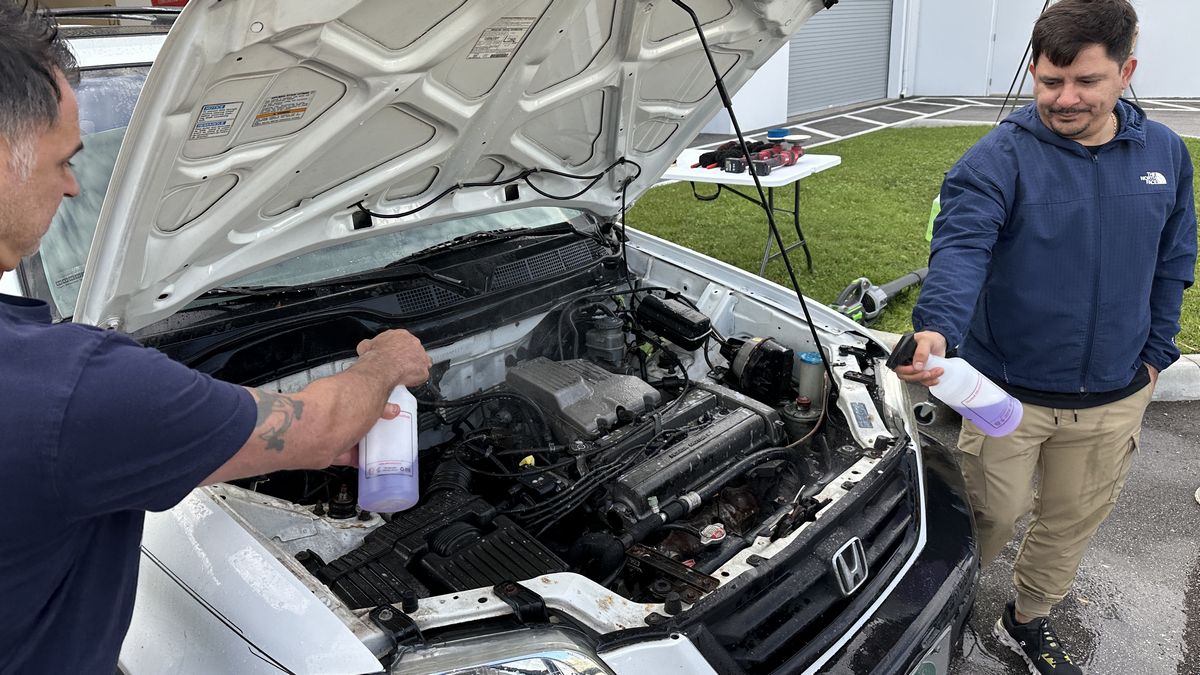

Clean and agitate the degreaser with a variety of brushes.
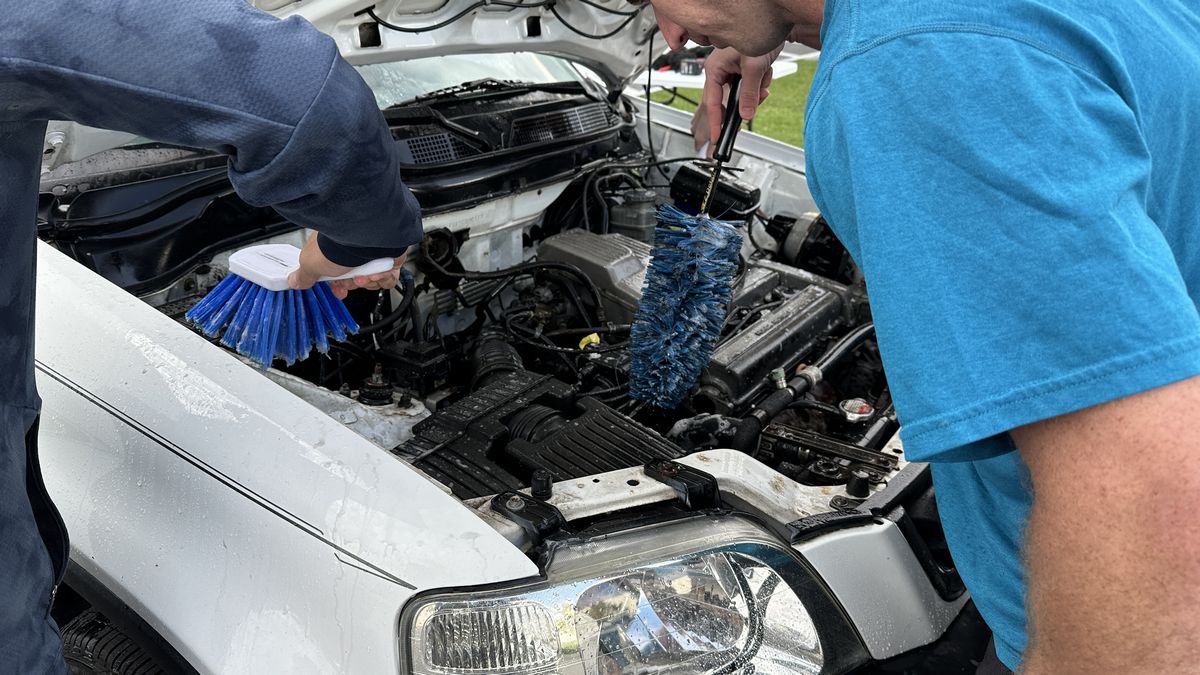
This is actually a Wheel Cleaning Brush you can get at Dr. Beasley’s website, and not only does it work great for cleaning rims it works great for cleaning engine compartment.
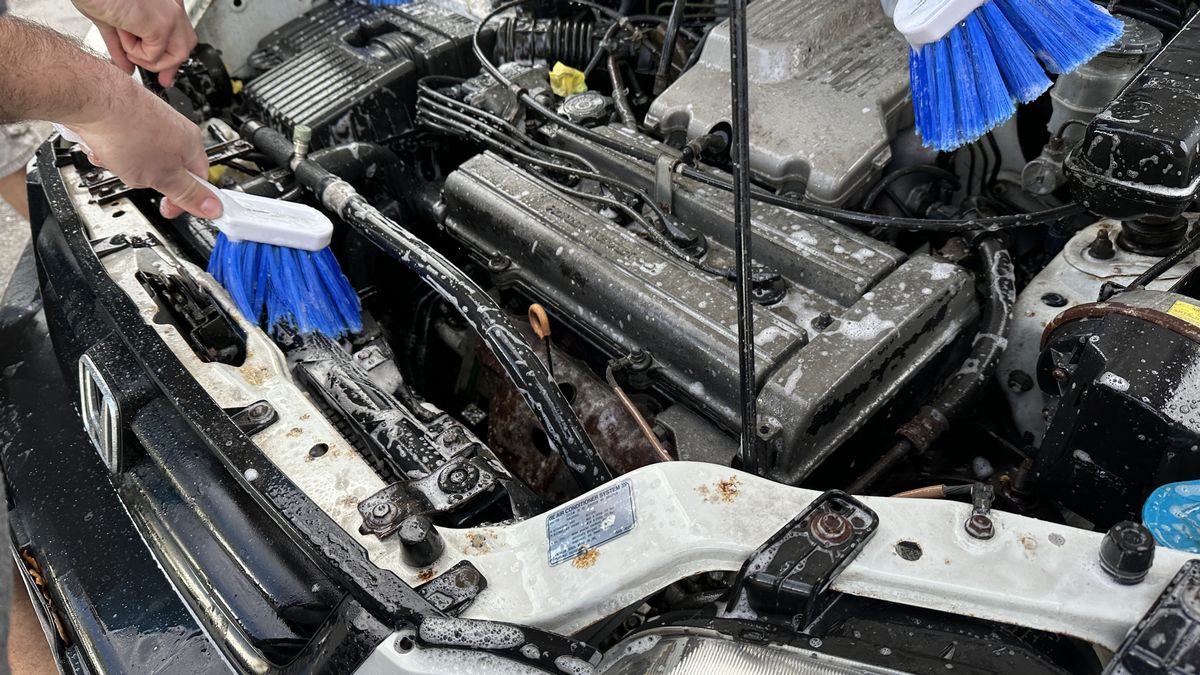
Then rinse thoroughly and blow-out any standing water.
Clean enough to eat off of.
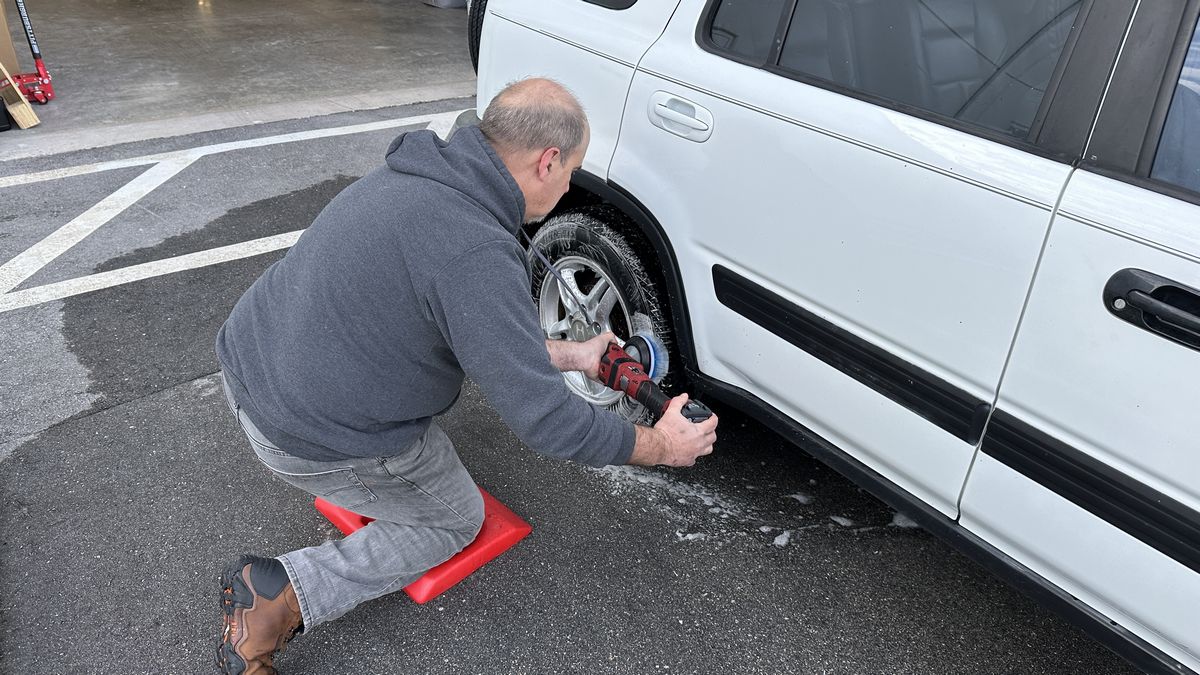
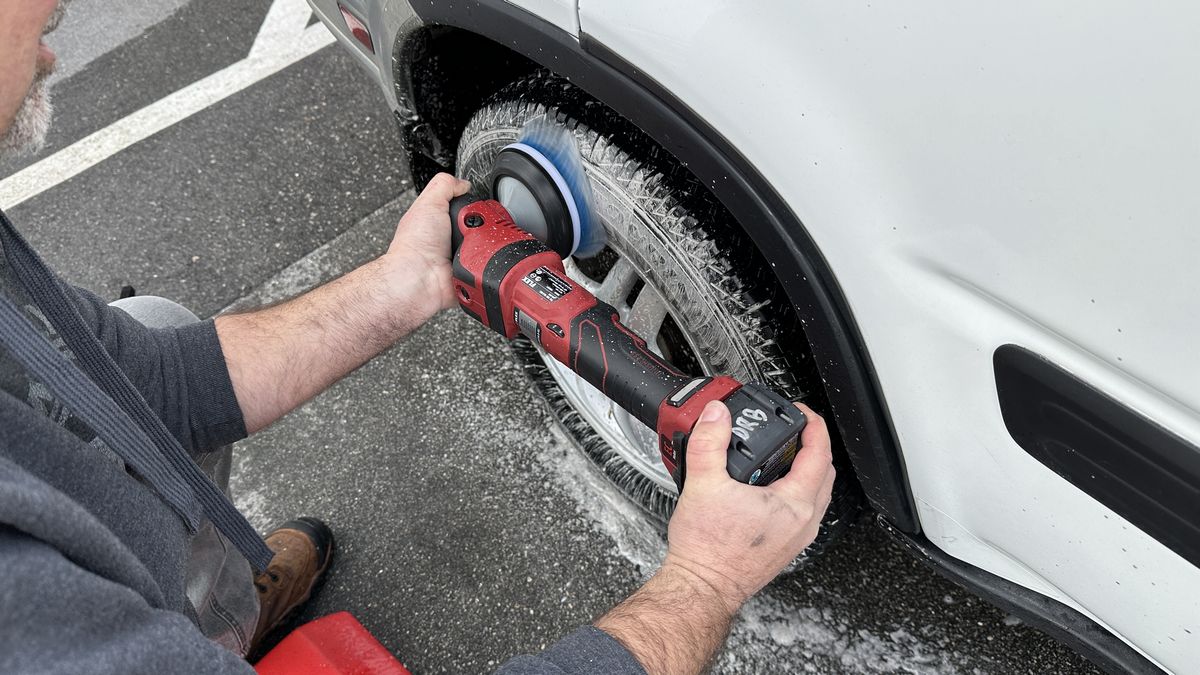
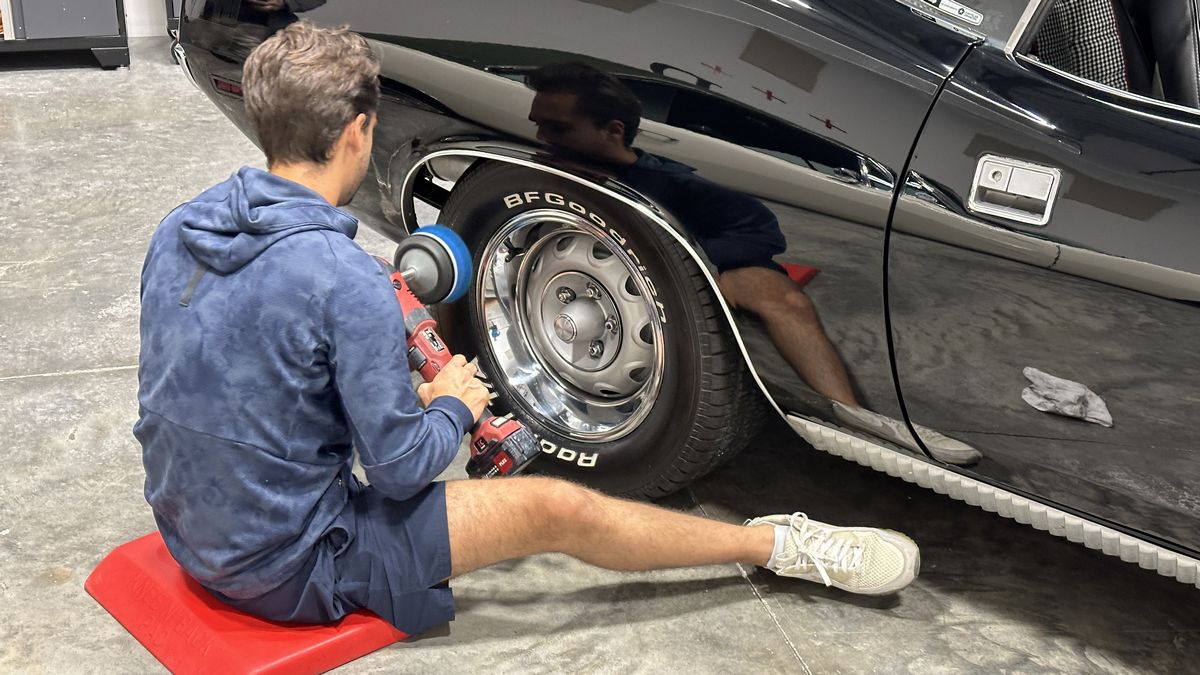
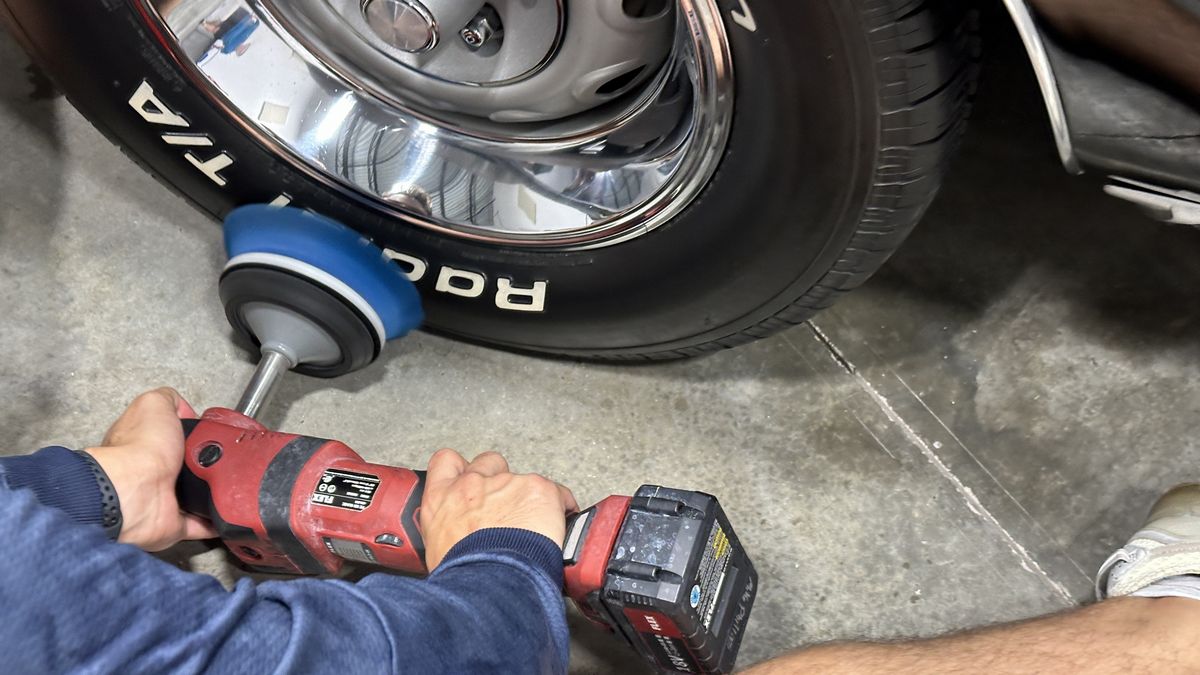
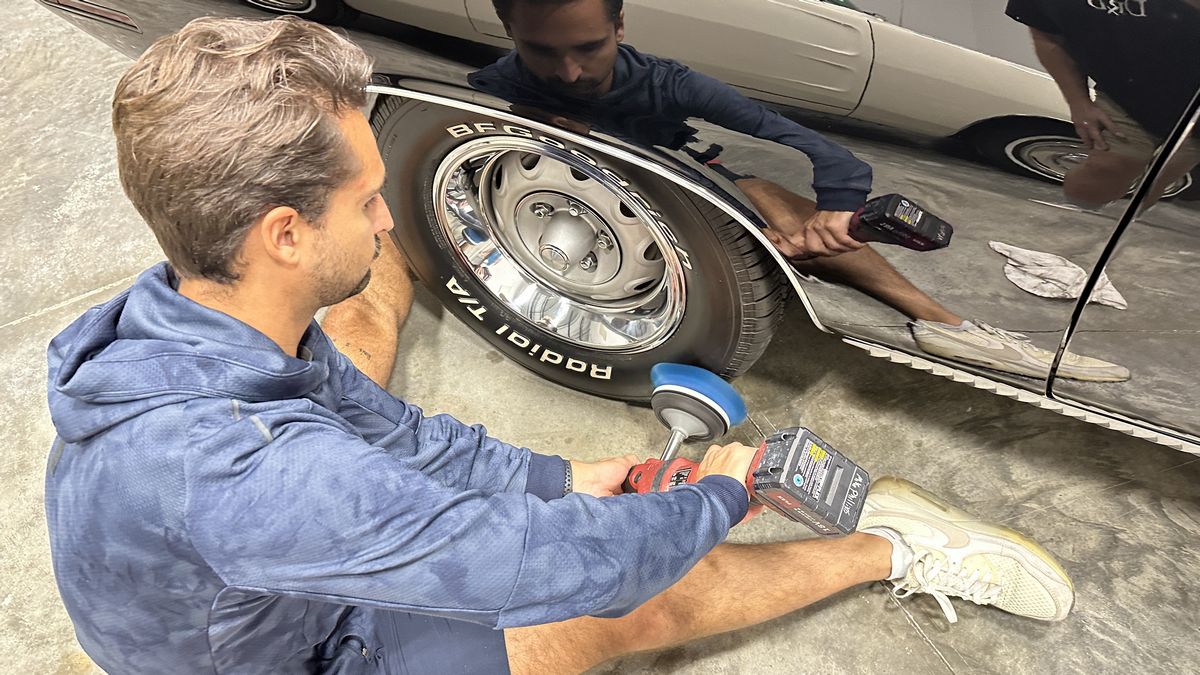
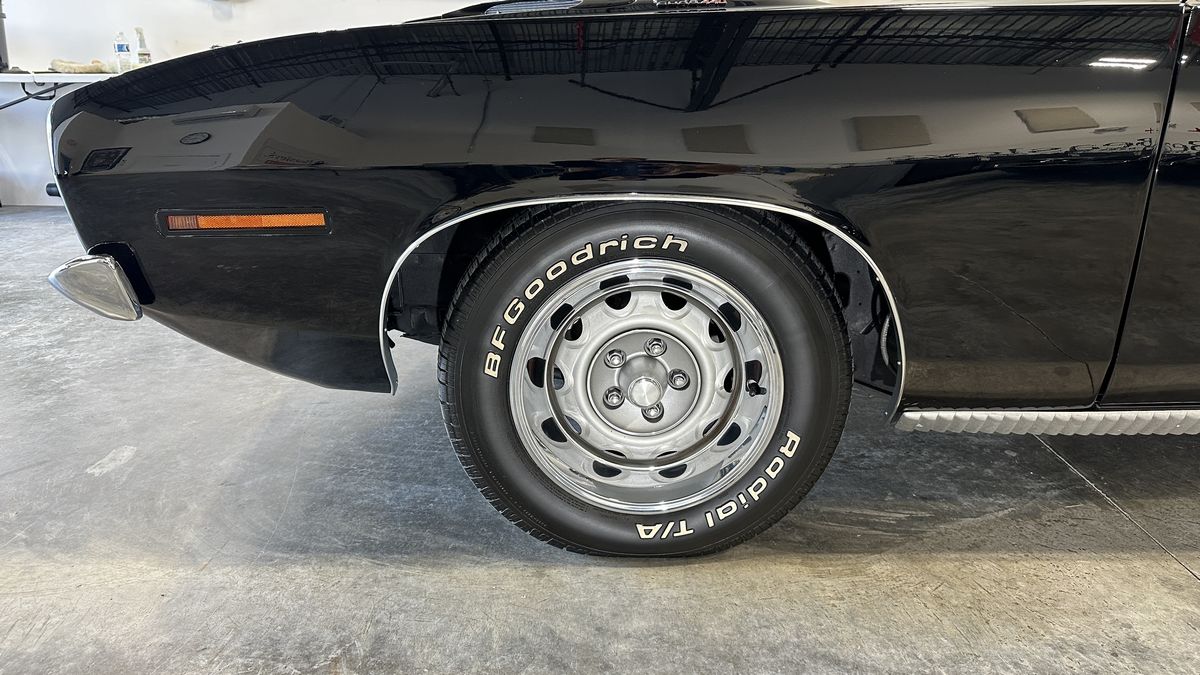
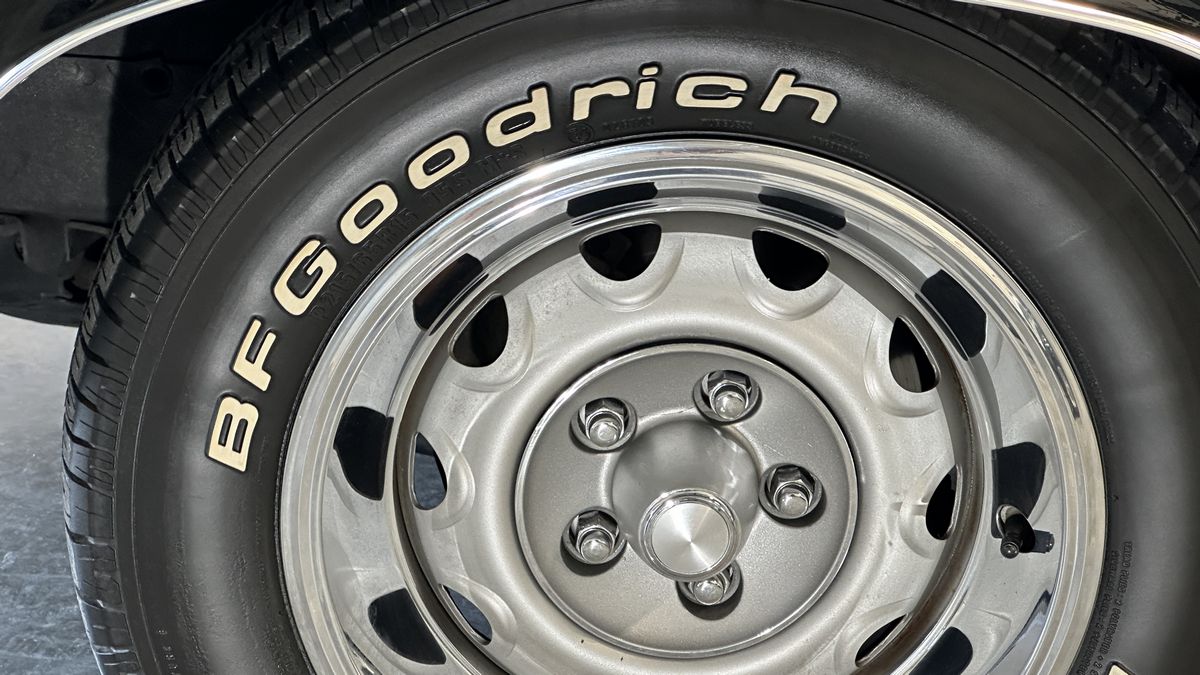
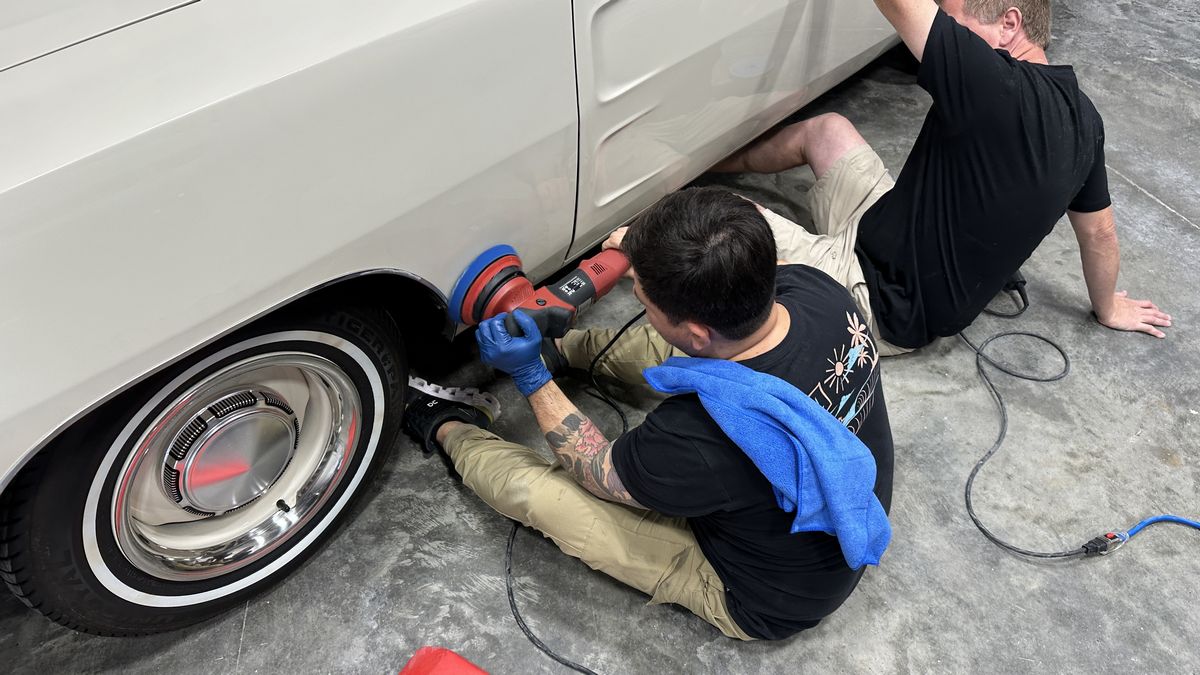
Machine Scrubbing Tires
Working by hand is also an option, but if you own a cordless rotary polisher, (no risk of electrical shock), then let this tool do all the hard work for you.
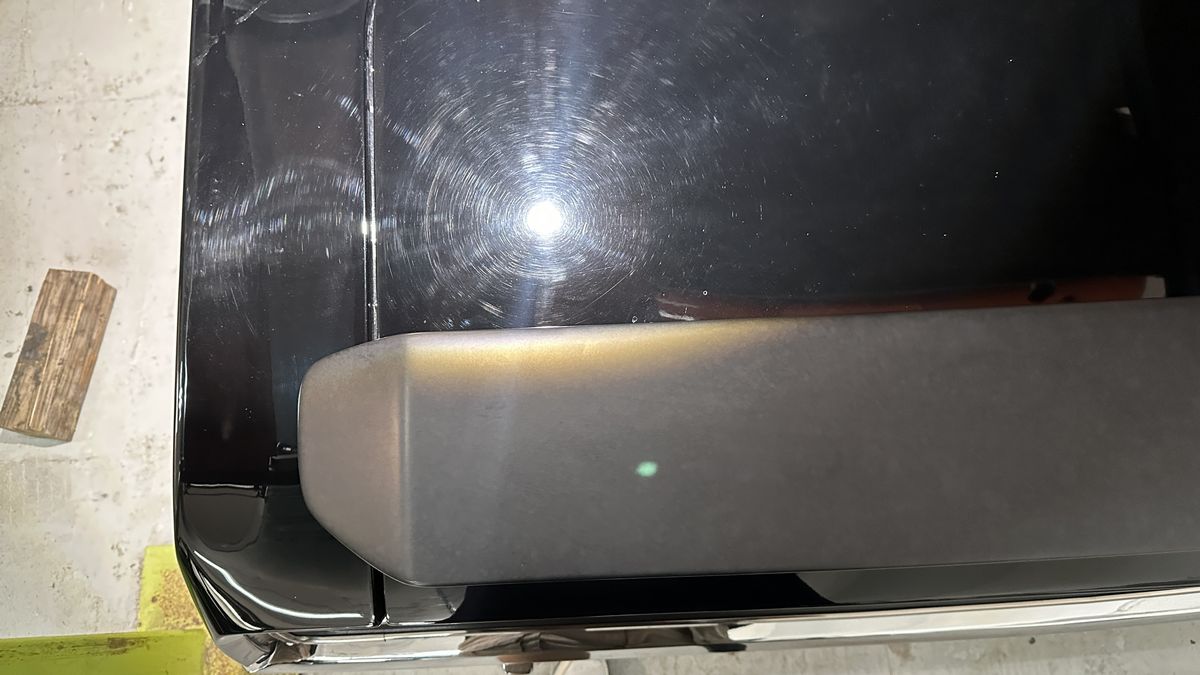
A lot of cars have faded, neglected plastic bumper covers and body cladding and just like tires, you can scrub these items by hand or let the rotary do all the work.

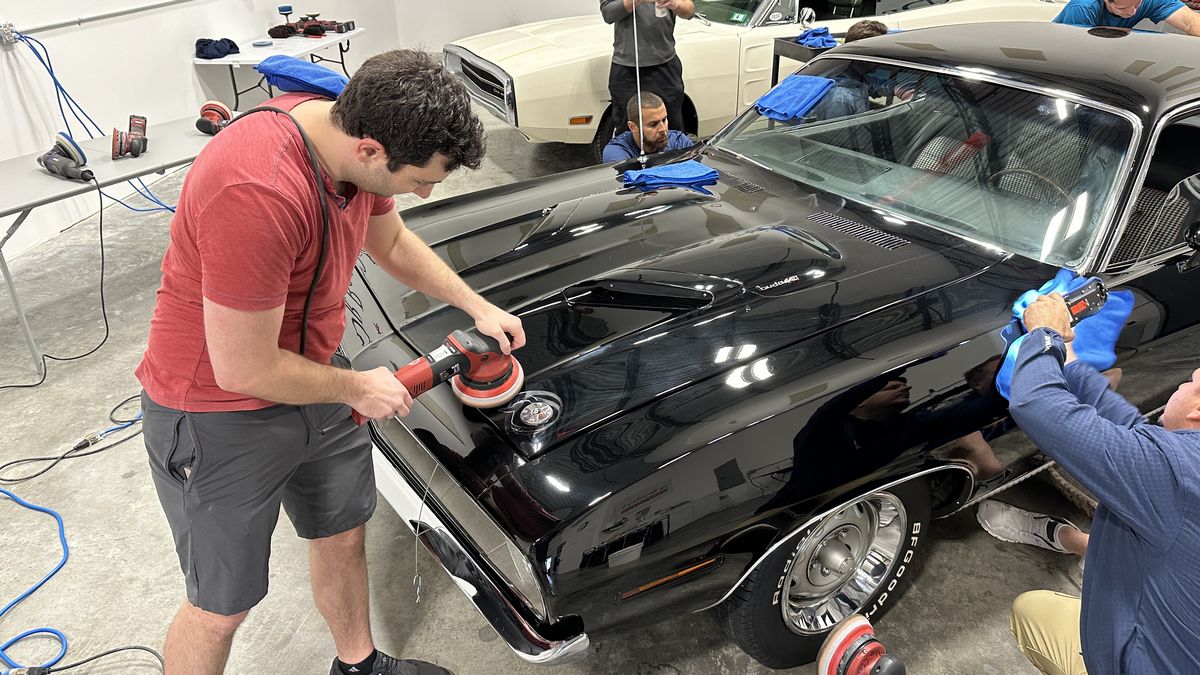
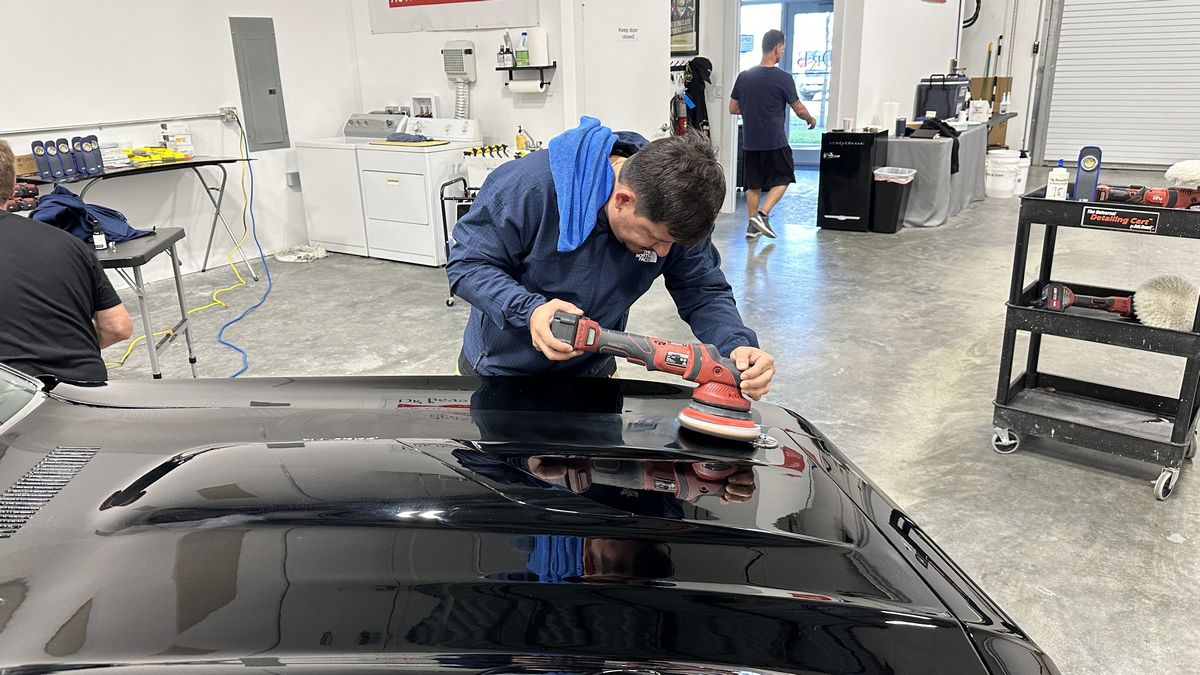
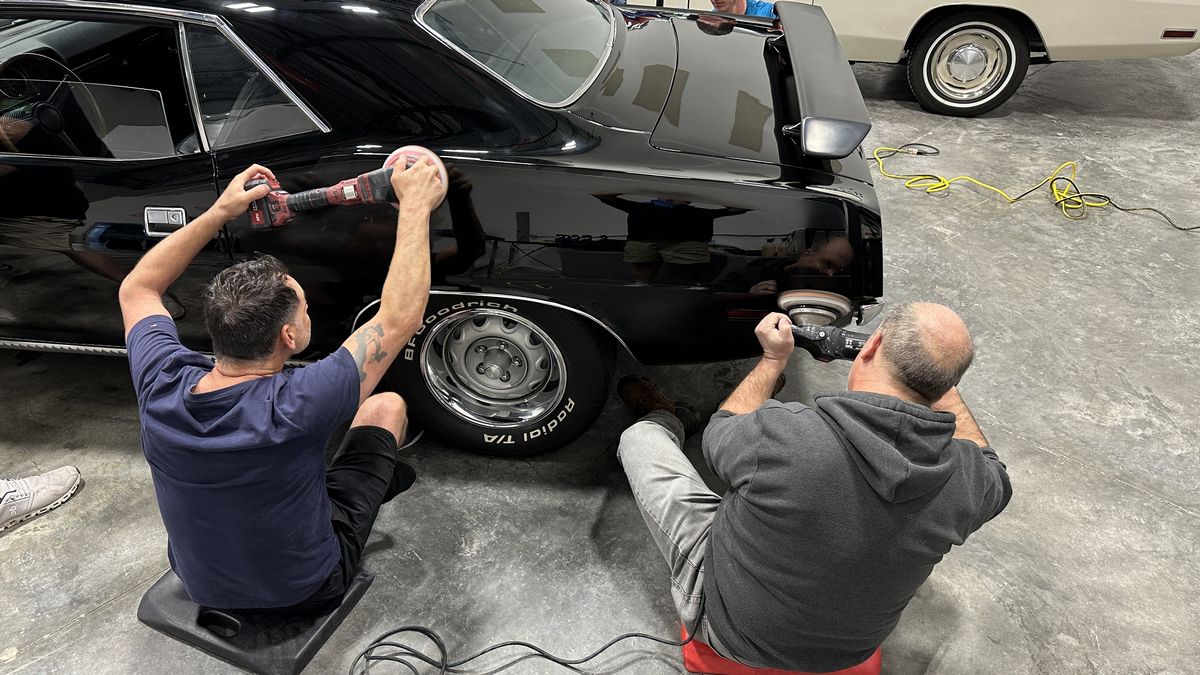
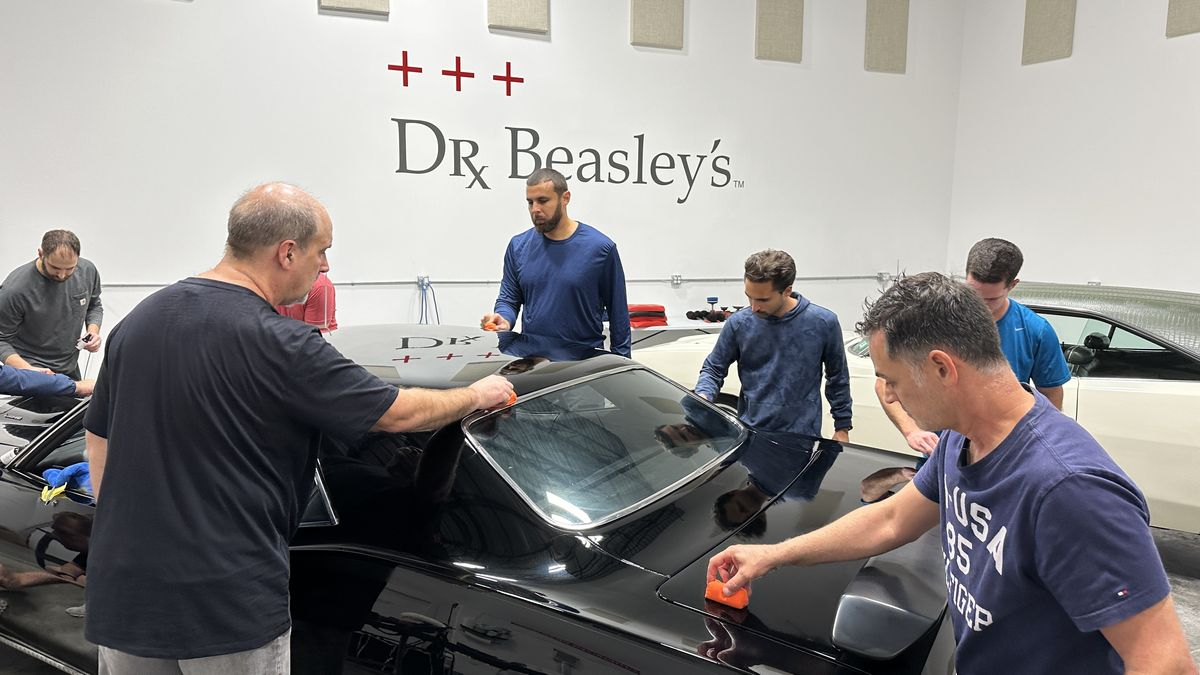
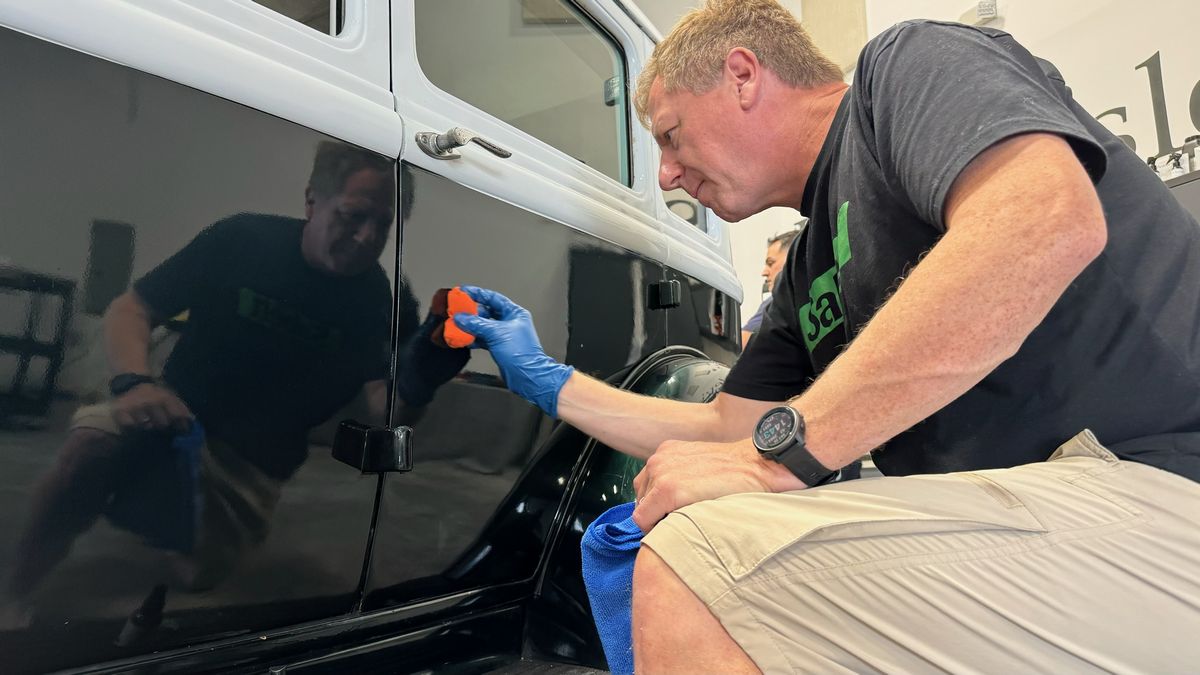
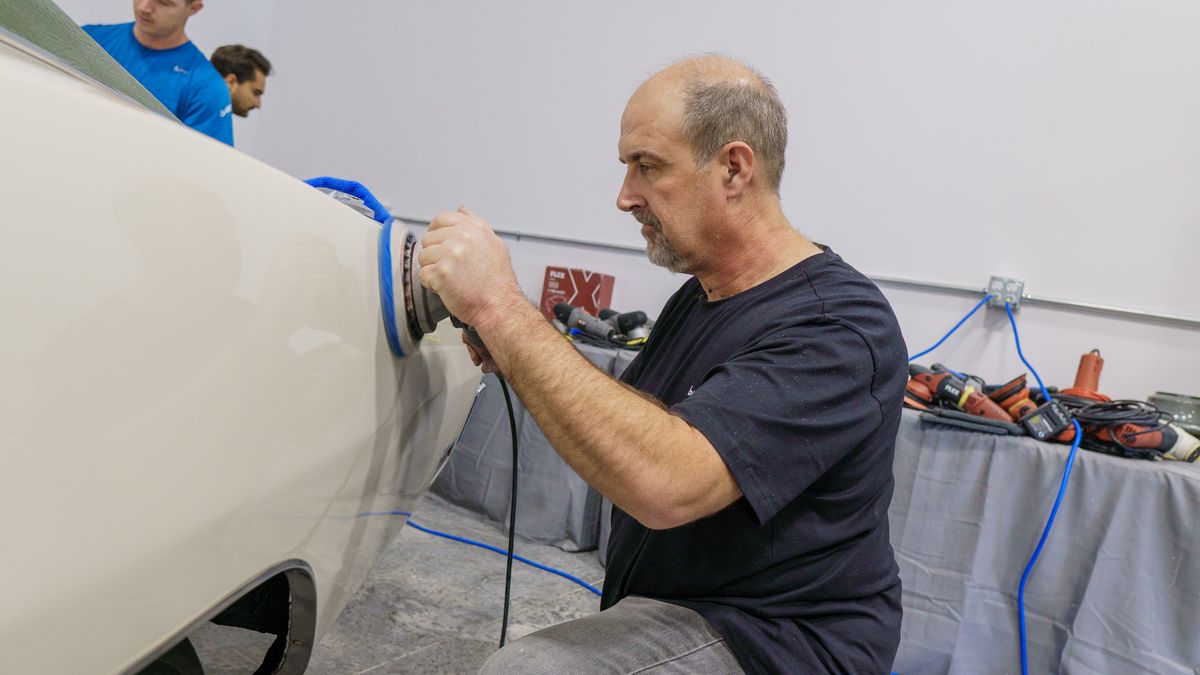
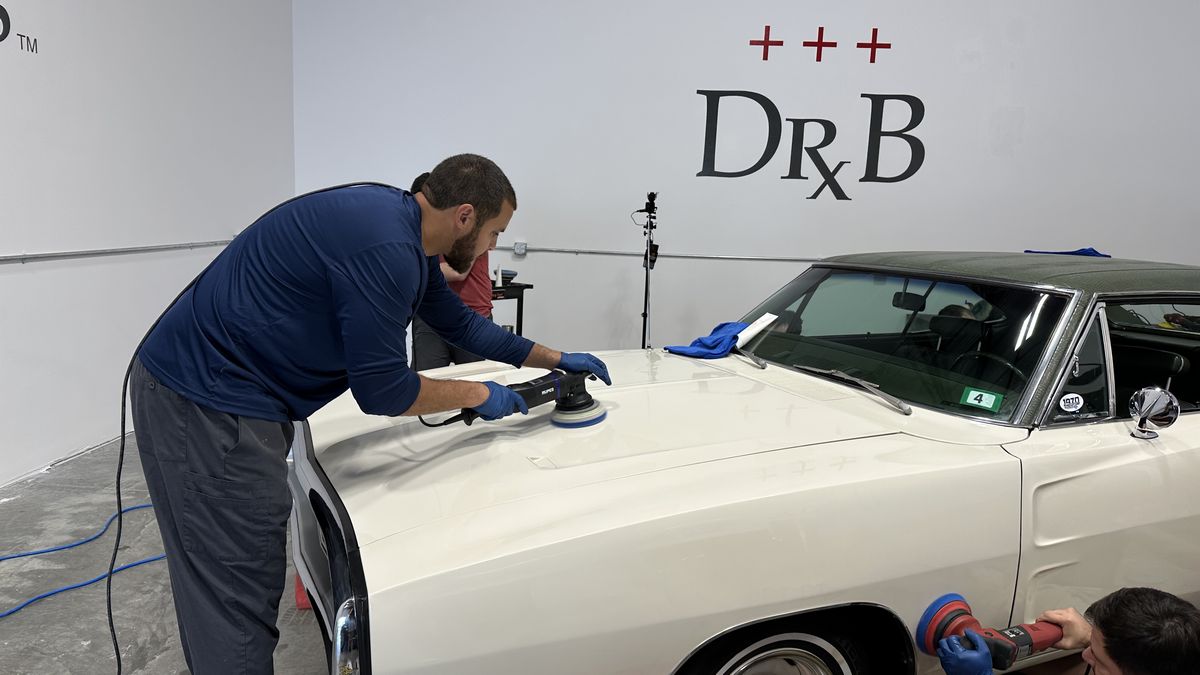
Saturday Morning Session- One-Step Paint Correction & Ceramic Coatings
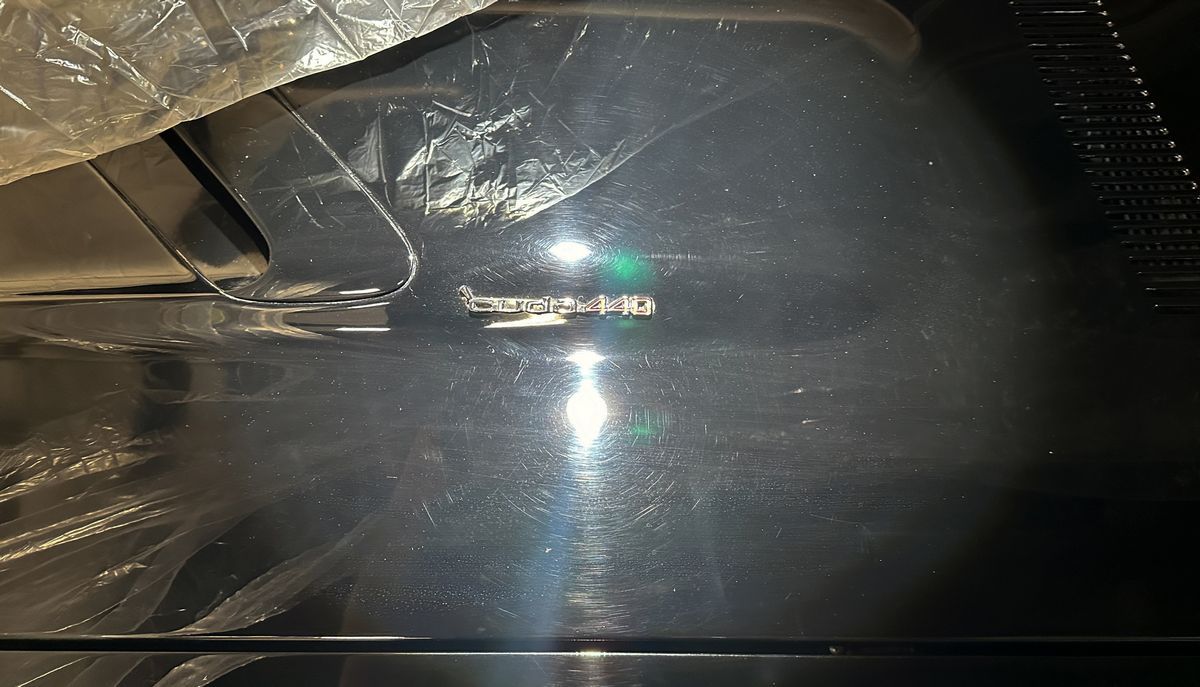
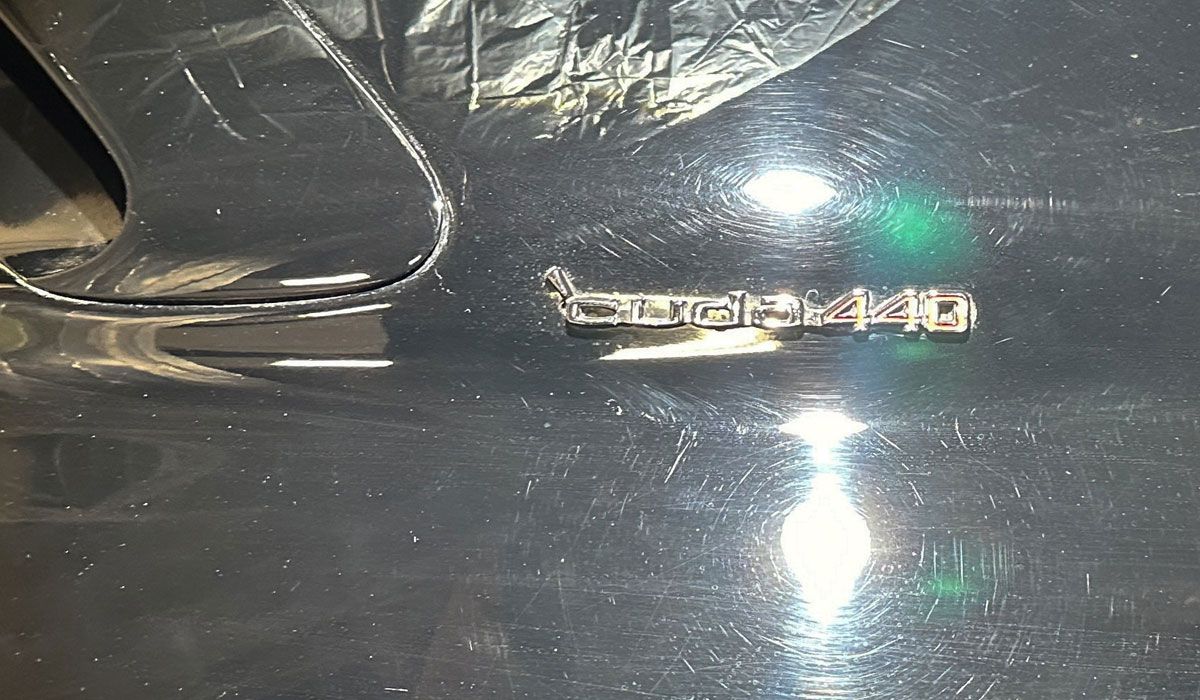
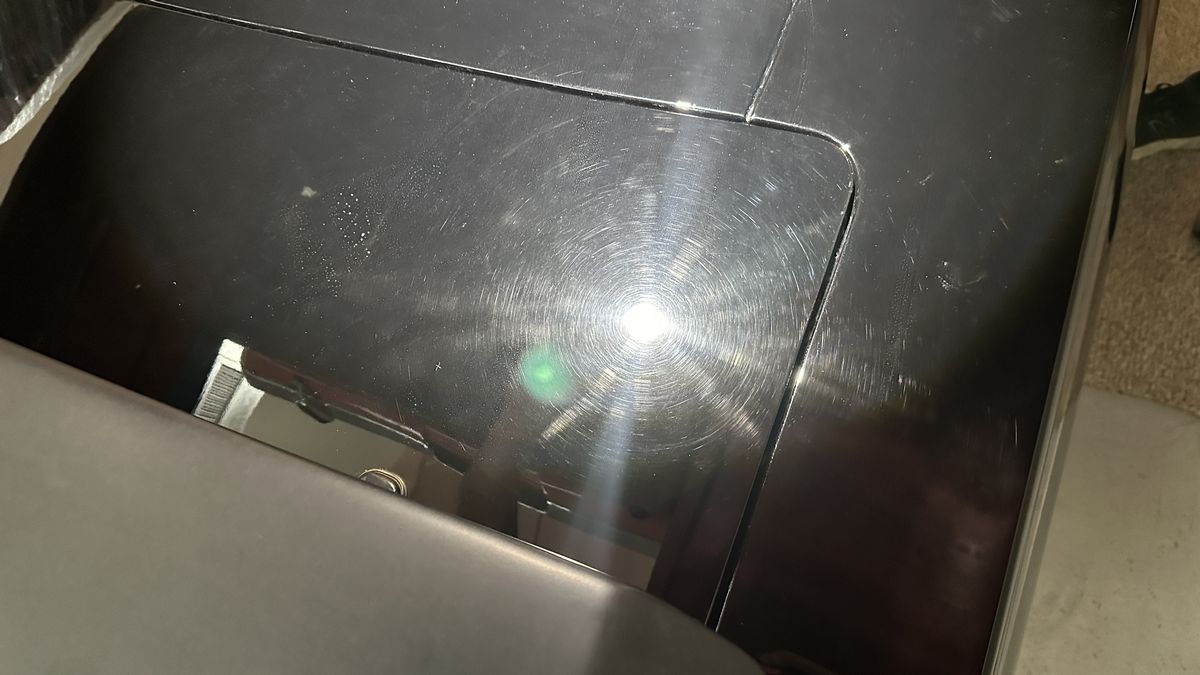
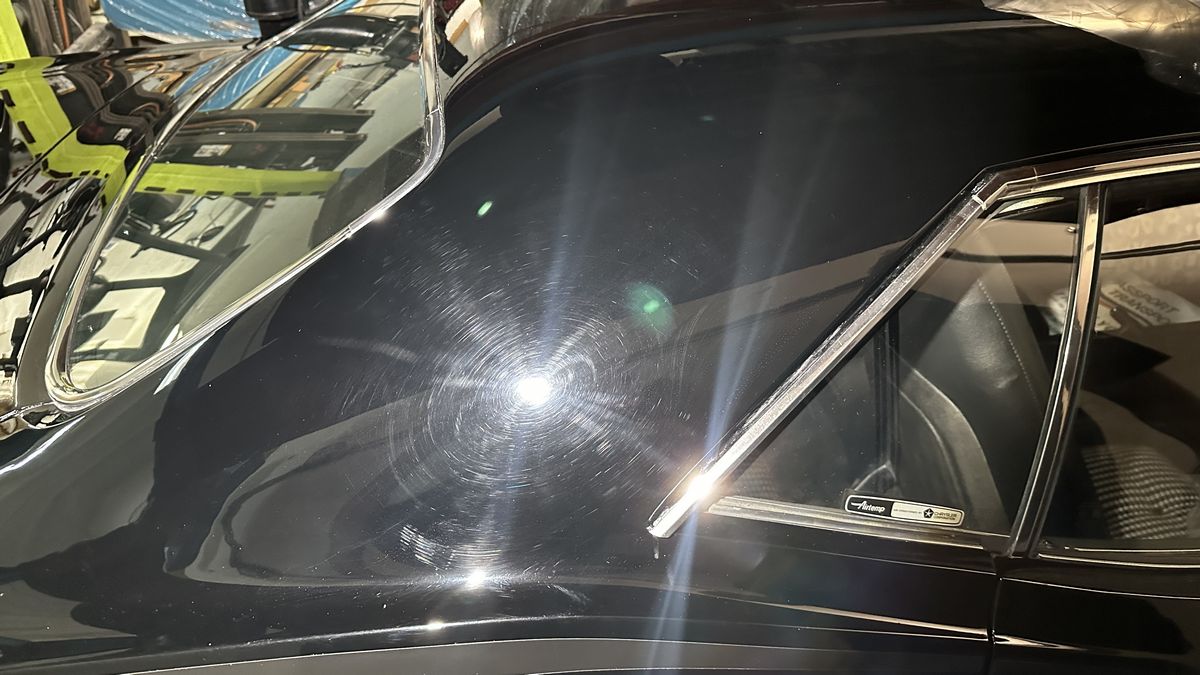
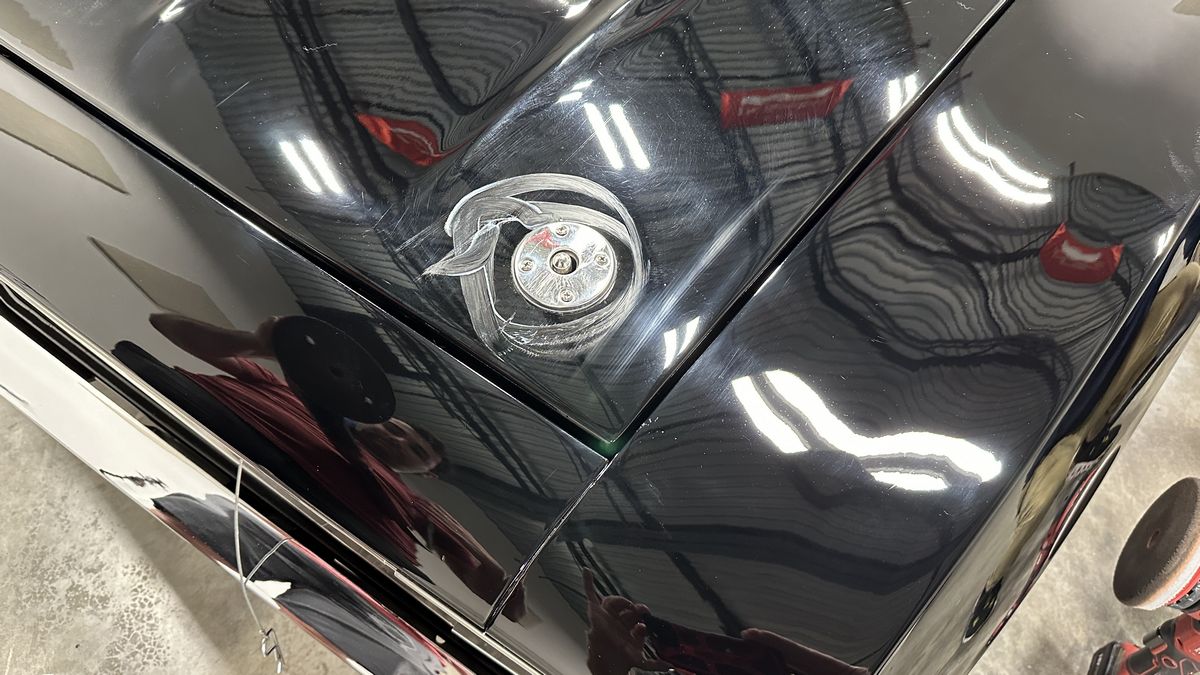
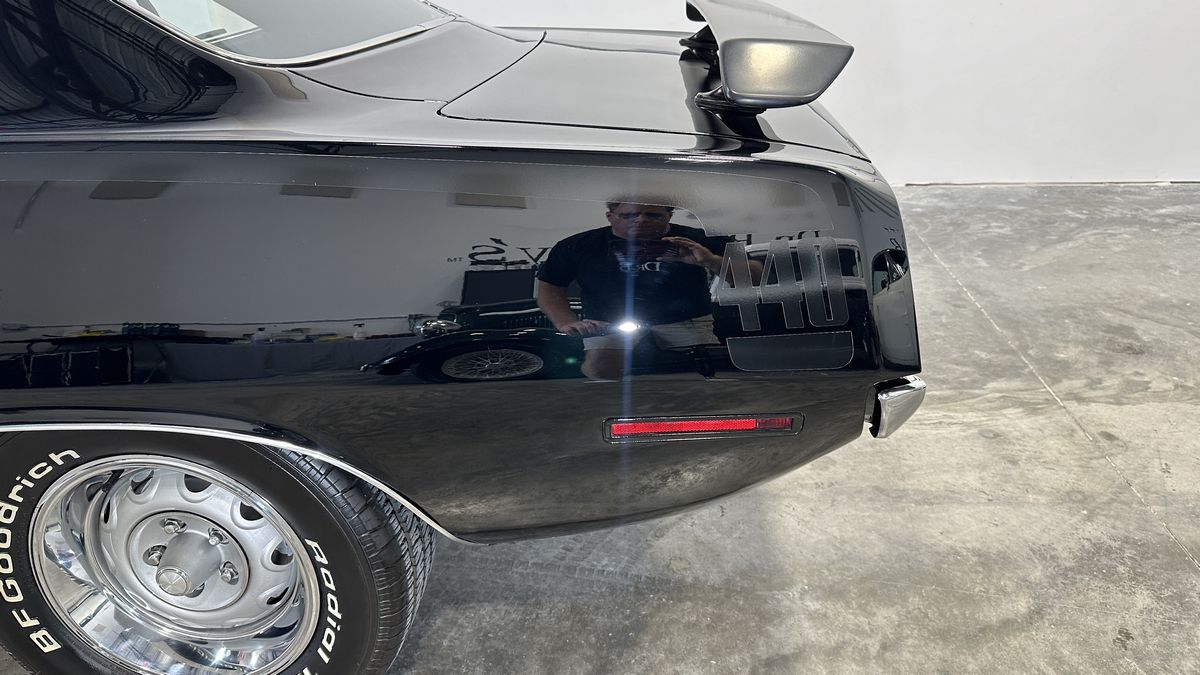
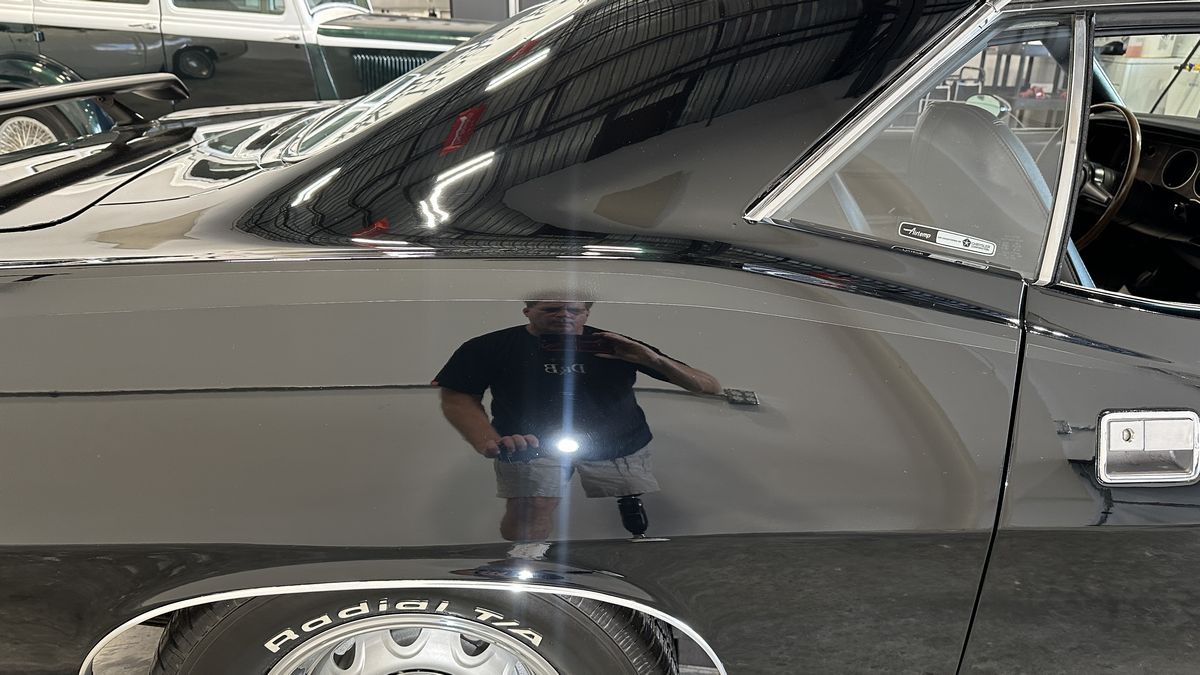
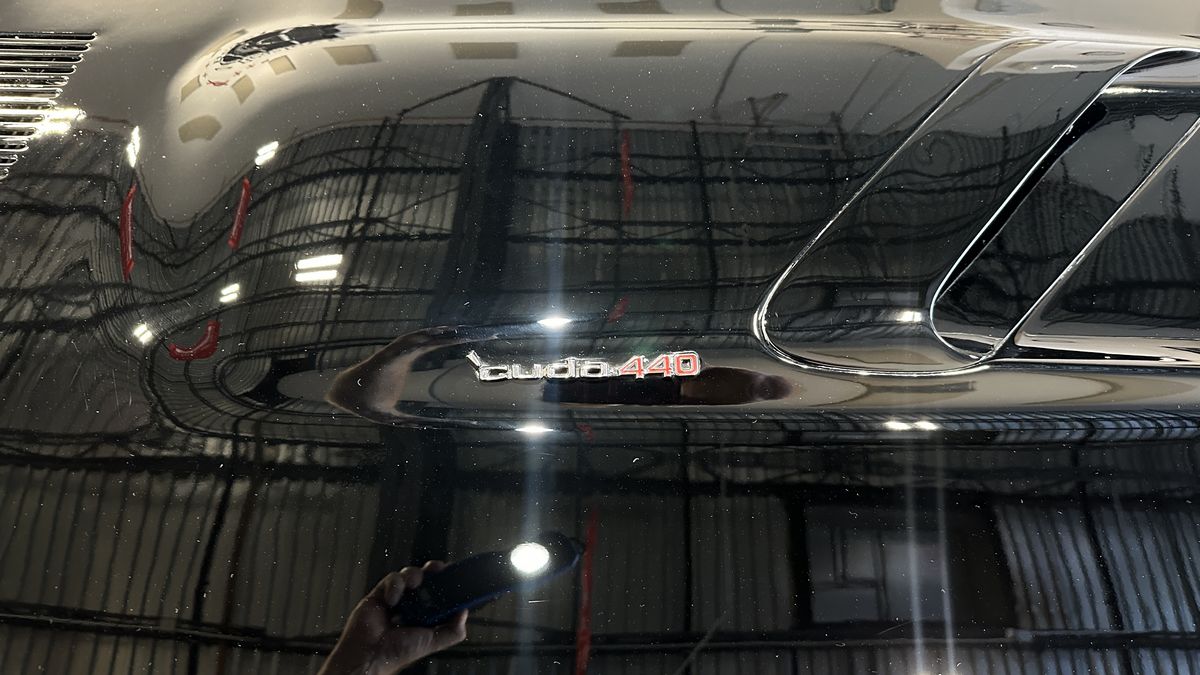
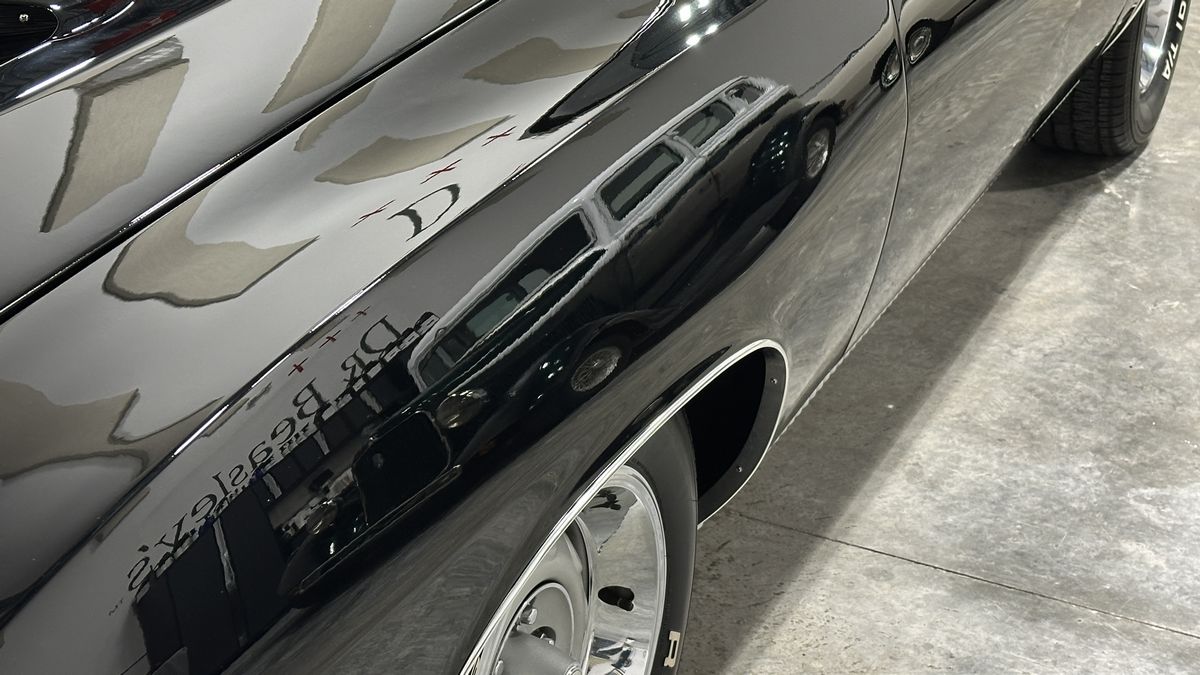
Now that all the wet-work is over, here’s the black 1979 Plymouth 440 Cuda. From this picture, the paint looks to be in fine shape. This is why I capture accurate BEFORE pictures it’s to both document the true condition as well as take all the wind out of the sails for the experts on social media that think I bring in cars that don’t need to be detailed. LOL

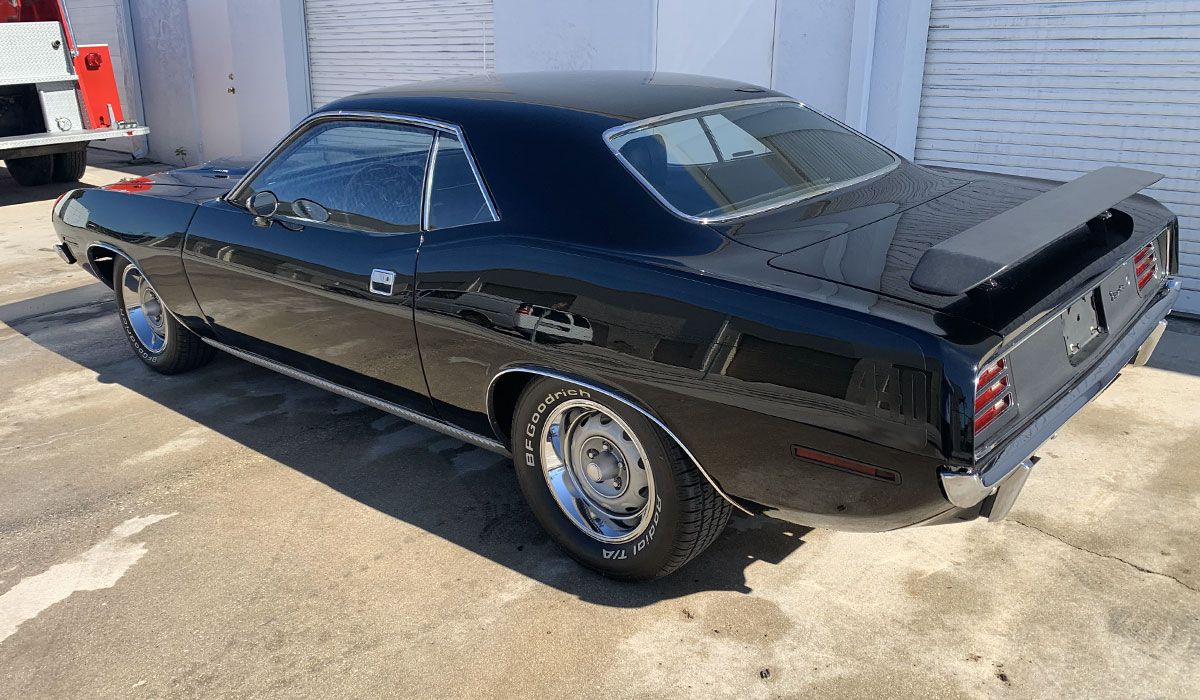
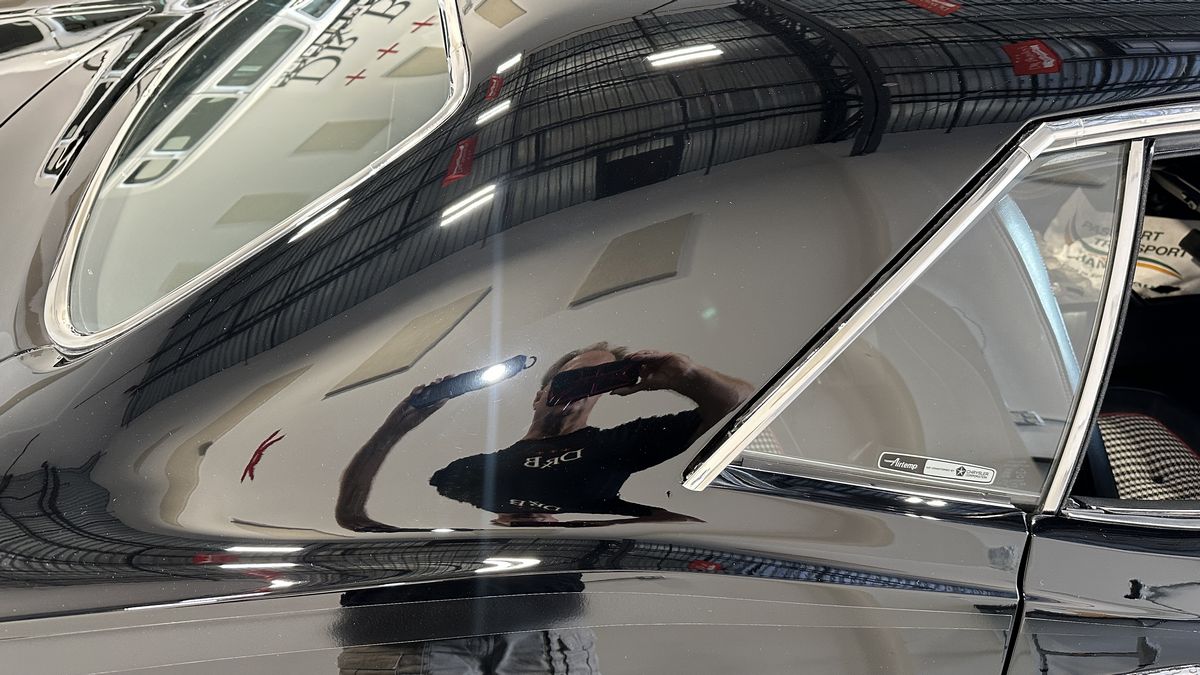
Here’s how the paint really looks.

It’s GO TIME!
After I shared how to correctly to do a Test Spot,

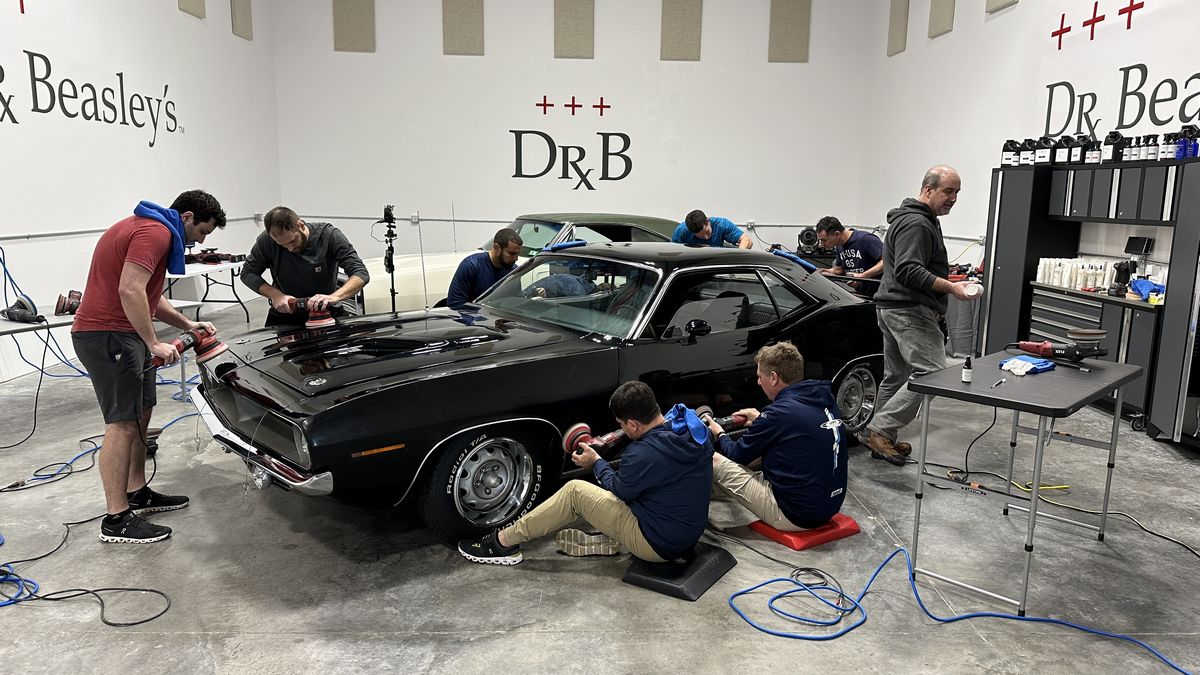
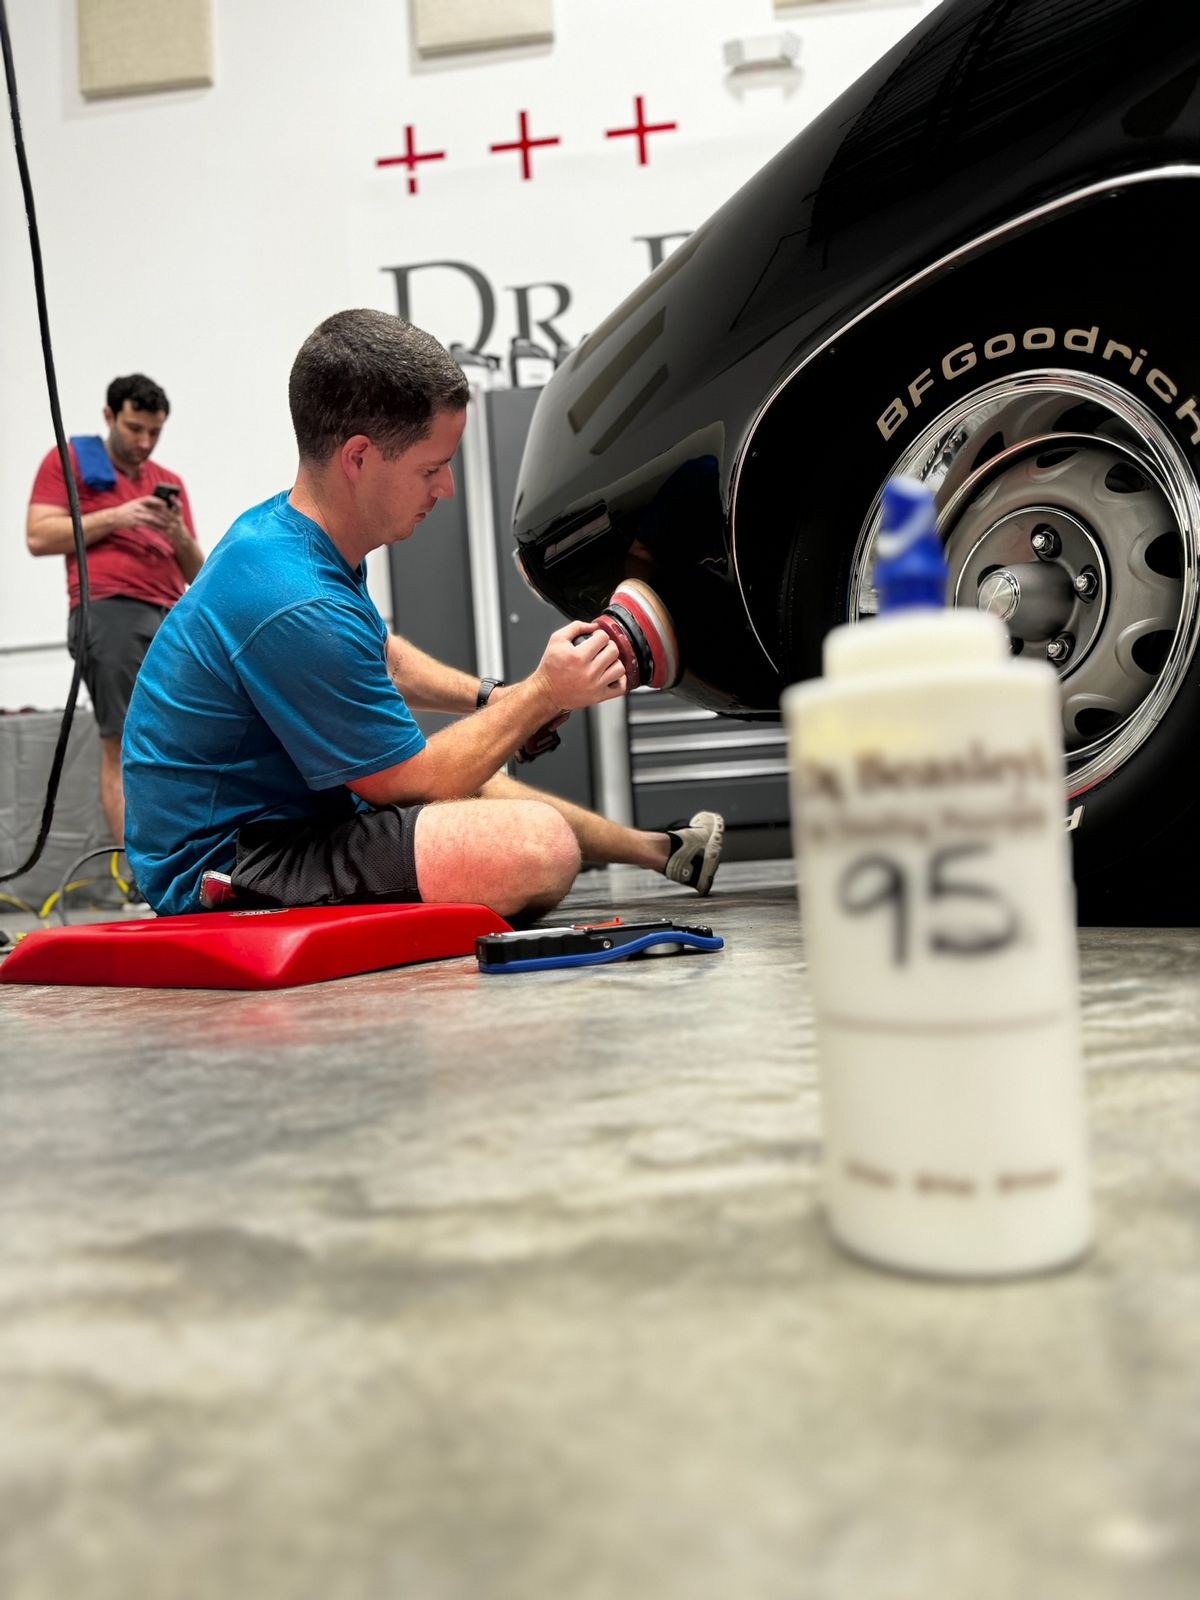
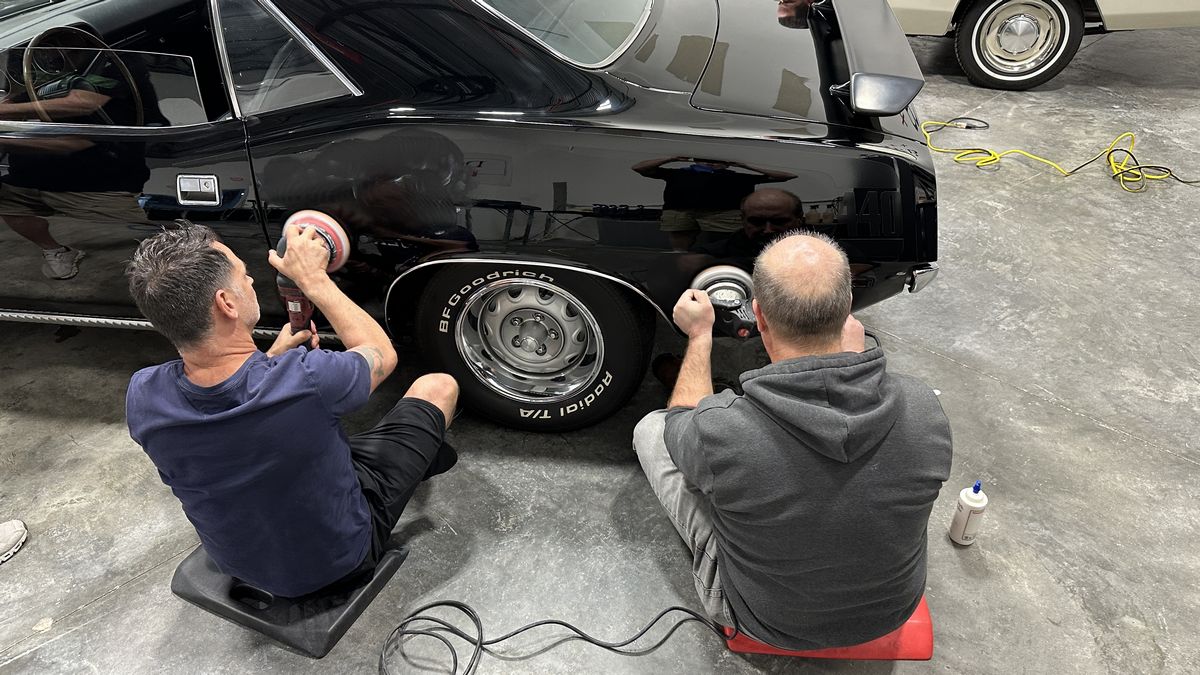
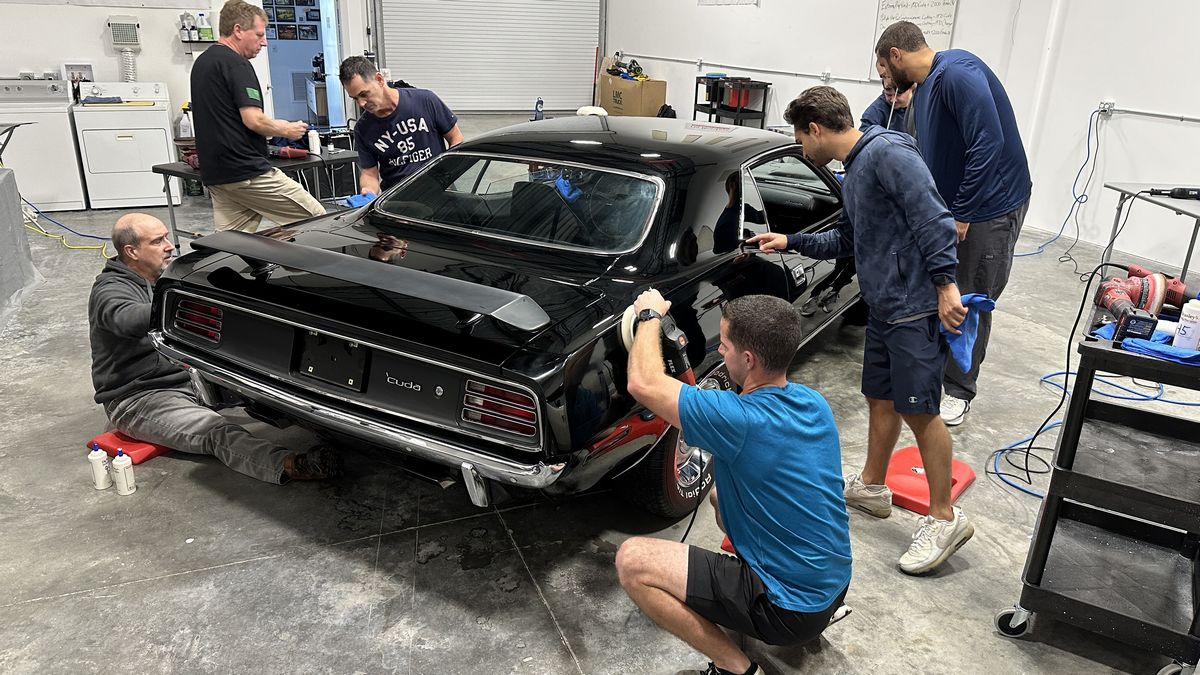
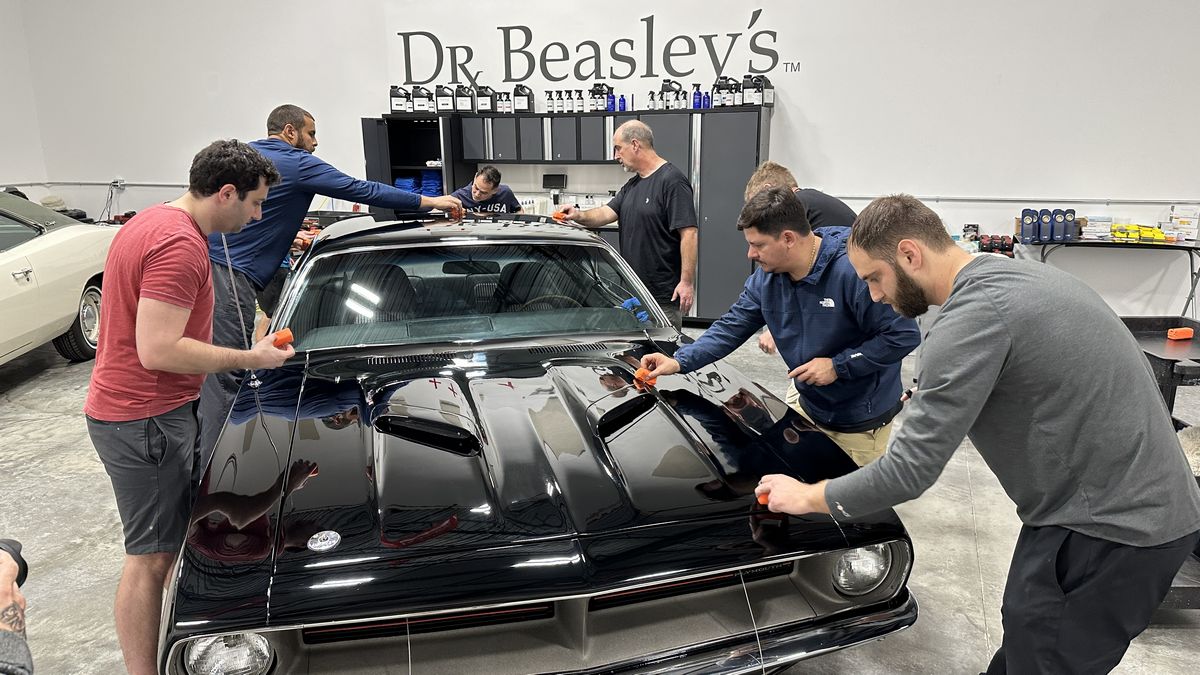
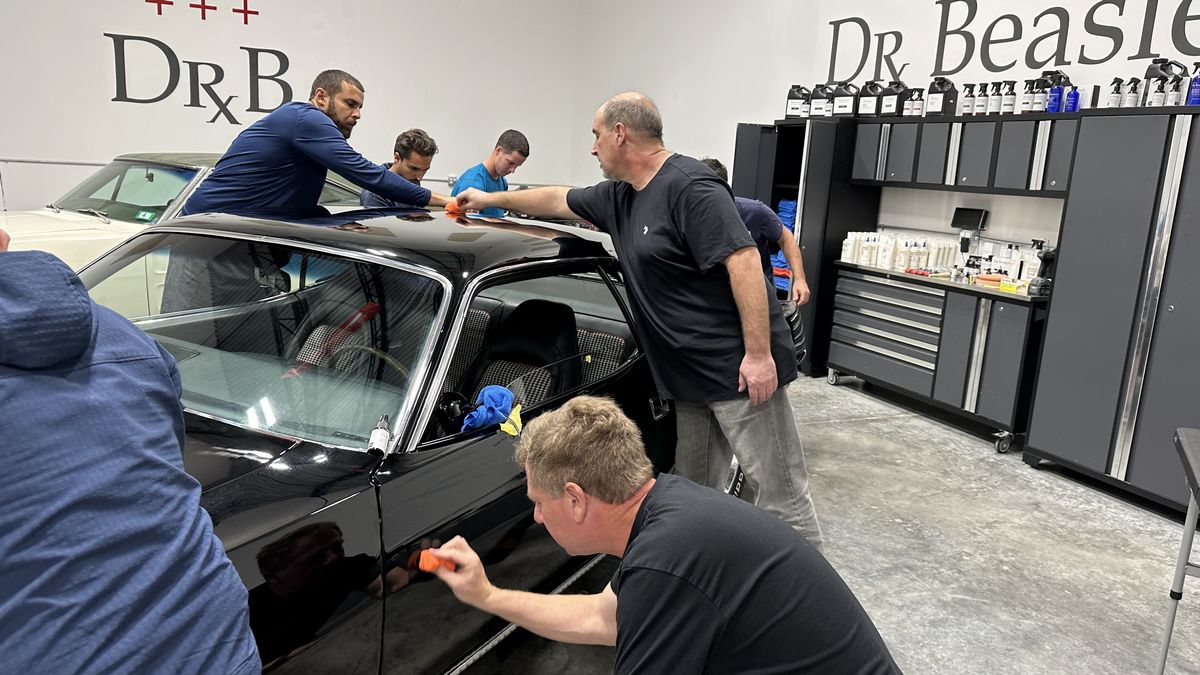
I turned the class loose on the black 440 Cuda. This is a SUPER COOL training car for the class to learn the art-of-polishing-paint.
Finger Painting
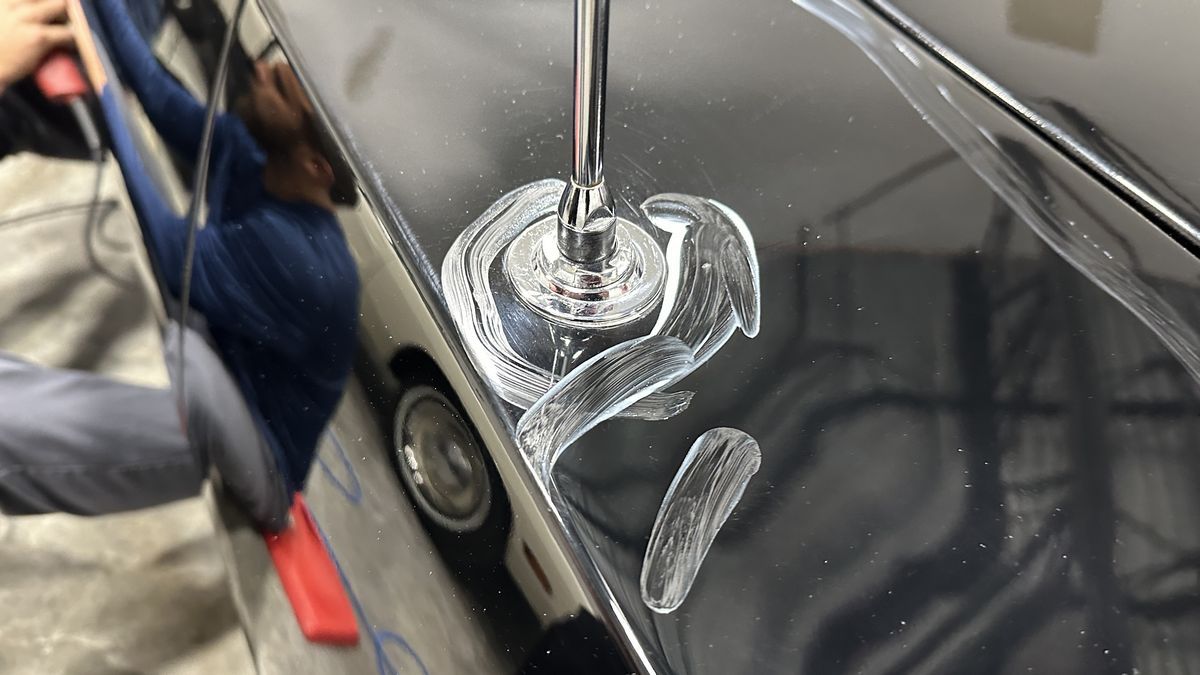
This is one of hundreds of techniques I teach in our classes and that is to simply use your finger to spread some abrasive technology around or near where you want to buff.
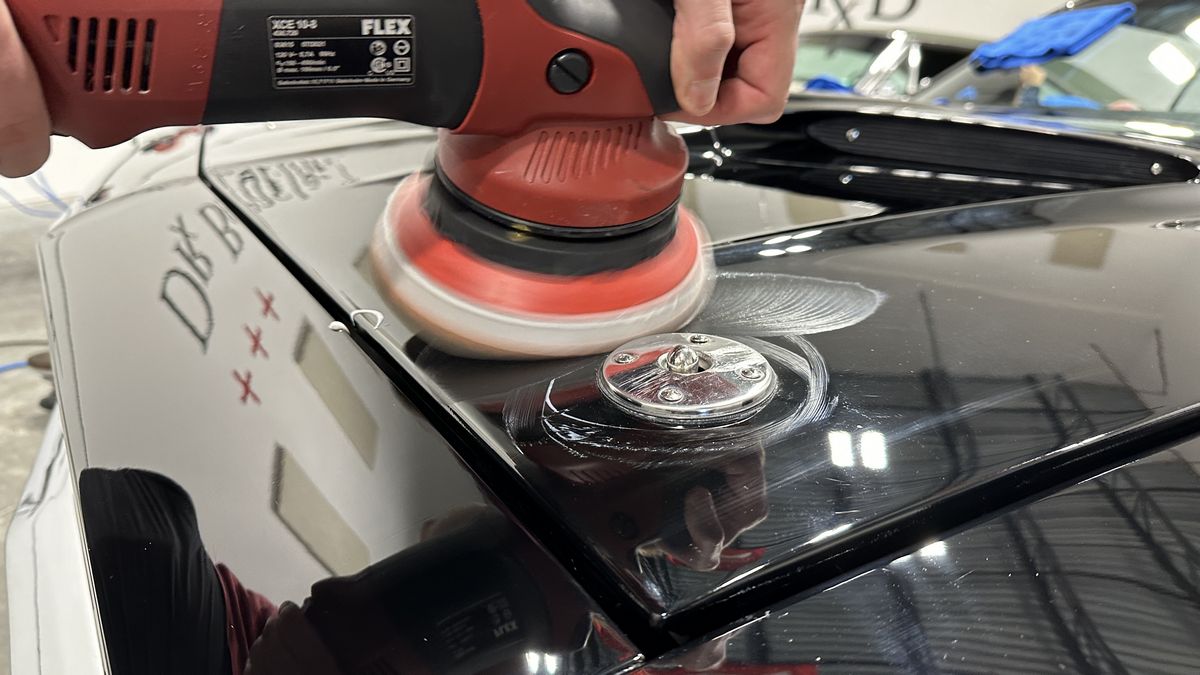
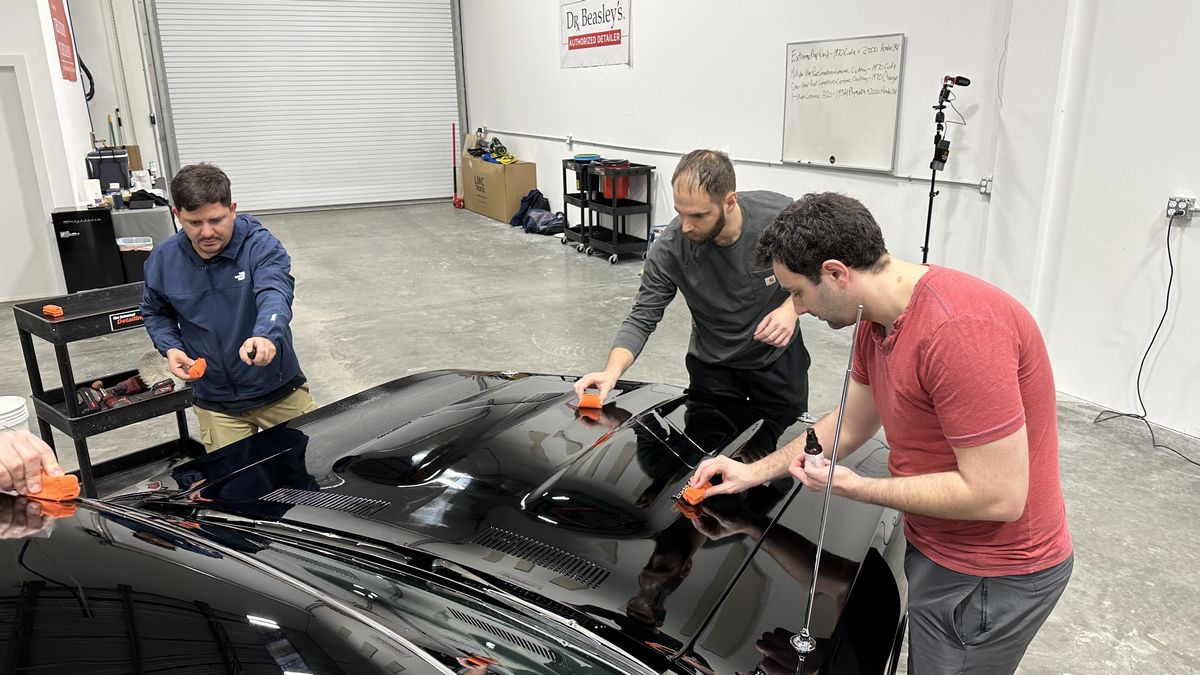
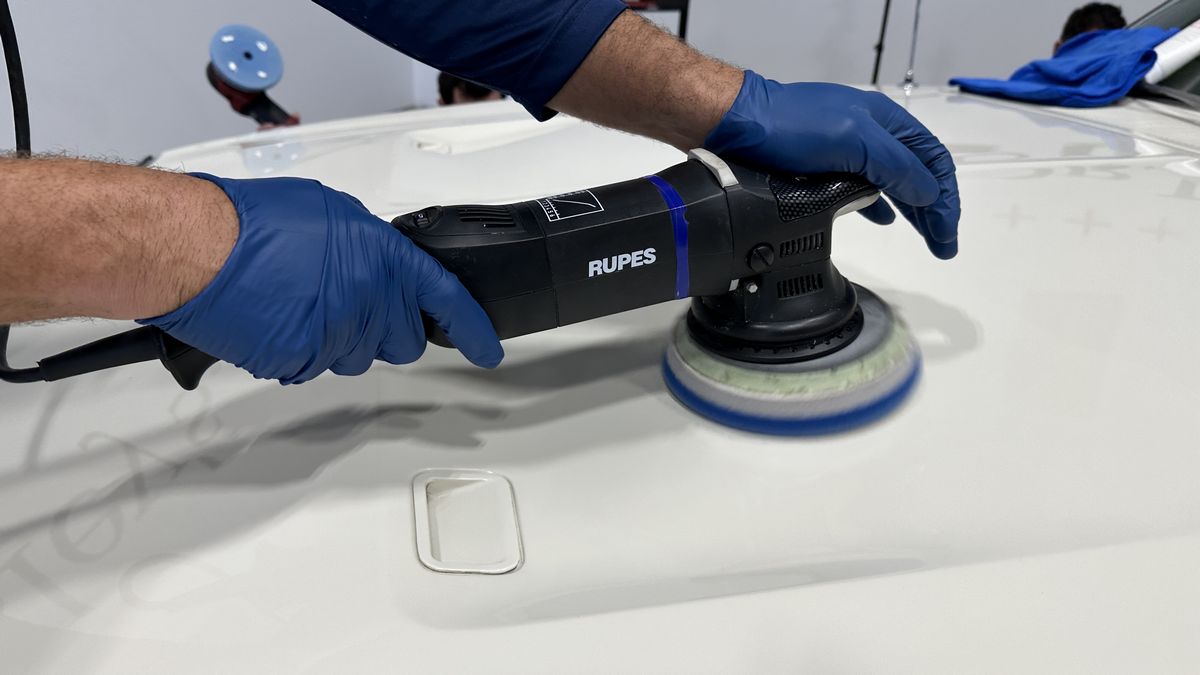
8mm Gear-Driven Orbital Polishers
And this is why I put so much emphasis on using gear-driven orbital polishers. As you can see, the student is putting the pad on EDGE without suffering pad stalling like you get with any free spinning, random orbital polishers. This enables you to actually get the job done and do it fast.
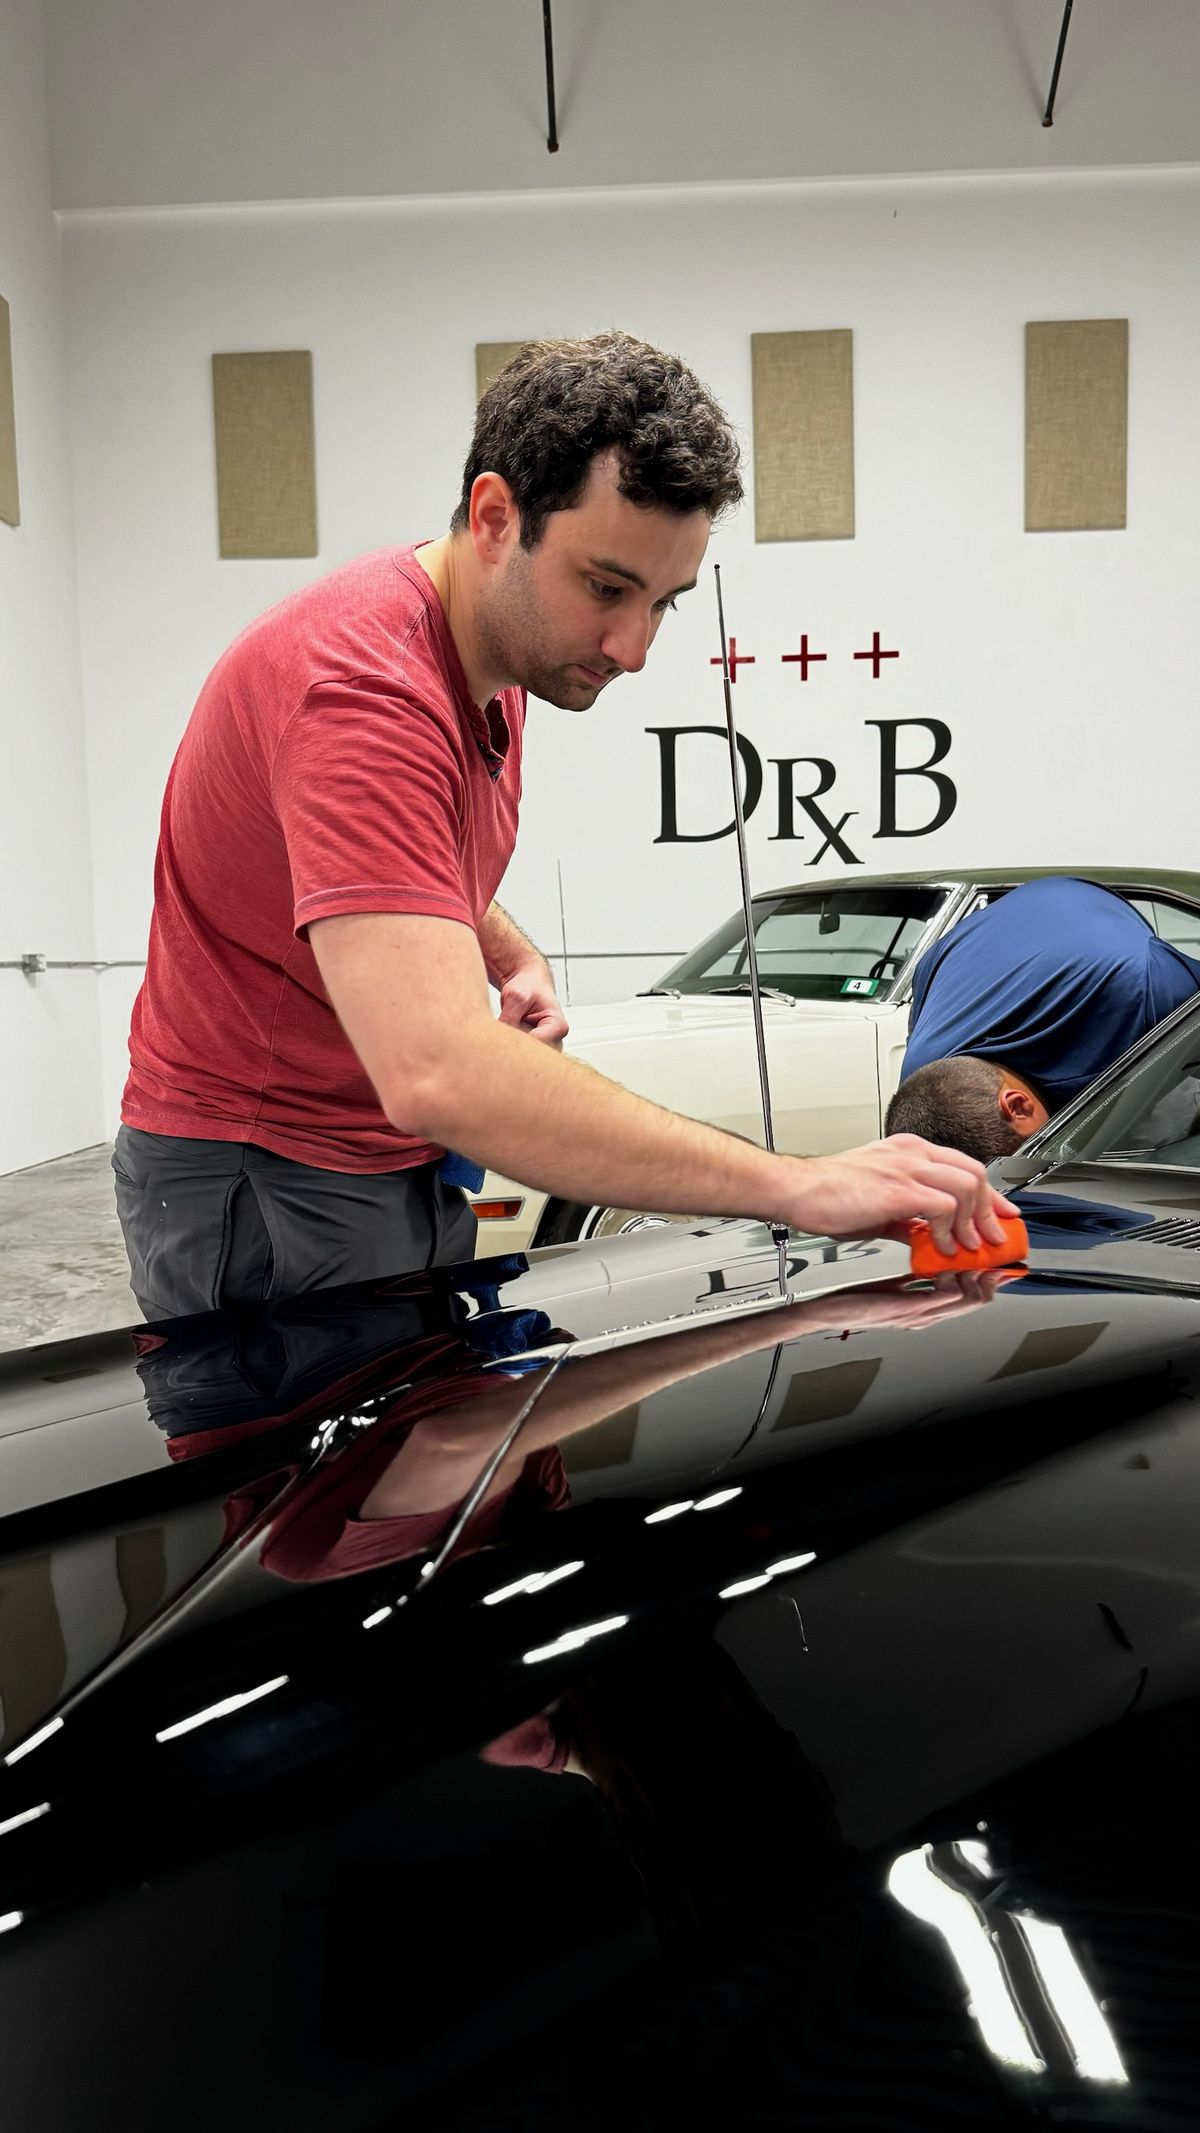
Same finger-painting technique for getting around the antennae mount.
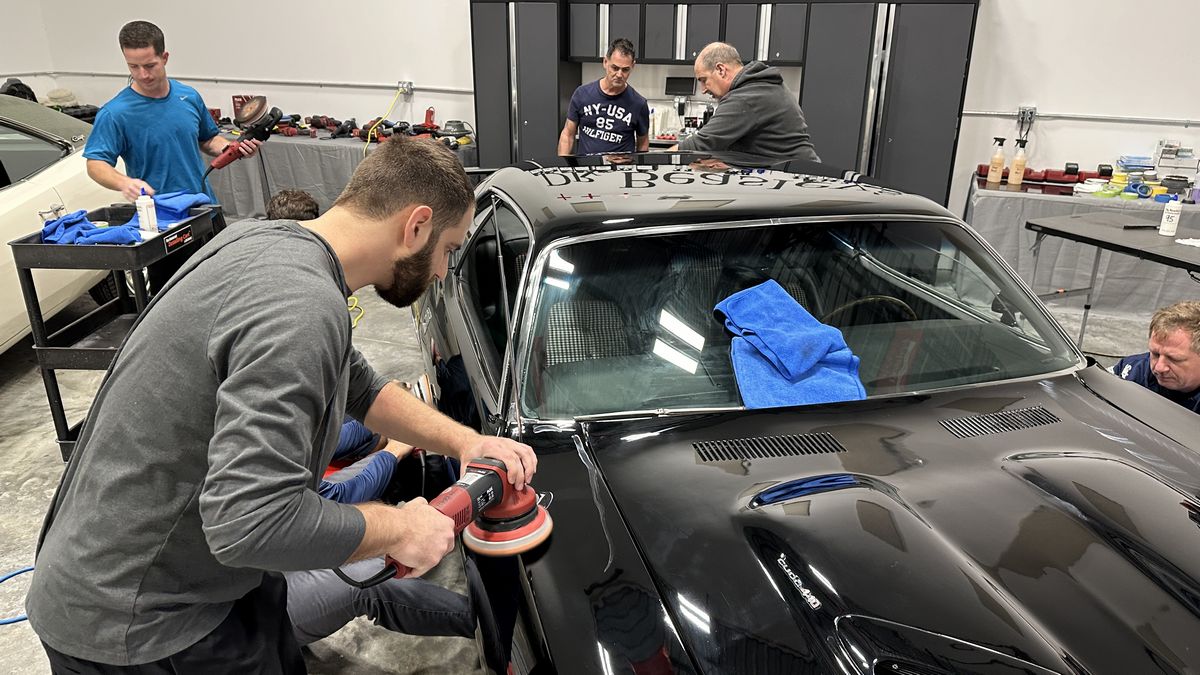


We don’t have car lifts for our classes because of the volume of cars we detail in our classes. Instead, we have super comfy Knee N Back Pads for the class to sit on.
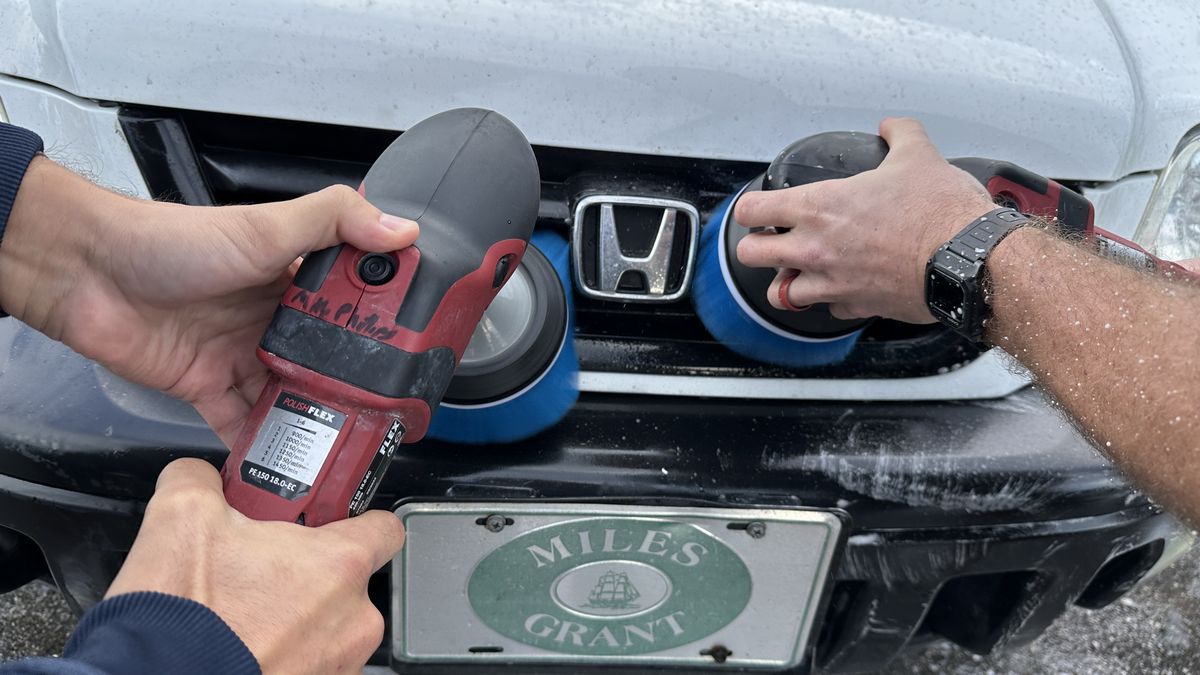
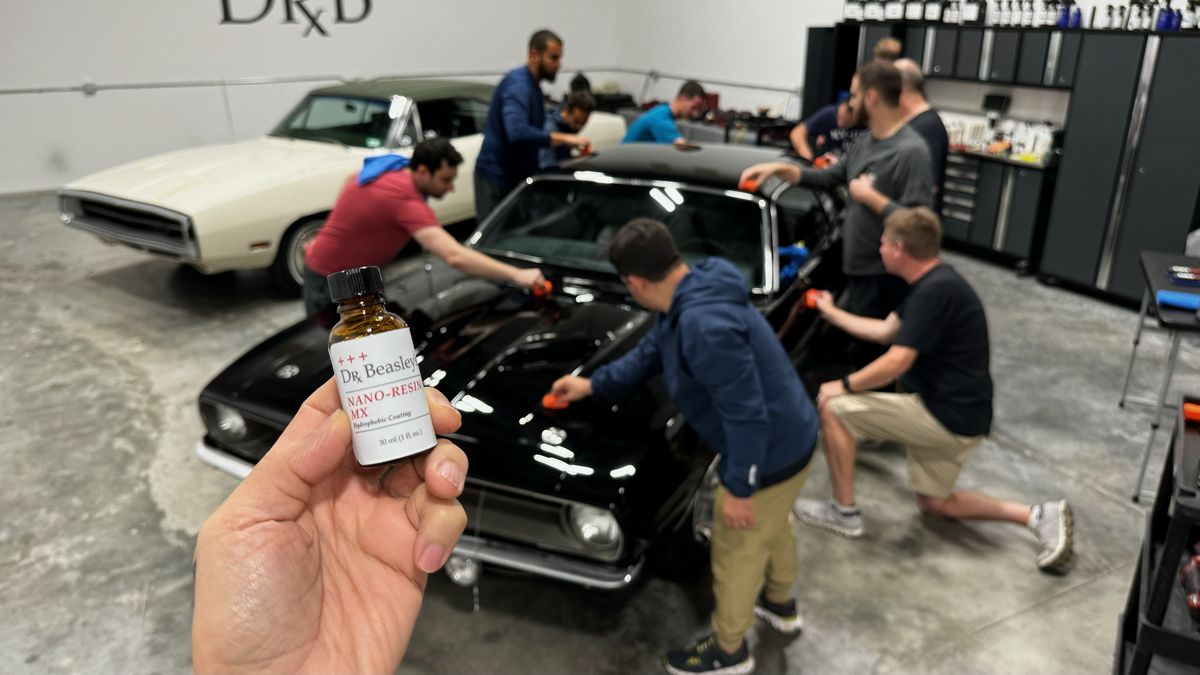
After the paint correction step, next up the class installs the Dr. Beasley’s Nano-Resin MX Ceramic Coating.
Machine Apply Tire Dressing
In the same way machine scrubbing tires gets them cleaner, faster, why not machine apply the tire dressing? The spinning brush bristles do a much better job of working the Dr. Beasley’s Tire Conditioner over the sidewall.

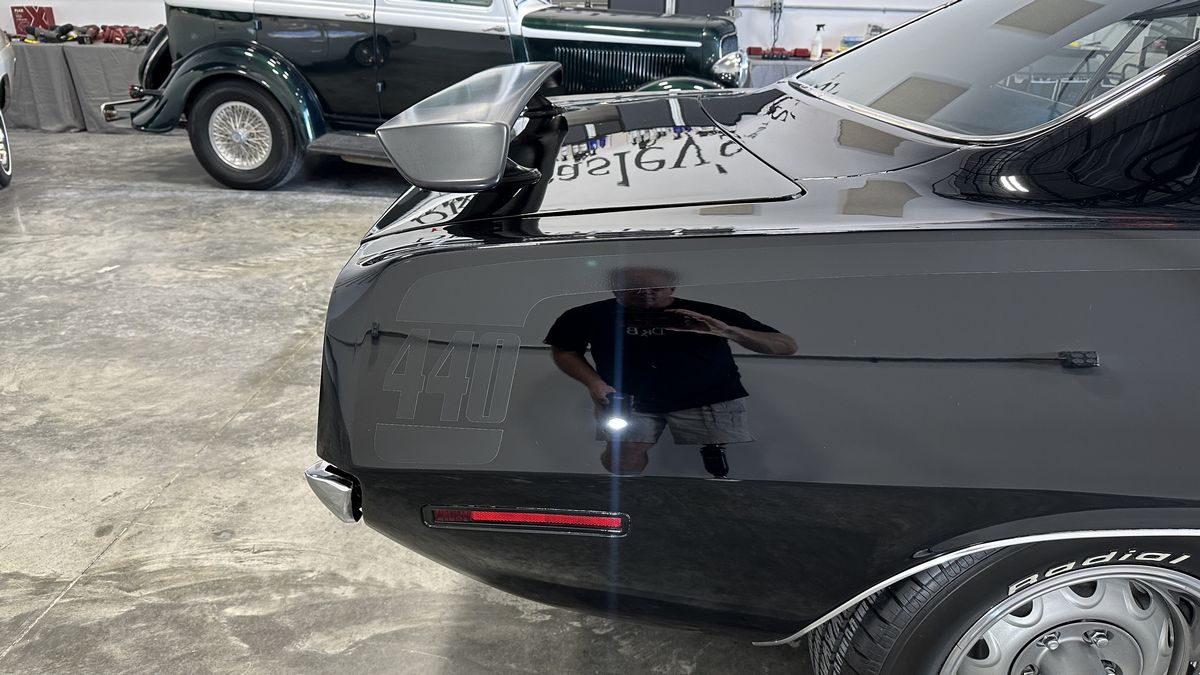
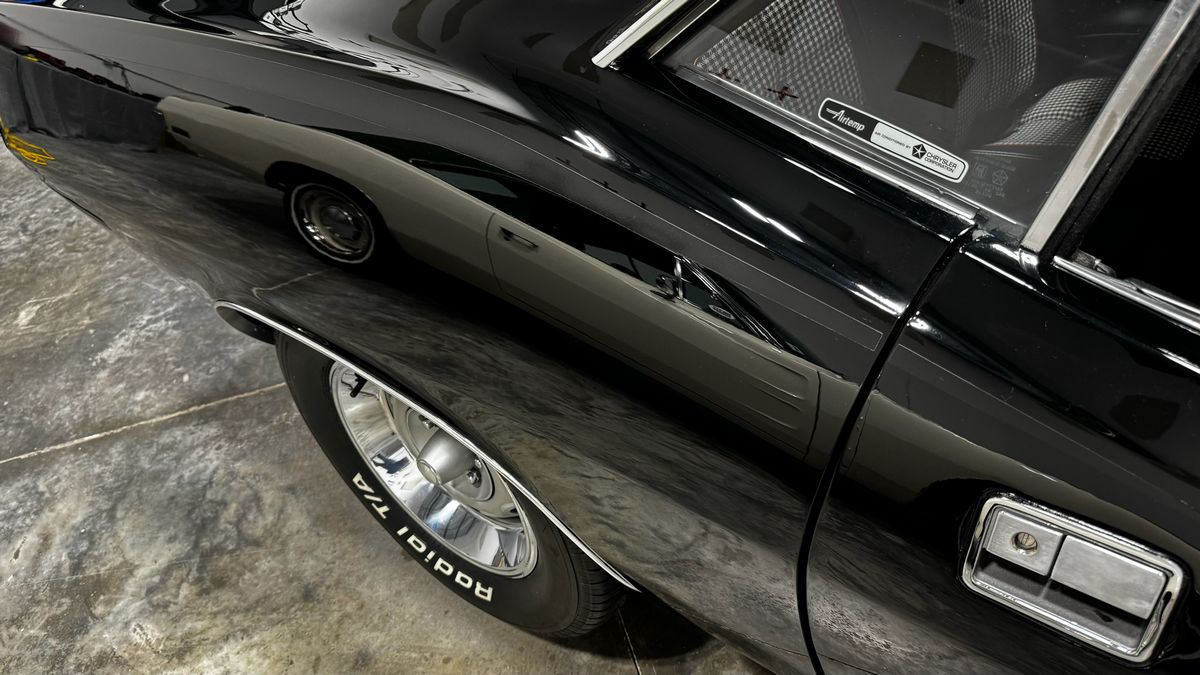
Here’s the final results!
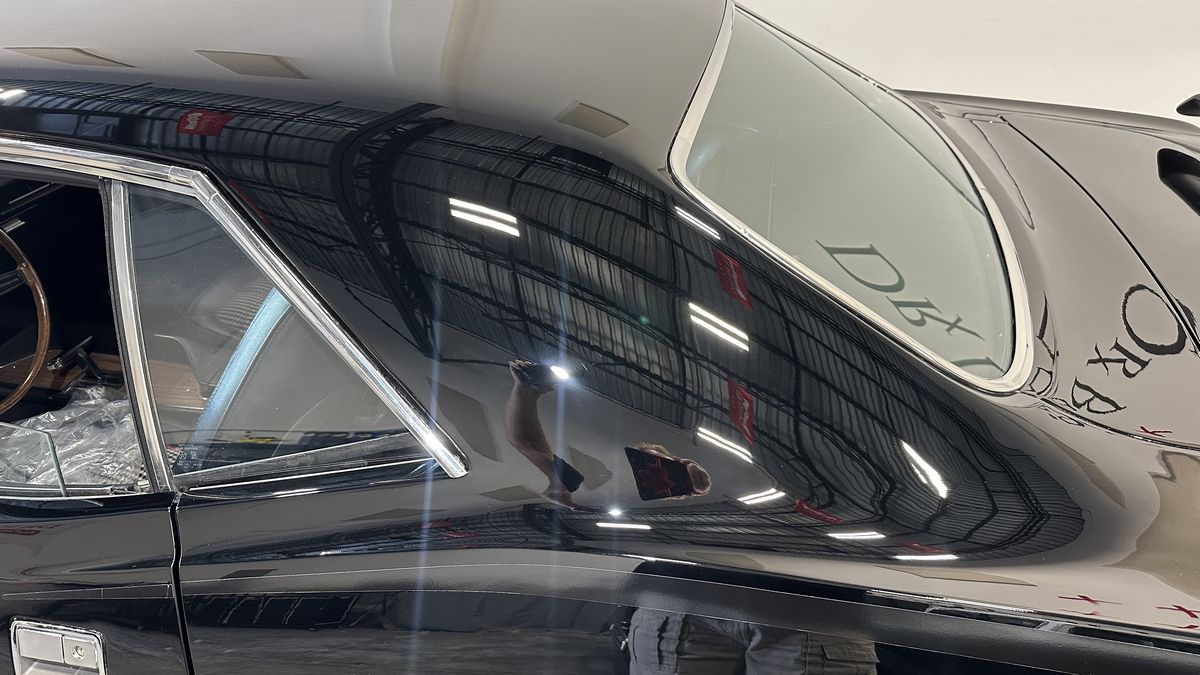
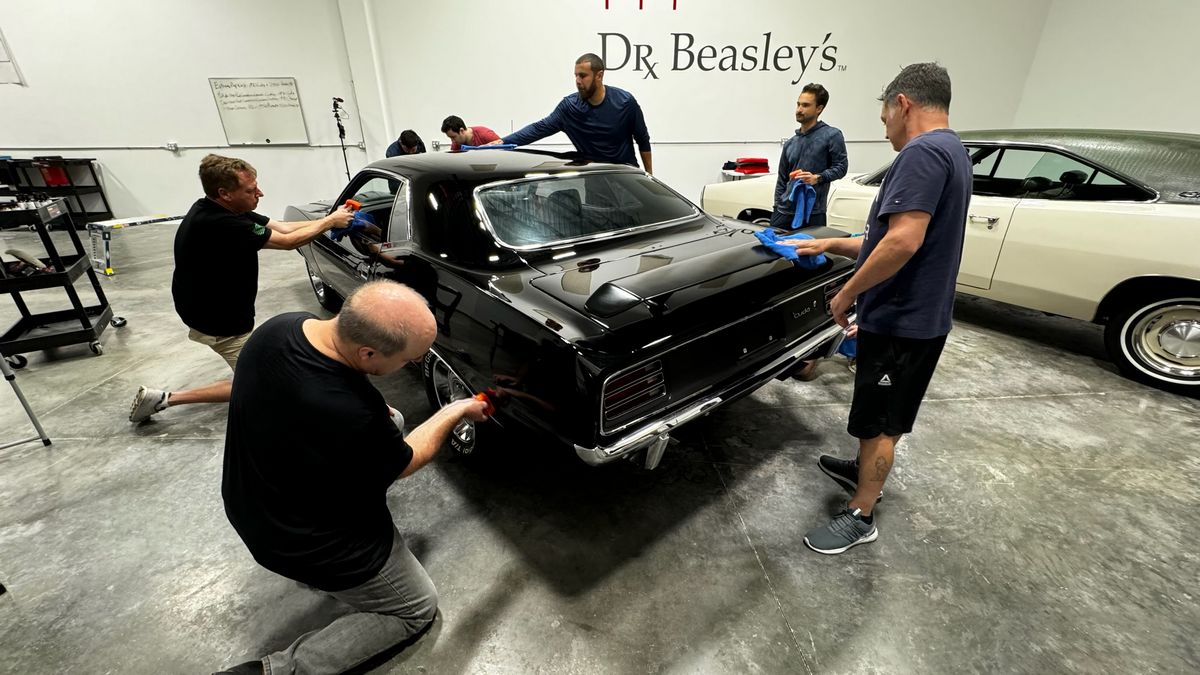
A Mirror Finish Reflection Shot of the 1970 Charger!
A Mirror Reflection of the 1935 Plymouth Streetrod!
Here’s the results from machine scrubbing followed by machine applying the tire dressing.
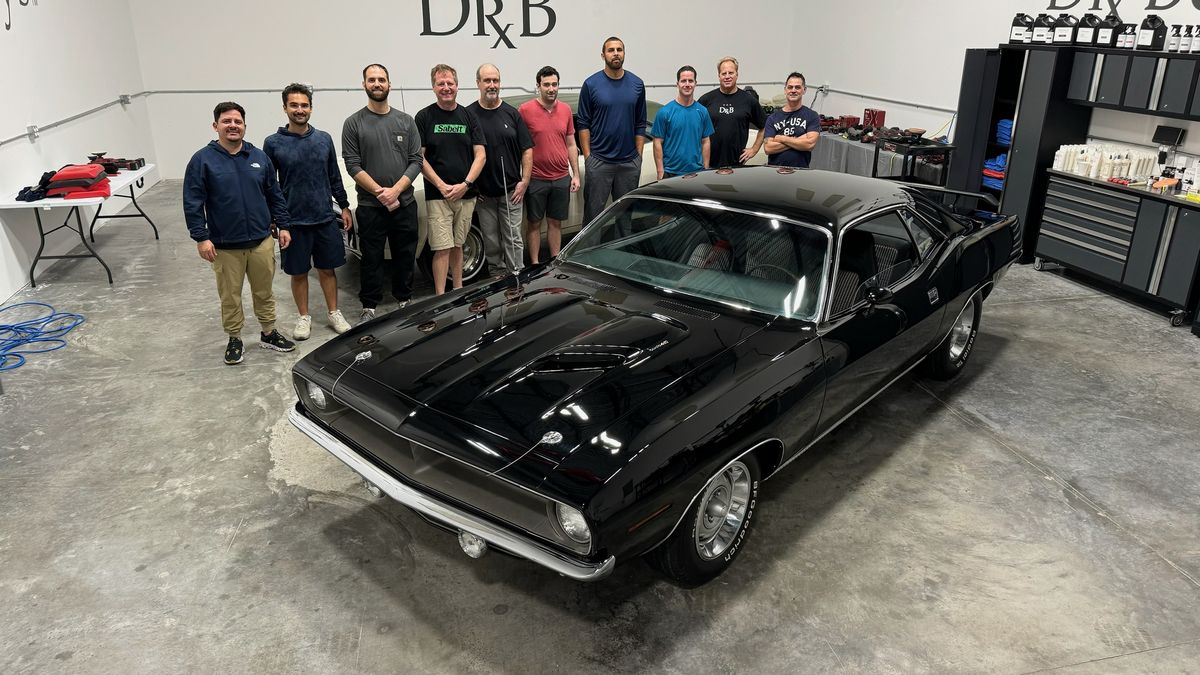
Amazing work everyone!
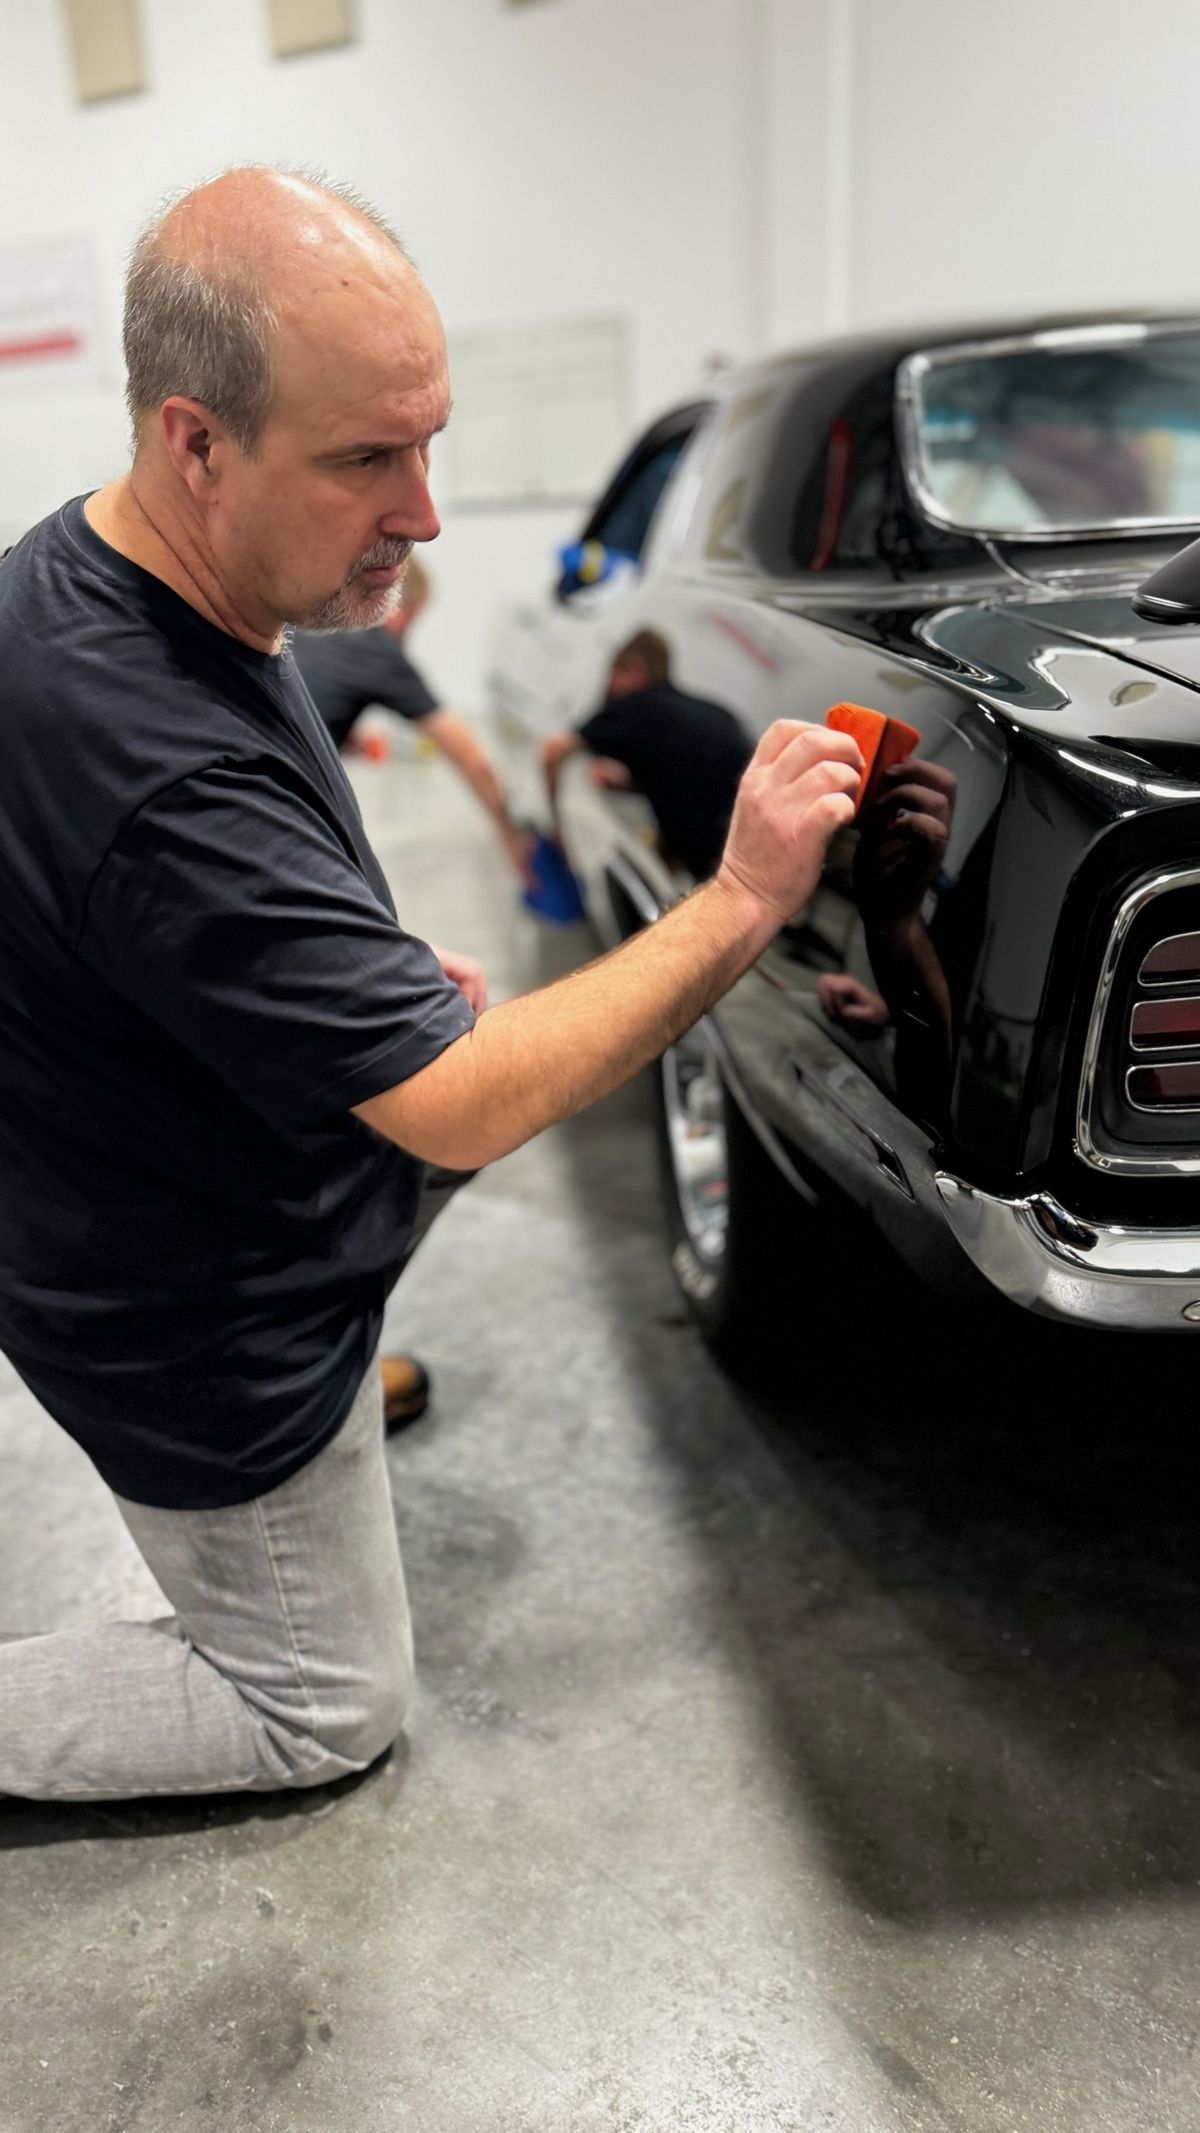
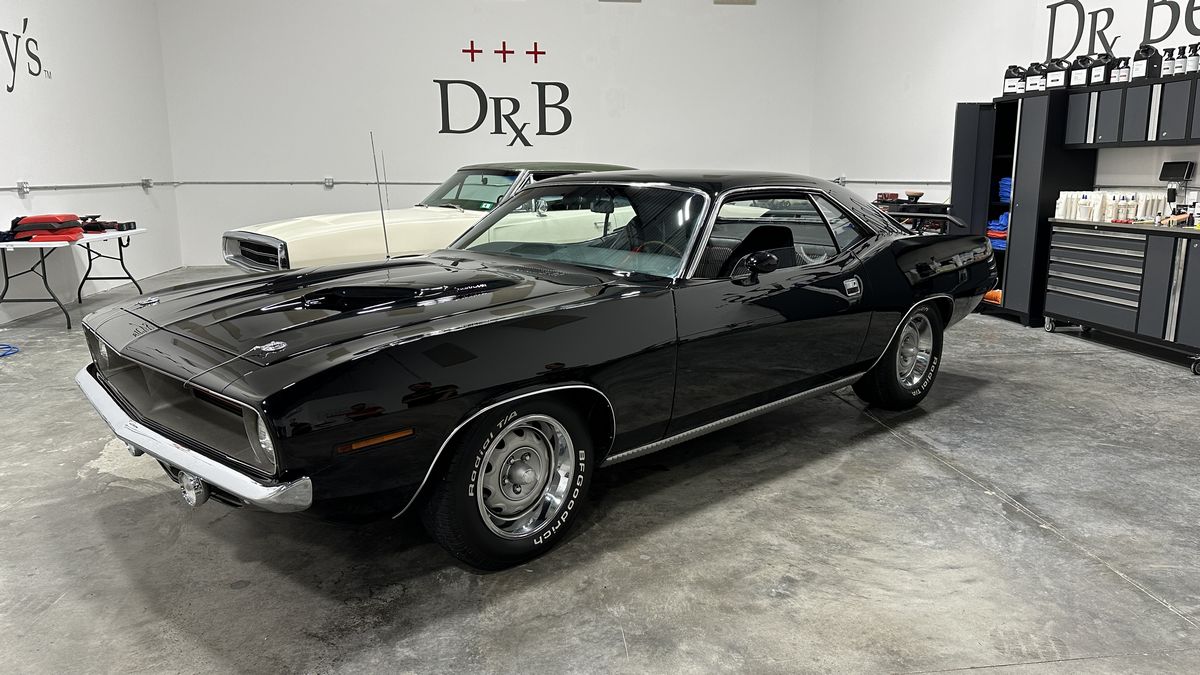
This 440 Cuda now has a respectable finish to go with its iconic status in the muscle car world!
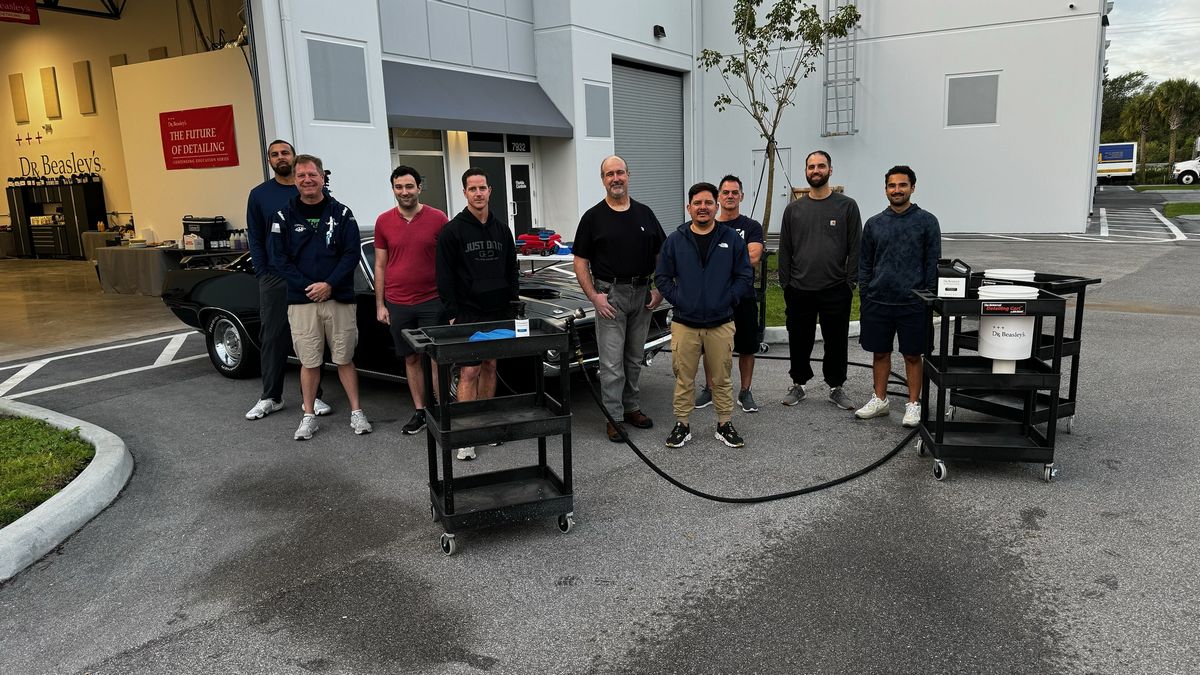
My assistant and video, photography and overall technical genius – Yancy Martinez!
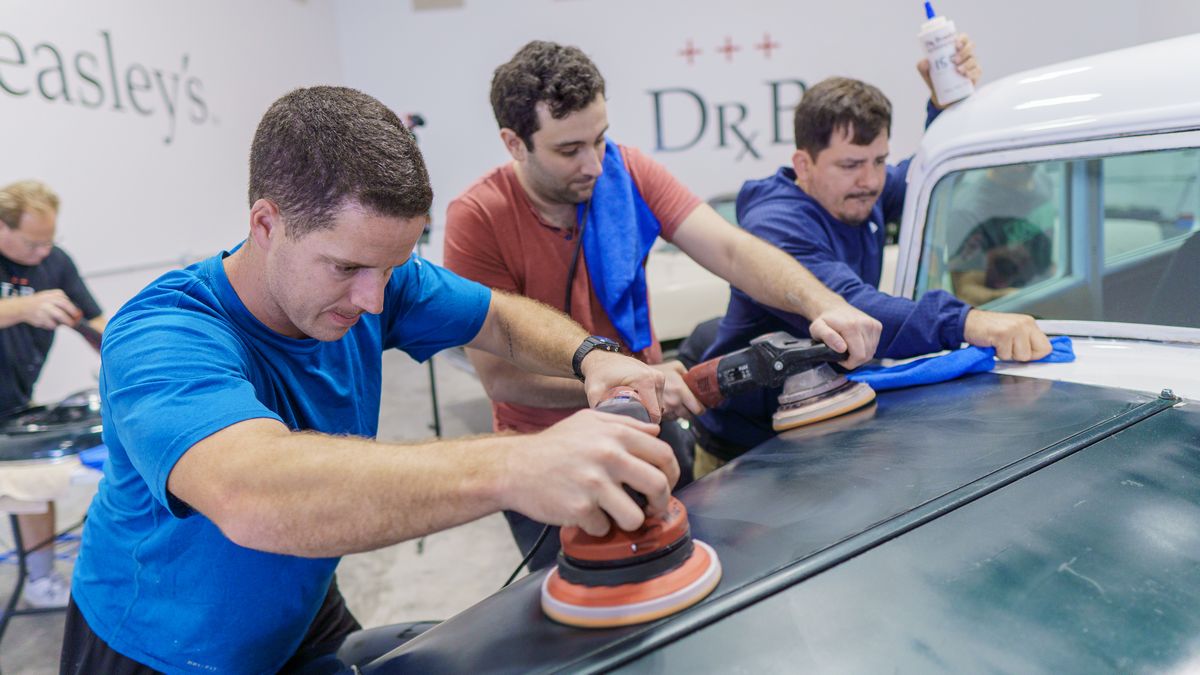
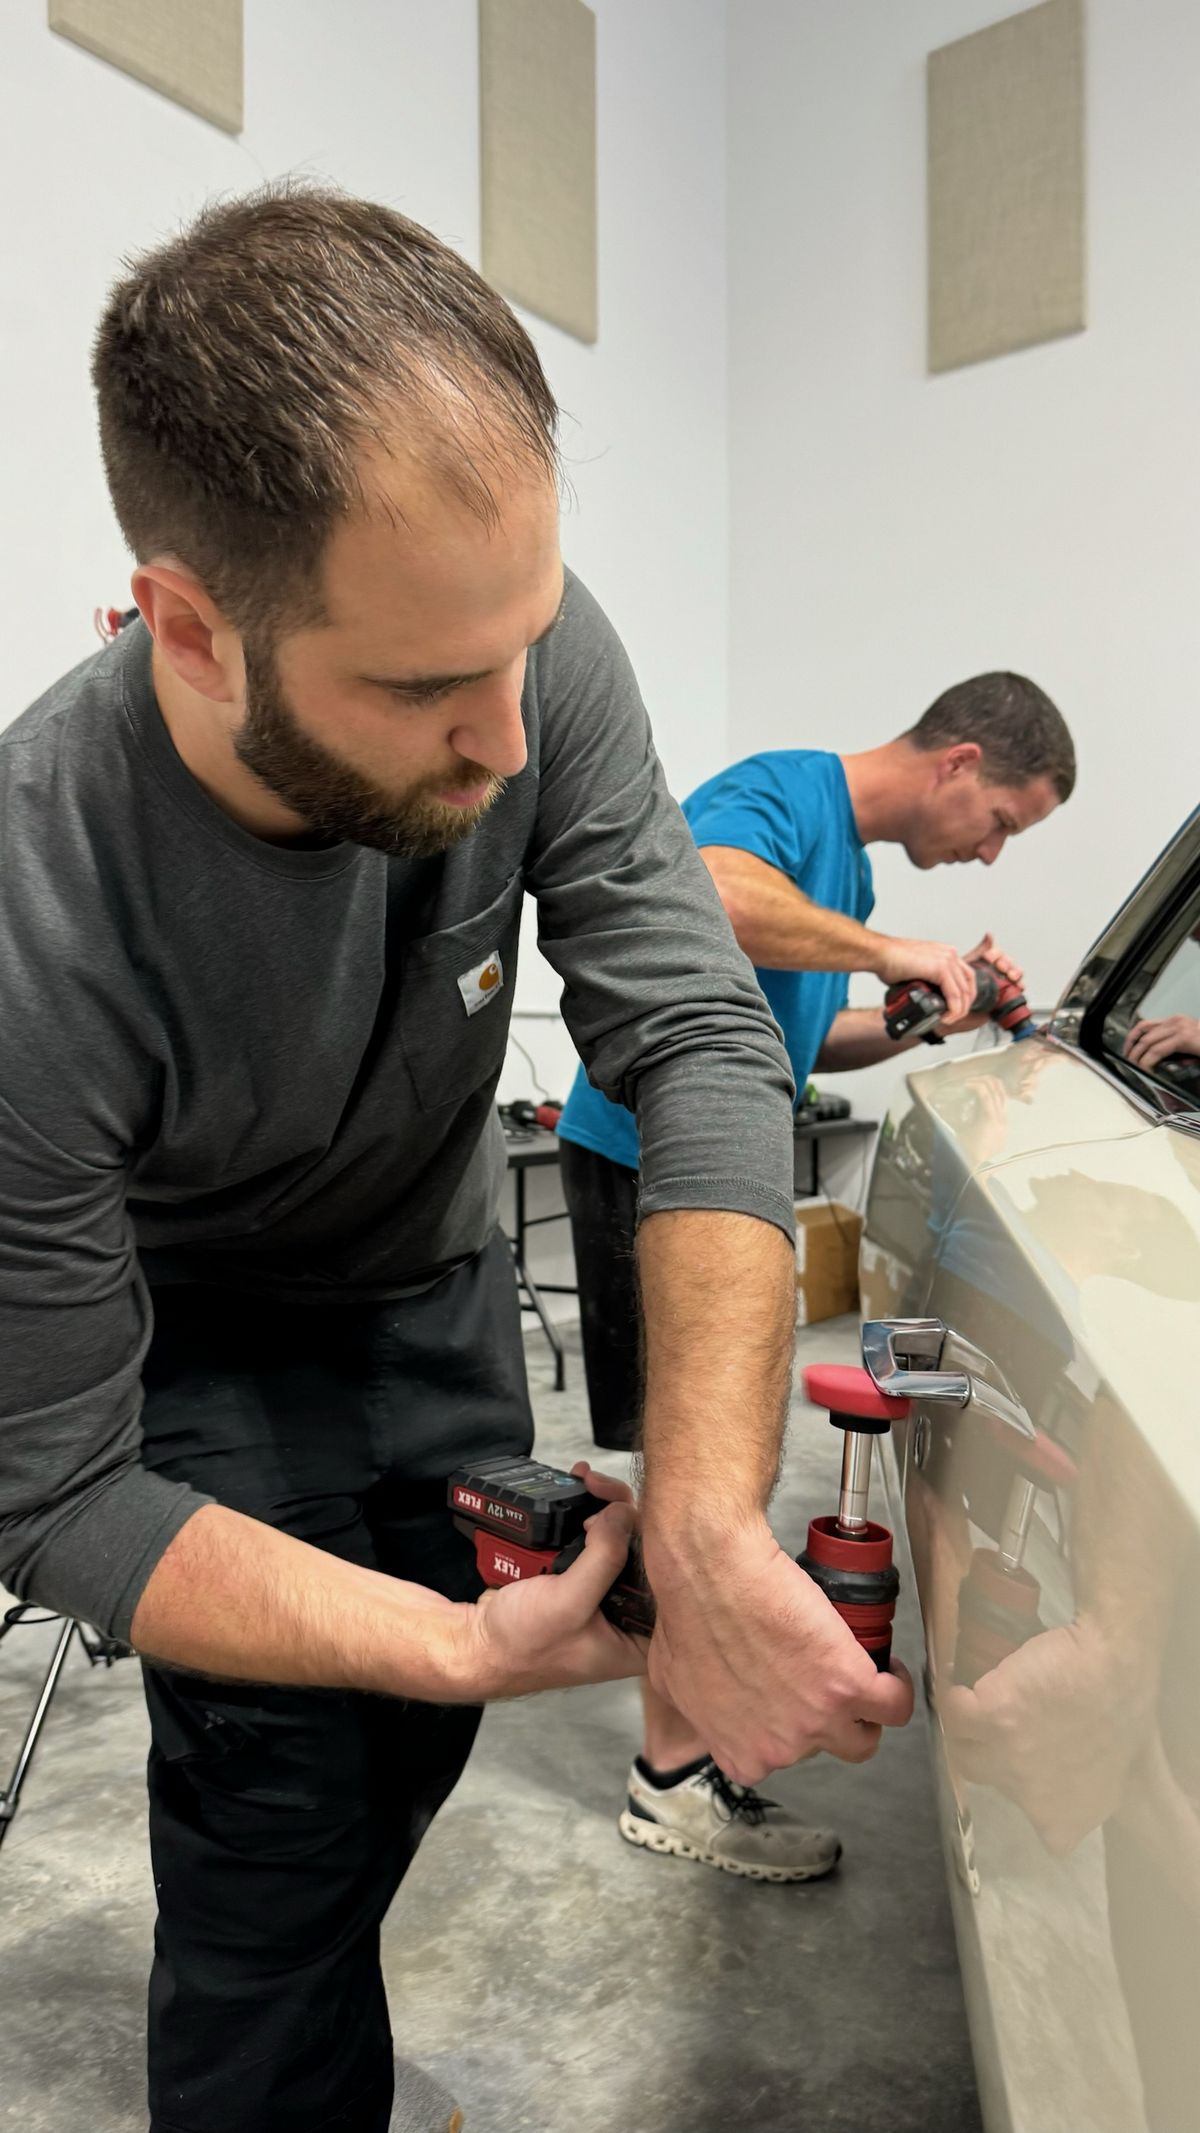
Saturday Afternoon Session- Rotary Polishers – Paint Correction & Ceramic Coatings
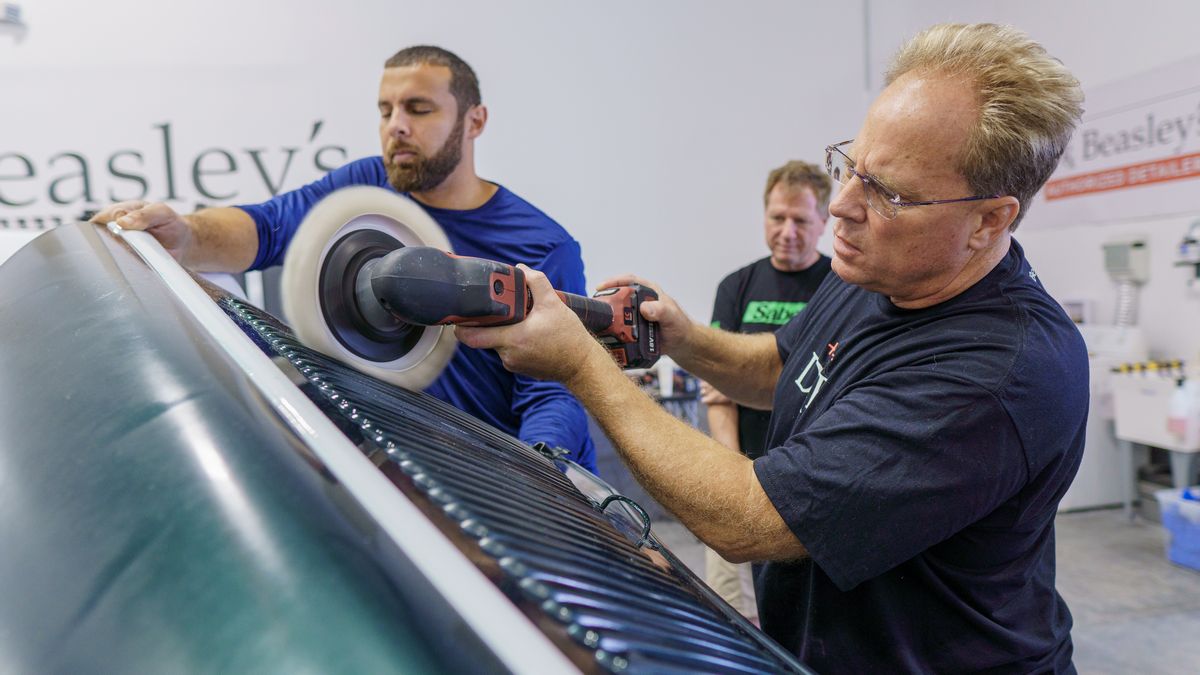
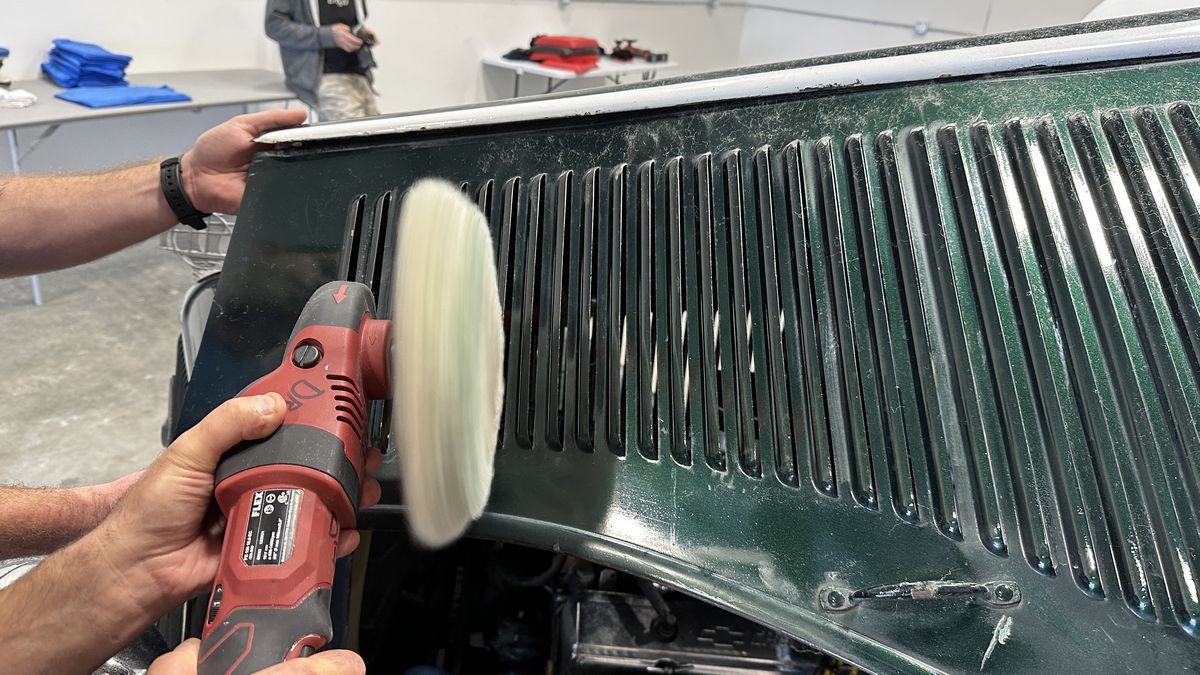
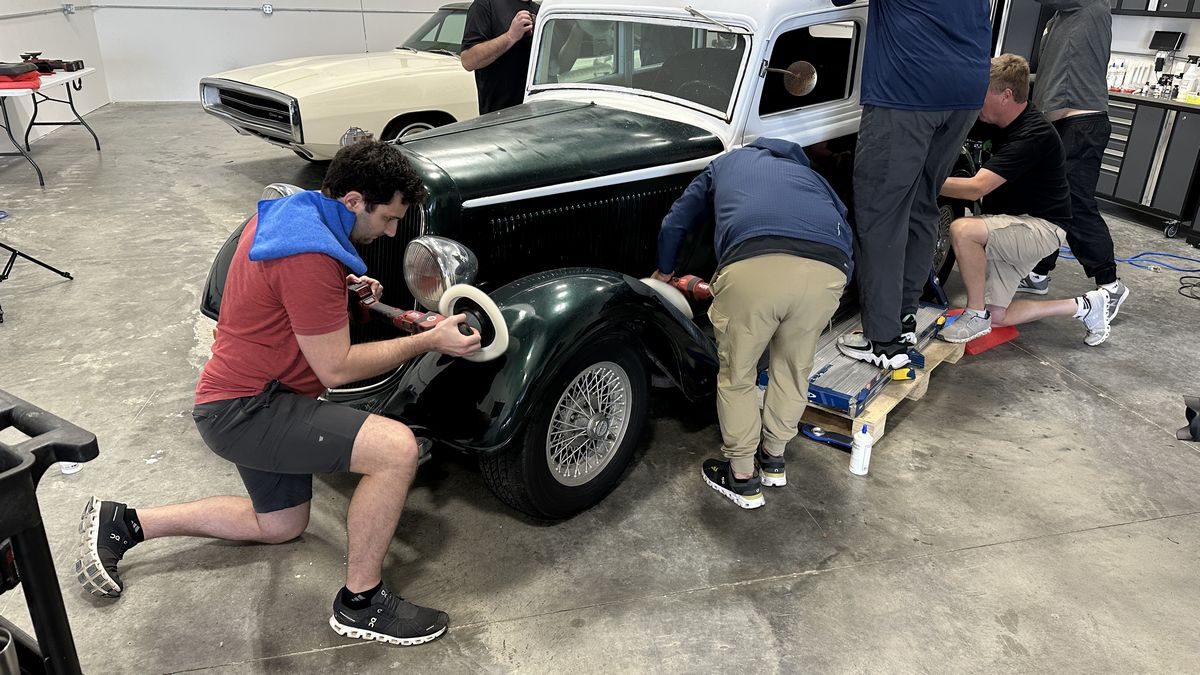
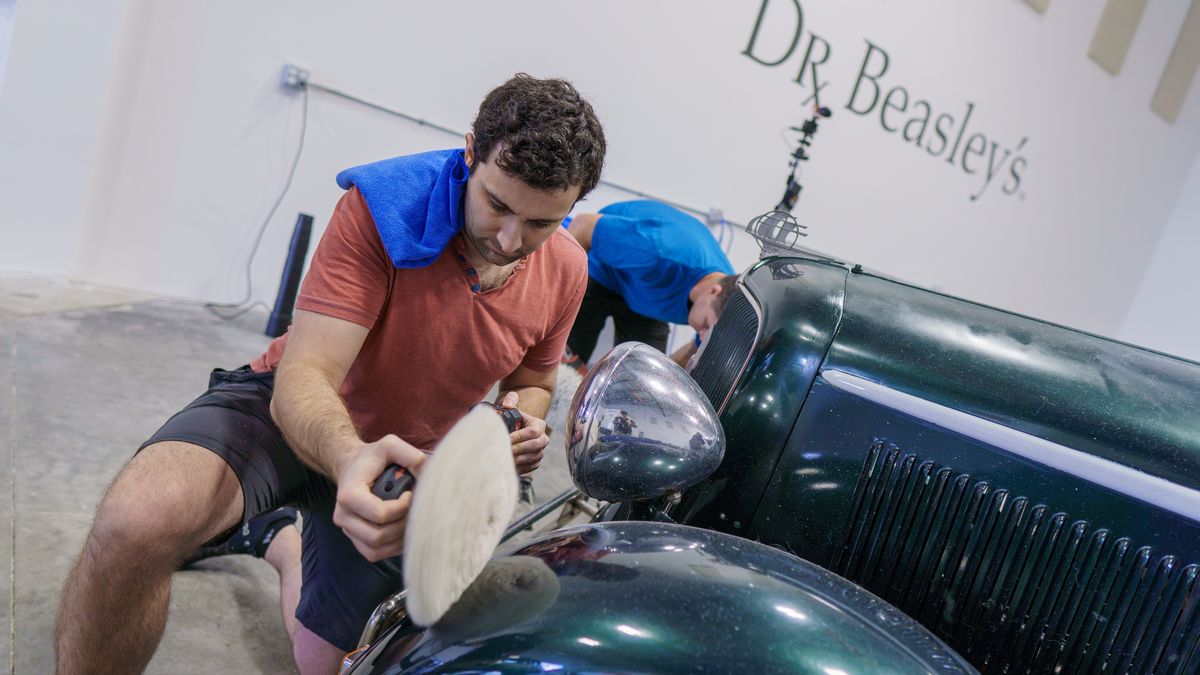
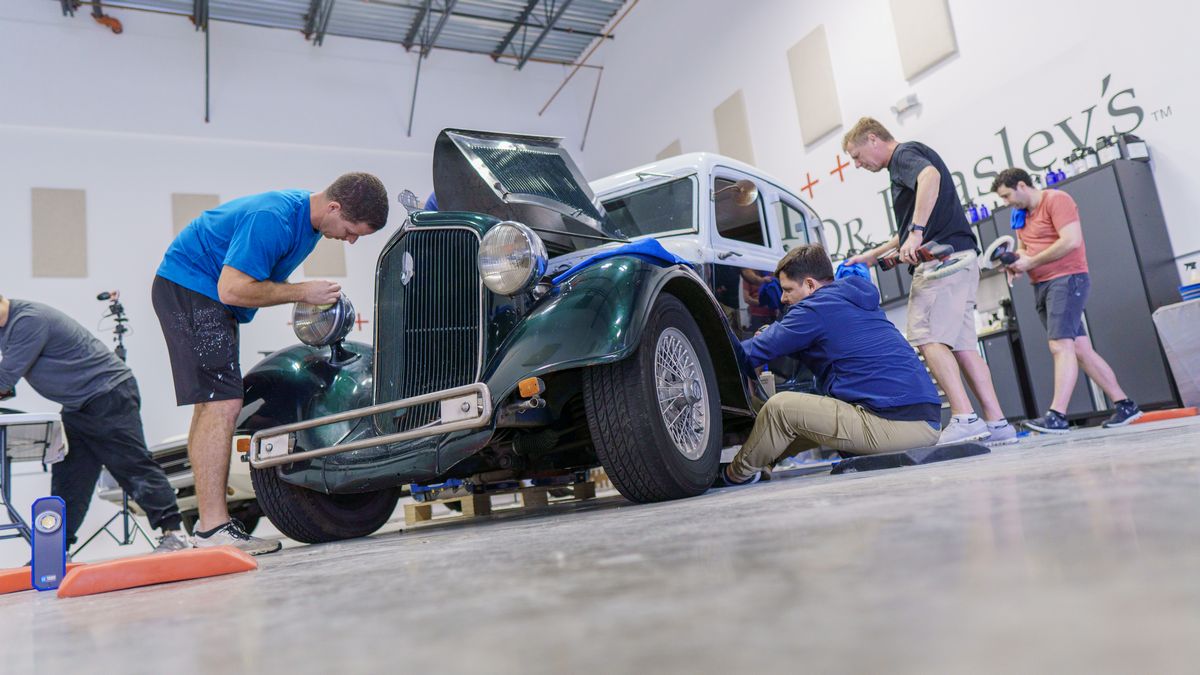
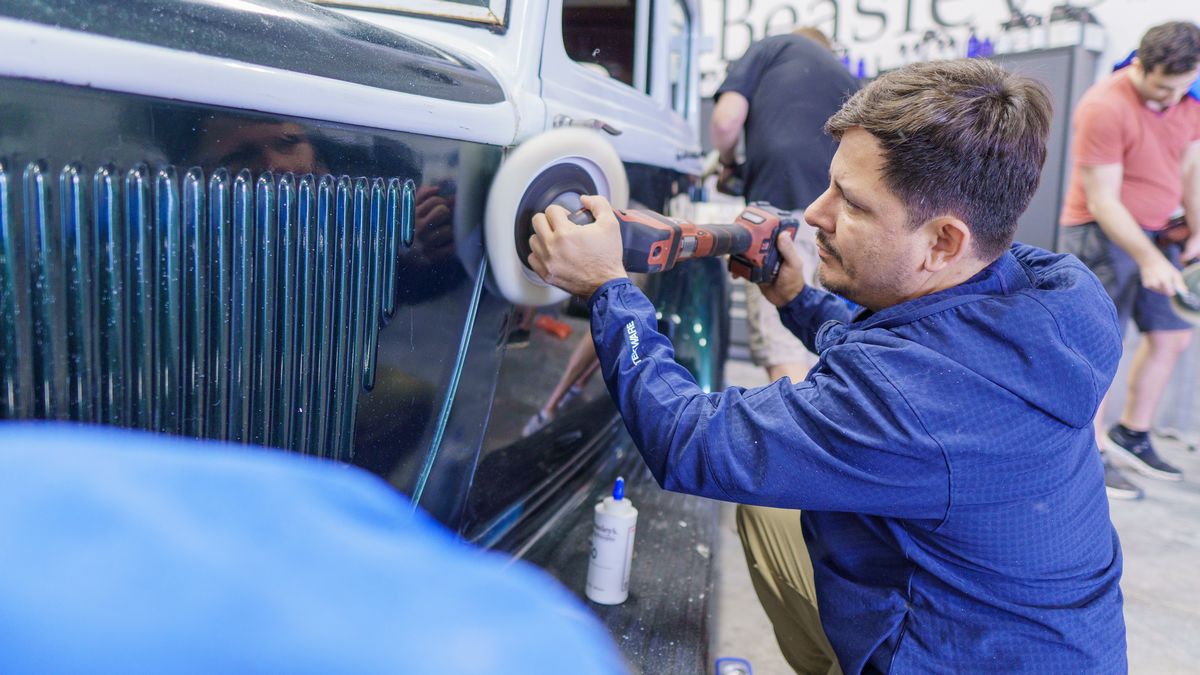
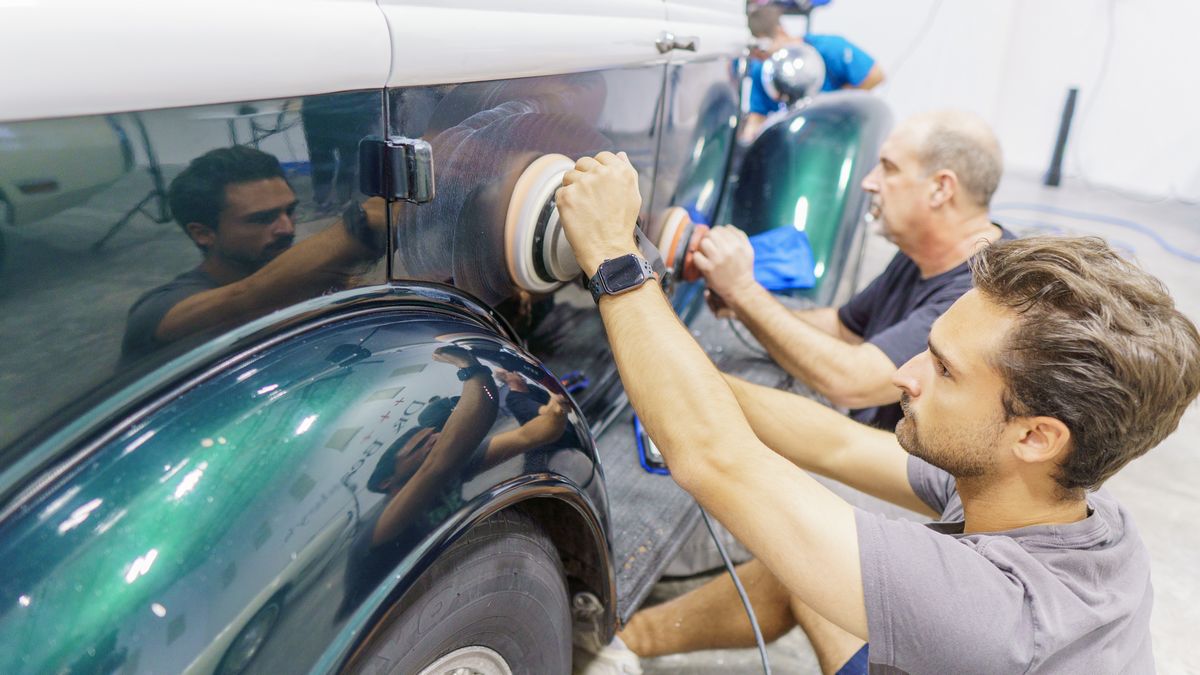
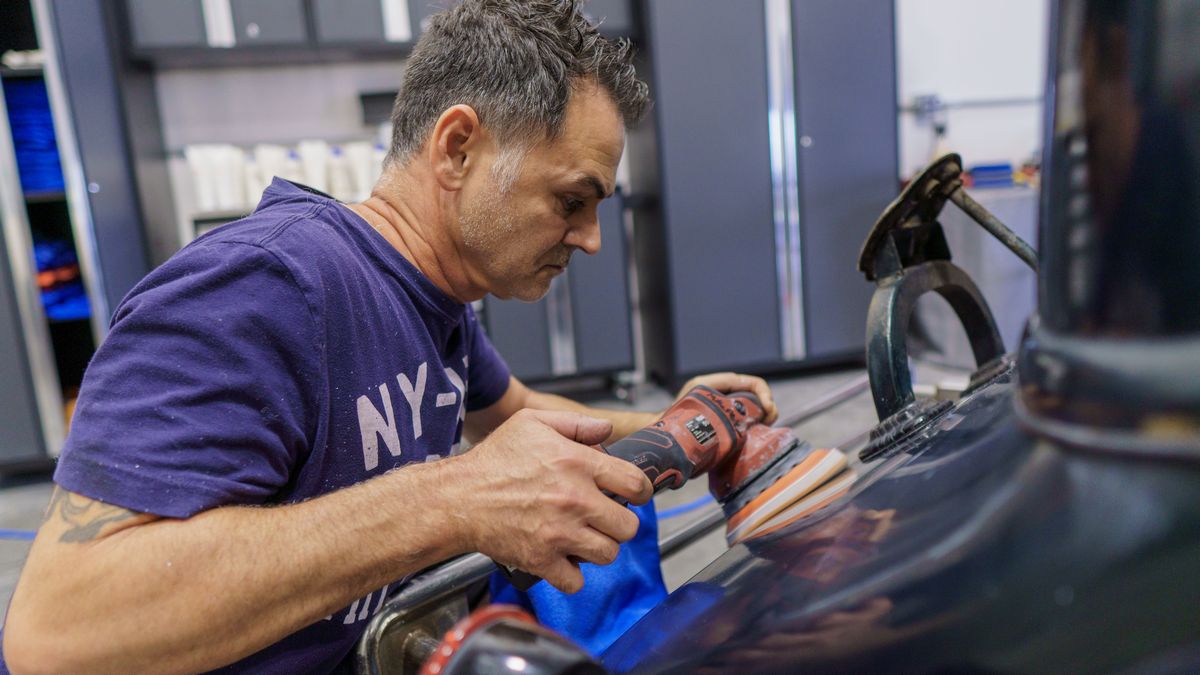
Next up is the 1935 Plymouth 4-Door Sedan Streetrod. The paint on this car is ROUGH but this will make for a GREAT training experience.
Buffing out Cowel Side Panels
Classic cars like this 1935 Plymouth have side cowl panels that open up like gull wings. In order to safely buff the neglected paint, you usually want a couple of strong people to hold and support the panel while someone else does the paint correction. Before turning the class loose, I demonstrate one way to tackle oxidized louvers and cowl panels.
It’s GO TIME!


After the rotary step, the class switches over to gear-driven orbital polishers to remove any holograms and maximize gloss and shine.
Once the last square inch of paint is polished, it’s time to install the ceramic coating.
Wow! What a Transformation!
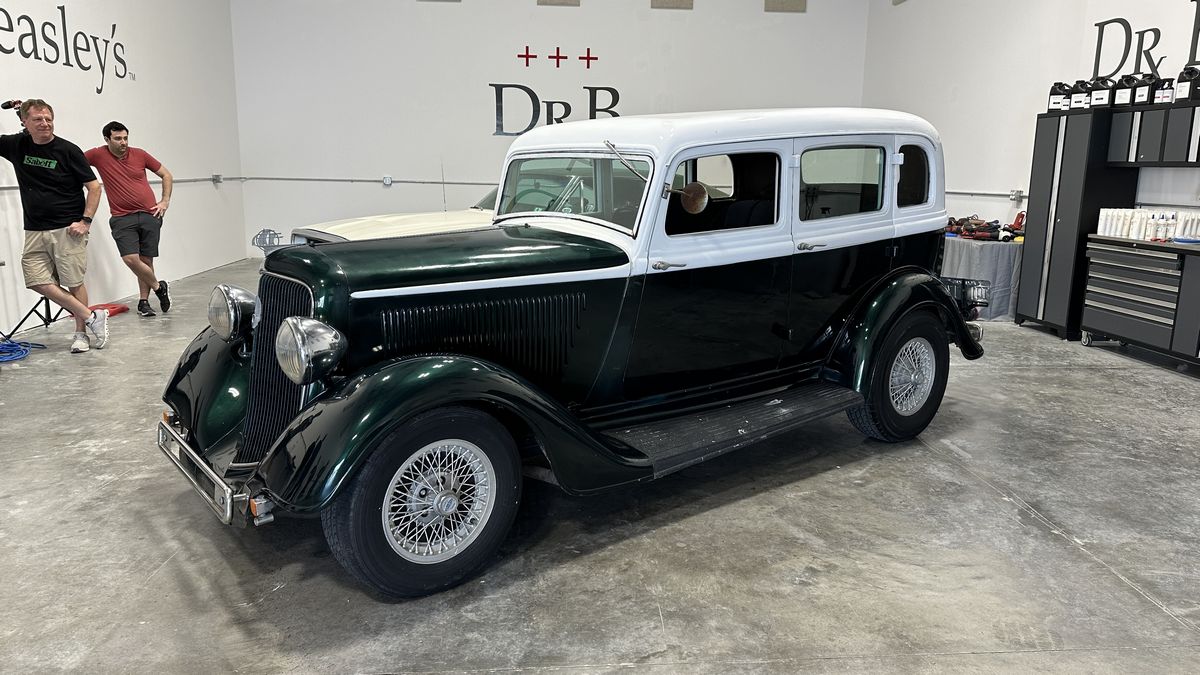

Freaking Amazing Work Team!

Just to note
Before the car left, we re-machine scrubbed the rubber running boards and then applied a water-based dressing to complete the just detailed look.
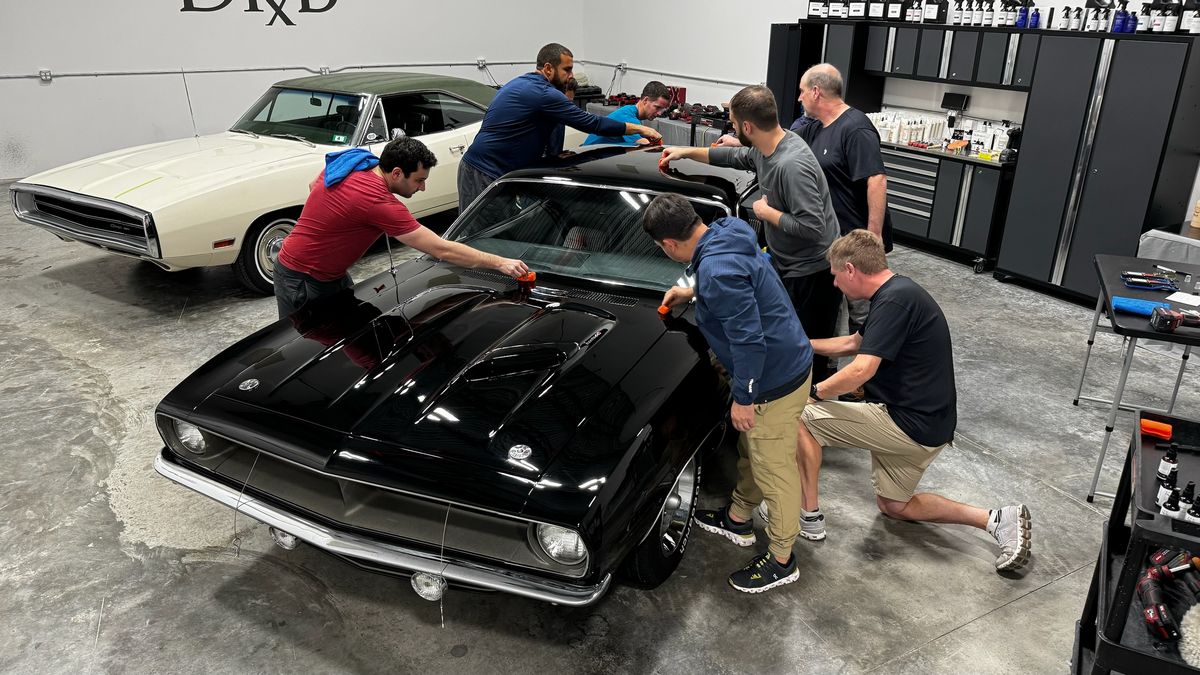
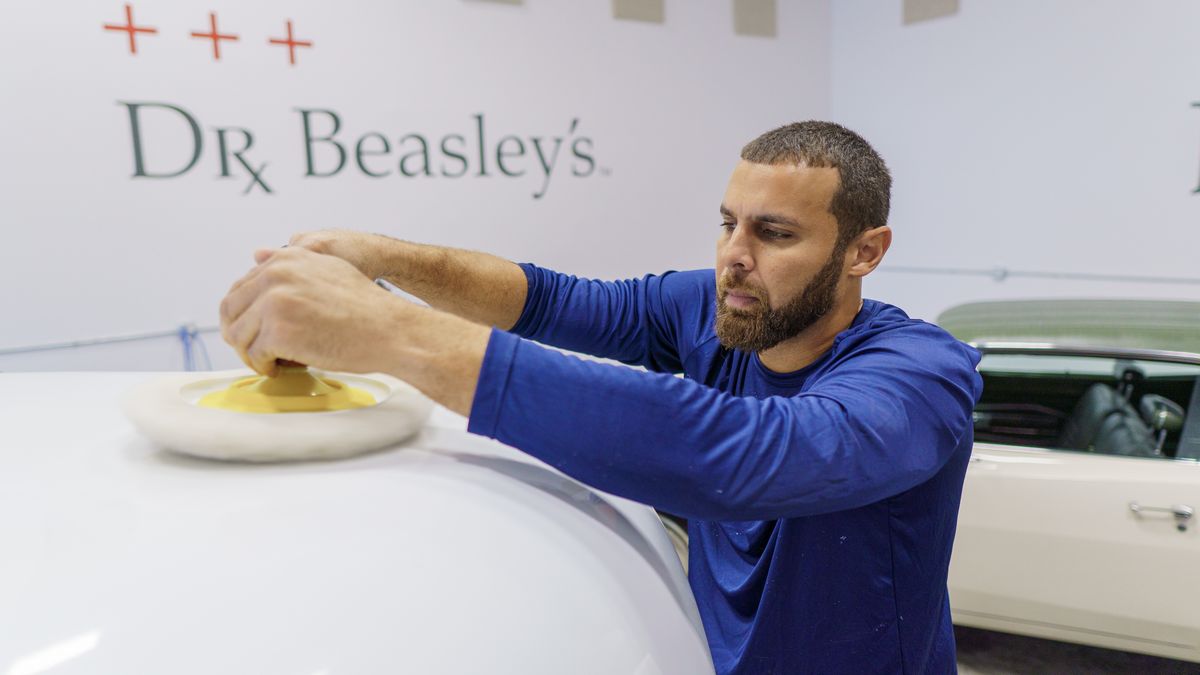
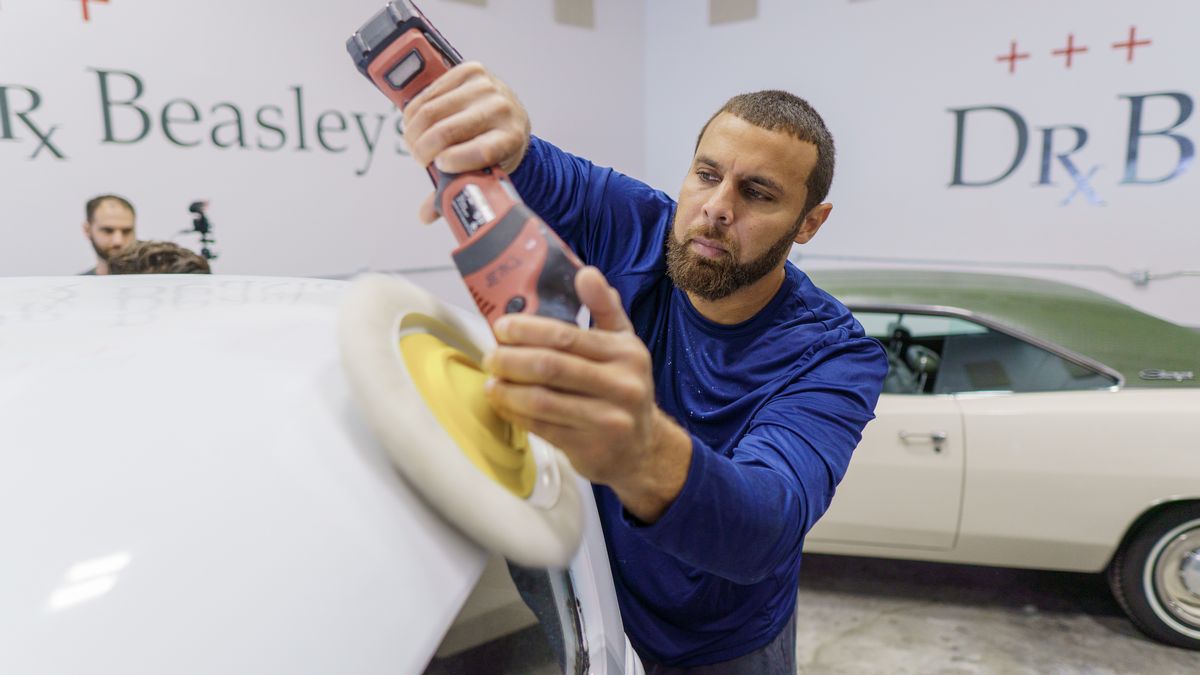
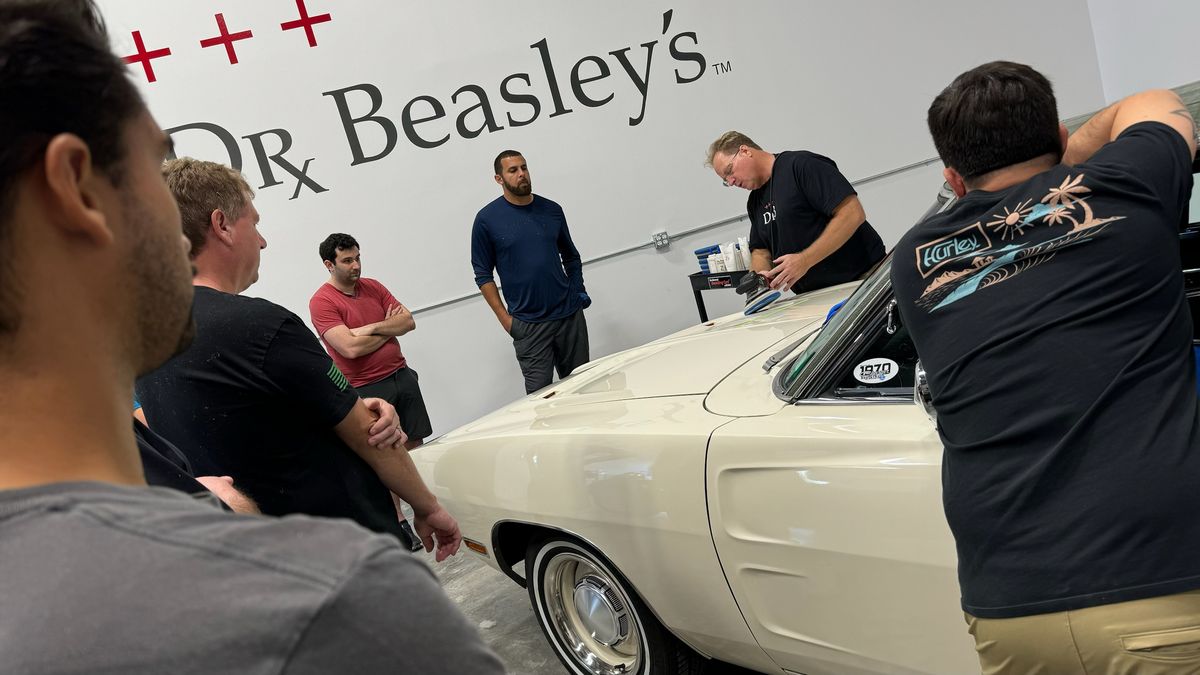
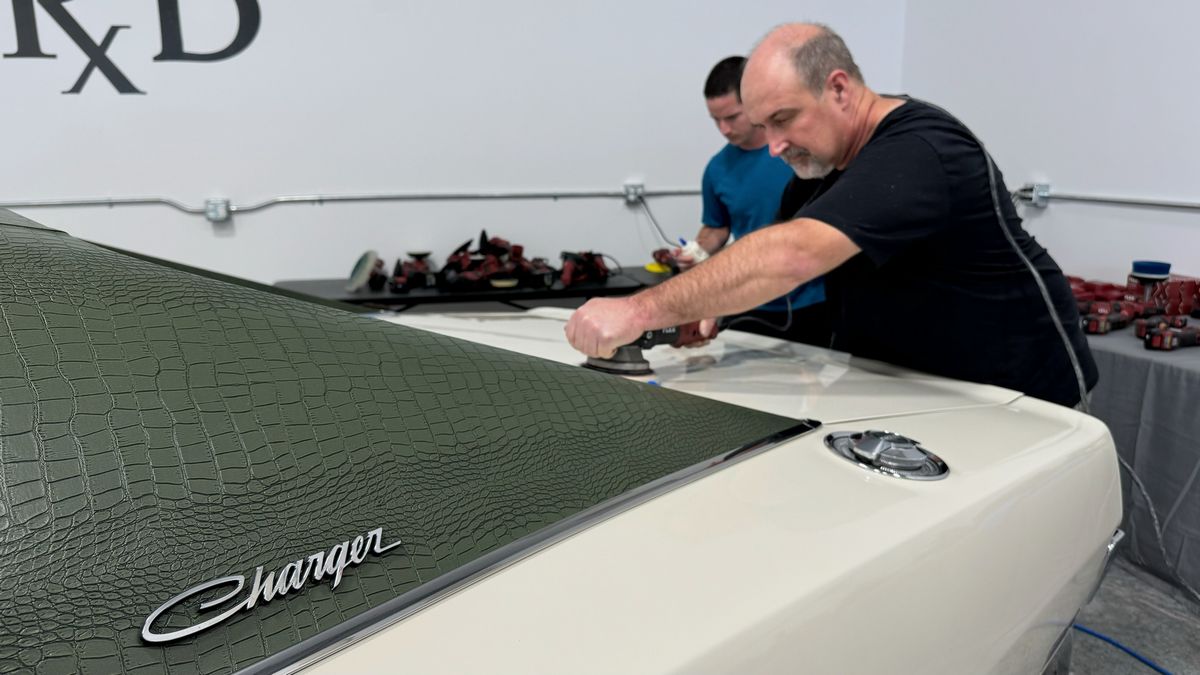
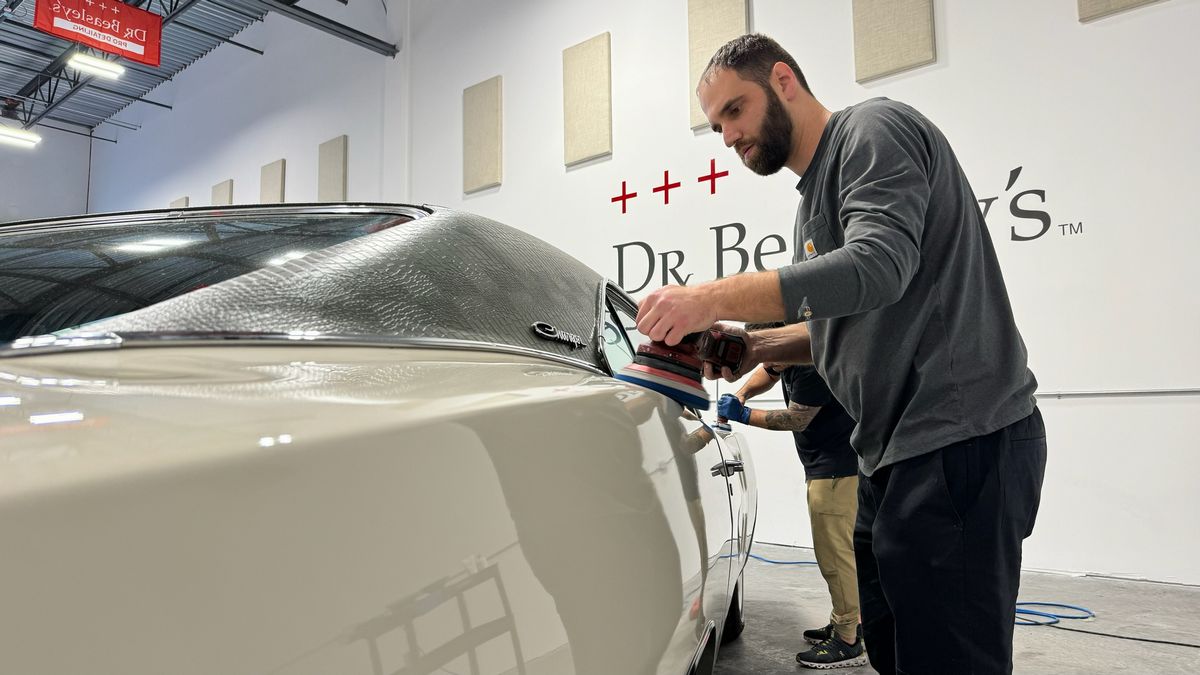
Saturday Late Afternoon Session- 1-Step Ceramic AIO Paint Correction and & Protection
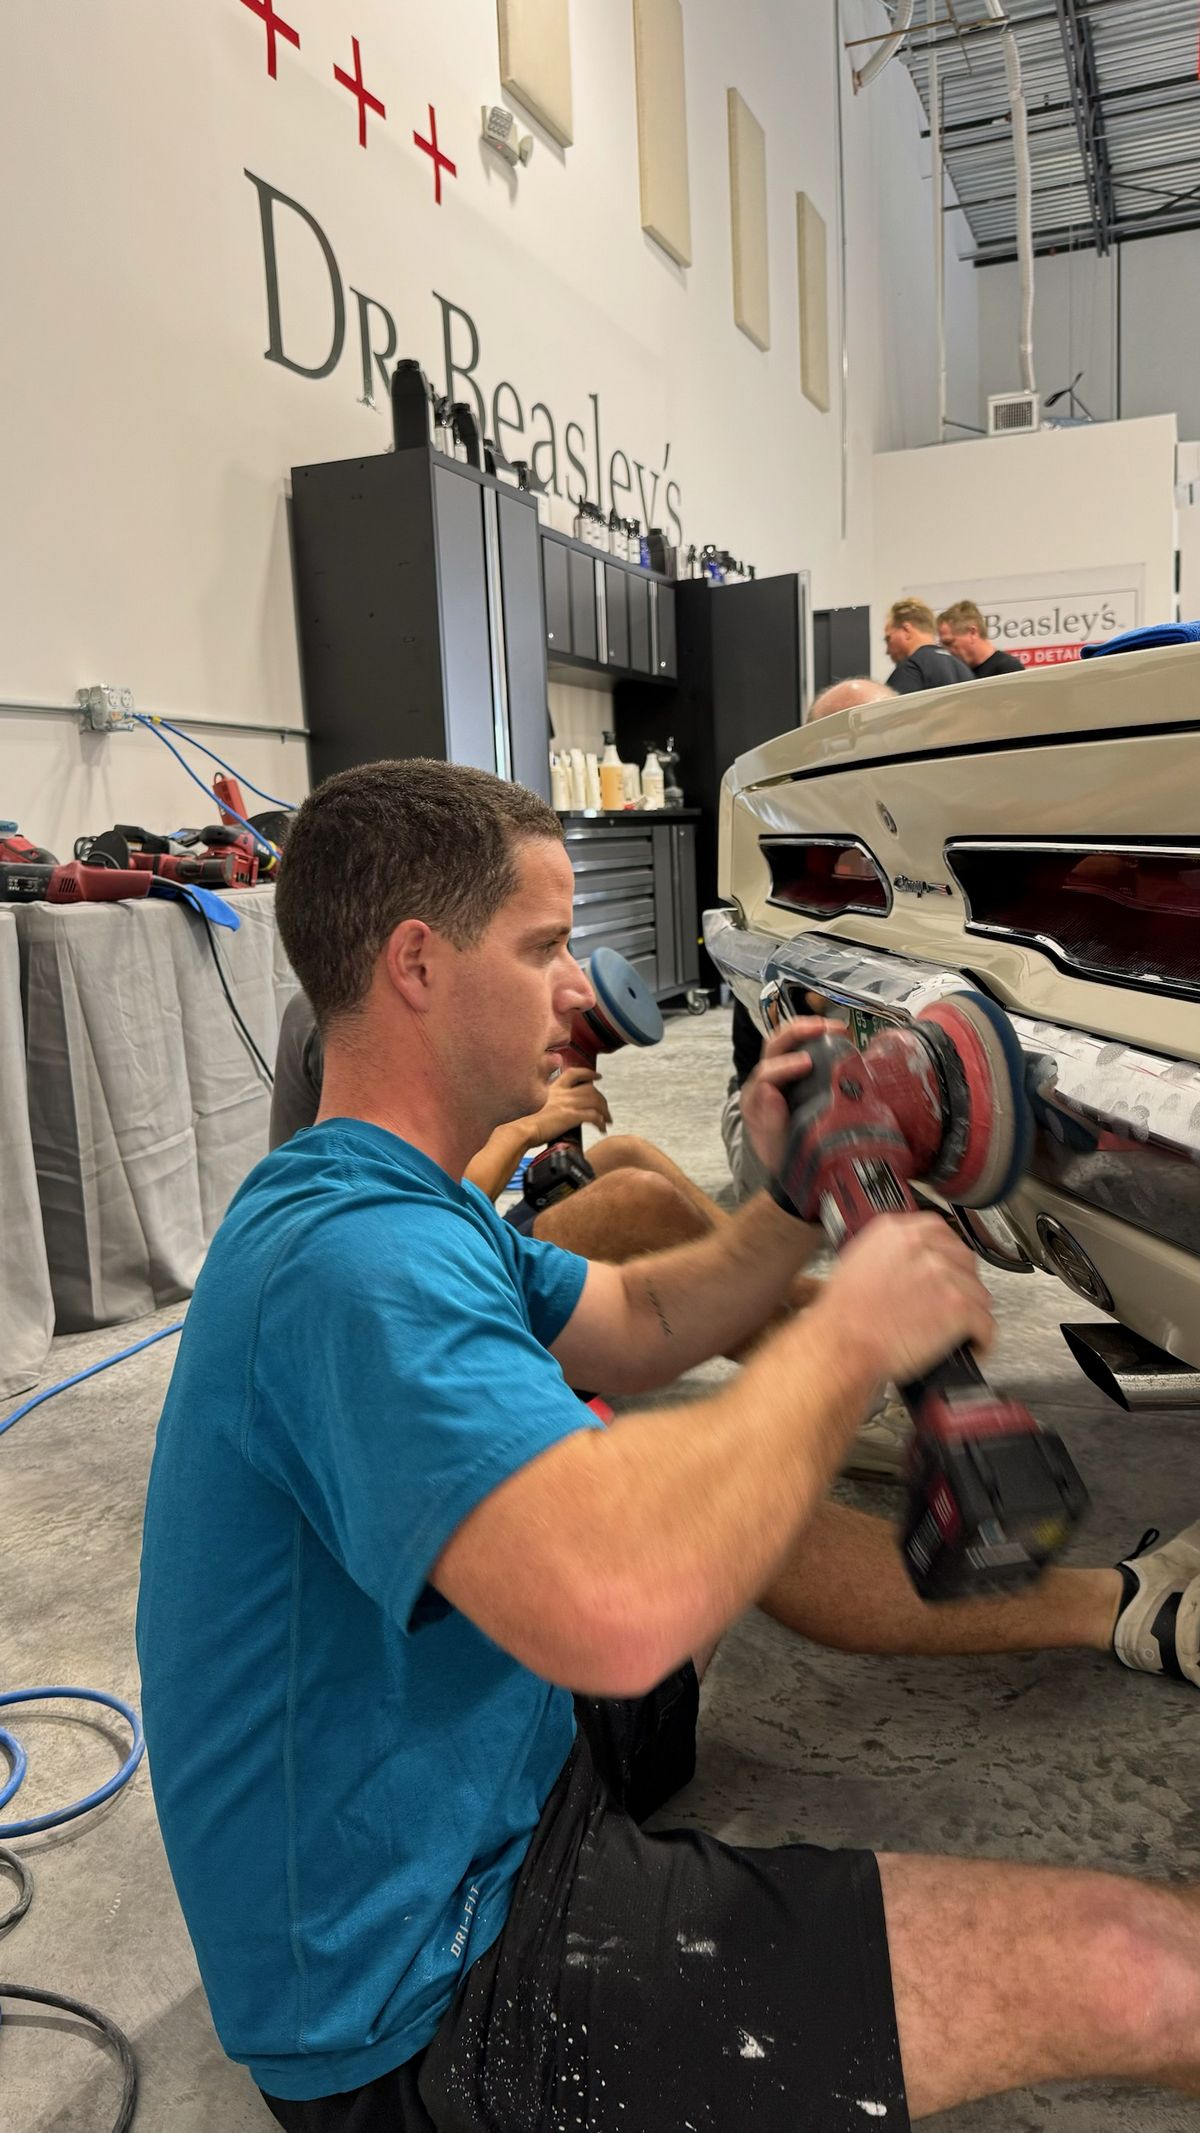
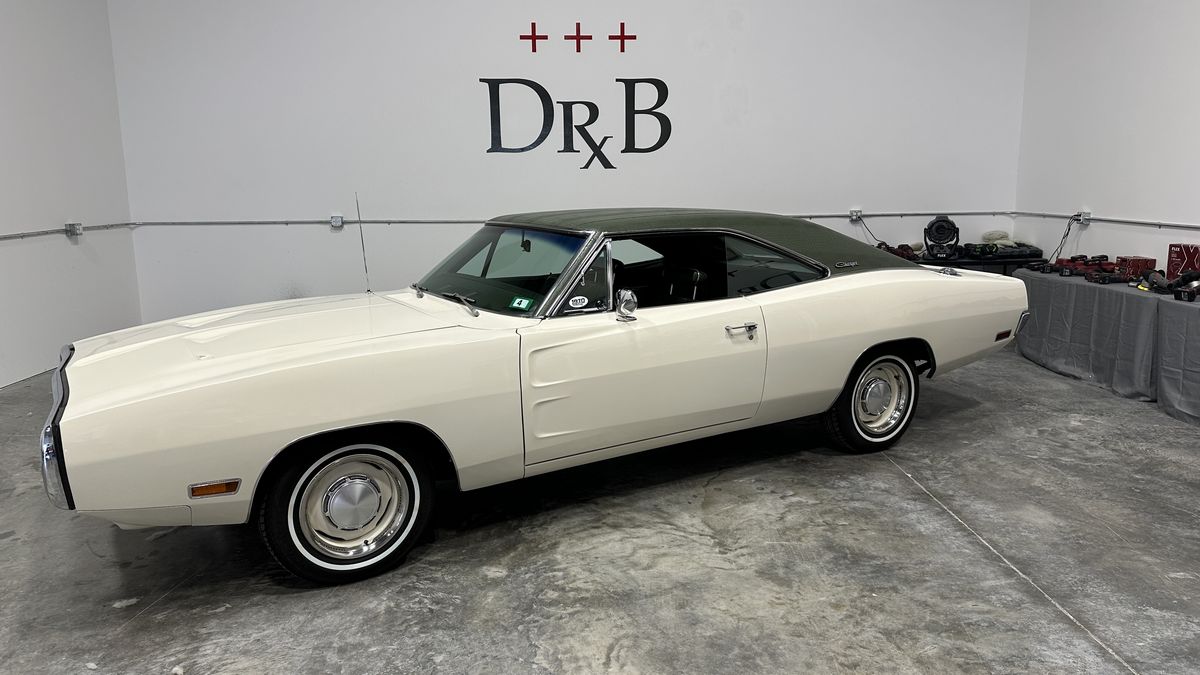
Another really cool training car, an all-original 1970 Dodge Charger with only 30,000 original miles! This car has an older repaint but it’s single stage paint like the original paint that came on the car from the factory. This again makes for a GREAT training experience for the class.
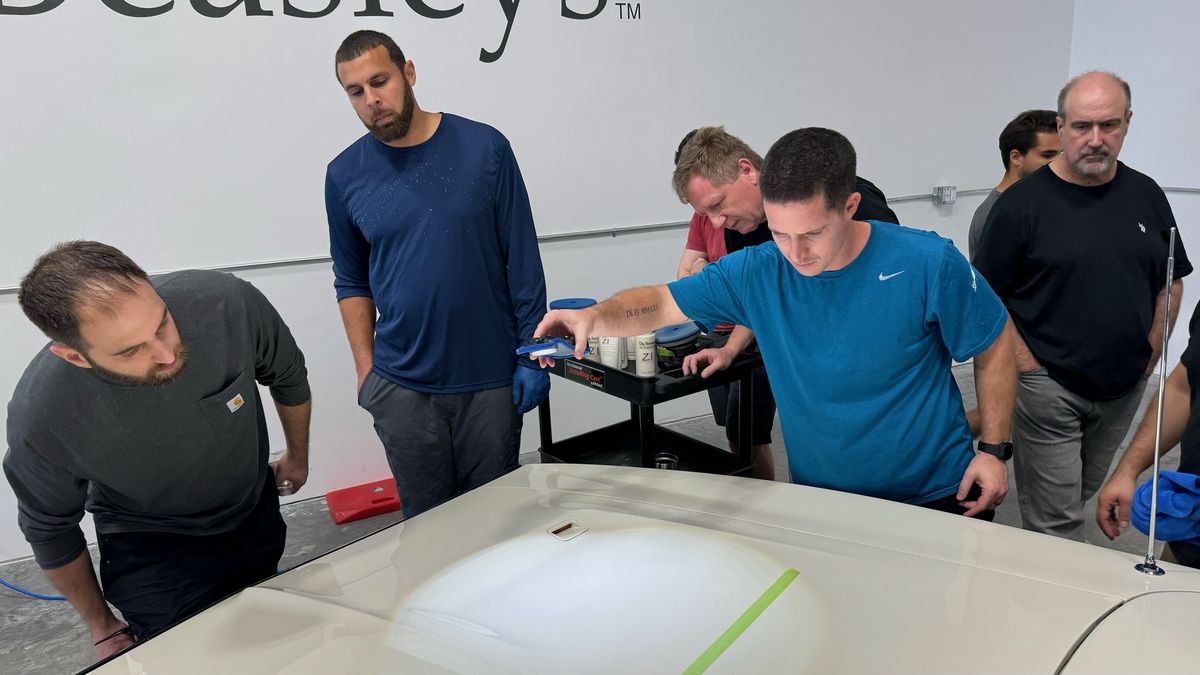
Single Stage Paint Test Spot
First up, we go over what makes buffing on single stage paint different and even more risky than working on modern basecoat/clearcoat paint job. After the Test Spot, I demonstrated how to lubricate the sides and edges of a foam buffing pad the fast easy way. A technique these folks will use the rest of their detailing lives.
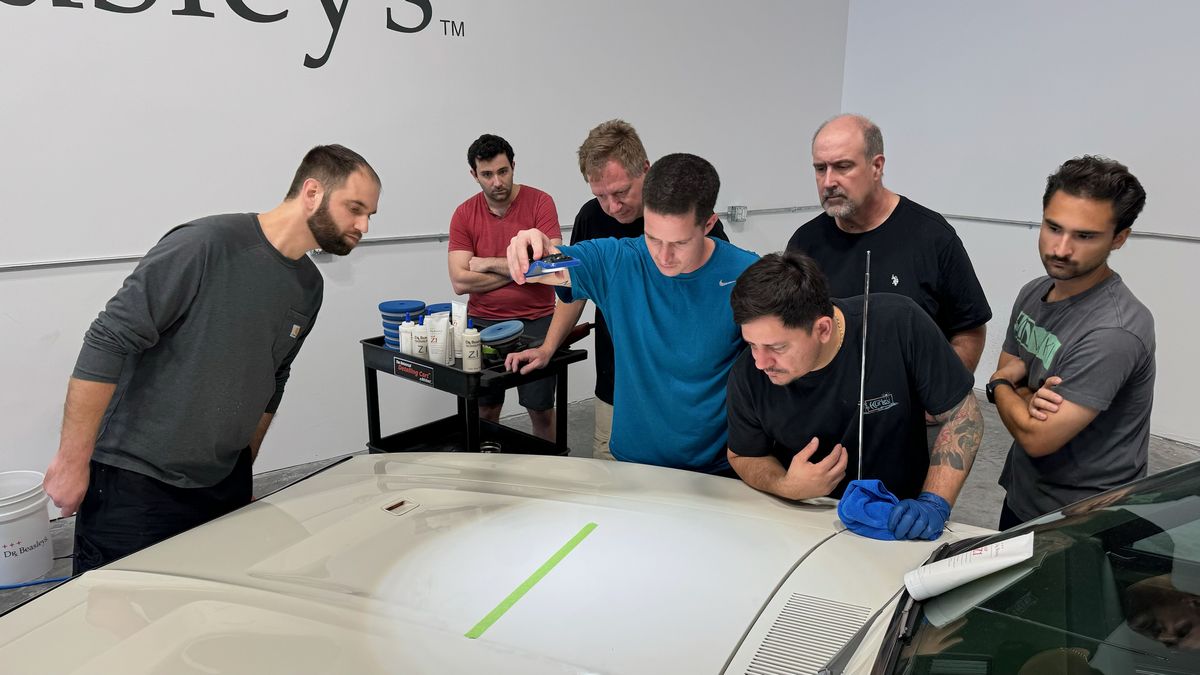
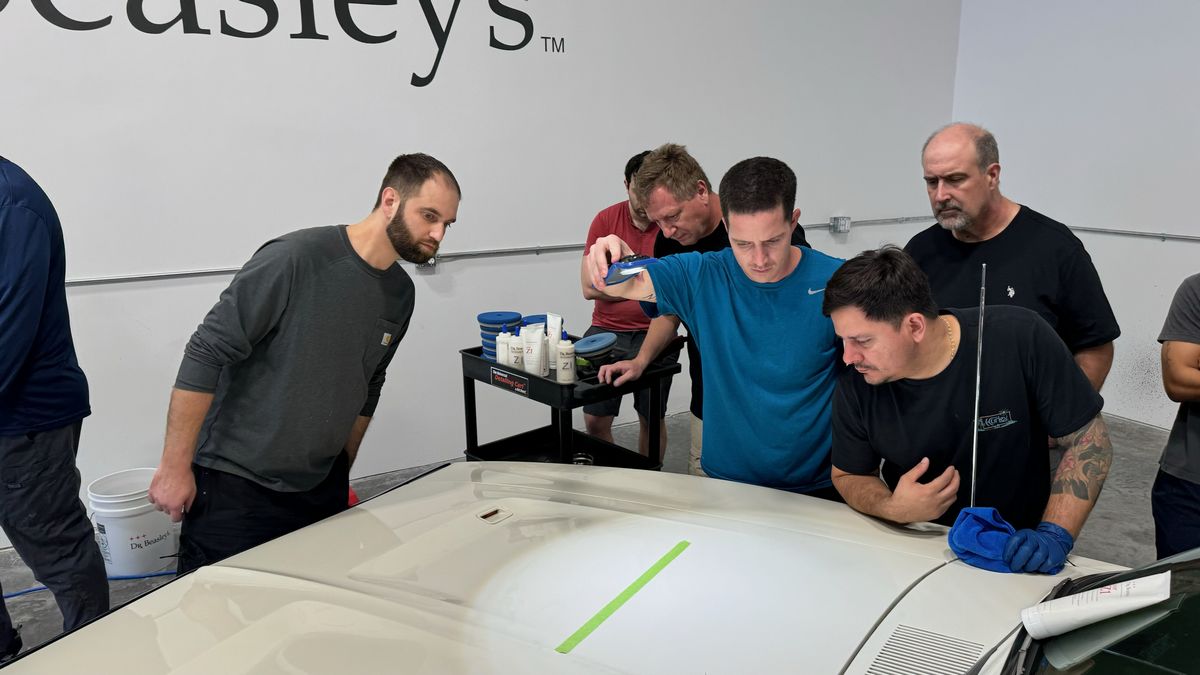
Inspecting the Test Spot
It’s vitally important to allow the class to closely inspect the results from any Test Spot. Light colored cars are a tick more difficult to see before and after differences, but you can do it with a little work and patience.
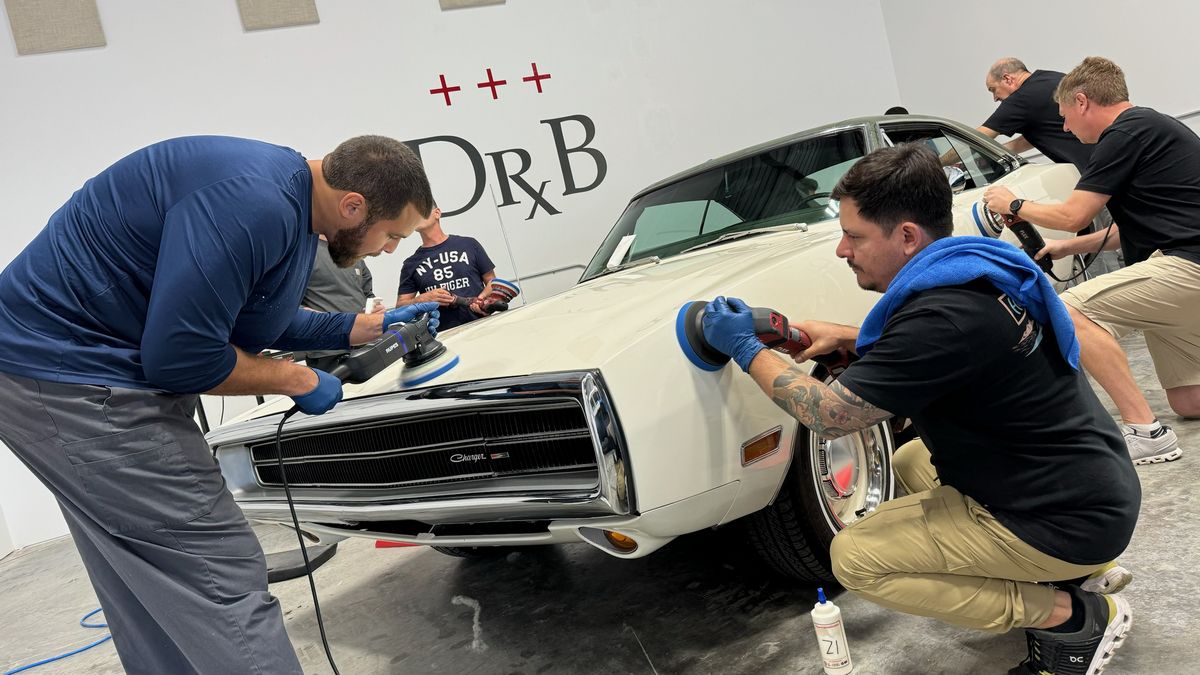
It’s GO TIME!
I’m sure by now, these guys wish we had some chairs, but they POWER through the last car for the day!
When is the last time you buffed out a 1970 Dodge Charger with a Gator Grain Vinyl Top? Pretty cool huh?
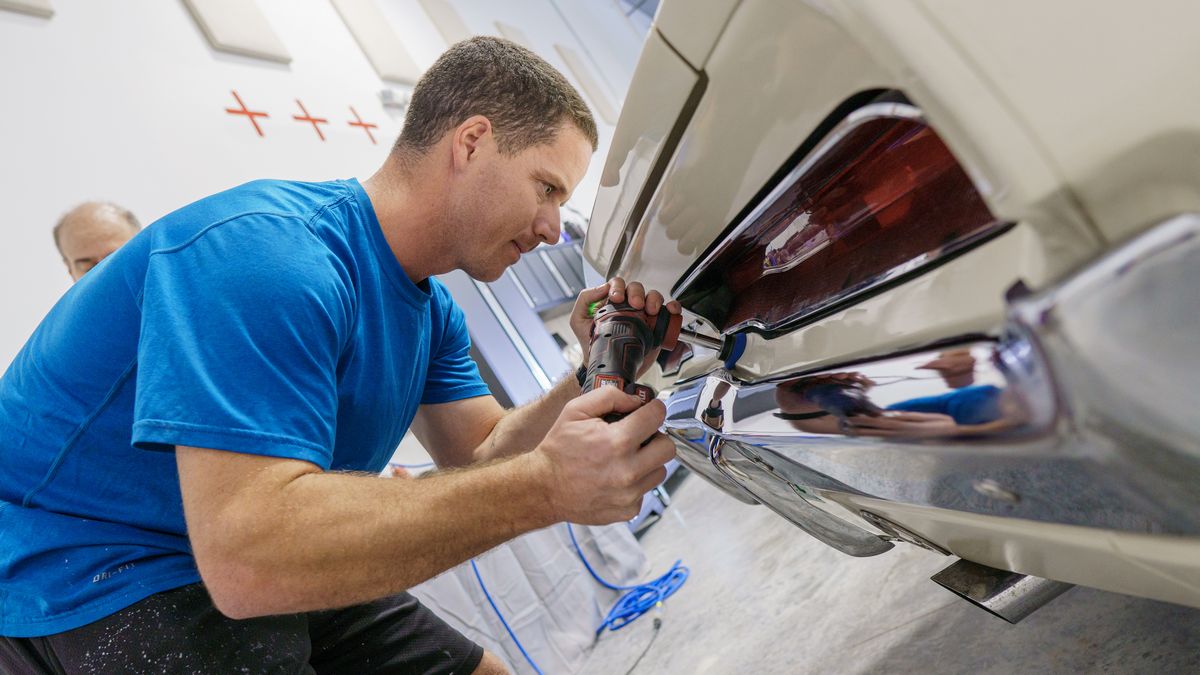
No plastic trim or components
The cool thing about classic cars and muscle cars is there is no plastic trim. Instead of taping plastic trim off to protect it from staining, you actually BUFF the chrome, aluminum, nickel and stainless trim to remove years of oxidation and tarnish to reveal like-new brilliance!
Nice technique Allen!
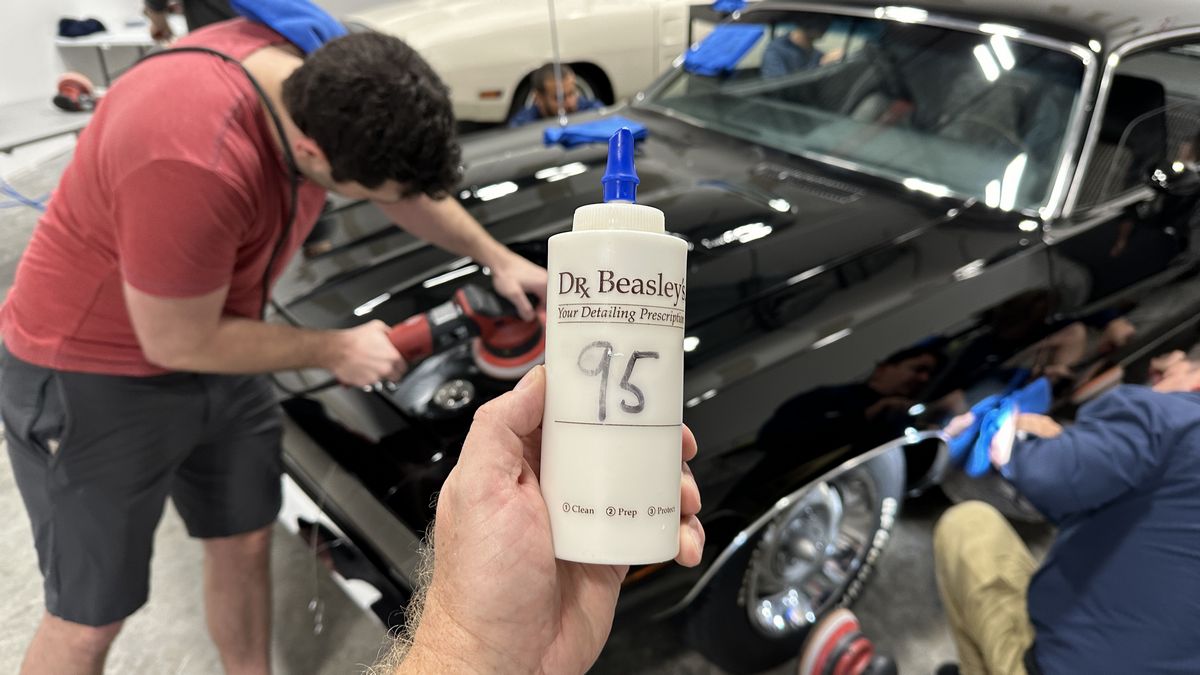
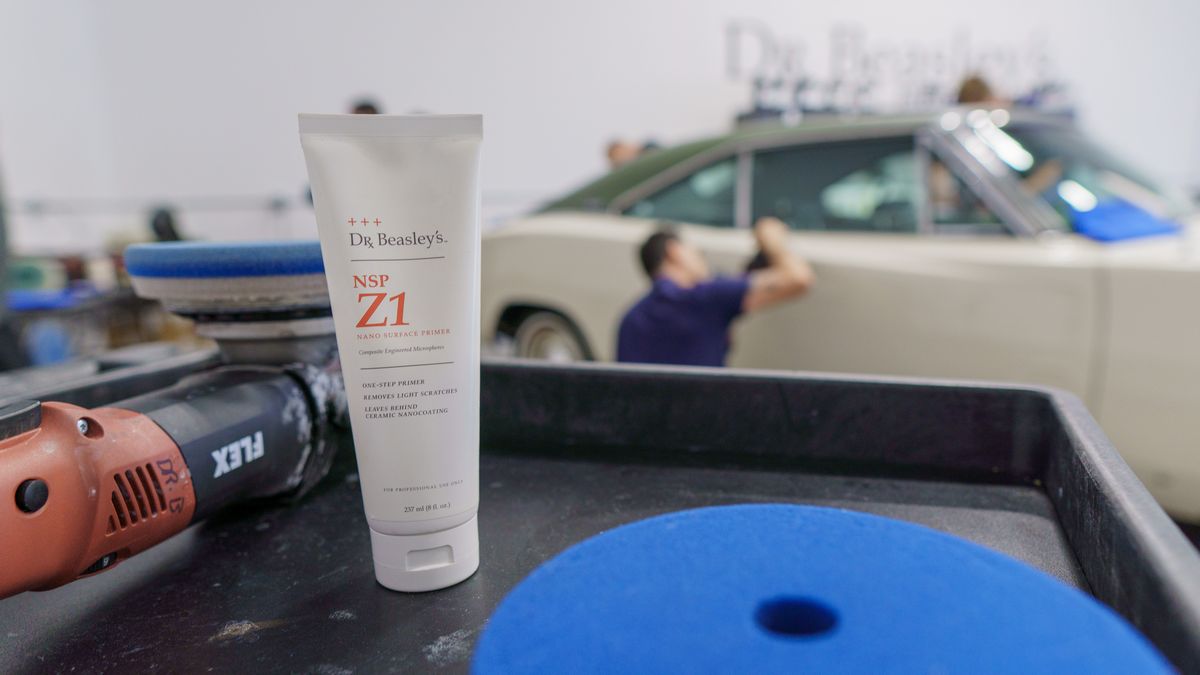
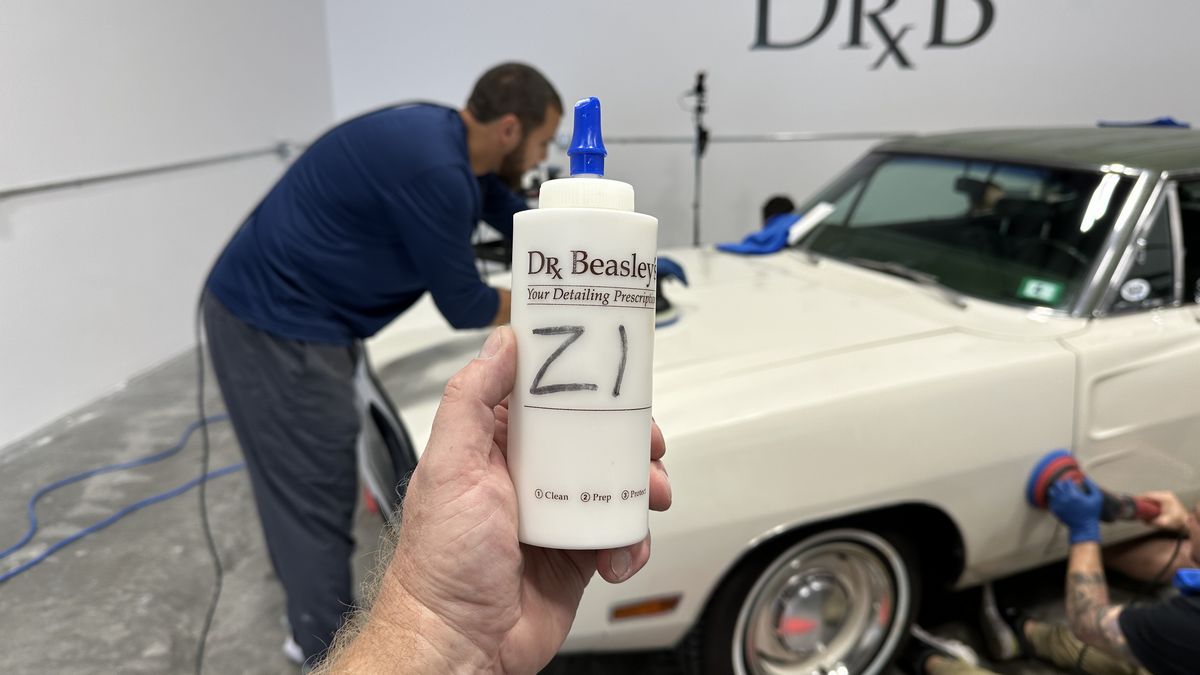
The class is restoring the shine and leaving behind ceramic protection in a SINGLE paint correction step using Dr. Beasley’s NSP Z1 Primer
I have an old saying, (I’ve seen others borrow without giving due credit), and it goes like this,
If it has paint – it gets polished.
This is my own personal best practice, but I pass it along in all my classes.
How about a little light to better see what you’re doing?
Buffing out chrome bumpers! You can’t do this to plastic bumper covers.
Here are the final results!
Awesome work on all 4 cars today!
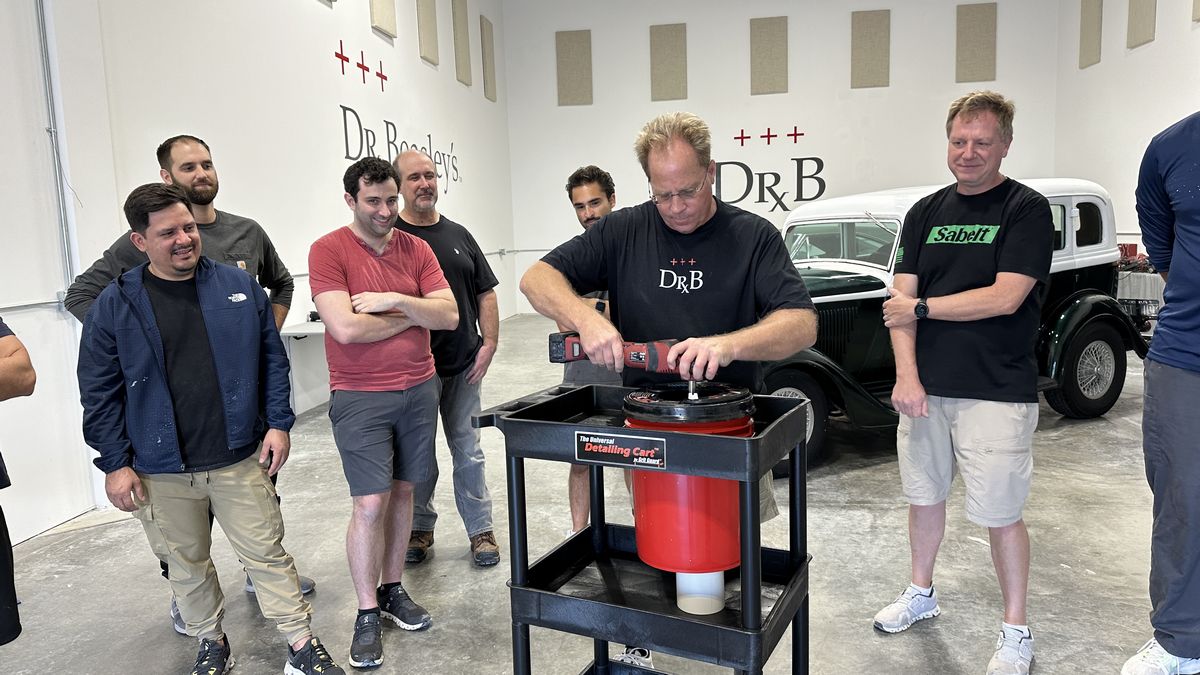
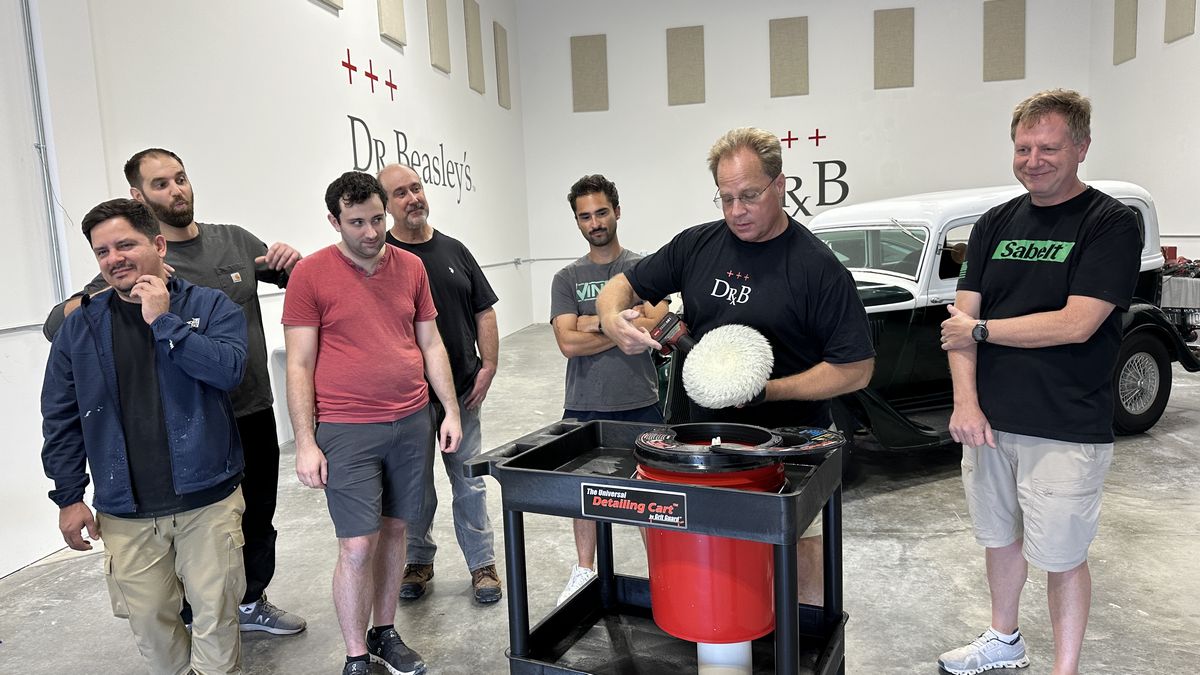
How do I clean my pads?
This is a common question and a job duty that MUST be done. Here’s some of my own thoughts about pad cleaning.
Pad Cleaners and WHEN to clean your pads
As you can see, we go through a LOT of pads in our classes. It’s kind of the normal byproduct when you actually work on a lot of cars. There are some in our industry that teach people to clean their pads AS THEY WORK AROUND THE CAR. If you want to do this, I say go for it.
Dry pads cut better than wet pads
What I teach, is, dry pads buff better than wet pads. This is true for both wool pads and foam pads. Microfiber pads are less of an issue because of their short fiber design. The wetter a wool cutting pads gets, the more matted-together the fibers become, (even if you’re cleaning often with a spur), and the deeper the holograms will be that are left behind. For example, for most cars, if I’m cutting with a wool pad on a rotary polisher, I’m using 2-3 wool pads per car.
Wet pads are soft pads
With foam pads, when foam becomes wet it becomes SOFT. This means a foam cutting pad will stop cutting and start polishing. A polishing pad will stop polishing and start only finishing. By cleaning a foam pad as you work around the car, you’re using wet pads and this means decreased efficiency, which means you’re doing worse work and taking longer to do it. As a foam pad becomes wet with product or cleaning solution, it will retain heat better and this wears out the adhesive that attaches the velcro backing to the foam as well as deform the foam.
Degreased Pad Oscillation/Rotation
If you’re using a free spinning, random orbital polisher, wet pads make it more difficult to maintain pad rotation and pad oscillation. This leads to Pad Stalling. This means it will take you longer to buff out a car.
Using the pad gets it wet
With microfiber pads, it’s important to PRIME the pad for highest efficiency when it comes to abrading the paint, i.e. paint correction. But with foam pads, after you place 3 Pea Sized Drop or Nickel Sized Drops of product onto the face of the pad and then start spreading the product out and buffing the paint, the product will be PRIMING the pad. And the more you use it, the wetter or more saturated the pad will become with product. So while it can sound really important to PRIME A FOAM pad, it’s really the least of your worries. But if you think it’s important, then go for it.
EOD – End-of-Day
In the real-world, the right time to clean your pads is at the END OF THE DAY. Switch over to clean, dry pads, no matter what the pad, as you work around the car. Then at the end of the day, wash your pads.
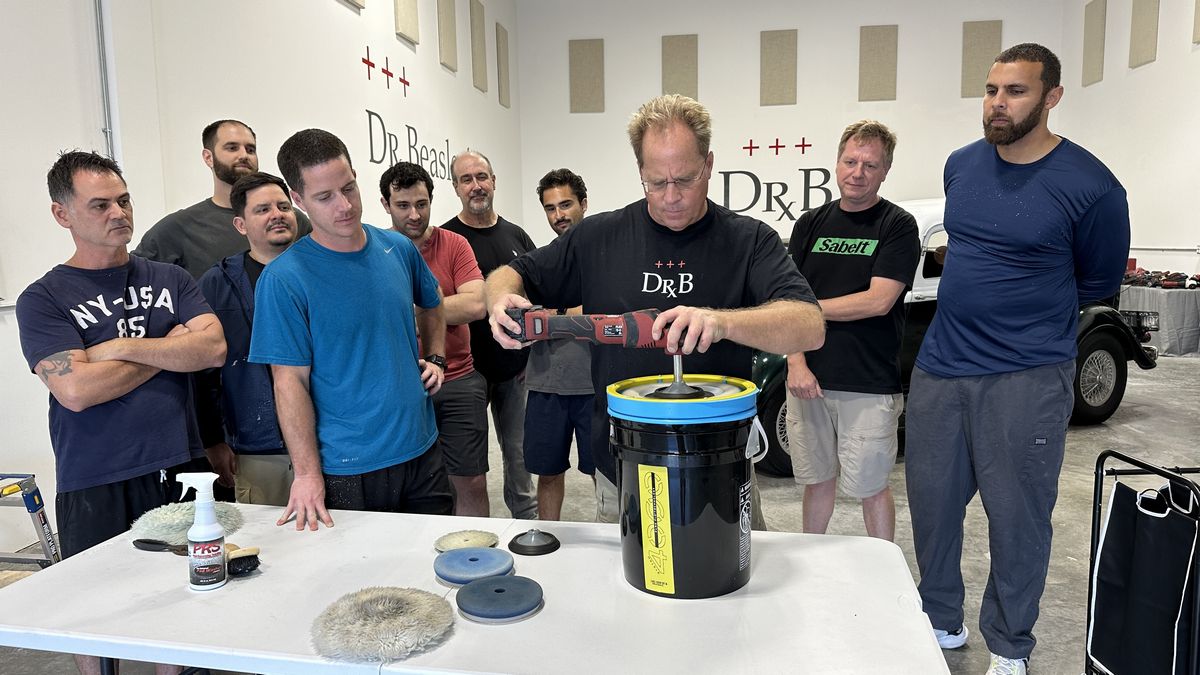
Grit Guard & Lake Country Pad Washers
To wash your pads, there are 2 popular pad cleaning options on the market today. The Grit Guard Universal Pad Washer and the Lake Country System 4000 Pad Washer. They both do a great job.
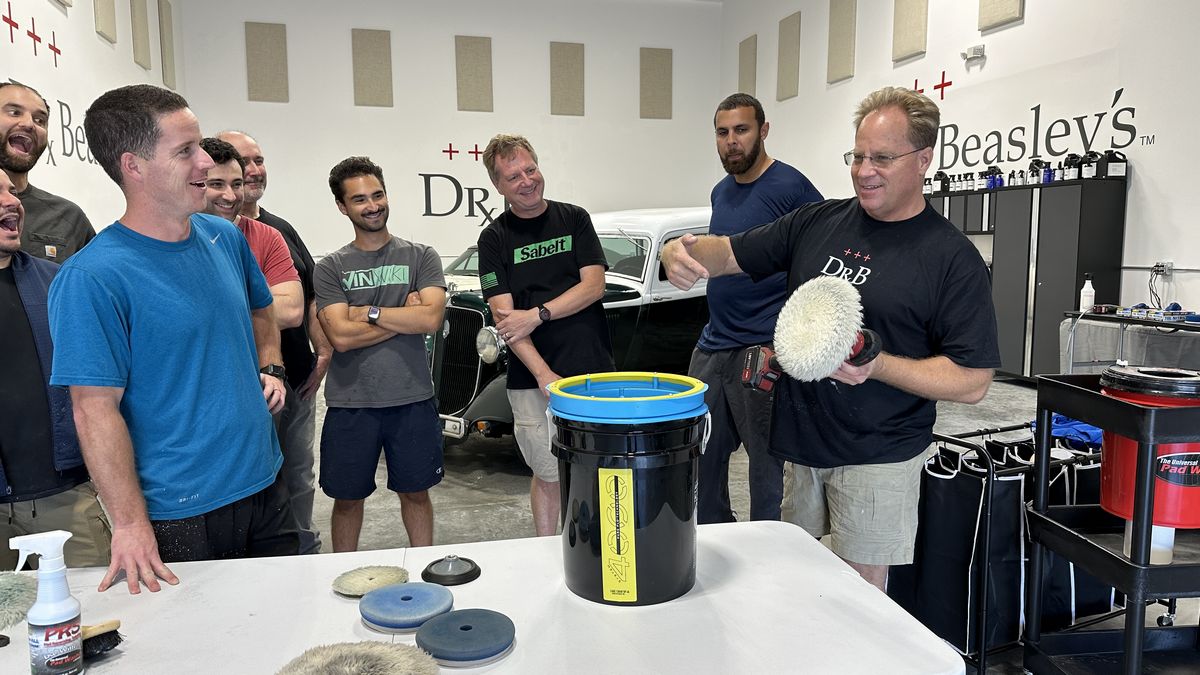
My strong recommendation
If you’re going to be buffing out a lot of cars and thus using a lot of pads, then if you don’t have a rotary polisher, then get a rotary polisher. For around $100.00 you can pick one up new at Harbor Freight. Here’s why, even though you can clean buffing pads with any type of orbital polisher, the rotary polisher not only works best and the fastest for getting a dirty pad clean, it also works best to remove any excess water via centrifugal force by bringing the polisher speed up to the maximum speed setting while holding the pad inside the pad cleaner. Orbital can do this, but rotary polishes simply do it better and faster.
3″ Rotary Polisher Extension
If you purchase the Grit Guard Pad Washer, I highly recommend purchasing a 3″ extension. The reason why is because part of the cleaning process with both pad cleaners is PUMPING or MOVING the polisher up-and-down as the pad is spinning. With the Grit guard Pad Washer, the BODY of the polisher will tend to hit the top of the Splash Guard Lid. Not a deal breaker and it won’t keep you from getting the pads clean, but by adding the extension it simply moves the body of the polisher further away from the pad washer and makes cleaning pads faster and easier.
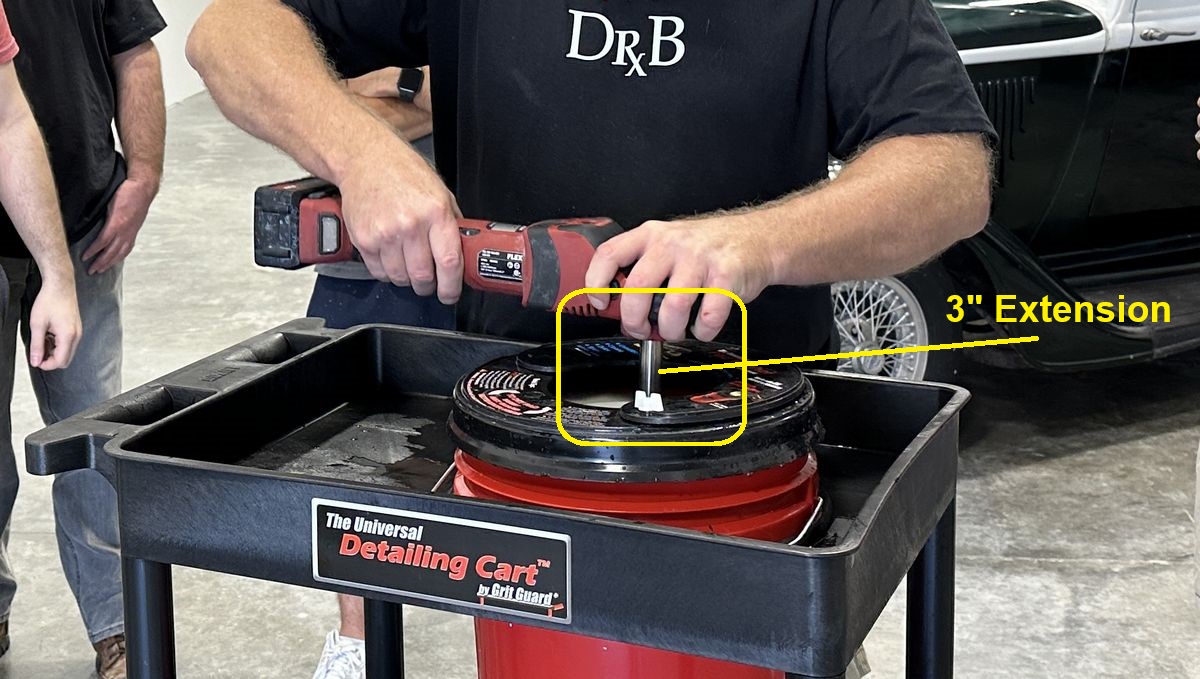
The Grit Guard Universal Pad Washer
Lake Country System 4000 Pad Washer
Certificate Award Ceremony
By the end of any of my classes, the people attending are tired. These classes are for the most part, non-stop. Of course there’s some down time as we move cars in or out of the shop as we finish one and are ready to start another. The point being, each person has EARNED their Certificate.
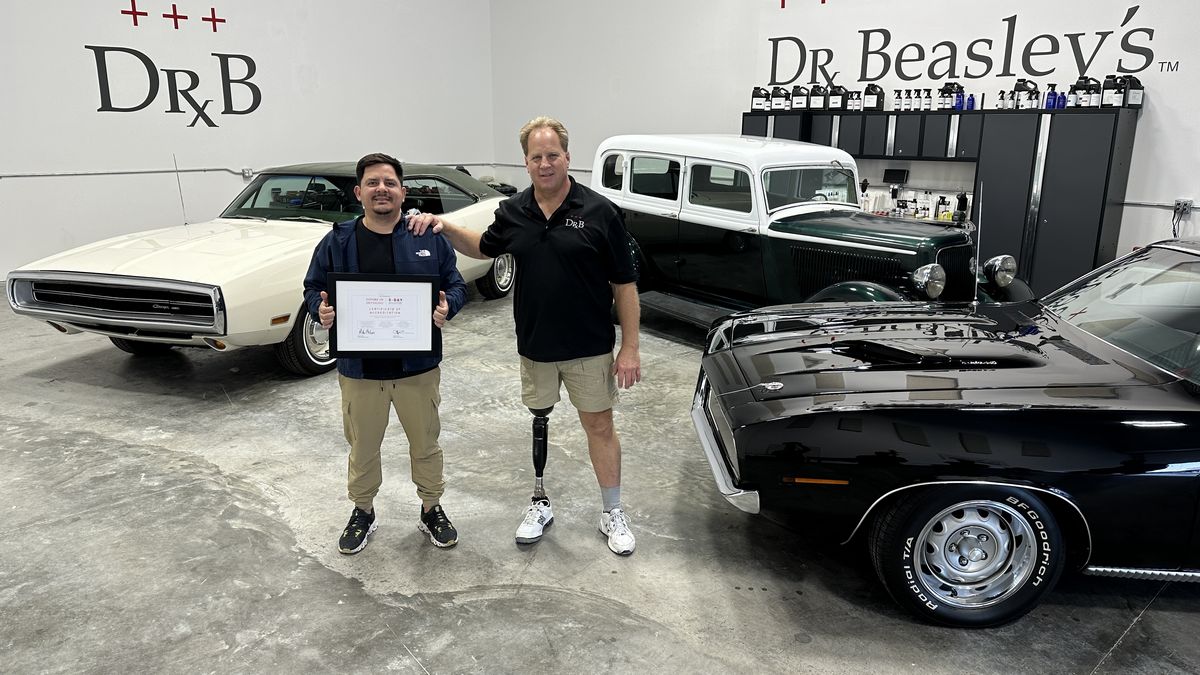
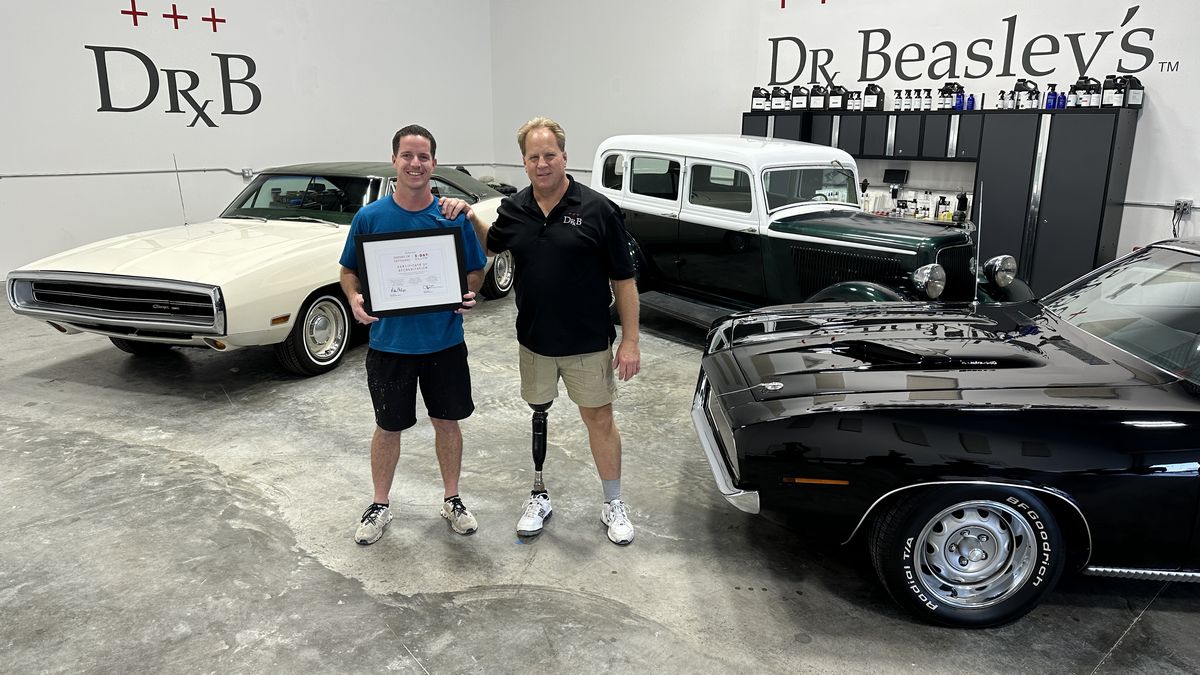
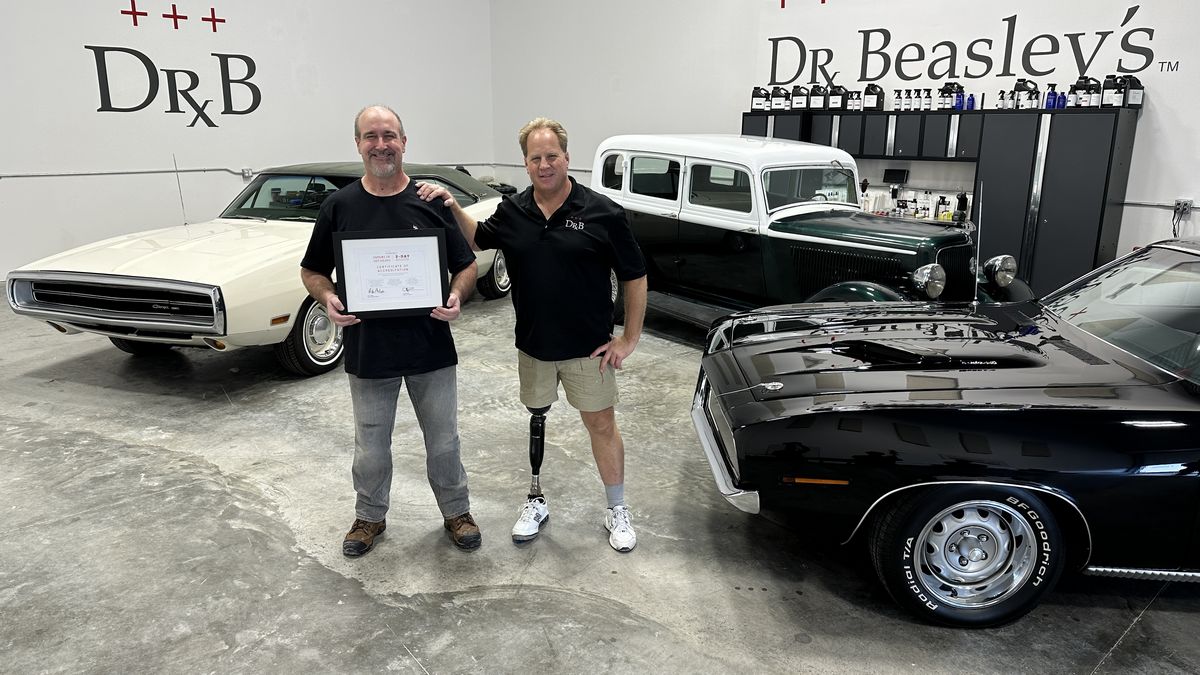
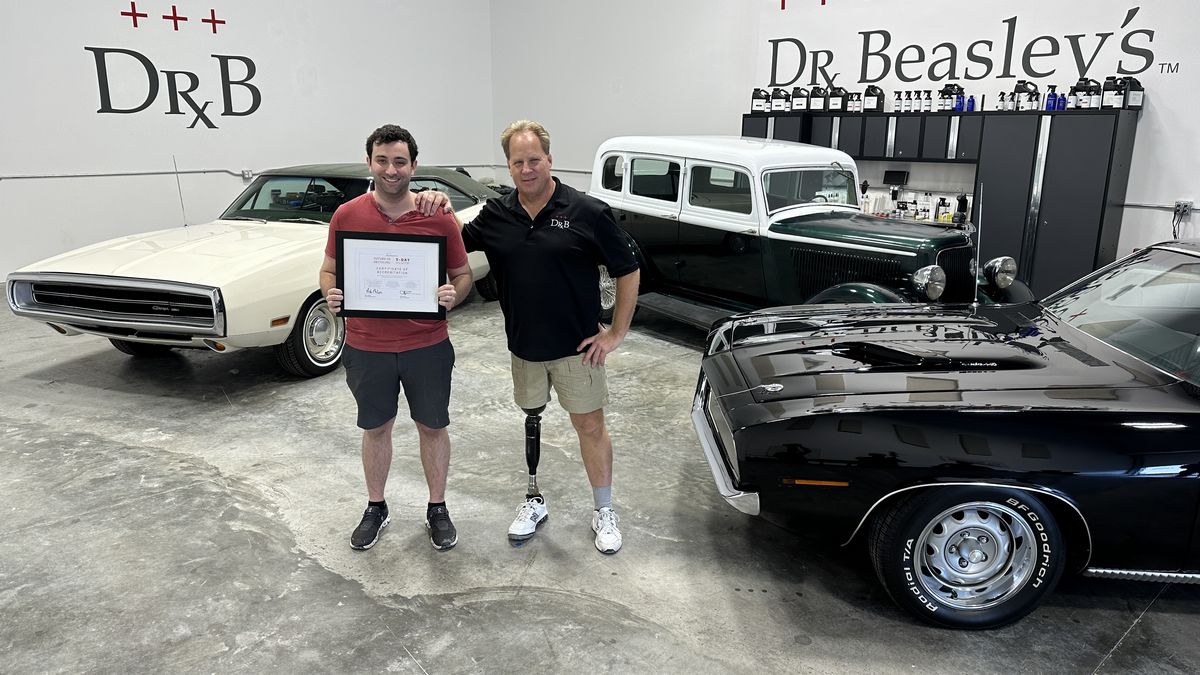
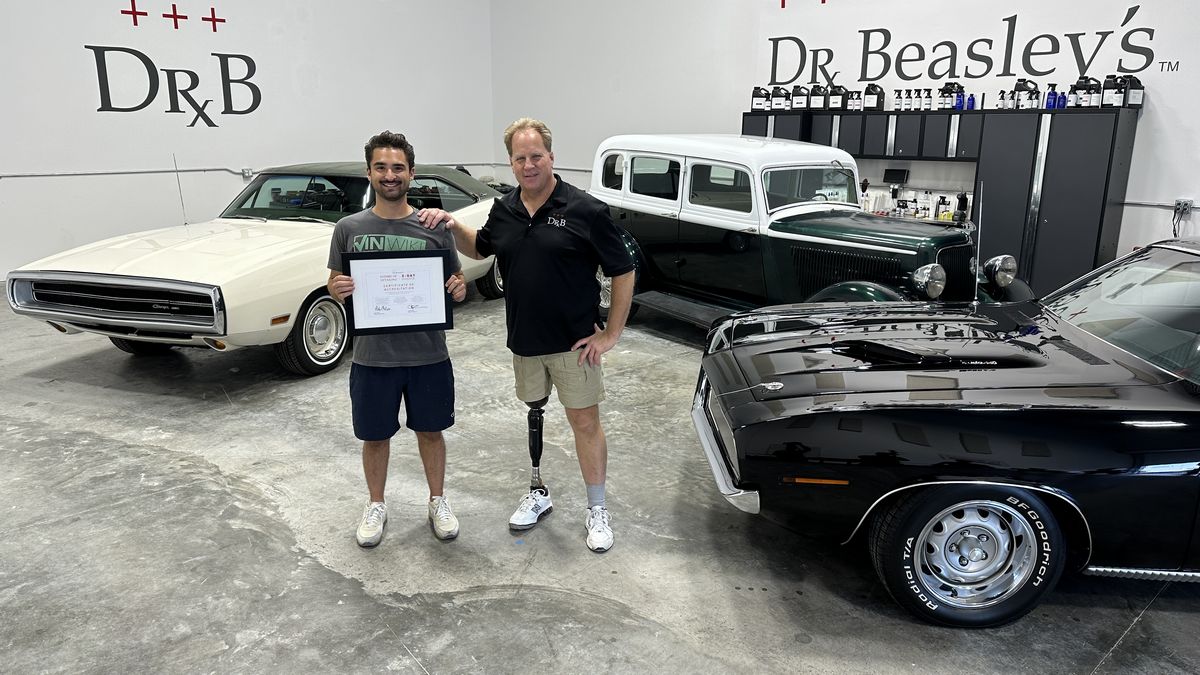
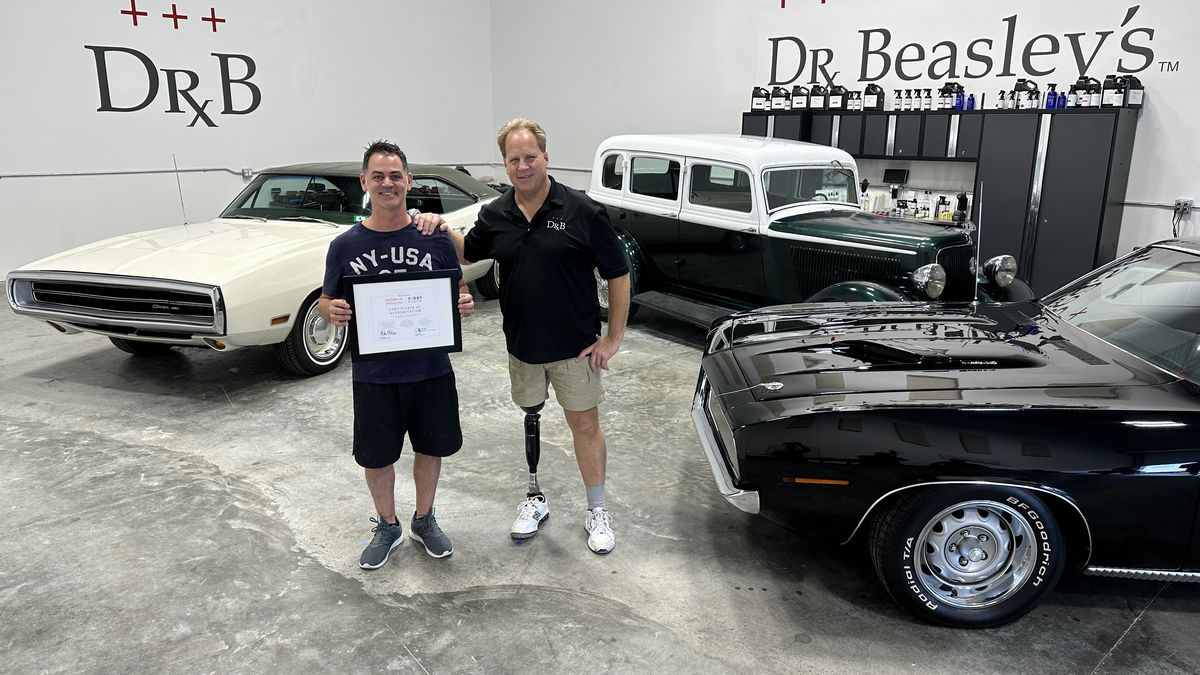
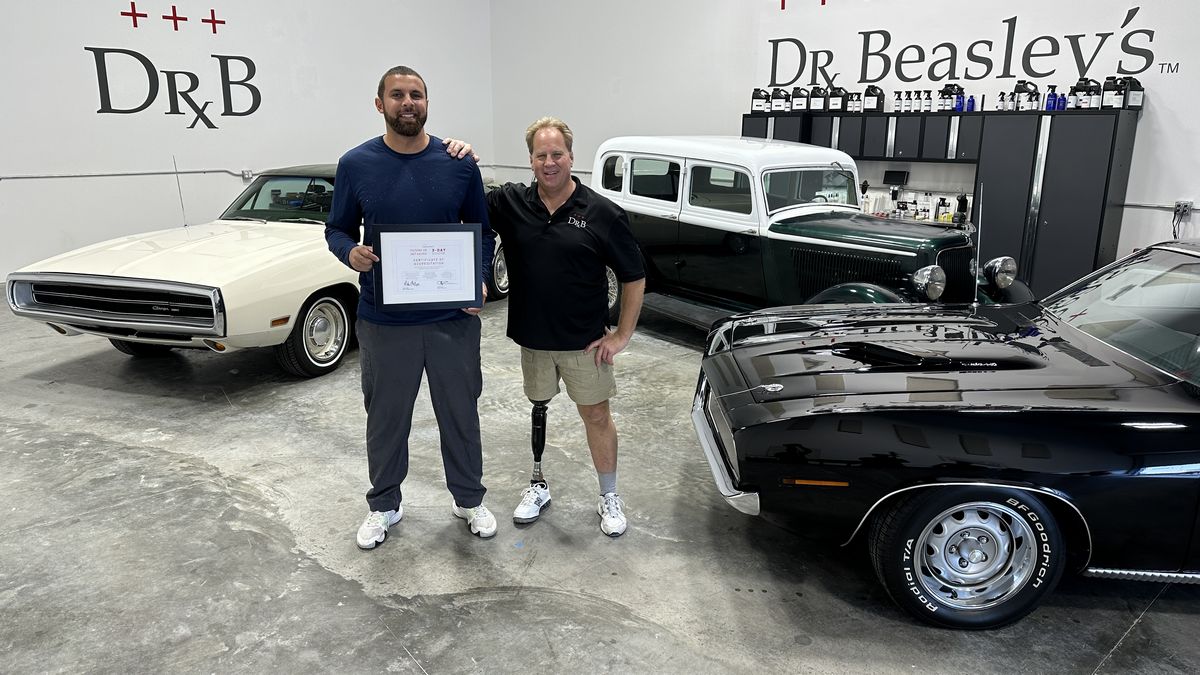
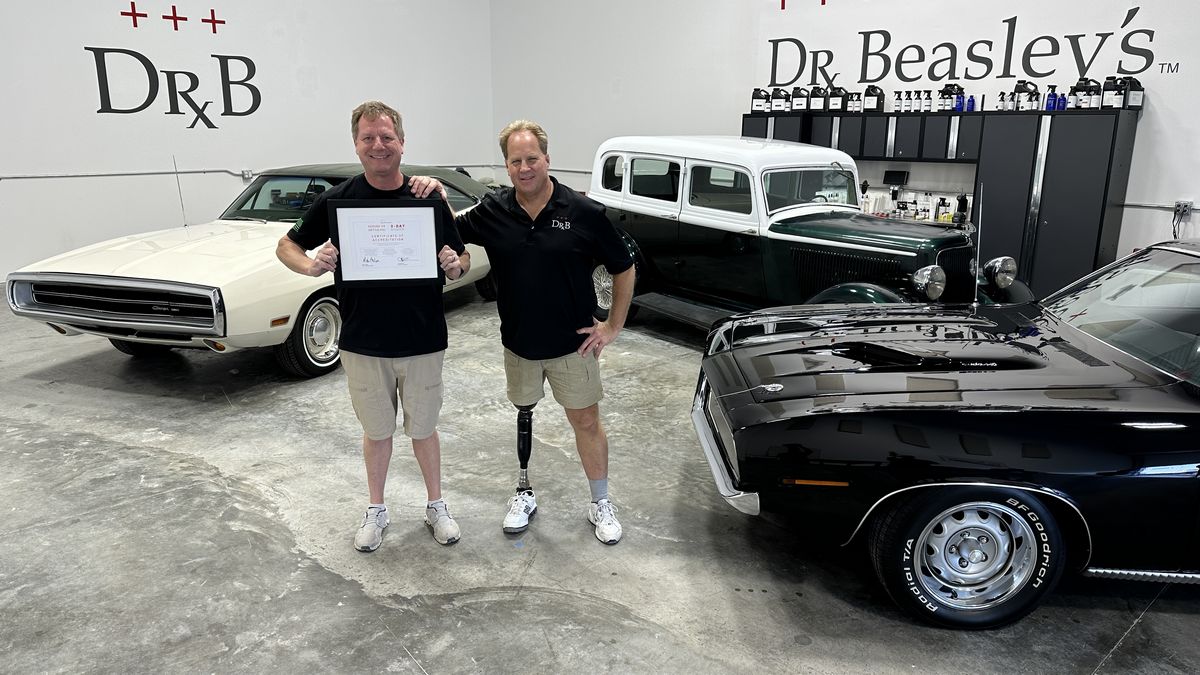
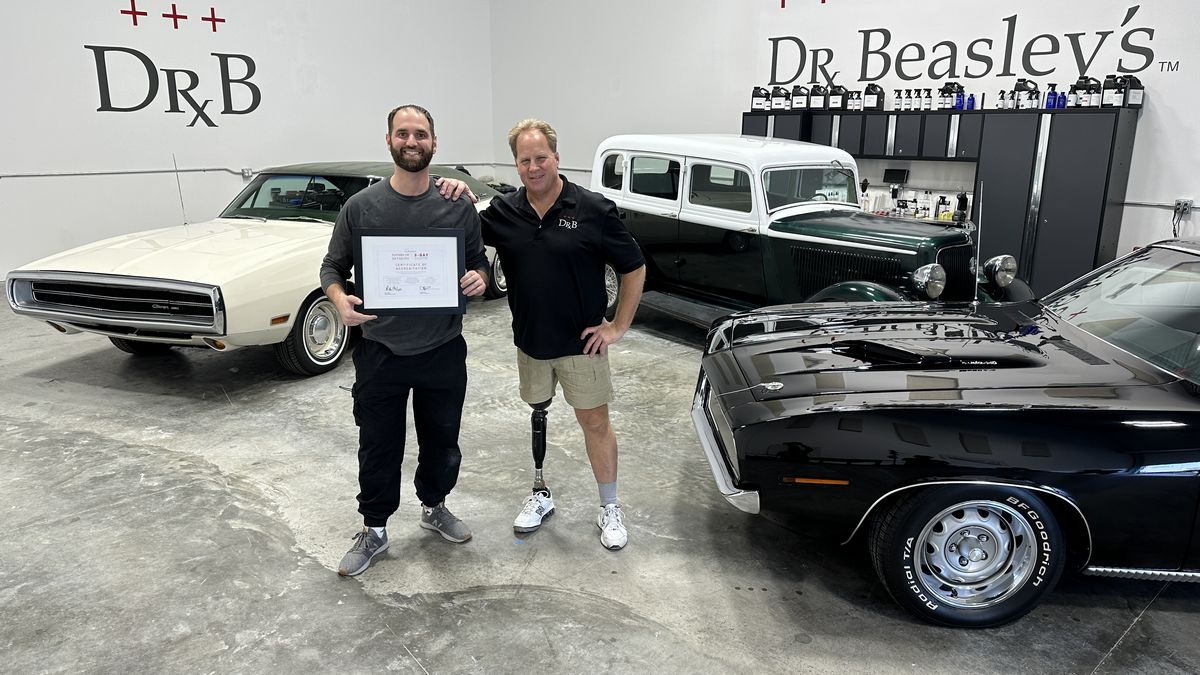
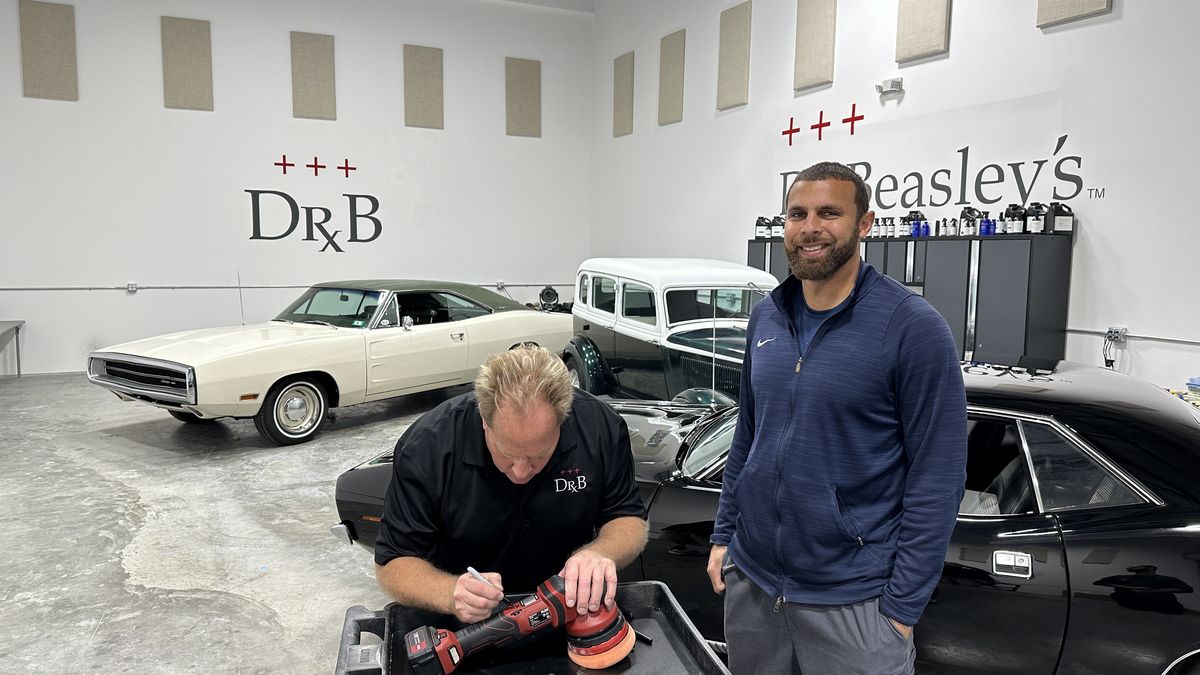
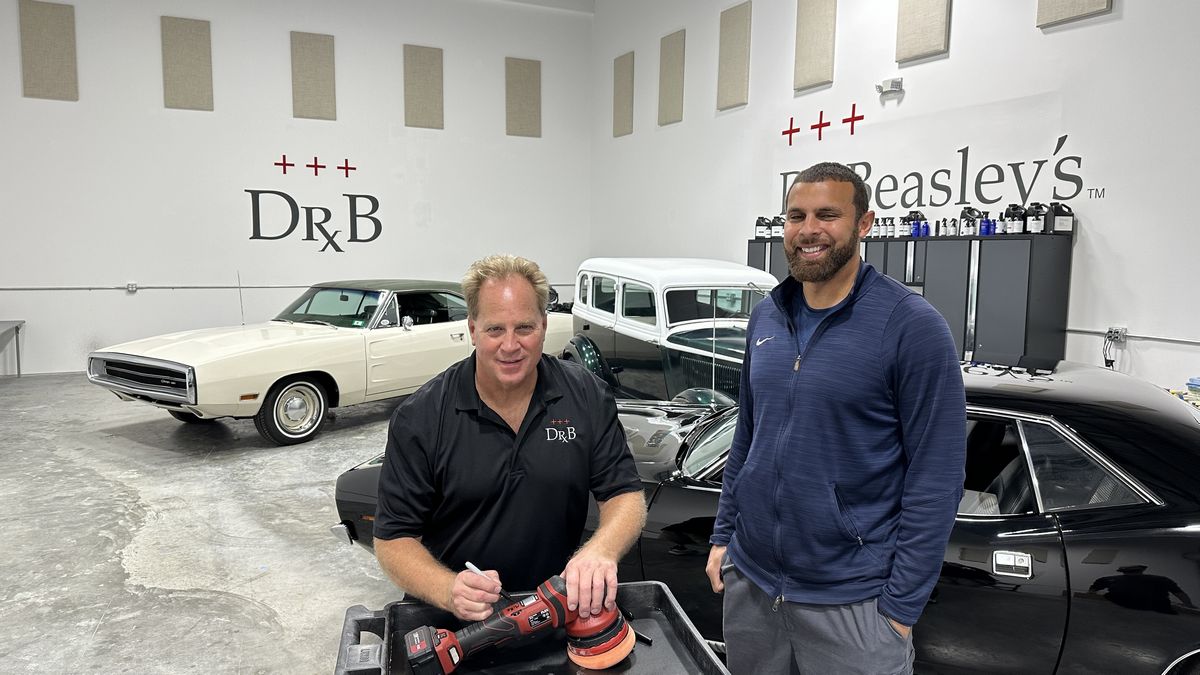
It’s always an honor to be asked to sign someone’s polisher! Thank you.
Parting shot, the class is over, I’m just waiting around for the owners to swing by and pick up their freshly polished gemstones.
First to leave is the 1935 Plymouth 4-Door – Suicide Door Streetrod
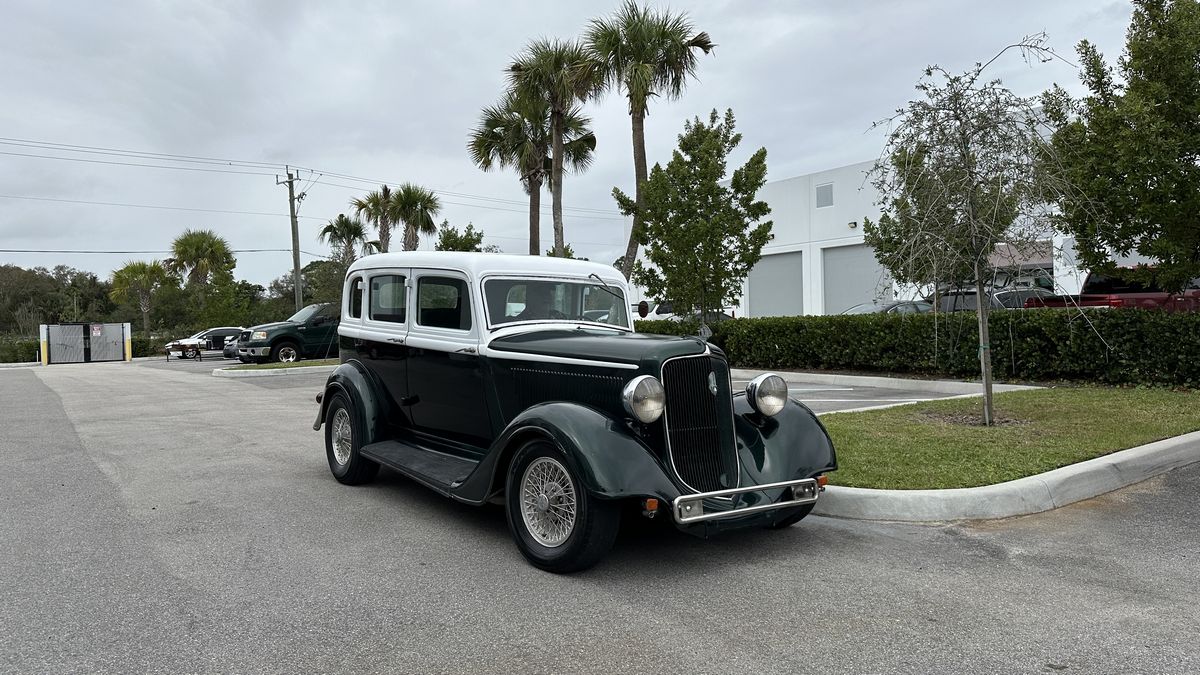
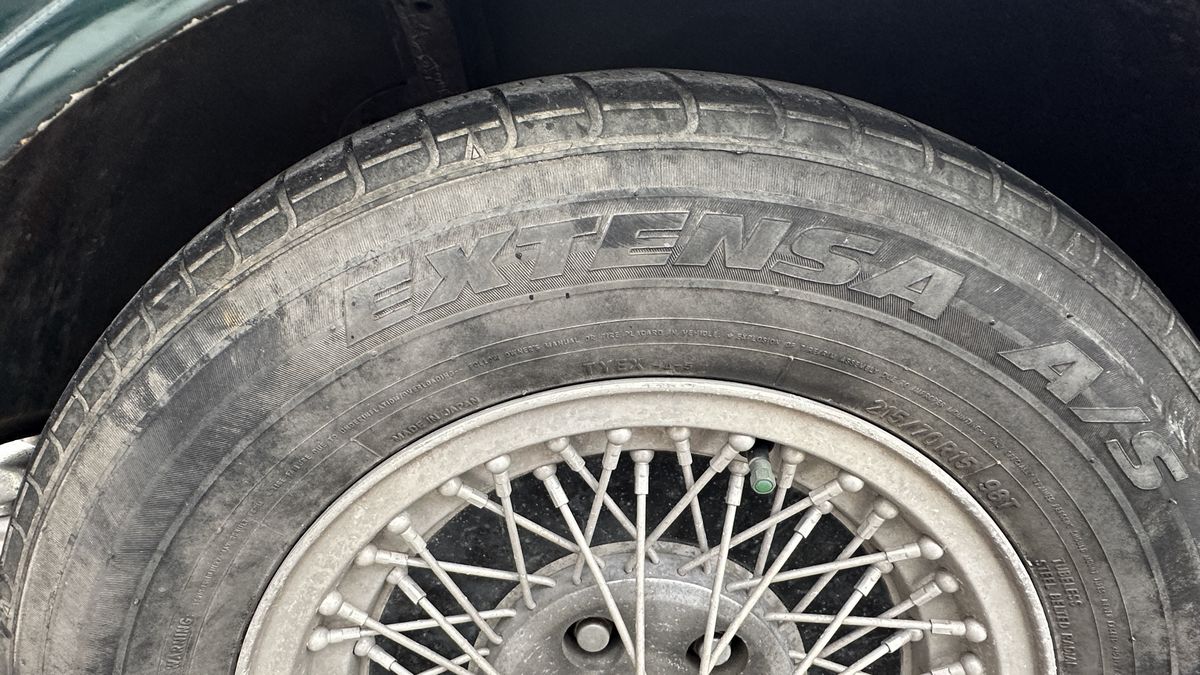
Remember how bad the wheels and tires were? Looking respectable now.
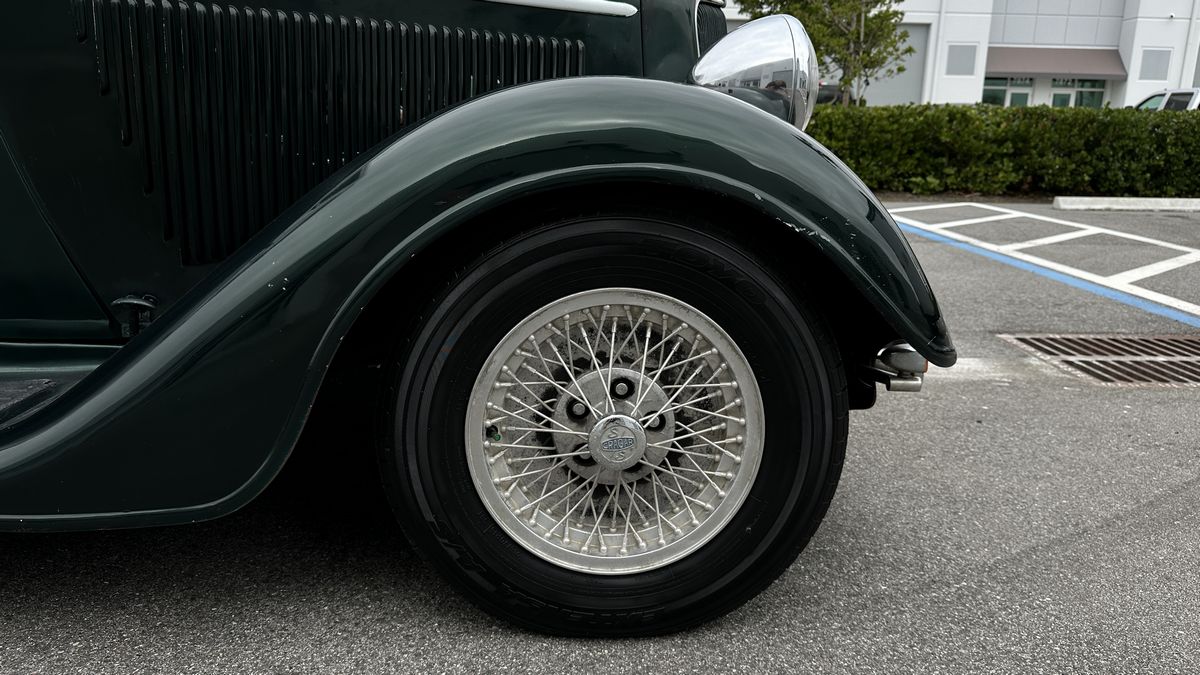
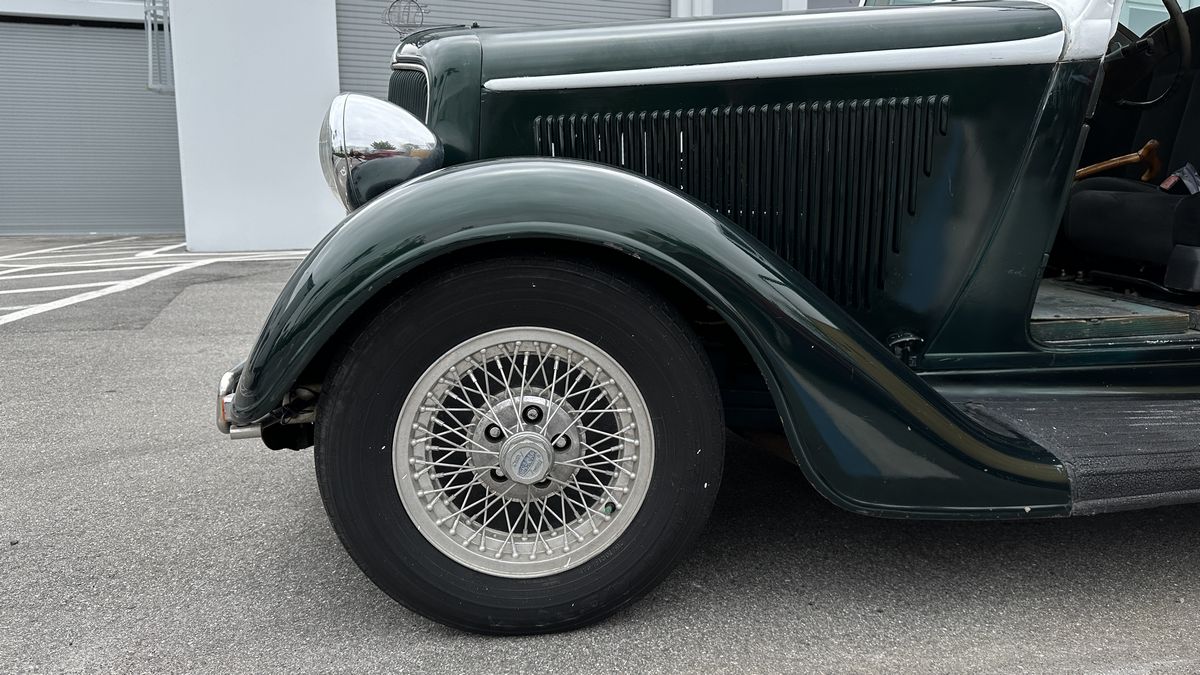
Before – both tire and spoke wire wheels were horrible.
My Personal Offer to Help
I’ve been answering car detailing questions professionally since 2002 and moving forward, if after reading this article you have any questions about polishing and waxing, or how to use an AIO, my contact information is below, reach out to me, I’m always happy to help.
Would You Like to Learn How to Machine Polish Like a Pro?
Would you like to take your detailing skills to a higher level? Do you find you learn better by doing versus sitting in a chair looking at a PowerPoint presentation about car detailing?
Here at Dr. Beasley’s O.R., (Operating Room), in sunny Stuart, Florida, we teach the most hands-on car and boat detailing classes on planet Earth. And we prove it too. You can find write-ups on the Dr. Beasley’s Blog that photo-documents just how hands-on our classes are plus you’ll see the kinds of cars and boats you’ll be training on.
Click the link below to find the dates, locations, topics, and prices for all upcoming detailing classes.
Upcoming Detailing Classes – Prices – Info – Topics – Locations
And if you ever have any questions, always feel free to reach out to me personally via text, phone call or email.
I hope to see you in a future detailing class!
Sincerely,
Mike Phillips
Chief Education Officer for Dr. Beasley’s
Mike@drbeasleys.com
760-515-0444
Questions? Comments?
Email Us