


Last Updated July 16, 2026

TRANSCRIPT
Have you ever been in a situation where you got something coming up — it’s date night, or you got a car show — your car’s dirty, you don’t have a lot of time, but you want to get it looking as good as you can?
You know, you never have a second chance to make a great first impression.
Let me share a few tips, techniques and products to help you get that car looking show ready.
So as I pull out a few products here to show you how to get your car date night ready, be sure to stick around for the very end, I’m going to show you how to do the best tip — that’s to add the finishing touches.
⚠️ Before You Wash…
Not sure if you’re washing your car the right way? Our free guide walks you through the safest techniques to avoid swirls, scratches, and missed spots. Read our complete car washing guide to make every wash count.
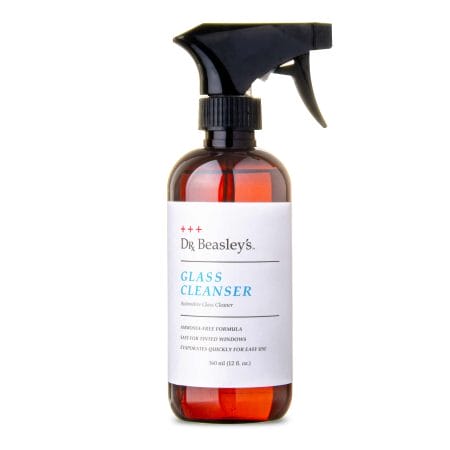
Go to Decision GuideTip #1: How to Clean Windows Inside & Out With No Streaks
You know the old saying people always say, “I don’t do windows”?
Well, if you own a car, you got to do windows.
And this has a lot of streaks and smears all over it.
So I’m going to start by cleaning the outside and that way when I get to the inside, if I see any more streaks and smears, I know what side they’re on. And I’m going to share another little tip and technique to help you get that glass spotlessly clean.
So there’s the first wipe on the outside and it looks like anything that’s left over here right now is probably on the inside. So let me jump over and grab the other side. Then I’ll give you a little tipping technique for doing the inside.
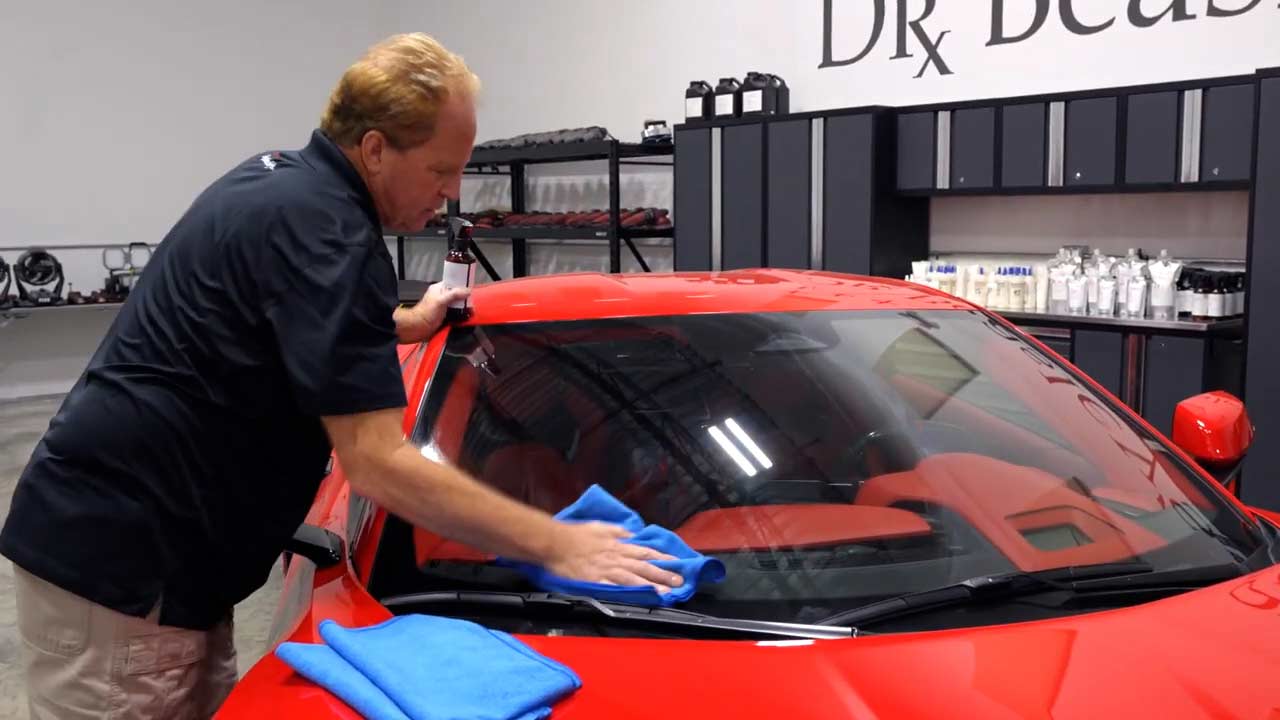
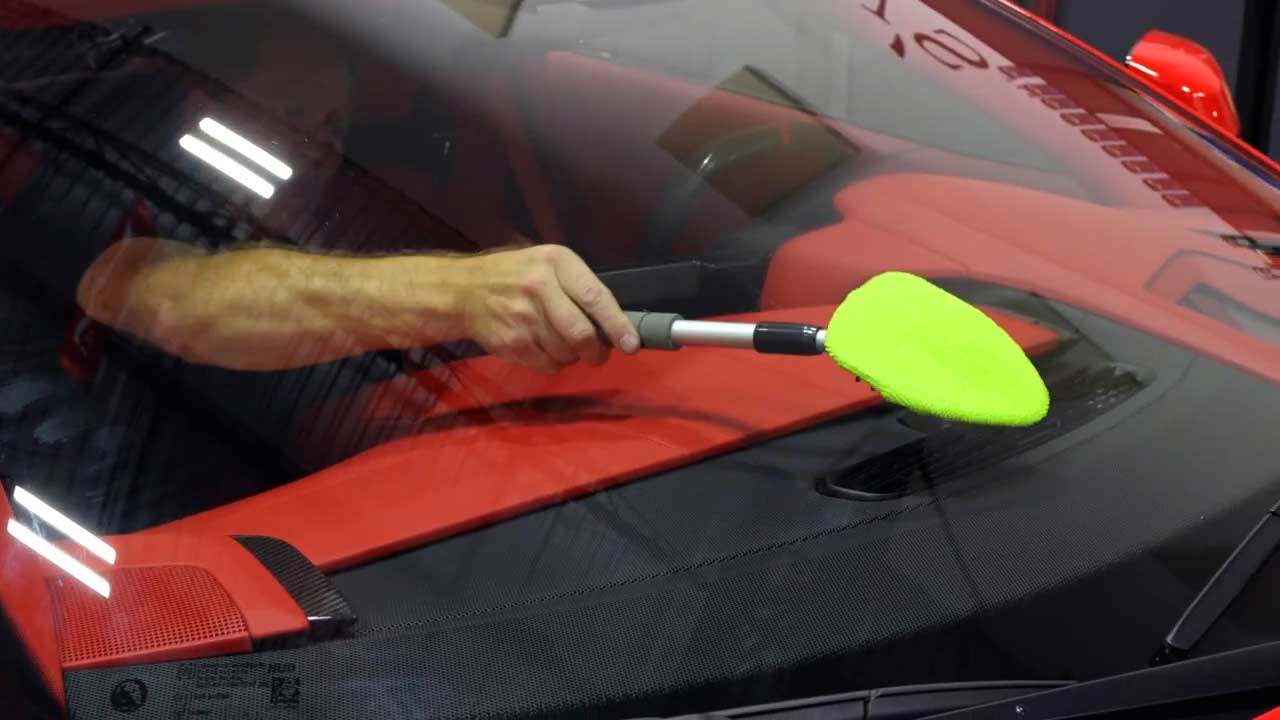
Okay, so when it comes to cleaning the inside glass, especially the windshield, you got this sharp angle. There’s not a lot of room to get to the glass where the dash actually meets the windshield.
So you can pick up tools like this rather inexpensively. And of course what they help you do is to reach into those tight areas to get a flawlessly clean streak-free glass.
Now, another technique that I like to share is because a lot of times when you buy these, you only come with a couple of these things.
If you get them wet, it gets really hard to get your glass completely clean. So I like to start out wiping by hand the normal way and then using this just to finish up by putting just a light mist of the glass cleaner on there. Let me show you how.
Okay, first I’m just going to take my glass cleaner. I’m just going to get my wiping towel nice and clean with glass cleaner. Notice I didn’t spray it on the glass. That would just get over spray all over this beautiful dash up here. So then I’m going to do the initial wiping with a towel just like normal.
And then whenever you’re cleaning glass, the most annoying thing is when you got these little streaks that are left over. Okay, so I’m going to flip to the dry side, get all this gunk off here.
But there’s a technique to help you to science out which side the smear is on, and that is for the final wipe on the inside, you want to go up and down motions like this.
And then on the outside you’re going to go side to side.
And the reason you do up-and-down on the inside is because it’s really hard to go back and forth over the entire windshield when you got the dash and the steering wheel in the way. So it’s easier to do top-to-bottom on the inside than go side-to-side on the outside.
Now after I got all the initial fingerprints in the plastic, what they call a vinyl fog off there, now I’m just going to come back here—this is my little glass cleaning tool—I’m actually going to flip this this way, and I’m just going to take and give it just a mist or two, because this is just the final wipe.
Okay, so then come in here, and this is important. For example, say if you got a date, you want her to be able to see out the windshield as you’re cruising around, going out to dinner.
And then for that final wipe, just go up and down. And then you can inspect when you get outside the car. And if you see any streaks and they’re up and down, they’re on the inside, if they’re side to side, they’re on the outside.
Tip #2: How to Clear Out Debris & Vacuum Interior
Have you ever got into someone’s car and there’s all kinds of clutter, french fries, hamburger wrappers on the inside? You don’t want someone getting in your car like that.
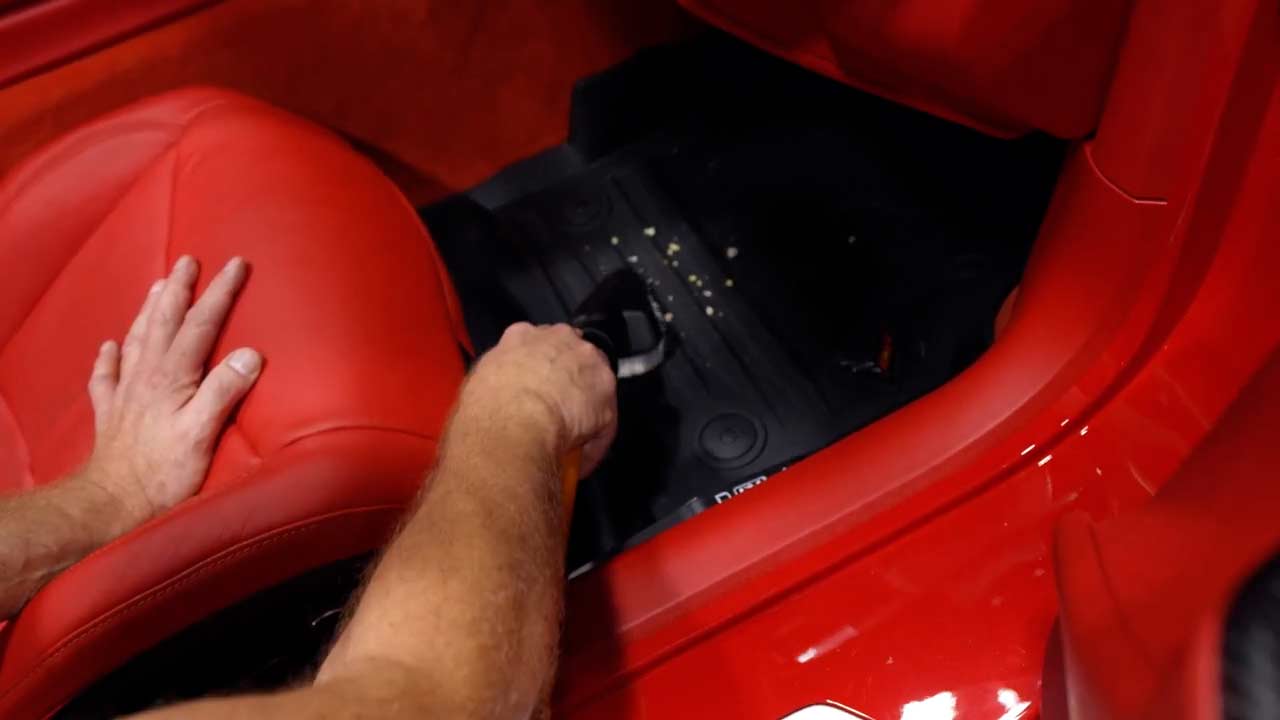
So the first thing you want to do is just remove any of the big clutter… and I could see one of my last guests really like popcorn. And then take and vacuum out everything else that you can’t pick out by hand.
Tip #3: How to Condition Leather for a Soft Feel and Beautiful Appearance
So getting the outside of the car to look good is usually pretty easy for me — where I usually struggle is leather. So I’m going to share a tip with you.
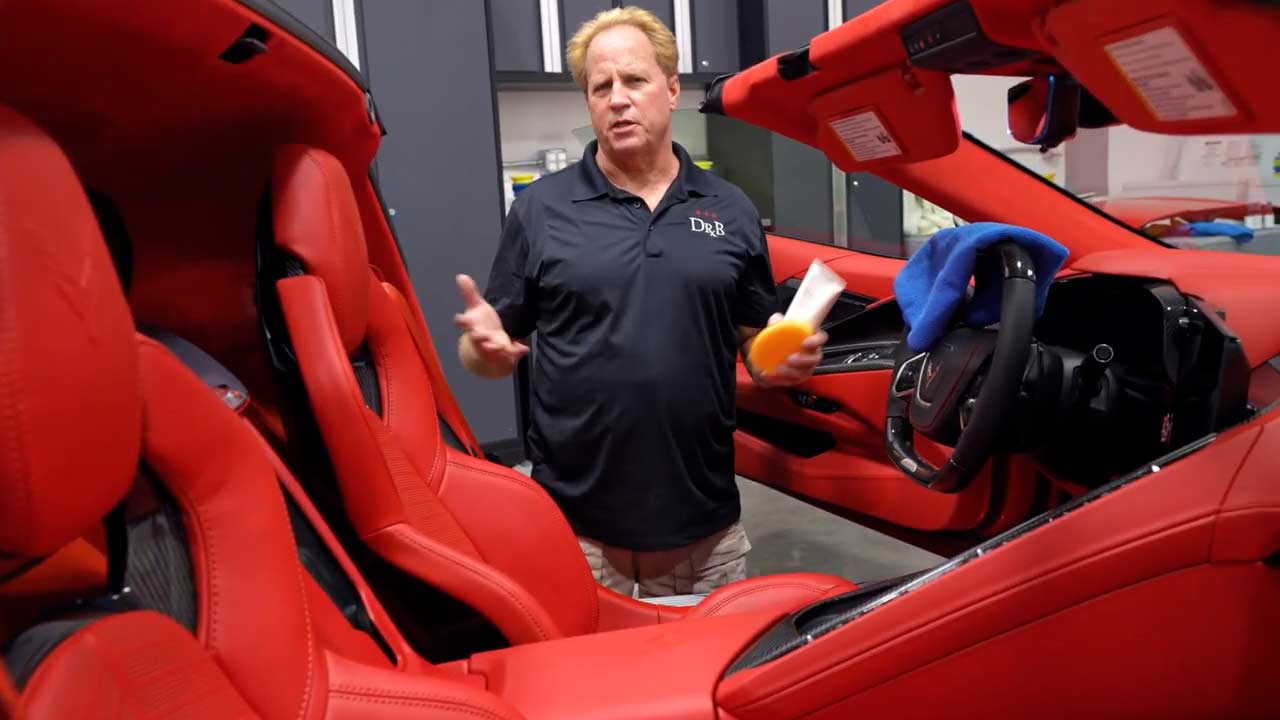
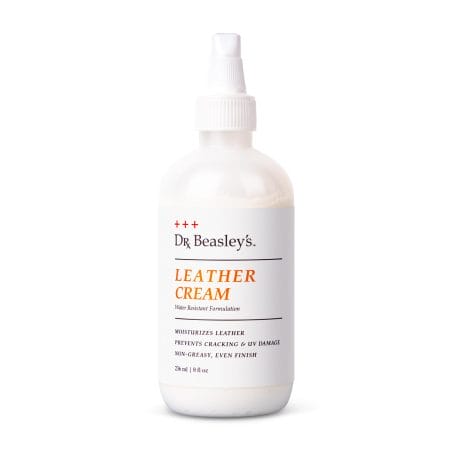
First of all, this has a very luxurious red leather interior, but I want it to feel as soft and supple as it looks. So to do that, I’m going to apply a leather cream. Not only will this make it soft and supple, it’s going to impart a leather scent that’s just sumptuous.
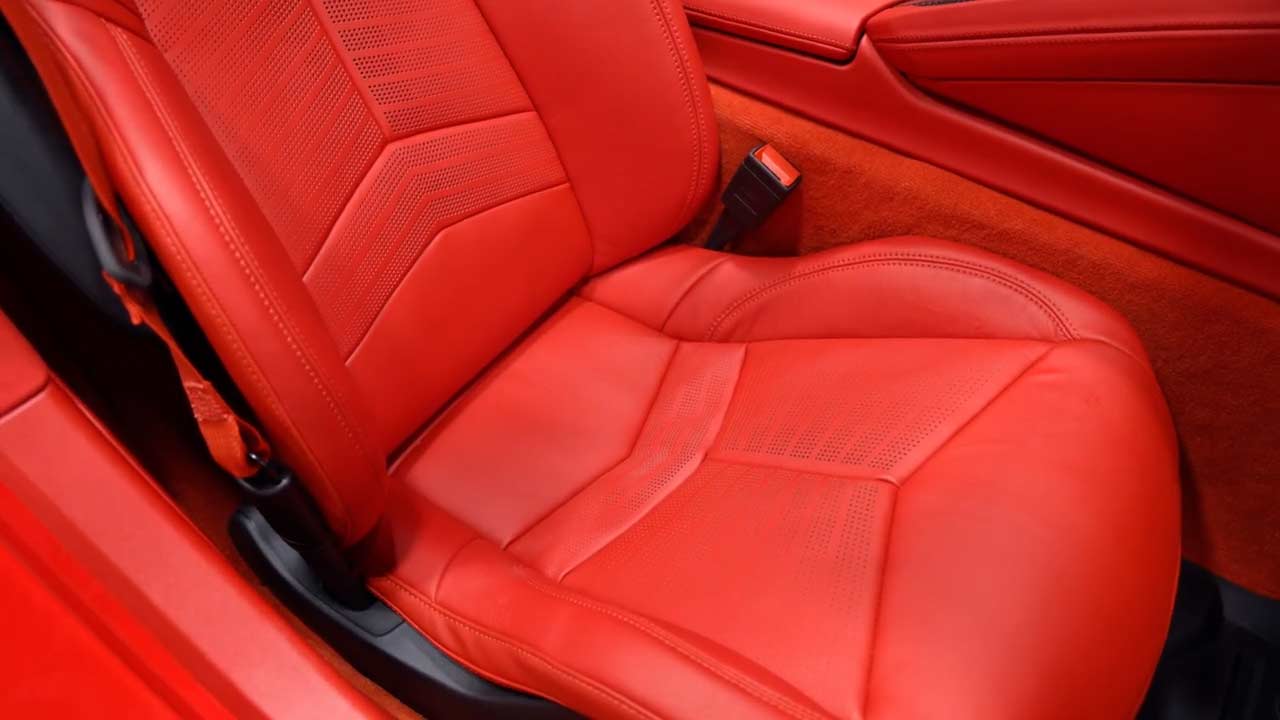
But this car, if you look, it has perforated holes in the leather, and this is for the heat or the air conditioning to flow through. So here’s a little tip to keep you from clogging up all those holes with your leather conditioner.
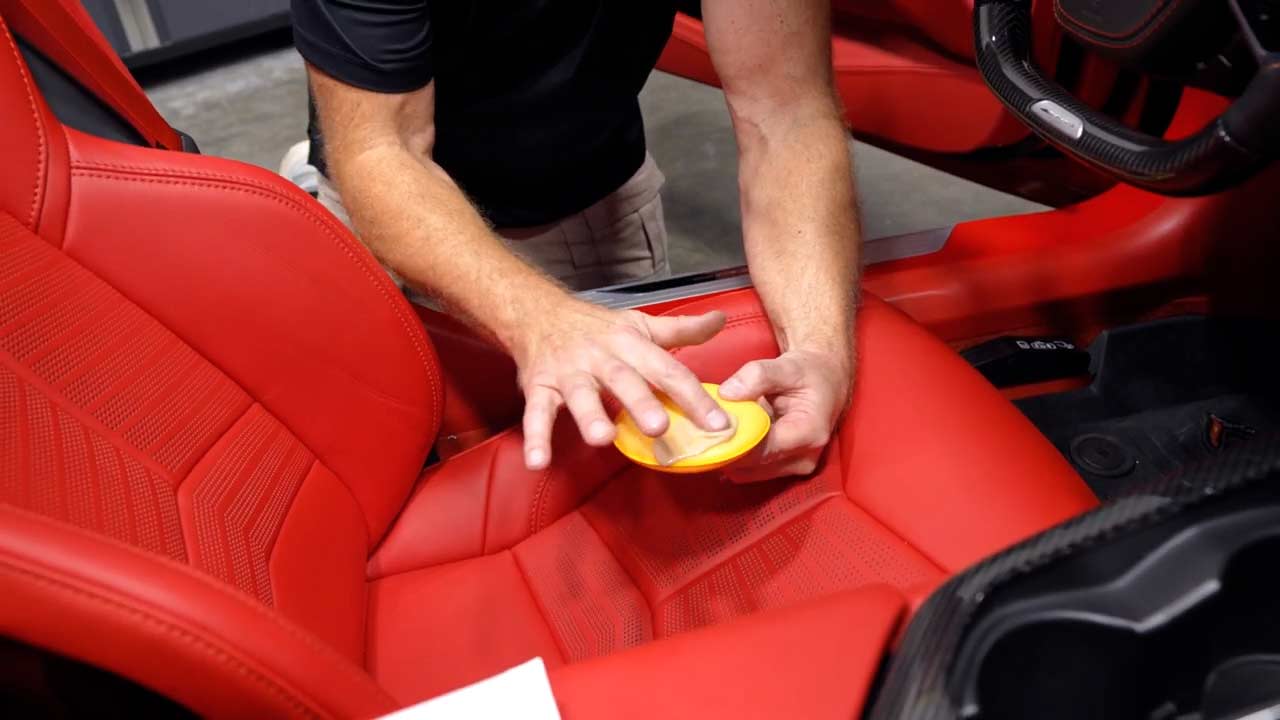
First of all, what you want to do is take your product, apply some right to the face of a foam pad like this, and then the next thing I’m going to do is I’m going to take my fingers and I’m just going to take and push this into the foam.
If I were to take this big old gob of leather cream and put it right onto the holes, it would just fill them up and clog them up. So instead, I’m going to work this into the foam because foam naturally absorbs. I’m going to start out up here where it’s kind of flat, so I get the most of that leather cream up there on the smooth section.
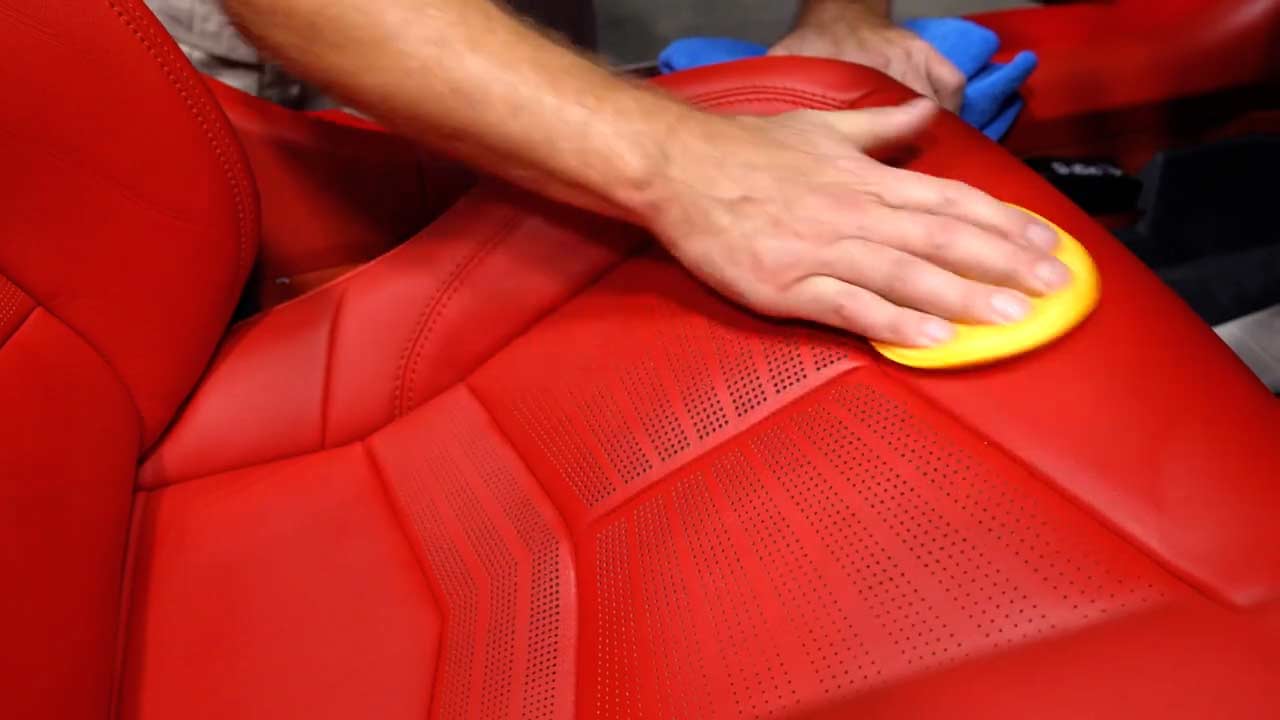
And then once I’ve kind of broken in my applicator pad, now I’m going to come down here and I’m going to hit the perforated side. And for this, you just want to take—and just like putting a skin lotion on dry skin, you just want to take and massage it in and then come back with a clean towel and wipe off any excess.
And as you can see, a little bit of that leather cream goes a long ways.
So I’m going to let that kind of soak in and I’m going to apply some to the back of the seat. Then I’ll come back and wipe it off again. I’m going to take and press this in with my finger so it’s not a big old gob of products sitting on top of the foam. And as I press on the foam, it’ll come out.
Then I’m going to break it in on the smooth surface right here on the bolsters a little bit over here. And then once I’ve kind of broken that in, so I don’t got a huge gob, now I’m going to come in here and treat the perforations.
And this is how you prevent from loading those little tiny holes up with product, which I see happen a lot with new detailers.
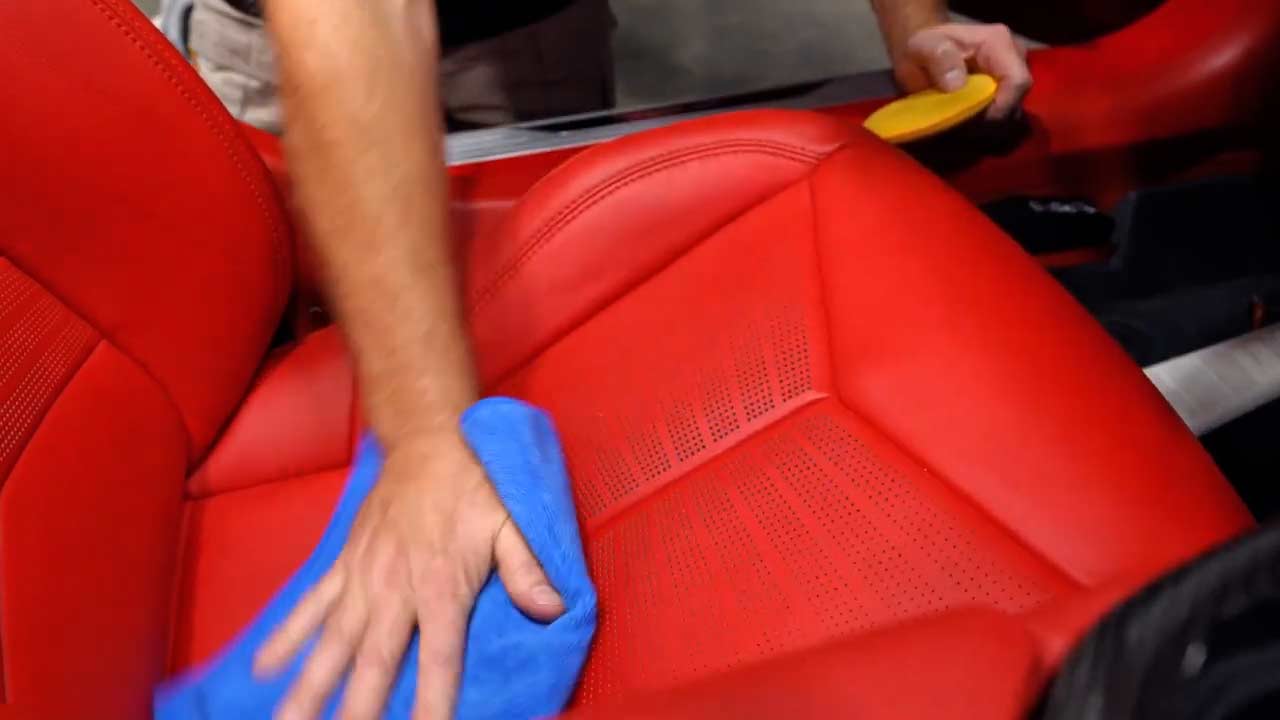
And one of the things you’ll notice instantly is it kind of takes and gives the leather a darker richer look. So now it’ll look as good as it feels. Then after you work that in really well come back with a clean microfiber towel. Just give it a soft wipe to remove any excess. And that is ready for a car show or date night!
And here’s the last tip I have for the interior.
After you’ve cleaned the glass, vacuumed it out, treated all leather—I’m just going to spray—this is a sumptuous leather scent and it’s going to give it that real authentic leather smell that everybody loves.
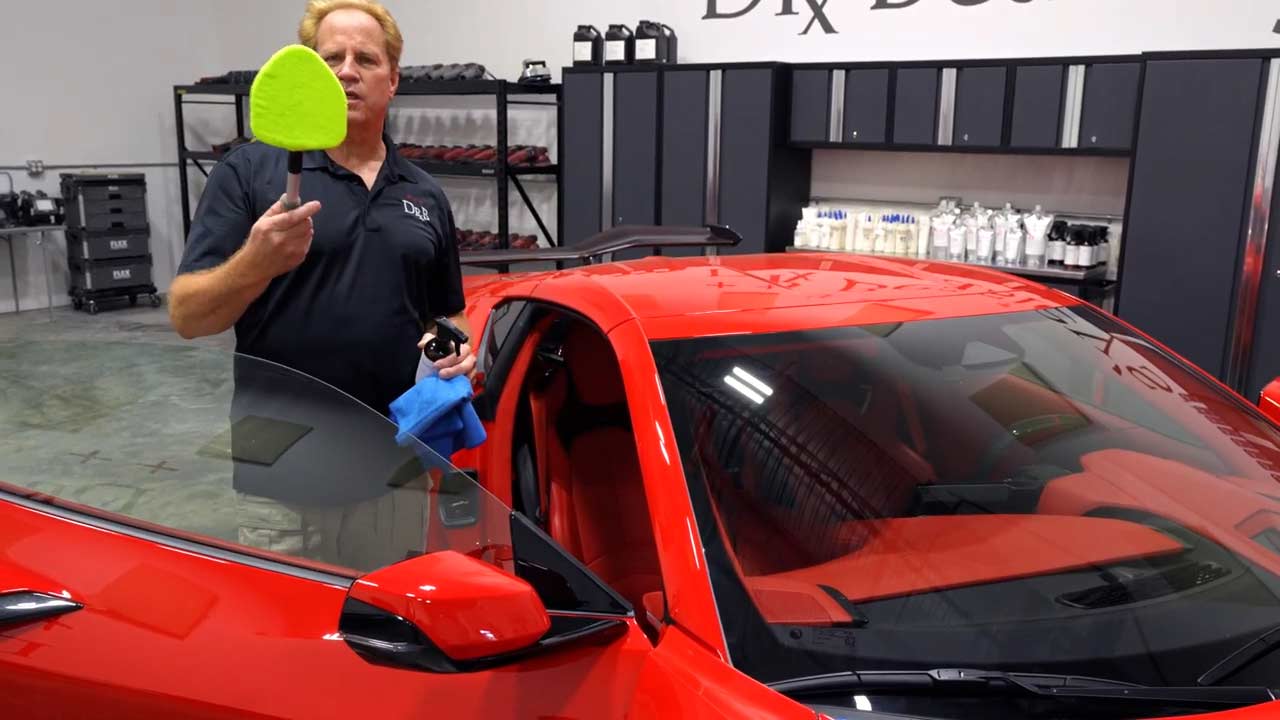
Tip #4: How to Condition/Dress Tires for a Sleek Look
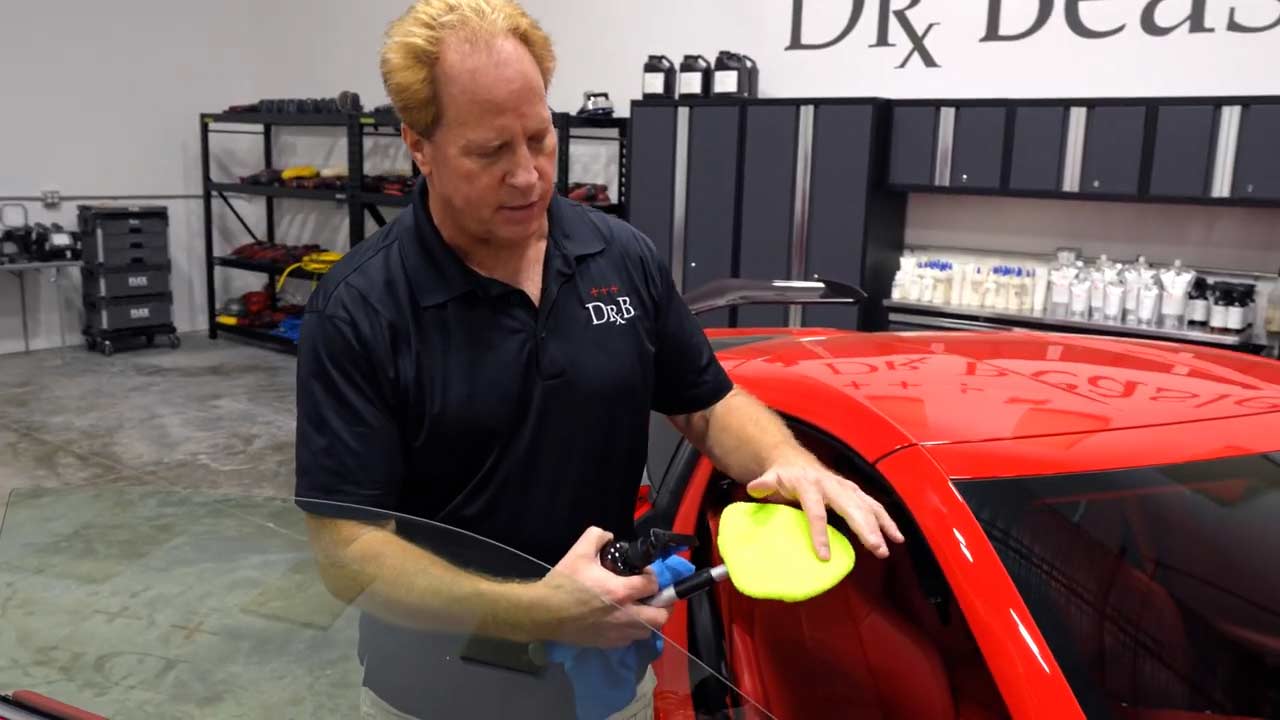
So the finishing touch to wheels and tires is to always put some fresh tire dressing onto the tire side wall because it’ll give it that deep, dark black shine that everybody loves. That’s as simple as just putting some tire dressing onto an applicator and then working it in!
And let me share a little tip. A lot of people complain about tire dressing sling, and the reason there’s tire dressing sling is because there’s too much product and it gets caught into the grooves and the cracks of the tires.
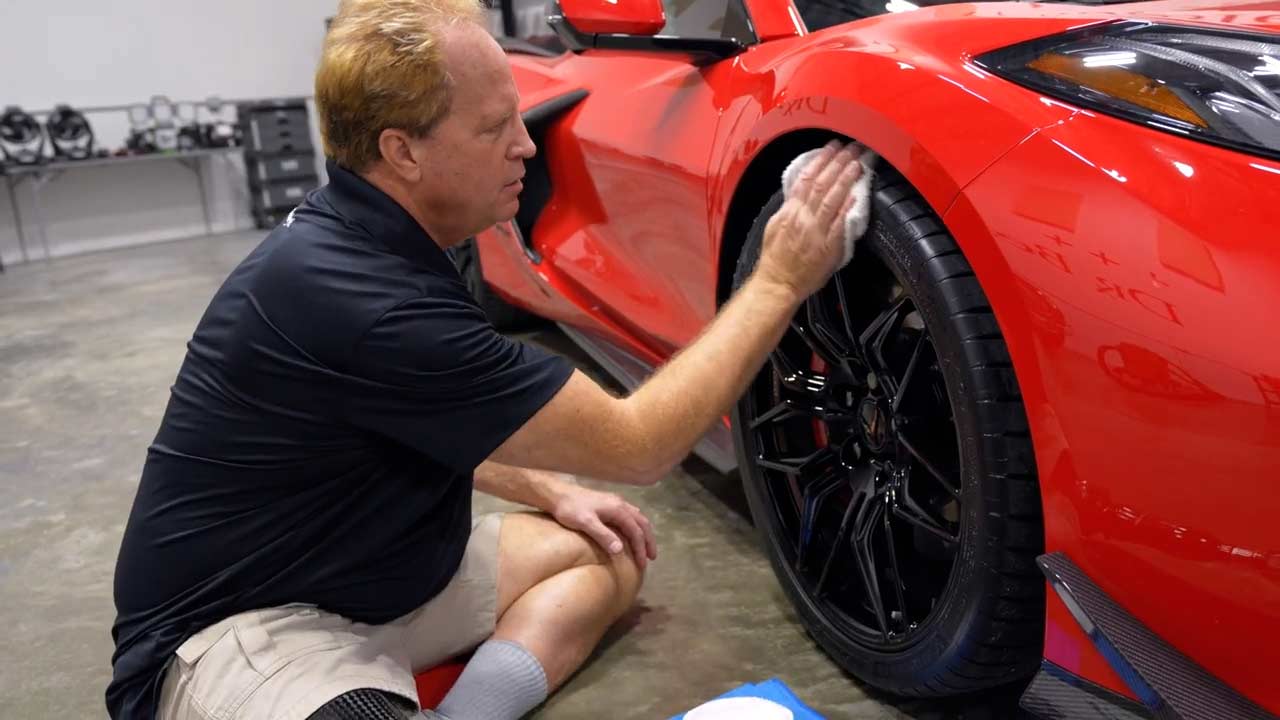
So just have an extra—I call these my tatty tire towels—and just come back after you’ve applied it, give it a gentle wipe to remove any excess and you can completely avoid tire dressing slinging on the sides of your car.
Tip #5: How to Quickly Waterless Wash To Remove Dust and Smudges
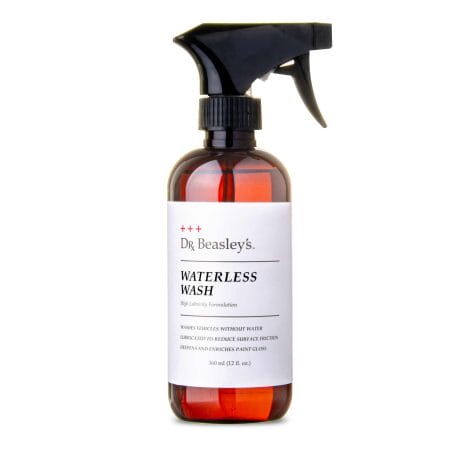
So here’s a tip that can save you a lot of time: Instead of dragging out the hose and a bucket and giving your car a regular wash, just use a waterless wash.
But as you saw, I first took a leaf blower and I just wanted to blow any loose dust off.
Then the next thing I’m going to do is use a waterless wash to get the car clean. But there’s a couple secrets to using a waterless wash to get a scratch-free clean car.
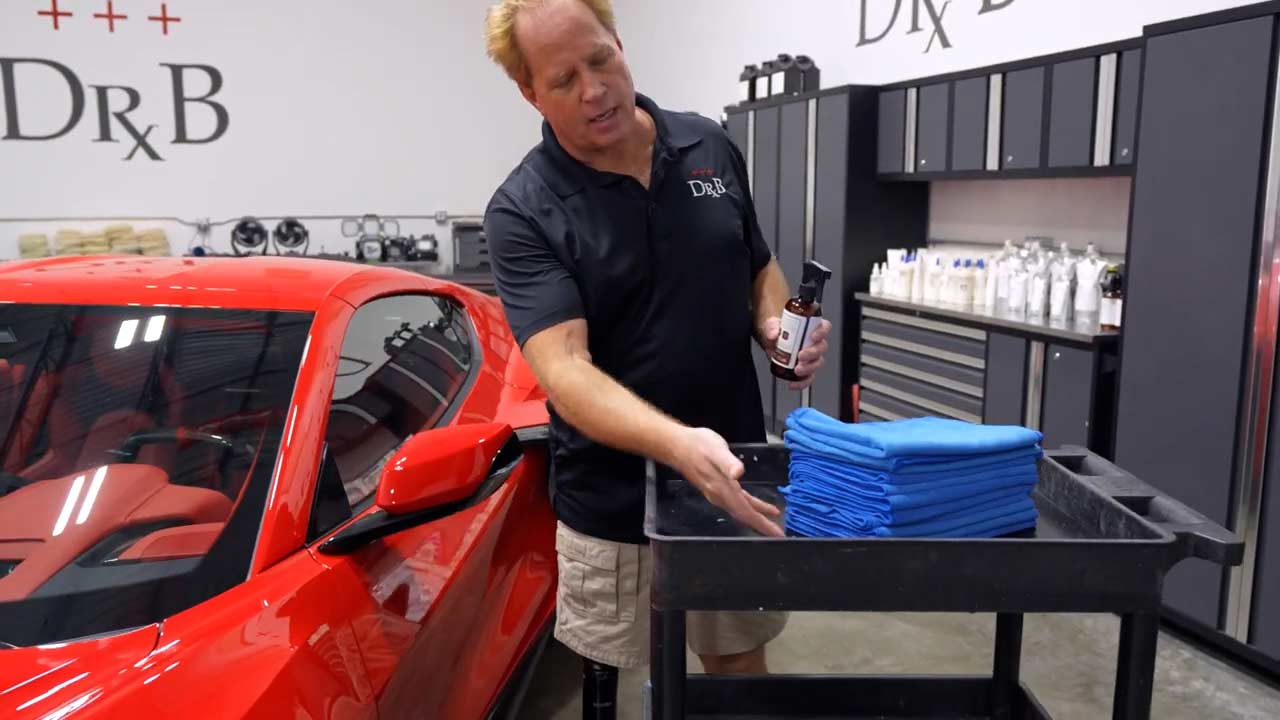
First, it starts with using lots of towels. That way when you wipe dirt off one panel, you can fold to a clean side instead of rubbing that dirt you just removed over a new section of paint.
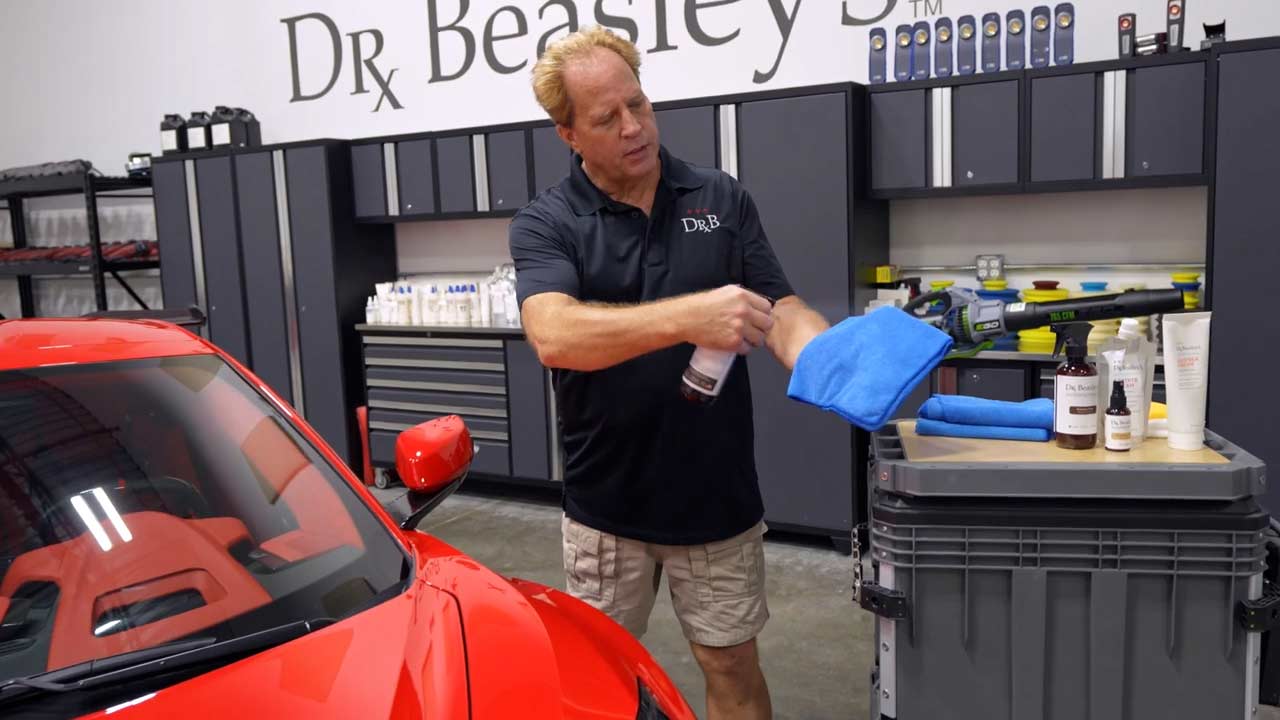
The other little technique I’d like to share is when you’re using a waterless wash, you want to lay down a heavy or what I call a “wet” application.

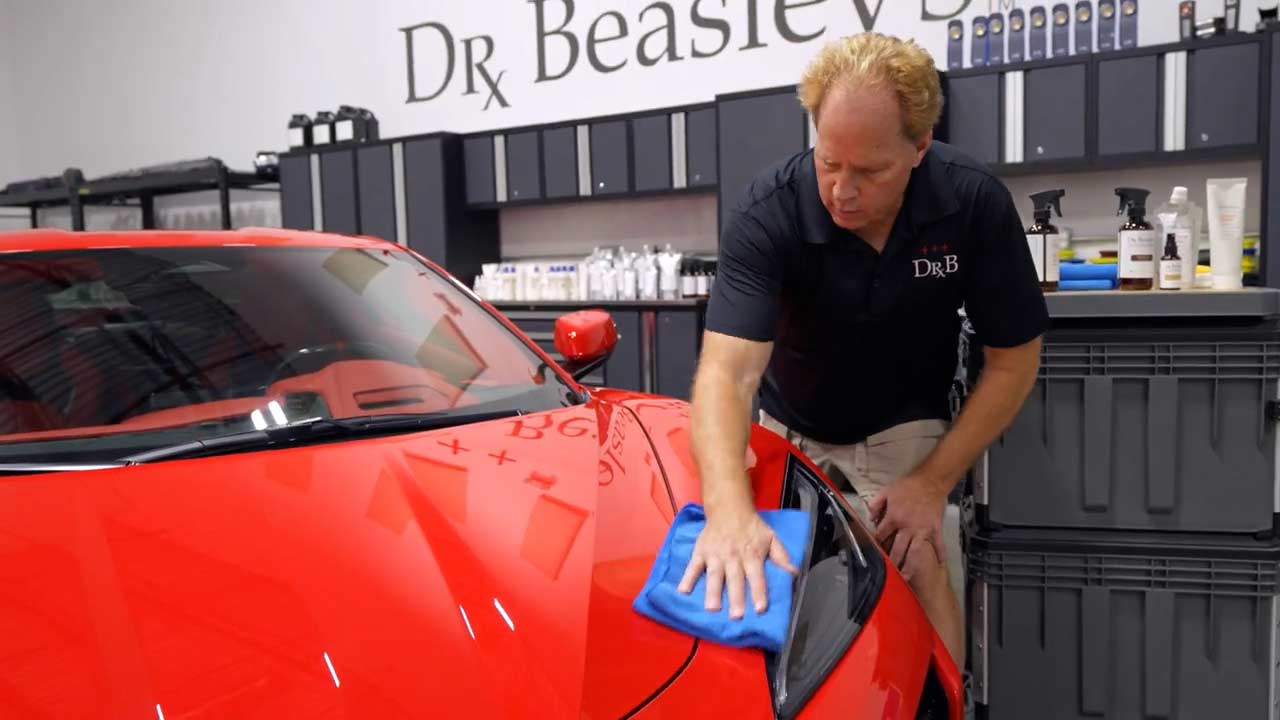
And the reason for that is because you want lots of lubrication and also whatever the cleaning agents are inside the waterless wash. Then just give it a gentle wipe to one panel, flip over to the dry side and go ahead and polish any residues off. And now you’ve got a clean surface ready for the next step.
And then the key then is just to go ahead and as you work around the car, keep folding to a fresh, clean side.
Tip #5: How to Apply a Spray Ceramic Coating for Maximum Shine
So we’re just about done with the car. And let me just kind of recap what we already did:
- We took care of the tires with a fresh coat of dressing.
- We cleaned the interior, got all the clutter out, vacuumed it out.
- Treated all the leather, added a fresh scent
- And we cleaned the glass on the inside and outside.
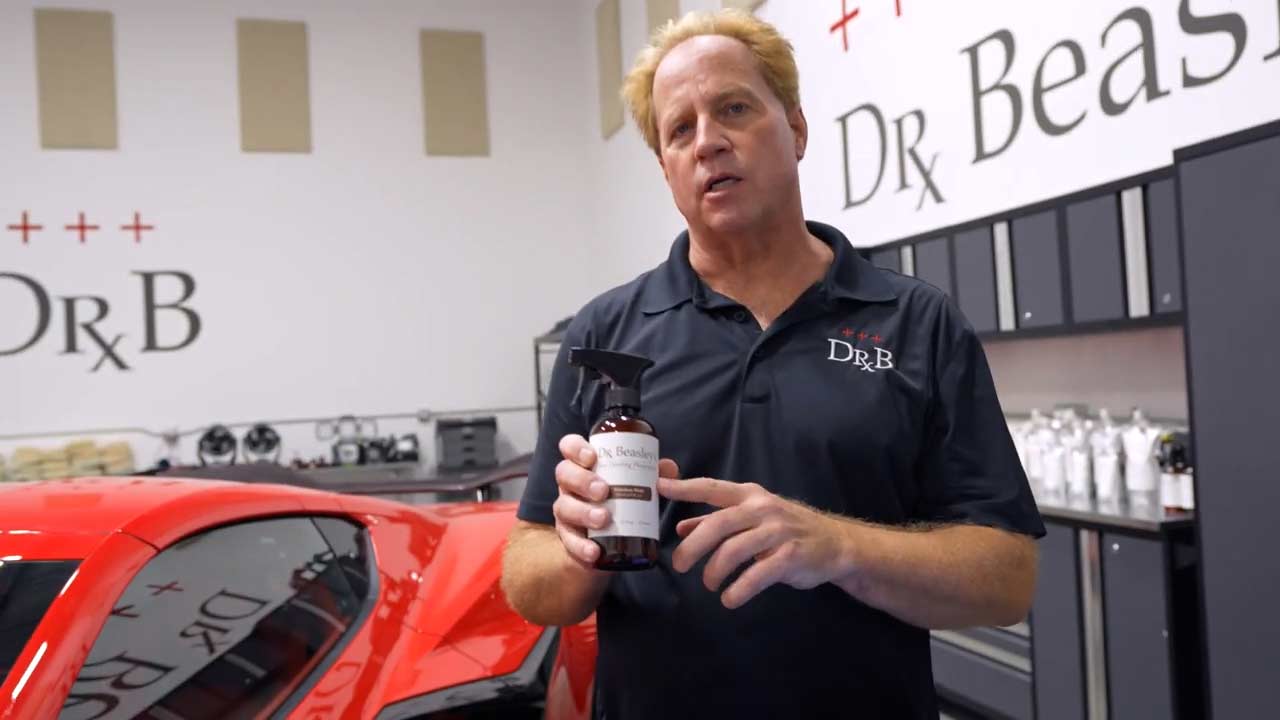
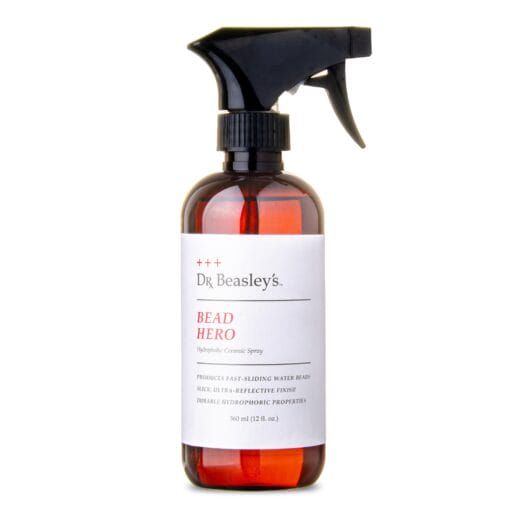
Now here’s my best tip to really add the finishing touch before date night, and that’s to take whatever your favorite product is—for me, this is Bead Hero—this is a spray on ceramic coating.
And what this is going to do is, it’s going to impart a very high gloss glassy look, but there’s a little technique I like to share for using products like this.
Instead of spraying over the car, go ahead and just spray some onto your towel, and that way you avoid getting overspray it in places you don’t want it.
Then take and just spread this out, flip to the dry side and polish it off, and then continue around the car until you’ve treated all of the body panels.
That’s all there is to it, and it looks amazing.
My Personal Offer to Help
I’ve been answering car detailing questions professionally since 2002 and moving forward, if after reading this article you have any questions about glass cleaning, tire conditioning, waterless washing or ceramic coating, my contact information is below, reach out to me, I’m always happy to help.
Would You Like to Learn How to Detail Like a Pro?
- Would you like to take your detailing skills to a higher level?
- Do you find you learn better by doing versus sitting in a chair looking at a PowerPoint presentation about car detailing?
Here at Dr. Beasley’s O.R., (Operating Room), in sunny Stuart, Florida, we teach the most hands-on car and boat detailing classes on planet Earth. And we prove it too. You can find write-ups on the Dr. Beasley’s Blog that photo-documents just how hands-on our classes are plus you’ll see the kinds of cars and boats you’ll be training on.
Click the link below to find the dates, locations, topics, and prices for all upcoming detailing classes.
Upcoming Detailing Classes – Prices – Info – Topics – Locations
And if you ever have any questions, always feel free to reach out to me personally via text, phone call or email.
I hope to see you in a future detailing class!
Sincerely,
Mike Phillips
Chief Education Officer for Dr. Beasley’s
Mike@drbeasleys.com
760-515-0444
Featured Products

Questions? Comments?
Email Us