


Last Updated March 20, 2025

Much like the outside of your car gets dirty over time, so too does the engine and engine compartment inside.
Back in the old days you’d spray heavy duty degreasers all over the engine and surrounding surfaces, scrub with a variety of brushes to agitate the degreaser before finally rinsing the loosened, oily sludge off with water. It was essential for getting inside all the tiny nooks and crannies inside old engine bays. This was the standard engine detailing procedure for almost any car built before the year 2000.
Fast-forward to today. Now, when you open the hood on a modern car, truck or SUV, all you see is plastic components and cladding. You can’t even see the motor without removing all the plastic.
Due to the design of modern engine compartments and all the electronic sensors and components inside, it’s not advisable to go with the traditional approach using degreasers and pressure washers. Instead, it’s best to do something I call a “Cosmetic Engine Detail”.
A cosmetic engine detail uses no water so you don’t have to worry about damaging electronics. Instead you use compressed air to blow out all the sticks and leaves, a spray degreaser to clean and a plastic sealant to protect.
Follow the step-by-step instructions below and you’ll be detailing your engine compartment like a pro for a factory new appearance!
Why Cleaning Your Engine is Important
Since it’s a part of your car people rarely see (unless you’re showing your big block off at a car show) a lot of people think the engine compartment isn’t that important to keep clean. Out of sight, out of mind as they say.
The fact is there are numerous benefits to keeping a clean engine compartment:
Creates Perception of Well-Maintained Car: A trashed engine compartment with sticks and leaves sticking out of the hood can make people think your car is a piece of junk that could break down at any time. Conversely, a pristine engine bay makes it look like your car is in perfect working condition.
Helps Maintain Trade-In or Resell Value: Both dealerships and private buyers use the condition of the engine compartment as one measure of a vehicle’s resale value. While having a clean engine bay isn’t going to suddenly make your car worth thousands more, having a dirty one can definitely lower the price people are willing to pay.
Helps Identify Fluid Leaks: If your engine bay is filled to the brim with sticks, leaves and other debris, it can be hard to find the source of a fluid leak. Keeping the compartment clean will make it much easier to identify leaks so they can be addressed ASAP.
Helps Keep Engine Bay Cooler: An overheating engine is not good for your vehicle. Built-up grease and oily dirt will trap and retain heat, raising the interior temperature while driving. Keeping surfaces free of grease and oil will go a long way towards keeping temperatures down.
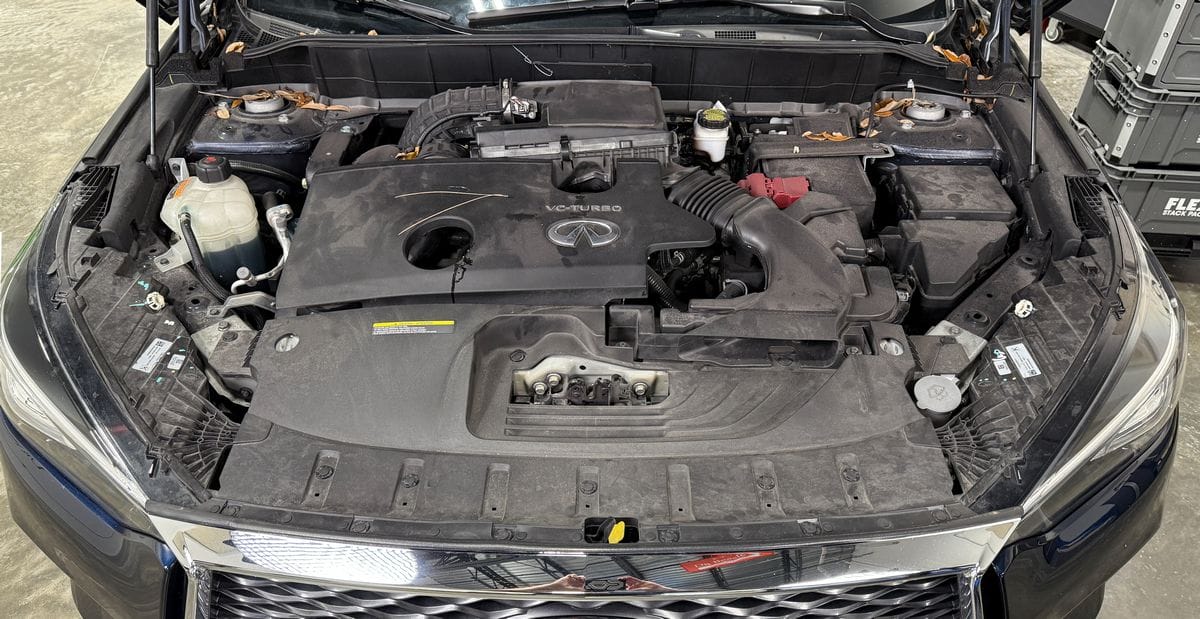
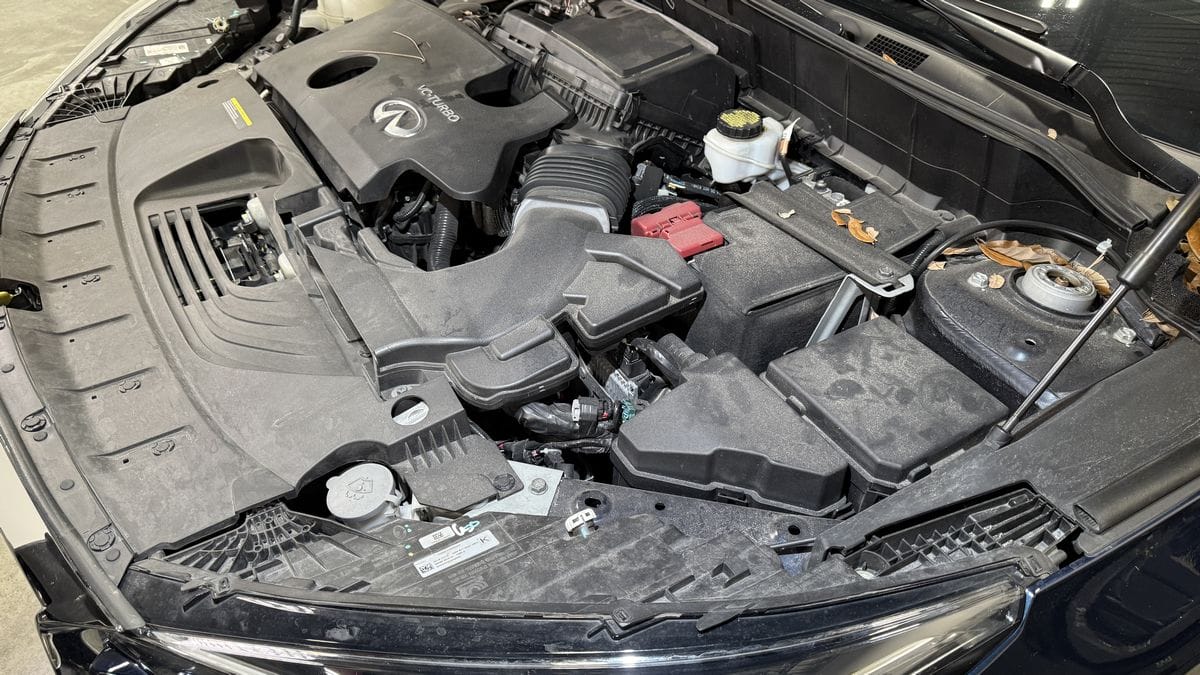
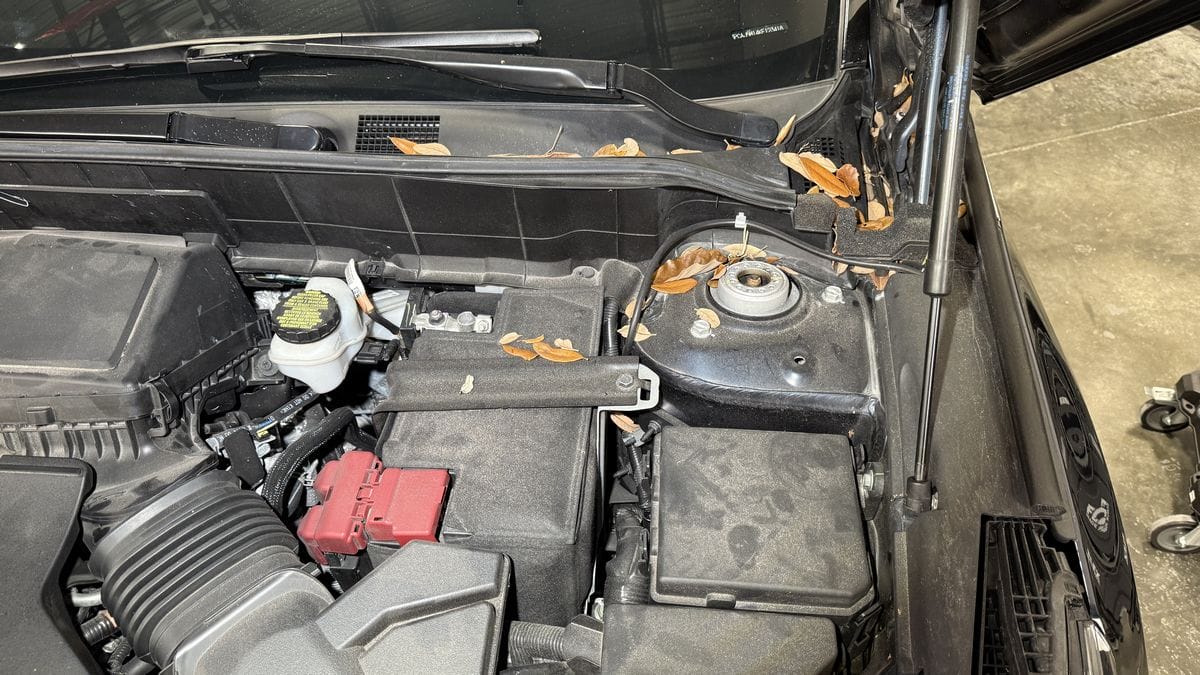
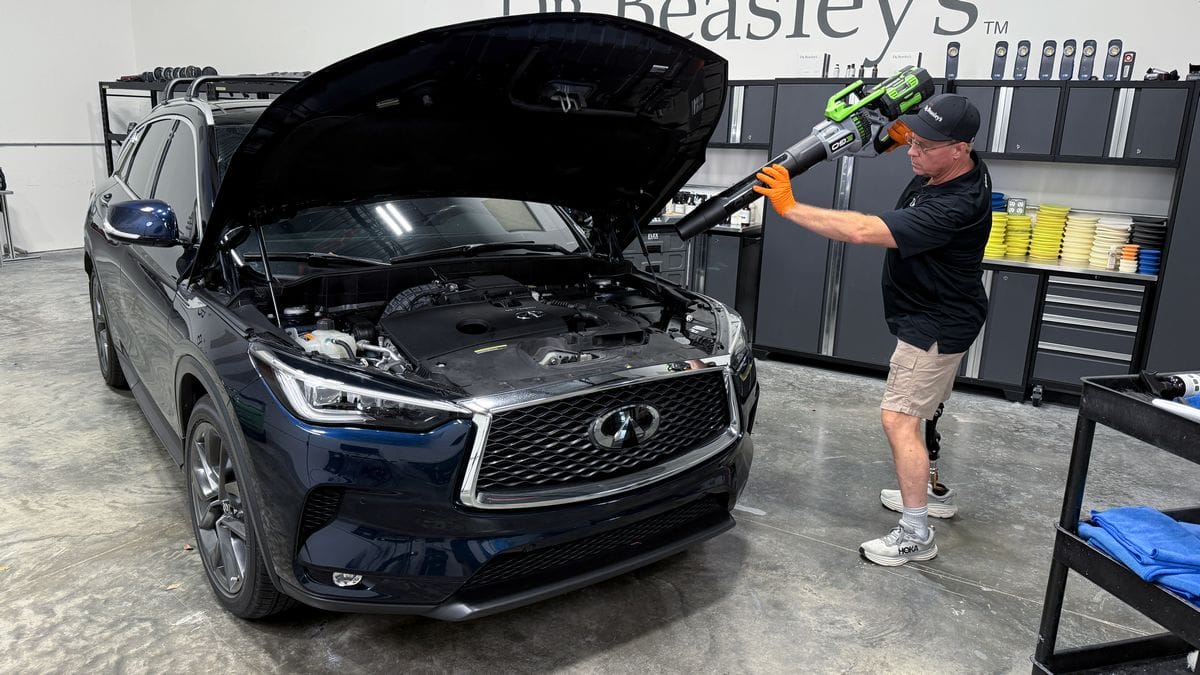
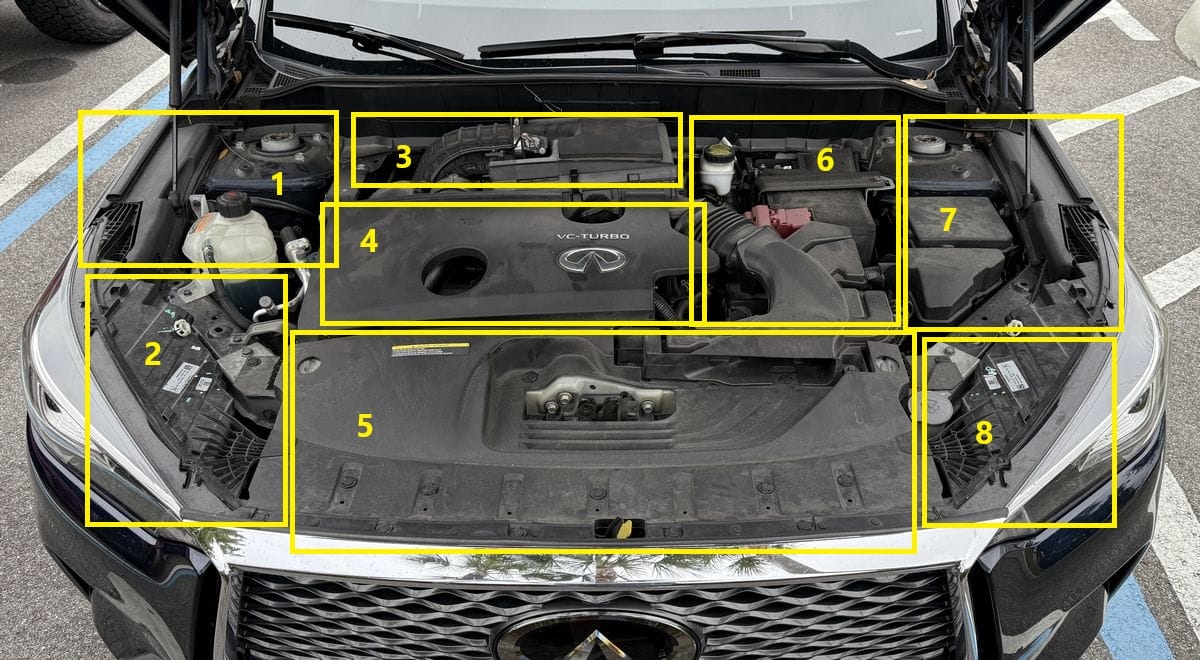
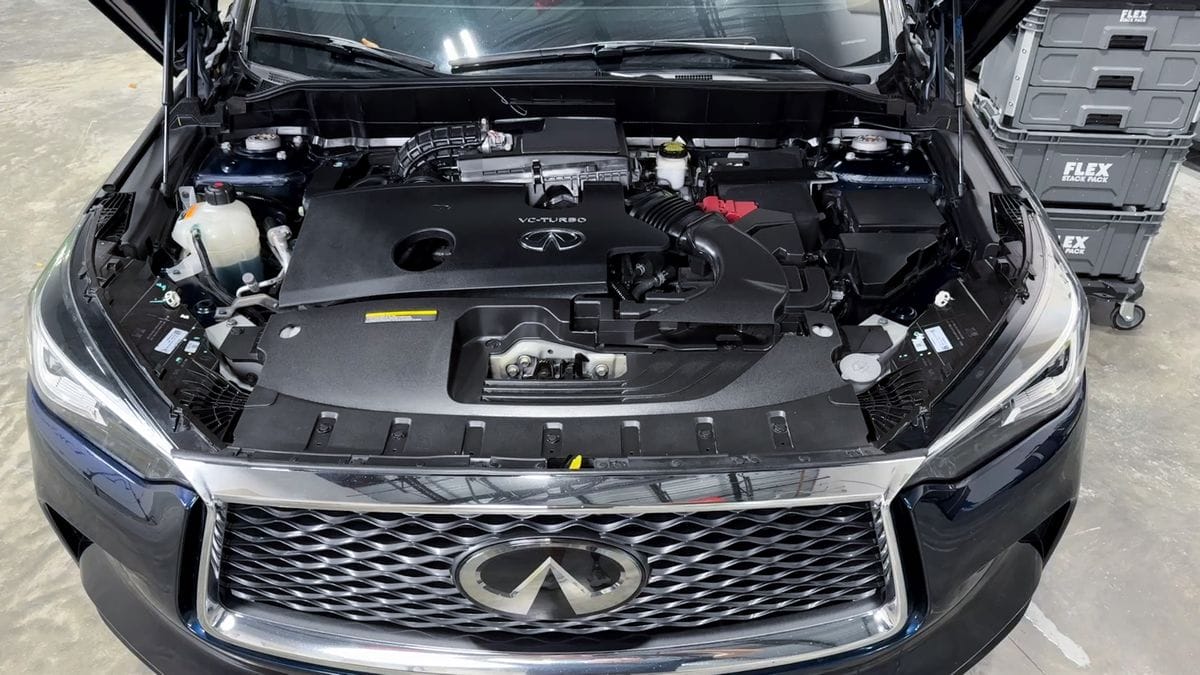
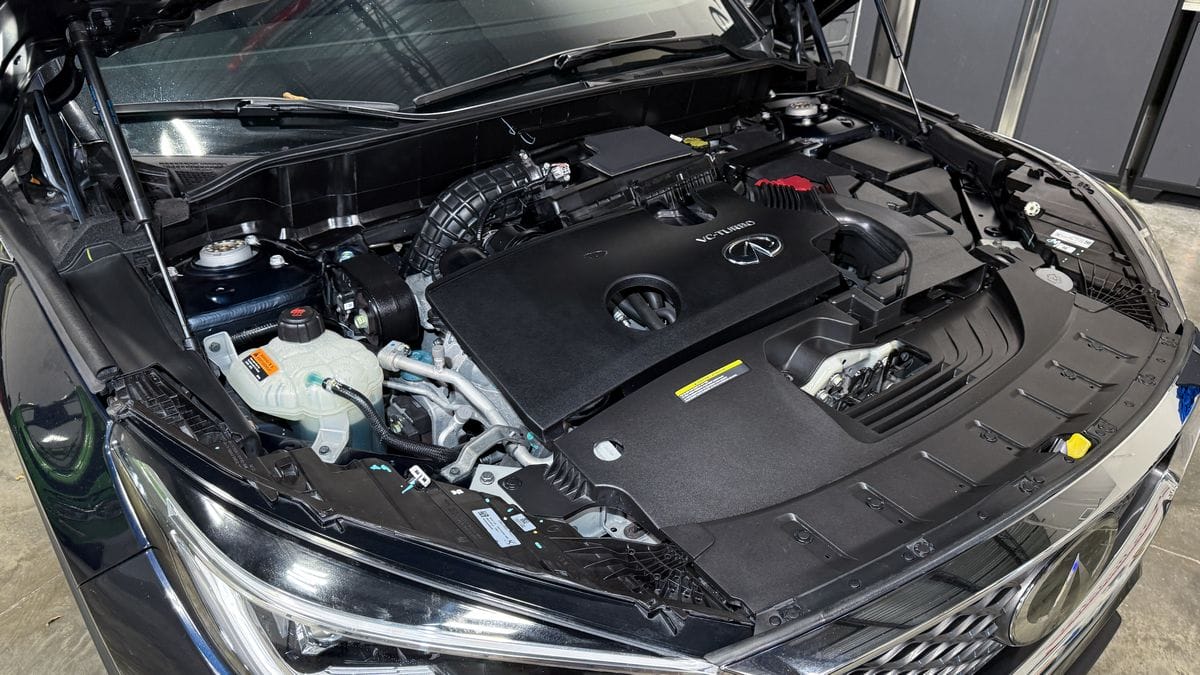
The Demo Vehicle: 2020 Infiniti QX50
For this step-by-step demonstration, I’ll be using my personal daily driver — a 2020 Infiniti QX50. This is the perfect car for this demonstration!
Since we’re focused on cosmetic cleaning on modern engines with lots of plastic cladding, this newer SUV fits the bill perfectly. And since she’s a daily driver, you can bet she’s got plenty of grime, leaves, dirt and more covering every engine bay surface.
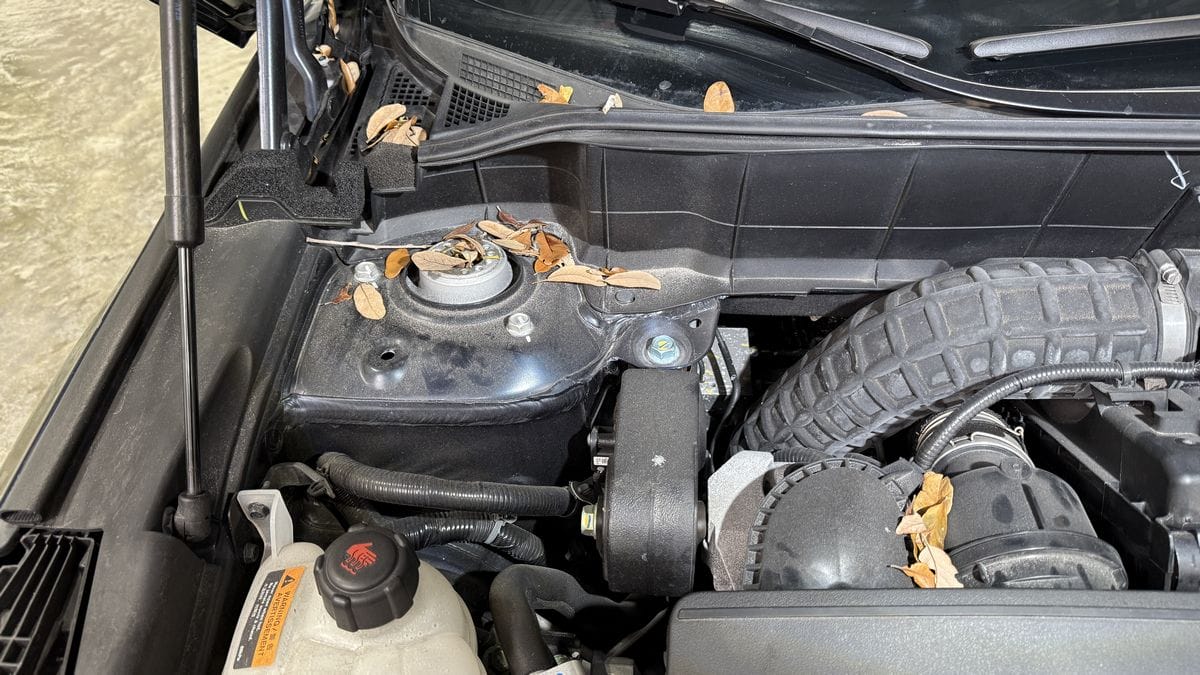
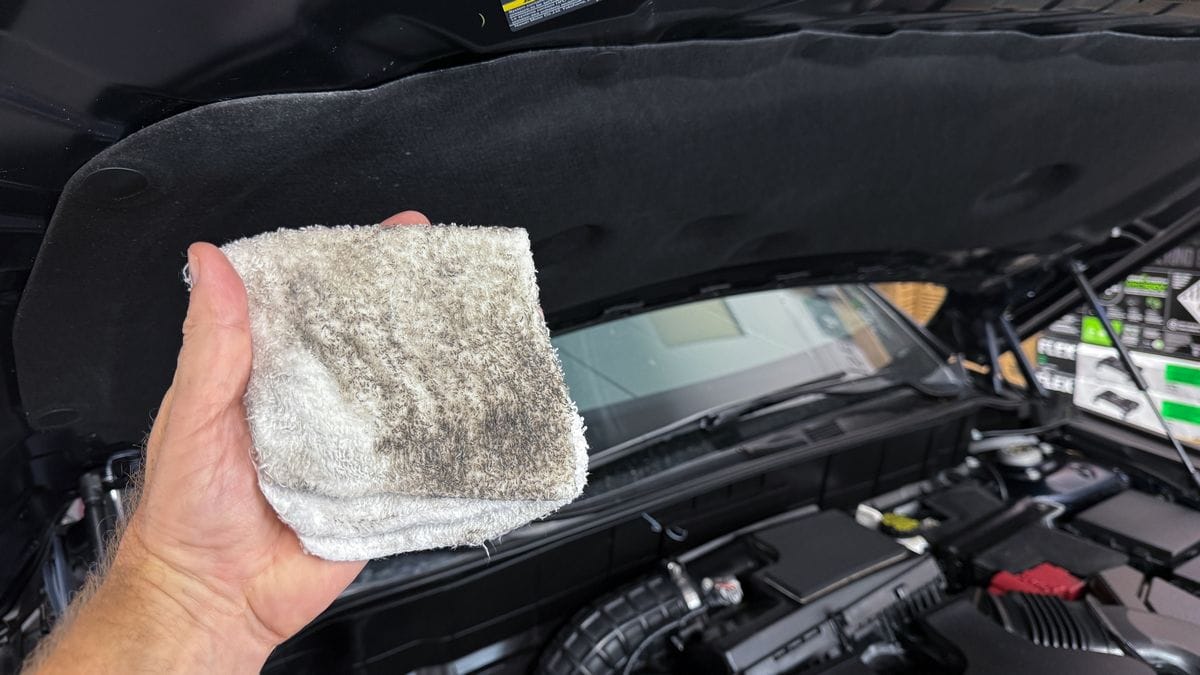
Below are photos of the before condition so you can appreciate the difference at the end.
Step-by-Step Instructions for Cleaning an Engine Compartment
Before we start cleaning the engine bay, we need to gather our supplies. Here’s a basic list of what I’m using for this demonstration:
- Air Blower
- Dr. Beasley’s Opti-Surface Cleanser (or equivalent degreaser)
- Dr. Beasley’s Plastic Sealant (or equivalent plastic protectant)
- Dr. Beasley’s The Final Finish (or equivalent detail spray)
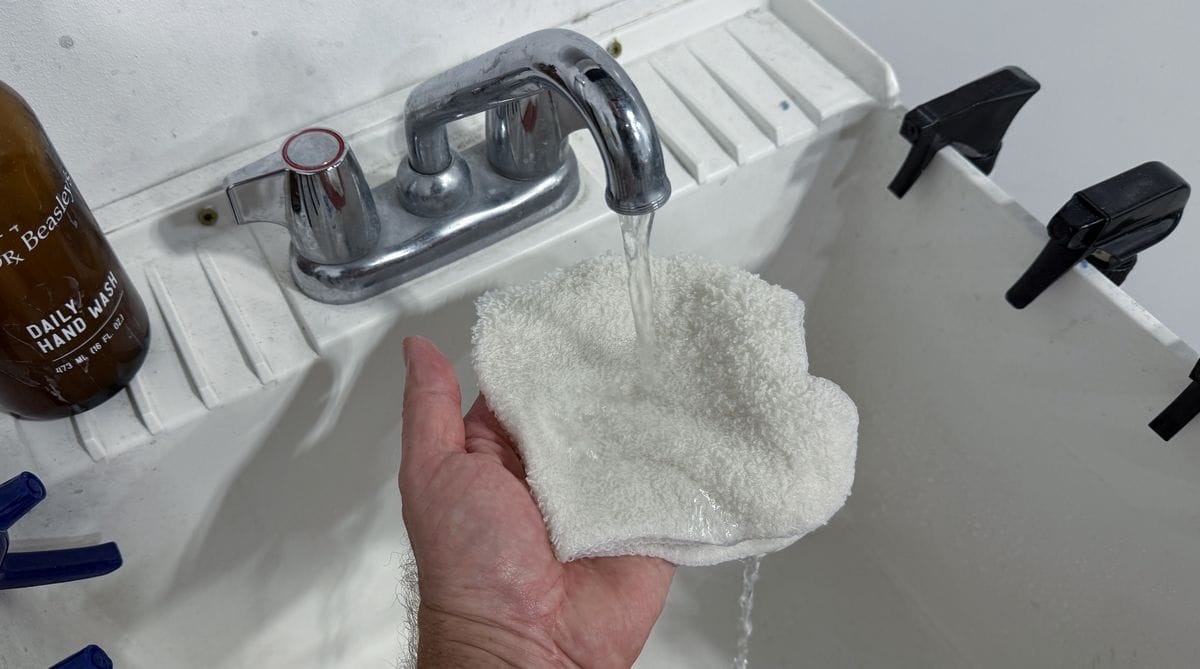
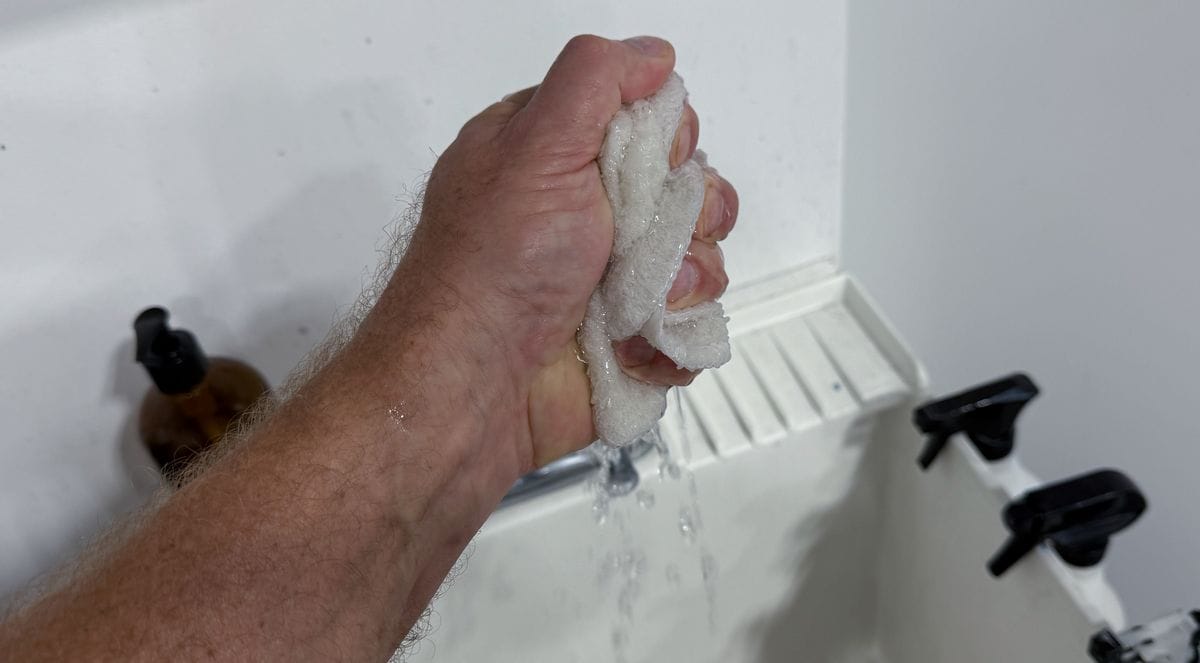
- Lots of clean microfiber towels
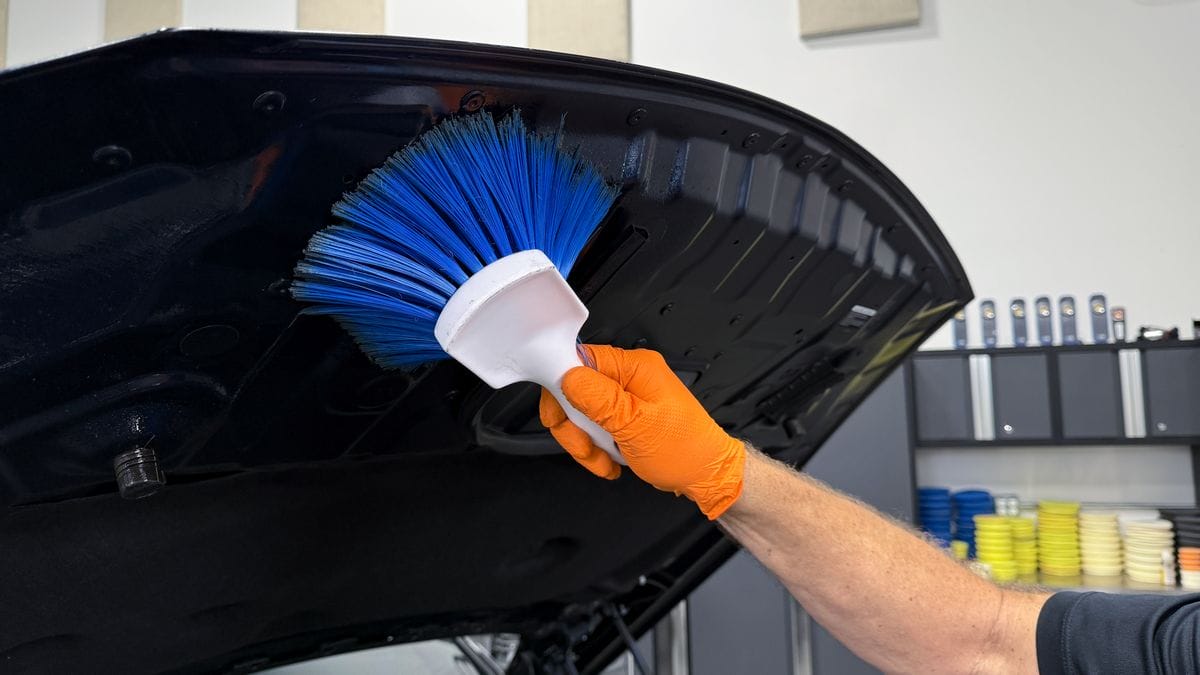
Step 1: Blow Out Engine Compartment with Compressed Air to Remove Loose Leaves, Pine Needles, Sticks and Other Environmental Debris
Over time, leaves, pine needles and even sticks, and dead bugs will accumulate where the back of a car hood meets the windshield wipers and windshield. The first thing you want to do is blow out all this clutter using some type of compressed air. A leaf blower or any type of hand-held air blower works great for blowing out loose leaves, sticks and pine needles. A lot of wet/dry shop vacuums have the option to both extract and to blow depending upon where you attach the vacuum hose.
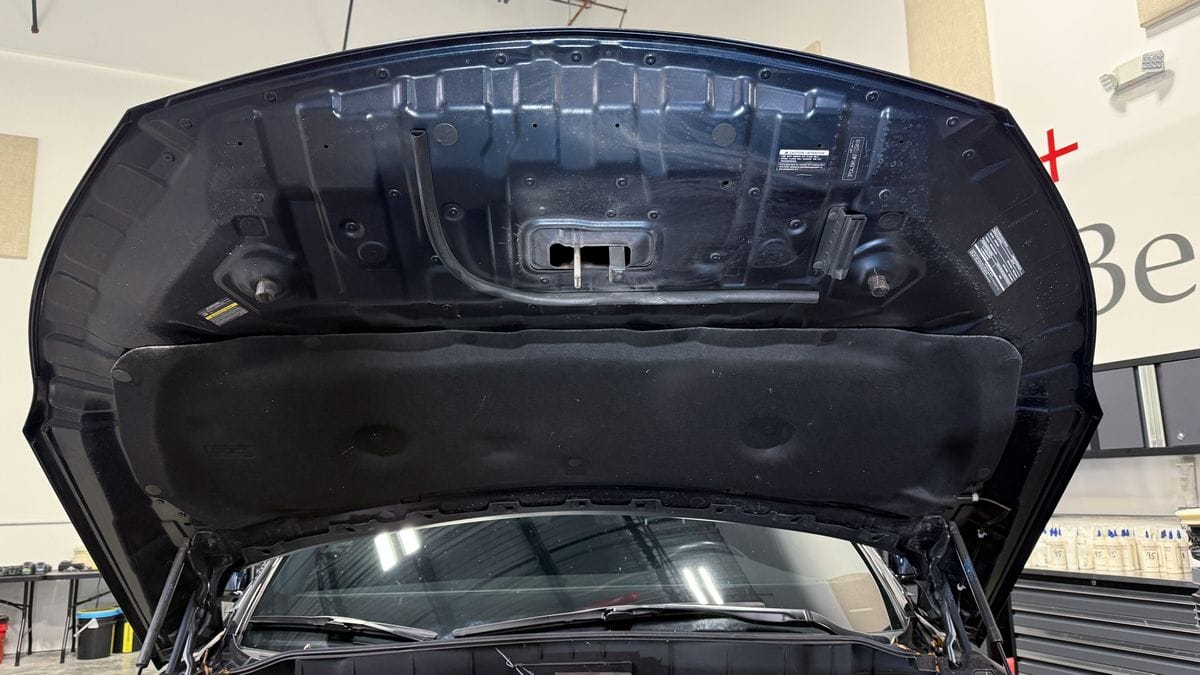
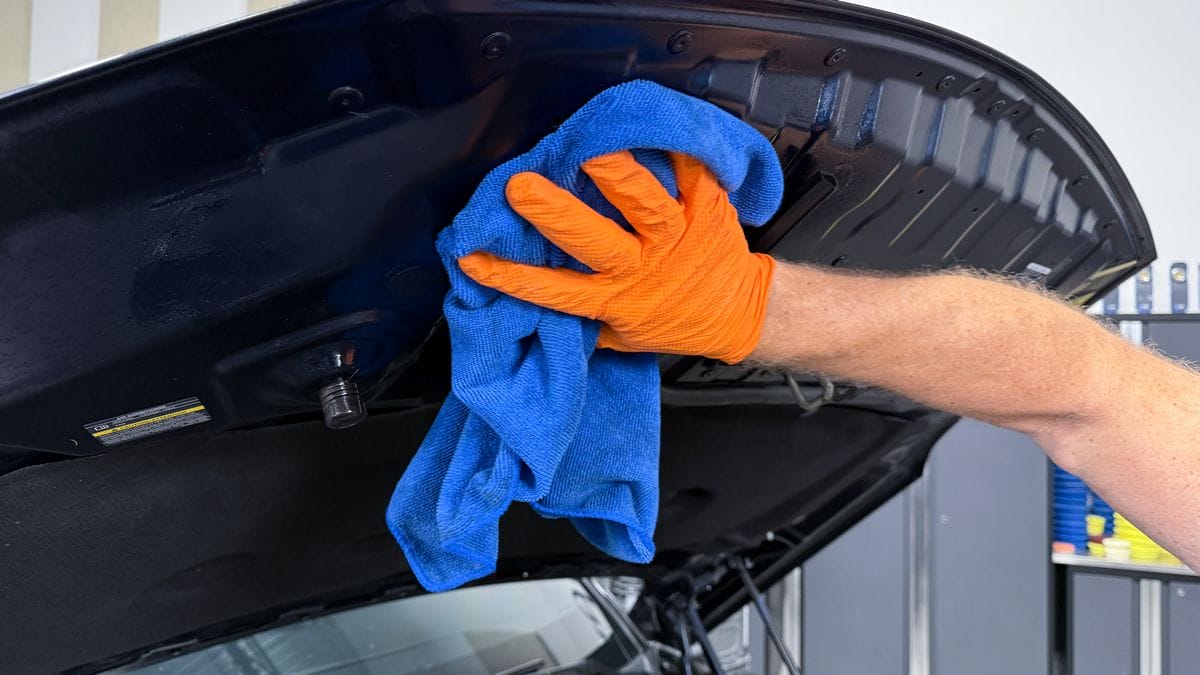
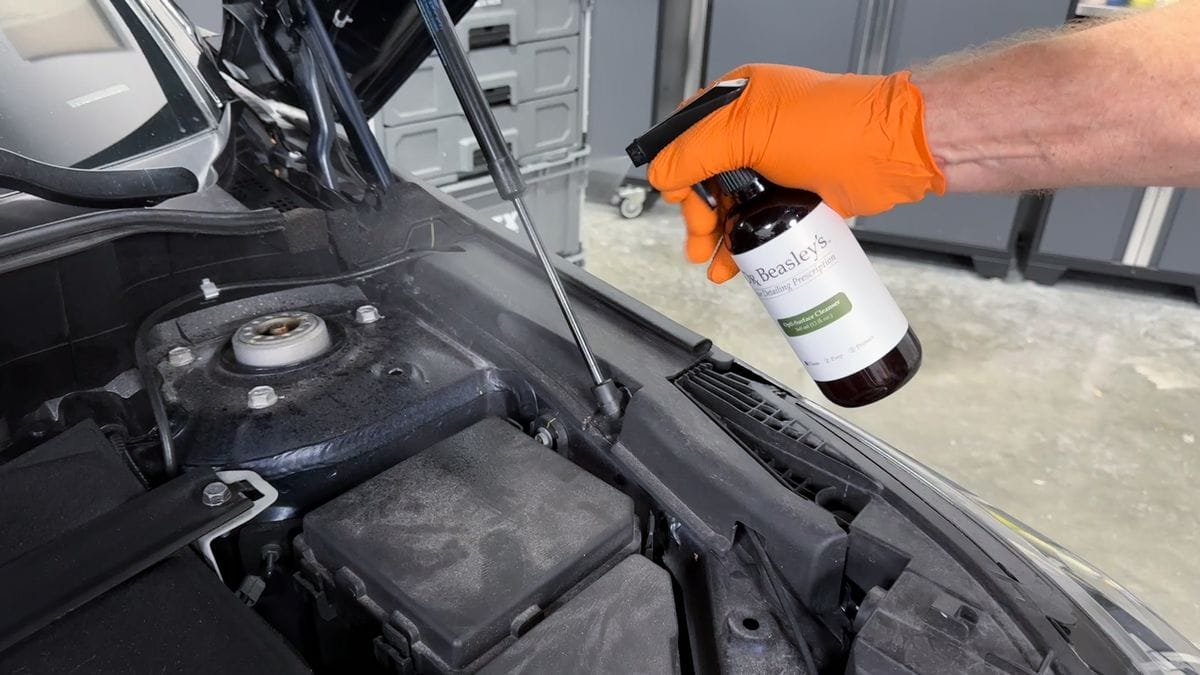
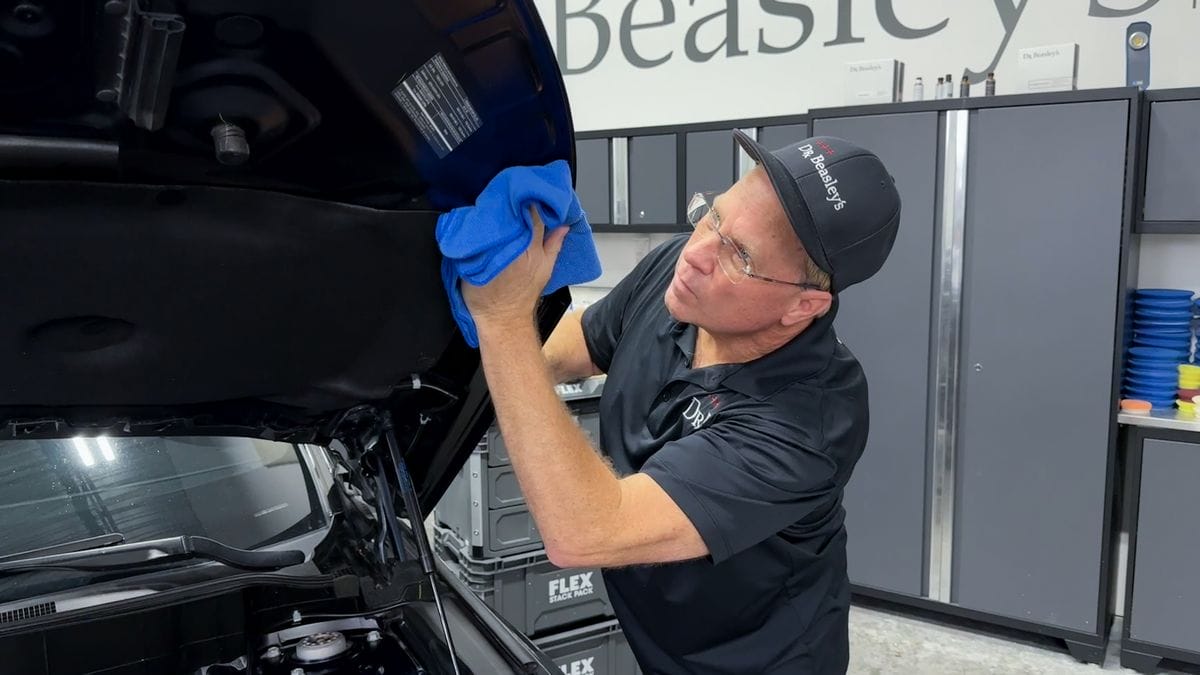
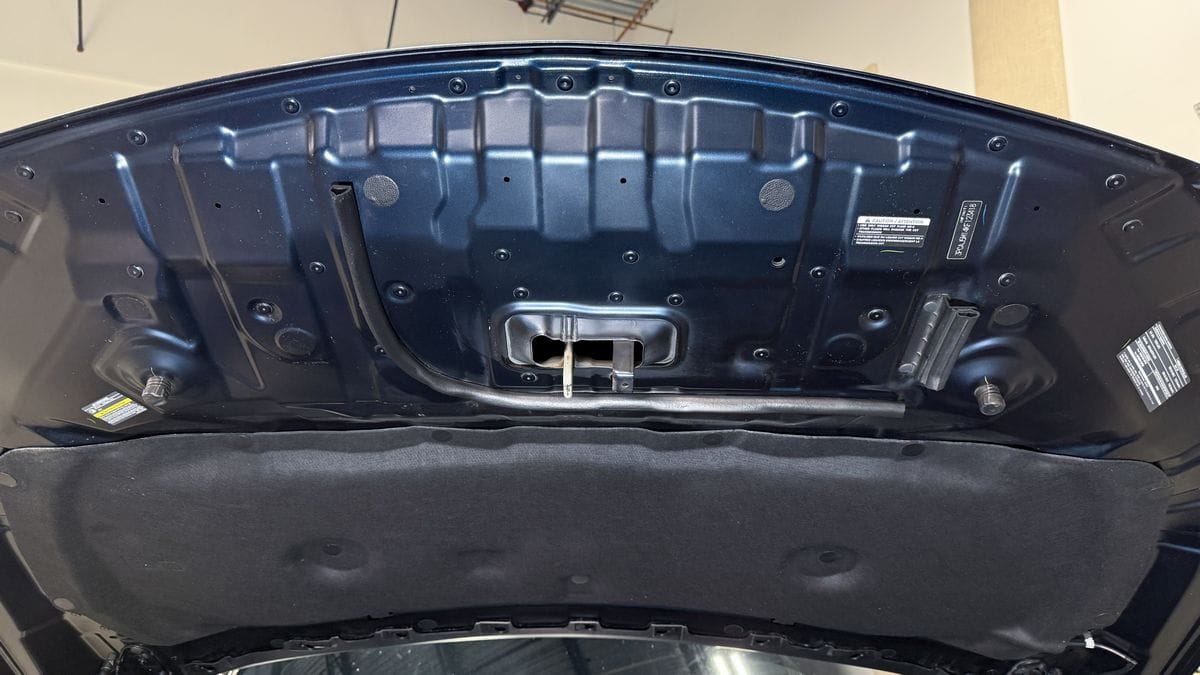
Step 2: Clean Underside of Hood
When it comes to detailing, it’s best to work from the top down, and that’s no different when detailing an engine bay. That’s why I recommend cleaning the underside of the hood itself first. If you were to clean the engine compartment first, you’d risk dirty oily grime falling onto the clean engine when you go to clean the hood underside.
There are two parts to cleaning the underside of the hood:
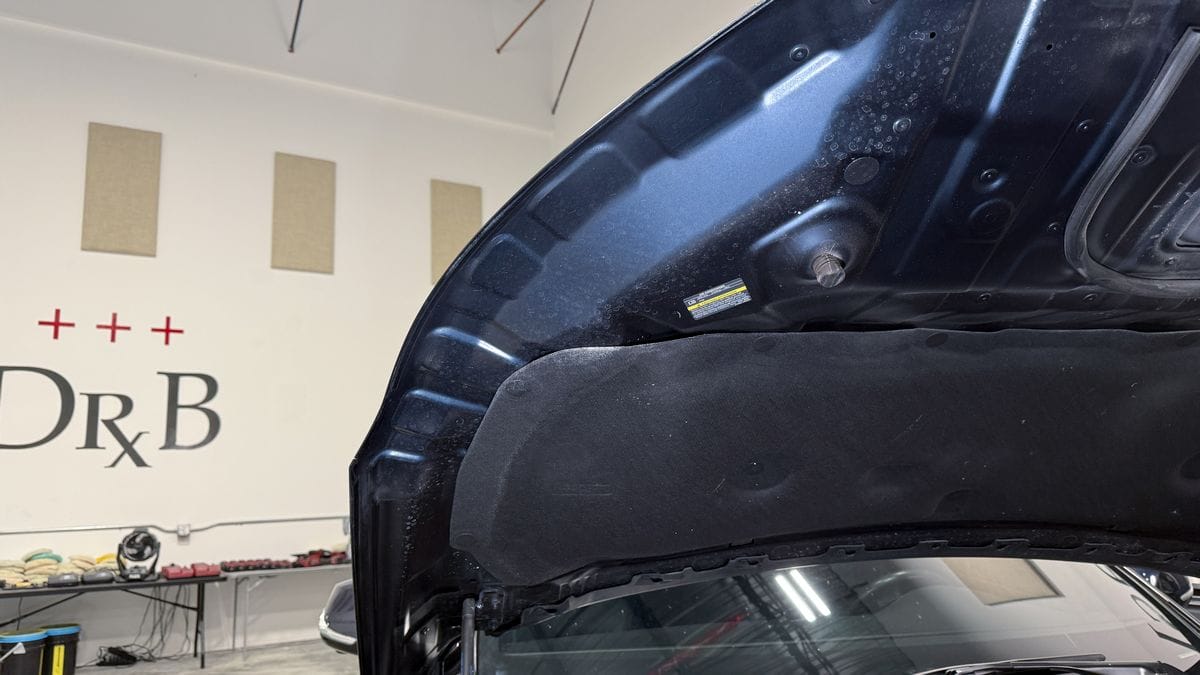
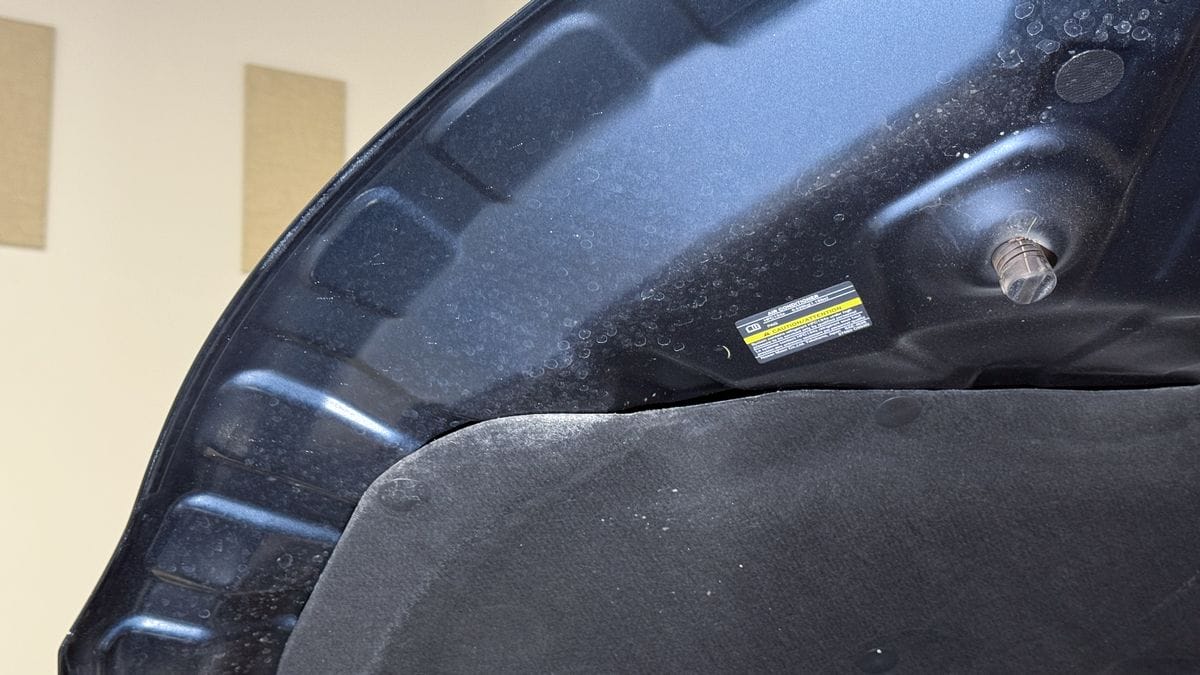
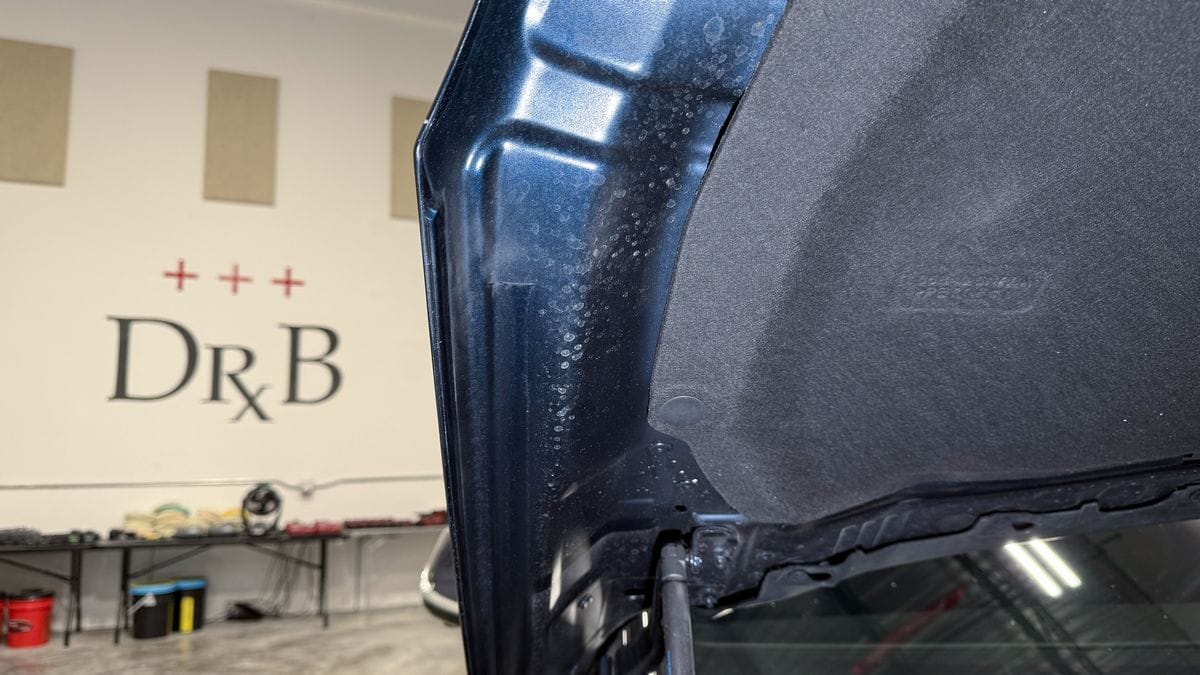
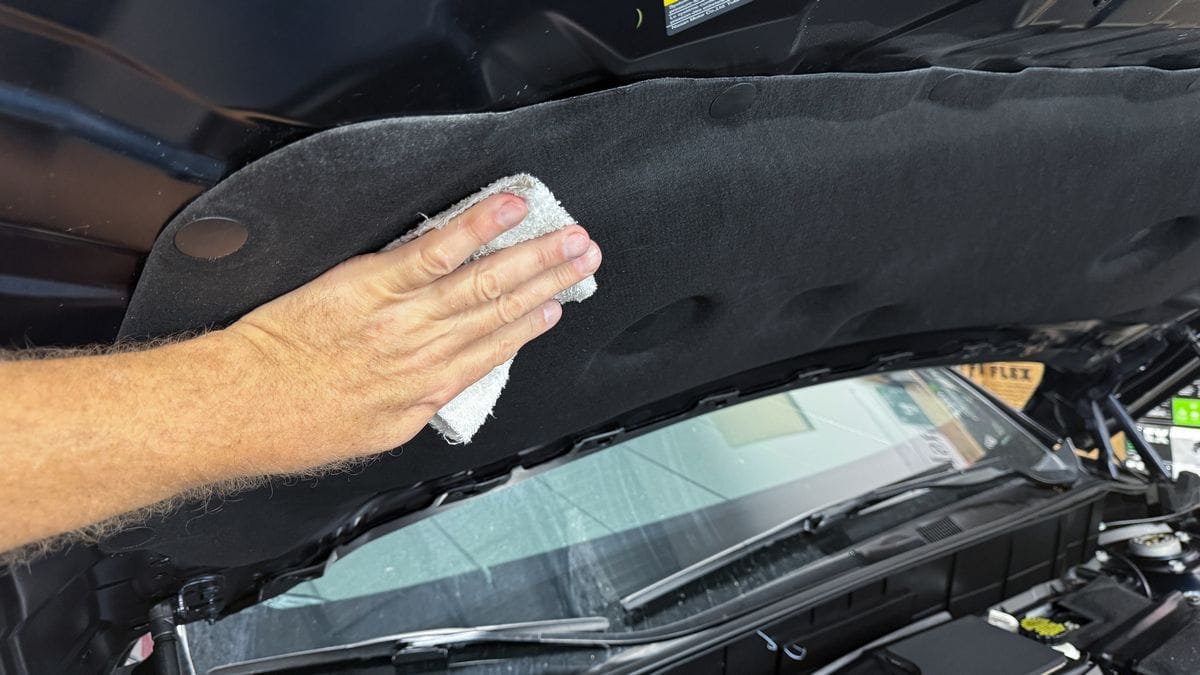
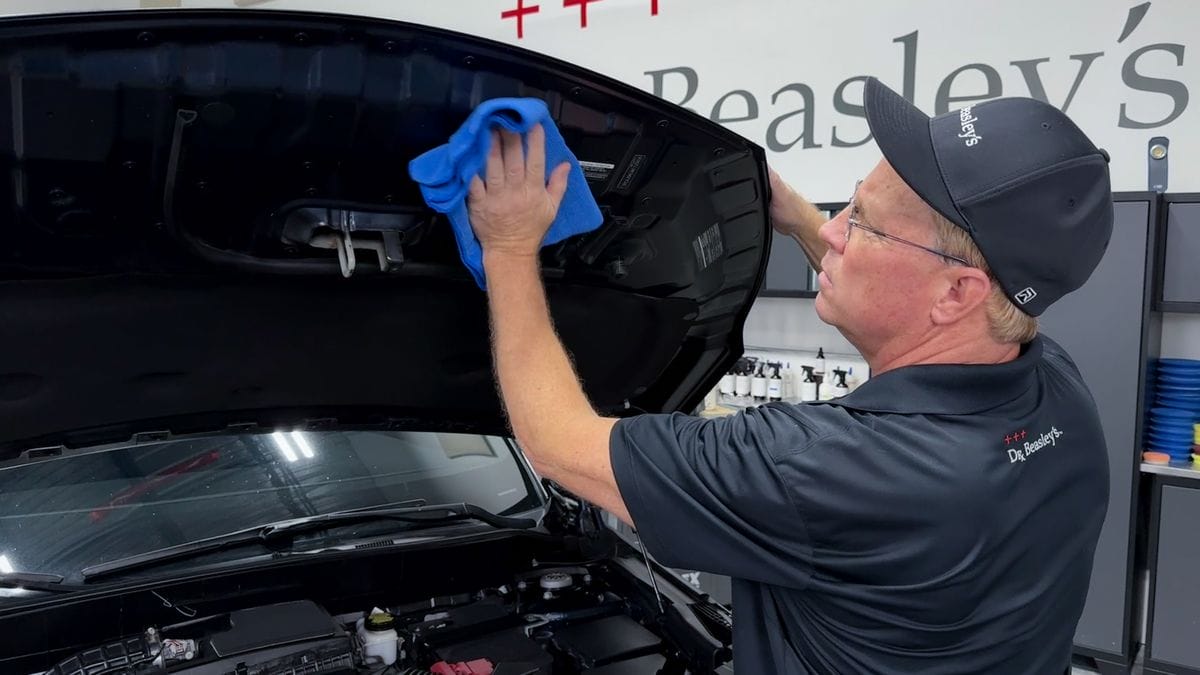
Step 2A: Clean Sound-Deadening and Heat-Absorbing Insulation Attached to the Underside of the Hood
Most cars have some combination of sound-deadening and heat-absorbing insulation mats lining the underside of the hood. Many of these materials are delicate, so you want to be very careful when cleaning so as not to tear or loosen the insulation. The safest way to clean this material is to dampen a clean microfiber towel with the Opti-Surface Cleanser and gently wipe clean.
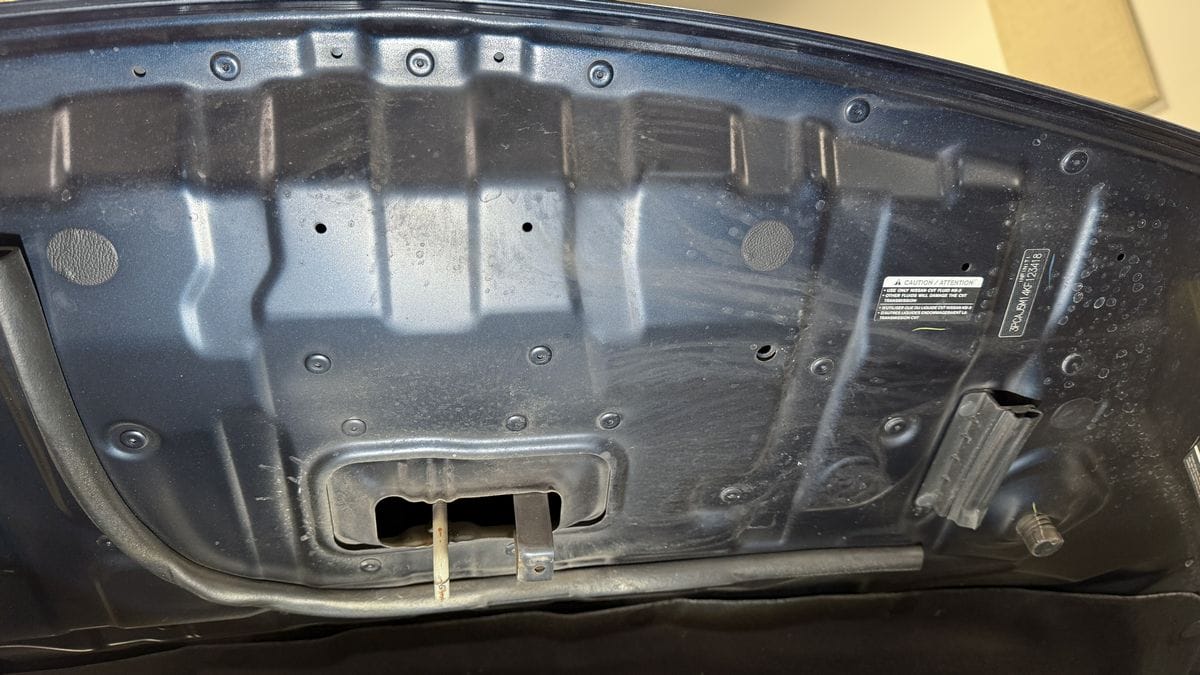
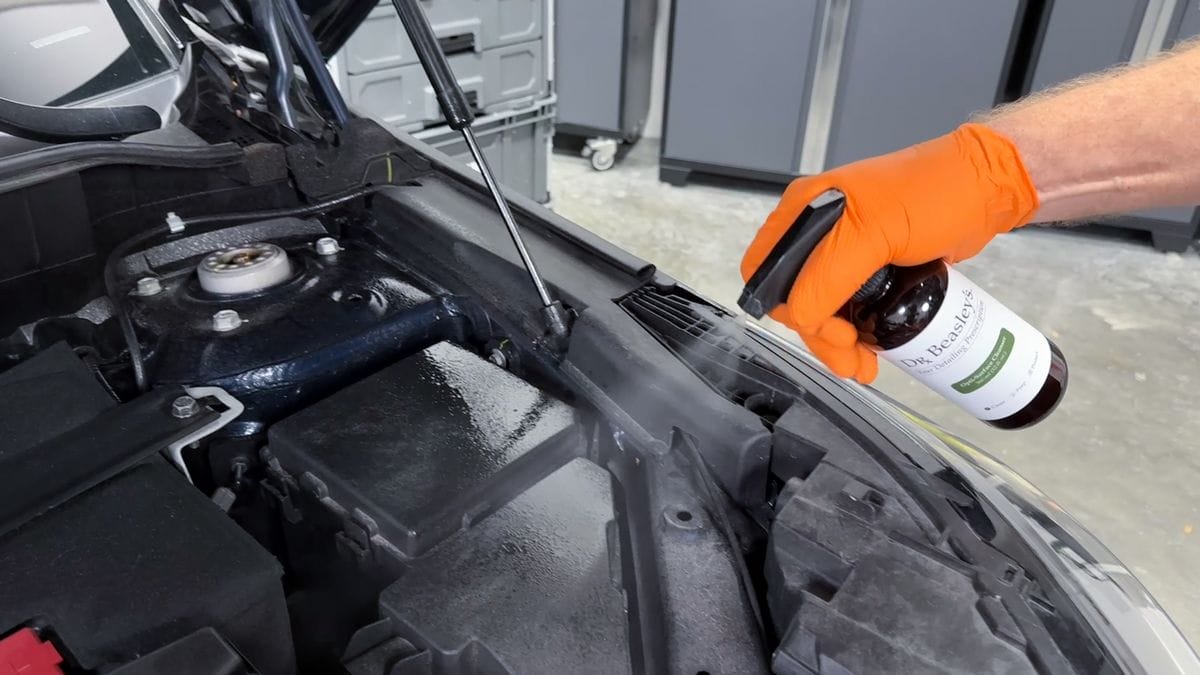
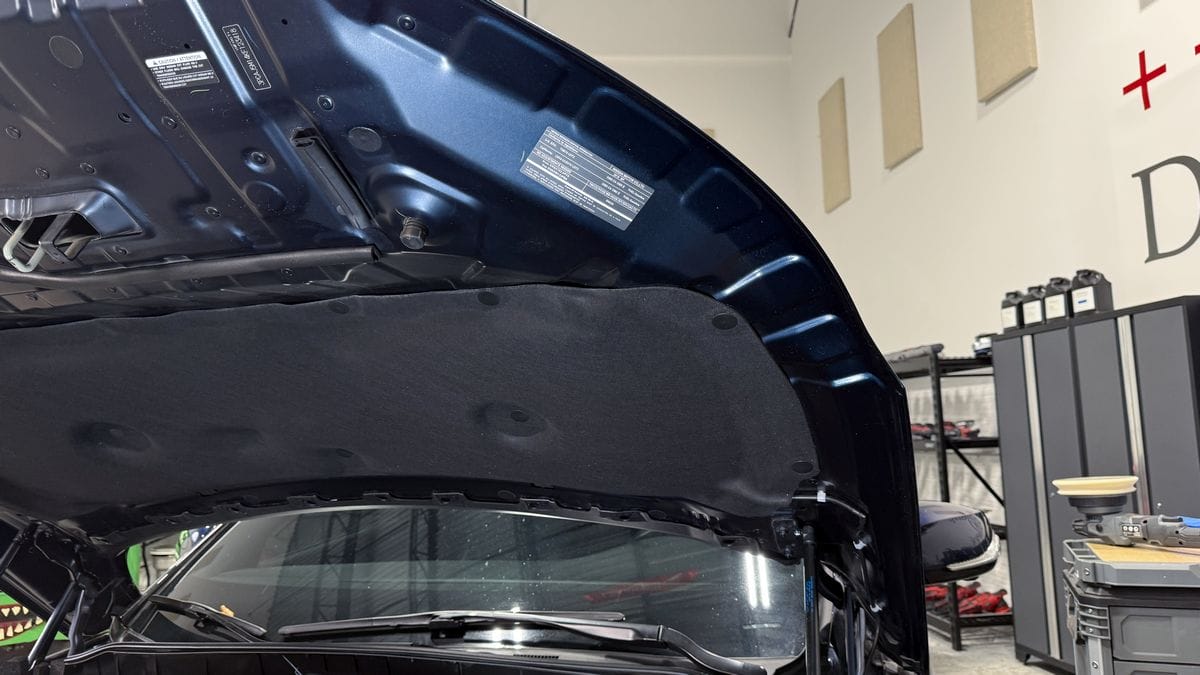
Step 2B: Clean Hard, Smooth Painted Surfaces on Underside of Hood
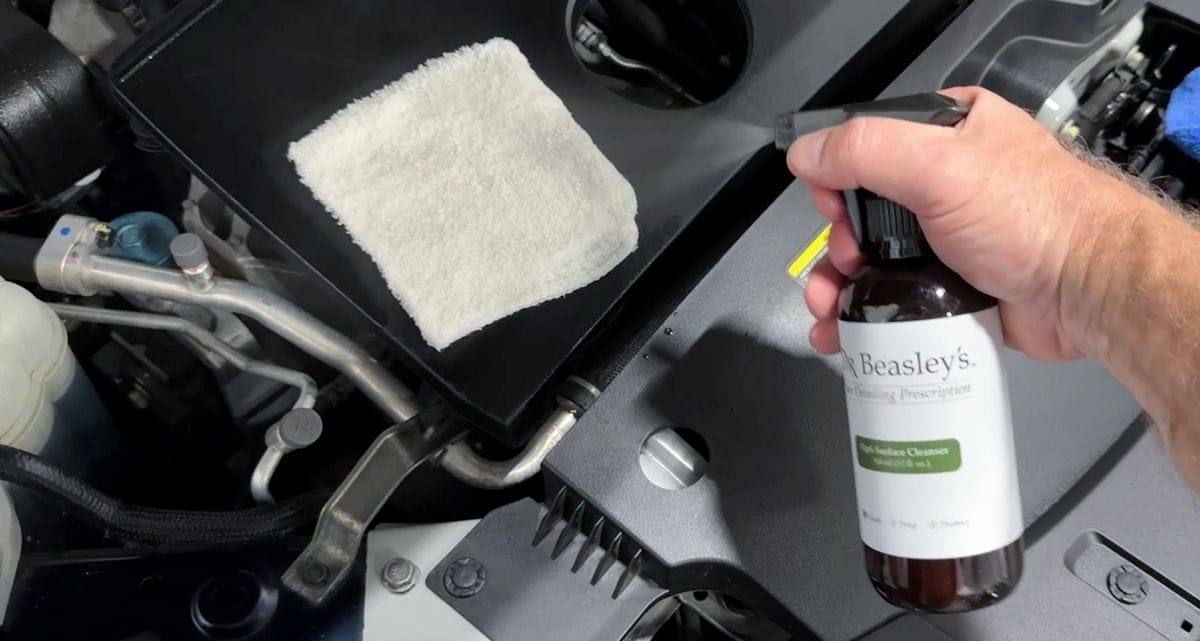
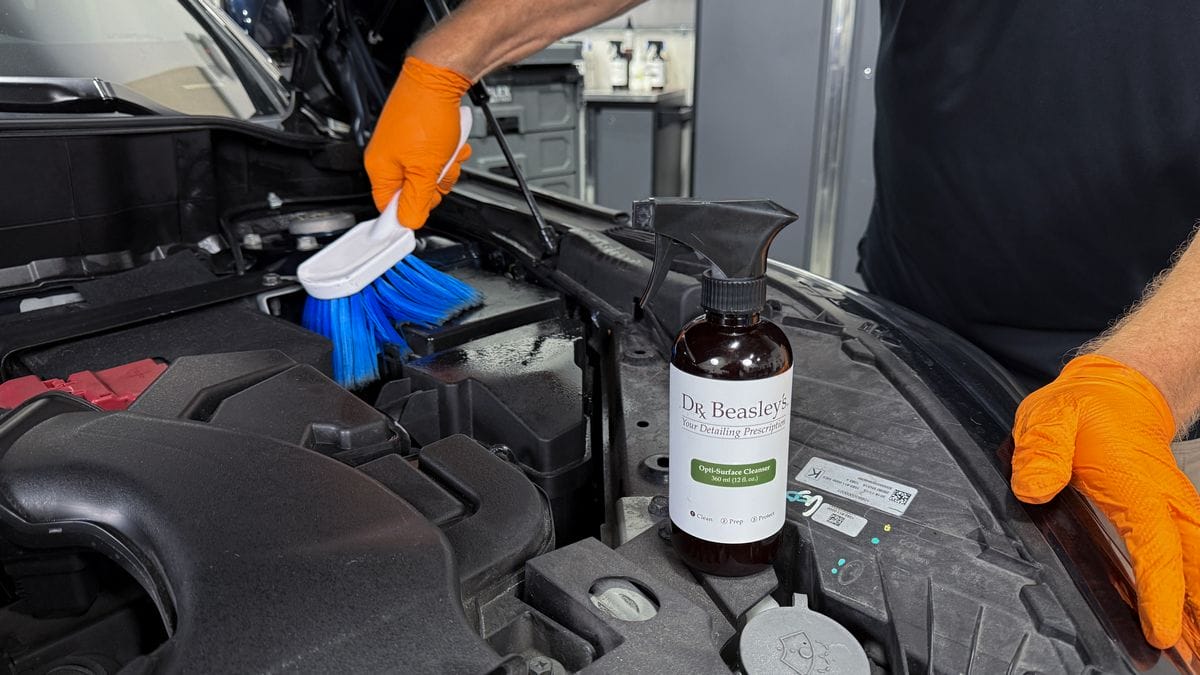
Usually you’ll find color-matching painted surfaces on the underside of the hood surrounding the sound-deadening and heat absorbing insulation material. To clean these painted areas, spray the Opti-Surface Cleanser onto a clean microfiber towel and wipe the surfaces clean and dry. For severely dirty or neglected areas, spray the Opti-Surface Cleanser directly onto the surface and agitate with a soft bristle brush before wiping clean and dry.

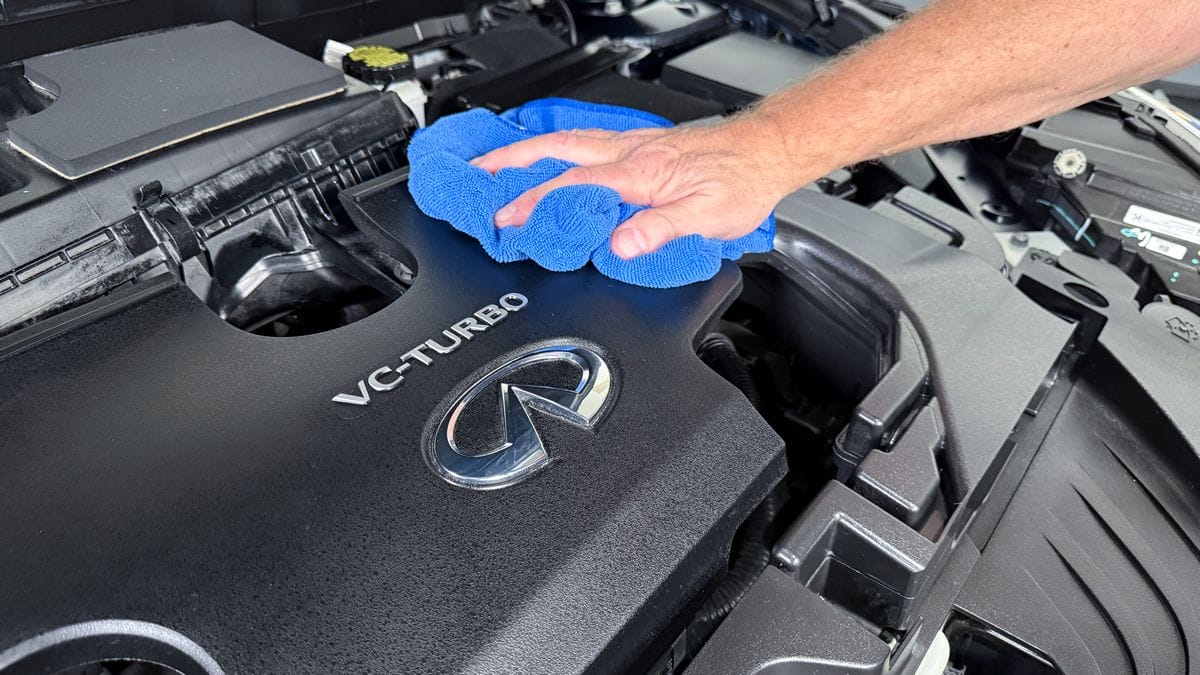
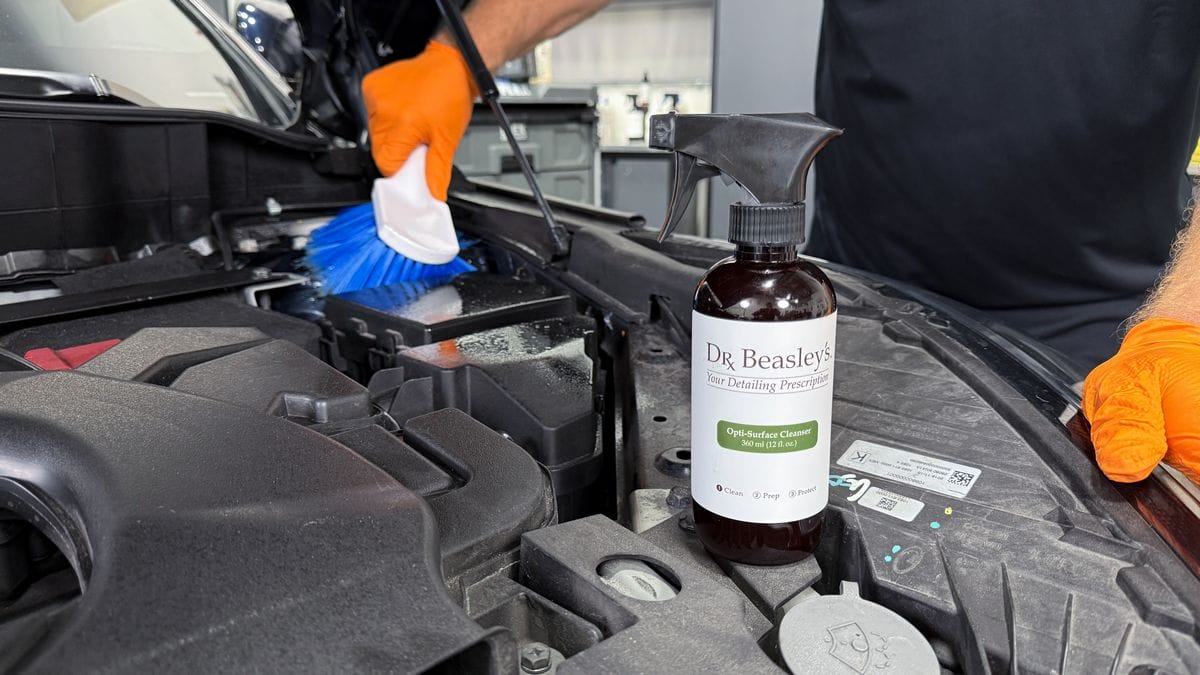
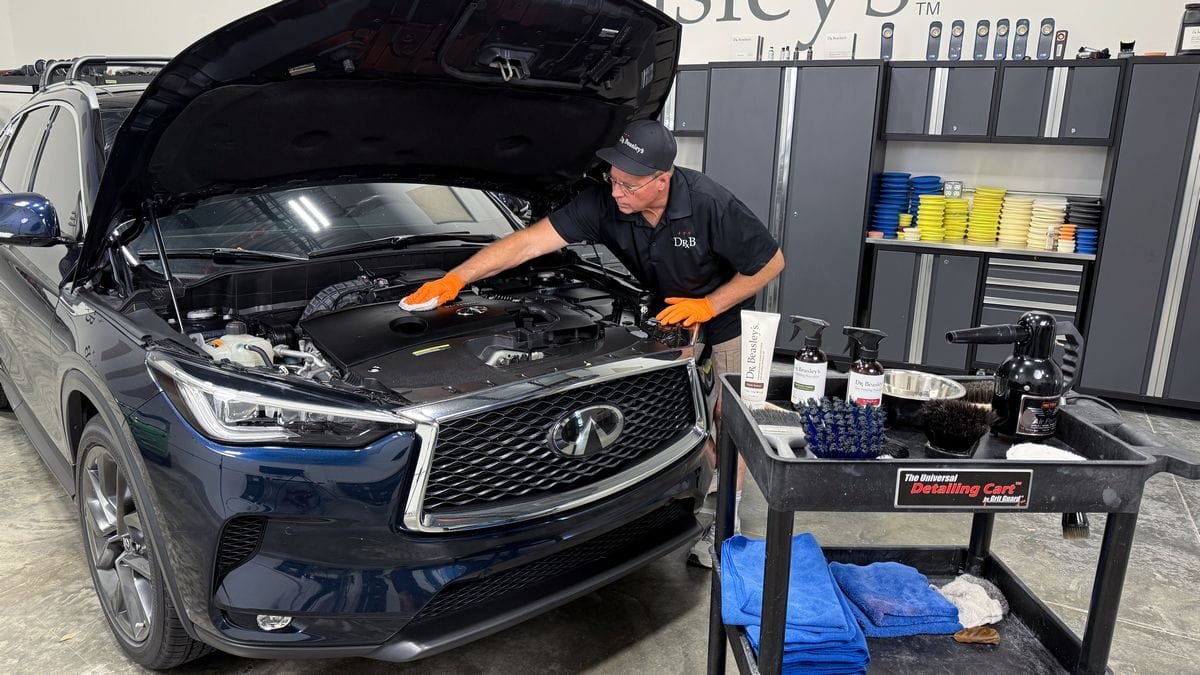
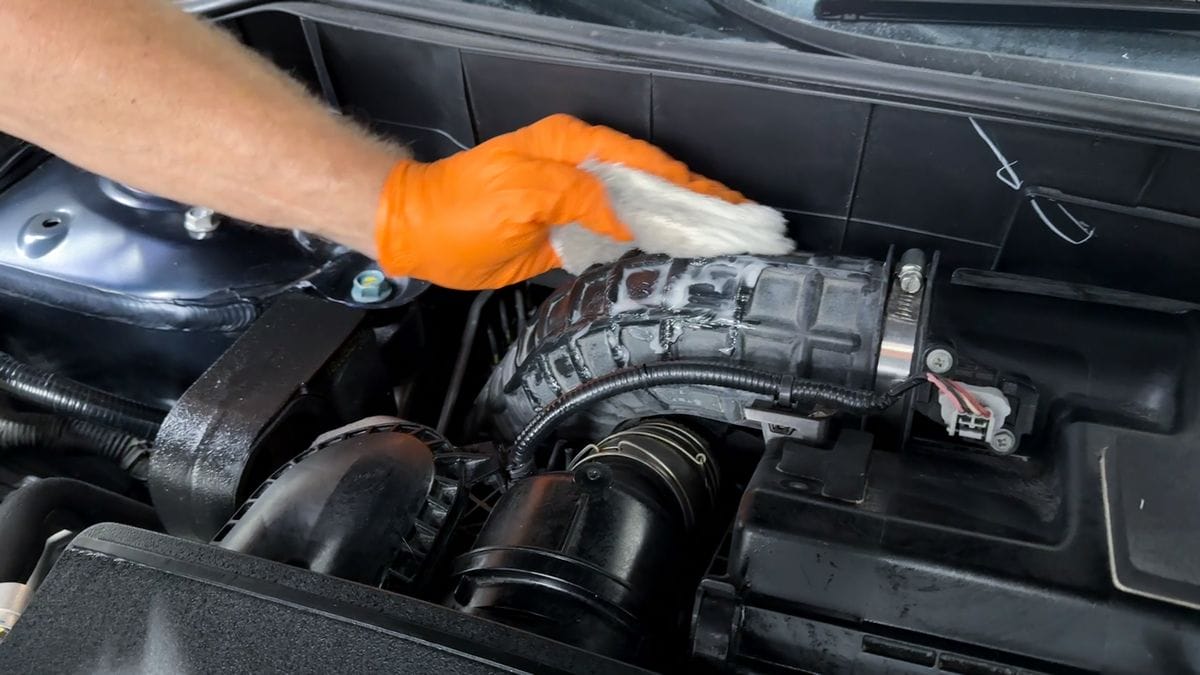
Step 3: Spray & Wipe Down Engine Compartment
Now that we’ve cleaned the underside of the hood we can move on to the engine compartment itself.
For engine compartments that are only slightly dirty, you can spray the cleanser onto the entire engine compartment at once.
For extremely dirty engine compartments, you’ll want to divide the bay into small natural sections or breaks and tackle one at a time.
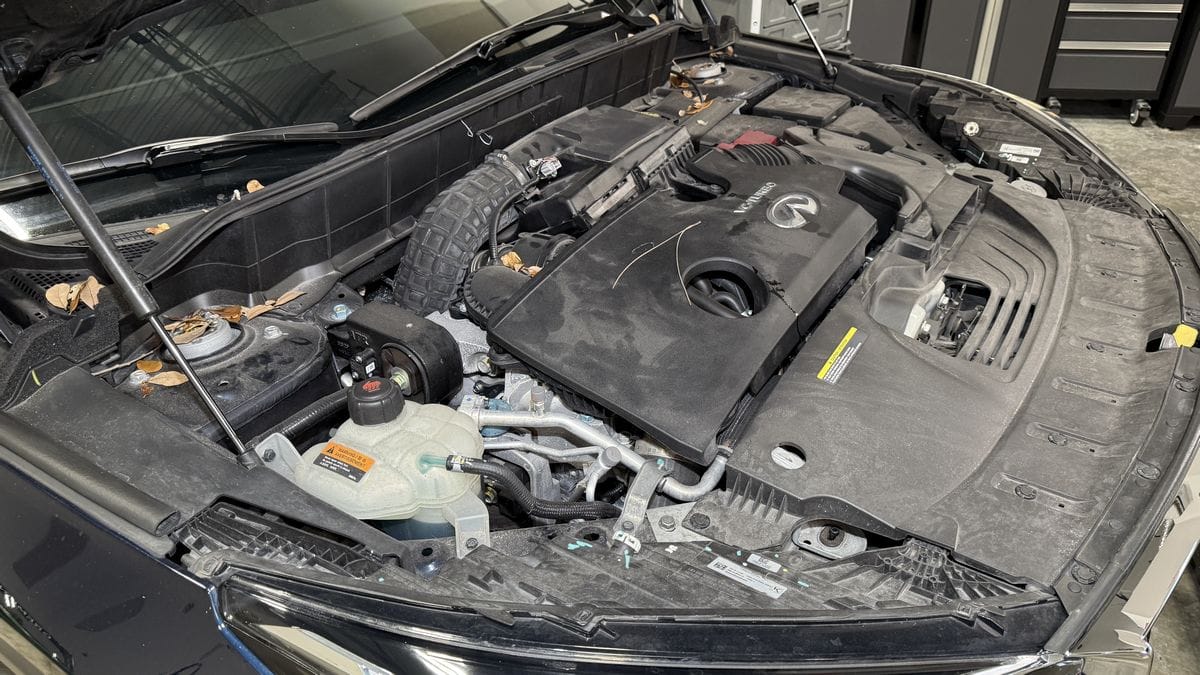
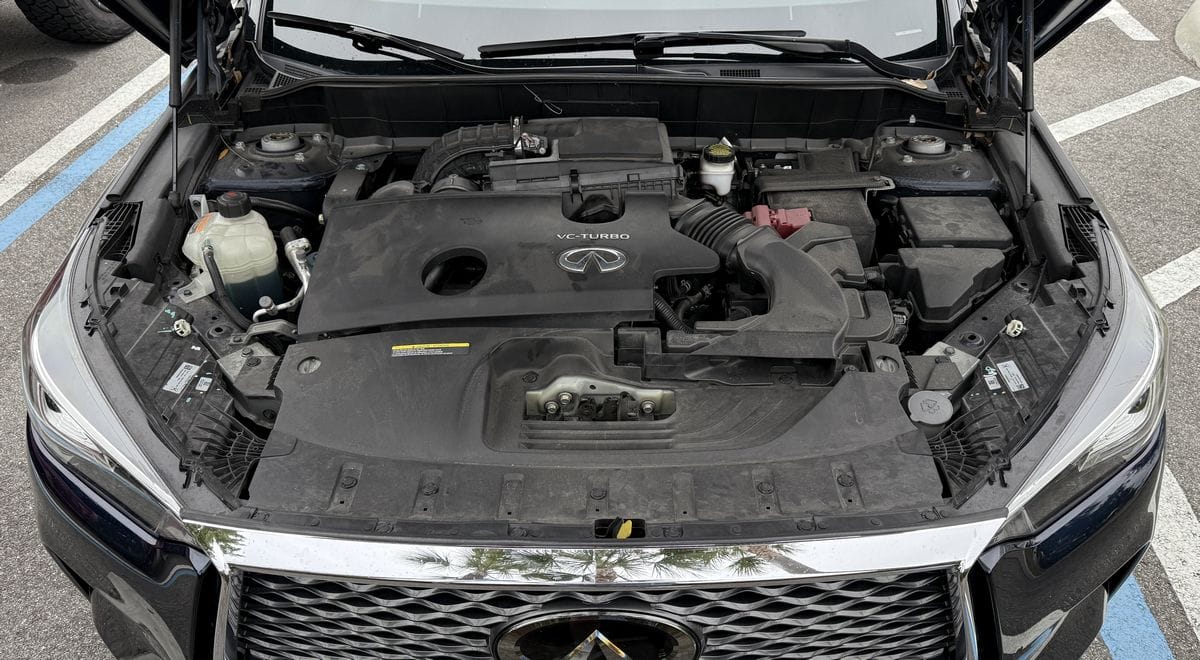
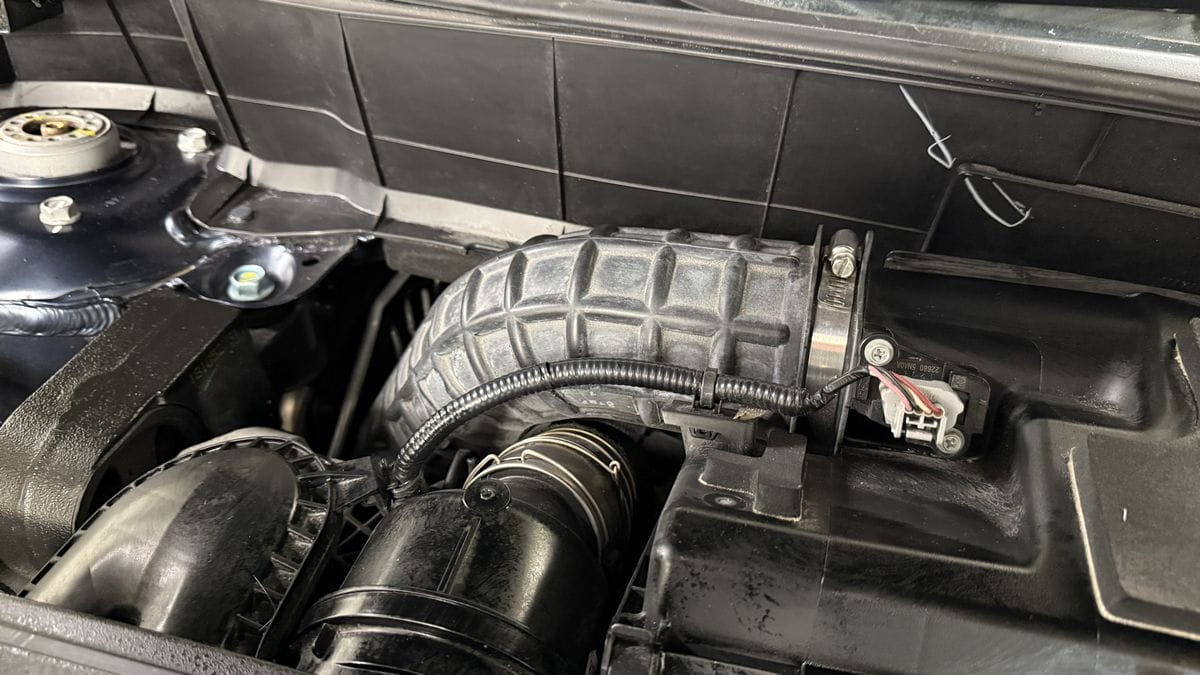
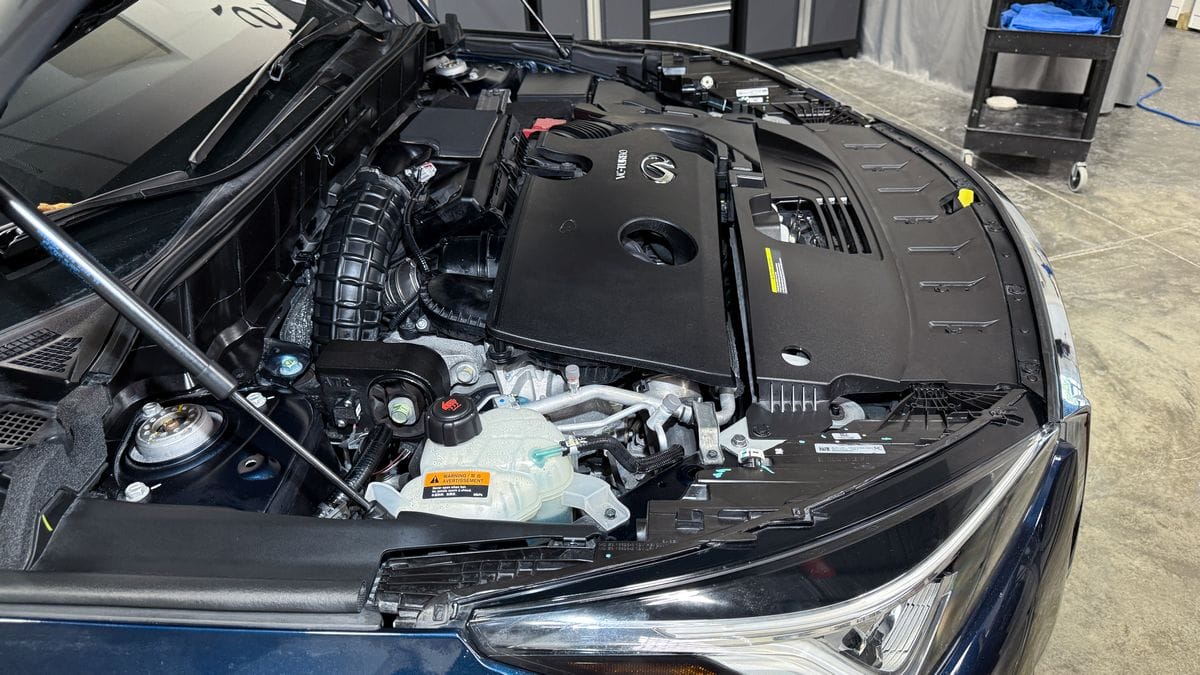
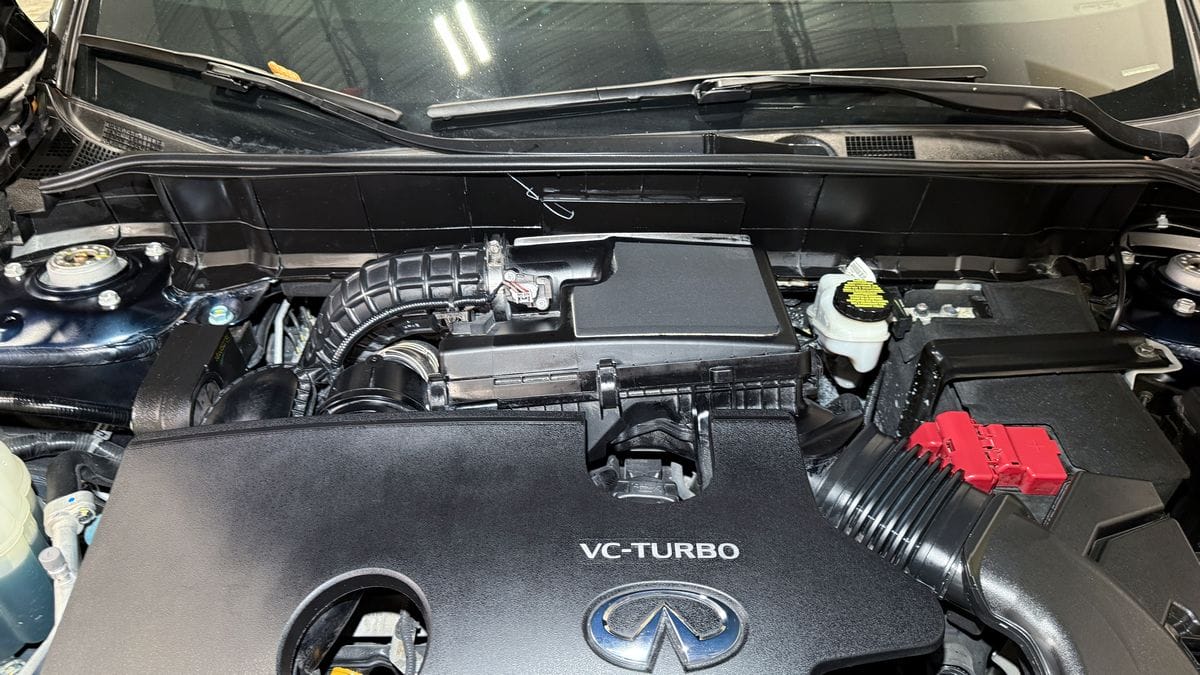
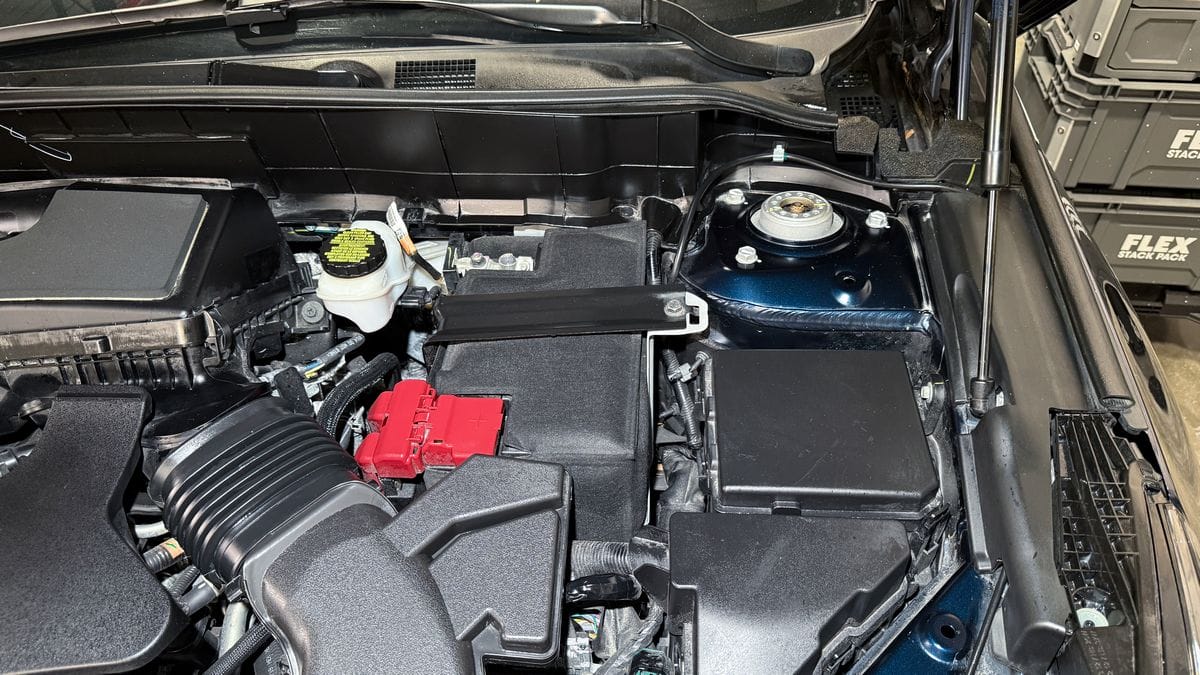
Here’s the engine compartment of our demo car:
Here’s an example of how I divide the engine compartment into small, natural sections:
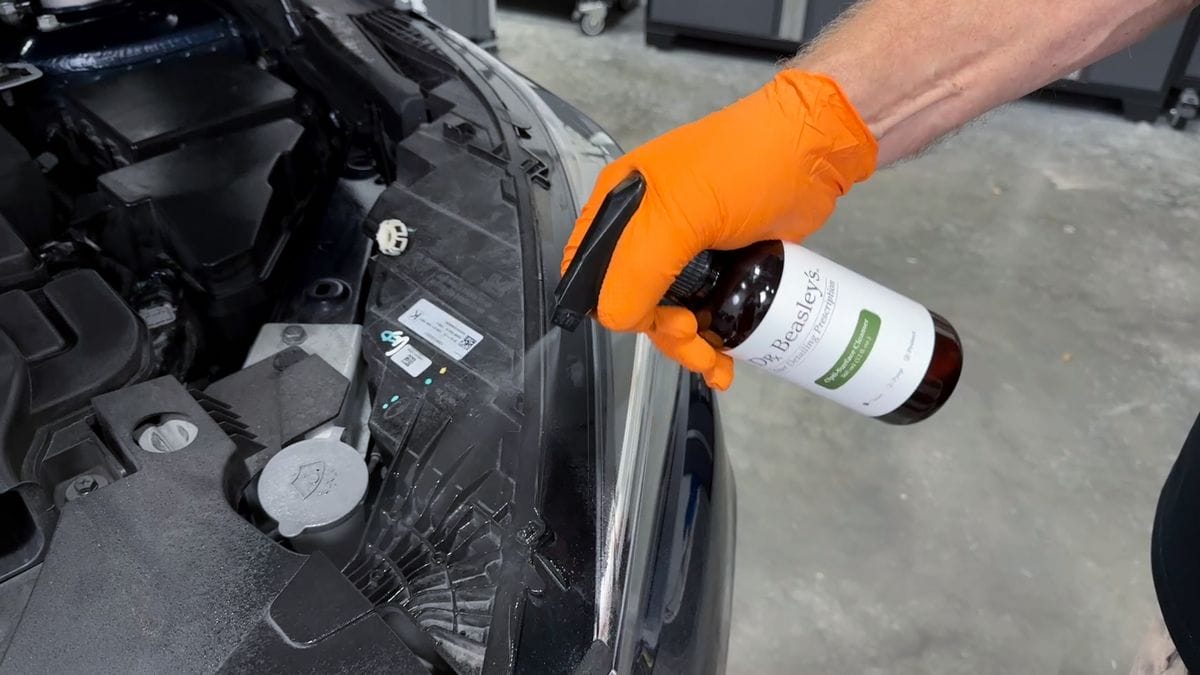
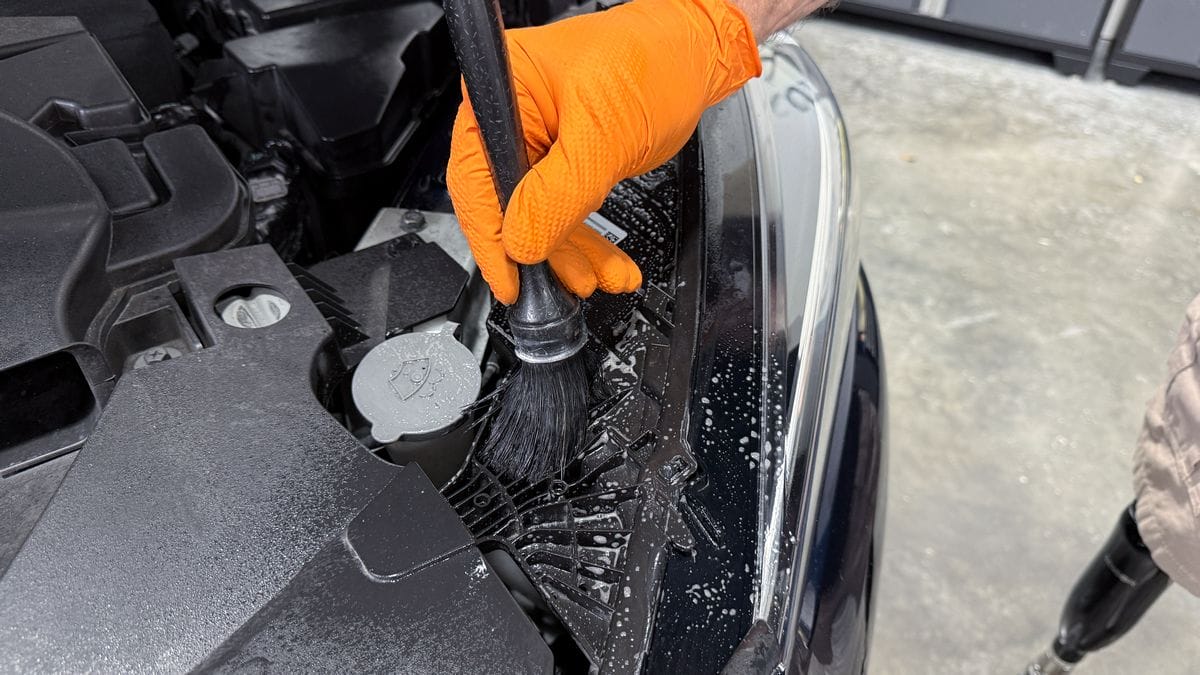
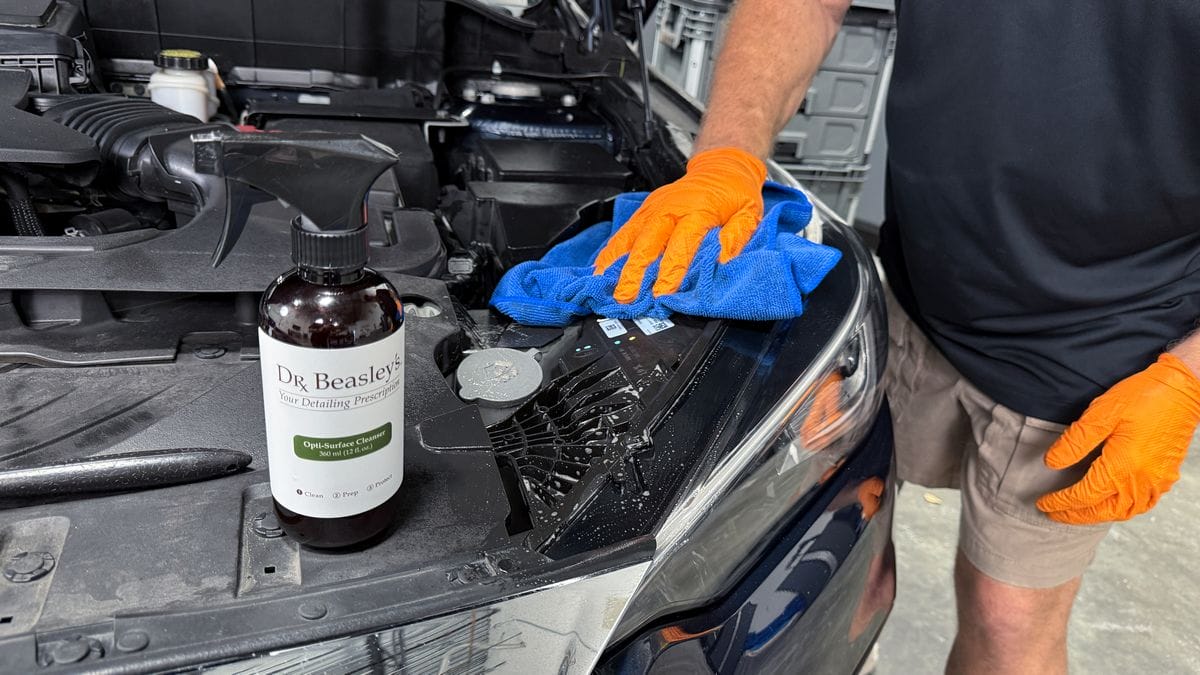
Spray the Opti-Surface Cleanser to the first section and allow it to dwell for a few seconds but do not let dry. Next agitate the cleanser using a combination of brushes and/or microfiber towels. After agitating the cleaner wipe the surface clean and dry. Move to the next section and repeat. Continue until all sections of the engine compartment have been cleaned.
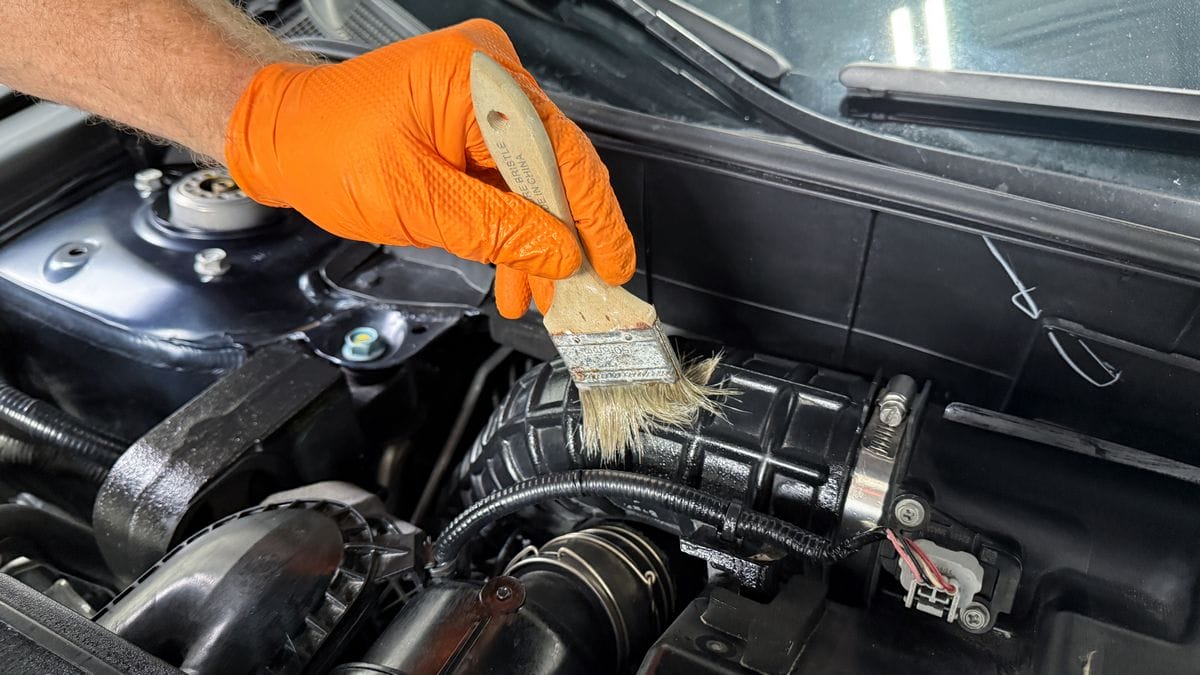
Step 4: Apply Plastic Sealant to All Plastic Surfaces
Once you’ve cleaned all the plastic surfaces, you’ll want to apply protection to restore a fresh look (cleaners can often dull the appearance of plastic) and protect the surfaces against future grease build-up.
To restore a factory fresh look to the engine compartment, the next thing you’ll want to do is apply Plastic Sealant to all plastic surfaces.
Using a foam or microfiber application pad, massage Plastic Sealant over all plastic surfaces. Allow the sealant to dwell for a few seconds then wipe the treated surface to remove any excess product and create a uniform appearance with a microfiber towel.
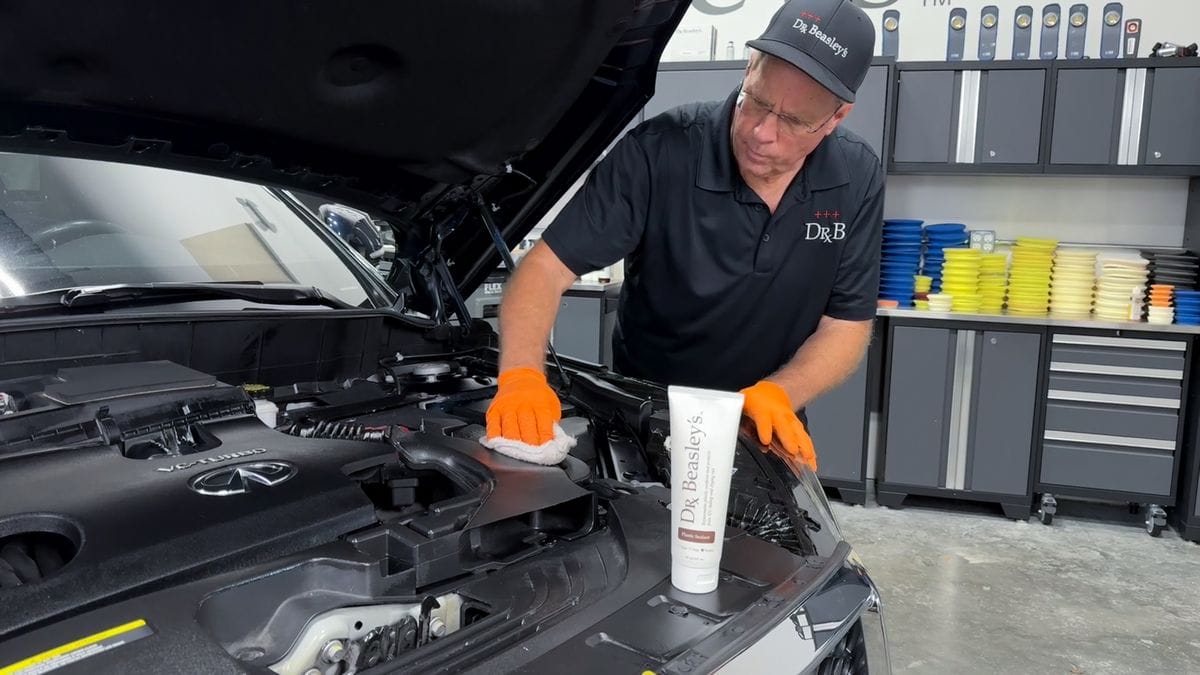
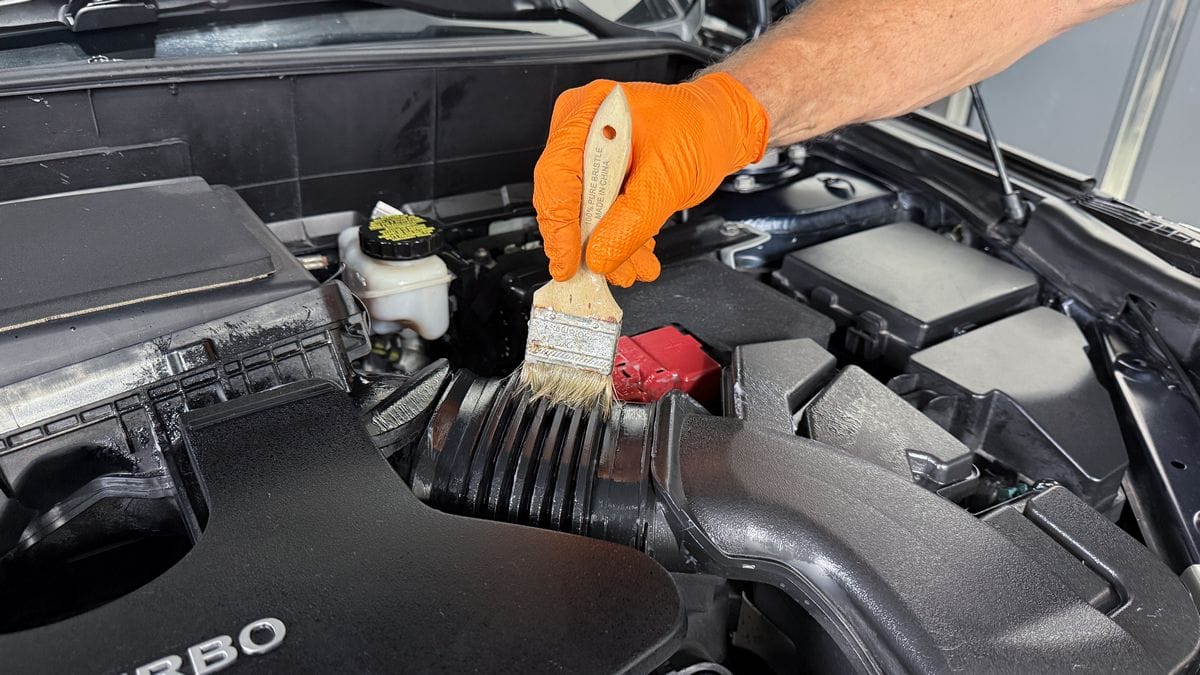
For complicated or intricate designs, apply the Plastic Sealant using a simple paint brush and agitate.

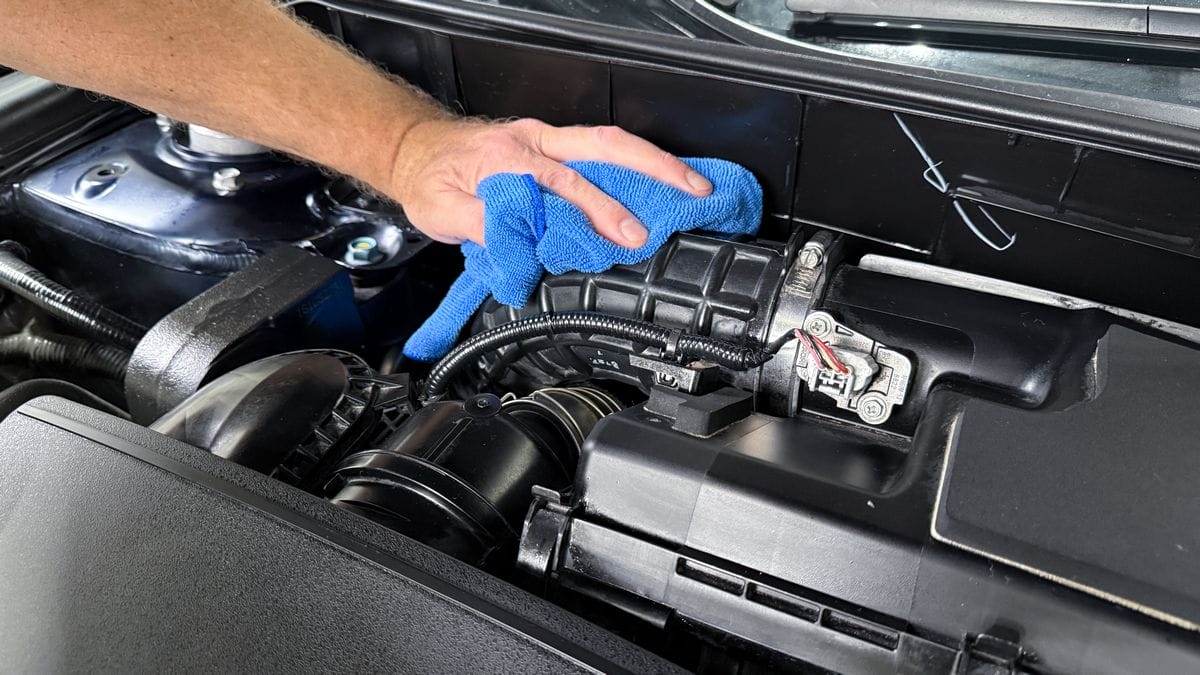
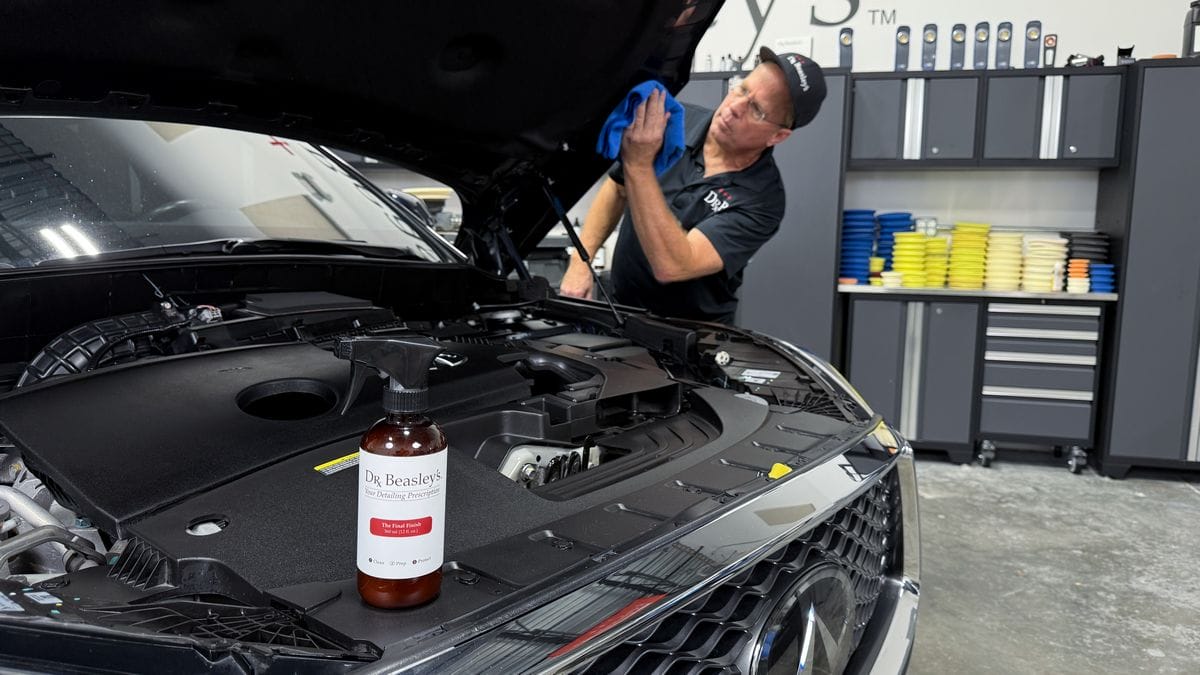
Step 5: Wipe Any Glossy Painted Surfaces with a Detail Spray
To finish cleaning the engine compartment I like to apply a high gloss detail spray like Dr. Beasley’s The Final Finish to all painted, color-matching surfaces under the hood in order to restore a clean, shiny finish.
To avoid getting overspray, start by misting The Final Finish onto one side of a folded microfiber towel and then wipe the surface to be shined. After applying The Final Finish, flip the towel to a dry side and then immediately remove any excess product and wipe the surface to restore a clean and shiny finish.
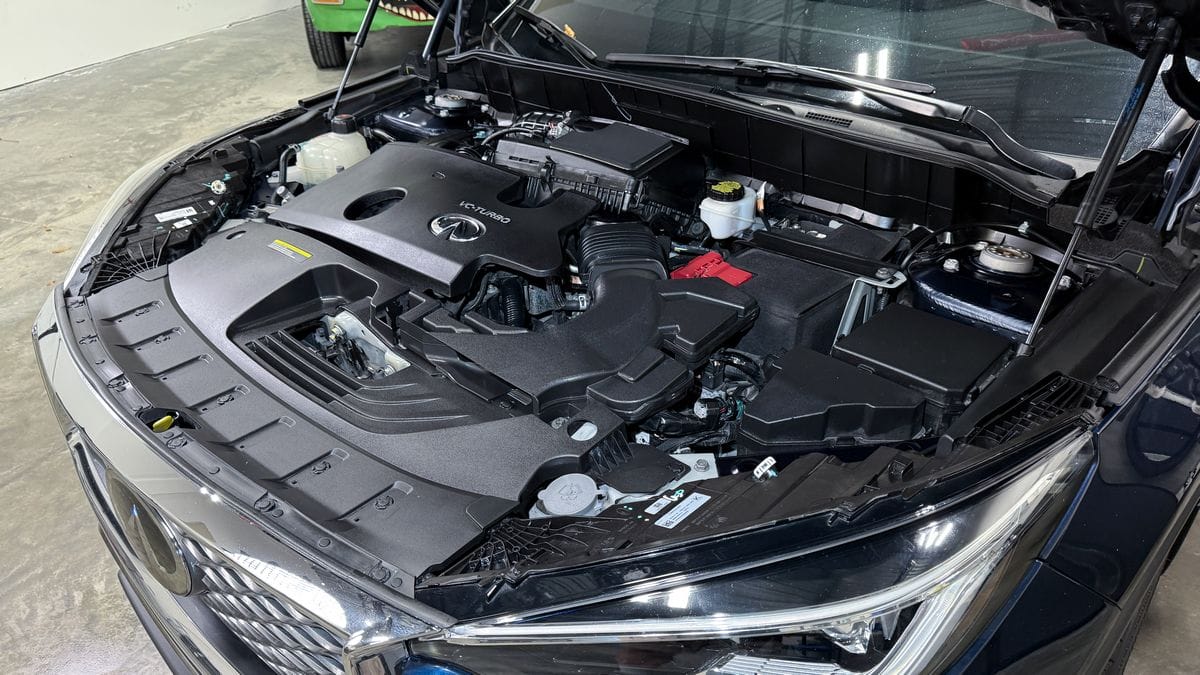
Final Results After Cosmetic Engine Detail
Here are the final results after the cosmetic engine detail process. Keep in mind this took me less than 20 minutes from start to finish.

My Personal Offer to Help
I’ve been answering car detailing questions professionally since 2002 and moving forward, if after reading this article you have any questions about polishing and waxing, or how to use an AIO, my contact information is below, reach out to me, I’m always happy to help.
Would You Like to Learn How to Machine Polish Like a Pro?
- Would you like to take your detailing skills to a higher level?
- Do you find you learn better by doing versus sitting in a chair looking at a PowerPoint presentation about car detailing?
Here at Dr. Beasley’s O.R., (Operating Room), in sunny Stuart, Florida, we teach the most hands-on car and boat detailing classes on planet Earth. And we prove it too. You can find write-ups on the Dr. Beasley’s Blog that photo-documents just how hands-on our classes are plus you’ll see the kinds of cars and boats you’ll be training on.
Click the link below to find the dates, locations, topics, and prices for all upcoming detailing classes.
Upcoming Detailing Classes – Prices – Info – Topics – Locations
And if you ever have any questions, always feel free to reach out to me personally via text, phone call or email.
I hope to see you in a future detailing class!
Sincerely,
Mike Phillips
Chief Education Officer for Dr. Beasley’s
Mike@drbeasleys.com
760-515-0444
Questions? Comments?
Email Us