


When something is stuck to your paint, most people have the same instinct: scrub harder. I understand why. You wash the car, the contamination is still there, so the natural reaction is to apply more pressure, grab something more aggressive or start scraping. In detailing, that is often exactly the wrong direction to go.
One of the principles we have followed at Dr. Beasley’s for years is simple. Before you become more aggressive mechanically, see if you can solve the problem chemically. The goal isn’t to overpower the contamination. The goal is to weaken the bond holding it to the surface. Once you understand that distinction, you can solve a lot of detailing problems with considerably less risk to the paint.
Mechanical Removal Isn’t the Enemy
Let me clarify something first. Mechanical removal isn’t bad. Every time you wipe a surface with a microfiber towel, clay paint, polish a scratch or wash a car with a mitt, you’re using mechanical action.
The problem is using mechanical force against something that is still firmly bonded to the surface. Think about a hard piece of dried contamination sitting on clear coat. If you rub or scrape it while it’s still attached, you’re not only applying pressure to the contaminant. You may also drag that material across the paint, and now you have turned a contamination problem into a scratch problem.
That’s why I don’t like the idea of immediately getting more aggressive when something doesn’t come off. Instead, ask a different question: why is it stuck, and what chemistry can loosen it?
Change the Chemistry Before You Increase the Pressure
Different contaminants bond to paint in different ways. Concrete isn’t the same as adhesive, adhesive isn’t the same as bug residue, and bug residue isn’t the same as road tar, tree sap or mineral deposits. So there isn’t one universal chemical that should be used on everything.
The first job is to identify what you’re dealing with. Then use chemistry specifically designed to soften, dissolve, break down or release that material, and give it time to work. That last part is important.
Dwell Time Is Part of the Process
Detailers sometimes underestimate dwell time. We spray a chemical onto the surface and almost immediately start wiping because we want to see something happen. But chemistry needs time. If a product is designed to break down a contaminant, wiping it off after a few seconds may keep it from doing the very thing you bought it to do.
Depending on the contamination, proper dwell time might be a minute or two. With something as substantial as hardened concrete, it can be much longer. And if one application doesn’t completely solve the problem, apply it again. I would much rather use two or three gentle chemical applications than make one aggressive mechanical attempt that damages the finish.
Give the chemistry another chance before you give your hand more pressure.
Five Situations Where This Matters
1. Dried Concrete and Cement
Concrete is one of the clearest examples of why this principle matters. You’ve got a hard deposit containing abrasive material sitting on a painted surface, and Portland cement is also highly alkaline. The temptation is to get underneath it with something and pry or scrape it off.
Don’t. Even if you successfully remove the concrete, you may scratch or gouge the finish in the process. The safer approach is to break down the material holding that concrete together.
That’s why we developed Concrete Remover. Instead of trying to mechanically overpower hardened concrete, it attacks the binders and begins softening the deposit. This is also one of those times when patience matters. Our directions call for roughly 30 minutes of dwell time, or until the concrete has softened, and heavy deposits may need another application. Once it has softened enough, the goal is to rinse the contamination away rather than scrape it across the paint. That is chemistry doing the hard work instead of your hand.
2. Adhesive Residue
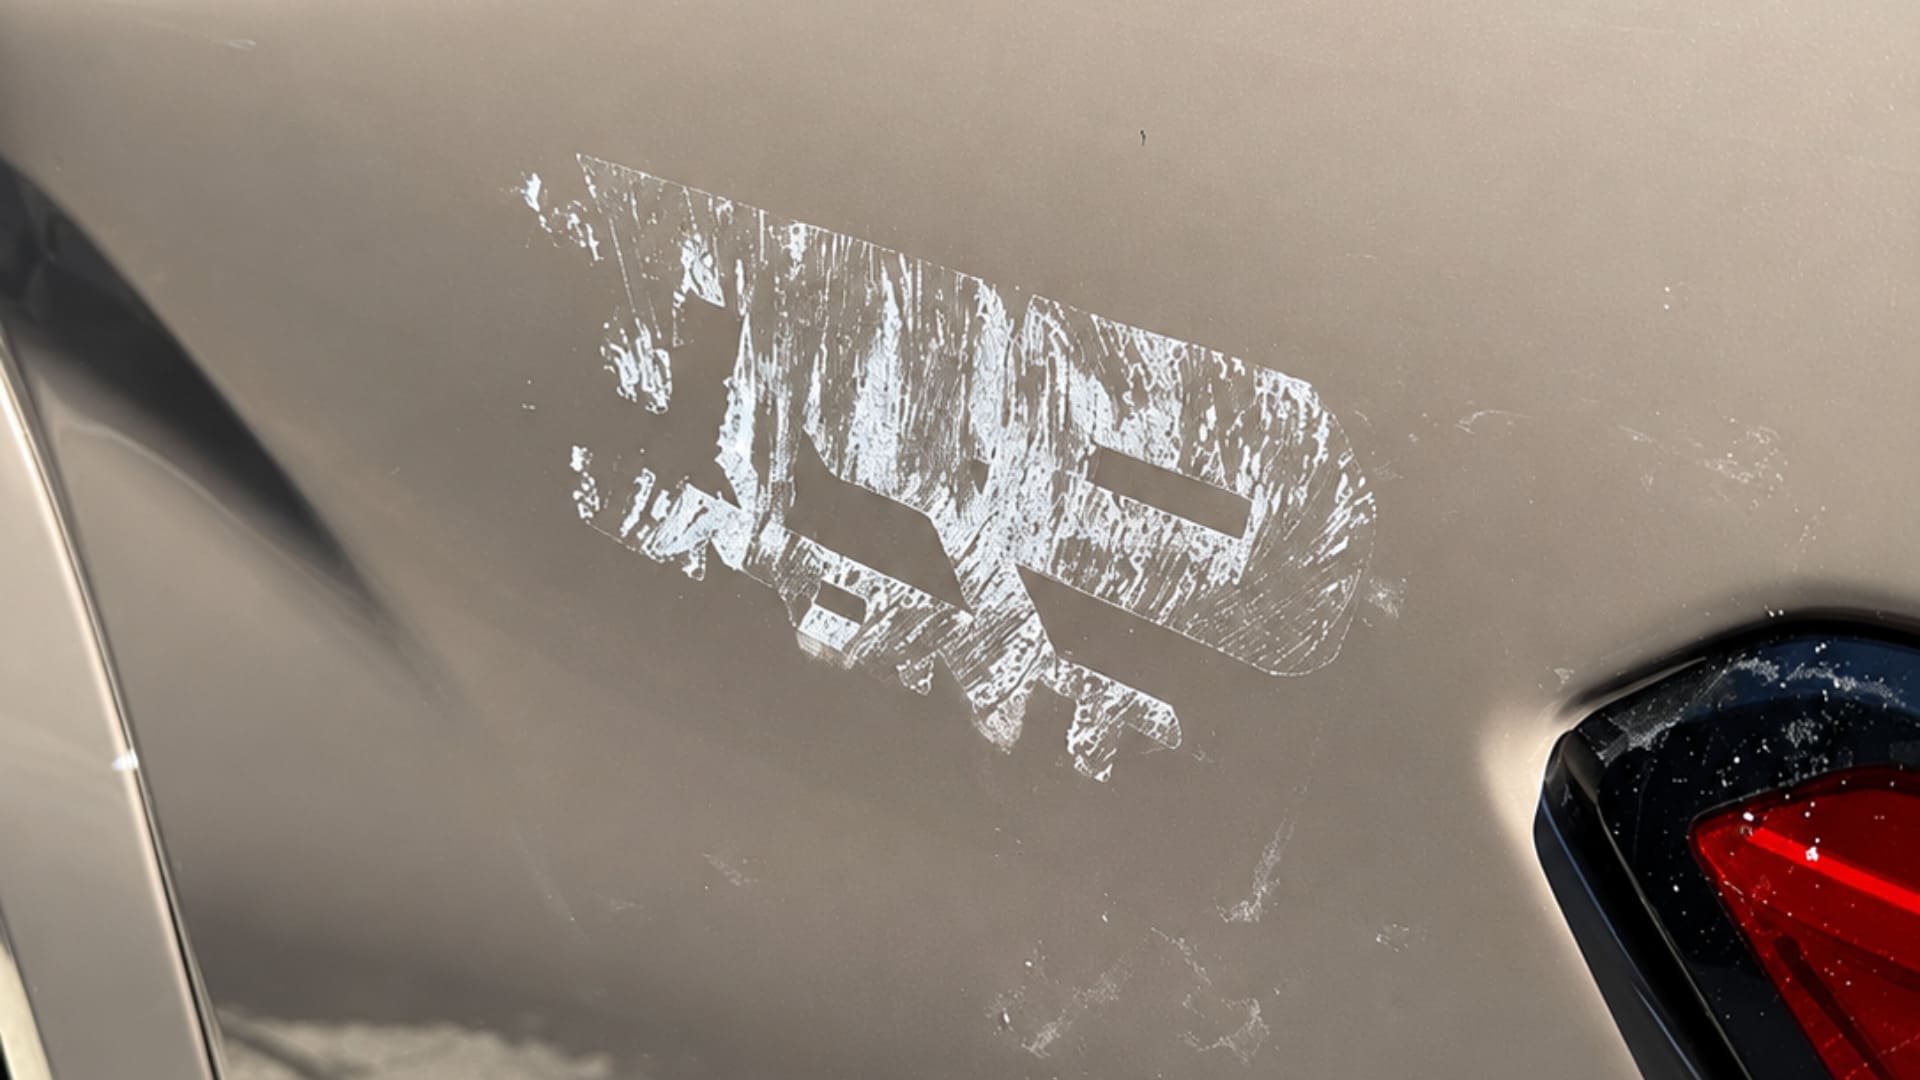
Anyone who has removed a decal, badge, sticker or protective film knows what happens next. The object comes off, but the adhesive doesn’t. So you start rubbing it with a microfiber towel and it smears. You rub harder and it sticks to the towel. Pretty soon you’ve spent five minutes pushing adhesive around the panel.
Again, don’t fight the material. Break it down. An adhesive remover is designed to attack the residue so it releases from the surface. With our Adhesive Remover, we saturate the area, let it dwell for a minute or two without drying, and then gently remove the softened residue. If some remains, repeat the process. There is no prize for getting it all in one pass, and two gentle attempts are better than one aggressive one.
3. Dried Bug Splatter
Fresh insect residue is usually fairly easy to remove. Old insect residue can be a completely different problem, because heat, sunlight and time make bug remains much harder to remove during a normal wash. This is where people start scrubbing the front bumper, and that’s exactly the behavior I want to avoid.
Vehicle manufacturers themselves recommend using an appropriate insect remover rather than scraping stubborn insect contamination from the finish. A dedicated Insect Remover chemically breaks down the residue so it can be lifted from the surface with much less mechanical action. The rule is simple: soften first, wipe second. If the first application doesn’t get everything, apply it again.
4. Tree Sap, Road Tar and Bird Droppings
Tree sap, road tar and bird droppings are three very different contaminants, but the approach is similar. If normal washing doesn’t remove the spot, stop treating it like ordinary dirt. It’s now a spot-cleaning problem.
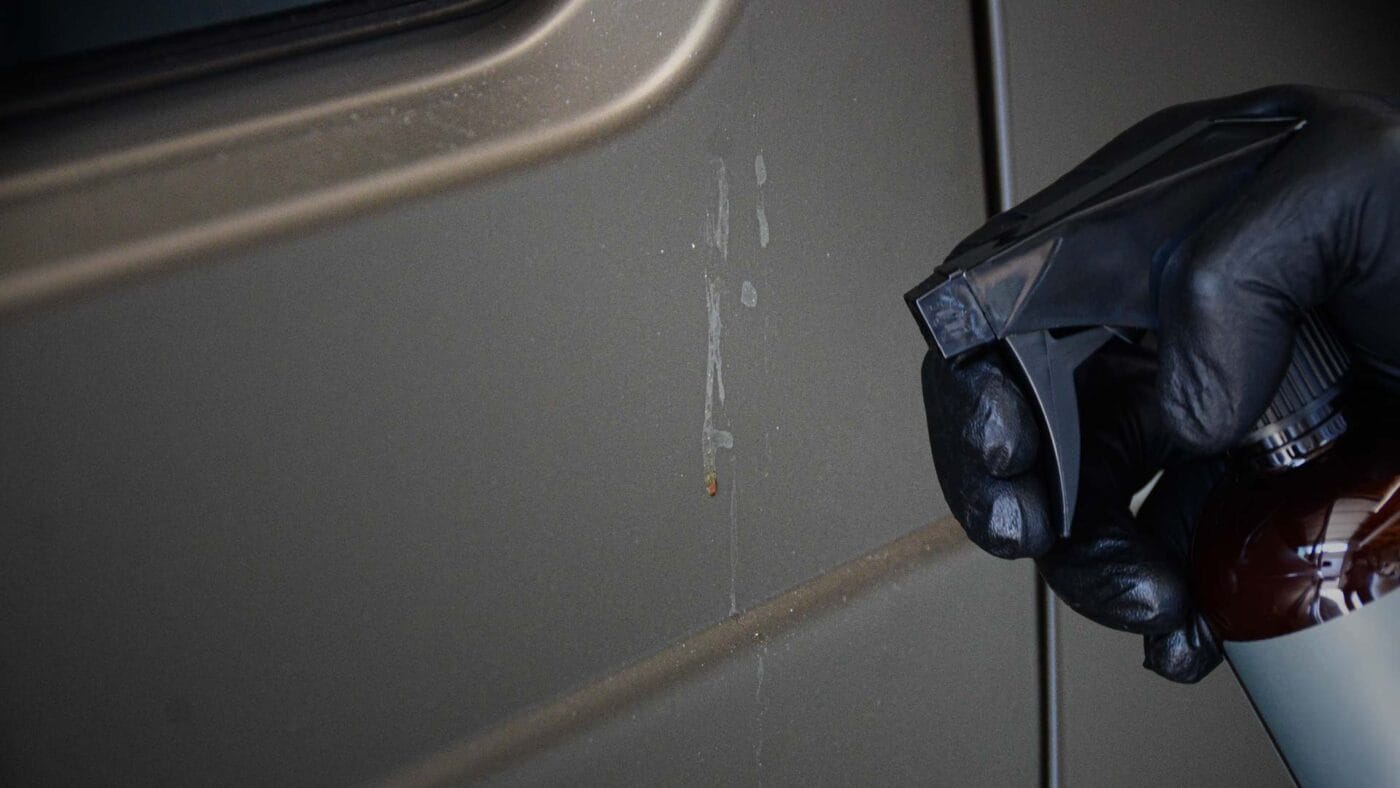
Identify the contamination, select the right chemistry and let that chemistry work. Then gently remove what has been loosened. If some contamination remains, repeat the process before you increase the pressure. This becomes especially important when you’re dealing with matte or satin paint.
5. Contamination on Matte Paint
Matte paint changes the equation because you don’t have the same correction options you have with gloss paint. If you lightly mar glossy clear coat, polishing can often correct that damage. You don’t have that luxury with a matte finish. Aggressive rubbing, abrasives and polishing can alter the surface texture of matte paint and create a permanently shinier area. At that point you haven’t cleaned the finish. You’ve changed it.
That is why paint manufacturers recommend soaking stubborn contaminants on matte finishes and gently removing them rather than attacking them mechanically. We developed Matte Paint Cleanser specifically for these situations. It can be used on localized contamination including bug remains, road tar, tree sap, bird droppings, overspray and adhesive, without using abrasive polishing to solve the problem.
With matte paint in particular, remember that more pressure can turn a cleaning problem into a finish problem.
My Process When Something Is Stuck to Paint
You don’t need to make this complicated. I would work through the problem in this order:
- Identify the contaminant. Concrete, adhesive, insects, tar, sap and mineral deposits require different chemistry.
- Remove loose dirt first. Don’t introduce sand, dust or grit into the cleaning process.
- Choose the right chemical. Match the chemistry to both the contaminant and the surface.
- Give it time to work. Follow the product directions. Dwell time isn’t wasted time. It’s part of the chemistry.
- Remove the loosened material gently. Wipe or rinse according to the product directions.
- Repeat when necessary. If contamination remains, another chemical application is usually the next move, not dramatically more pressure.
- Inspect the surface. Determine whether you’re still looking at contamination or whether the surface itself has been stained, etched or damaged.
- Restore protection if necessary. Strong decontamination products can affect waxes, sealants or coatings, so evaluate the surface protection after the job is complete.
Notice that mechanical action hasn’t disappeared from this process. We’re simply changing when we use it. First loosen the contaminant, then mechanically remove what has been loosened. That’s a very different process from trying to scrub something off while it’s still firmly bonded to the paint.
Know When Cleaning Is Finished
There’s another mistake I see people make. They remove the contaminant, see that a mark is still there and keep cleaning. But the mark may no longer be contamination. It could be staining, mineral etching, chemical etching or physical damage to the clear coat. Once the surface is actually clean, more cleaner isn’t necessarily going to solve the problem, and more scrubbing certainly isn’t.
On glossy paint, certain defects may be correctable through polishing. On matte paint, polishing can permanently change the appearance of the finish. So after you’ve removed the contamination, stop and inspect. If the surface is clean but the mark remains, you are dealing with a different problem. Knowing when to stop is just as important as knowing how to start.
Protection Helps Too
Good paint protection won’t make a vehicle immune to contamination. Bugs will still hit it, sap can still land on it and road tar can still stick to it. And I’d still prefer you keep wet concrete off your car.
What a properly maintained protective coating can do is create another barrier between the environment and the paint underneath, which can make routine maintenance and future decontamination easier. But protection doesn’t change the fundamental rule. You still want to remove contamination intelligently rather than aggressively.
More Time. Less Pressure.
If there is one thing I want you to take away from this, it’s that more pressure shouldn’t automatically be your next move when something isn’t coming off the paint. Identify what you’re dealing with, use the right chemistry, give it enough time to work and repeat it when necessary. Then use only as much mechanical action as you need to safely remove what remains.
At Dr. Beasley’s, we talk a lot about using the least aggressive process that gets the job done, and this is a perfect example. Good detailing isn’t about how hard you can work a surface. It’s about understanding the surface, understanding the contamination and choosing the process that solves the problem while doing the least possible harm.
Chemistry first. Mechanical action second. Preserve the surface throughout.
Questions? Comments?
Email Us