


Last Updated April 29, 2022
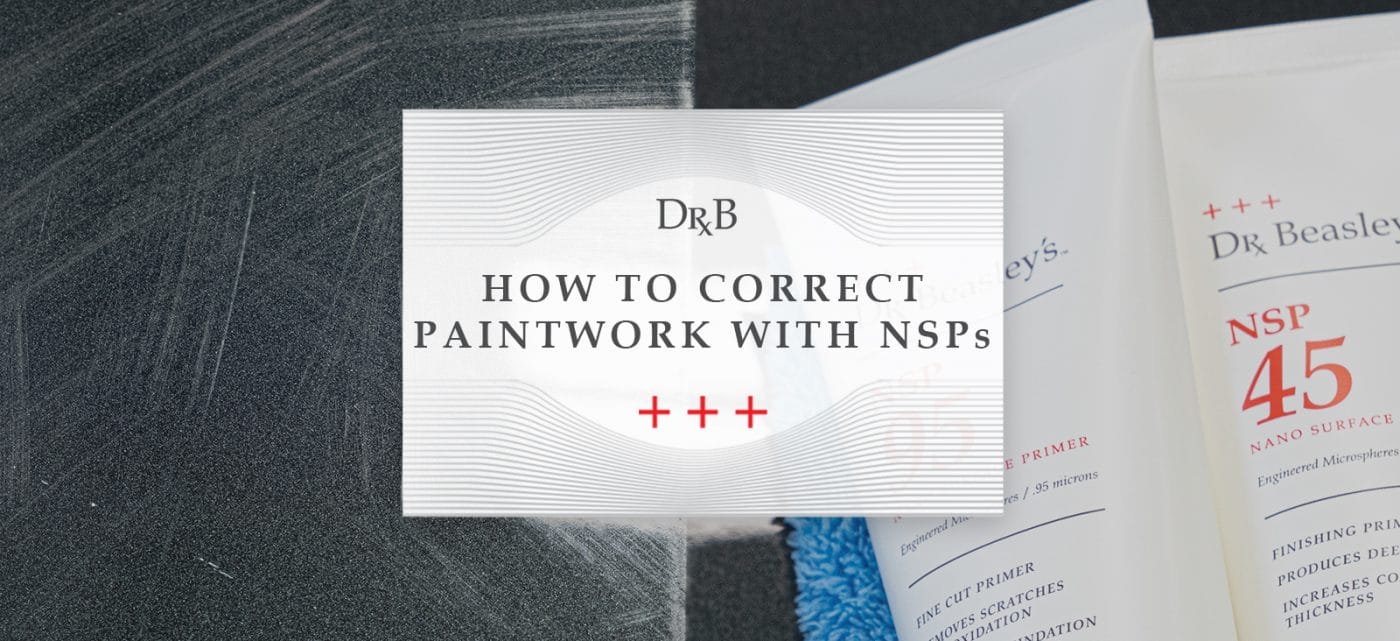
We’ve spent the past two months talking about the new Nano Surface Primer system from Dr. Beasley’s. We’ve gone over their groundbreaking advances in speed, smoothness and coating priming. What we haven’t talked much about is how the system actually works in practice. Below, we’ll break down what each primer does and how they all work together for paintwork correction with coating-ready results. Then we’ll get into how individual primers can be used outside the system to tackle unique correction needs. Let’s dig in!
Step 1: NSP 150 – Heavy Cut Primer
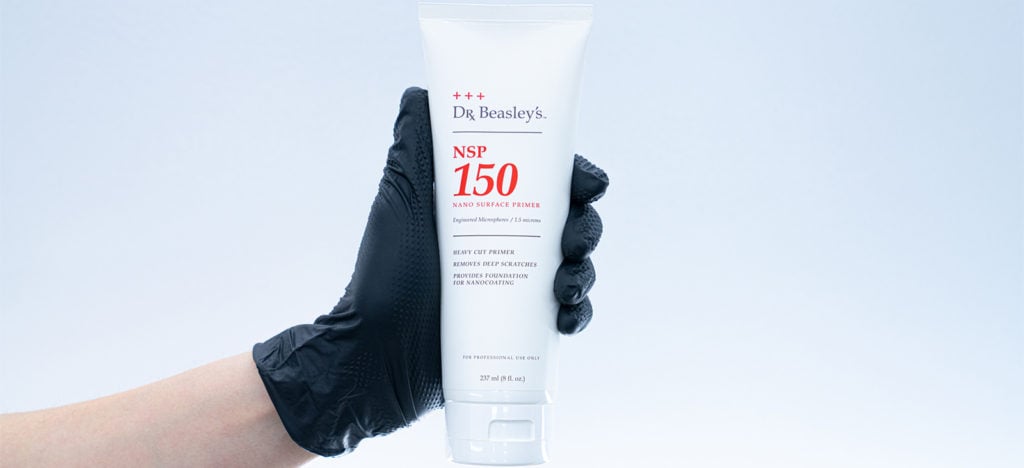
NSP 150 does the heavy lifting of paintwork correction. Its microsphere abrasives are sized at 1.5 microns to remove deep scratches and severe marring. NSP 150 doesn’t just cut, though — it also builds thickness to increase durability against the elements for the soon-to-be-applied ceramic nanocoating.
Step 2: NSP 95 – Fine Cut Primer
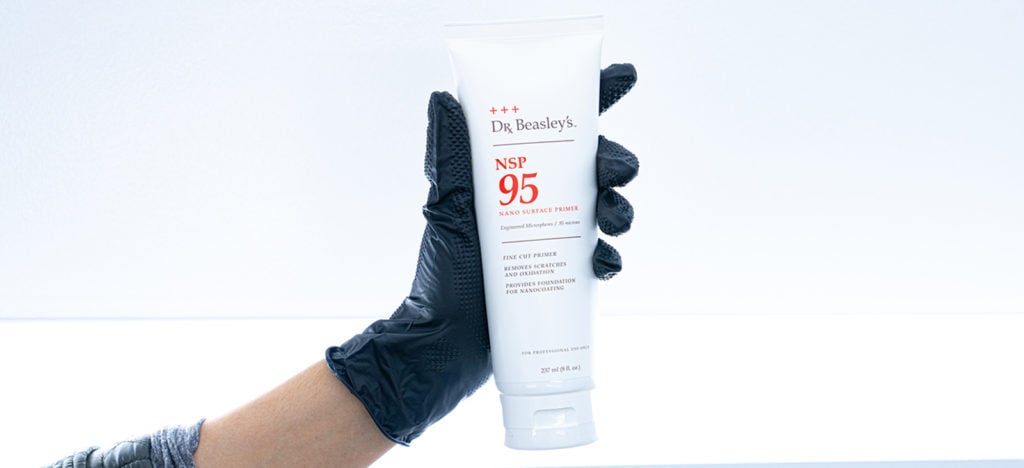
NSP 95 picks up where NSP 150 left off. Its slightly smaller .95 micron abrasives correct finer scratches as well as oxidation. Much like NSP 150, NSP 95 also builds thickness to provide even more durability before finishing with NSP 45.
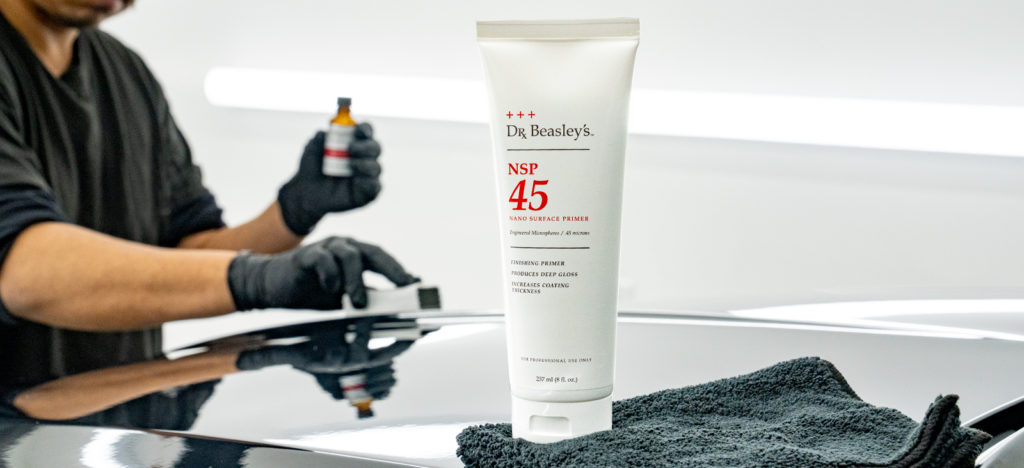
Step 3: NSP 45 – Finishing Primer
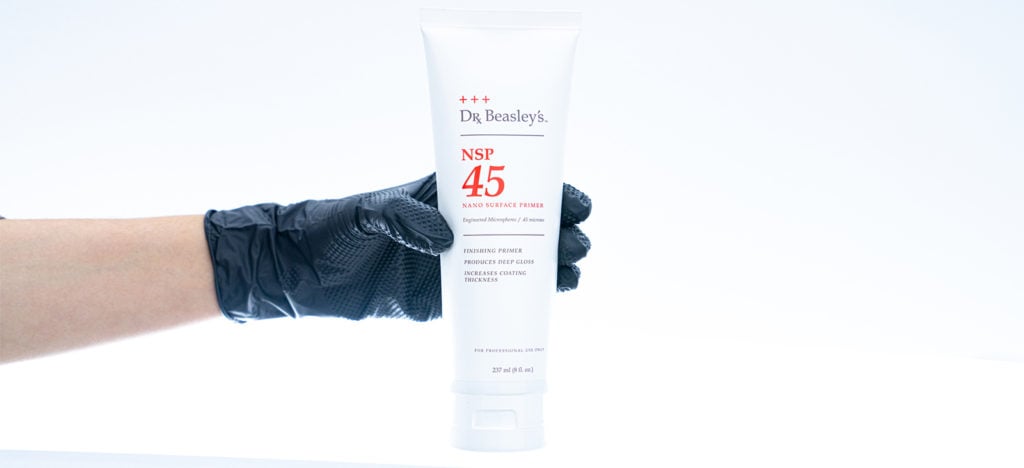
As the last step in the Nano Surface Primer system, NSP 45 finishes off the paintwork correction process. It does this with very light, .45 micron abrasives, clearing away any minor imperfections to produce a deep gloss. It also protects the newly corrected finish, laying down a barrier primed with anchor points to maximize coating bond durability.
Mixing and Matching NSPs for the Vehicle’s Needs
The Nano Surface Primers work best as a system when a full paintwork correction is needed. But what if the needs of the vehicle are different? Let’s break down different ways you can use the Primers.
NSP 45 → Coating (New or recently restored paintwork)
If a vehicle has paintwork with very little needed in the way of correction, there’s no need to go in with a super aggressive primer like NSP 150. Instead, just use the NSP 45 to smooth out whatever minor defects there are. The anchor points added during this step will make the coating bond ultra durable.
NSP 95 → NSP 45 → Coating (Moderate defects in paintwork)
Let’s say you’ve got a vehicle with some micro-marring, maybe some oxidation. In a case like this, you probably don’t need to go all the way to the 150 — instead, the 95 makes more sense as a starting point. Remember, you always want to use the least aggressive means possible of achieving your desired results when it comes to paintwork correction. Clear coat is precious! Also, you’ll still want to finish up with NSP 45. Otherwise, you won’t be getting the gloss and bond optimization a coating requires.
NSP 150 (Partial) → NSP 95 → NSP 45 (Moderate defects with isolated deep scratches)
What if you have a vehicle that requires something in between a full paintwork correction and a lighter enhancement? Maybe there’s a deep scratch or two on one panel, but the rest is all micro-marring. In that case, use NSP 150 for those specific areas, but don’t attack the whole vehicle. Then proceed as normal with NSP 95.
Coating After NSP Correction
Because NSPs are designed for use with ceramic nanocoatings, it’s important to cover how application works once the correction is done. First of all, as you may have learned in past articles from us, you DO NOT need to use an IPA or panel wipe following NSP correction. There are no silicone oils or waxes to remove, so that step is wholly unnecessary.
Second, and most importantly, you do need to allow a half hour of undisturbed cure time to elapse after using NSP 45 and before applying a ceramic nanocoating. That allows the adhesion matrix layer to cure into a durable foundation for the coating. Beyond that, though, you’re all set to protect!
So that basically sums up how NSPs work in practice. We’ll have demonstrations and vehicle case studies coming in the future, so stay tuned!
Questions? Comments?
Email Us