


Last Updated November 13, 2024
Gelcoat protected fiberglass is a common surface material on things like boats, yachts, RVs and car hauling trailers.
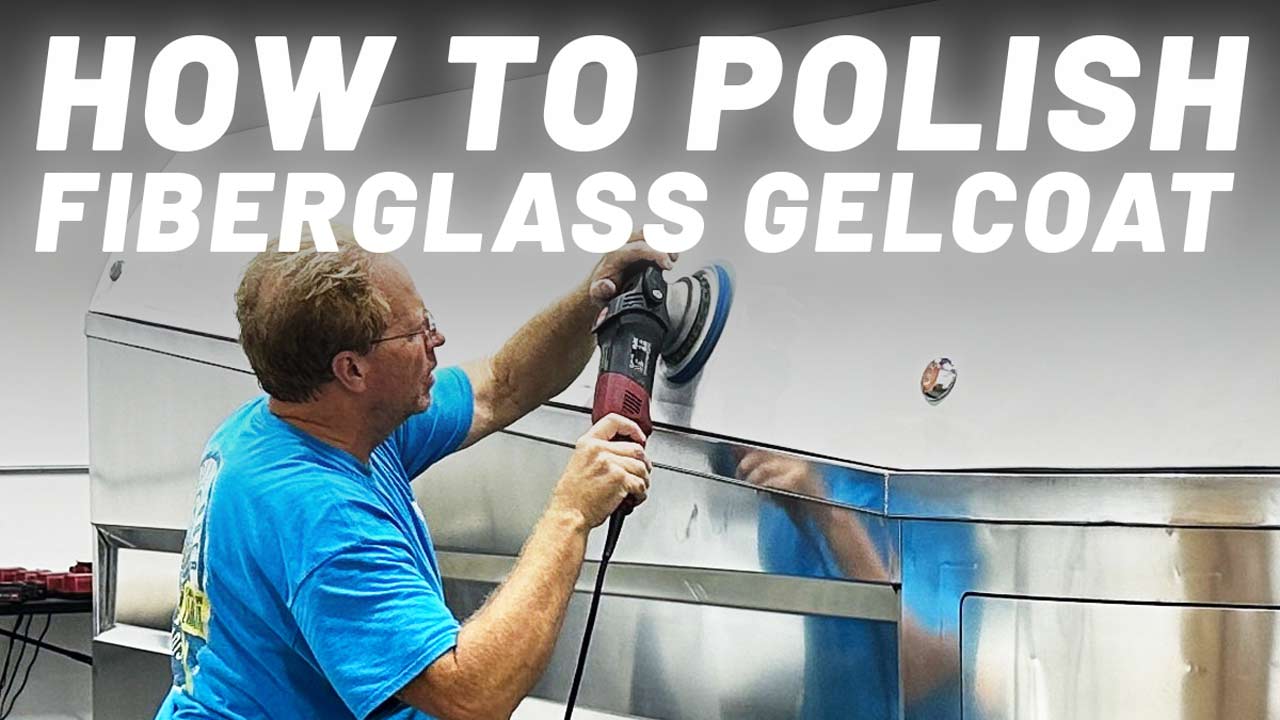
Like paint, however, fiberglass gelcoat will oxidize and stain overtime if not properly maintained. In this article, I’ll show the correct way to remove oxidation and staining from fiberglass gelcoat by machine polishing.
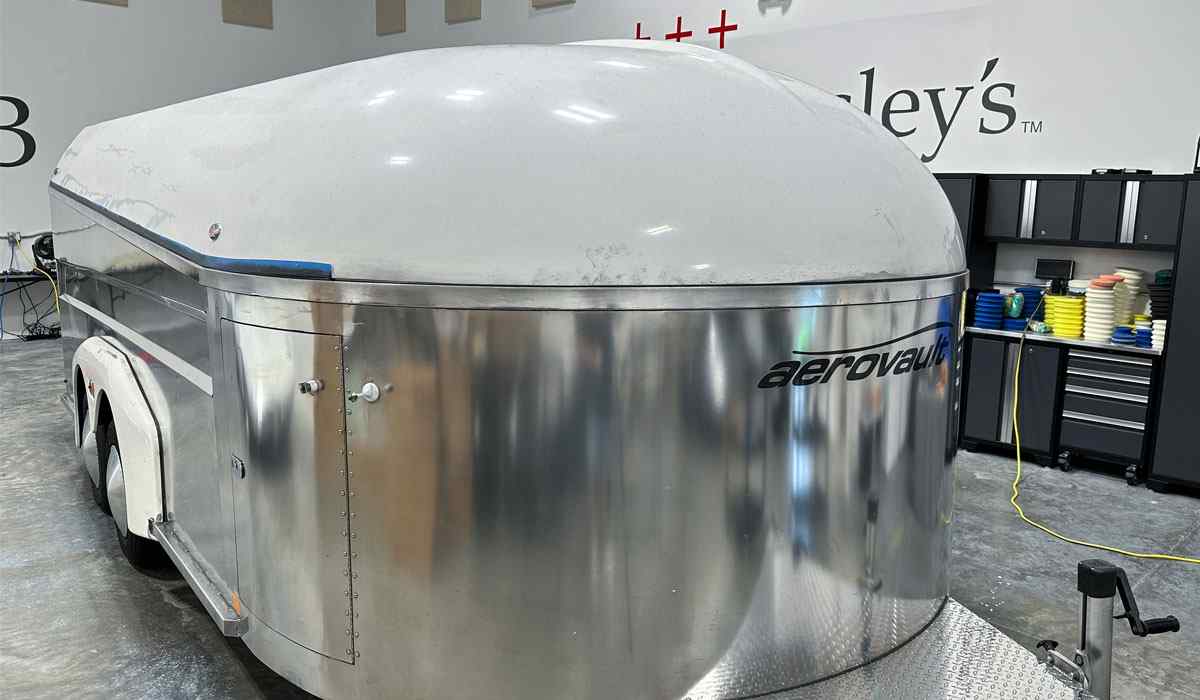
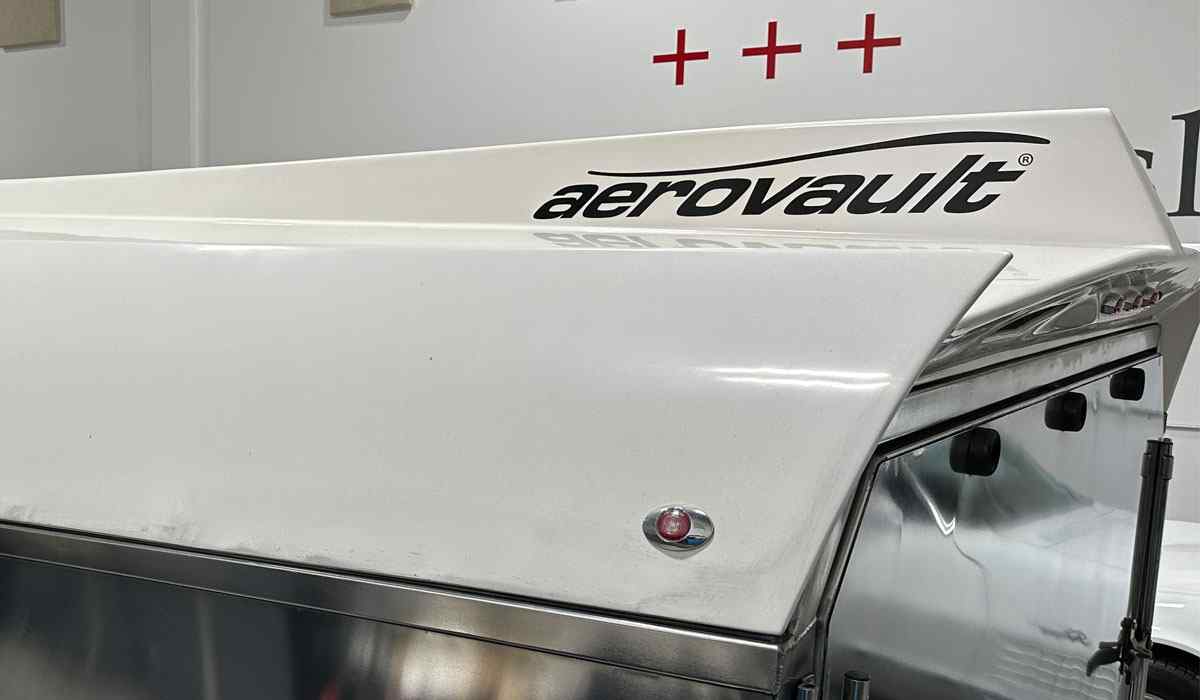
For this article, I’ll be using the fiberglass roof and wheel wells on the aluminum trailer I polished for my articles on polishing aluminum.
How Does Fiberglass Gelcoat Become Oxidized and Stained?
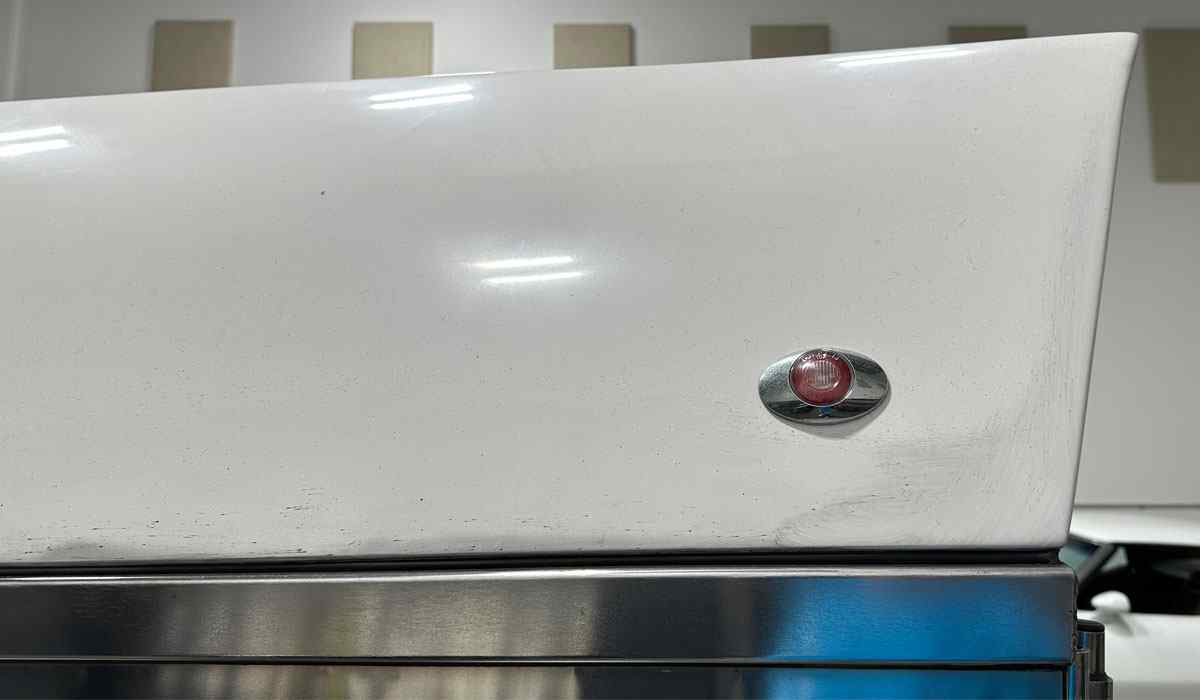
The fiberglass on this trailer, much like the aluminum, has become oxidized and has what we call “dirt staining”.
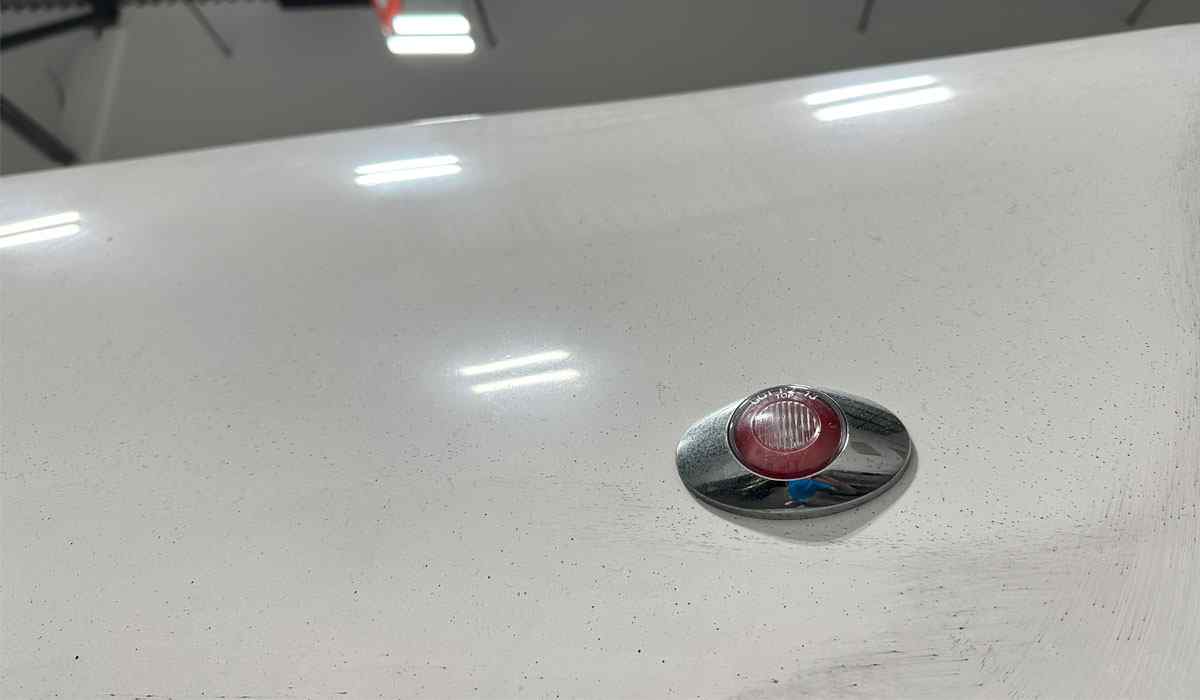
Oxidation is a chemical reaction that occurs when a substance or material comes in contact with oxygen. When fiberglass gelcoat oxidizes due to water exposure or UV rays, it becomes dull and cloudy.
“Dirt staining”, on the other hand, is simply the volume of airborne dirt, pollution and industrial fallout that drifts in the air and lands on a surface and over time, the collection of contaminants impacts and bonds onto the surface to the point that it will not simply wash off.
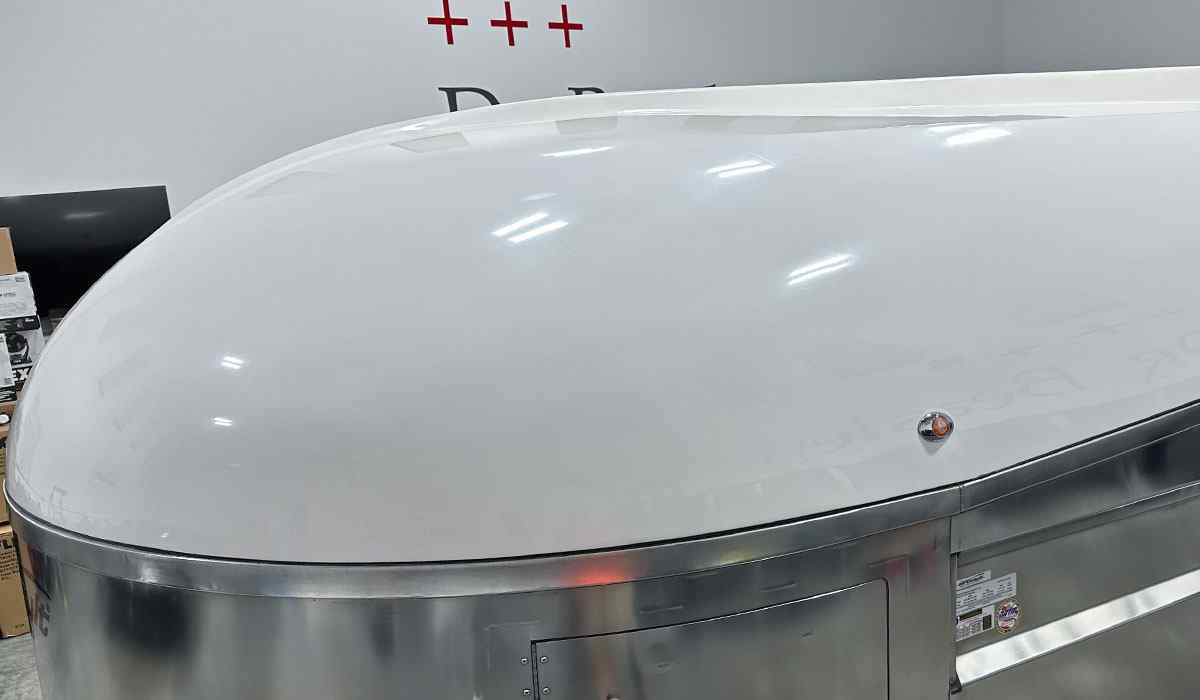
The good news is, when doing the gelcoat correction work to remove the oxidation, I will at the same time remove the tan/brown staining color in the white gelcoat. The goal is to remove the oxidation, smooth over the surface to make it less prone to future oxidation and restore a bright white.
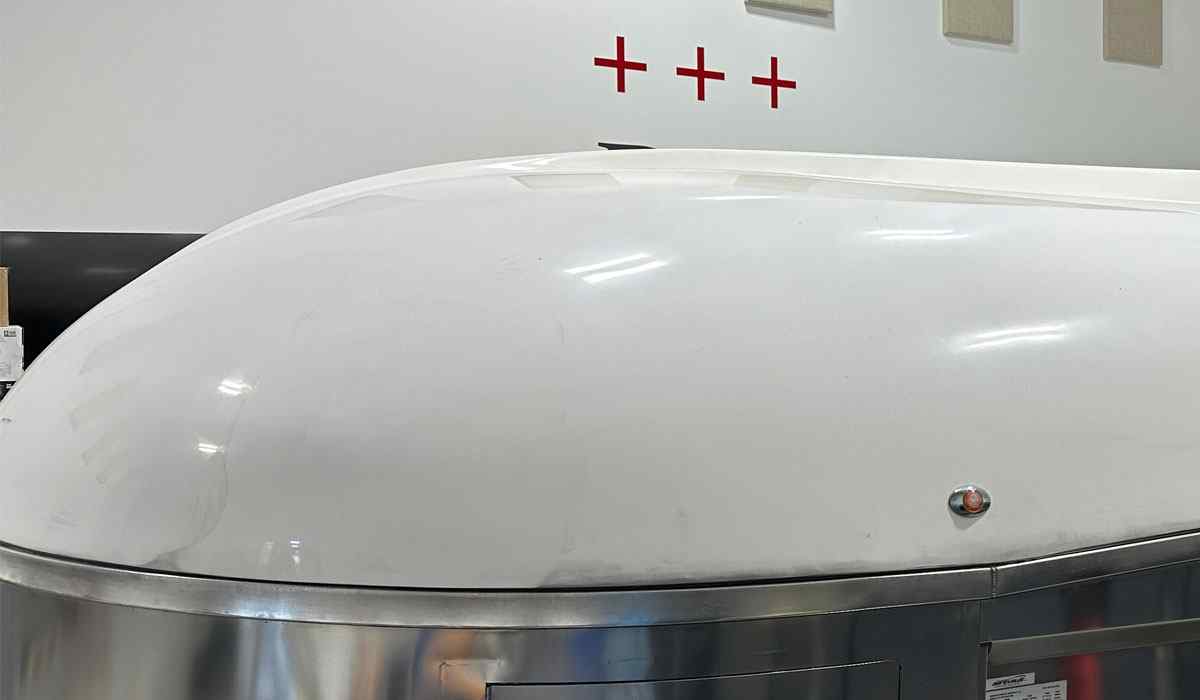
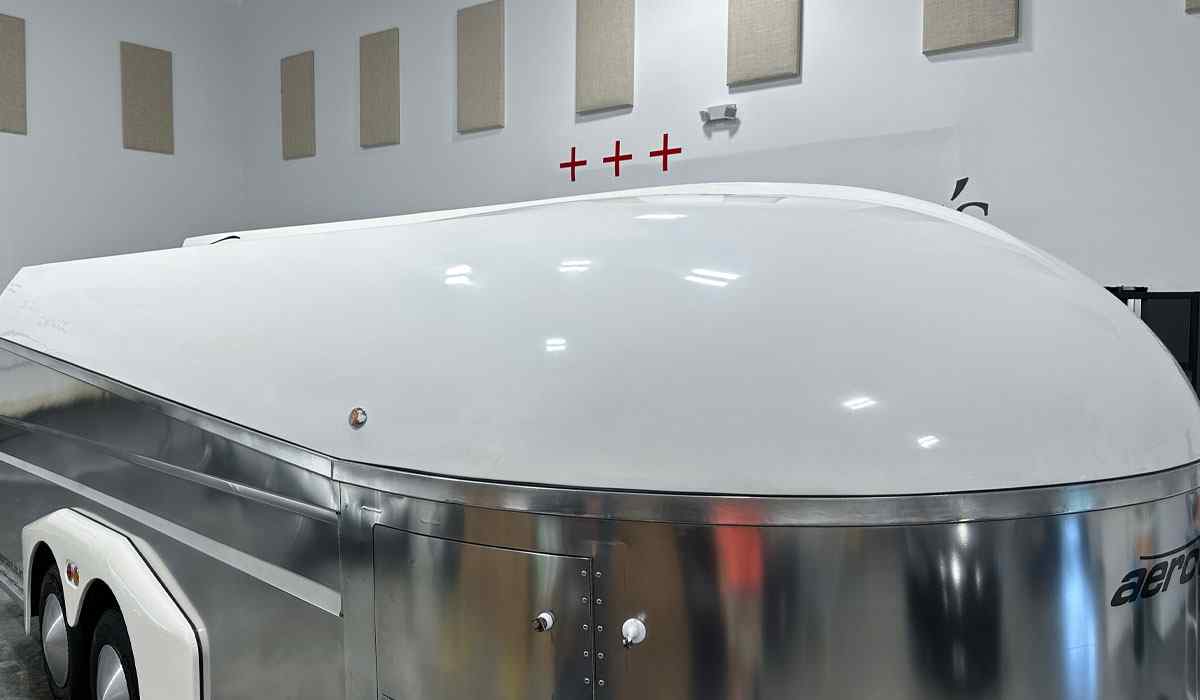
Here’s some before pictures to photo-document the before condition of the roof or top cap.

How to Polish Fiberglass Gelcoat: 3-Step Process
Here’s the process I dialed in after testing some different products and pads. Following these steps will remove light oxidation, swirls and stains from the fiberglass gel coat while adding durable protection for the future.
Step 1: Remove Oxidation, Swirls & Stains
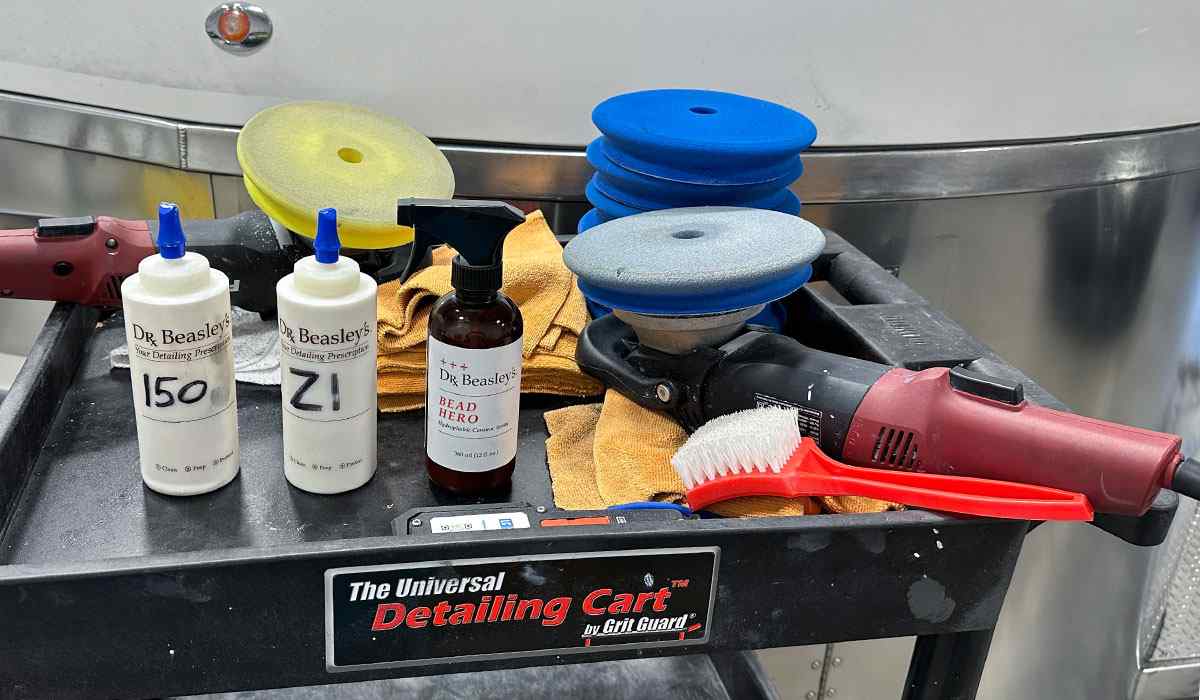
For this step I found that using Dr. Beasley’s NSP 150 on a 6” heavy foam polishing pad with a gear driven random orbital polisher (I use the Flex XC 3401 VRG AKA the BEAST) removed all the oxidation, swirls and dirt staining.
Step 2: Refine, Enhance & Protect with AIO
Next I switched to a ceramic AIO (in this case Dr. Beasley’s NSP Z1) to enhance the results for maximum shine and apply some protection as well. I used the same tool and pad type.
Step 3: Final Seal of Surface with Spray Ceramic Coating
For the last step process, I used the Dr. Beasley’s Bead Hero over all the white gelcoat as well as the aluminum. This will add some durable protection and hydrophobic properties for 6 months to a year.
Documenting My Process: Photos from Polishing Fiberglass Gelcoat
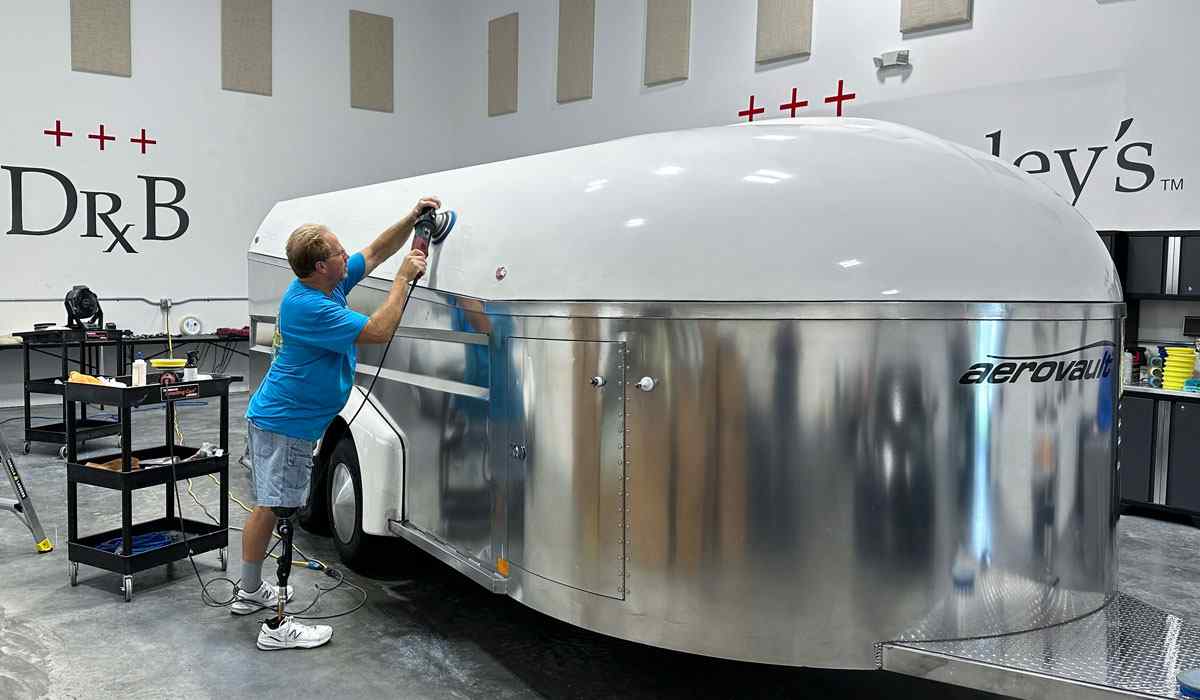
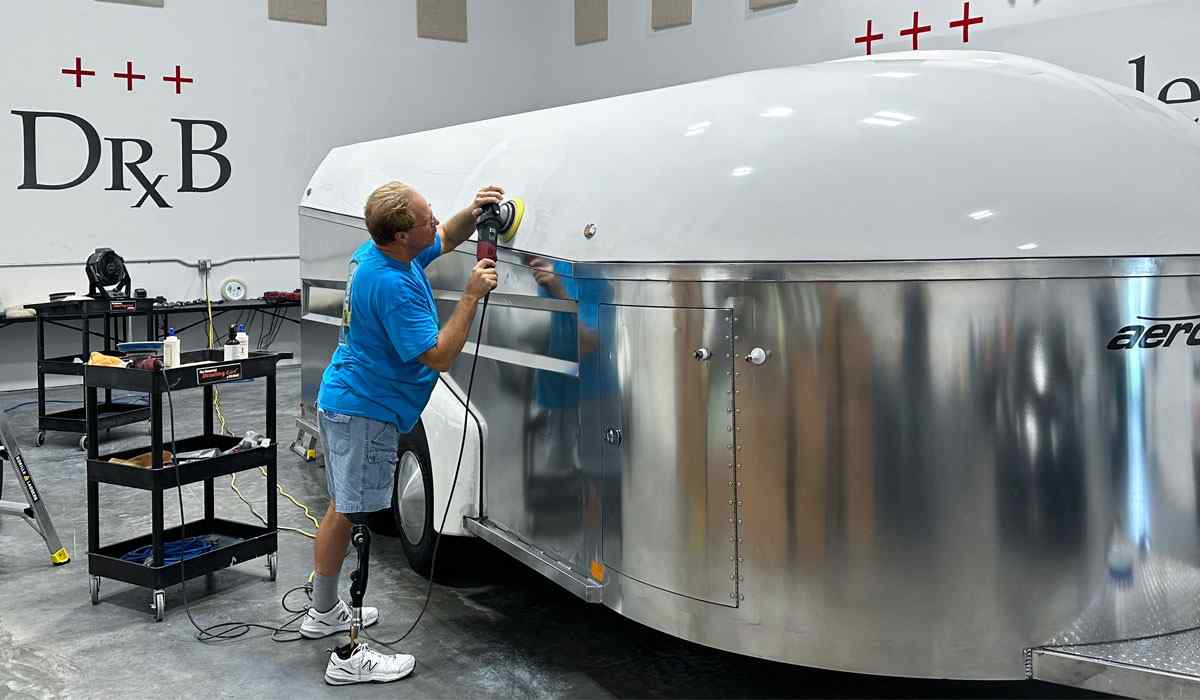
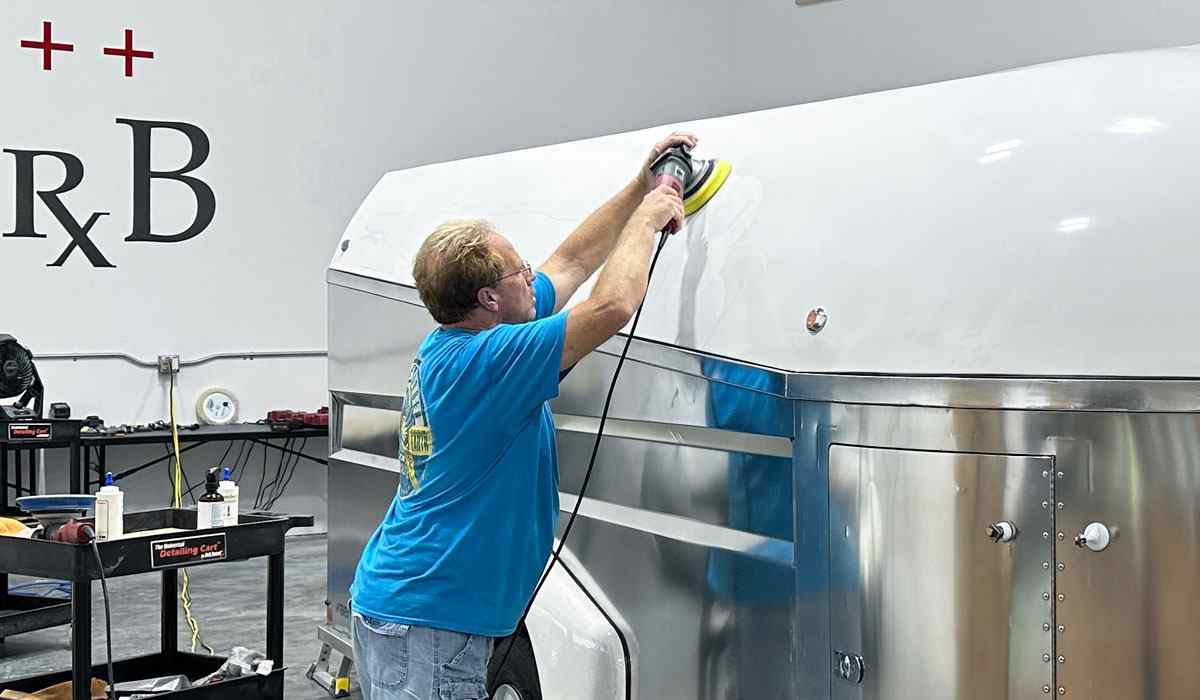
If you look carefully at the picture below, you can see I’m using the blueberry colored foam pad with the NSP 150 as my first step. I basically ran the polisher as far up the top cap as I could reach, knowing I can pick up where I left off when I get on the work platform.
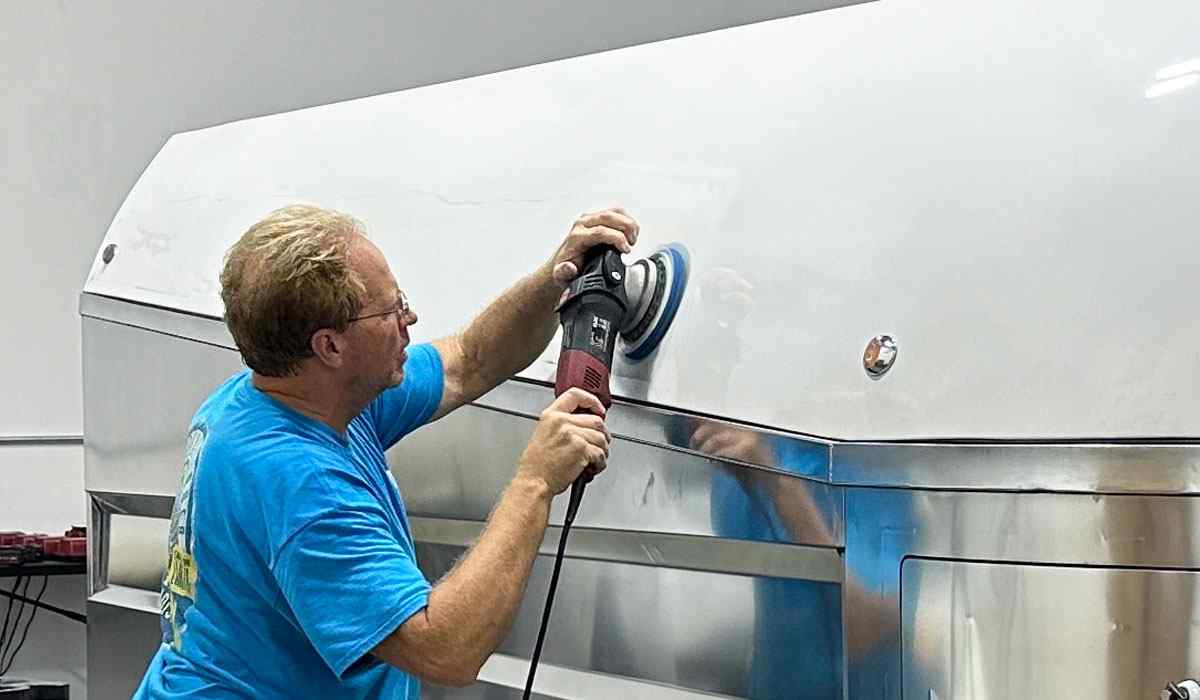
After doing the grunt work of removing all the oxidation, next up I re-polish all gelcoat using a combination of the Dr. Beasley’s NSP Z1 with a yellow Buff and Shine EdgeGuard foam polishing pad. There’s a lot of D.A. Sanding Marks throughout the gelcoat finish but in order to remove these to perfect the gelcoat it would require re-sanding followed by using a wool pad on a rotary to remove the sanding marks, followed by the 2 machine polishing steps I’m already doing. In other words, it would be a HUGE undertaking.
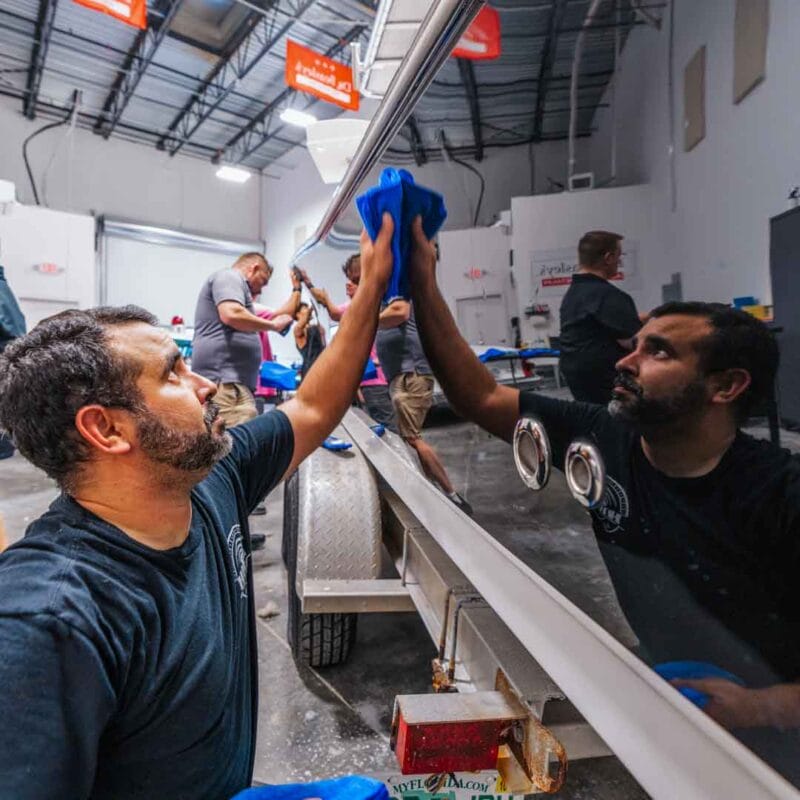
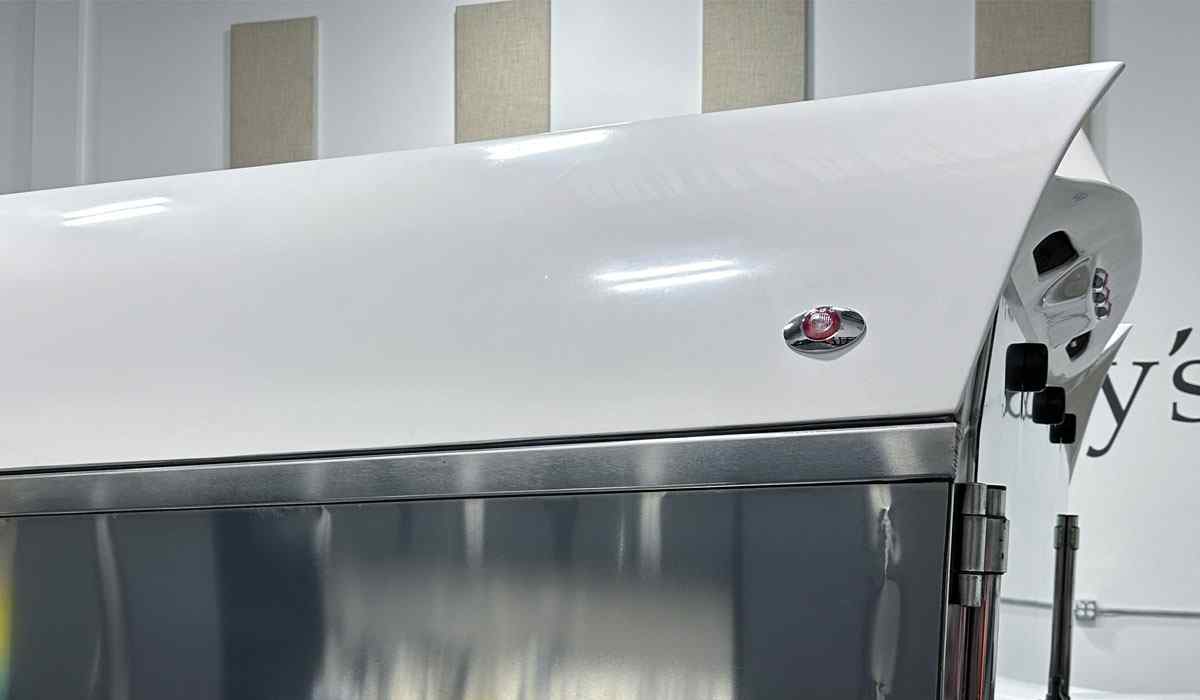
Here I’m wiping off the Z1 residue and look how bright white the gelcoat is now?

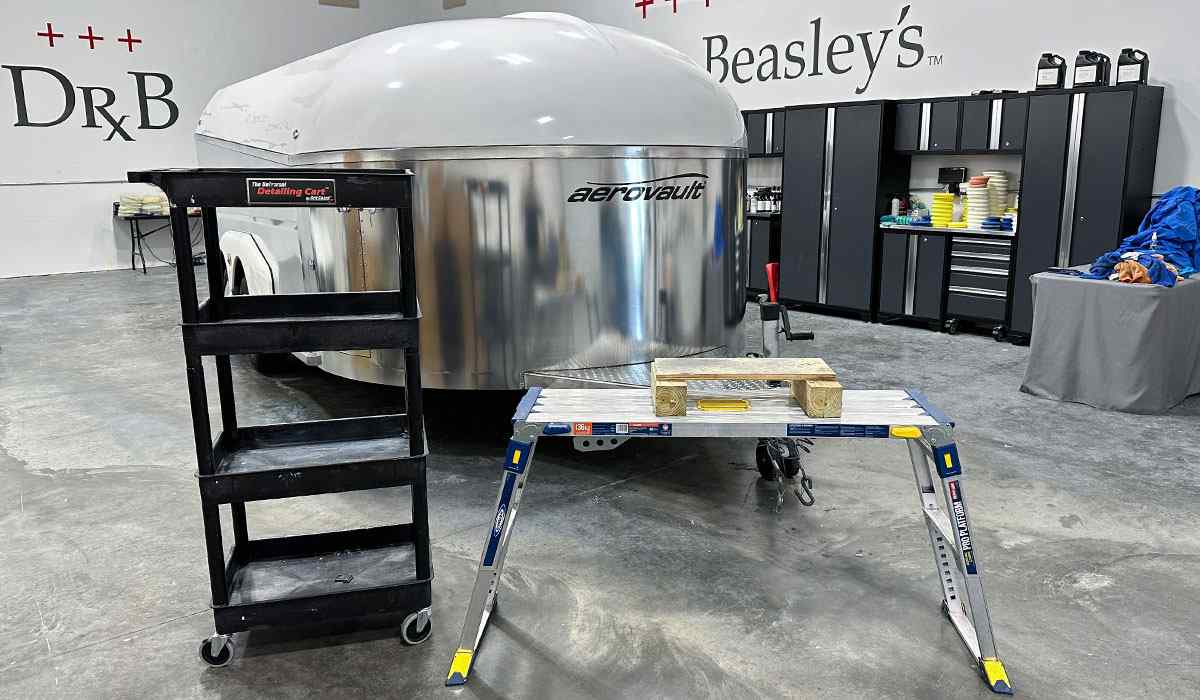
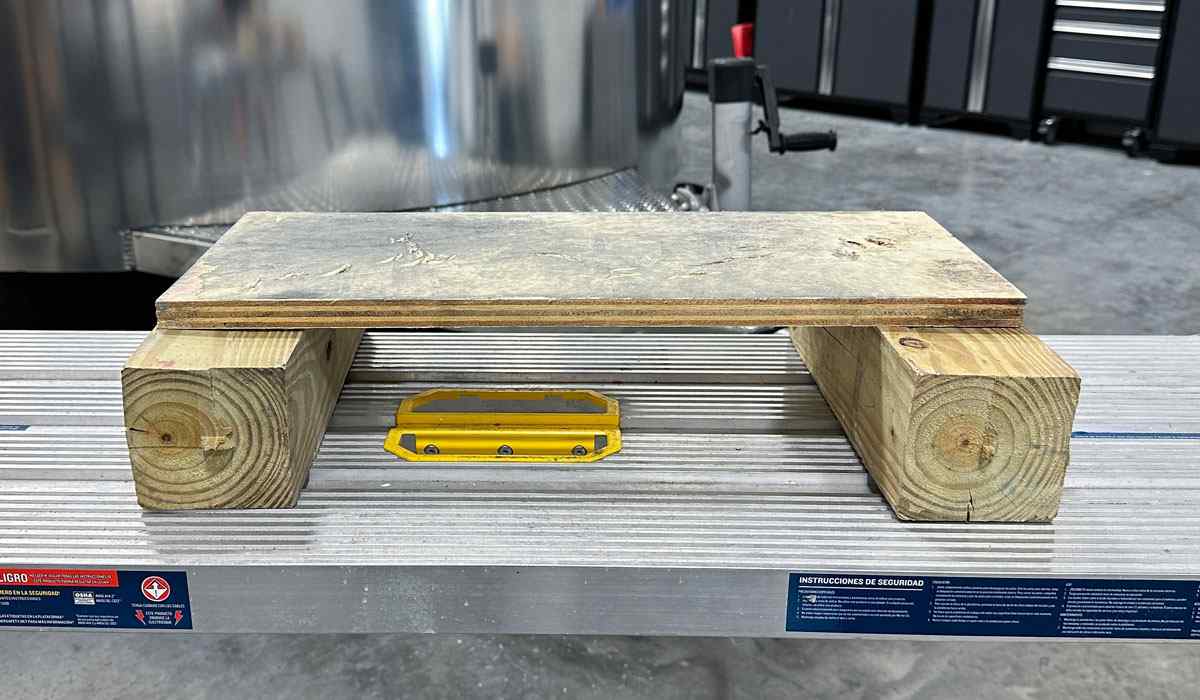
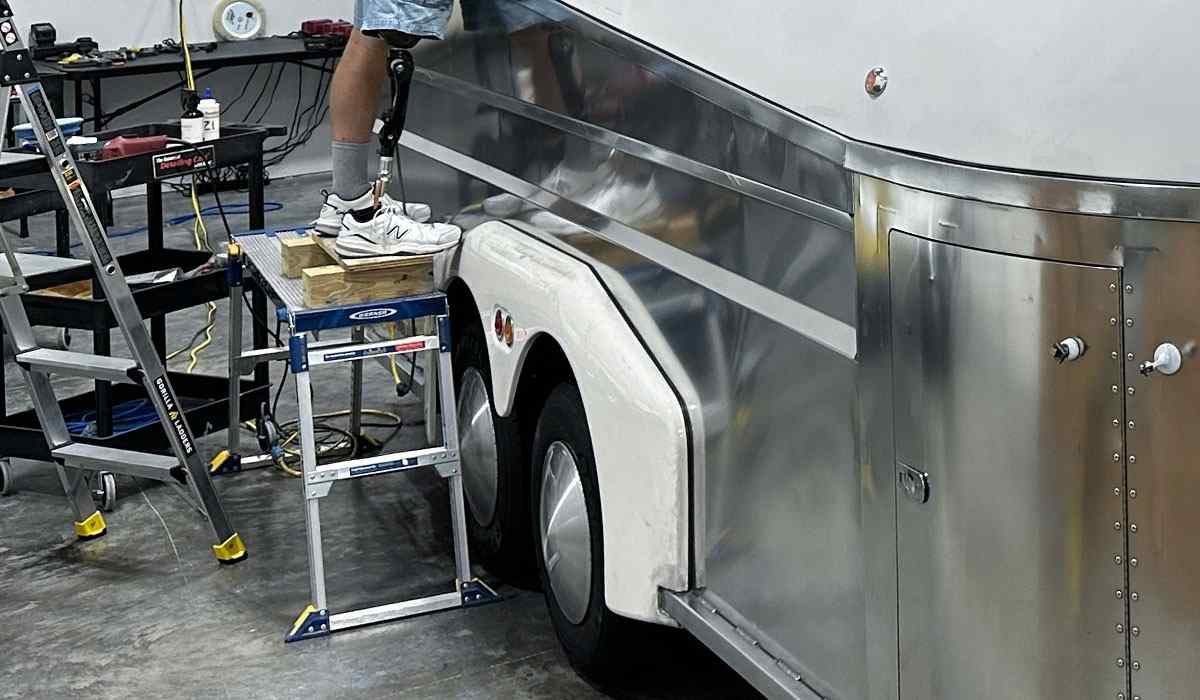
Working Safely to Reach the Middle of the Roof
I’m 5’ 11 and using the 30” of height you can get out of the Werner Work Platform, I could reach most of the center or middle of the roof. To squeeze out a few more inches of height, I used a makeshift combination of a couple of chunks of wood 4” x 4” and places a piece of plywood on top of them. What I really needed was a work platform or scaffolding that gave me another 12 inches of lift, but alas, I used what I had.
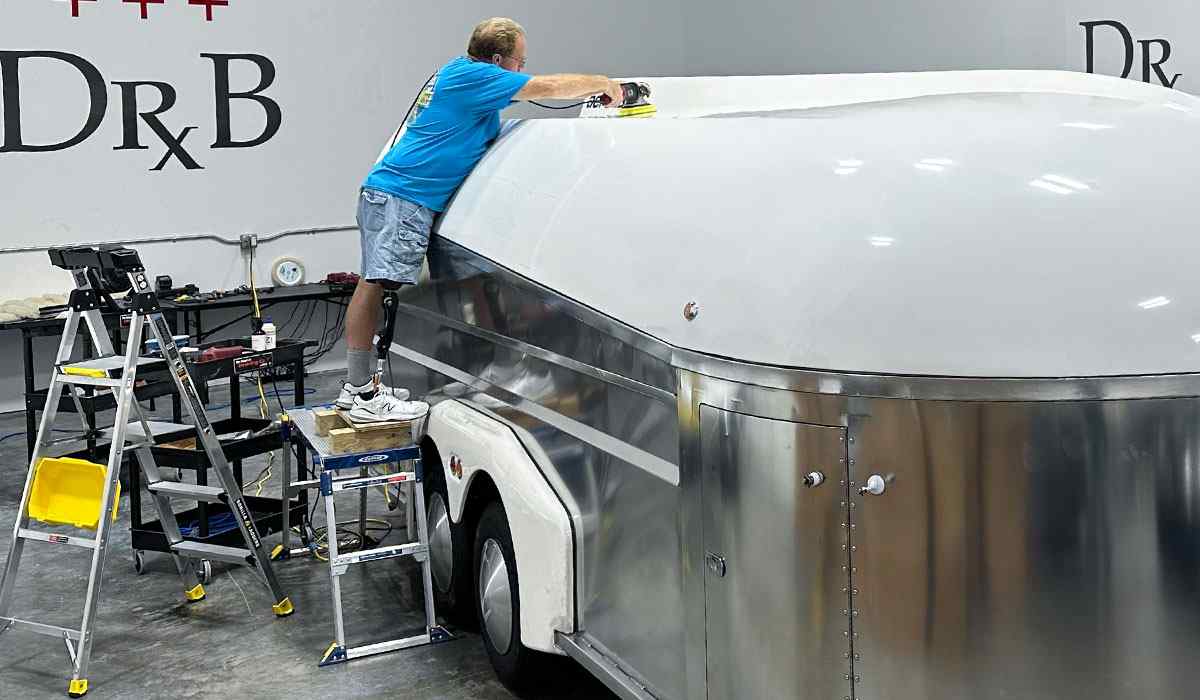
Section by Section
This was so much physical work to carefully and methodically make 8 crosshatch section passes over each section of gelcoat for both machine correction steps while reaching as far as I could and remaining stable at the same time.
My normal practice when detailing cars is to mentally adopt the project as if it were my own, and then I simply treat it like it was my own. This means I never skimp on steps, and of course, do my best work.
Final Results for the White Fiberglass Gelcoat Roof
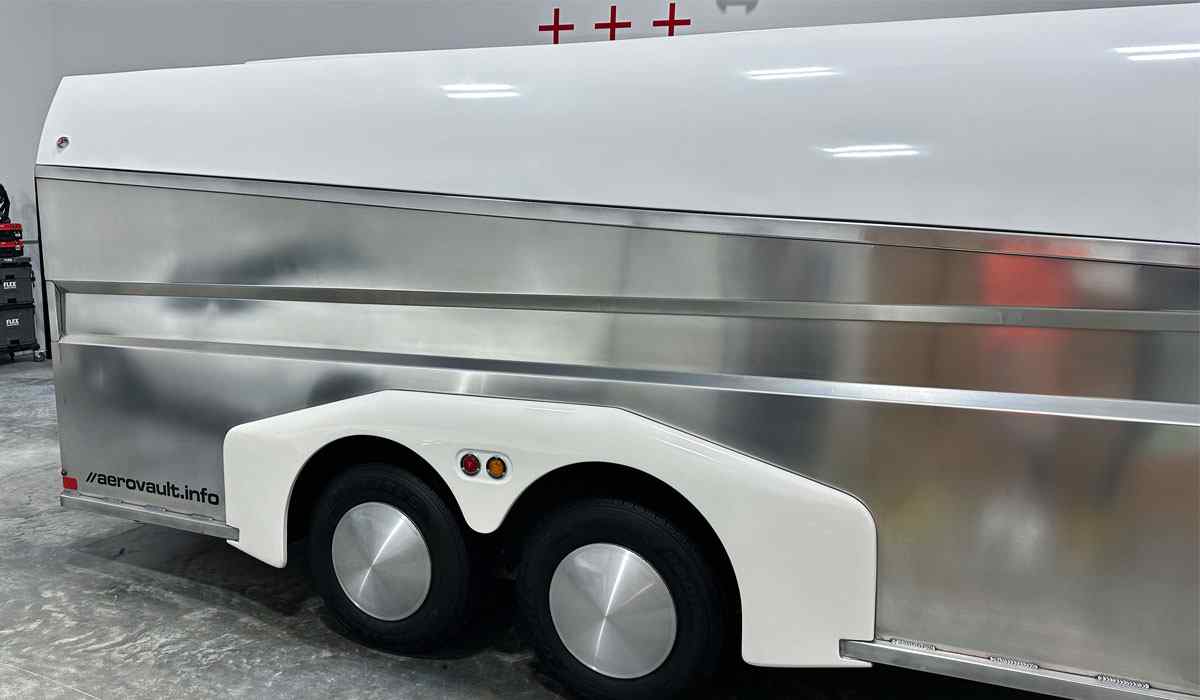
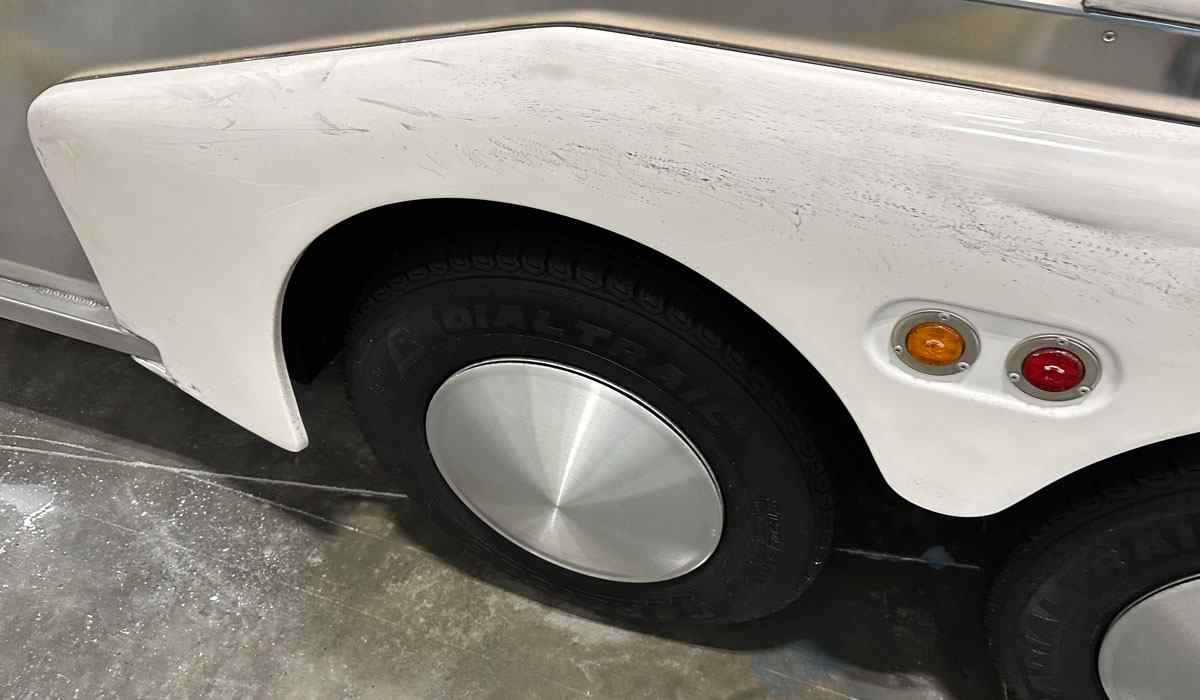
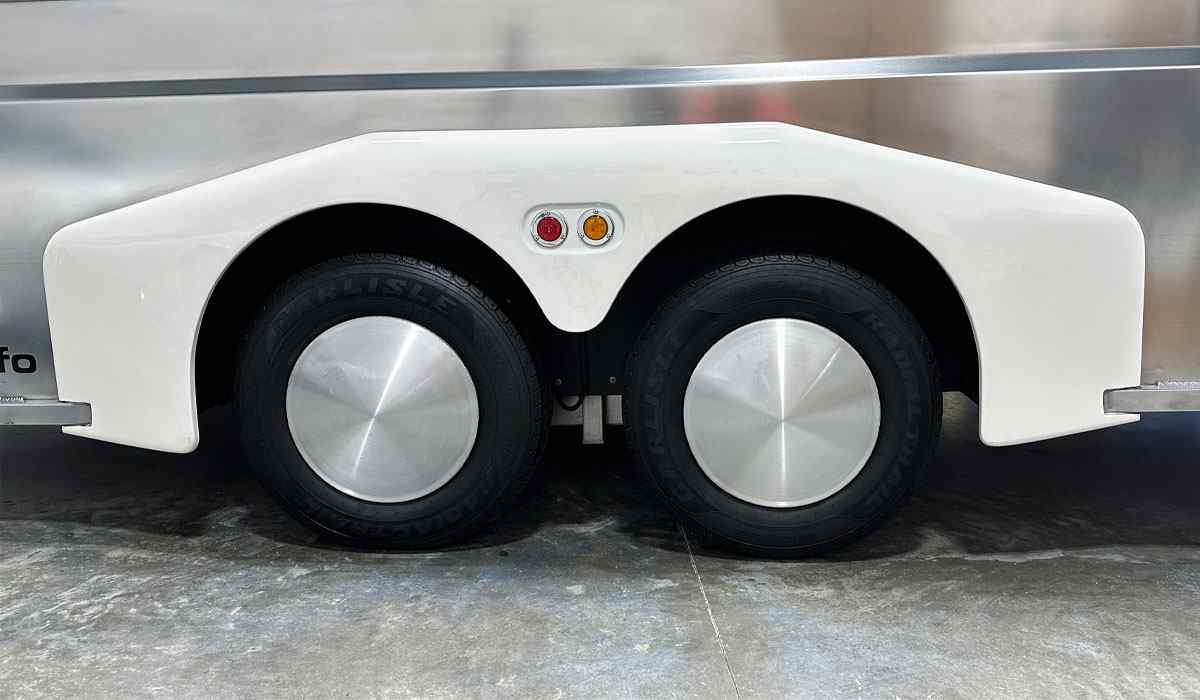
Fenders, Hubcaps and Tires
And of course, here’s the fiberglass gelcoat fenders and the results from machine cleaning, followed by machine dressing the tires as well as machine polishing the iconic Mooneyes Moon Hubcaps.
My Personal Offer to Help
I’ve been answering car detailing questions professionally since 2002 and moving forward, if after reading this article you have any questions about polishing and waxing, or how to use an AIO, my contact information is below, reach out to me, I’m always happy to help.
Would You Like to Learn How to Machine Polish Like a Pro?
Would you like to take your detailing skills to a higher level?
Do you find you learn better by doing versus sitting in a chair looking at a PowerPoint presentation about car detailing?
Here at Dr. Beasley’s O.R., (Operating Room), in sunny Stuart, Florida, we teach the most hands-on car and boat detailing classes on planet Earth. And we prove it too. You can find write-ups on the Dr. Beasley’s Blog that photo-documents just how hands-on our classes are plus you’ll see the kinds of cars and boats you’ll be training on.
Click the link below to find the dates, locations, topics, and prices for all upcoming detailing classes.
Upcoming Detailing Classes – Prices – Info – Topics – Locations
And if you ever have any questions, always feel free to reach out to me personally via text, phone call or email.
I hope to see you in a future detailing class!
Sincerely,
Mike Phillips
Chief Education Officer for Dr. Beasley’s
Mike@drbeasleys.com
760-515-0444
Questions? Comments?
Email Us