


Last Updated February 3, 2025
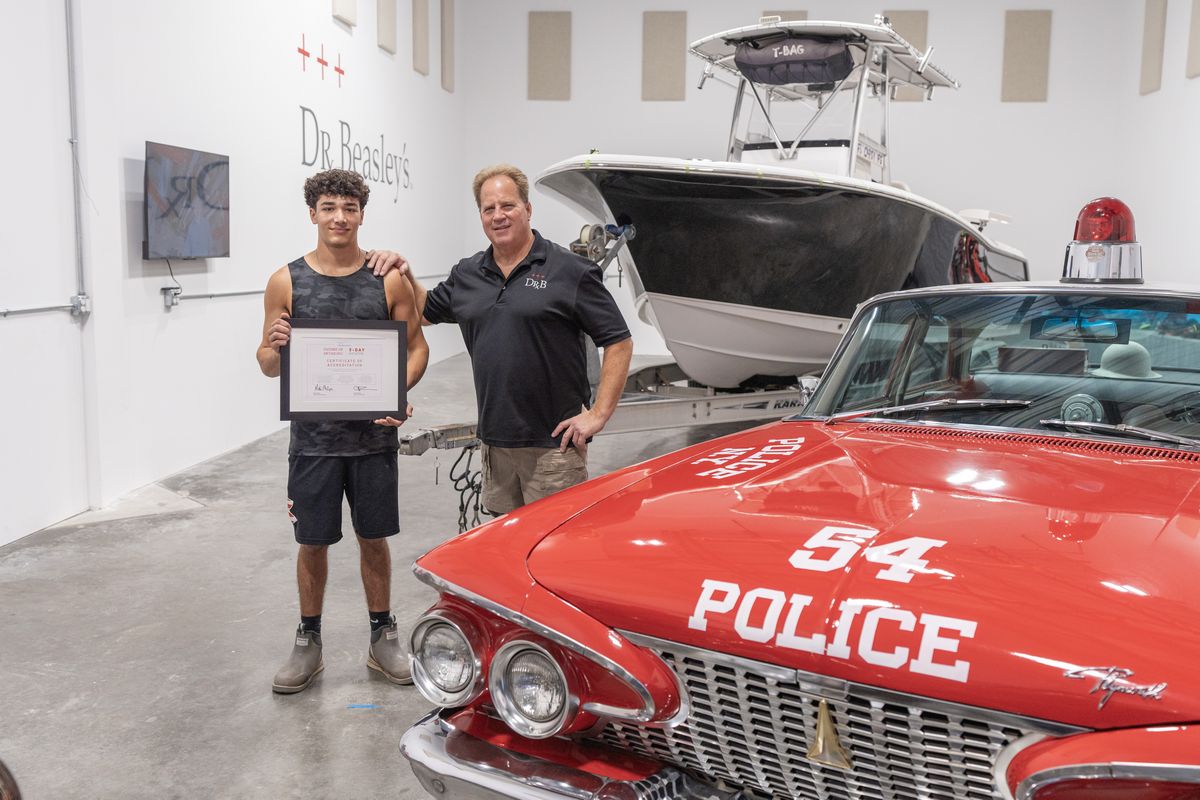
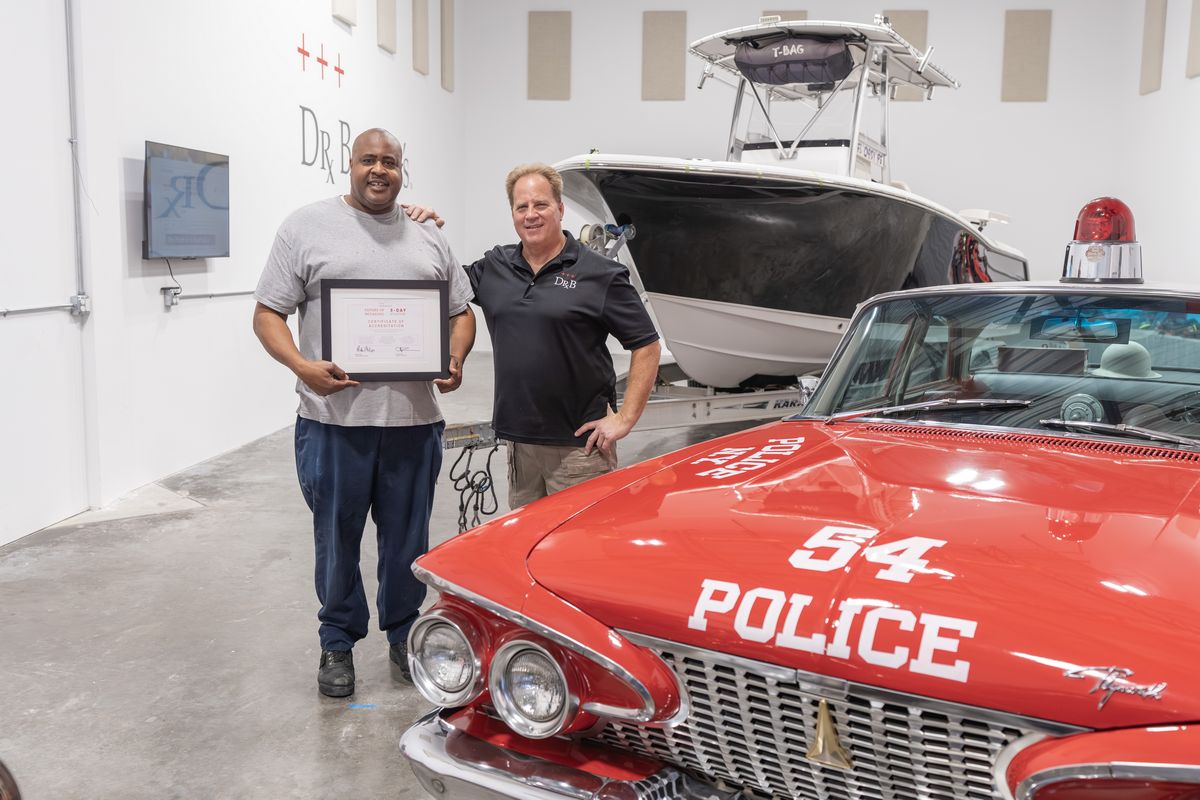
Here’s the graduating class for the February 2024 3-Day Car & Boat Detailing Class!

Day 1 – Morning Session – Extreme Prep Wash
This class had a VERY RARE OPPORTUNITY – and that is they get to work on a Barn Find with severely stained and oxidized single stage paint. So the first thing the class is going to learn how to do is the Comet Wash Technique.
NOTE: This is ONLY for old-school, solvent-evaporation single stage paints like lacquers and enamels. DO NOT USE THIS TECHNIQUE ON A MODERN CLEARCOAT FINISH.
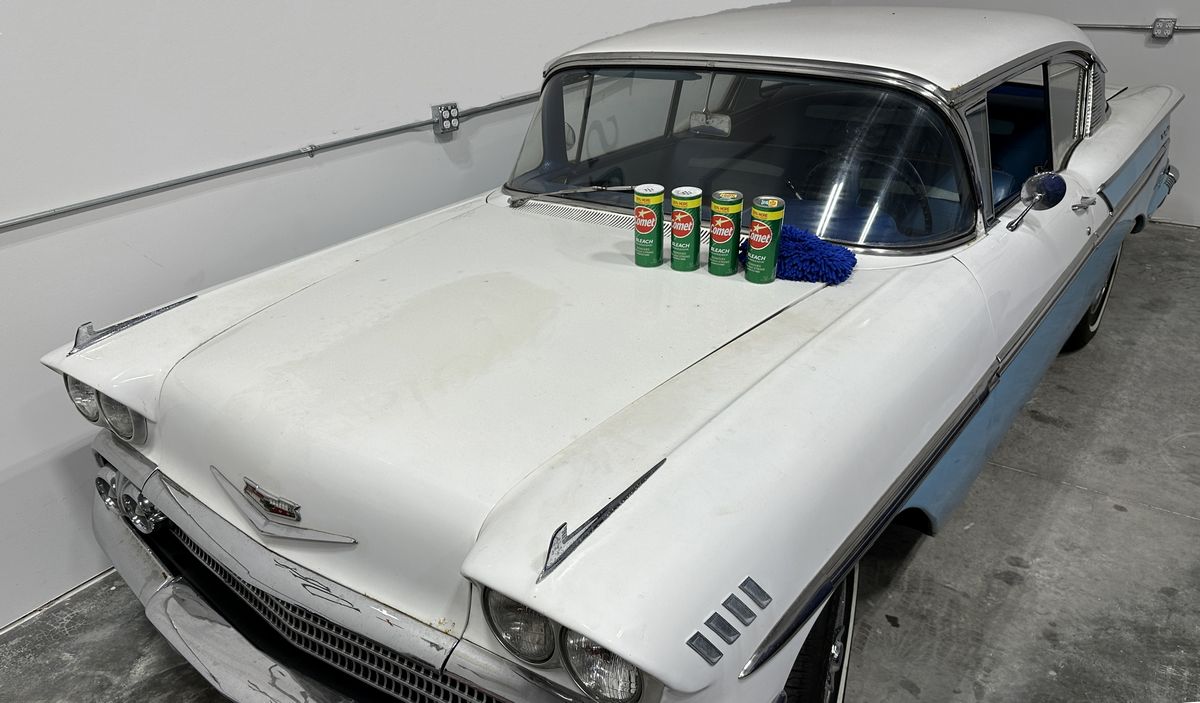
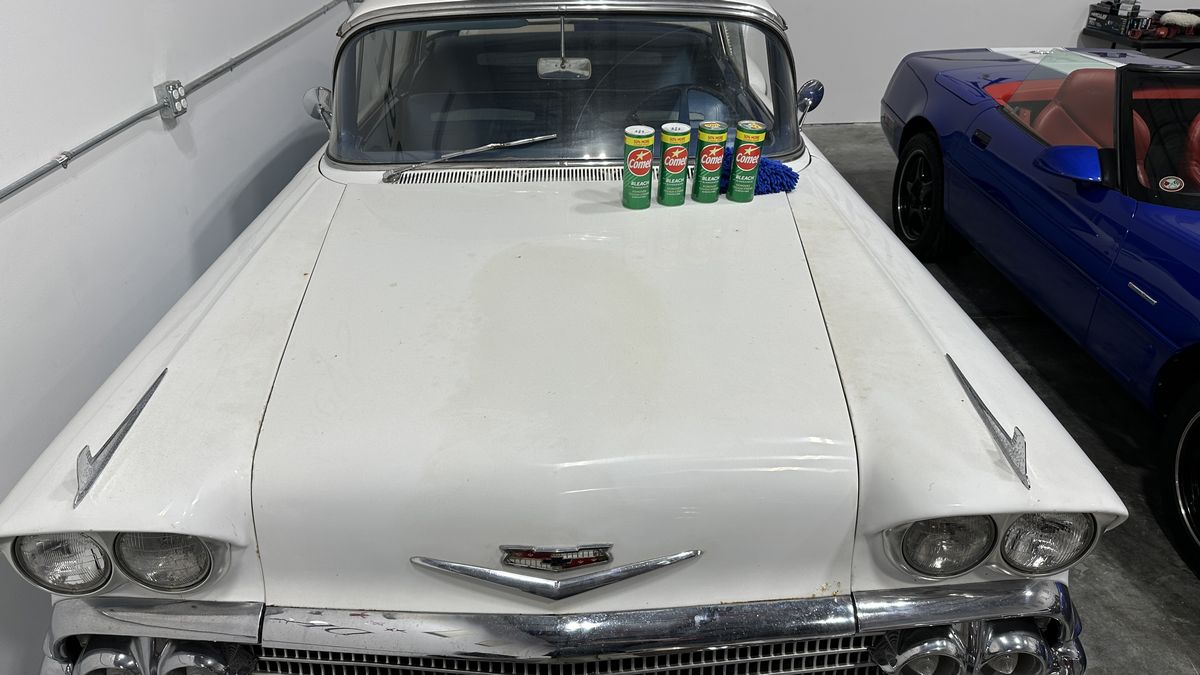
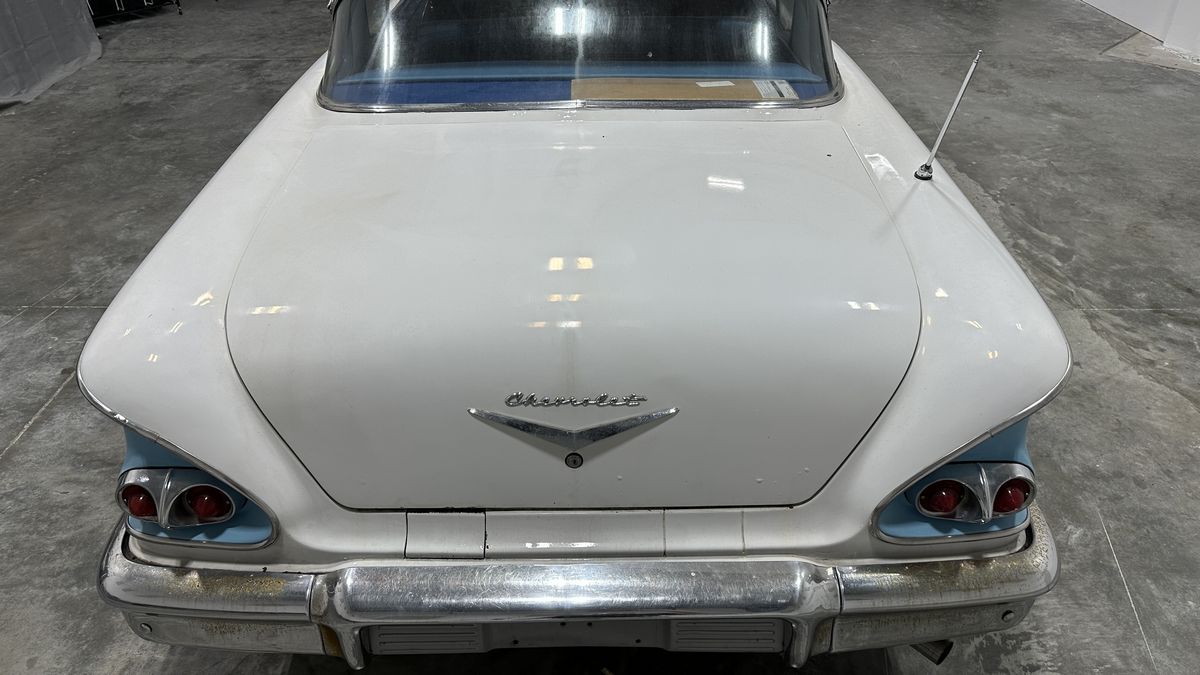
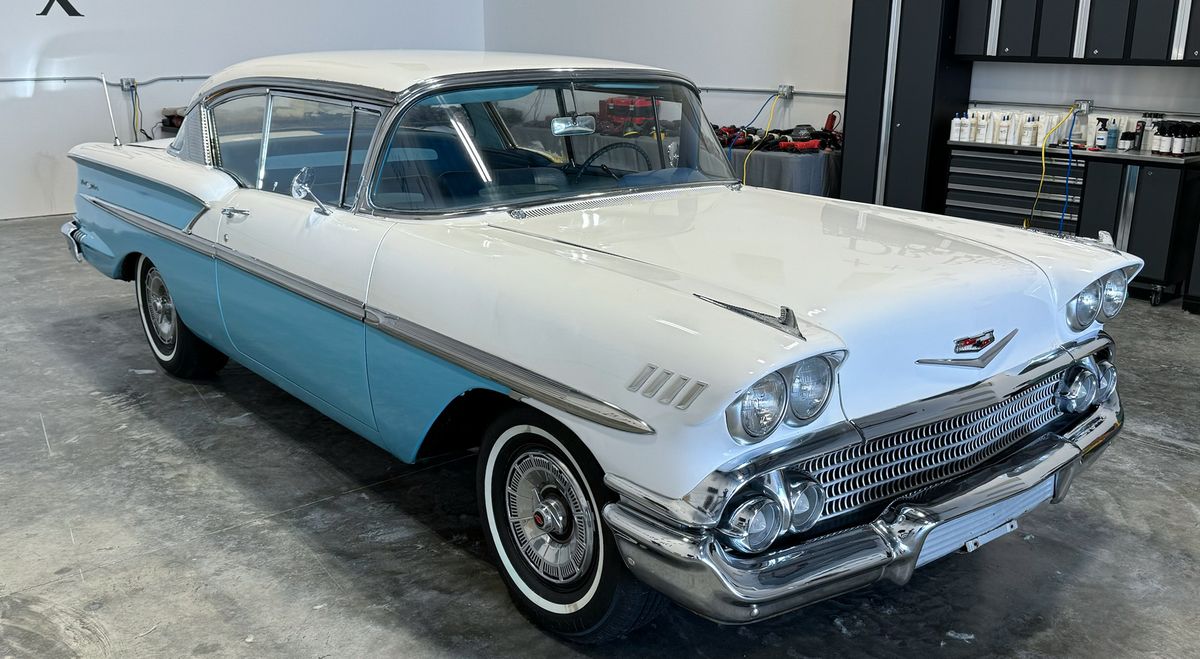
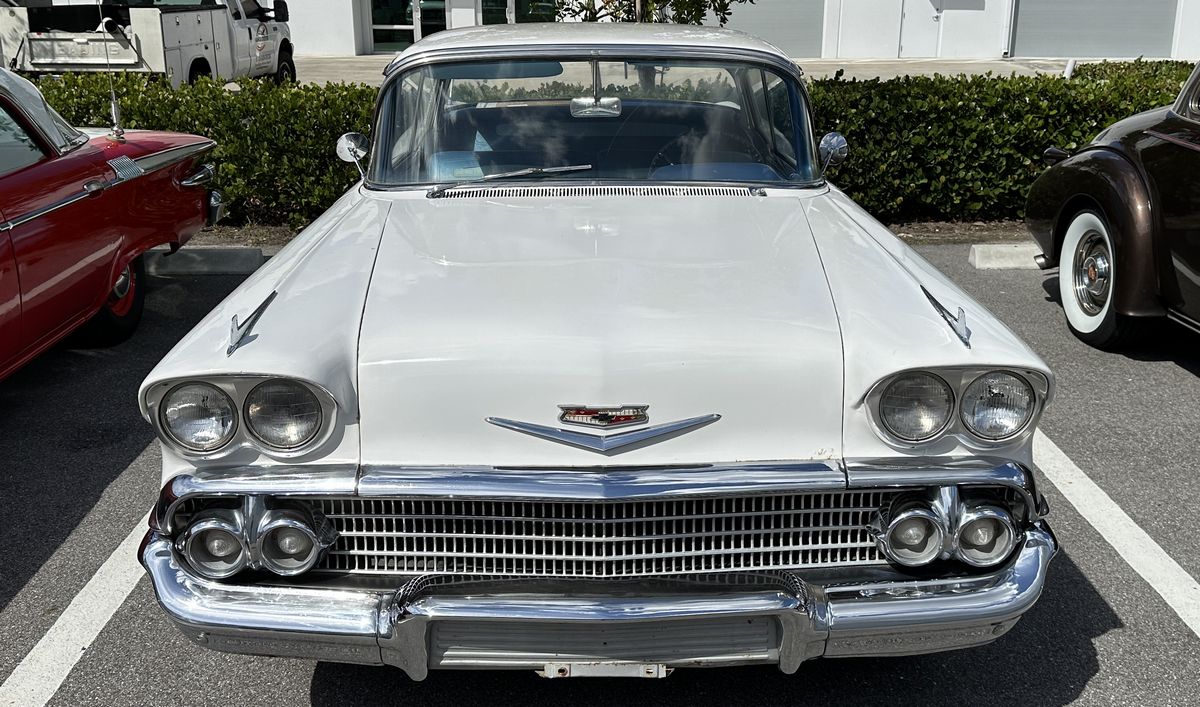
BEFORE CONDITION
First, lets photo-document the BEFORE condition. Notice the overall dull, chalking looking oxidized paint and also look at the huge STAIN in the middle of the hood. There was also a similar stain on the trunk lid.
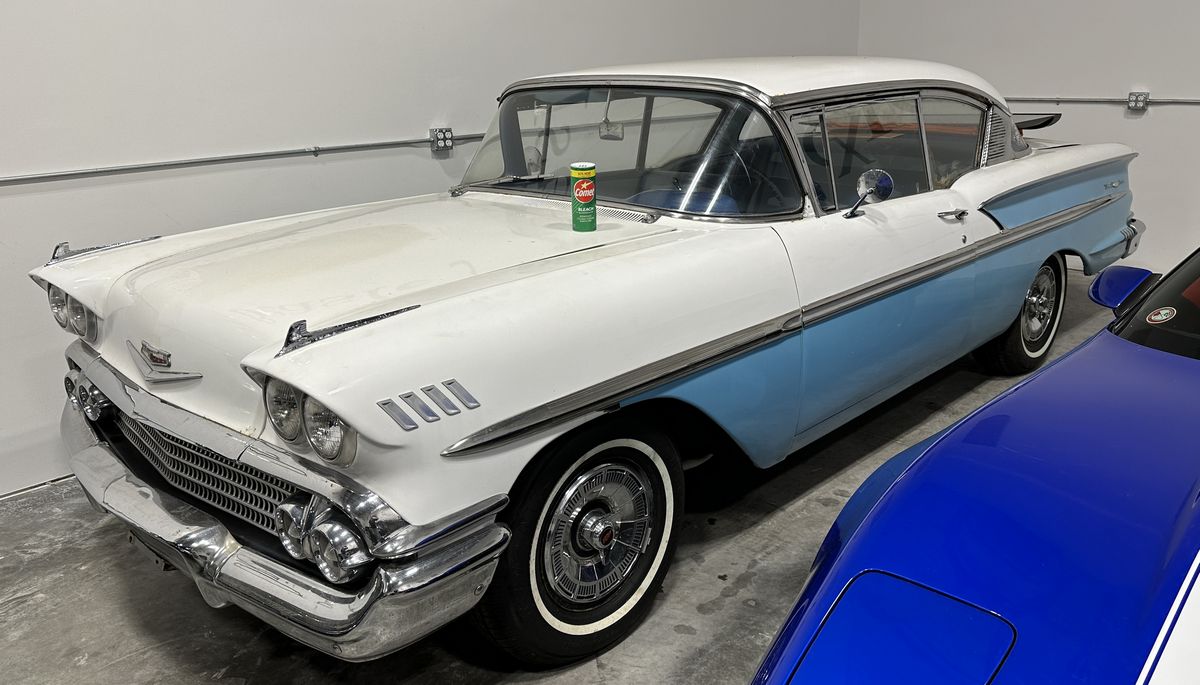
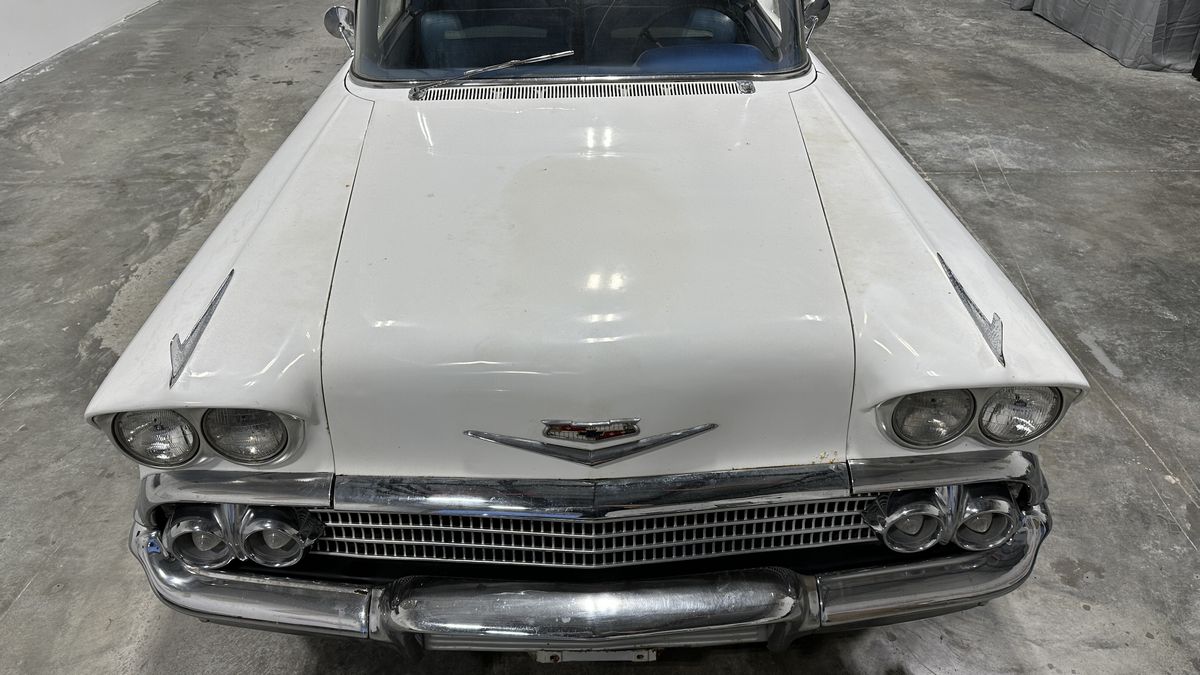
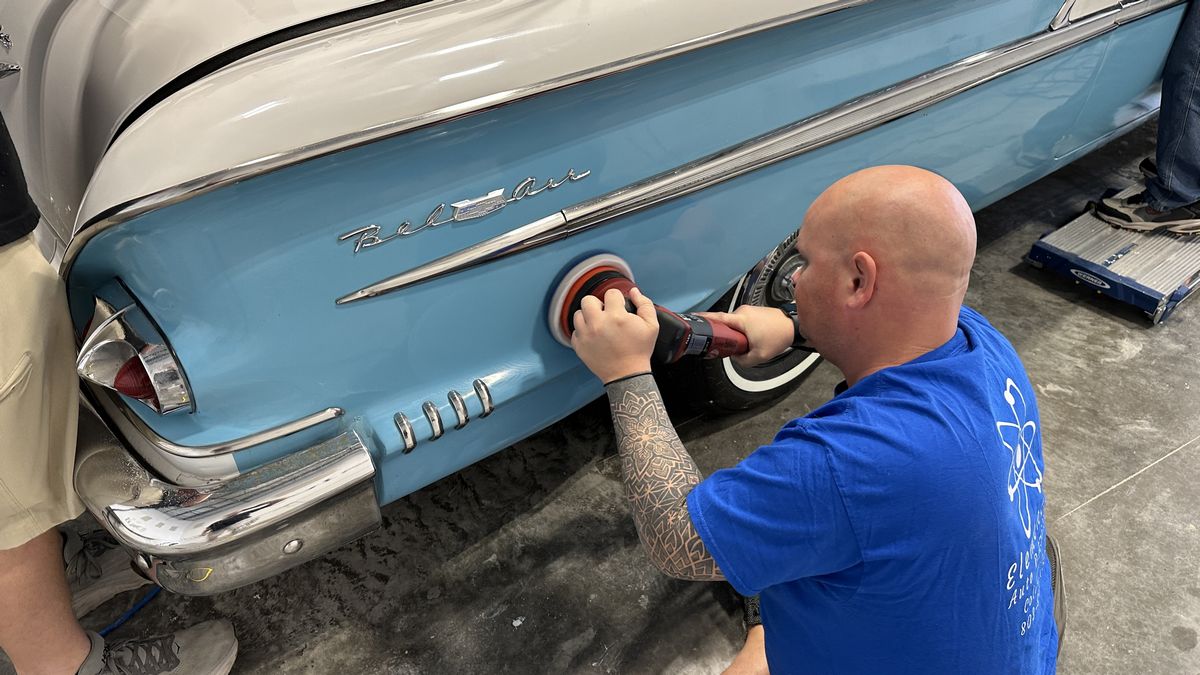
For what it’s worth, while I’ve had a LOT of cool cars go through my classes in my lifetime, this is the first time I’ve had a 1958 Chevy Bel Air.

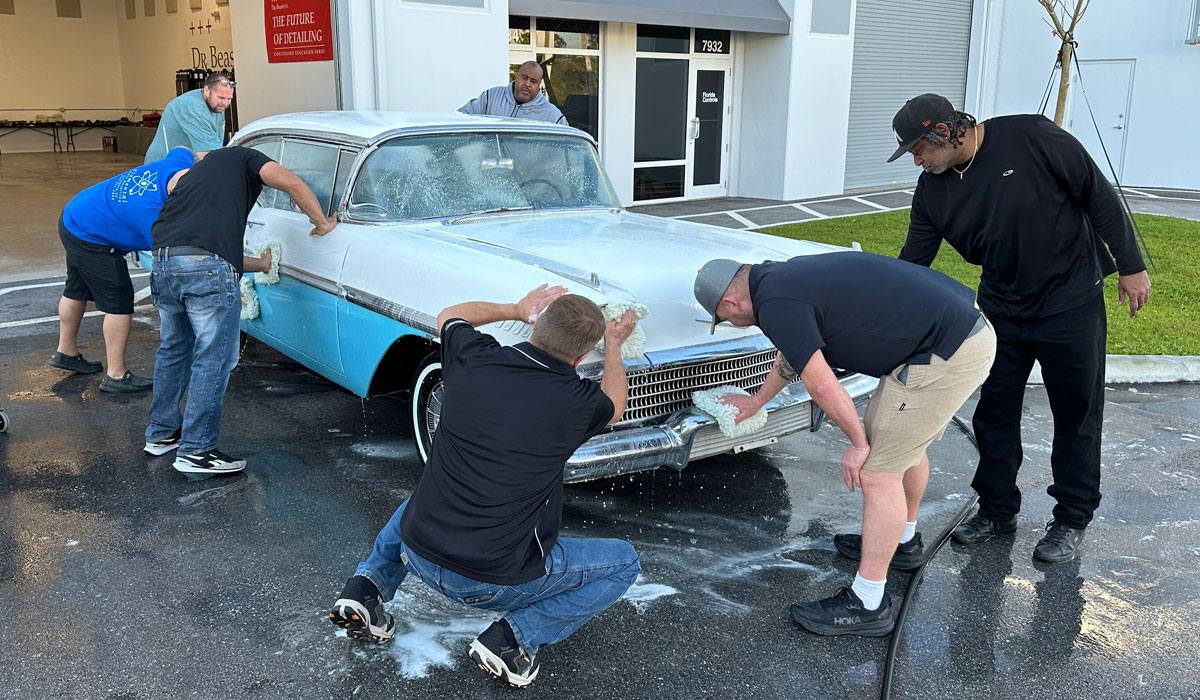
EXTREME PREP WASH
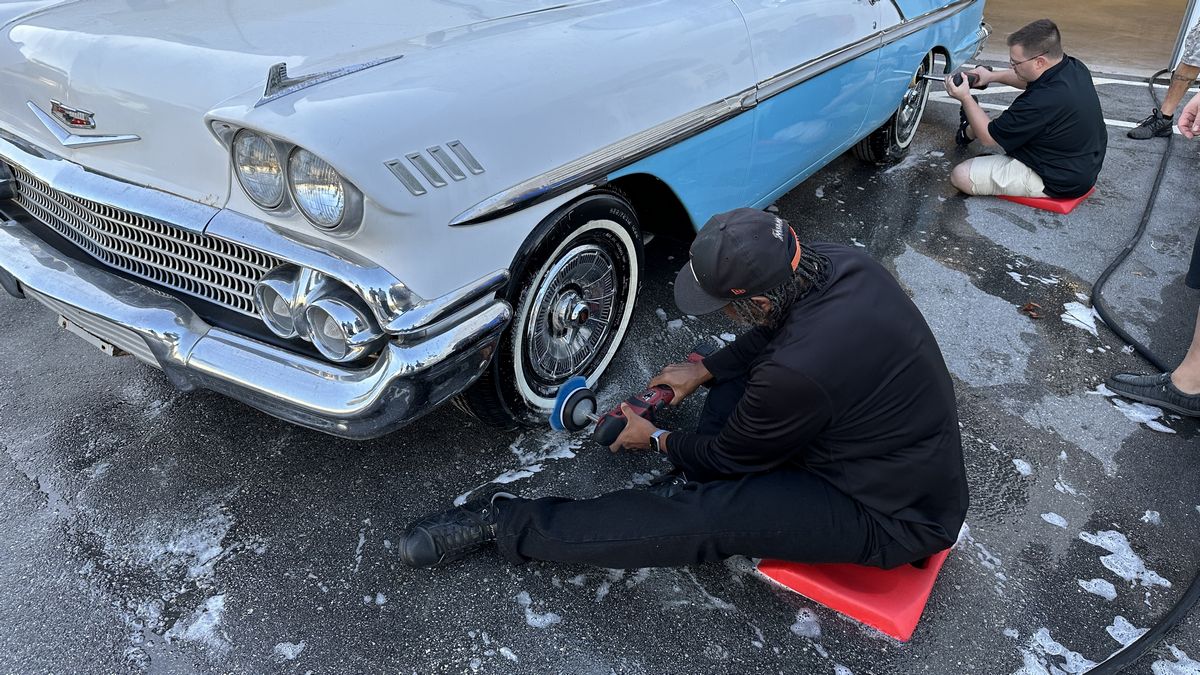
I have always taught folks to start at the bottom, and then go to the top. It has to do with avoiding water spots on the paint.
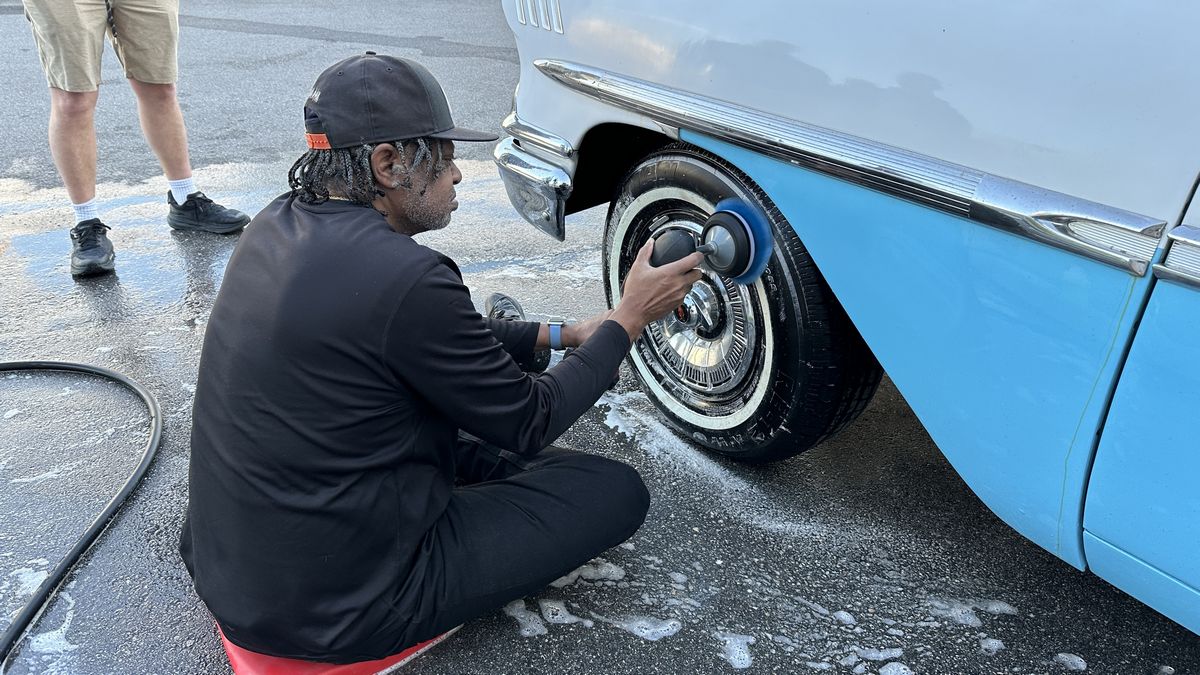
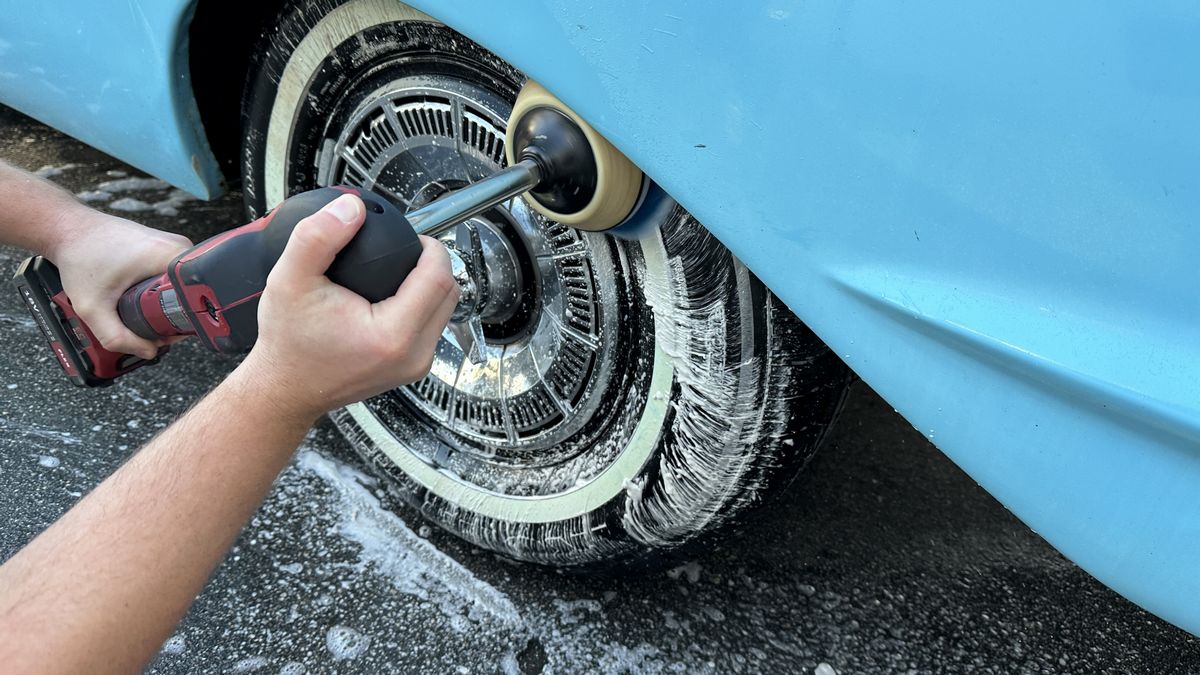
Machine Scrubbing Tires
Nothing wrong with working old-school style by working by hand with a tire scrubbing brush, but I already have around 20 cordless FLEX PE-150 Rotary Polishers and what we do is attach a 5″ backing plate and then to this, we attach a 5″ Rotary Brush. Now this is how you get a really dirty tire clean.
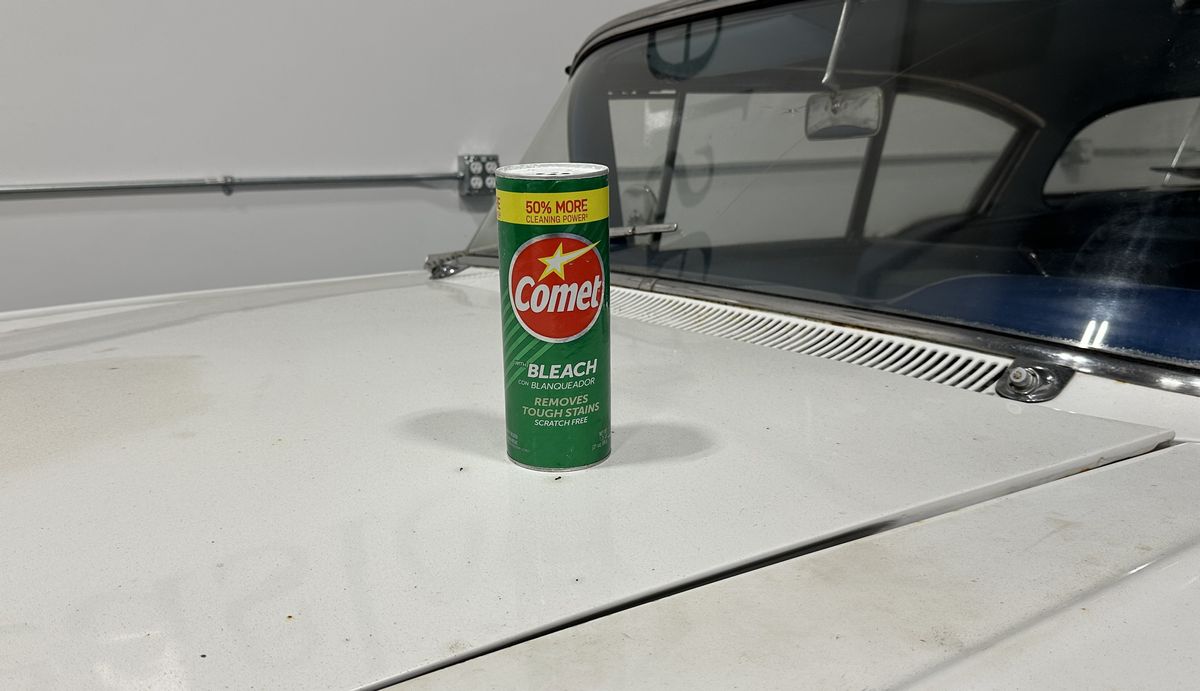
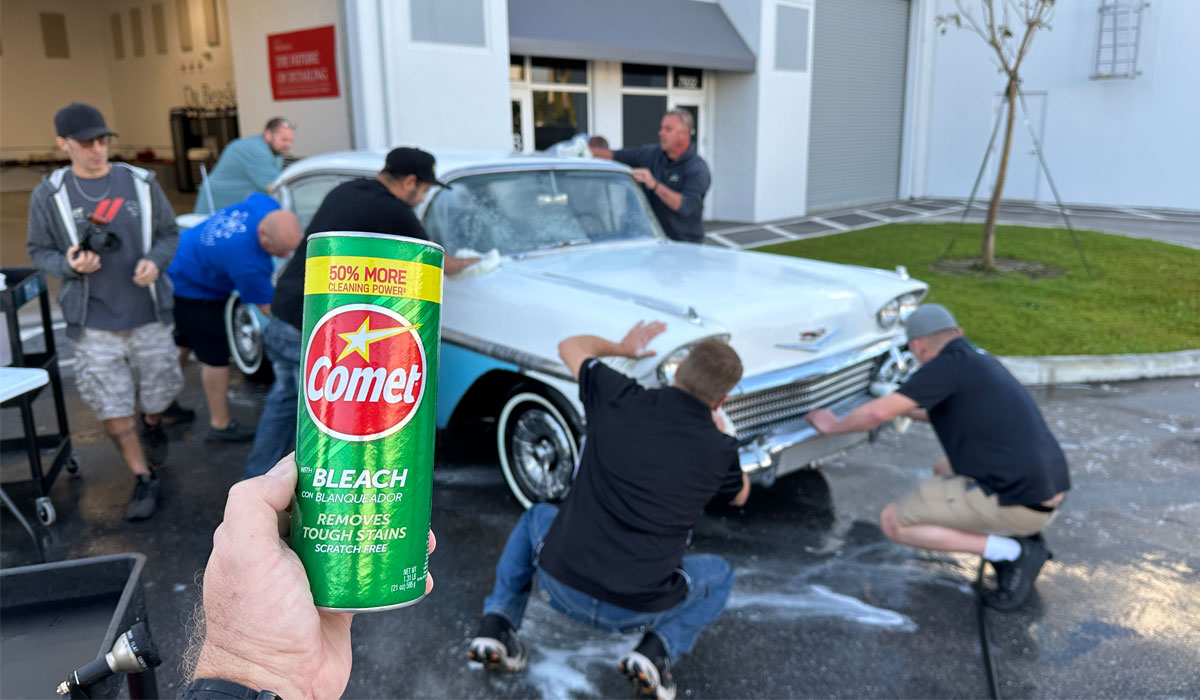
The Comet Car Wash Technique – Removing Years of Oxidation During the Wash Process
After wheels and tires, next up the class is going to learn the Comet Wash Technique. Comet has a powdered abrasive in it plus some bleach to clean, brighten and also sanitize. The way this works is after giving the car a good rinse to remove any loose dirt and/or dust, next you spread Comet over the horizontal panels and then wash them with your wash mitt. For verticle panels, you pour some Coment directly onto the face of the wash mitt and then wash these panels.
The abrasives in the Comet, plus the rubbing of the mitt over the oxidized paint, gently exfoliates or abrades-off the dead, chalky, oxidized paint to reveal paint that is now clean and shiny, and PERFECT for the next step, which in this case will be rotary polishers with wool pads.
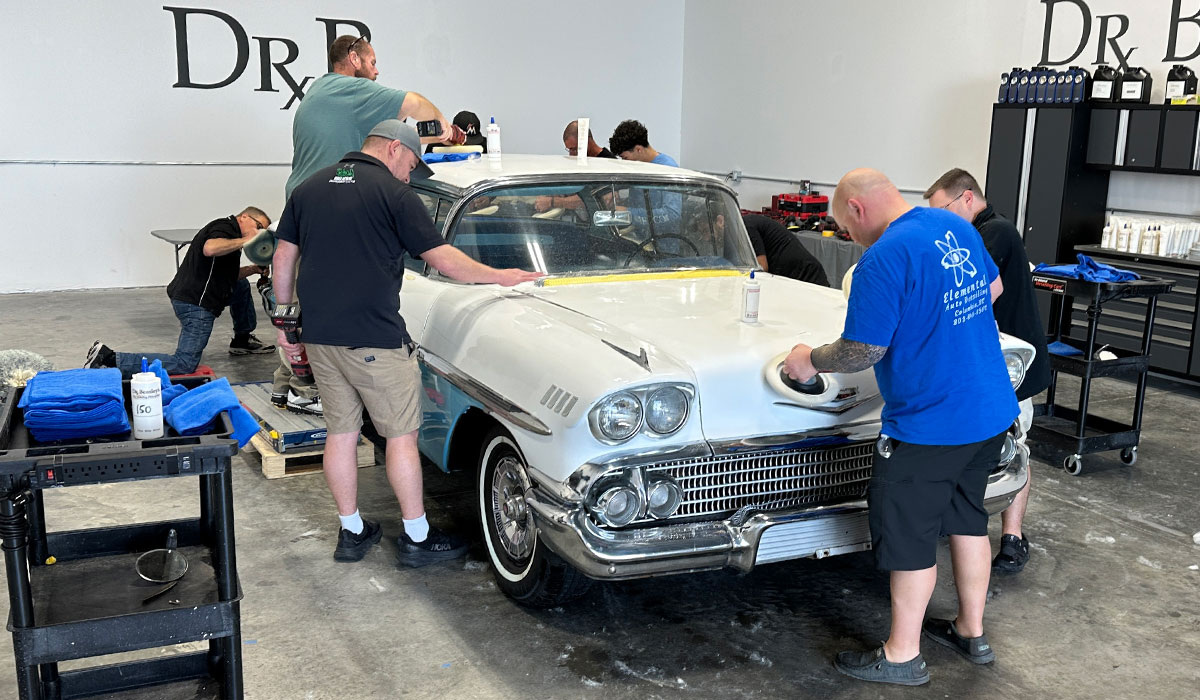
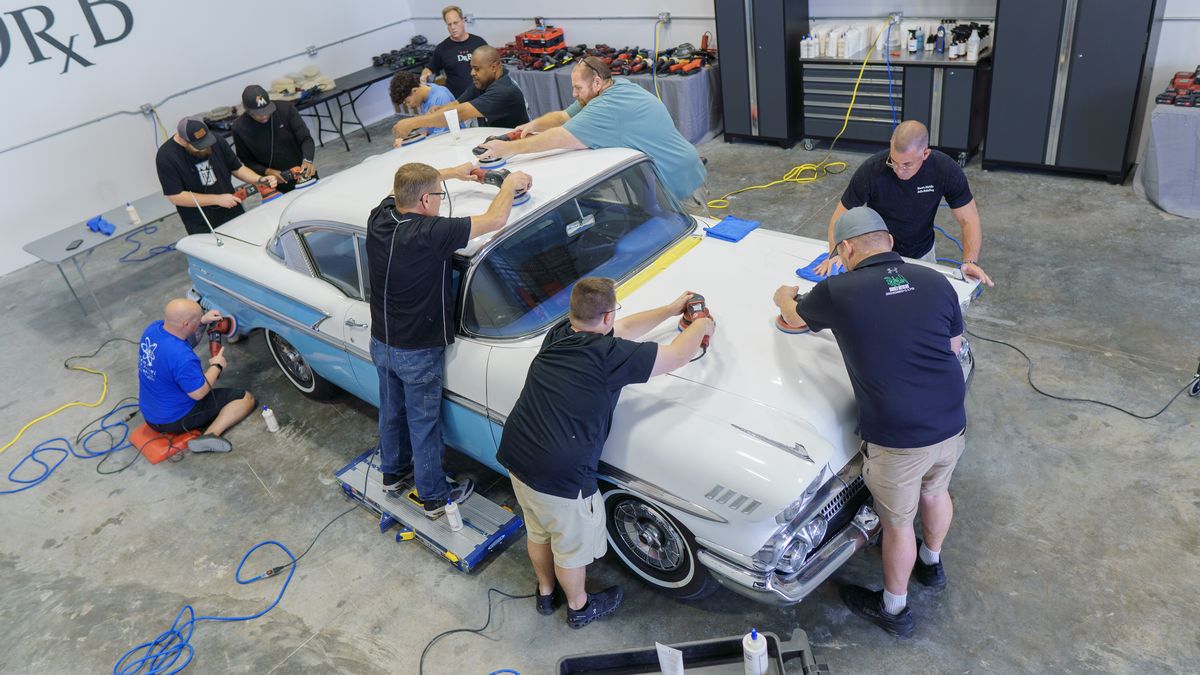
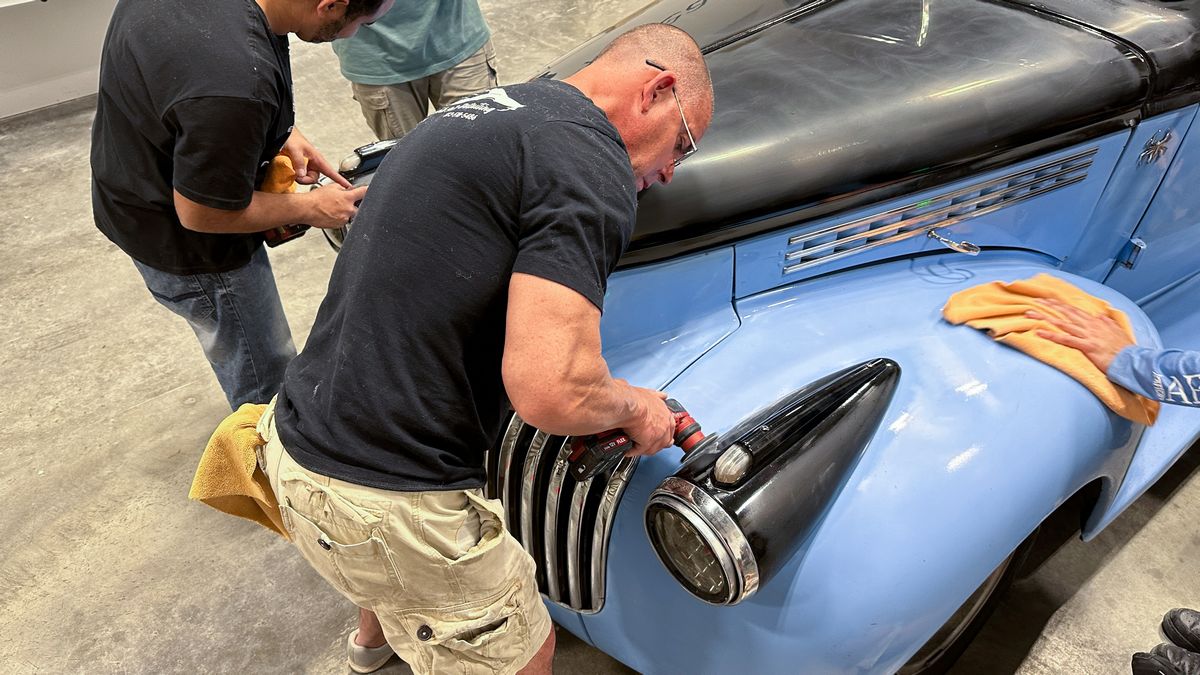
Day 1 – Friday Mid-Morning – Multiple-Step Paint Correction = Show Car Detailing
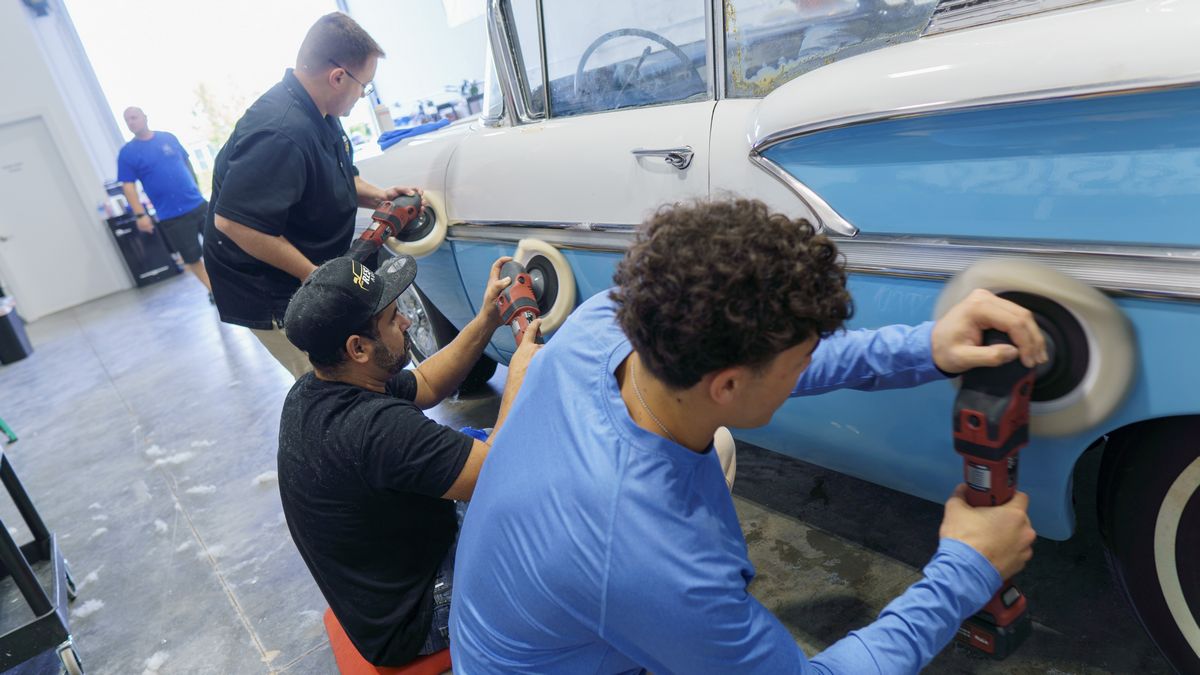
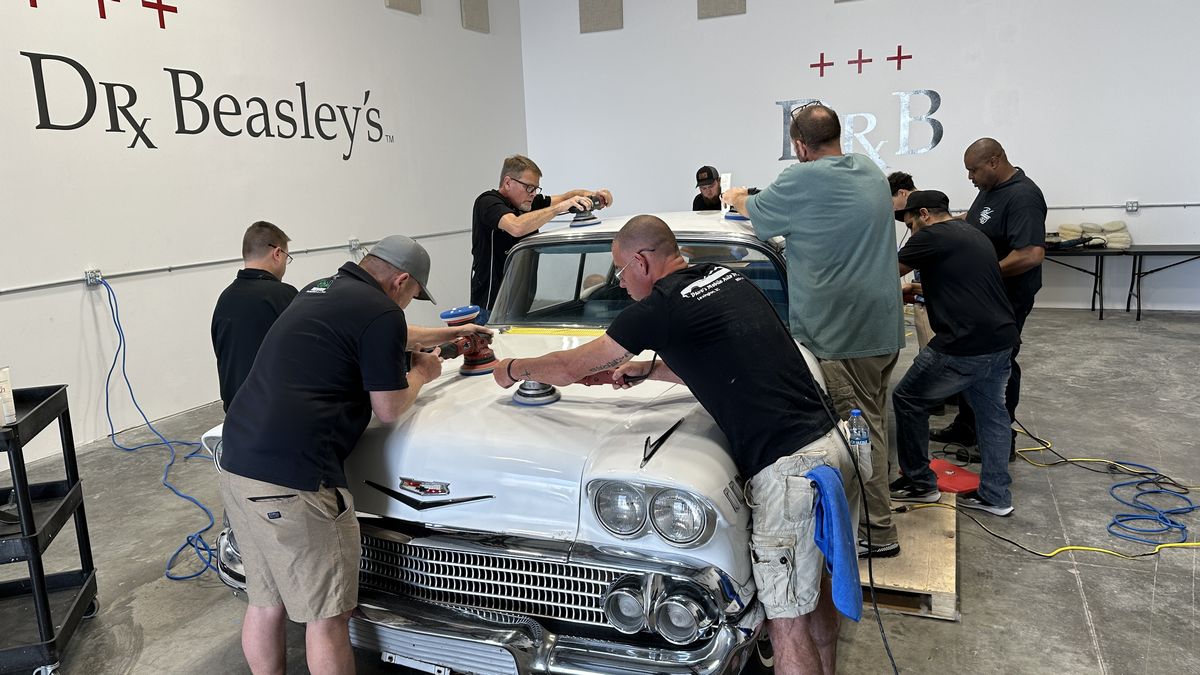
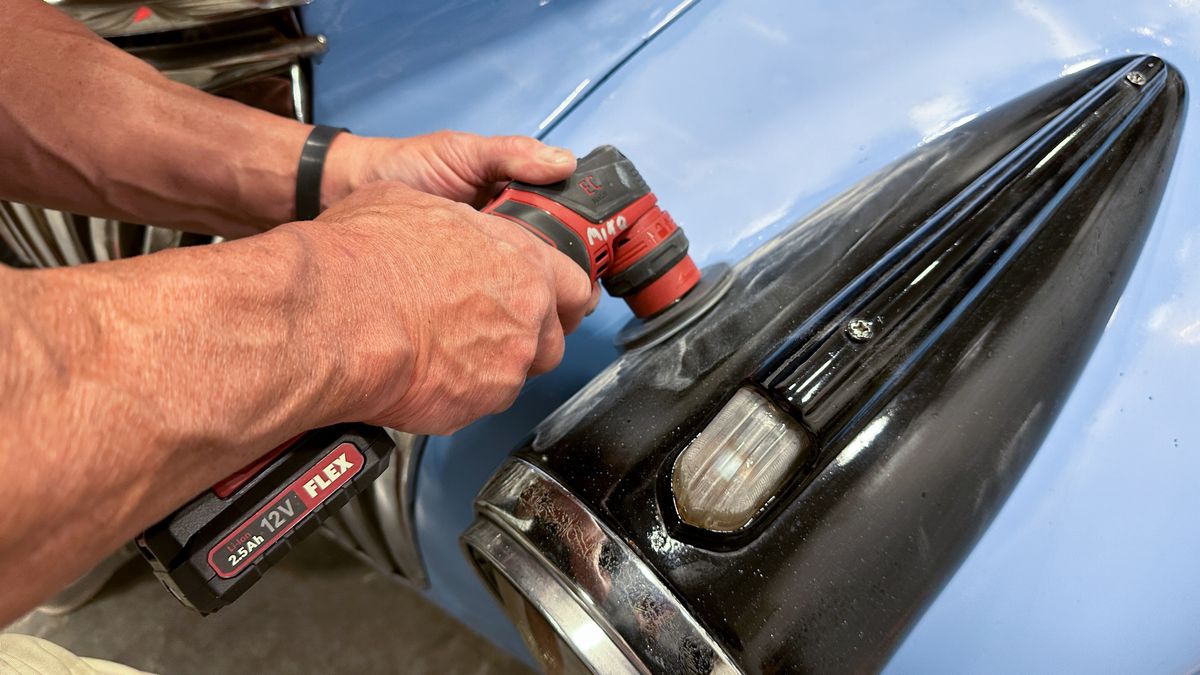
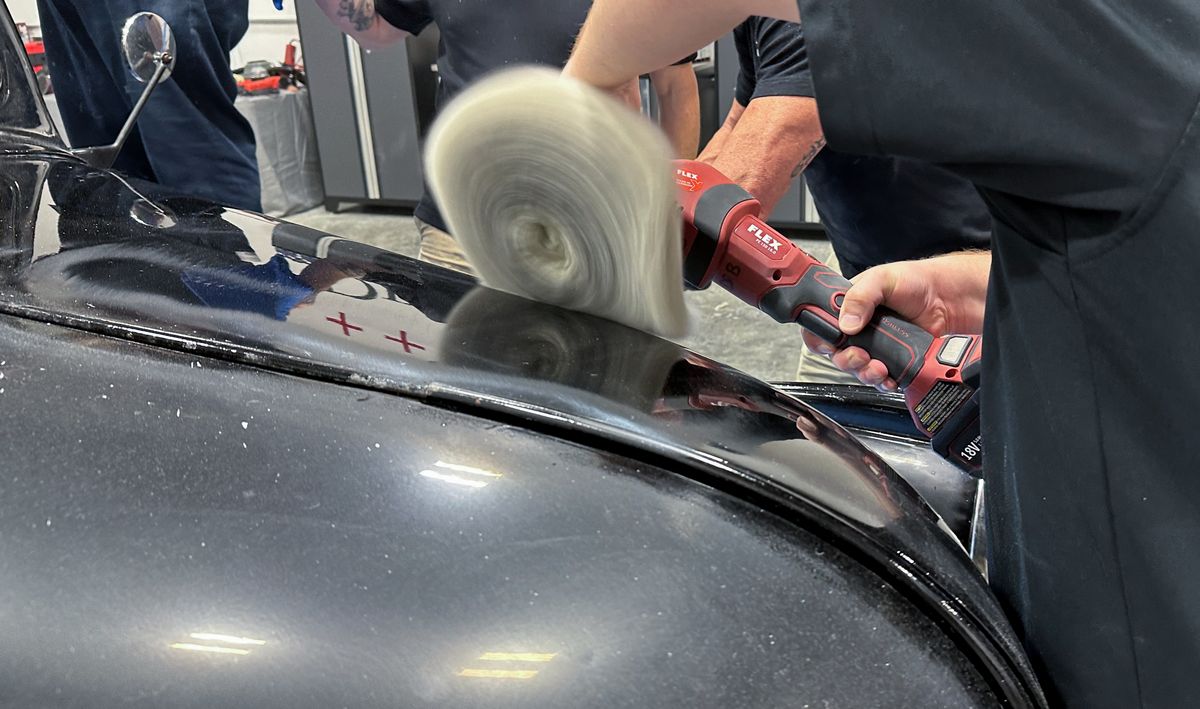
First up – How to Correctly Use a Rotary Polisher with a Wool Cutting Pad
Just to point out, after using the Comet Technique to wash this classic Chevy, next up the class STARTS the paint correction portion of the class learning to use what some consider the most difficult tool to learn how to use and MASTER.
I start all my classes with severely neglected cars with paint in horrible condition so my class can START their learning experience with the rotary polisher. Then as we progress through all the other cars and the boats, the class will be BUILDING on this newly acquired skill set. By the time the class is over, the goal is for everyone to be comfortable using a rotary polisher. They will also know not only HOW to use this tool, but WHEN to use this tool.
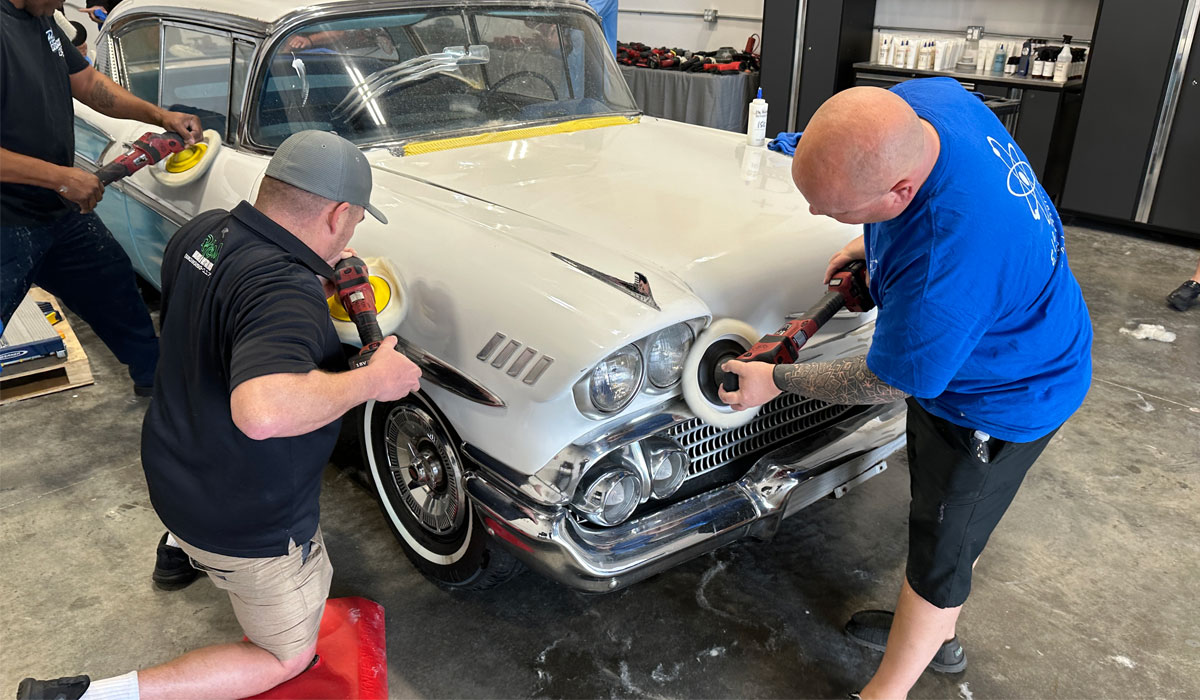
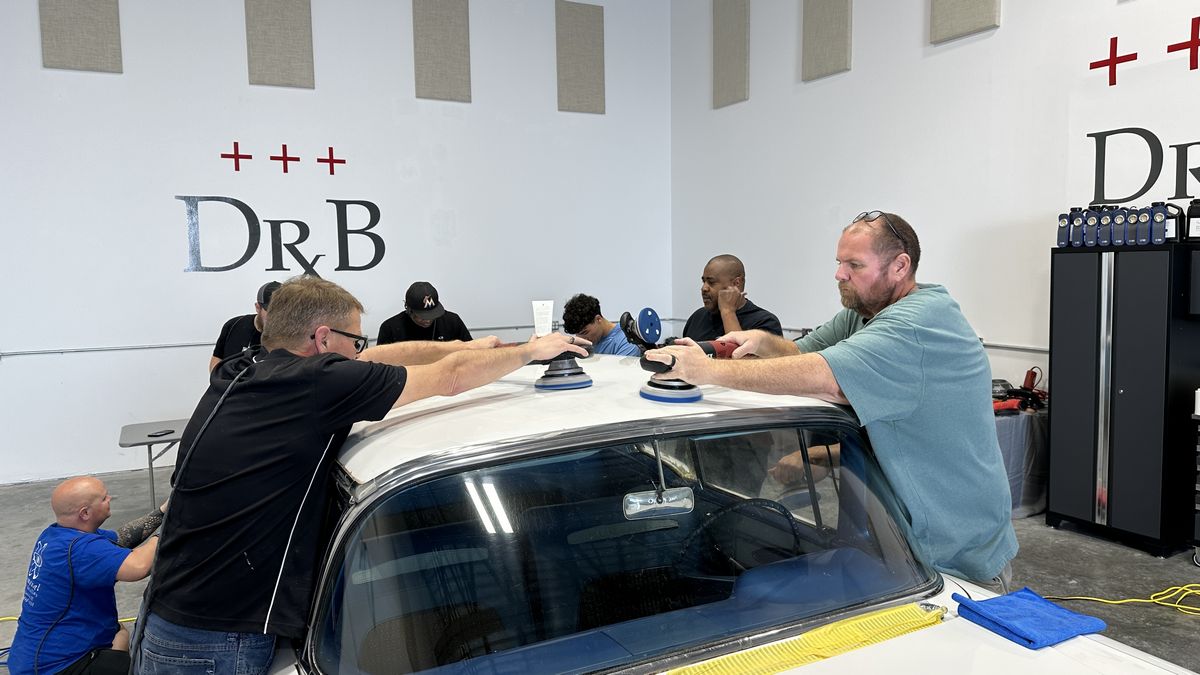
Cutting HARD on this old single stage paint!
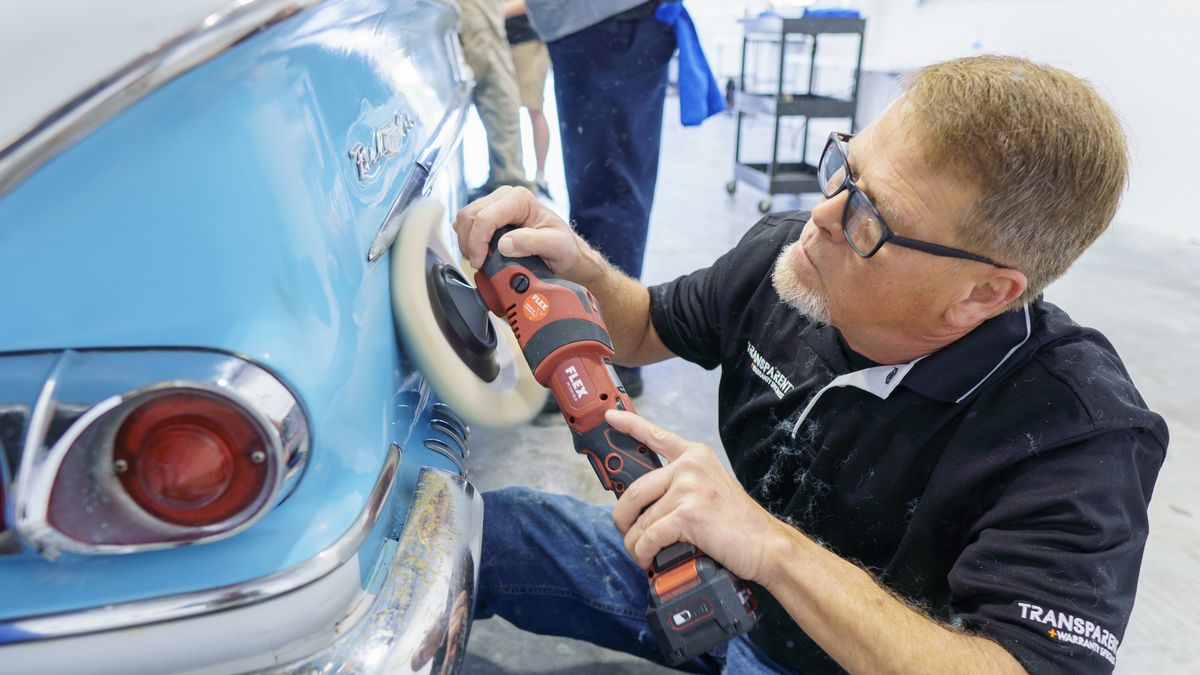


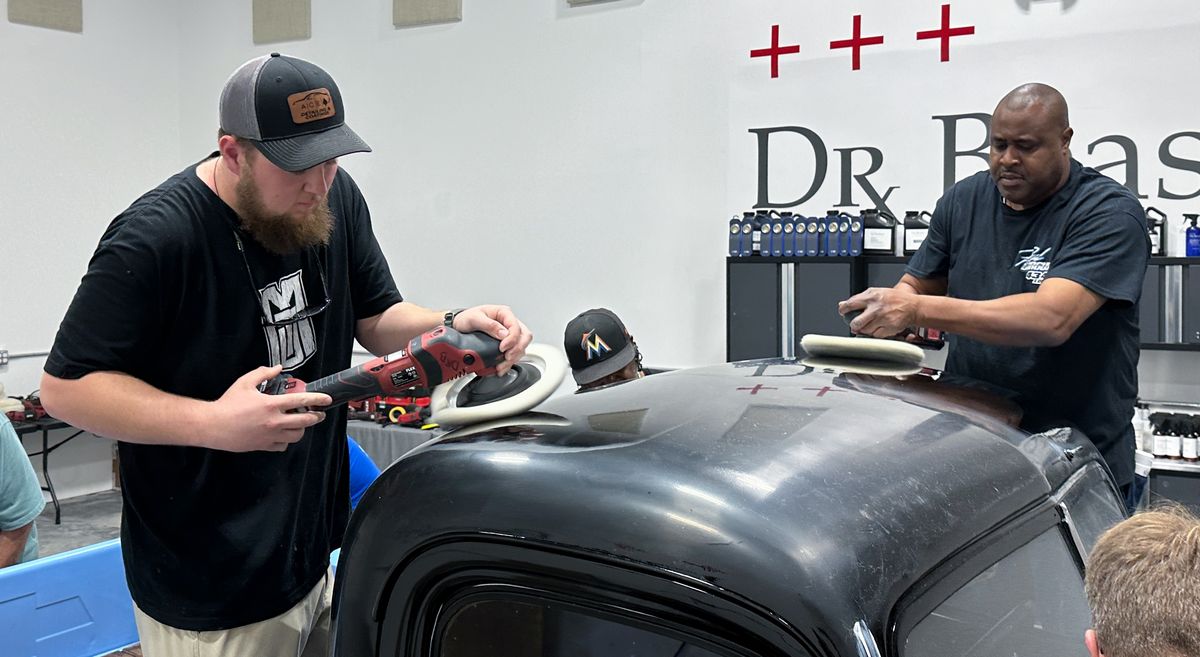
Dr. Beasley’s Z1 Primer – A Ceramic AIO or All-in-One
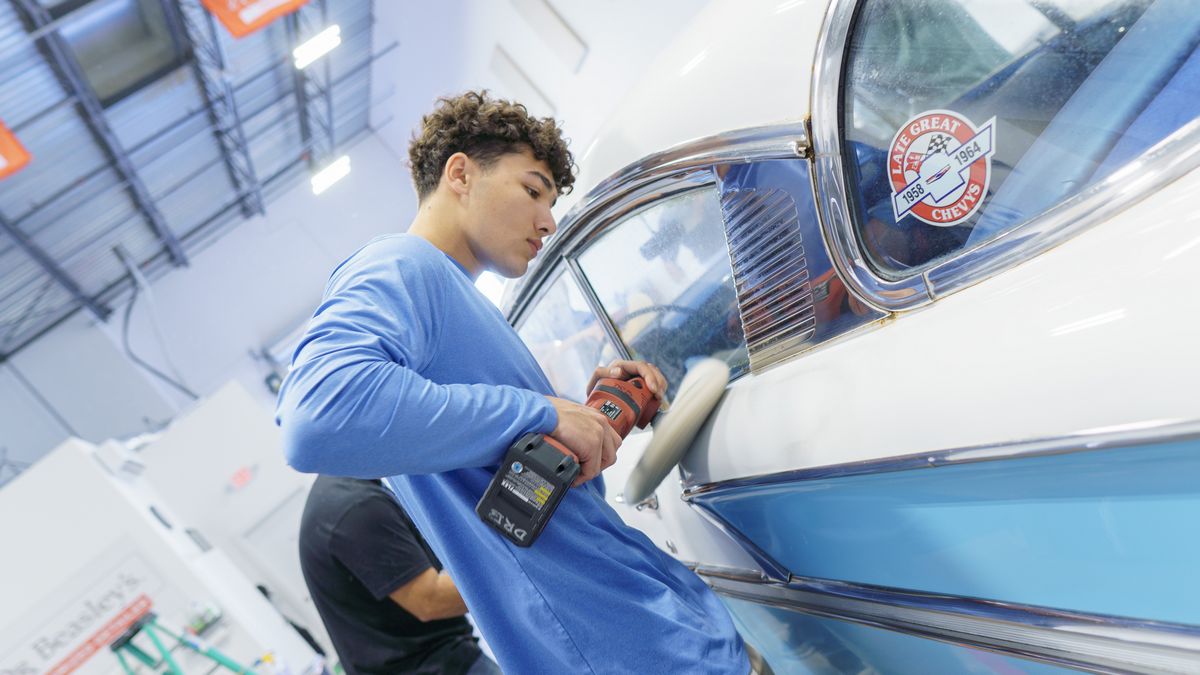
After cutting the paint hard using Dr. Beasley’s NSP 150 with wool pads on rotary polishers, next up the class refines the results, removes any holograms, maximizes gloss and richness of color all while sealing the paint in this single polishing step. For this our Test Spot showed us that we could remove the holograms and perfect the final finish using a blue foam cutting pad on FLEX 8mm gear-driven orbital polishers.

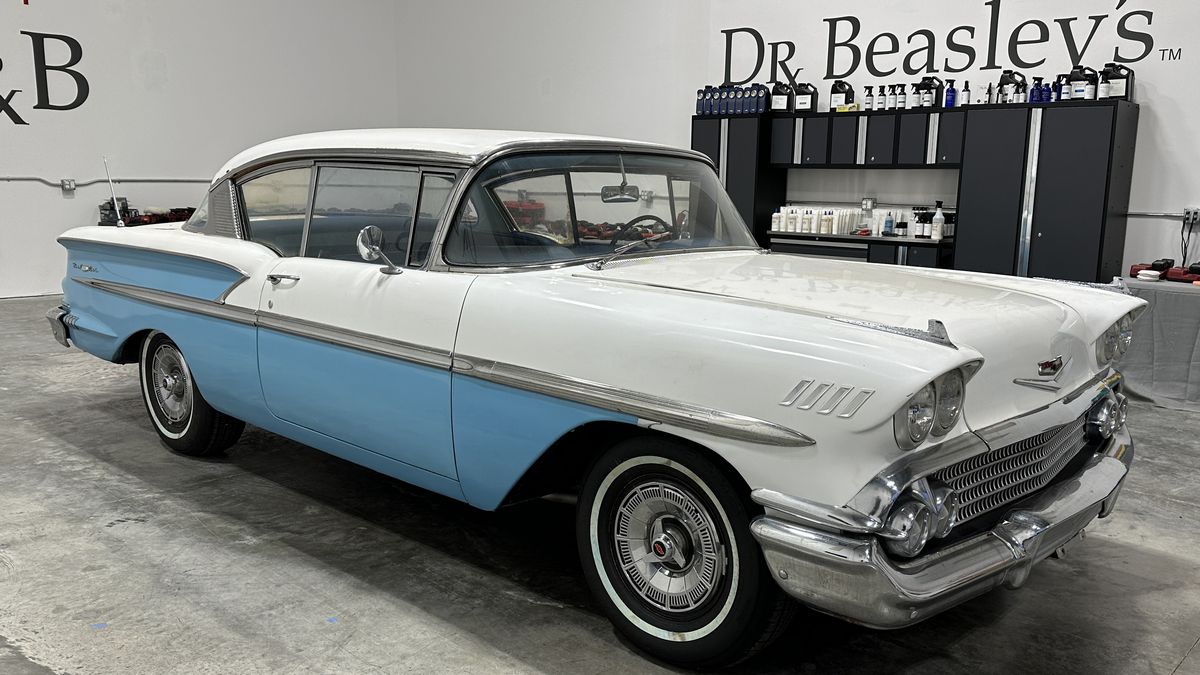
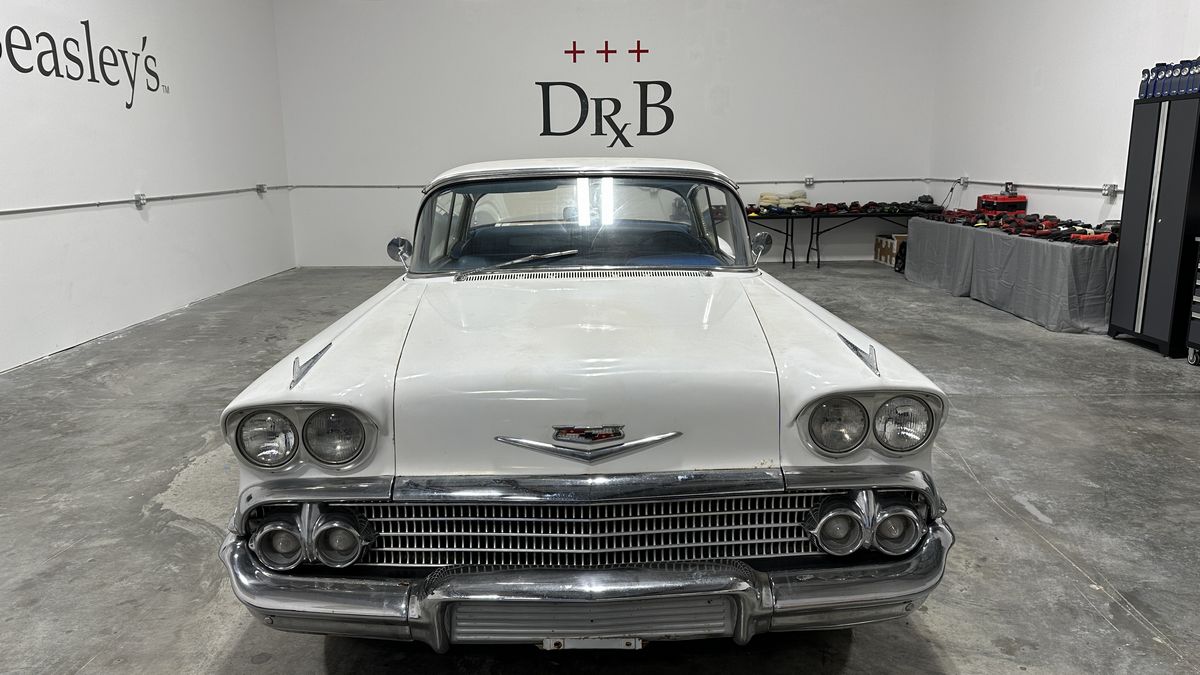
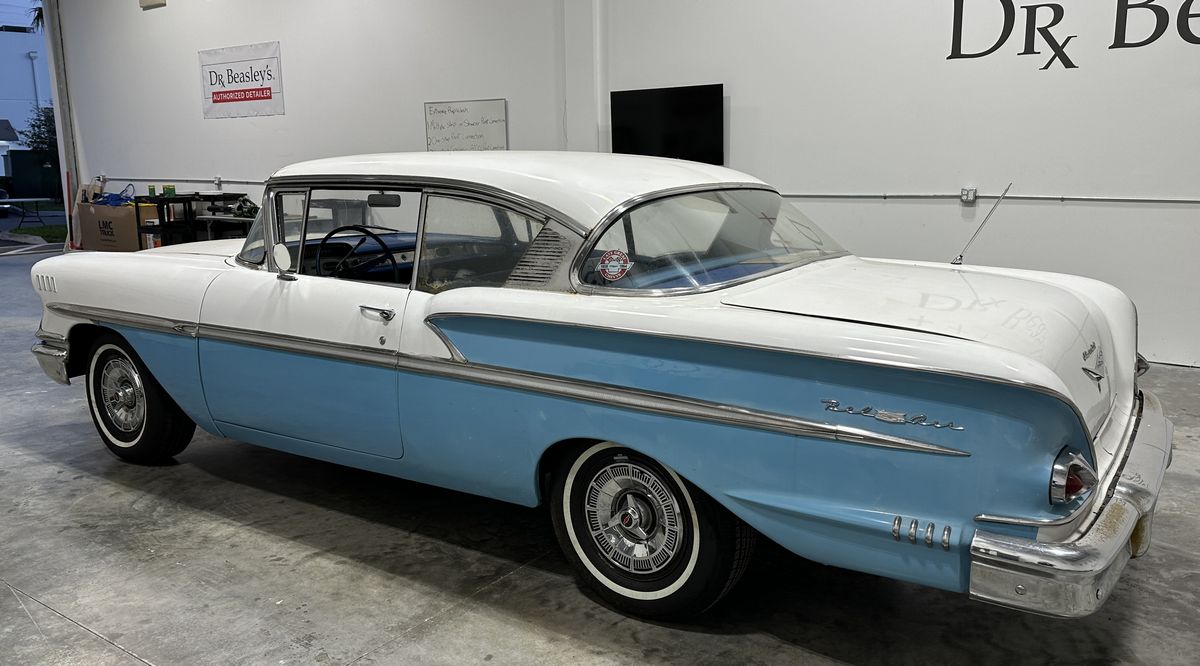
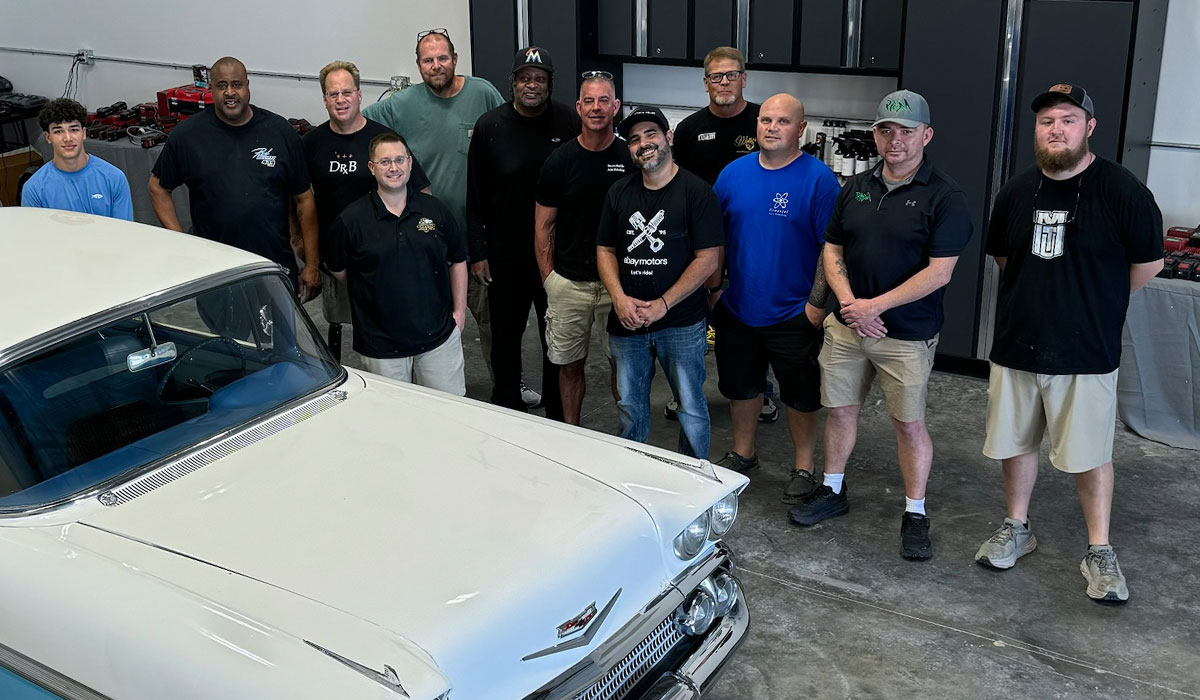
Here’s the final results!
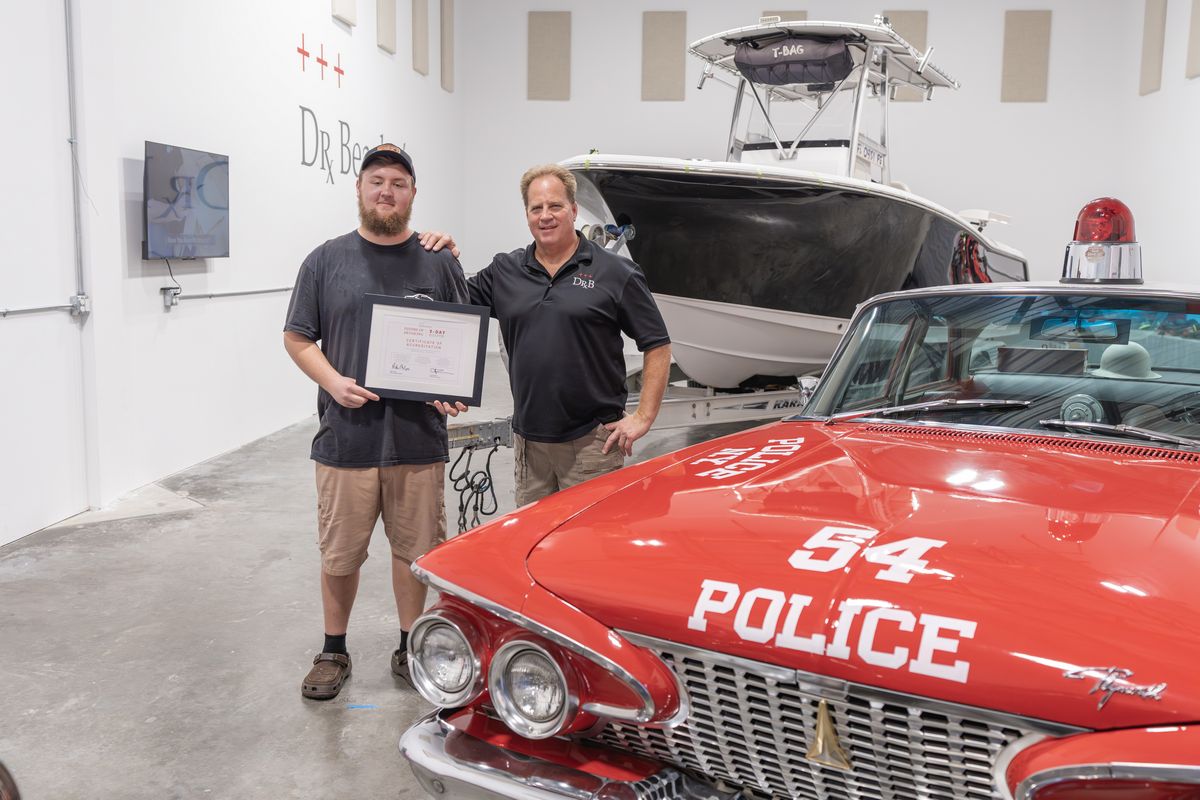
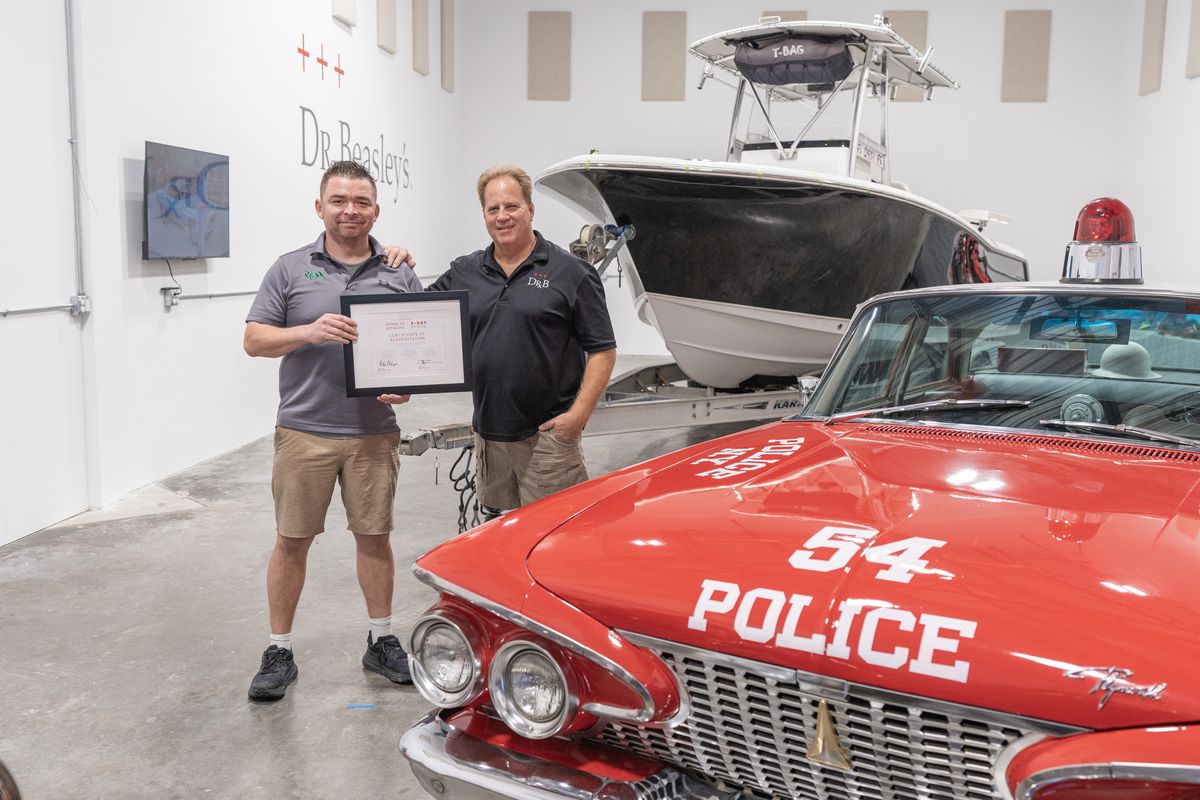
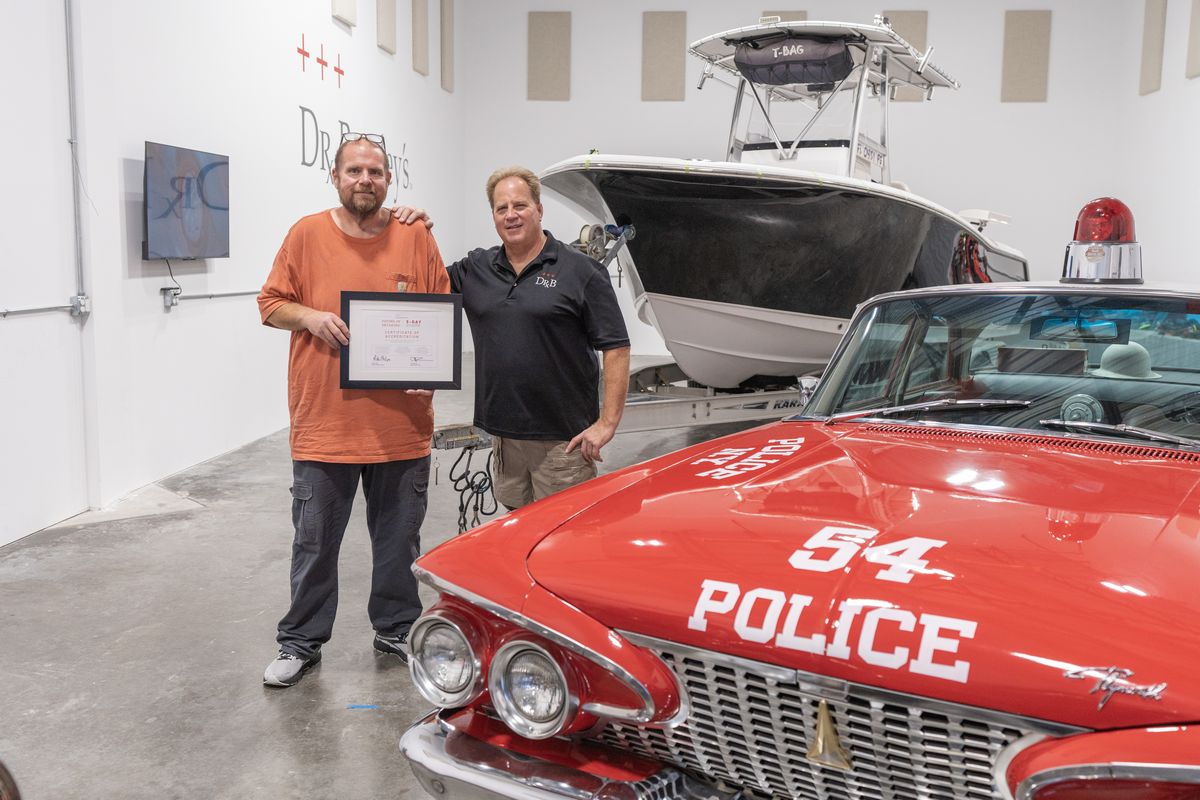
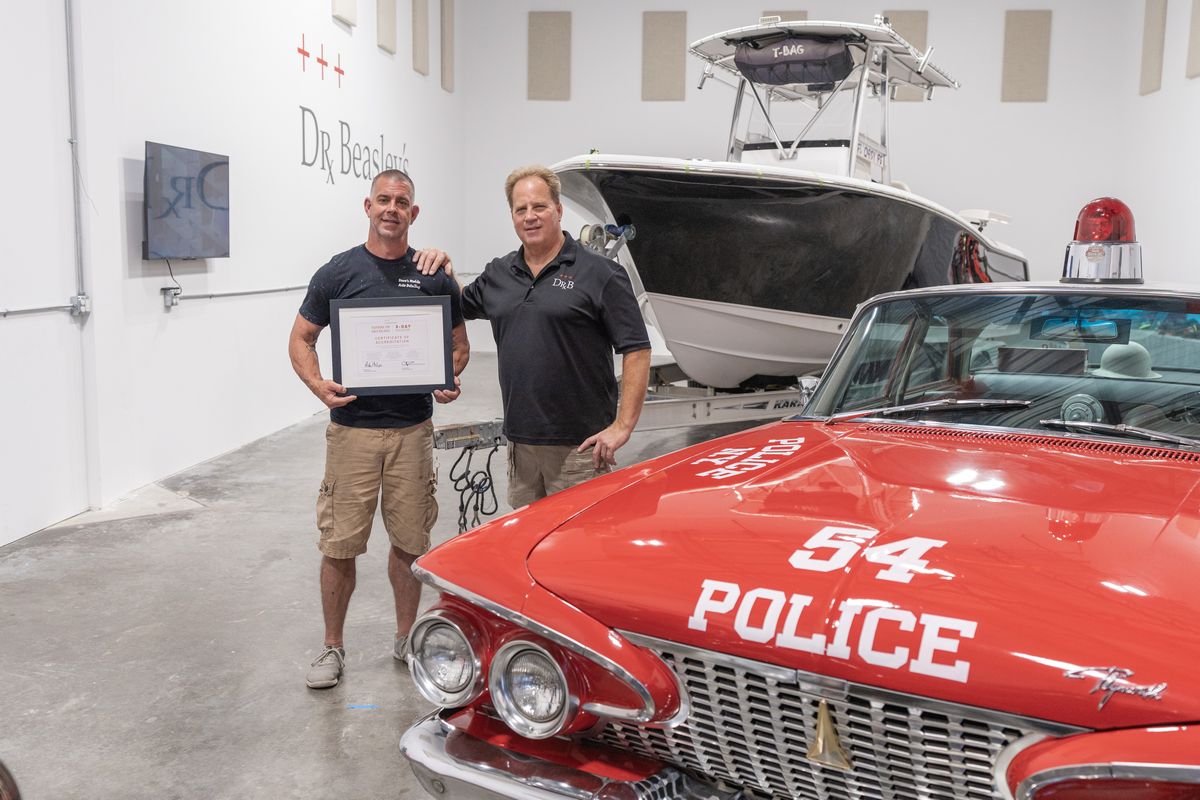
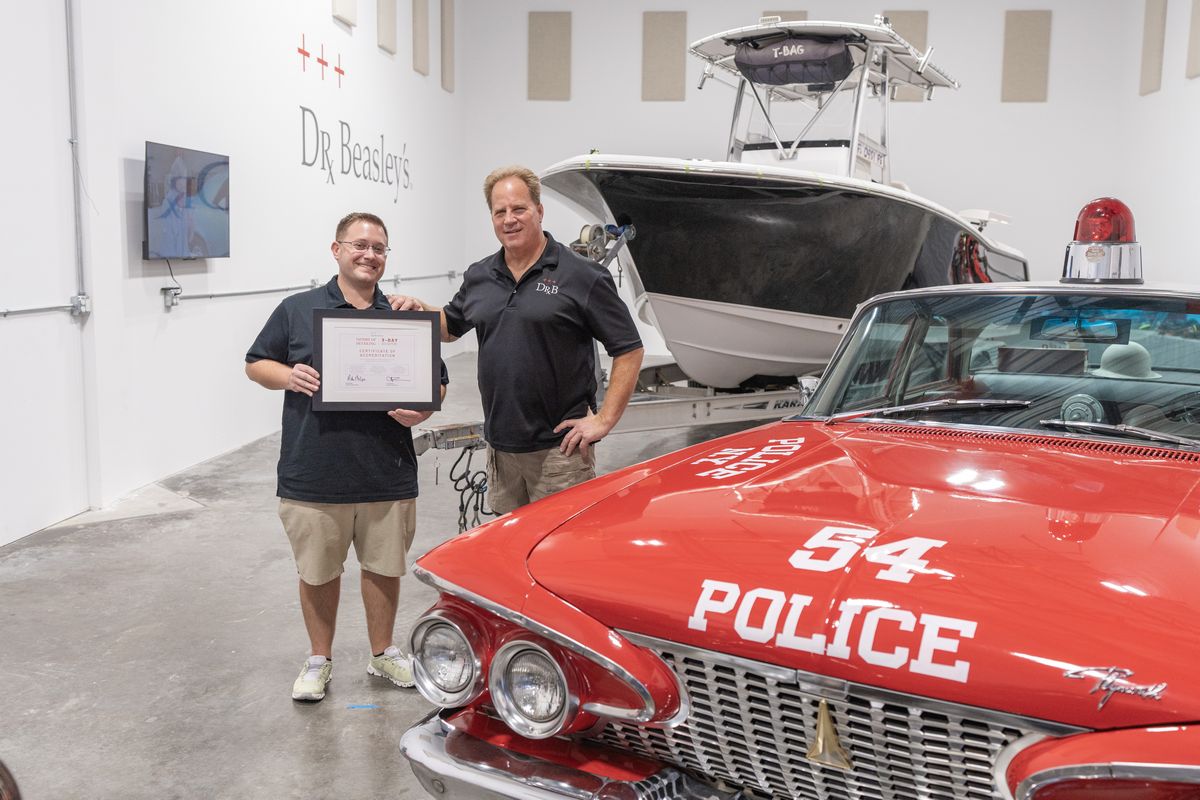
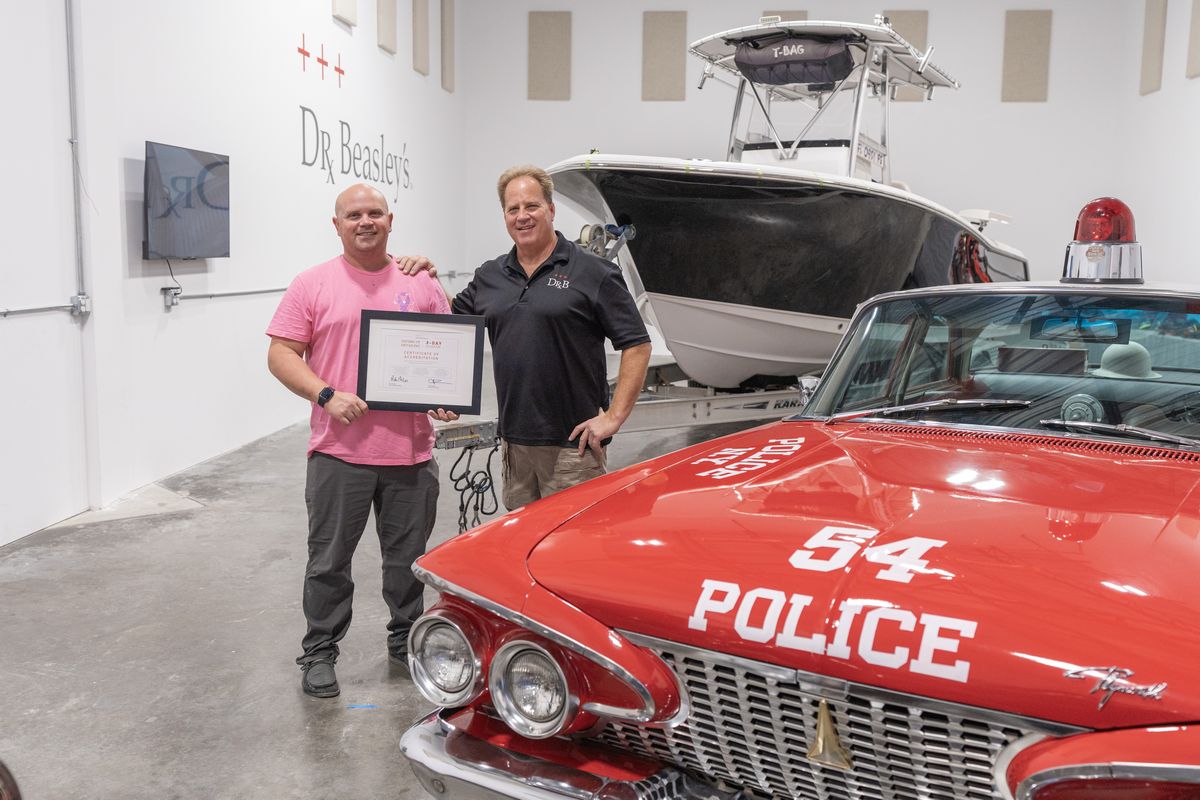
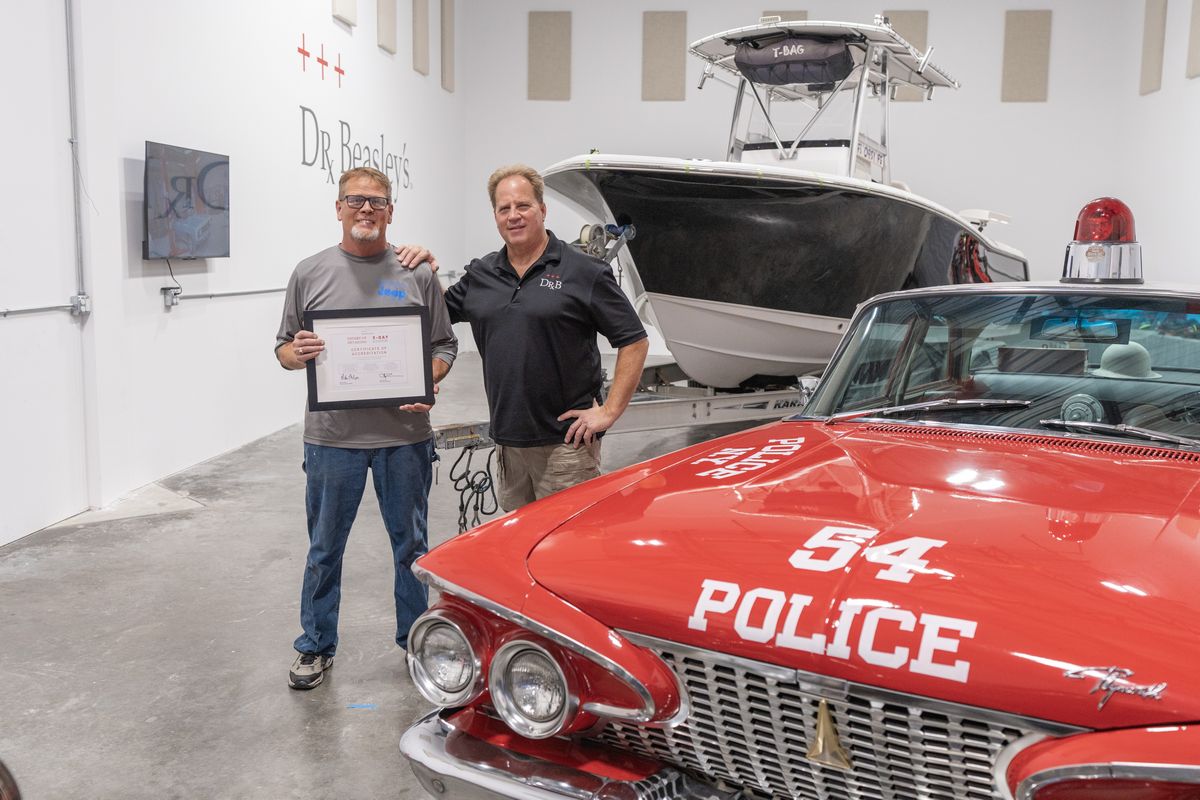
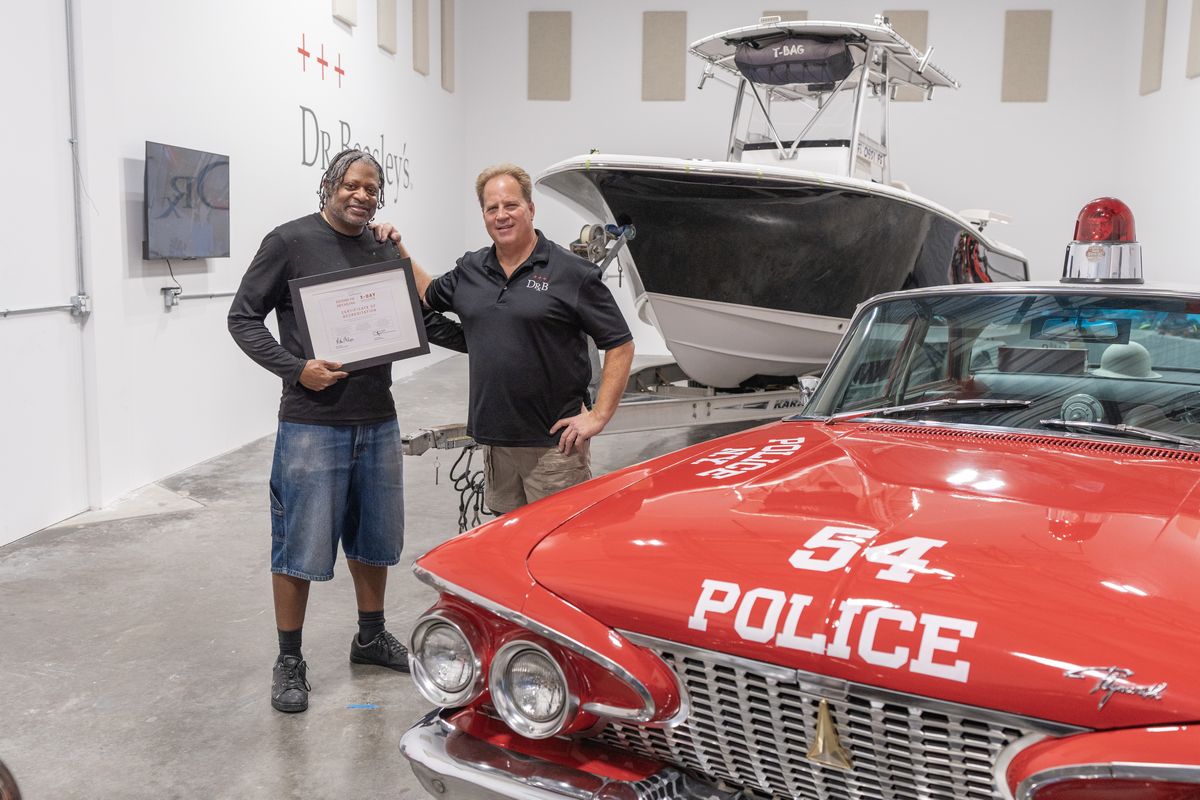
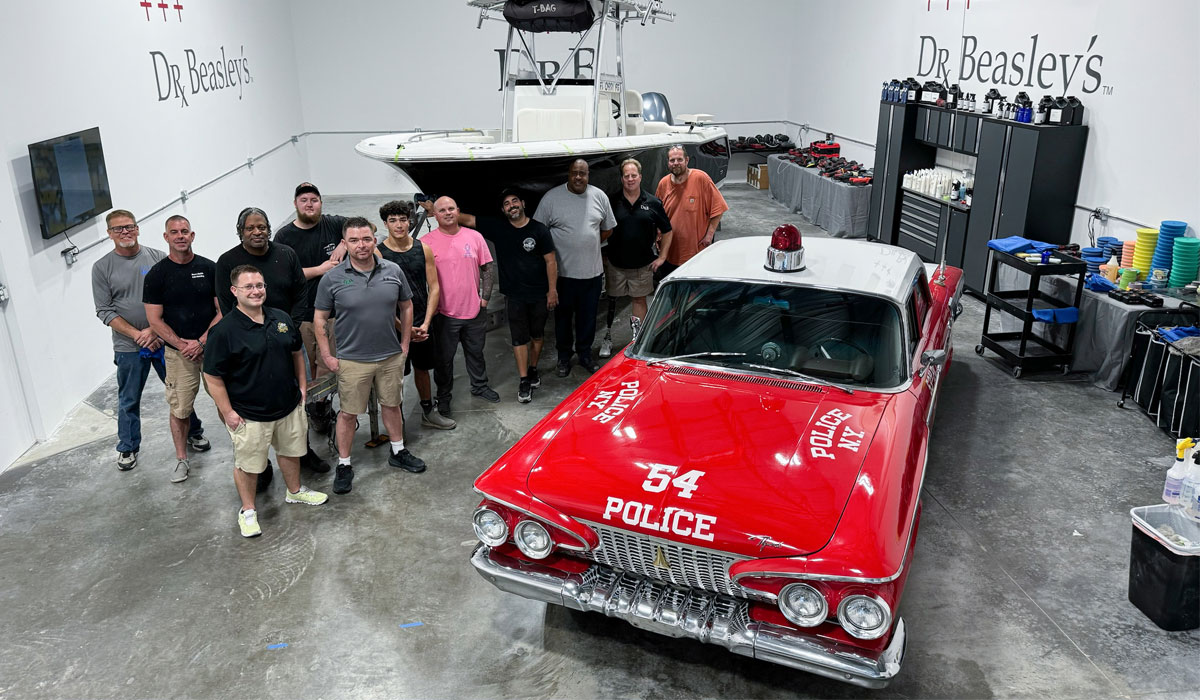
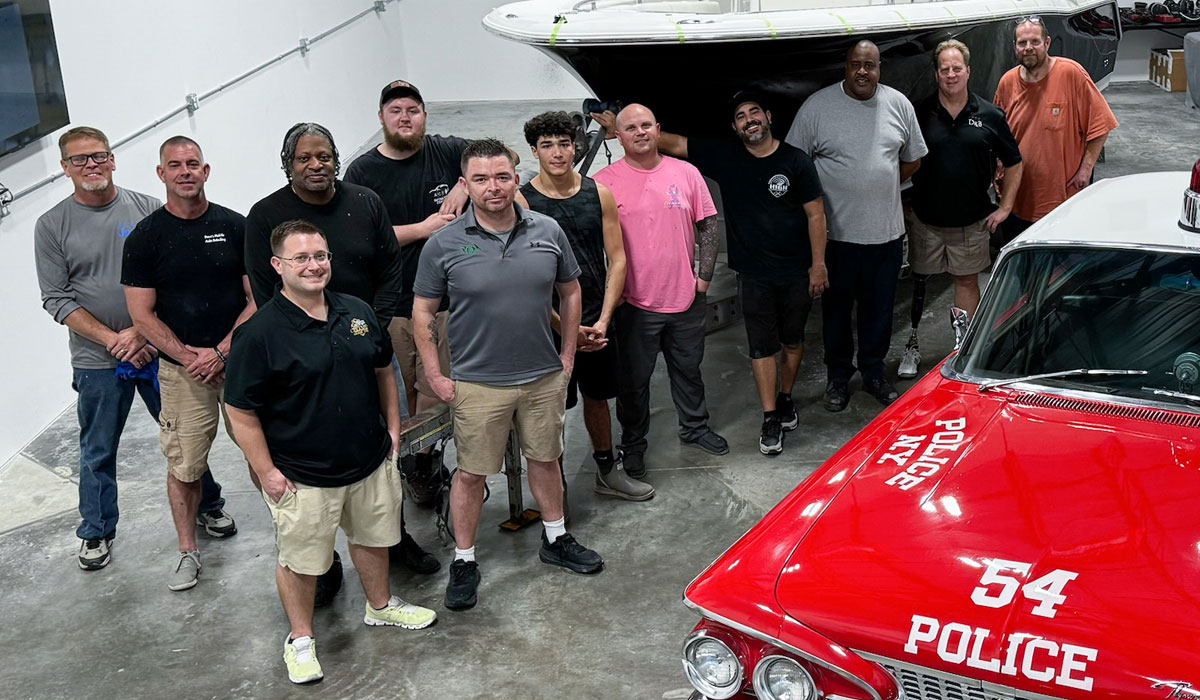
Here’s the team that made the magic happen!
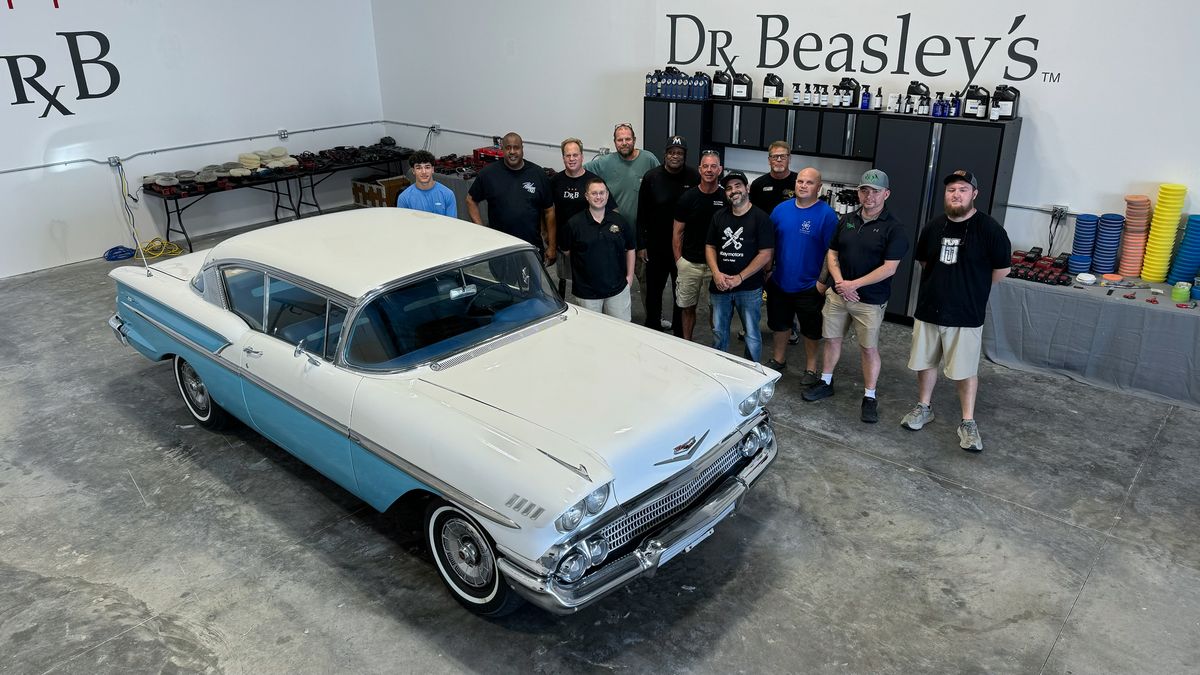
And my long-time friend and professional videographer and photographer – Yancy Martinez!
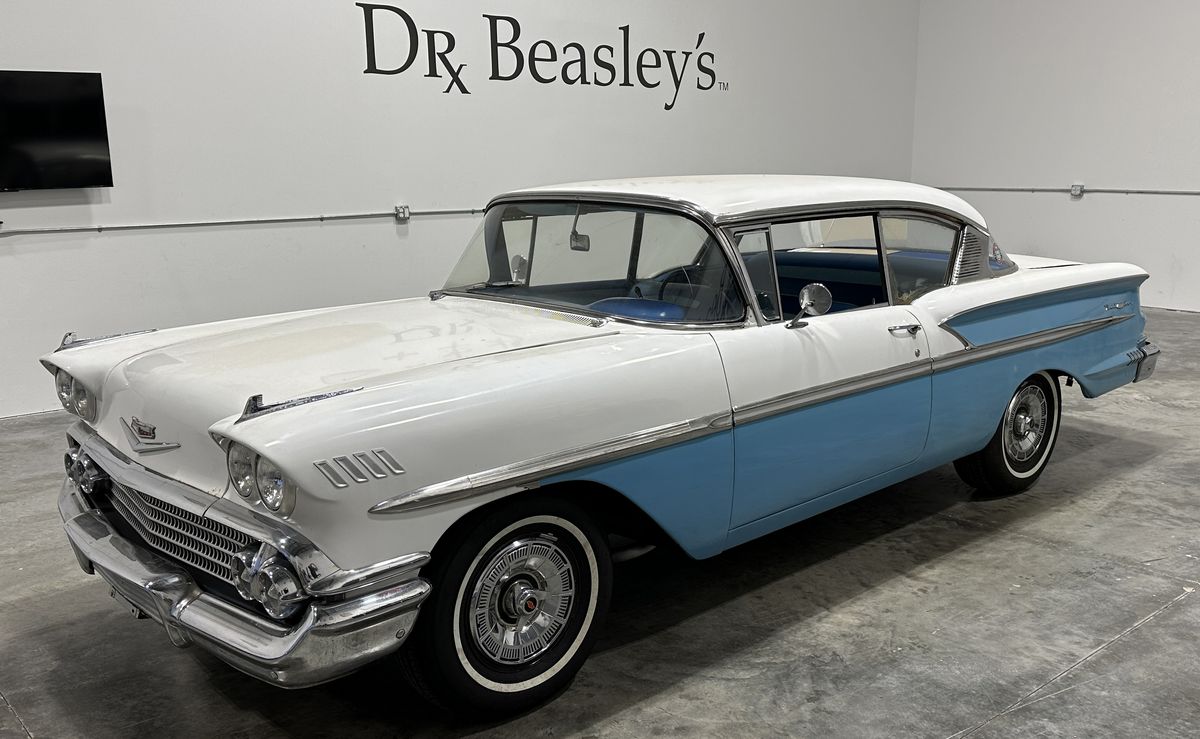
Here’s a few pictures of the now-beautiful 1958 Chevy Impala Barn Find outside in the sun. She looks like she’s wearing a brand new paint job. Plus all the chrome trim has also been polished.
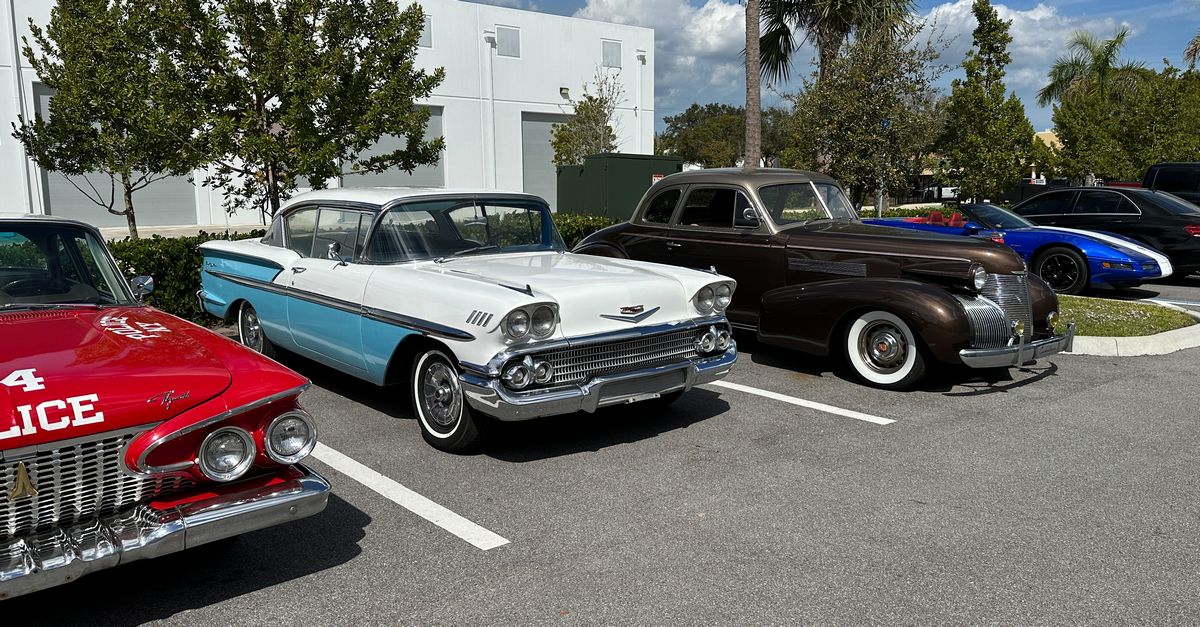
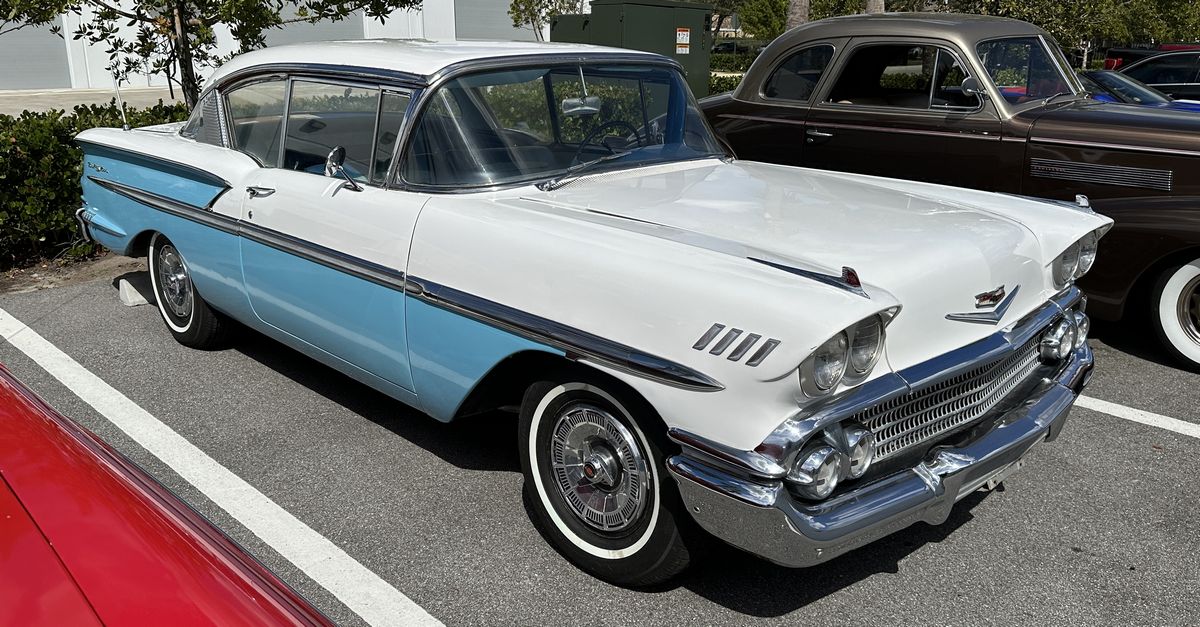
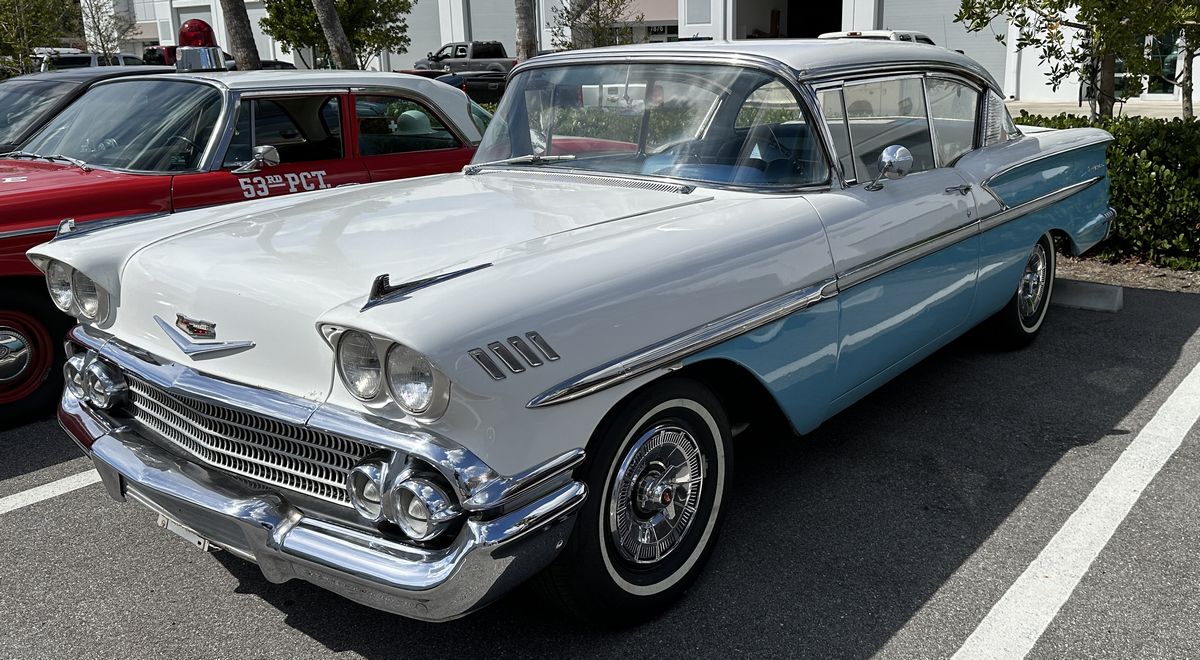
The results are nothing short of amazing and this is just the FIRST car!
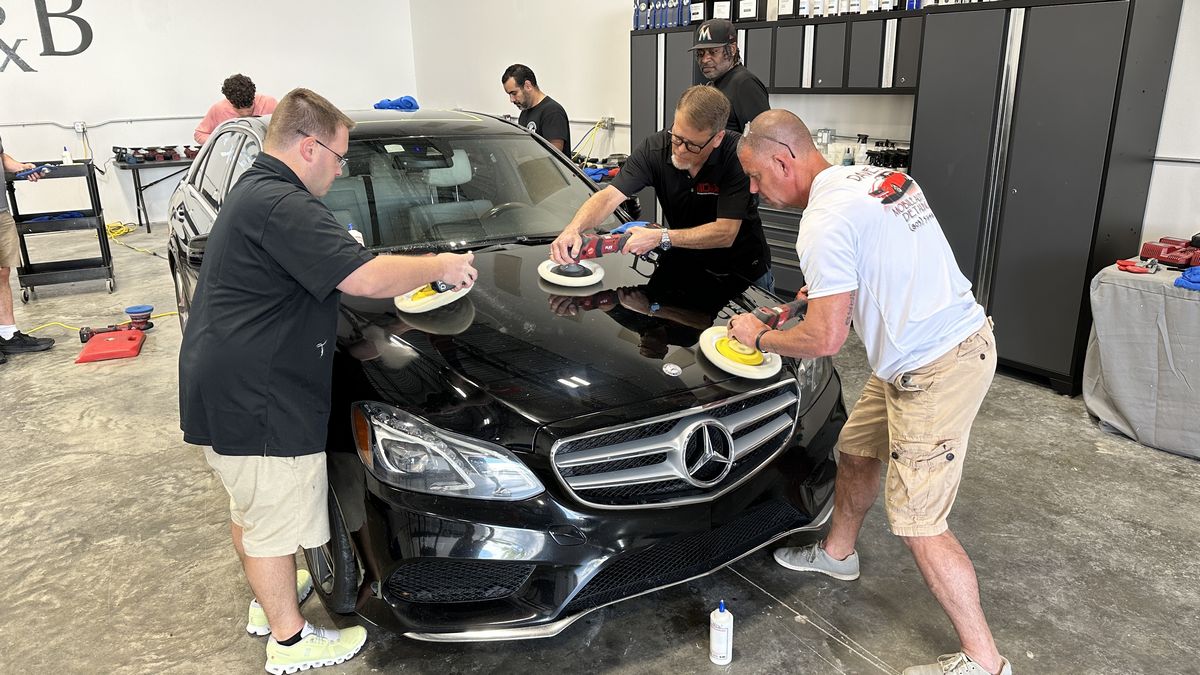
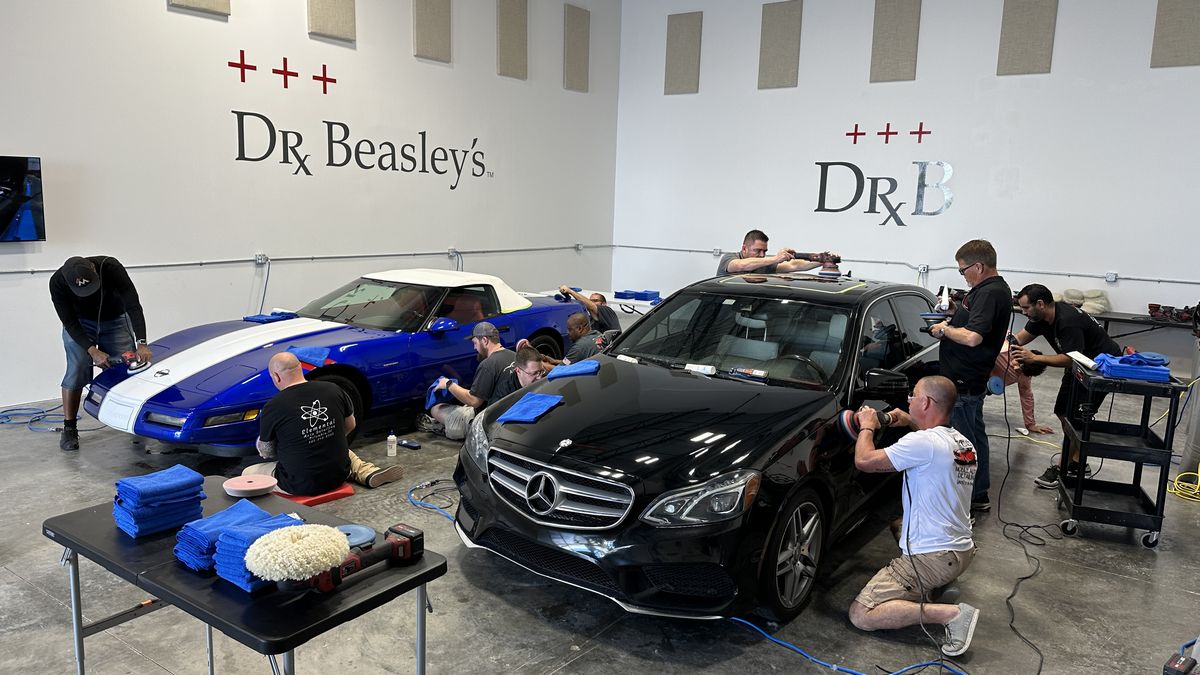
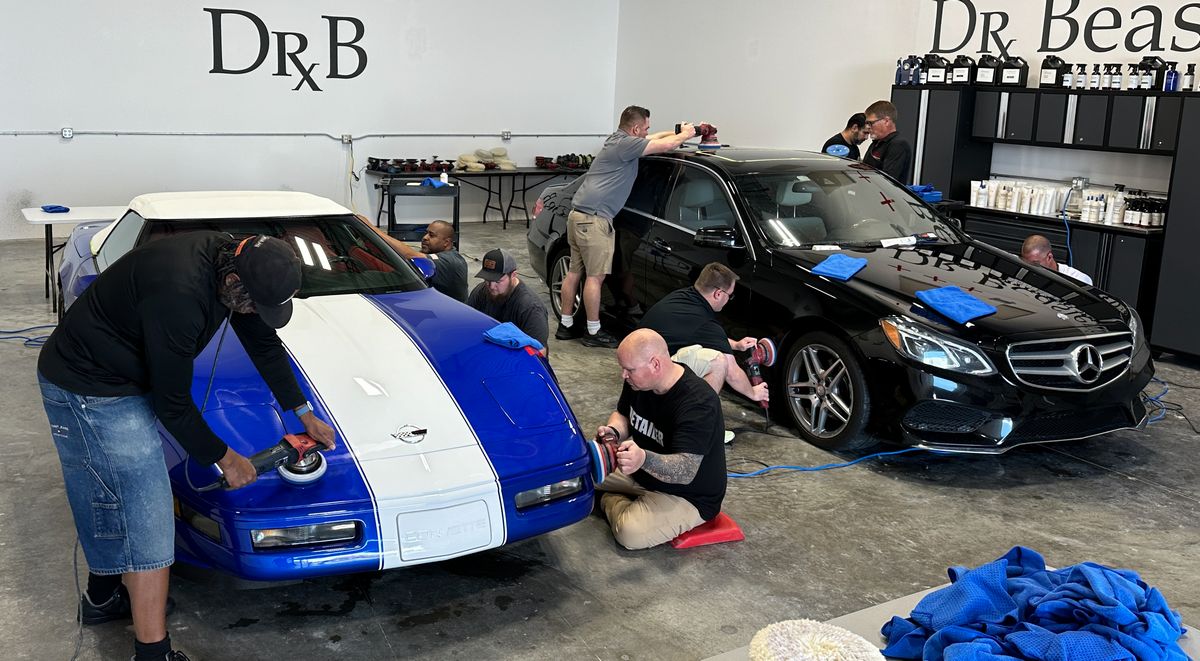
Day 1 – Friday – Afternoon Session – One-Step Paint Correction and Ceramic Coatings
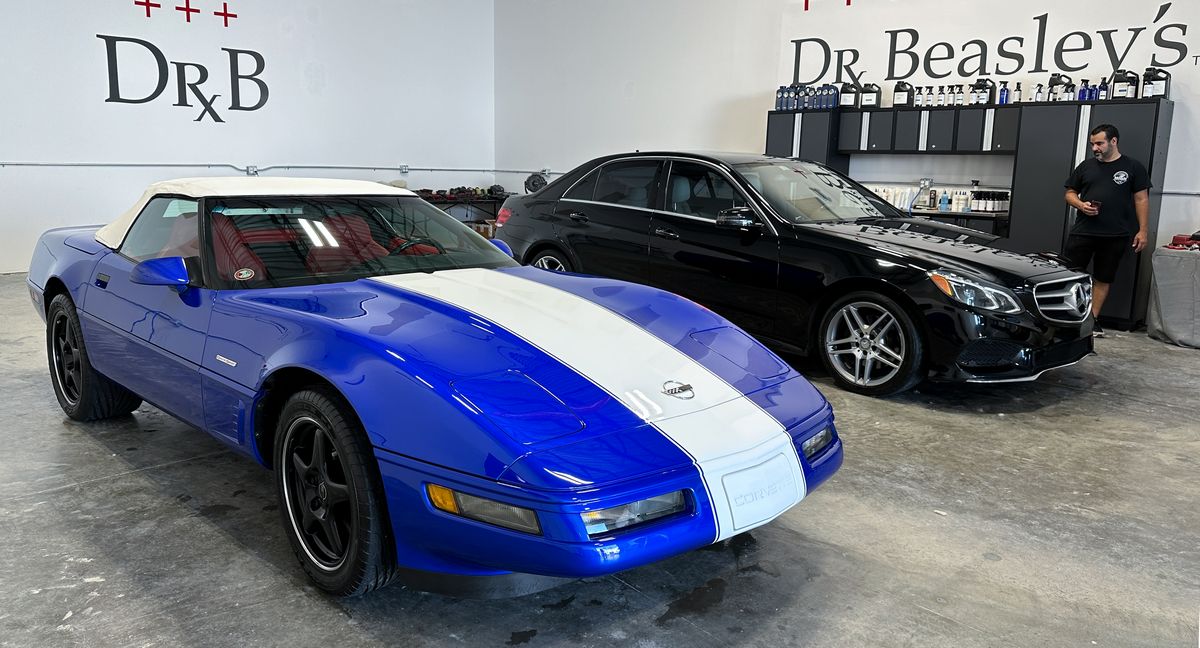
Next up, the topic for the below training cars will be One-Step Paint Correction and Ceramic Coatings. For this class I tend to bring in cars that definitely need paint correction but are not past the paint of no return.
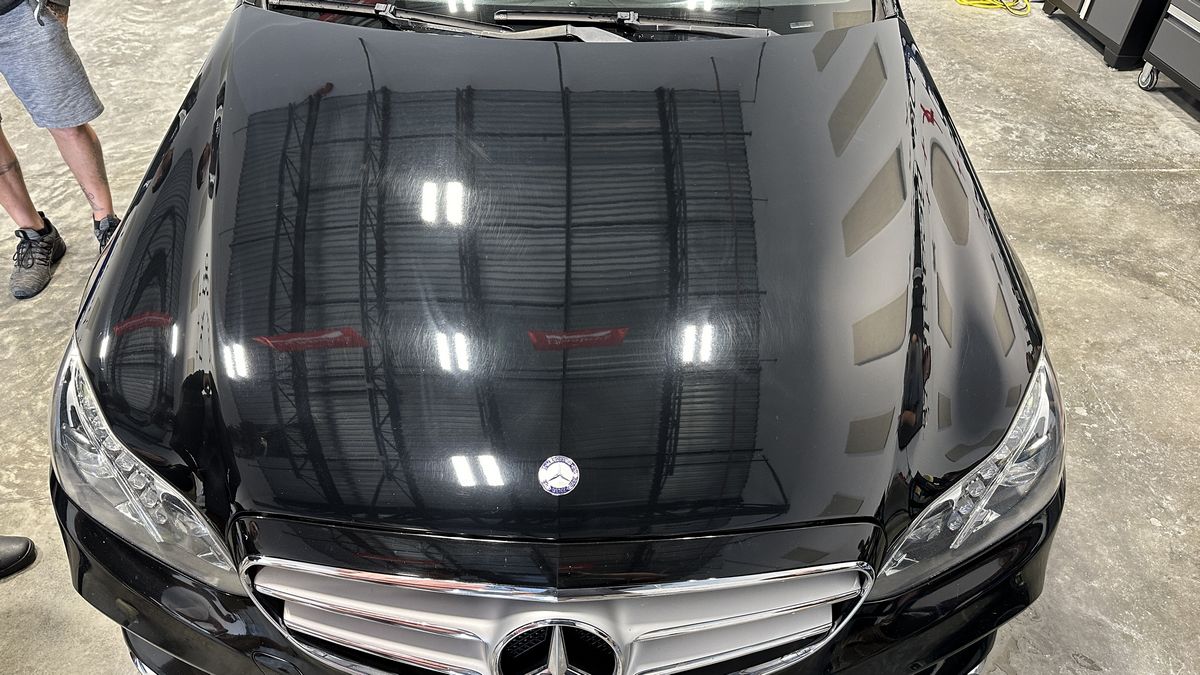
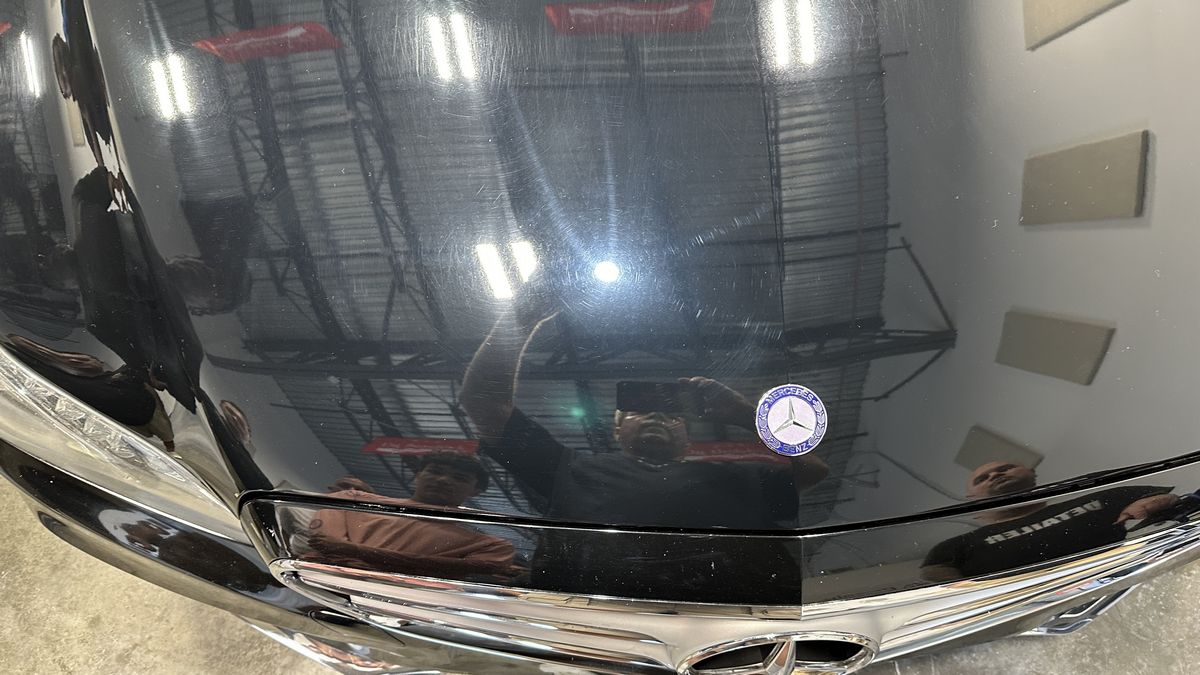
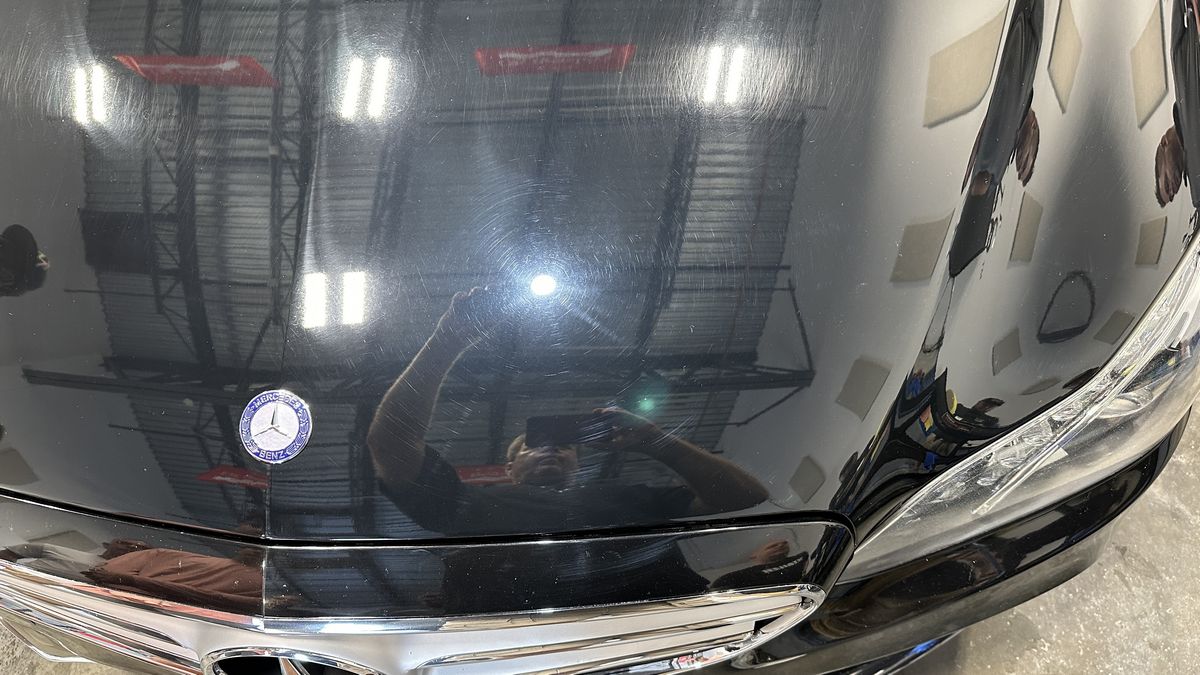
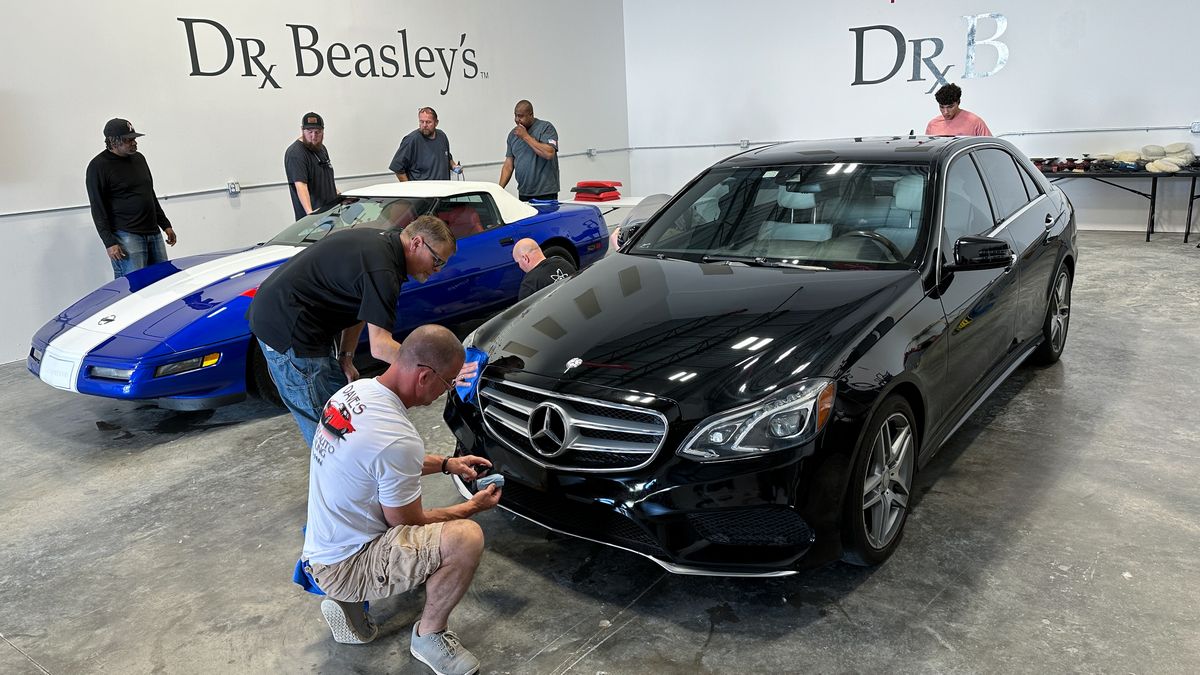
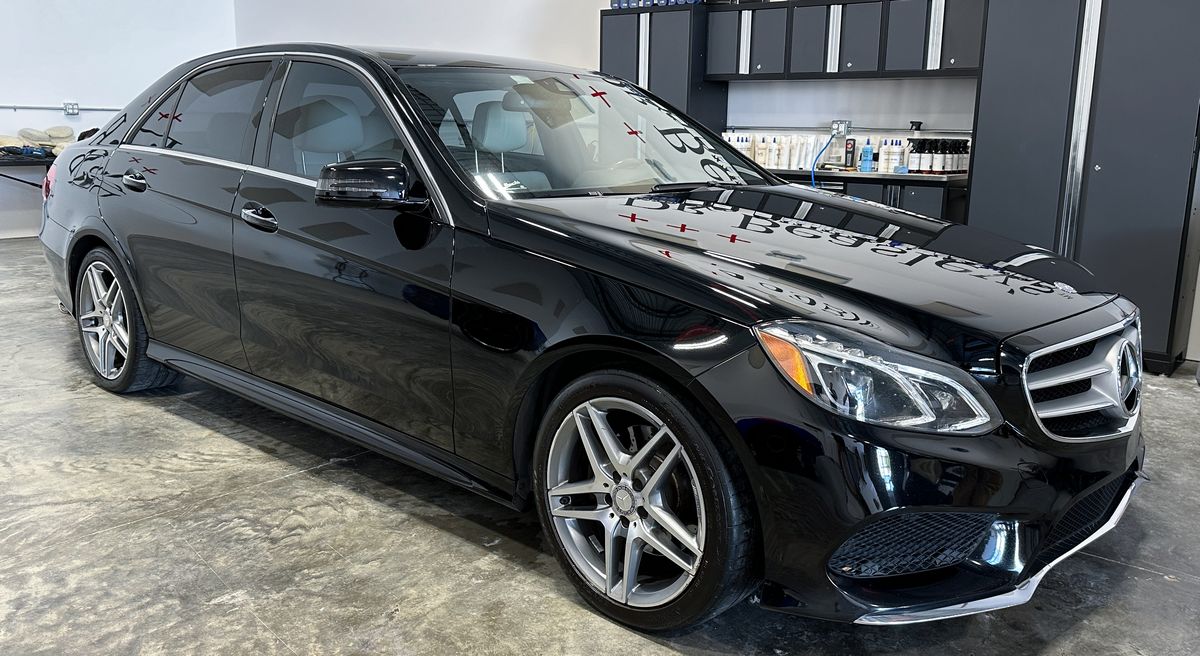
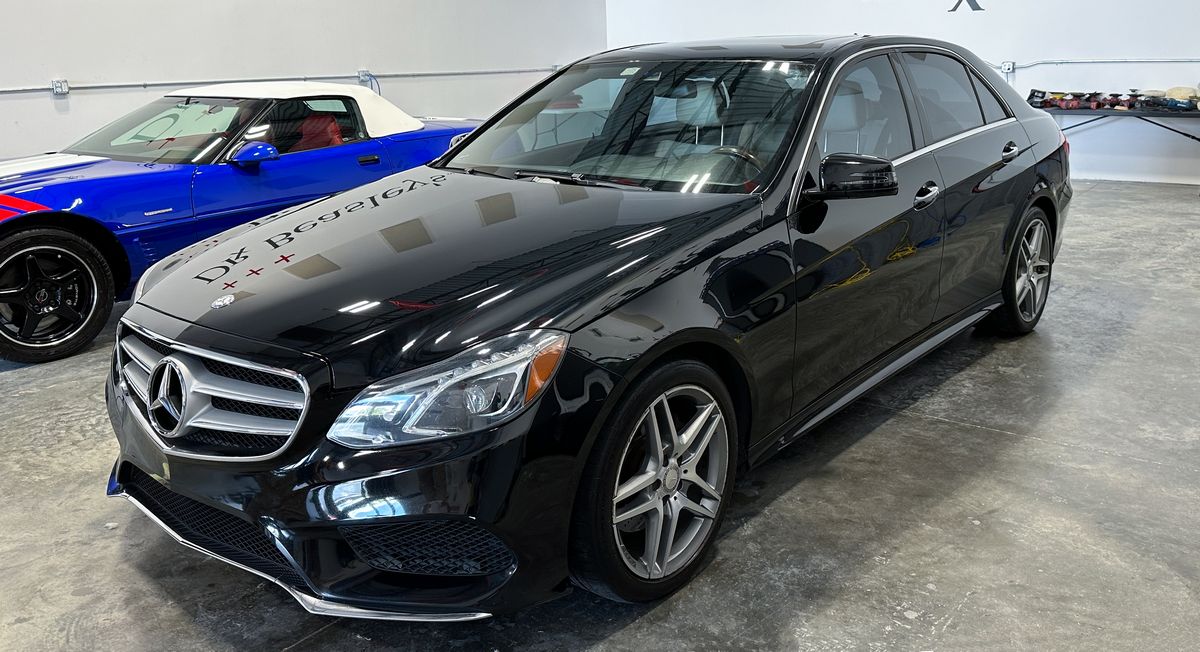
This is a 2014 Mercedes-Benz E350 – the hood has been repainted and has holograms throughout the finish.

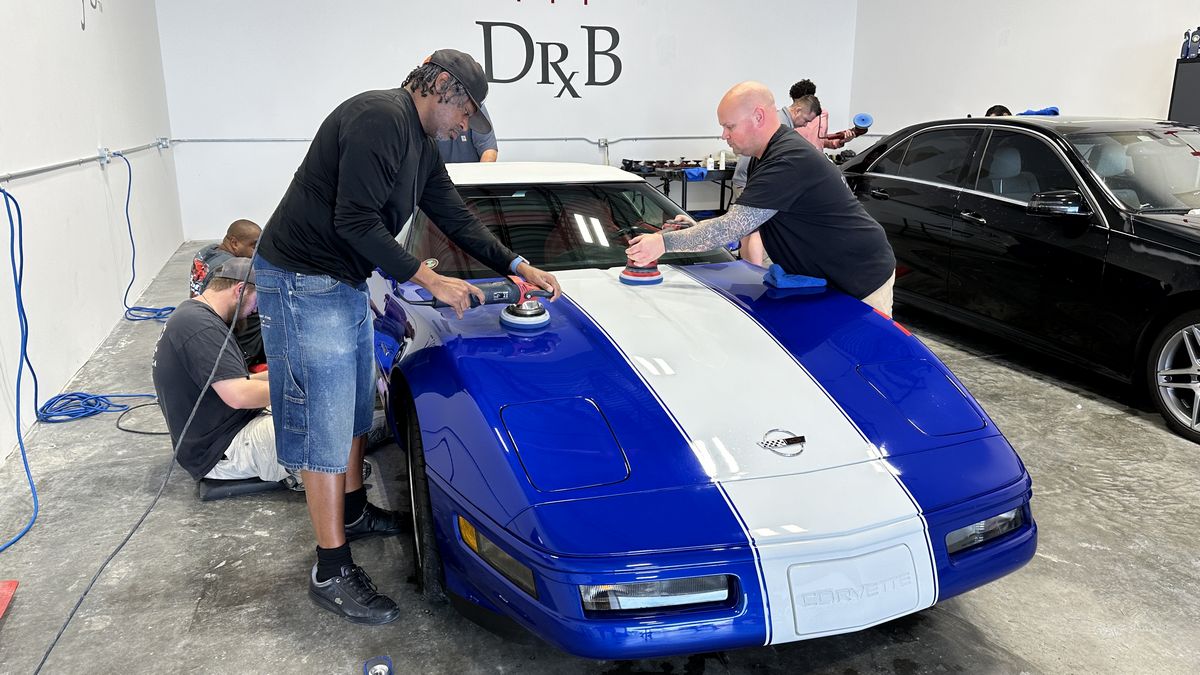
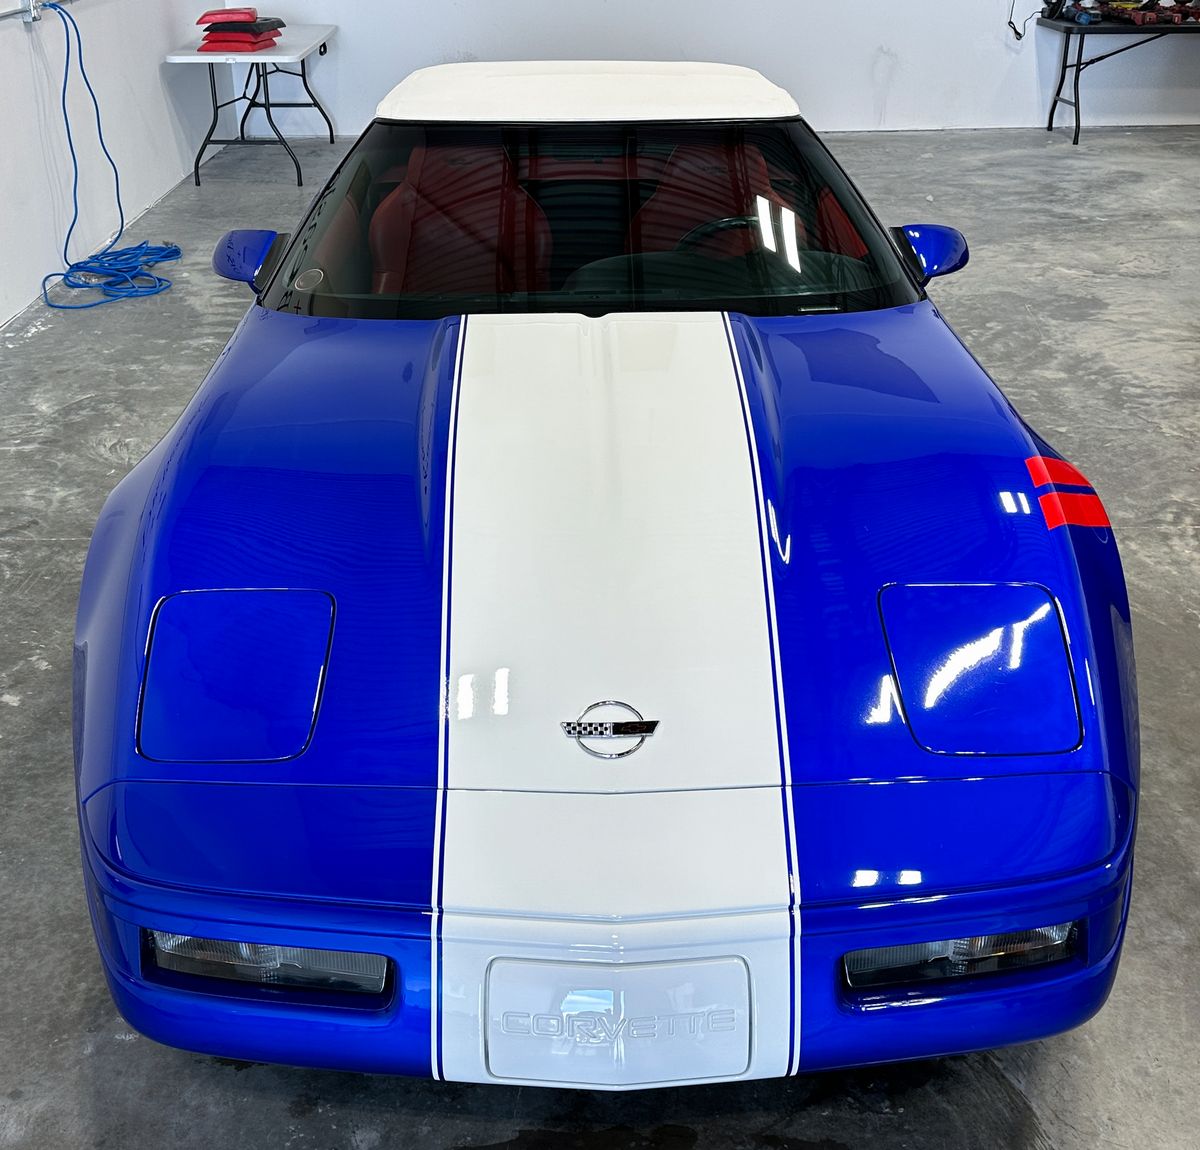
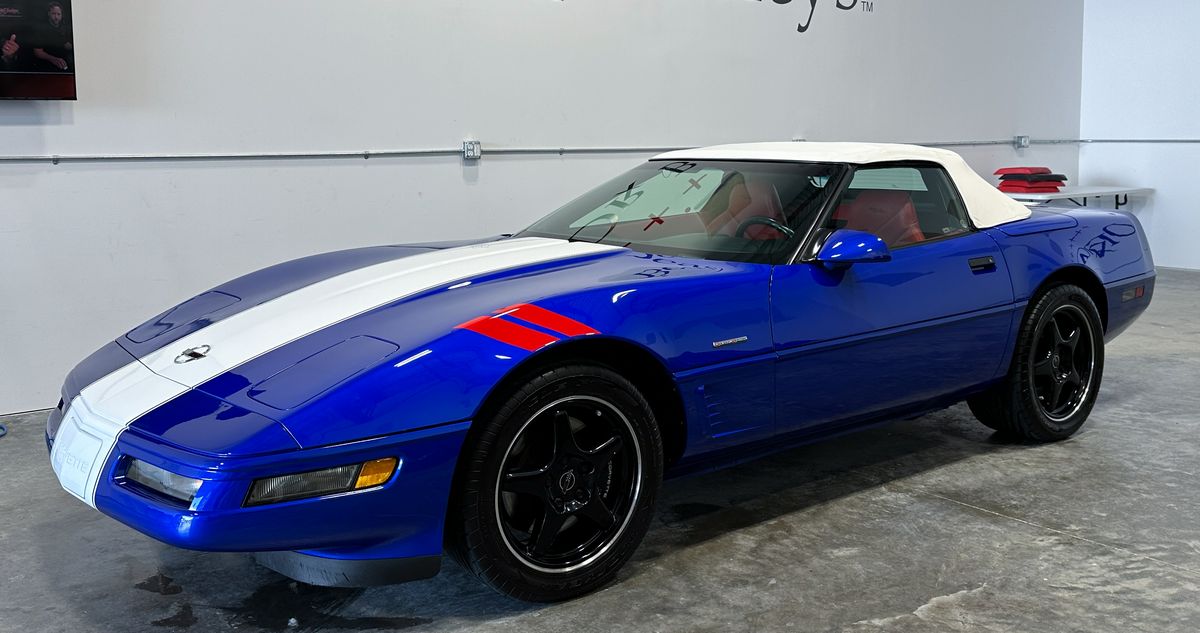
This is a 1996 Corvette Grand Sport, while the paint is in pretty good condition, this era of Corvettes are well-known for having SUPER HARD CLEARCOATS. Thus even with light swirls and scratches, it will require a solid buffing to get the paint right.
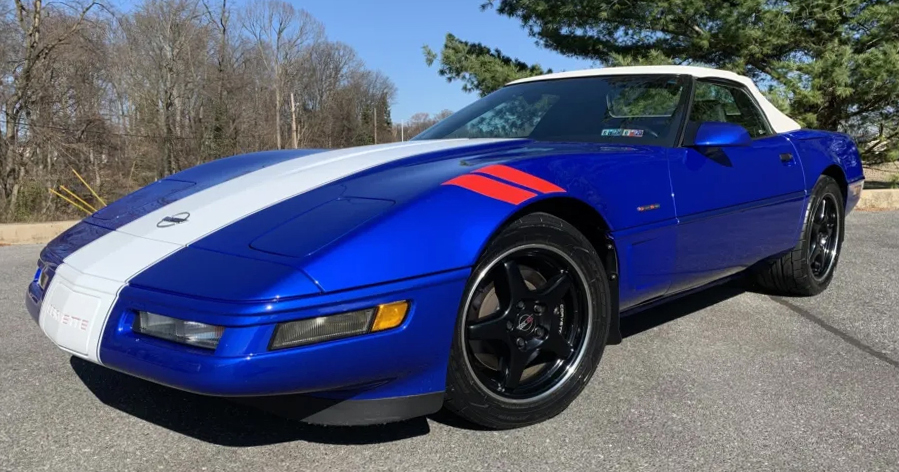
Photo-Documentation for the Mercedes-Benz
Building more confidence by getting more experience
While this class topic uses only orbital polishers, in order to level the deep holograms, we re-cut using wool pads on rotary polishers only for this step we’re using much better abrasive technology. The Dr. Beasley’s NSP 150 Primer has uniform abrasive particle size, this means the class can remove the deeper holograms and replace them with shallow holograms as the hologram will be from only the fibers of the pad. This means the next step using a foam pad will easily remove the holograms and perfect the paint
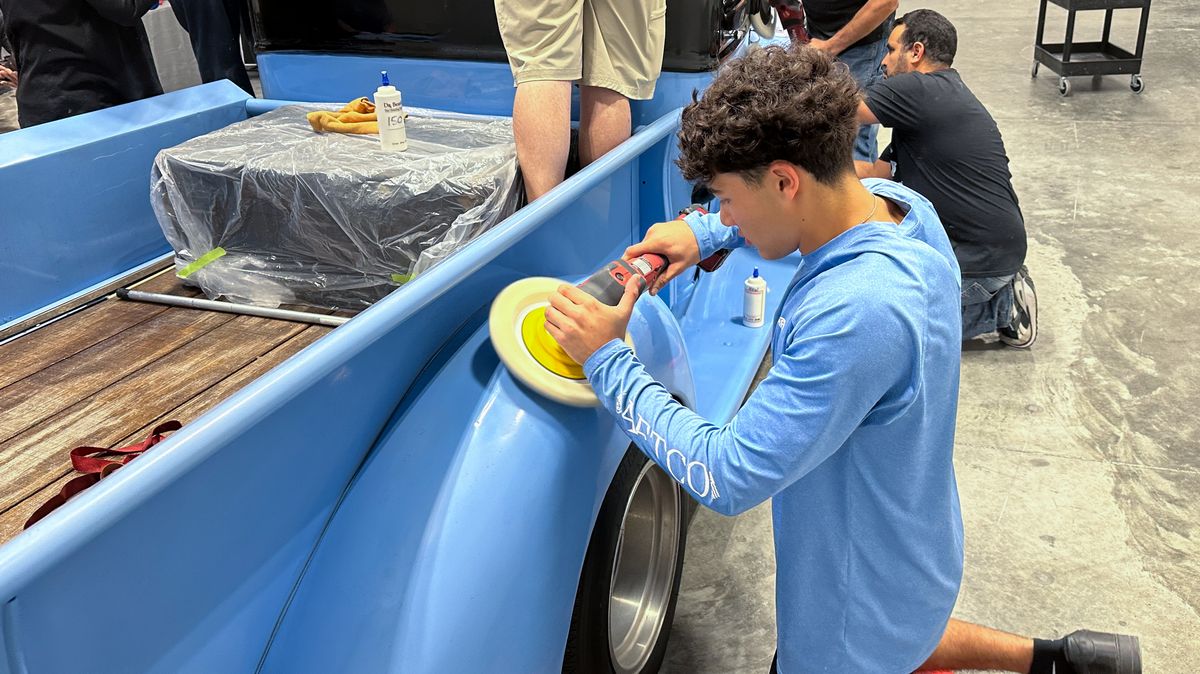
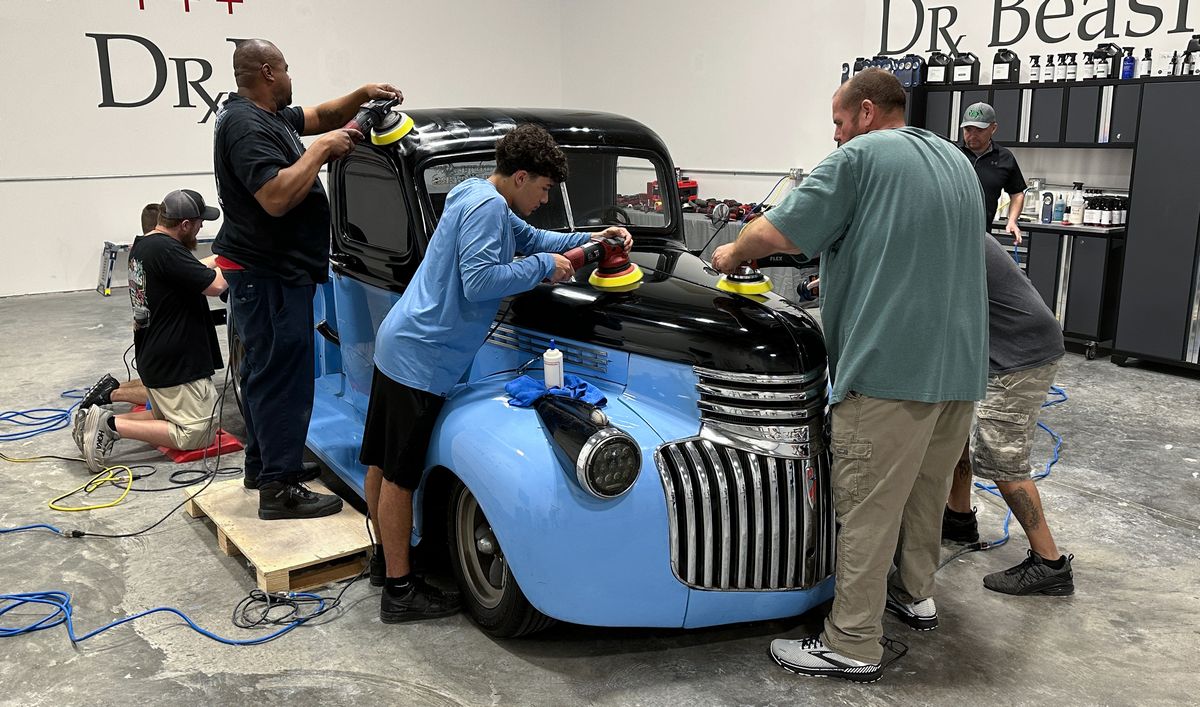
No chairs. No sitting. 100% Hands-on Training.
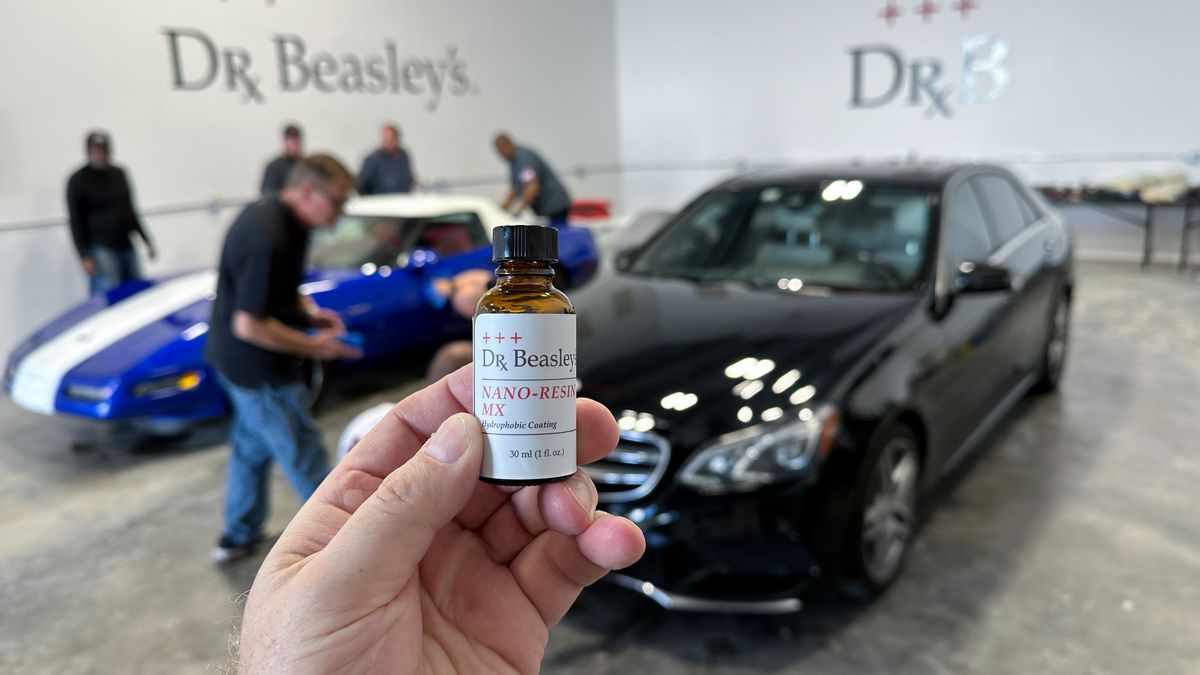
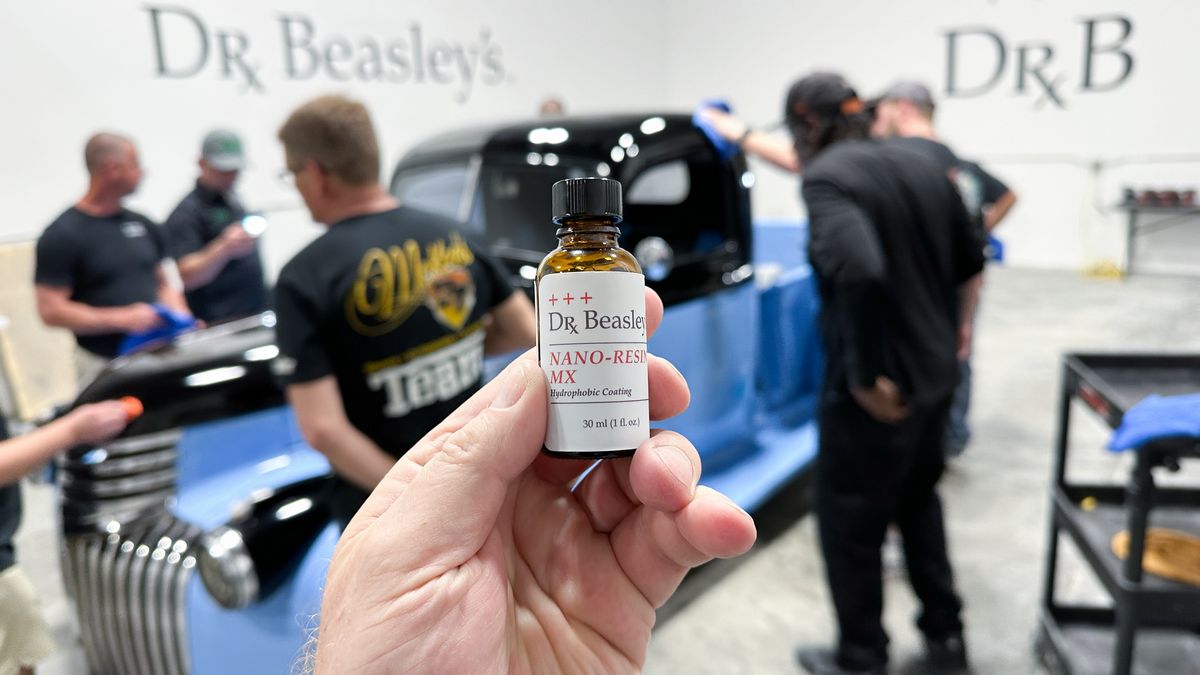
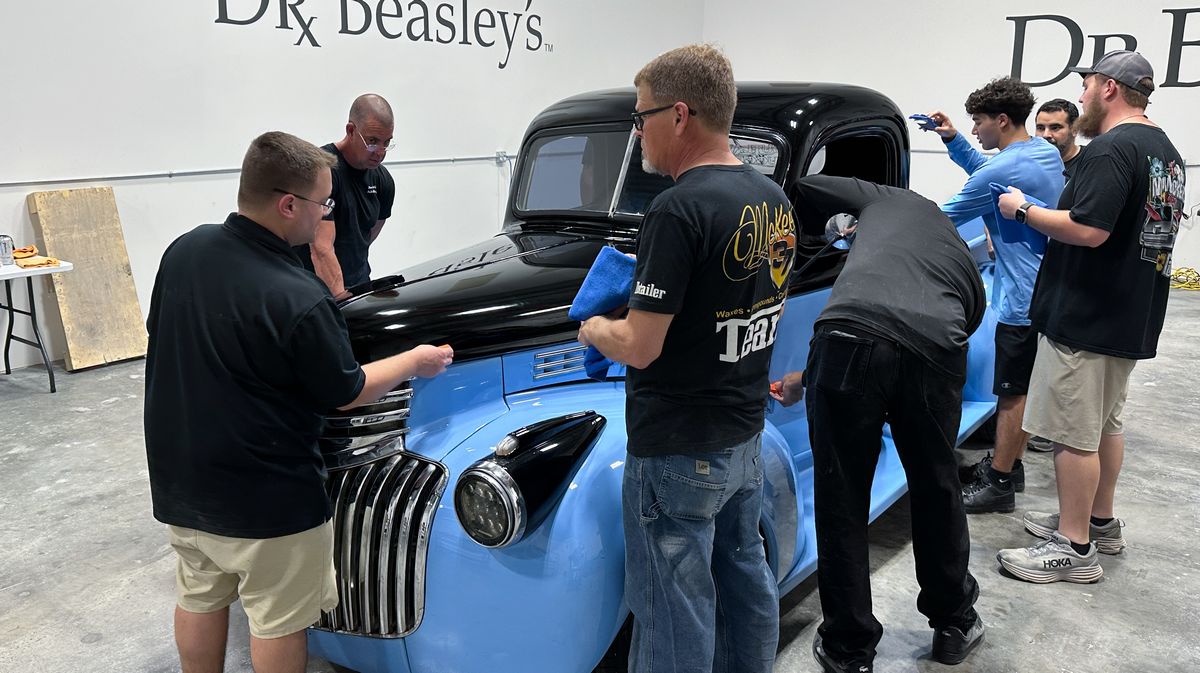
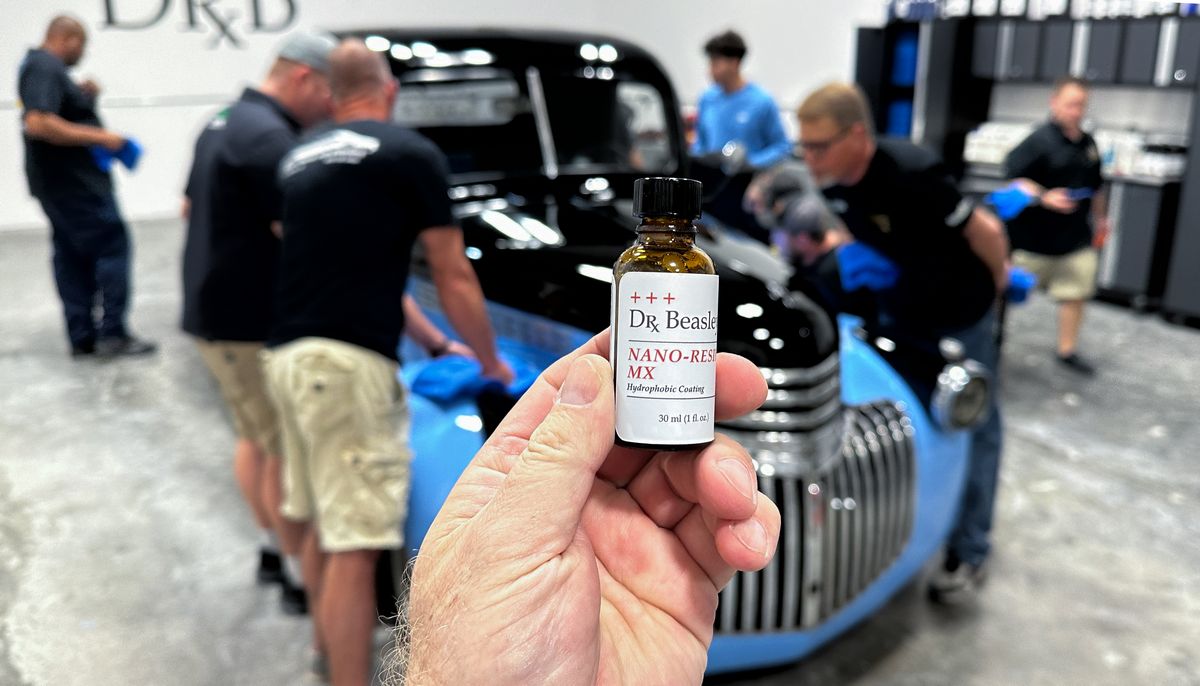
Dr. Beasley’s Nano-Resin MX Ceramic Coating
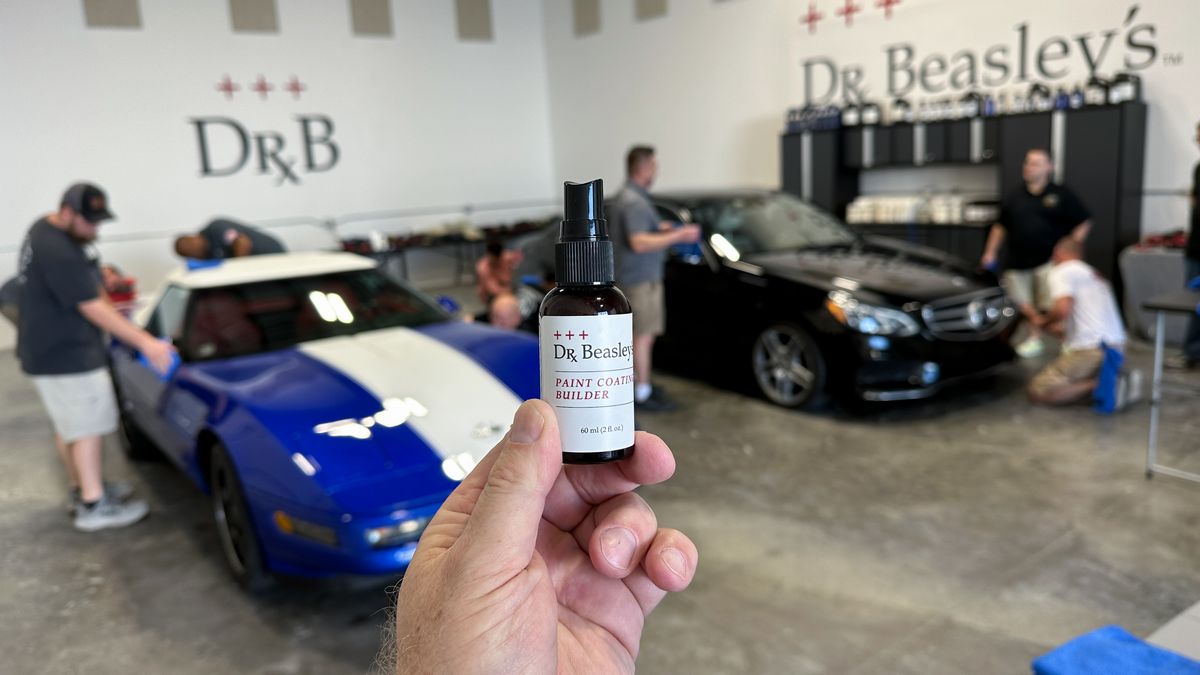
This is a two-part ceramic coating kit. The first part is to apply the Dr. Beasley’s Paint Coating Builder, which will maximize gloss and clarity while laying down anchor points for the MX Ceramic Coating to bond to for maximum longevity and thus maximum protection.
After removing the Paint Coating Builder, next the class installs the Nano-Resin MX Ceramic Coating.
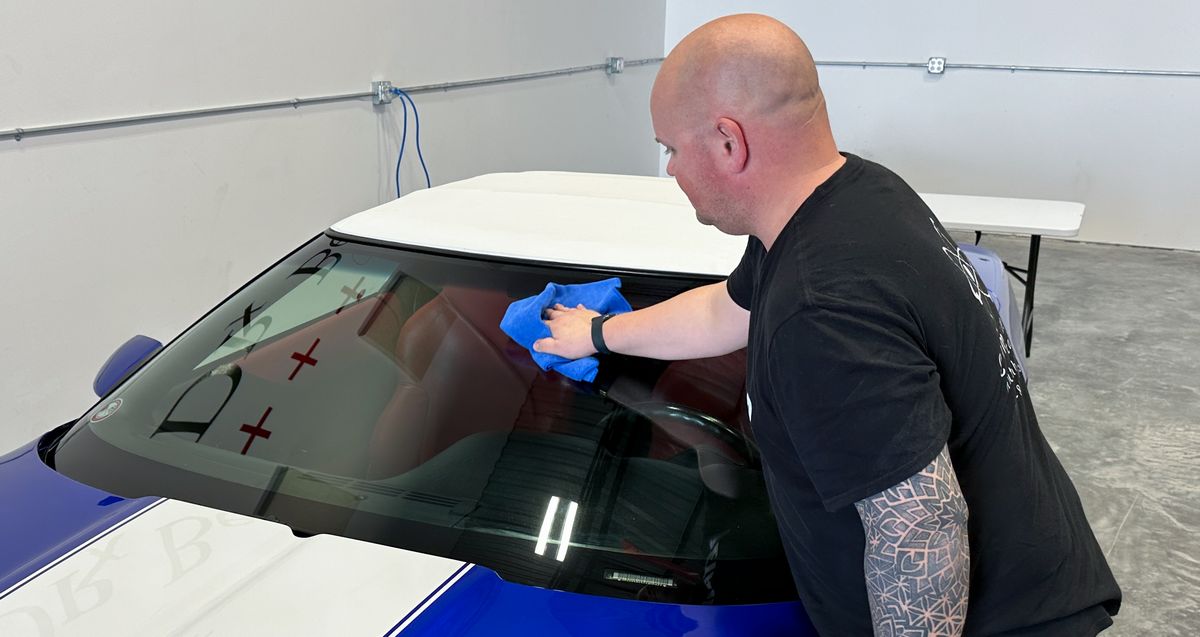
Dr. Beasley’s Glass Serum Pro
Since the class machine polished all the glass, this is the perfect time to install a ceramic glass coating.

Final Results!
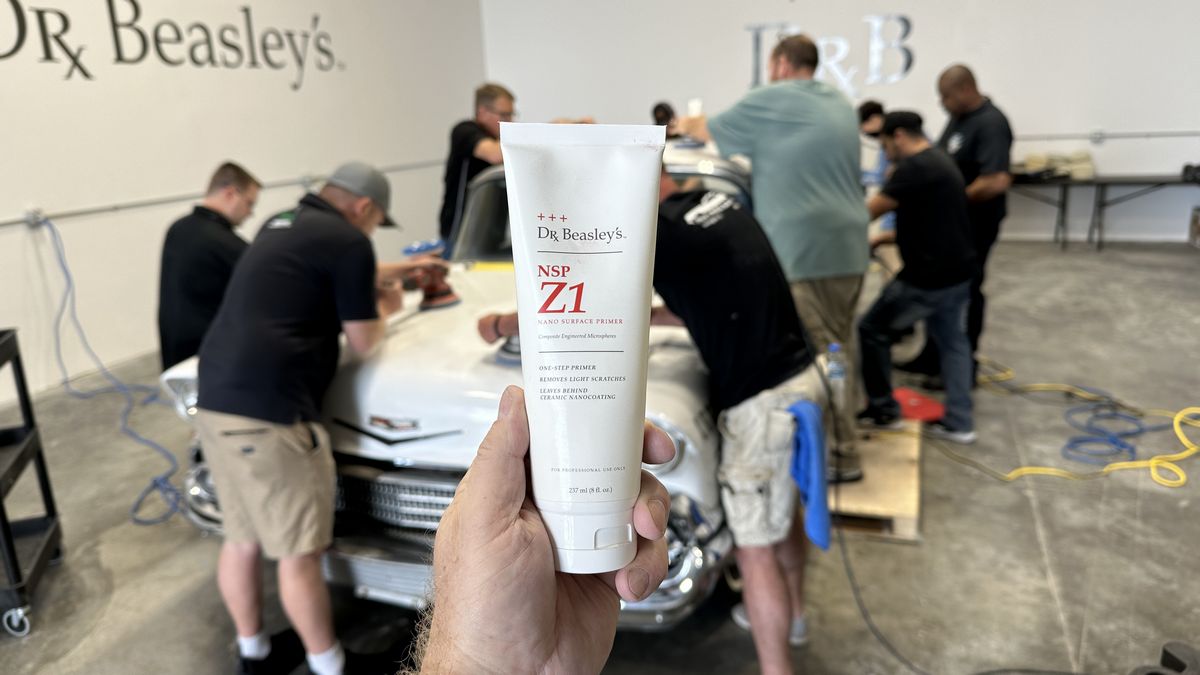
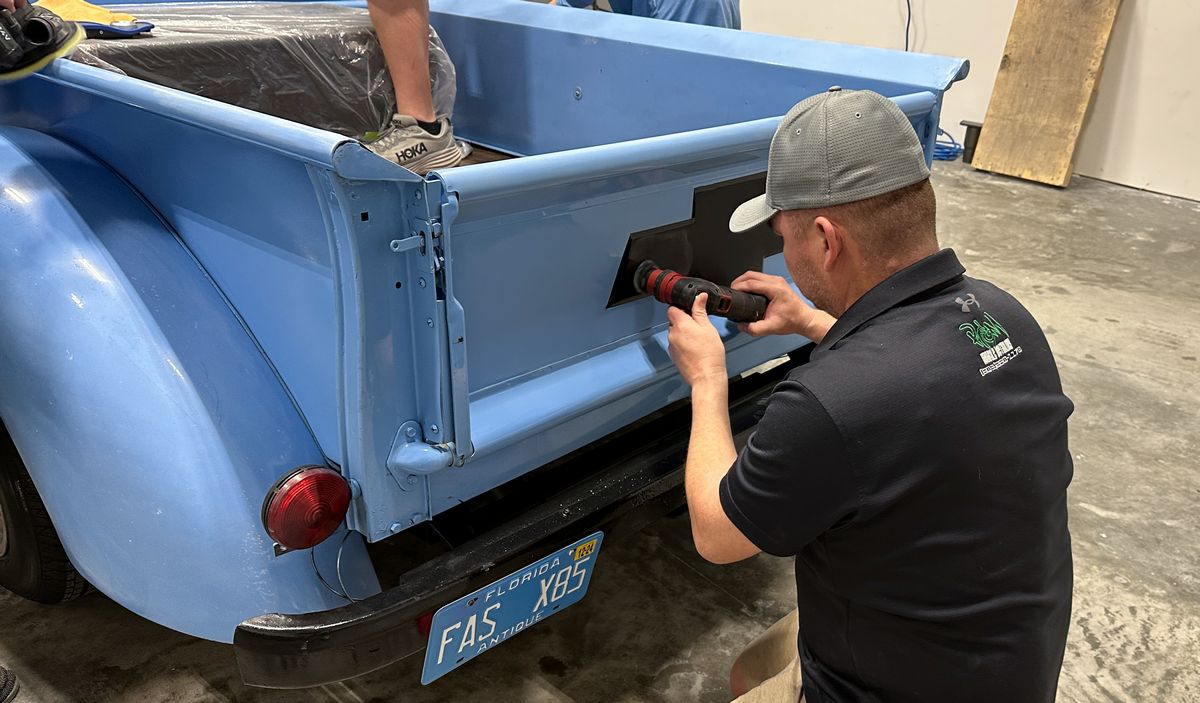
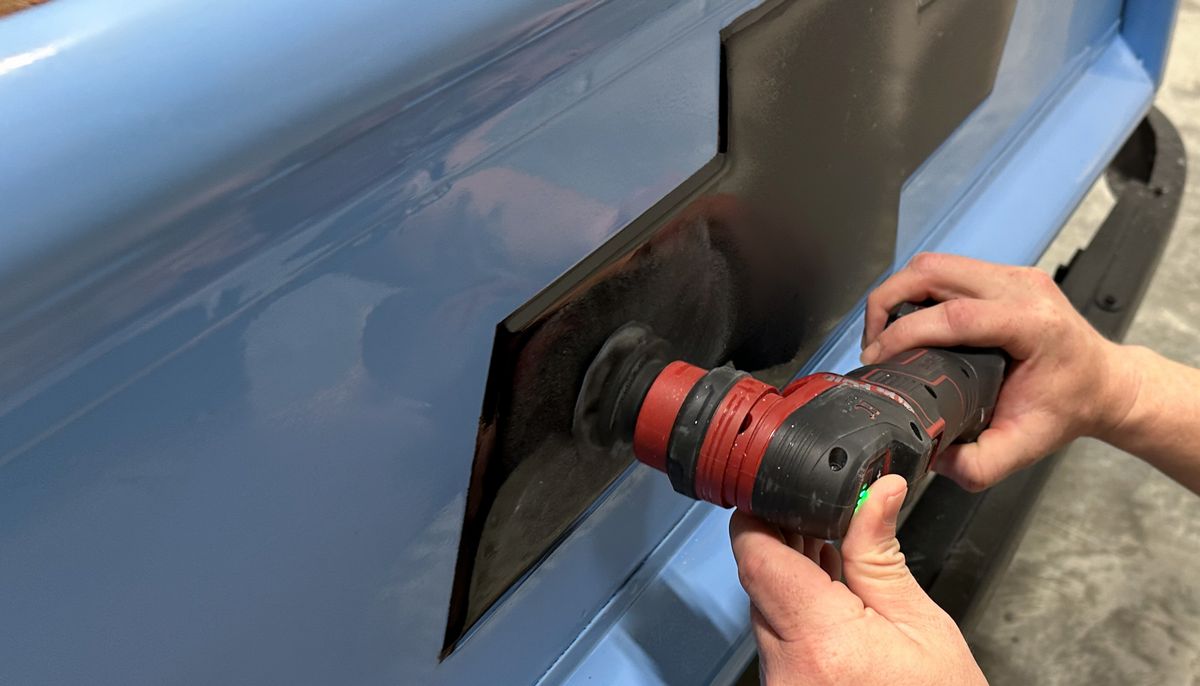
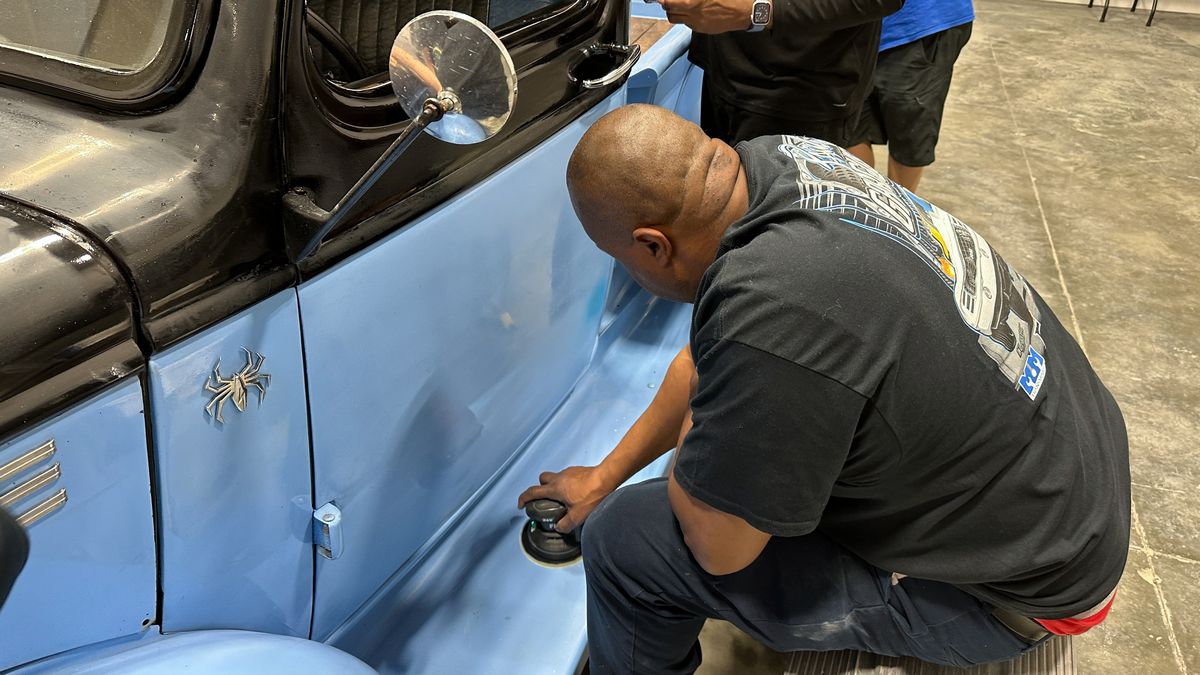
Day 1 – Friday – Late Afternoon Session – 1-Step Ceramic AIO Paint Correction
Next up, the class is going to learn how to use the Dr. Beasley’s NSP Z1 Primer, which is a one-step Ceramic AIO. AIO means, All-in-One. This means this product will remove swirls, polish the paint to a high gloss while leaving behind ceramic paint protection. Thus, a one-step product for a one-step process.
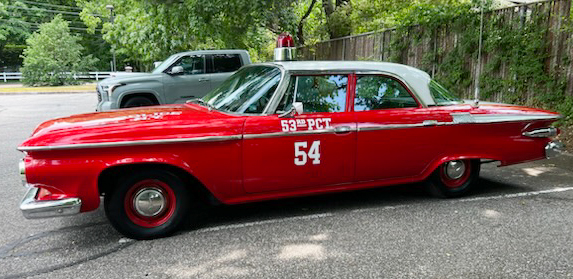
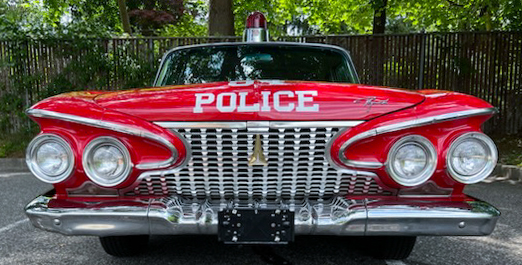
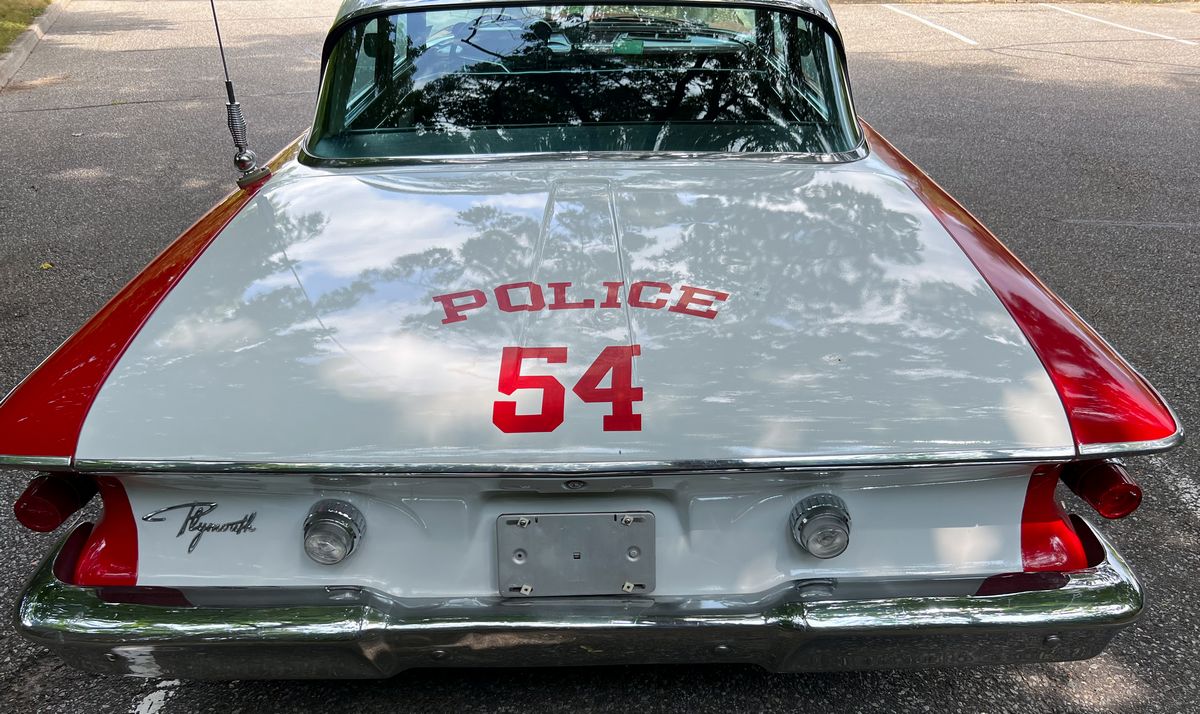
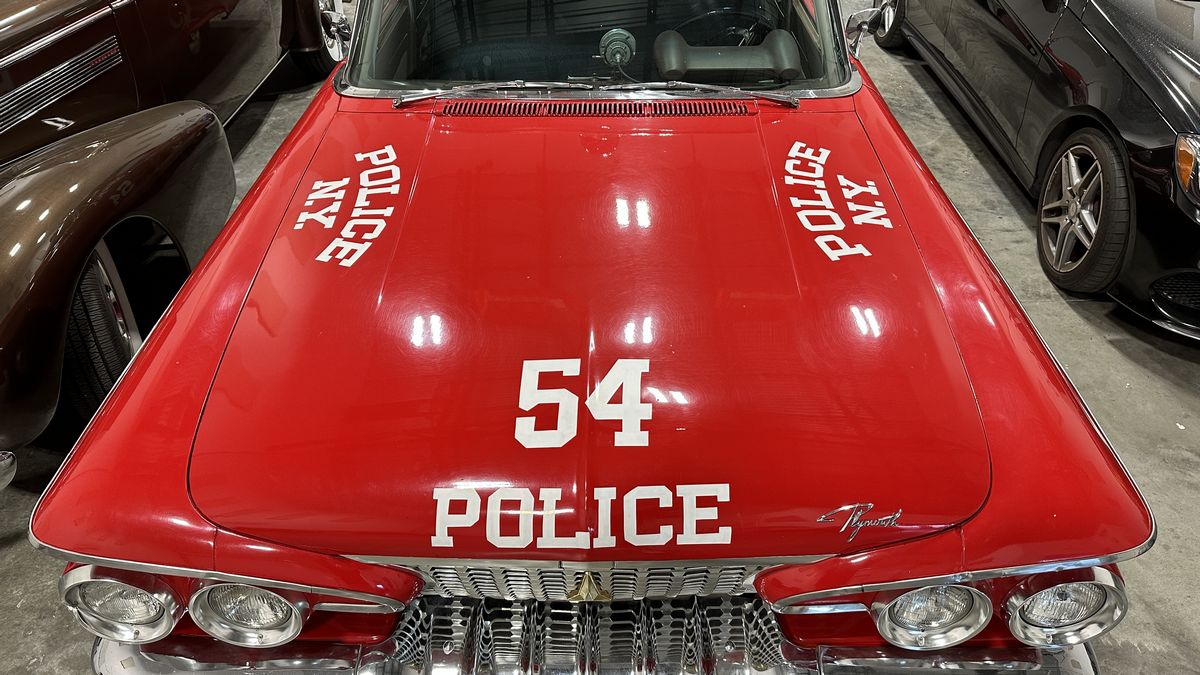
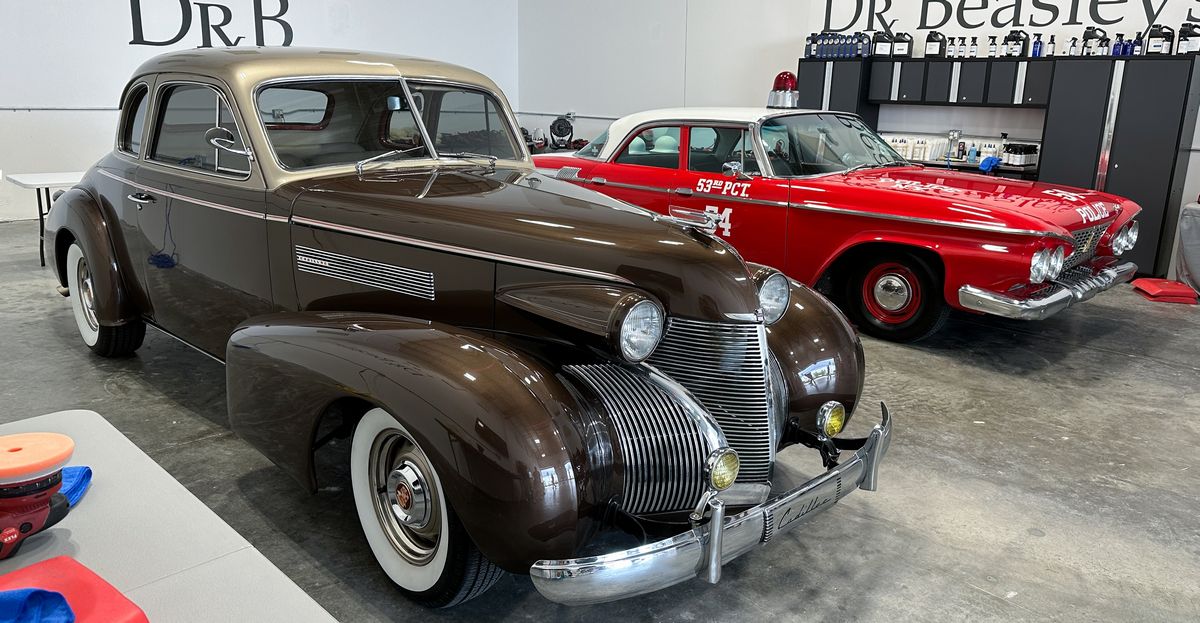
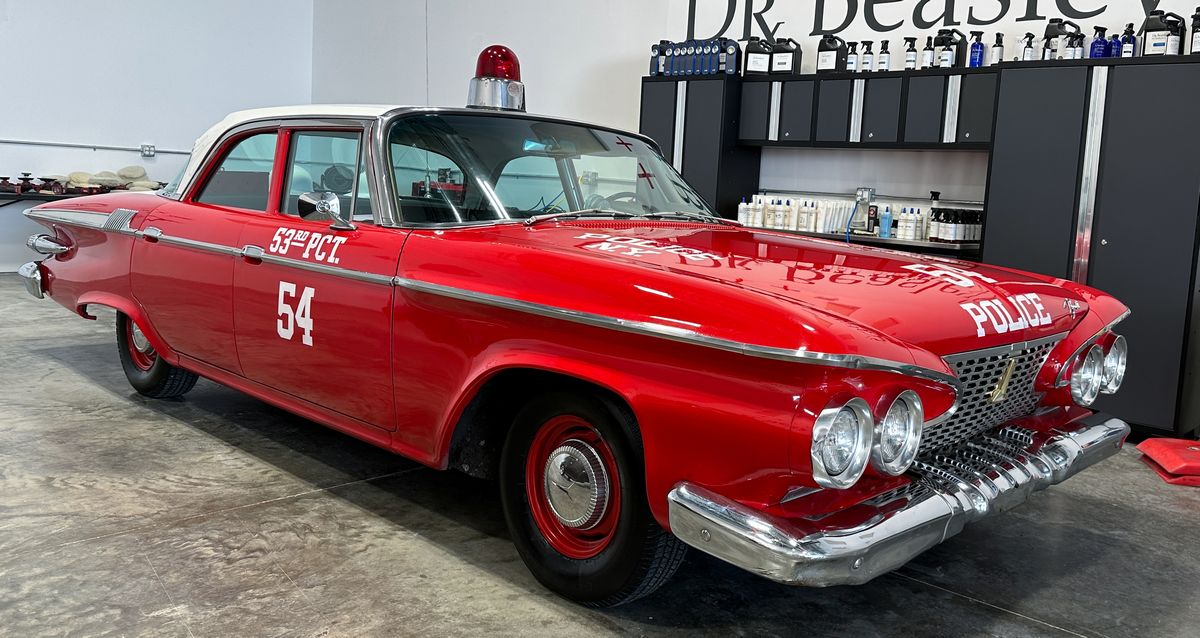
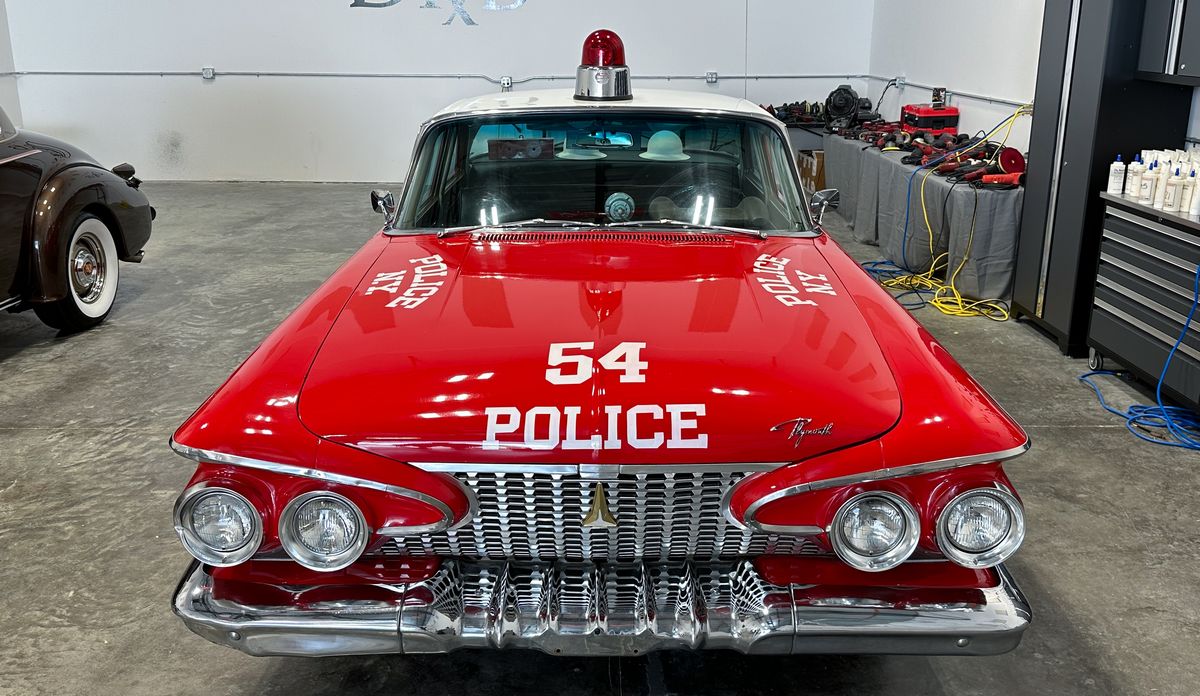
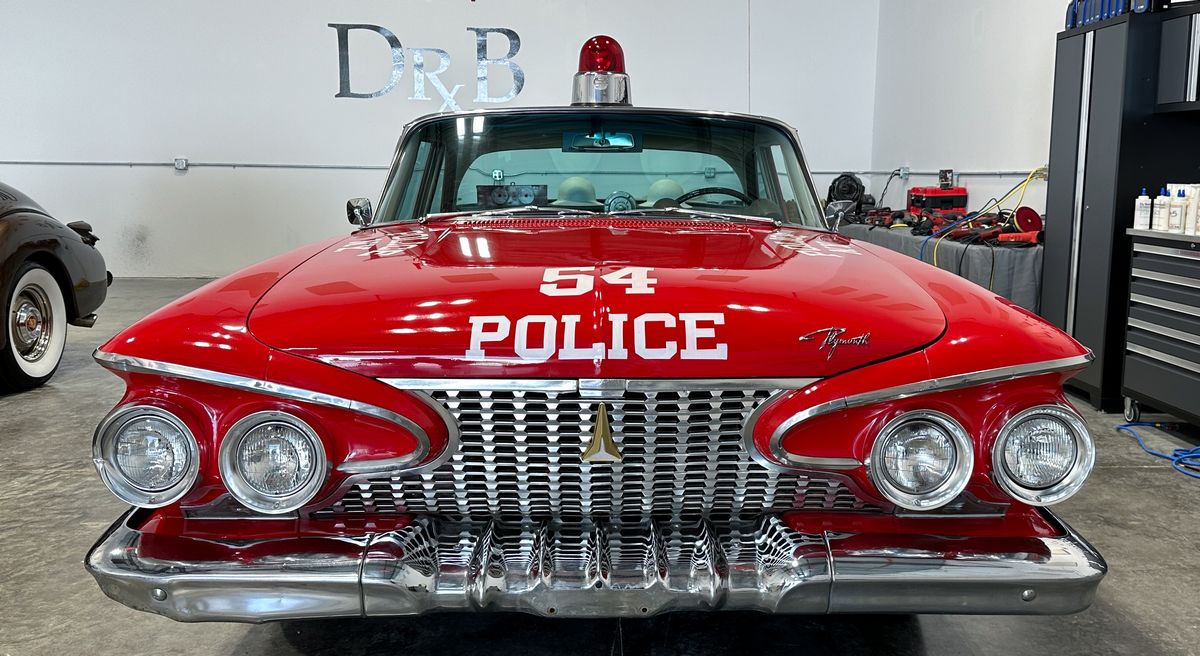
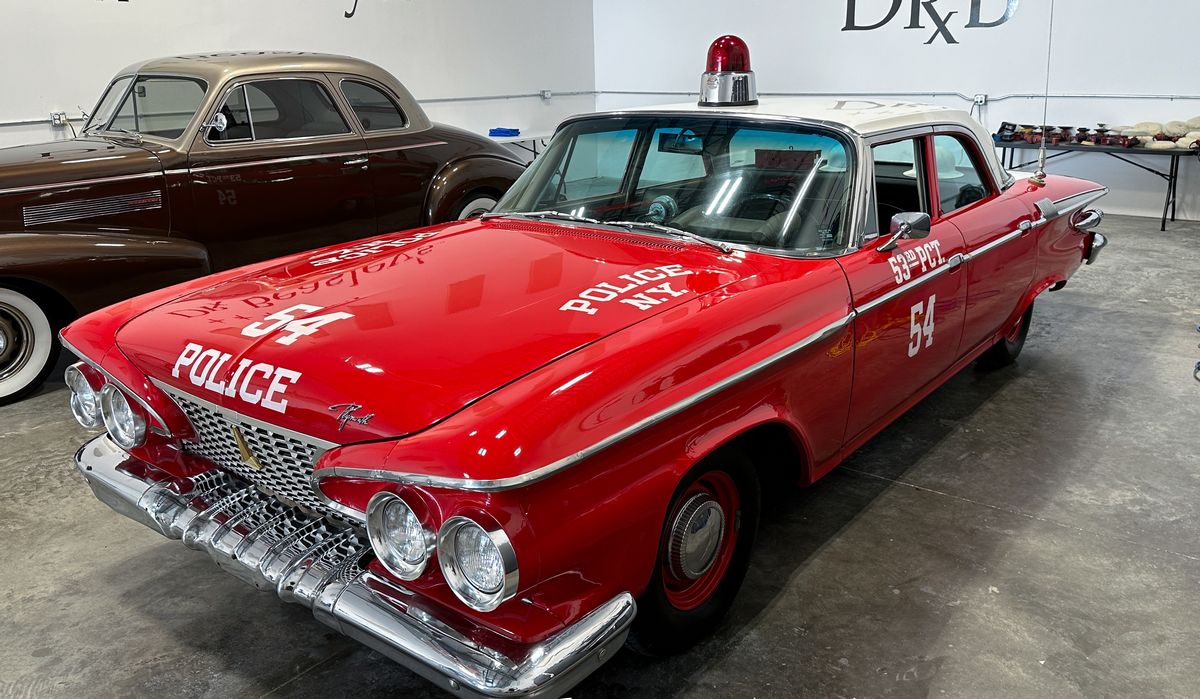
For this class session we have two very unique cars. This first one is a tribute build for the iconic 1961 Plymouth Fury Police Car used for a popular TV show called, Car 54, Where are you?
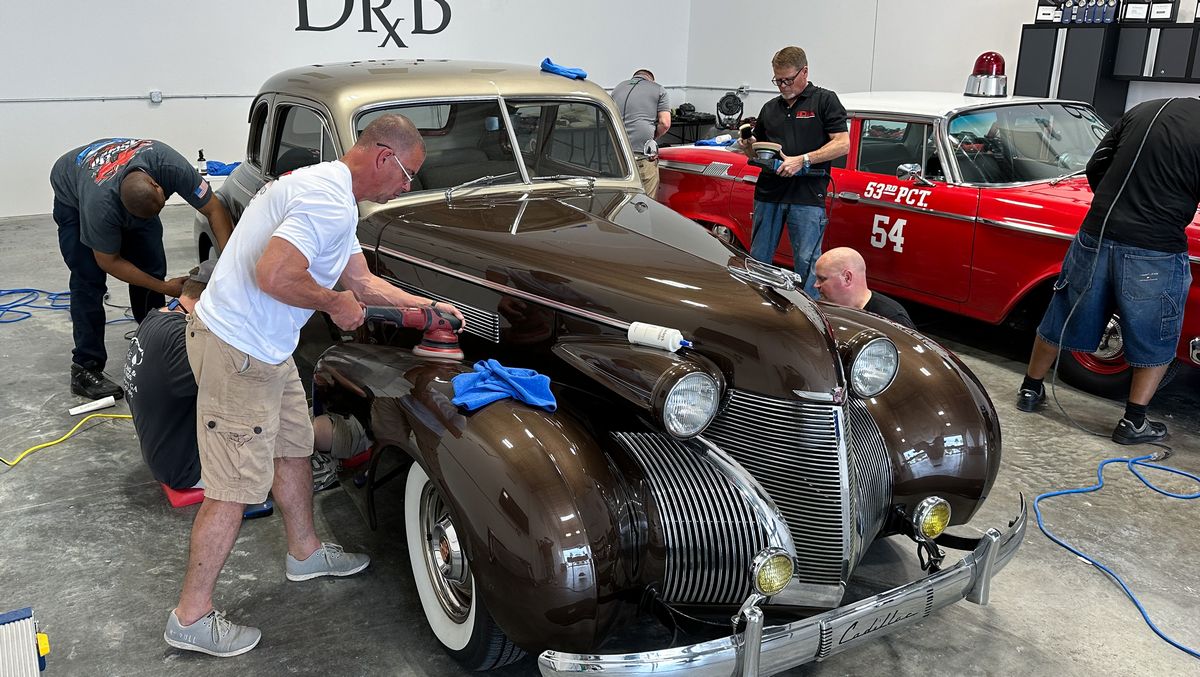
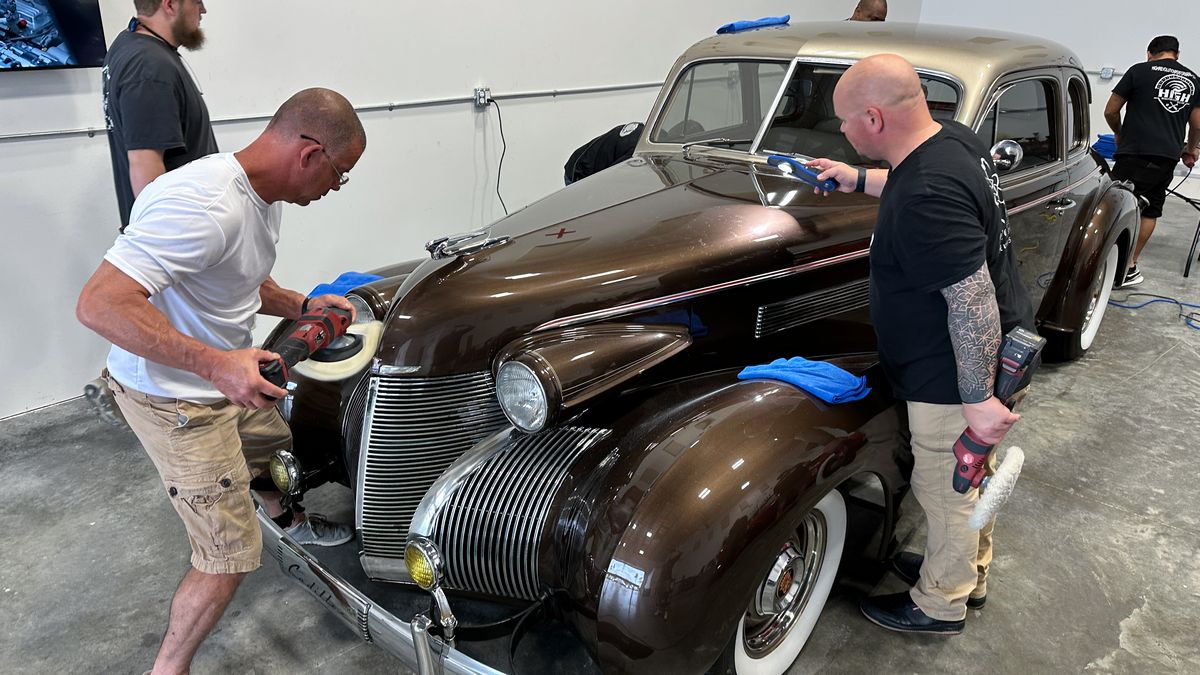
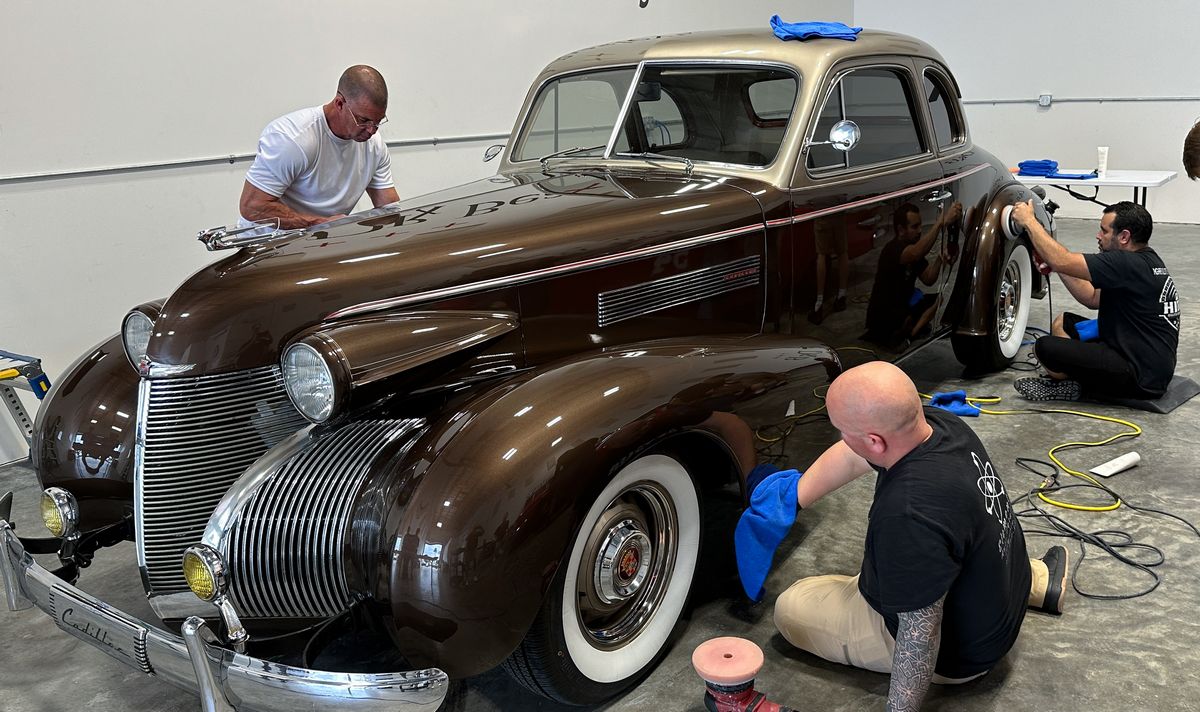
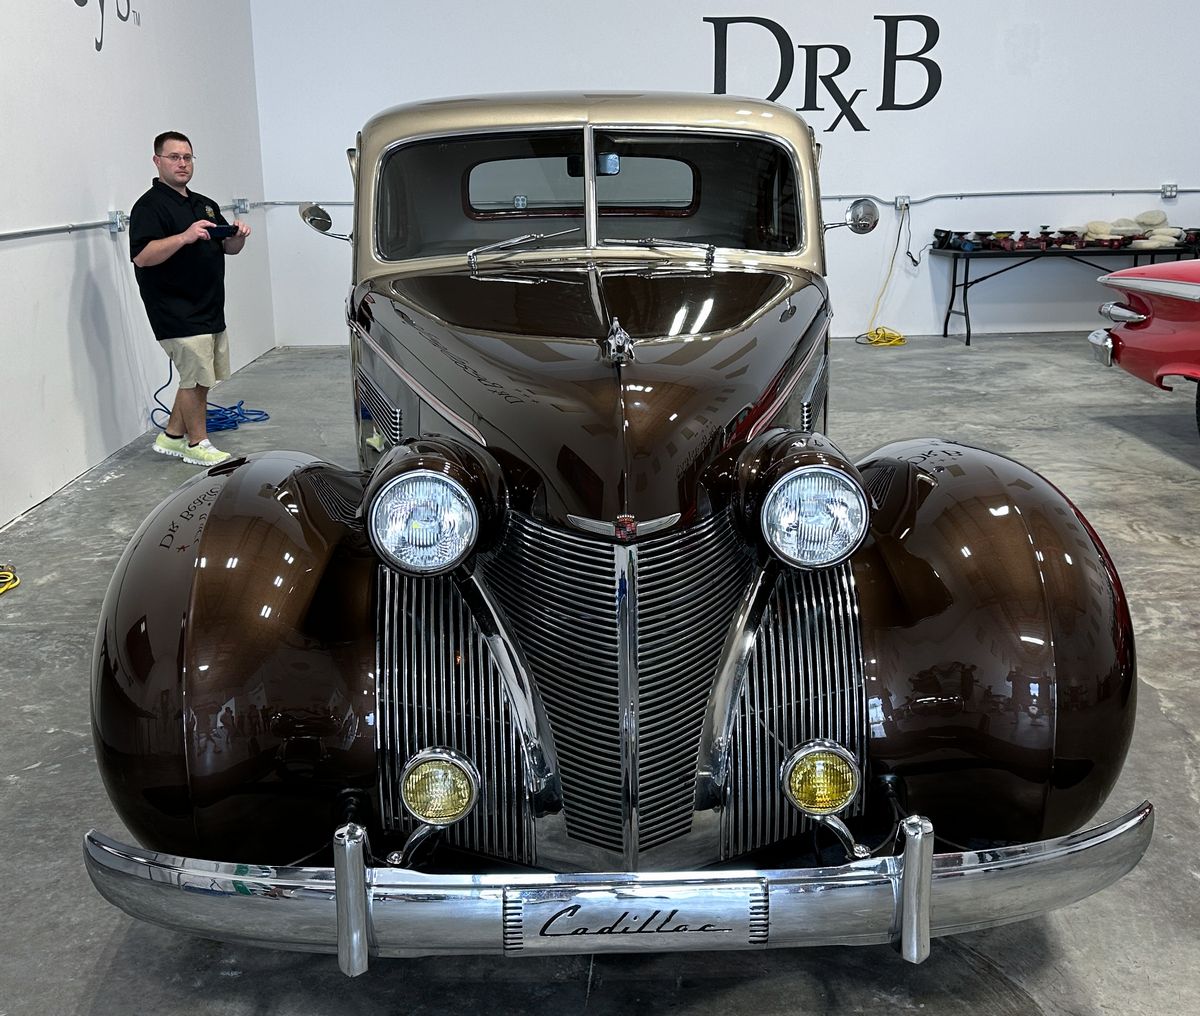
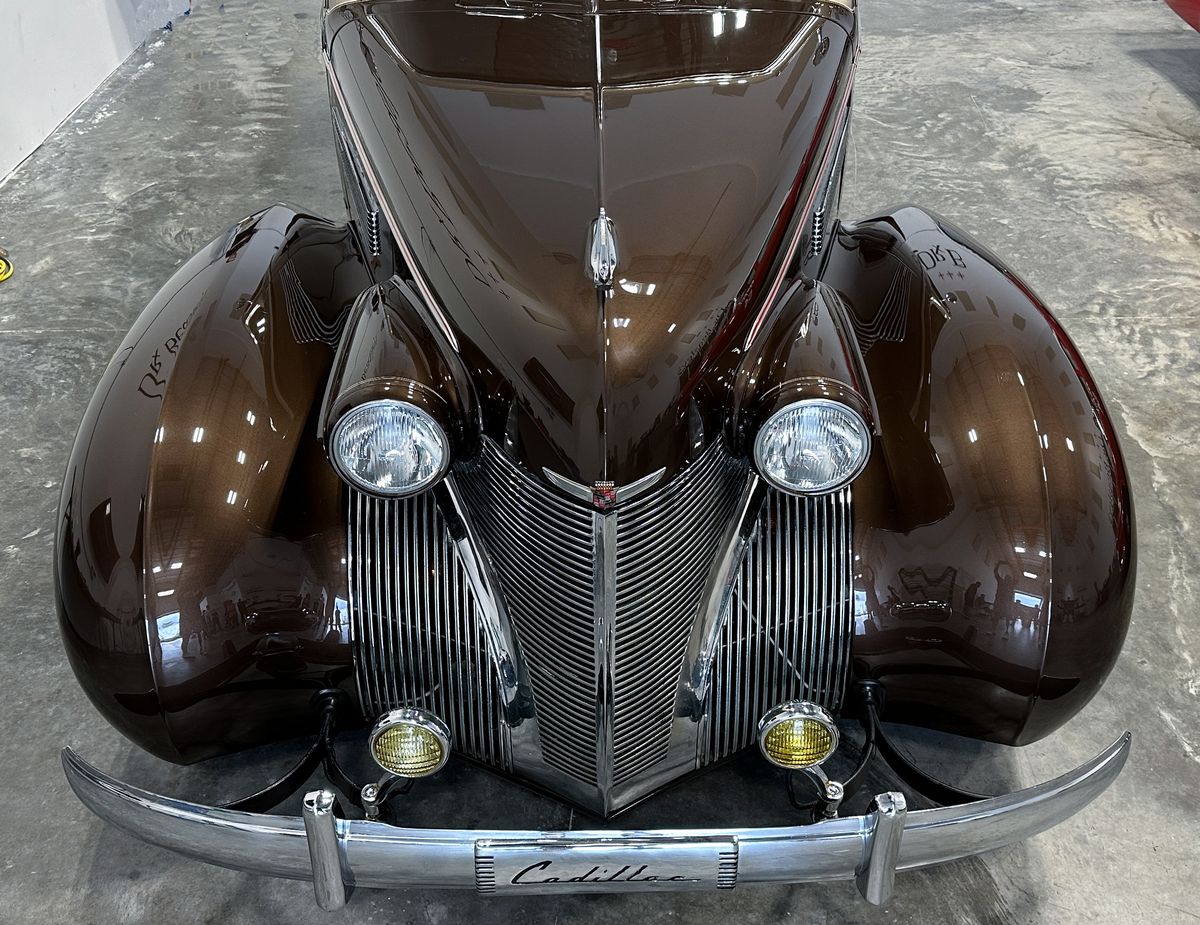
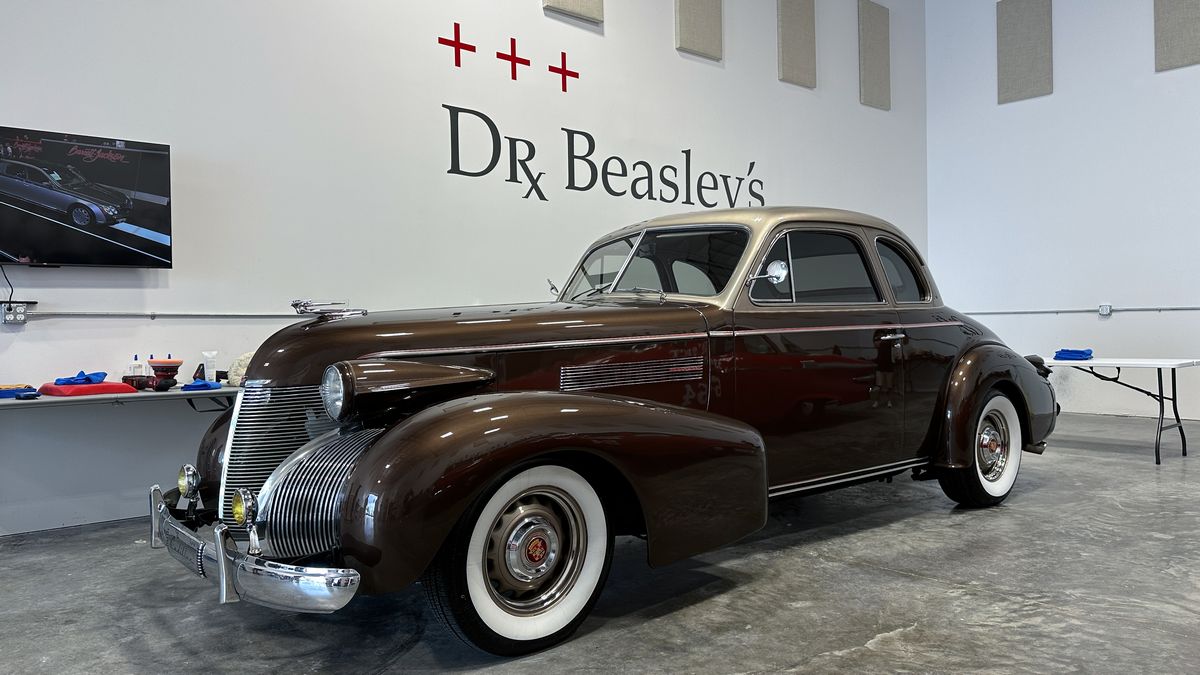
The other training car is a 1939 Cadillac Streetrod.
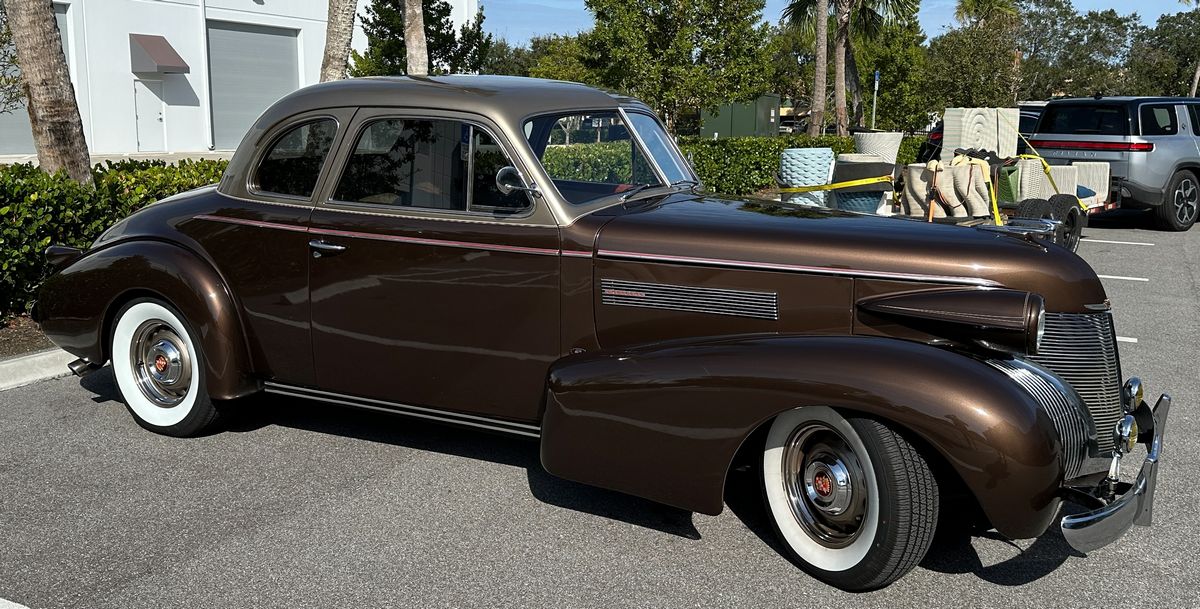
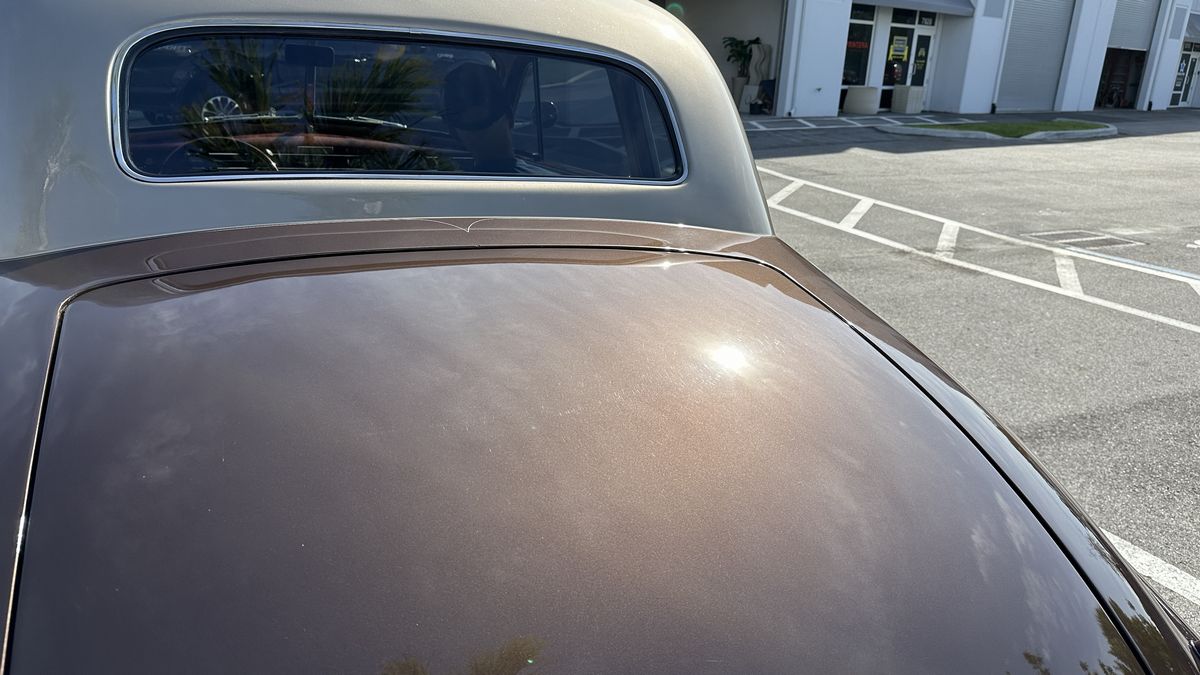
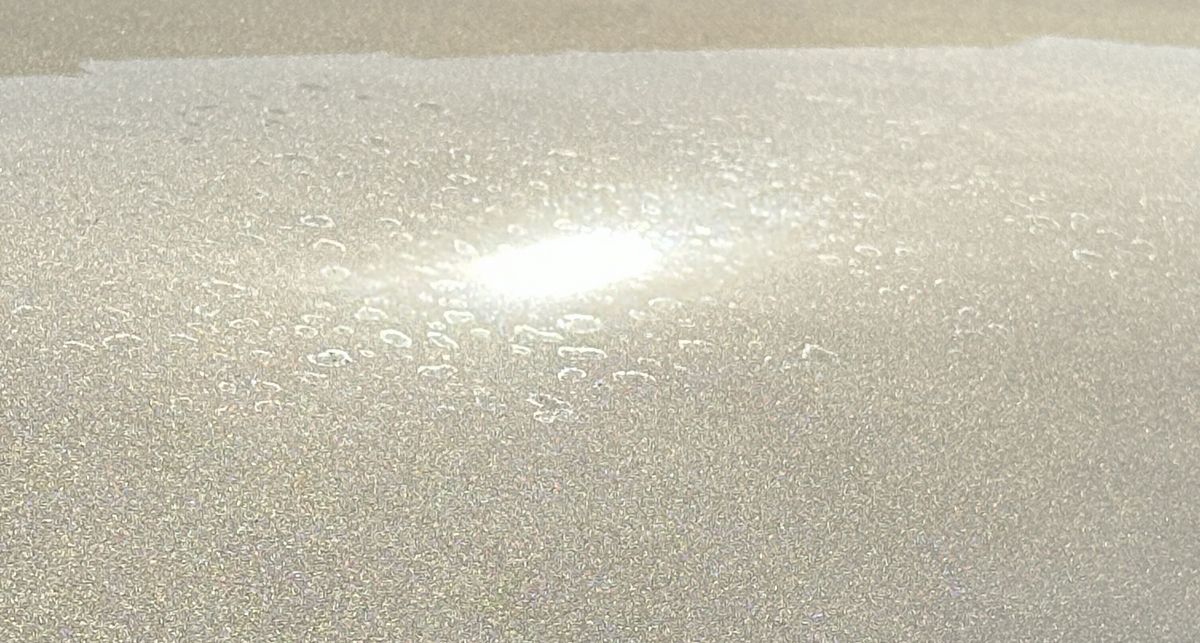
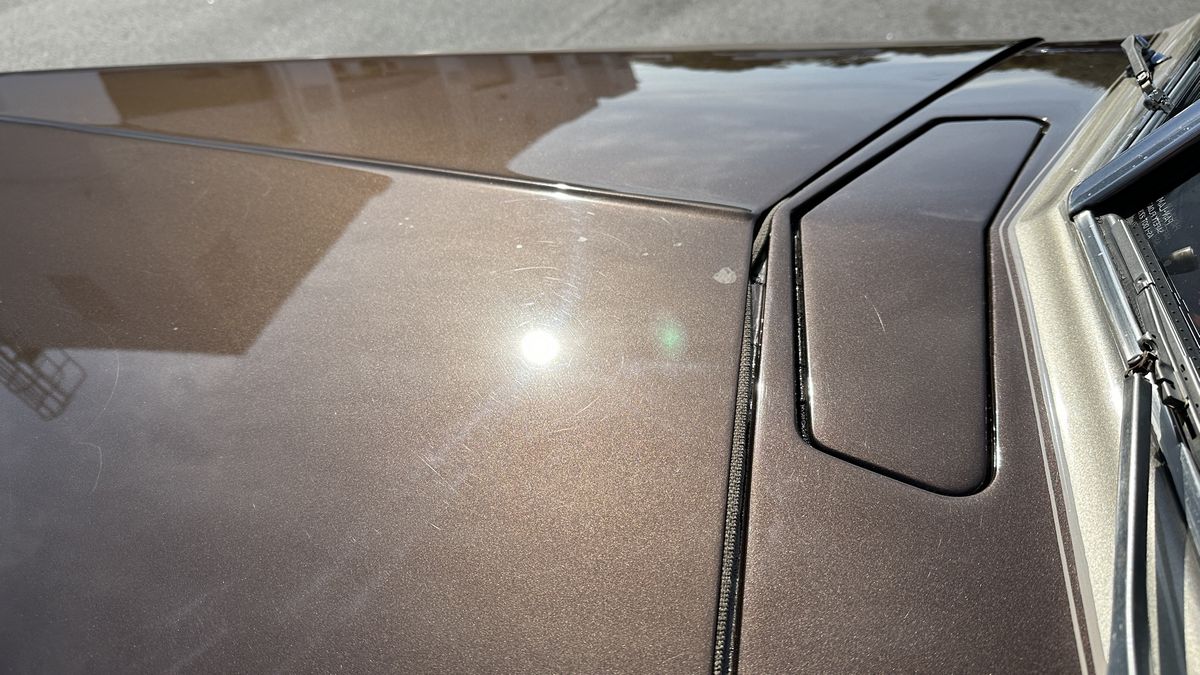
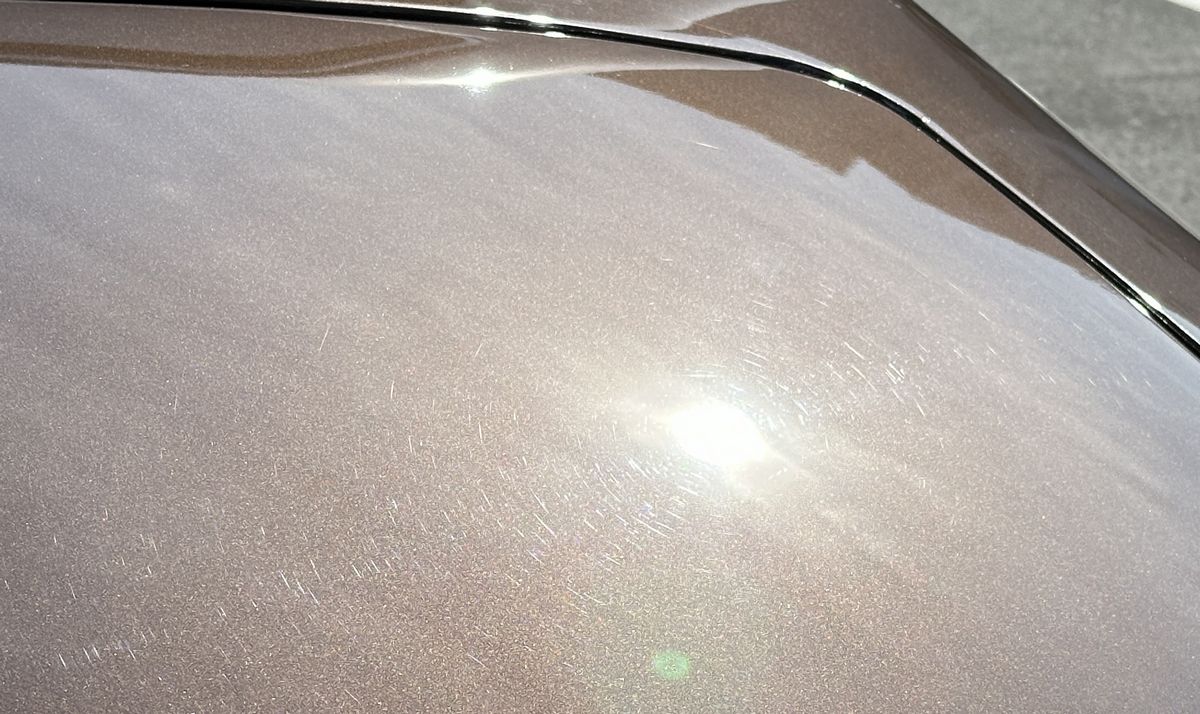
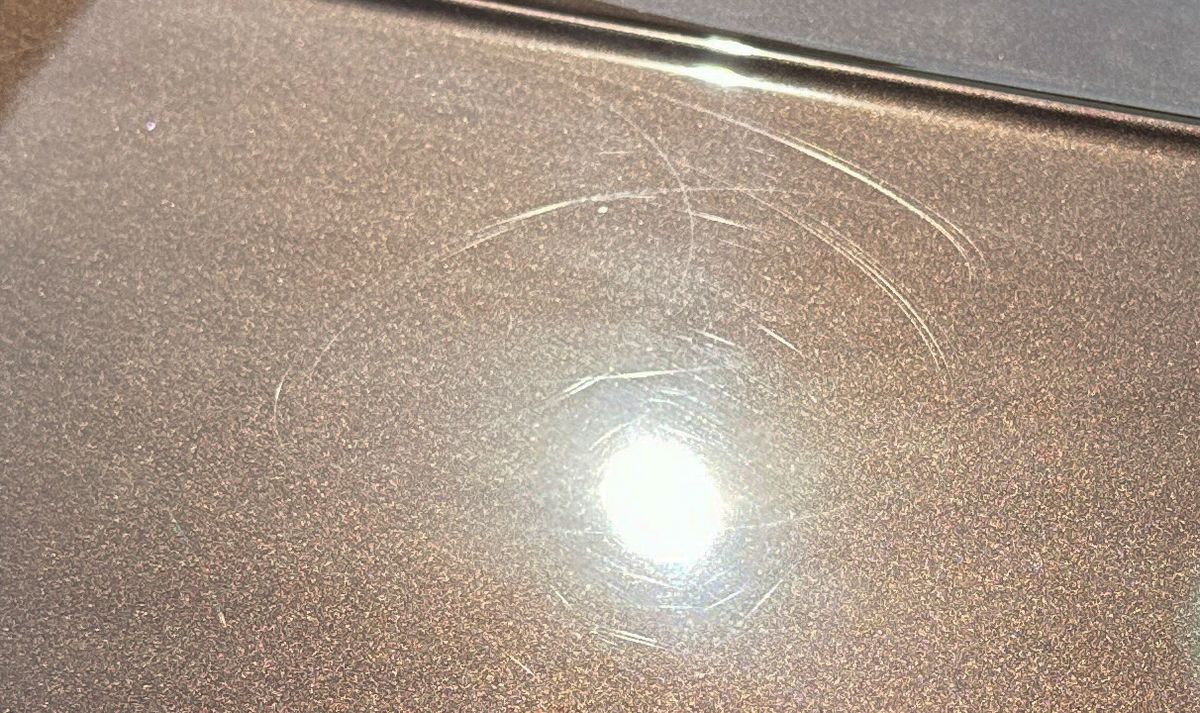
Before Condition – Light swirls, scratches and water spots.
This 1939 Caddy has SUPER HARD CLEARCOAT – and this makes it challenging to perfect no matter how you go about it.
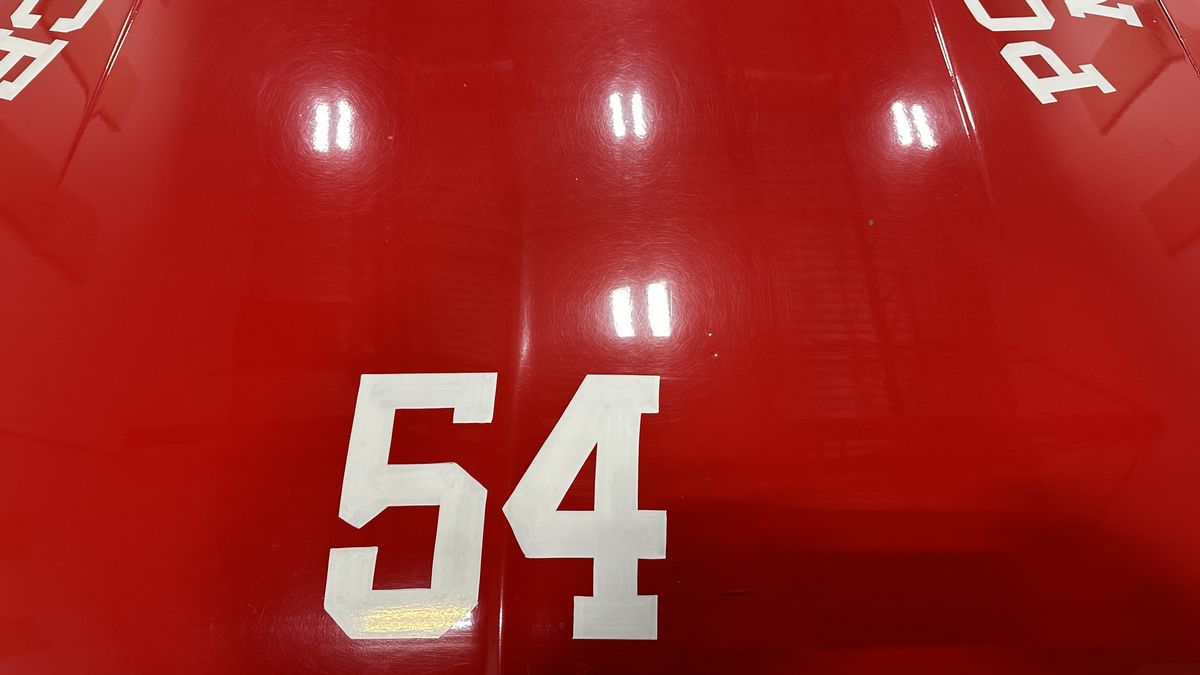
Before Condition for the 1961 Plymouth Fury

It’s Go Time!
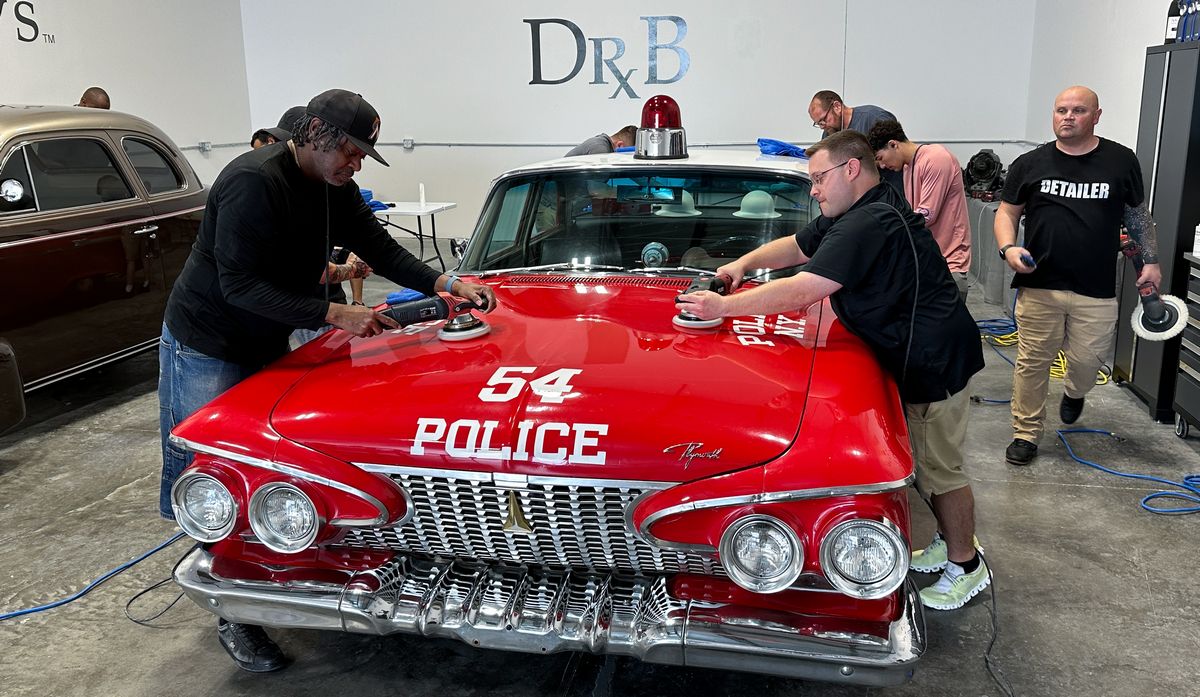
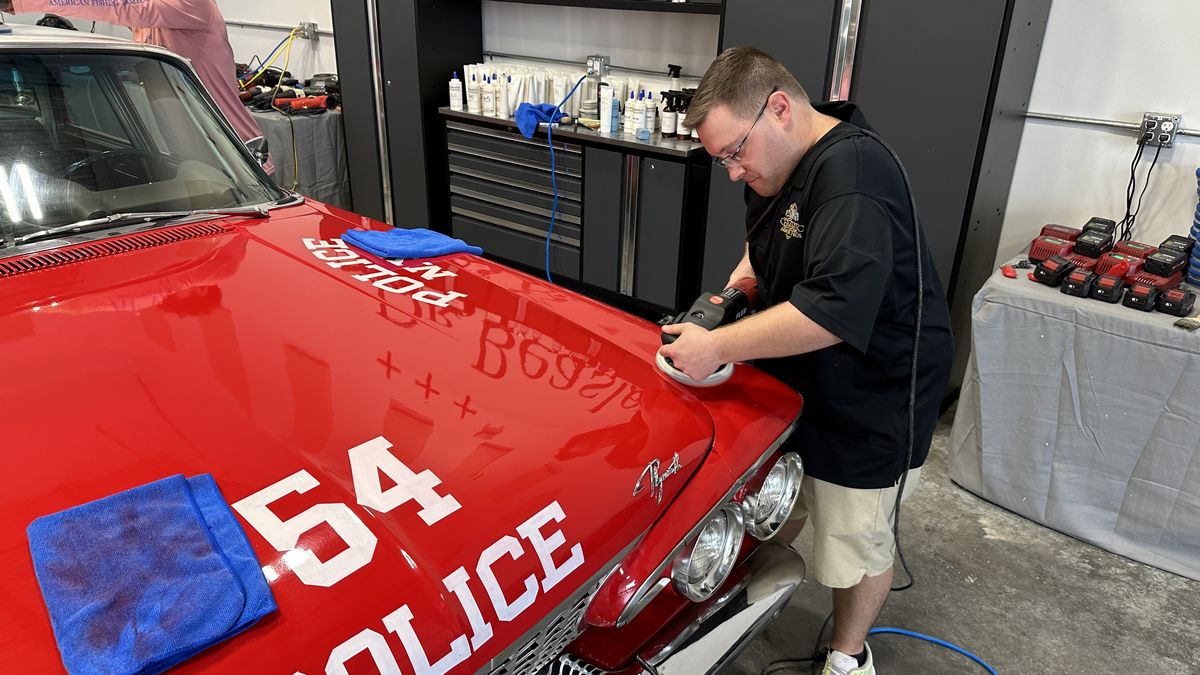
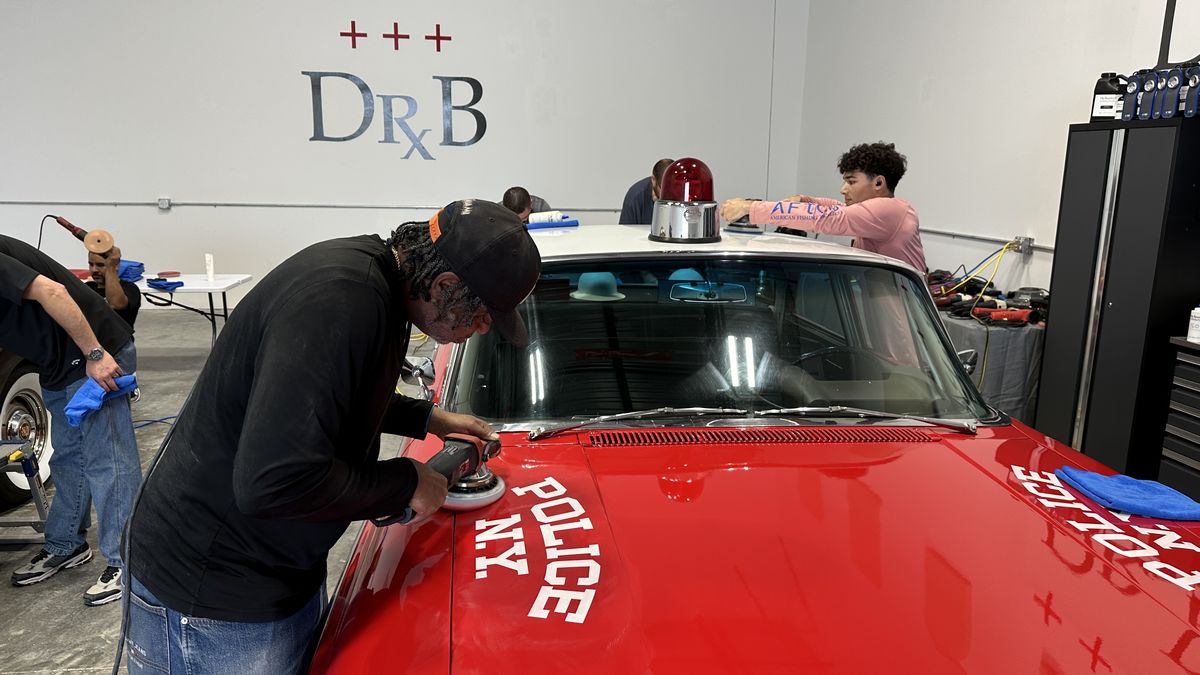
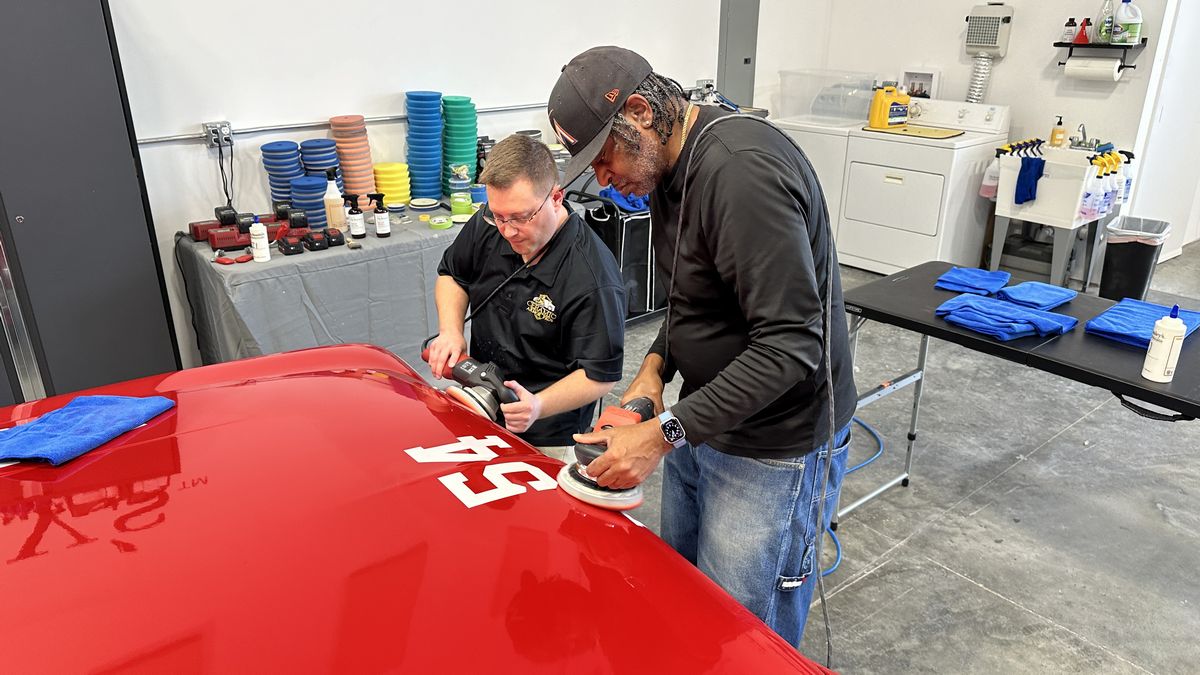

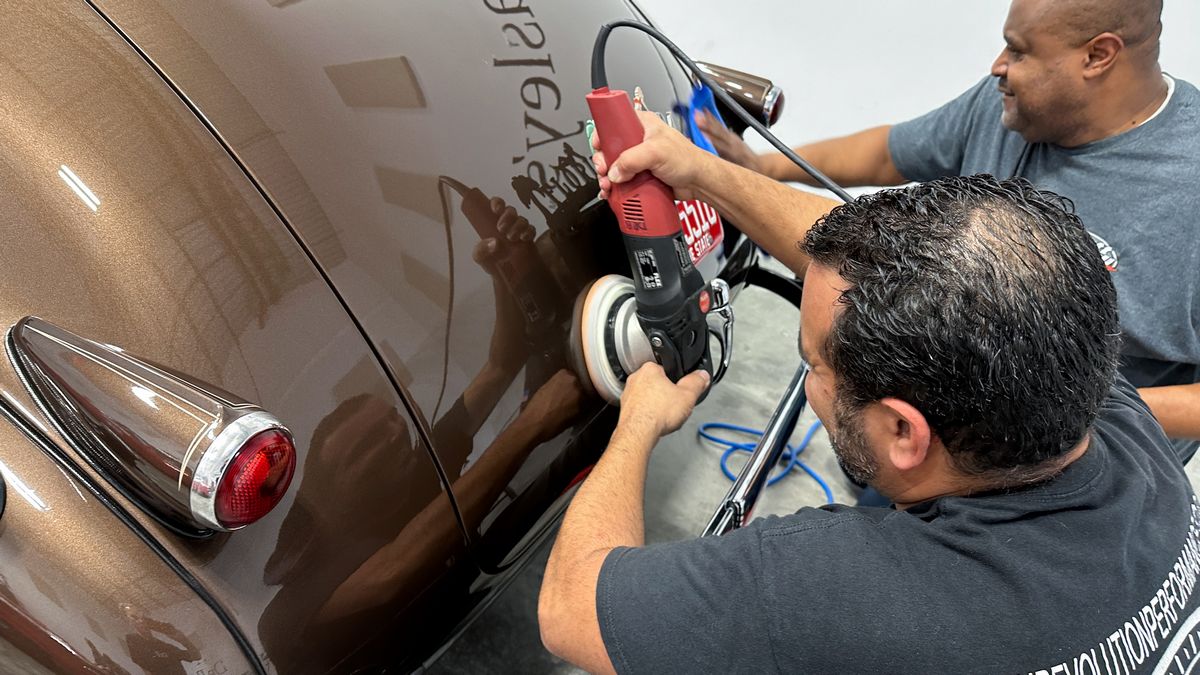
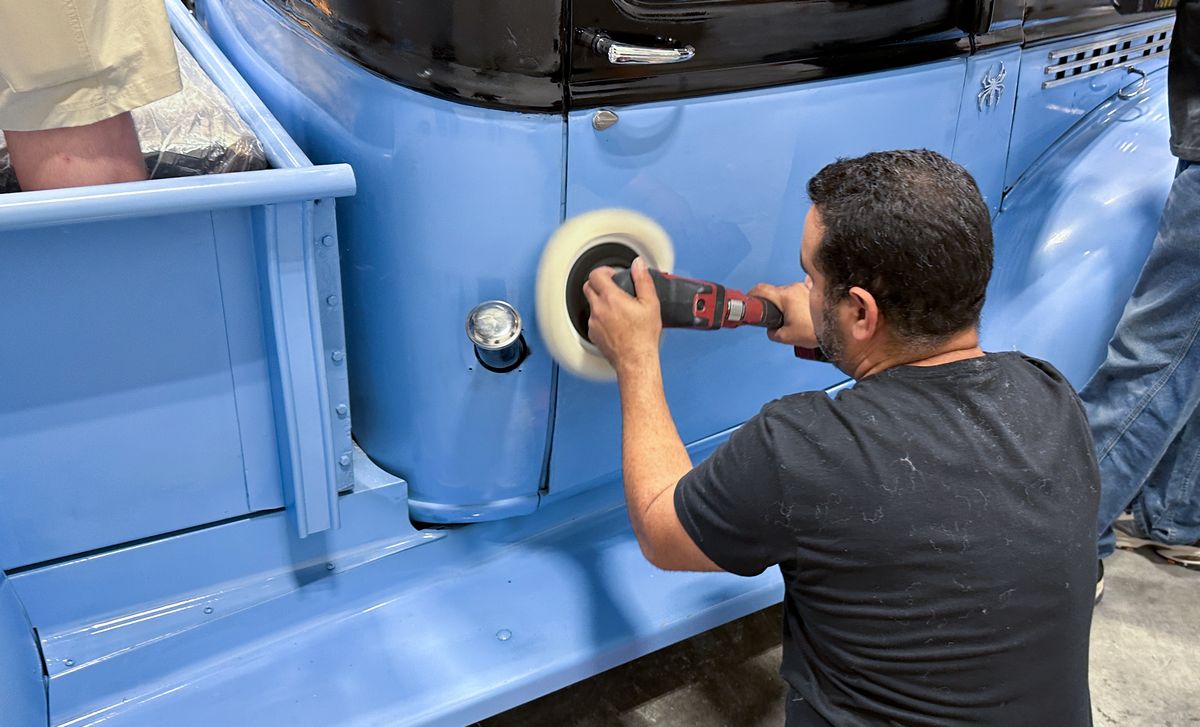
Due to the hardness of the paint, in order to remove even LIGHT swirls and scratches, the class had to bust out the rotary polishers with wool pads and the Dr. Beasley’s NSP 150 Primer.
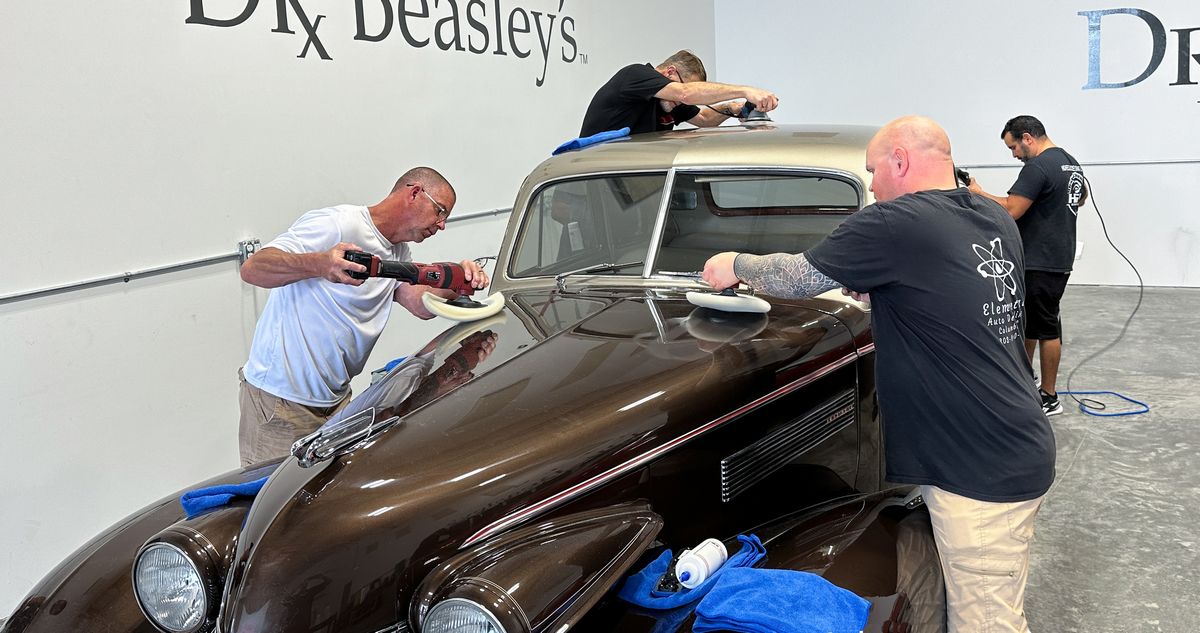
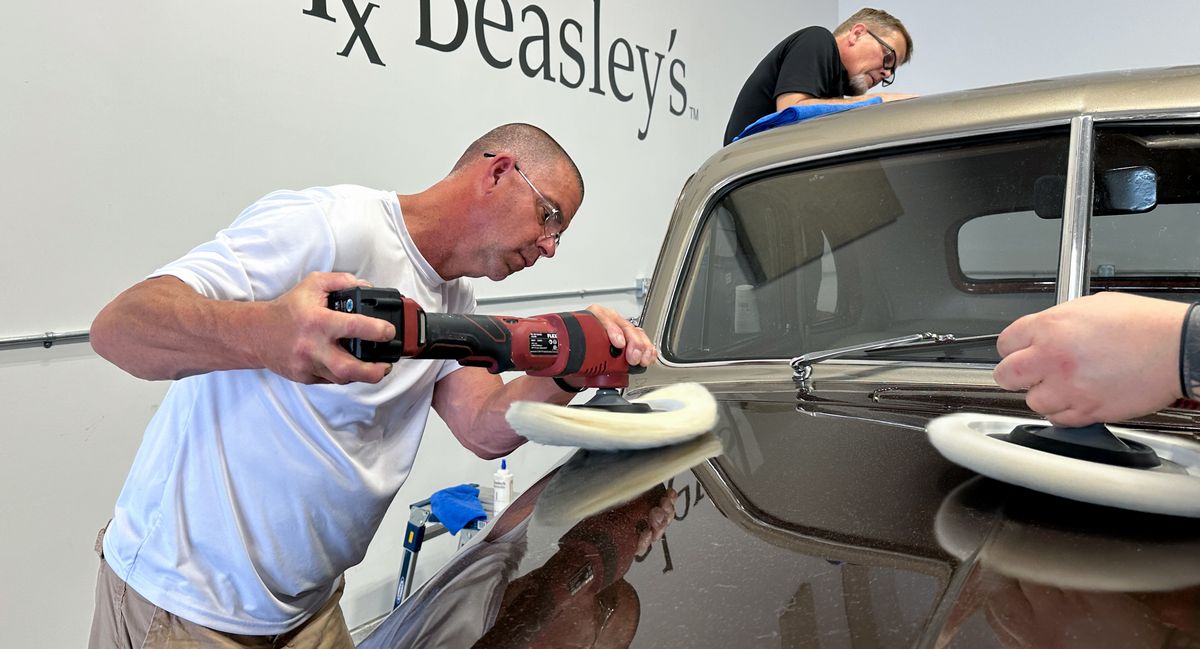
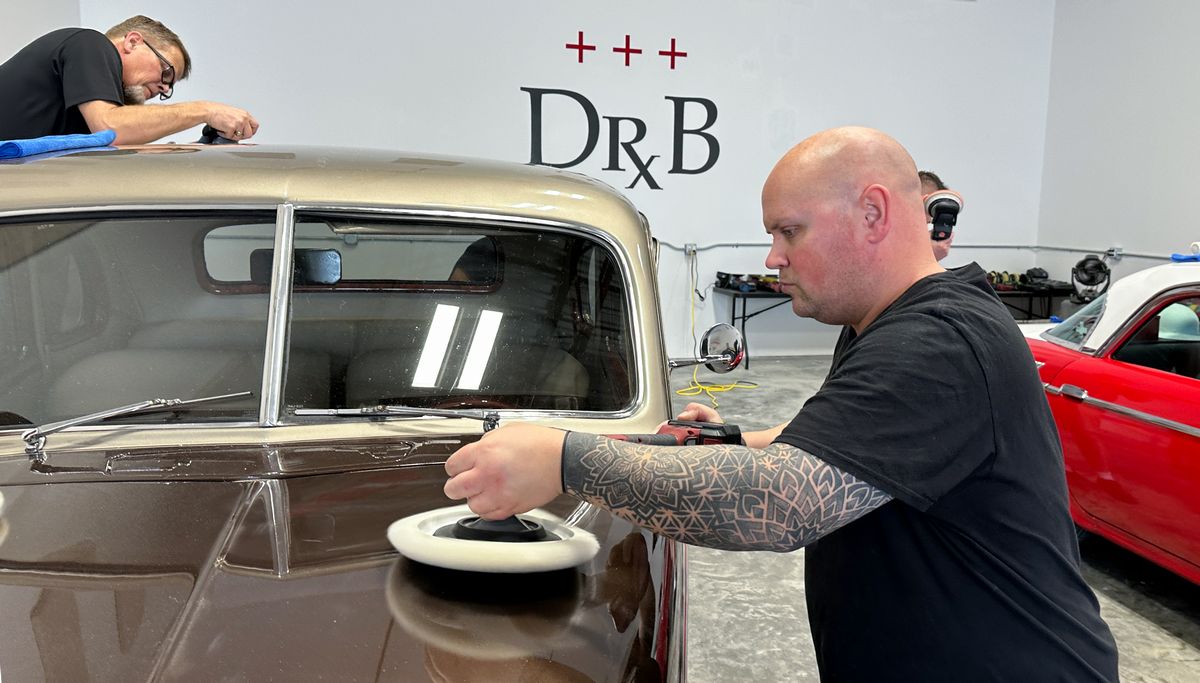
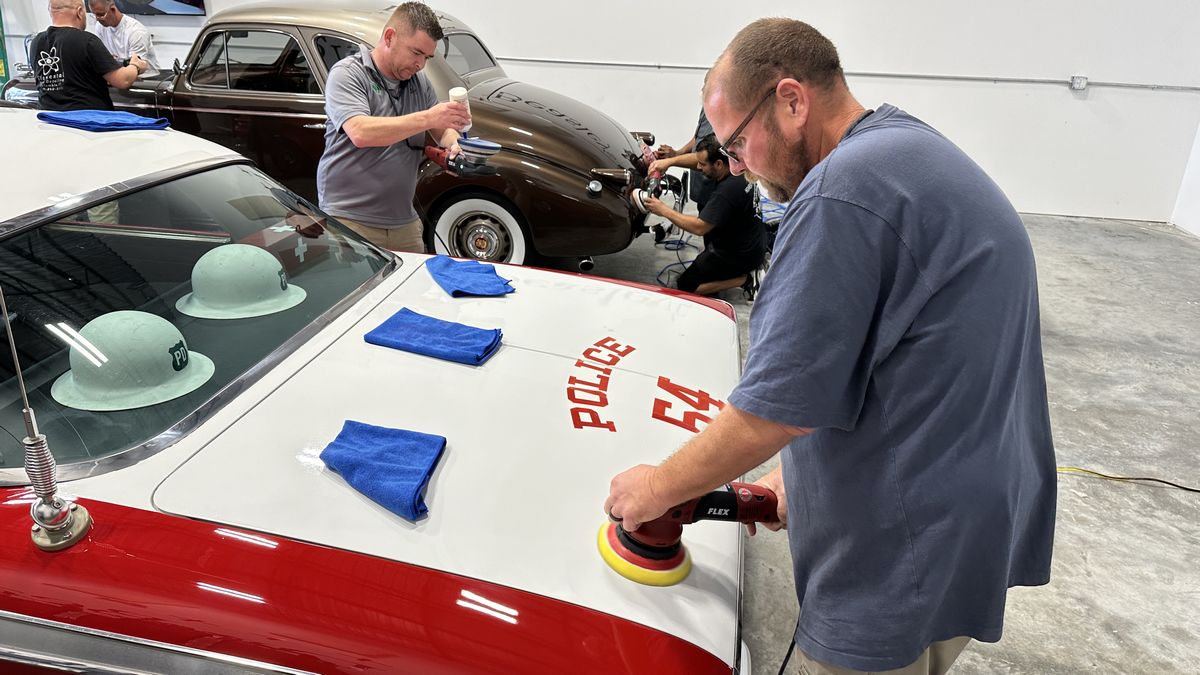
After cutting the paint on the hood, the class then switches over to foam pads with the NSP Z1 Primer
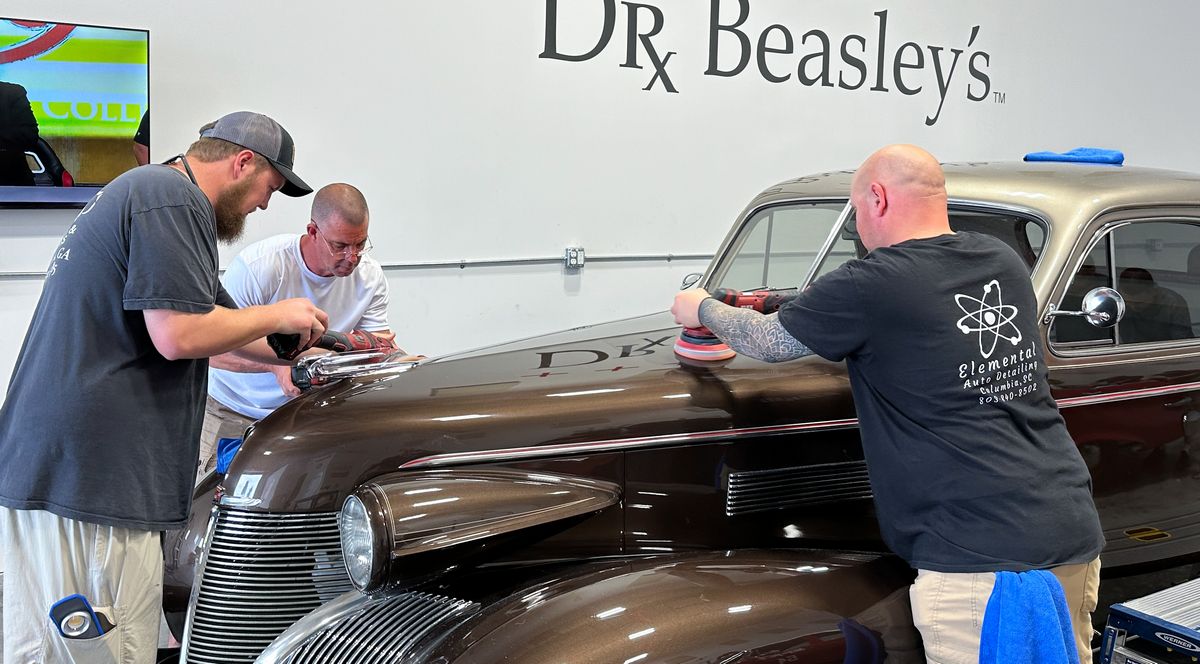
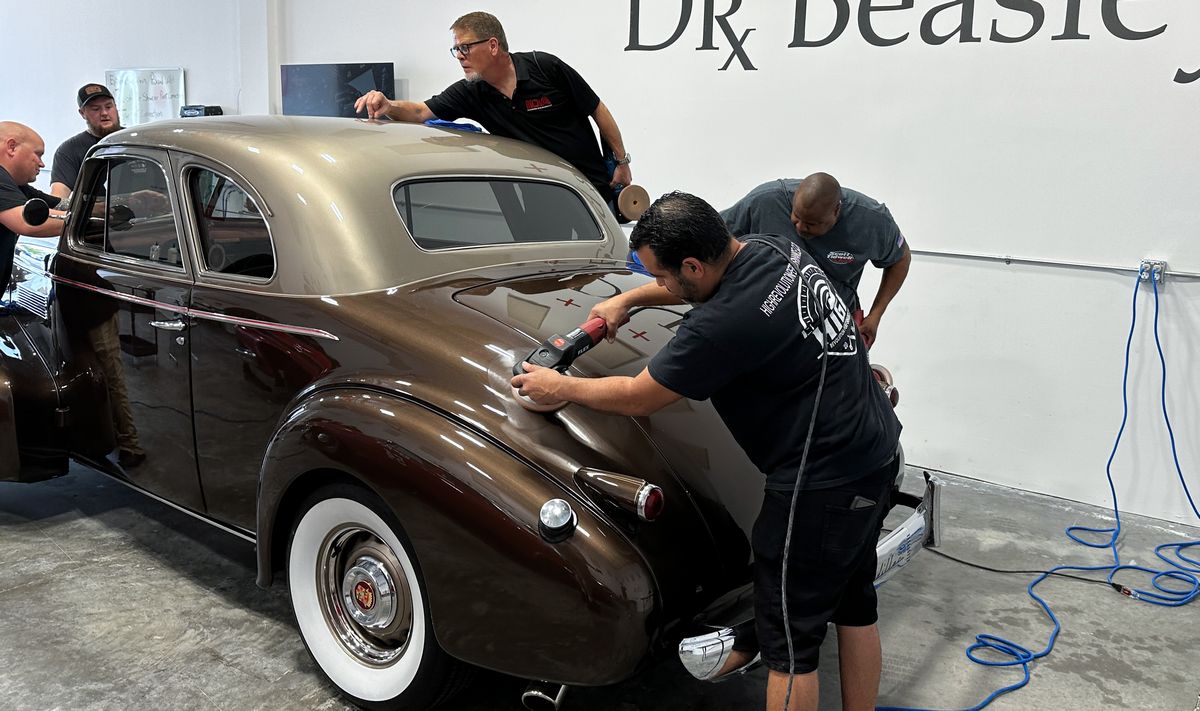
Making the POWER offered by the FLEX 3401 work for you!
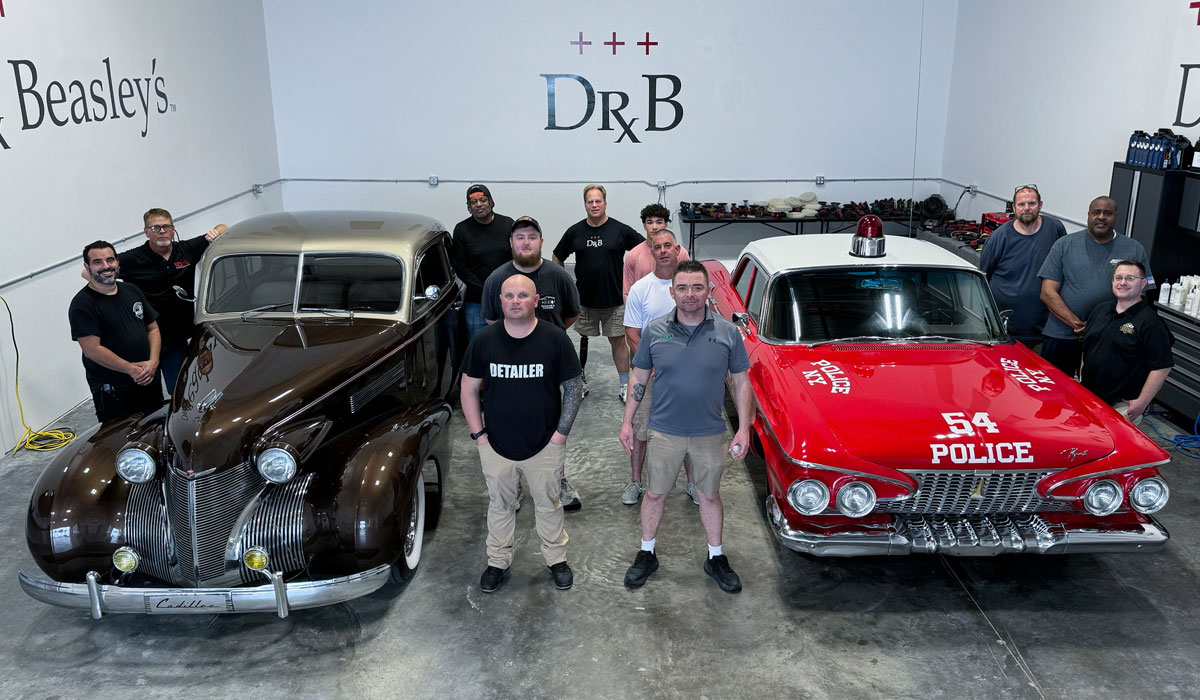
Here’s the final results!
And here’s the team that made the magic happen!
Dinner at Fresh Catch!
The class worked super hard today, knocking out 3 of the most popular and profitable topics in the car detailing world while getting plenty of hands-on time with rotary polisers as well as orbital polishers. This dinner was well-earned!

And I’m confident, all the guys slept great that night!
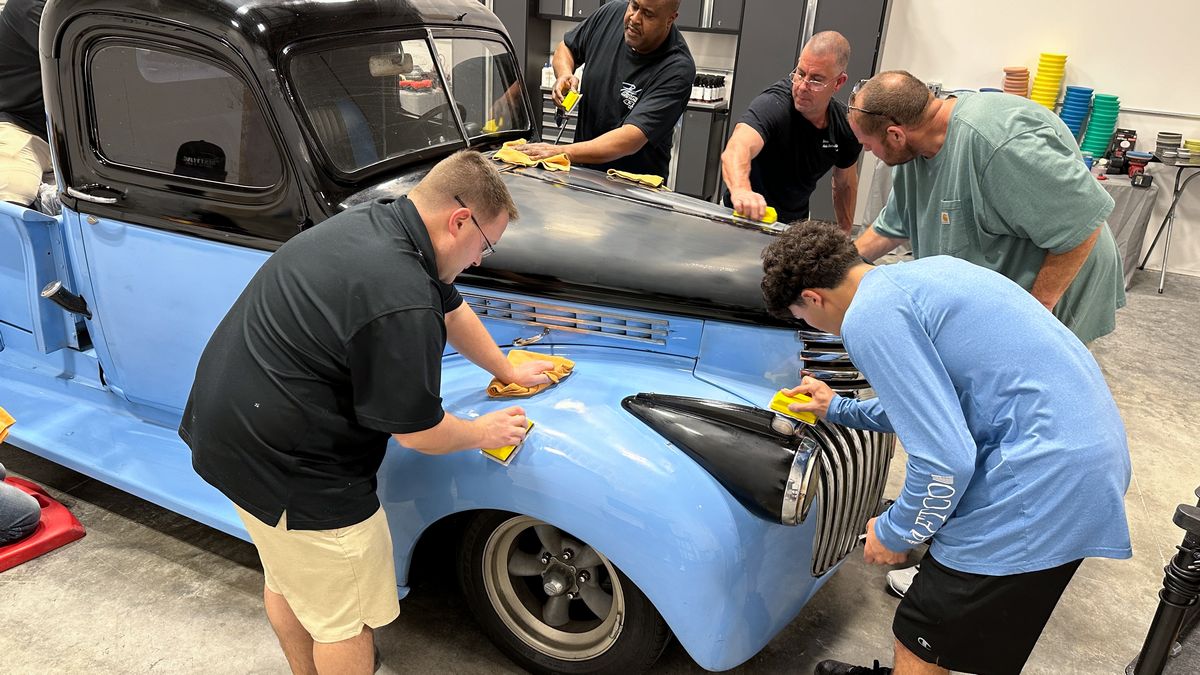
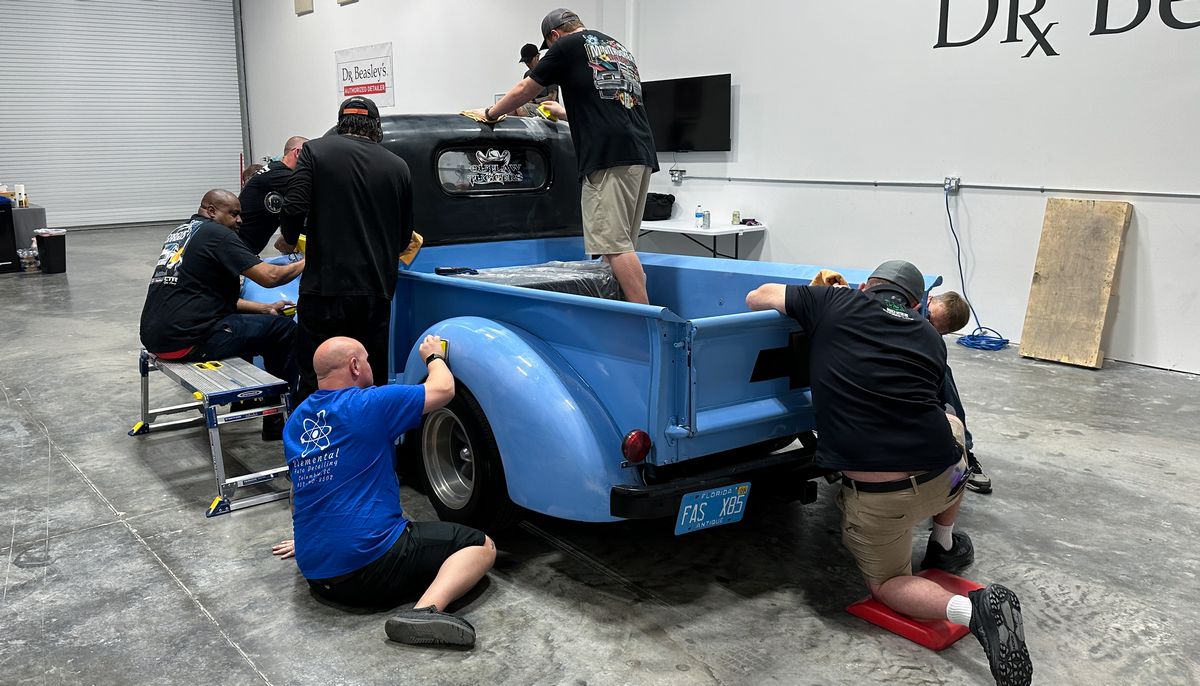
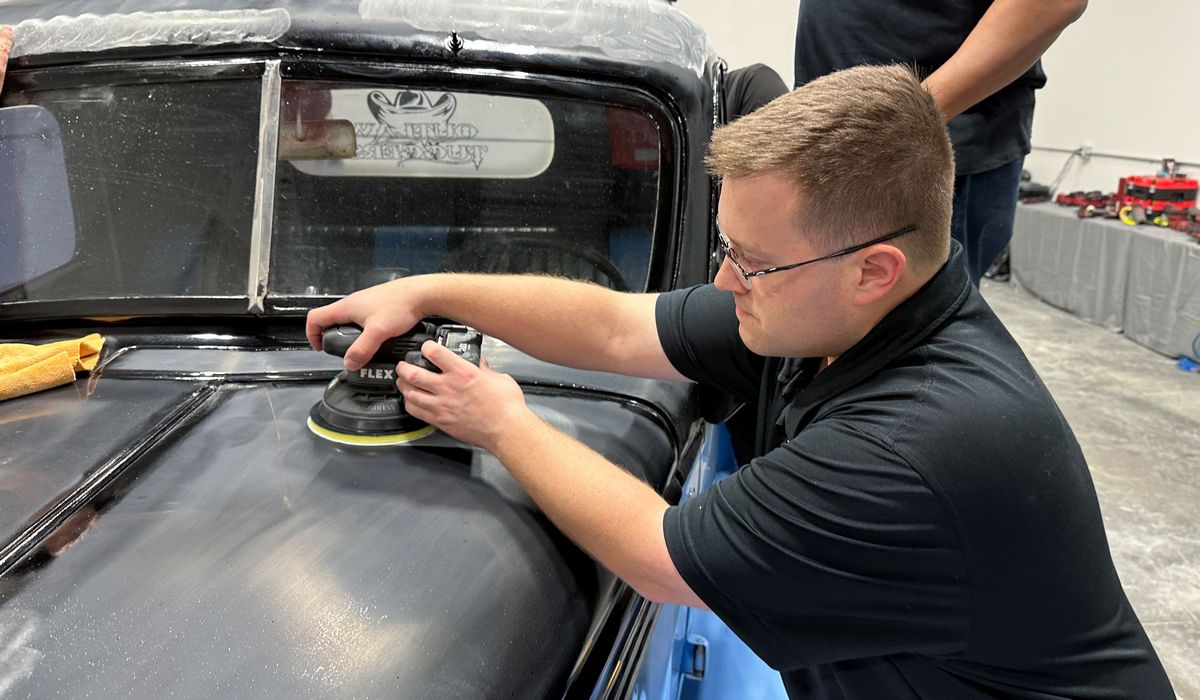
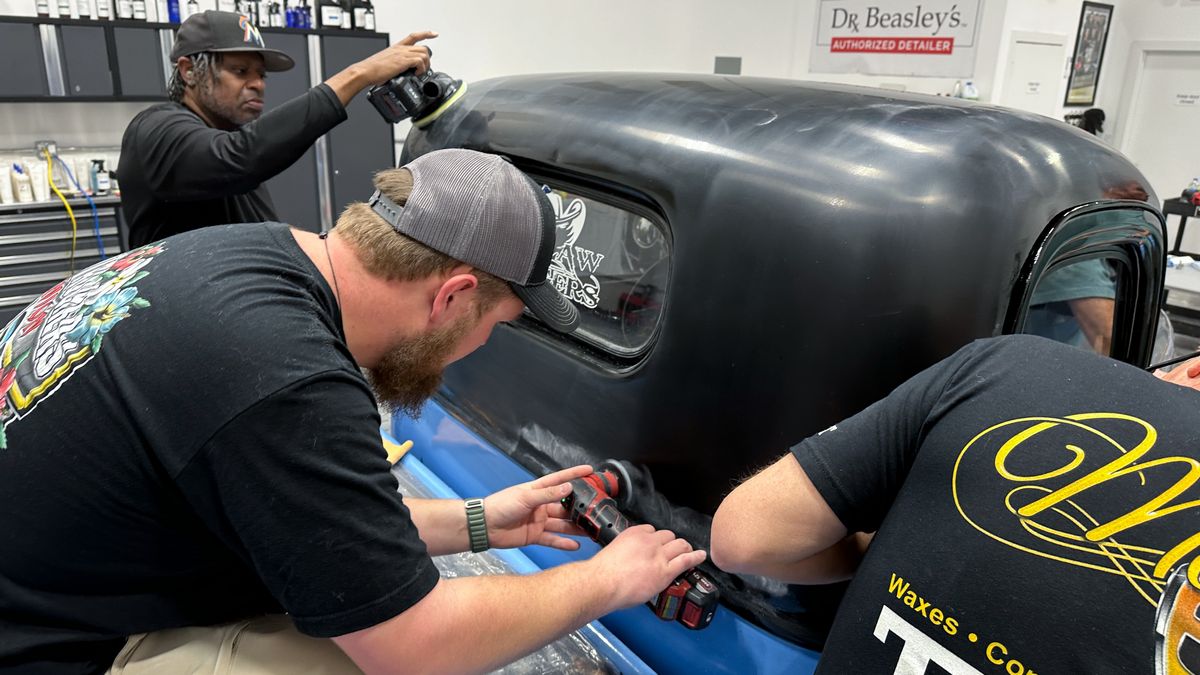
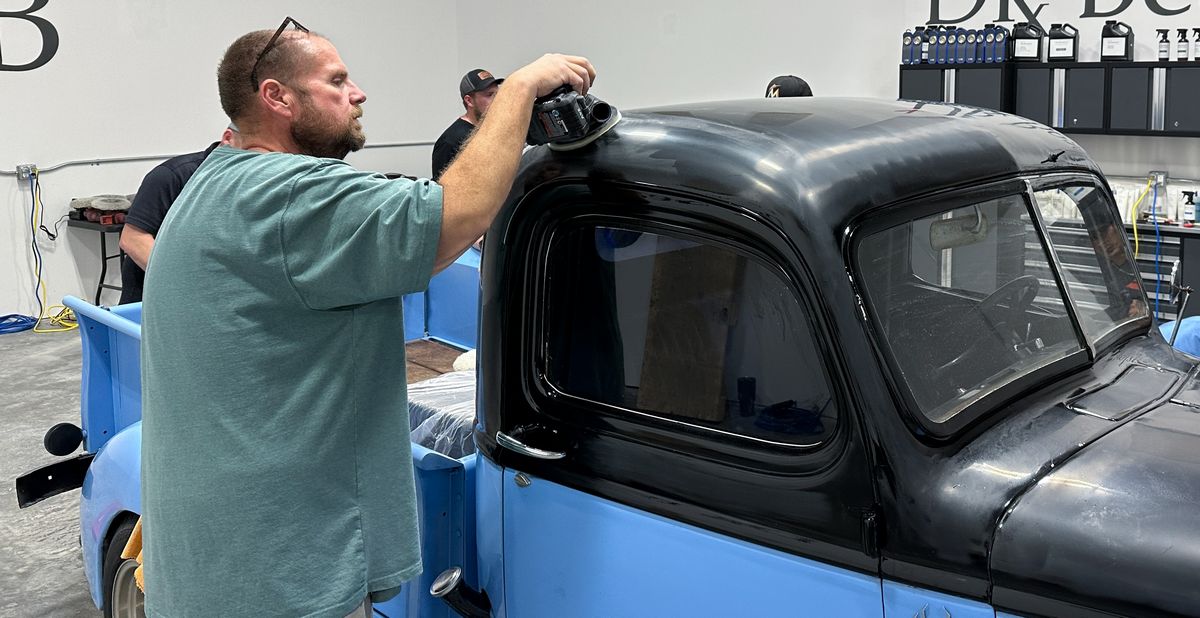
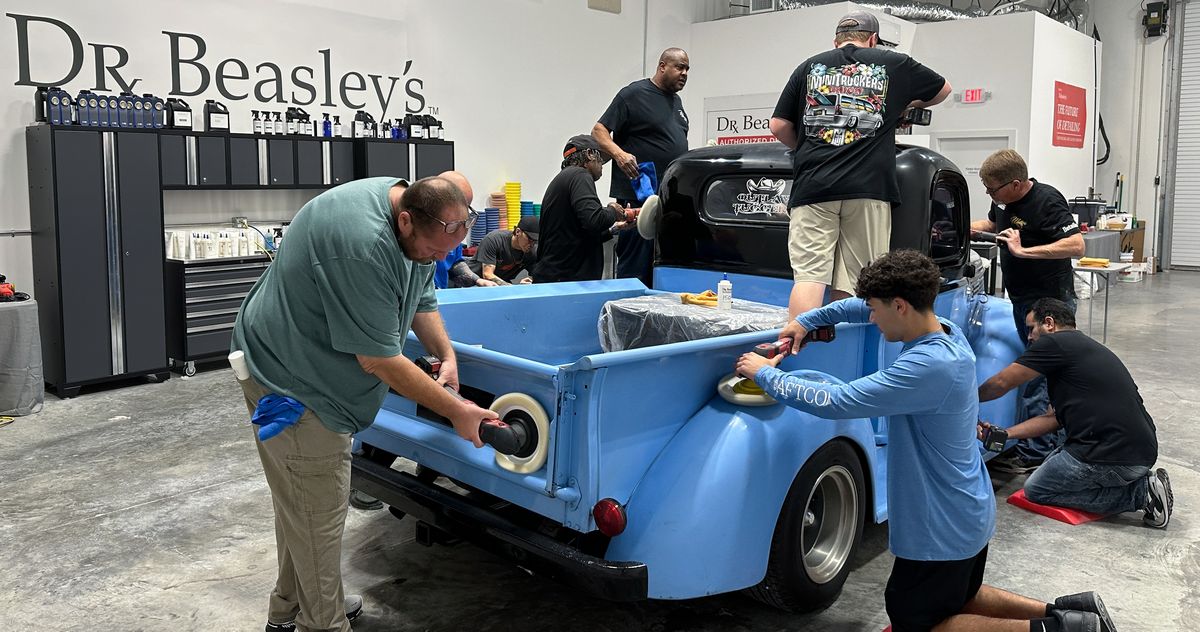
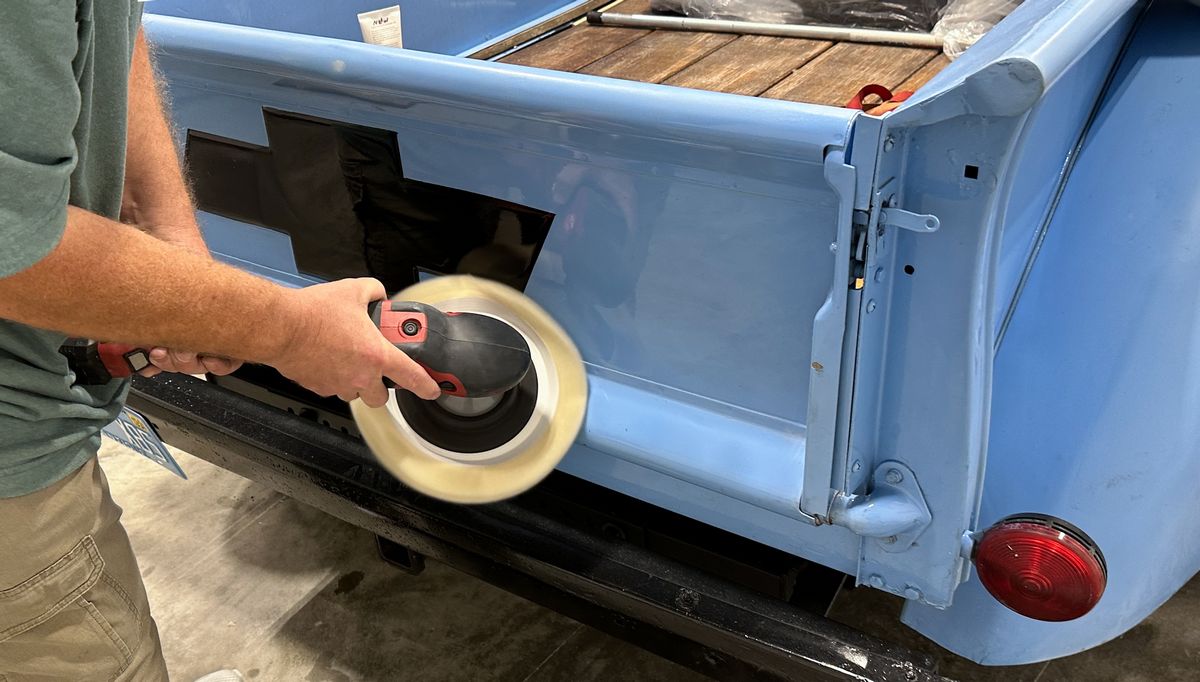
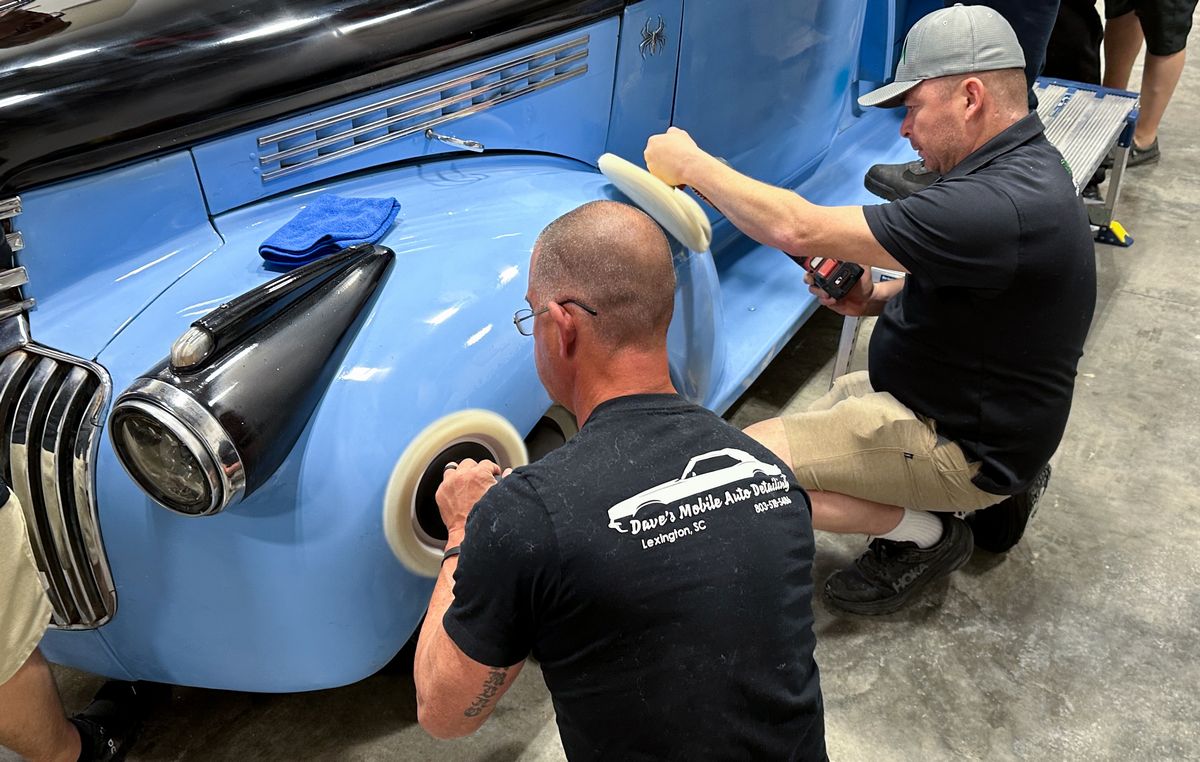
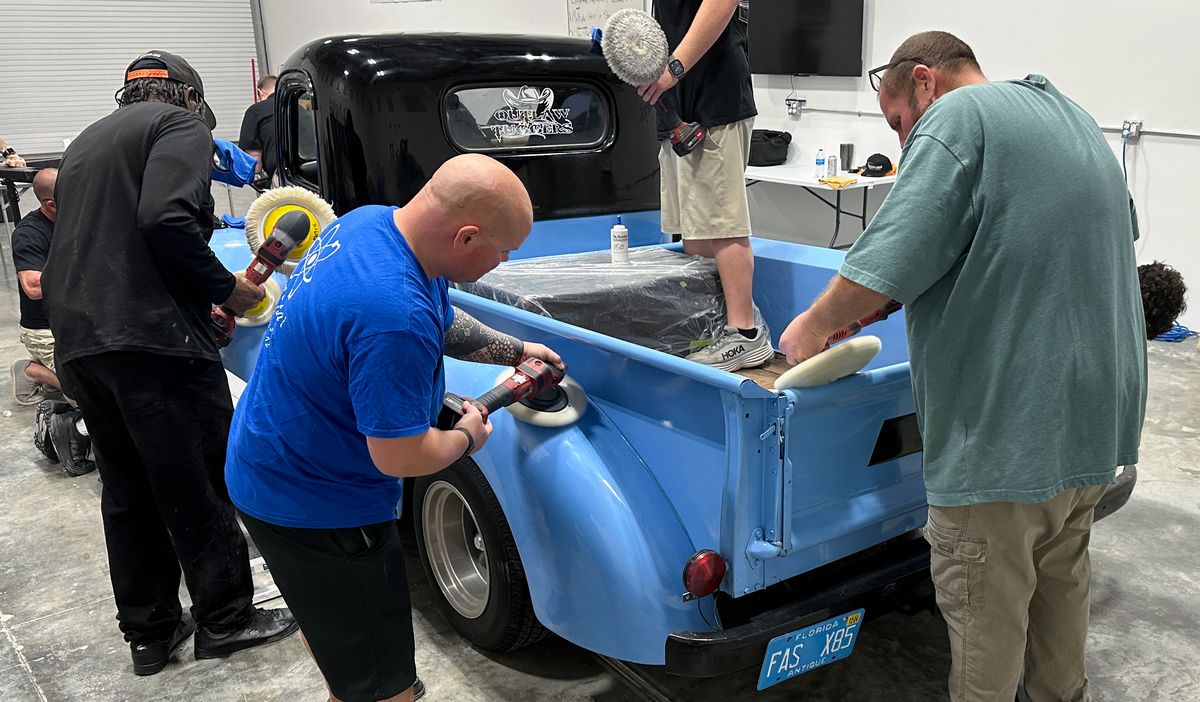
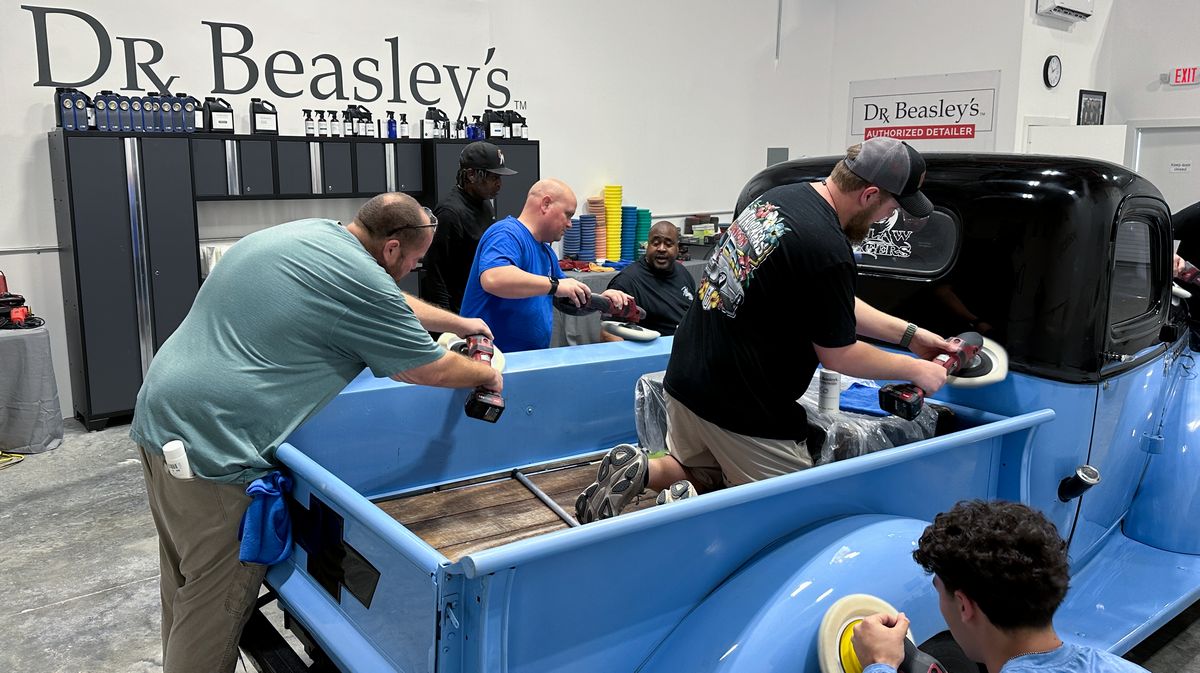
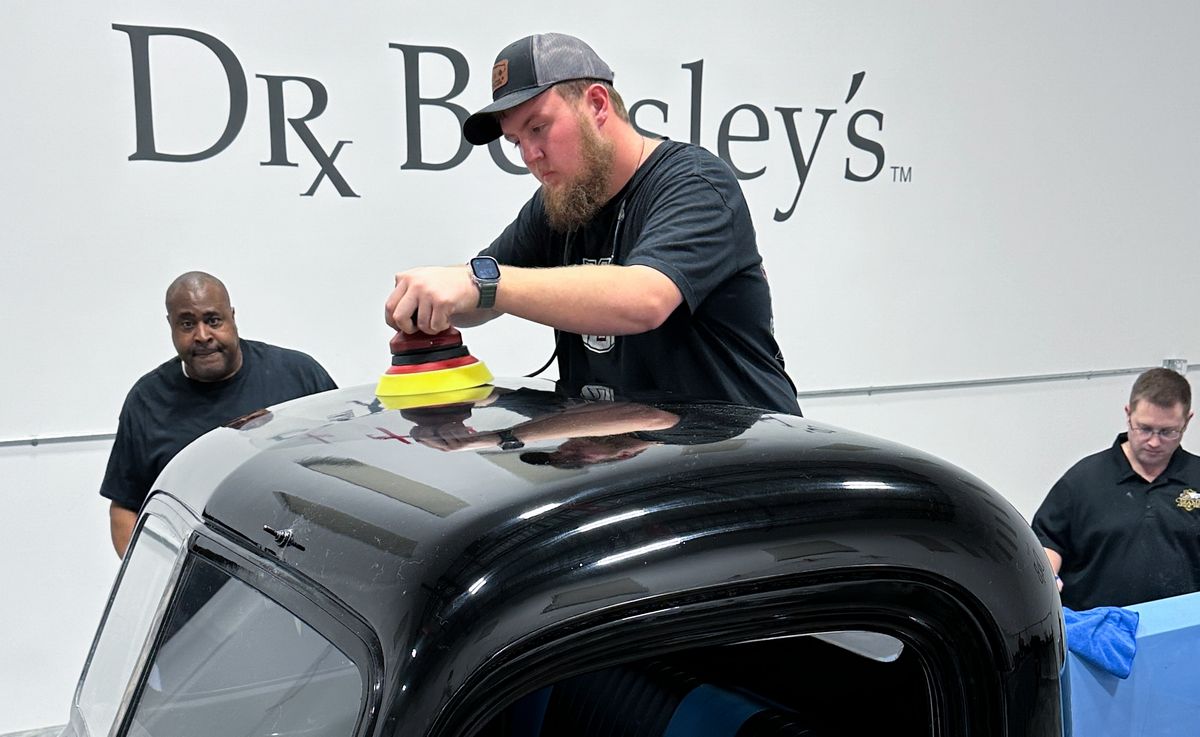
Day 2 – Saturday Morning – Removing Orange Peel – Hand & Machine Sanding
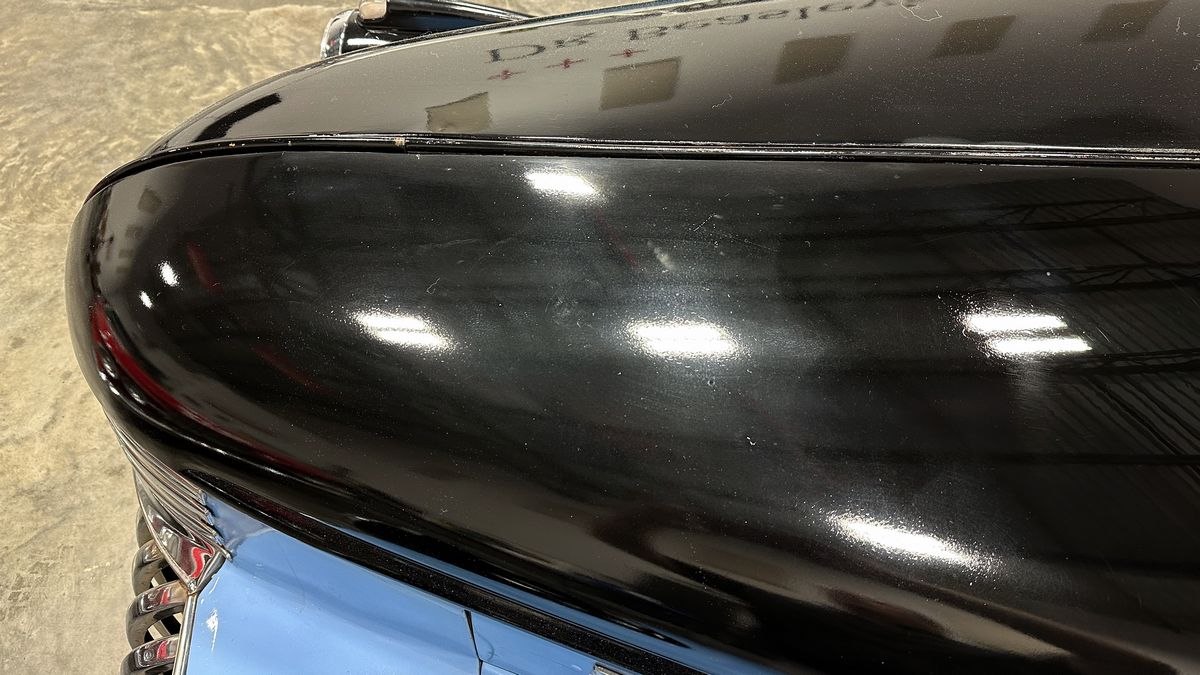
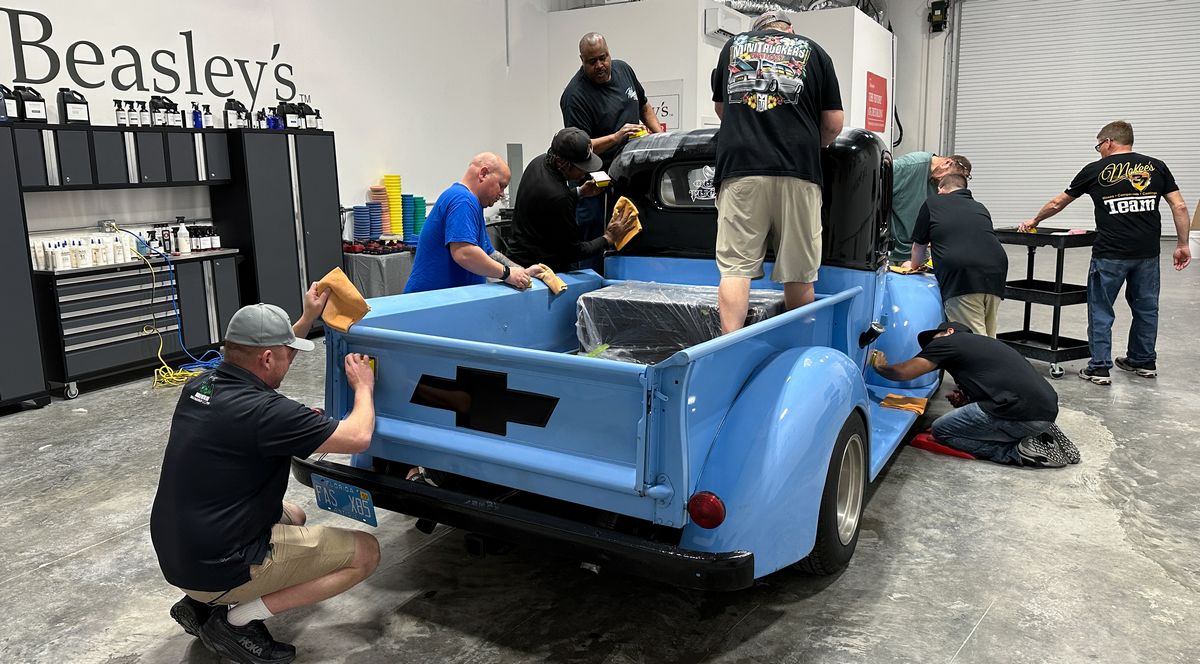
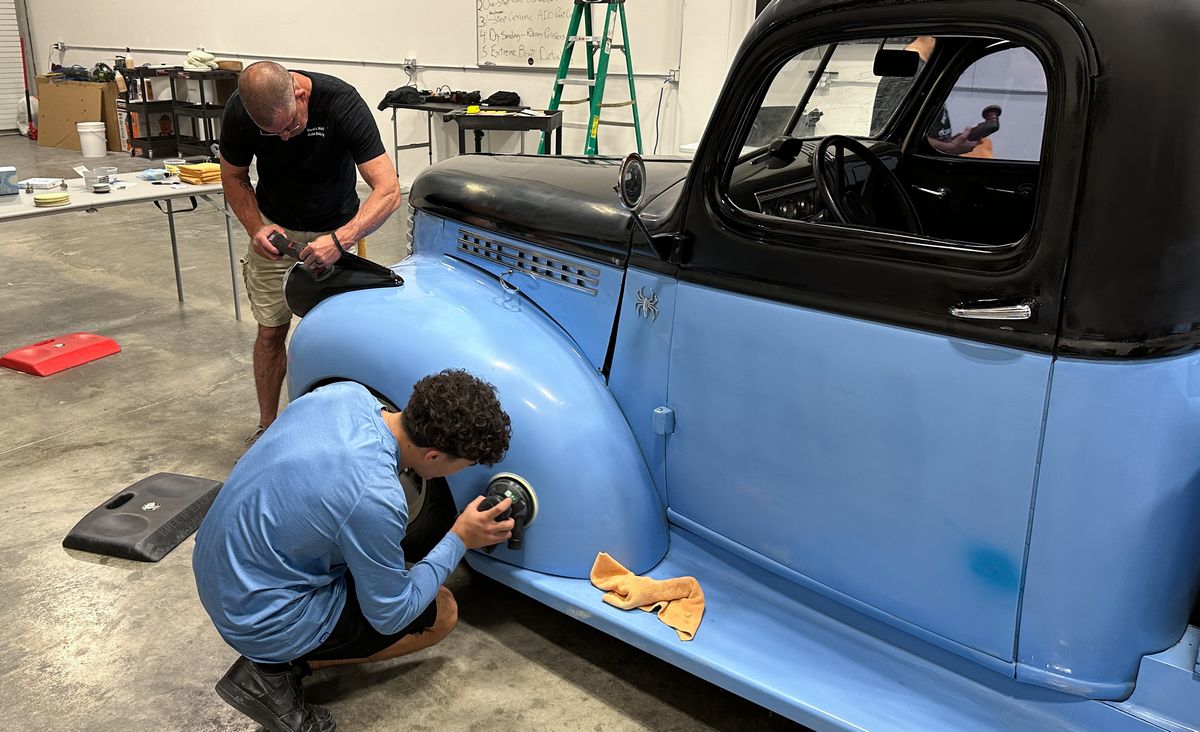
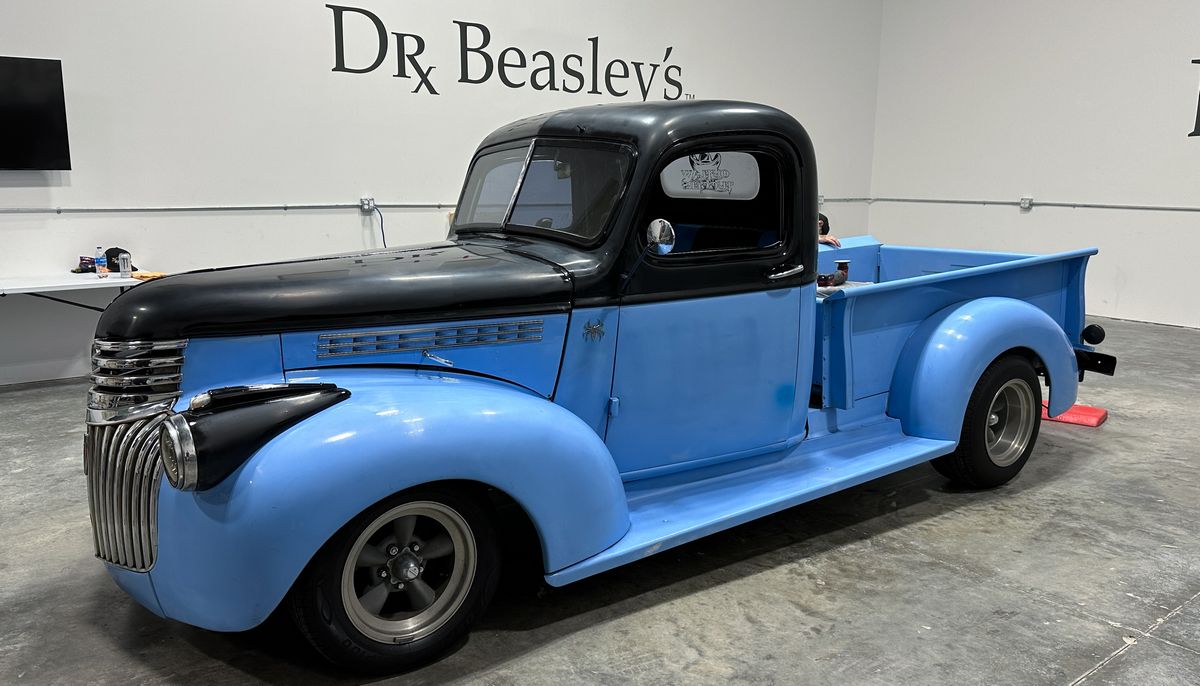
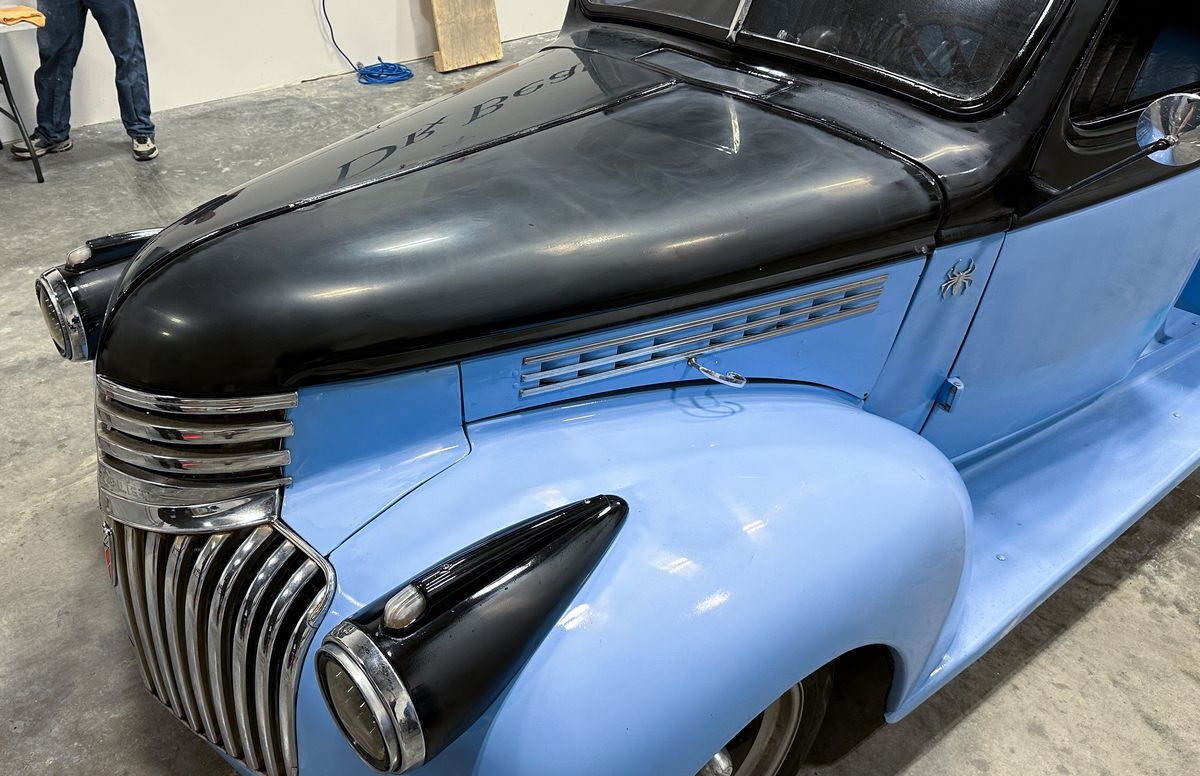
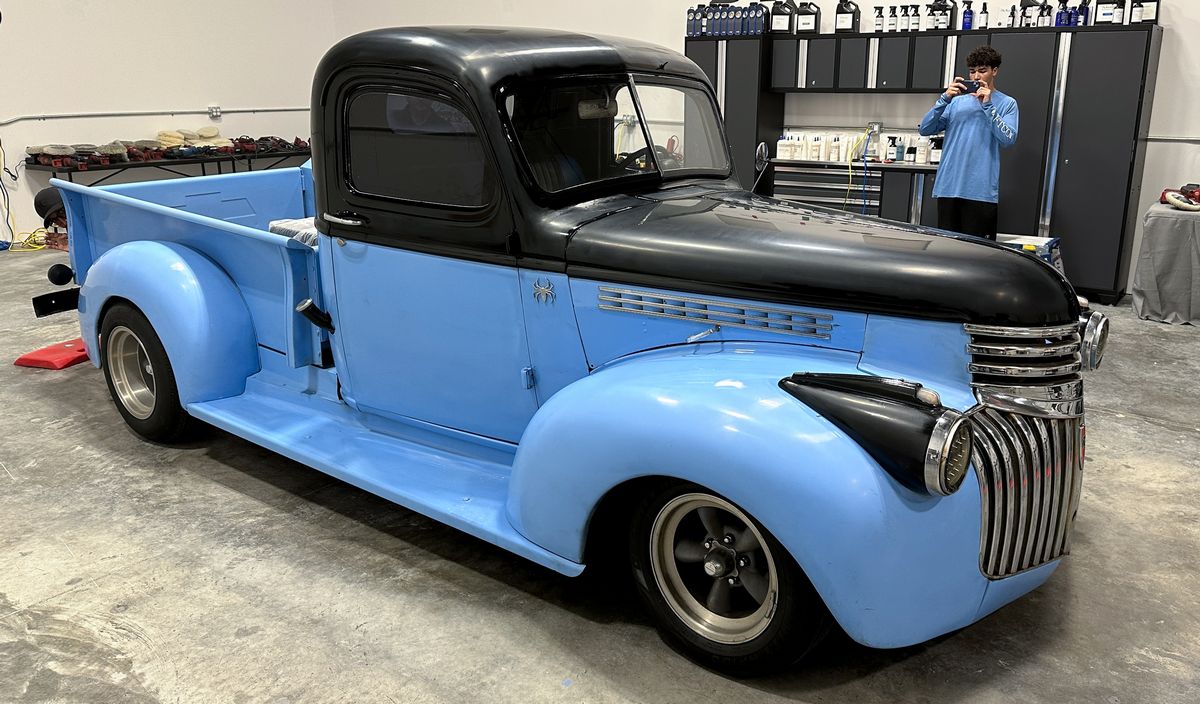
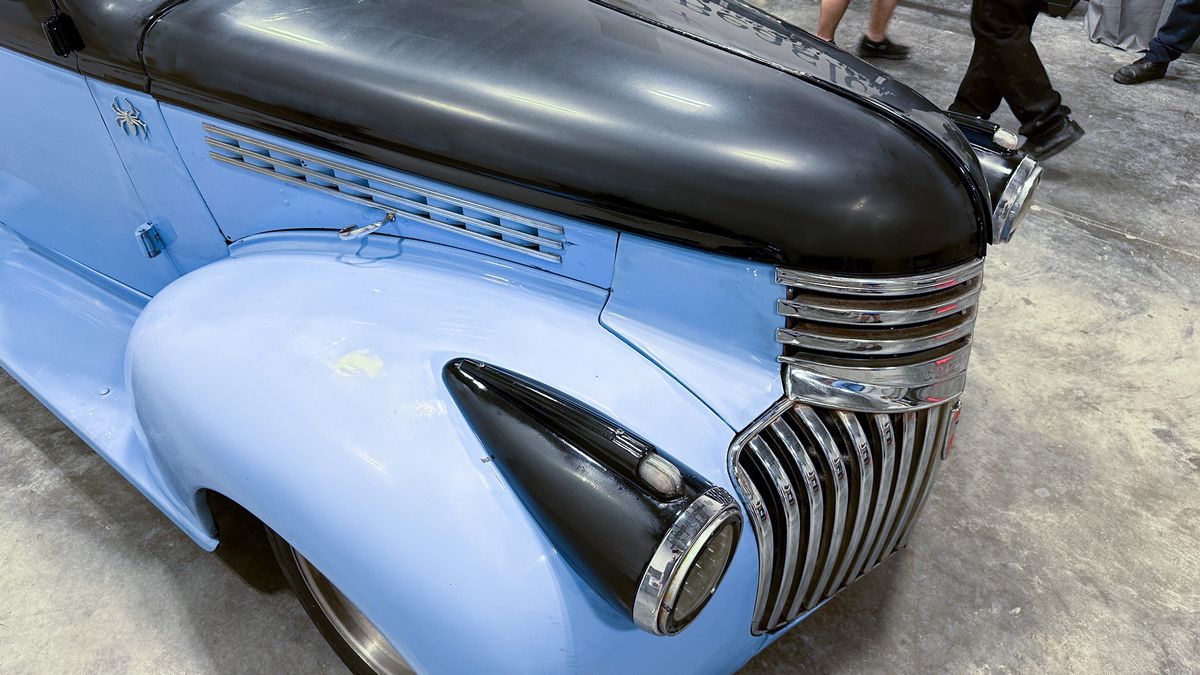
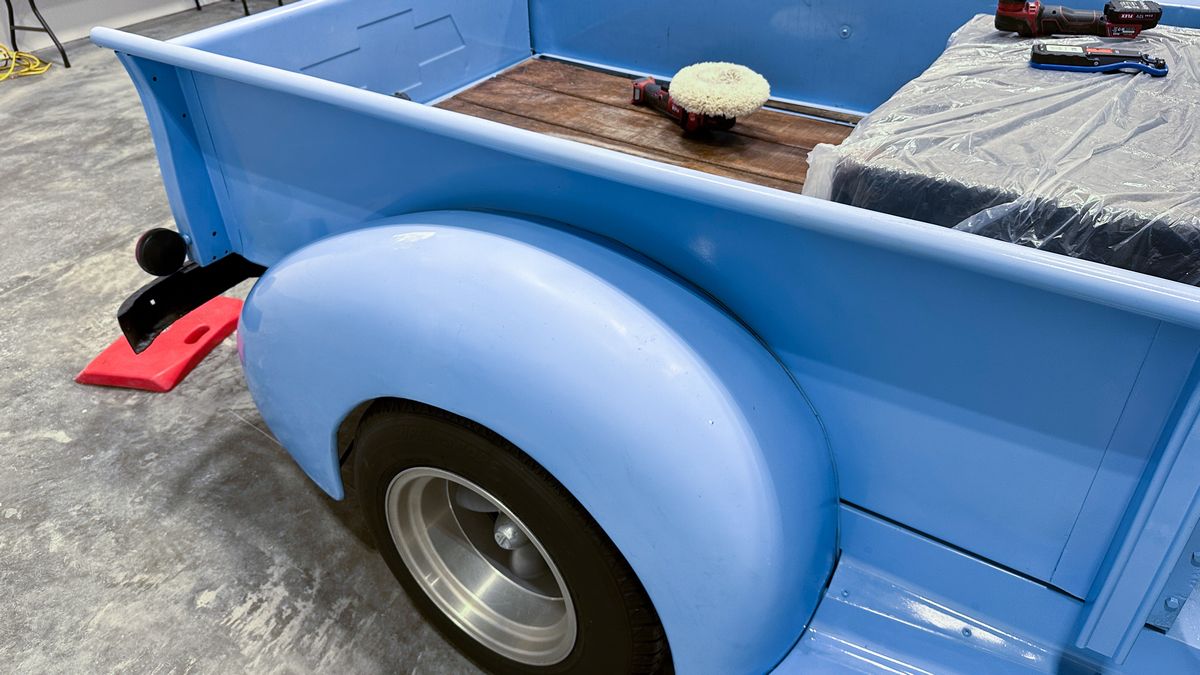
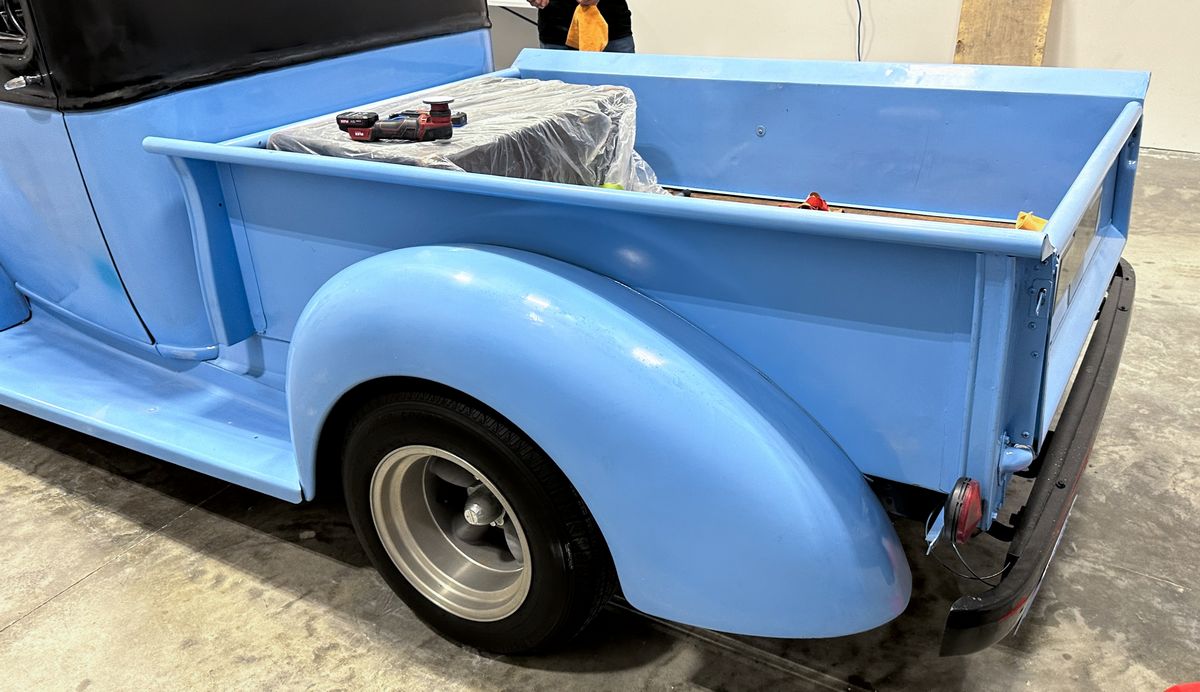
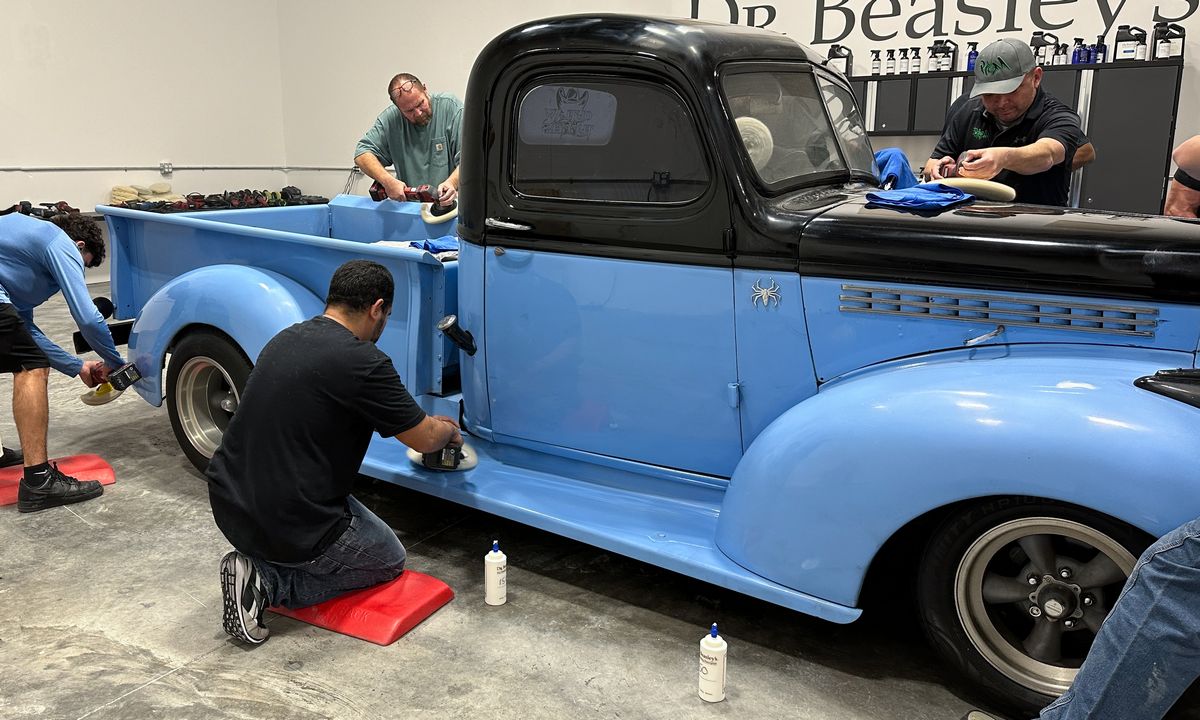
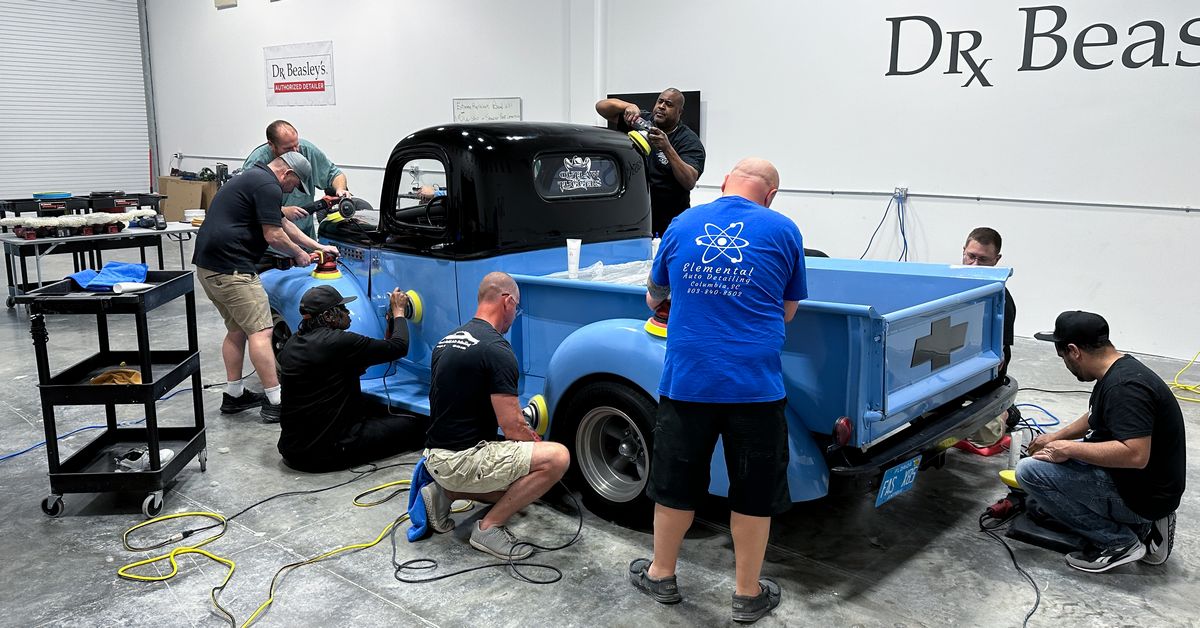
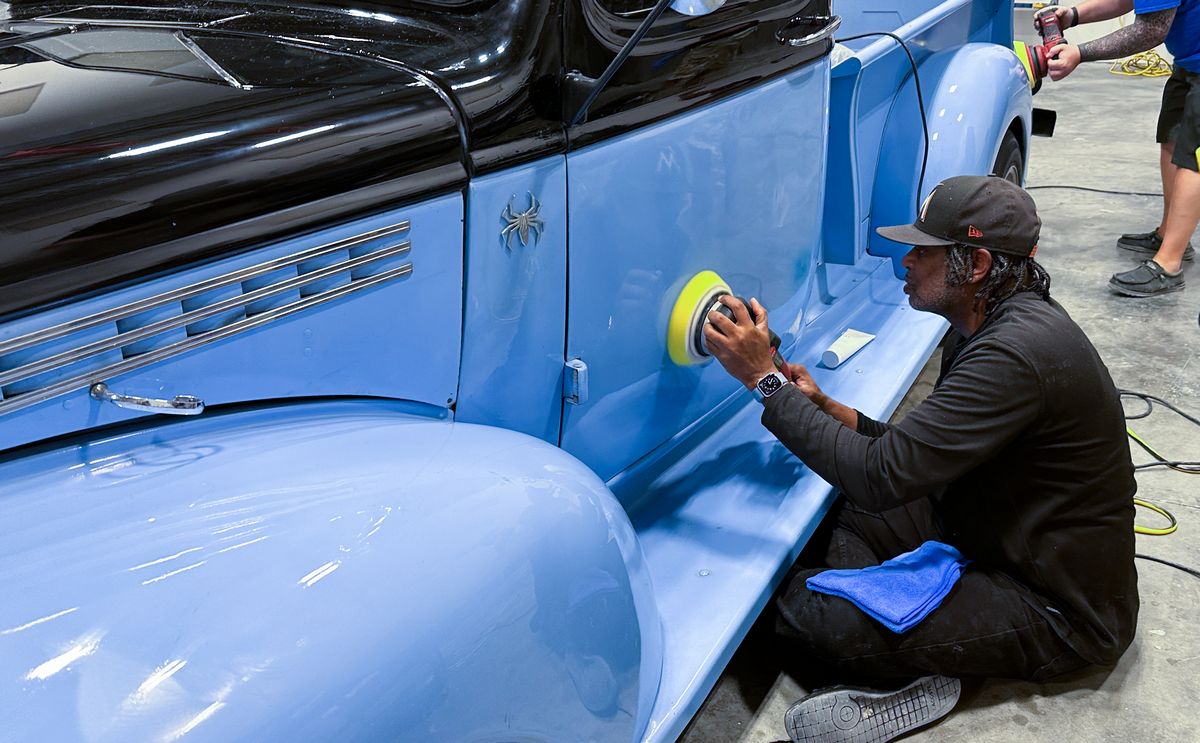
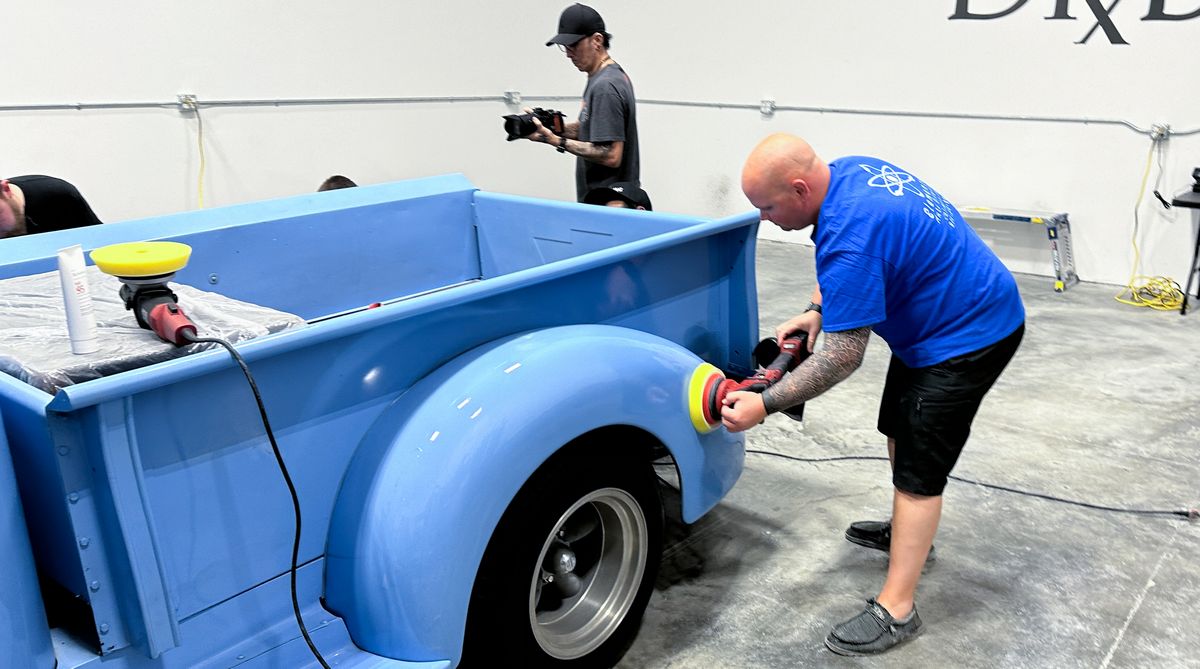
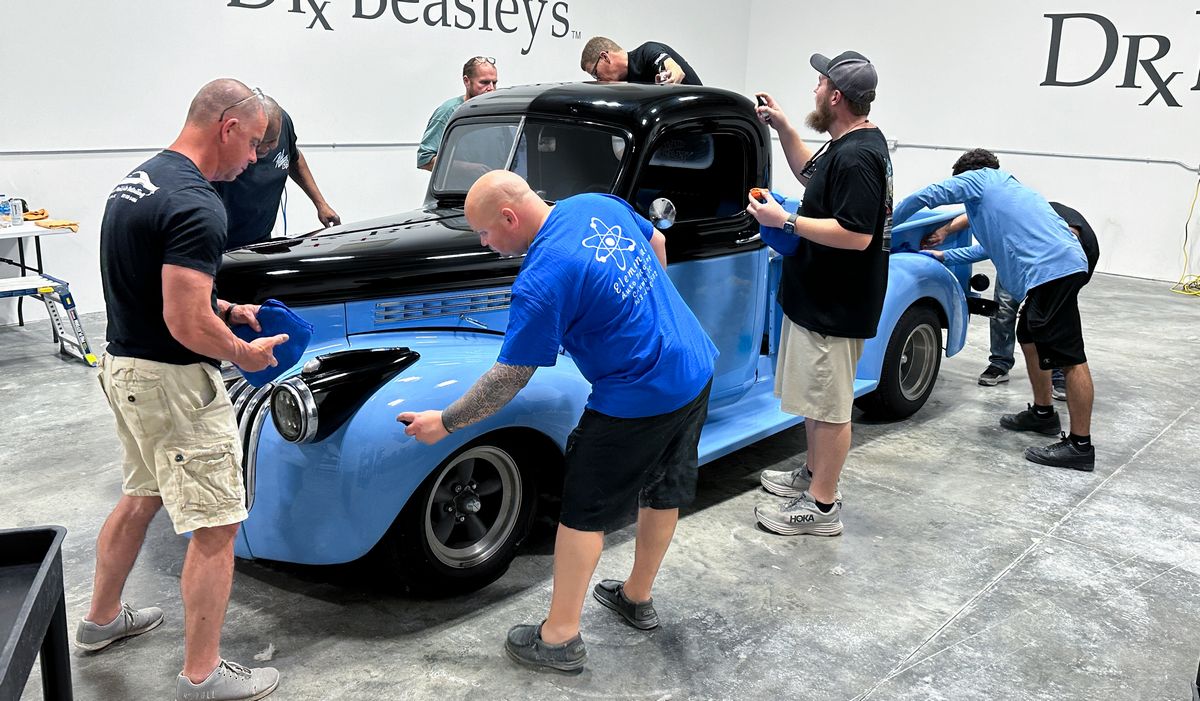
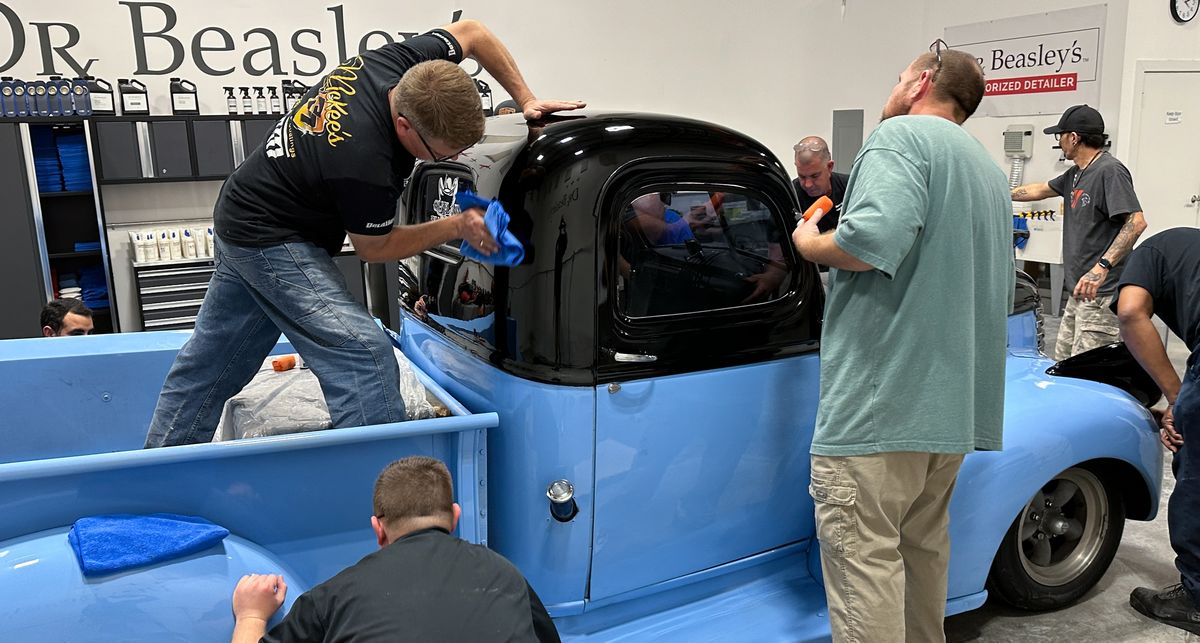
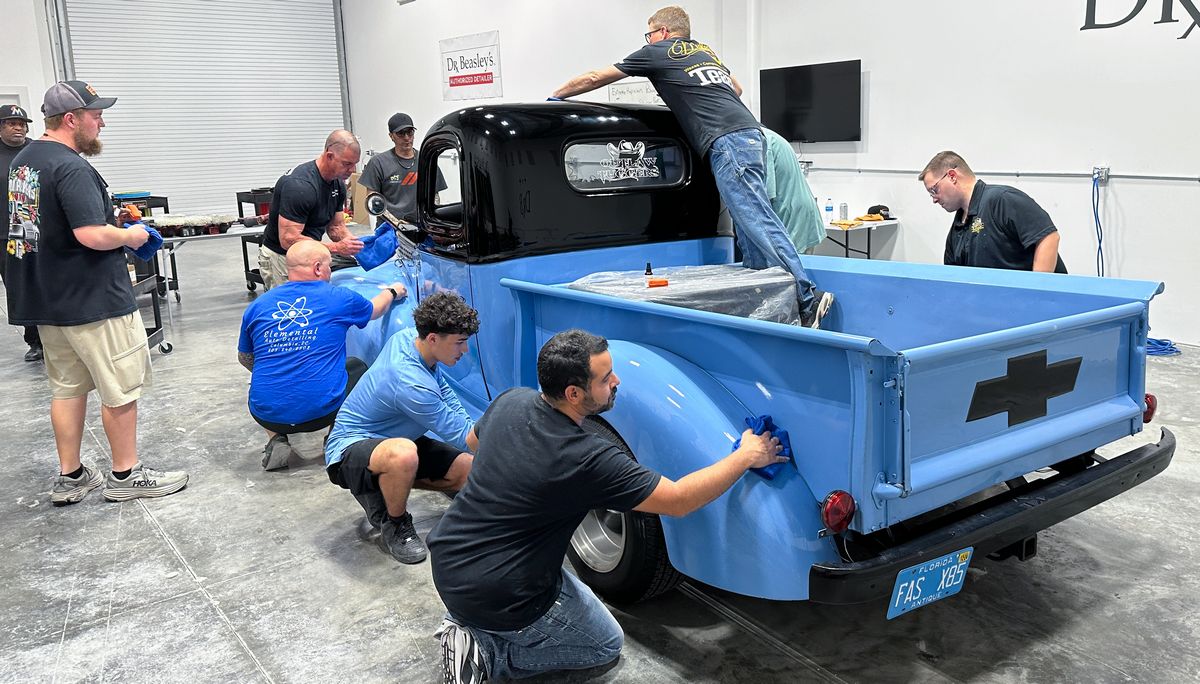
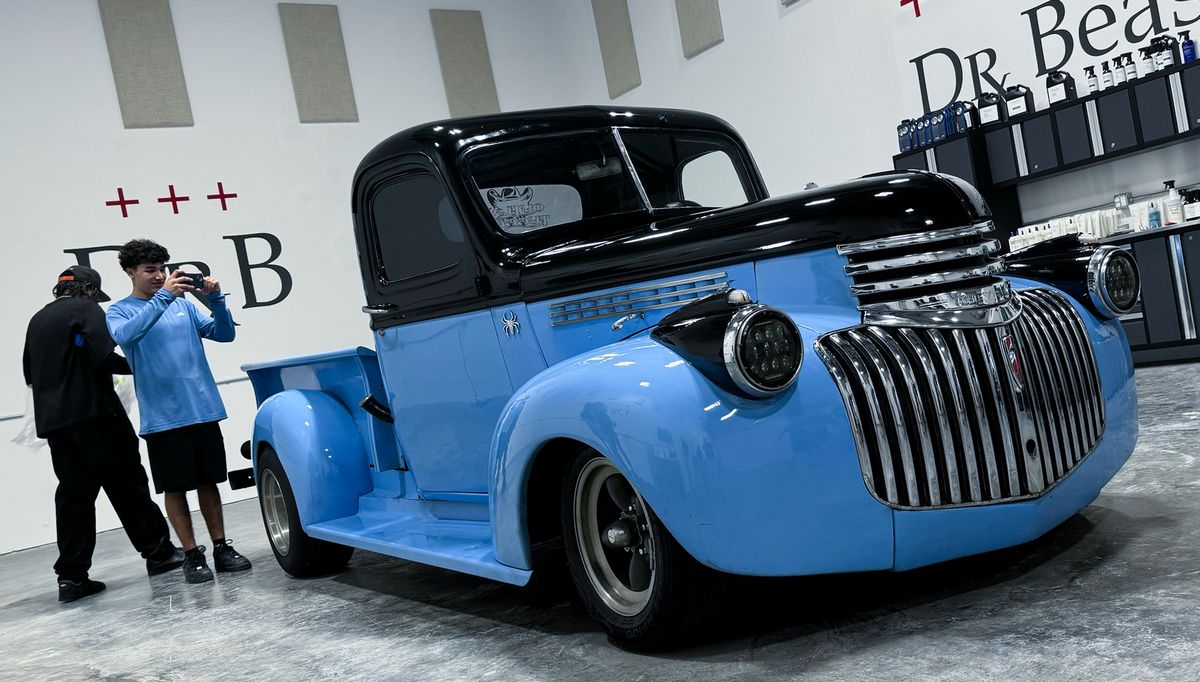
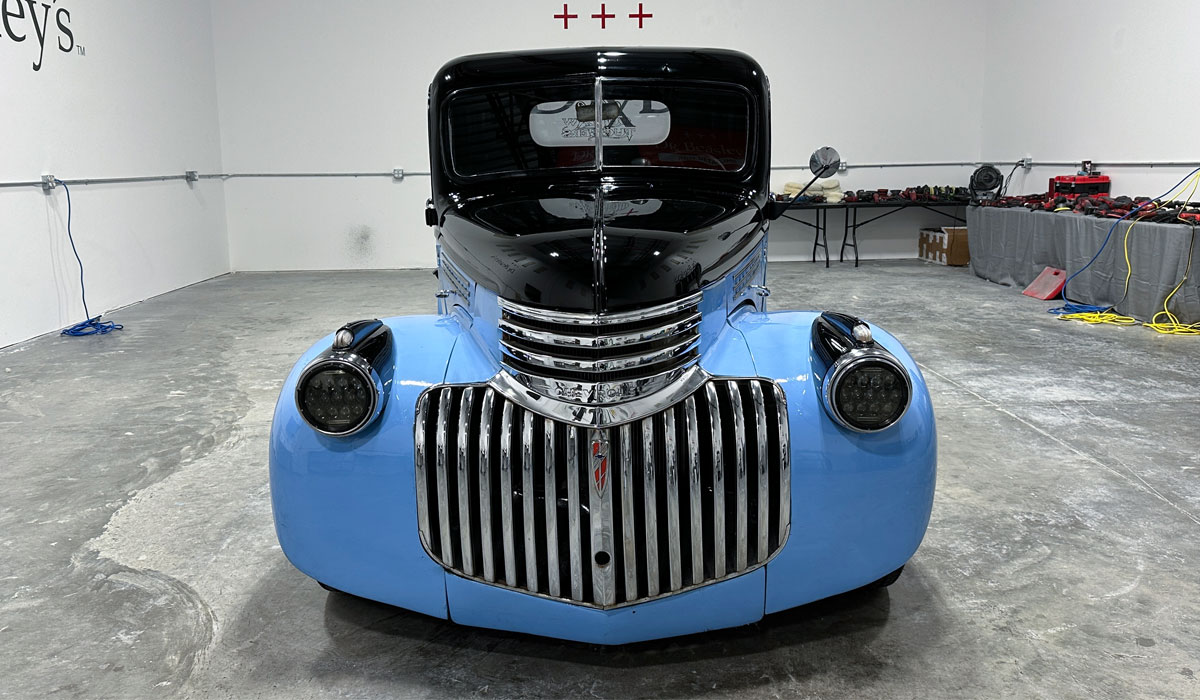
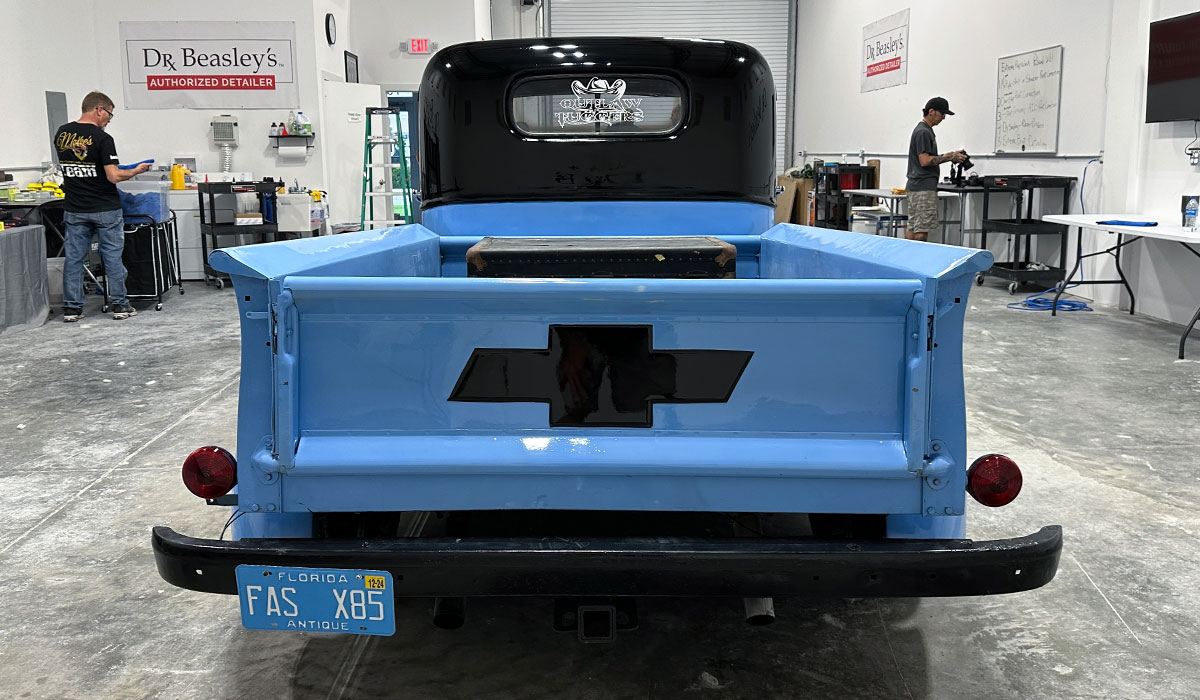
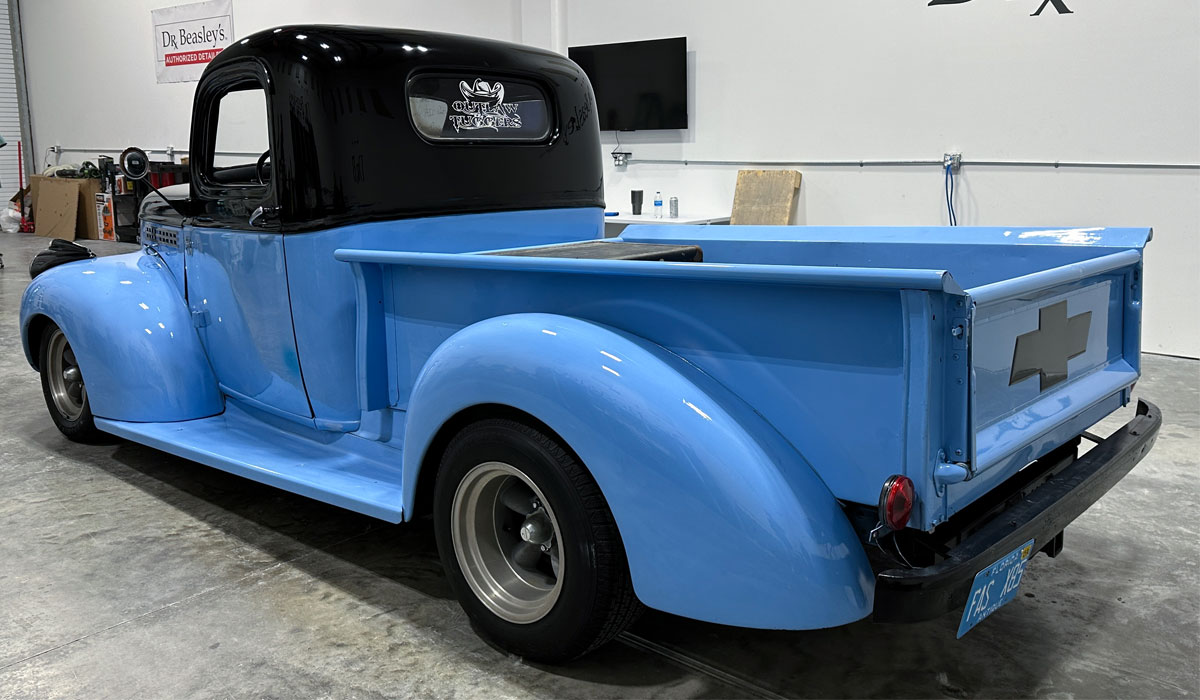
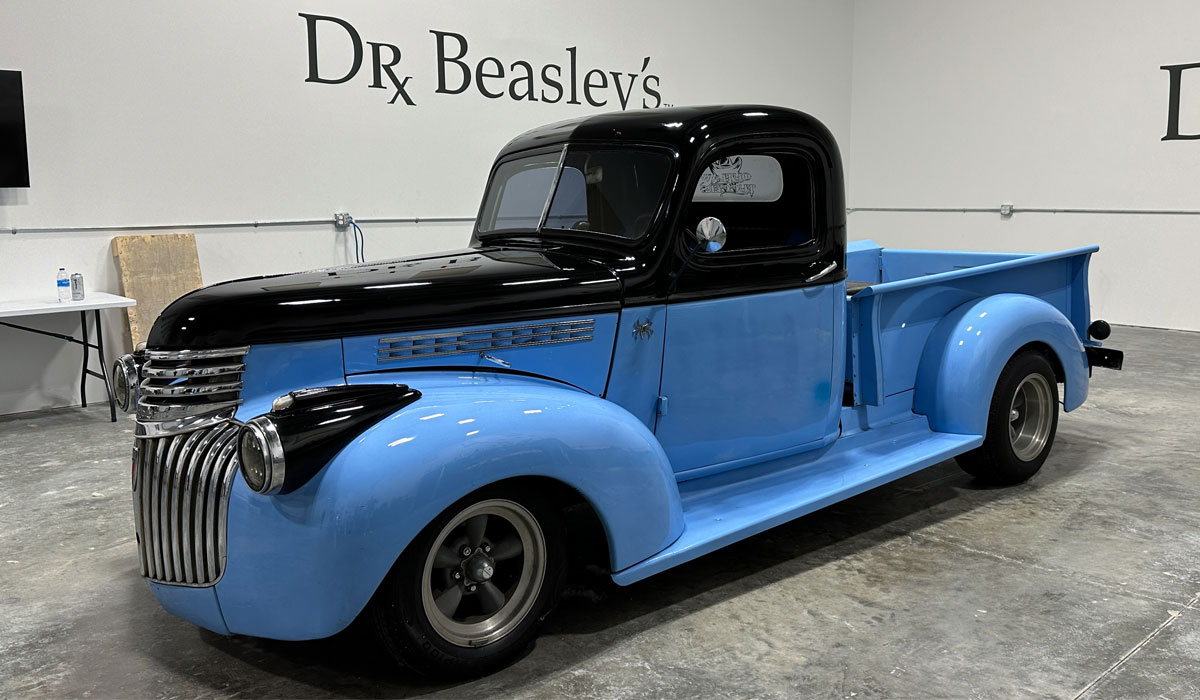
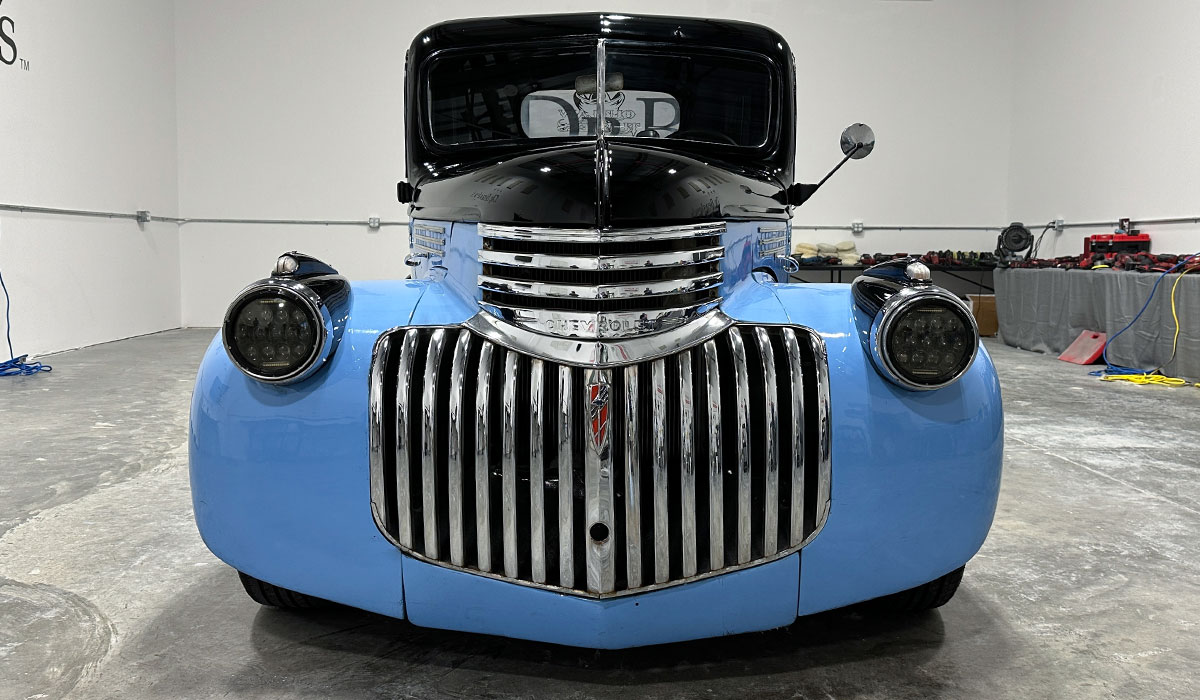
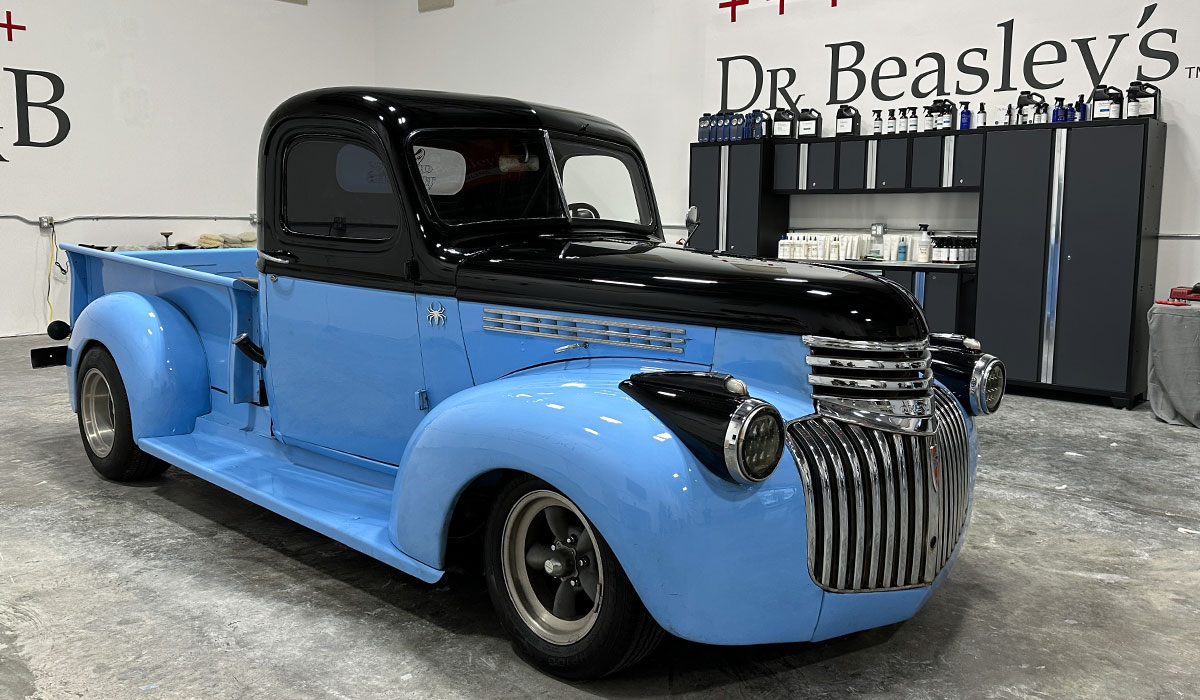
Here’s the hood on the 1941 Chevy Pickup Streetrod
The paint job on this truck is the definition of horrible. But this is why I LOVE this truck. The worse the paint, the more dramatic the transformation. Plus a paint job like this will challenge the students and along the way, give them confidence that when they return to their world, if a project like this ever comes there way, they’ll know to either turn the job down, or how to do it right the first time.

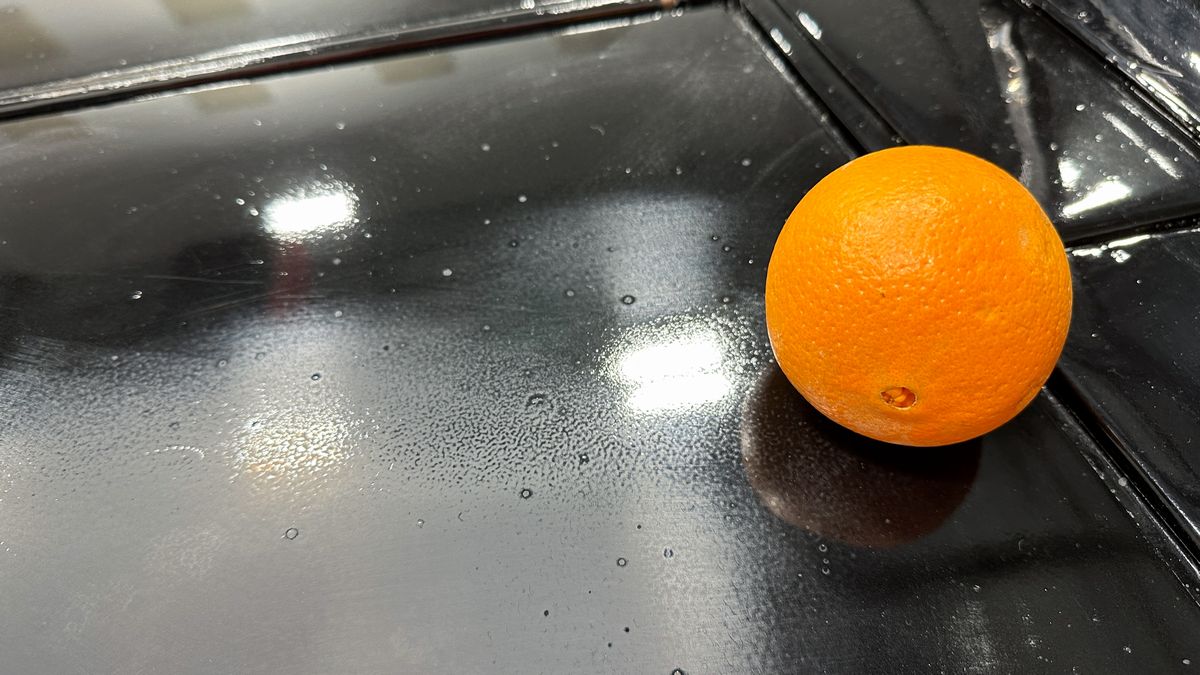
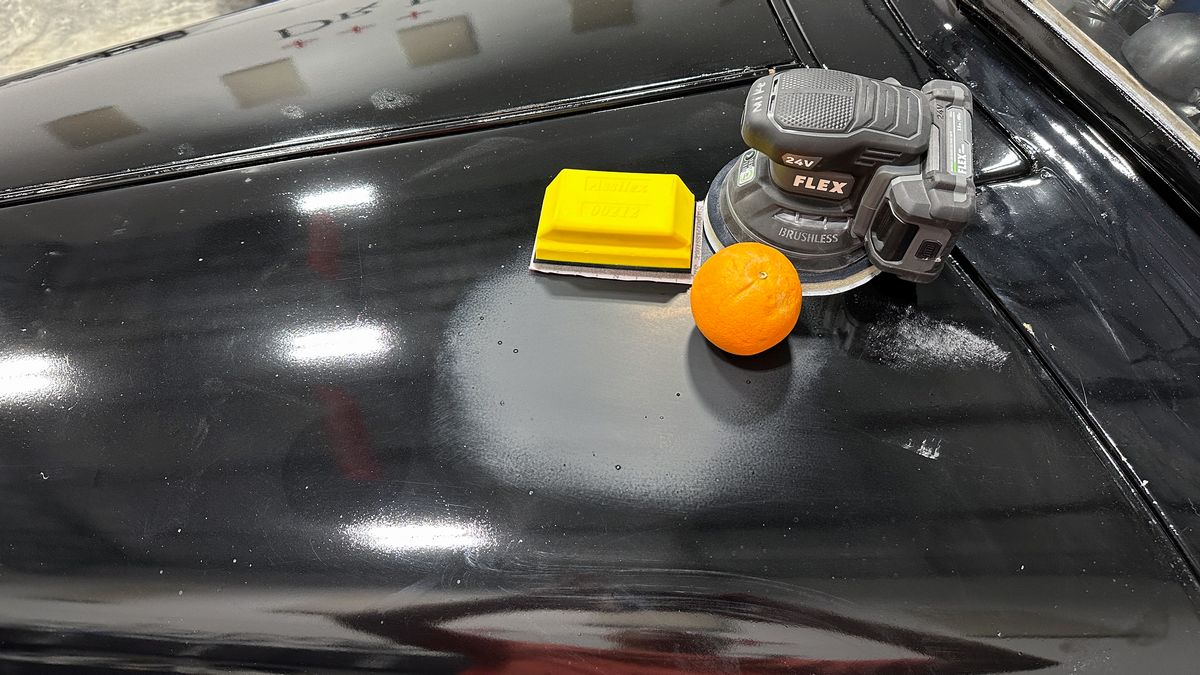
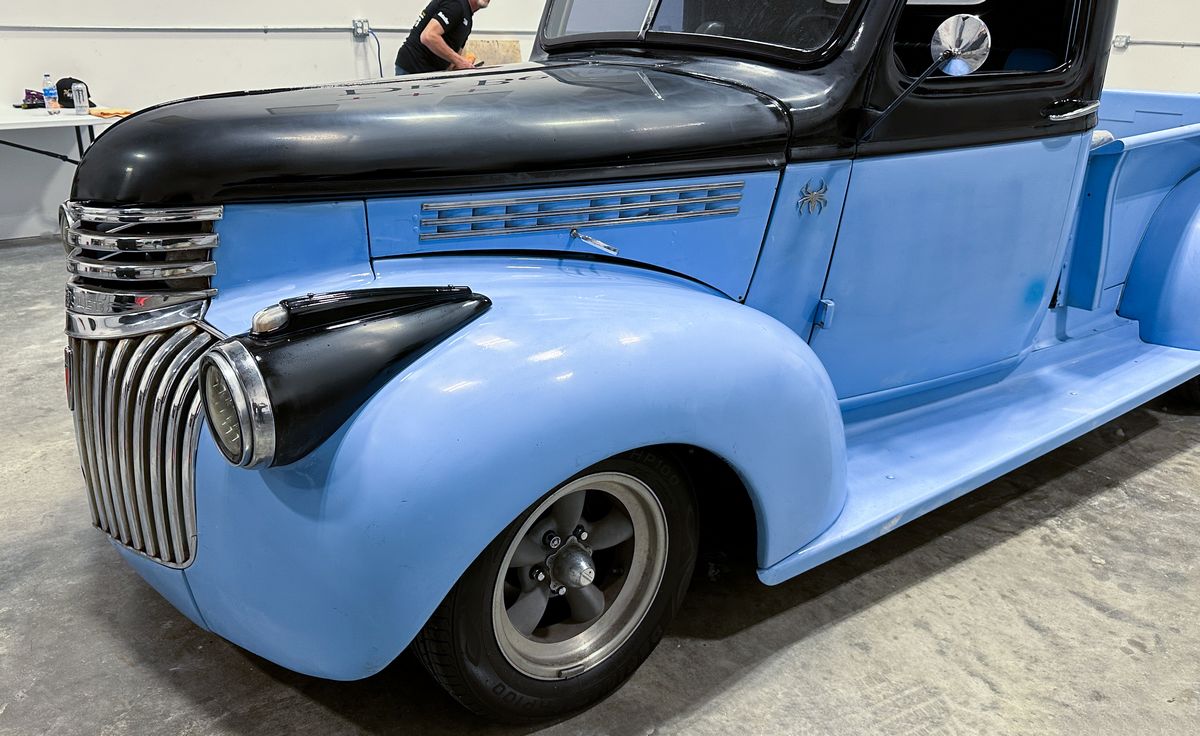
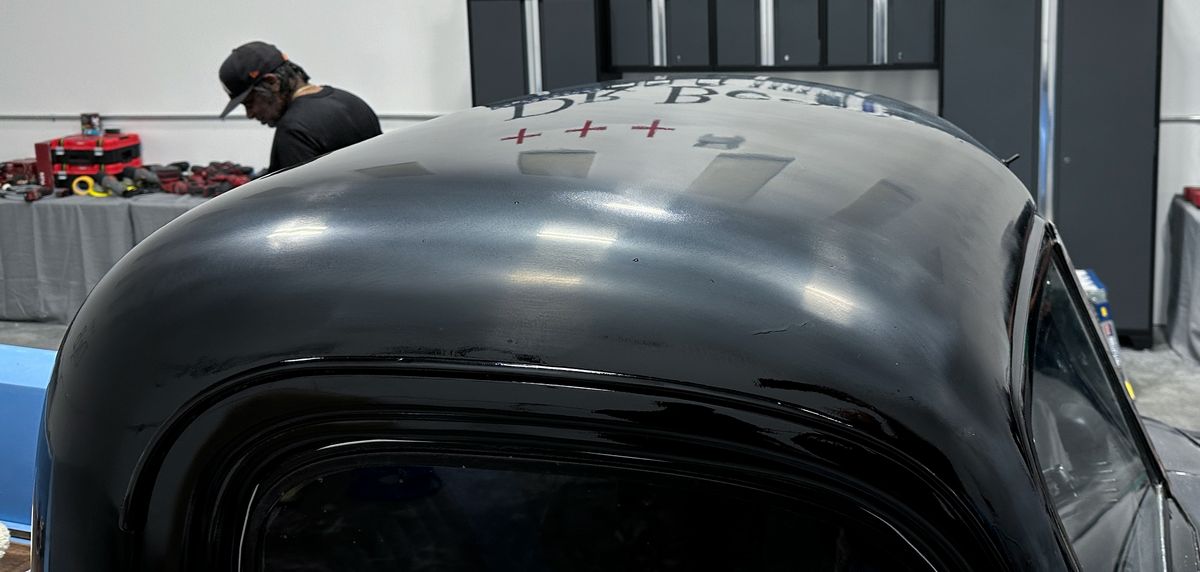
We did a LIVE class showing how to remove orange peel via sanding, and to create the YouTube Thumbnail, I used an Orange on the paint with Orange Peel, to drive the paint home. Here’s the link to that LIVE class. How to remove orange peel
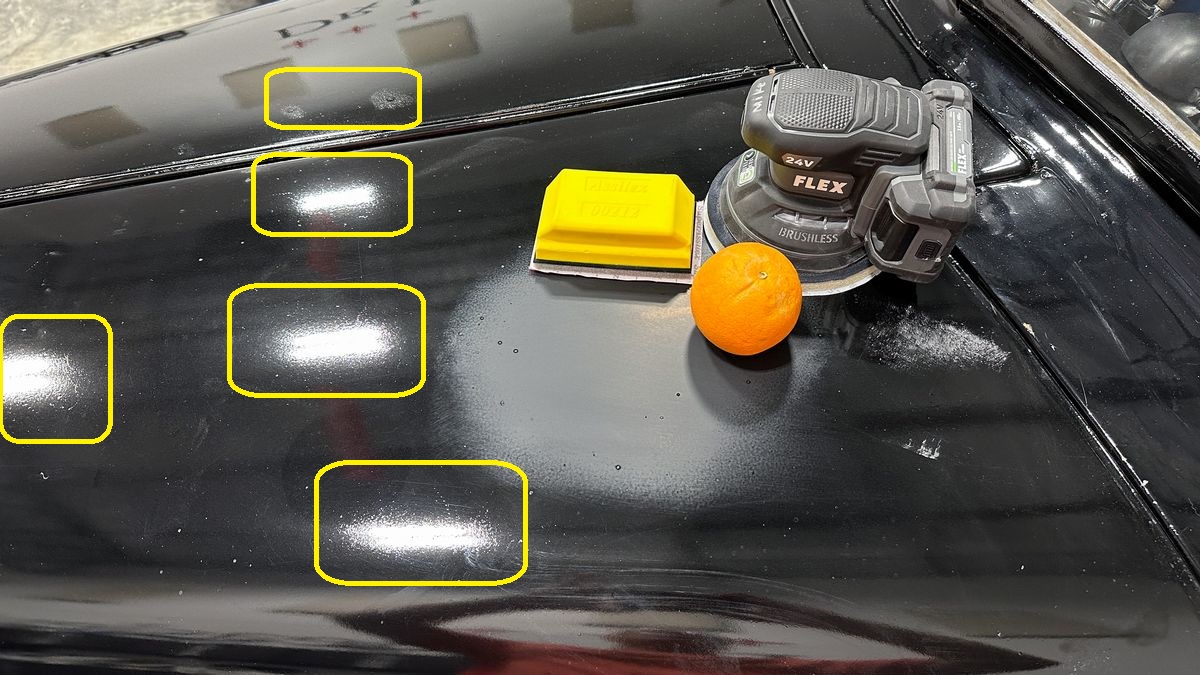
And just to make sure everyone pays attention to just how bad this paint job is, I’ve highlightes the orange peel and also bird dropping etchings.
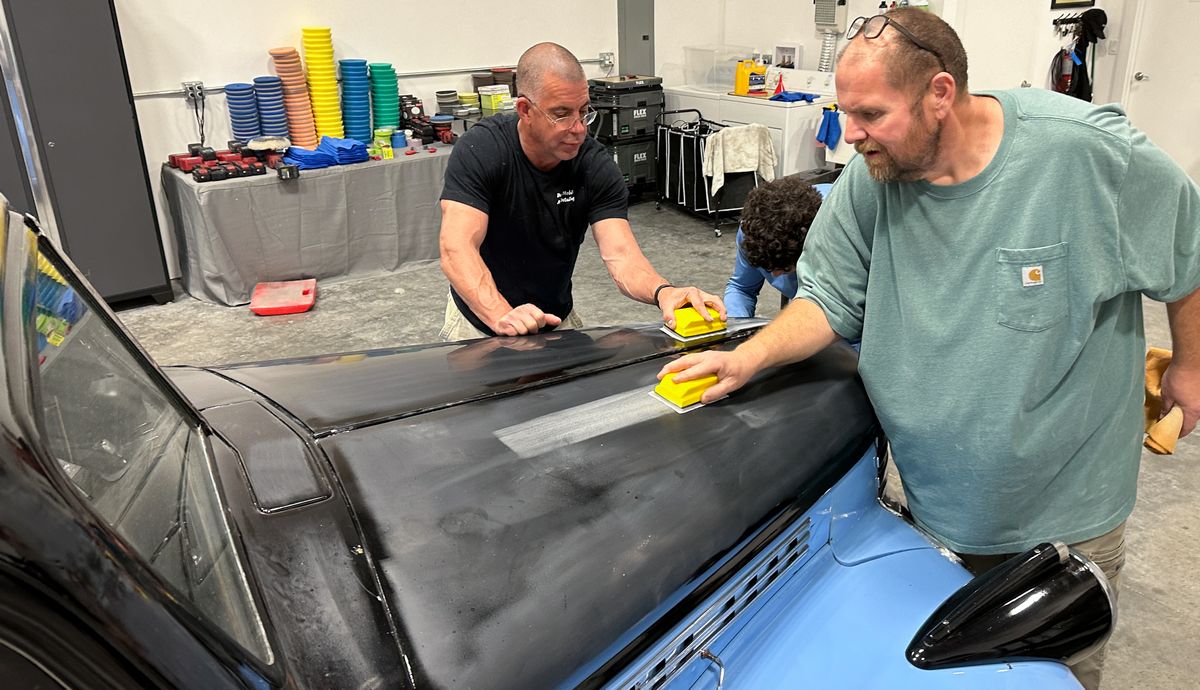
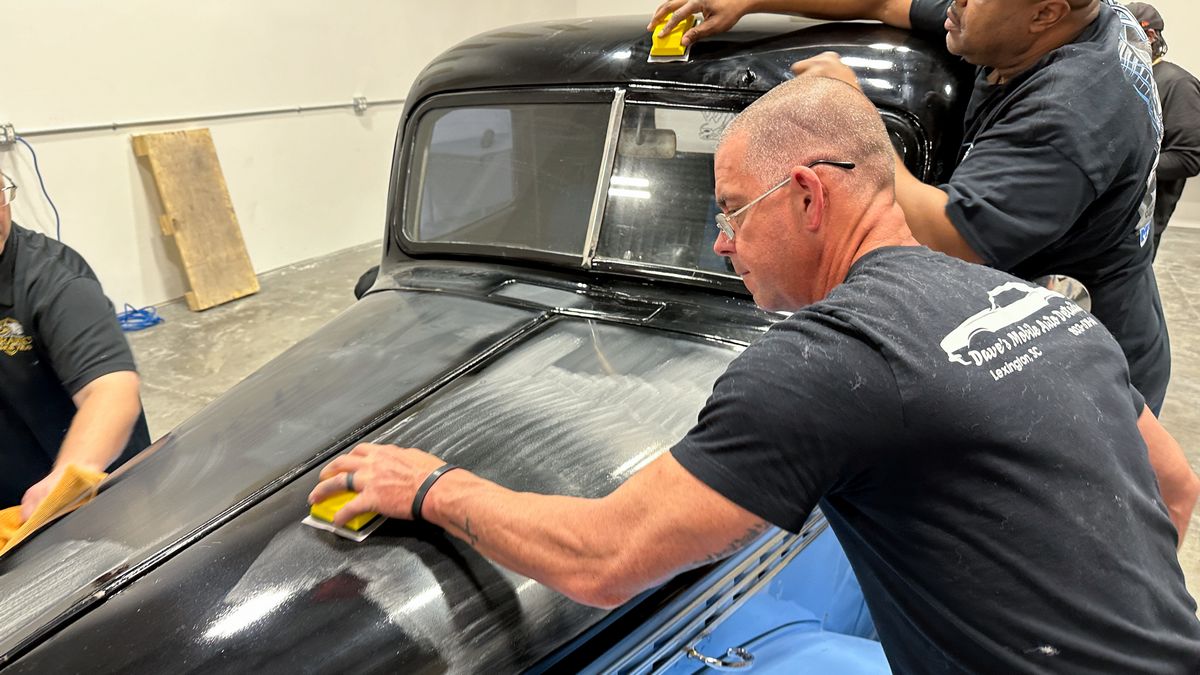
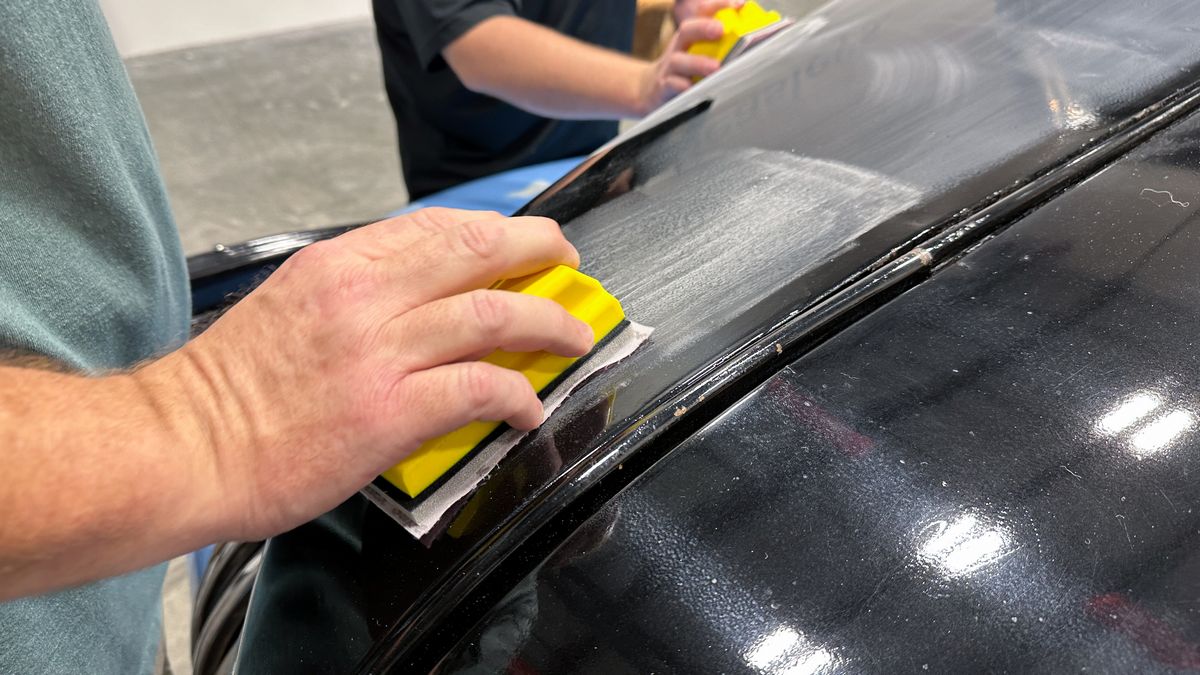
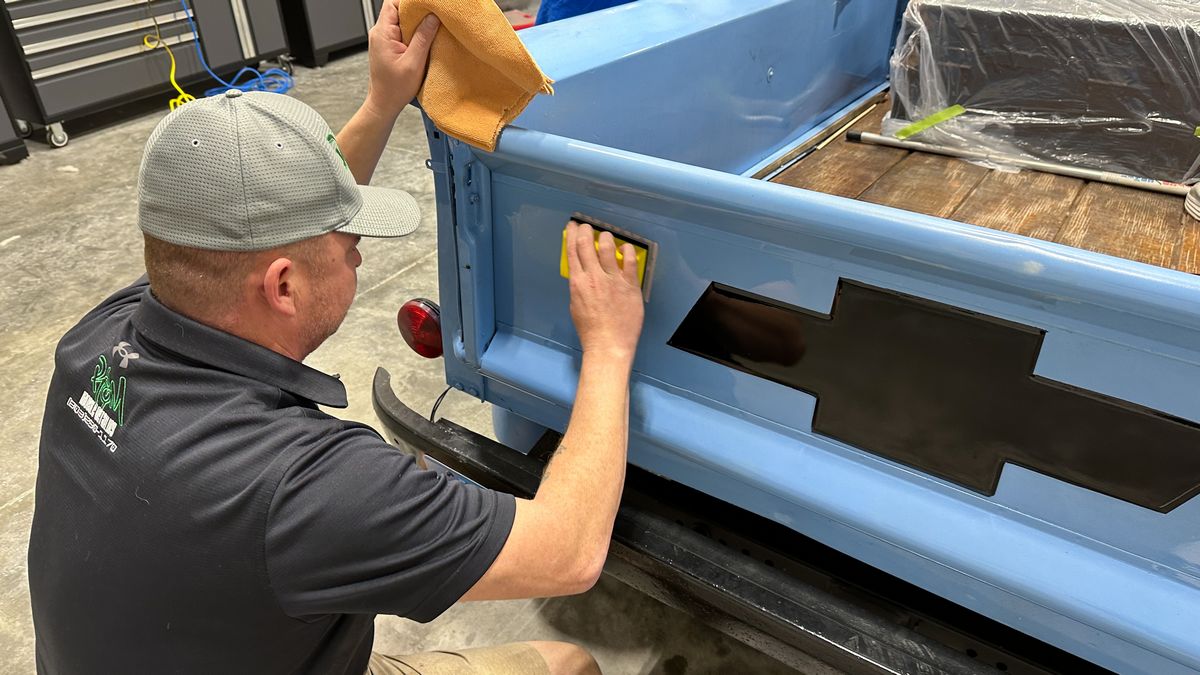
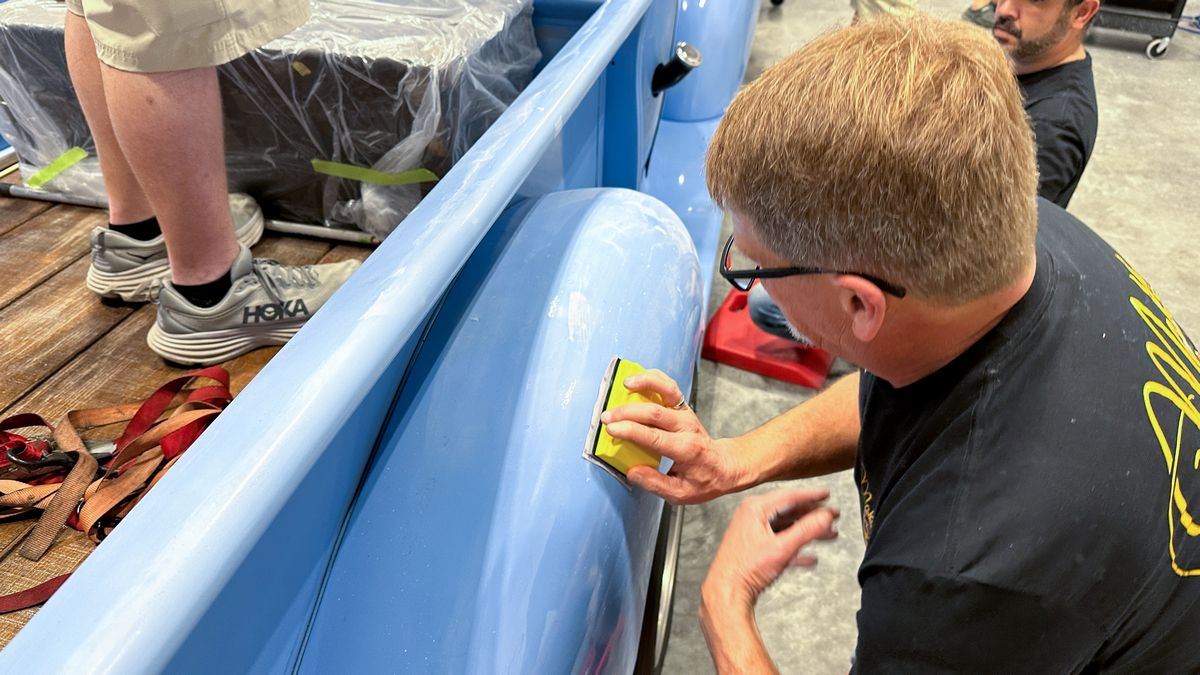
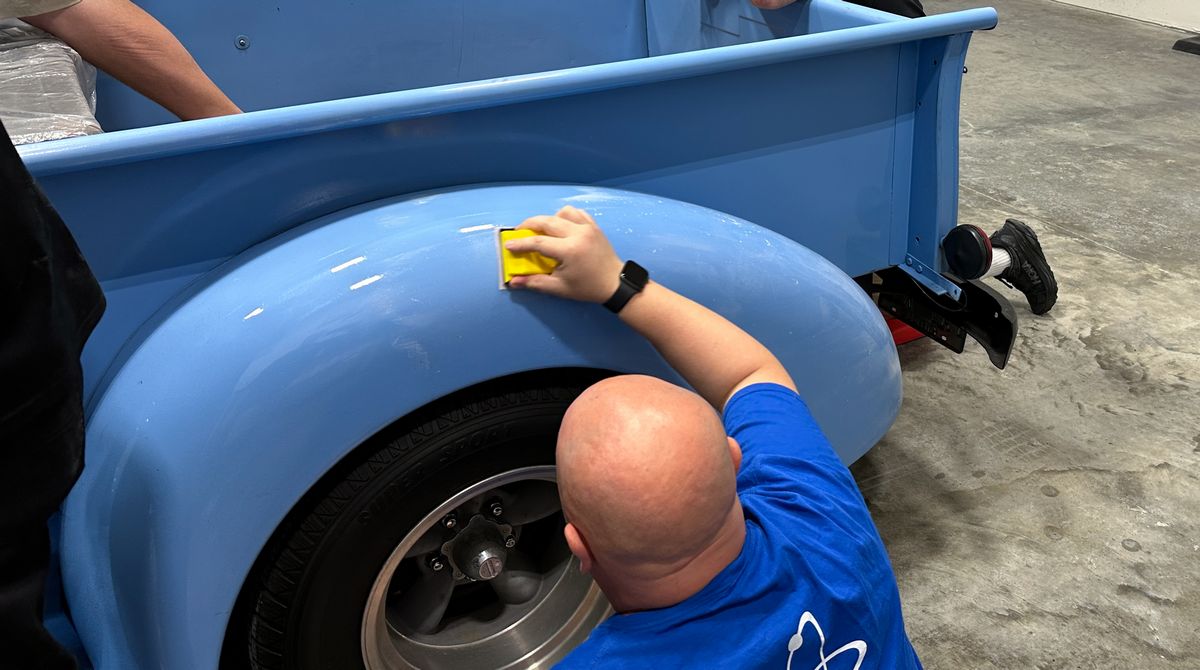
Block Hand Sanding Dry
To knock the orange peel down and level any surface texture, the class starts out hand sanding dry using the Eagle Abrasives by KOVAX sanding system.
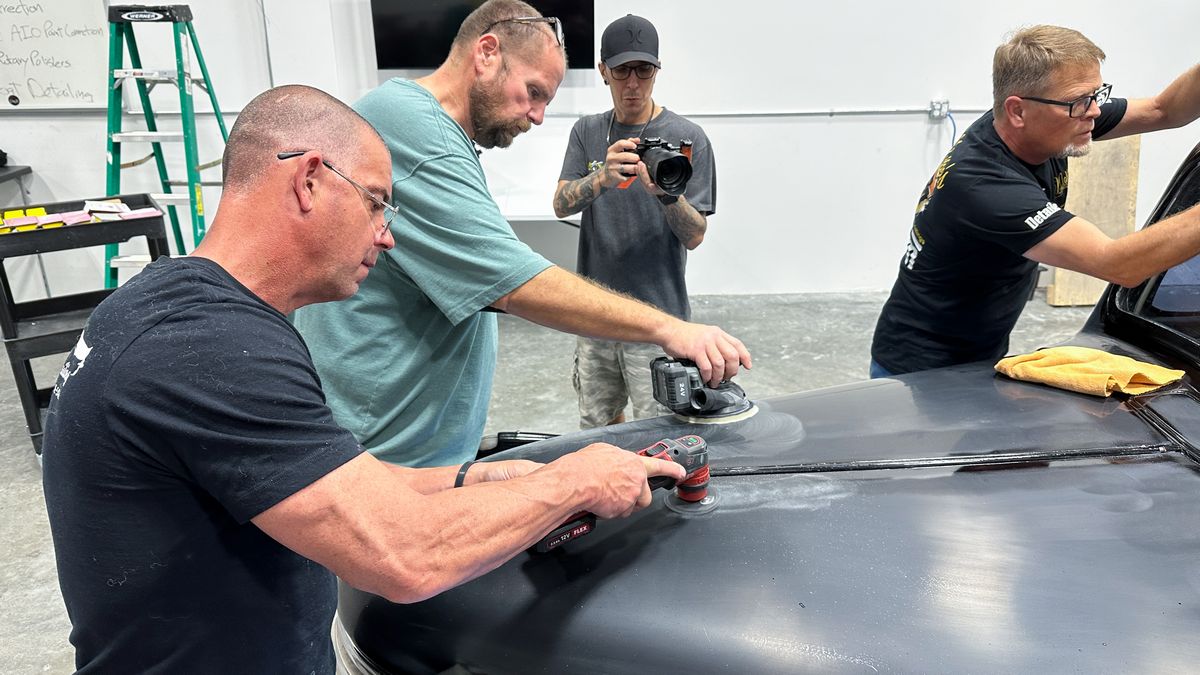
Machine Dry Sanding
After blocking the paint flat, next up, the class refines the hand sanding marks by re-sanding only this time they’re using the FLEX 3411X Cordless DA Sander and the FLEX PXE-80.

Sanding is done!
The orange peel and surface texture has been flattened and here’s what the truck looks like after a 2-step sanding. process
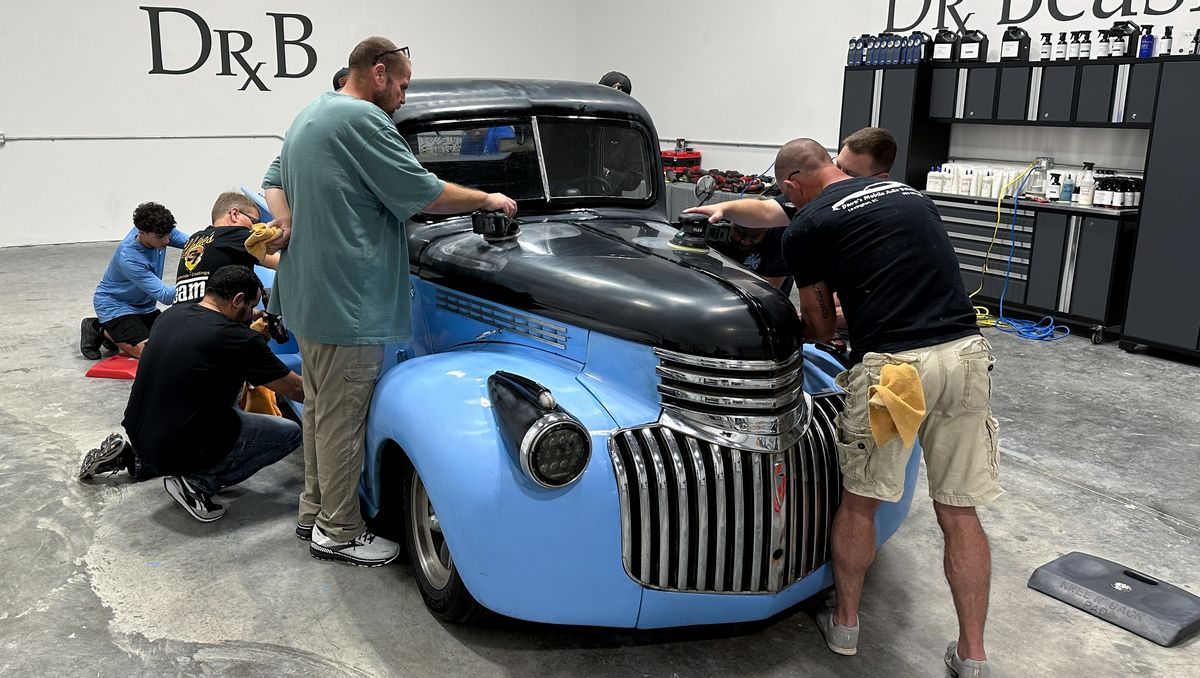
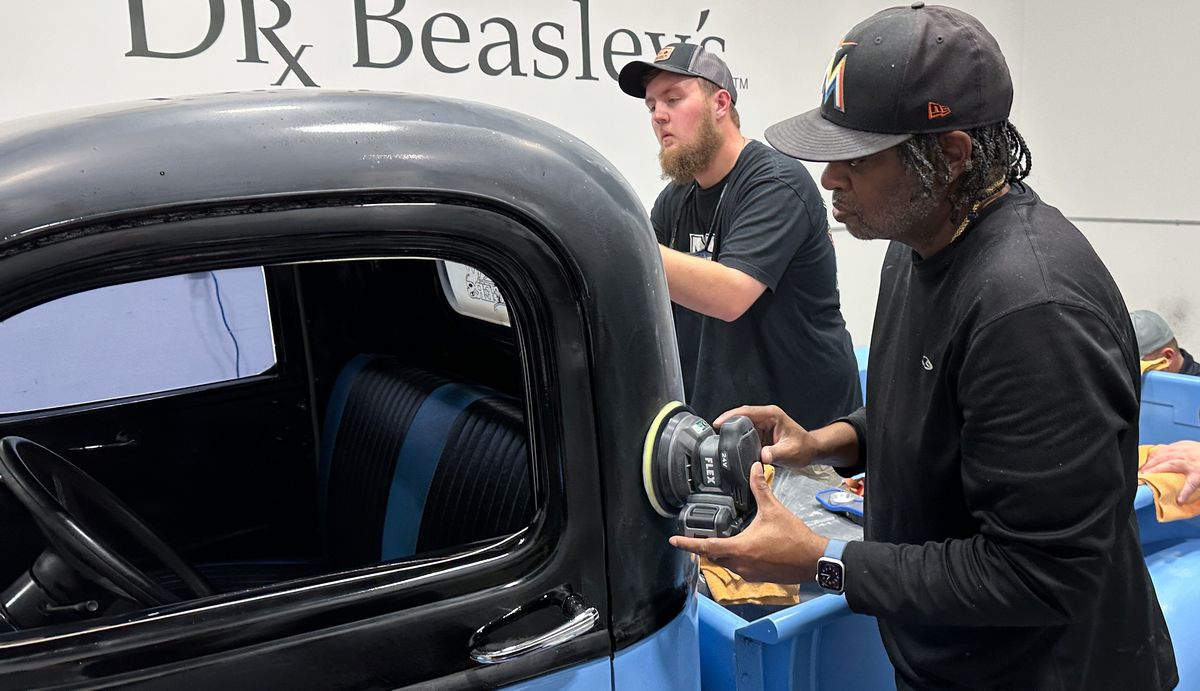
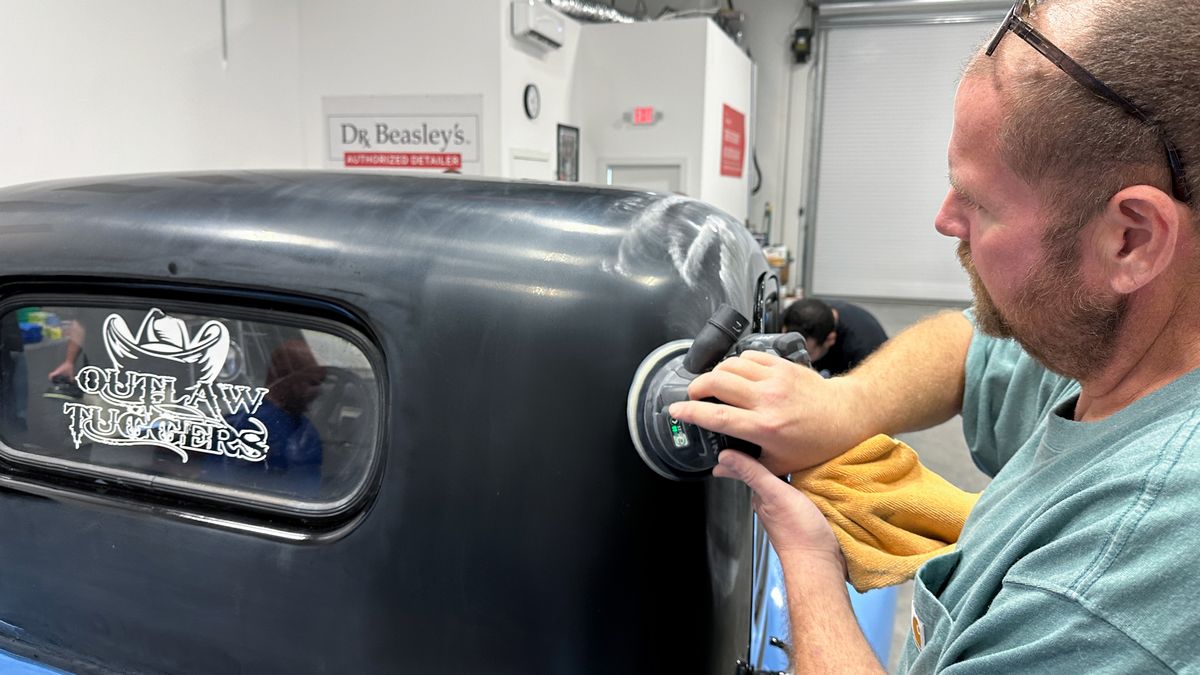
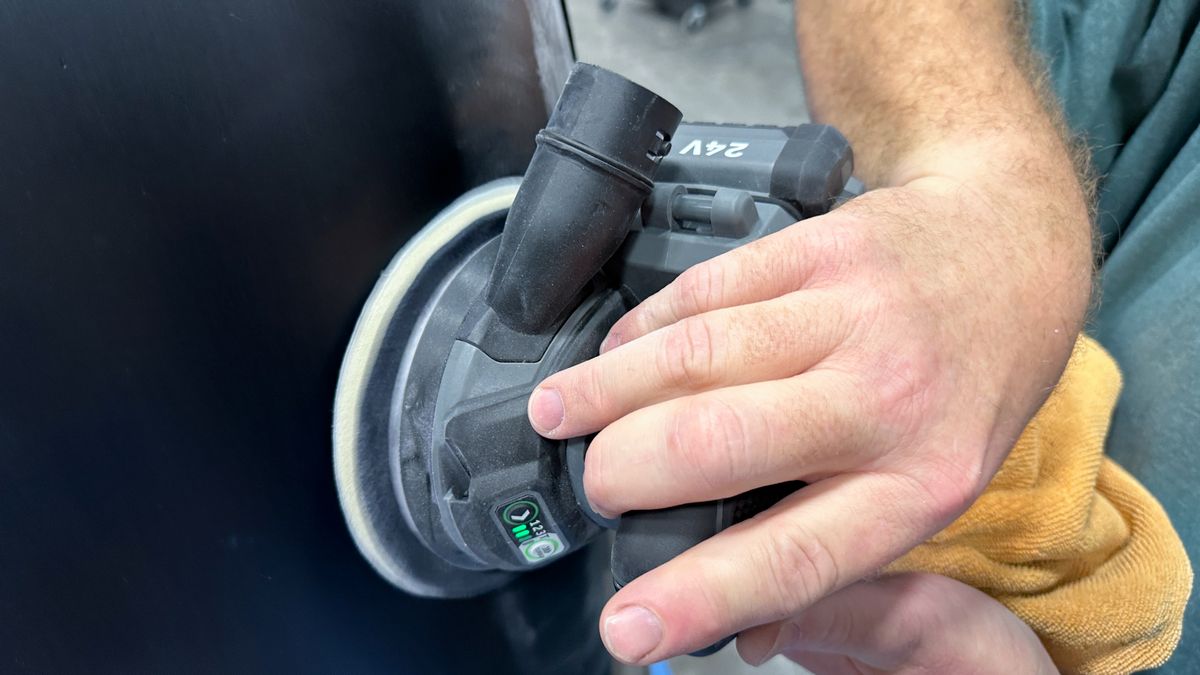
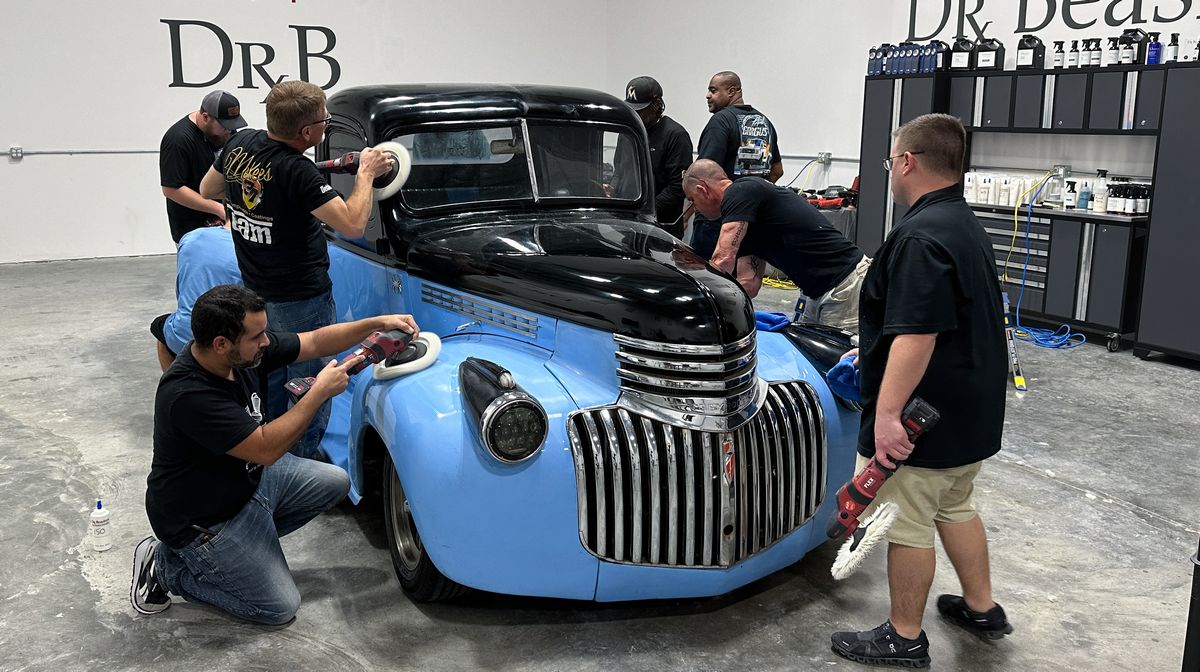
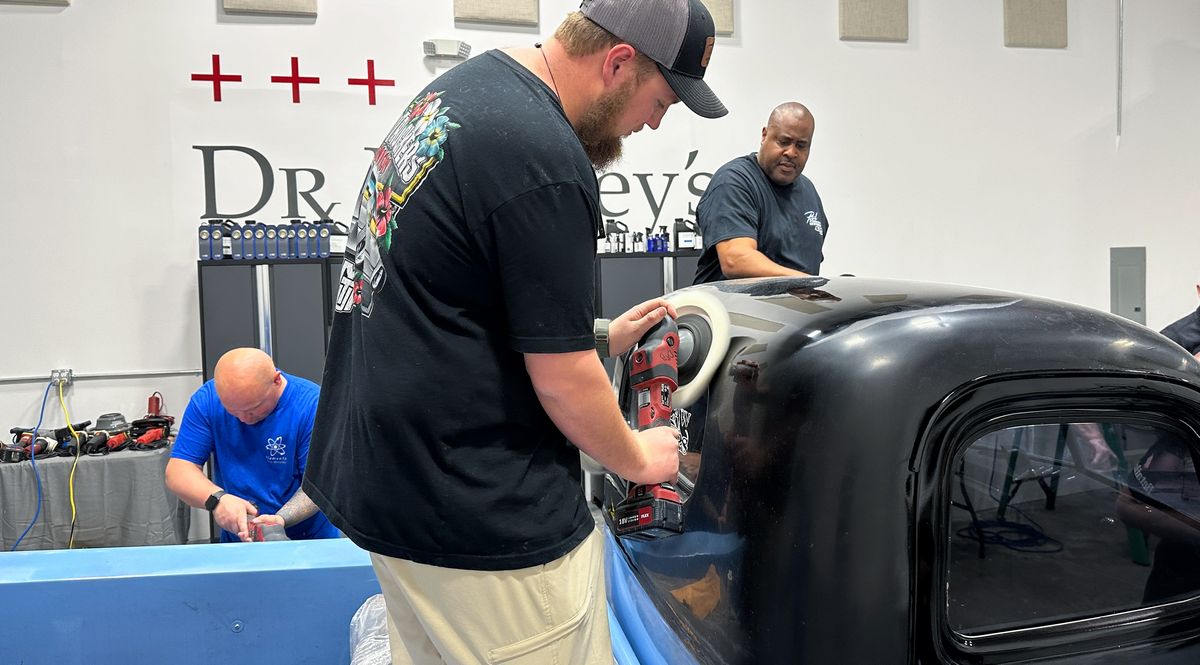
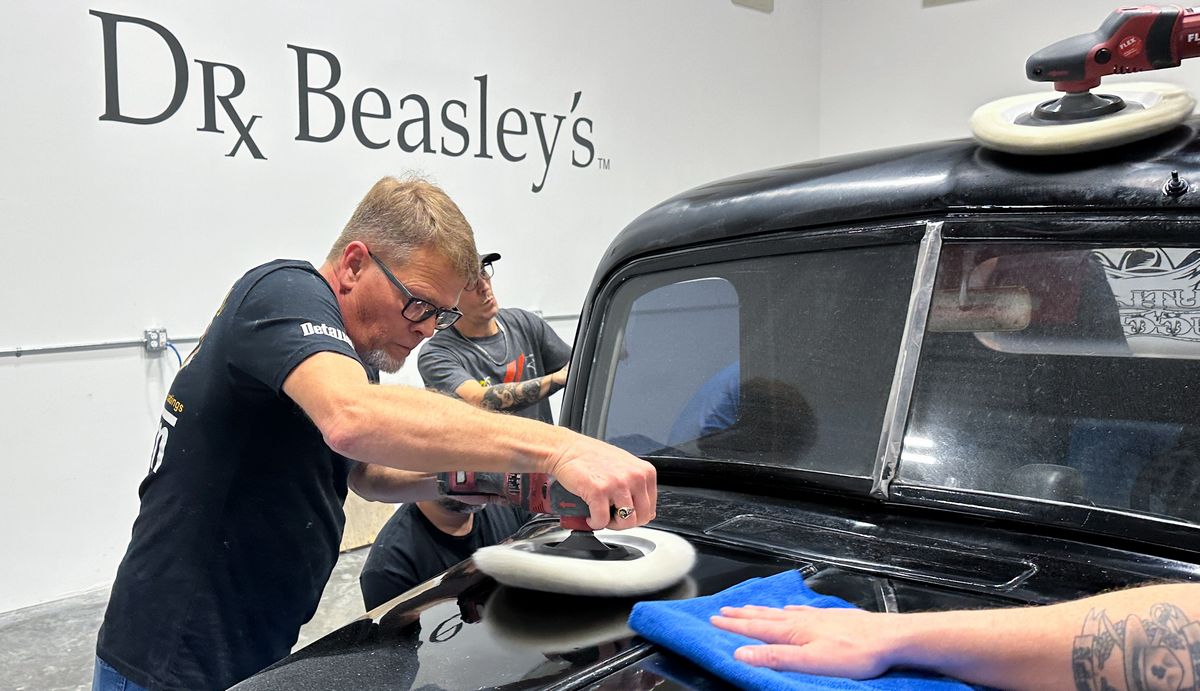
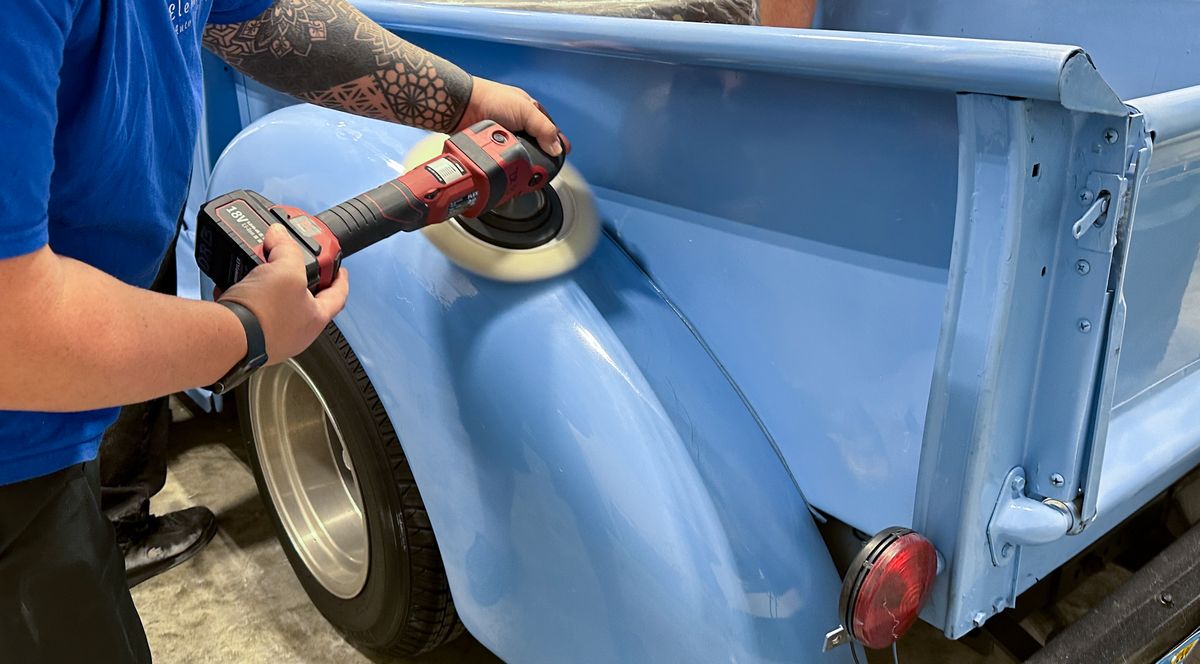
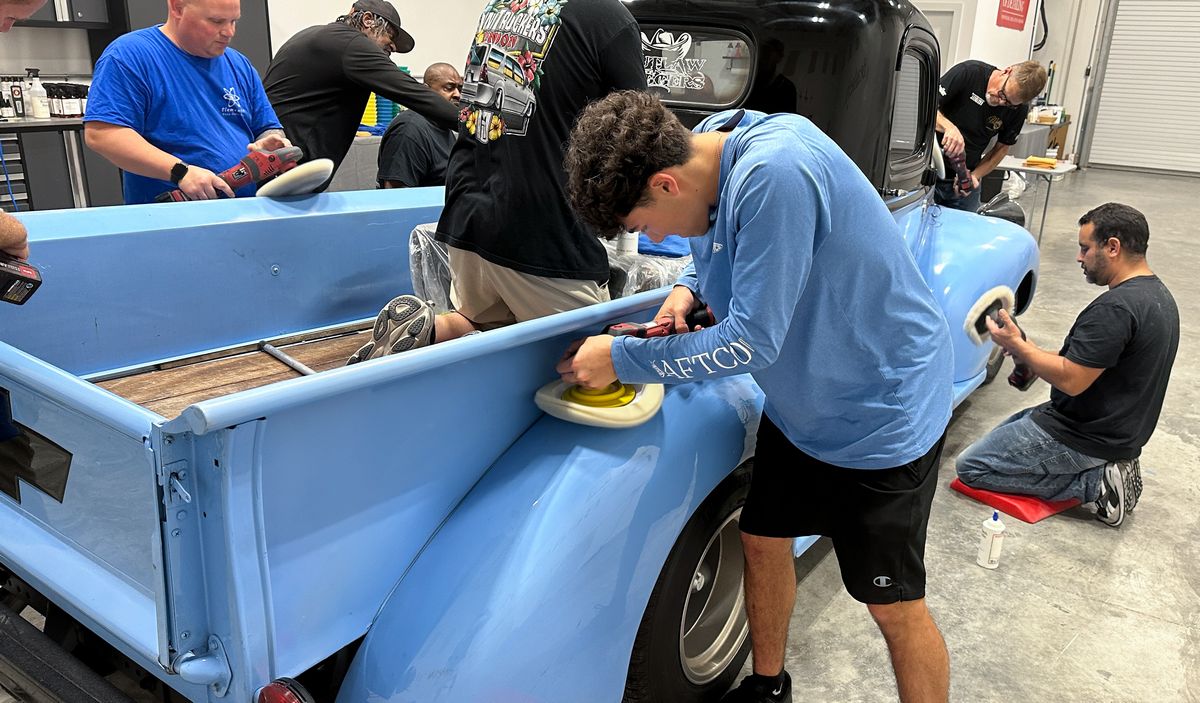
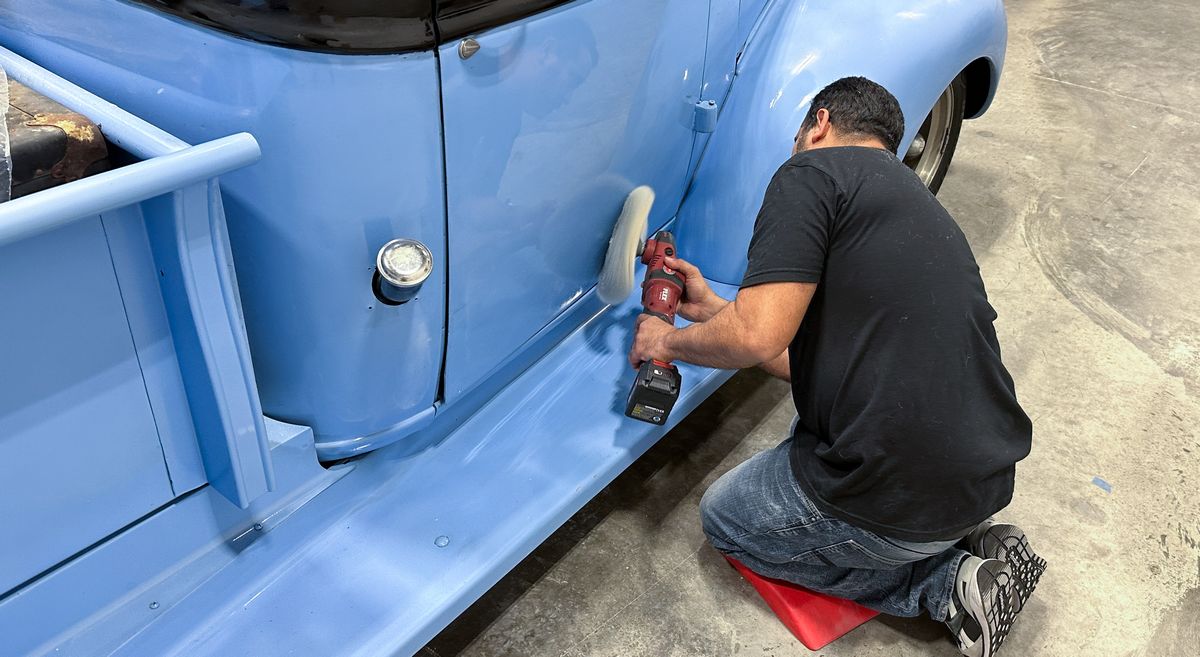
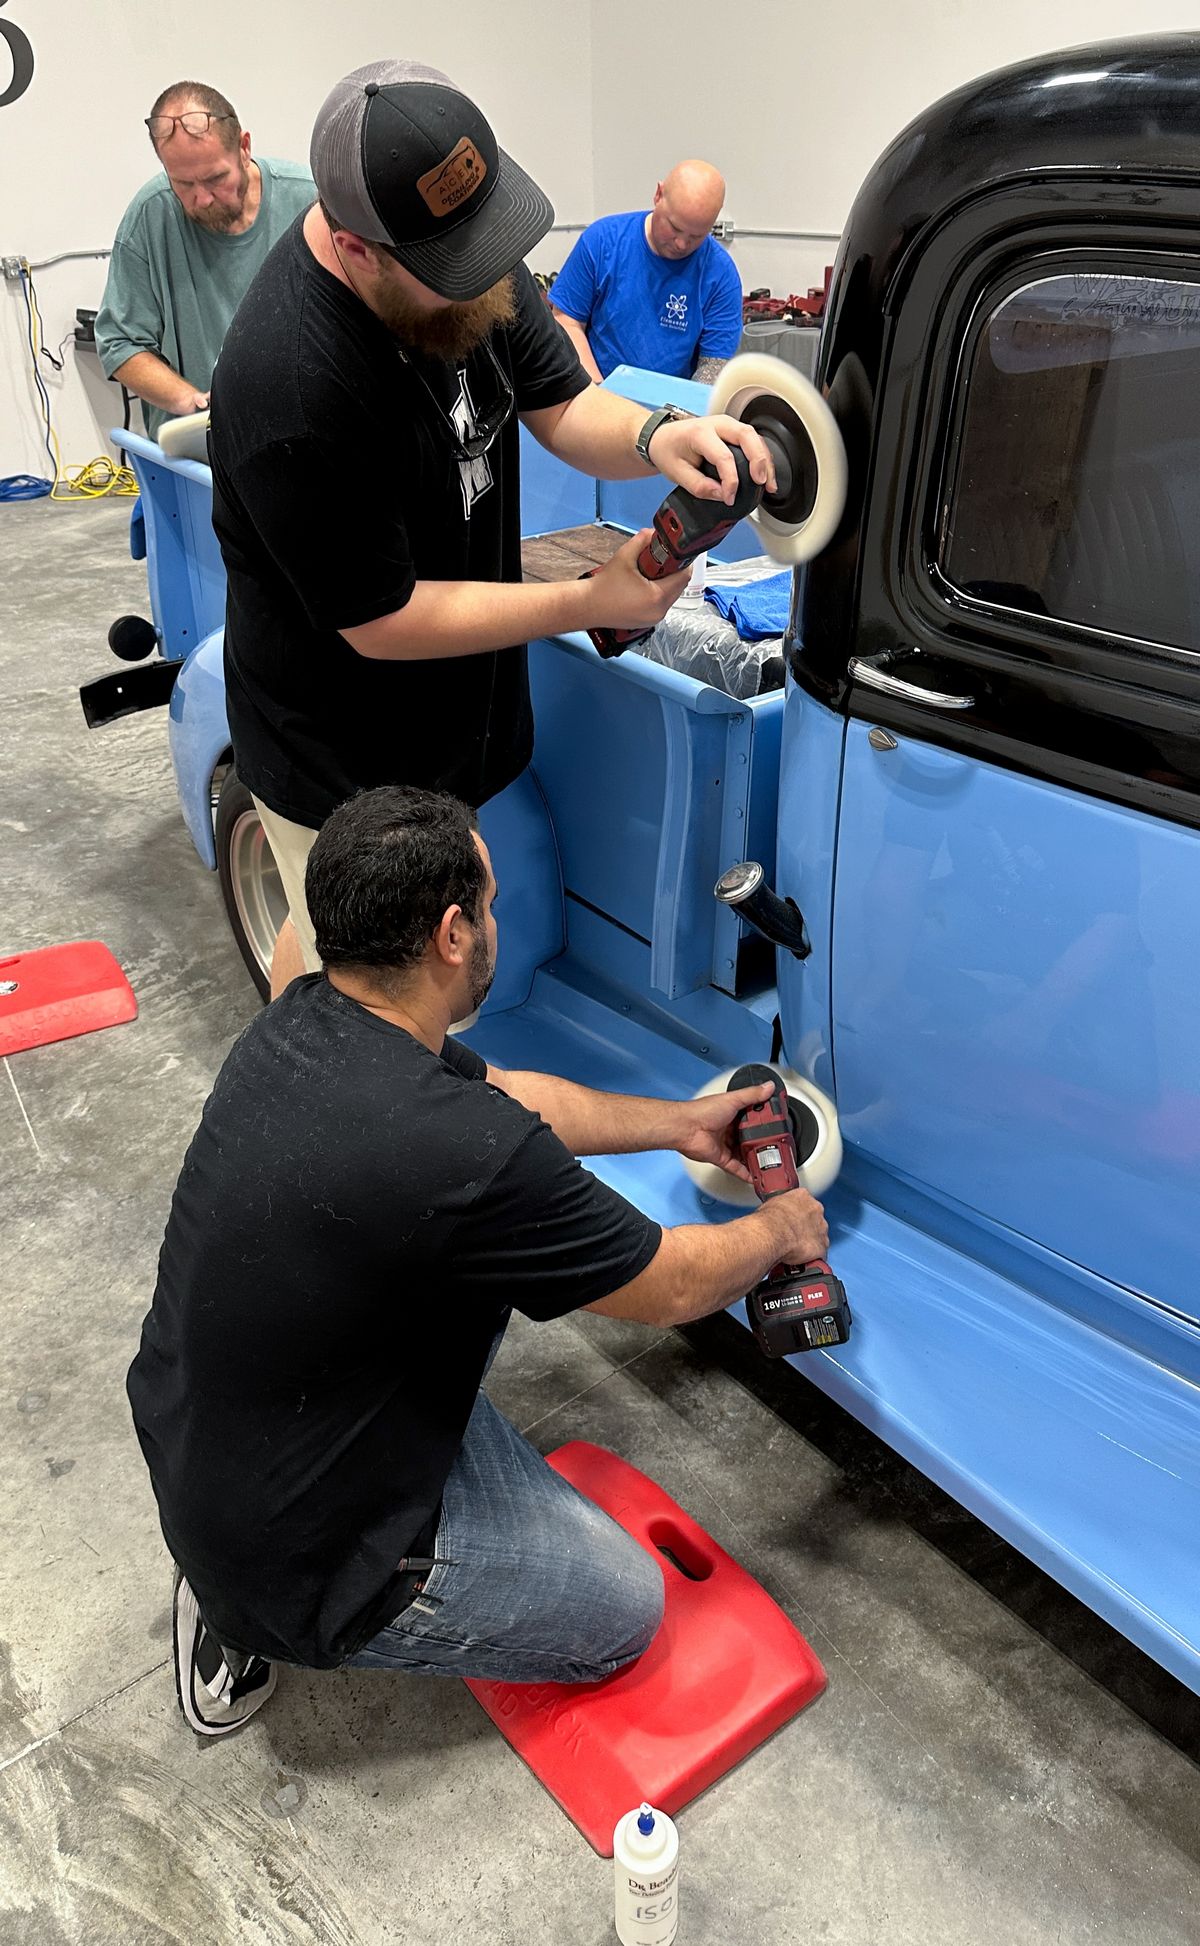
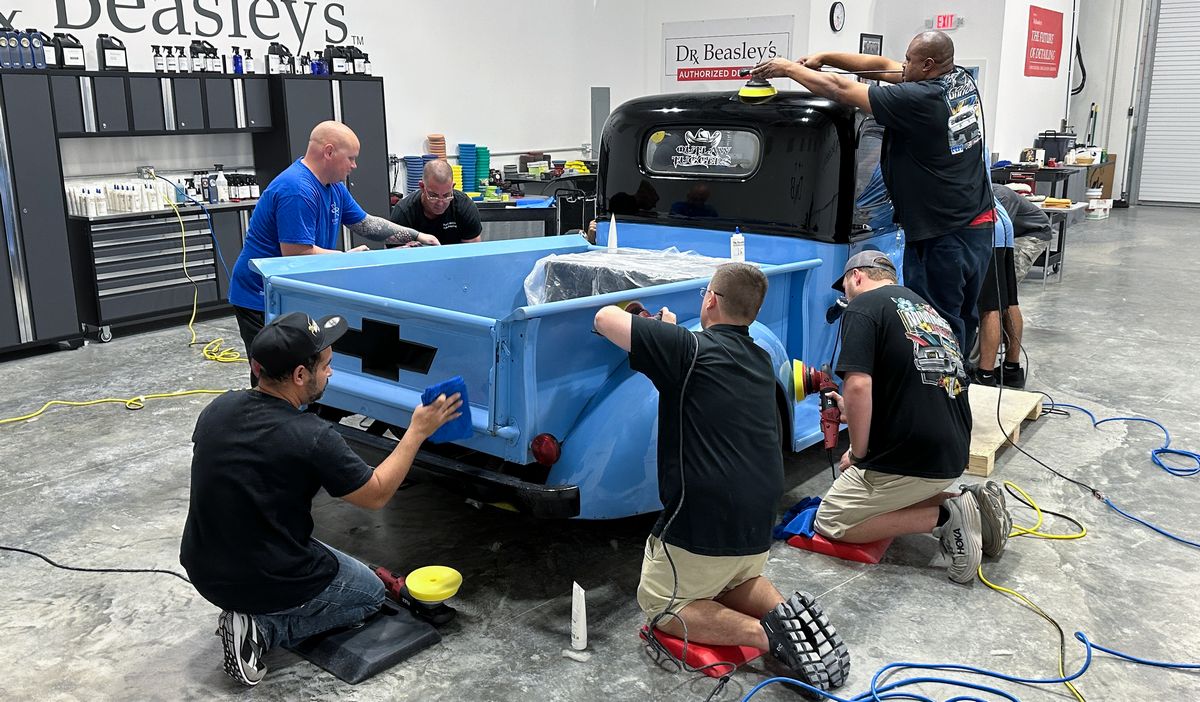
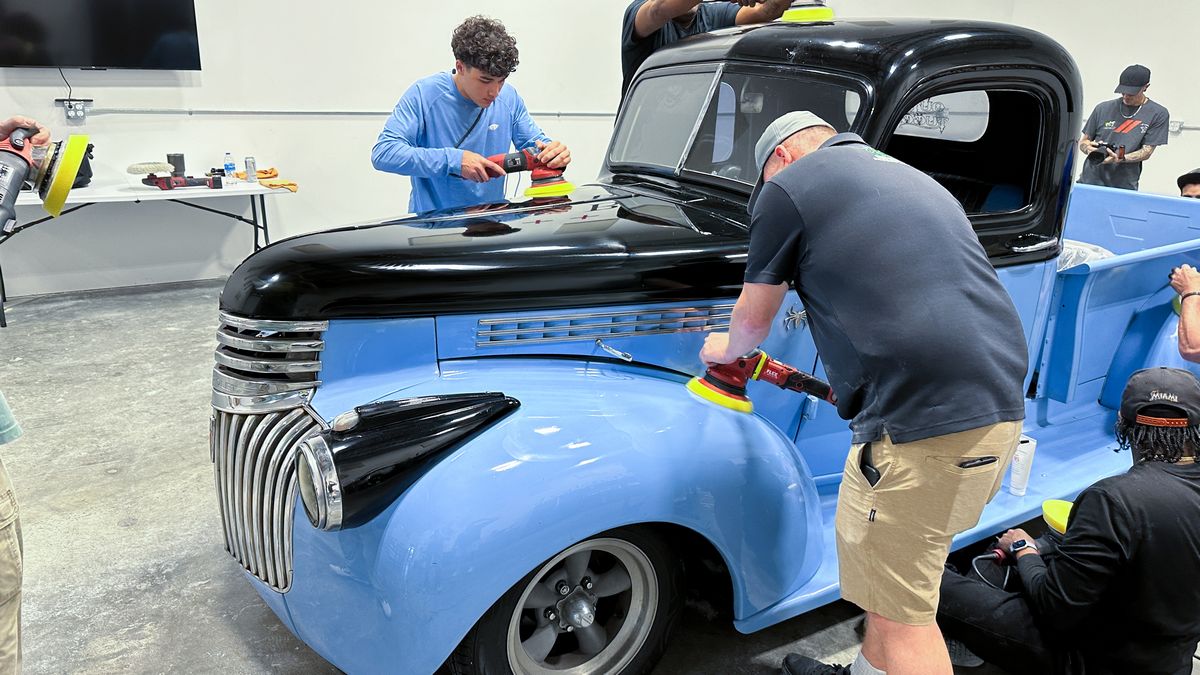
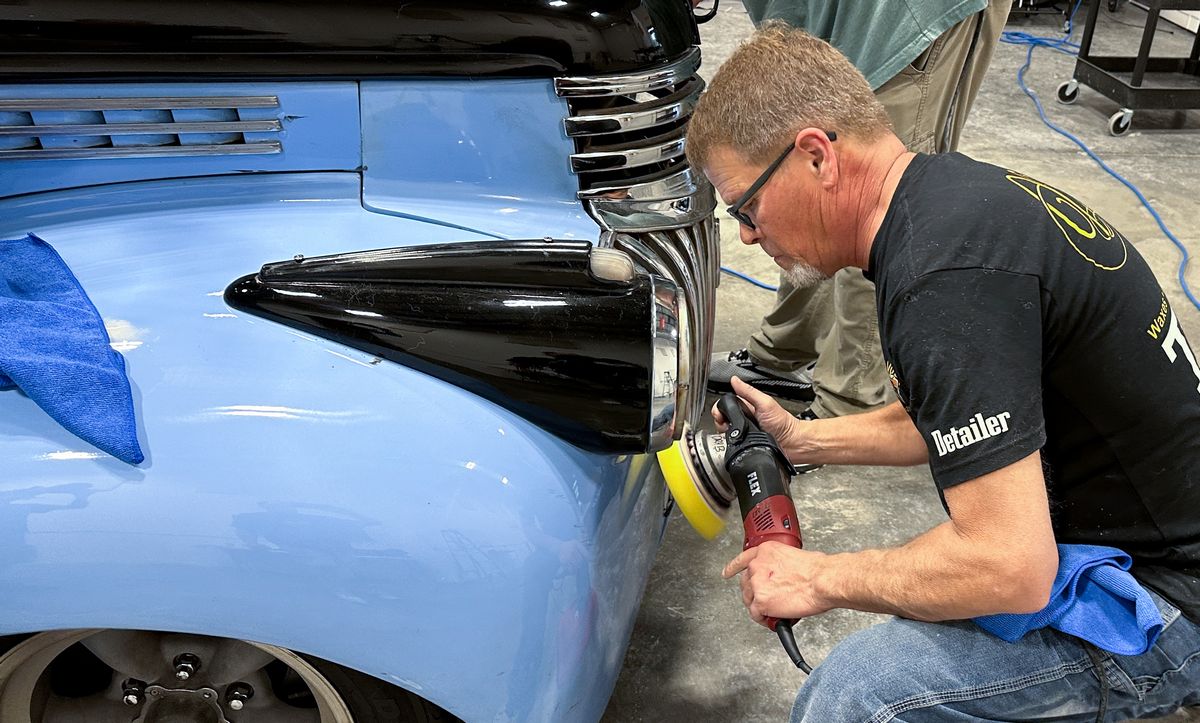
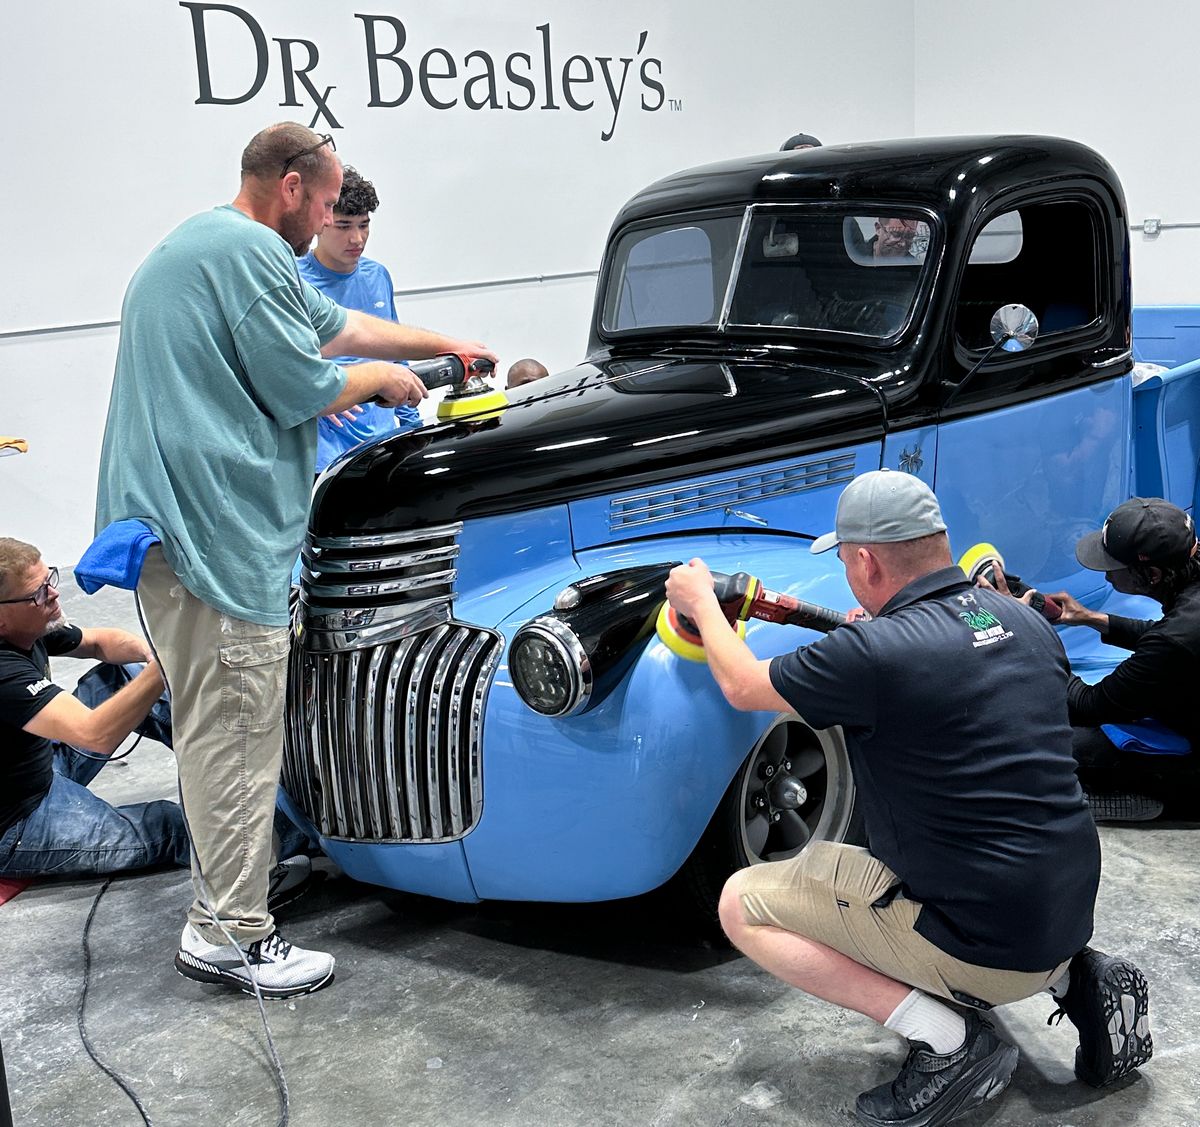
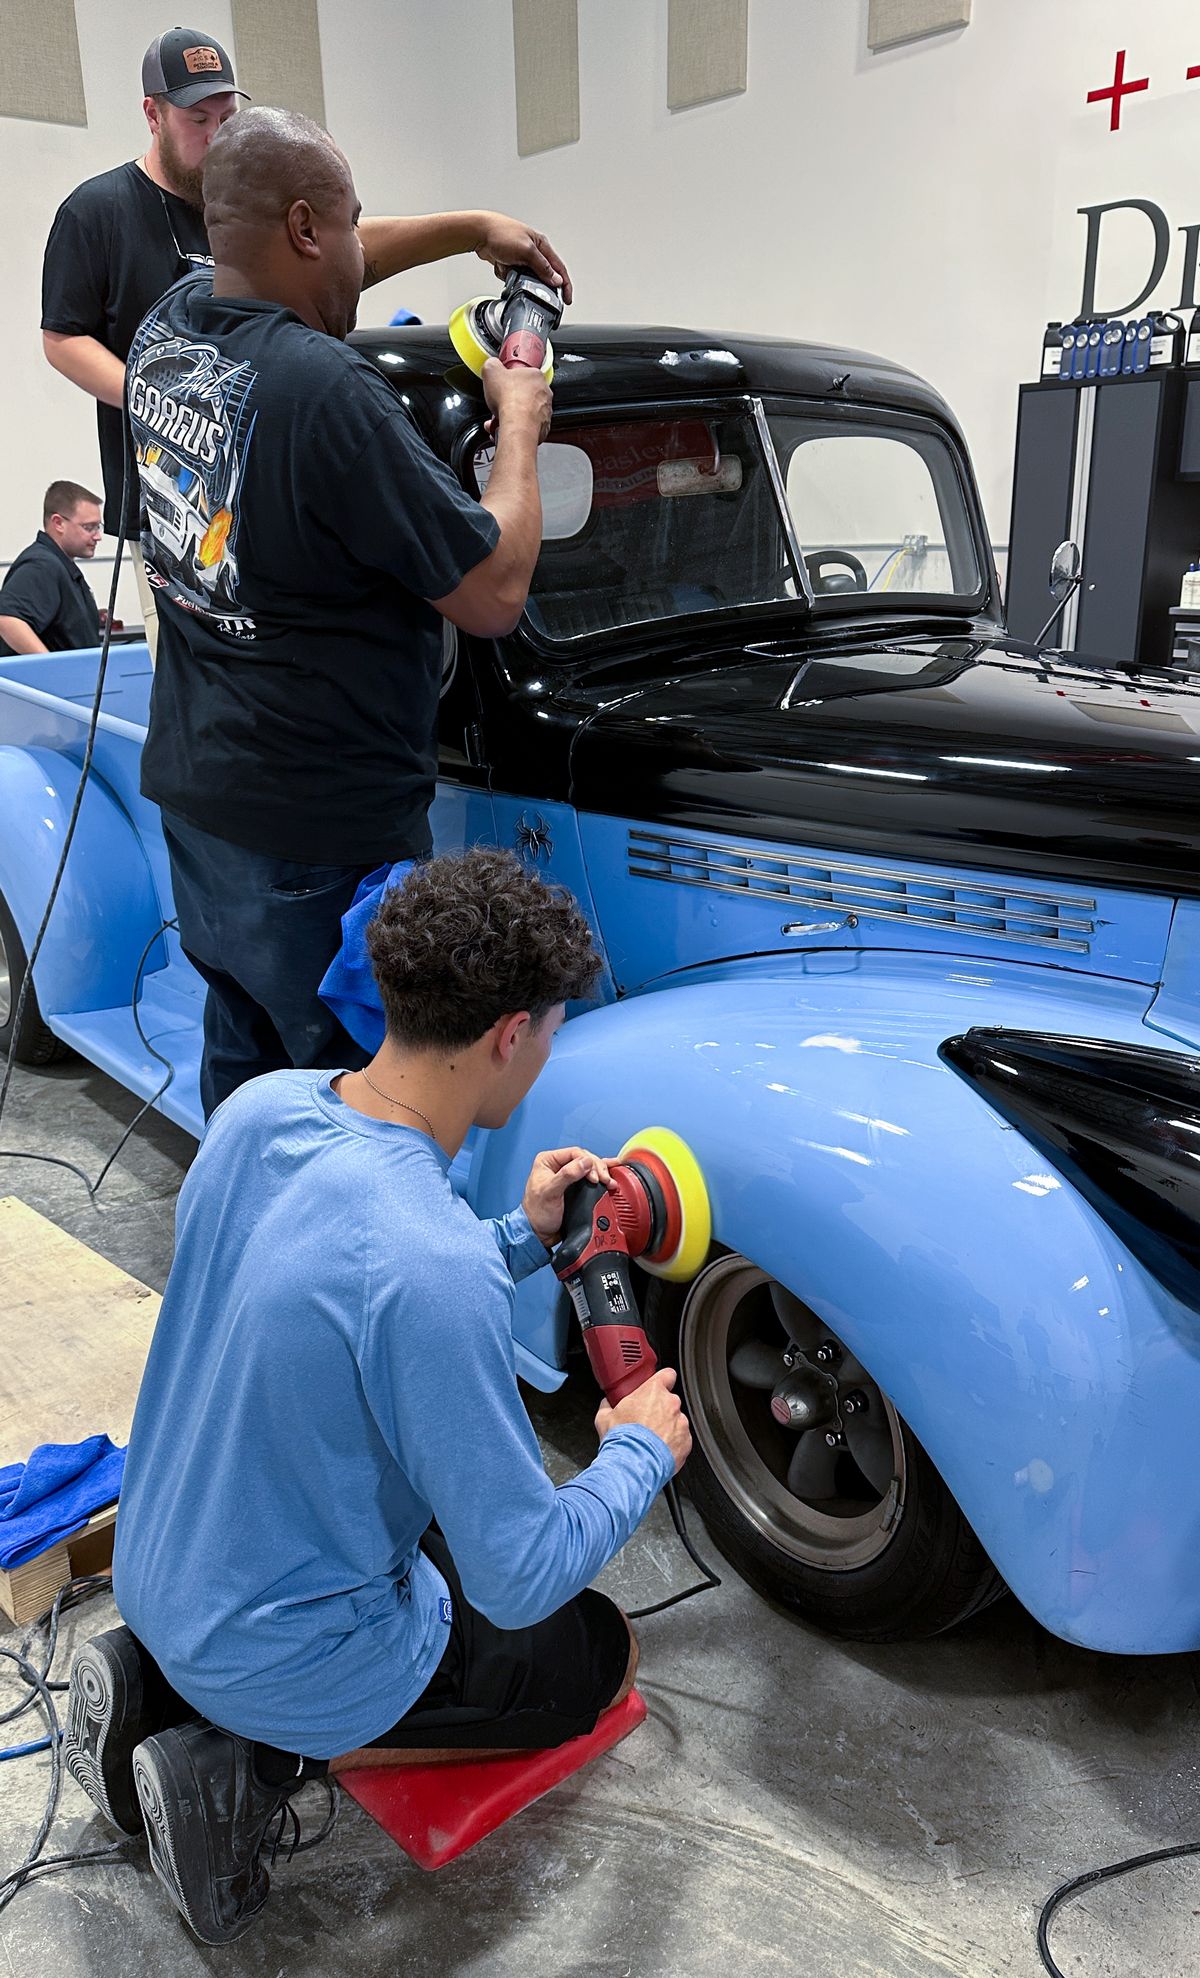
Rotary Polisher – Reinforcement
First thing on Friday morning, the class started the day learning the way of the rotary polisher. Next up, they will get more time behind the rotary polisher, not buffing on a flat demo panel, but using carefulness and precision to remove 100% of the sanding marks in the 1941 Chevy Pickup Streetrod. And tomorrow, (Sunday the third day of this 3-day class), they will AGAIN get time behind the rotary polisher.
The goal is simple, create a learning environment that makes it easy to learn how to use what most consider to be the most difficult tool to learn how to use, (correctly), and to know when to choose the rotary over other options for paint correction. I love this old saying,
Use the right tool for the job
And this is why I put a lot of focus on my students learning how to use the rotary polisher AND BE COMFORTABLE using it, and by the time the students leave our class, they know how to use it and when to use it. They also know what to do after using it.
Check this out…

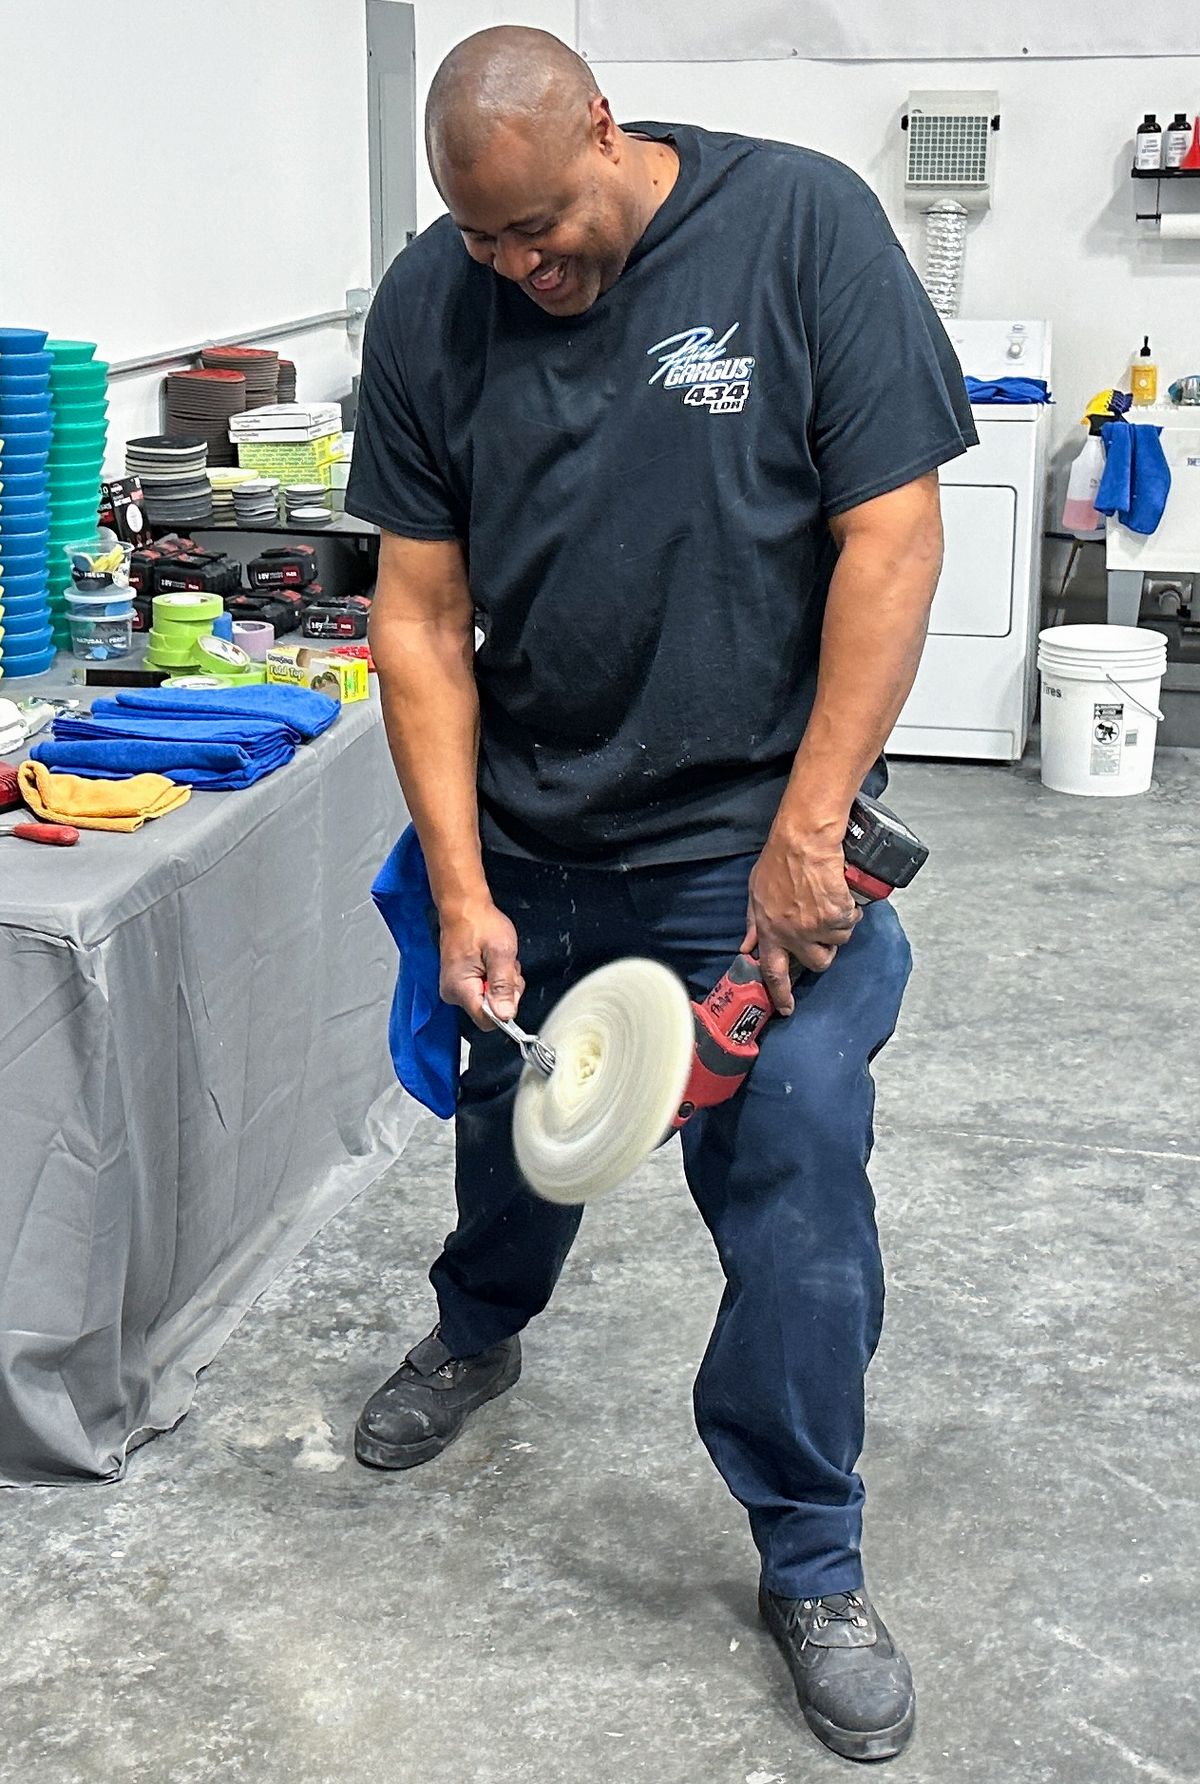
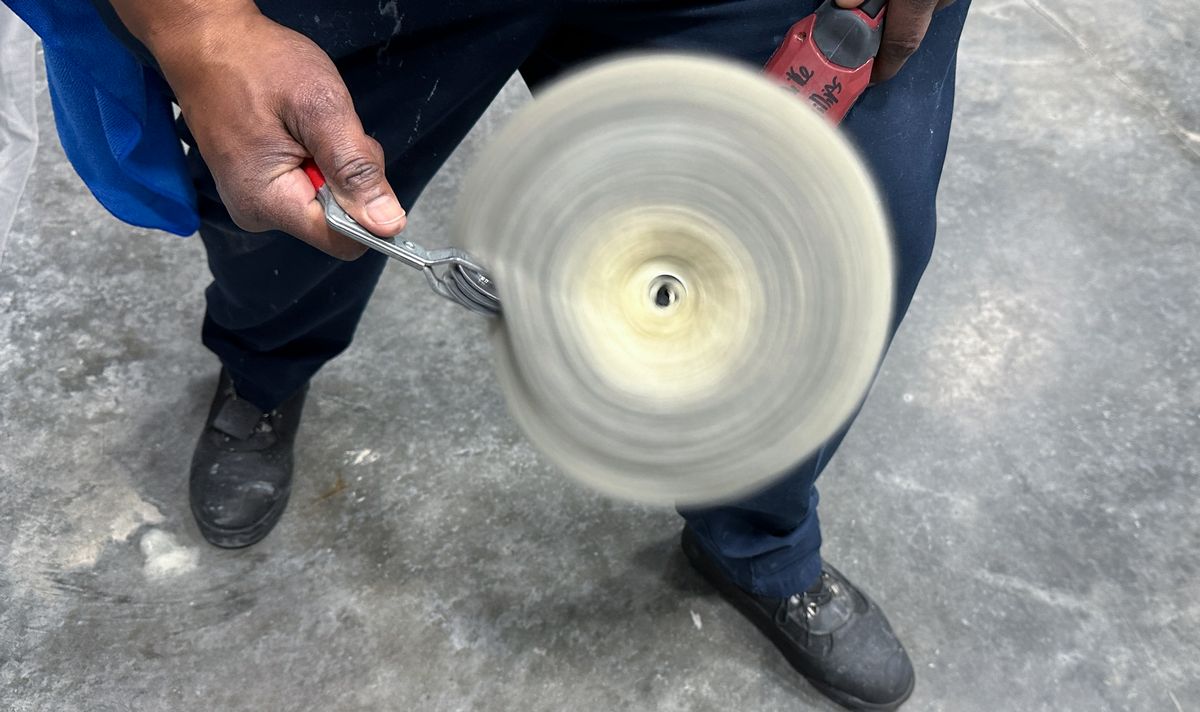
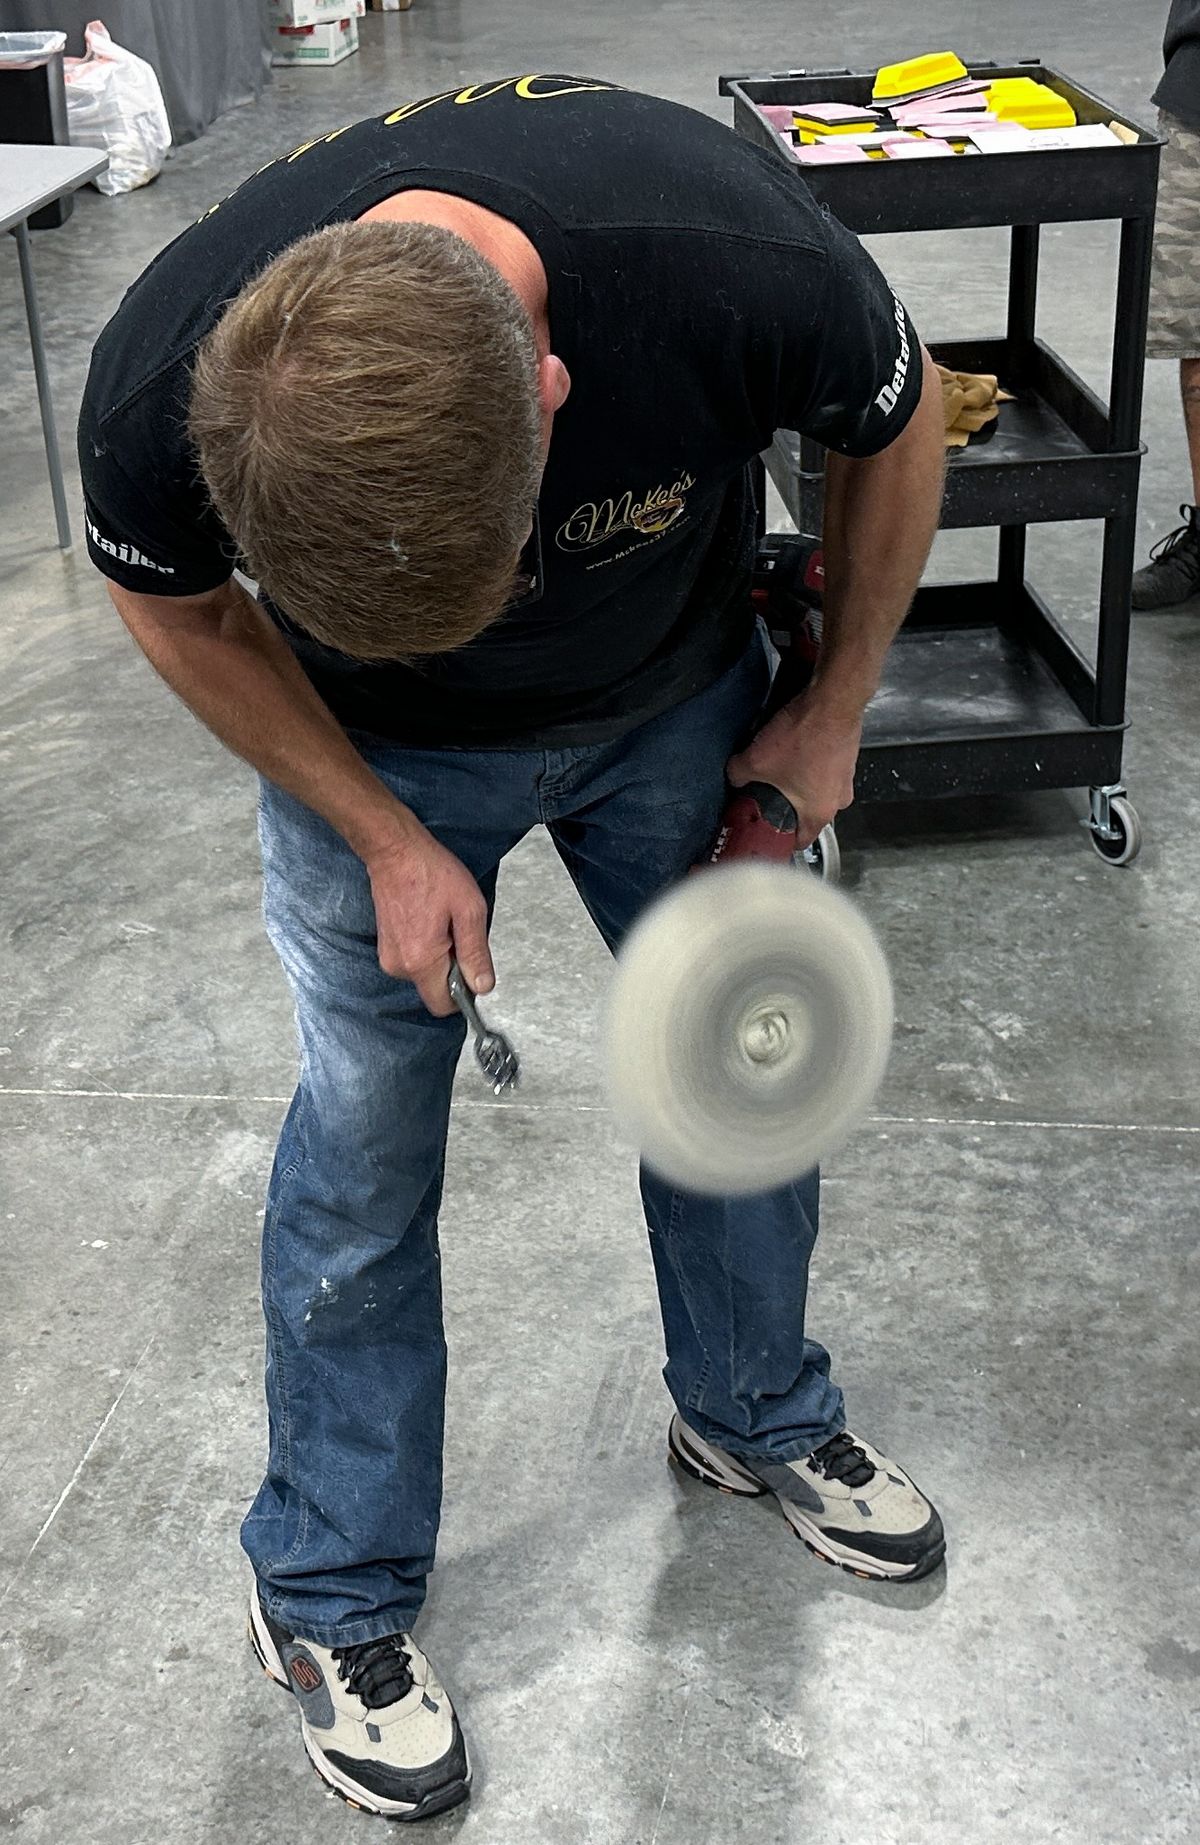
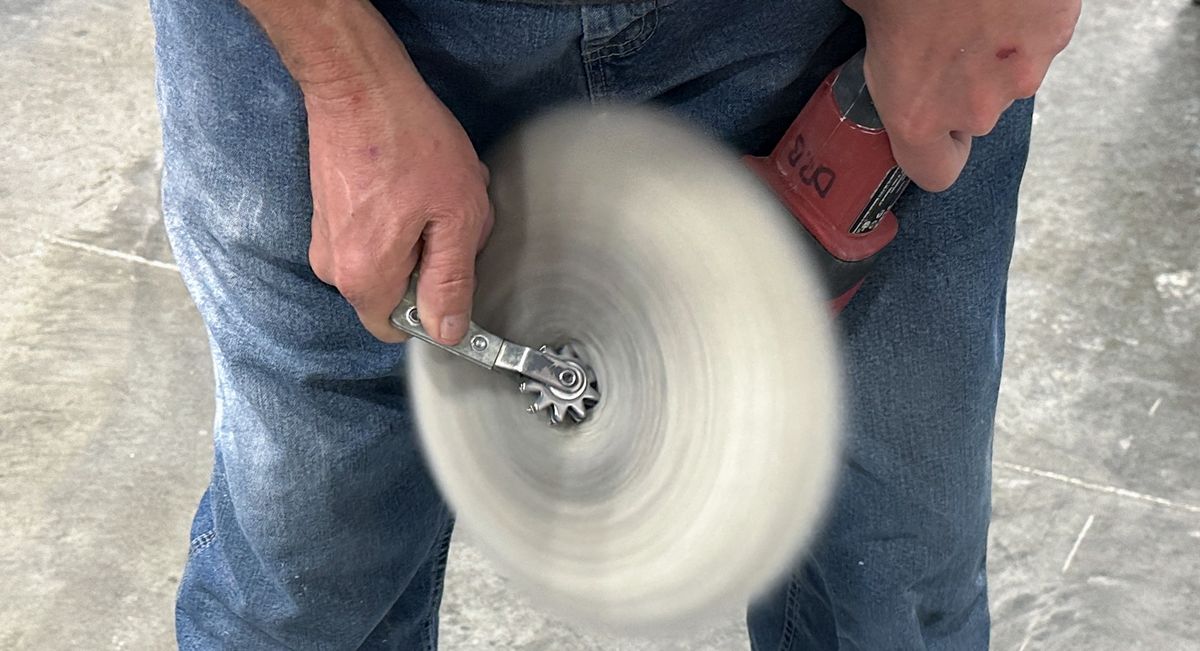
Clean Your Pad Often
One of the most important aspects when using a rotary polisher with a wool pad to cut the paint to remove the sanding marks is to CLEAN YOUR PAD OFTEN. To clean a wool pad, you need a tool called the Pad Cleaning Spur.
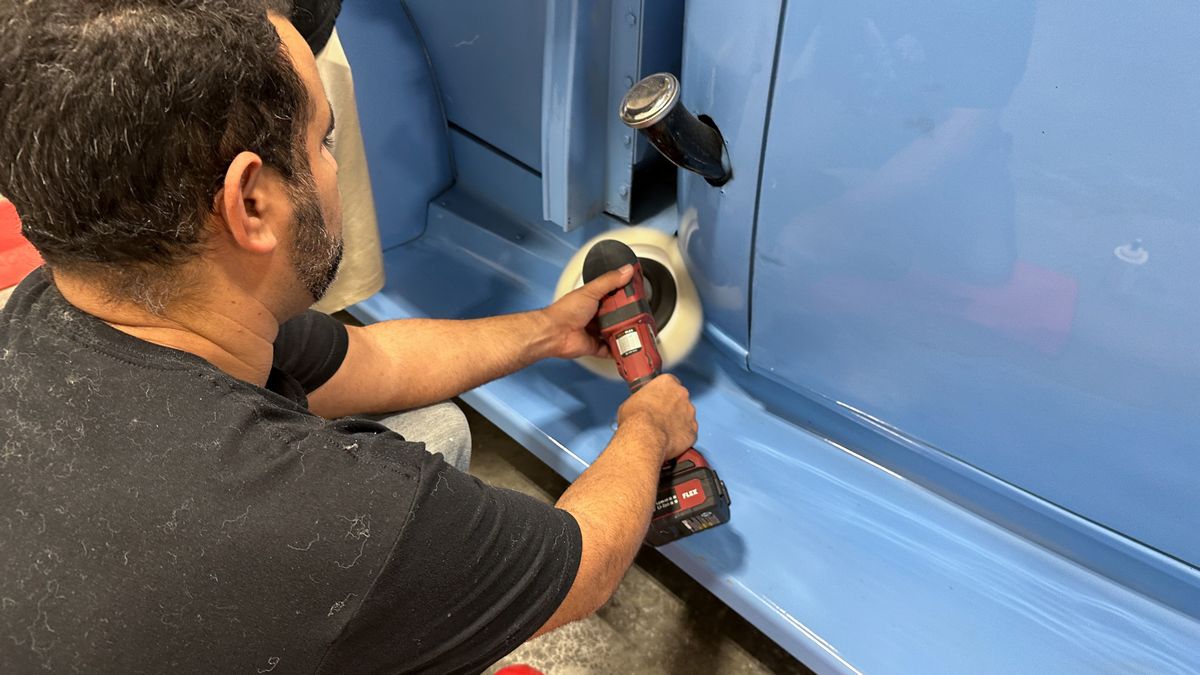

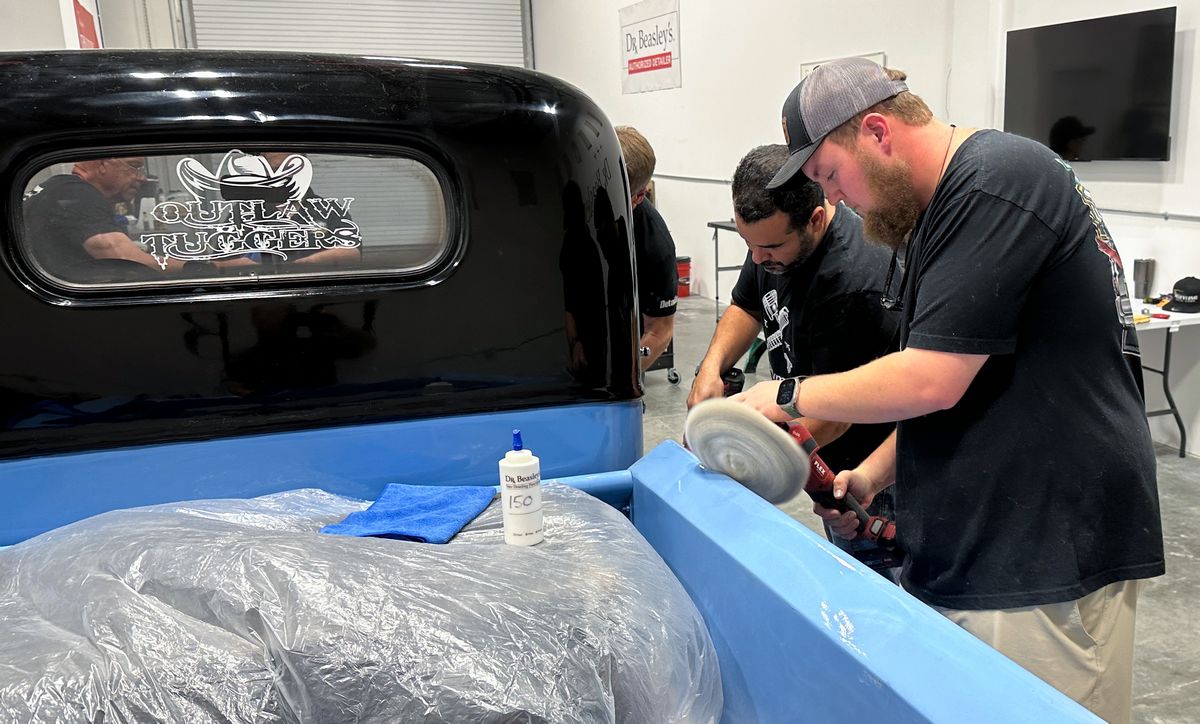
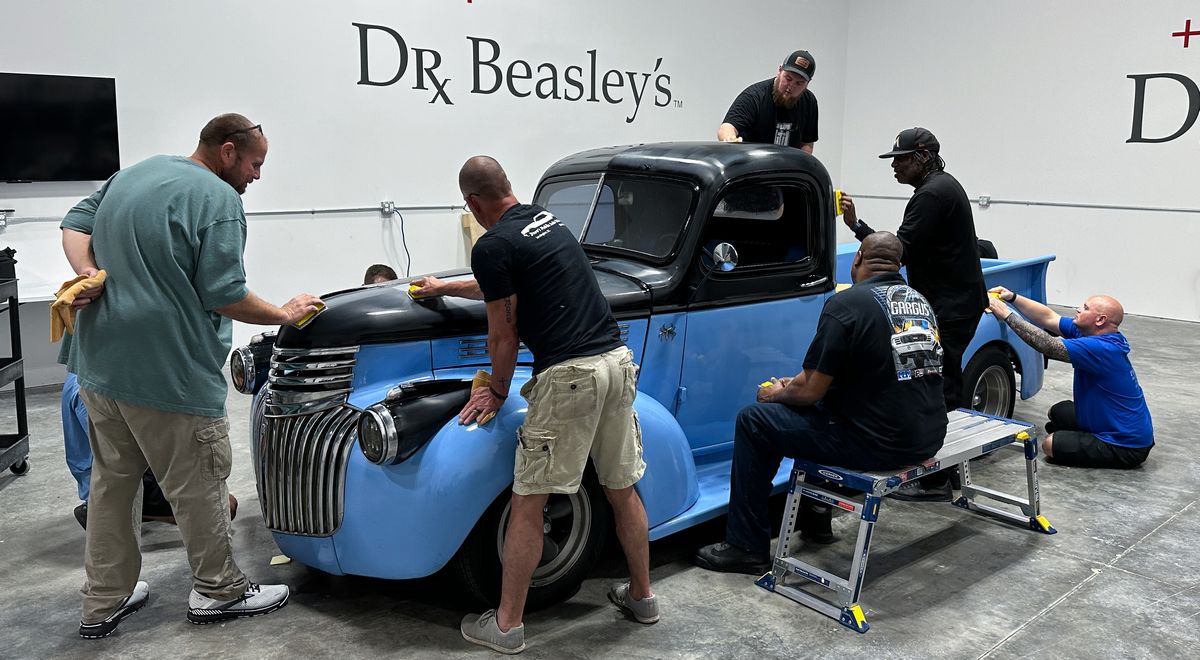
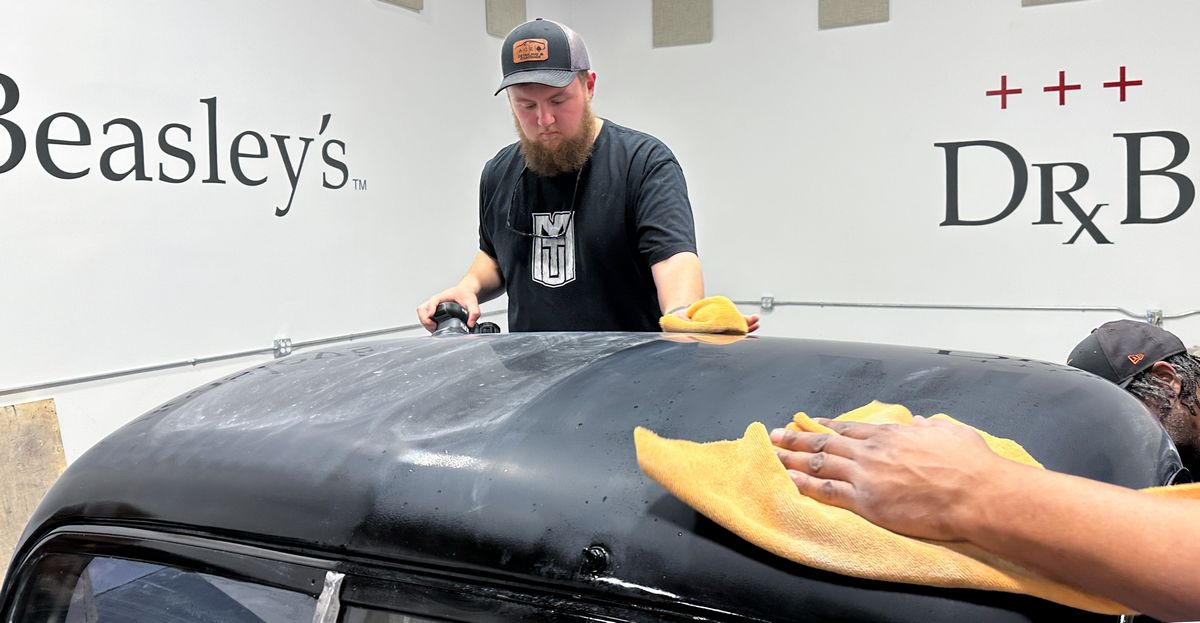
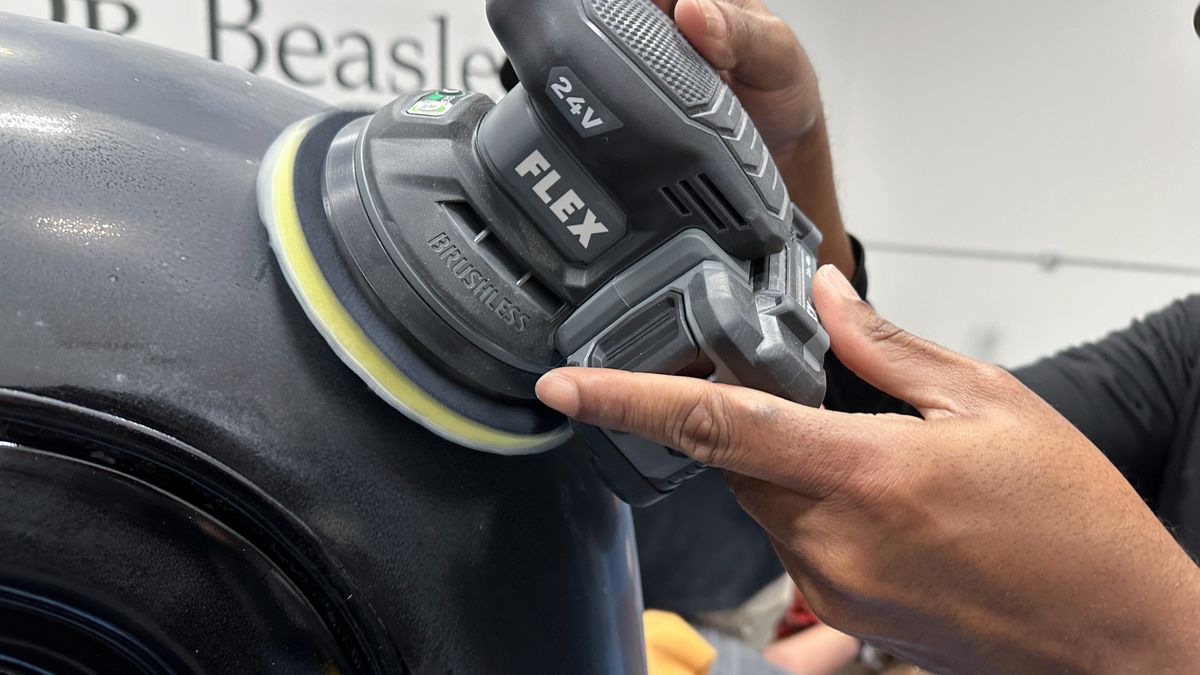
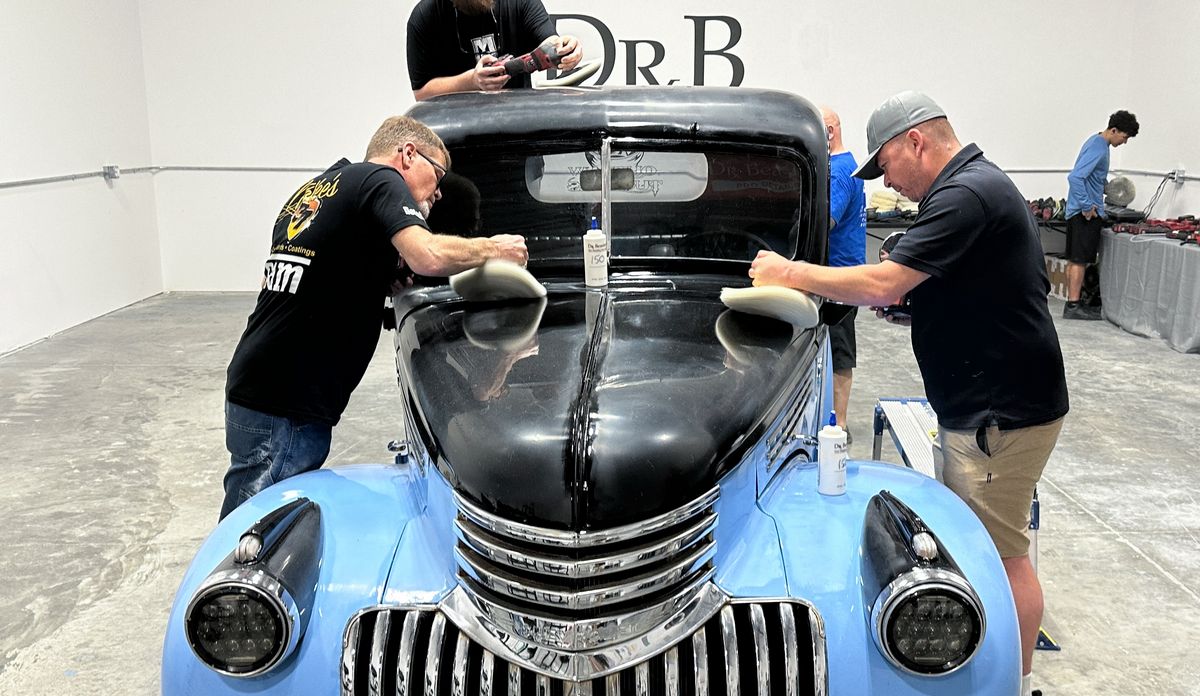
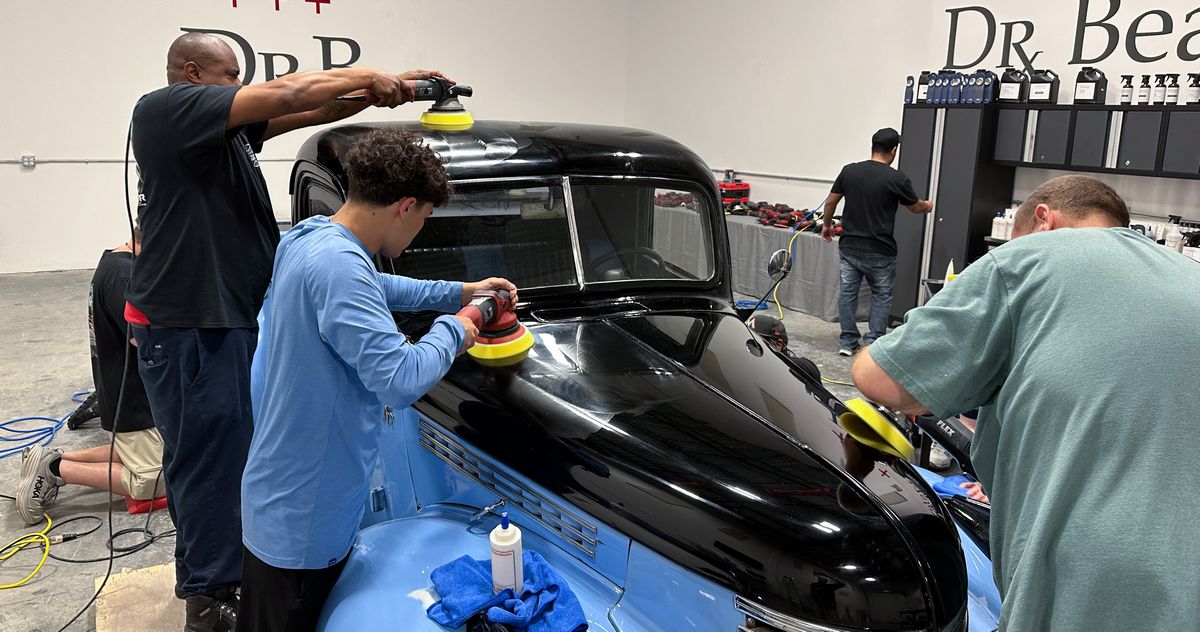
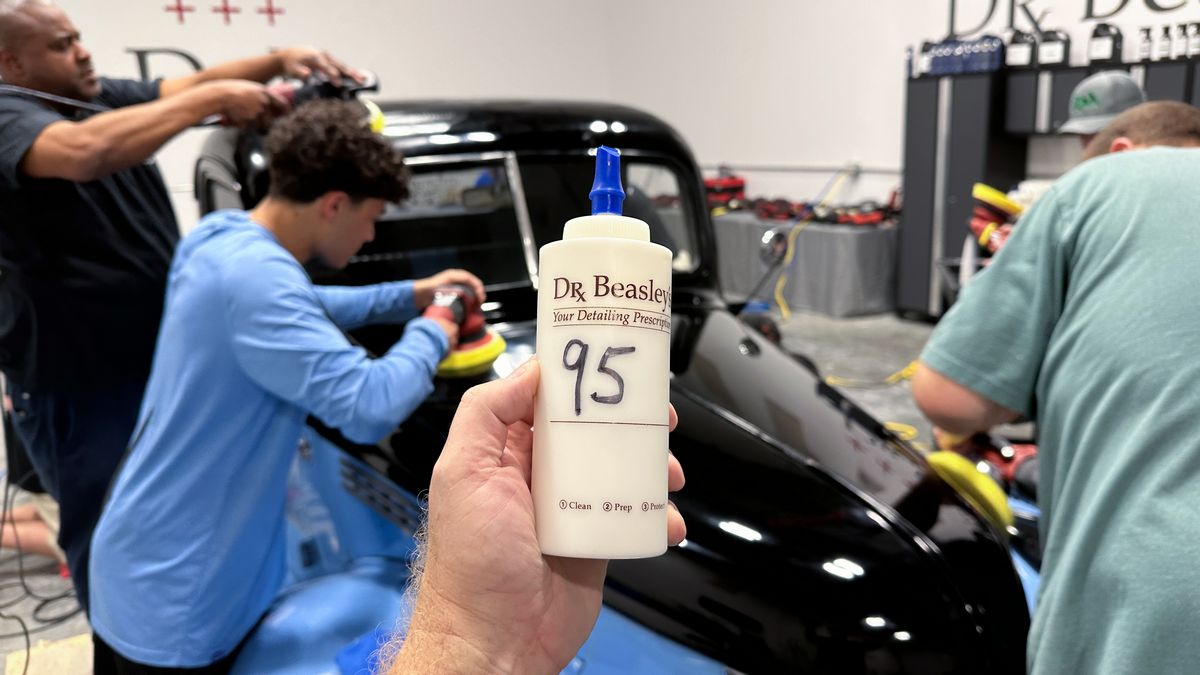
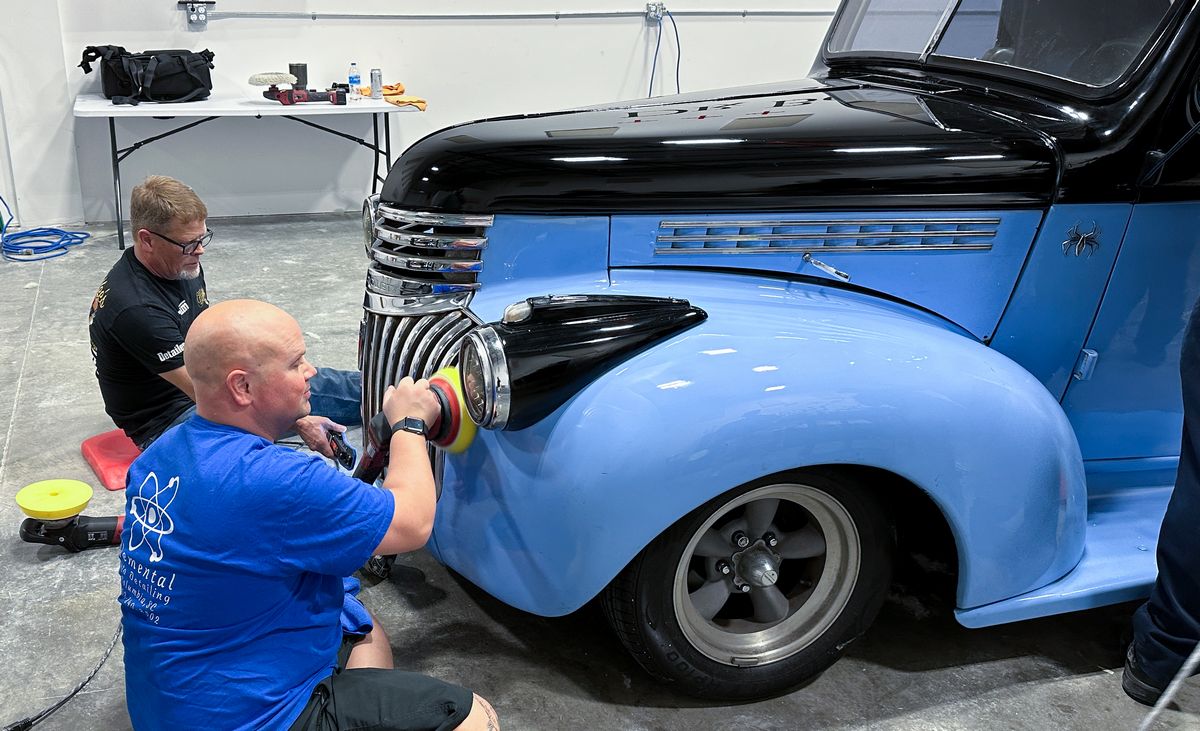
Machine Polishing to Remove Holograms While Maximizing Gloss and Clarity
After the rotary step, next up our Test Spot showed us we could repolish using foam polishing pads on gear-driven orbital polishers with the Dr. Beasley’s NSP 95 to remove all the holograms left behind by the fibers of the wool pads and create a true show car finish.
Installing the Nano-Resin MX Ceramic Coating
MX is a ceramic coating designed to sheet water, versus make water bead-up. The big picture idea is if the water sheets or runs off the finish instead of causing the water to pile-up to form pretty water beads, which dramatically reduces the risk of getting water spots.
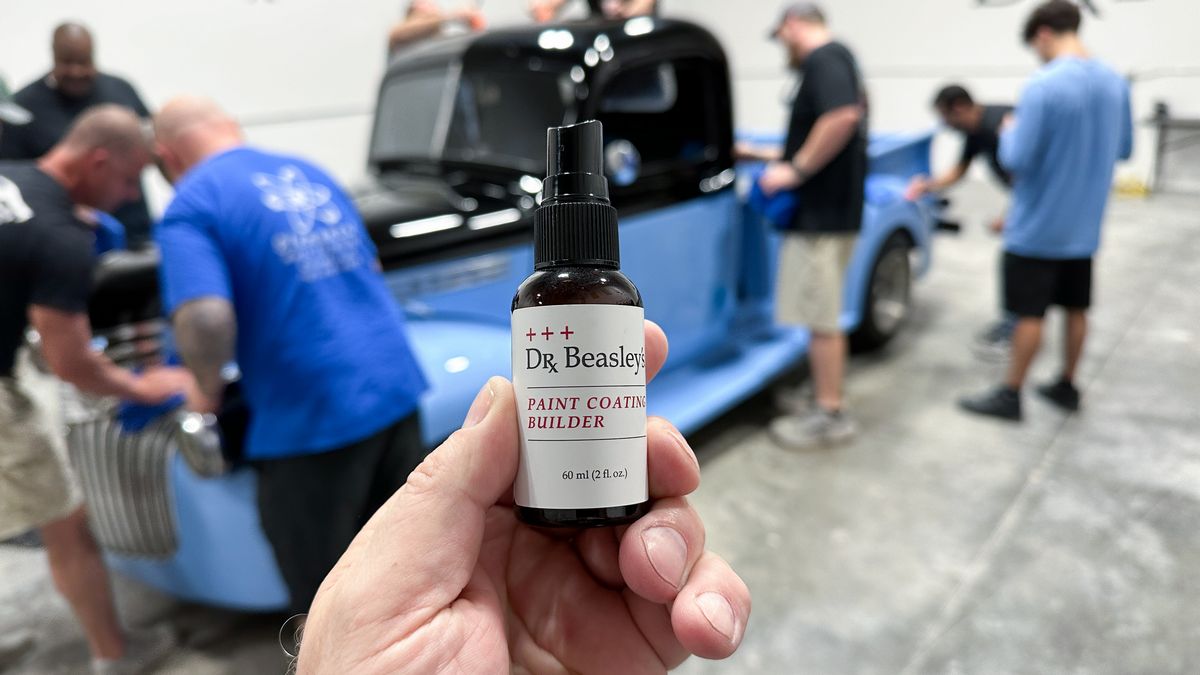
Paint Coating Builder
The first part of this 2-part system is to apply the Paint Coating Builder. This product applies fast and wipes off super easy. What it does is maximized the clarity and gloss created by the polishing system while preparing the paint for the ceramic coating. This product creates anchor points on the finish in which the second part, the actual ceramic coating can form a more perfect bond for greater longevity and thus, longer lasting protection. Besides these things, the coating makes the paint super glassy looking, and it feels very silky to the touch.
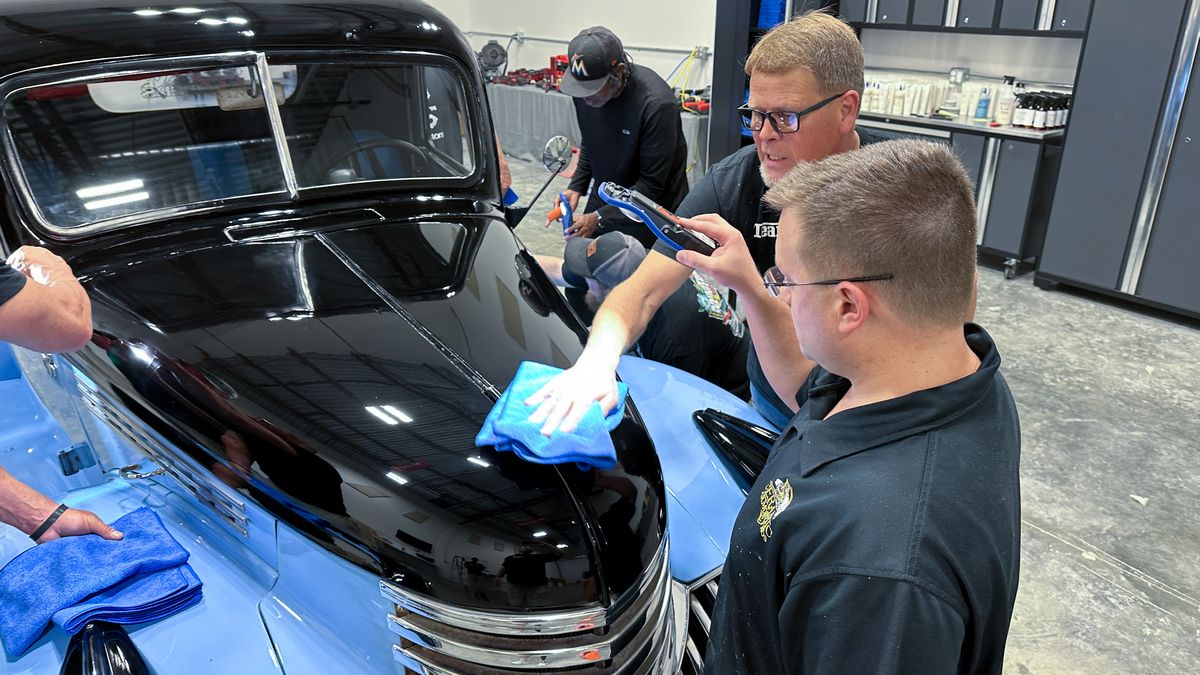
After removing the Paint Coating Builder, next the class installs the Nano-Resin MX Ceramic Coating.
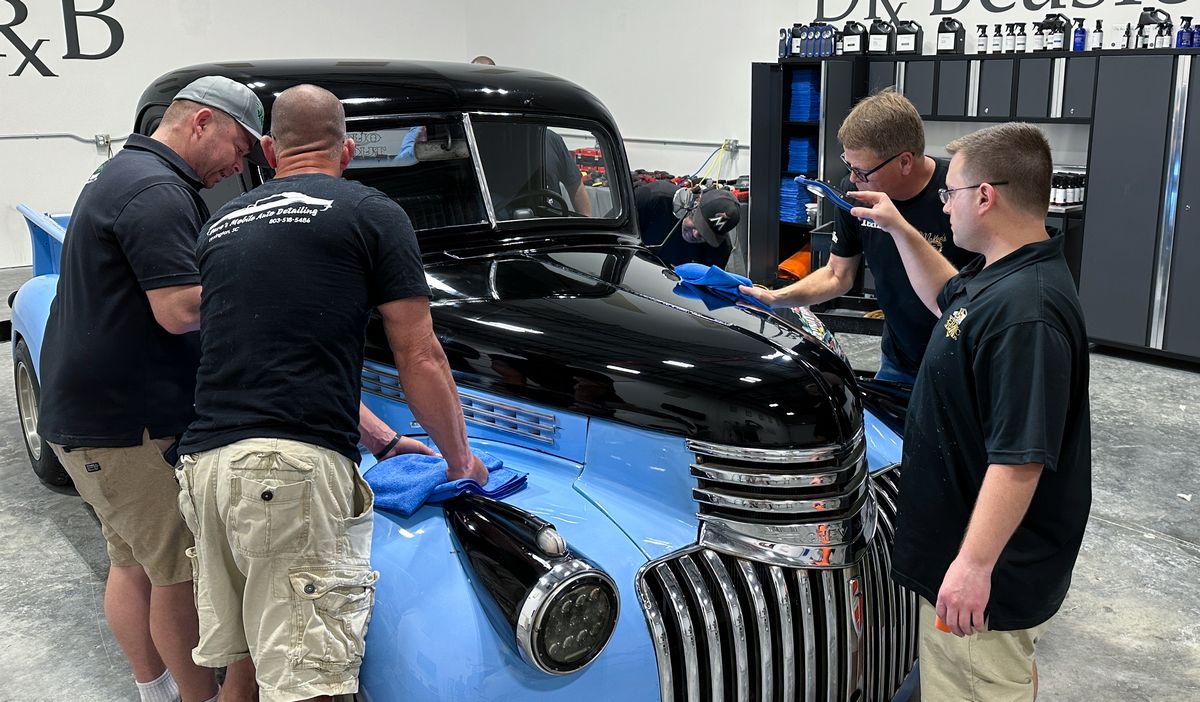
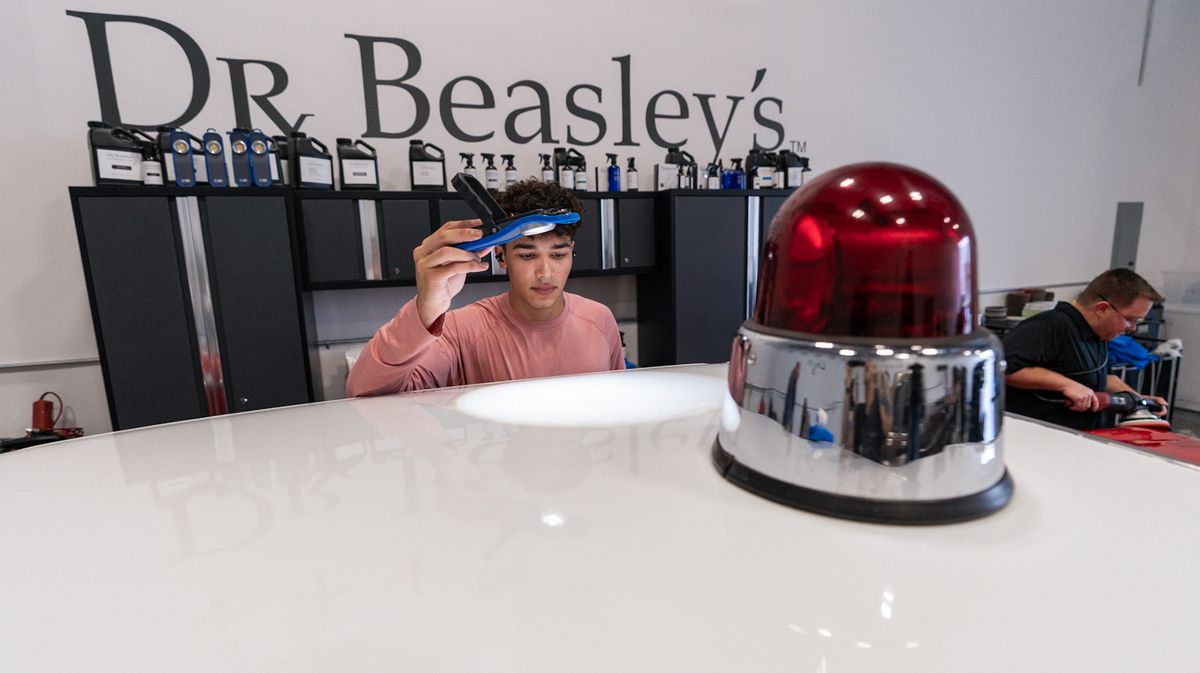
If you’re going to install ceramic coatings you MUST have a great hand-held light in order to inspect for high spots.
Here’s the final results!

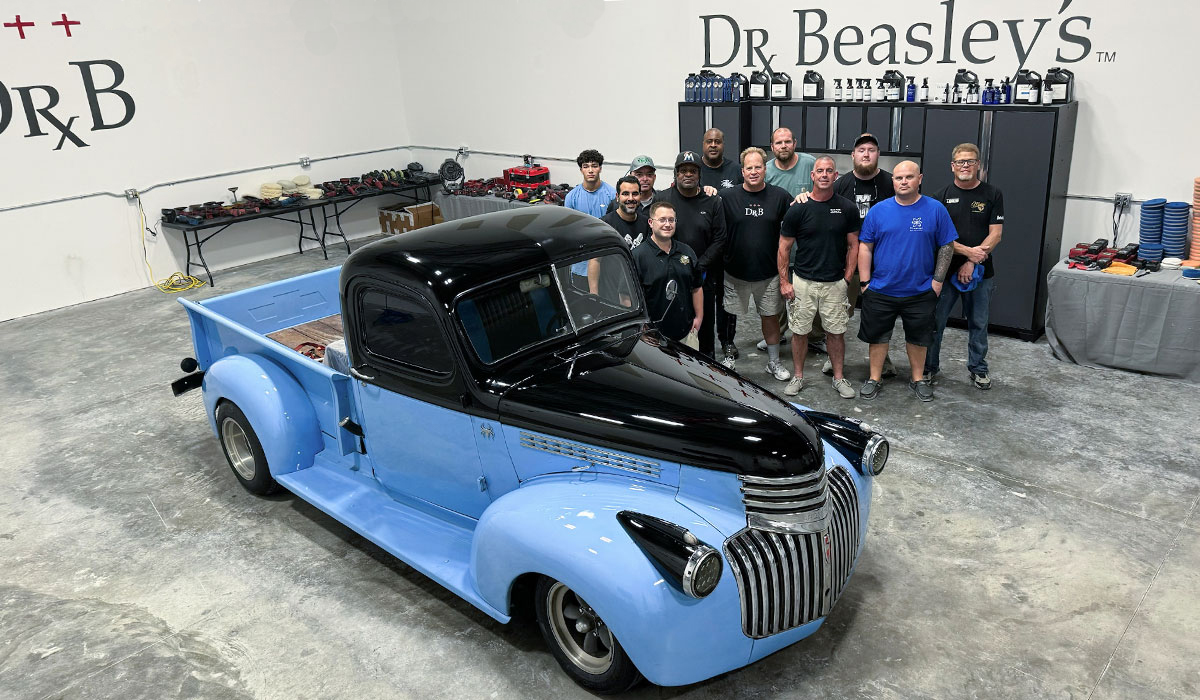
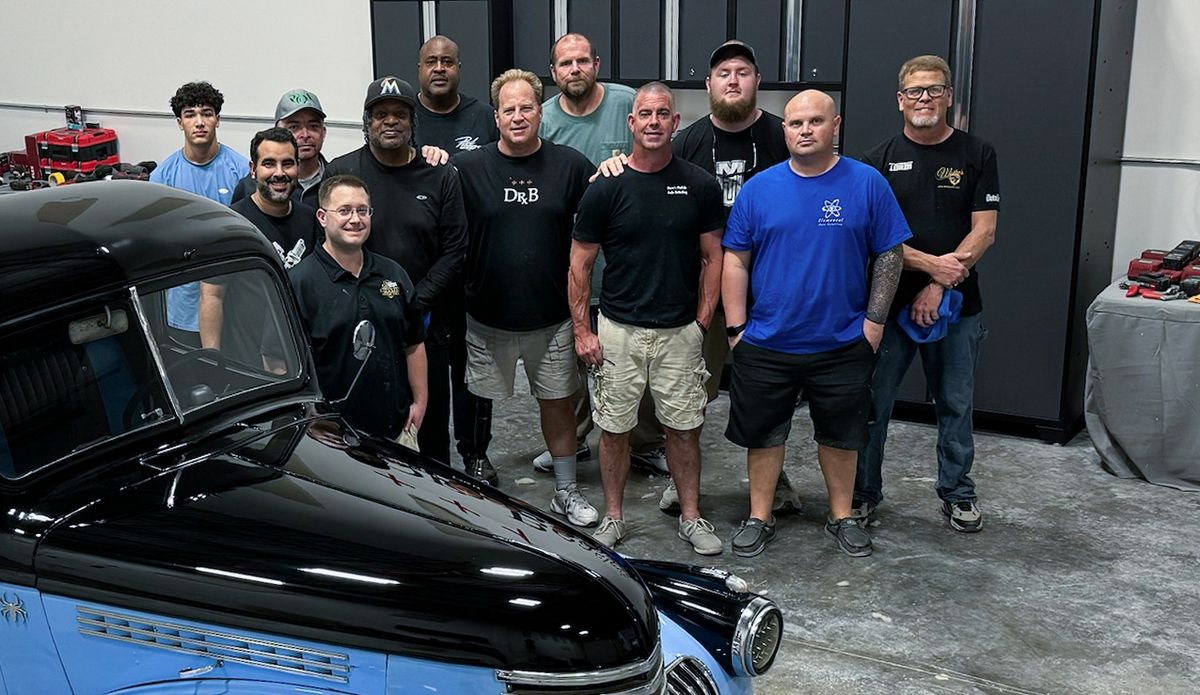
Awesome work guy!
Especially considering how horrible this paint looked when the truck arrived!
Continued…
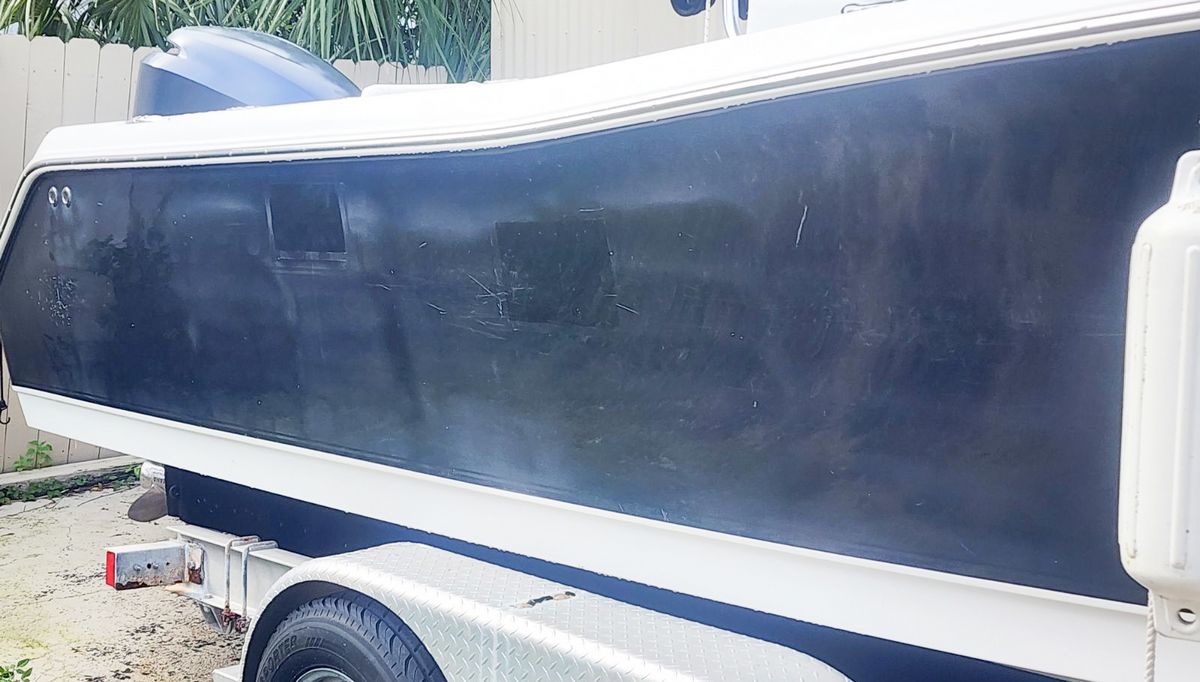
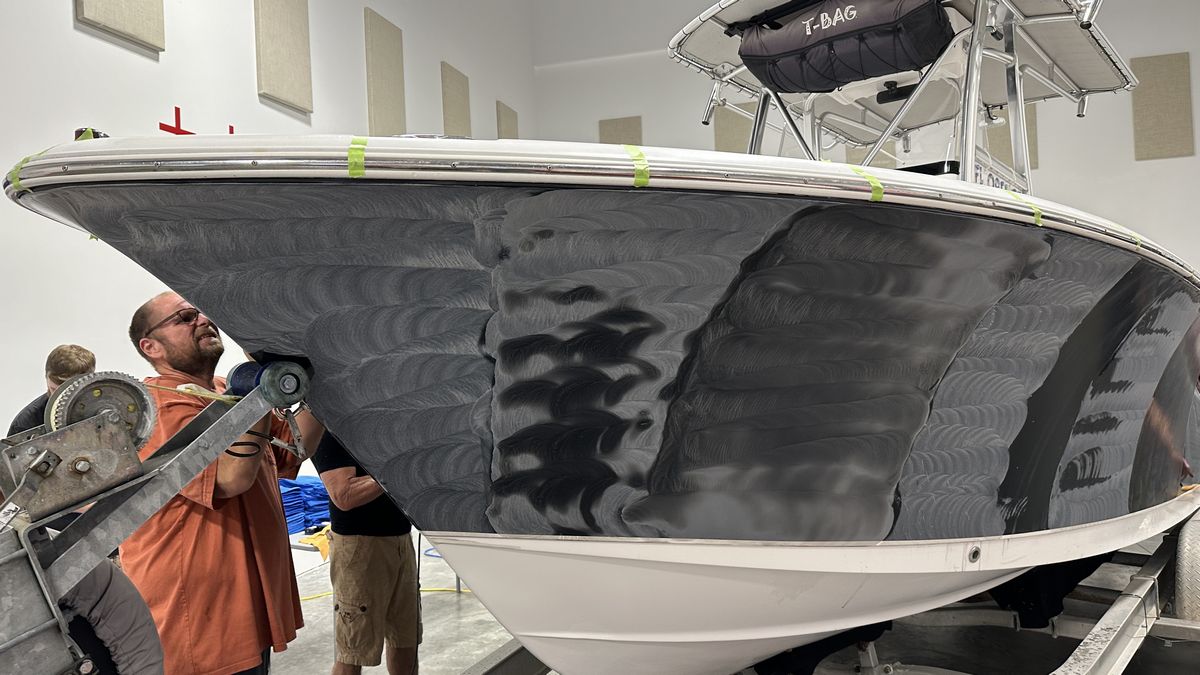
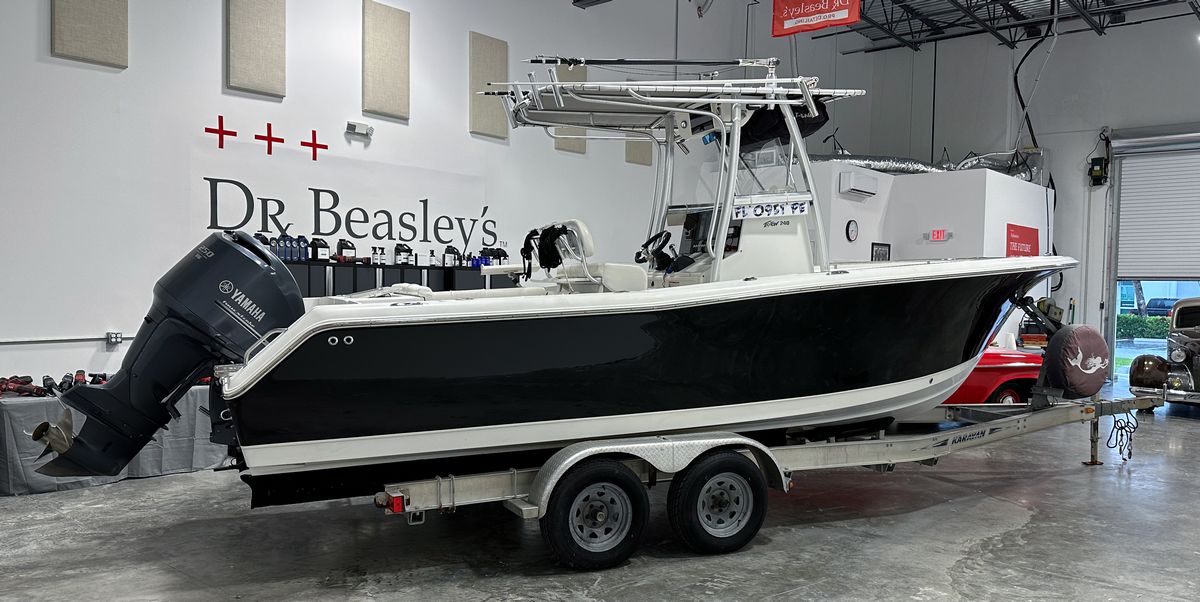
Day 3 – Sunday Morning – Extreme Gelcoat Correction
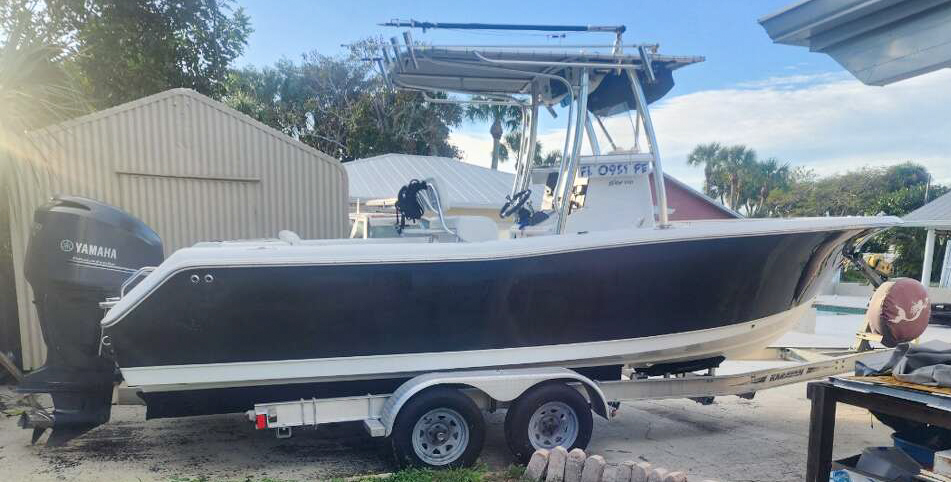
Here’s our training boat, this is an extremely neglected 24′ Sea Hunt Center Console. This is in my opinion, the BEST type of boat for training purposes. First, the gelcoat is VISIBLY oxidized and filled with dock rash. This is DEEP oxidation. Not only can the human eyes see the accurate condition, but a hull in this neglected state can also be captured with both photos and video. This is just one reason I don’t bring in oxidized WHITE gelcoat boats. It’s too difficult for the students to easily see the before and after difference and it’s a lot more difficult to capture before and after with photos and video.
Besides that, a boat with large hull sides makes for a more comfortable working experience since all the steps we’re going to go over mean standing on your feet and working on a surface directly across from you. I’ve seen other boat classes use Flats boats and Bass boats and the students are all hunched over trying to train on a narrow hull side and it’s simply no fun to train on these types of boats. So, if you’re interested in learning the art of gelcoat transformation, get signed up for my next boat detailing class.


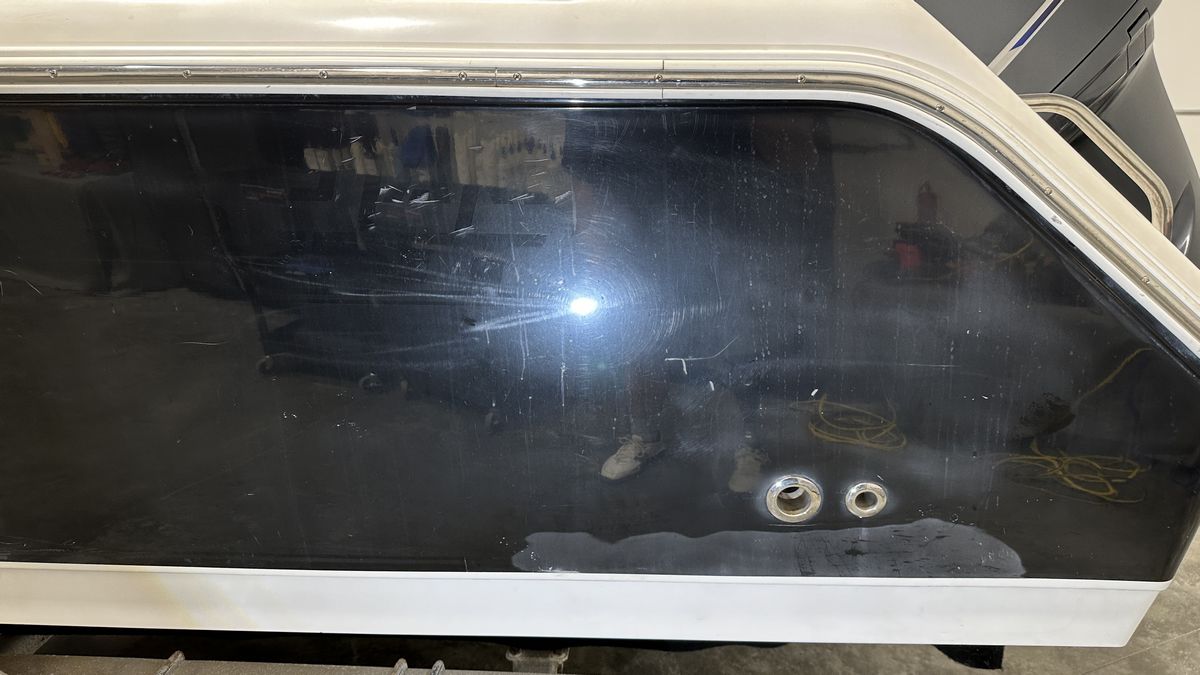
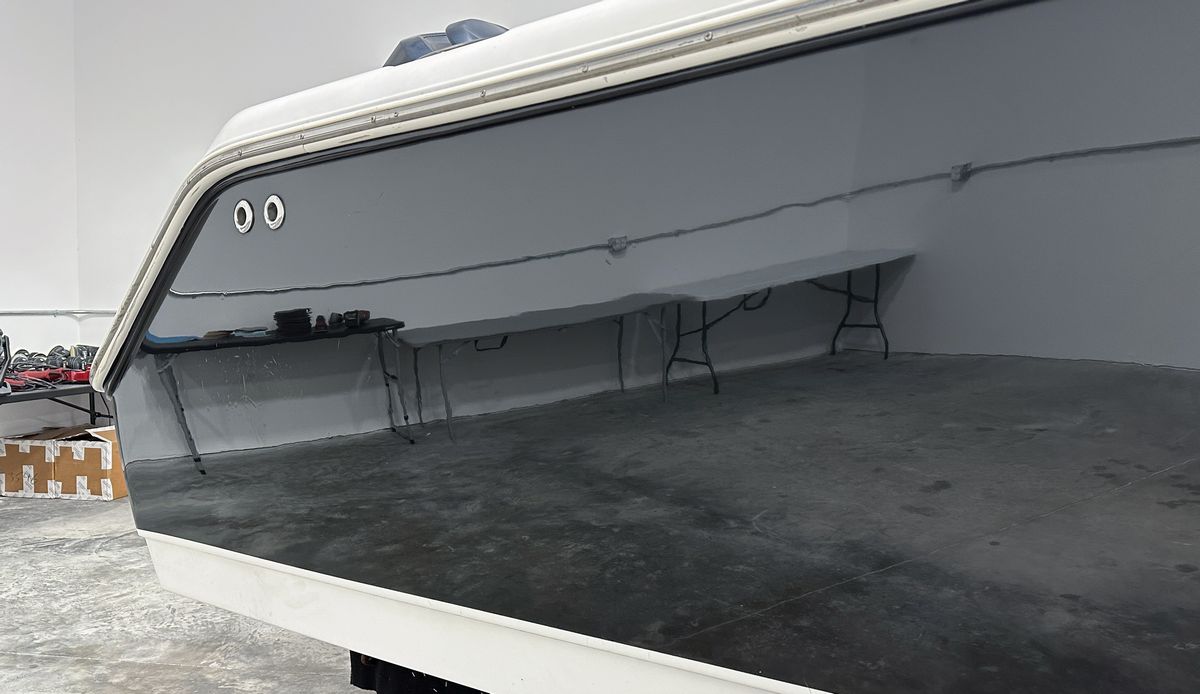
Here you can see someone else has already performed a couple of Test Spots. Whatever they did, the results looked pretty good. I’m not sure why they didn’t tackle this project? For our part, we’ll have to fix the entire hull and make sure there’s no ghosting left by these two sections, which simply means we will re-sand and buff these areas.
After moving the boat inside, I took a couple more pictures using a Swirl Finder Light to show that not only is the gelcoat hull deeply oxidized, but the last person that buffed out this boat using NOTHING but a rotary polisher and thus left holograms throughout the entire finish.

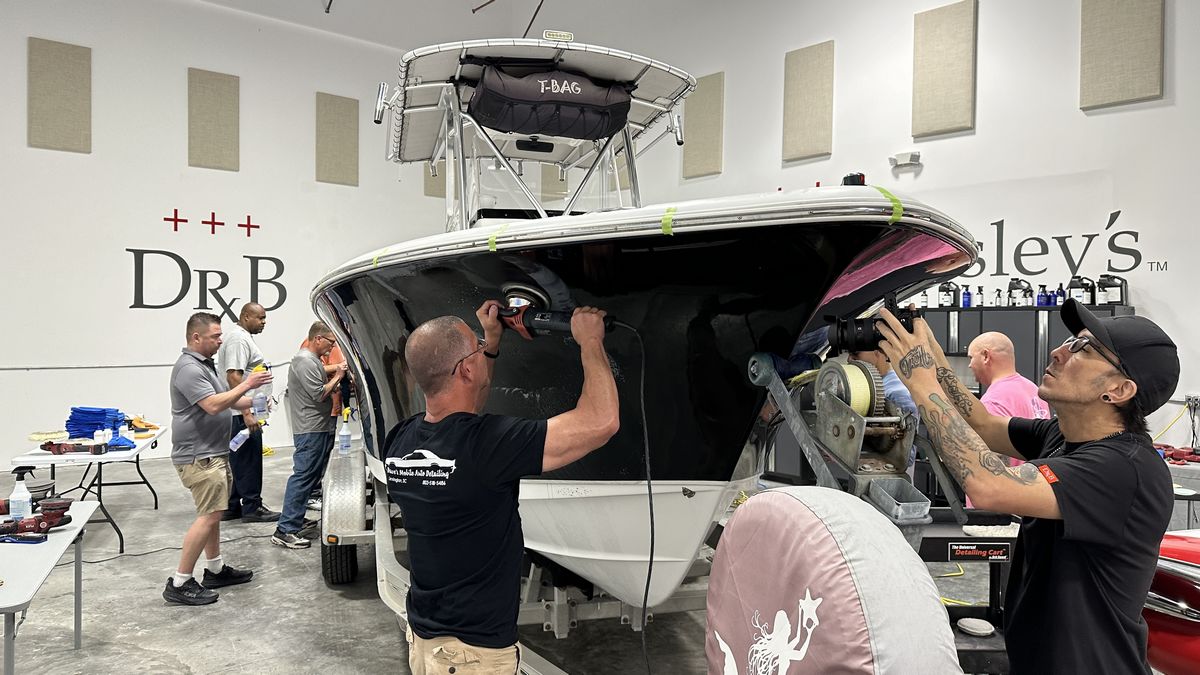
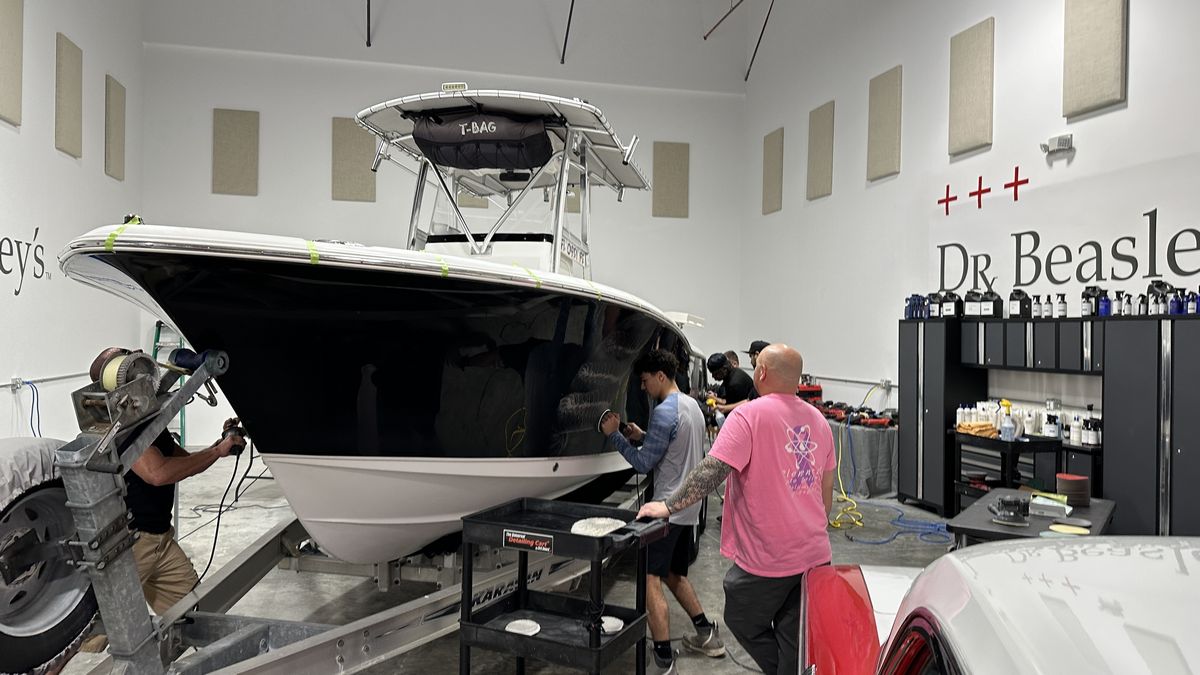
It’s Go Time!
It’s probably around 9:00am in the morning. Class started t 8:30am and it likely took about a half hour for me to demonstrate how to do a Gelcoat Test Spot to dial-in and prove our process and then turn the class loose with the first step – machine wet sanding using 8mm gear-driven orbital polishers.
I don’t have a lot of pictures of this process but here’s are the steps the class used to go from neglected to respected.
- Machine wet sand – 1000 grit Mirka Abralon
- Machine wet sand – 2000 grit Mirka Abralon
- Machine wet sanding – 3000 grit Mirka Abralon
- NSP 150 with wool pads on rotary polishers
- NSP 150 with foam cutting pads on FLEX 8mm gear-driven orbital polishes
- Install 3 applications of the Dr. Beasley’s Boat Coat Pro

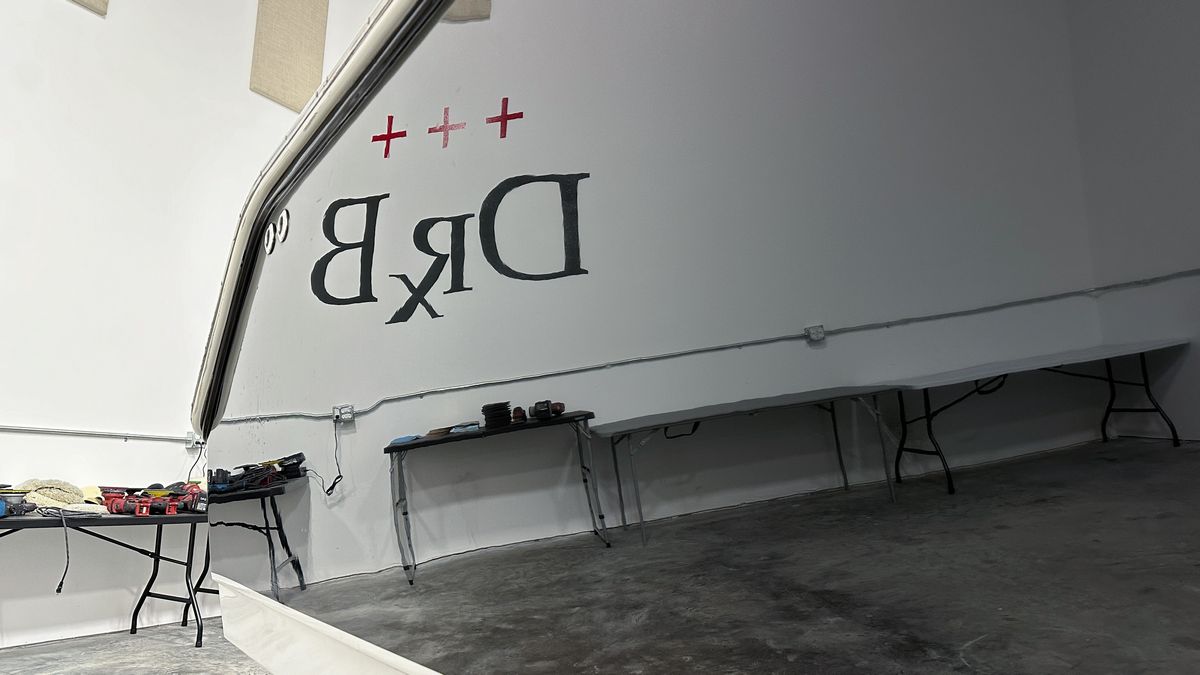
Here’s the after results!
It was raining outside and the 1961 Plymouth Fury Police Car won’t be leaving for a couple of days, so we squeezed her in off to the side of the boat to keep her clean and shiny.
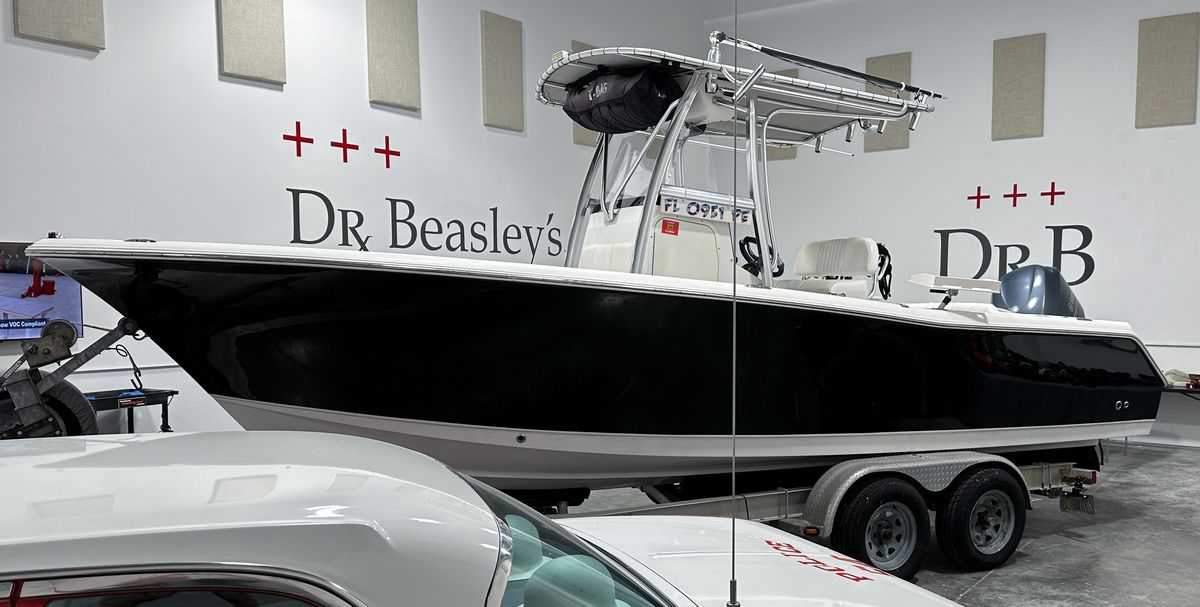
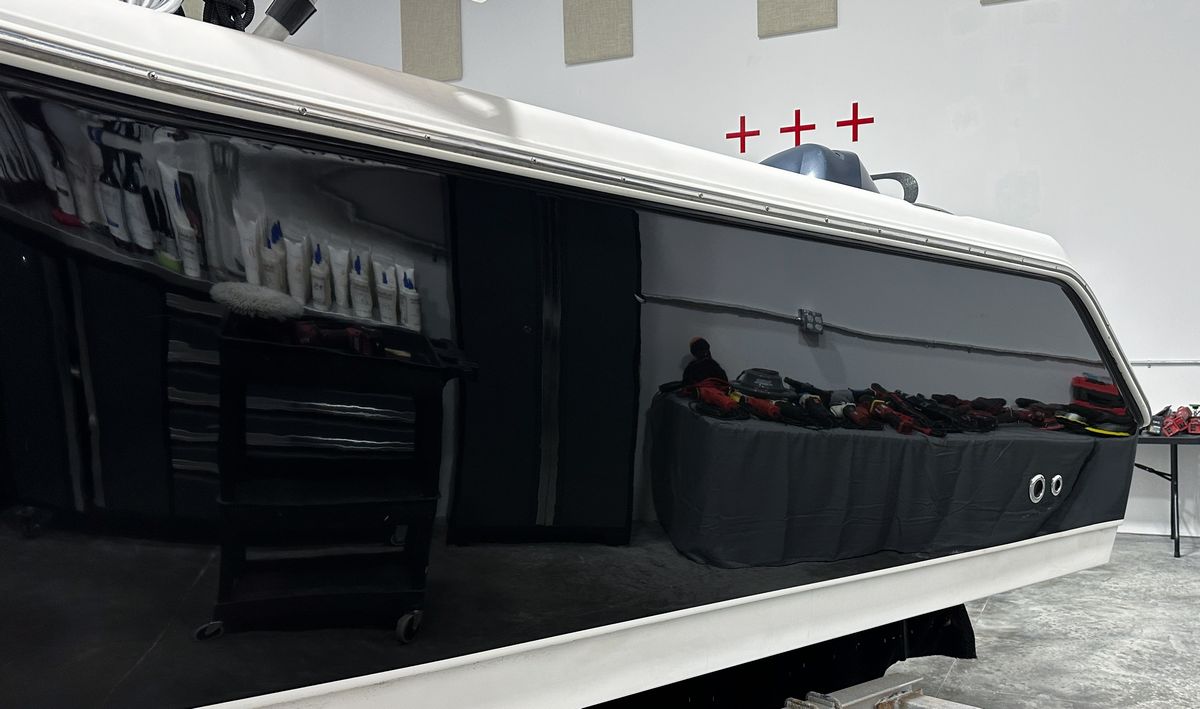
Awesome work class – this is a MIRROR FINISH on gelcoat!
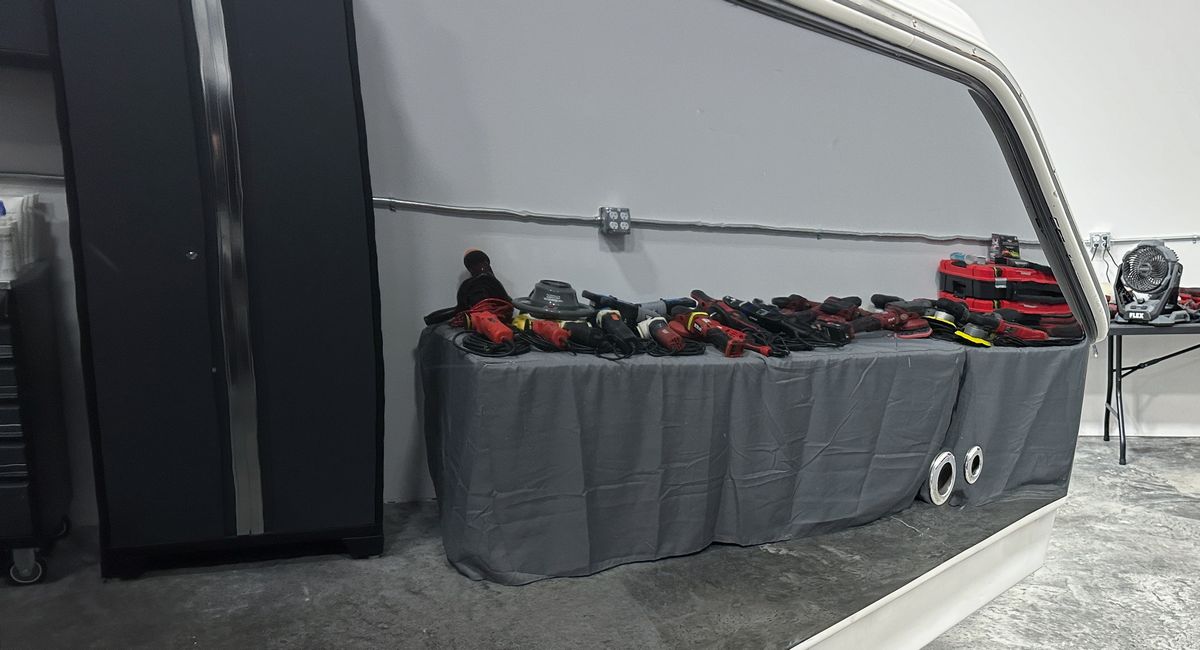
Same Mirror Finish on the Starboard side!
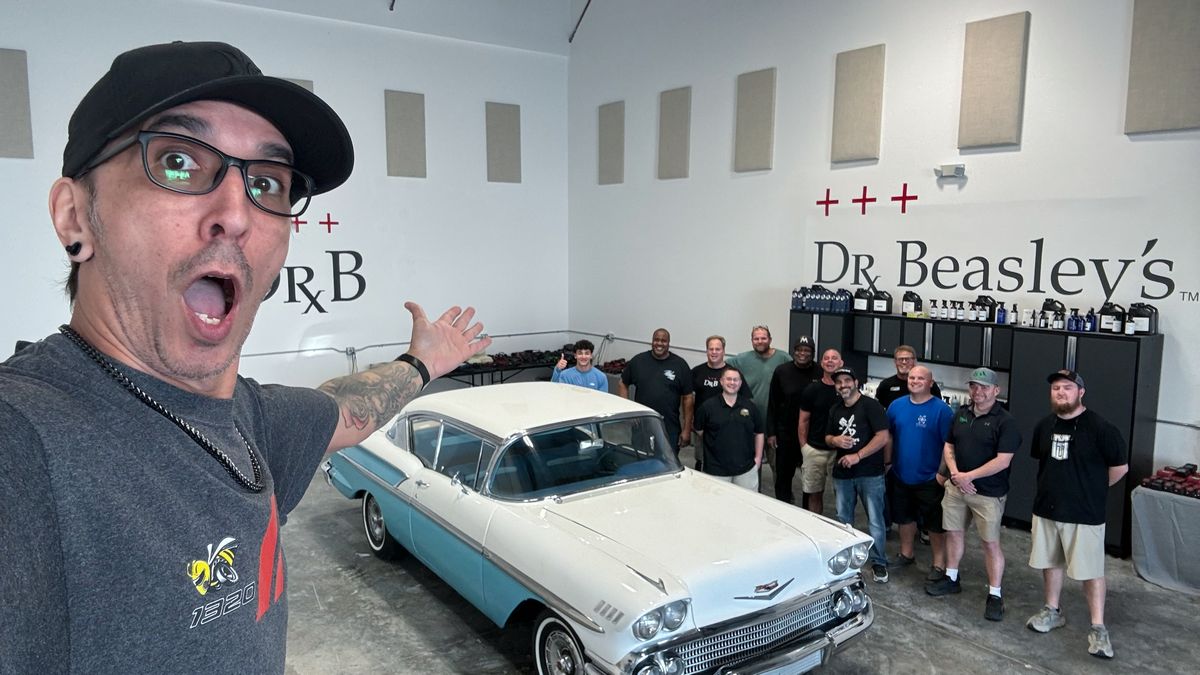
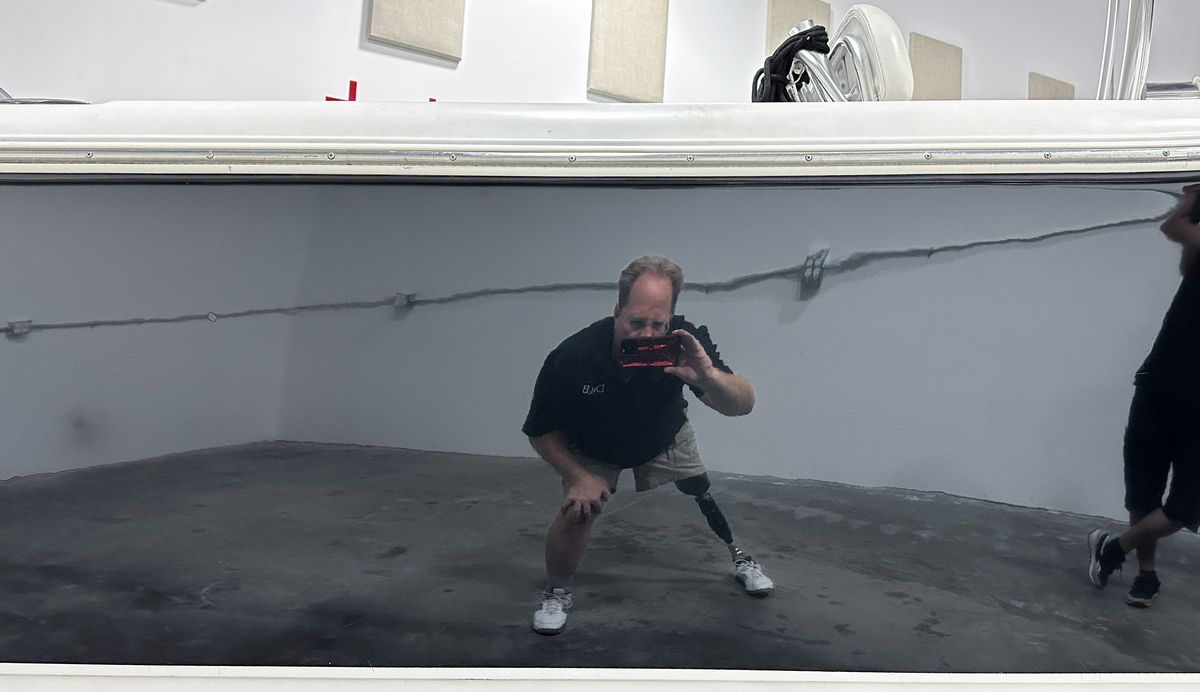
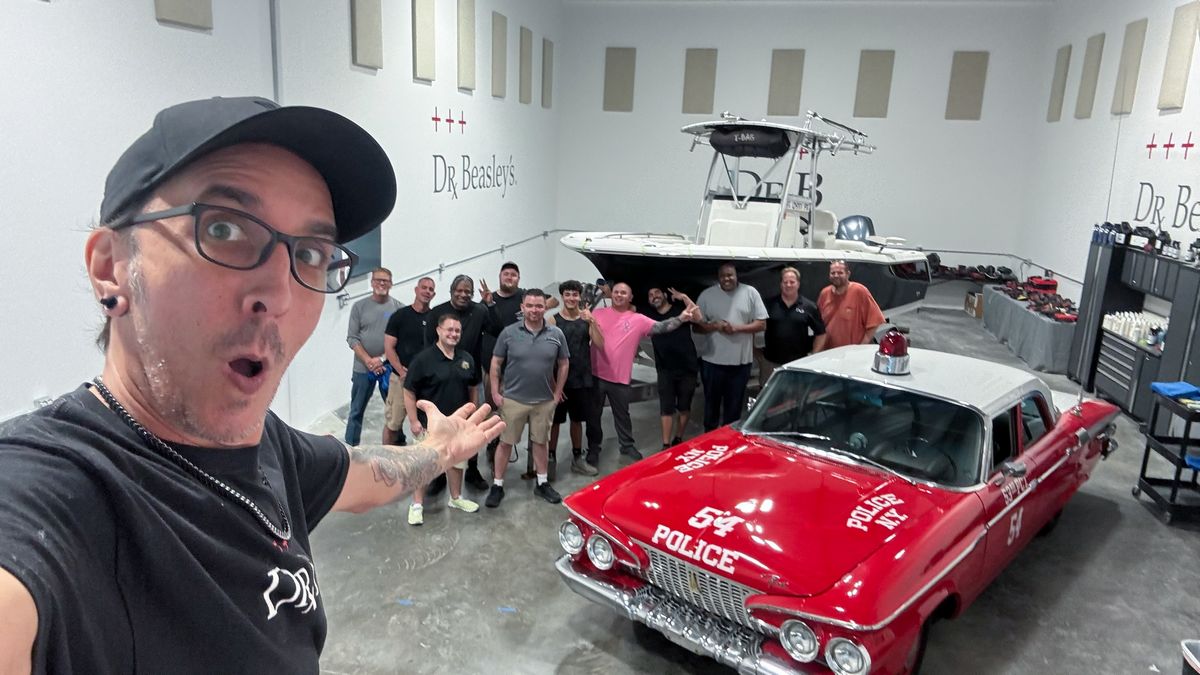
Self-Portrait
And here’s the tired, but trained class that detailed 6 cars and this 24′ Sea Hunt Center Console boat of the course of 3 days!
And a huge thank you to Yancy for all his amazing photography work as well as assisting me with the training for this class.
Upcoming Boat Classes
Moving forward, the car detailing classes will be separate from the boat detailing classes. After teaching these 3-day classes for 5 years now, I’m simply catering to customer wishes. Some people just want the 2-day car detailing class, and some people just want the boat class.
2-Day Boat Class – Saturday March 15th and Sunday March 16th
For the year 2025, the Extreme Boat Detailing Class will be 2-days.
Day 1: Exterior Boat Detailing – everything you see in the pictures above.
Day 2: Interior Boat Detailing – this includes washing the inside, cleaning non-skid, (my personal technique), metal polishing, plastic polishing, vinyl cleaning and protecting.
Since teaching formal boat detailing classes since the year 2013, that’s 12 years now as I type, I’ve found that MOST people want to learn how to do the outside of the boat like you see in the pictures above. A smaller percentage of people want to learn interior boat detailing. For this reason, you can sign-up for the first day, the second day, or both days.
Click here to sign-up for the March 2025 Extreme Boat Detailing Class
And if you have any question, always feel free to shoot me an email, call me or send me a text.
Mike Phillips
mike@drbeasleys.com
760-515-0444
Questions? Comments?
Email Us