


Last Updated June 1, 2026
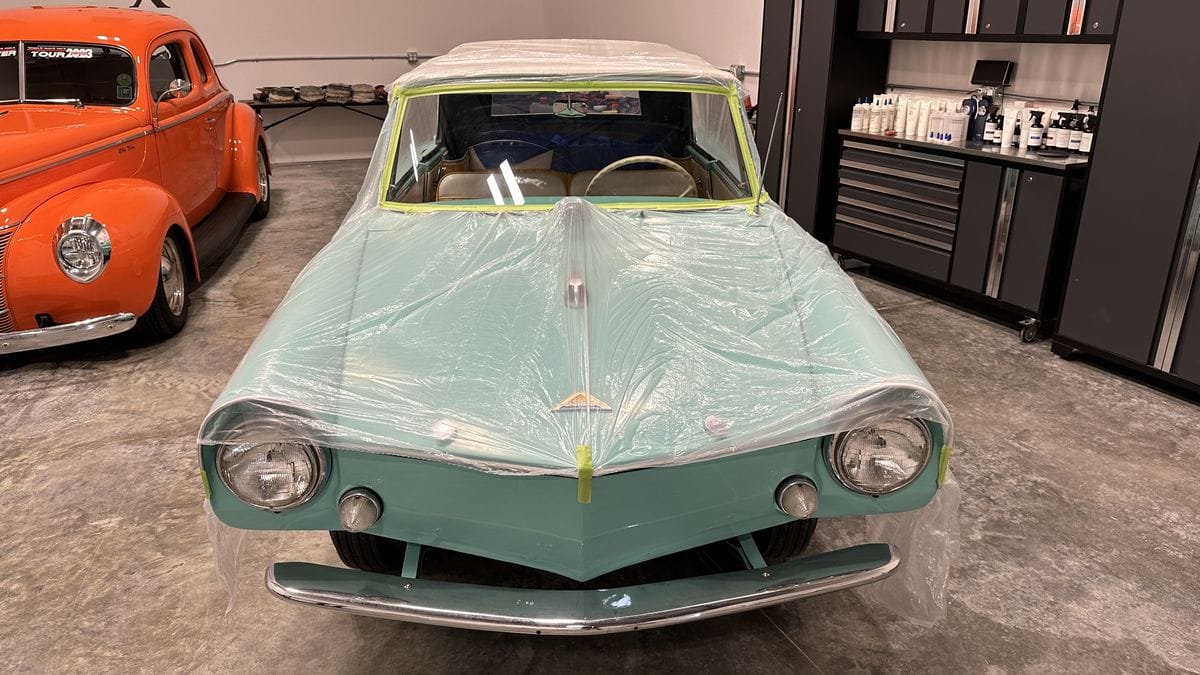
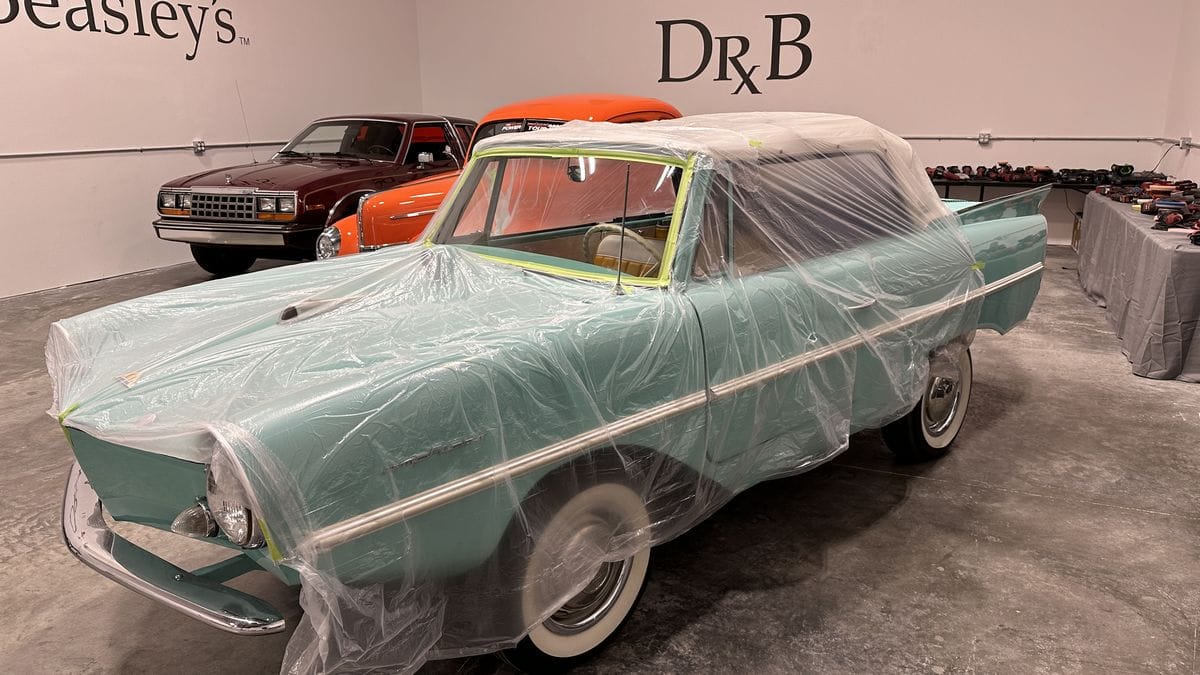
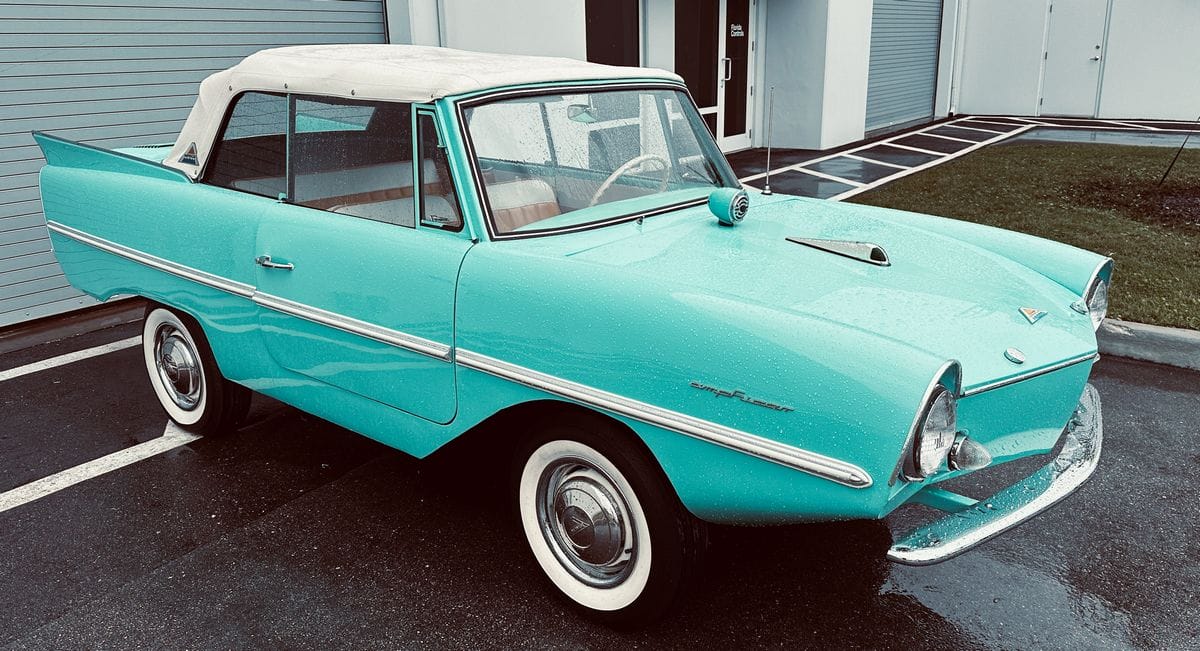
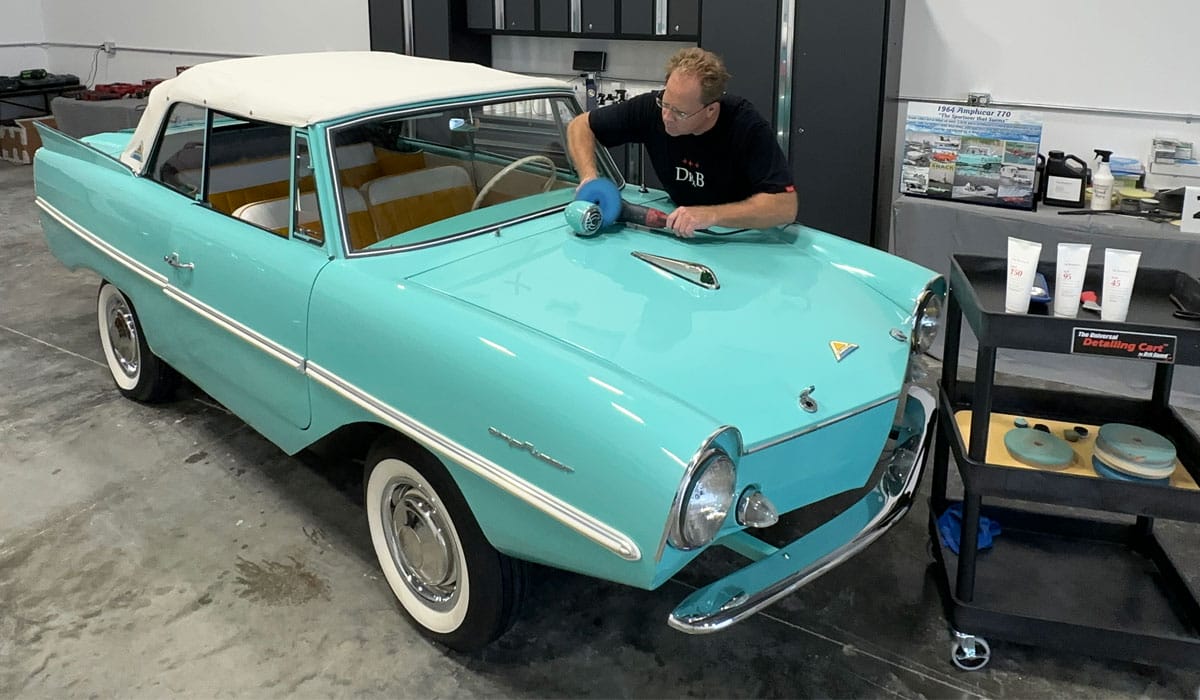
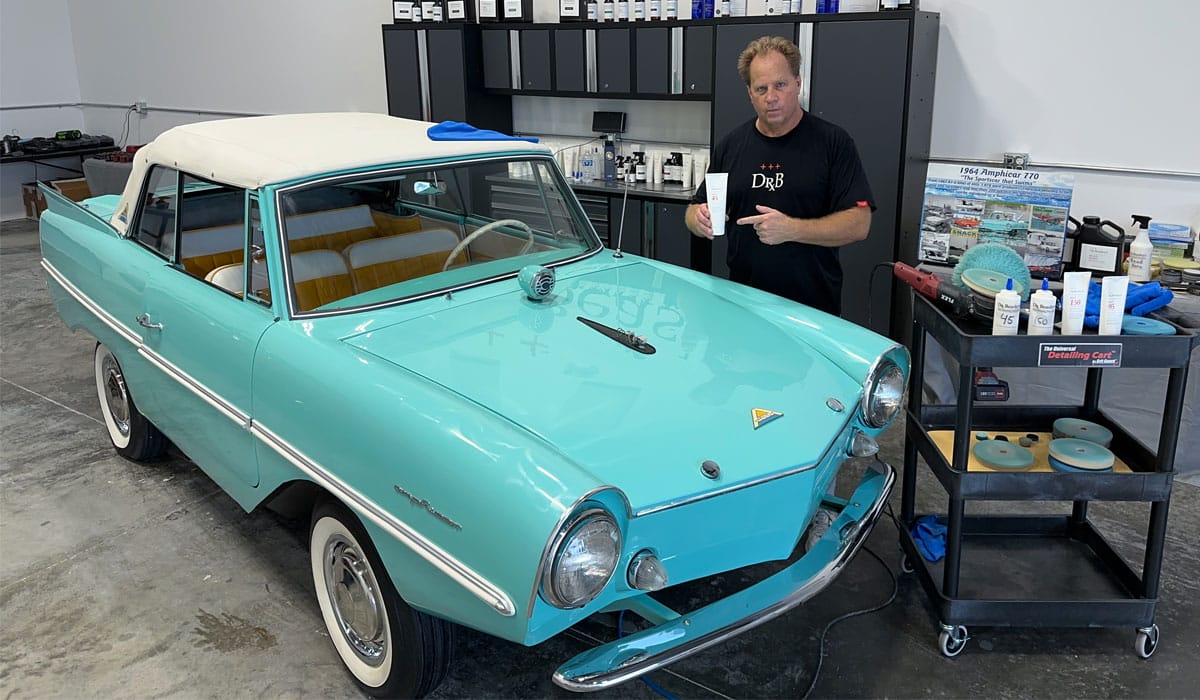
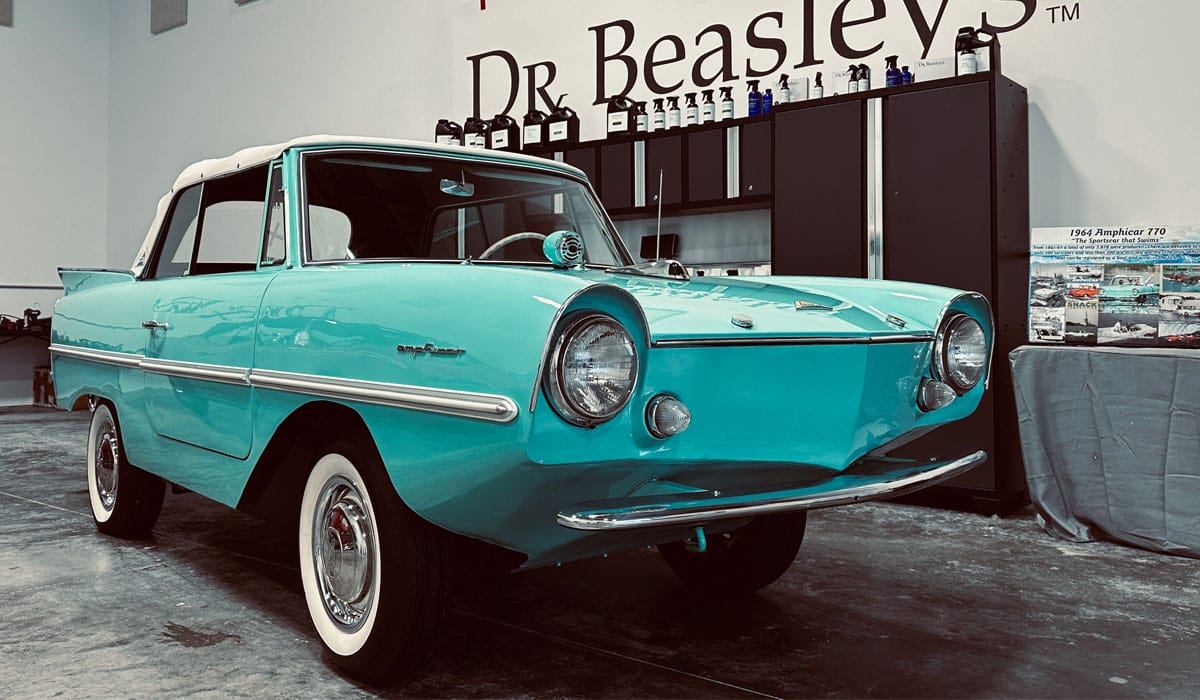
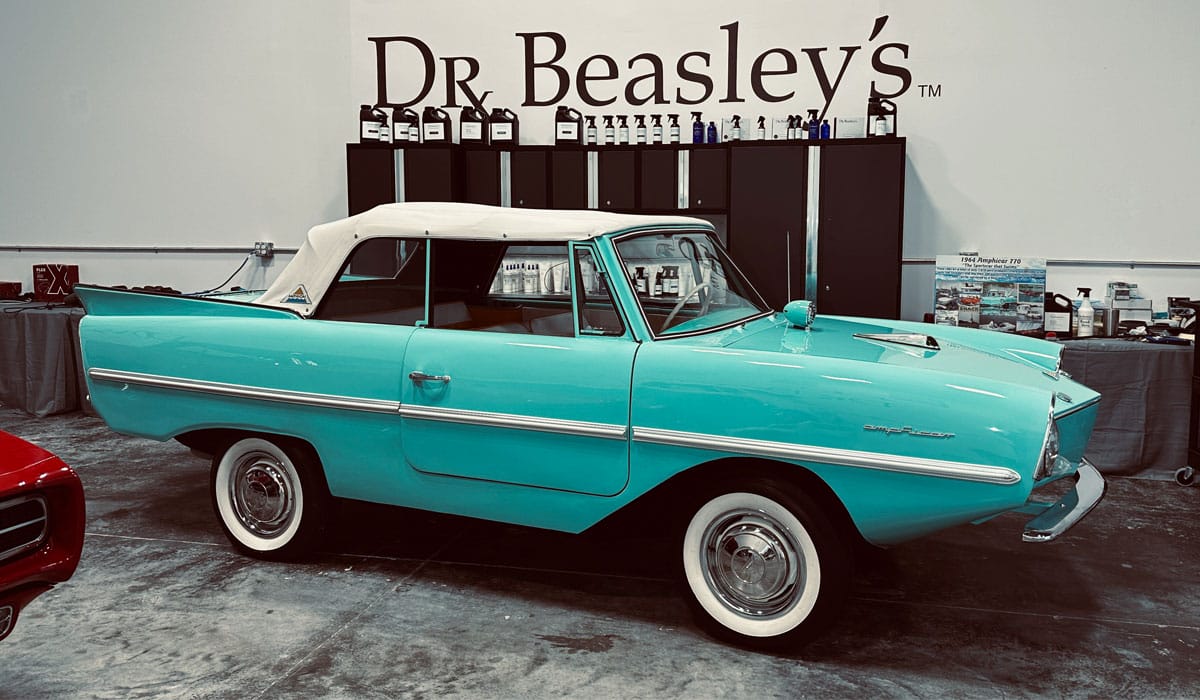
I feel very blessed that I’ve had the opportunity to work on a lot of very cool, interesting and even rare cars in the detailing industry. Anytime I work on something I’ve never worked on before and it’s highly likely that I’ll never work on again, I refer to this car as a Bucket List Car. Such is the case for this 1964 Amphicar. I’ve never worked on one before and chances are good – I’ll never work on another again.
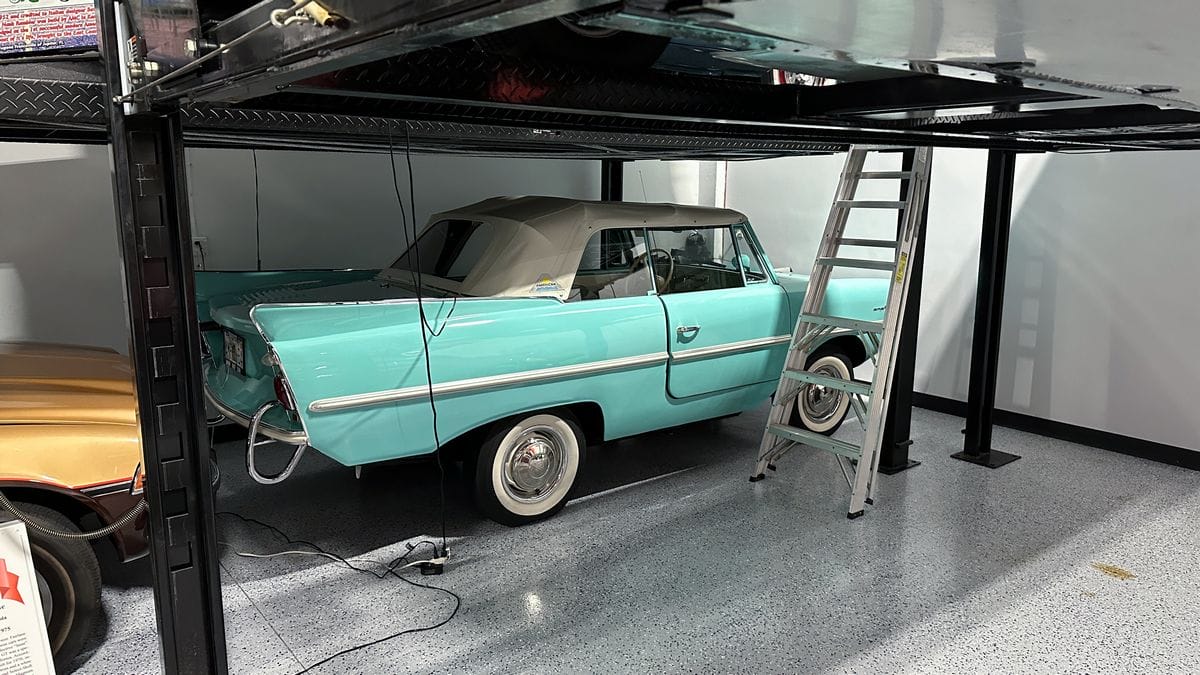
The first time I saw the car was in my good friend Gino’s Man Cave. Gino has a unique car collection and the Amphicar is one of the more unique cars in his collection. Under a car storage rack, I couldn’t really tell the true and accurate condition.
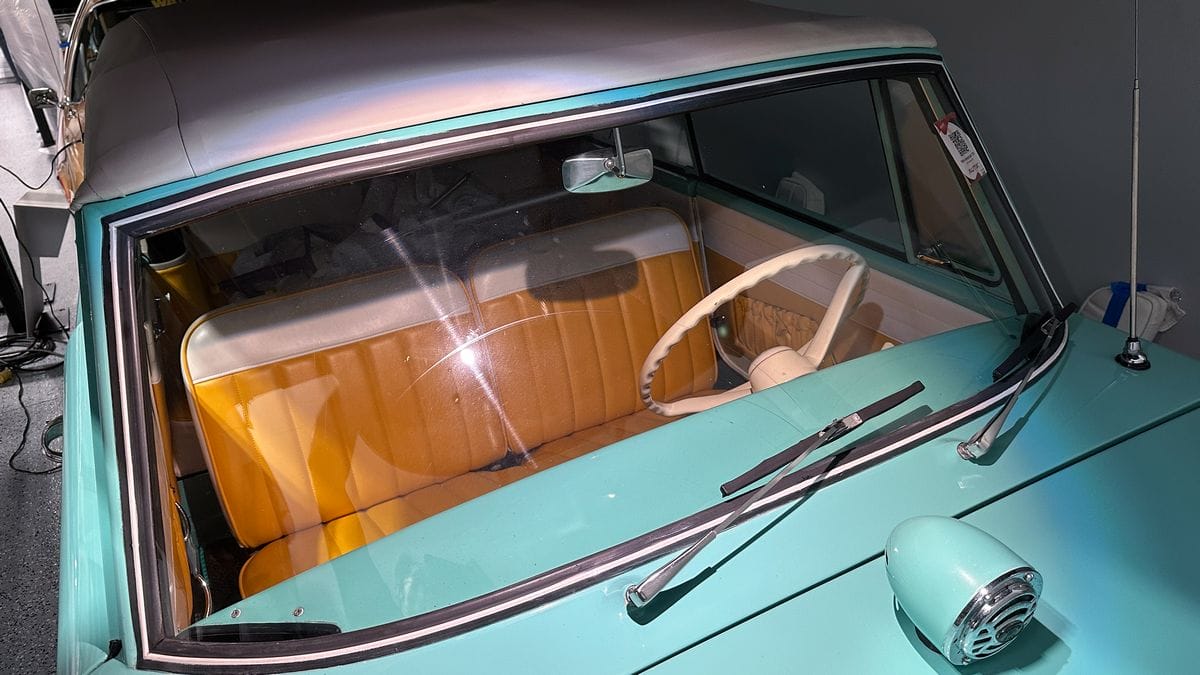
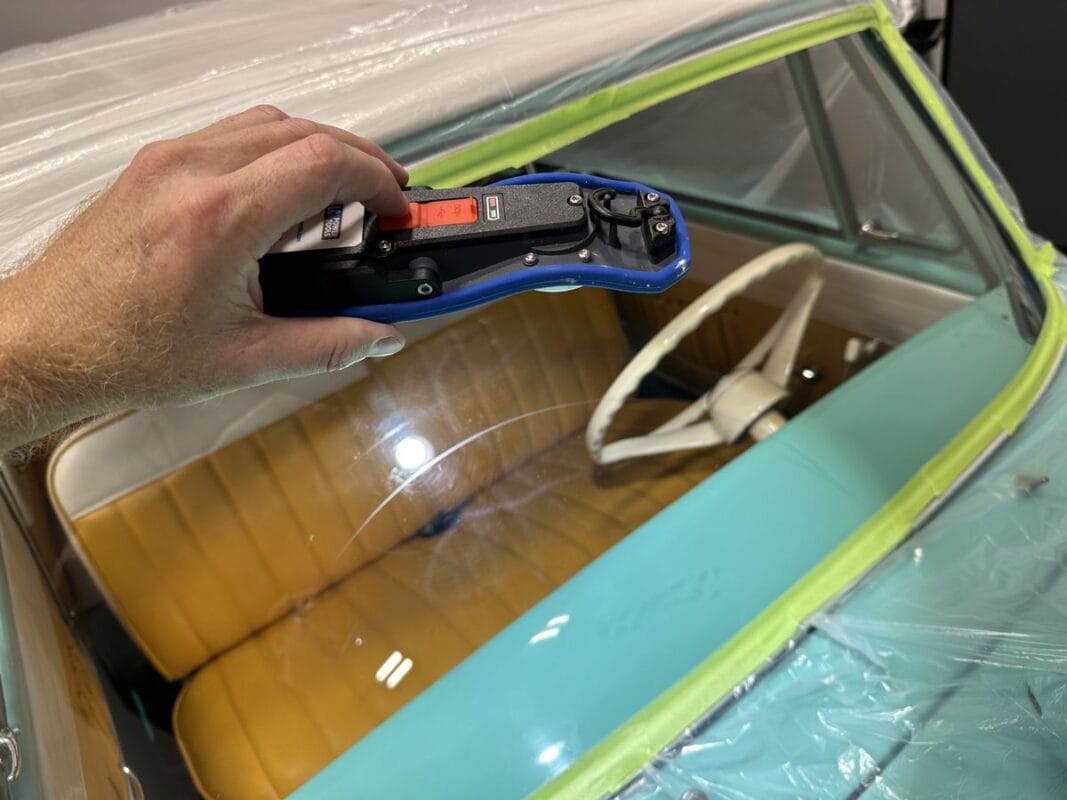
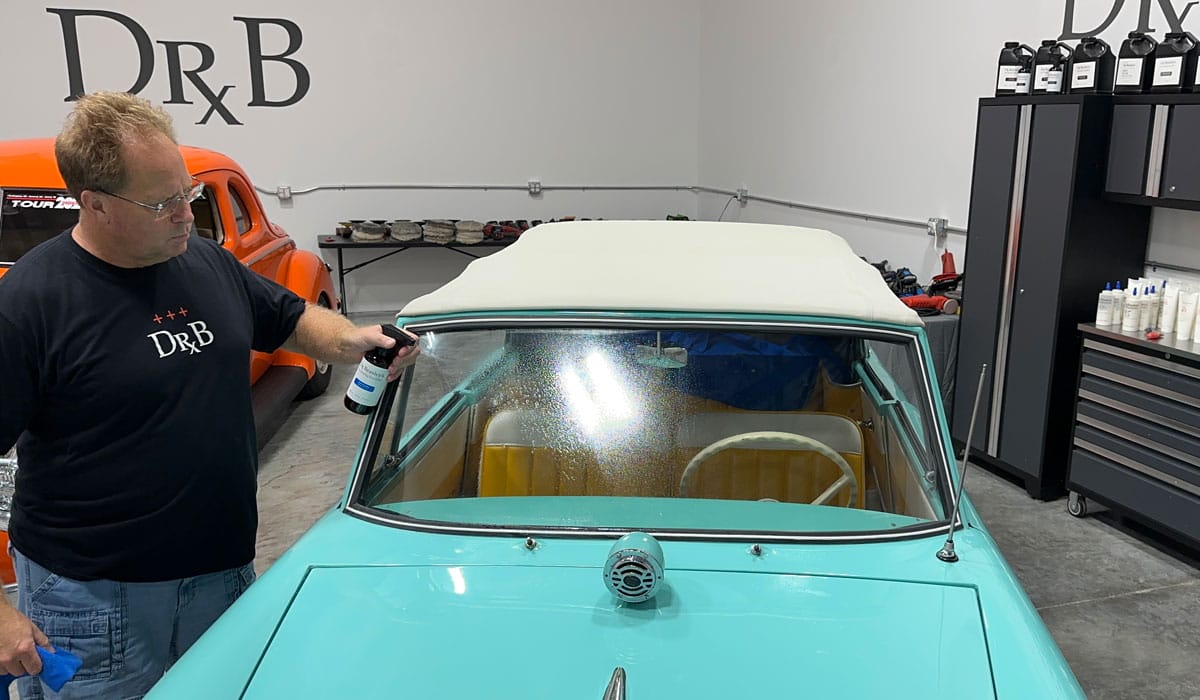
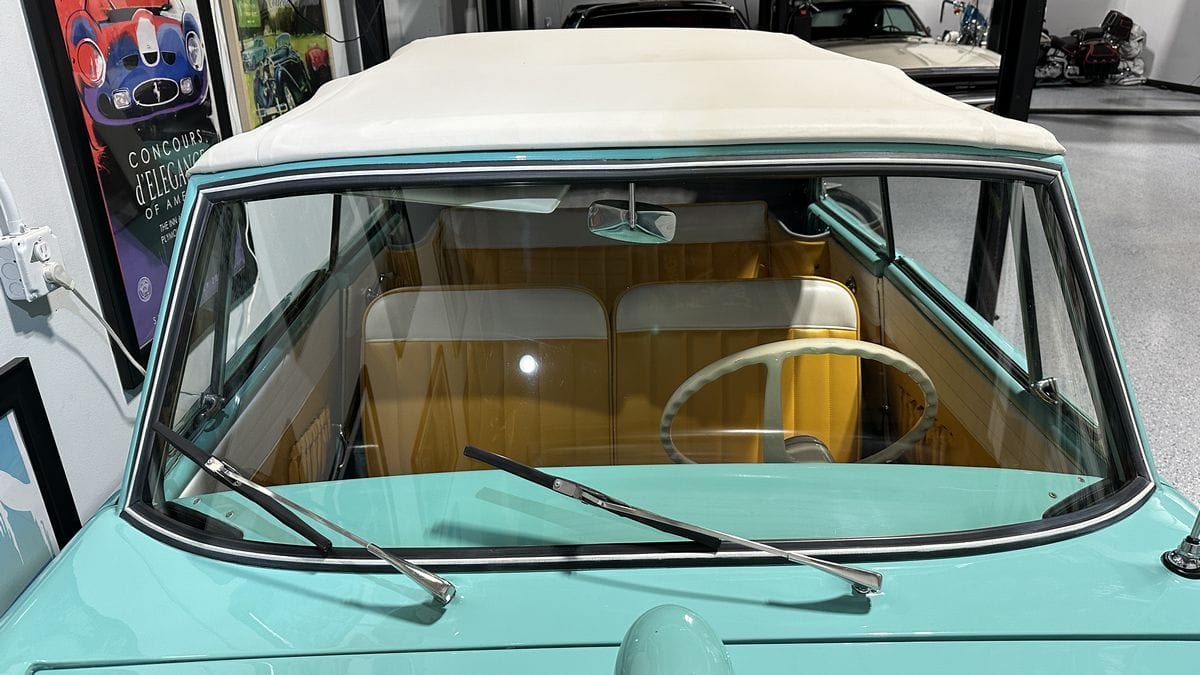
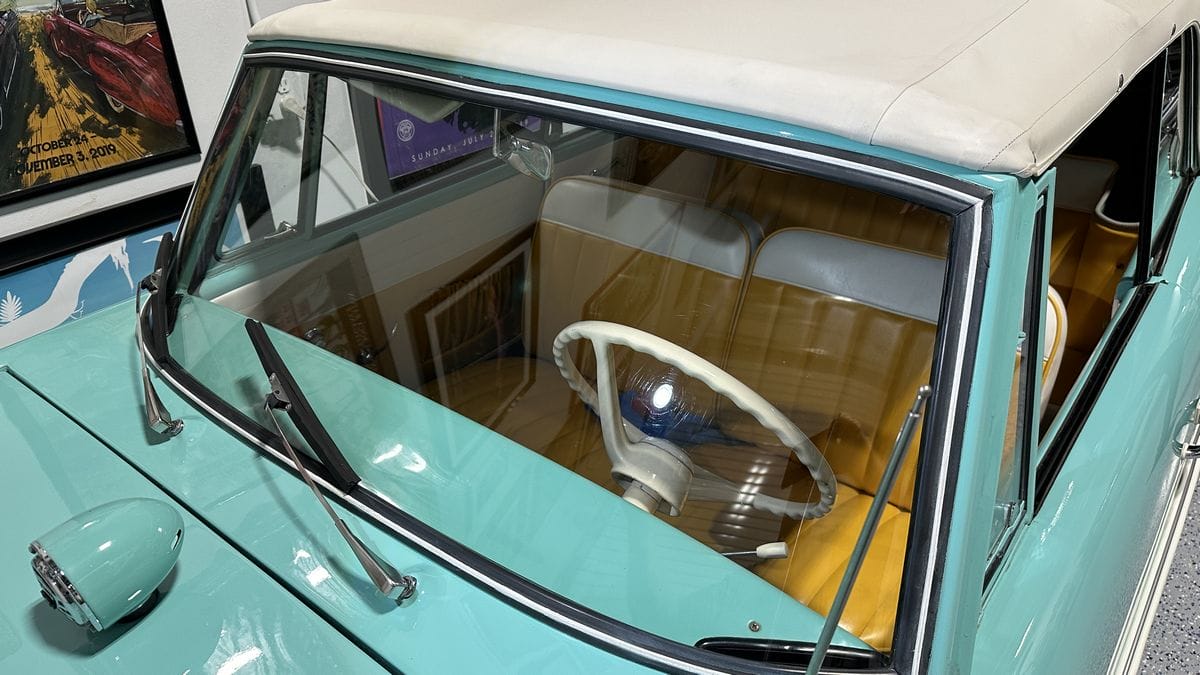
I brought my Lake Country Swirl Finder Light with me and upon inspection the first thing I noticed is there are wiper scratches or wiper marks in the glass windshield. Wiper Marks are scratches and sometimes deeper gouges in the glass caused by worn out wiper blades and in extreme instances, the wiper arm actually rubs against the glass. Wiper Marks are unique compared to normal swirls and scratches in glass because the scratches are instilled in an arc shape that mimics the path the wiper blades travel over the glass. This type of defect is all too common with classic cars but luckily, Dr. Beasley’s as a solution to this problem – Dr. Beasley’s NSP GL Glass Polish and Rayon Glass Polishing Pads.
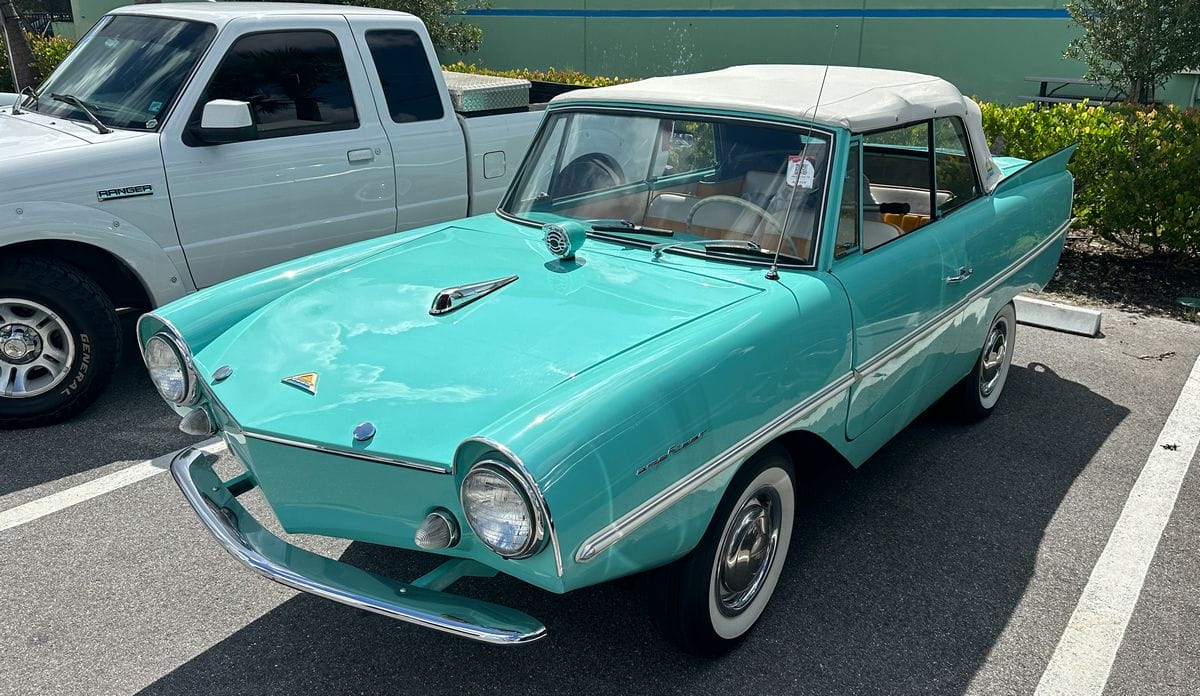
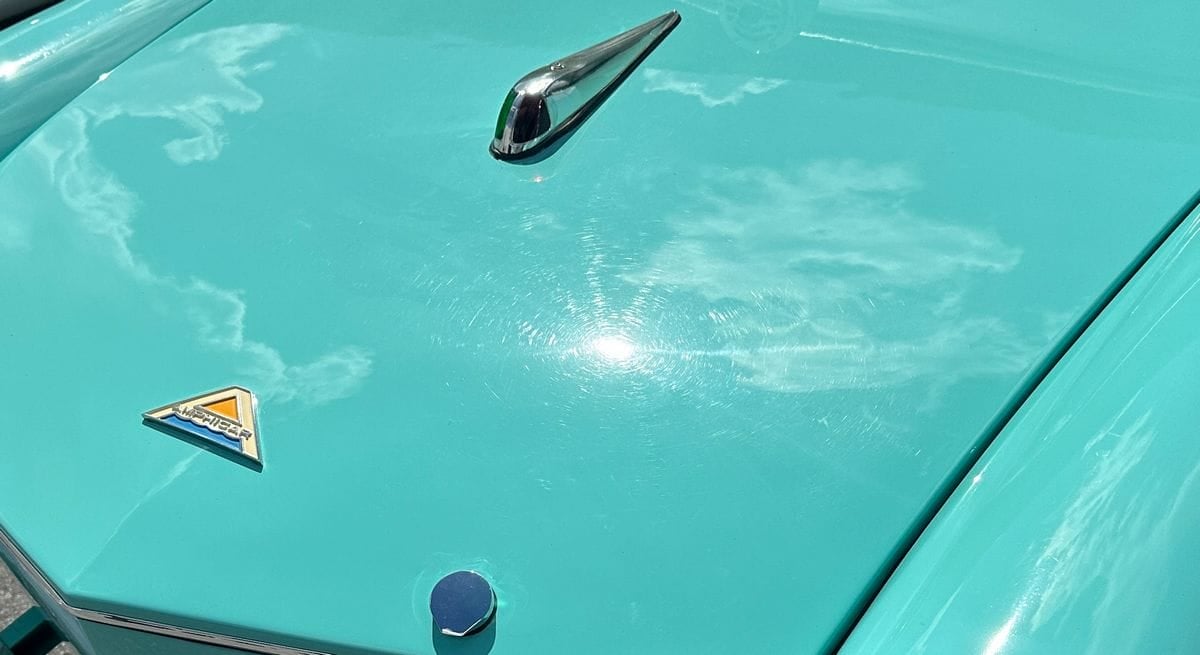
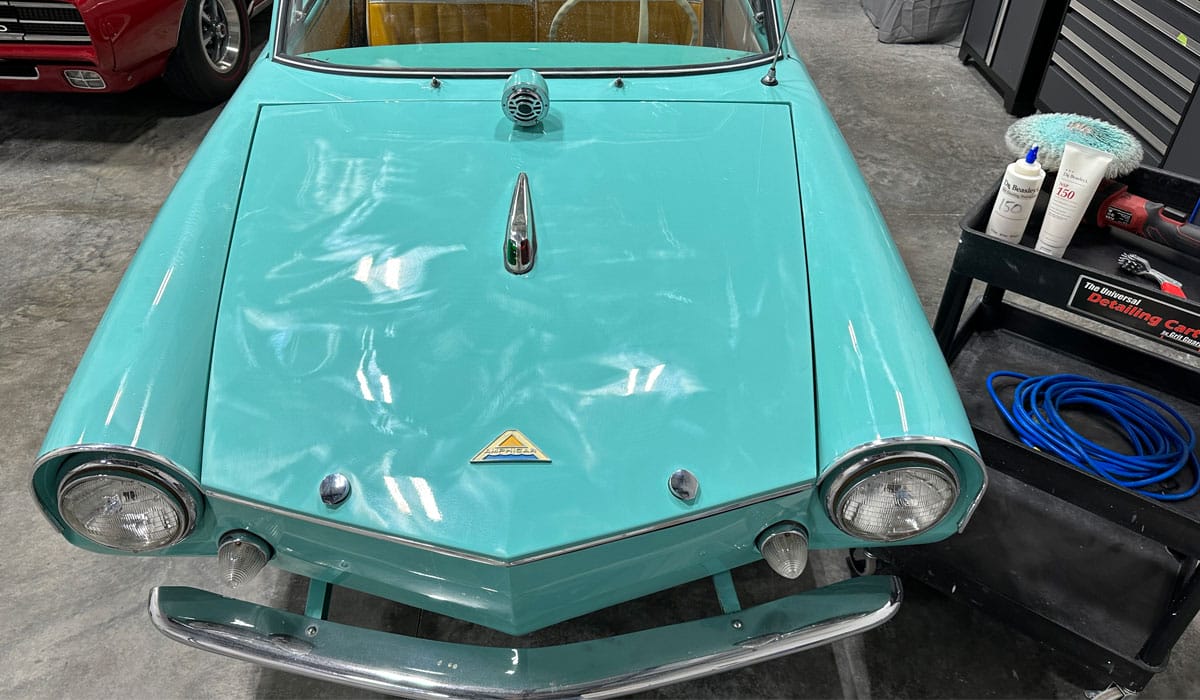
While I was inspecting the glass, Gino moved a classic 1978 AMC Pacer out of the way, (which we also used for a Dr. Beasley’s LIVE online detailing class), and then moved the Amphicar outside. It was shortly after twelve o’clock noon so the sun was high in the South Florida sky. I used the bright overhead sun to inspect the condition of the paint and I have to say, I wasn’t surprised at what I found. Like the glass on older classics, the paint was not only filled with random swirls and scratches, it also had HOLOGRAMS!

Holograms are a specific scratch pattern inflicted into the paint by the misuse of a rotary polisher and usually some type of wool or fiber cutting pad. I use wool pads on rotary polishers all the time, it’s a great combo for removing serious or deep paint defects. The key thing is, it’s okay to START with a rotary, it’s just a better process to follow-up using an orbital polisher.
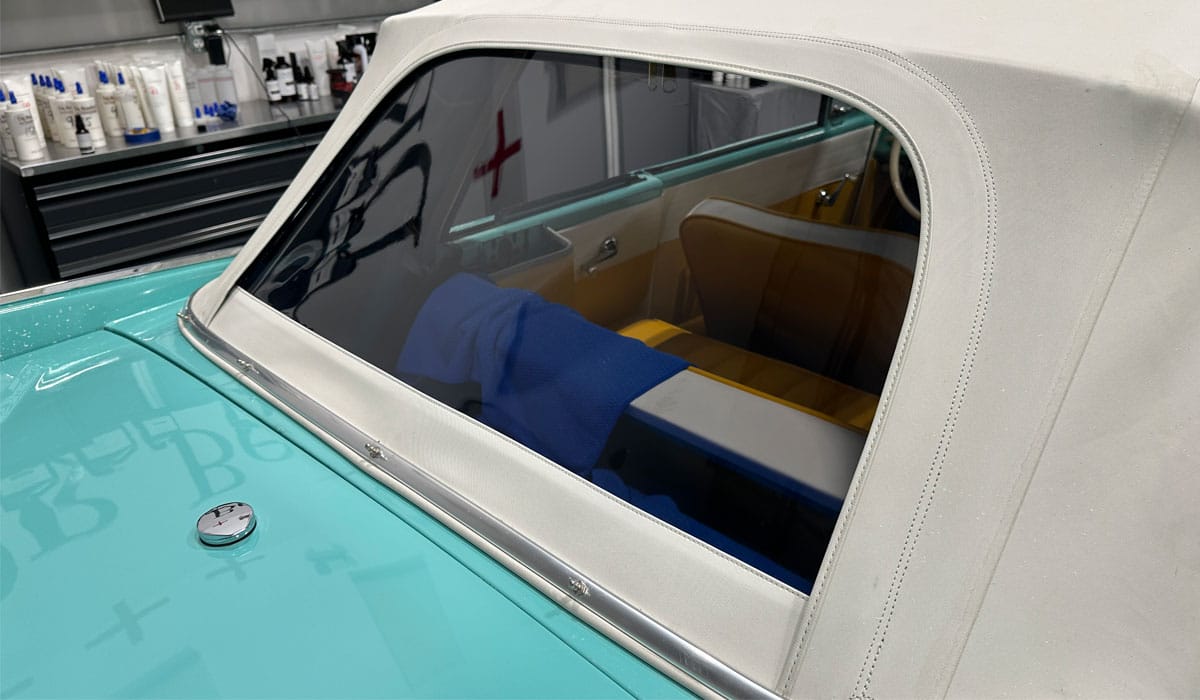
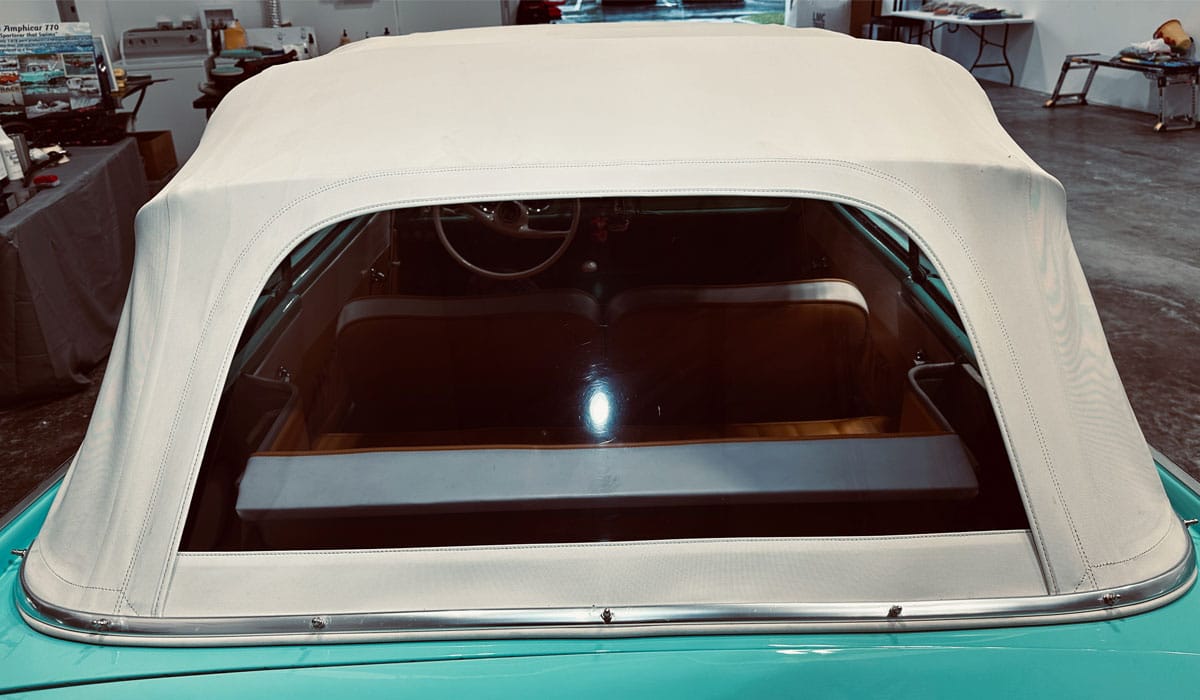
Swirls and scratches in the rear plastic window
Besides the defects in the glass windshield and the paint, there were also decades of swirls and scratches in the rear plastic window sometimes referred to as Isinglass in the marine industry.
To bring this car back up to show car quality for display at concours events in the South Florida area, I’ll need to tackle these areas in this order,
- Sub-surface glass polishing
- Clear plastic window polishing
- Washing and decontaminating the paint
- Paint correction
- Ceramic coating
The reason for washing the car after addressing the glass and plastic windows is because the process to fix these areas will tend to make the car messy. By this I mean, it’s only natural to get product splatter onto adjacent body panels when buffing on the glass windshield and back window. Instead of washing the car first, fixing the glass and plastic, then wiping the car down a second time, I choose to do this type of messy work first and then wash the car to prep the paint for paint correction.
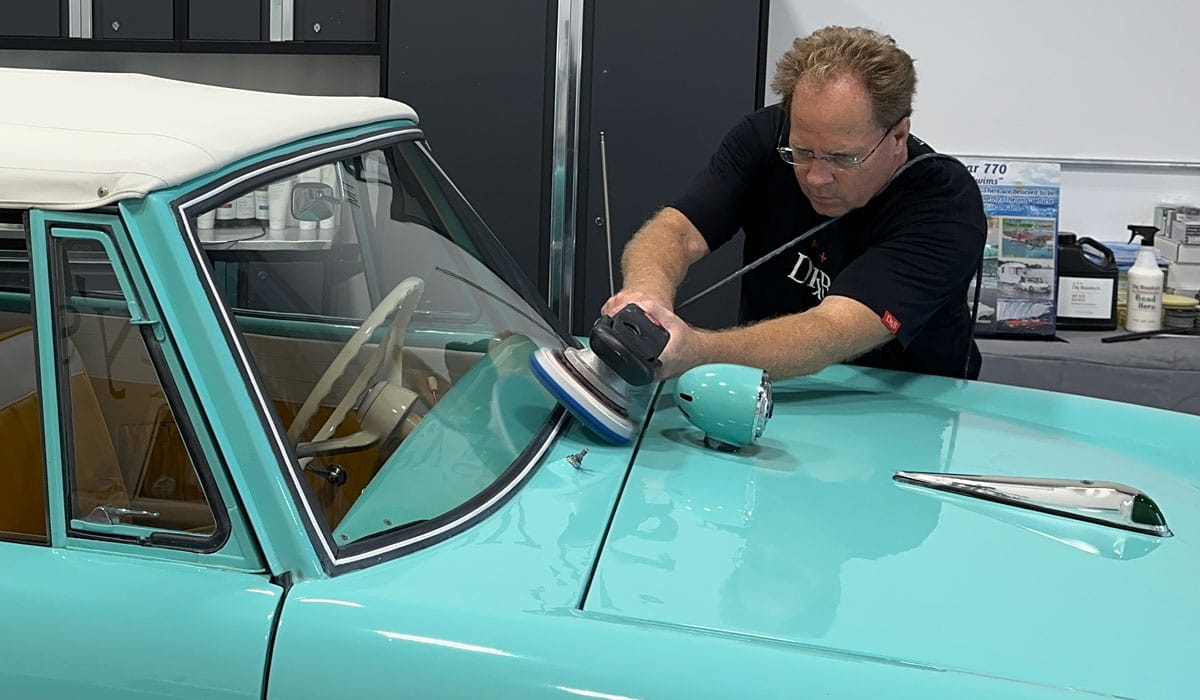
Glass First
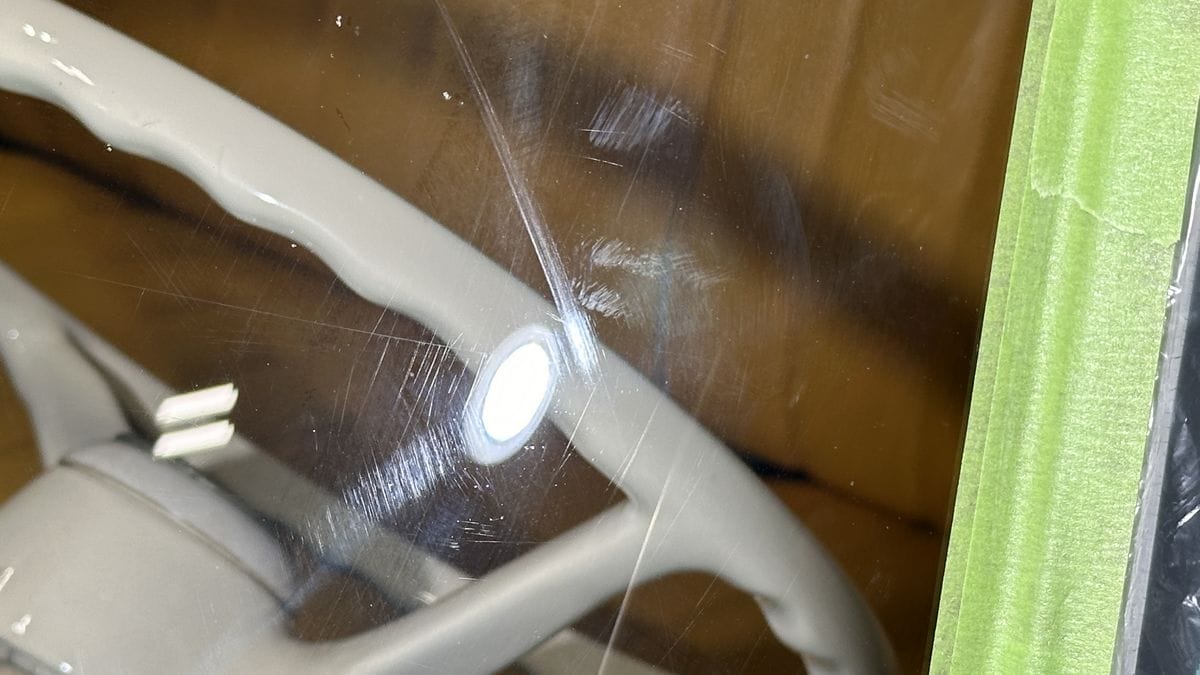
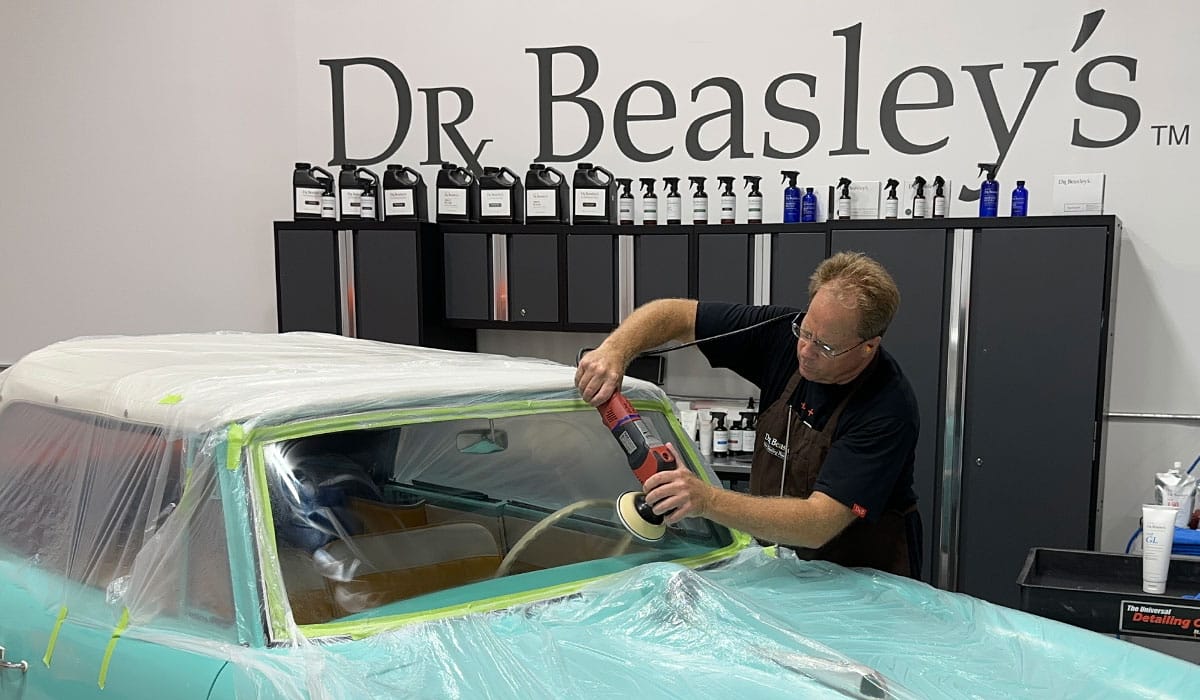
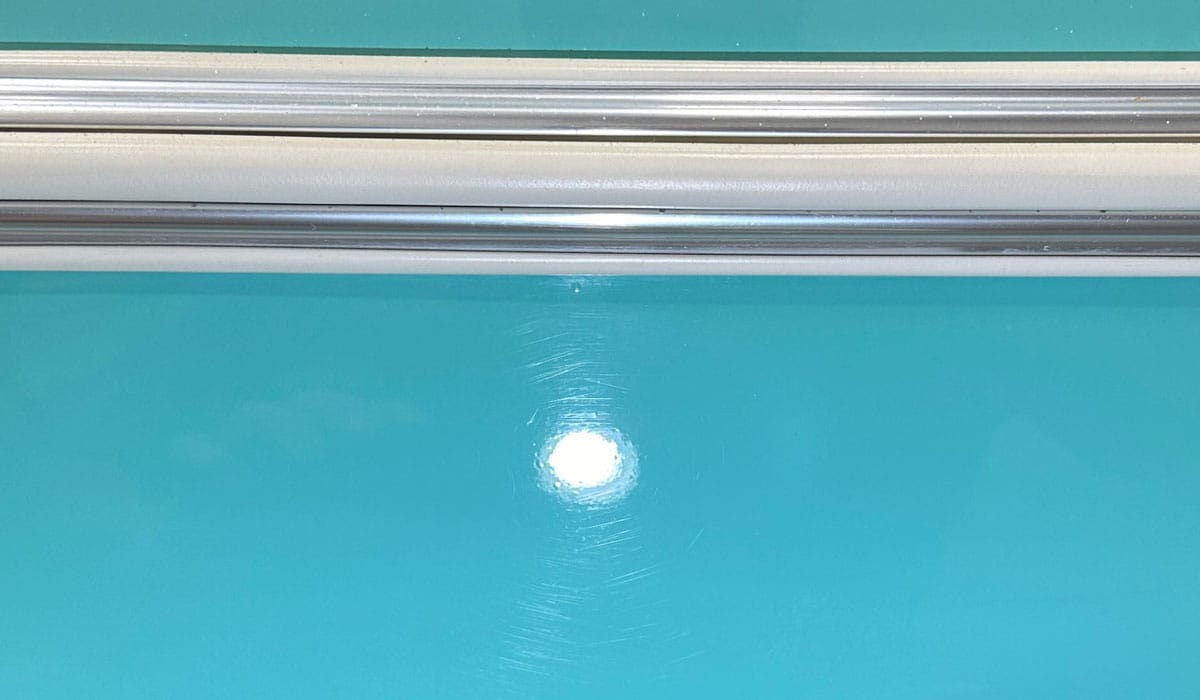
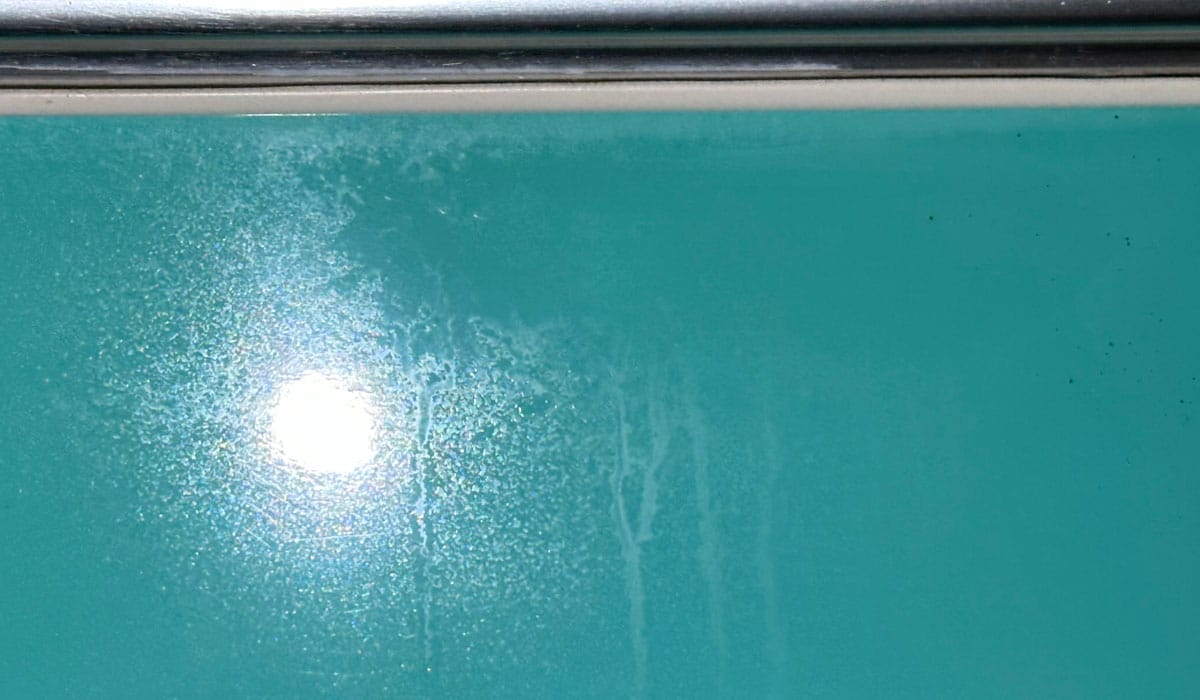
Here I’m using the Lake Country Hand Held Light to reveal the wiper marks in the windshield.
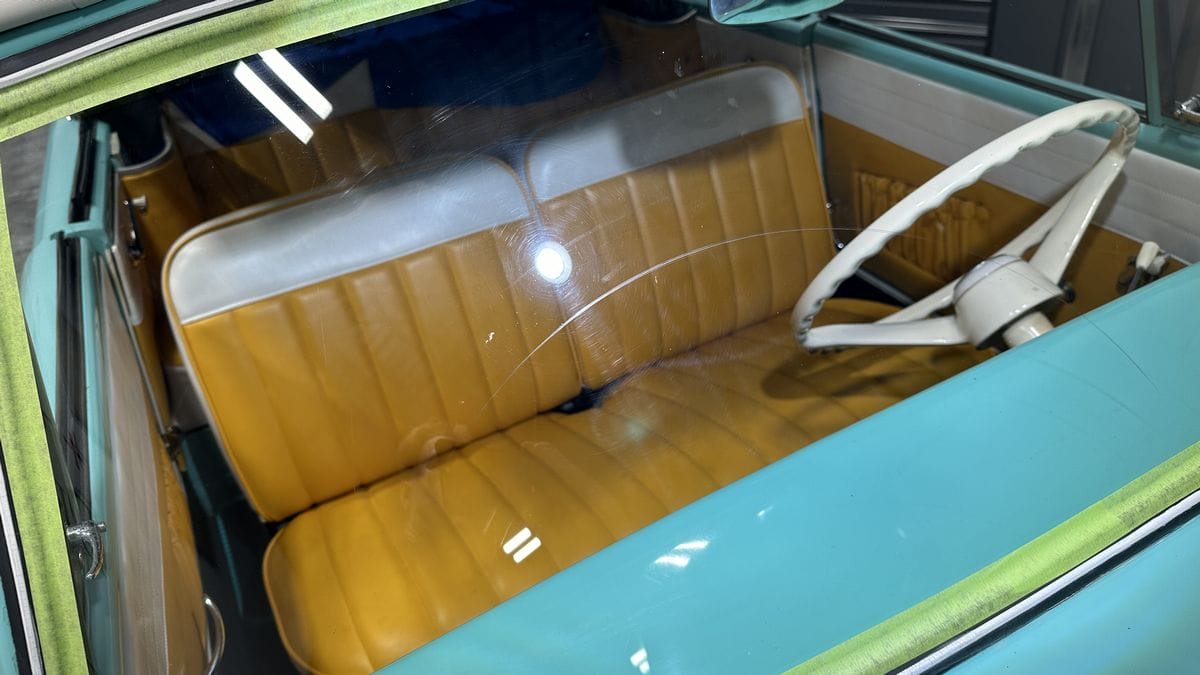
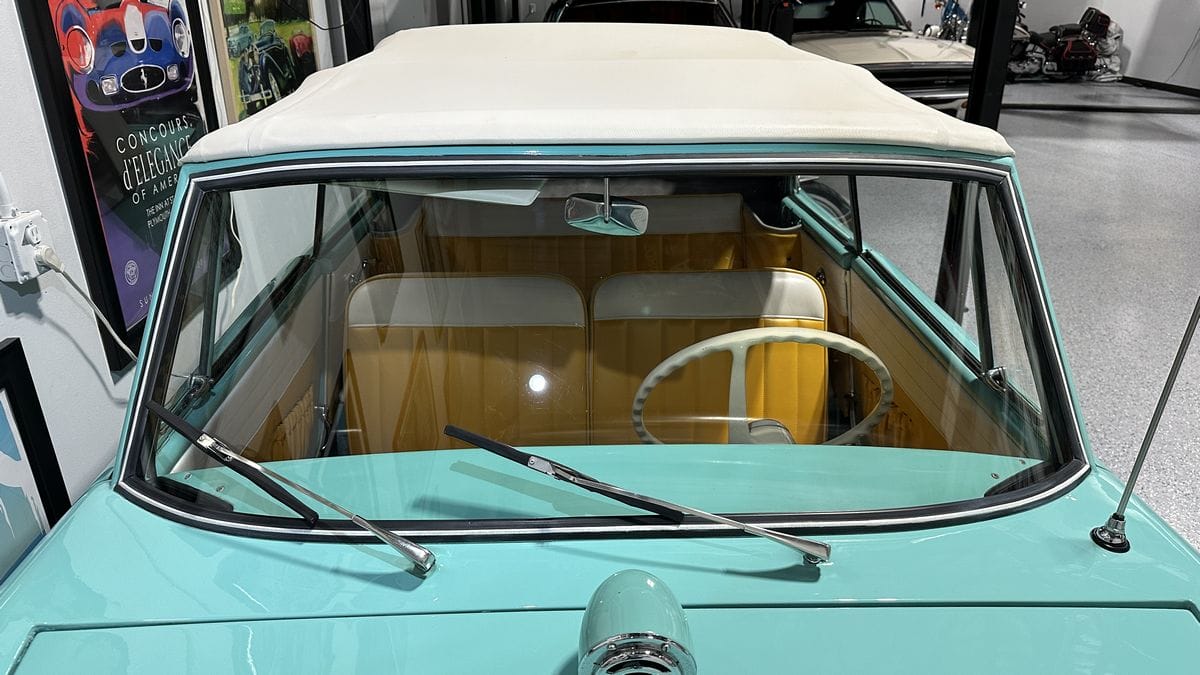
Wiper Marks in an Arc Pattern. In the below picture you can easily see what I mean when I talk about wiper marks or wiper scratches inflicted into the glass windshield in an arc pattern that mimics the motion the wiper blades mover over the glass.

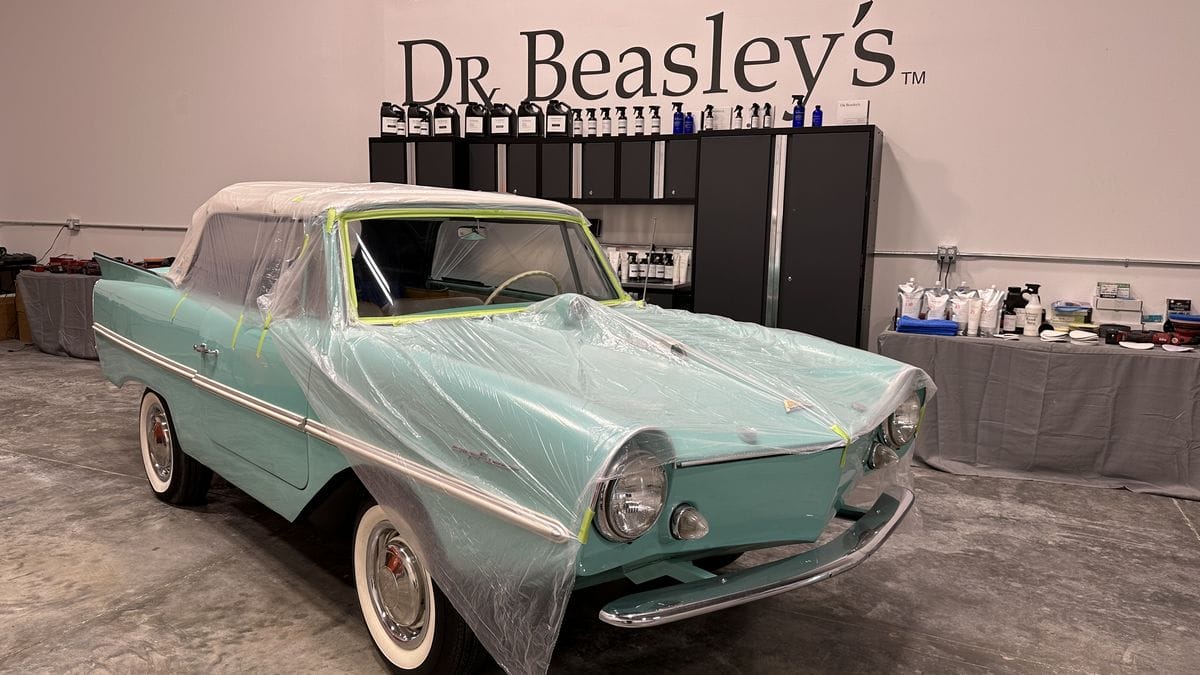
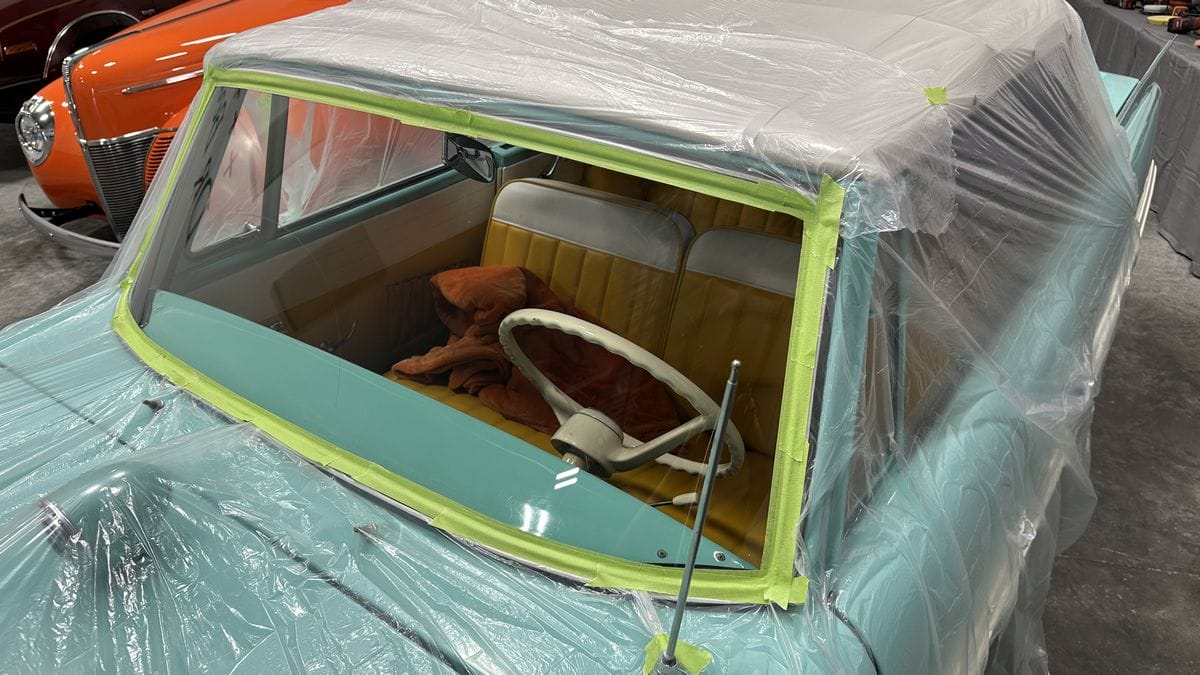
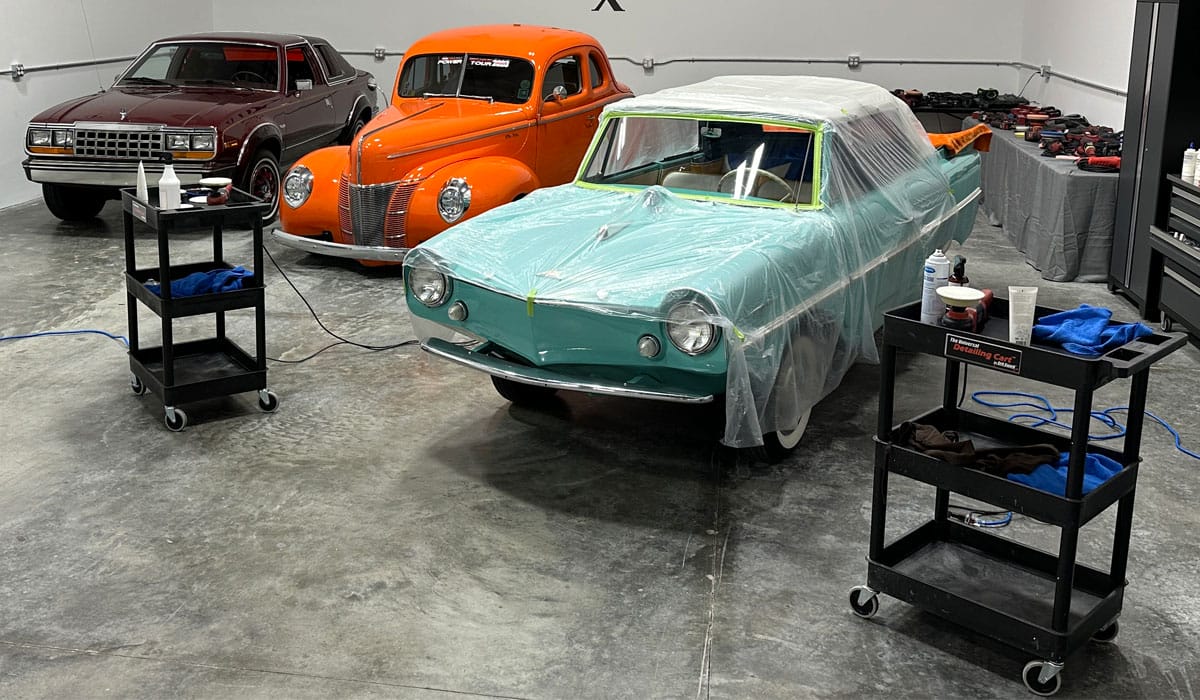
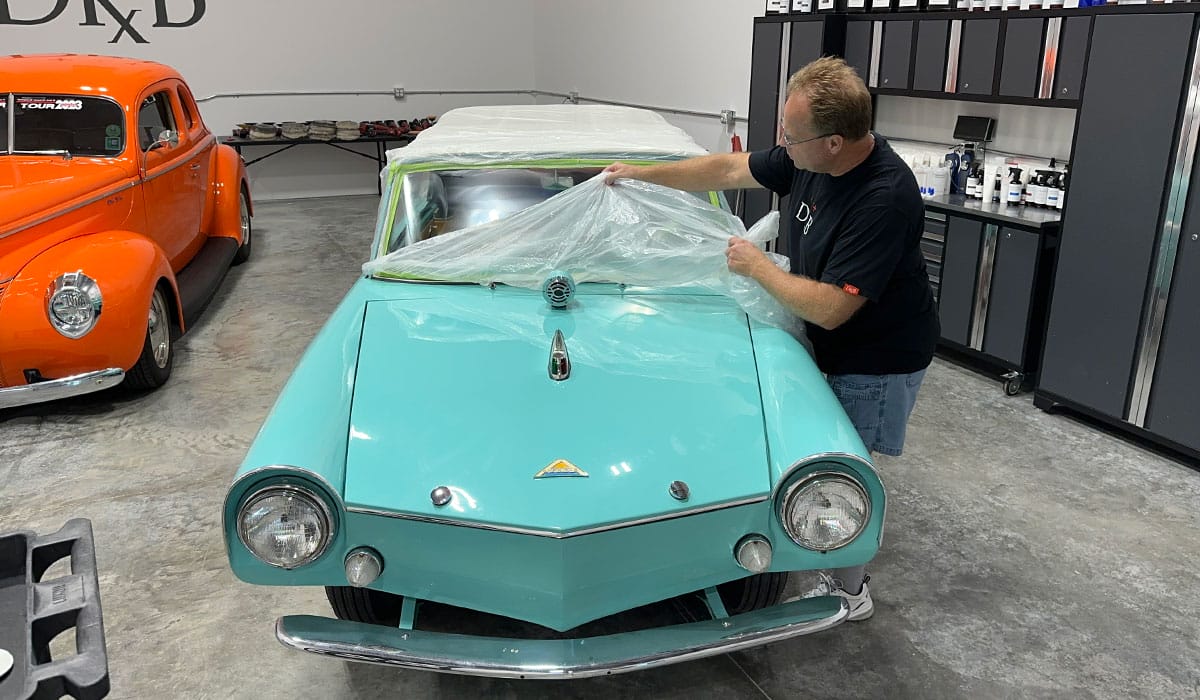
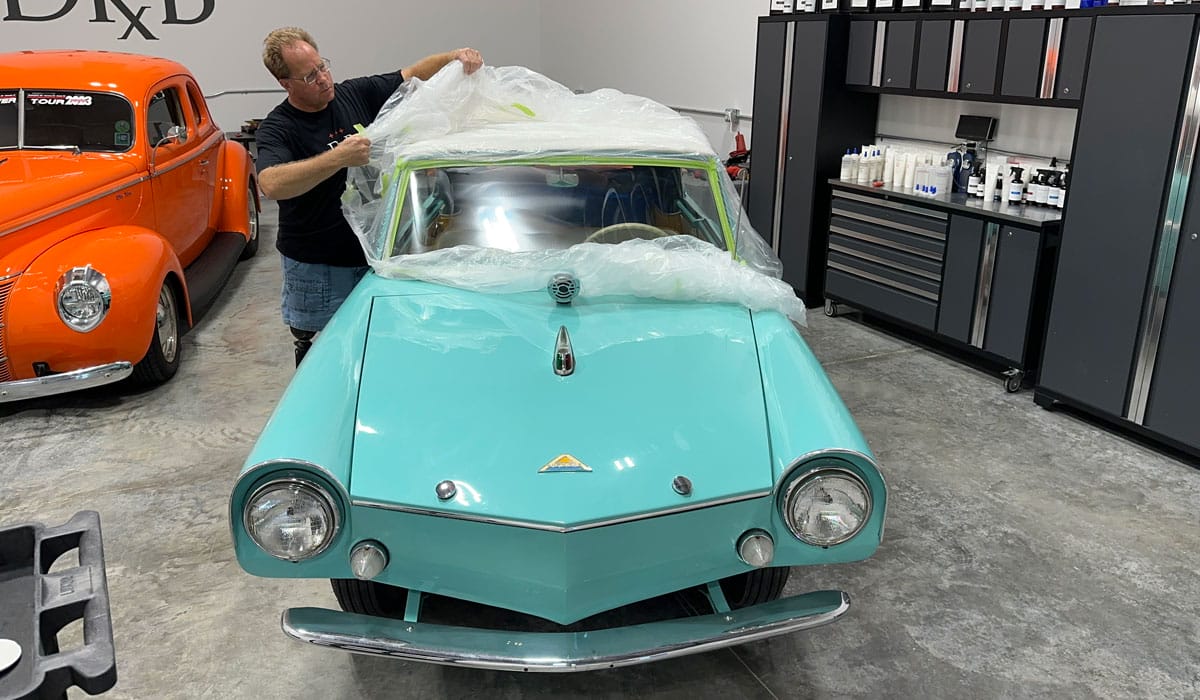
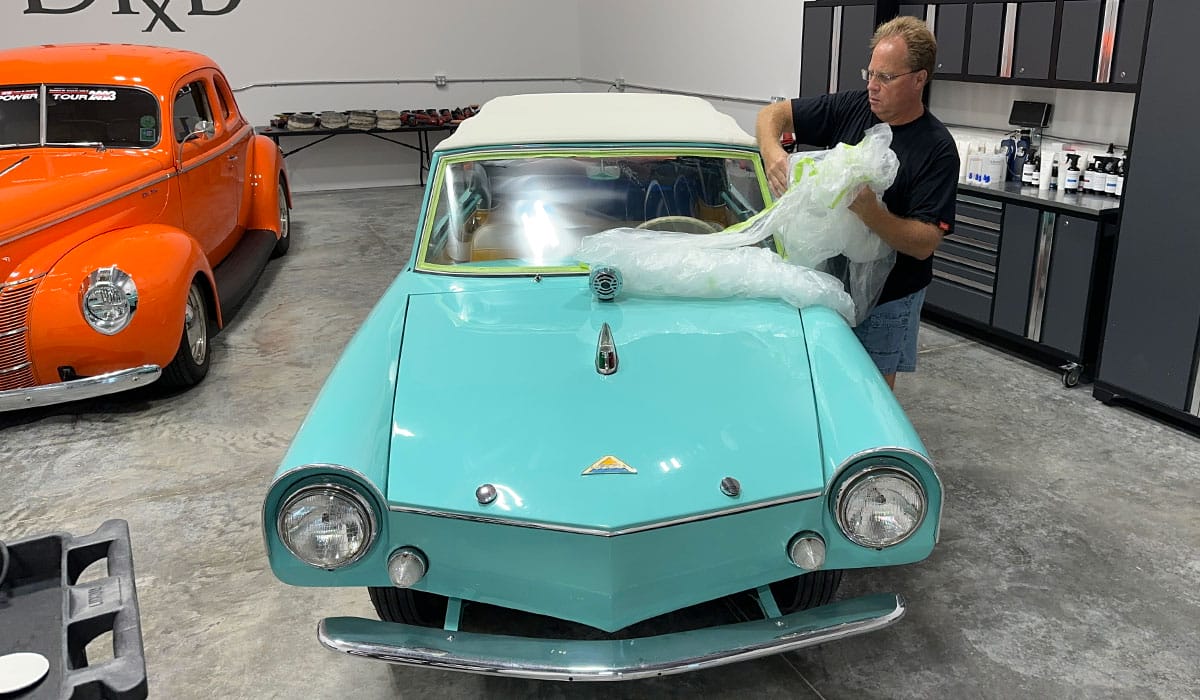
Tape-off and cover-up
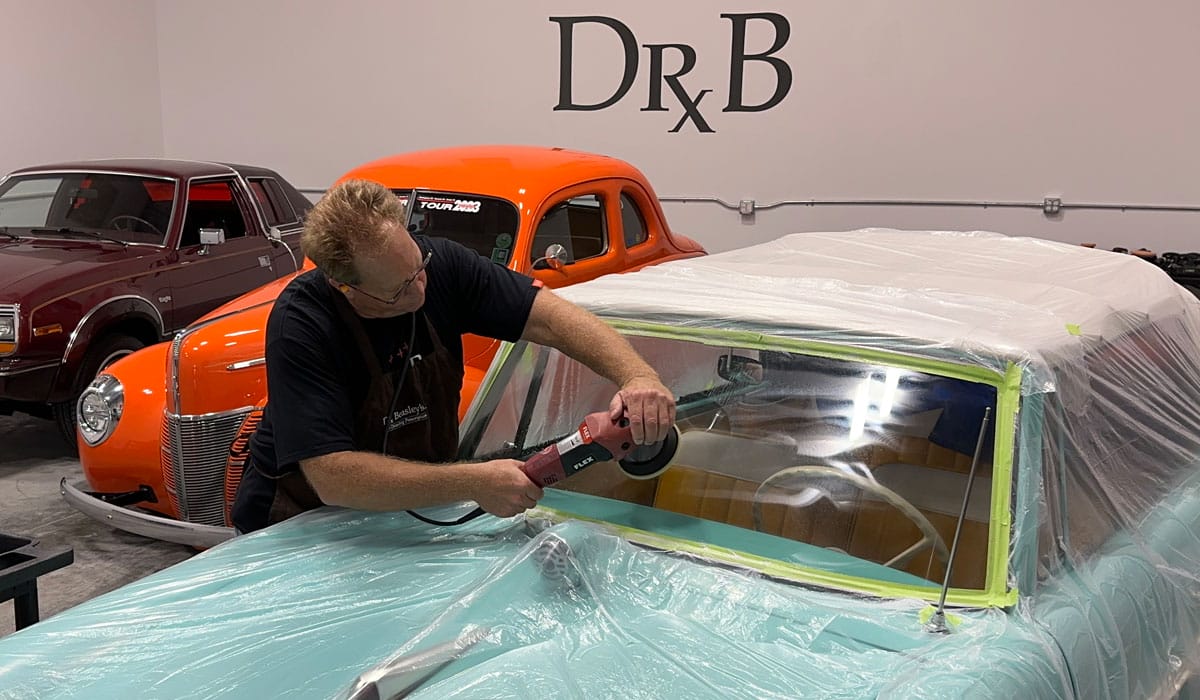
I have performed sub-surface glass polishing on a lot of classic cars and even though I’m going to wash this Amphicar after polishing the glass and plastic windows, I still want to cover and protect all the nearby adjacent body panels as well as the vinyl roof. It’s the nature of a rotary polisher because it spins a buffing pad in a circular motion, to sling tiny splatter dots of product outward via centrifugal force. So I like to tape-off and cover-up everything surrounding the windshield.
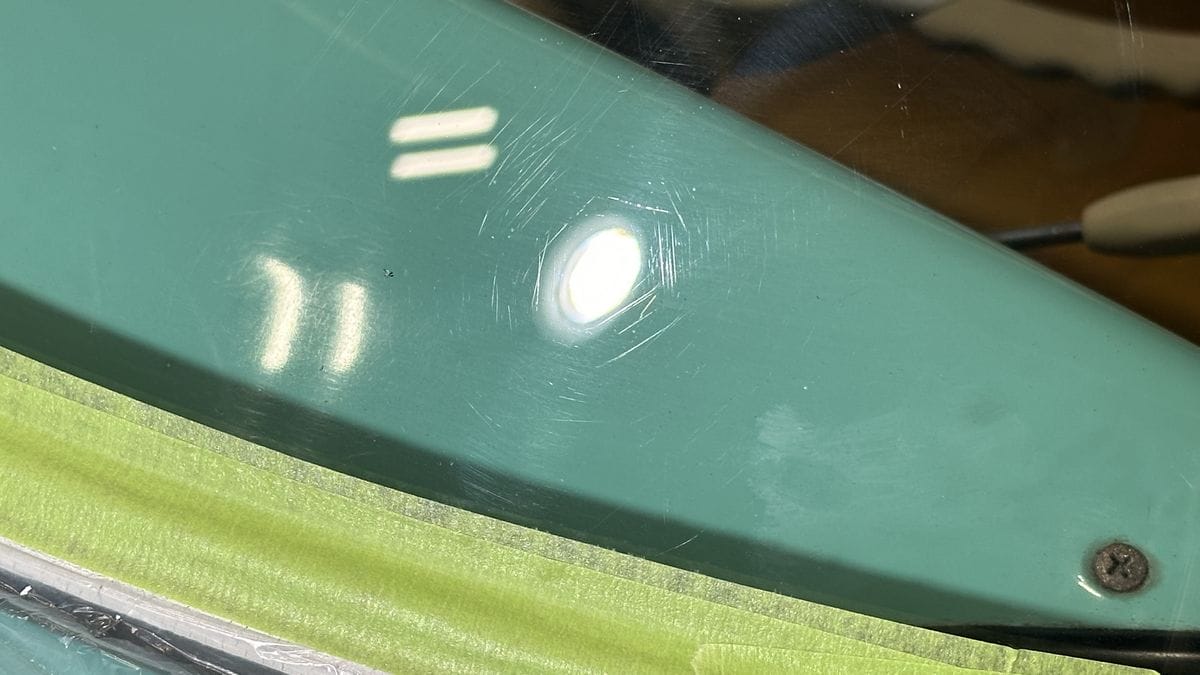
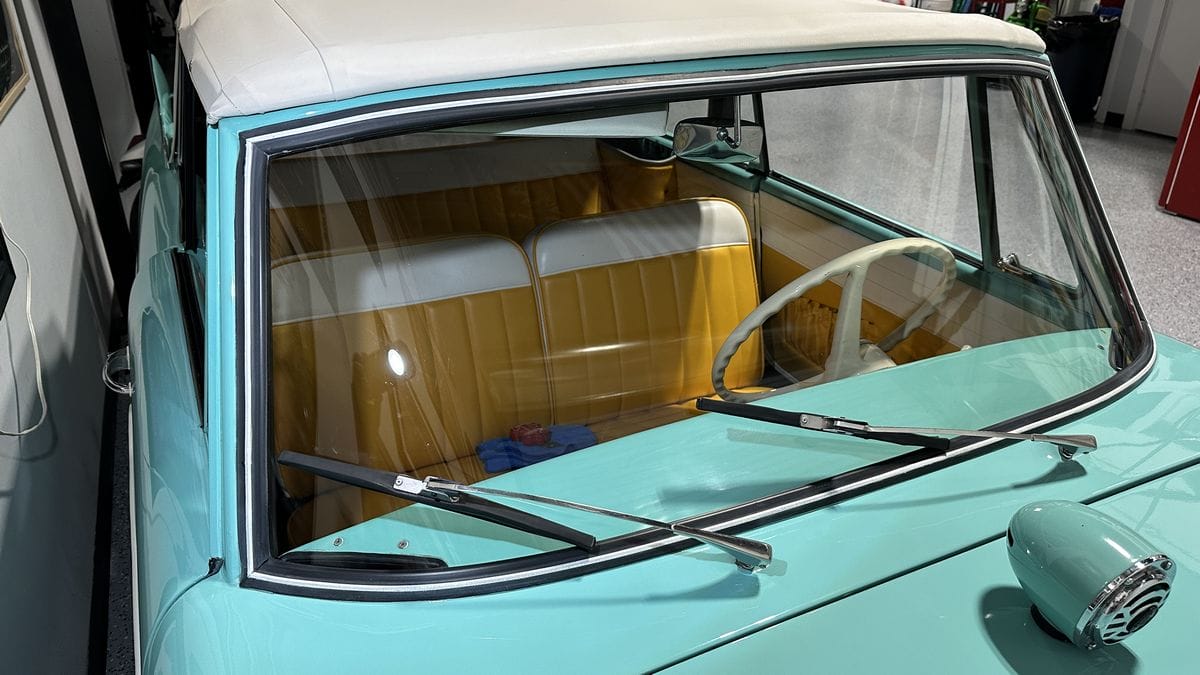
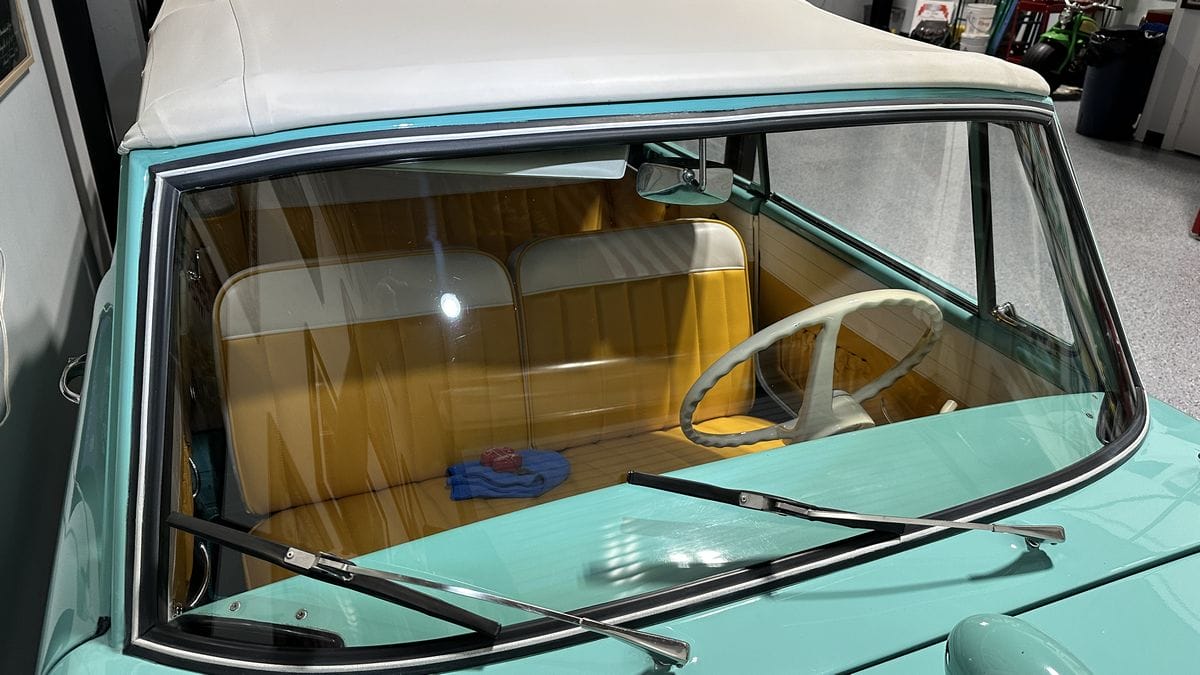
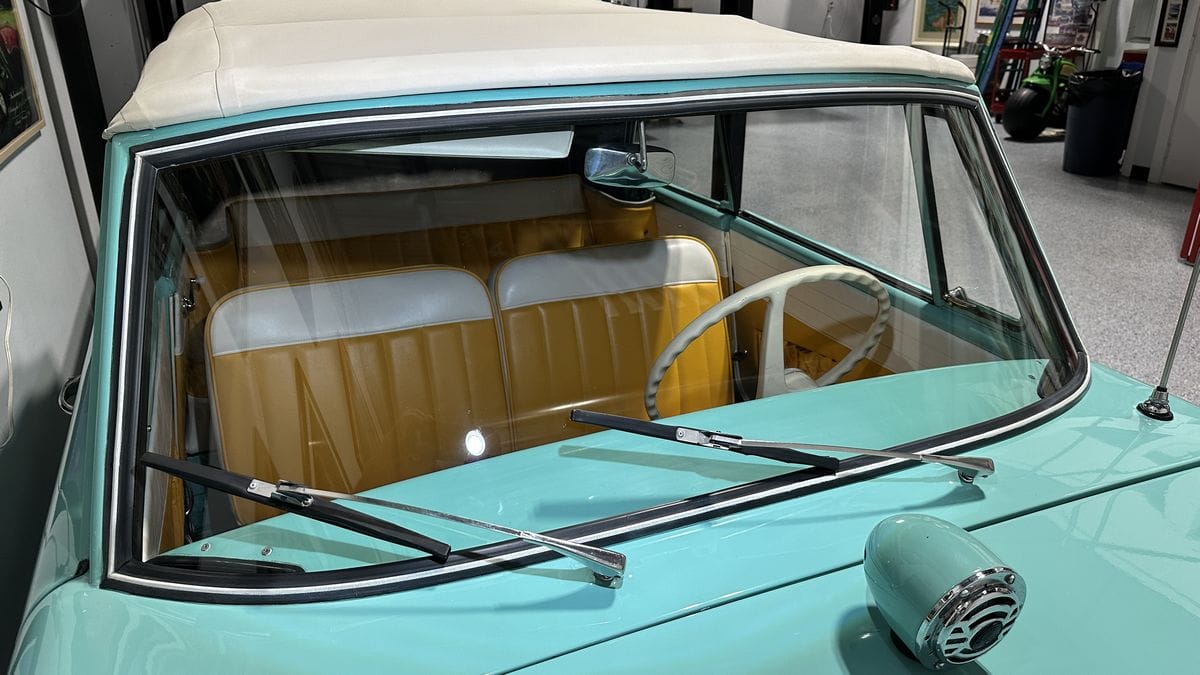
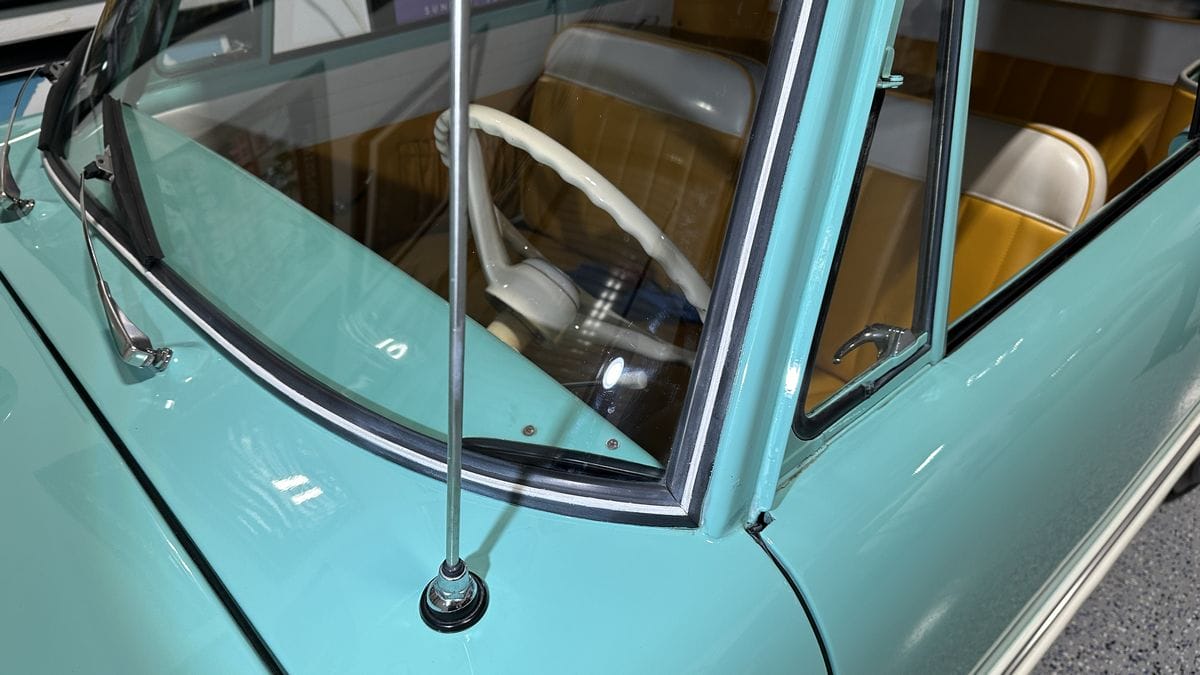
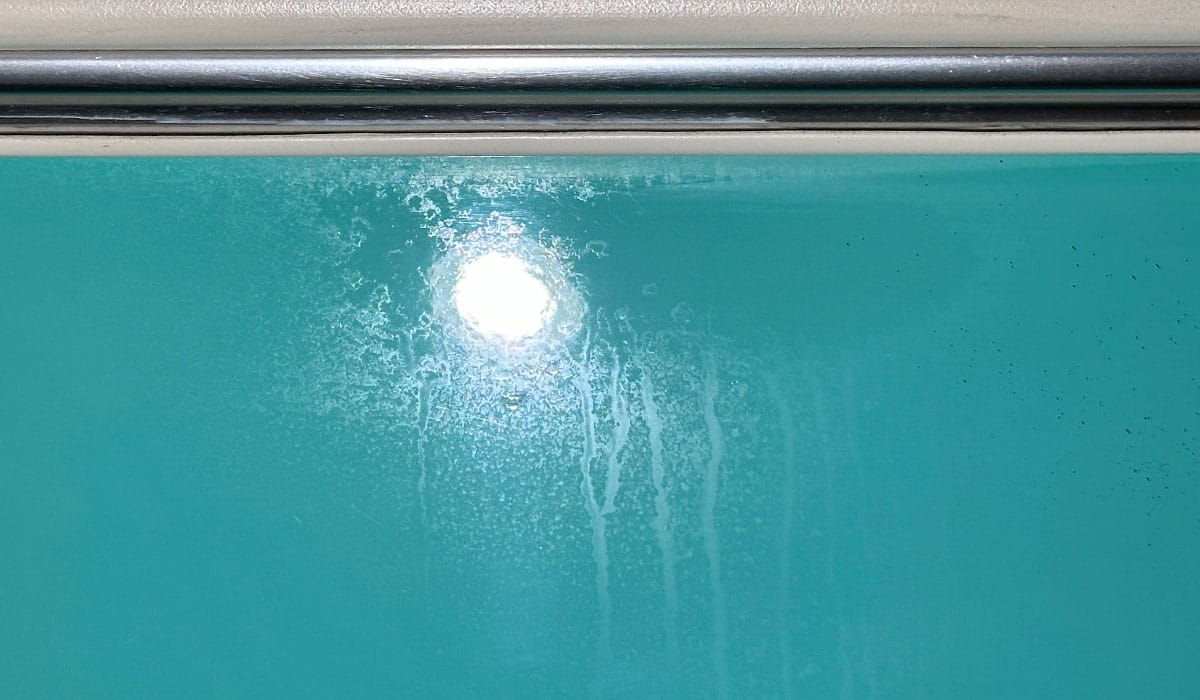
Below surface defects on both sides of the windshield
Just to photo-document, the wiper scratches were the worst on the passenger side of the windshield but here were wiper scratches on the driver’s side as well as normal swirls and scratches that tend to build-up overtime.
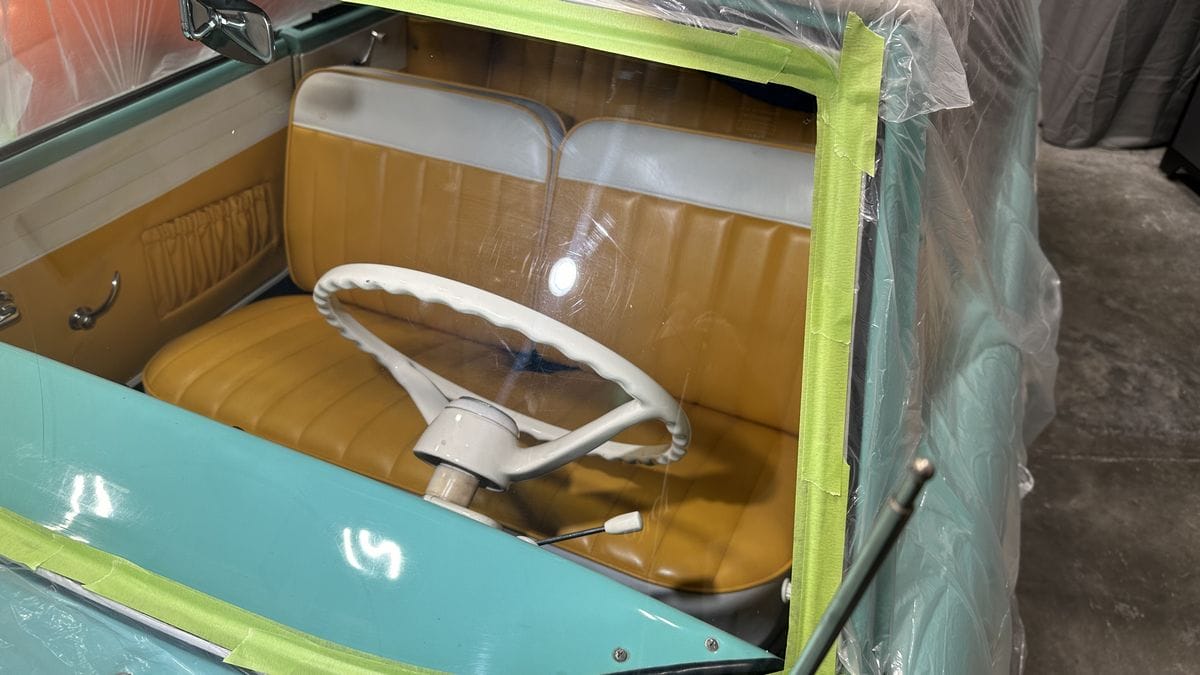

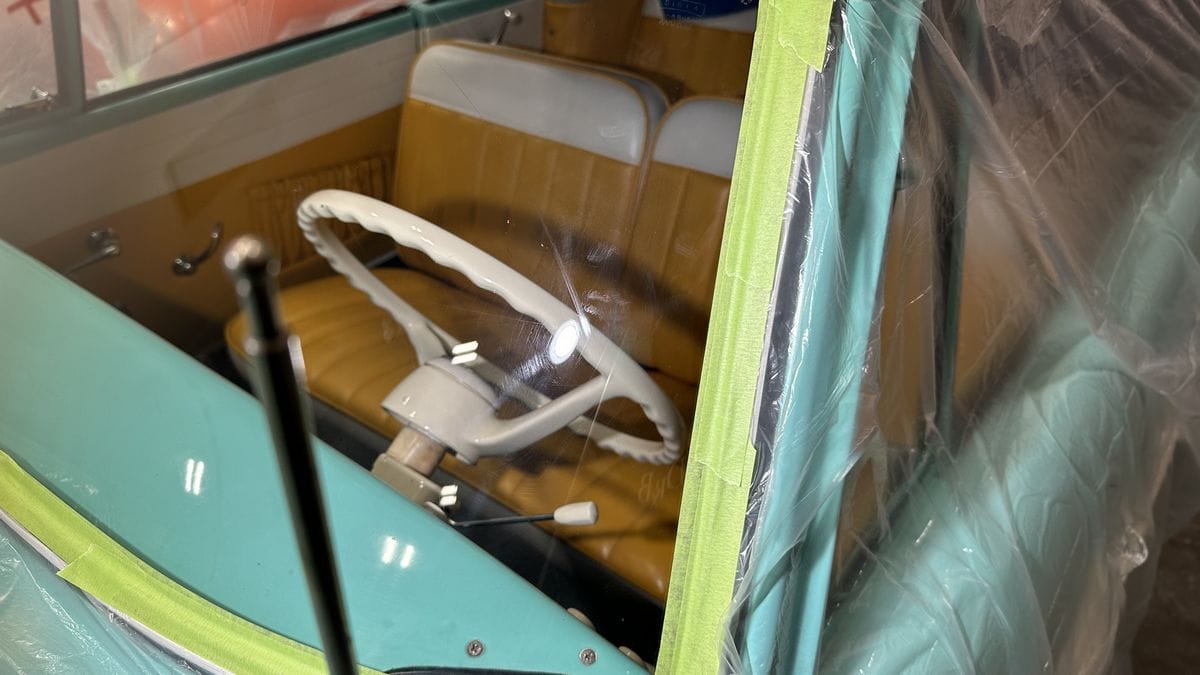
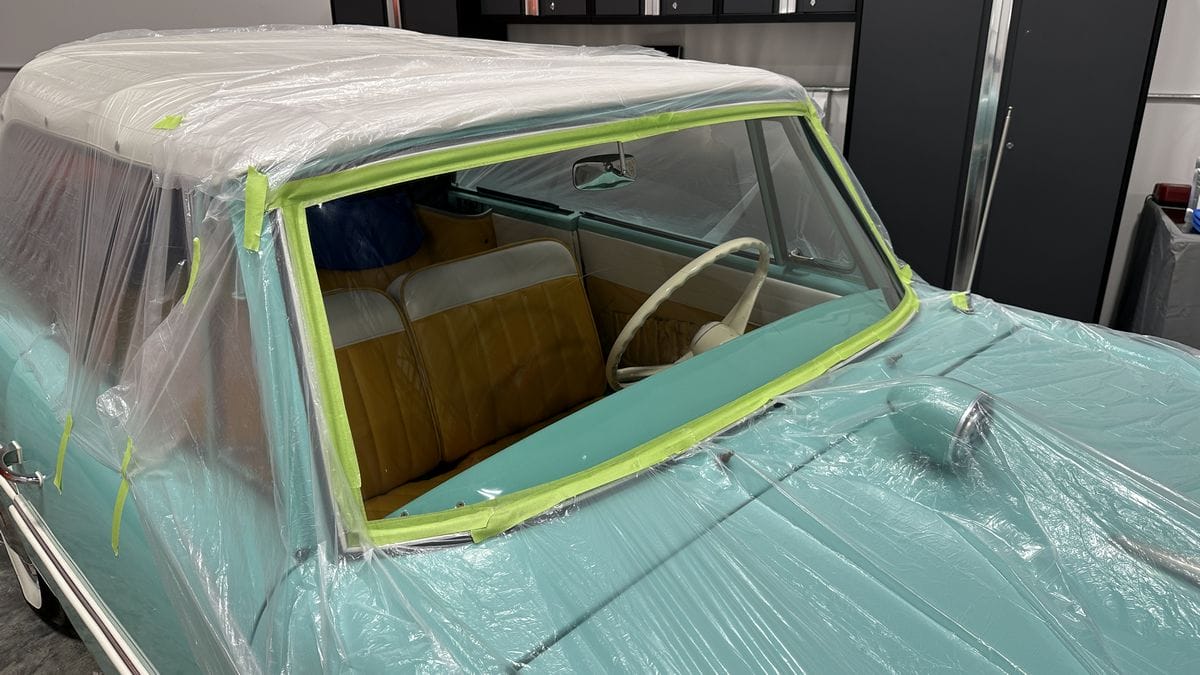
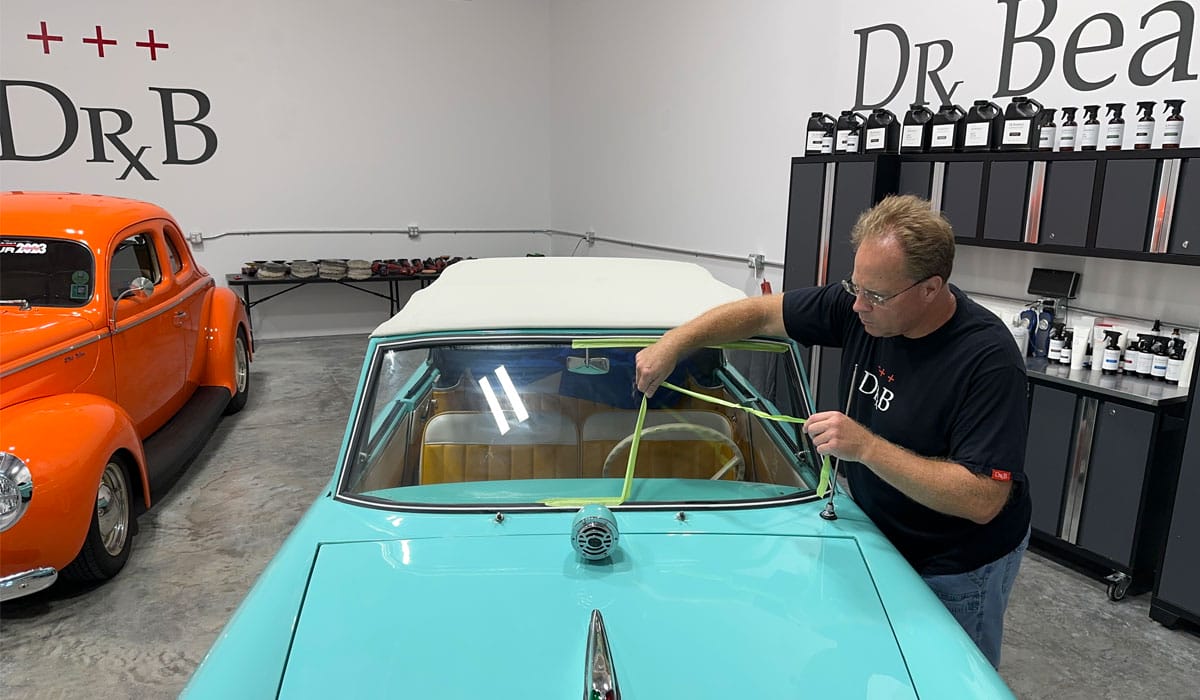
Windshield Tape Frame
In the below two pictures, pay attention to how I taped off the windshield gasket and frame to prevent polish splatter from getting onto the rubber gasket and also under it in the tight space between the rubber and the glass. I do this FIRST and then tape the plastic drop cloth to the tape frame. this approach is faster and easier than trying to tape the plastic drop cloth to the windshield frame and gasket. (trust me on this technique)
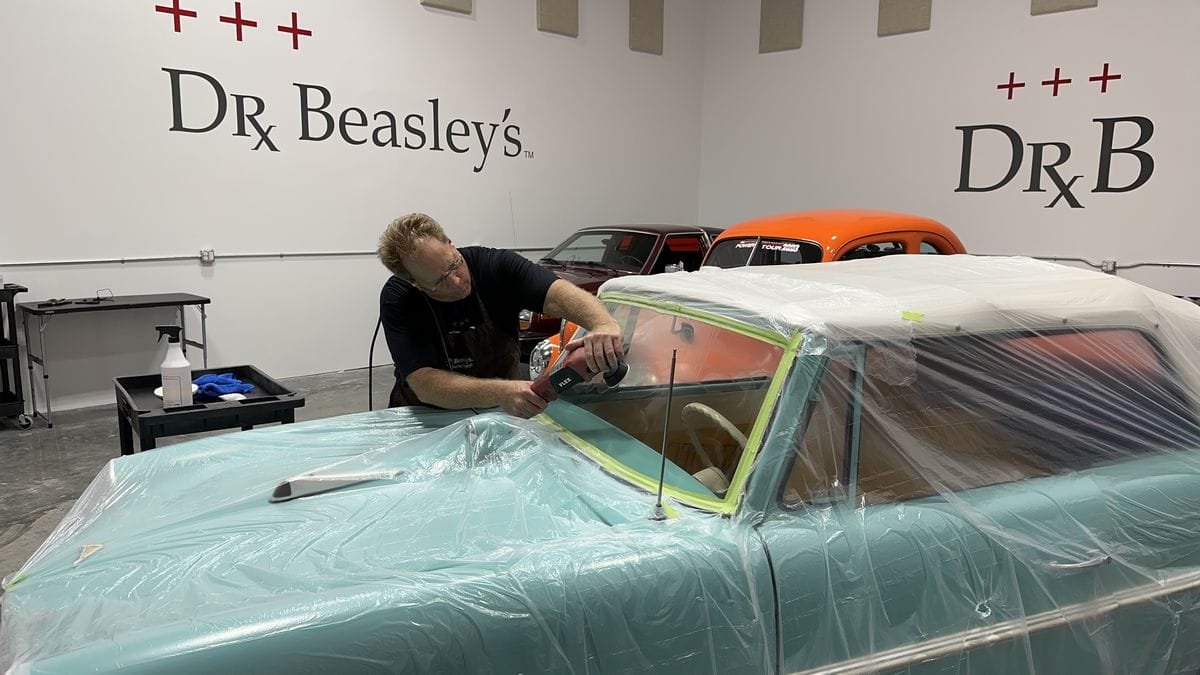
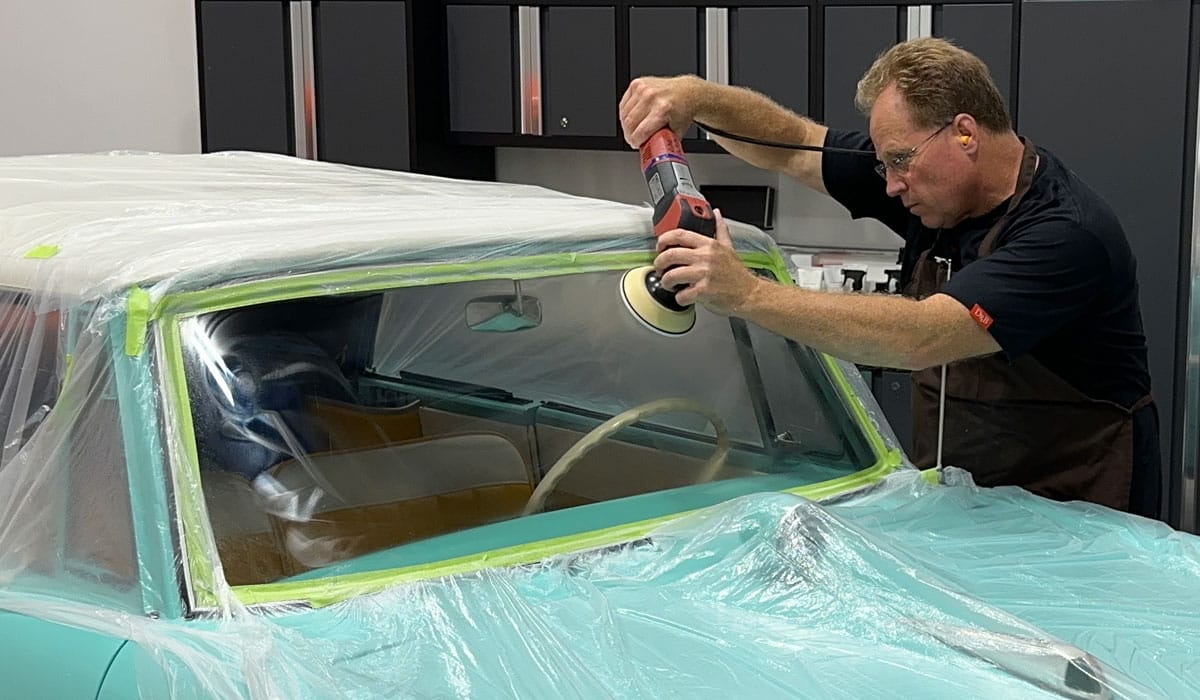
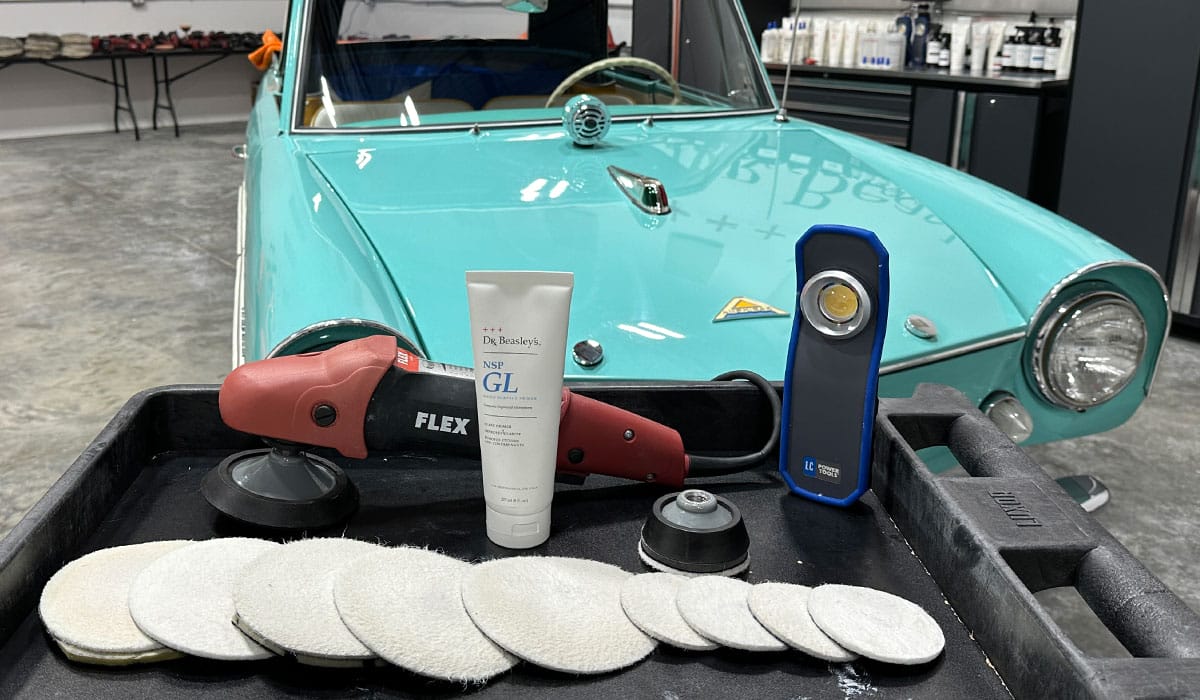
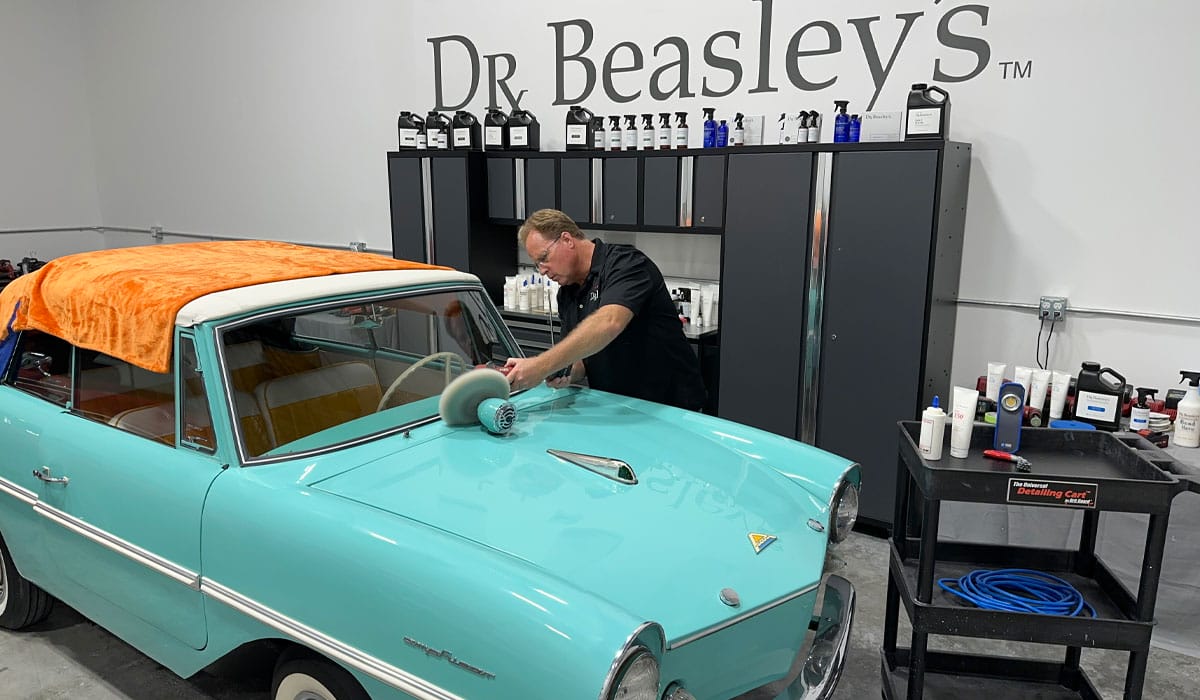
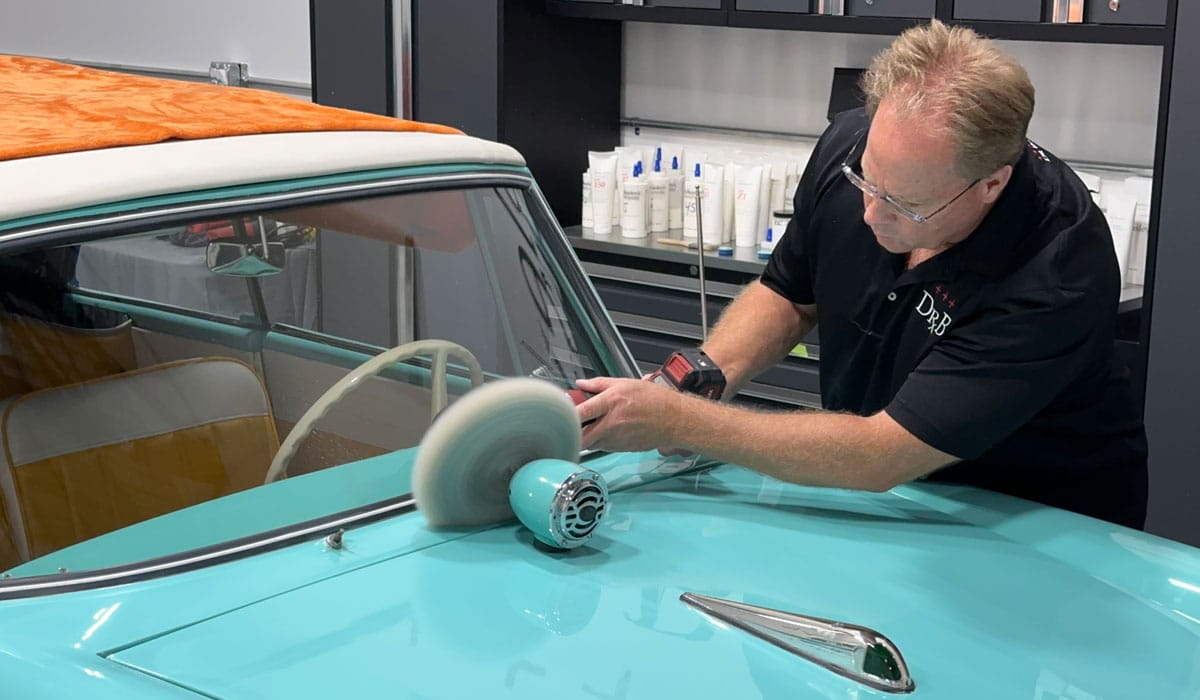
Two work stations
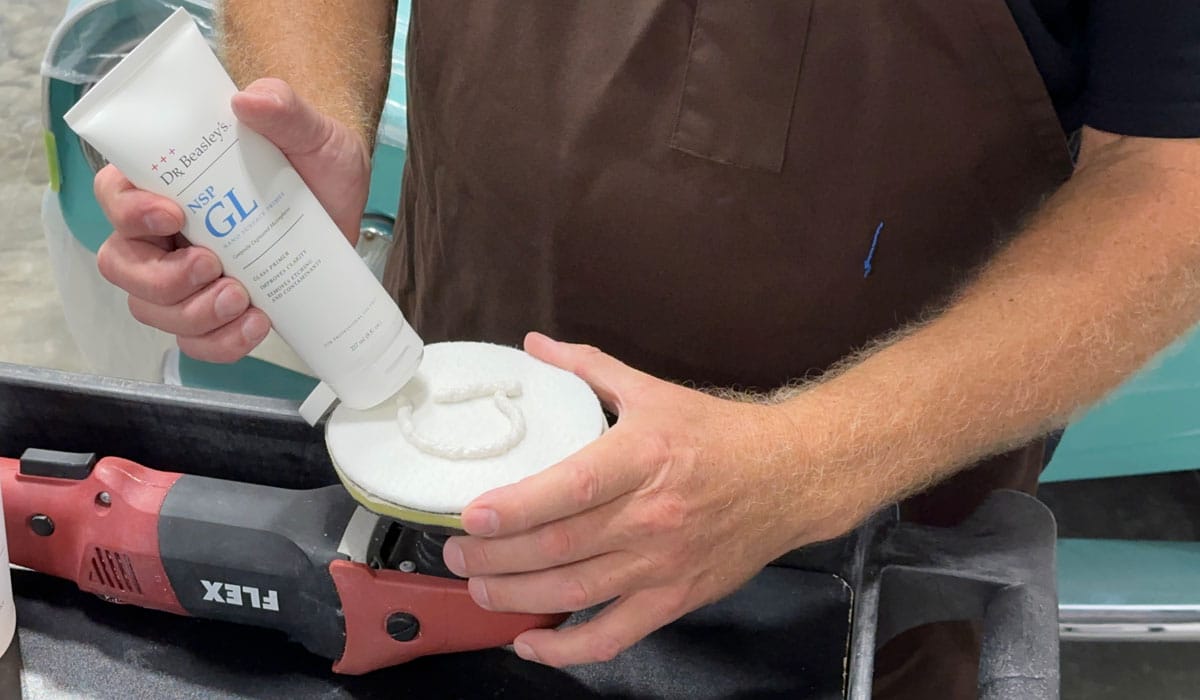
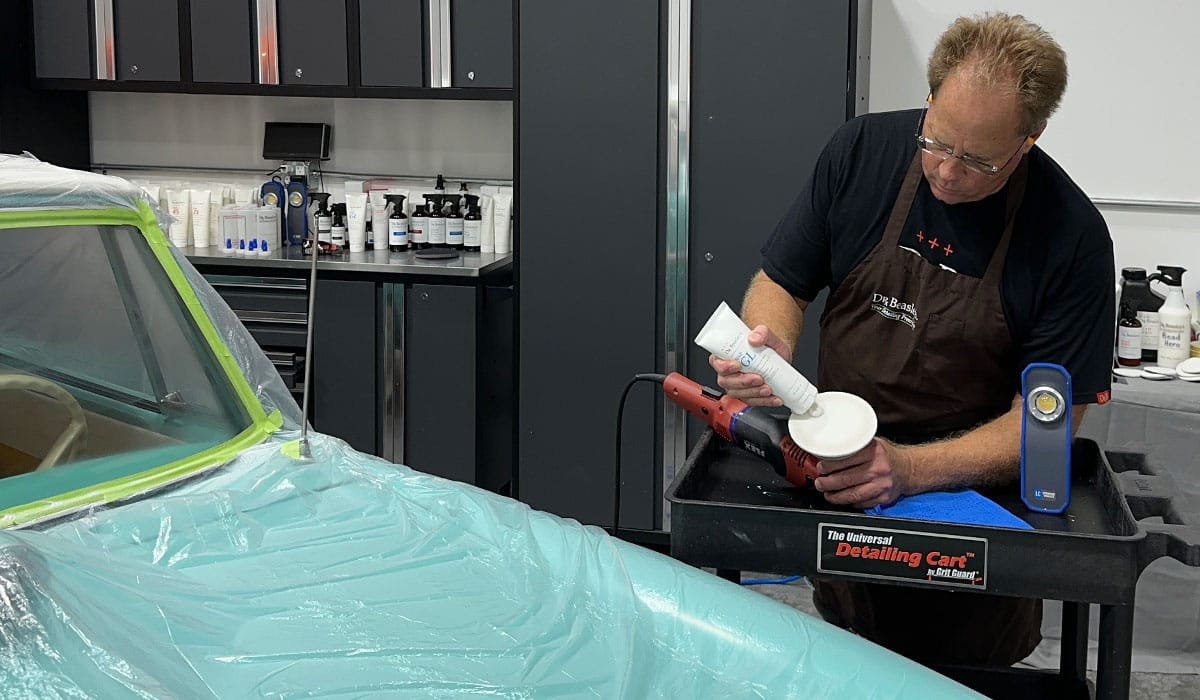
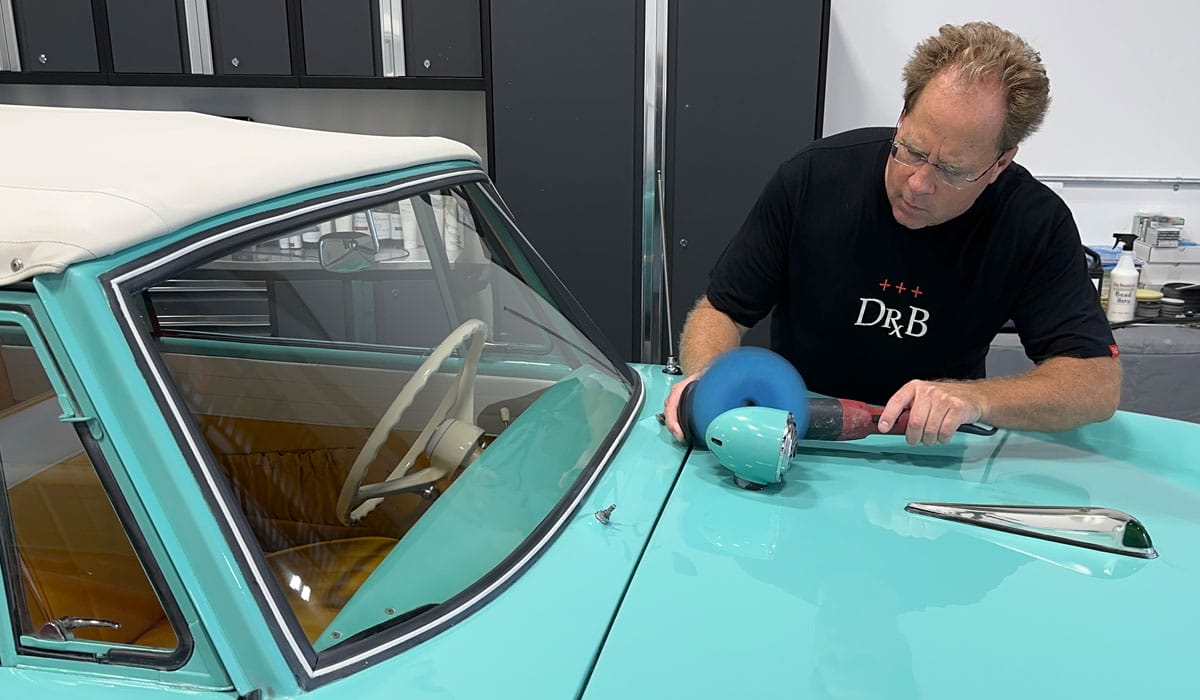
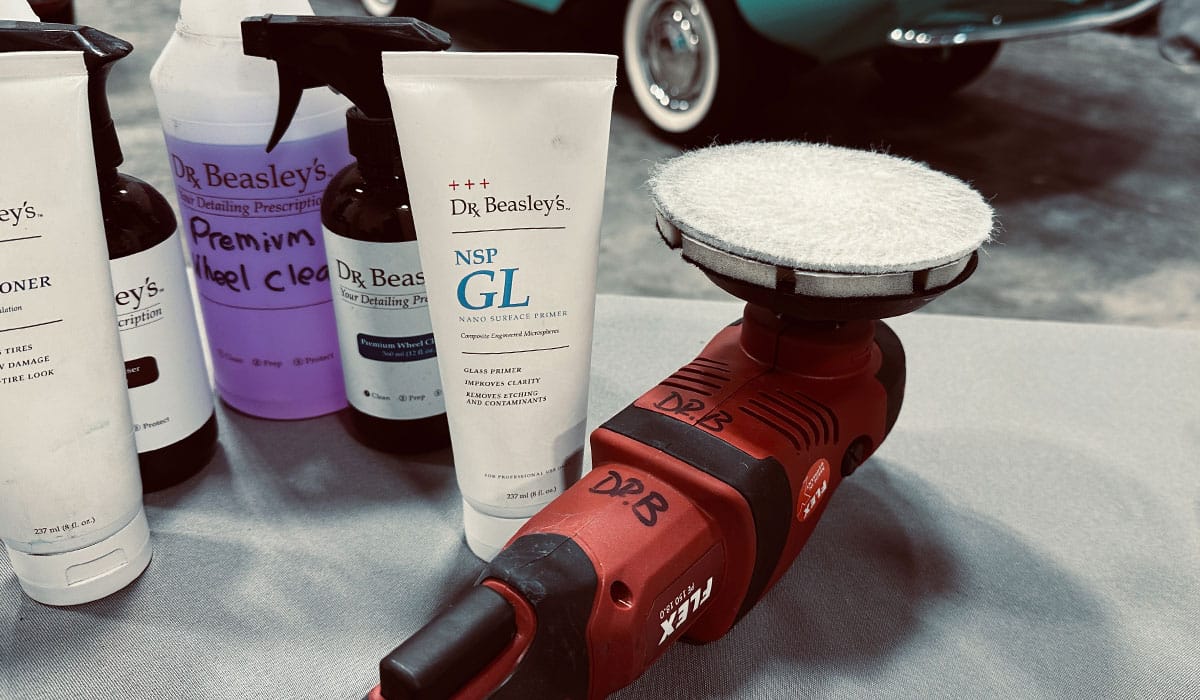
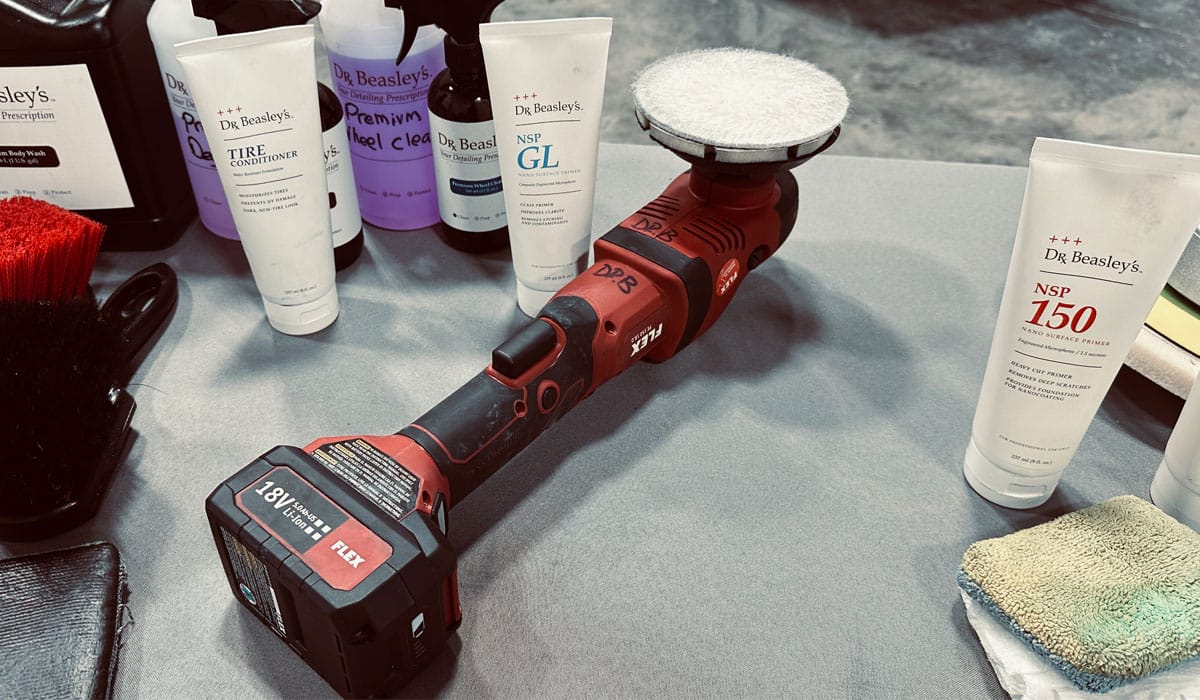
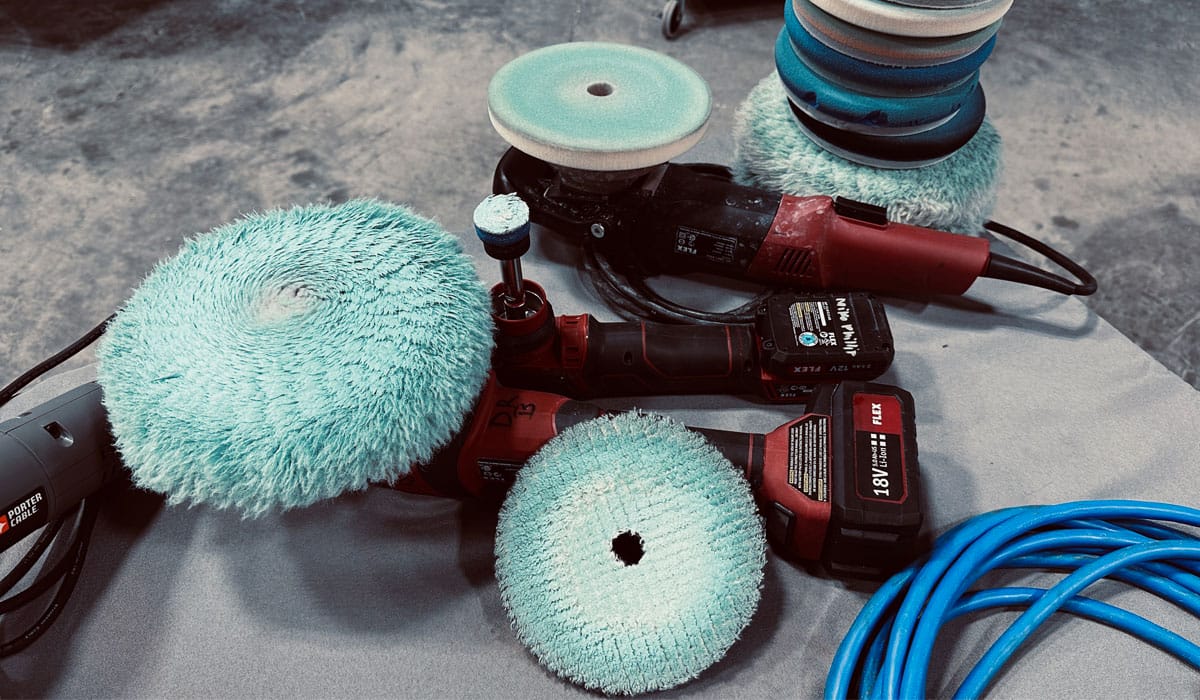
Because we are a car and boat detailing training center for Dr. Beasley’s detailing classes here in sunny, Stuart, Florida – I have multiple FLEX rotary polishers. To make the process faster and to help avoid extreme heat to the windshield, I set up two workstations. Each workstation has a FLEX rotary polisher, rayon pads, Dr. Beasley’s NSP GL Glass Polish and of course, plenty of microfiber towels. My normal process will be to buff for a few minutes on one side of the windshield and then move to the other side and buff. By moving from side to side, it gives one side of the windshield time to cool down as I work the other side.
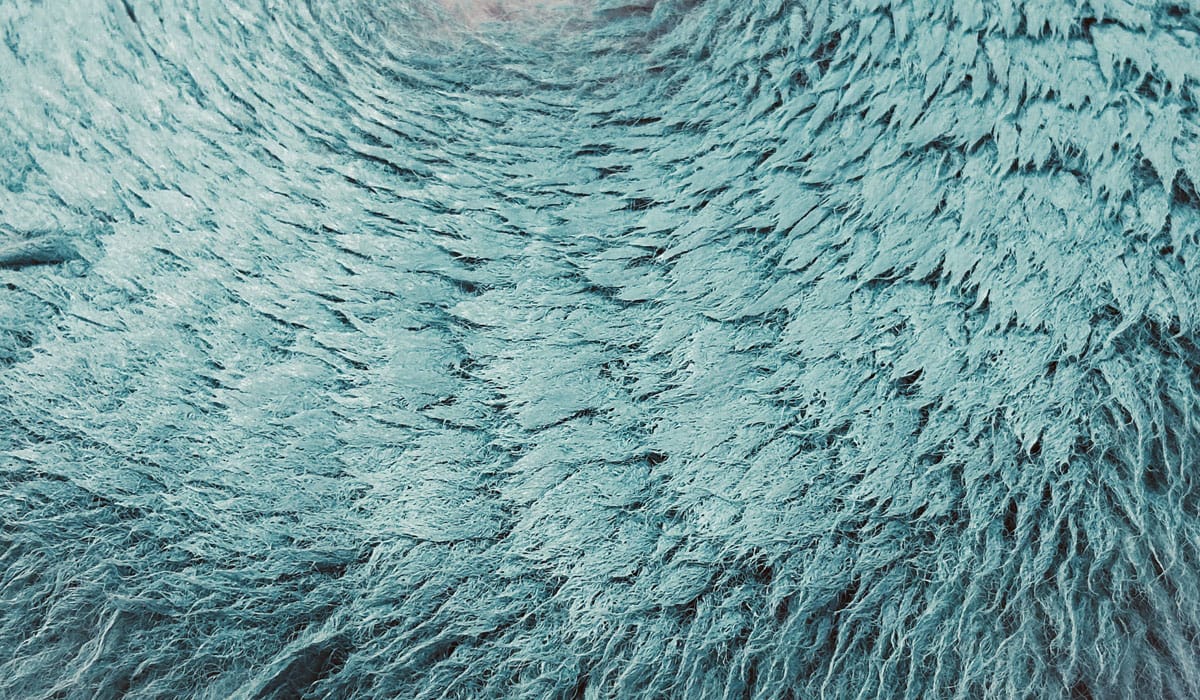
3″ Rayon Pad
At Dr. Beasley’s we carry the two most needed sizes of rayon pads, 3″ and 5″. Due to the severity or depth of the wiper marks, I tackled these first with some focused attention on the path of the scratches using the smaller 3″ rayon pad.
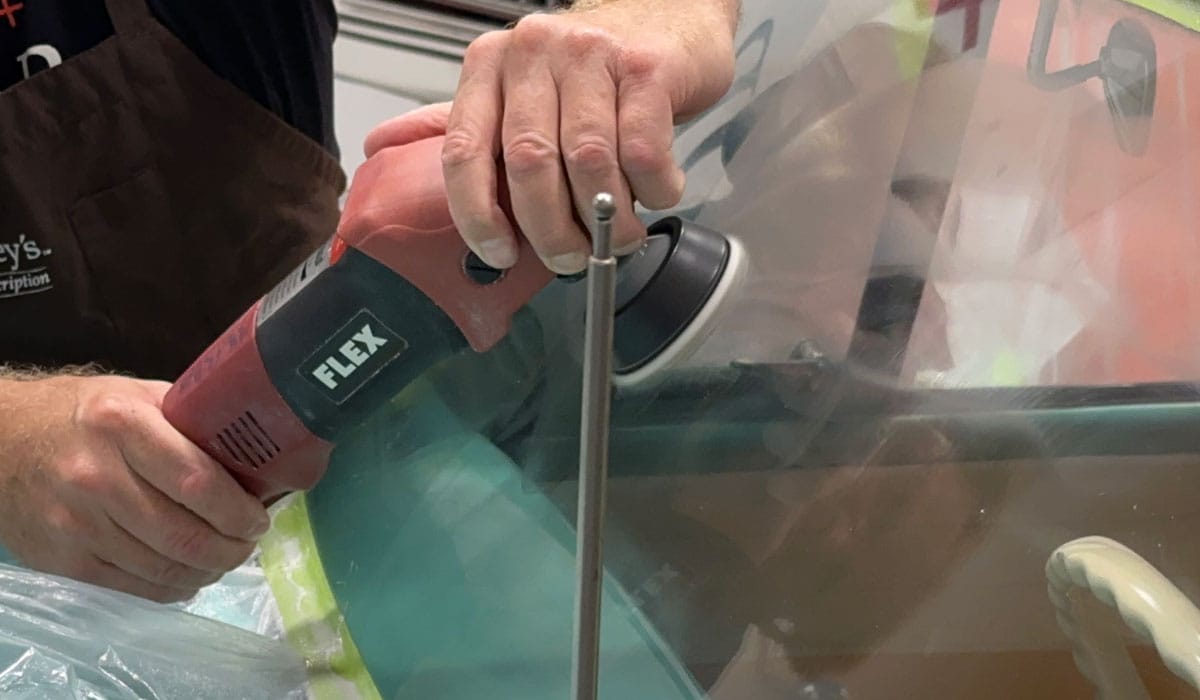
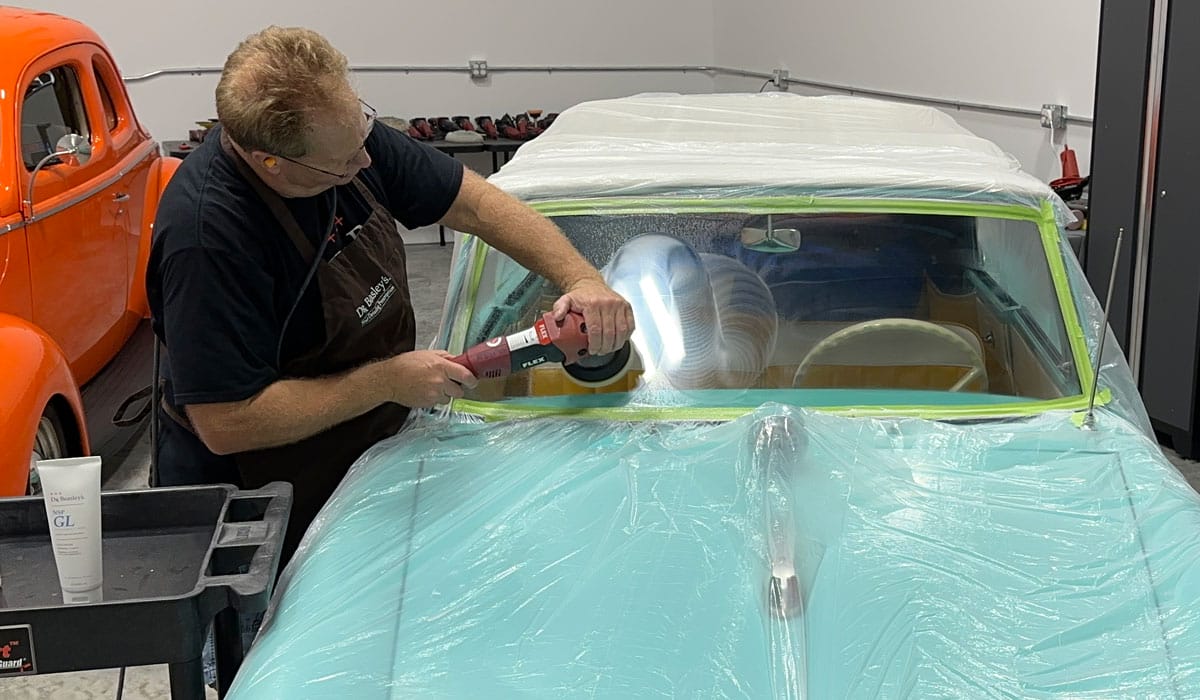
5″ Rayon Pad
After some focused buffing with the 3″ pad, next I switch over to the 5″ rayon pad and now I’ll buff the entire area of each half of the windshield.
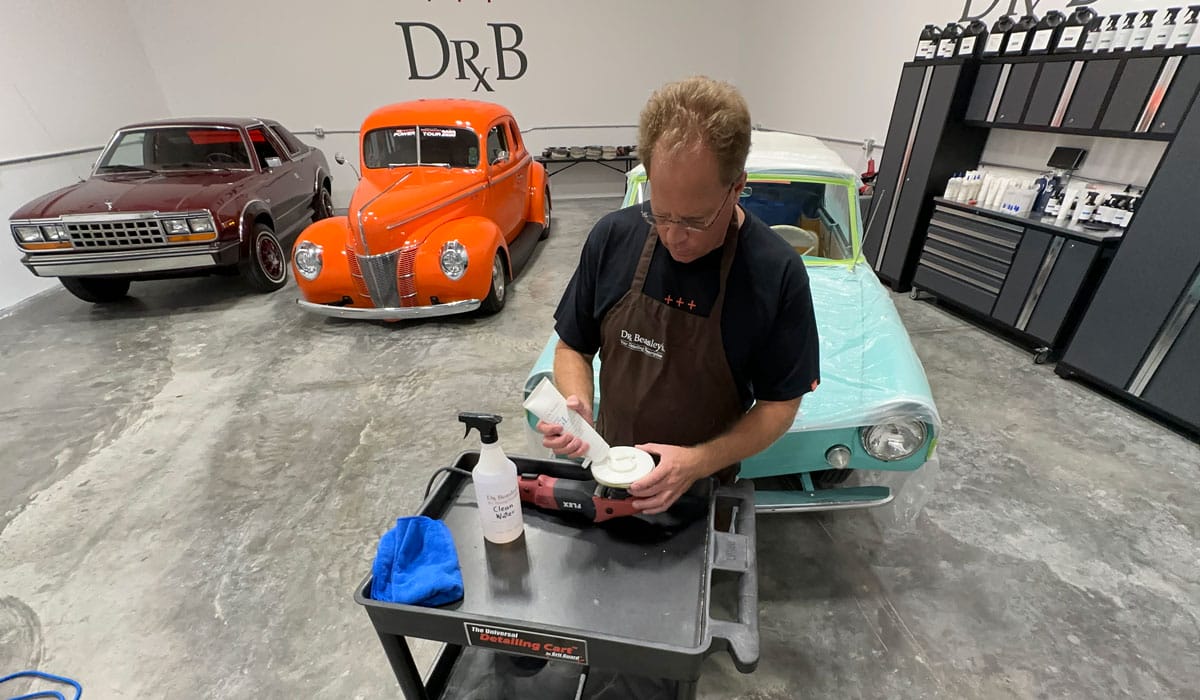
When starting out, apply a circle of the NSP GL Glass Polish to the face of the pad. After the pad breaks-in, you can cut down the amount of polish you apply to the face of the pad to a few dime-sized drops.
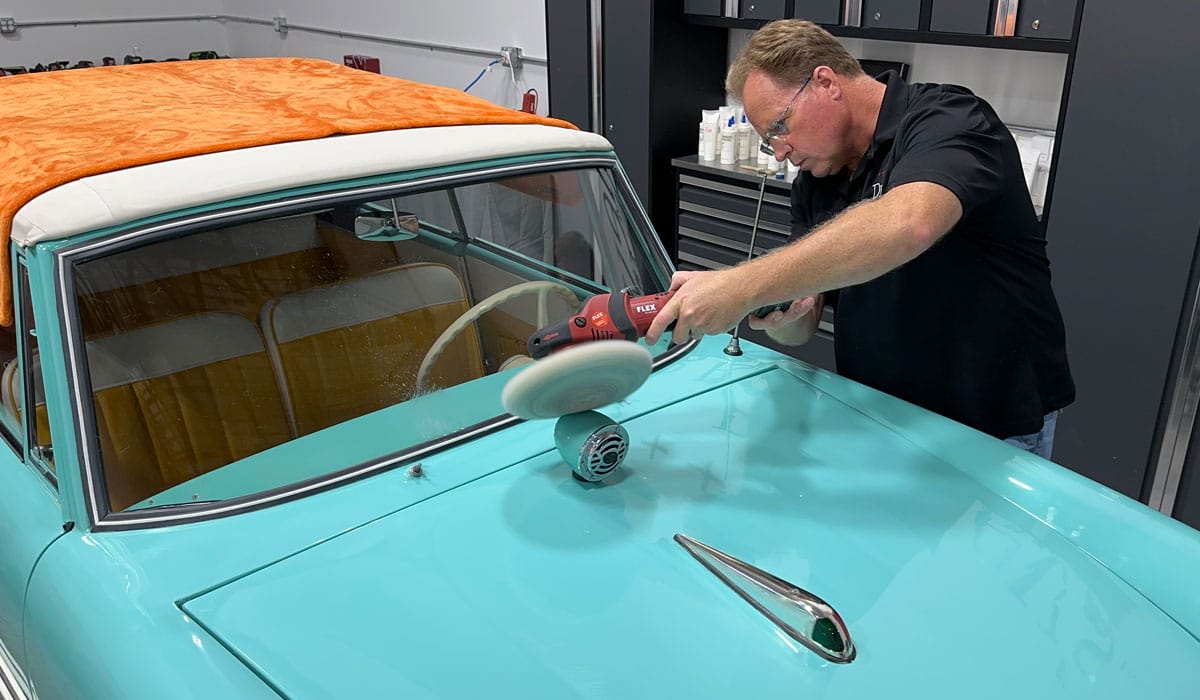
Overlapping crosshatch pattern
When buffing out entire glass windows, always use an overlapping, crosshatch pattern using a slow arm speed. Arm speed means how fast or slow you move the polisher over the surface – with your arms.
De-tape and clean-up
After around 4-5 hours of machine buffing, I had reached the point of stopping. Without machine dry sanding, it’s pretty much impossible to remove 100% of all the swirls, scratches and wiper marks out of the glass. You need to make your own judgement call as to how much time you want to invest in the process. For me, 5 hours was enough to remove the majority of defects and restore an acceptable looking windshield.
When removing the tape and plastic, roll the plastic drop cloth into itself.
Carefully remove the painter’s tape. The rubber windshield gasket for this Amphicar looks to have a HAND PAINTED white stripe placed in the middle of the windshield gasket. I placed the tape just in front of this painted line so as to prevent any possible removal of the white paint.

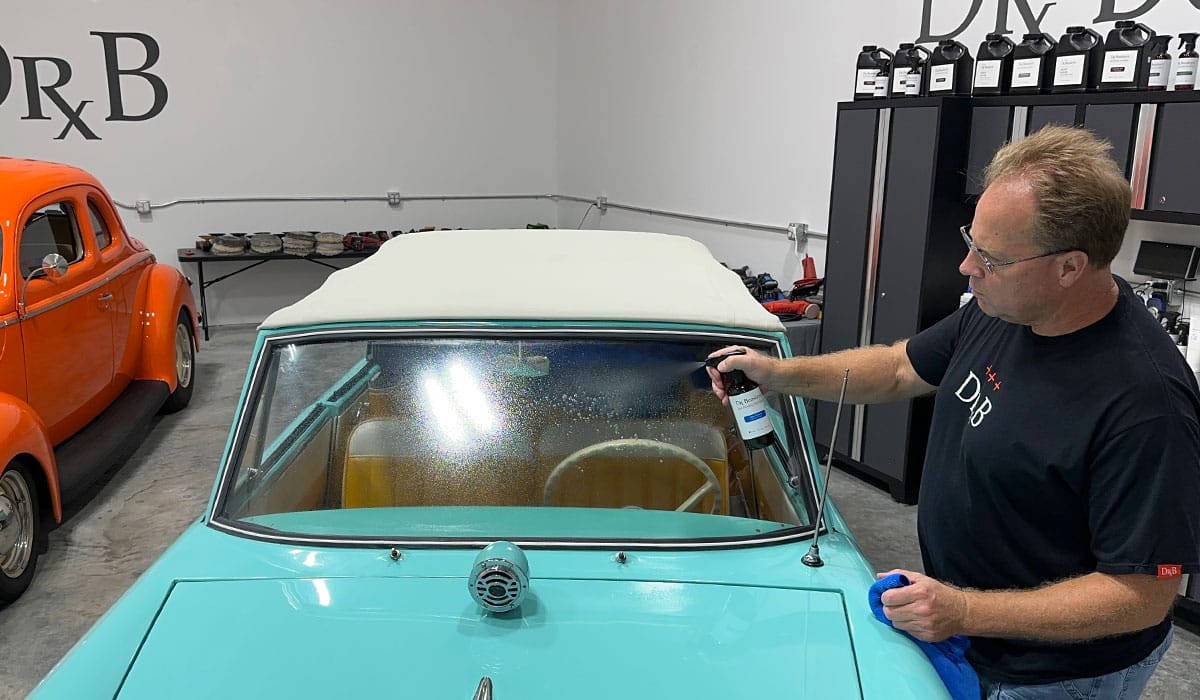
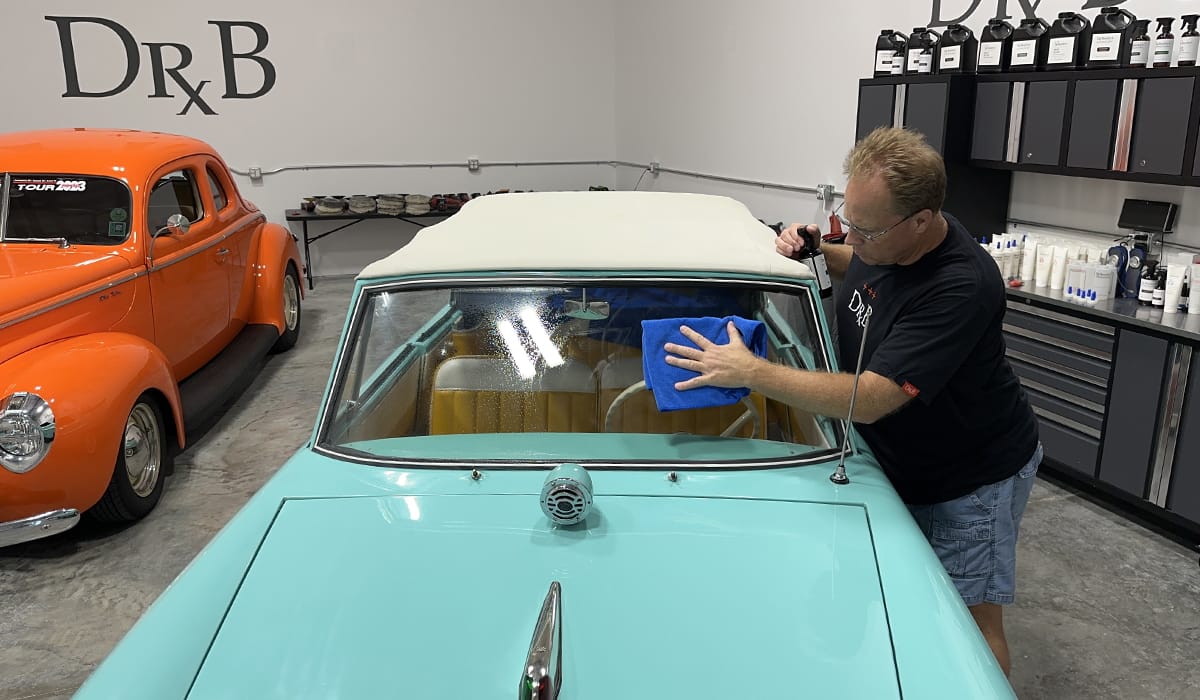
Cleaning the glass
After wiping off most of the polish from the glass, next I used the Dr. Beasley’s Glass Cleaner to remove any trace residues or films off the glass with a few clean, dry microfiber towels.
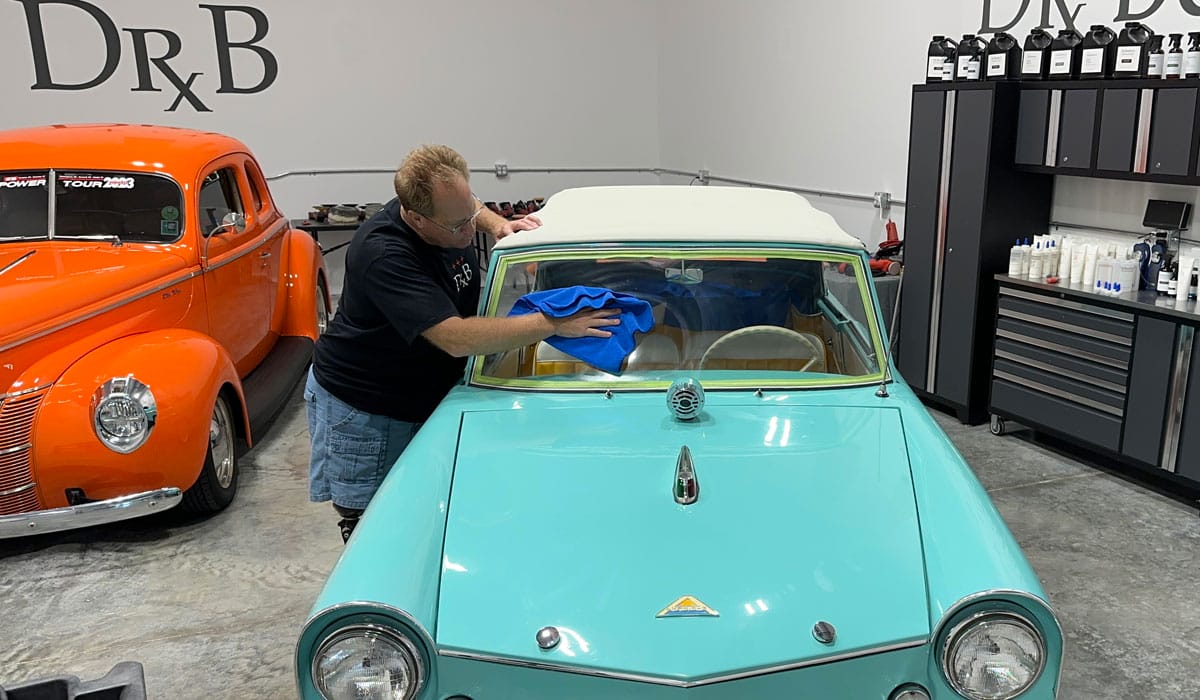
Final results
While not 100% scratch-free, everyone including the owner agrees, there’s a dramatic difference in before and after results. The bad news is, after a lot of buffing on the driver’s side, I discovered some of the scratches are on the INSIDE of the windshield. How they got there is a mystery but trying to remove them with the windshield in the way would be both difficult and time-consuming. So, I called the results good and will move onto the rear plastic window next.

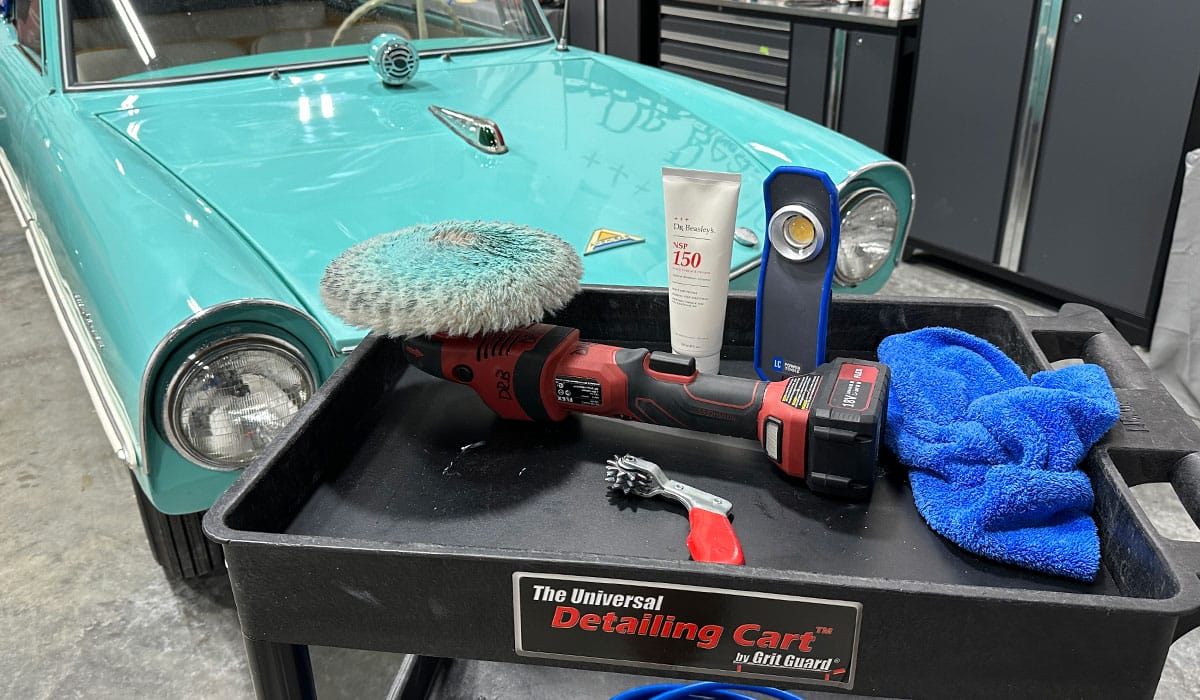
Products used.
For this project, here’s what I used.
-
- Dr. Beasley’s NSP GL Glass Polish.
-
- Dr. Beasley’s 3” & 5” Rayon Buffing Pads.
-
- FLEX high speed rotary polisher
-
- 4 3/8th and 3” backing plates.
-
- 5” and 3” interface pads.
-
- Lots of microfiber towels.
Buffing scratchers out of glass is a slow process but it can be done with the right products, tools and patience. Some people will ask me,
Why not simply replace the windshield?
-
- Great question and I have great answers.
-
- Sometimes there are no factory replacements available.
-
- Some owners prefer to keep the car all original and thus will not replace the glass with either an original OEM windshield or a modern copy of the original.
Some owners will not want to remove the glass because it will reveal rust and in extreme cases, severe rust referred to as cancer in the automotive restoration world. This will cost a lot money to fix and will also take the car out of service for a long time.
For the above reasons, machine polishing is always an option. Here at Dr. Beasley’s we cover the topics of both topical glass polishing and subsurface glass polishing, and you can get more information about our classes, locations and pricing in the link below.
Dr. Beasley’s Future of Detailing Classes
Clear plastic window polishing
I’ve buffed out a LOT of clear, flexible plastic windows in my life. Everything from the windows on convertible Jeep tops, clear plastic windows on classic cars and muscle cars, and of course Isinglass windows on marine canvas enclosures. In all my experience, I’ve NEVER seen a clear plastic window as bad as the back window in the Amphicar. Buffing out a malable, flexible material like clear plastic is tricky.
First – You MUST use great abrasive technology. Inferior abrasive technology will only put more scratches or micro marring INTO the plastic. Dr. Beasley’s NSP Primers excel at plastic polish as well as working exceedingly well on super soft automotive paints.
Second – You can’t press hard or get the plastic hot or you’ll stretch and warp it.
Third – you must use quality foam pads and soft microfiber towels anytime you’re wiping the plastic surface. Most swirls and scratches are put into clear plastic windows by using dirty and contaminated towels. So always pre-inspect your microfiber towels visually and with your sense of touch before use.
My only mistake
I’m usually very good about getting great before pictures. I thought I took before pictures. But alas, if I did, I can’t find them. The good news is, we used this car for a recent LIVE online detailing class where I shared four different ways to tackle polishing louvers and other tight and intricate areas. At the end of the video, we have a question-and-answer session. A person asked the question,
Hey Mike, have you ever made a video on how to polish clear plastic, flexible windows?
My answer was “no” and in the discussion I mentioned how BAD this particular window was and had Yancy, our video guy zoom in and capture the “before condition” while I lit the window up with the Lake Country Hand-held Light. You can see that portion of the video below and the after results.
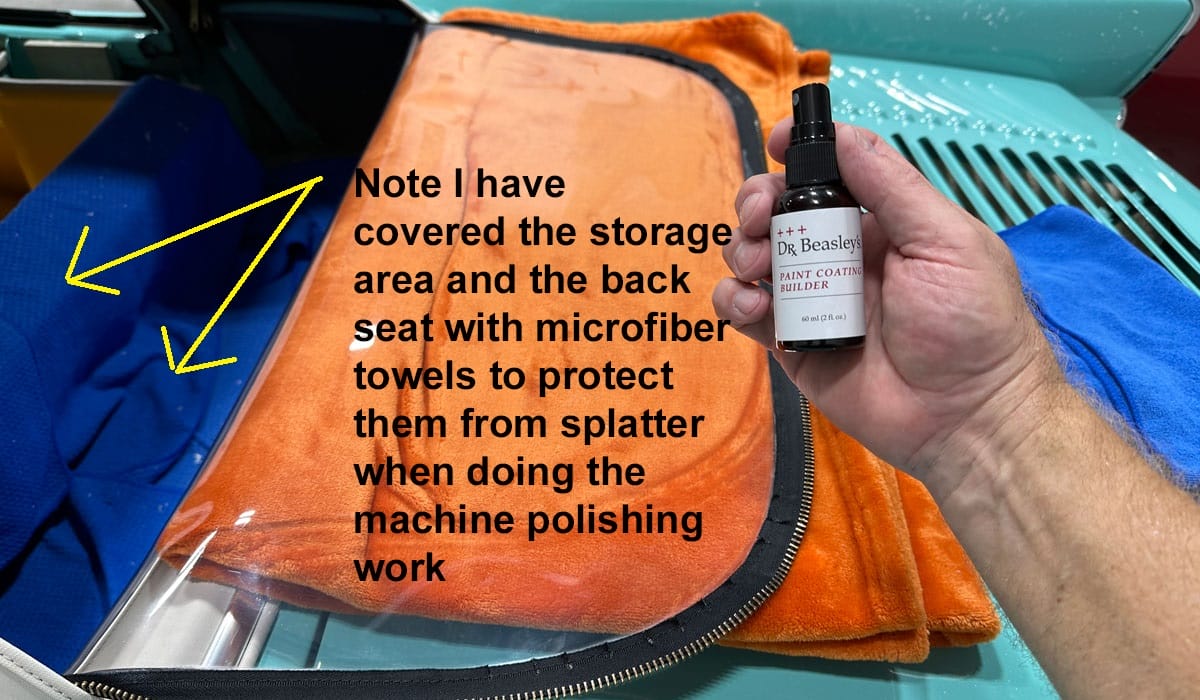
Tape-off and protect
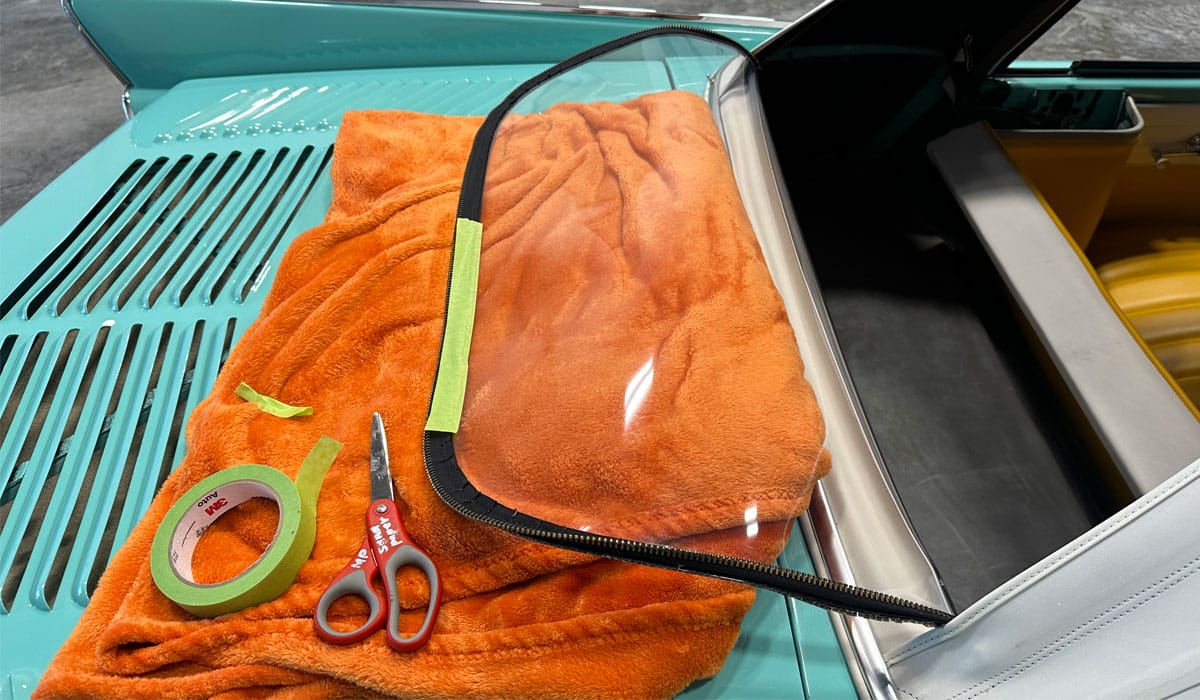
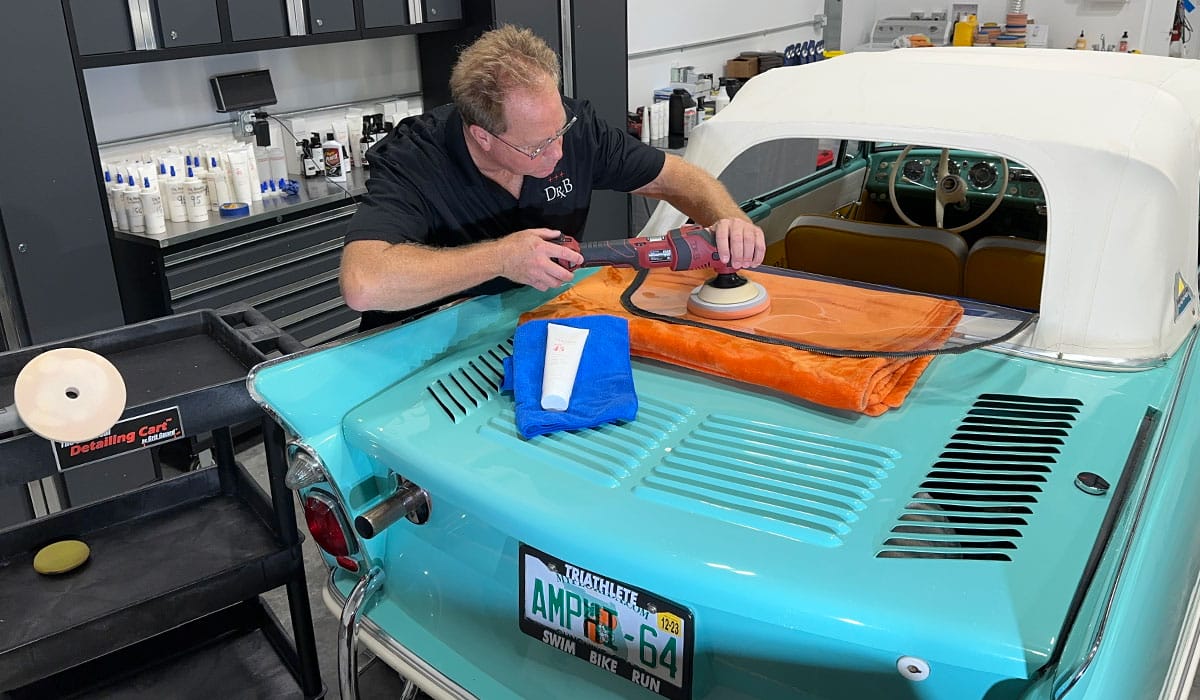
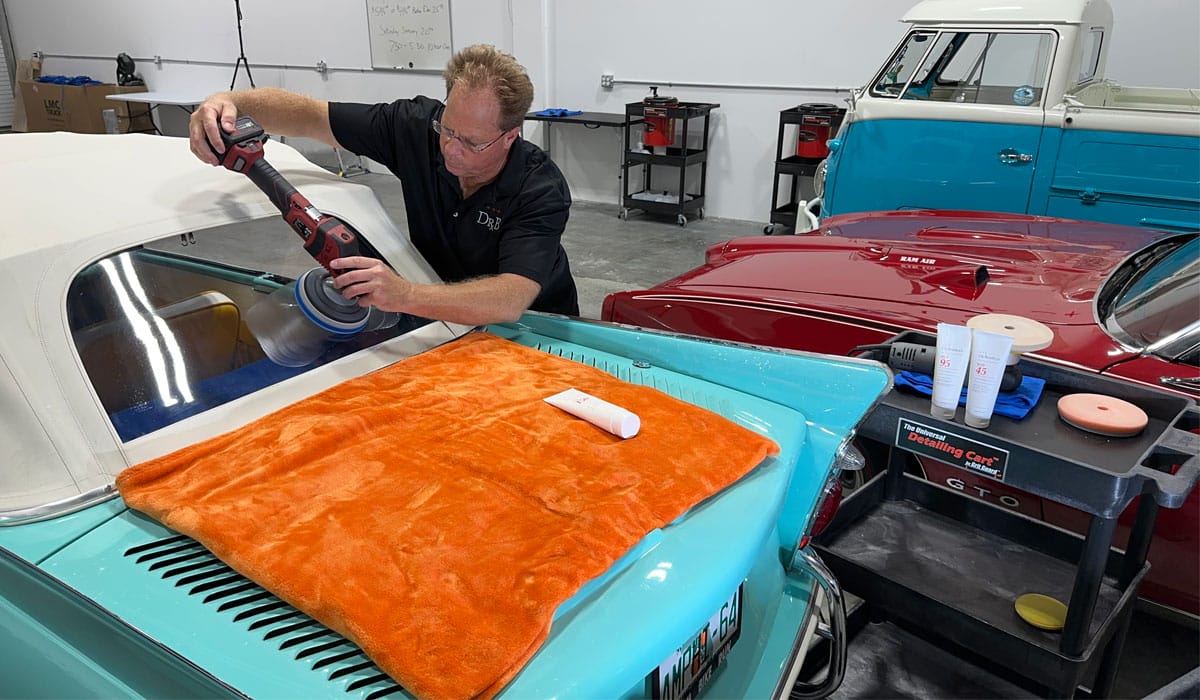
Tricky project. Upon close inspection, I found there were swirls and scratches on both sides of the plastic window. It wouldn’t do any good to only polish out the outside, (the easy side to polish), because the end results would look the same – a plastic window with swirls and scratches that looked ugly and would be difficult to see through. Luckily, this is a zipper window so I’m able to unzip the window and then lay the window down flat across the rear engine cover. In the below pictures you can see how I’m using this large, soft fuzzy blanket to lay the window onto to protect the outside surface from becoming even further filled with swirls and scratches.
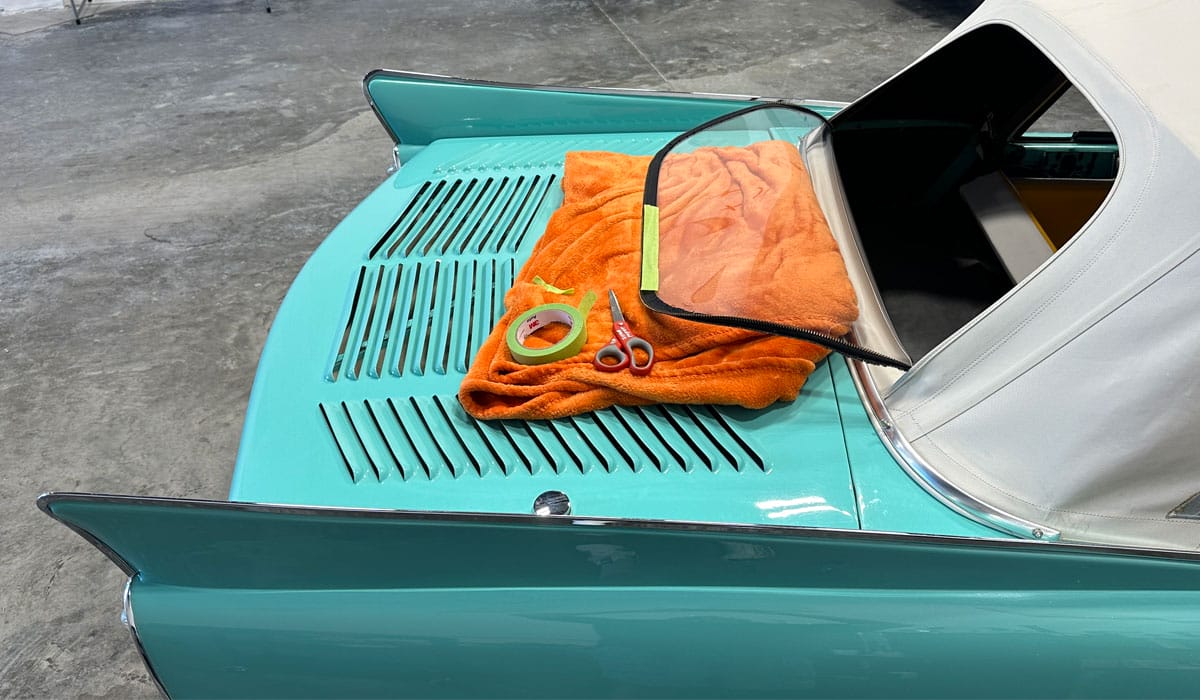
Getting even trickier! See the black cloth that’s encases the actual brass zipper? Before I start machine polishing with a rotary polisher, (the tool that tends to sling polish due to the single rotation of the buffing pad and centrifugal force), I need to tape-off and protect this black cloth material so I don’t have to try to clean it later, which would be both difficult and time consuming. To do this I use some green painter’s tape and press down really hard to make sure there’s a super strong attachment between the tape and the cloth.
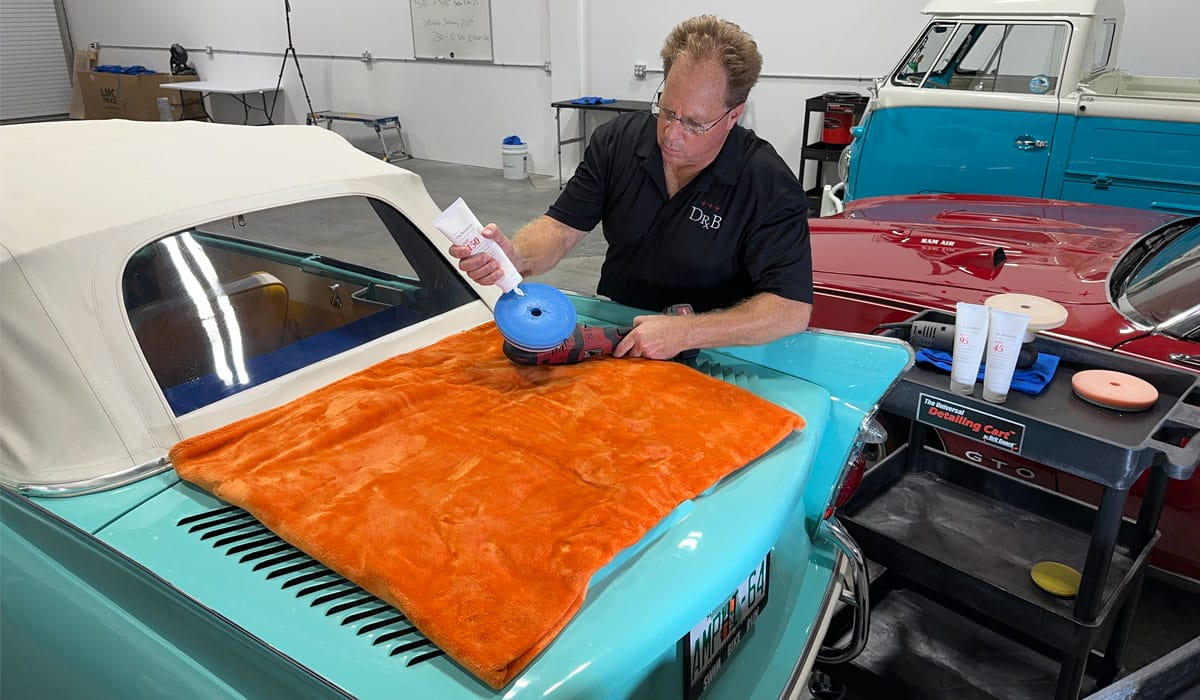
Prime your pad
I speak from experience, before bringing any buffing pad against a soft, flexible plastic window, be sure to prime the pad, especially the edges with the product you’re going to use before you start. Rotary polishers are powerful tools. If you touch a dry spinning pad and especially a dry foam CUTTING pad against the plastic without any lubrication you WILL mar and even gouge the plastic. Don’t be that person.
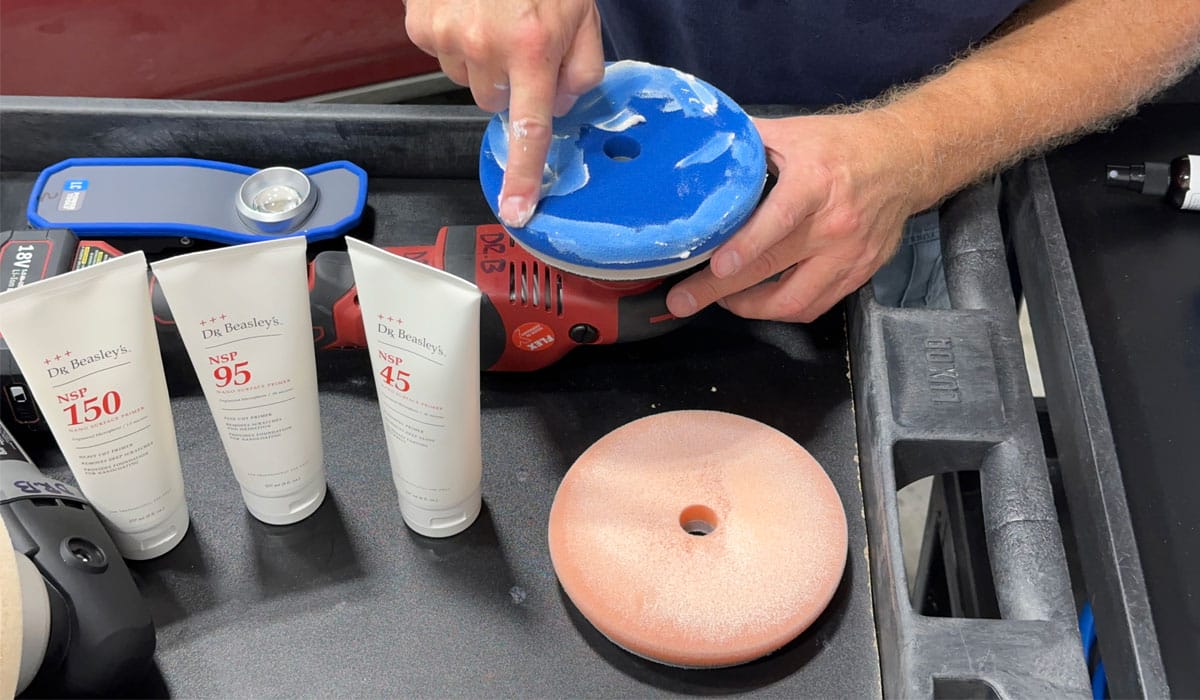
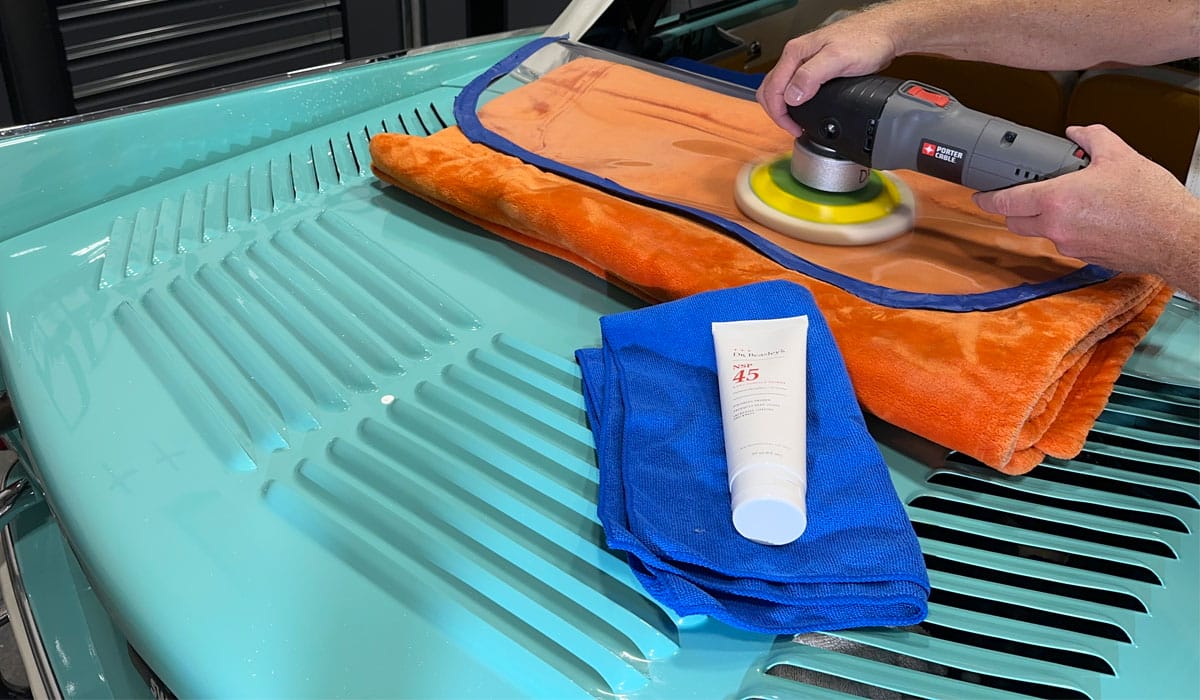
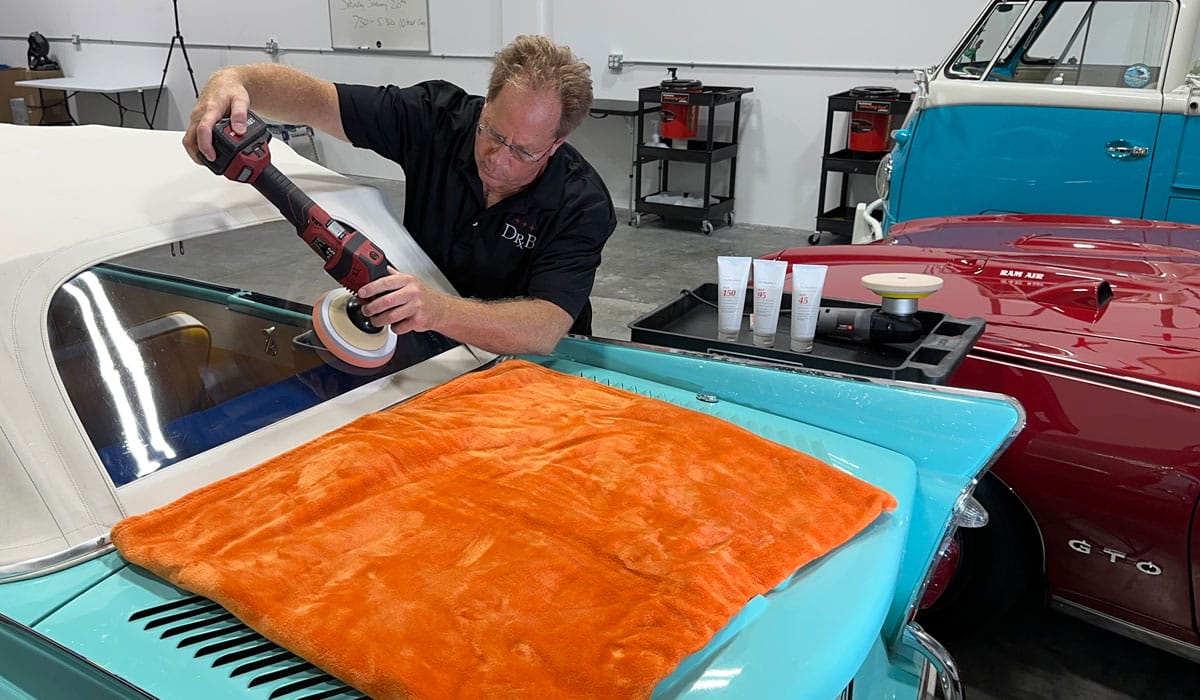
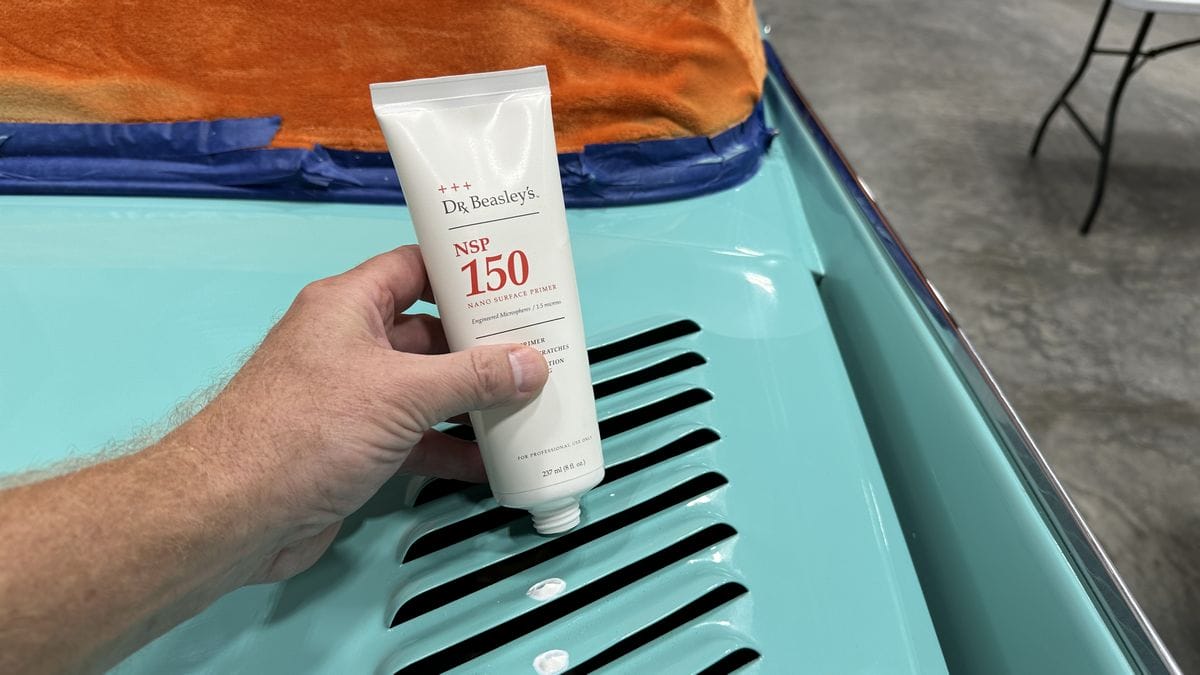
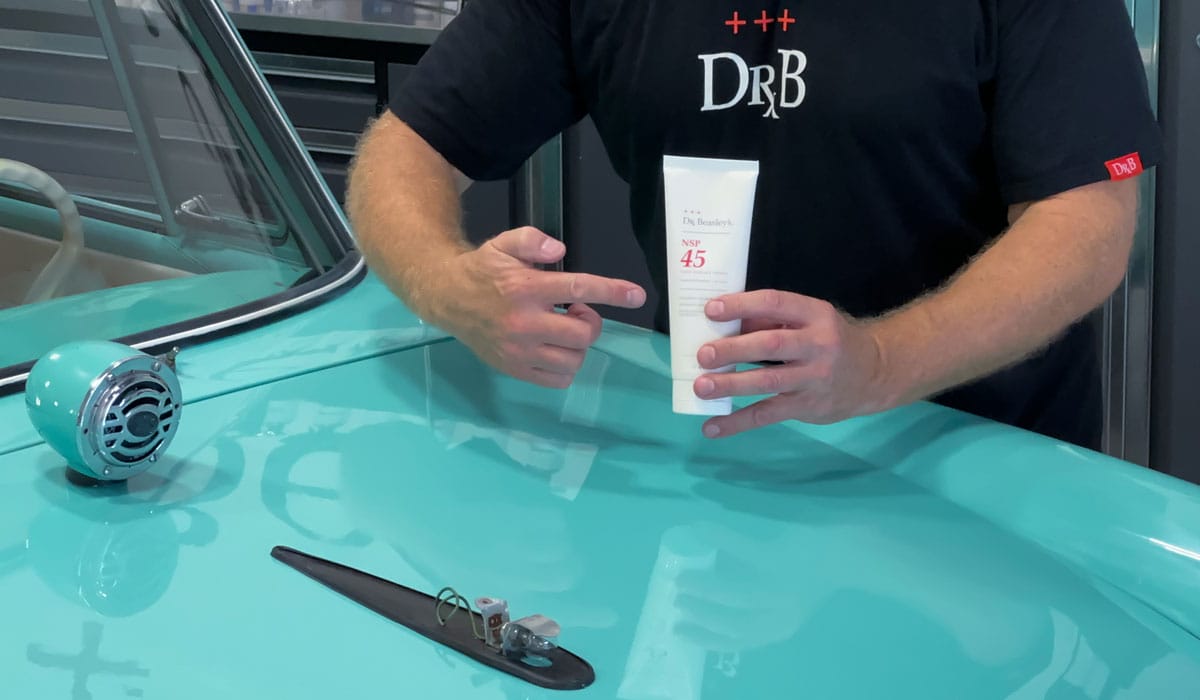
After priming the pad, (and you only have to do this once when the pad is clean and dry), next I place 3-4 pea sized drops of the Dr. Beasley’s NSP 150 onto the face of the pad and start machine polishing.
After machine polishing both sides of the inside of the window with a Dr. Beasley’s HDO Blue Cutting Pad, I next switch over to a Dr. Beasley’s HDO Orange Polishing Pad and repeat the process using Dr. Beasley’s NSP 95.

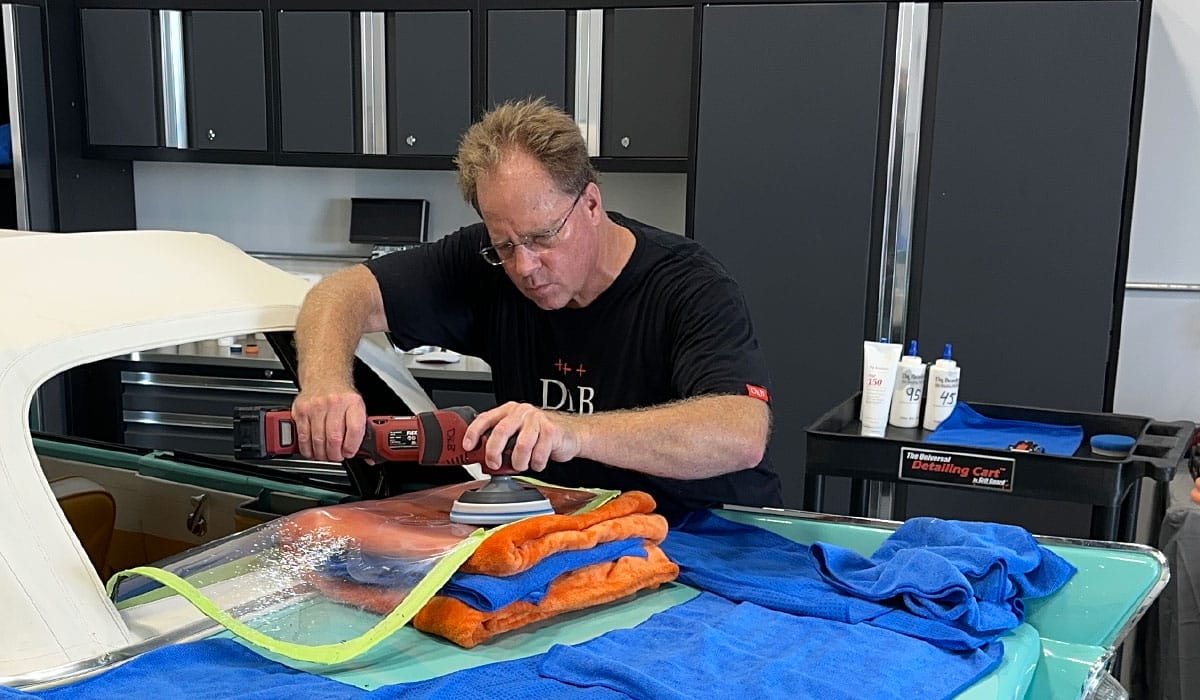
Final polishing
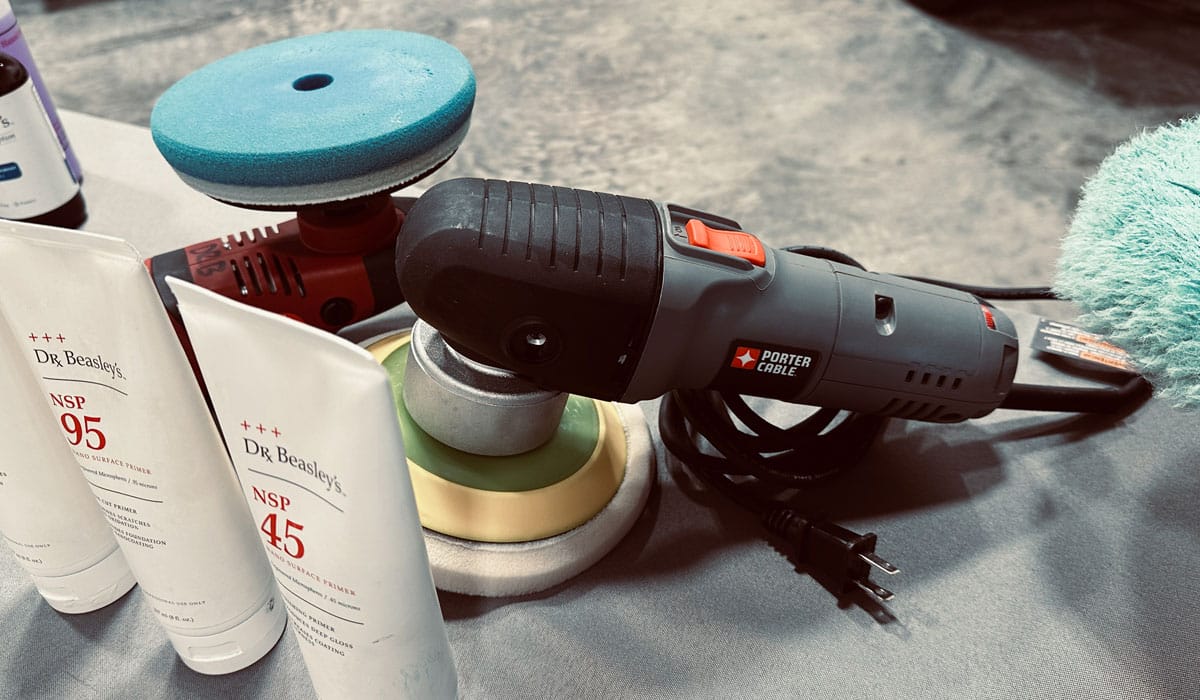
For the first two steps, I used a FLEX cordless PE-150 Rotary Polisher. The nature of a rotary polisher is it will correct defects faster, but it will aways tend to leave a holograms in the surface of the material you’re buffing be it a flexible plastic window like you see me working on or car paint, gelcoat boats, etc. For the finishing step, to remove any holograms caused by the foam pad material and to perfect the results while maximizing optical clarity, I switch over to a Porter Cable 8mm free spinning random oribital polisher with a soft foam finishing pad and Dr. Beasley’s NSP 45.

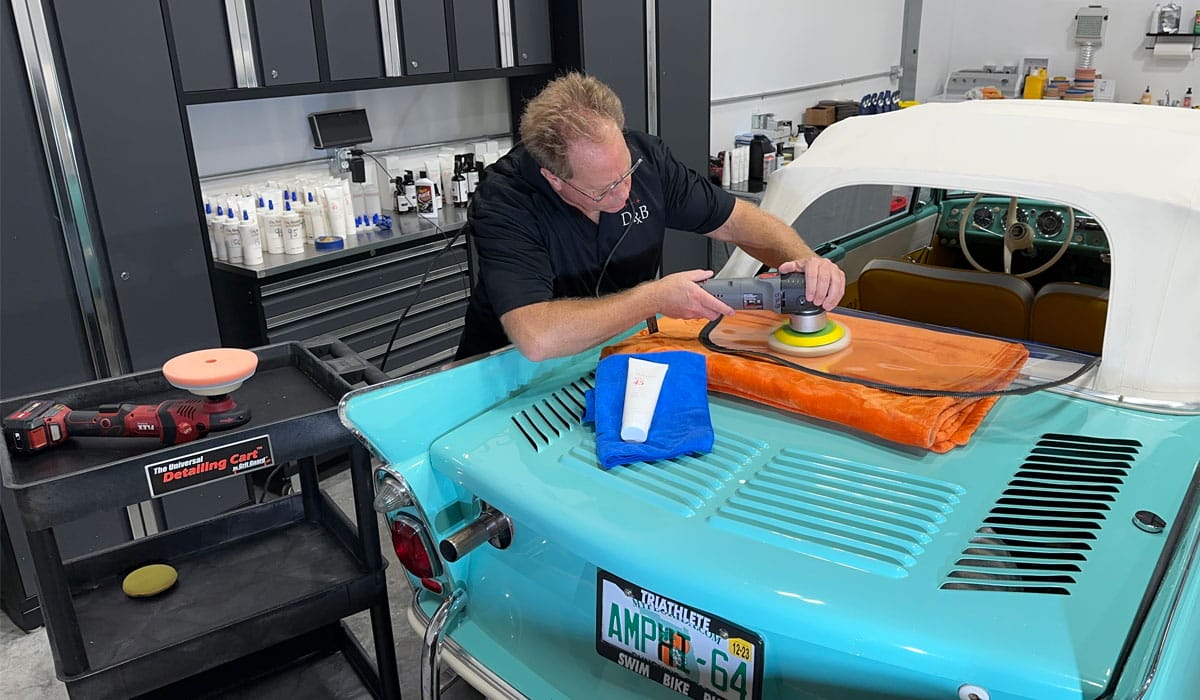
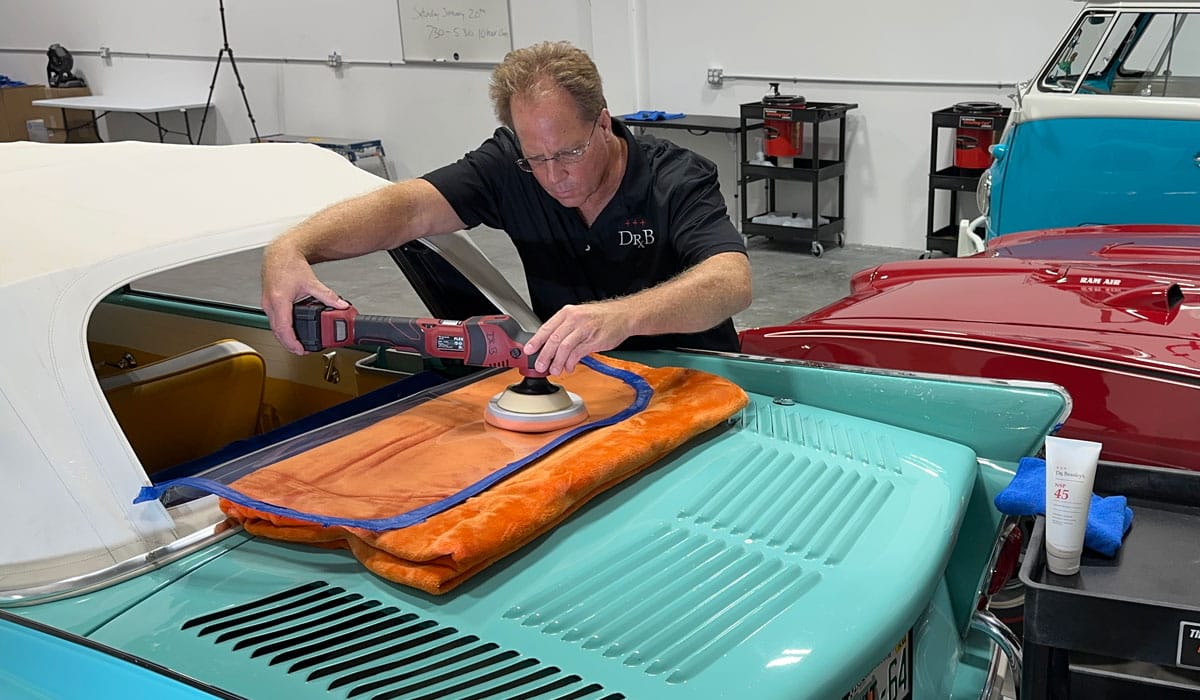
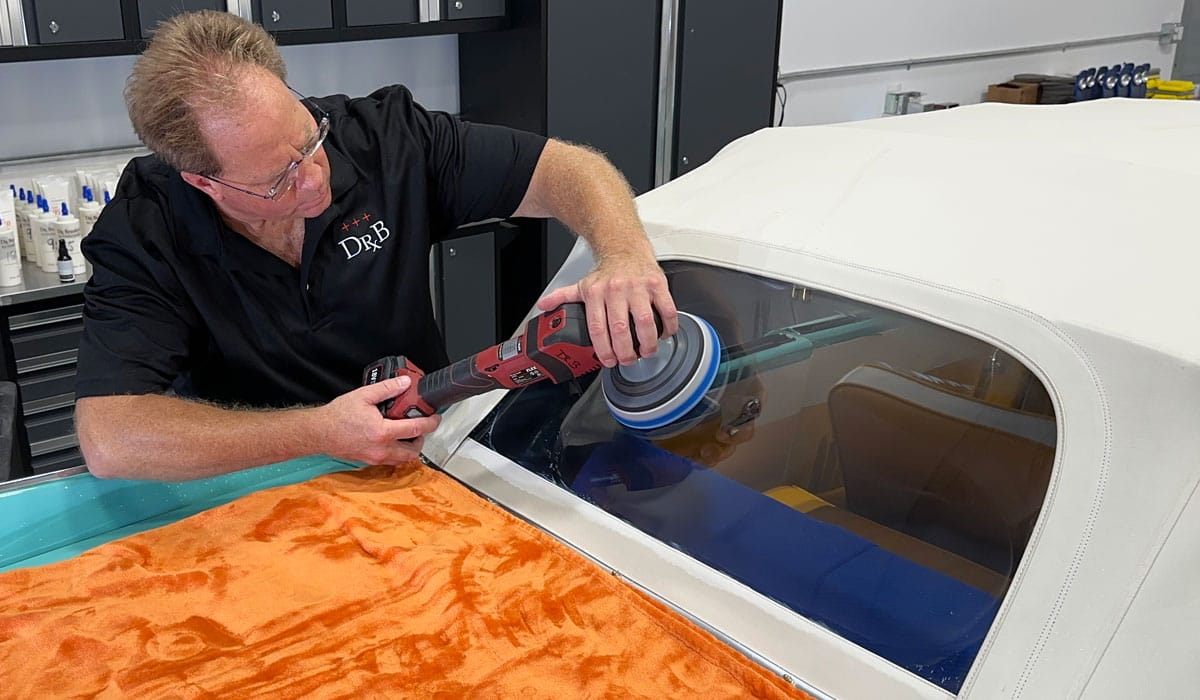
Zip-up the window and buff the outside
Machine buffing the inside portion was the tricky and most difficult part. After that I zipped the window back into place and repeated the exact same process to the outside surface of the clear plastic window.

Protect and clarify
After all the polishing steps were completed, it was time to seal the deal, that is apply some type of protectant. For this I used something not actually intended for clear plastic windows, but I found it to work great. The product is the Dr. Beasley’s Paint Coating Builder, which is the first part in a two-part ceramic coating system. I’m not a chemist so I cannot explain why it works so well, all I know is it does work well. It maximized the clarity of the plastic while leaving it silky smooth to help prevent future swirls and scratches while also leaving behind a layer of ceramic protection that’s flexible.
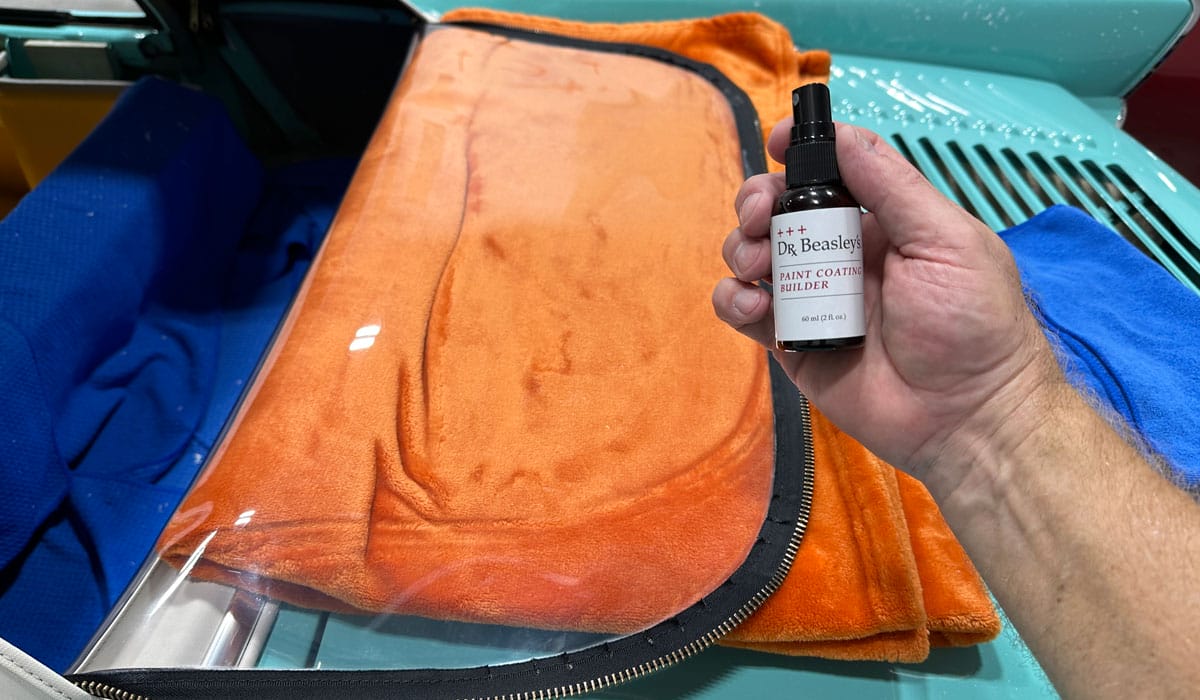
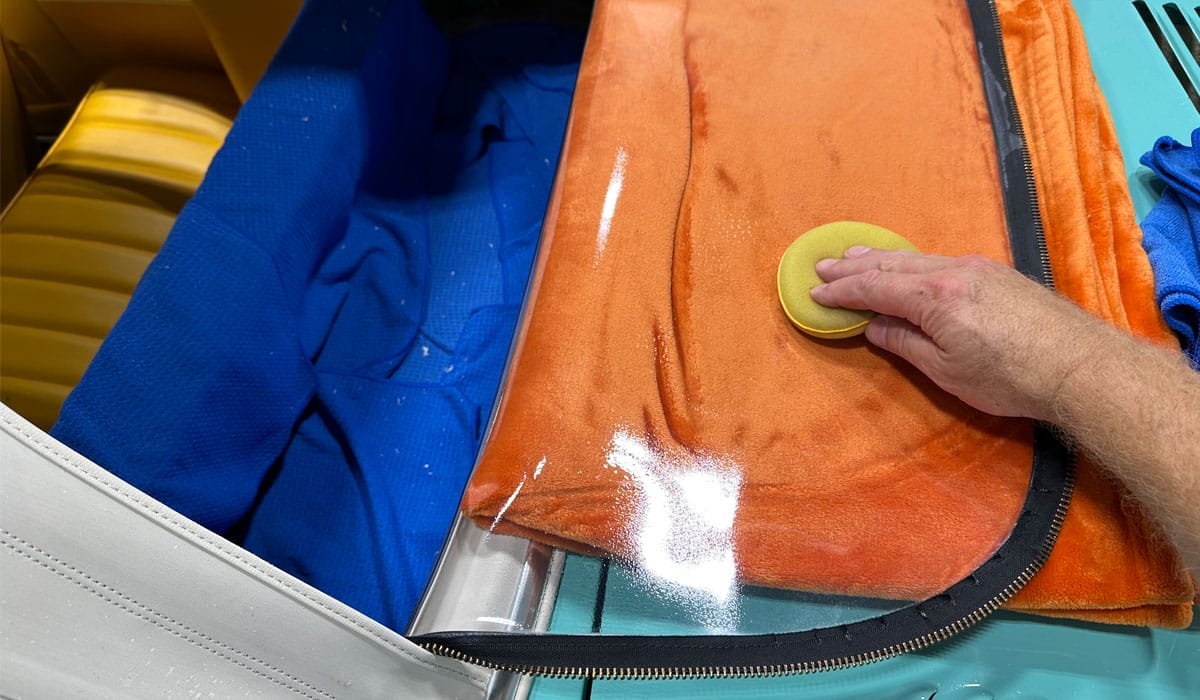
Just mist a little onto the plastic window.
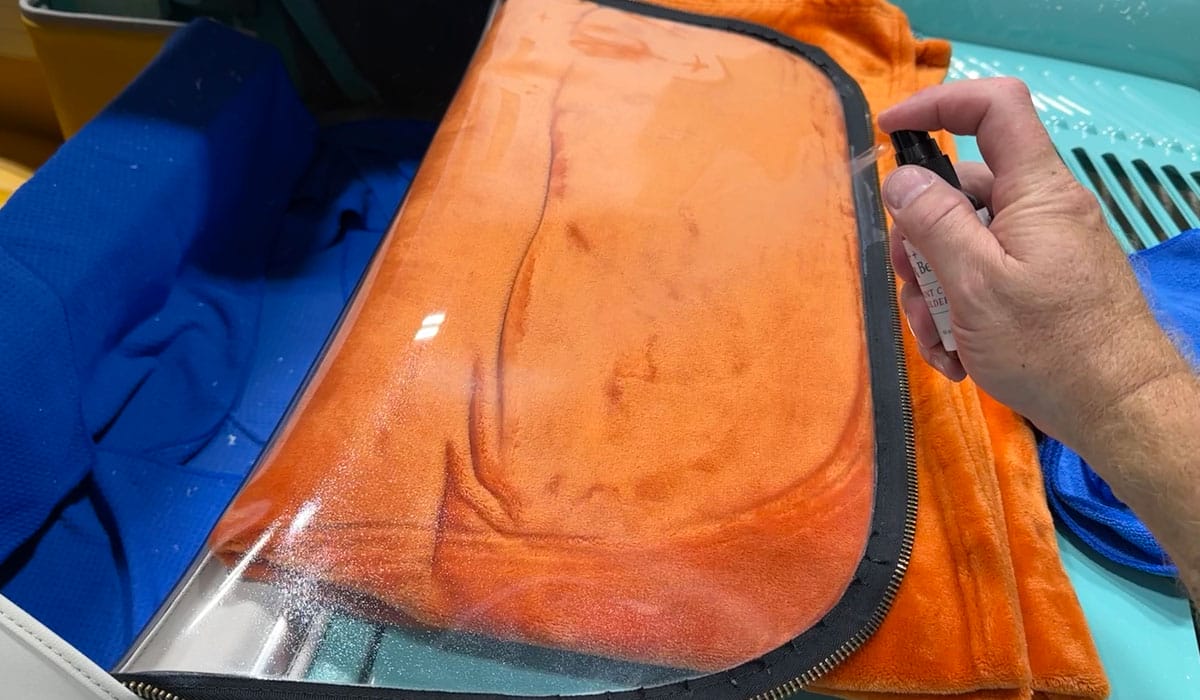
Then spread and massage over the plastic with a clean, soft uncontaminated foam applicator pad.
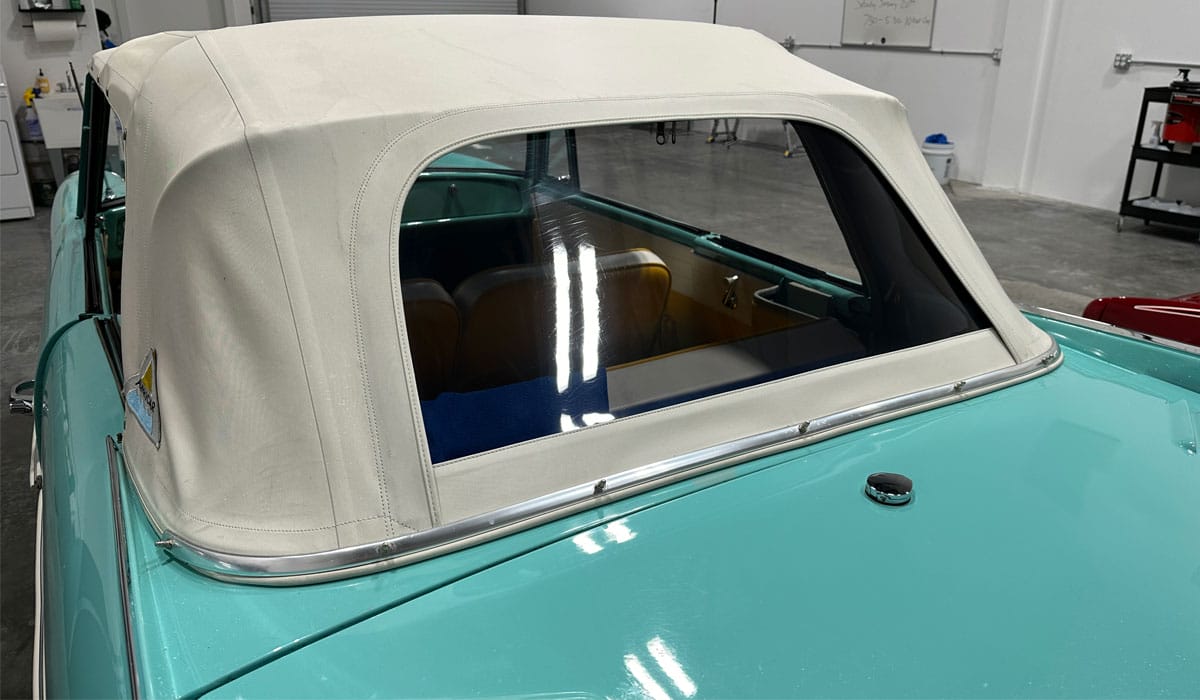
Final results!
Like removing scratches out of glass, it’s difficult to achieve perfection but I came close. Alway know that anytime you’re removing below surface defects out of plastic windows like you see here or even car paint, the SHALLOW defect buff out first because the buffing process is a leveling process. The deeper defects tend to remain without a lot more buffing. The difference between before and after is night and day and now the owner can SAFELY see out the back window and the Amphicar will show much better at concourse and car show events.

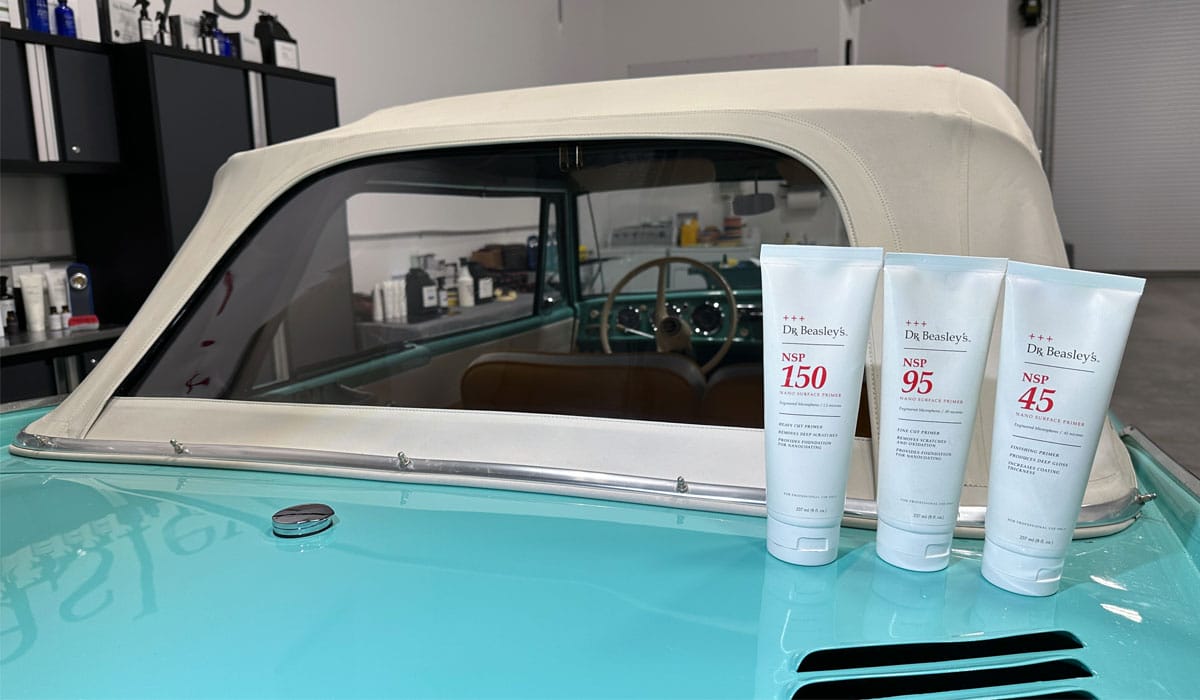
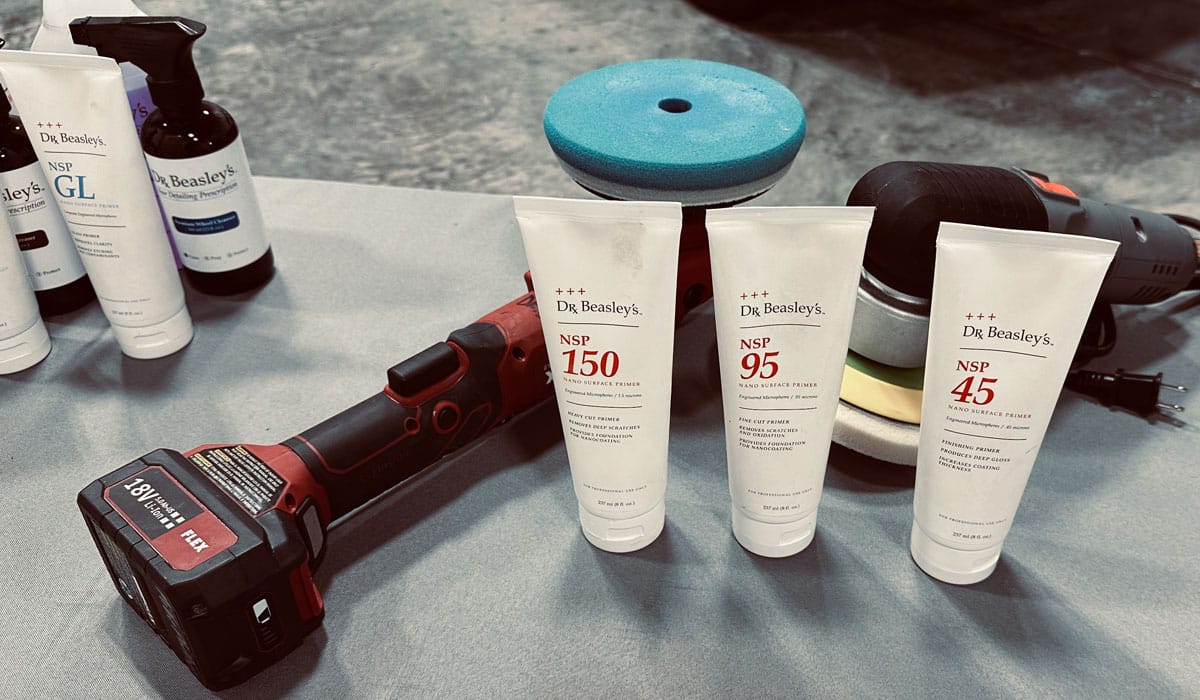
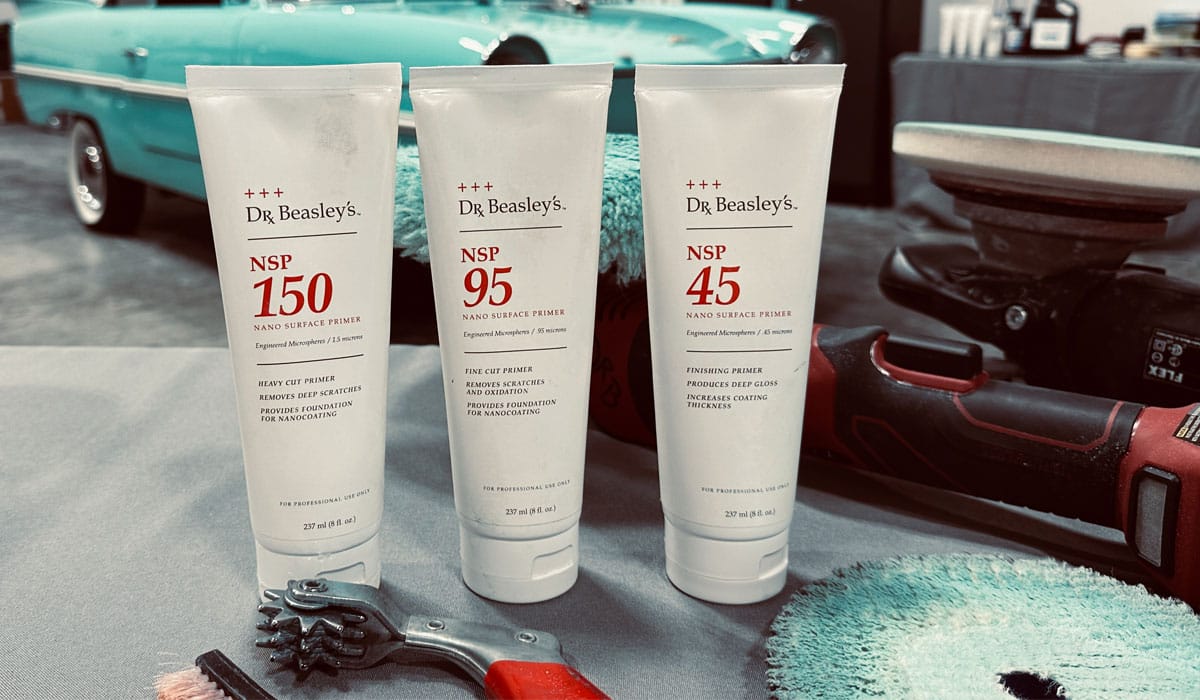
Products used
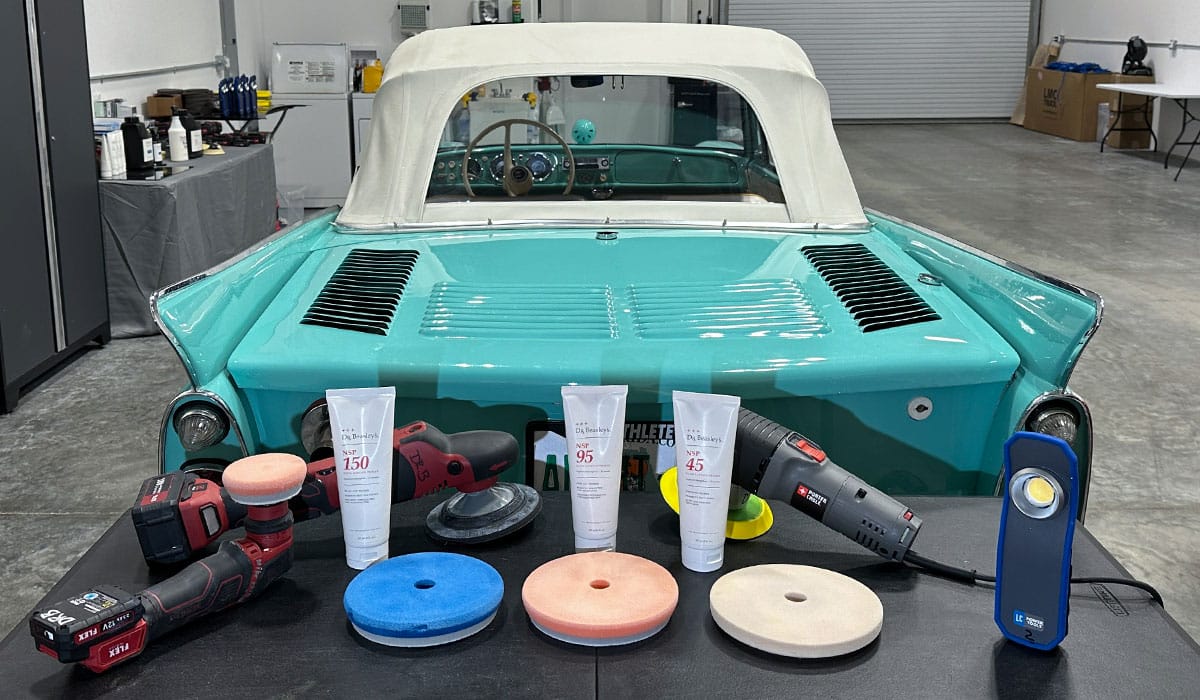
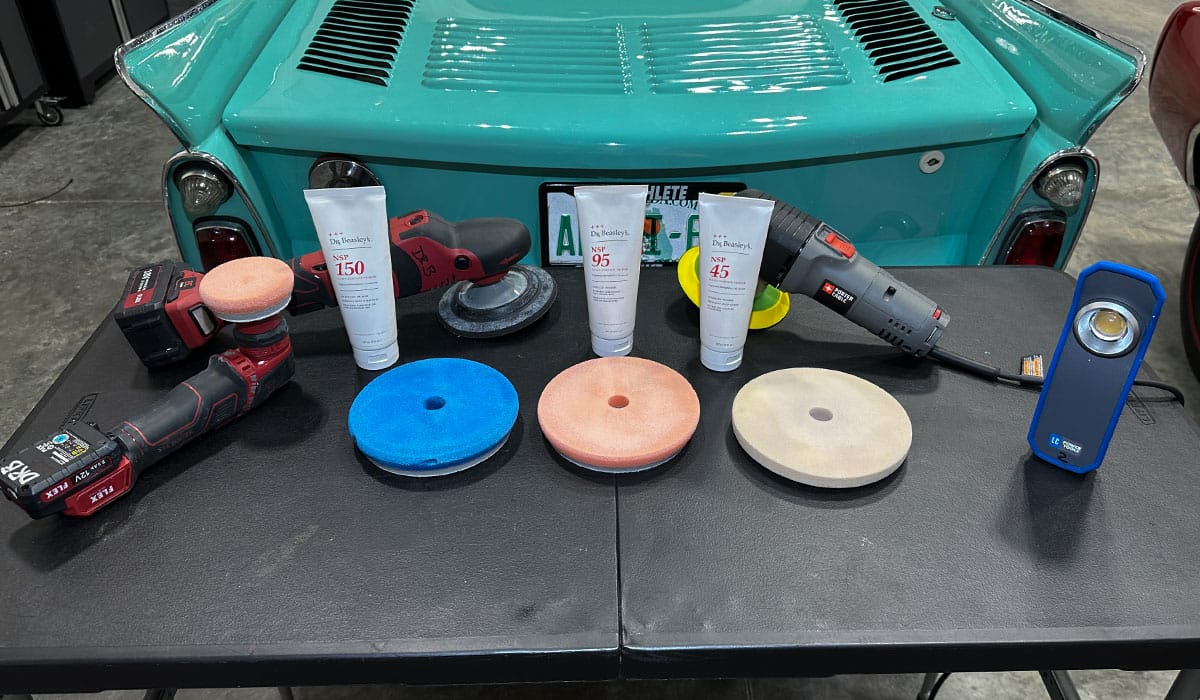
The primary products I used were all 3 of the NSP Primers, the NSP 150 for the initial cut, followed by the NSP 95 for the refining step, followed by the NSP 45 for the final polishing and clarifying step. Pads used were the Dr. Beasley’s HDO foam pads and the tools used were the FLEX cordless PE-150, the FLEX PXE-80 for getting into the corners and the Porter Cable 7424XP for the final polishing step.
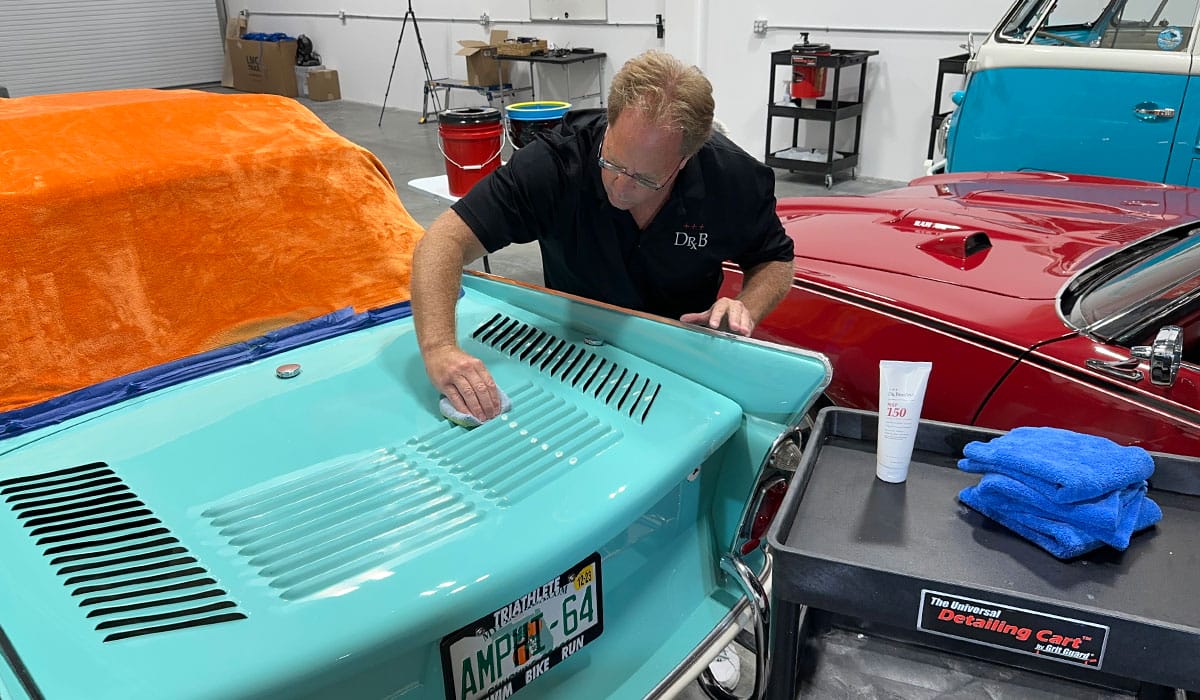
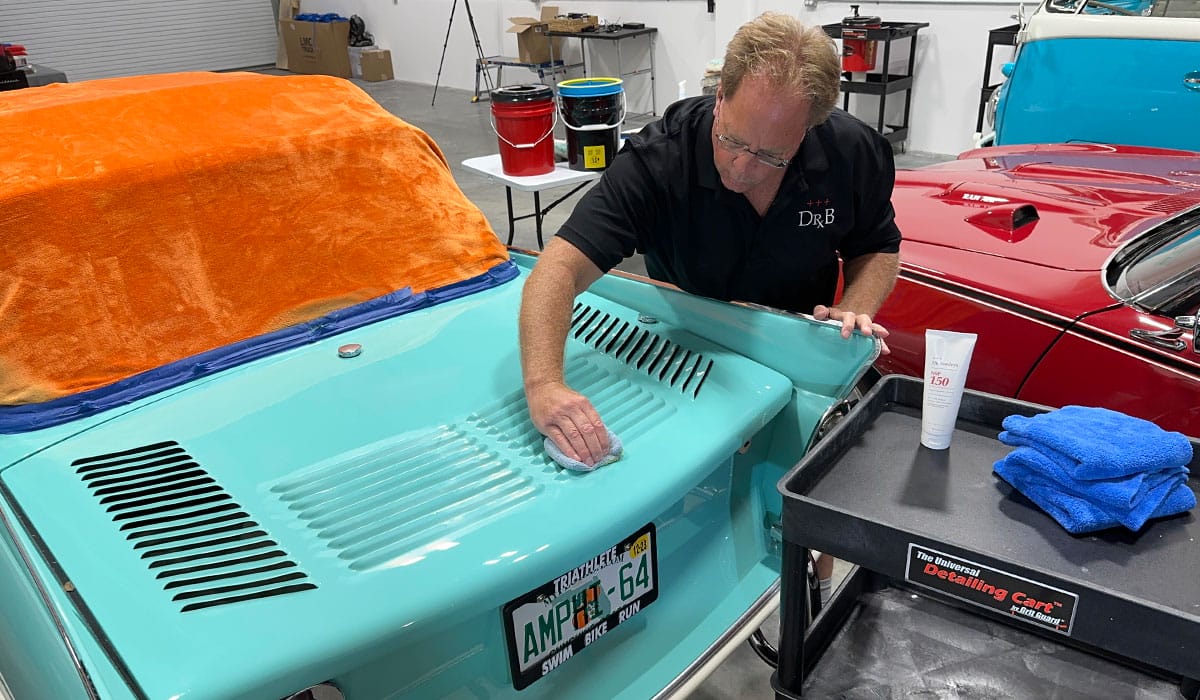
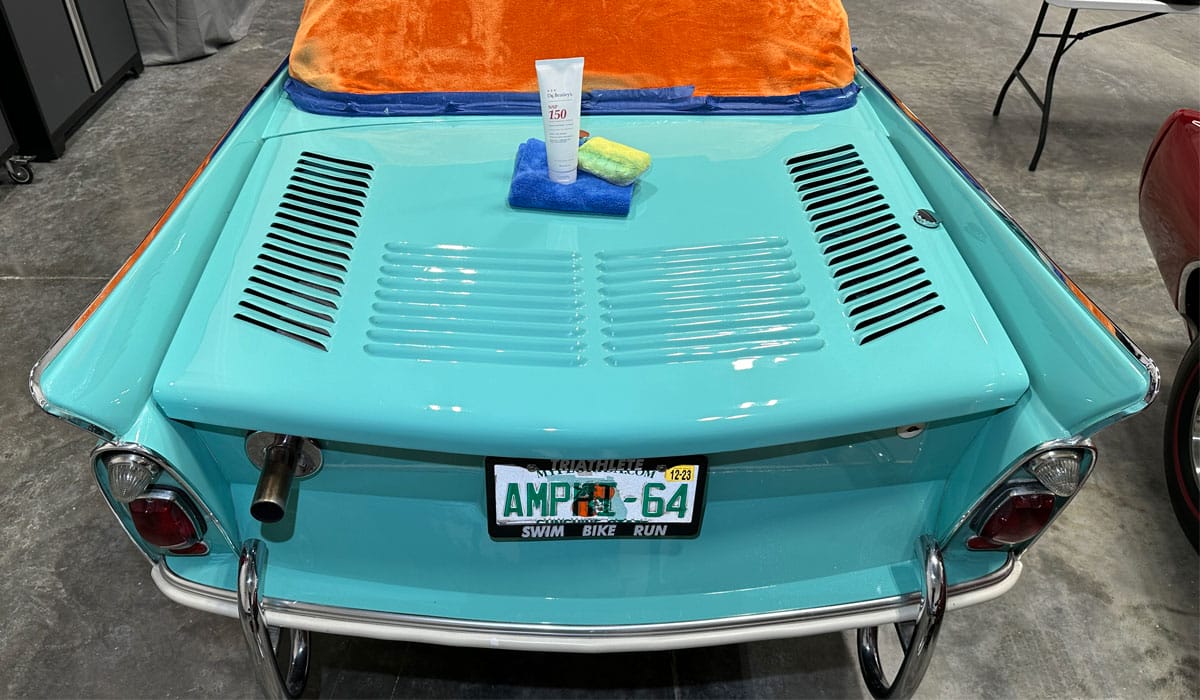
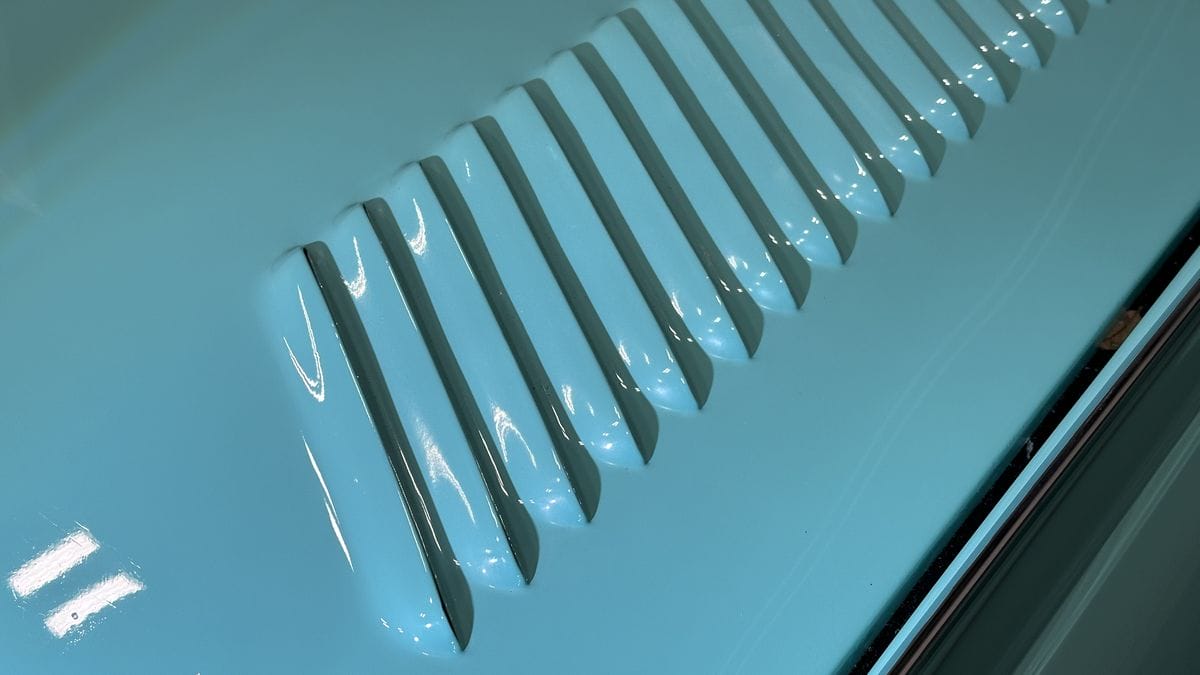
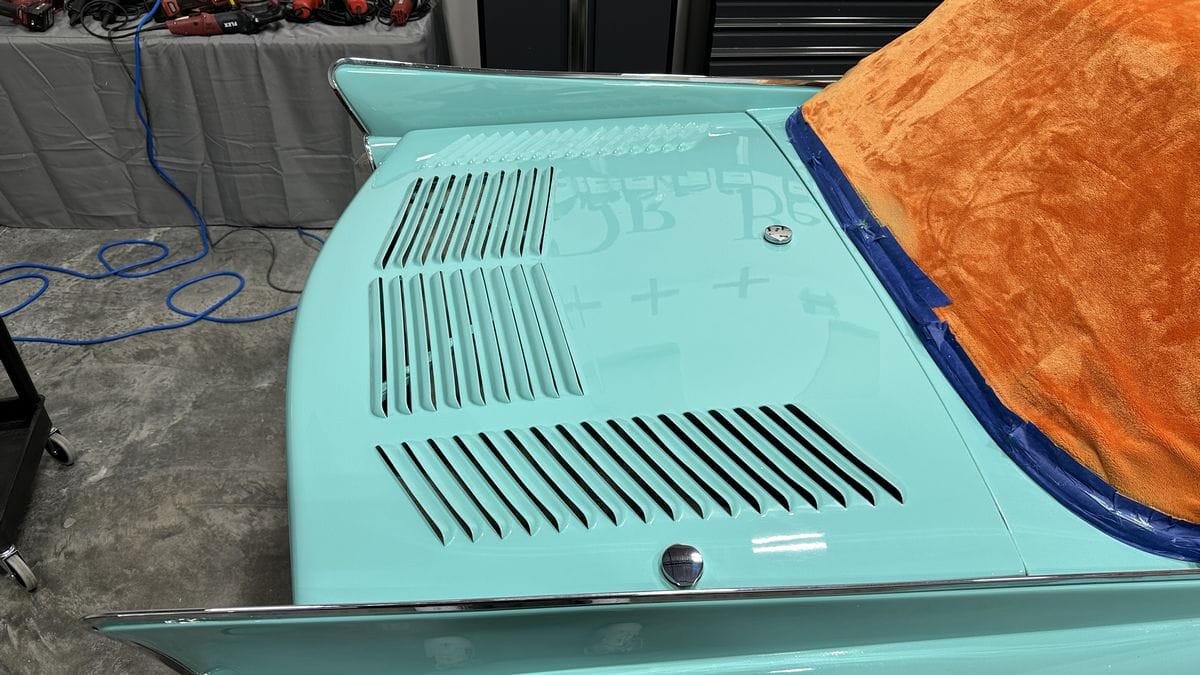
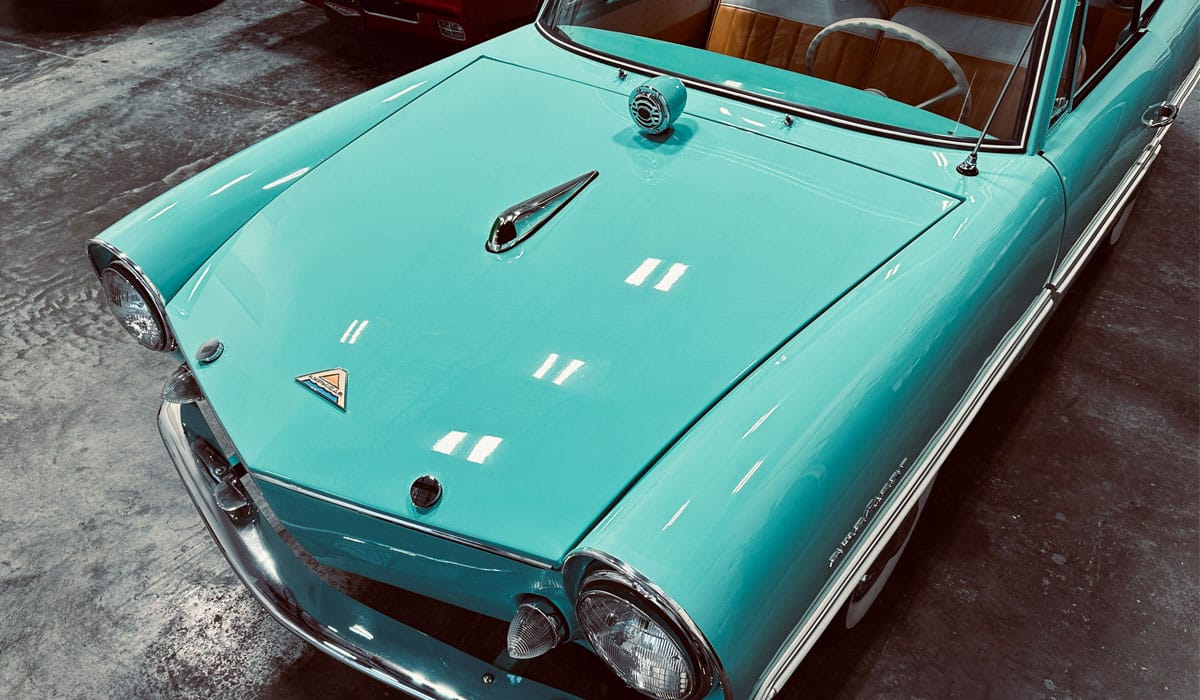
Next up – the louvers
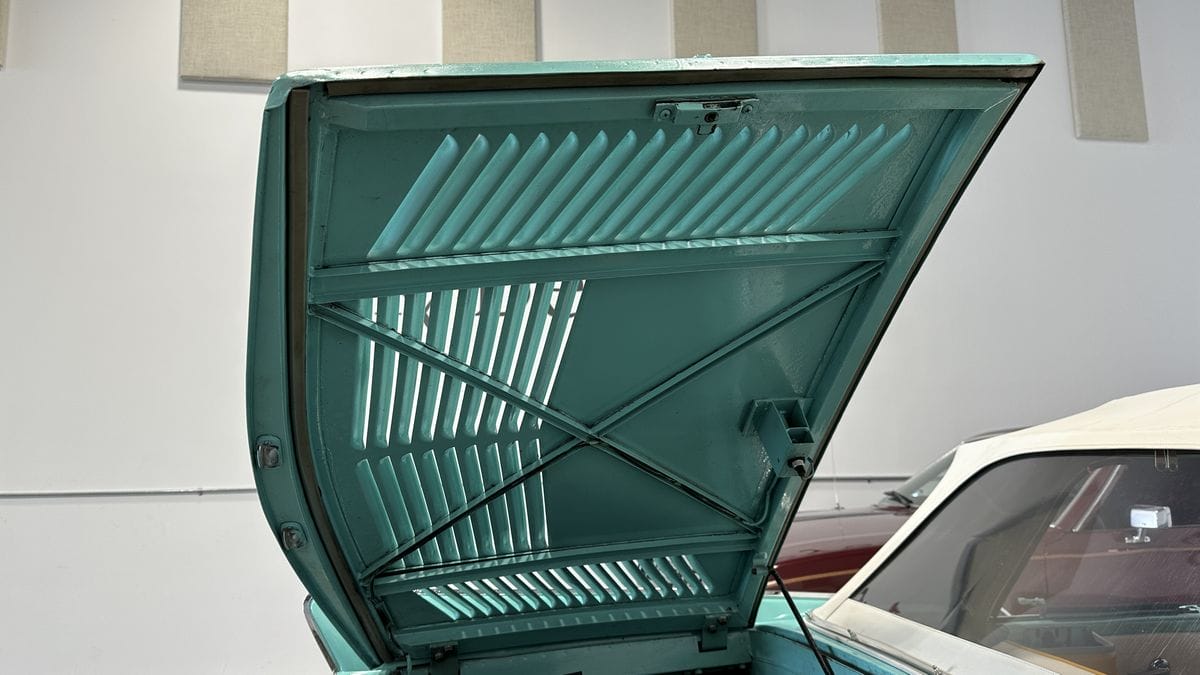
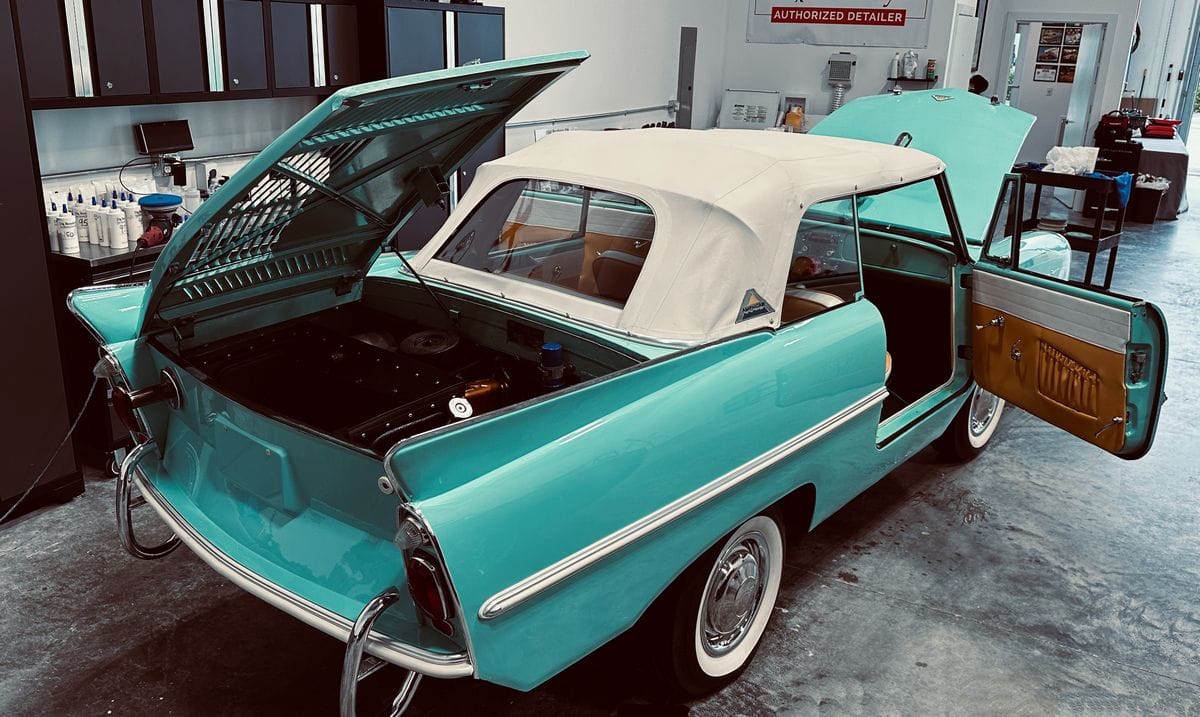
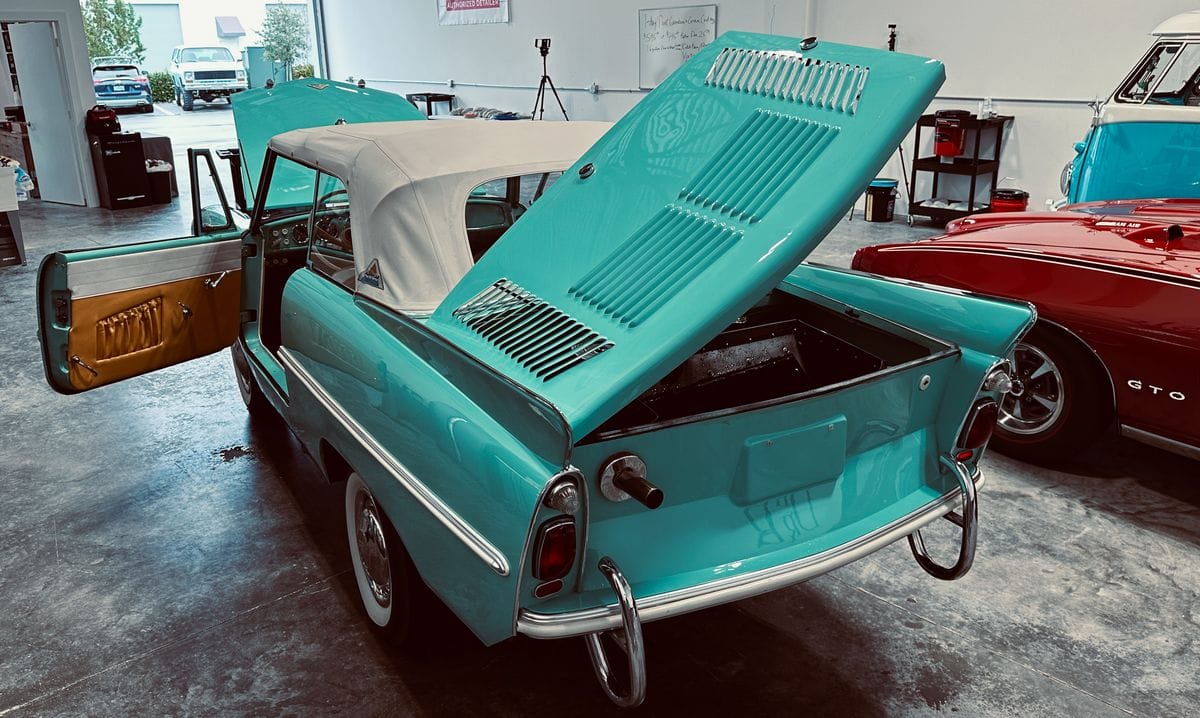
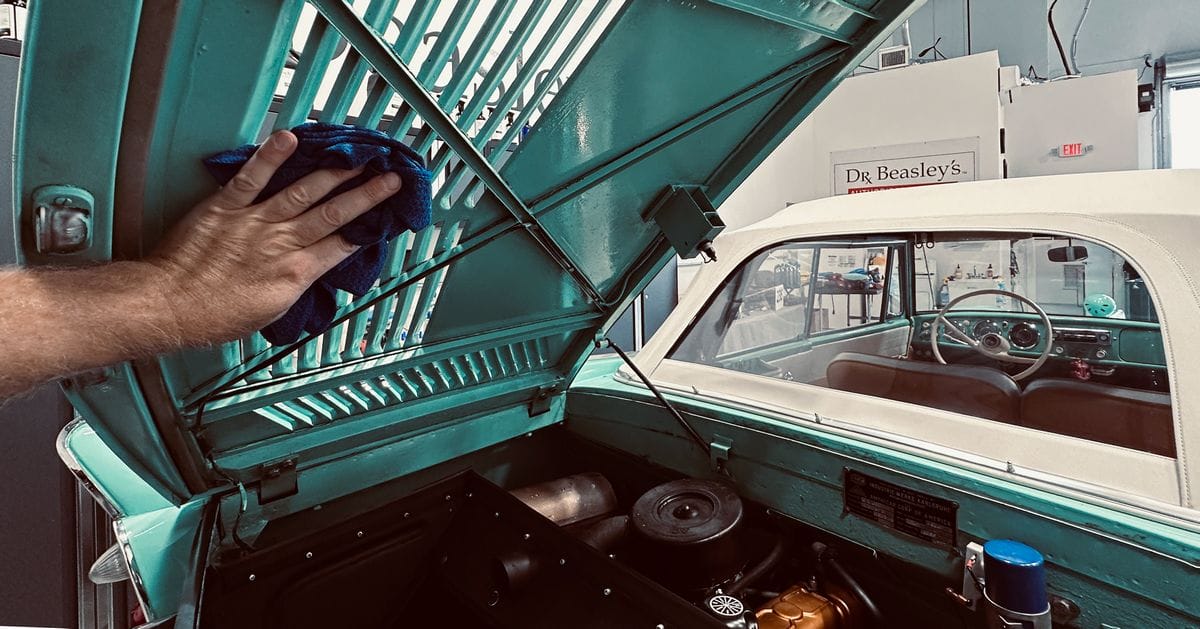
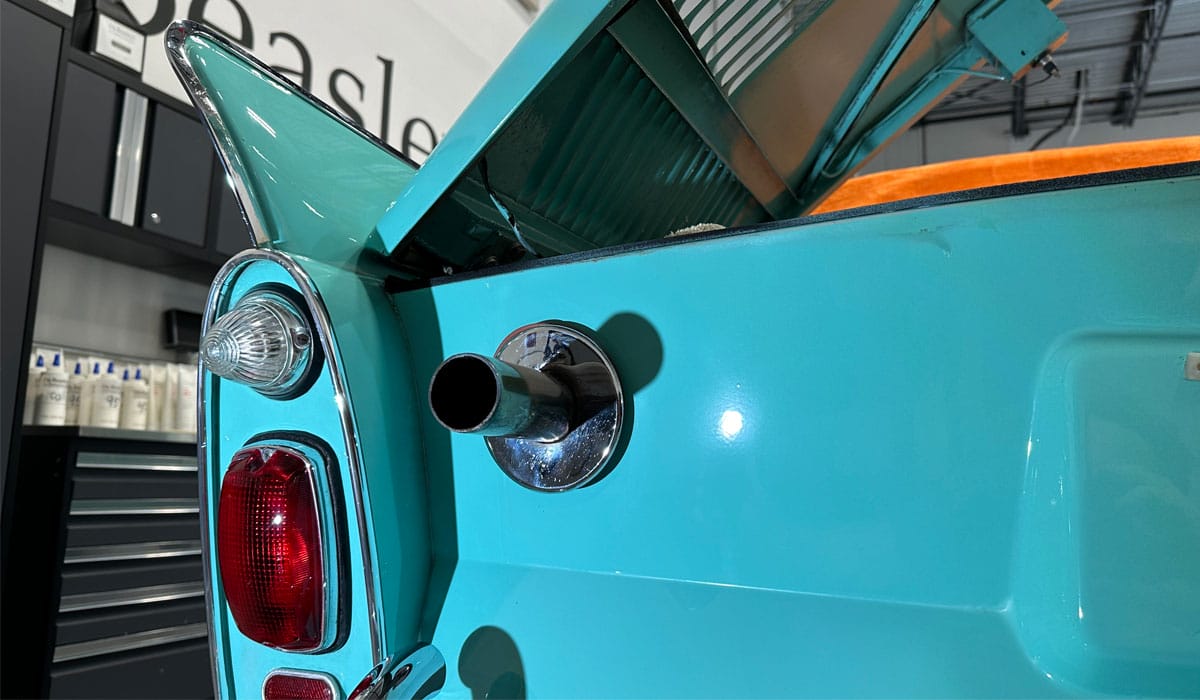
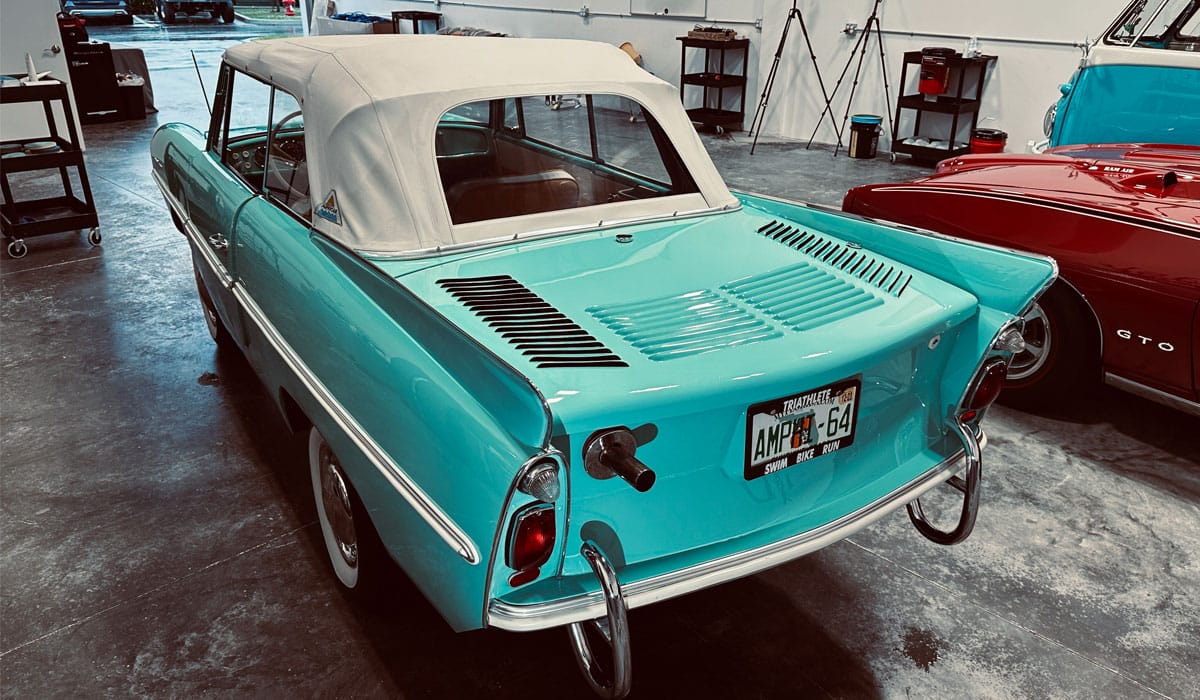
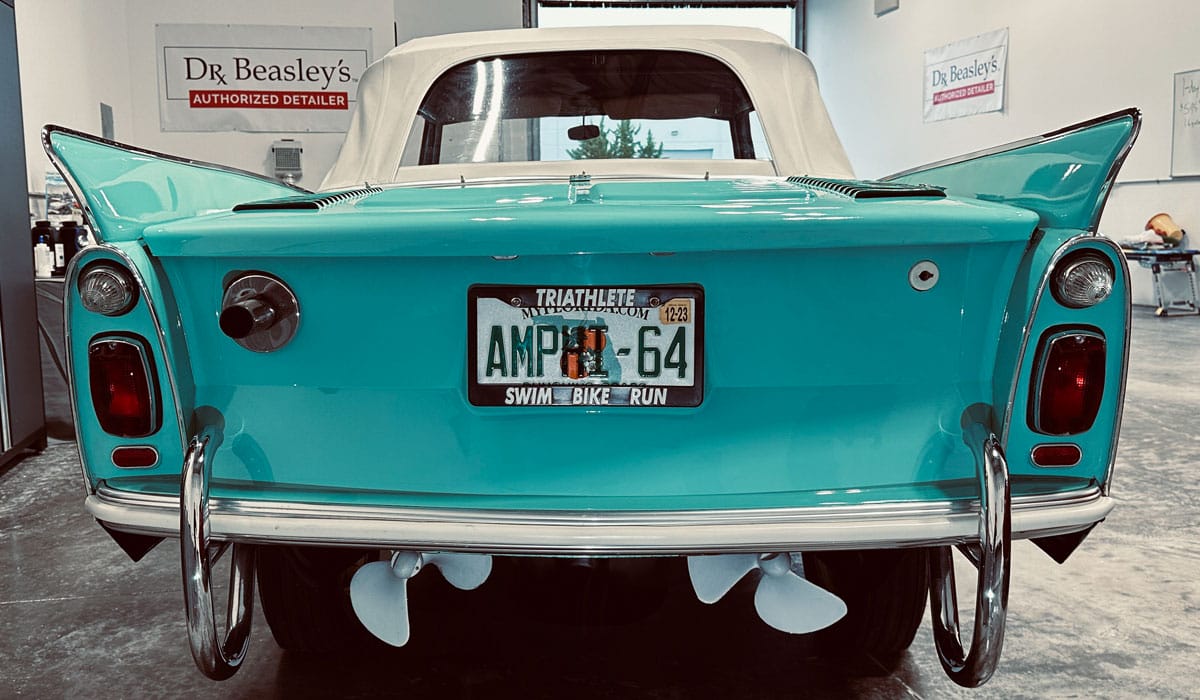
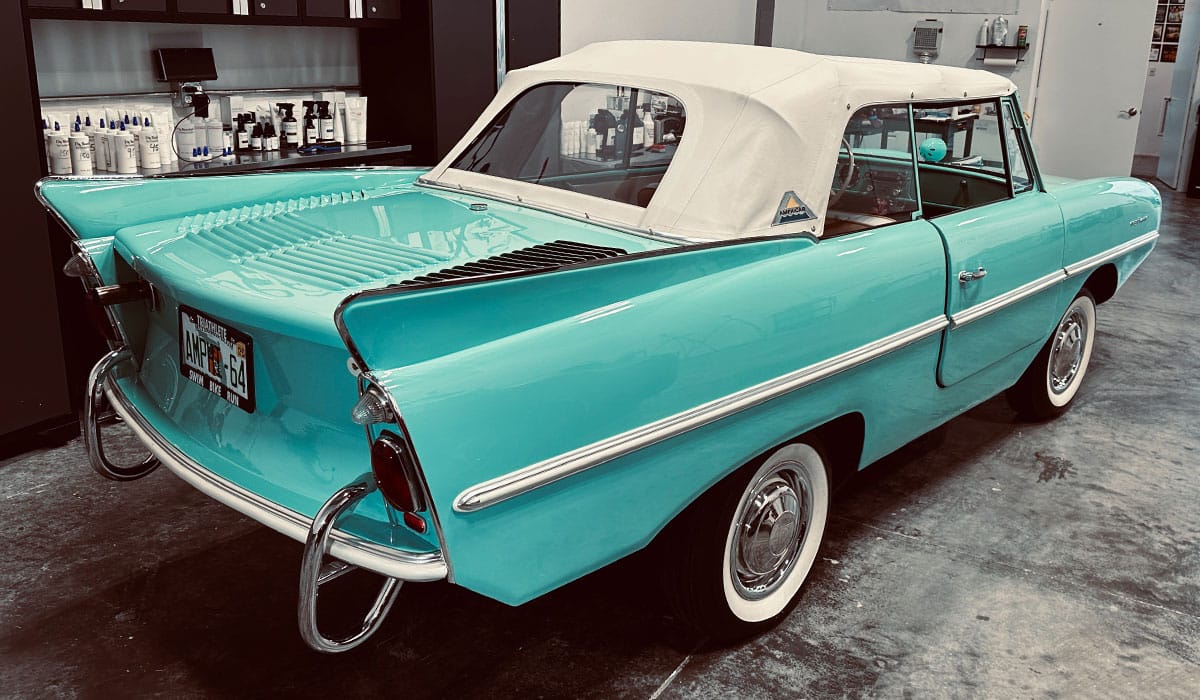
This is a rear-engine powered car. As such, there’s no need for a grill like most cars at the front and instead there’s a bow for breaking through waves. Because this is a water-cooled Triumph Herald, inline 4-cylinder engine, in order to divert air to the radiator, which is located under the rear decklid, the rear decklid as a series of 4 rows of louvers.
Here’s the decklid lifted and suspended above the engine compartment.
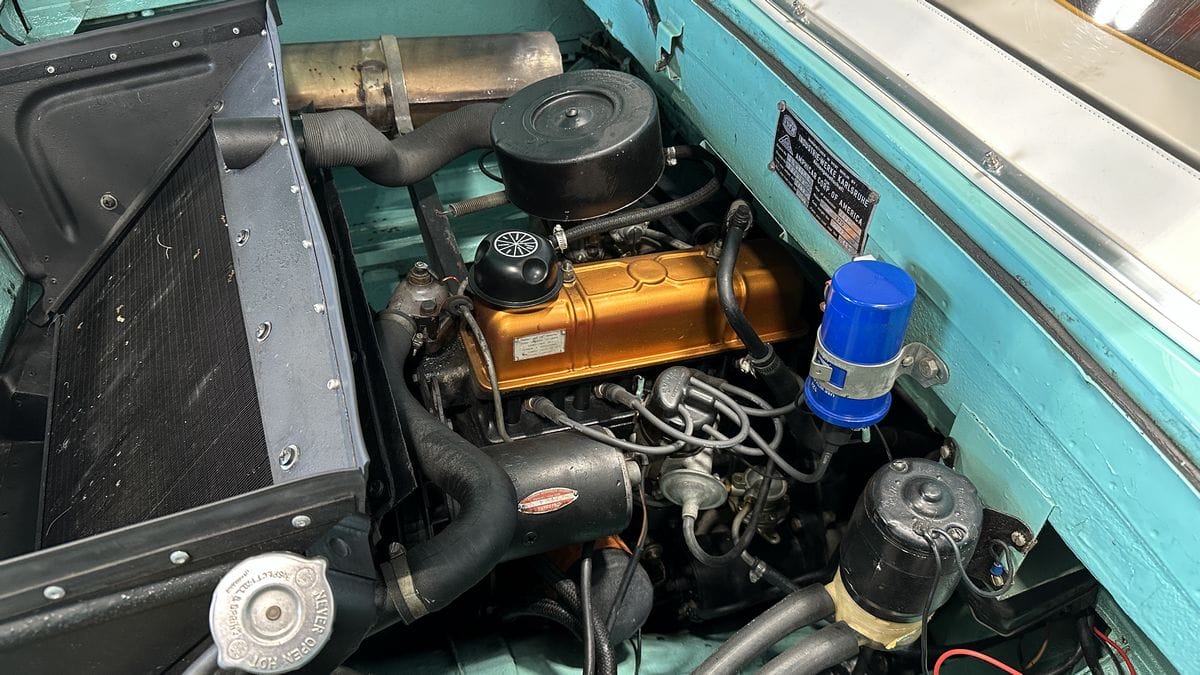
Here you can see the Triumph Herald 4-cylinder engine.
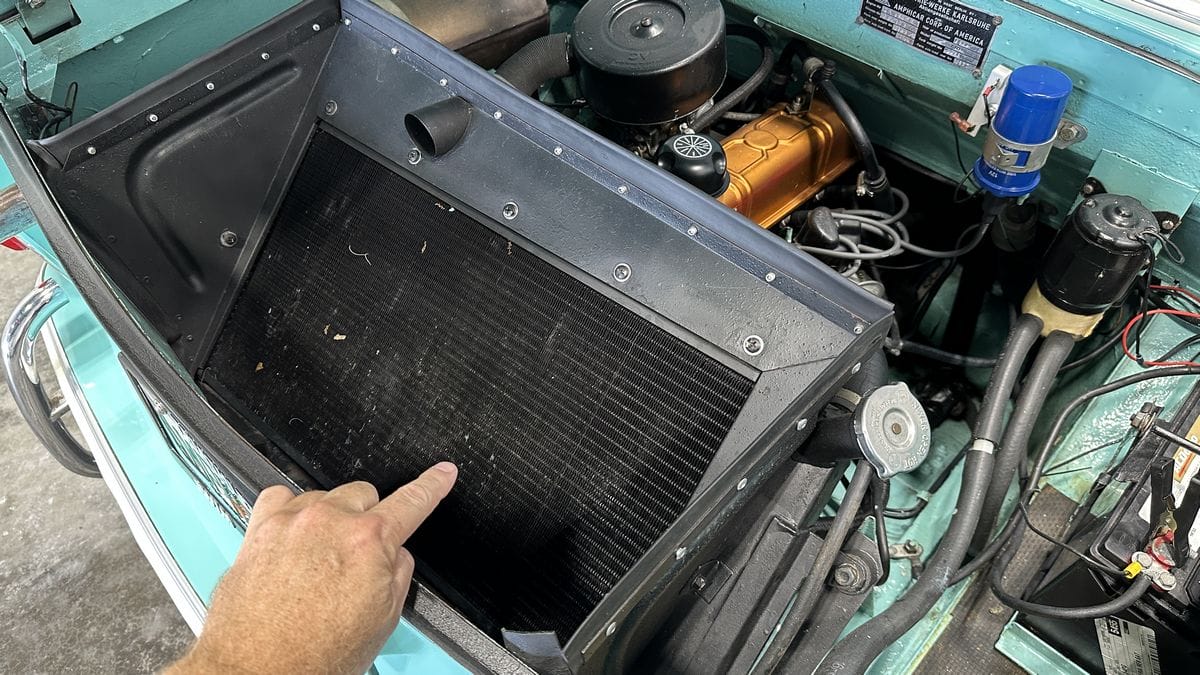
And above the engine and positioned just below the louvers is the radiator.
Tedious but necessary to complete the total look
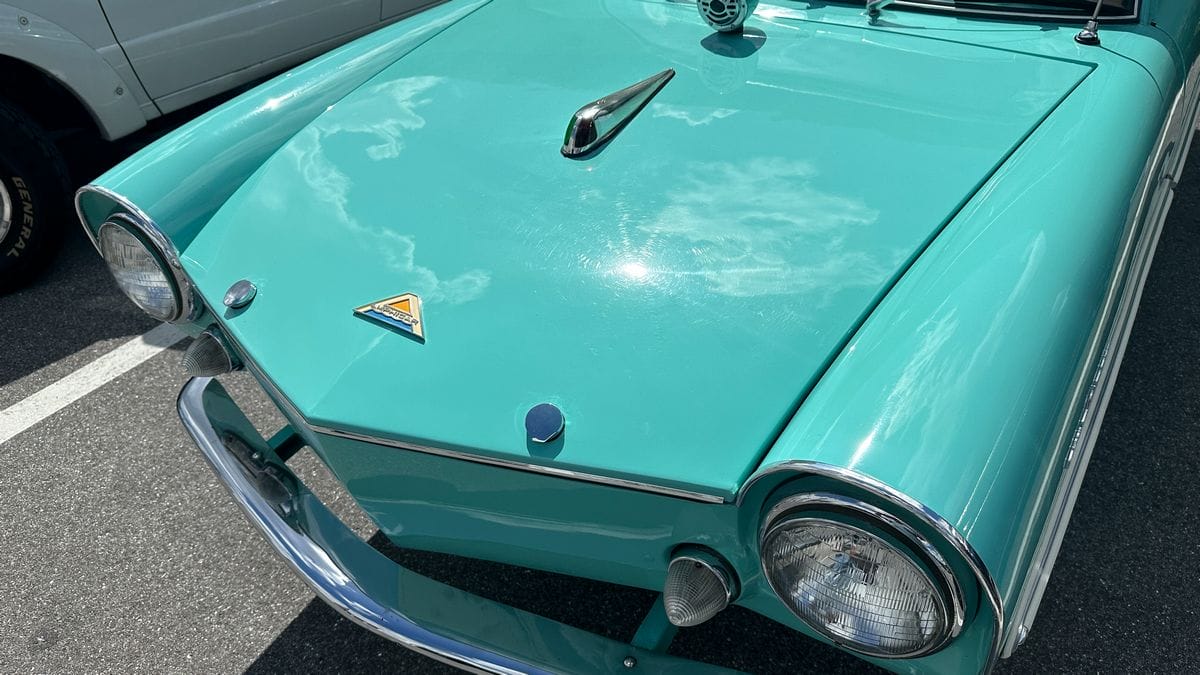
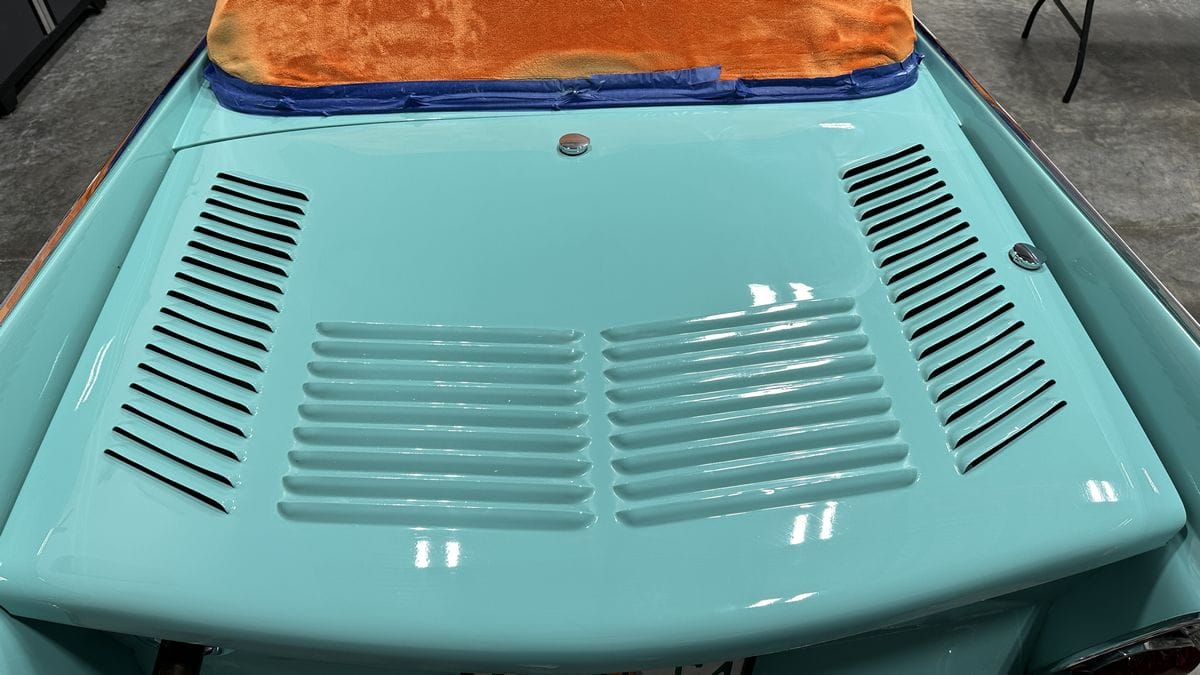
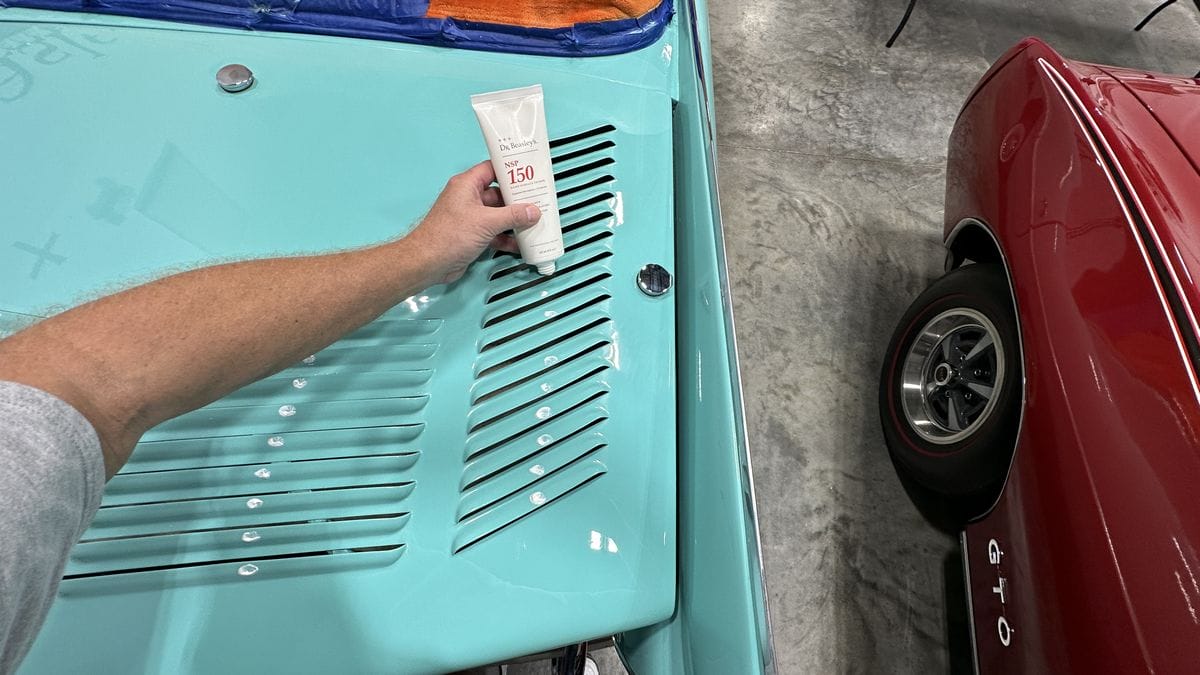
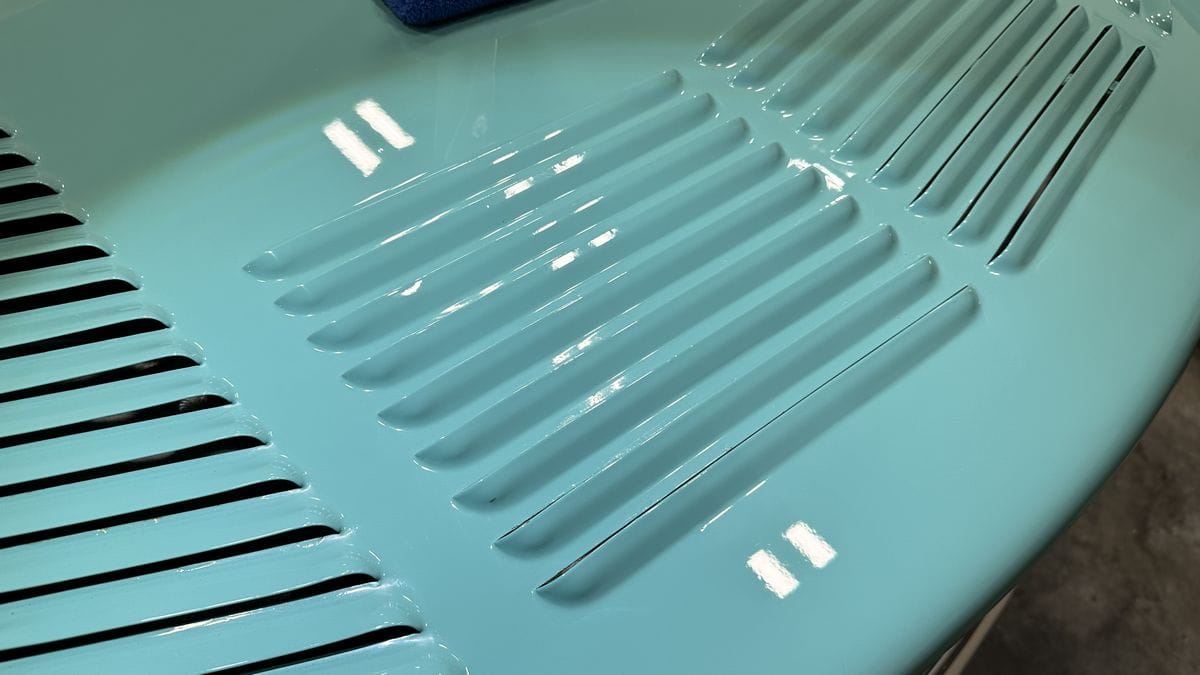
In case you’ve never done this before, polishing louvers is a tick on the tricky side due to their small, intricate design. Plus, the outer edge is thin and sharp. If you rub too hard, you will rub through the paint on this sharp, then edge and expose bare metal which will then rust. So you need to use a little sill and finesse. A few tips, tricks and techniques also go a long way and that’s what I’m here for.
Also keep in mind, because louvers are difficult to polished – they rarely are polished, so often times the surrounding paint may be clean and shiny looking while the paint on the actual louvers is dull and oxidized. In this particular instance, this 1964 Amphicar is painted with single stage paint. Single stage paint oxidizes a lot easier than cars with modern basecoat/clearcoat paint jobs. And “yes” the paint on the louvers on this car are dull looking because the paint is oxidized.
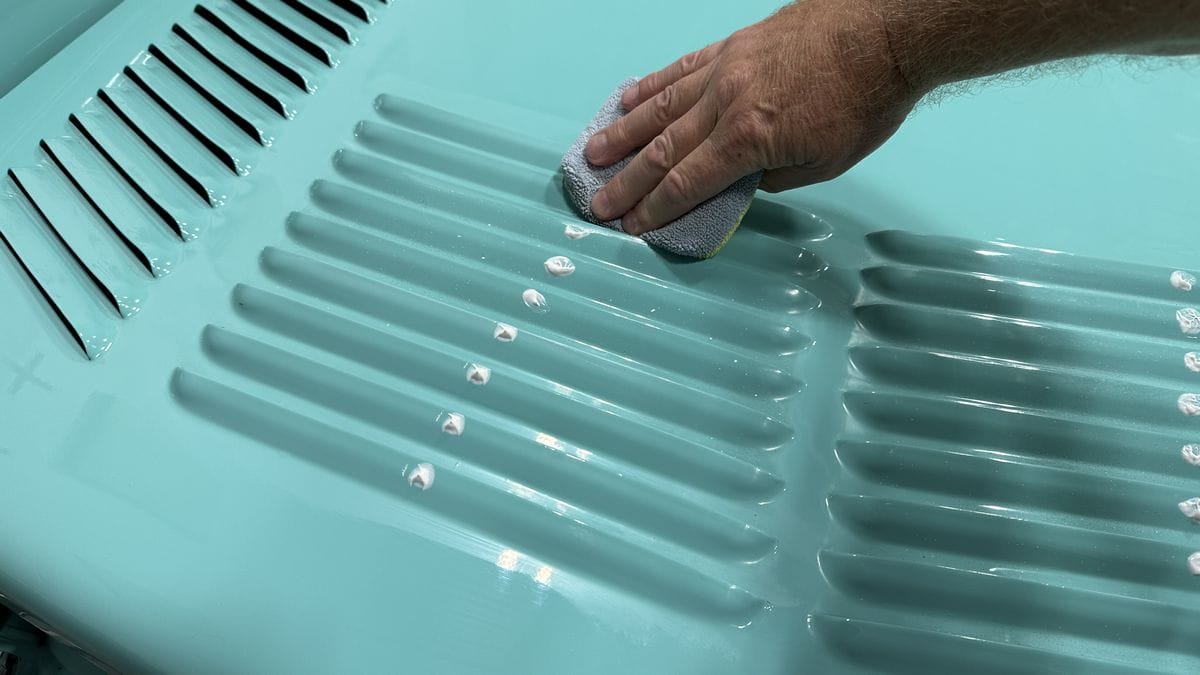
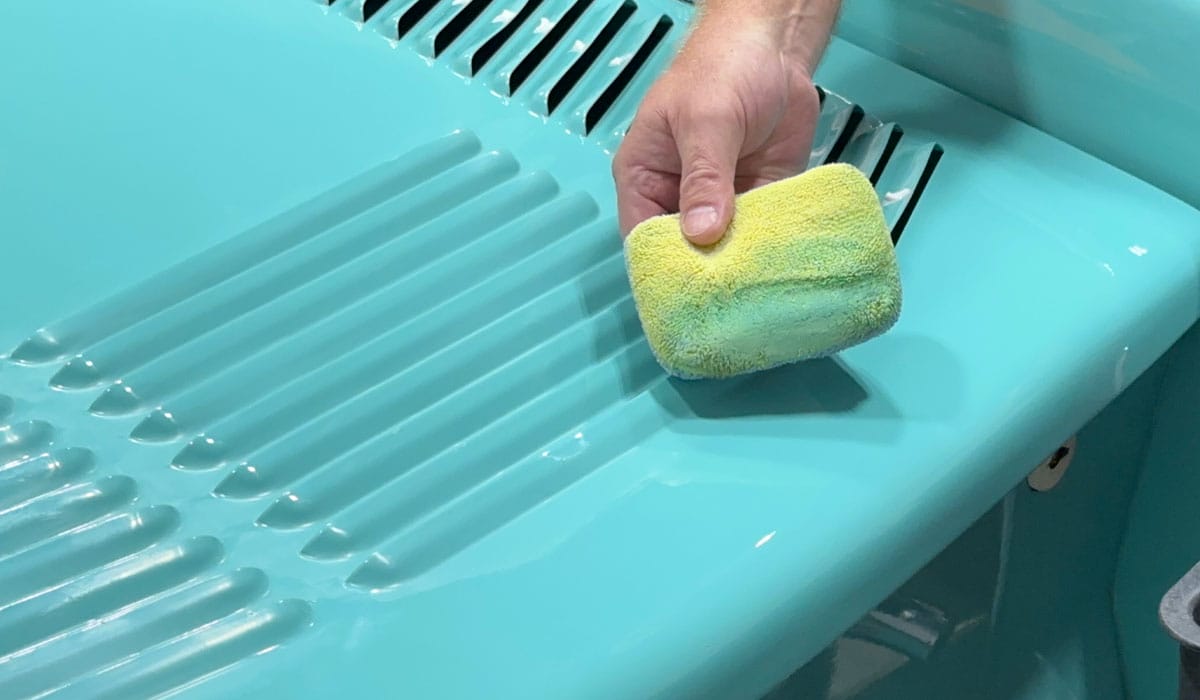
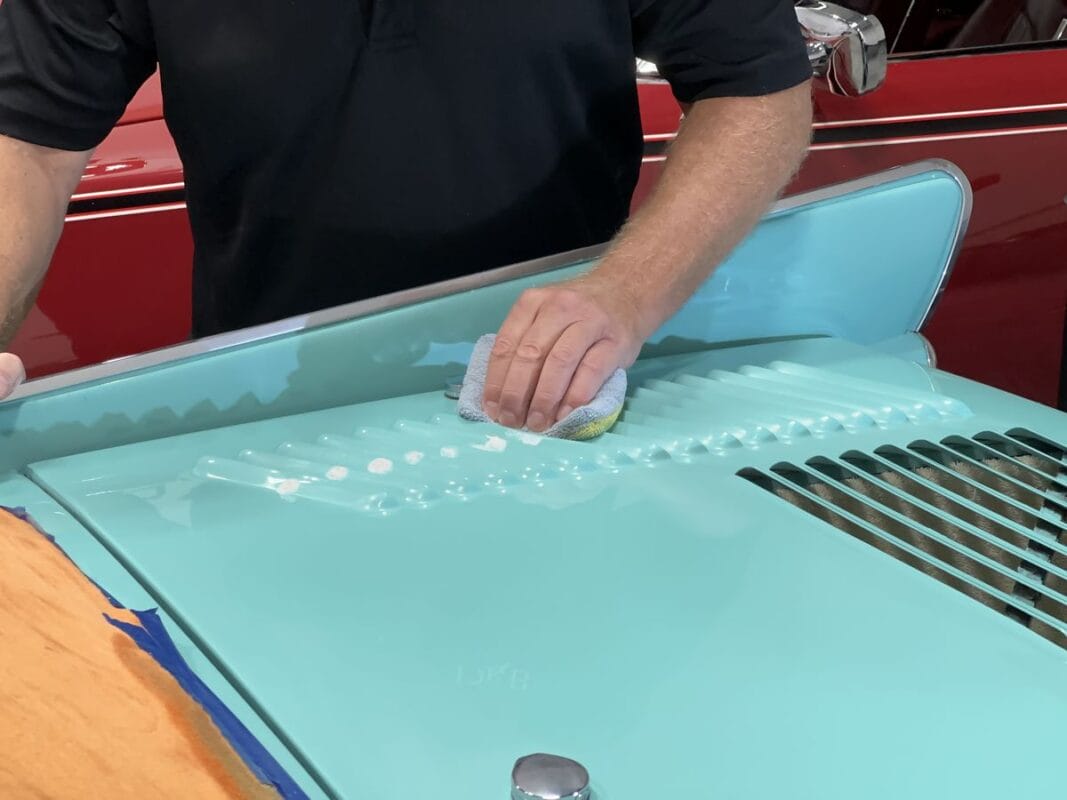
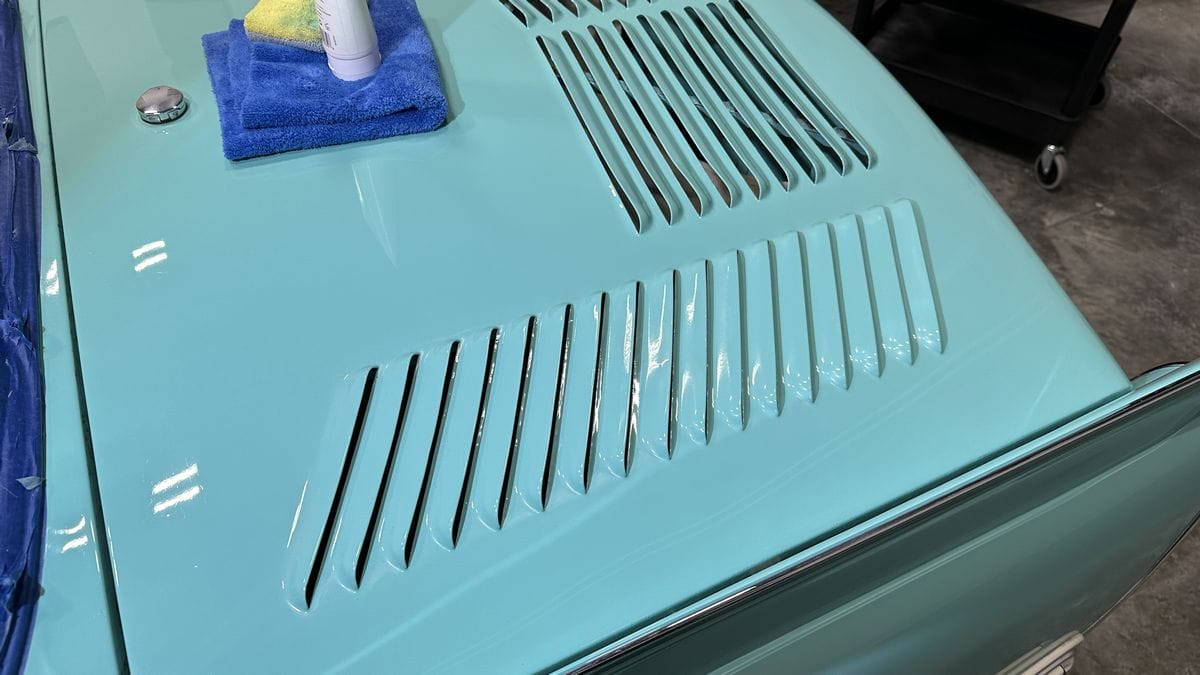
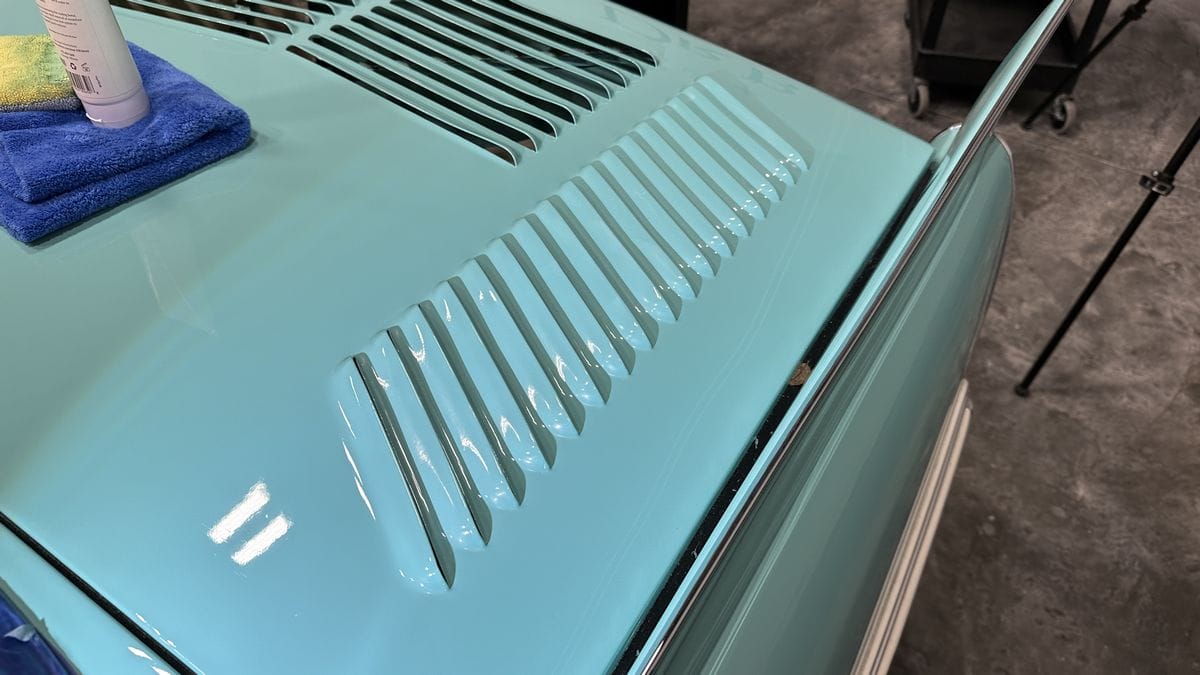
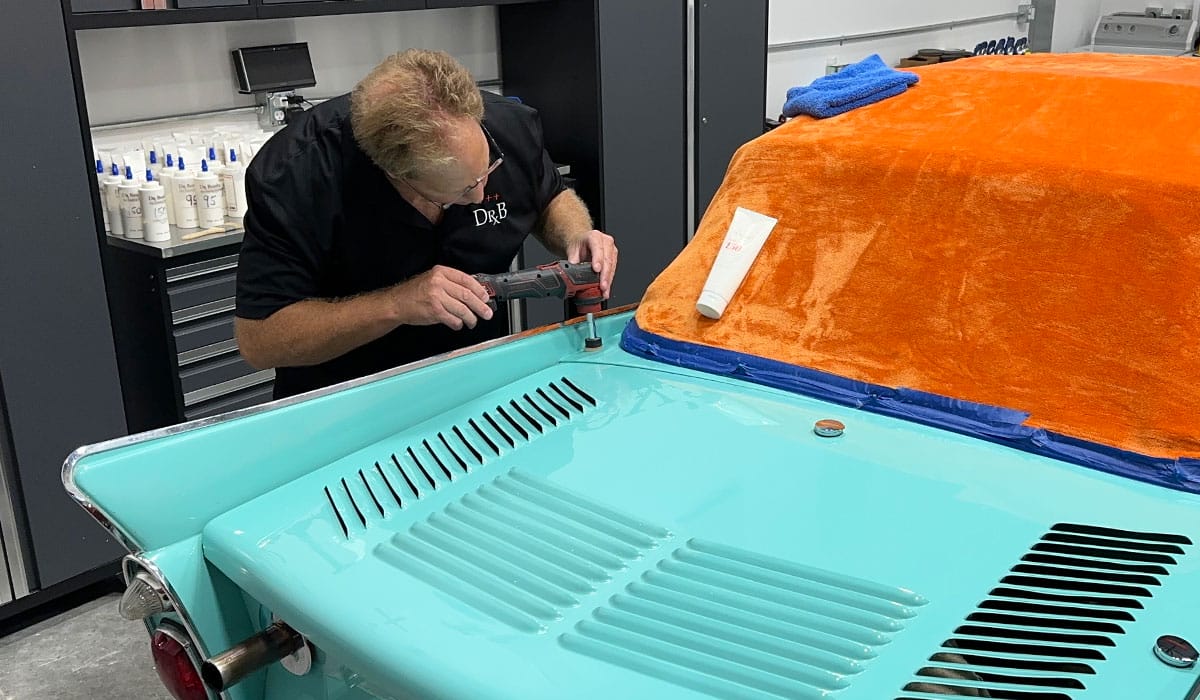
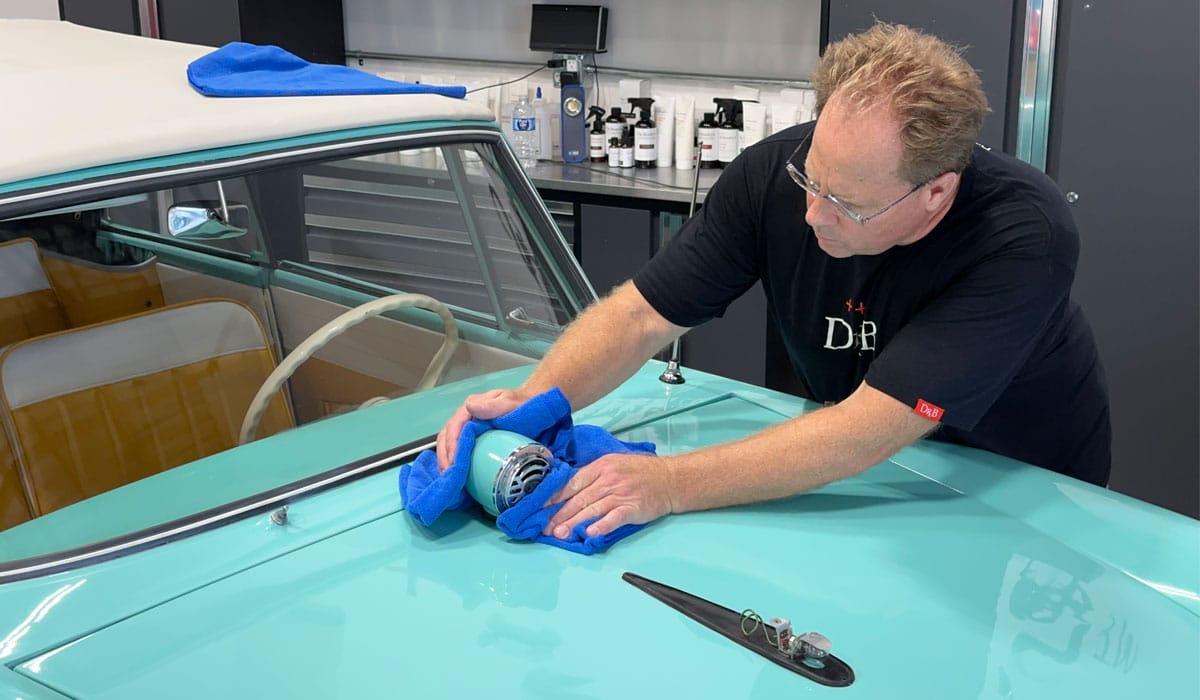
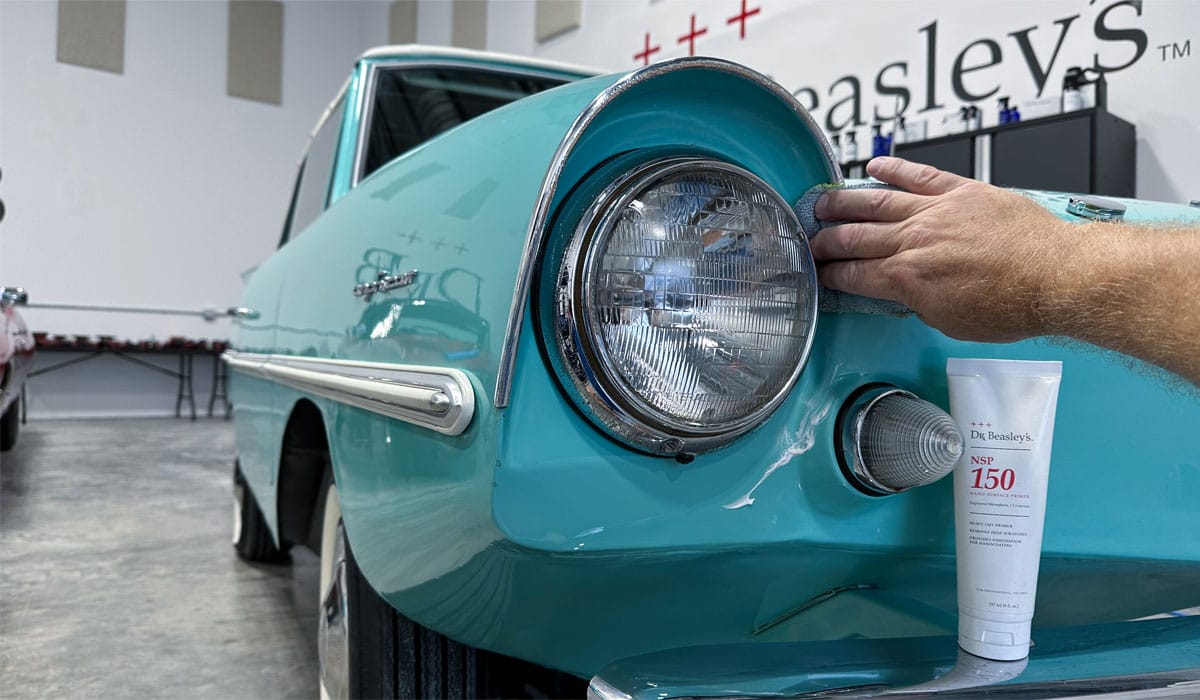
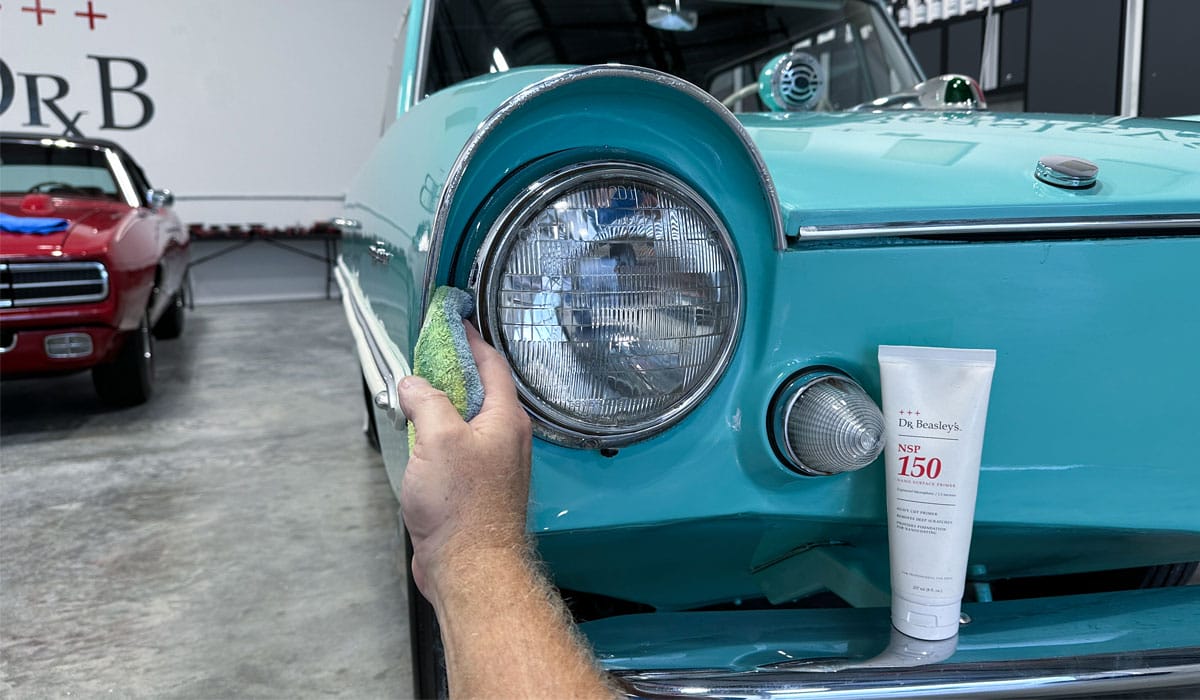
My best tip technique
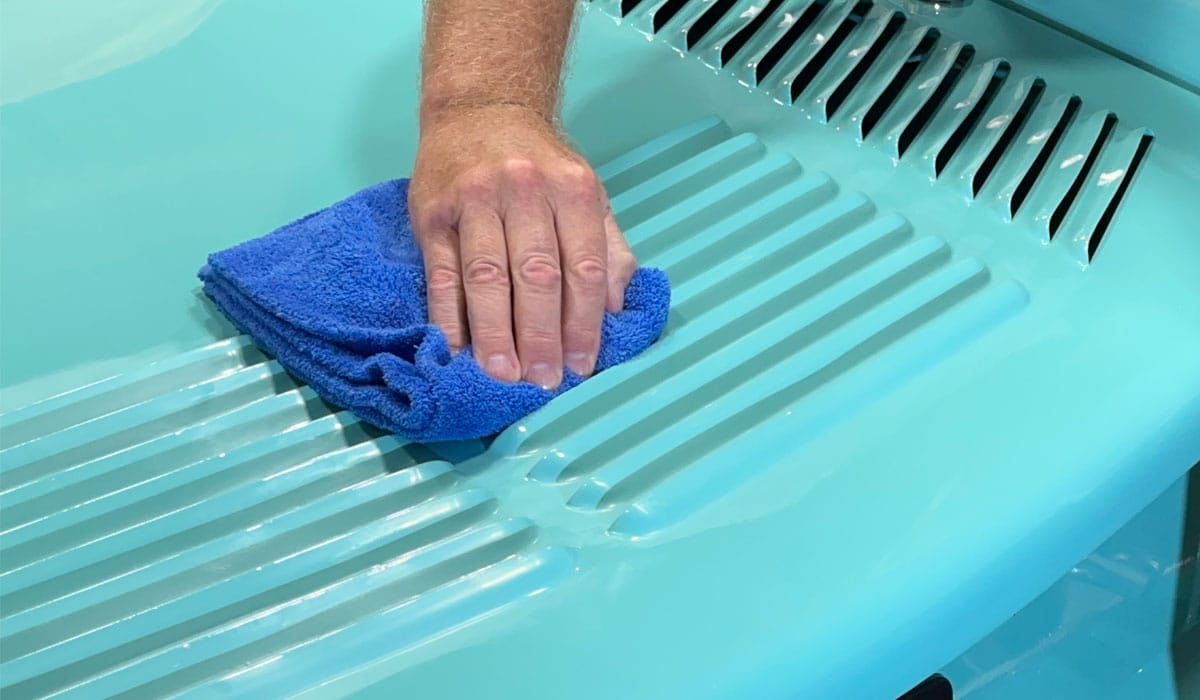
When polishing louvers, if you don’t mark each louver like you see me doing below – it will become confusing as to which lovers you’ve polished and which louvers you have not polished. Just take my word for it as I’ve polished a LOT of louvers in my life. So, here’s my technique tip – place a small drop of product on each louver. First, you need some product to work with, but more important you have just VISUALLY marked each louver s as you’re working your way down a row of louvers, you’ll be able to easily see which louver’s you’ve polished, and which louver’s still need polishing. May seem simple but it works.
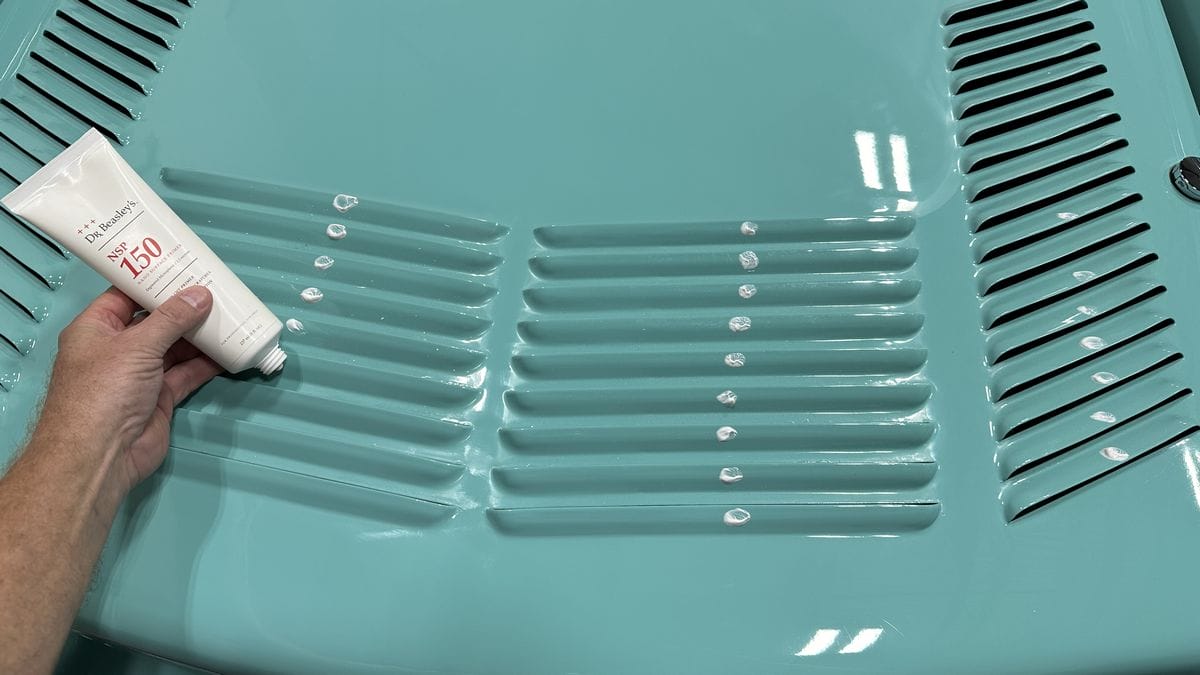
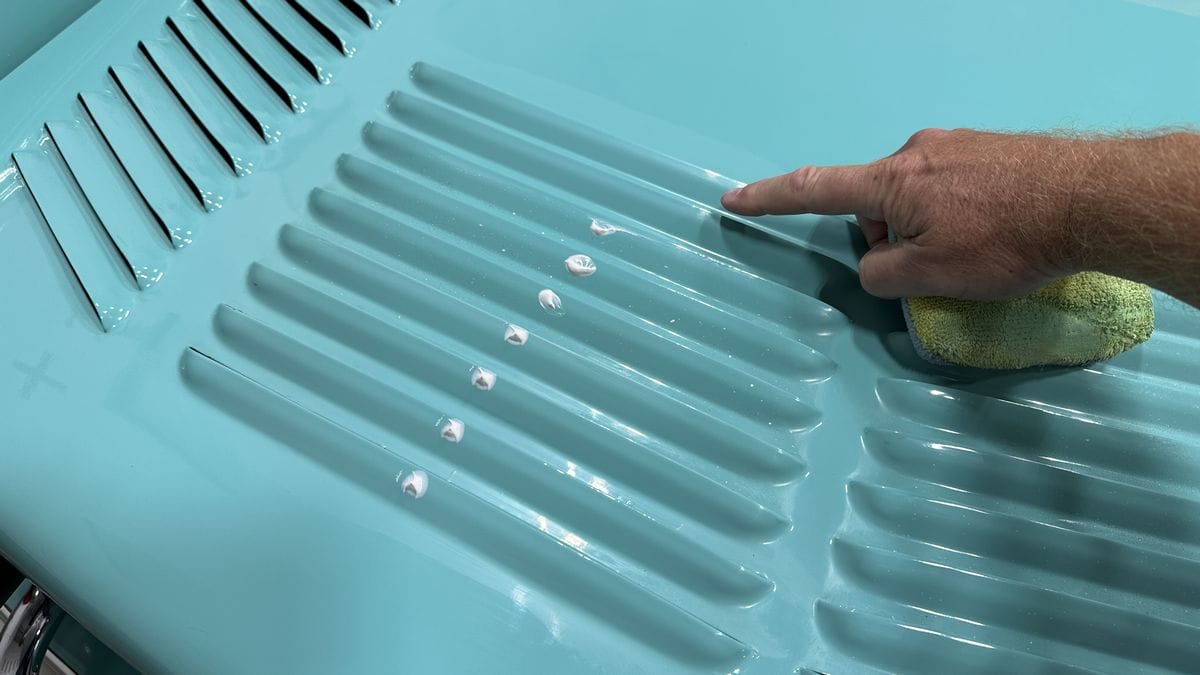
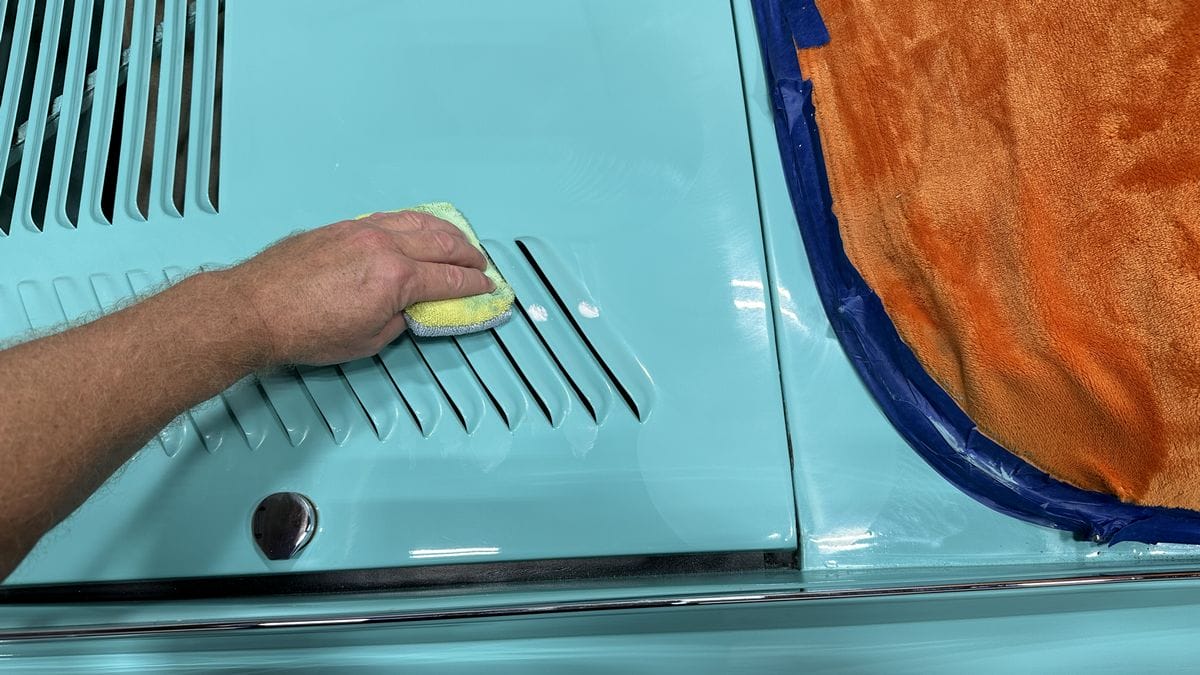
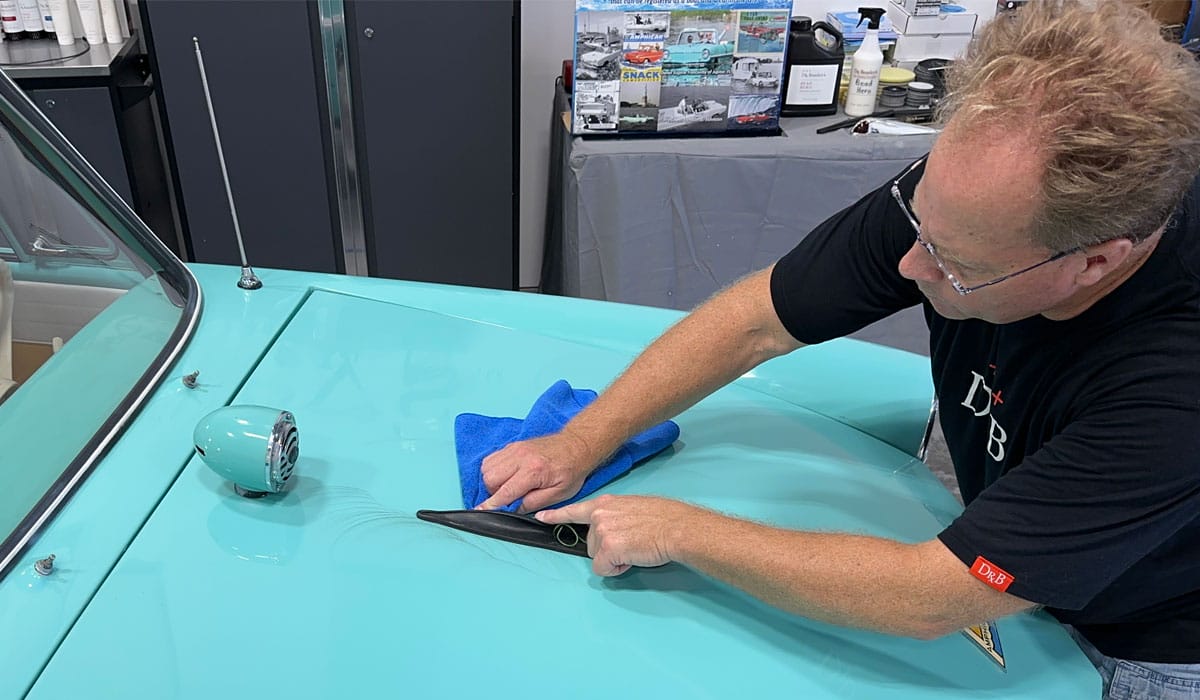
Next, using a microfiber applicator pad, begin rubbing the louver using a back and fourth motion. Try your best to keep all the pressure on the flat portion of the louver and avoid rubbing on the sharp, thin hard edge.
I can see I’ve polished these first two louvers because the drop of polish has been worked over the paint. I can just as easily see which louver’s I still need to polish.
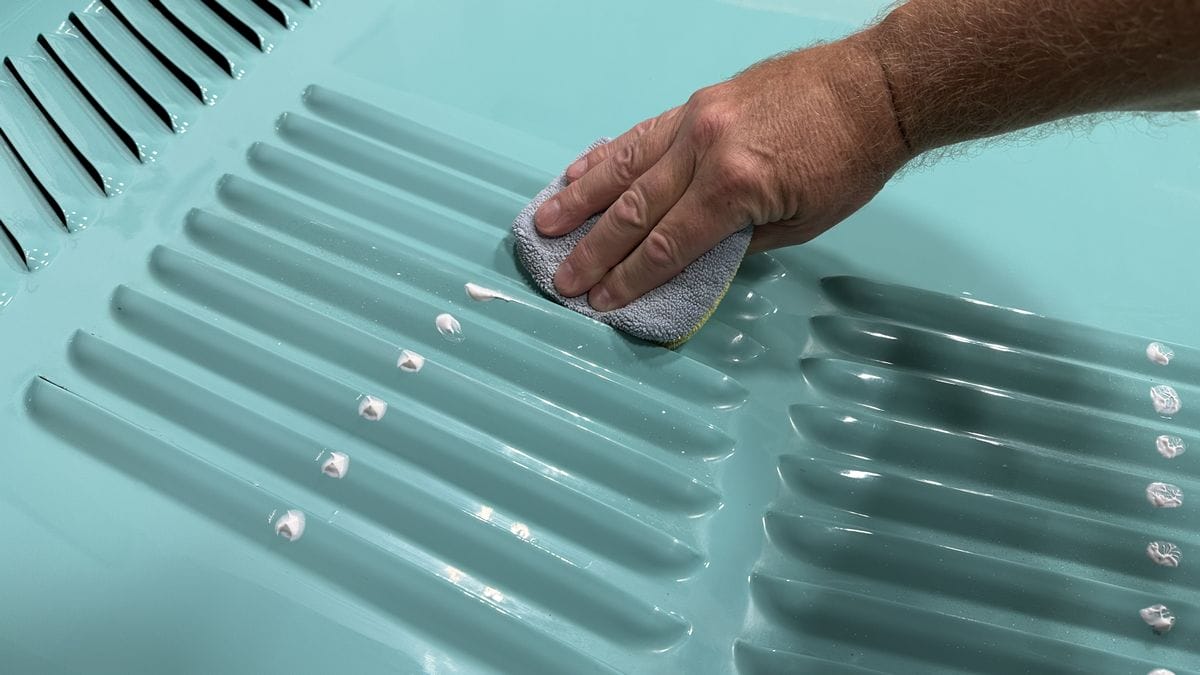
Here you can see the single stage paint coming off the louvers as it builds-up on the applicator pad.
After polishing a row of louvers, using a clean, soft microfiber towel to remove any excess product.
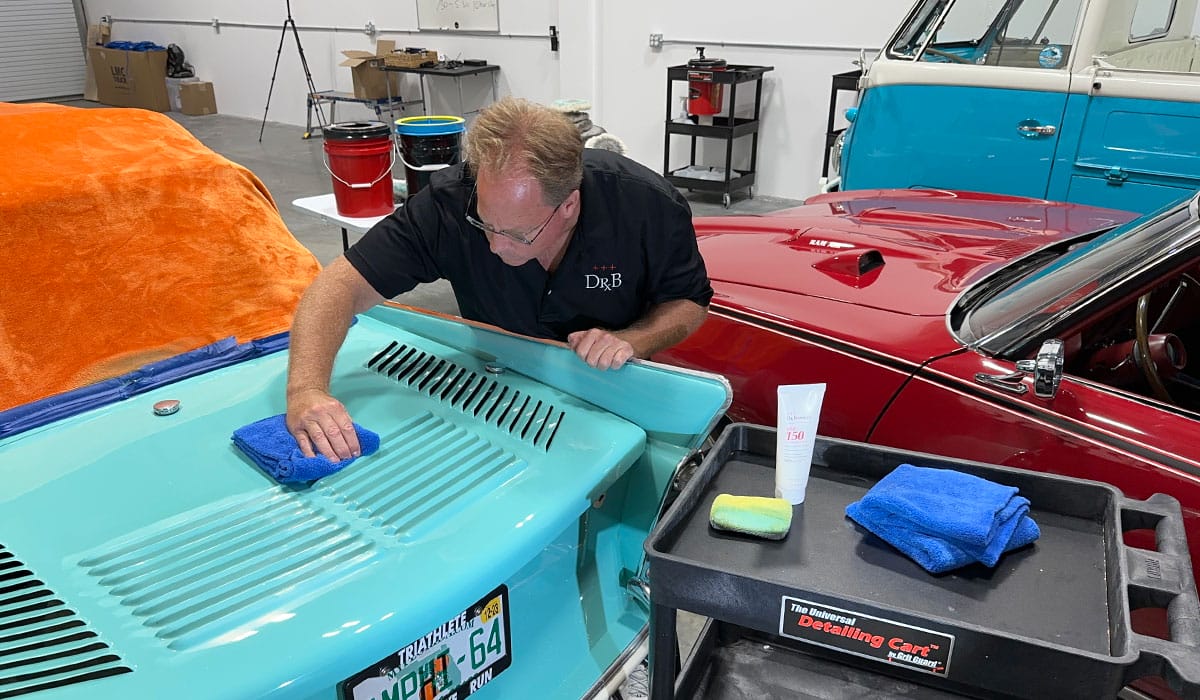
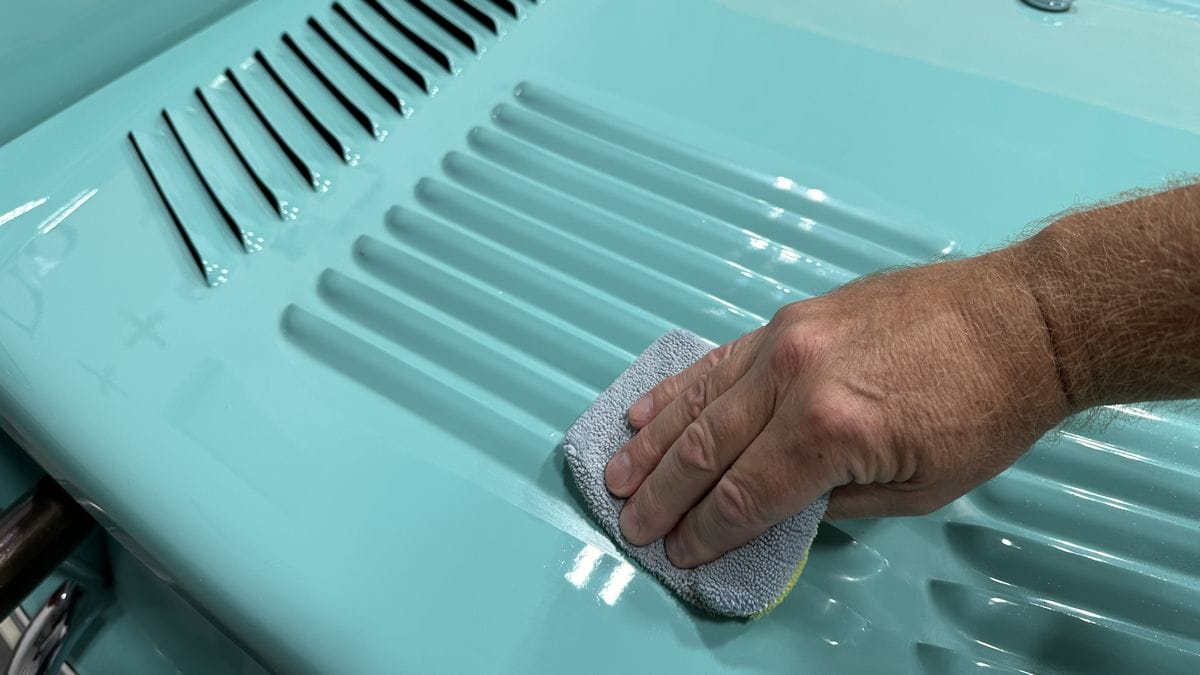
Then continue working around the panel.

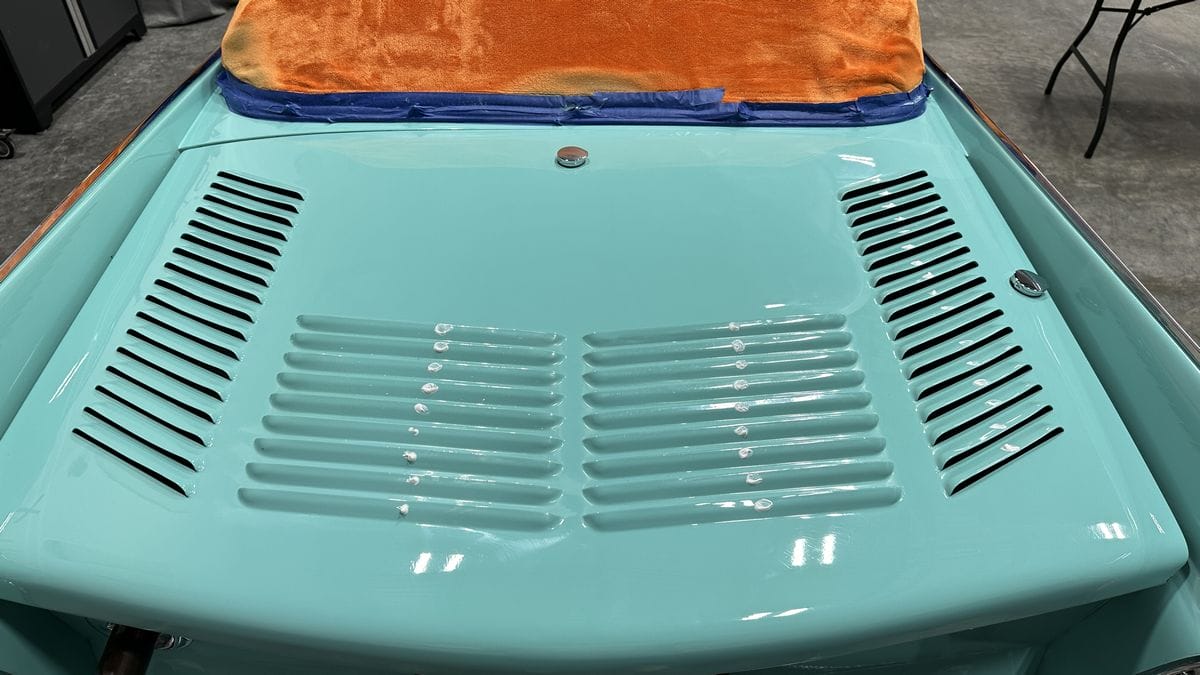
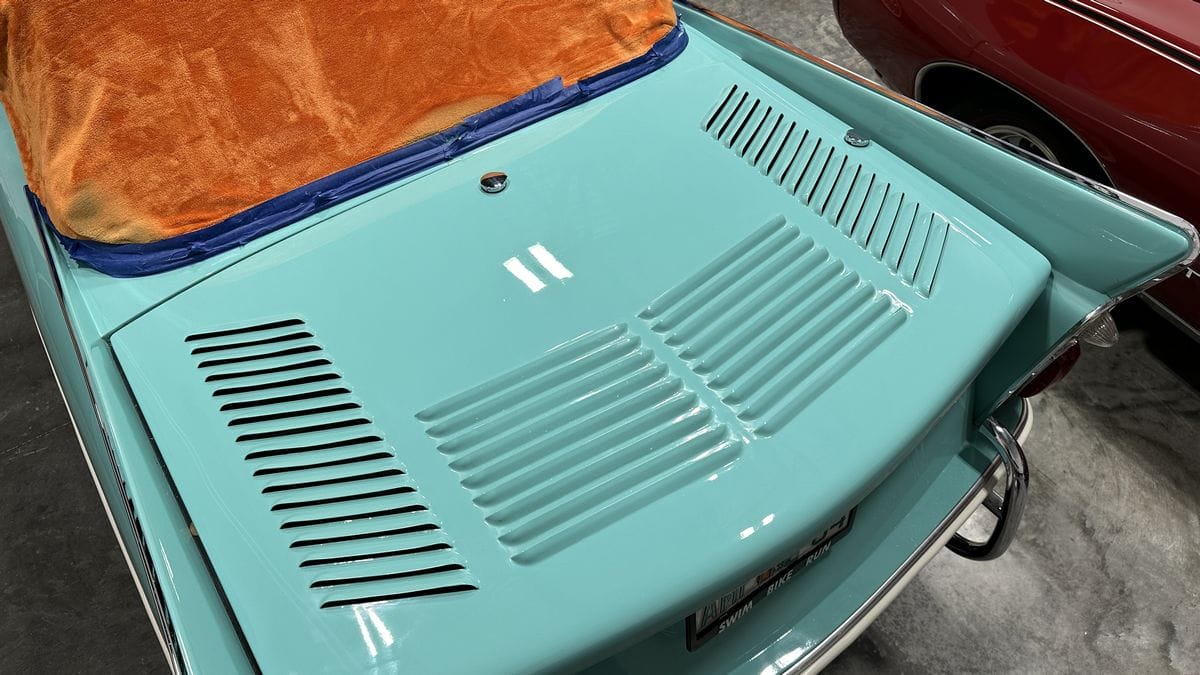
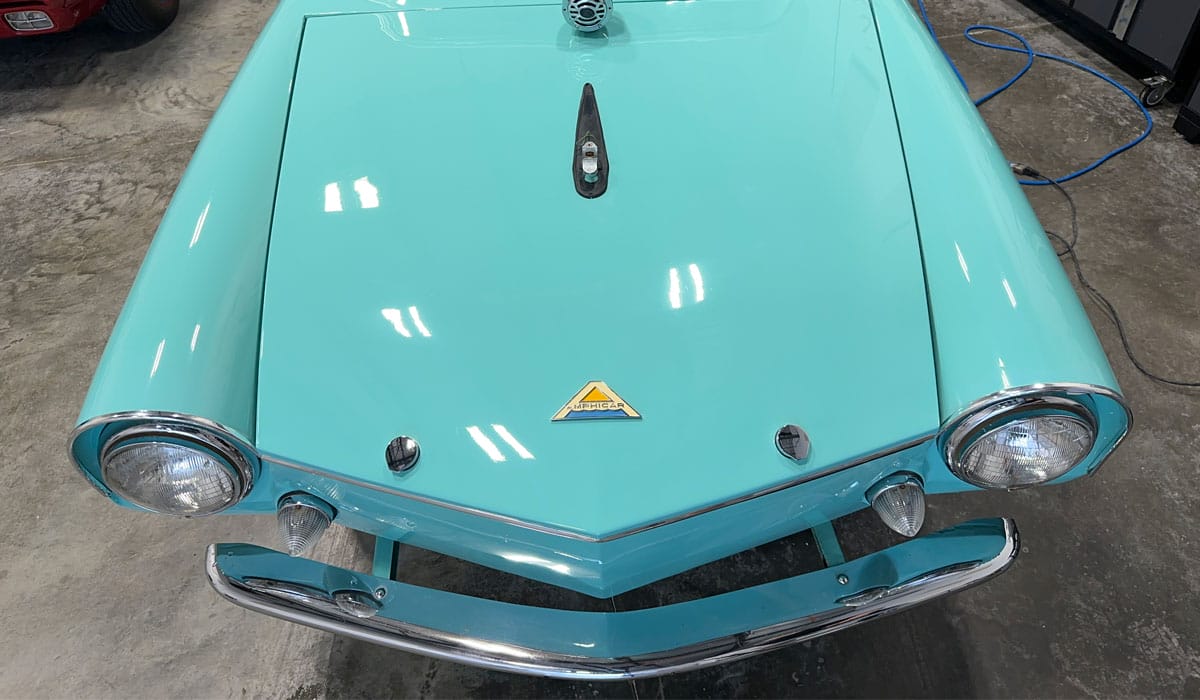
Final results
Here’s the final results. The paint on the louvers is clear and rich in color. It will now match the surrounding paint when I buff these adjacent areas out.
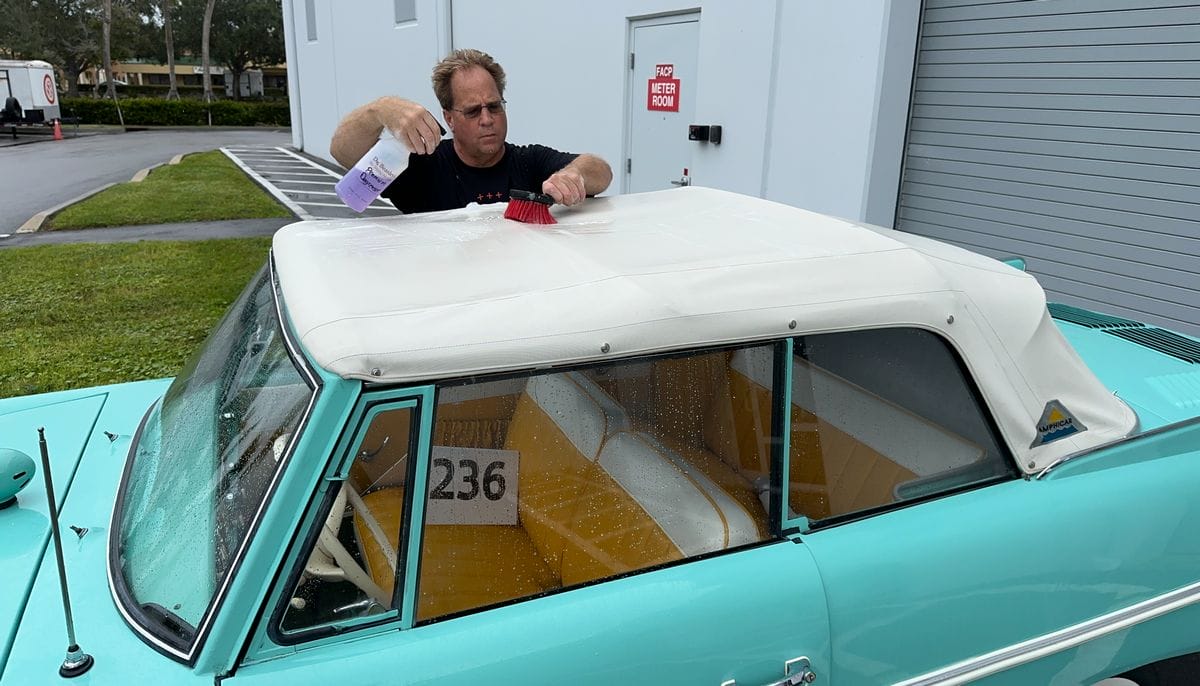
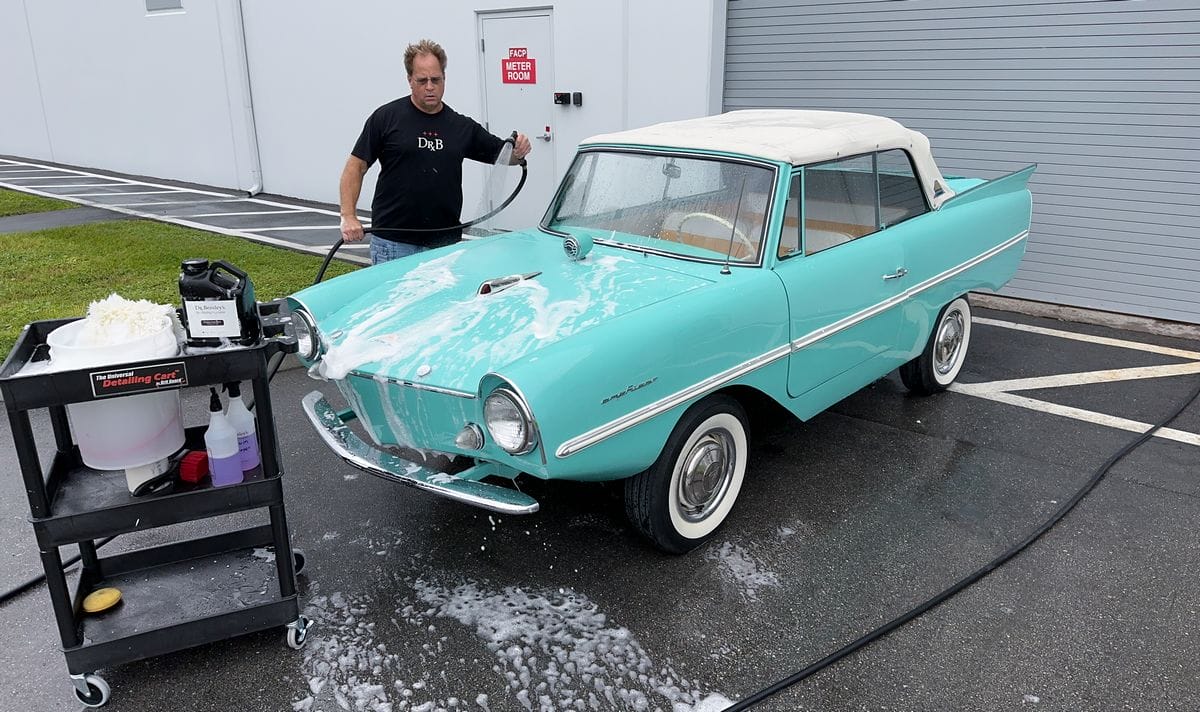
When is the last time you washed a 1964 Amphicar?
This is my first time and likely the last time. I start by spraying some Dr. Beasley’s Premium Degreaser onto the vinyl top and then agitating with a Braun Tire Brush. I don’t think this top has been thoroughly cleaned like this for years and before I started the top had a dingy appearance. After I wash and dry the car, the top will be a bright, crisp white color.

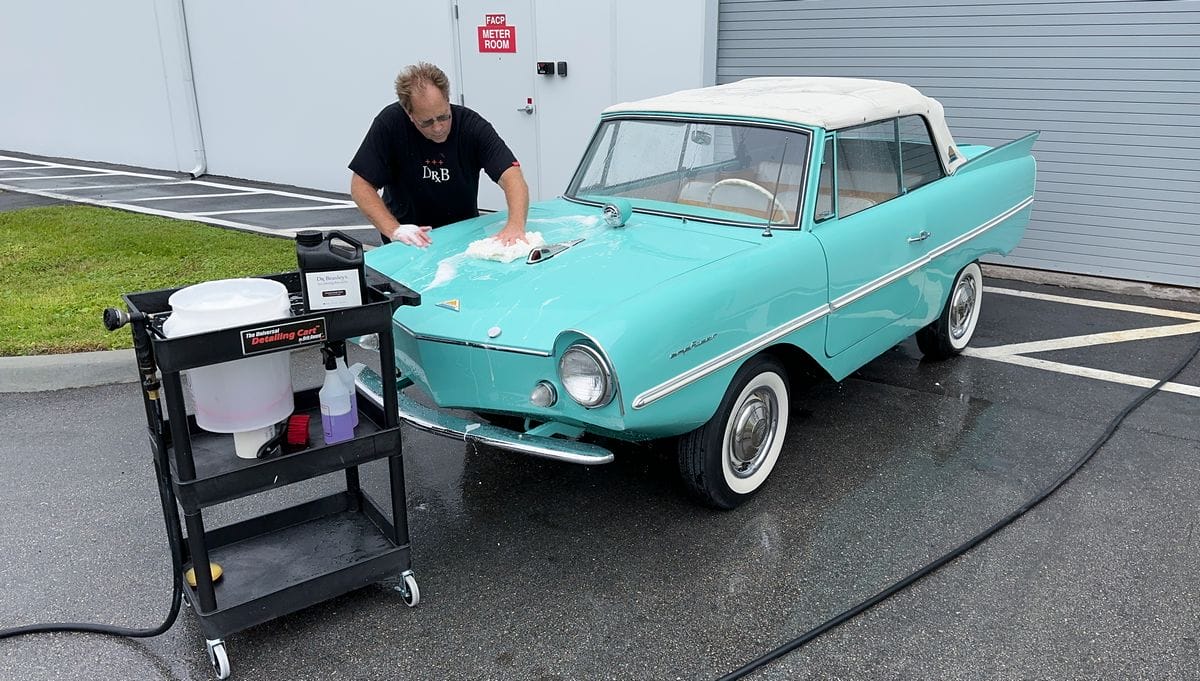
Next, I wash all the major body panels. Not pictured is before I started with the top, I machine scrubbed the whitewall tires and hand washed the painted wheels and chrome wheel covers.
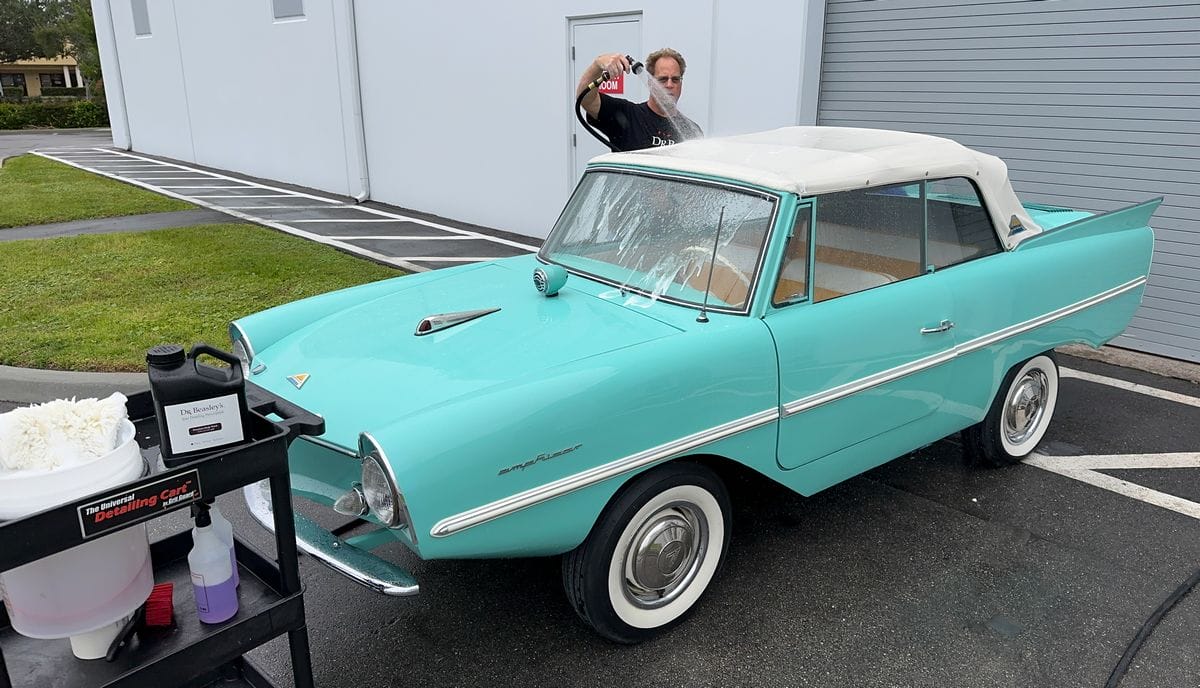
The final rinse. Kind of fun washing such a quirky car.
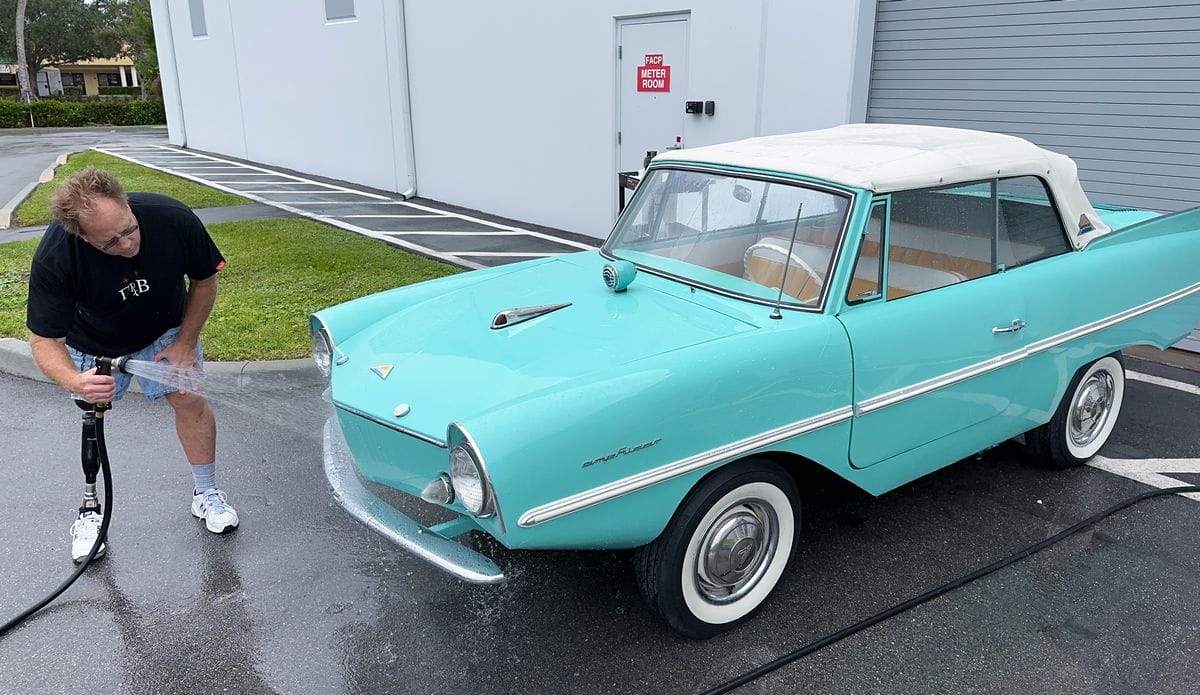
Time to back her into the work area.
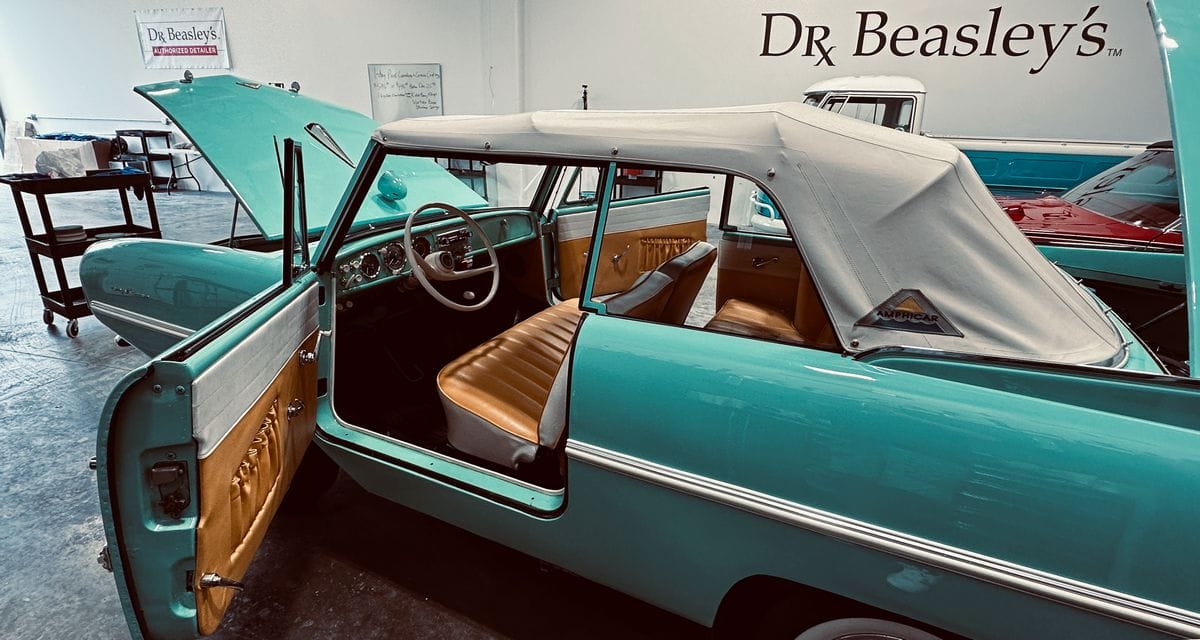
Stretching
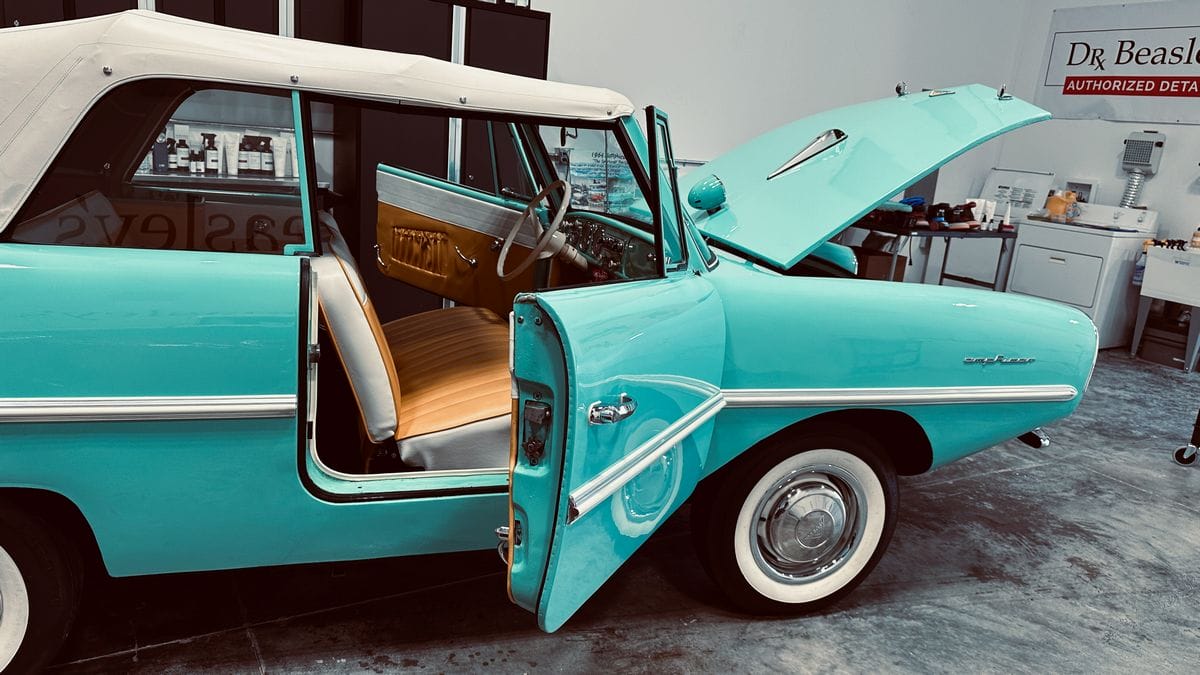
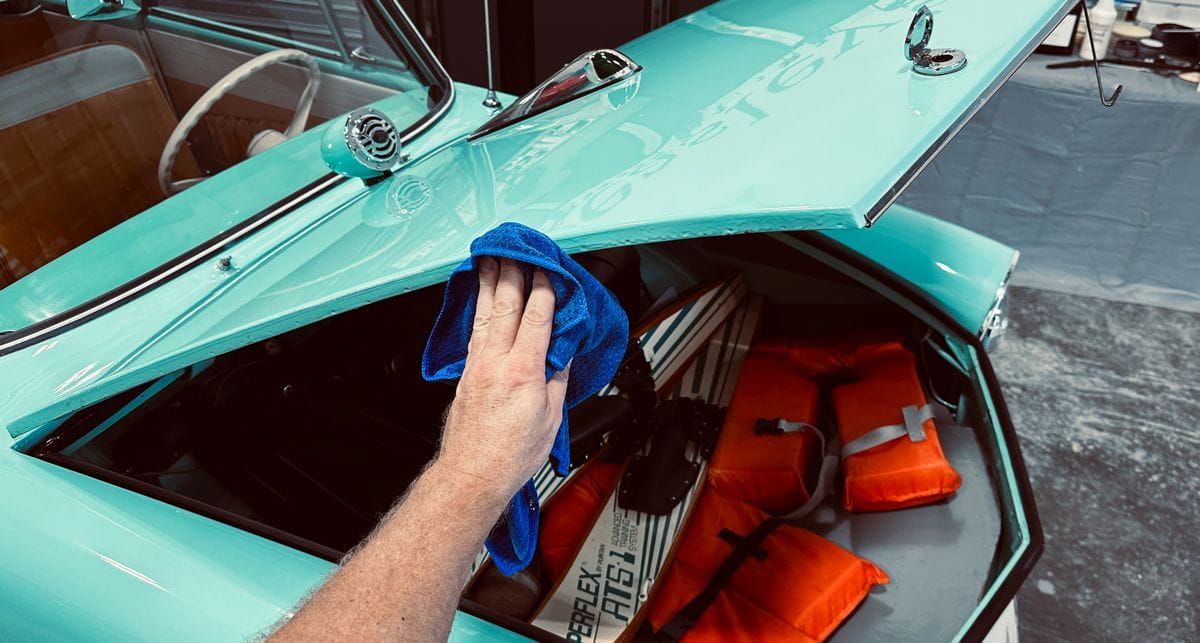
After washing and drying any car, the next thing you do is open all the doors, trunk lid and hood and the wipe the jambs down. This is called stretching because it’s kind of like how you and I stretch out before hitting the gym.
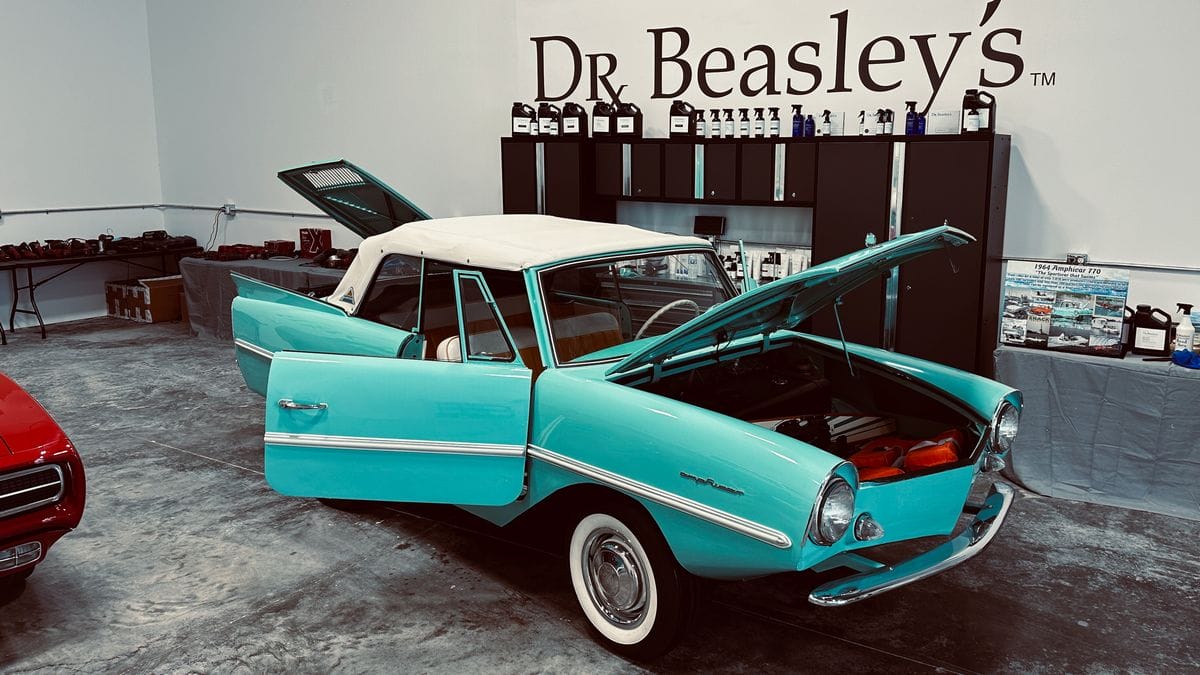
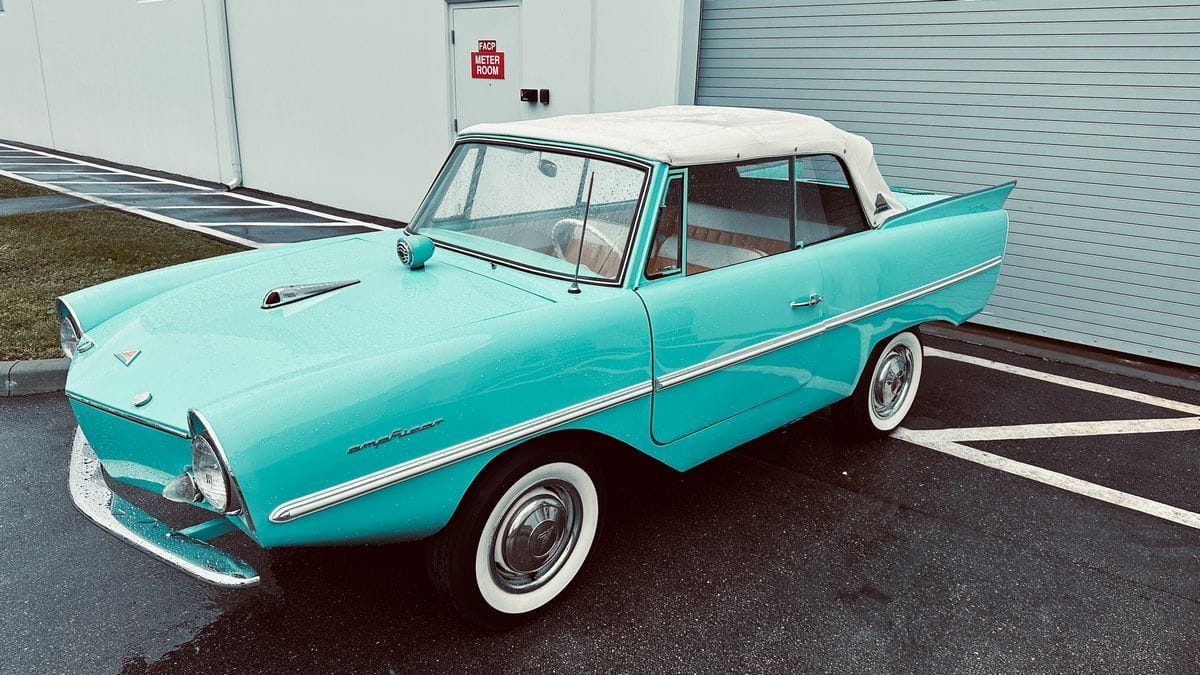
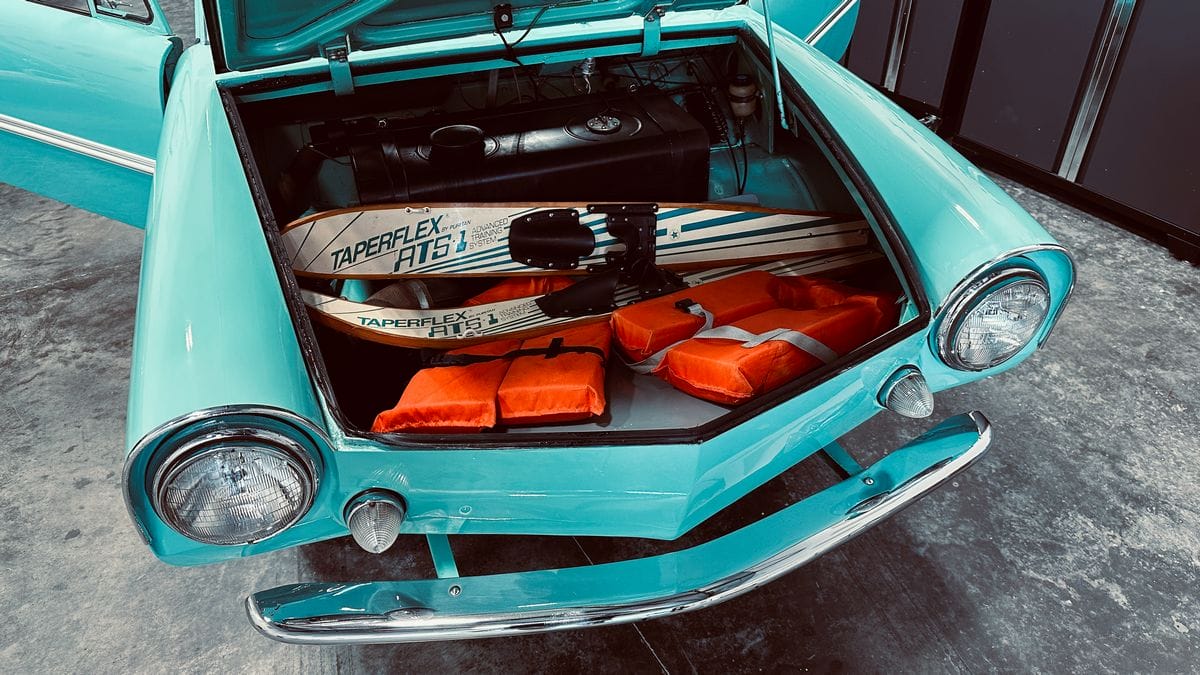
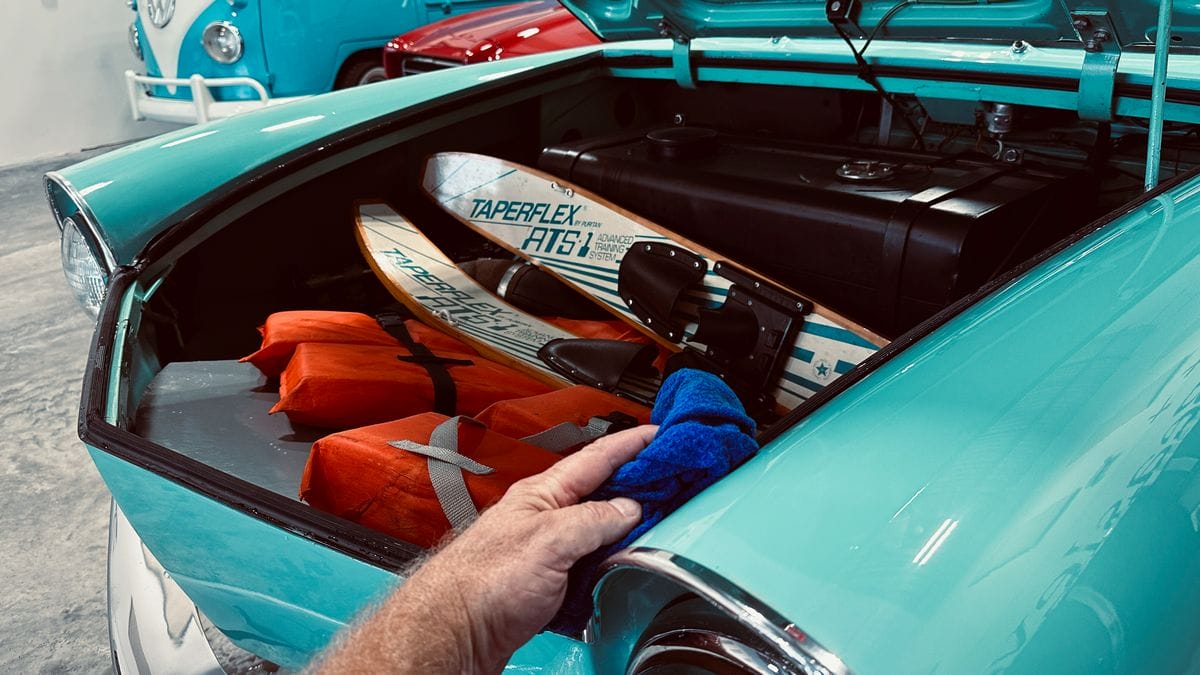
Yup, ready to go water skiing anytime there’s a body of water nearby!
Paint Correction and Ceramic Coatings
Doing a Test Spot
I did a number of test spots, which is where you test out a combination of products, pads and tools required to remove the defects to your satisfaction. The swirls and scratches were so bad in the paint on this Amphicar, I found in order to remove the majority of these defects and restore a finish that would be respectable when the car is on display in full sunshine at a concours event, I would have to use the following multiple-step, show car process.
Step 1: Use NSP 150 with a wool cutting pad on a rotary polisher.
Step 2: Use NSP 95 with a foam pad on a gear-driven orbital polisher to remove holograms caused by the fibers of the wool pad.
Step 3: Final polish using NSP 45 with a soft foam finishing pad on an orbital polisher.
Step 4: Apply the Nano-Resin Paint Coating Builder
Step 5: Install the Nano-Resin MX Ceramic Coating
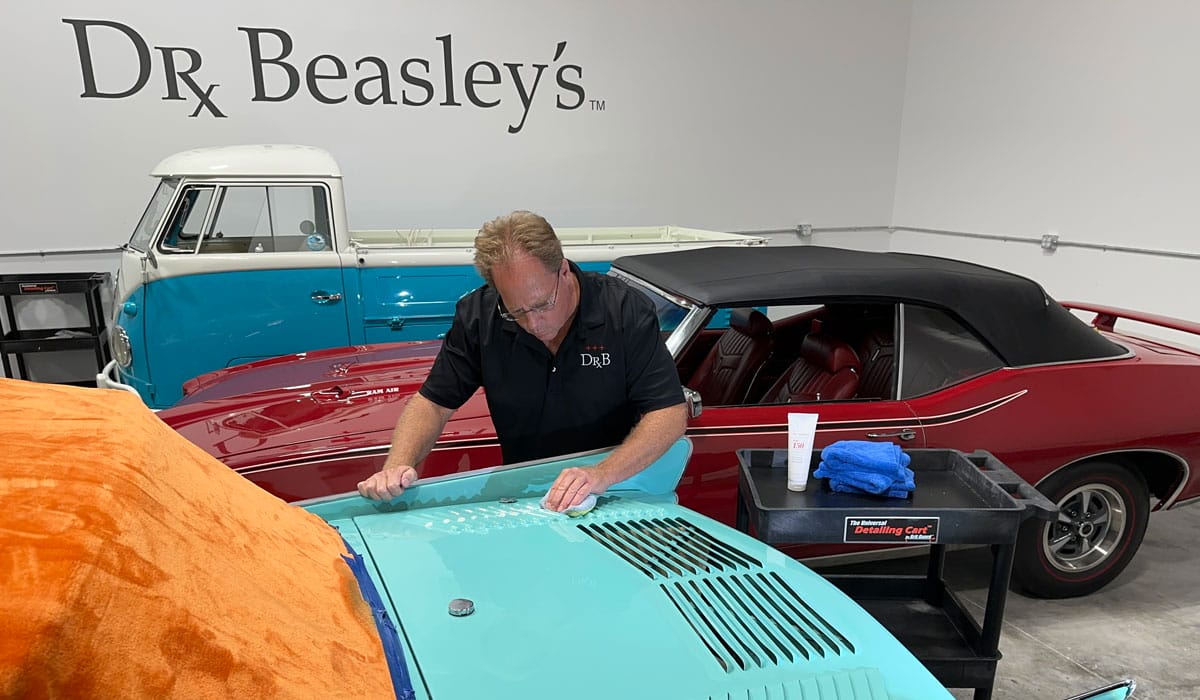
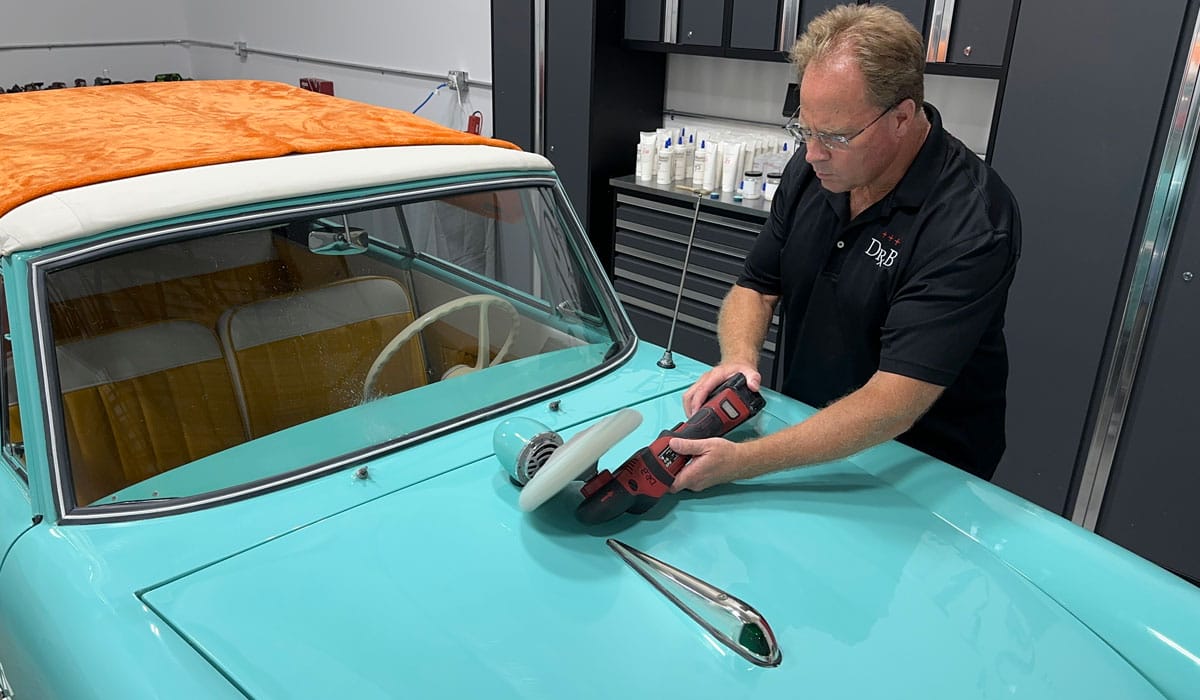
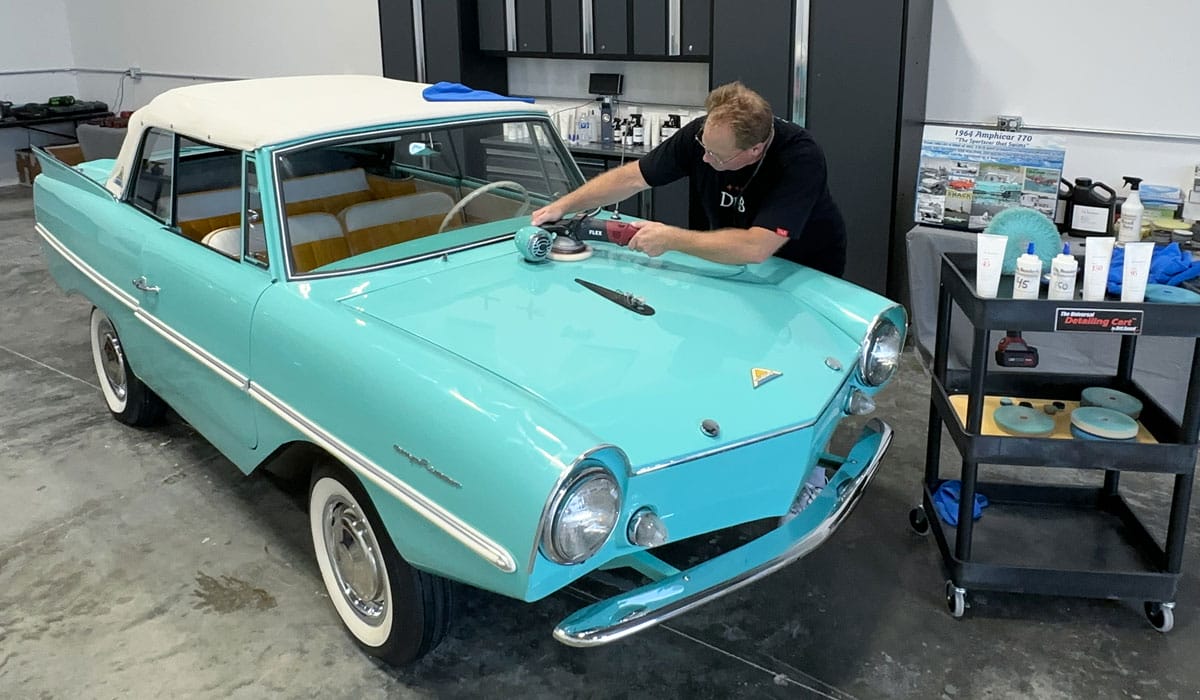
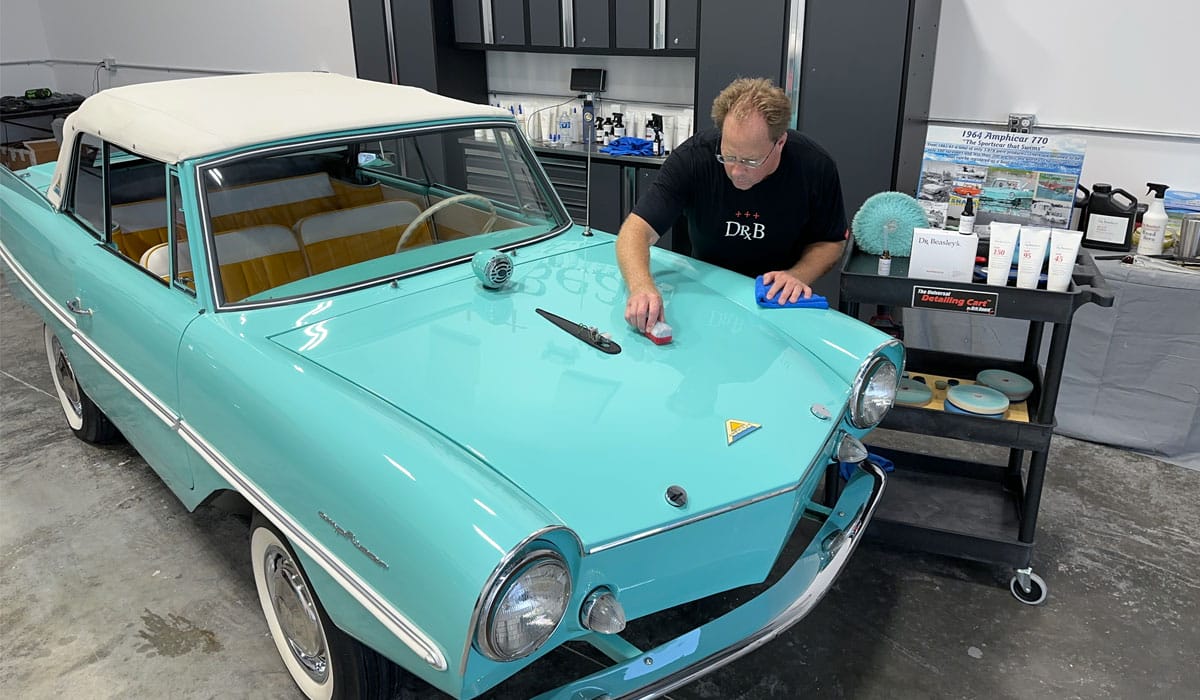
After wiping down all the jambs, it’s time to get busy. I normally will tackle the most difficult areas first and, in this case, it’s the fins and the areas around the louvers.
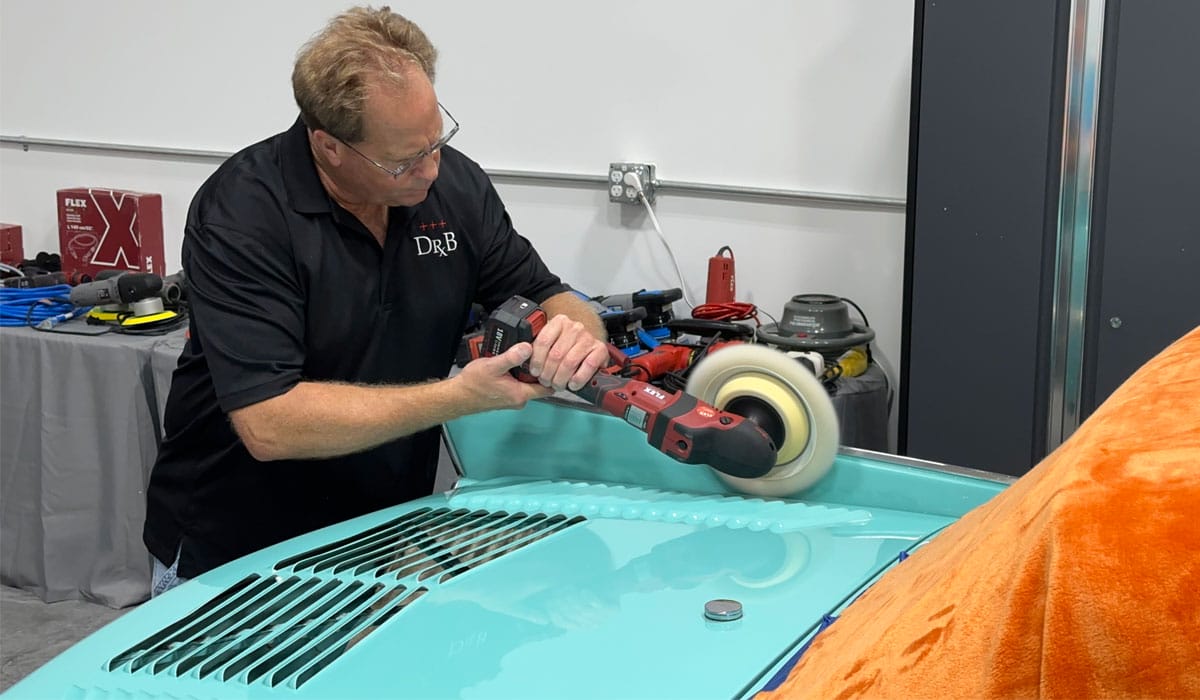
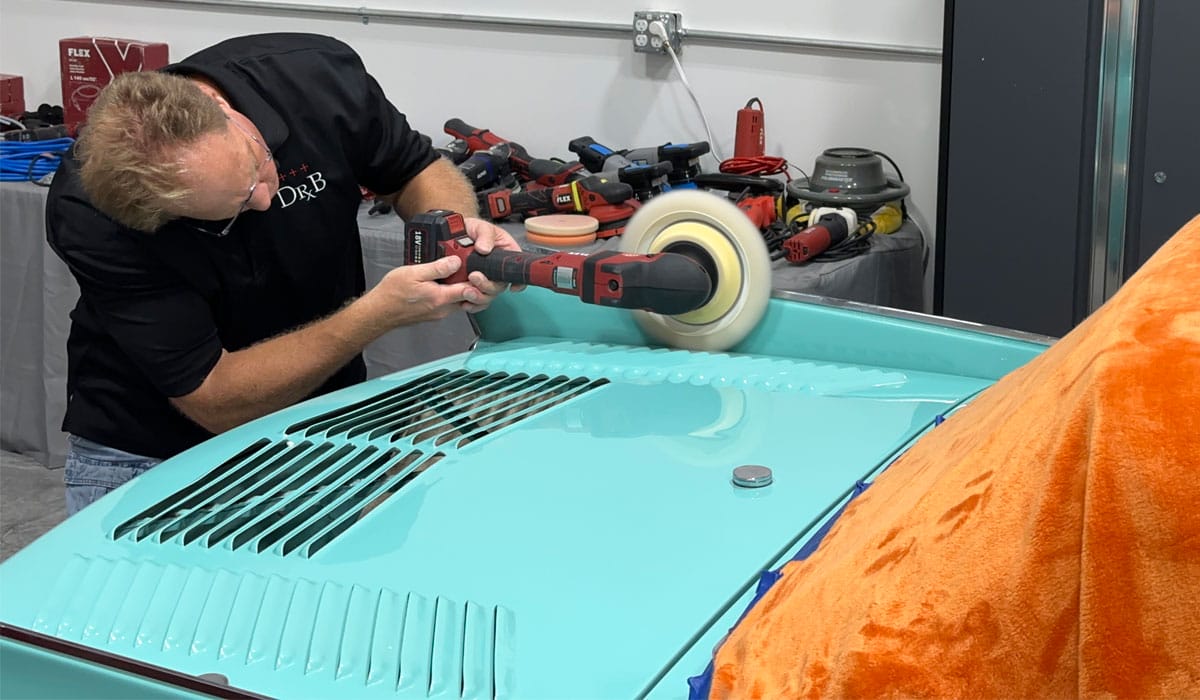
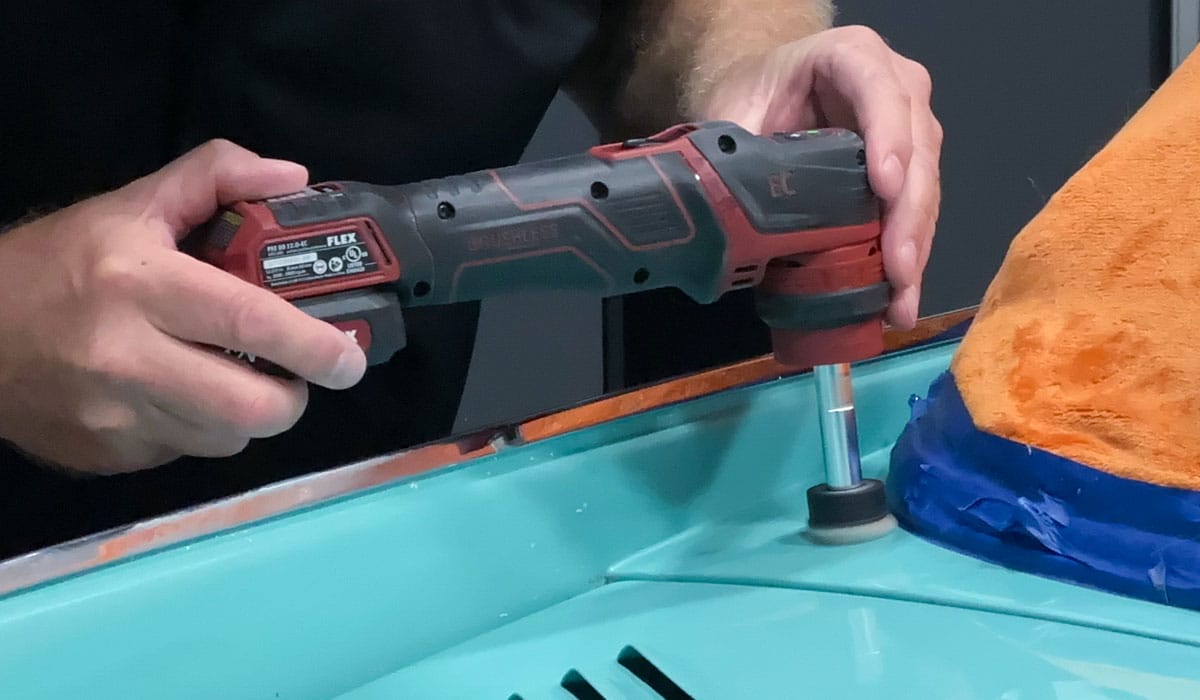
Micro tools like the FLEX PXE-80, normally referred to as the PiXiE works great with an extension in rotary mode to get into tight areas.
Here’s the final results after the paint correction steps. Later, after finishing all the rest of the body panels all this will be ceramic coated.
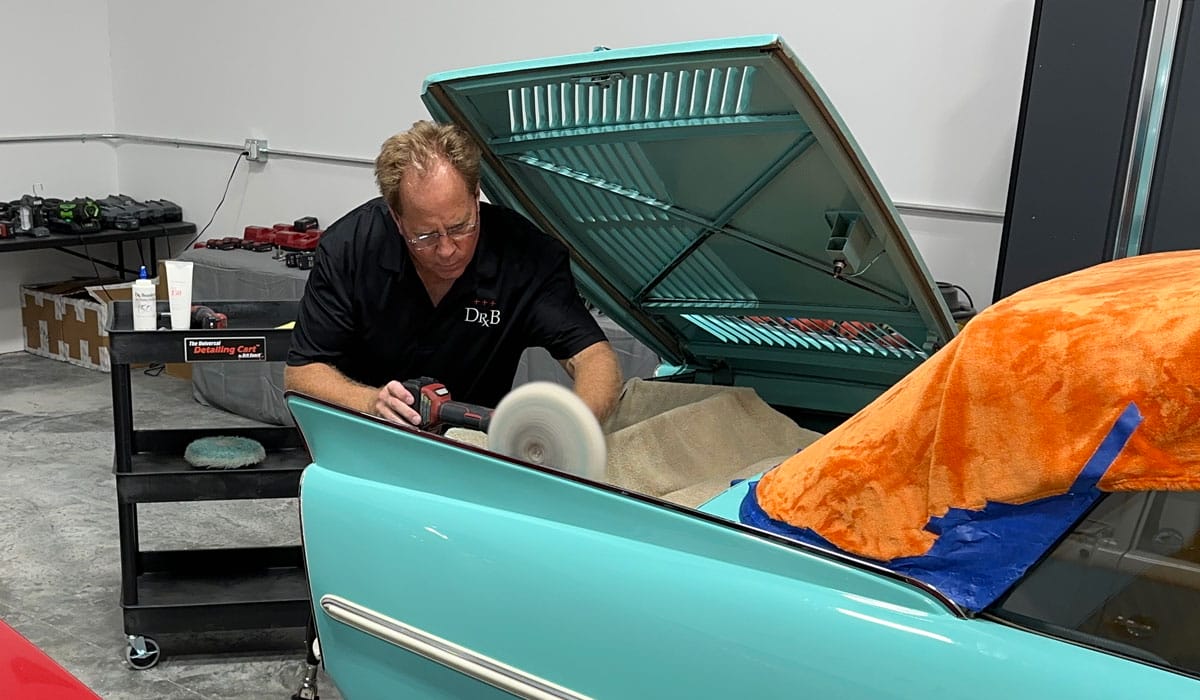
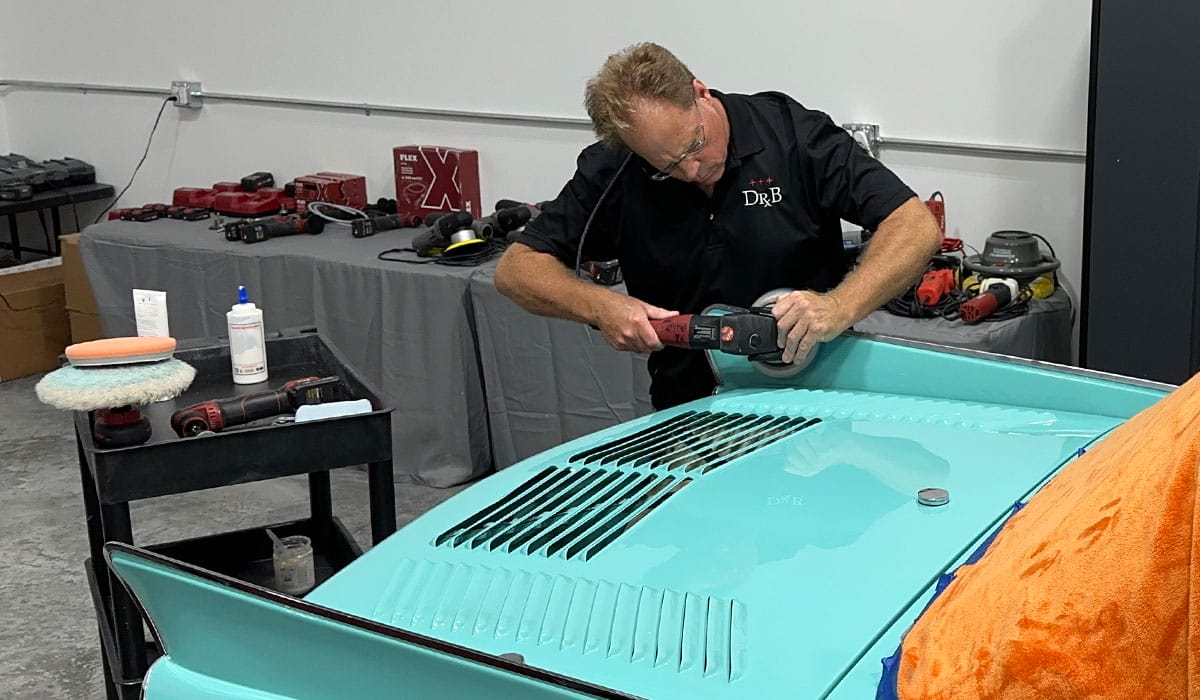
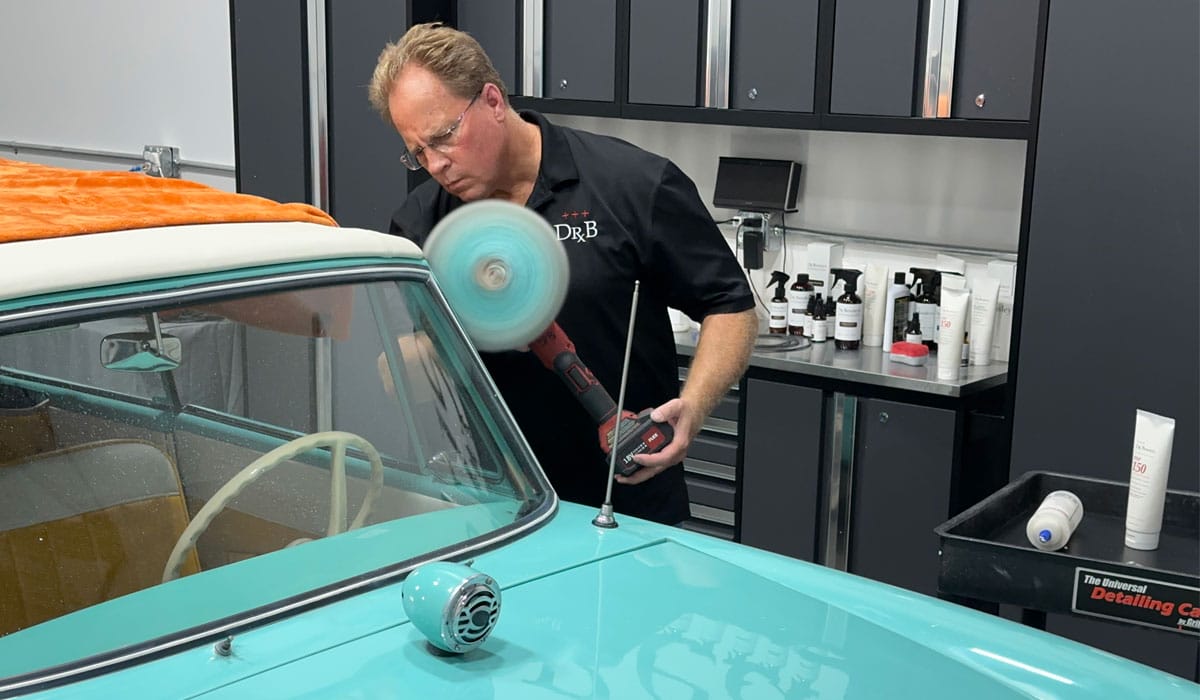
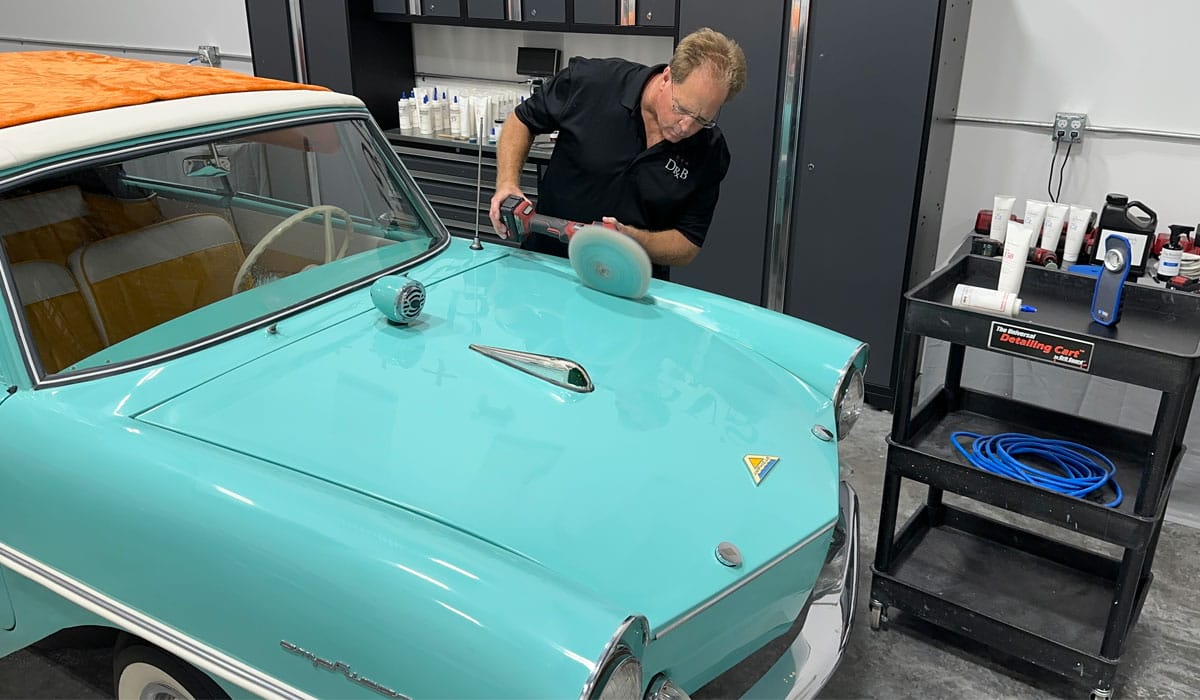
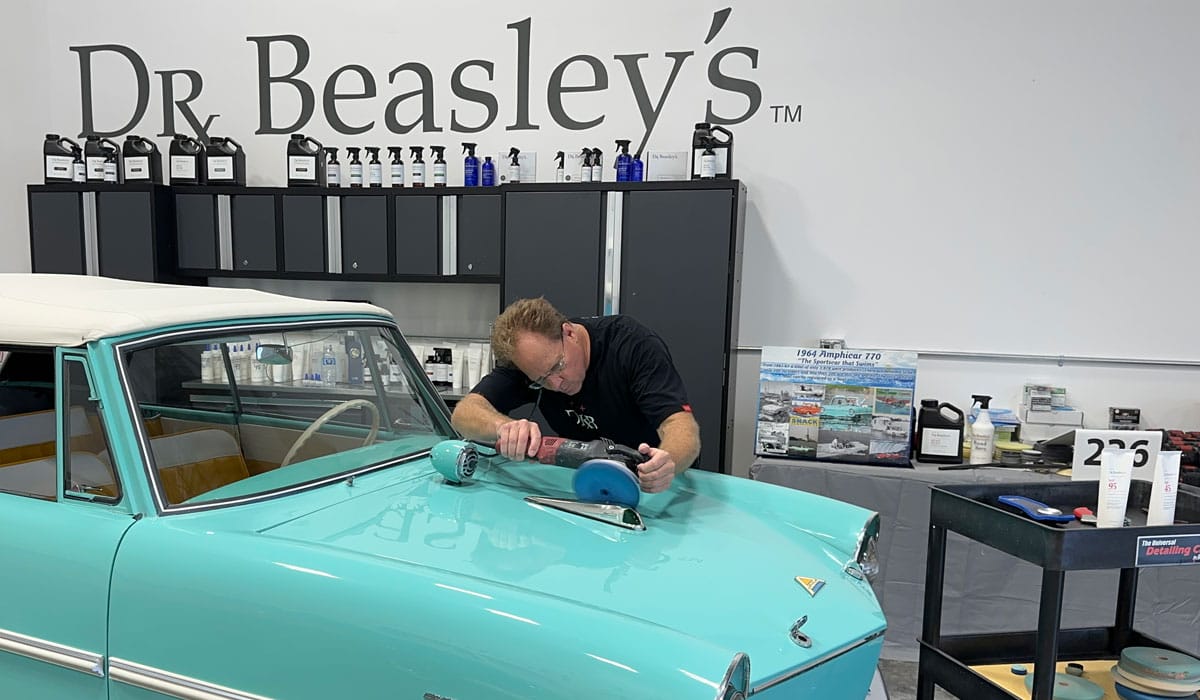
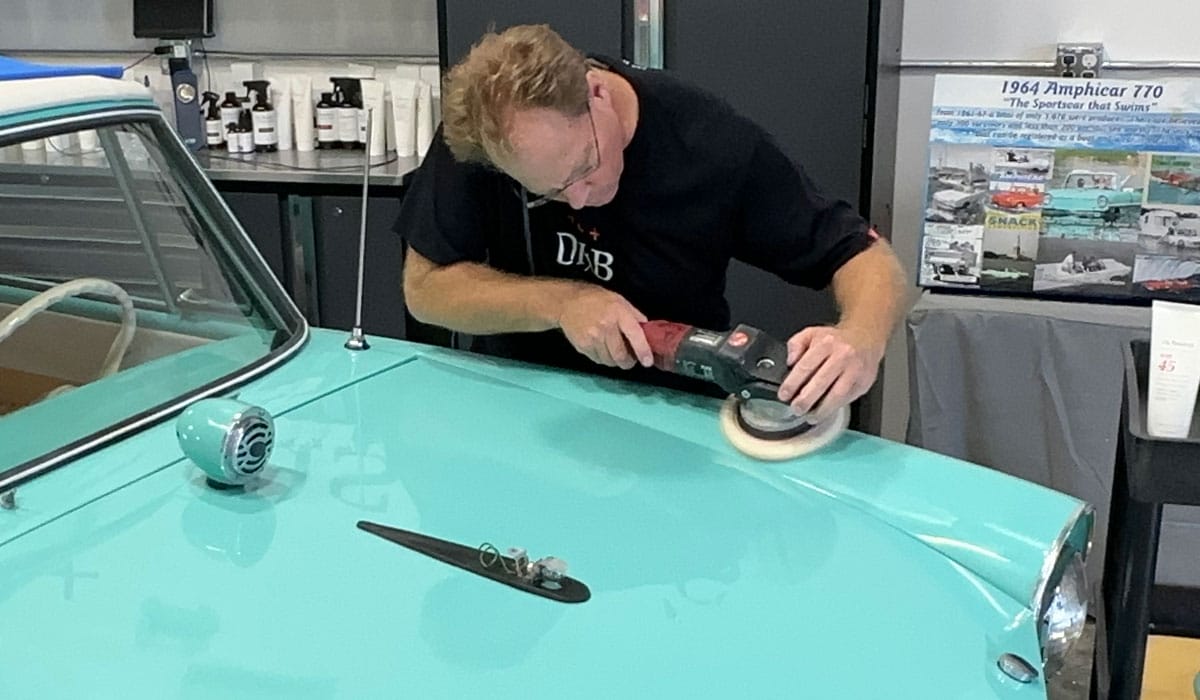
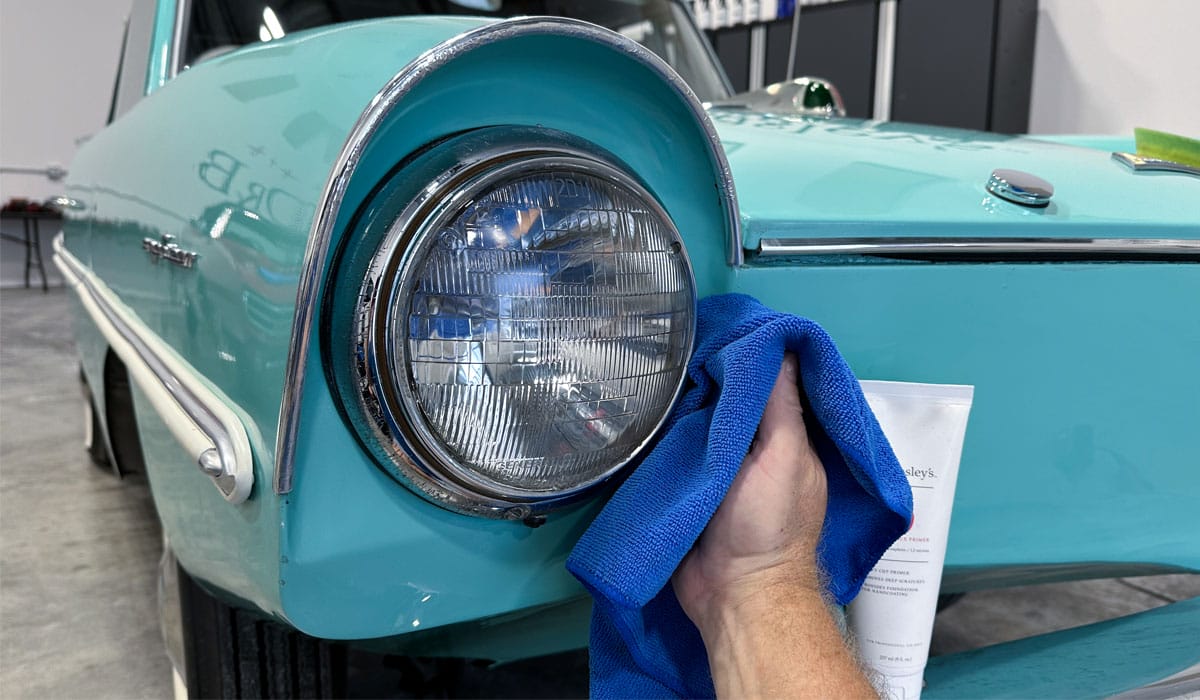
Moving on to the front clip. I have a saying, it goes like this,
“If you spend enough time with any tool, you can make it dance on paint.”
While the rotary polisher can be dangerous, with good technique you can tackle anything.
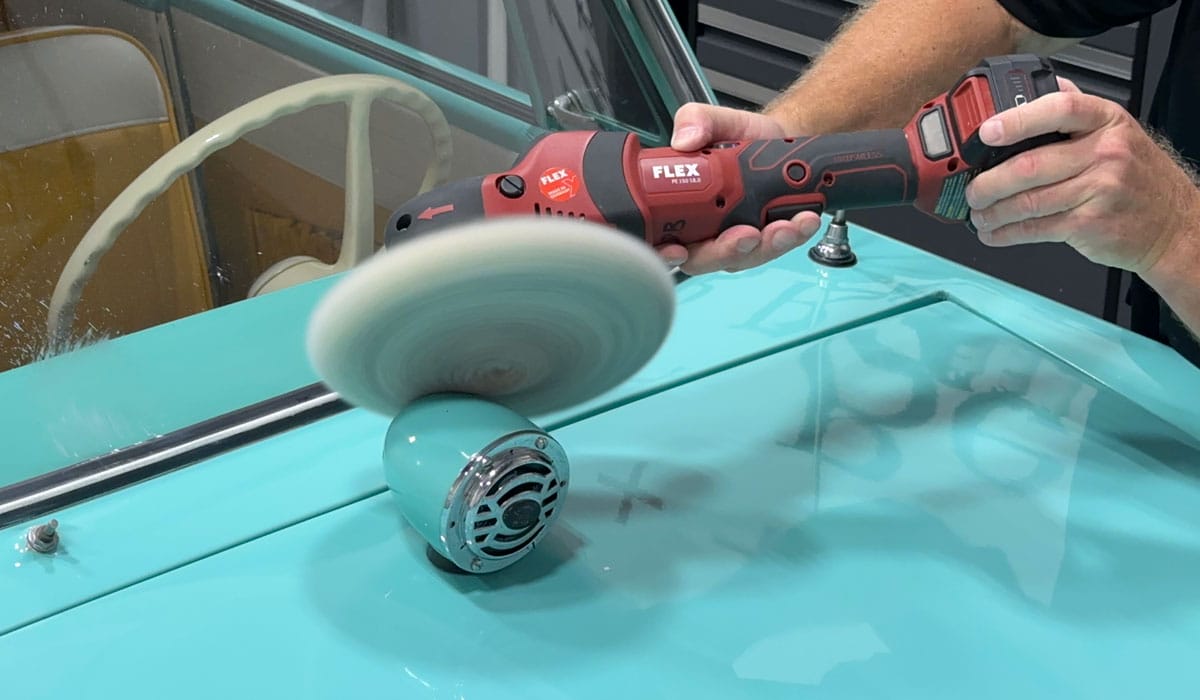
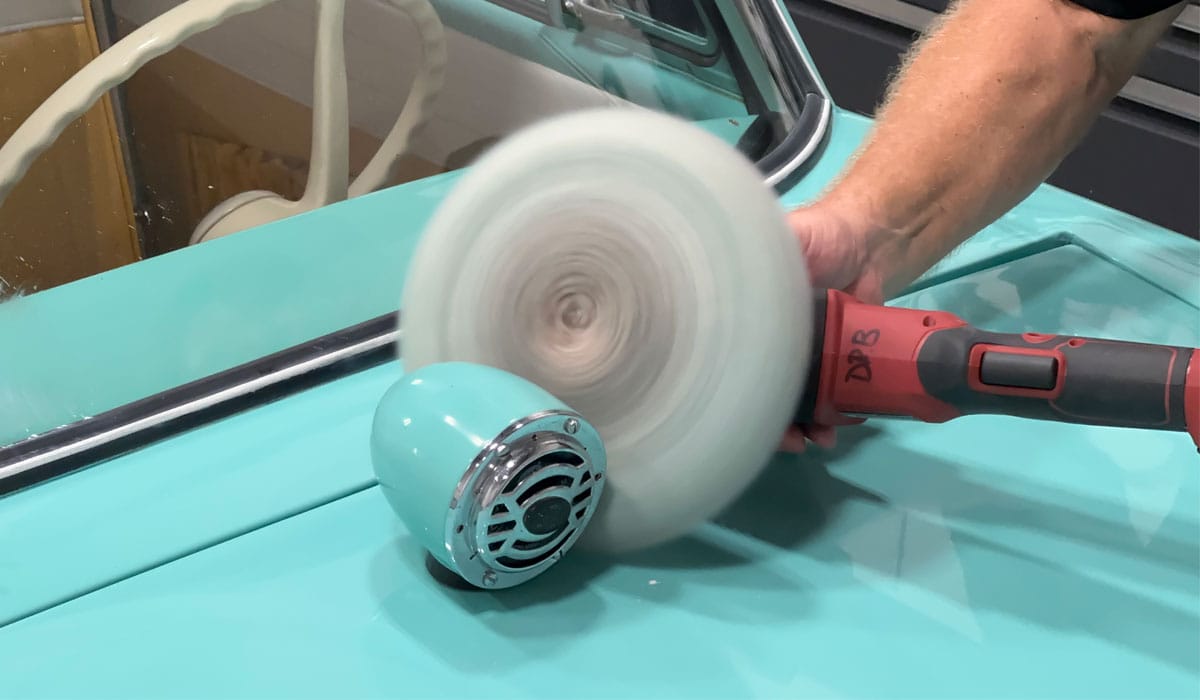
Check out all the blue paint coming off the car and building-up on the face of the pad. This is normal. If I were buffing out a car with a basecoat/clearcoat paint system – there would still be paint building-up on the face of the pad – you just wouldn’t see it.
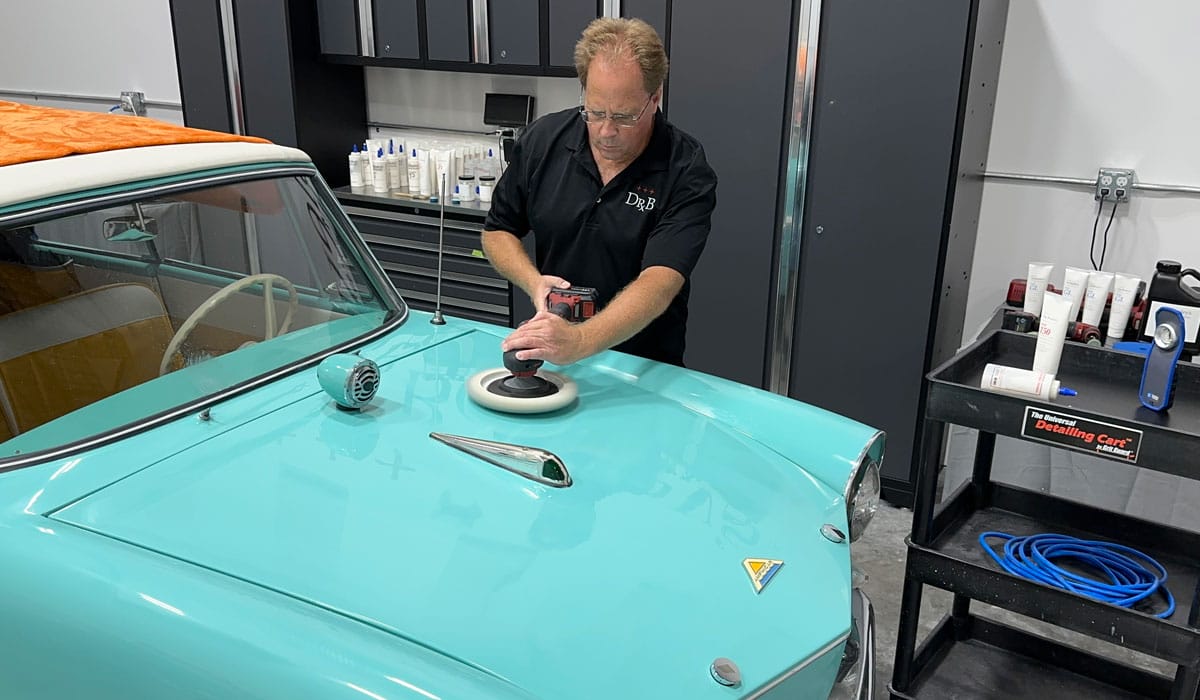
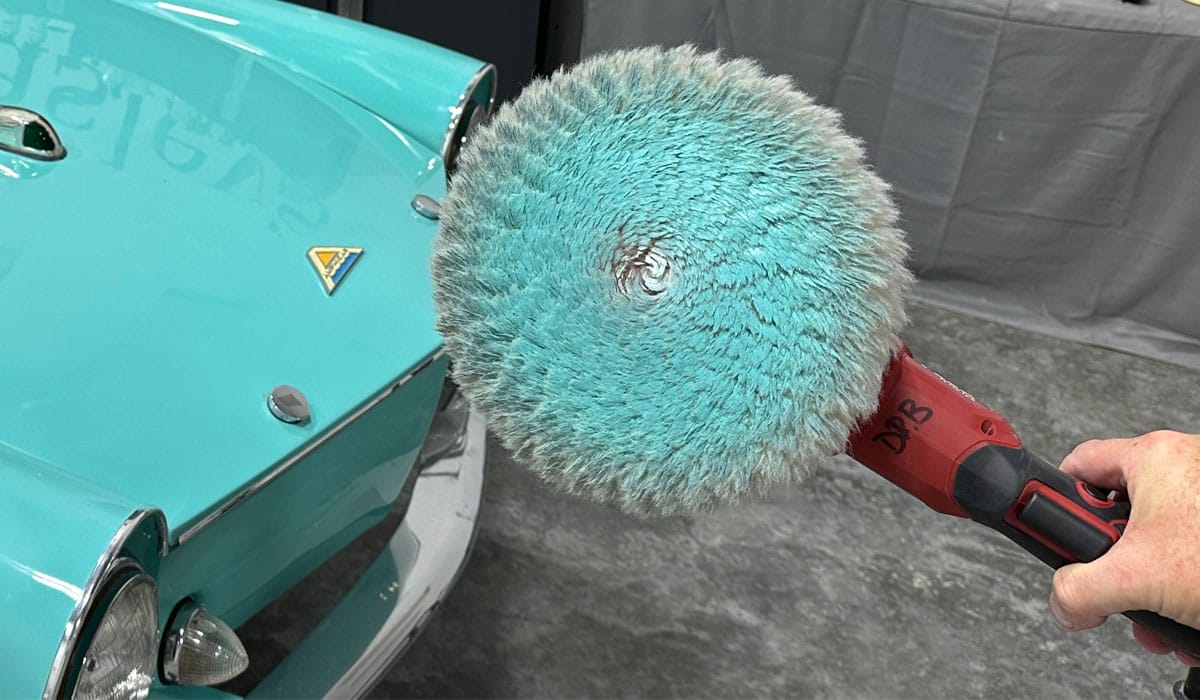
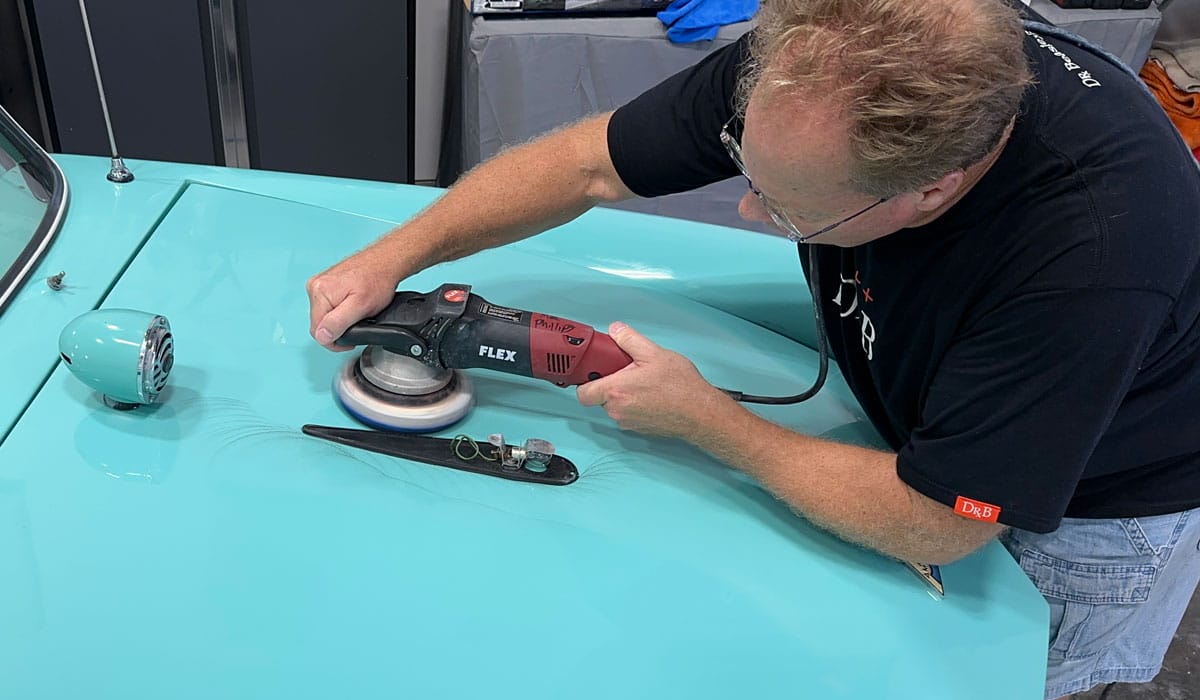
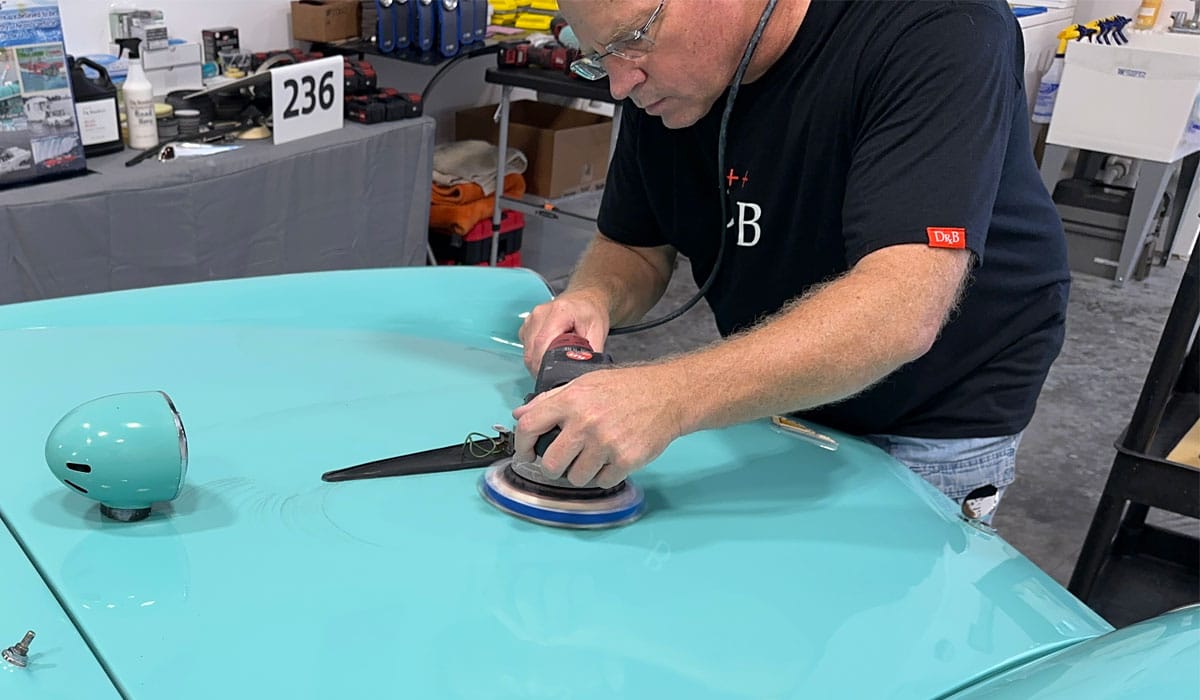
Looks kind of messy but to me – this looks beautiful! I know I have removed all the defects I can remove safely and next up I’m going to re-polish to remove any holograms the fibers of the wool pad instill when doing rotary work like this.
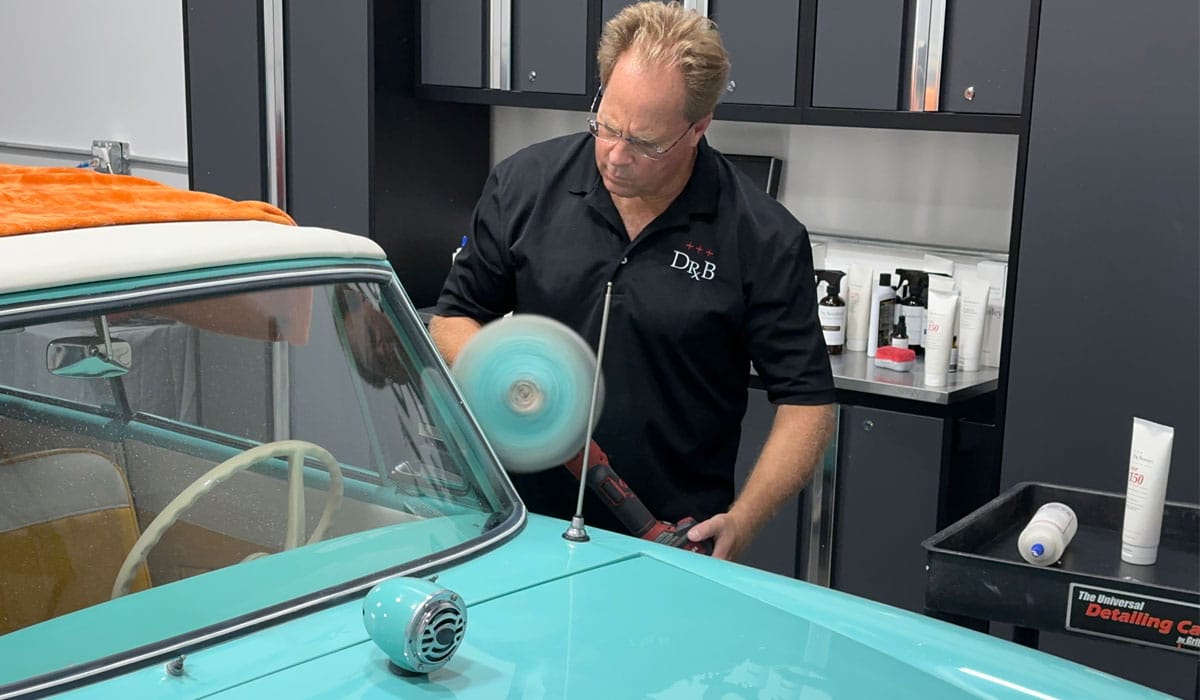
For that that might not know, the tool I’m using is called The BEAST. This is an 8mm gear-drive orbital polisher. Because it’s gear-driven – there’s never any pad stalling and for this reason I can go-up-on-edge to buff out thin panels and work tight areas.

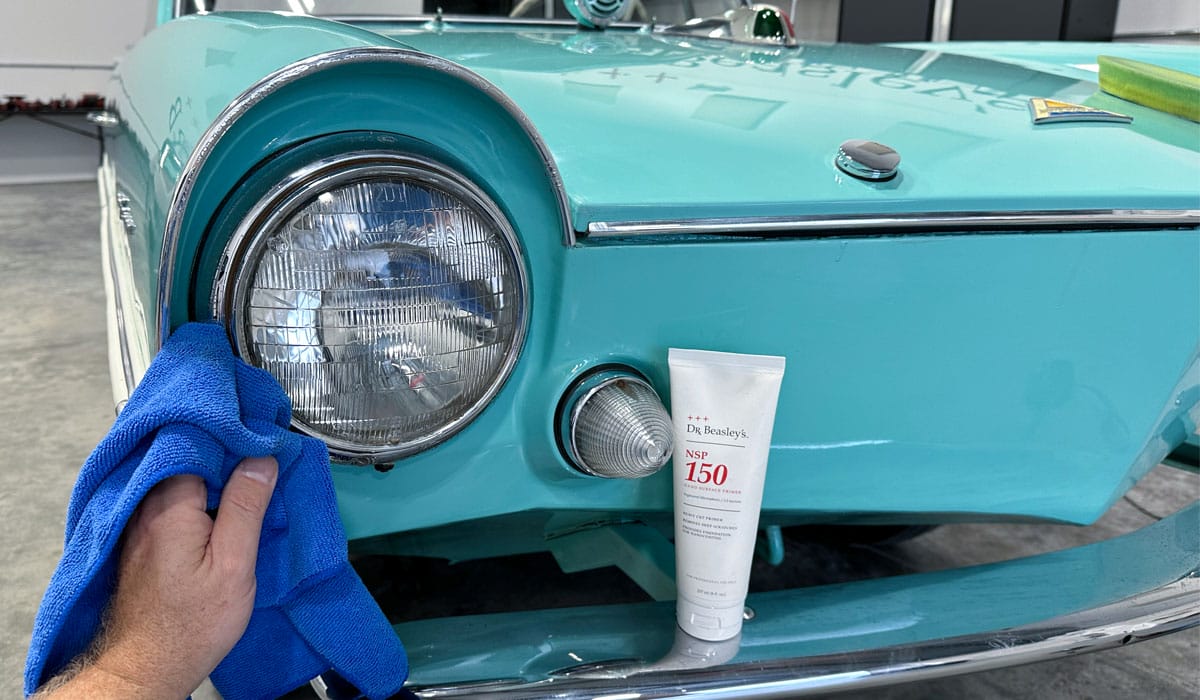
There were so many scratches next to the running light, in order to remove them I had to remove the light house and then switch over to a Dr. Beasley’s Microwool Pad.
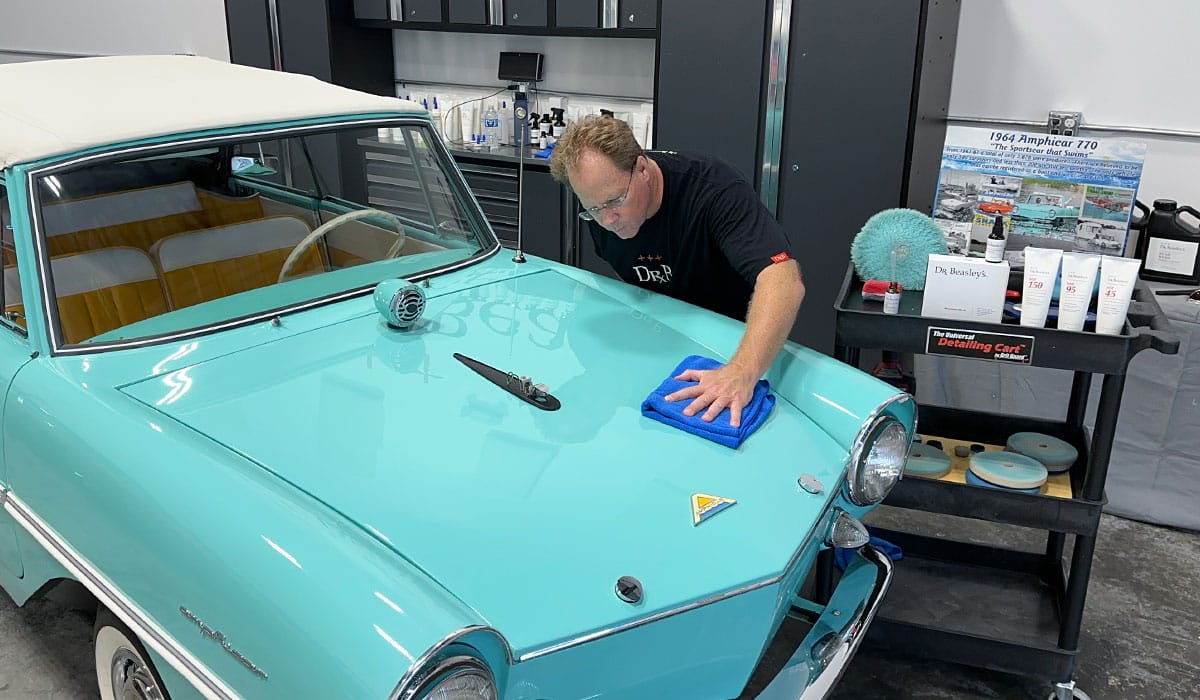
The paint looked great after the NSP 95 step with a foam cutting pad, but this is show quality work and to ensure the paint is as glossy and rich in color as possible, I repolished using a very soft foam finishing pad and the Dr. Beasley’s NSP 45, which is a very fine cut finishing polish.

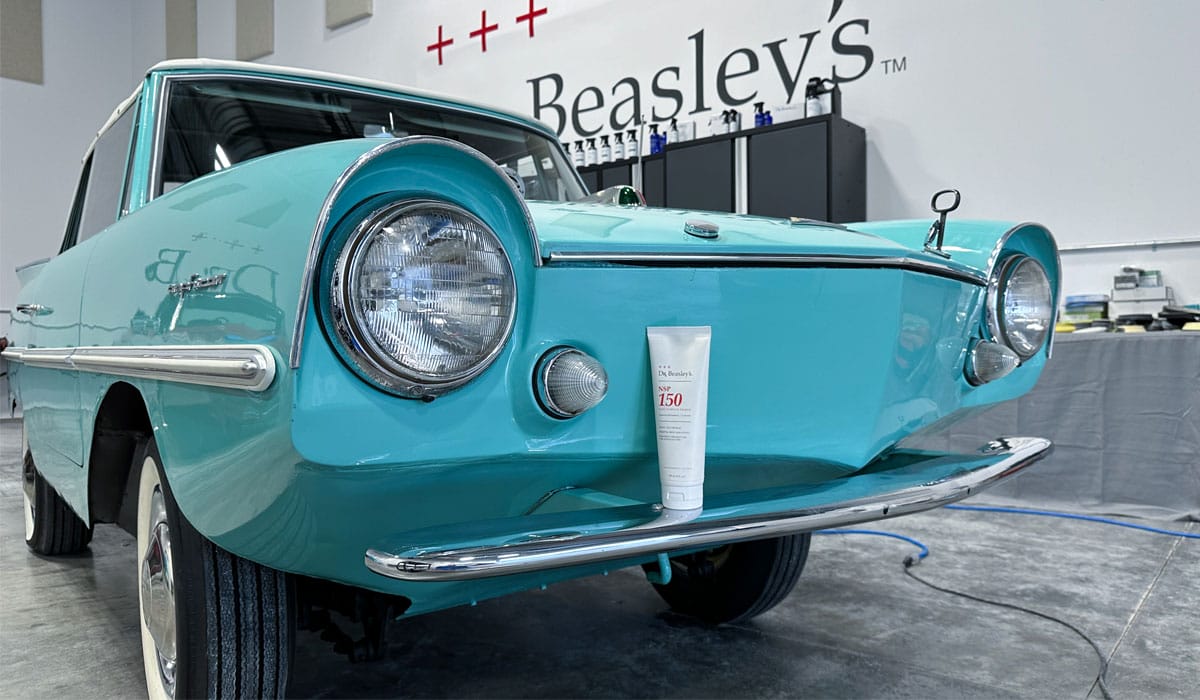
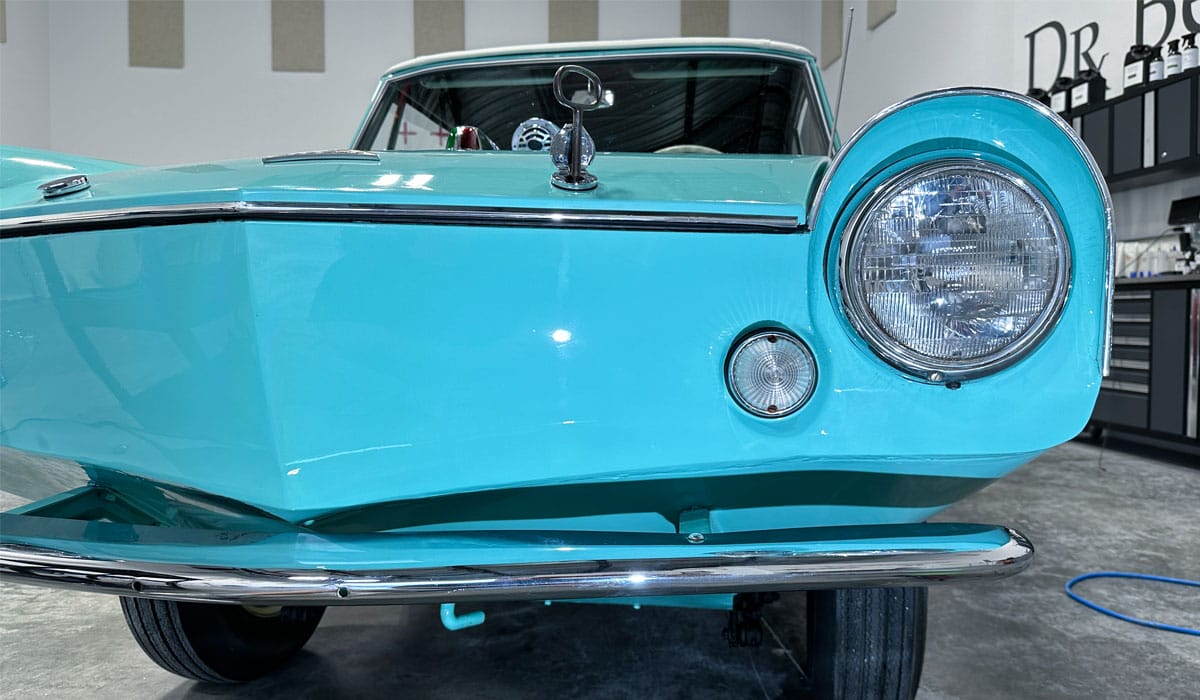
Here’s the results after a 3-step multiple-step show car polishing process.
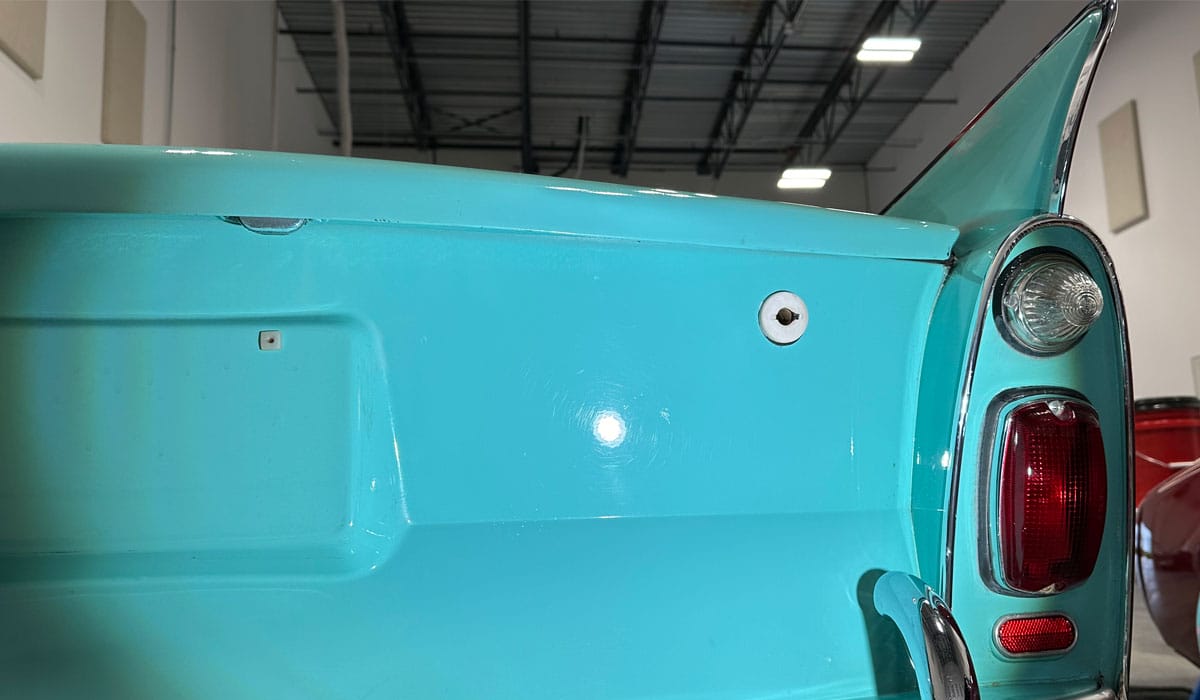
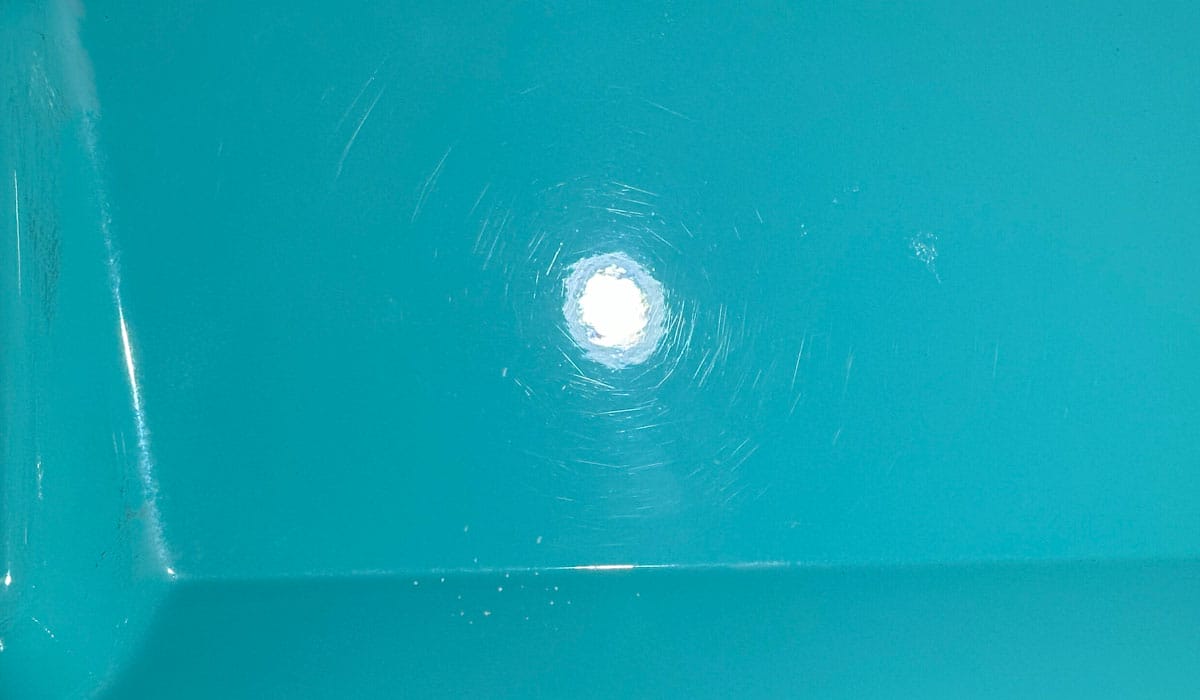
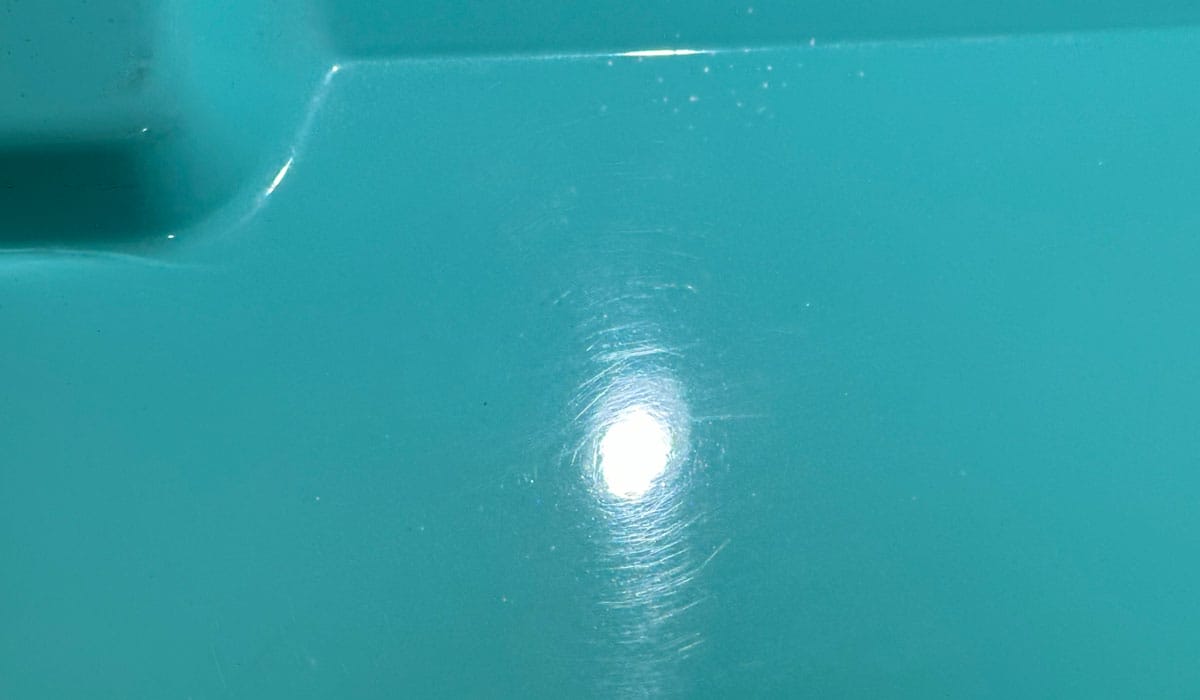
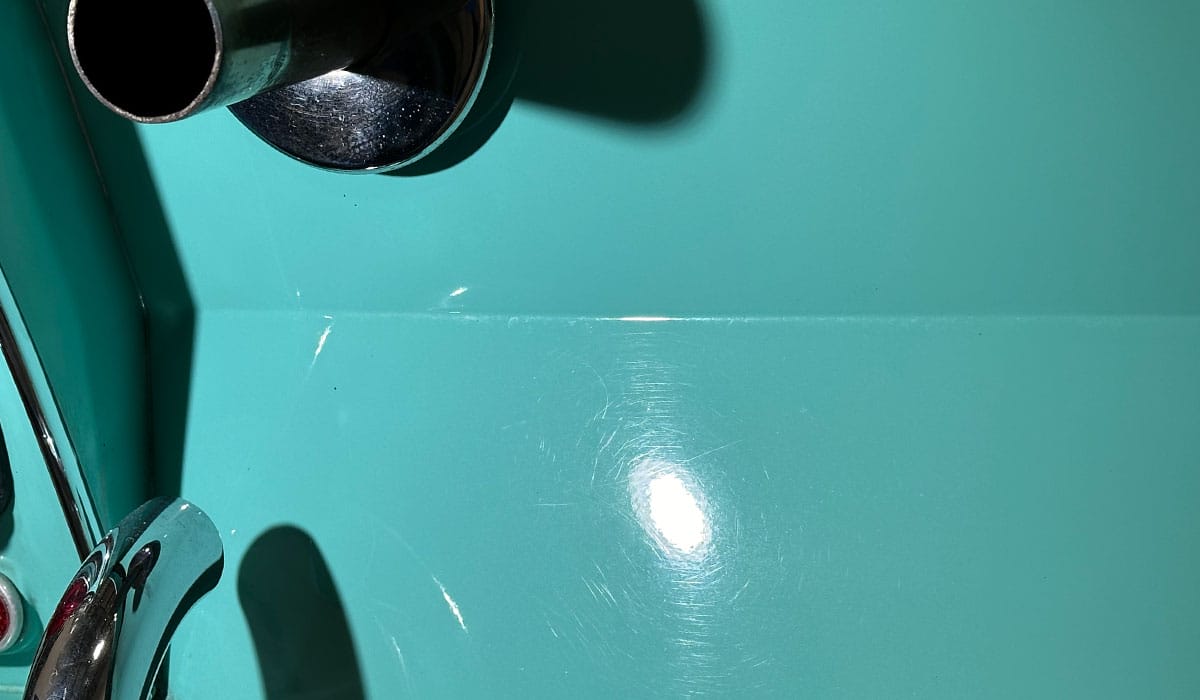
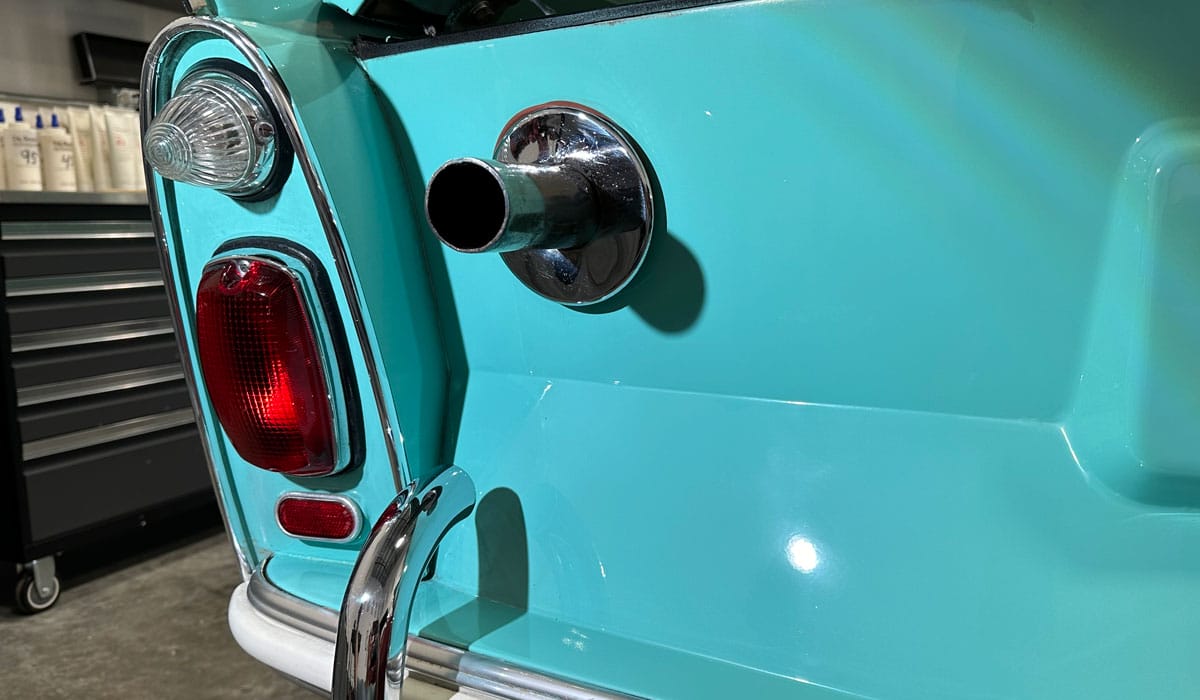
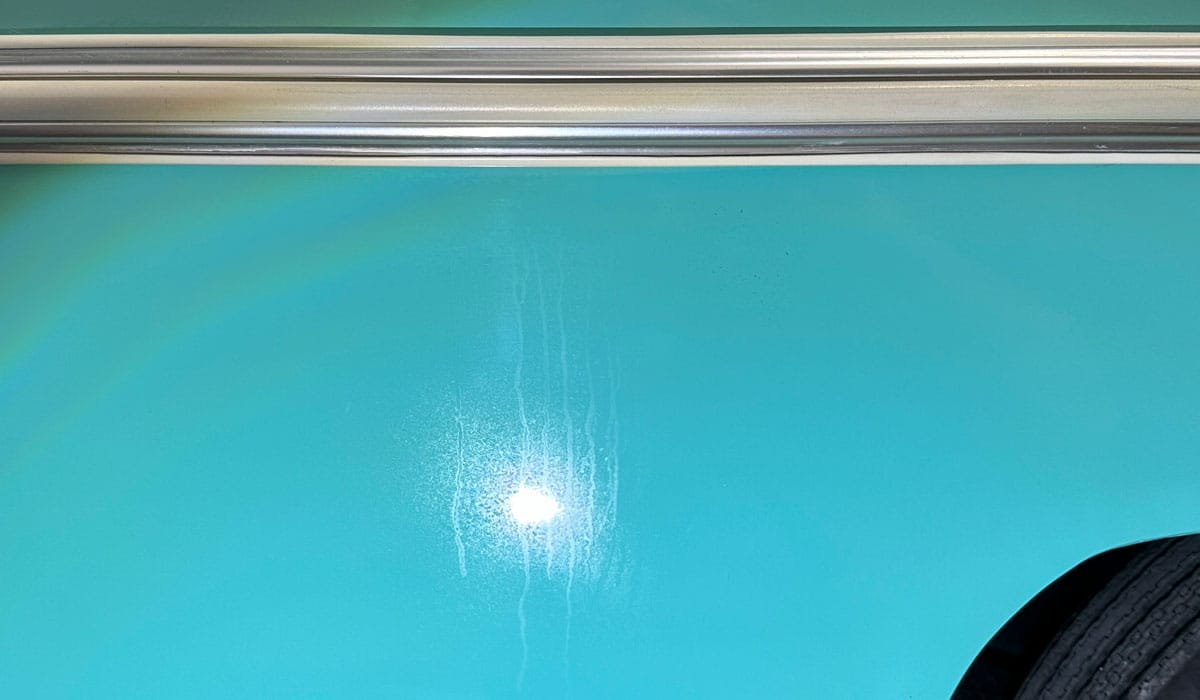
Next up, the vertical side panels. Here’s a few pictures to photo-document the before condition of the vertical panels.
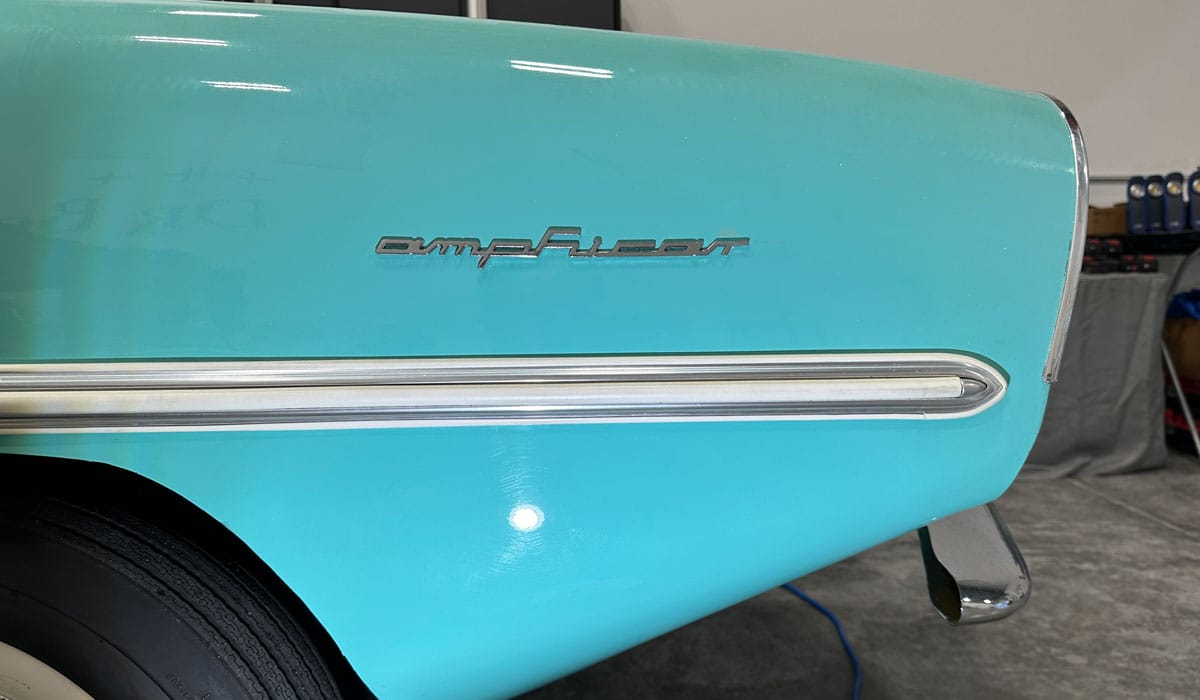
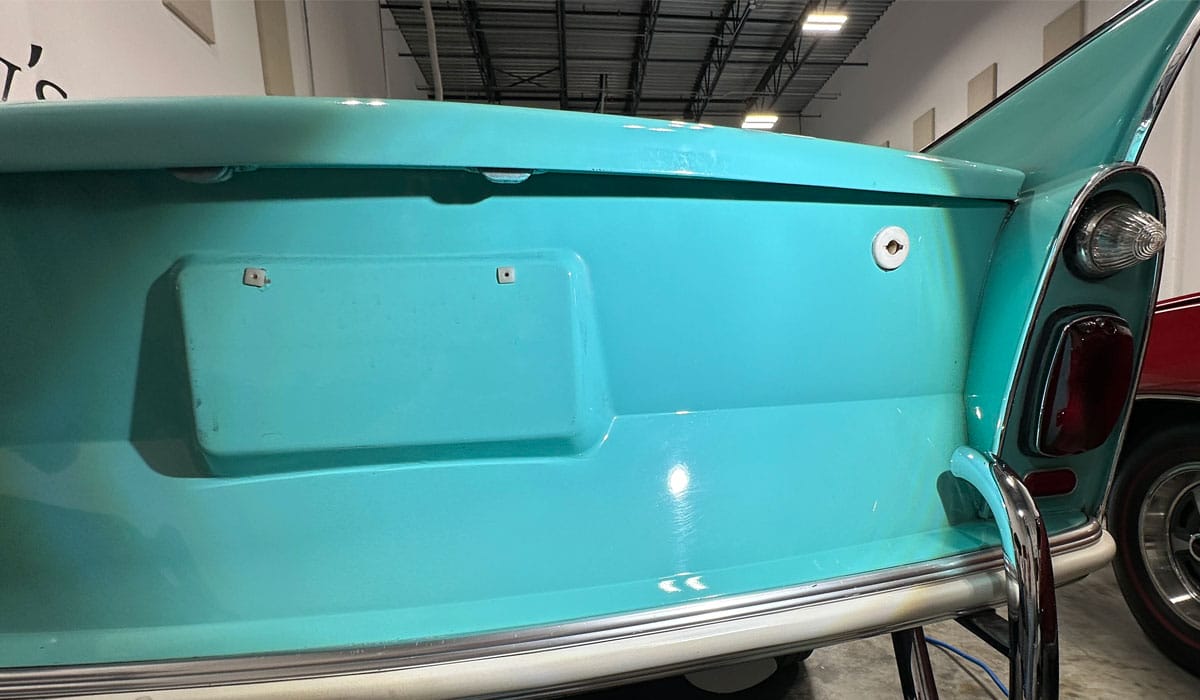

After results
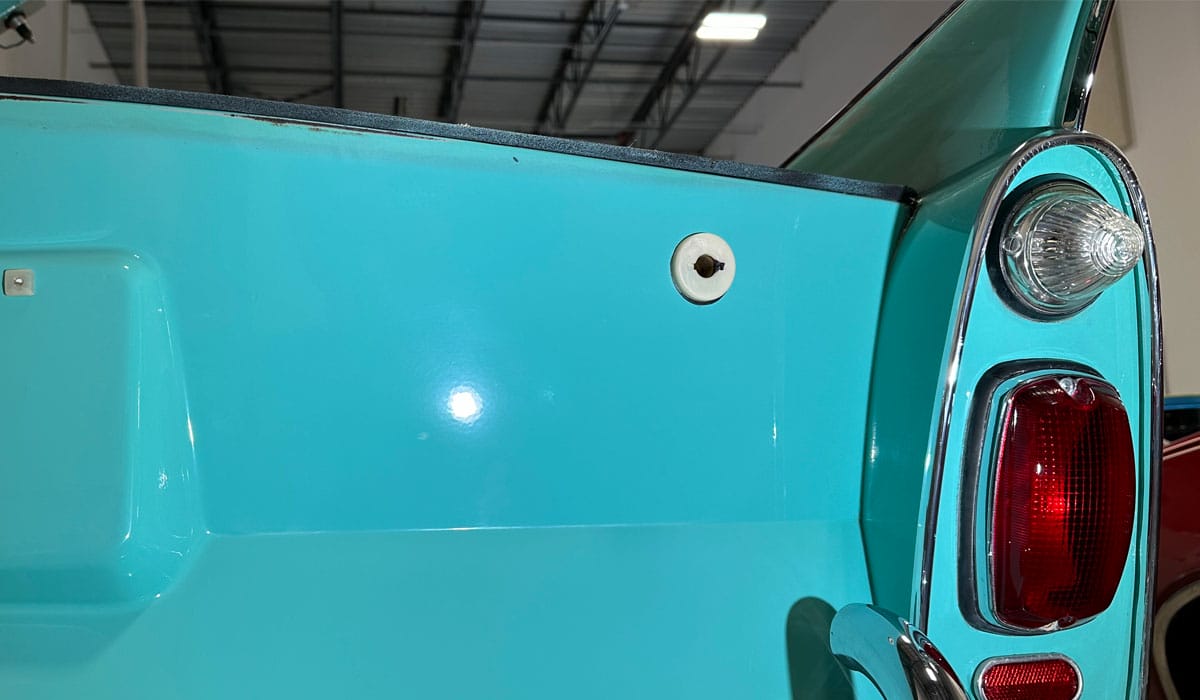
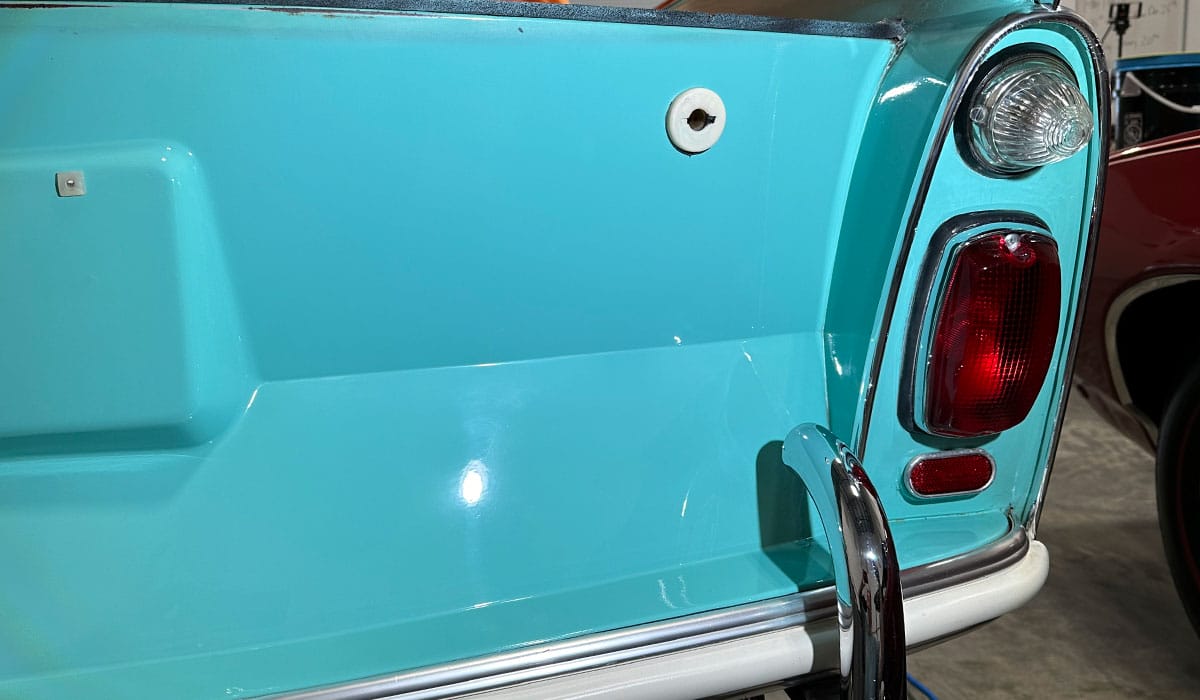
Weird staining on the paint. Not sure what happened to the paint in this areas but Dr. Beasley’s NSP Primers removed the staining and restored a swirl-free finish.

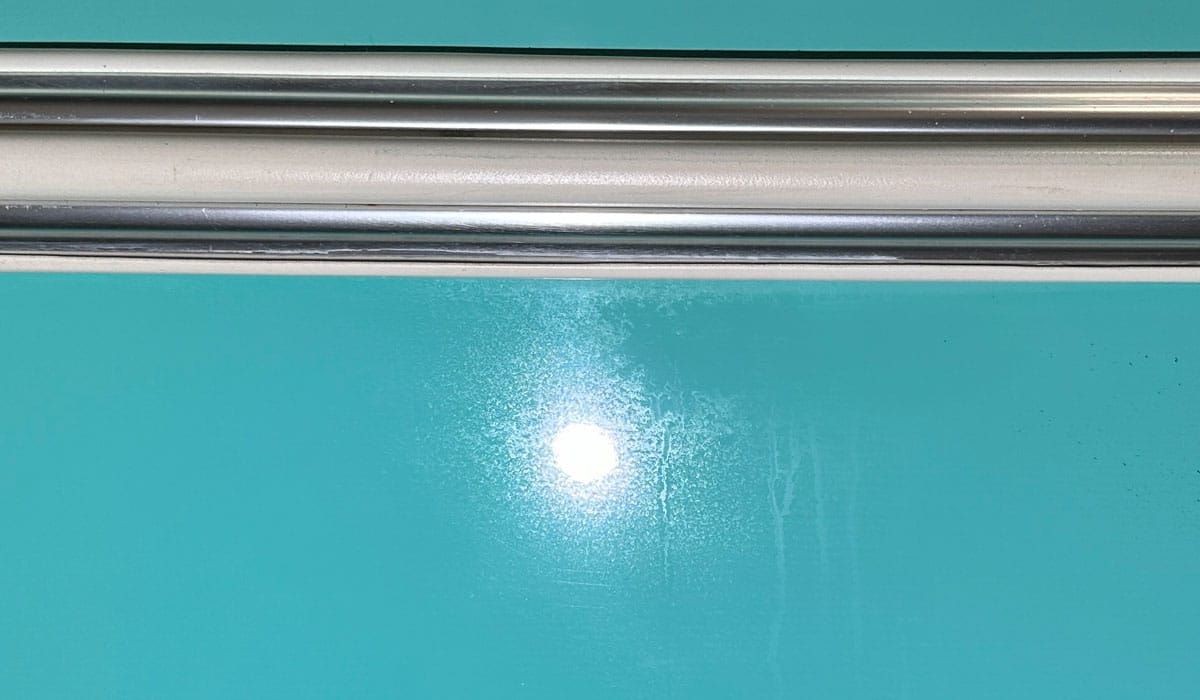
After results

Tight areas need attention to and sometimes the more efficient way to tackle these areas is going old school using a little elbow grease

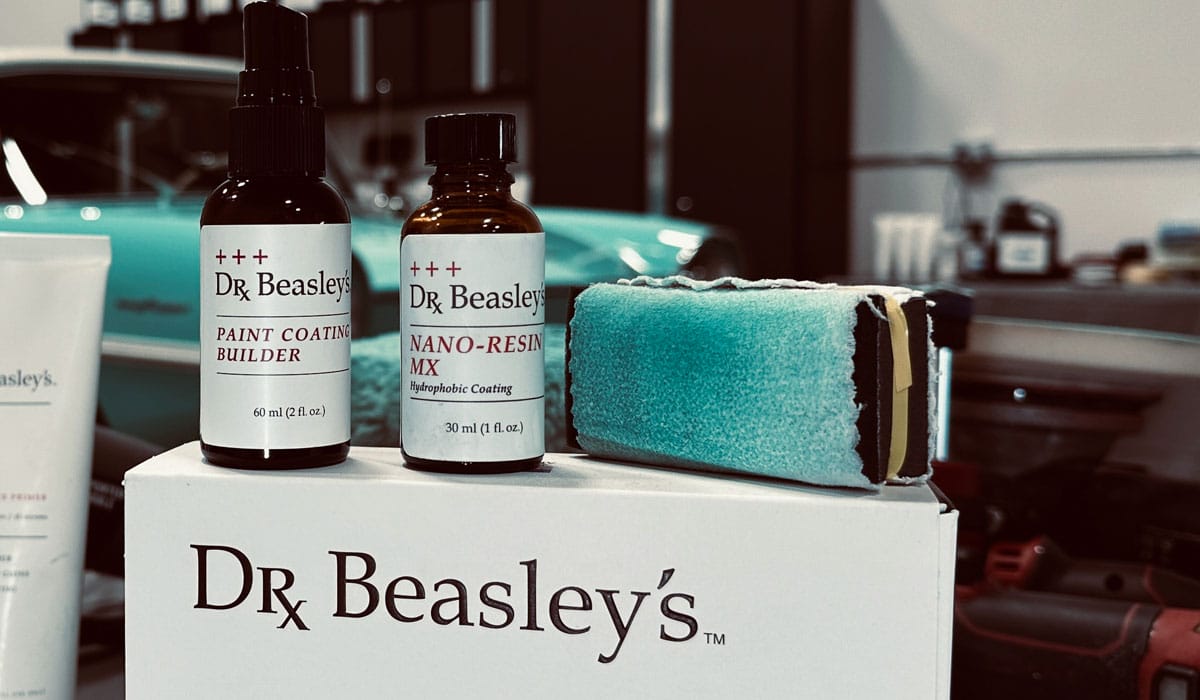
Installing the Nano-Resin MX Ceramic Coating
This is a really nice 2-part system that provides excellent gloss and protection while also leaving the paint feeling silky smooth.
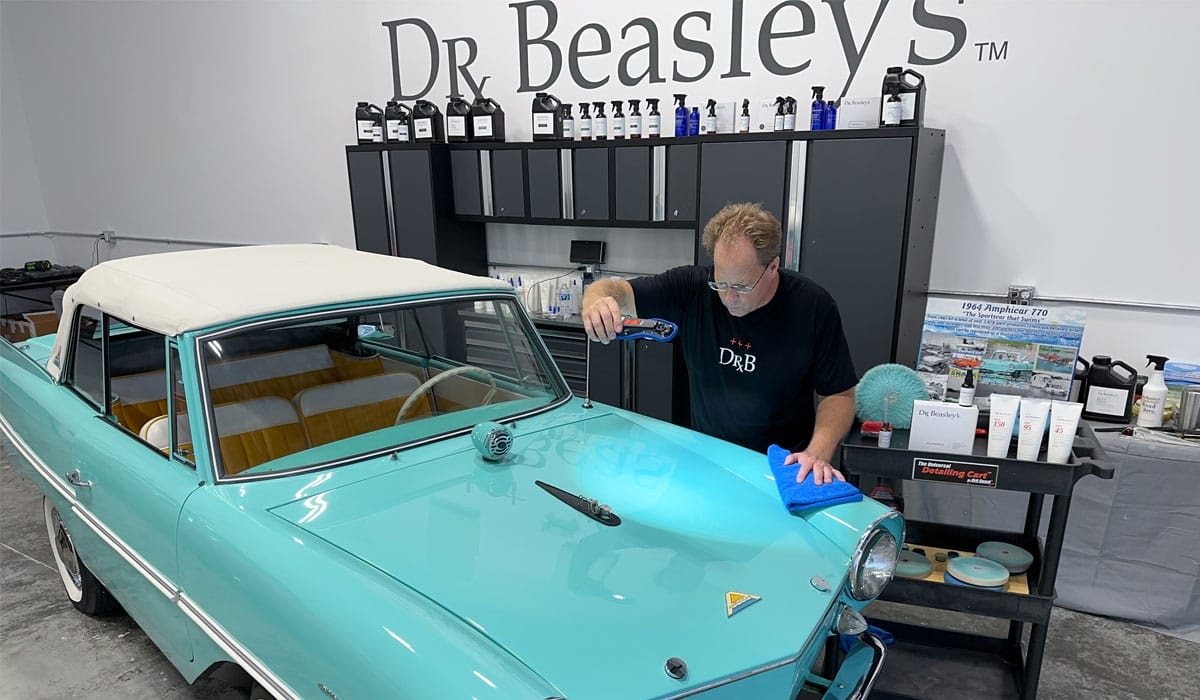
The first part is to apply the Paint Coating Builder. To do this you mist a little product onto a section of a body panel and the spread over this section using an overlapping crosshatch pattern. After waiting for 2-3 minutes- remove any excess using a clean, microfiber towel.
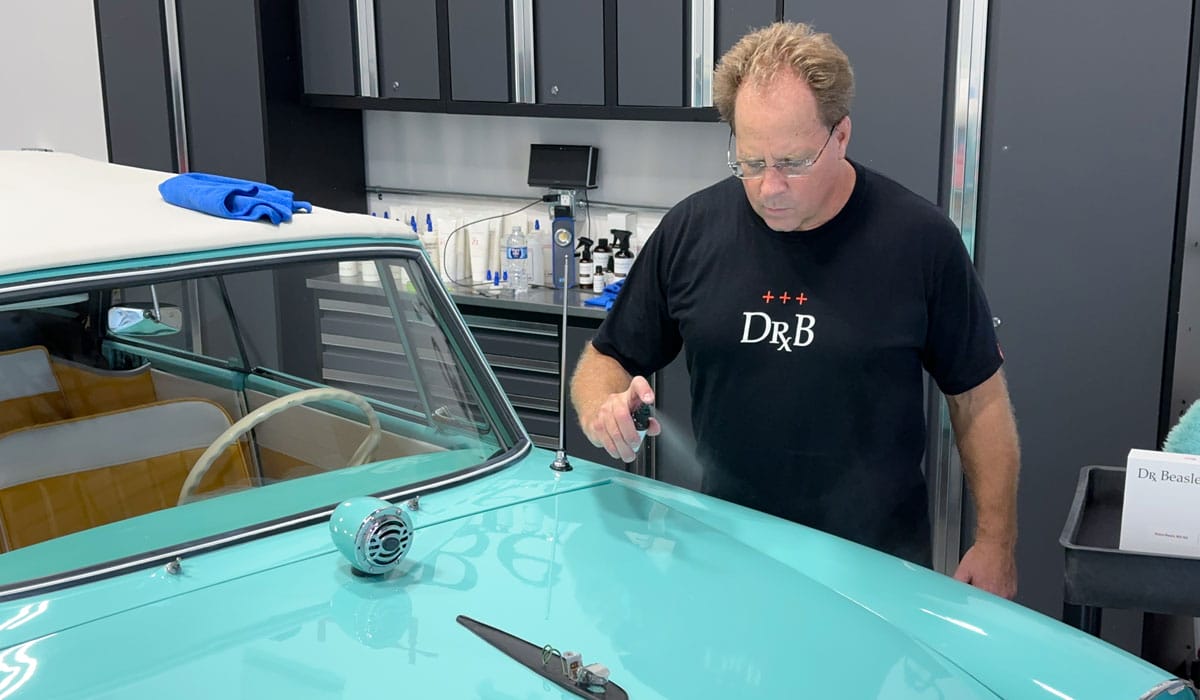
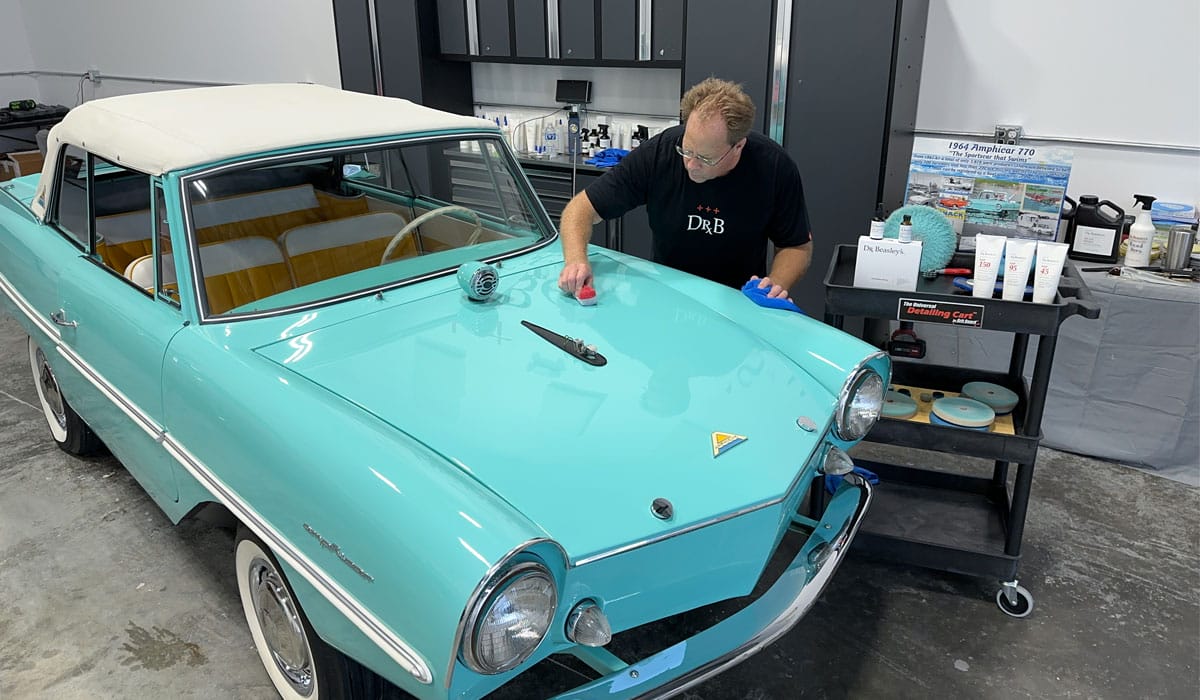

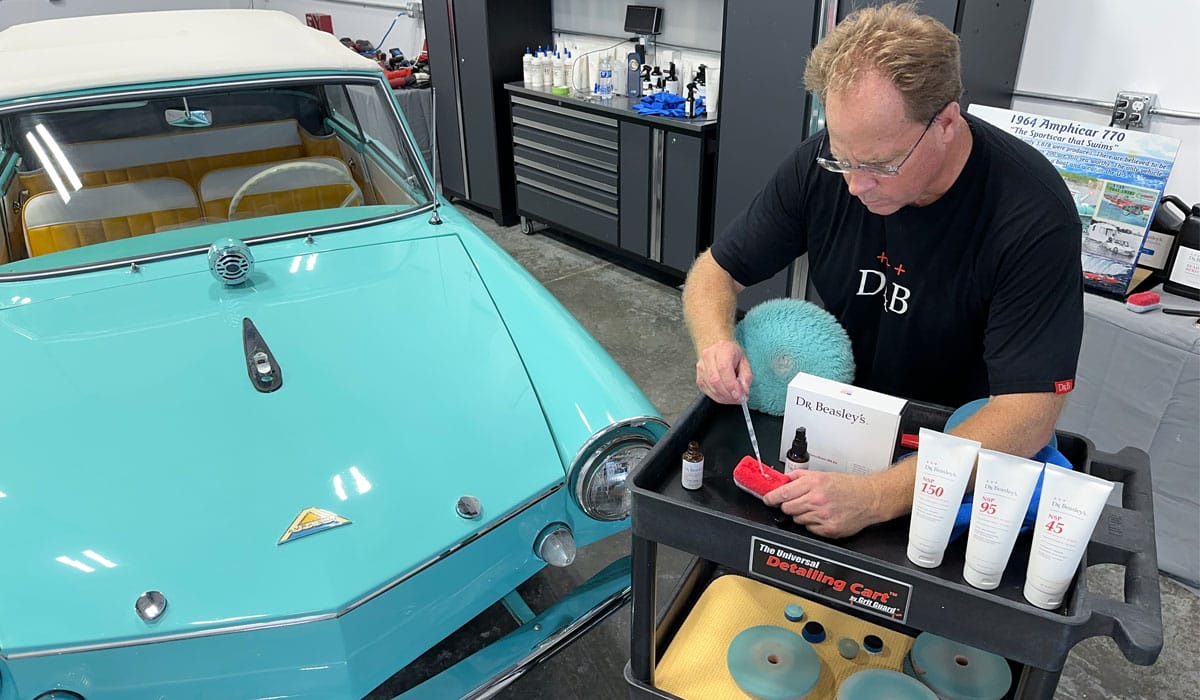
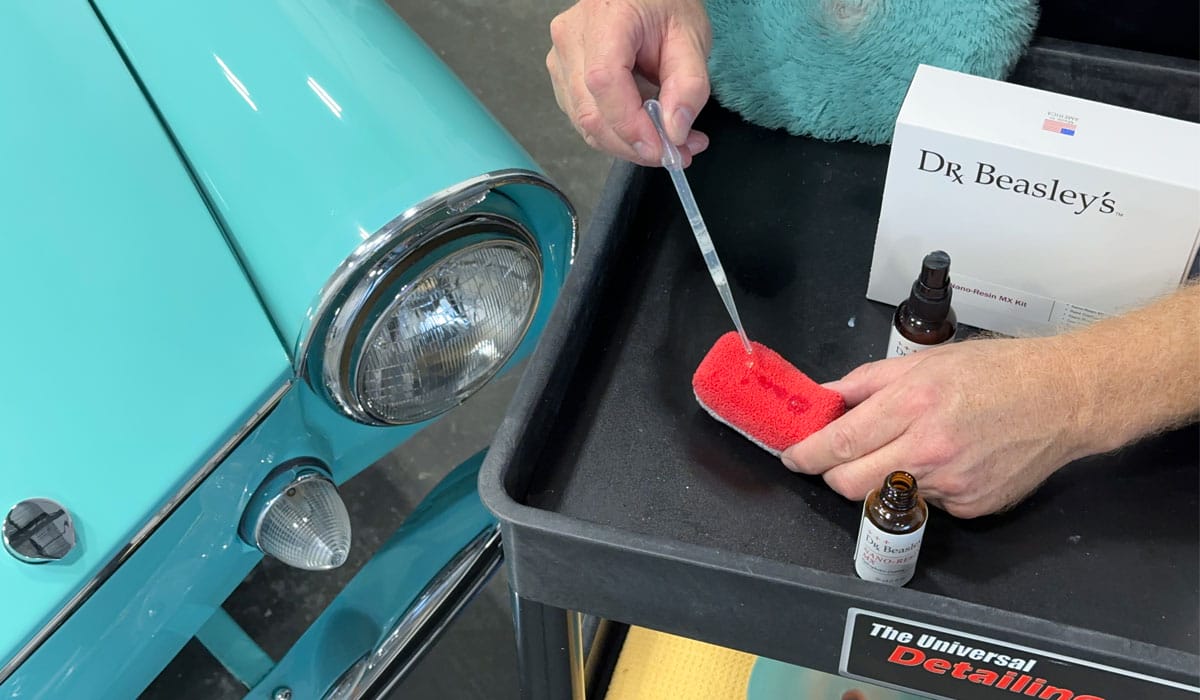
Next you apply the Nano-Resin MX Ceramic Coating. Application is the same except you use a small plastic pipet, (like a dropper), to apply a few drops to a microfiber applicator pad and you only wait 30 seconds to a minute before leveling the coating and removing any excess.
Anytime you’re installing a ceramic coating, it’s important to use a powerful hand-held light to inspect for any high spots and remove them using a clean, microfiber towel.
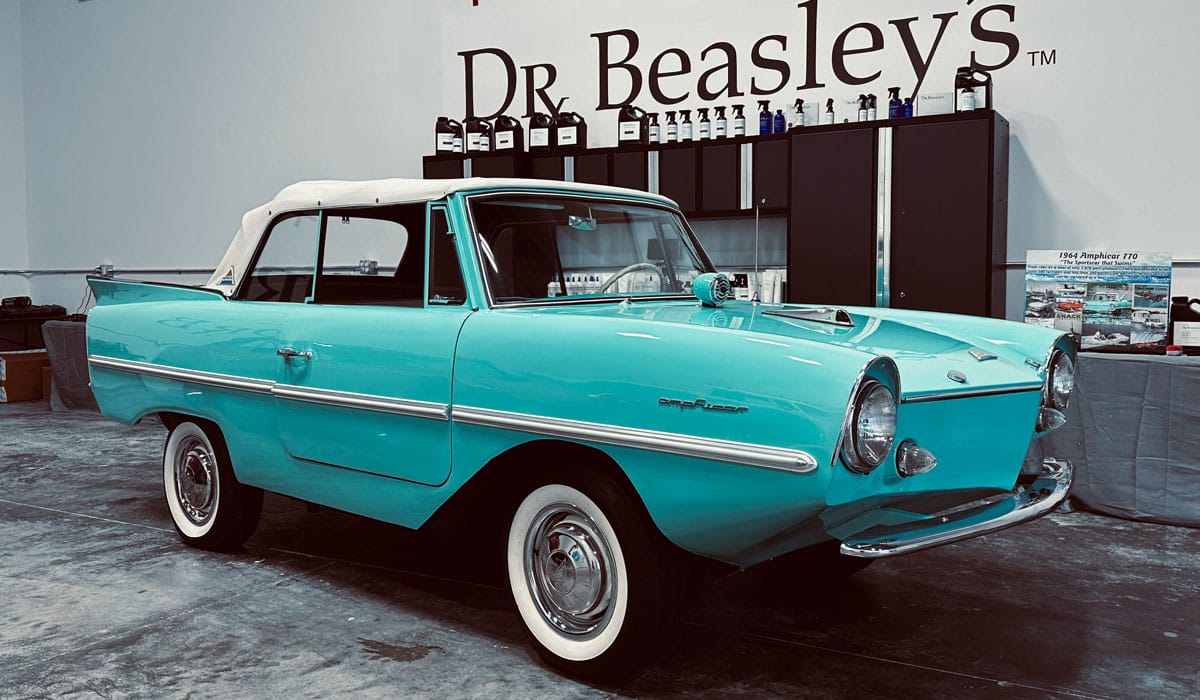
Final results!


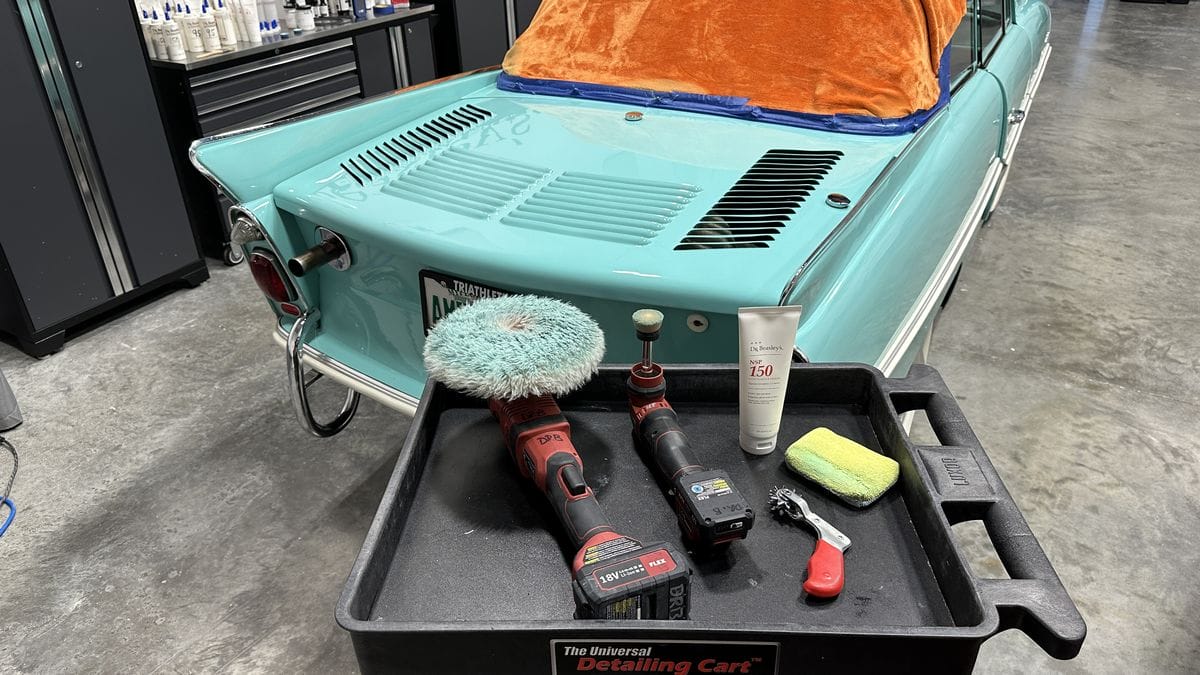
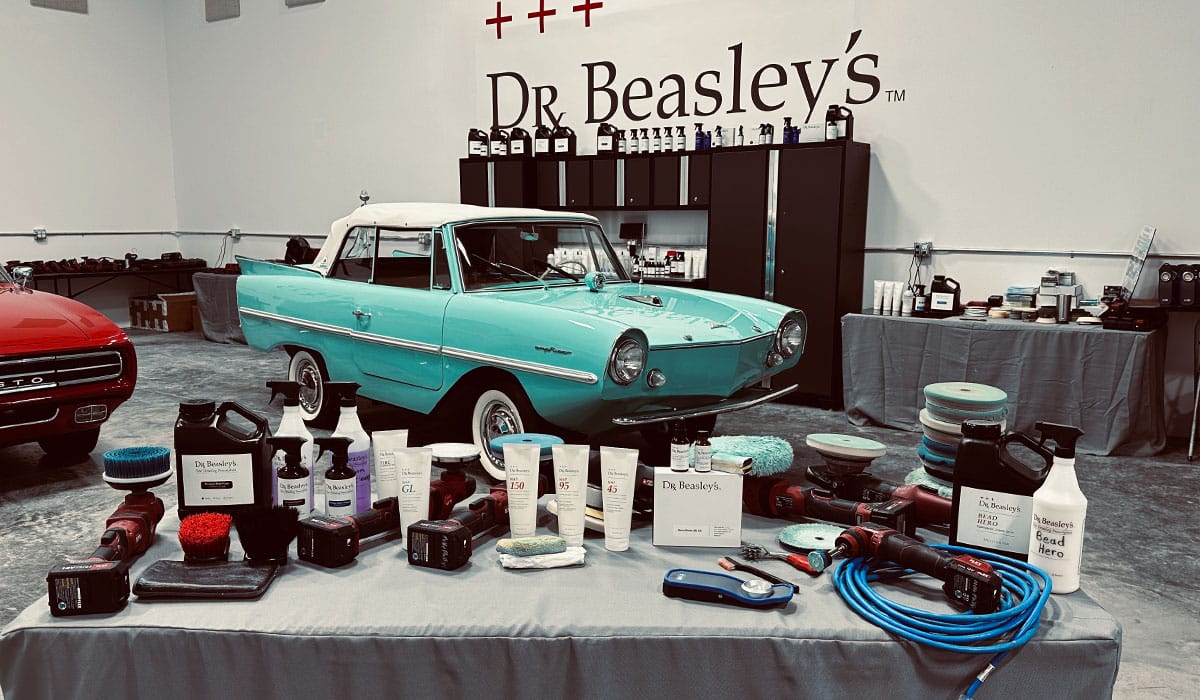
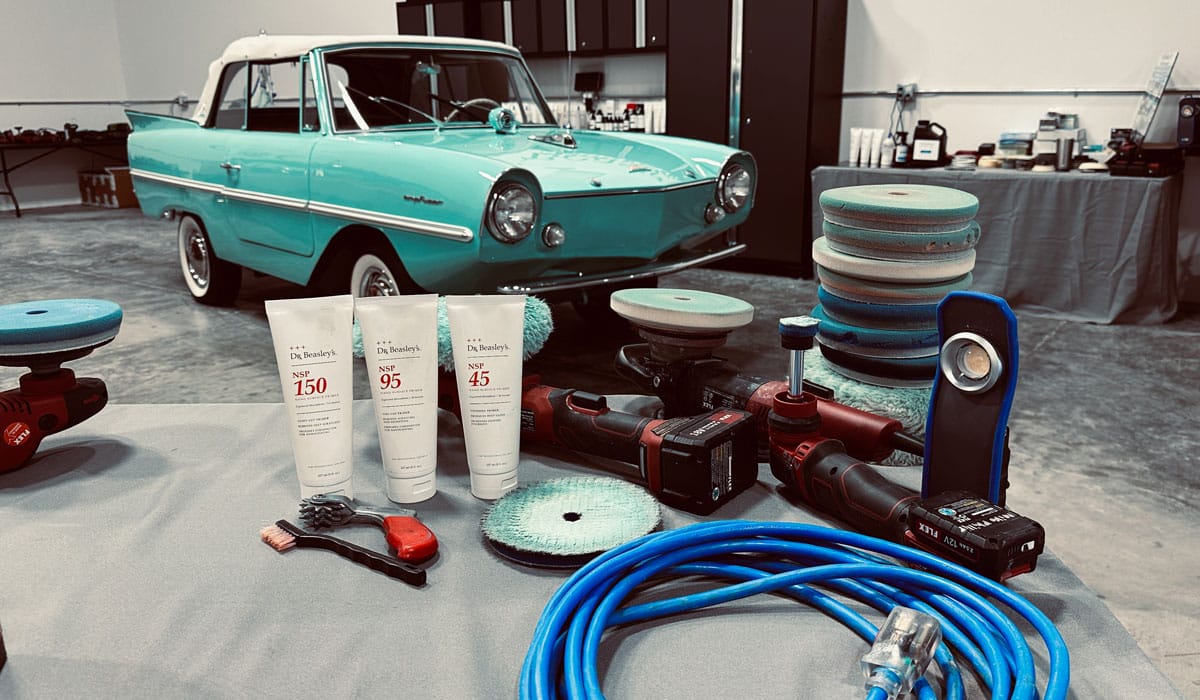
Products used
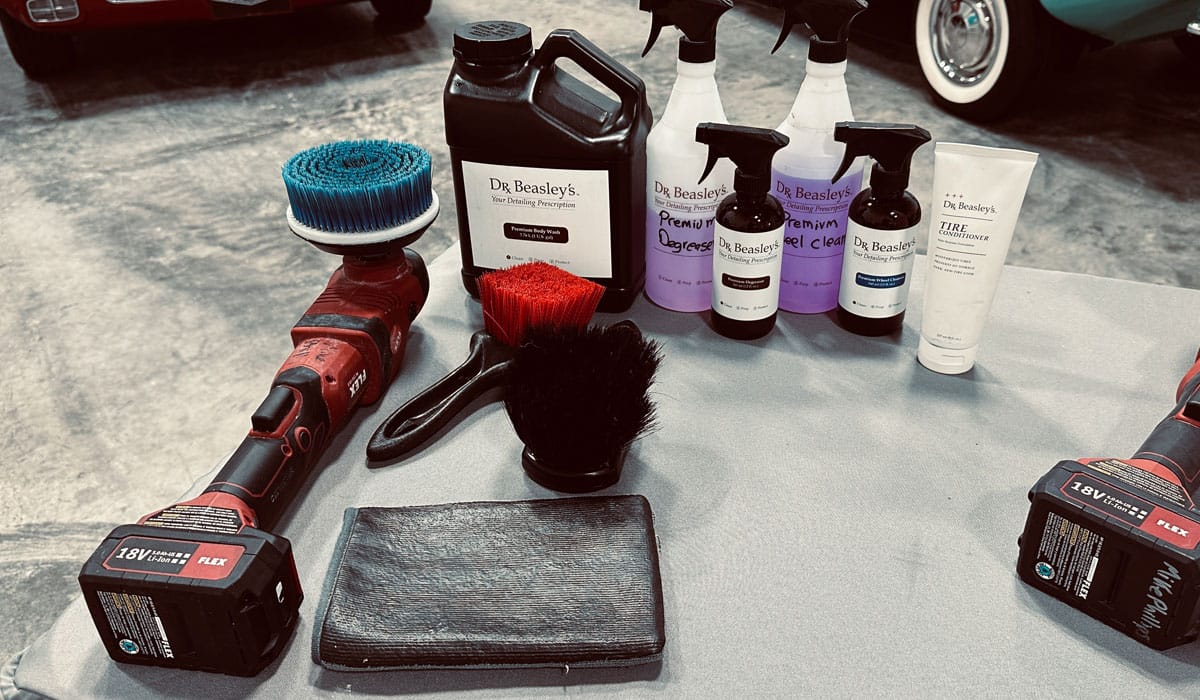
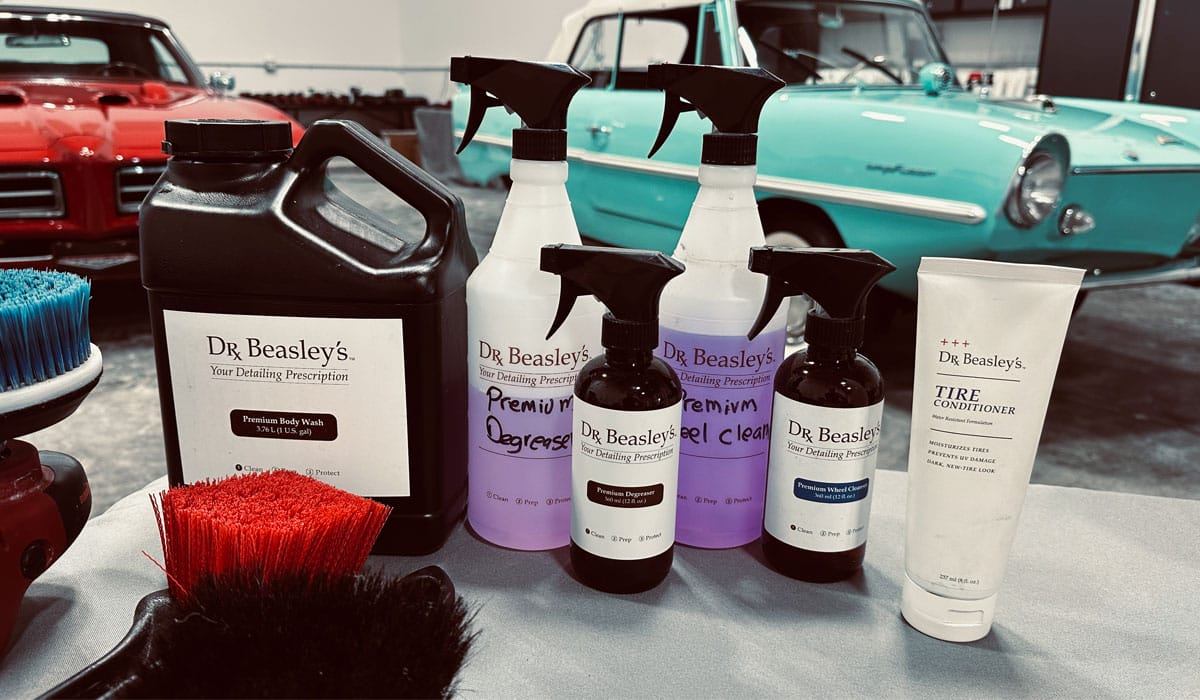
Below are pictures of everything I used to tackle the glass and plastic windows, the louvers and the paint correction and ceramic coating.
- Premium Body Wash
- Premium Degreaser
- Premium Wheel Cleanser
- Tire Conditioner
- NSP GL
- Rayon Pad
- NSP 45
- NSP 95
- NSP 150
- Nano-Resin MX Kit

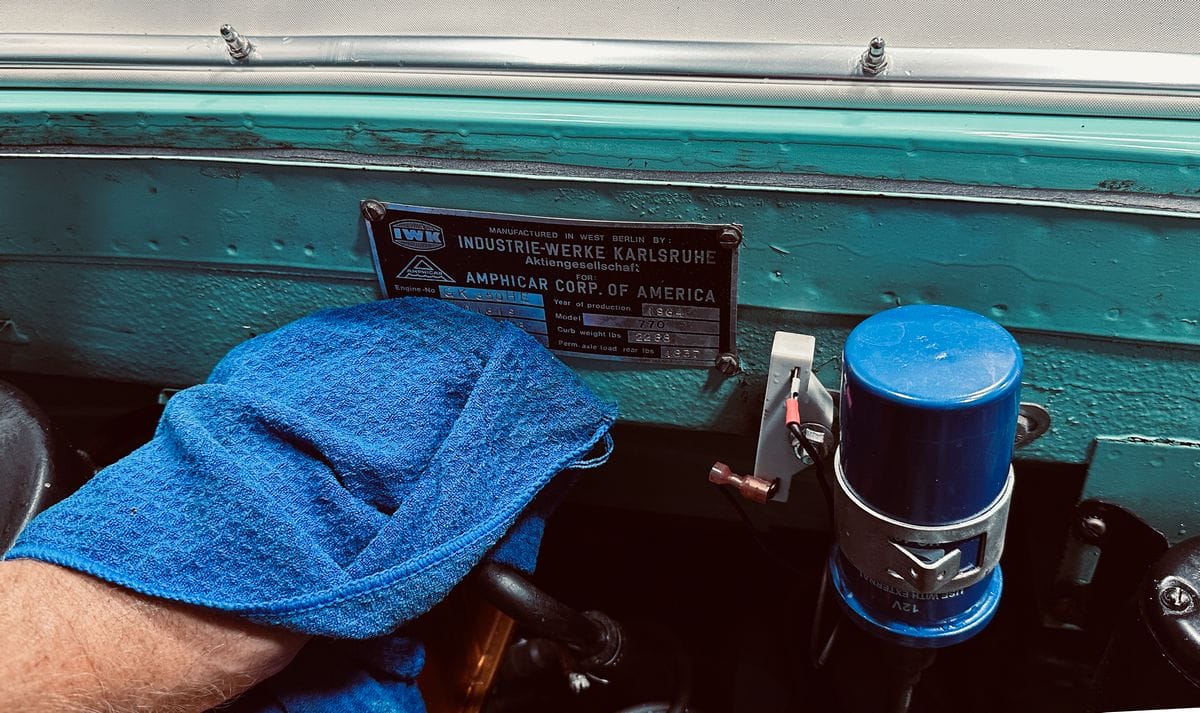
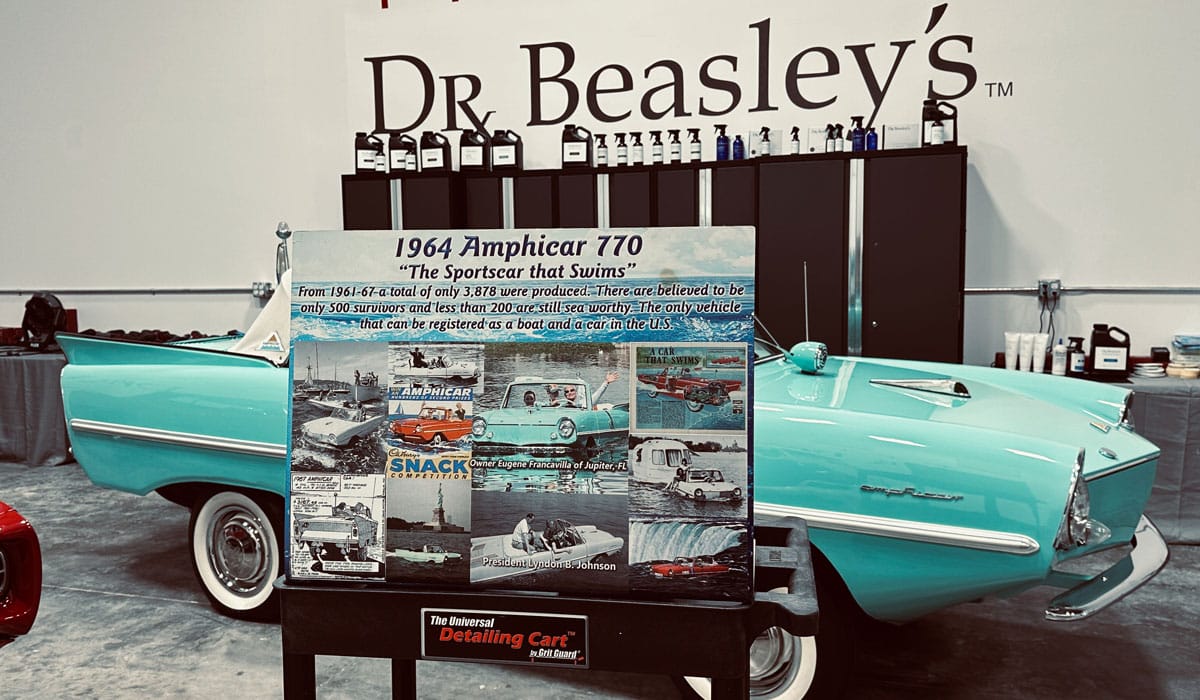
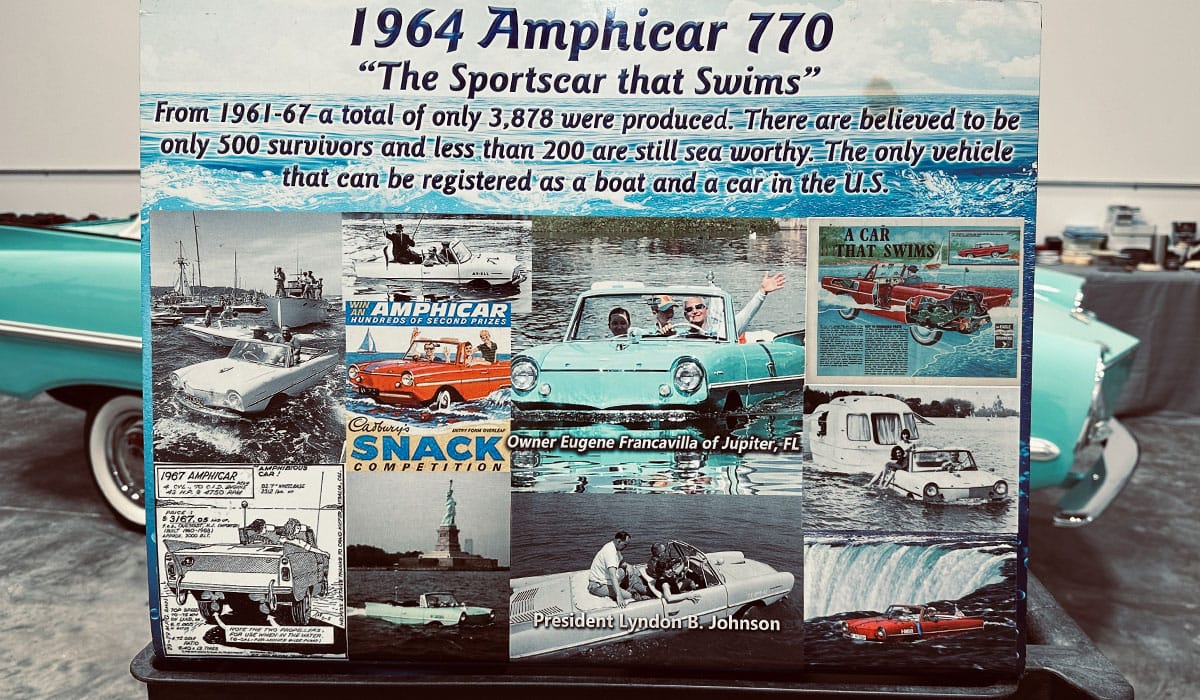
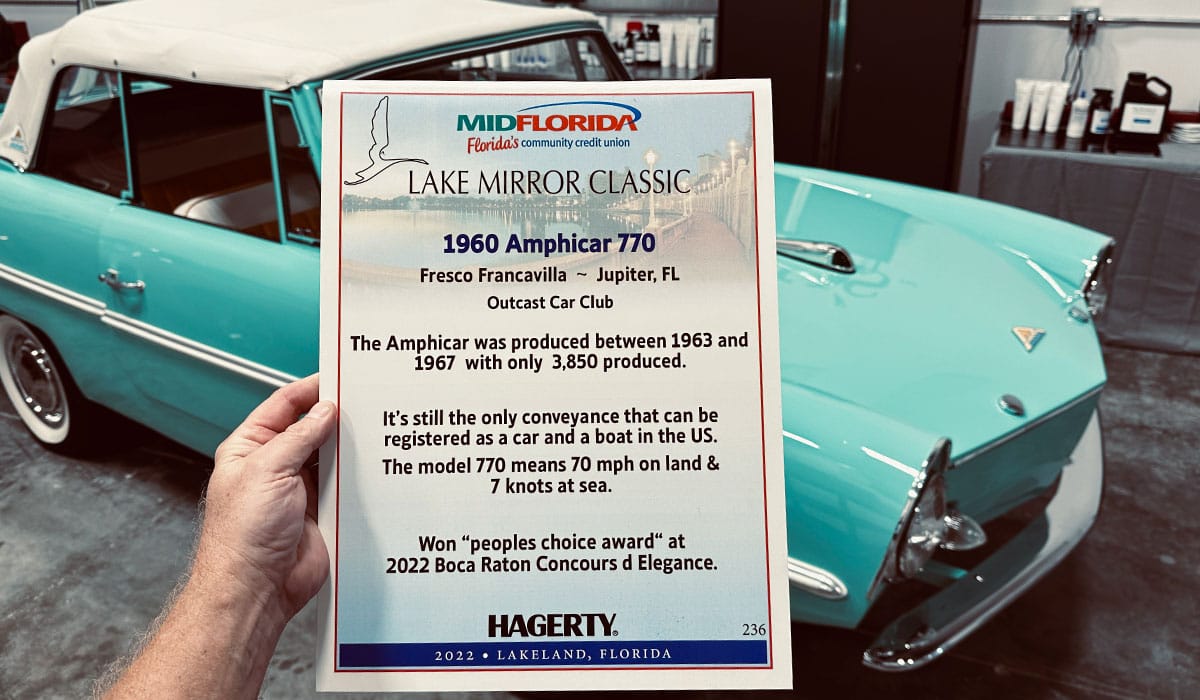
Here’s the display placard I found in the car.
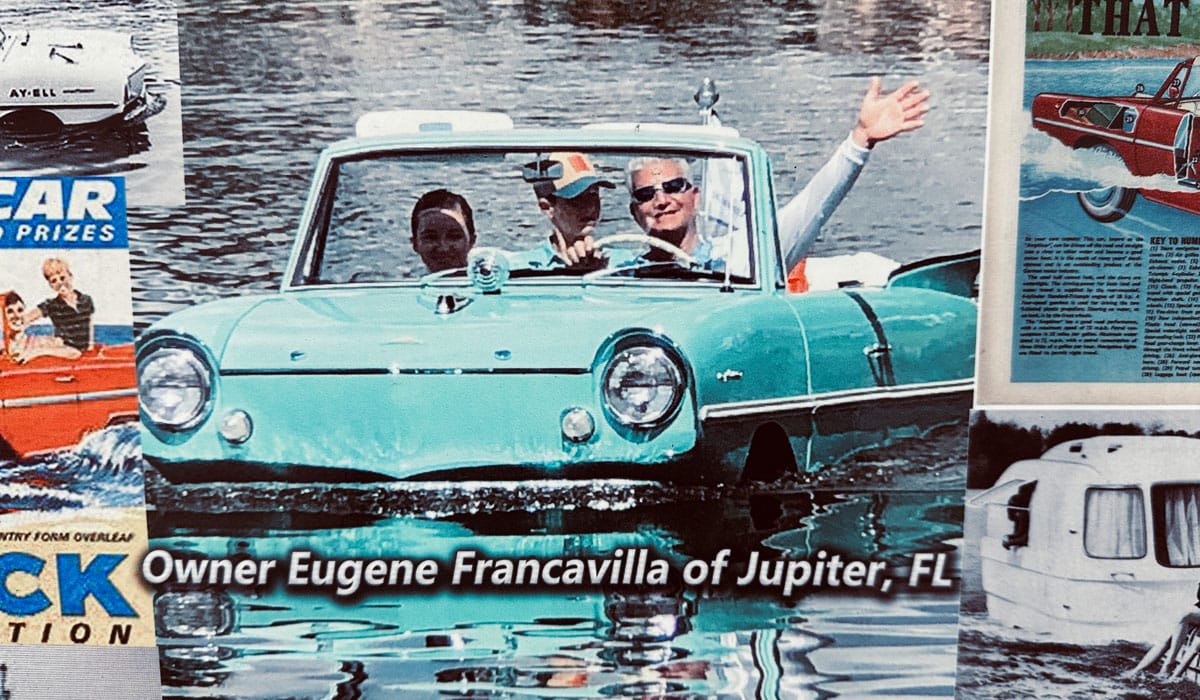
Here’s the owner and good friend Gino driving this Amphicar at a local lake. What I like about Gino is unlike a lot of car collectors, Gino DRIVES his car collection including taking the Amphicar out on the water! Pretty cool!
Final thoughts…
I love tackling unique cars like this, especially when I’ve never worked on anything like this in the past. I have to say, this project was a lot of work simply because of all the damage that had been done over the years.
If you’re reading this and tackling a project like this or any detailing project and you have questions, feel free to reach out and contact me, I’m happy to help see you through to success in your garage.
Here at Dr. Beasley’s we’re pro-education and our detailing classes cover all the products, tool, pads and most important – techniques used to take this neglected Amphicar and make it show-ready. You can get more information about our classes like dates, locations and pricing by clicking the link below.
Click here to for more information on Dr. Beasley’s Future of Detailing Classes
Mike Phillips
Cell: 760-515-0444
mike@drbeasleys.com
Hope to see you at a future class!
😊
Thank you for all your help. Your service was excellent and very FAST. Many thanks for you kind and efficient service. I have already and will definitely continue to recommend your services to others in the future.
https://gabbargarage.pk/detailing/